Time to complete the locker. The door got resawn down from 1″ to about 3/8″ thick using the bowsaw and the large ryoba when I got too annoyed at banging the bowsaw off the wall on every stroke, and resawing remains the most boring annoying thing ever, but you while you can thickness plane 3/4″ off a 1″ board with a scrub plane, it’s a pain in the fundament to do so. Roll on bigger bandsaw.
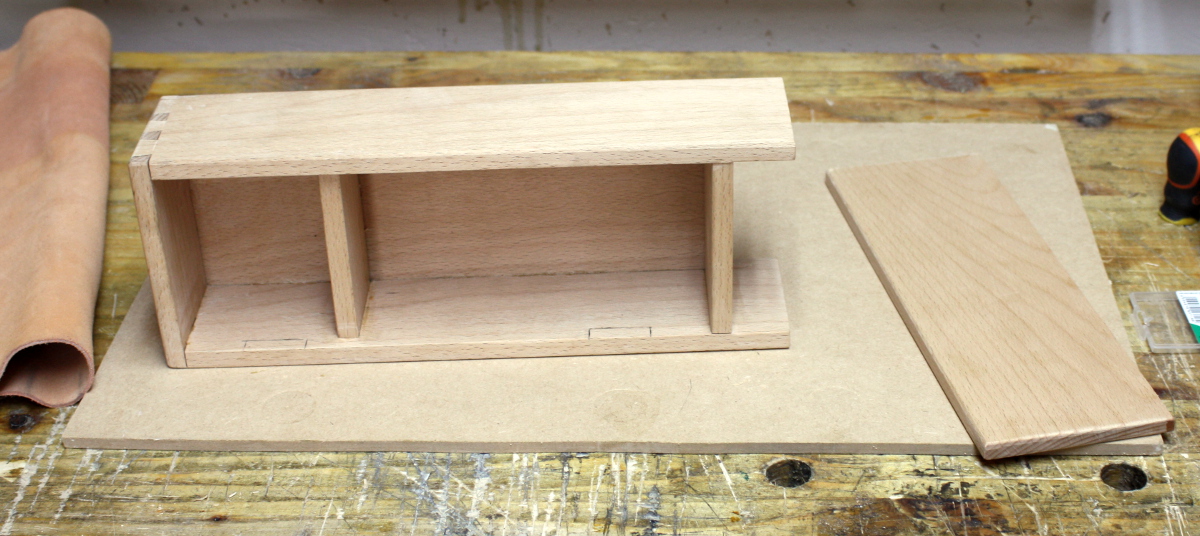
Once the door was then planed down and fitted, which was mainly just faffing about planing until the edges of the doors matched the doorframe, it was time for the worst part of every project.
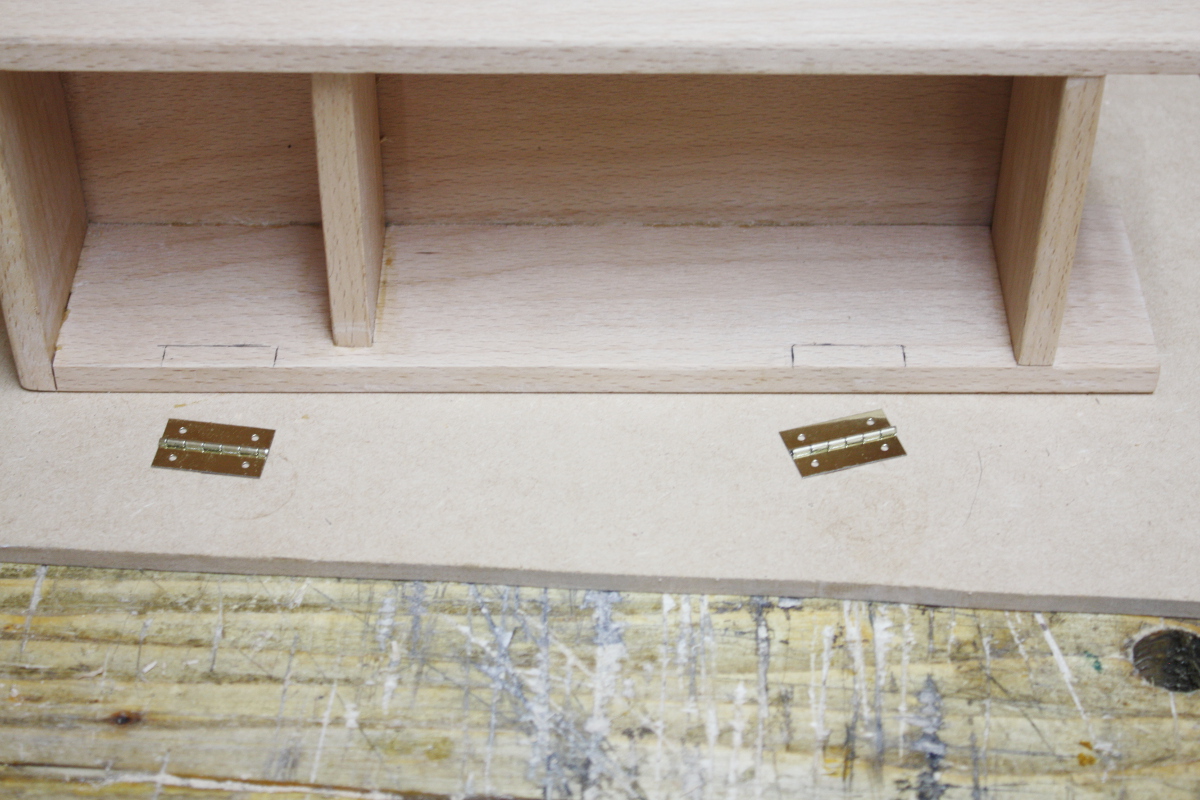
I hate hinges. They’re a pain in the backside to get aligned and fitted. Maybe I’m just fitting them at the wrong time, maybe I’m doing something wrong, maybe there’s a trick to it, I don’t know. I’ve read and watched everything on them that I can find and still they’re a pain. And the ones where you have to hammer in tacks instead of using screws are the worst because everything’s tiny and fiddly and you never have the access you need.
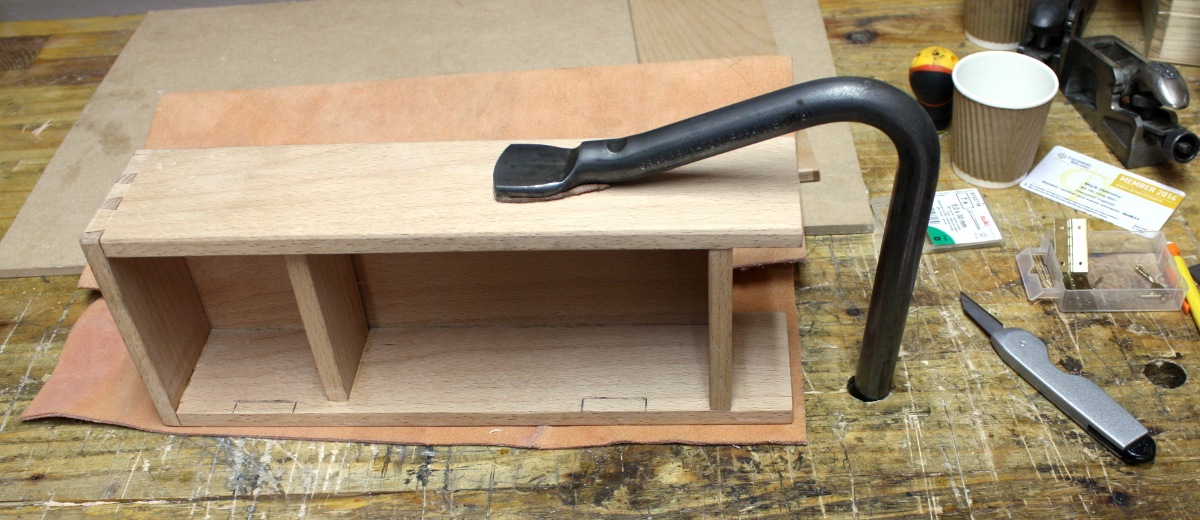
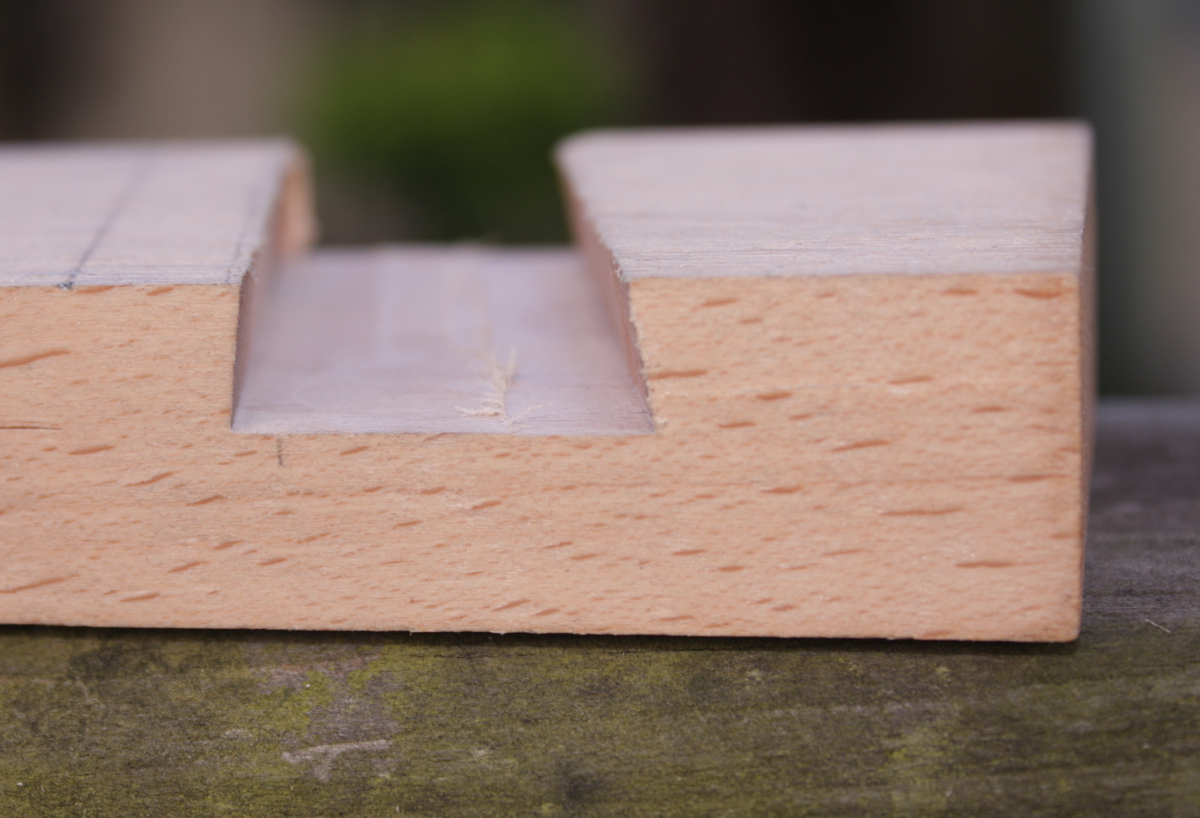
So, we cut the mortices. Very shallow ones at least, so much so that the cuts can get done using the marking knife this time. And the #722 router helps to actually cut out the waste.
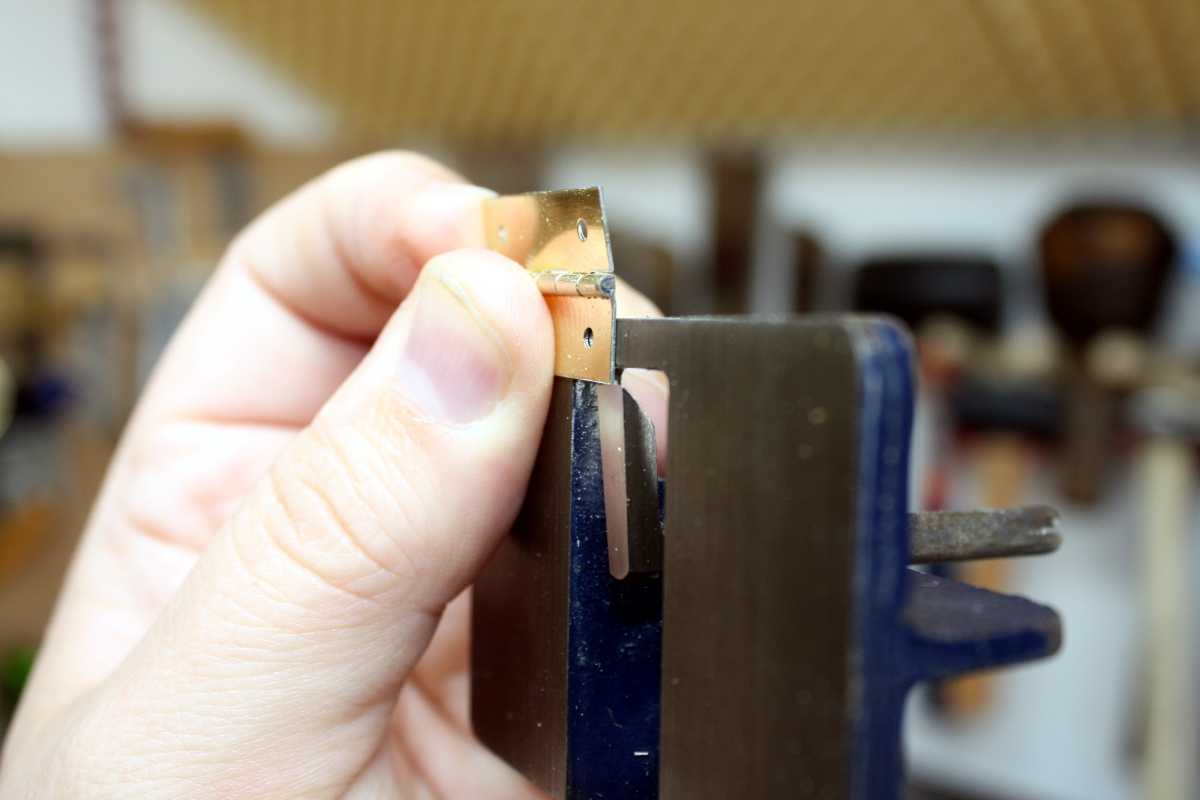
Really thin material…
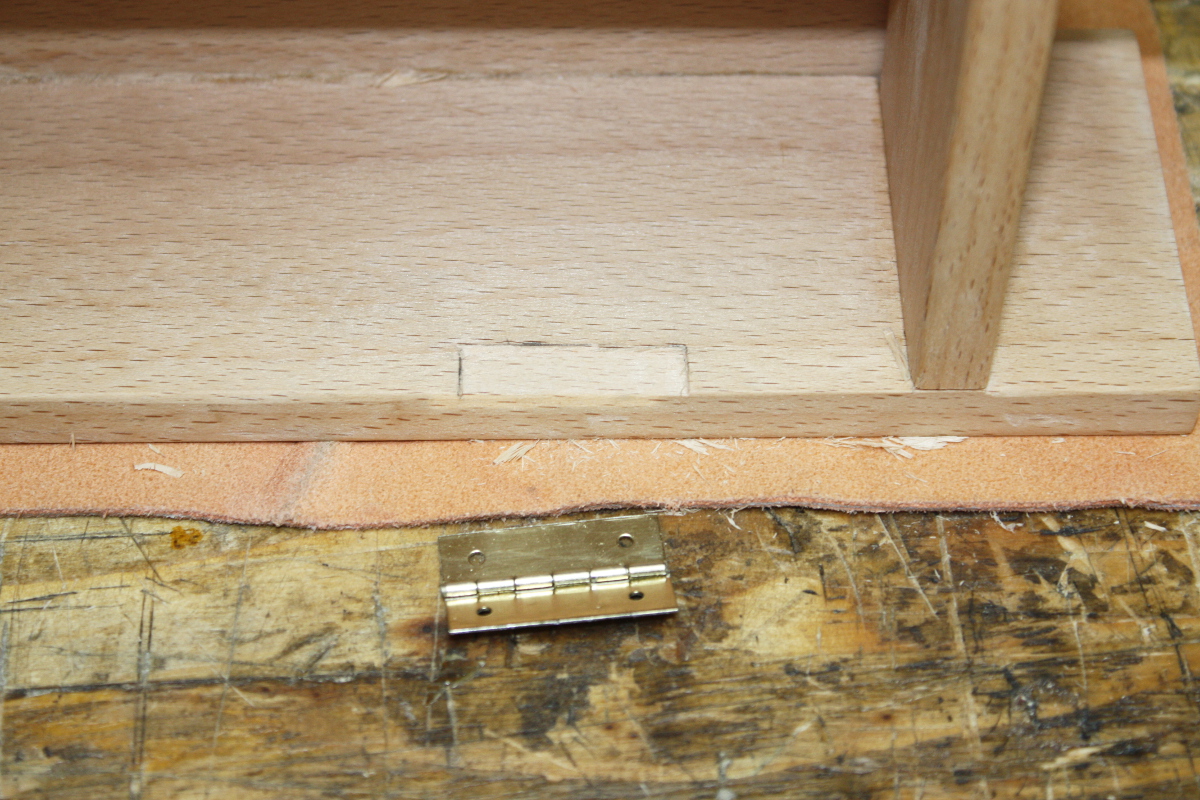
It barely looks like anything’s been taken off, but no, that’s cut…
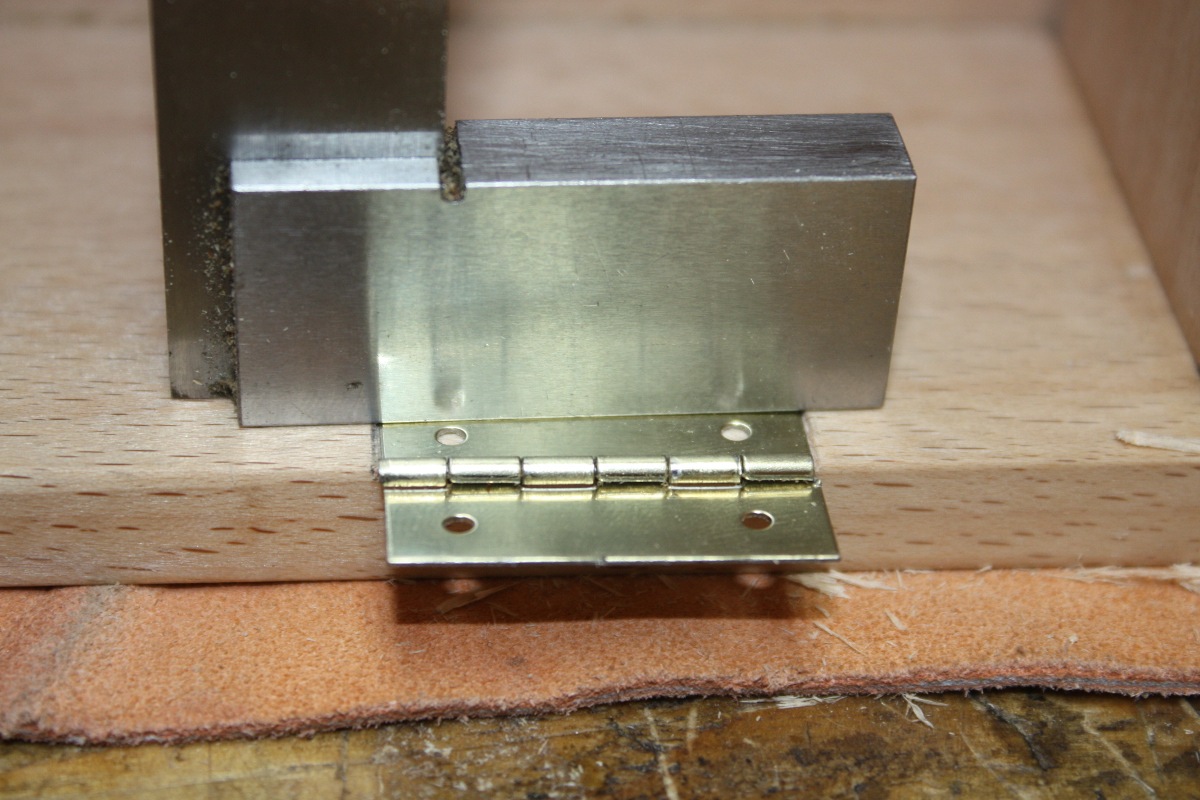
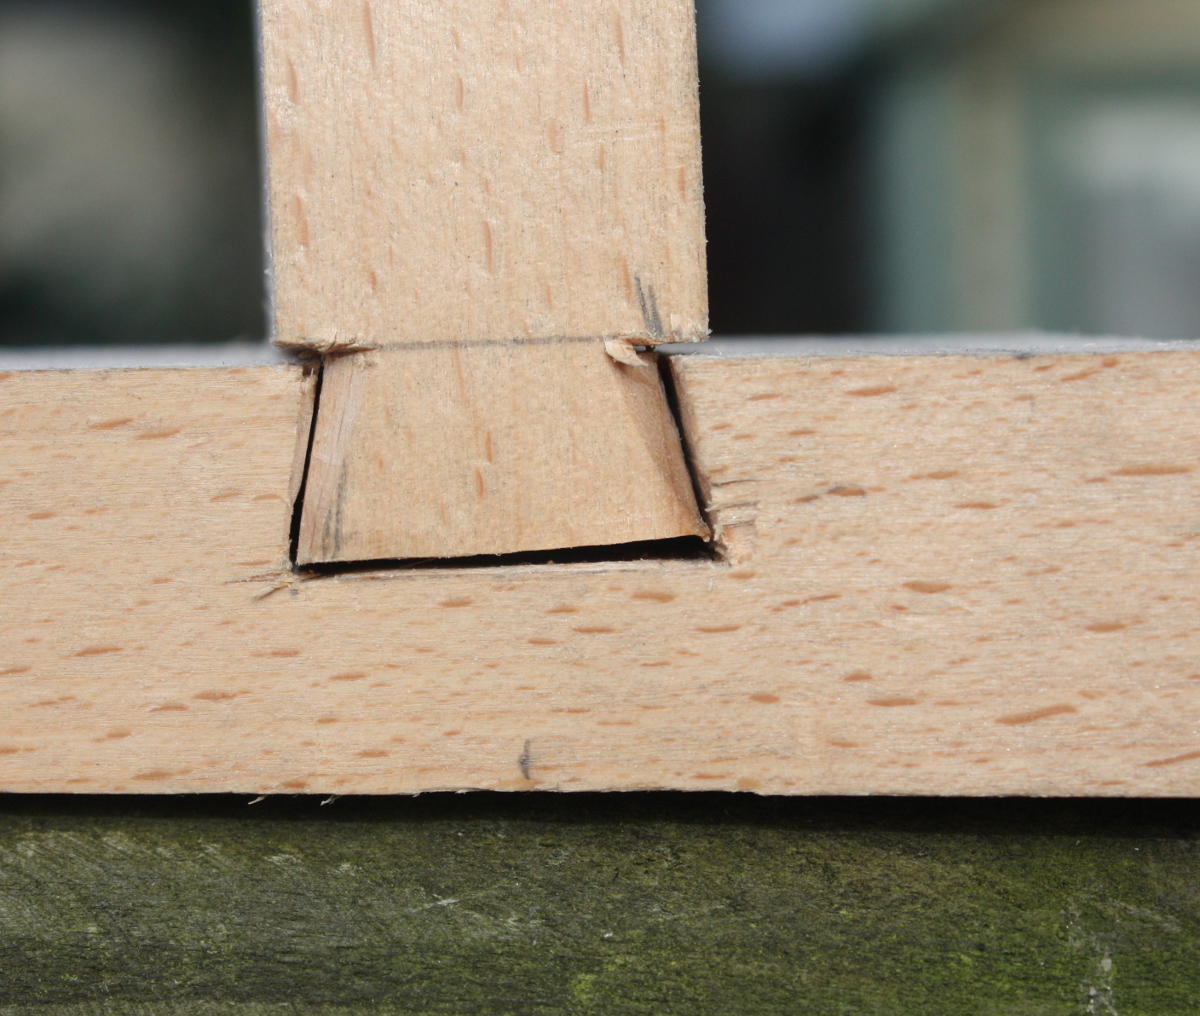
It’s even flush properly.
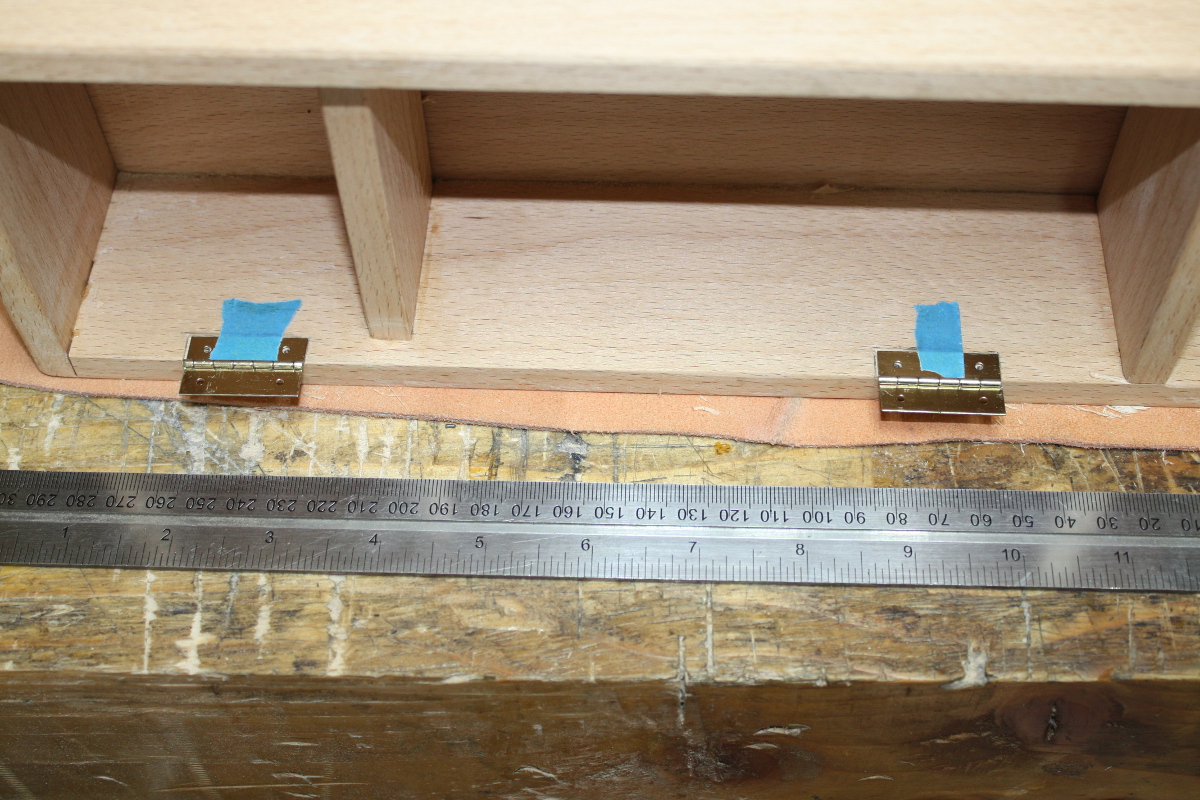
Making sure the barrels of the hinges are aligned with a straight-edge is fiddly unless you have six hands.
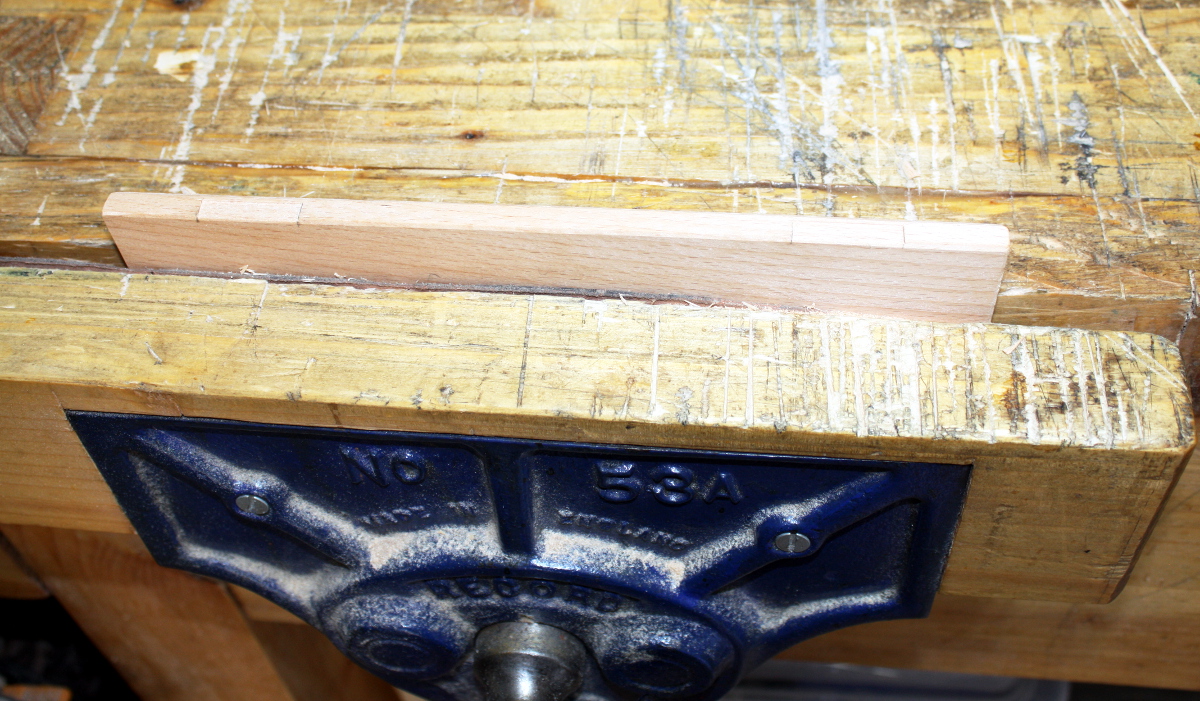
And then cut out the mortices for the door hinge mounts.
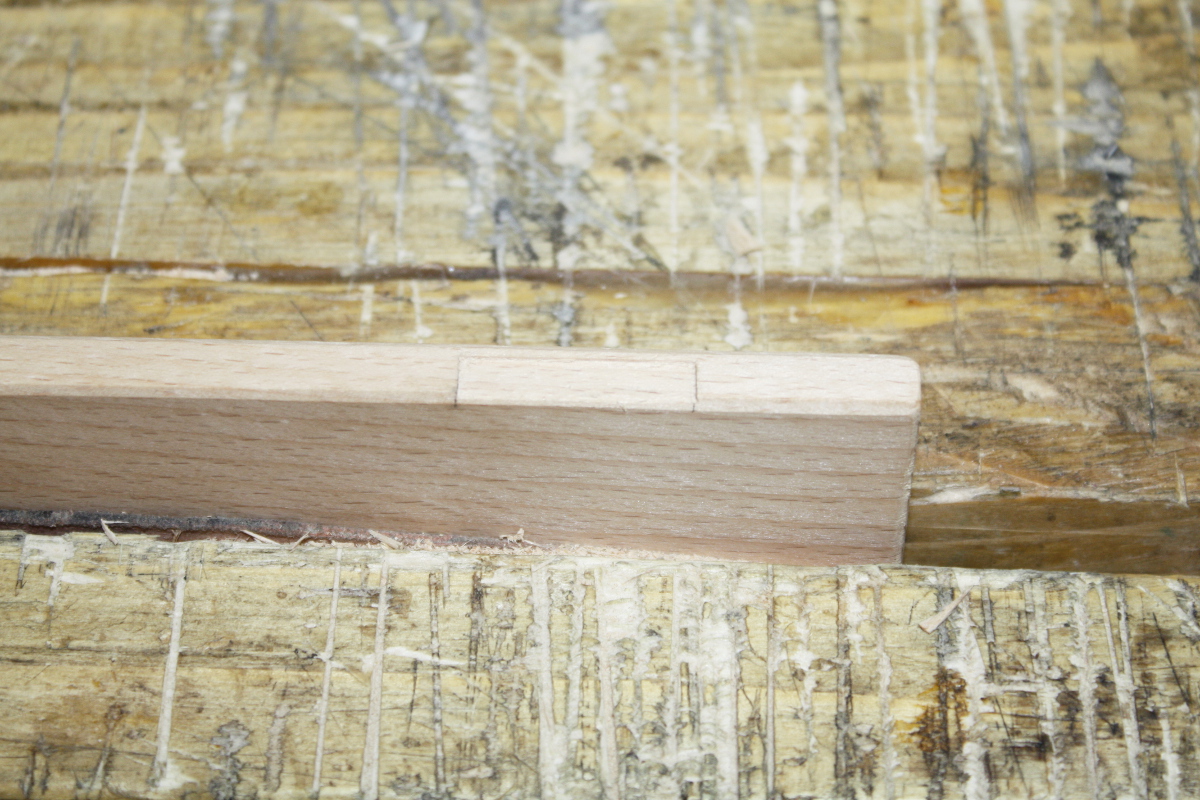
Okay, that’s fine. And that’s the last of the work, I don’t want to do the finishing when the door’s attached.
So next…
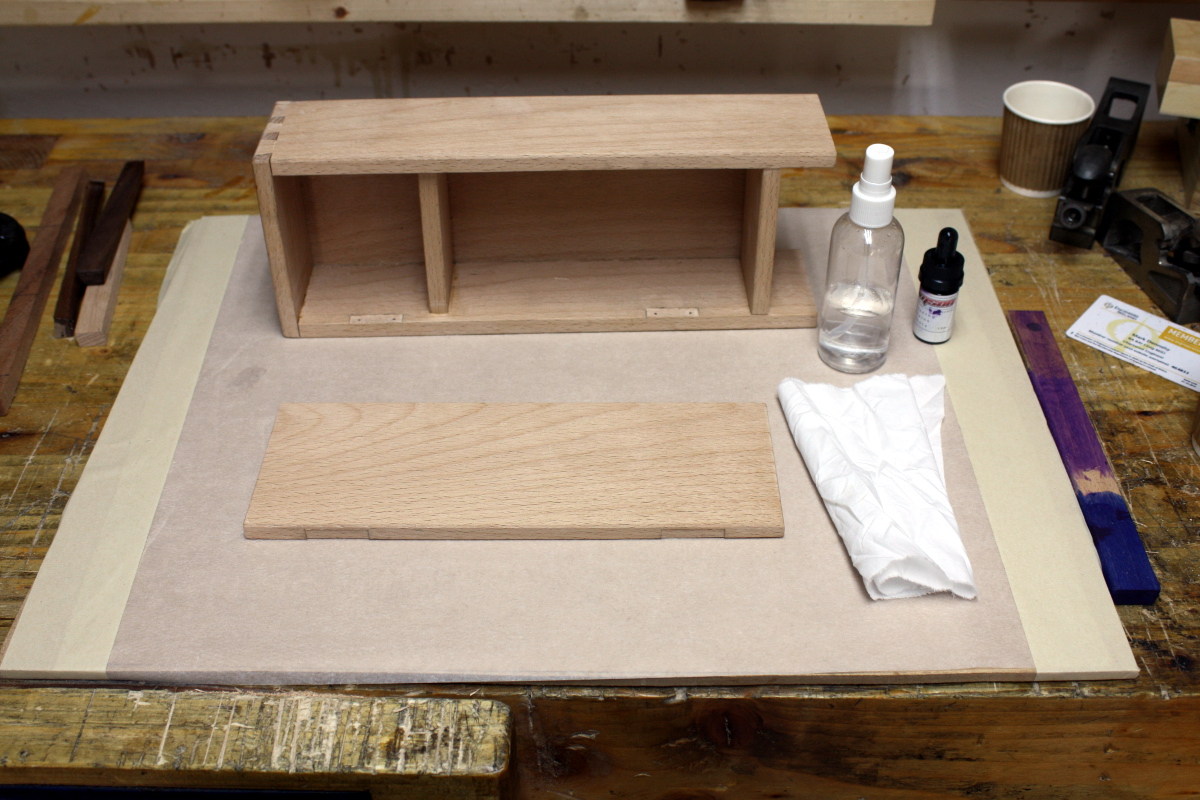
The lady wants purple, so out with the crimson guitar’s stains, a cloth and some water in a spritz bottle…
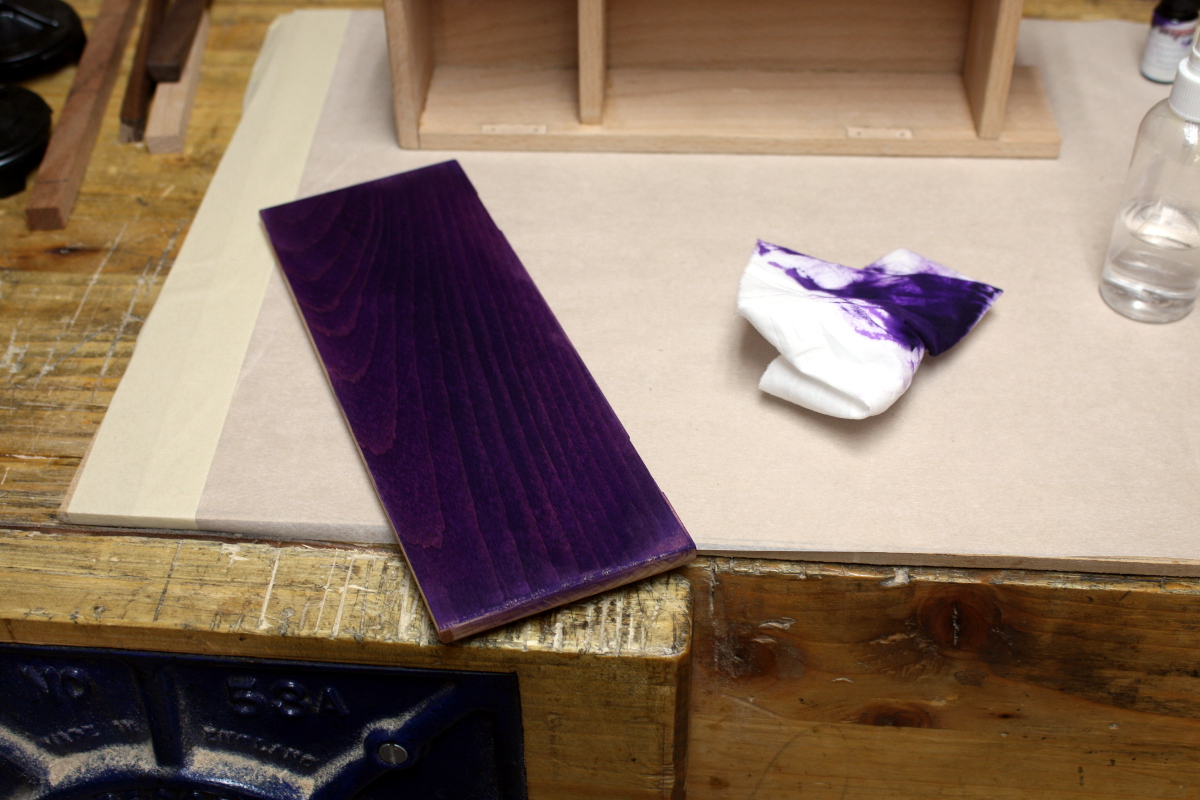
Not bad. Trick seems to be to ignore being economical with the stuff, put a drop or two on the cloth directly from the dropper, spritz that a few times with the water, then spritz the wood once, rub it in, then spritz the cloth again and rub again and repeat until the colour is reasonably even.
And maybe I should have sanded the surface back instead of the usual planed finish I have.
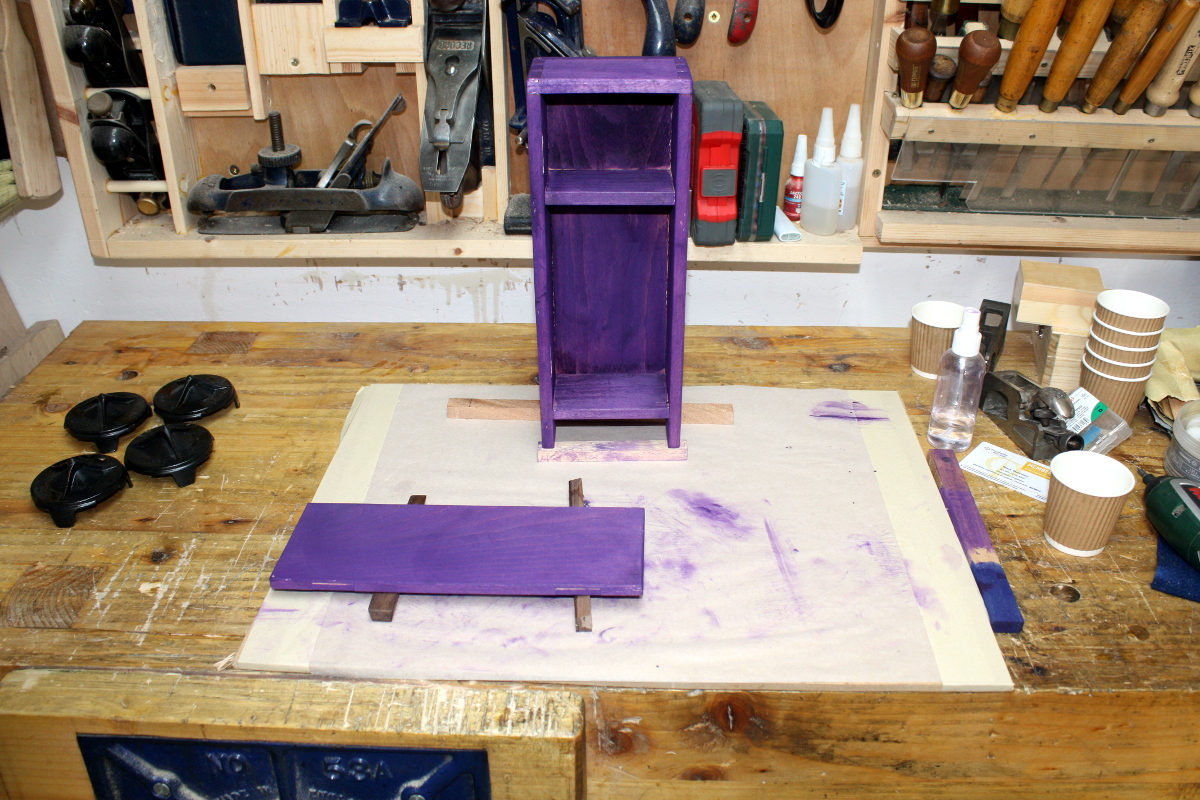
It dries much, much lighter than you’d think, but even a spriz with water darkens it back up again. So a top coat is needed (is it really a top coat?) and it’s a toy so it’ll take a few knocks. But I’m out of wipe-on poly, so out with the high gloss lacquer and I happen to have a half-can of this stuff left…
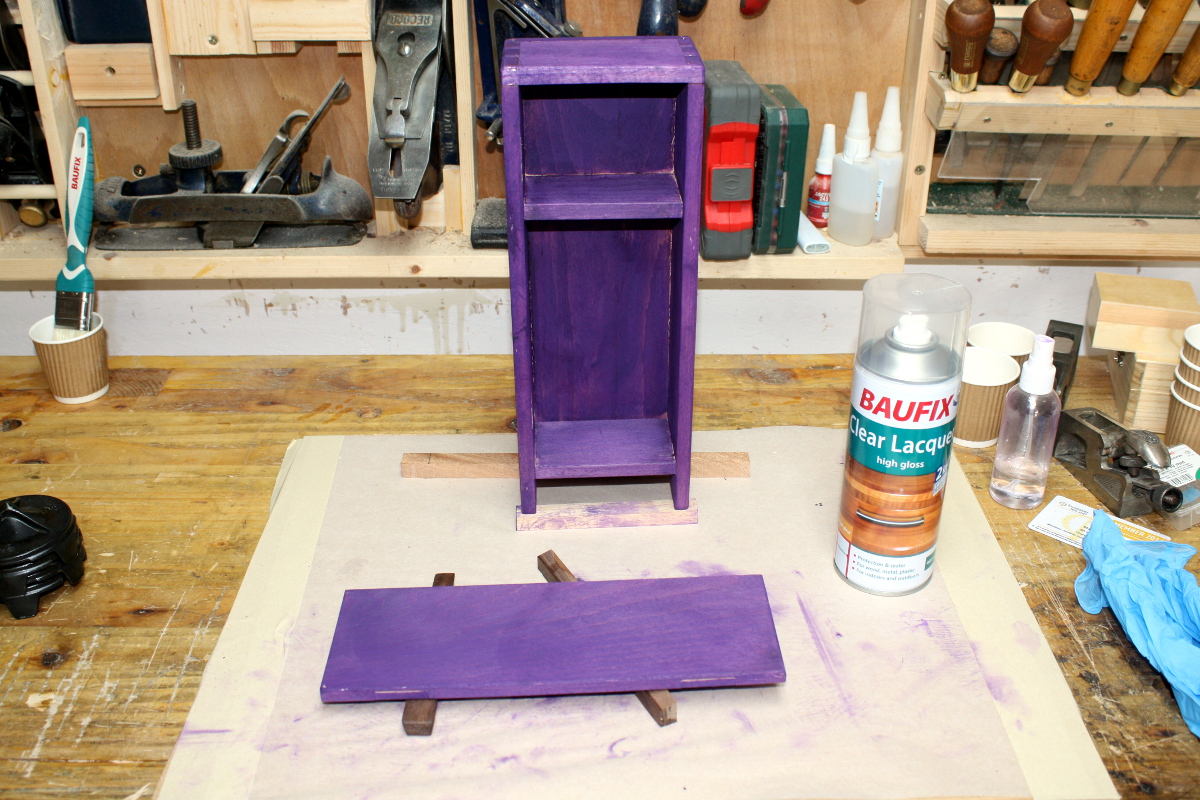
Mind you, the shed is little. Which means not much air. Ever inhaled spray-on lacquer in a confined space? Don’t.
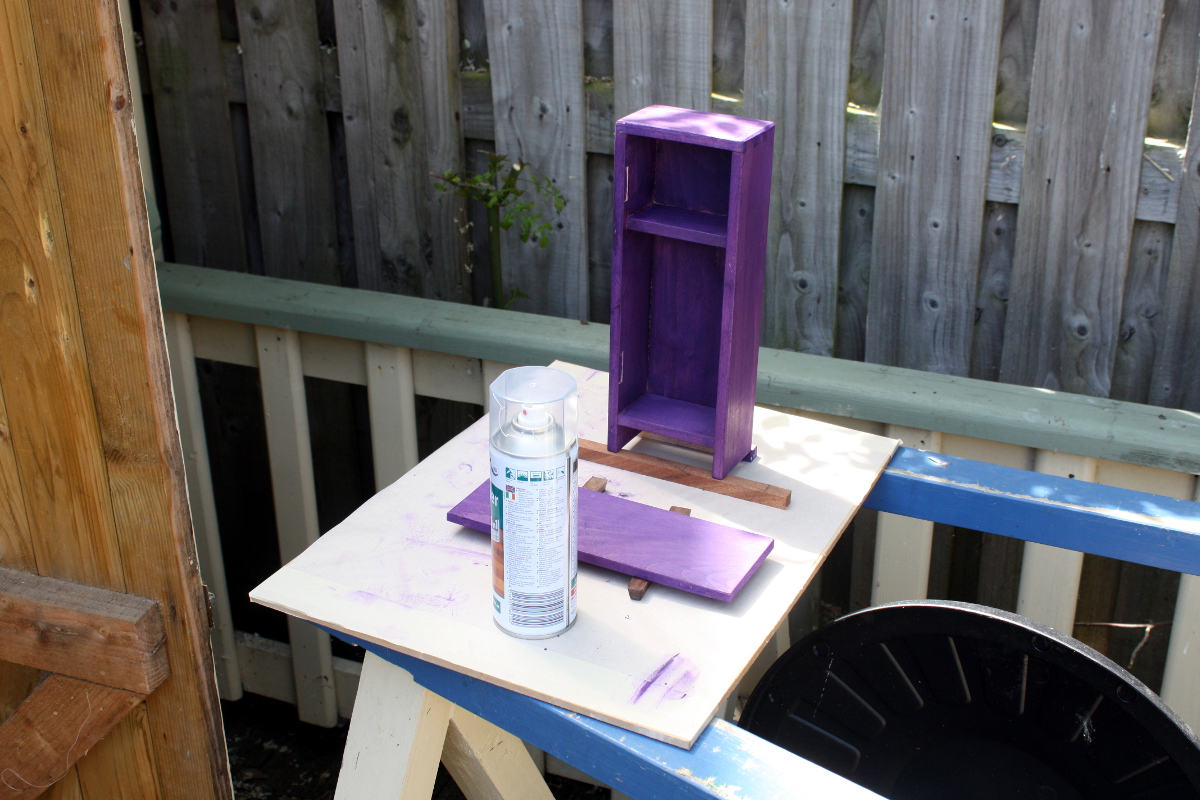
So outdoors we go, and on goes the first coat while I’m wearing a respirator. I wonder what the neighbours think sometimes, but if the choice is looking funny in my back yard or looking funny while being treated for lung cancer or respiratory distress in A&E…
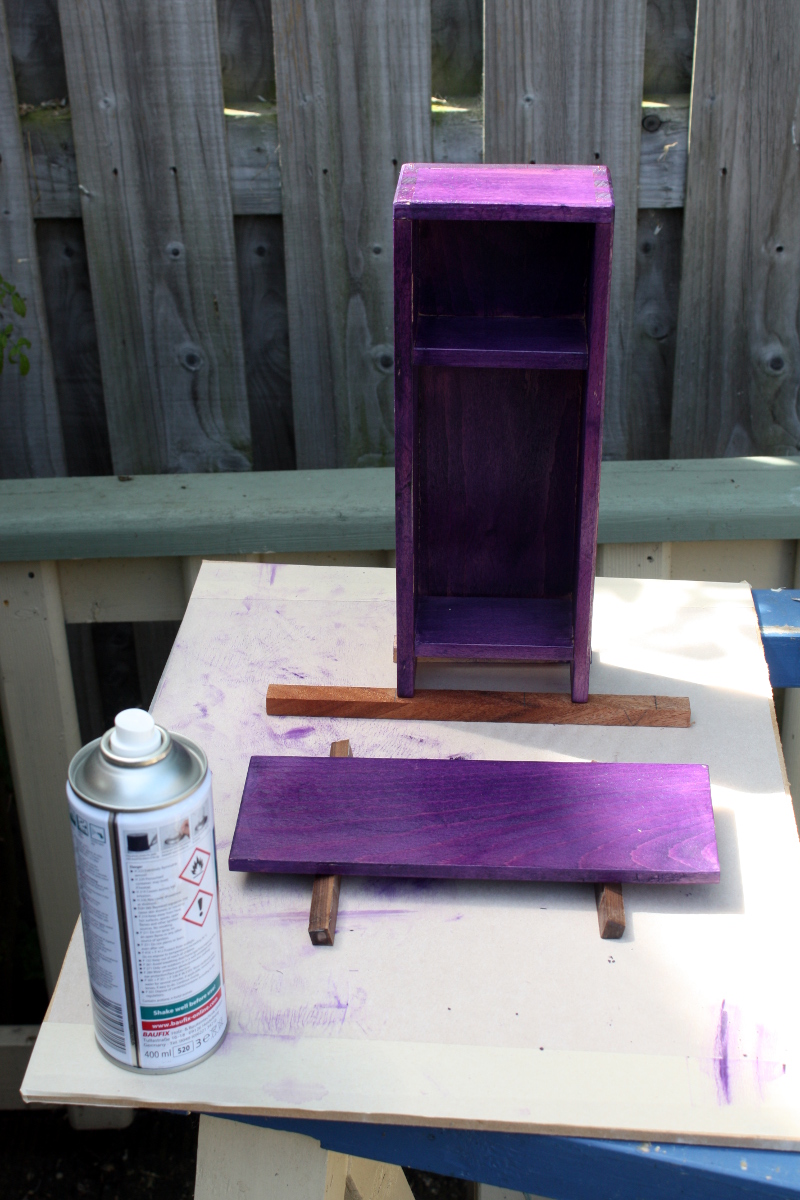
First coat is a bit subtle but I put on three coats (ten minutes drying between each) and brought it back into the shed to dry so leaves wouldn’t fall on it or something…
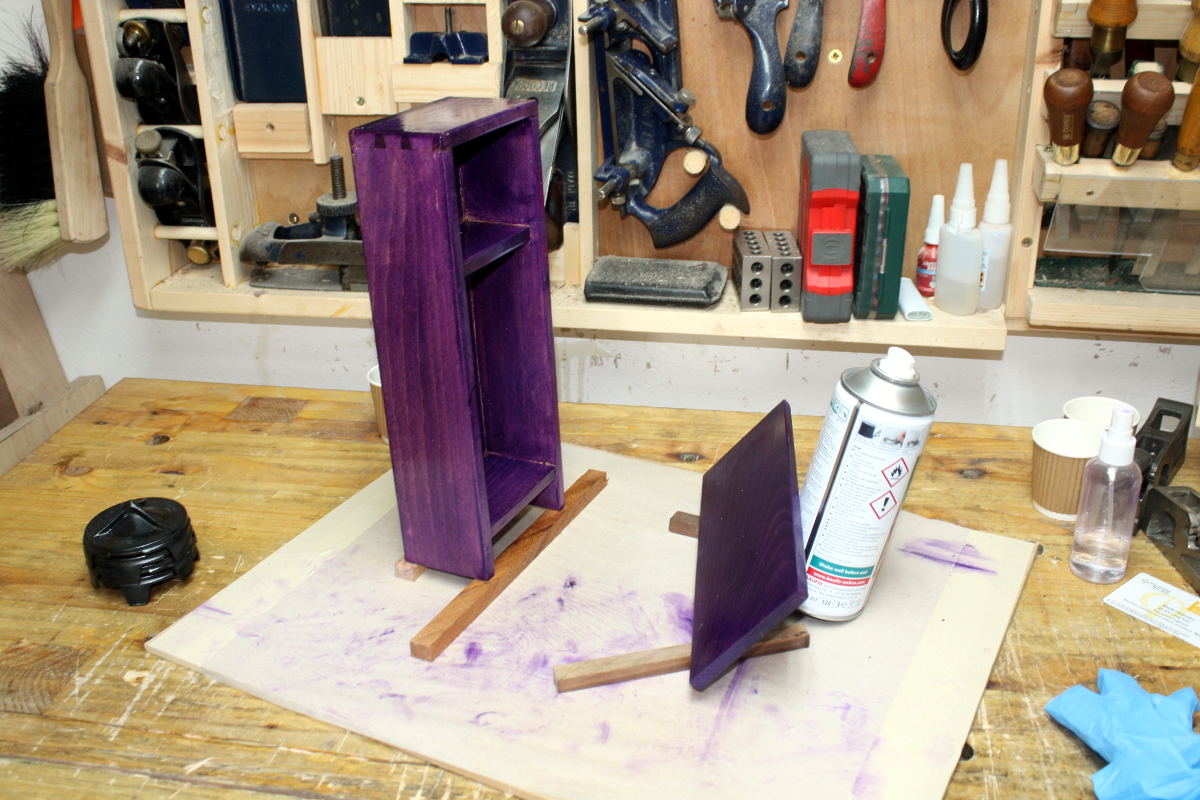
It’s not too bad with the lacquer on, it darkens the purple nicely.
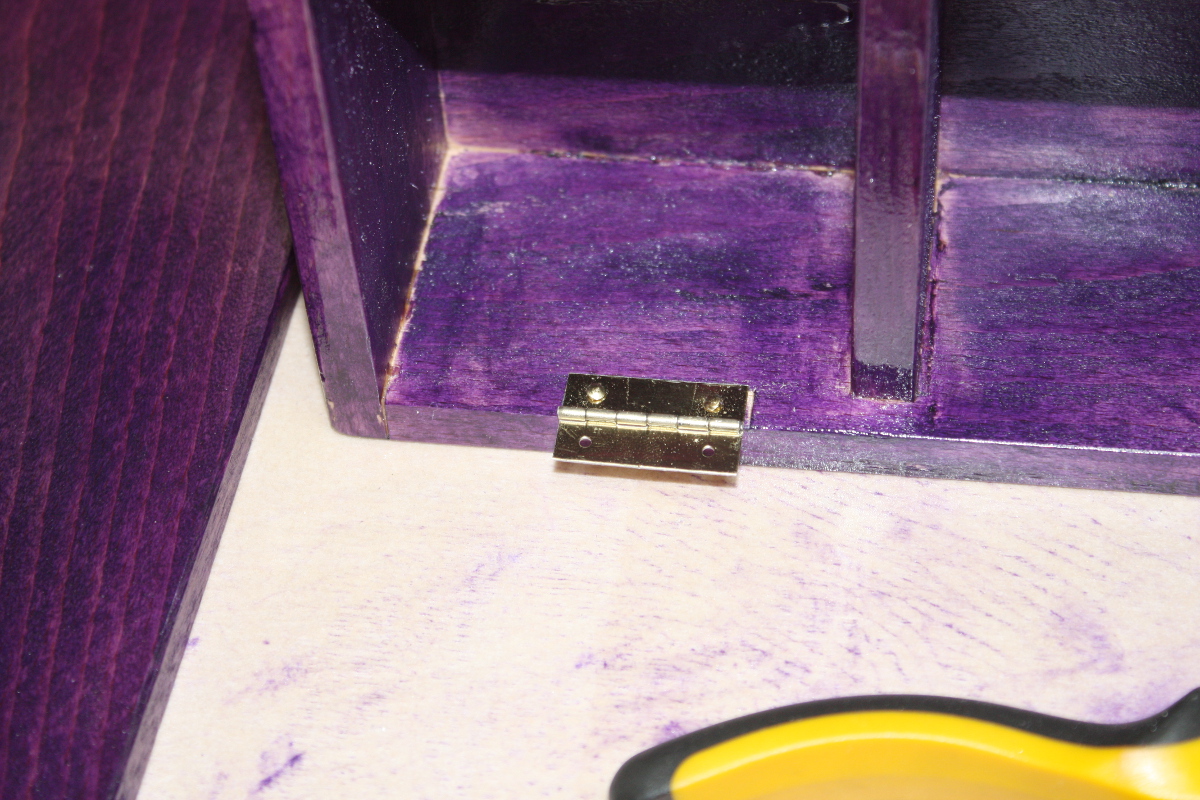
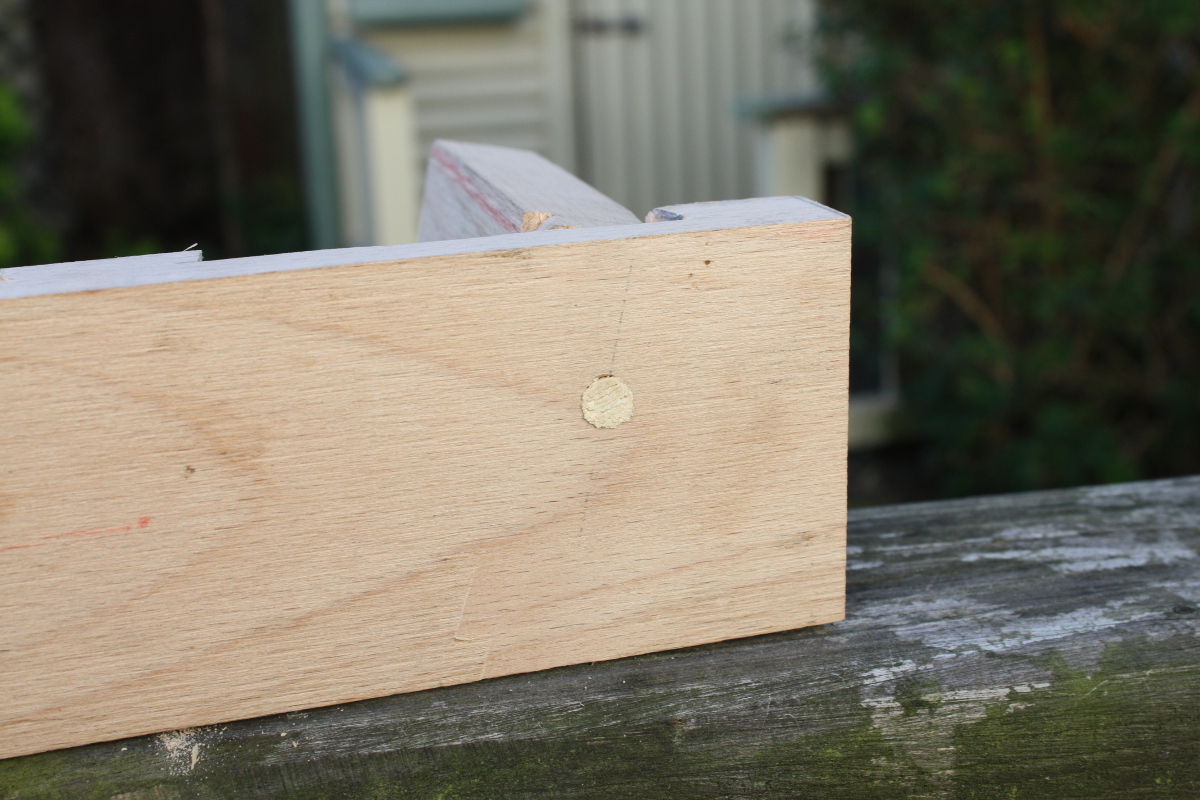
Next morning, time for hinges to get attached. Been dreading this. That photo took a half hour of fiddling about with hammers, needlenose pliers, nailsets and best yet, cutting nails down in size – the nails that came with the hinges were a good mm or so longer than the wood was thick, and since the spikey look isn’t on for toys, I cut 3mm off the overall length with a snips and then filed a new point on the nail with a diamond file (because the normal files were waaay too big to bite in properly)
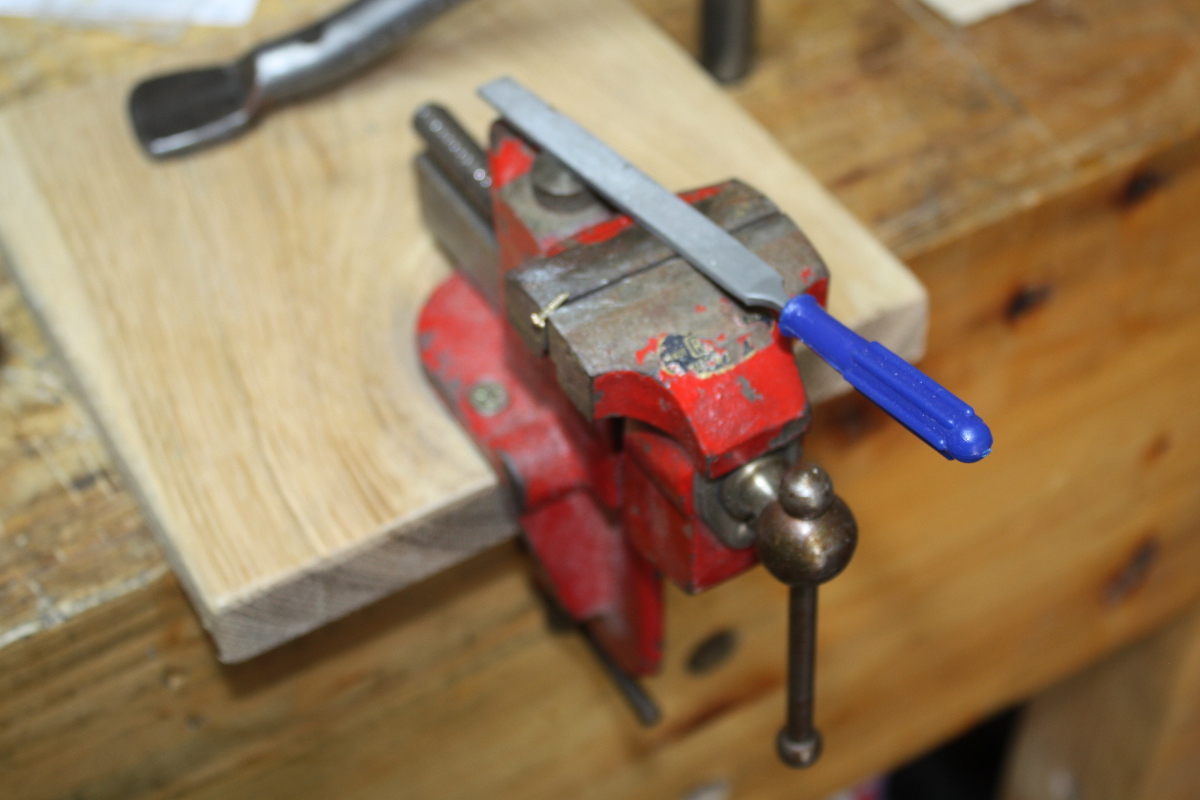
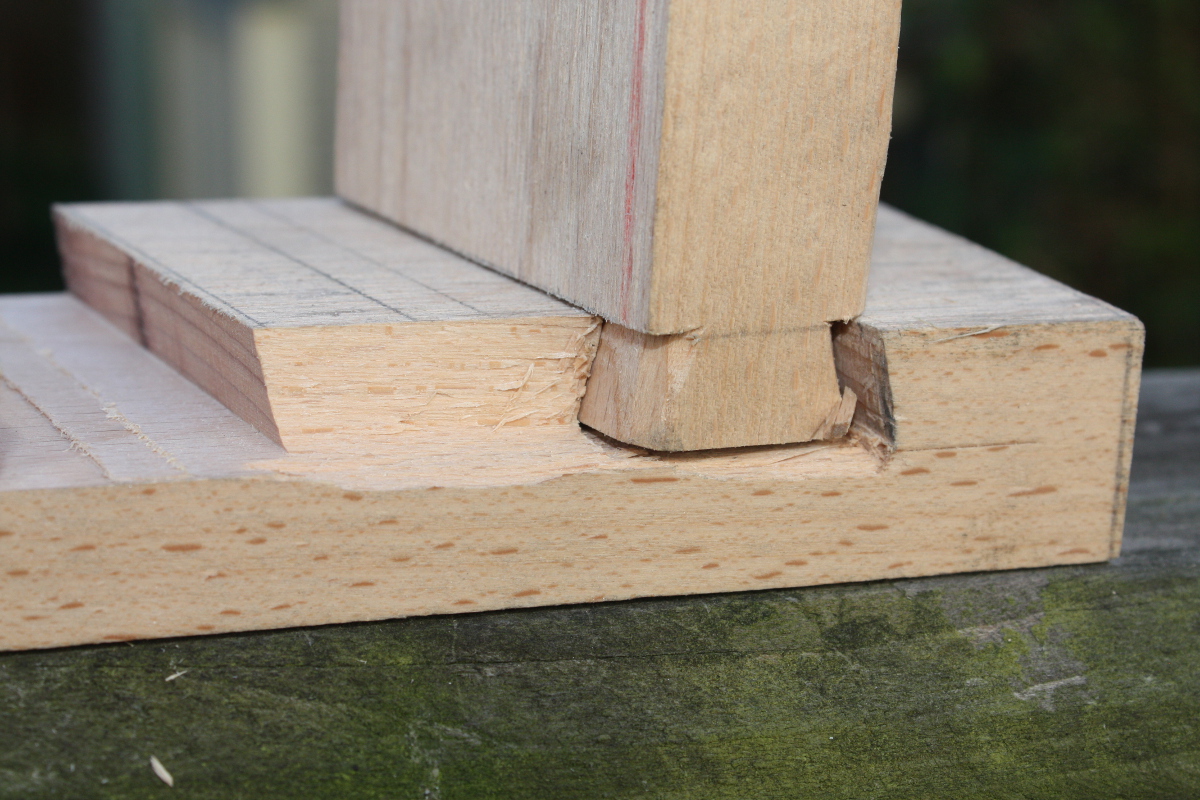
And then, after getting them all fitted, the door wouldn’t close. Couldn’t close. The hinges were too deep-set and the door didn’t have clearance on the shelf. So either I carved off a few mm from the shelf edge, exposing the end of the housing joint they were in and then trying to restain the edge to match the rest and re-lacquering it but I’m out of lacquer now so it’d be matt instead of gloss… or I redo the hinges.
I hate hinges.
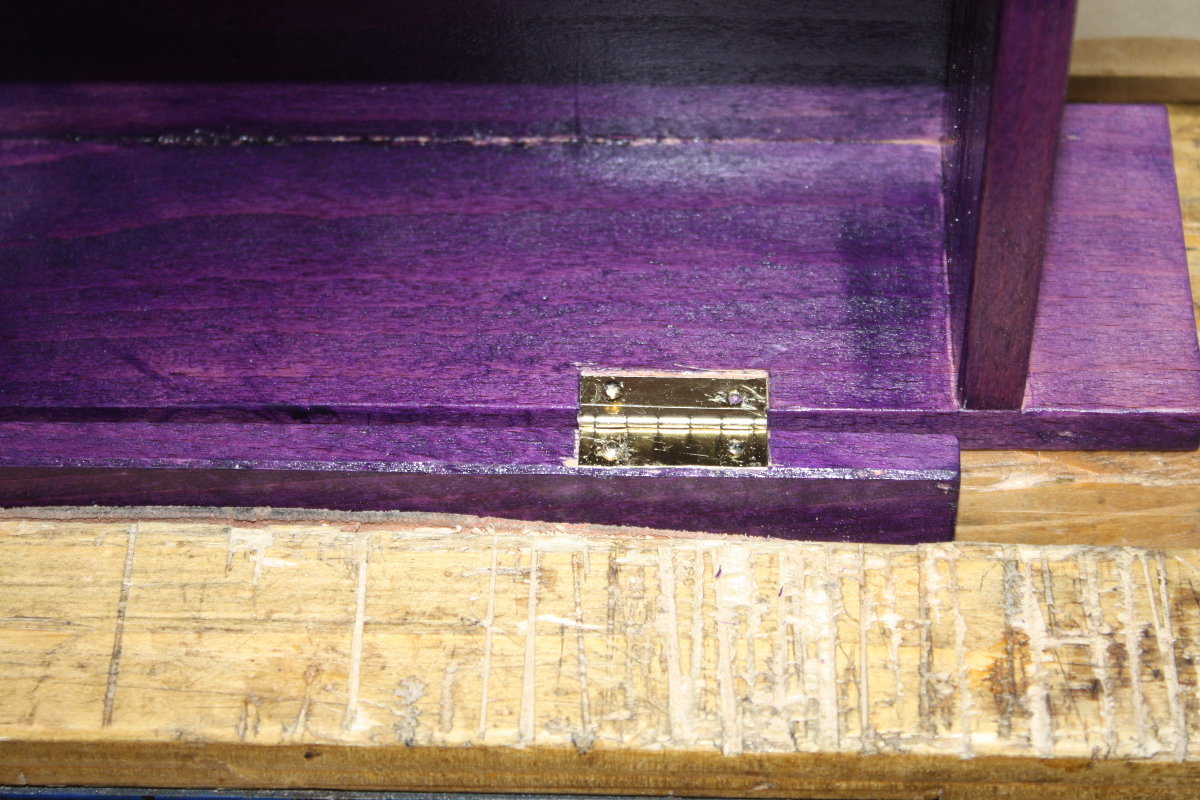
Take two. Now uncomfortably close to the front edge of the carcass. Note the alignment scratch on the hinge – something I forgot to do during take one. And the vice marred the door’s finish slightly. But…
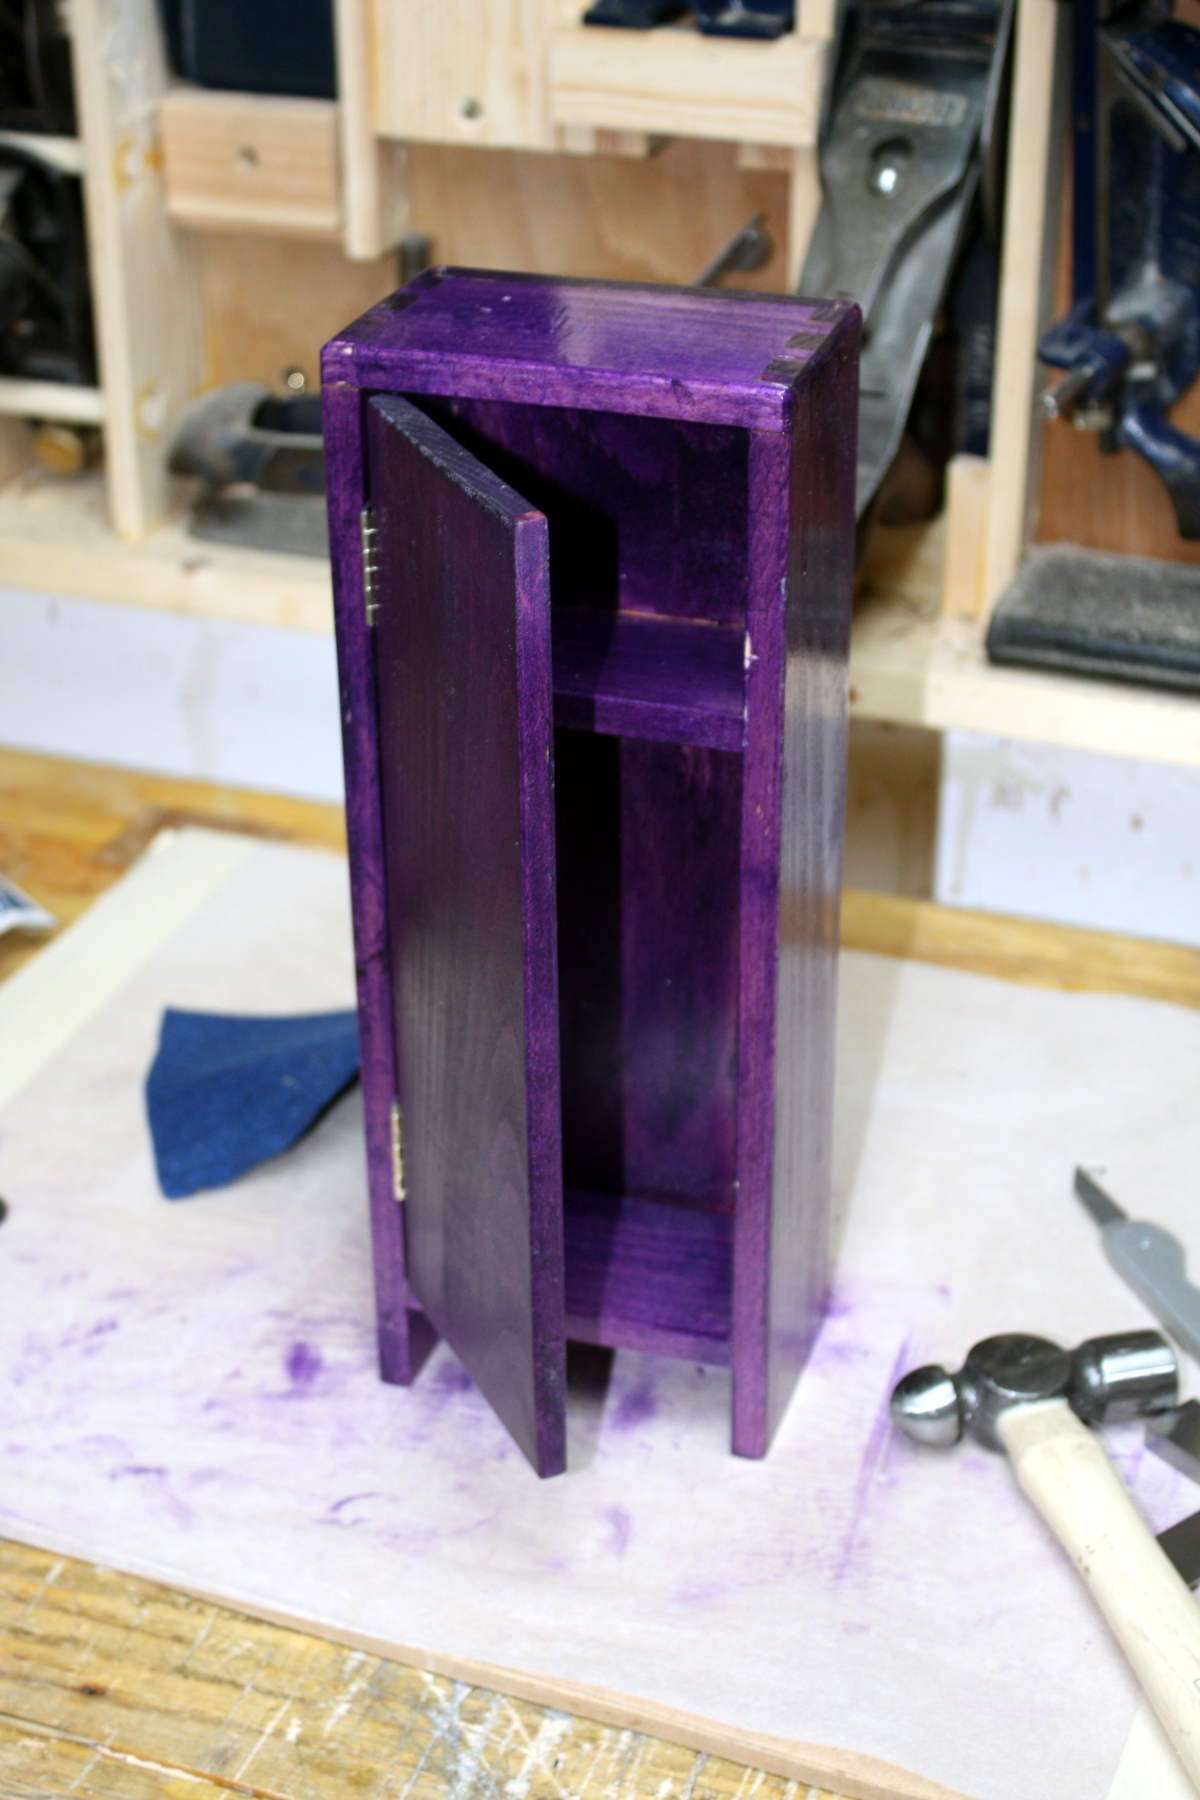
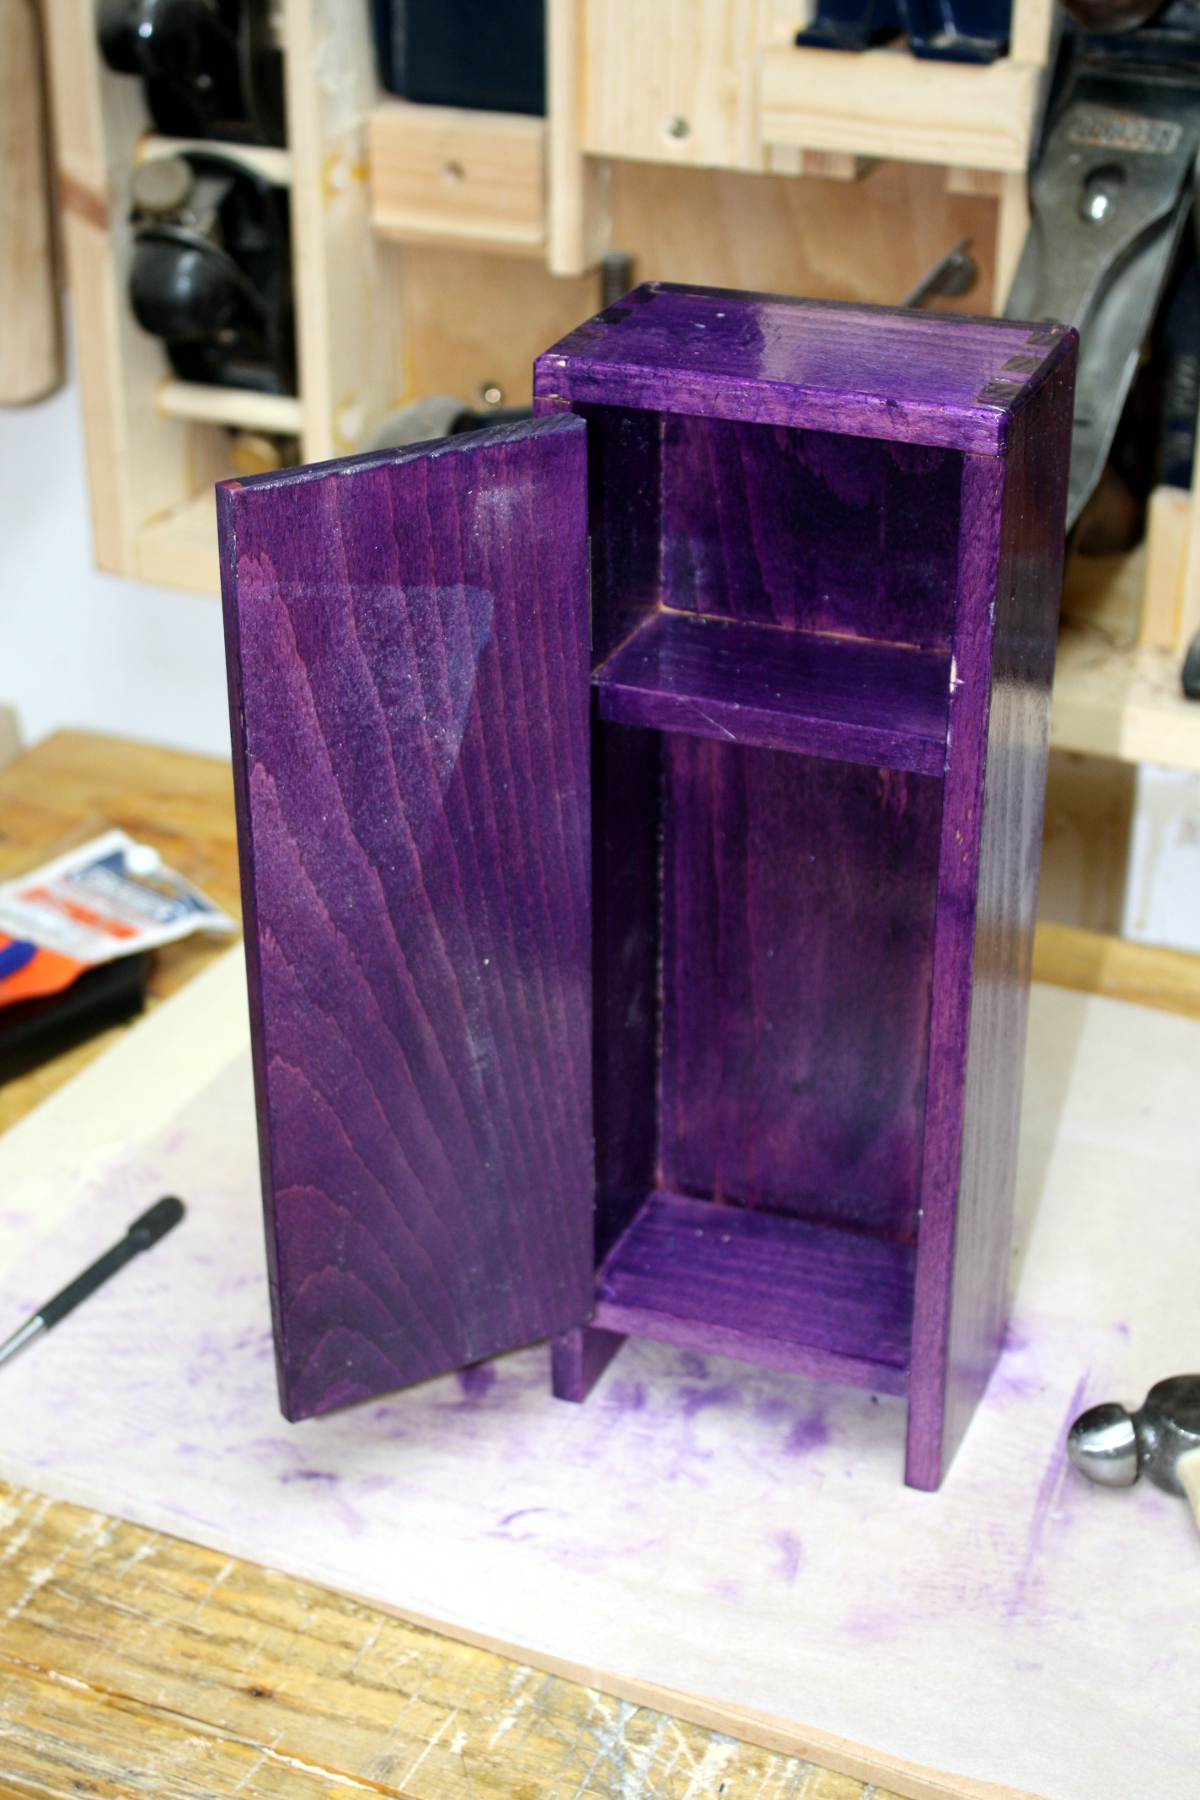
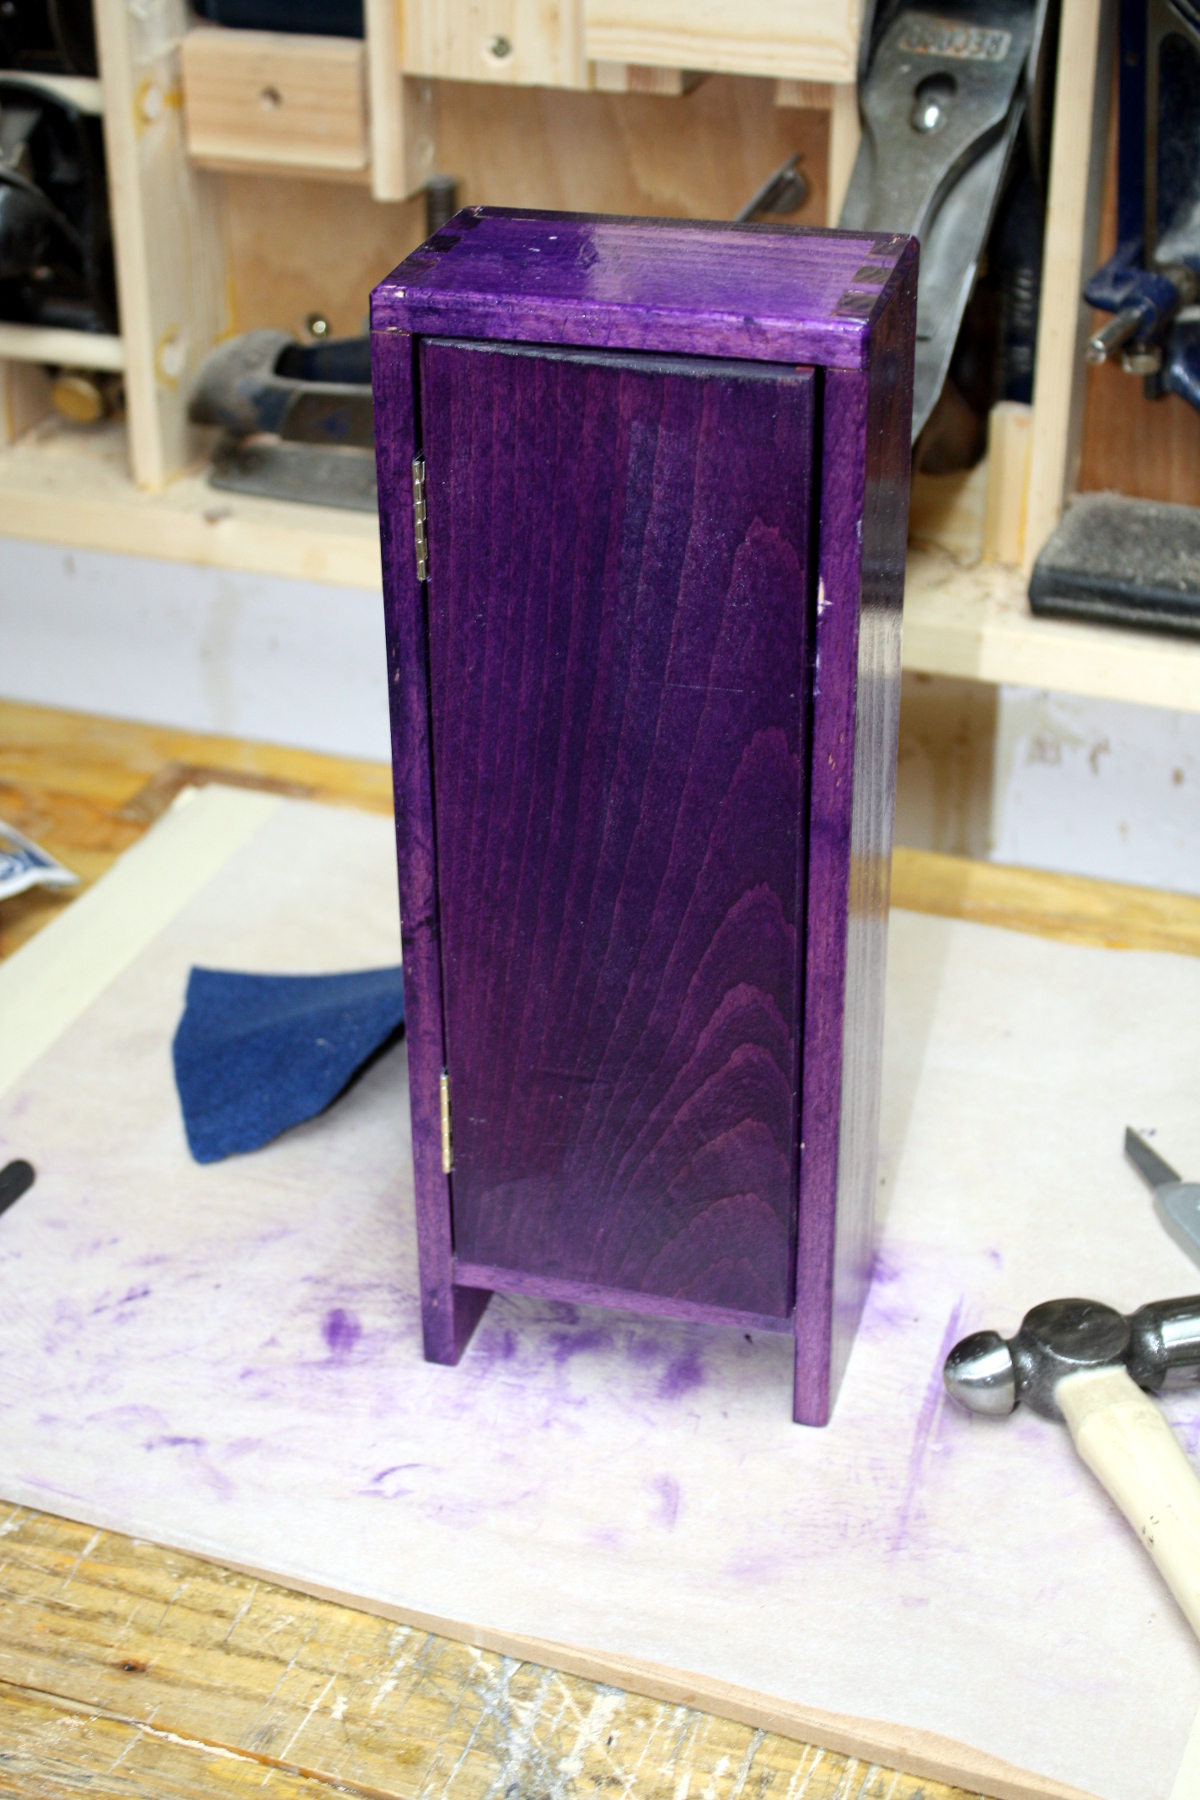
It opens and closes.
I hate hinges.
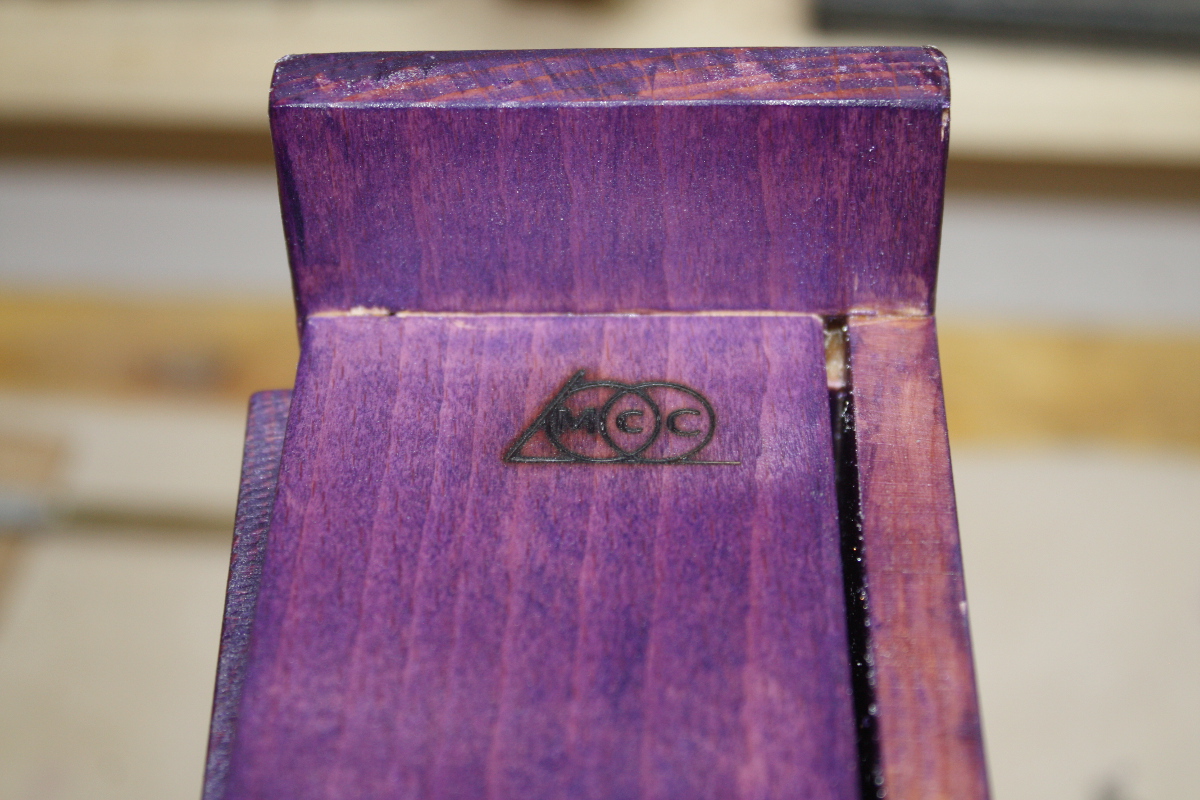
Anyway, it’s done, so fire up the branding iron…
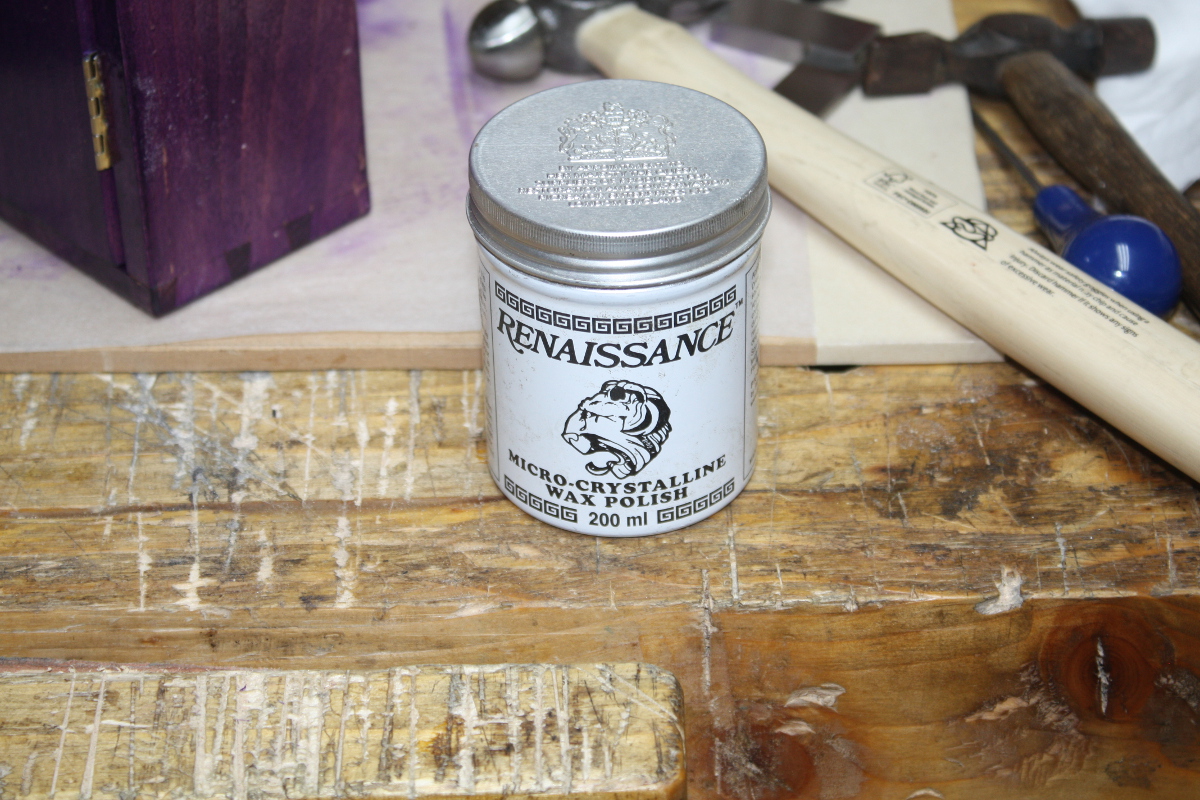
And out with some wax for a final polish…
And that’s it, all done. Time for the glamour shots…
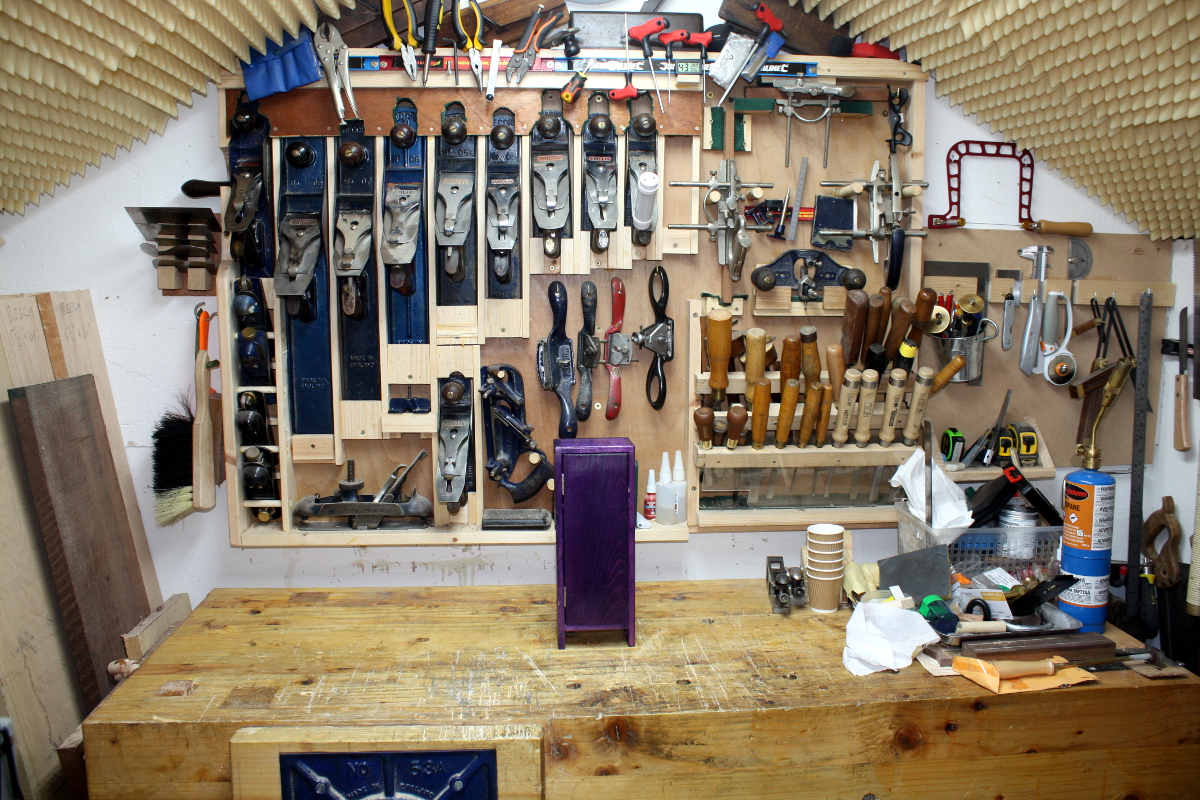
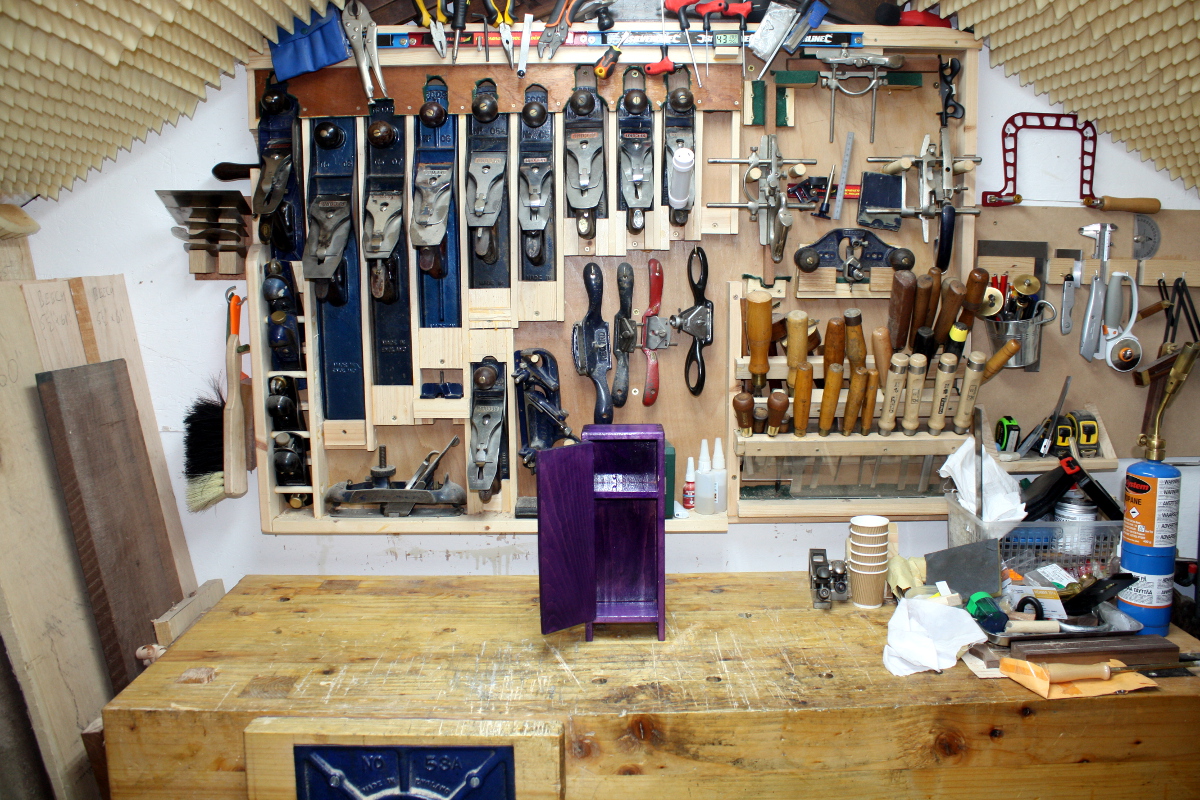
Time for some close-ups…
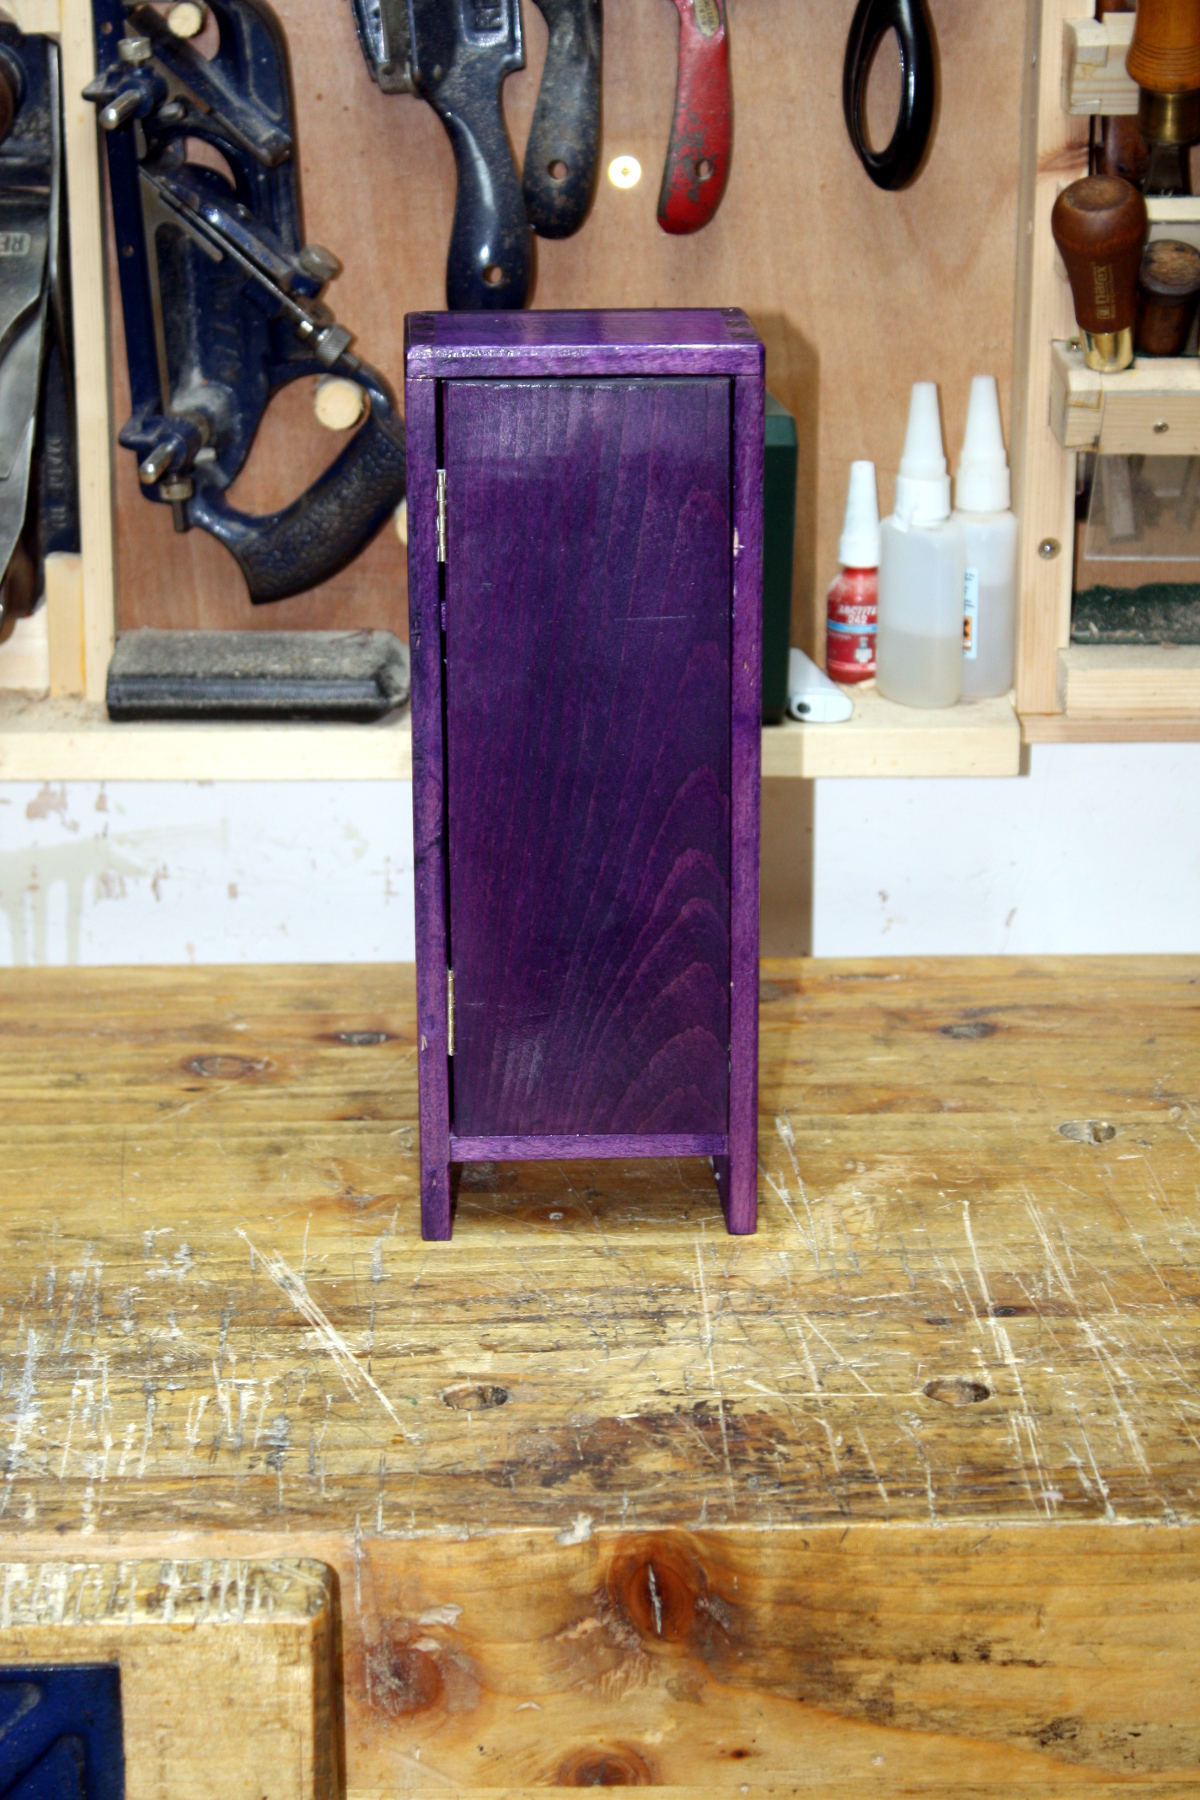
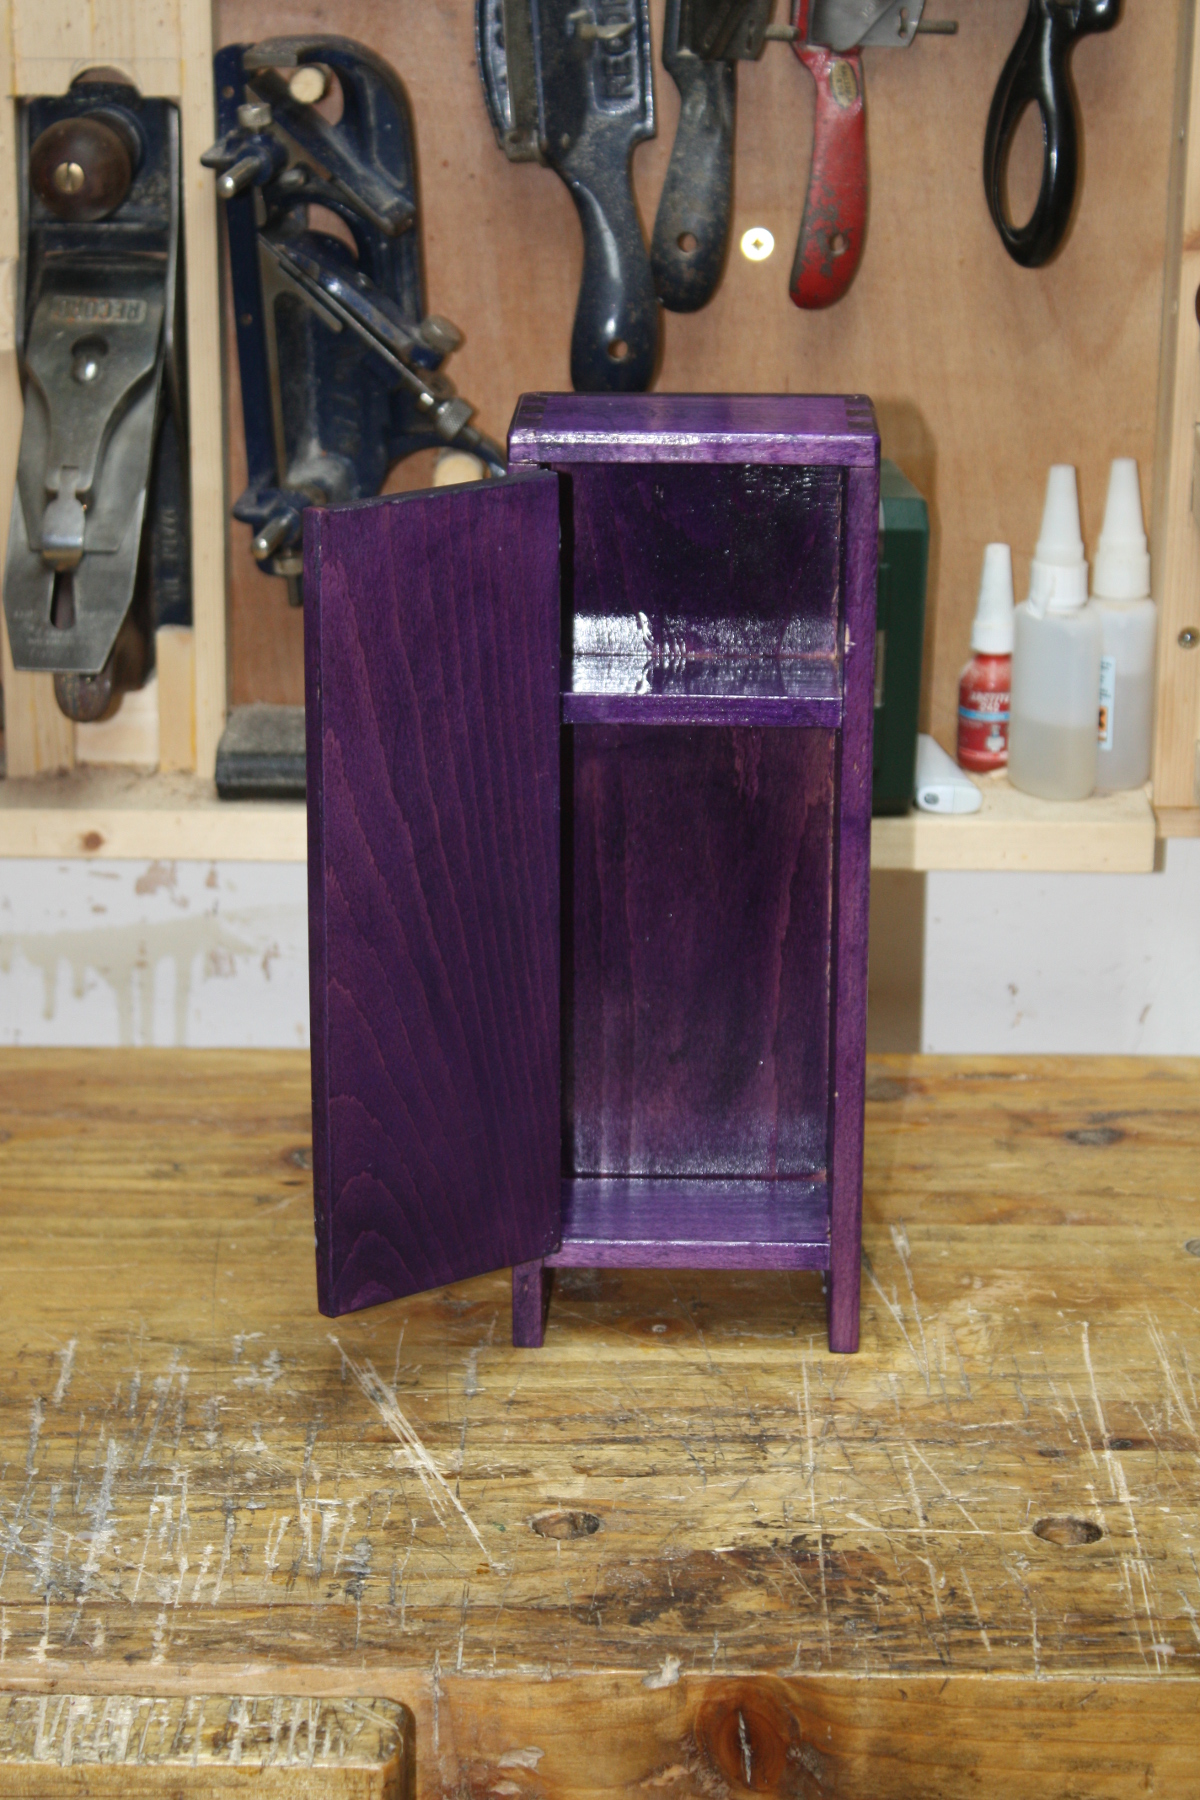
And some outdoors because it’s sunny…
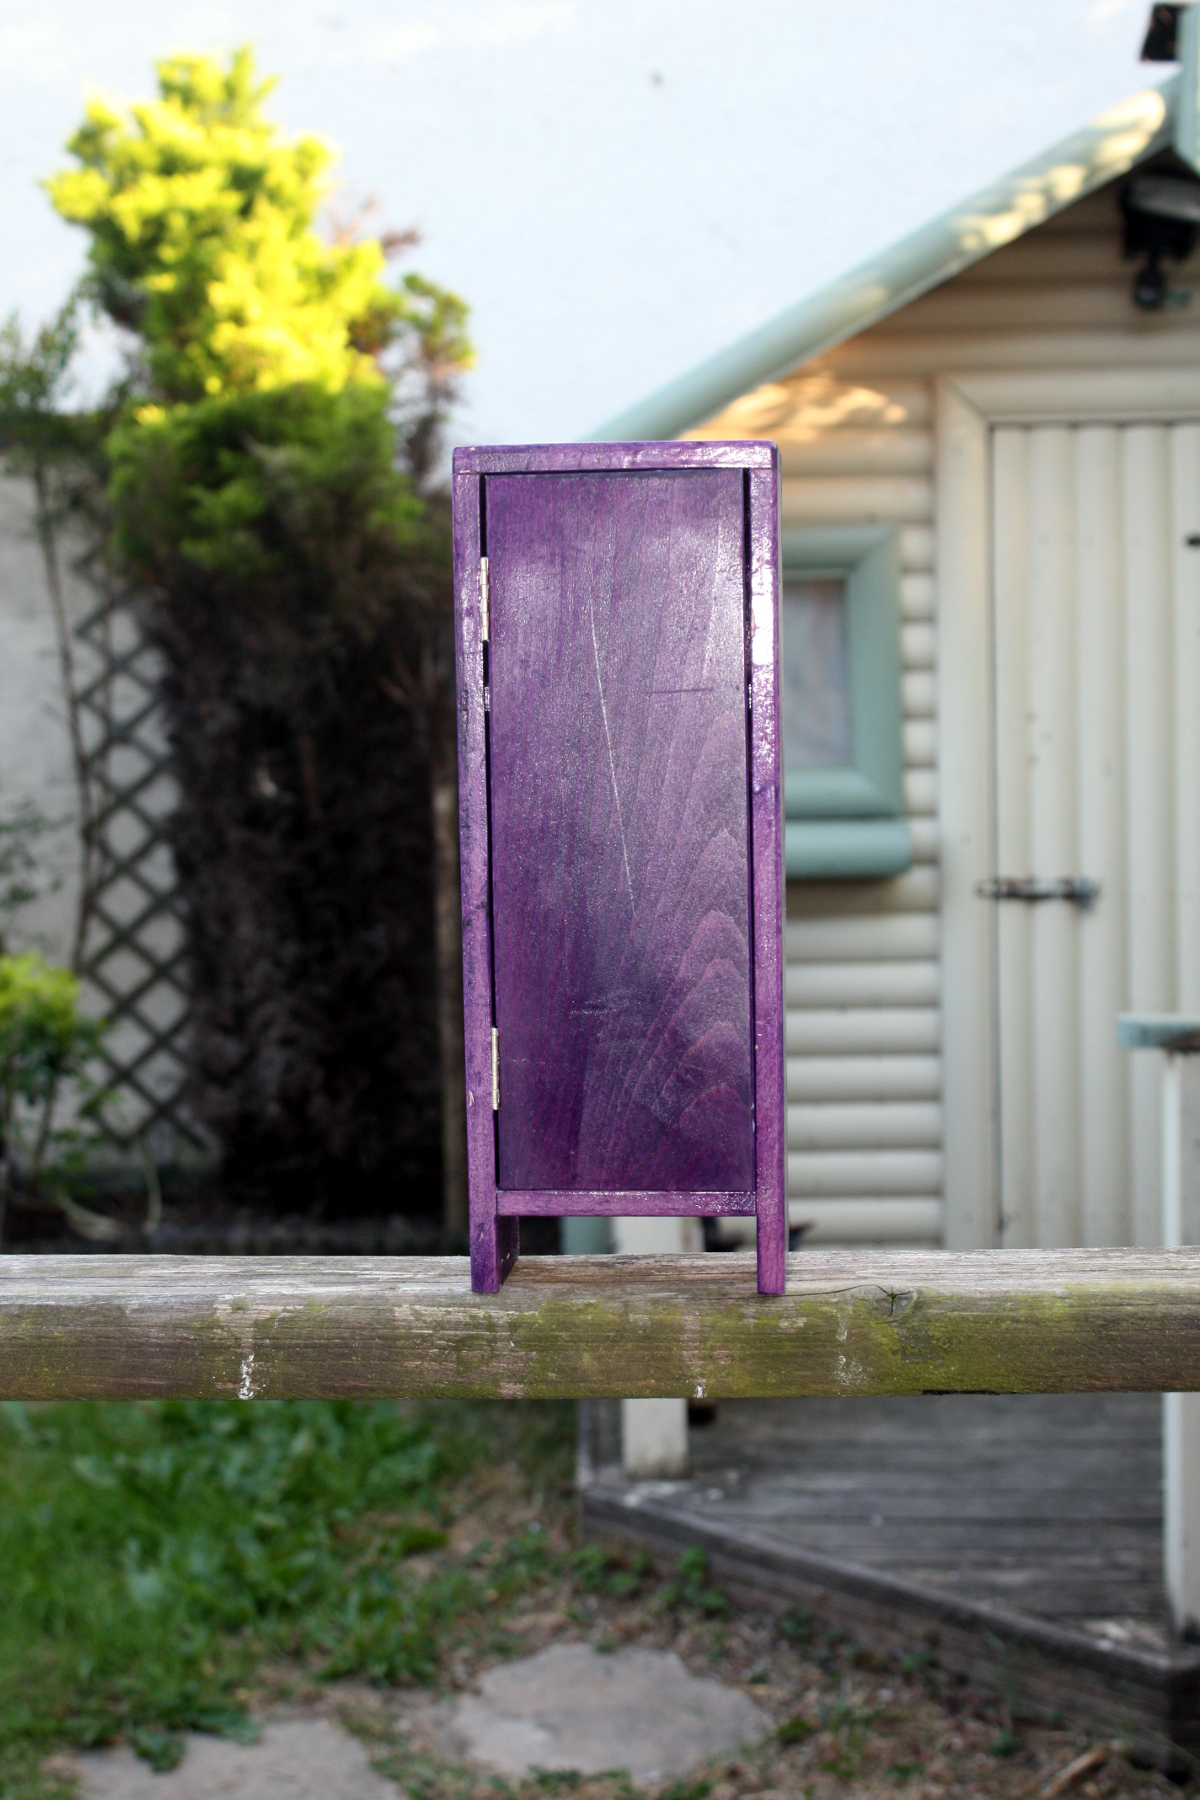
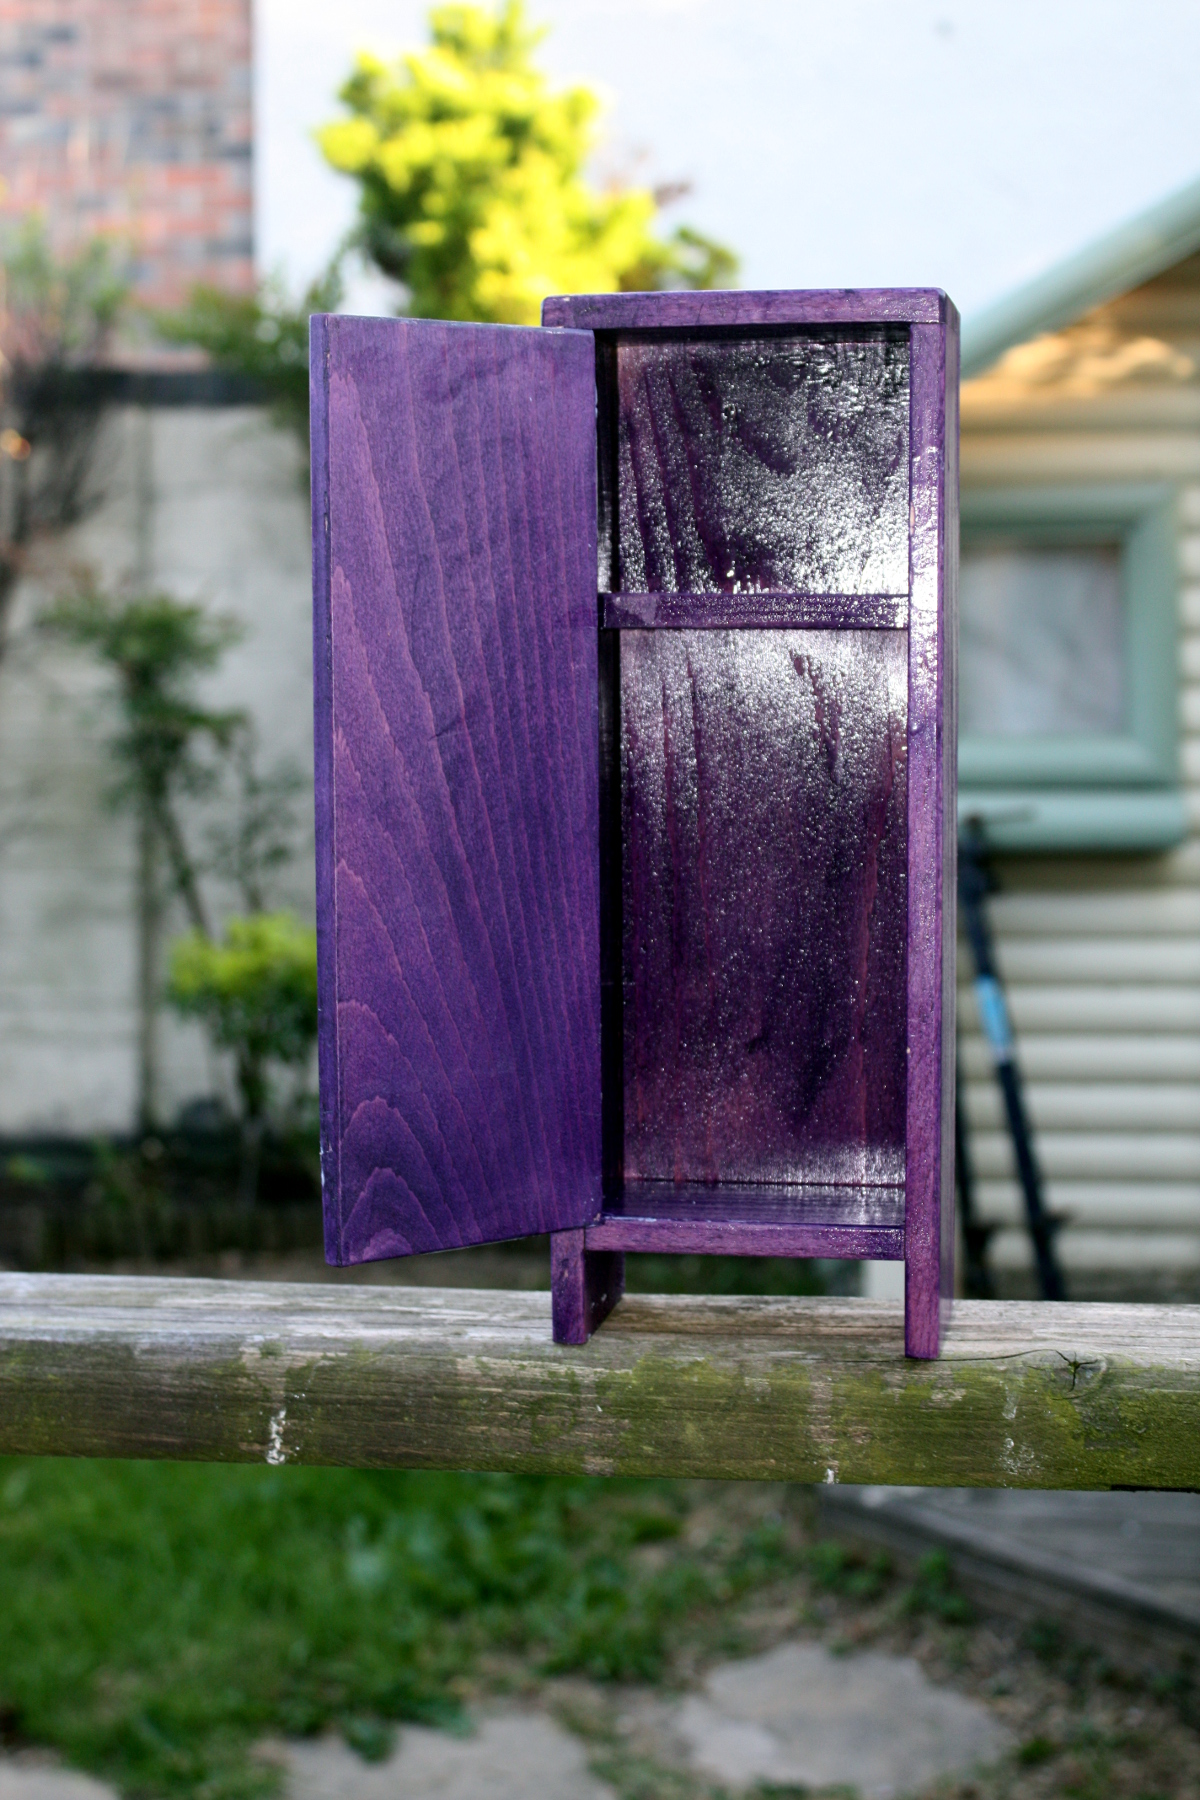
Right. And for the first time in a long time now, I don’t have a project actually underway.
I do have about six in the notebook mind, so that may not last…
Like this:
Like Loading...
