18
Feb 18

Mucking about

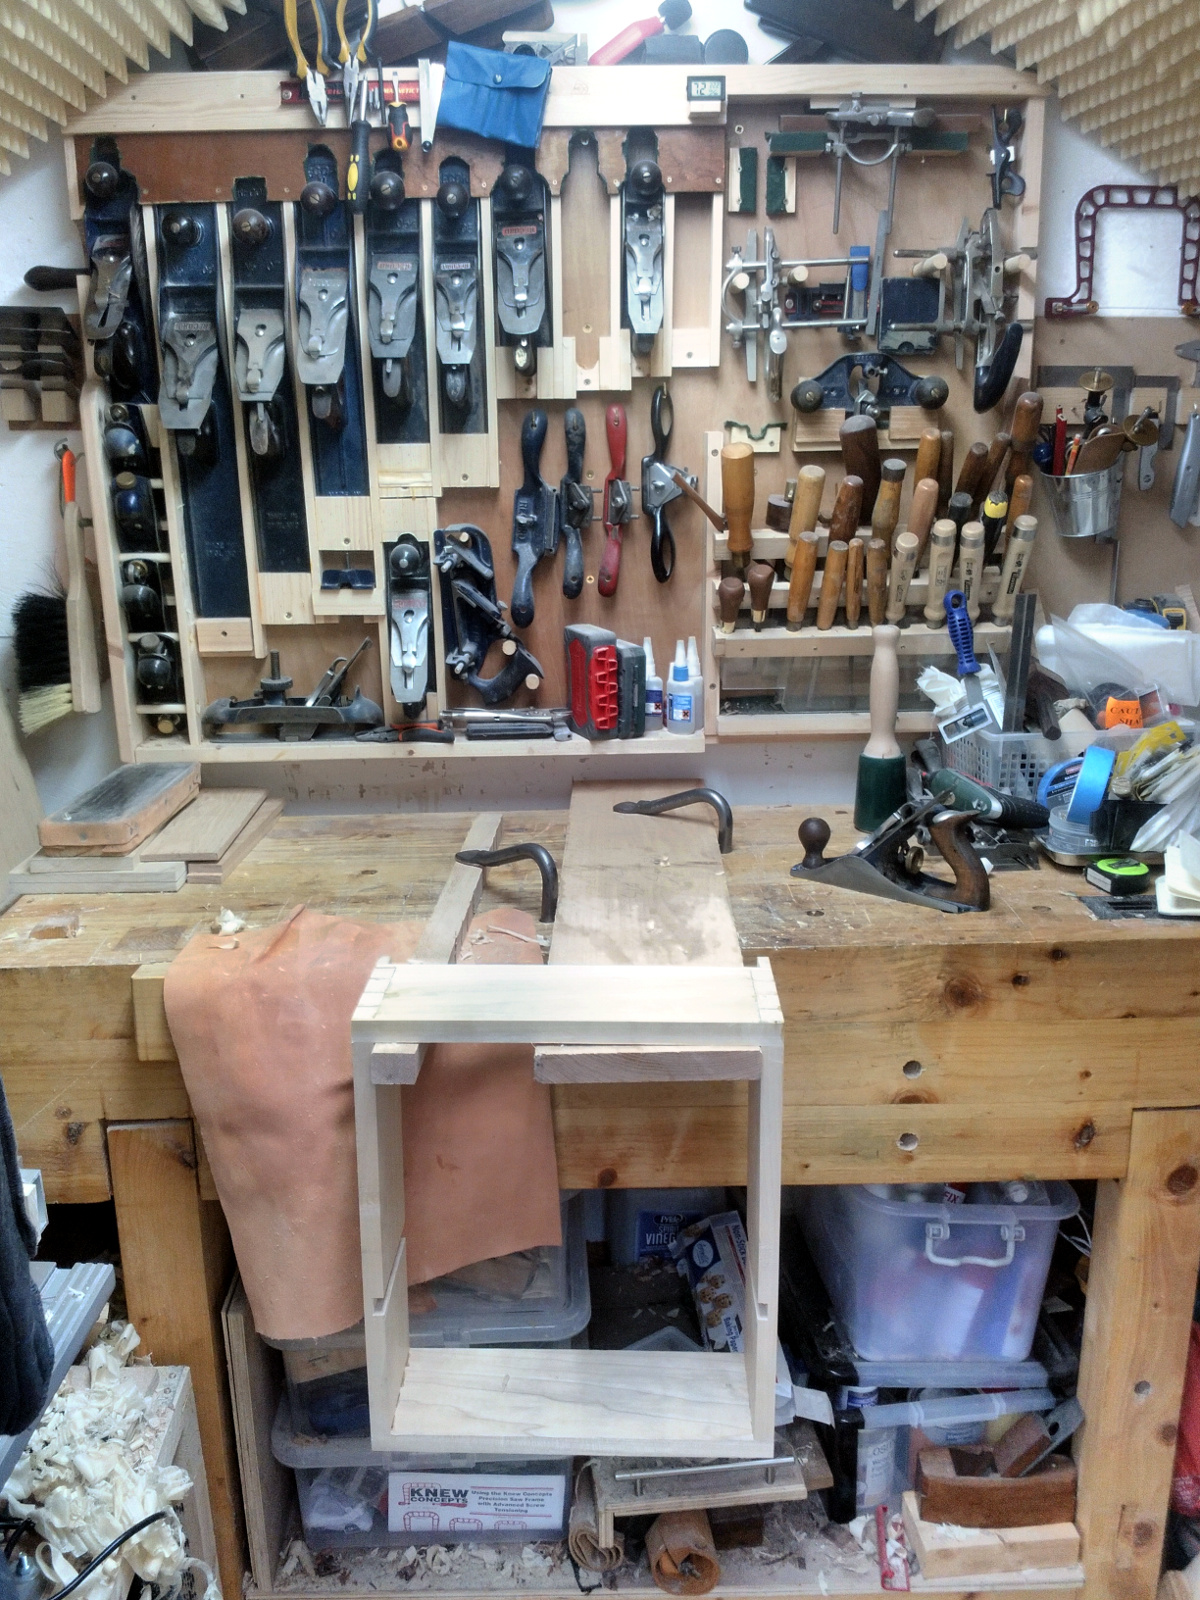
So no major new projects taken on yet, I’ve been tidying away some new toys and getting the shed back to a working state instead. For example…

I now have two pairs of hollows and rounds (4’s and 6’s) as well as a 7 hollow, the reeding plane and a spare 6 hollow. According to Mouldings in Practice that’s all I need to start off with for the scale of stuff I build. A pair of 2s and 8s would be the next on the list if this works out. I don’t like this storage solution though; you don’t really want to have a moulding plane tip over and fall on your head from two feet up. I’ll build a rack for them seperately later .

I also wanted to increase the final grit of my sharpening setup (before the strop), and while waterstones seemed the obvious choice, they’re messy as all get-out. Also, the way I work I don’t have a huge amount of time in the shed so waterstones that you don’t have to soak for 15 minutes before sharpening would be mandatory (whether that be solved by storing them in water or having the shapton type that you can just squirt water onto and get going), and those are not that cheap. But if you want 20,000 grit, they’re you’re only real choice.

Thing is, okay, I do have a japanese chisel or two but most of my work isn’t done with A2 or PM-V11 steel or anything that esoteric, so waterstones aren’t really mandatory; and diamond plates will go up to 8000 grit if you buy from DMT. Okay, the 8000 grit one isn’t cheap, it’s nearly ninety quid, but the things last for a decade and they’re very low fuss, so I cried once and bought one.

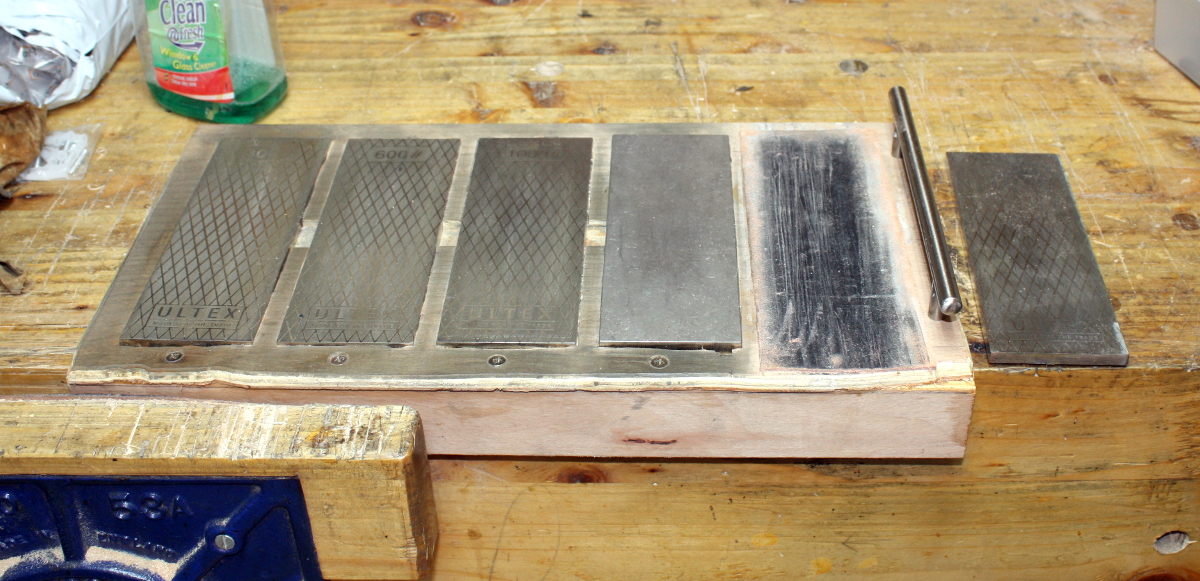
Swapped out the 1200 grit Ultex and in went the 8000 grit DMT. The Ultex went into just-in-case storage. I’ve only sharpened the new japanese chisel on the DMT so far (it’s been a quiet week) but for such a fine grit, it visibly cuts quite surprisingly well.

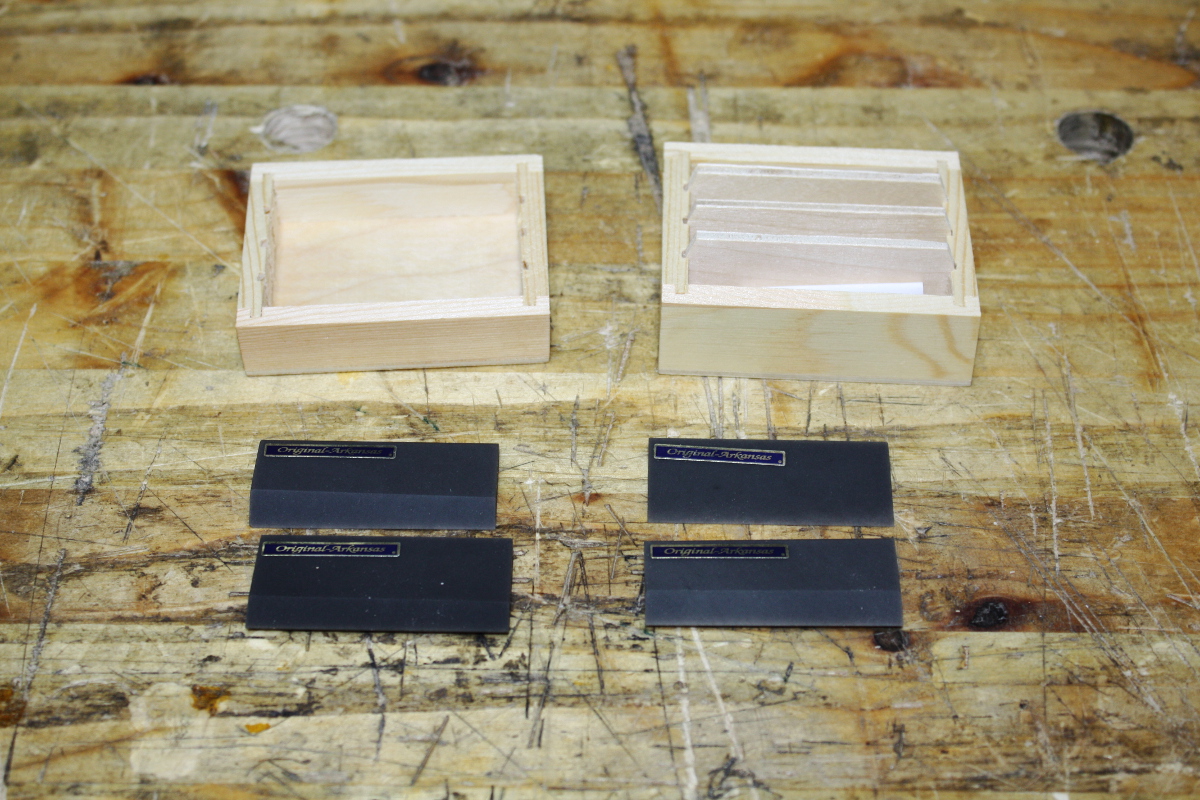
Speaking of sharpening, I needed something for the inside of the gouges, so some black arkansas slipstones got bought along with the DMT. Seem nice enough, and not too expensive. Not used yet though….

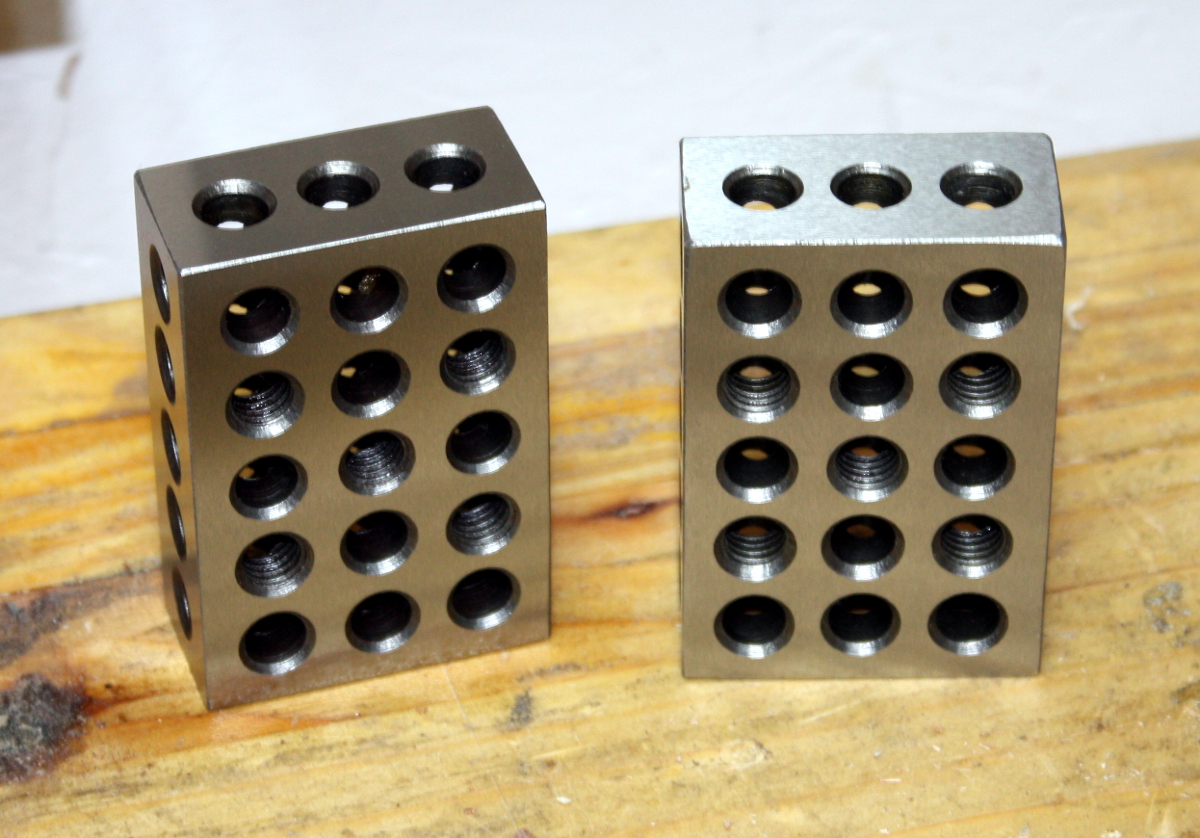
And I got some 1-2-3 blocks. I’ve been meaning to get some for a year or so now. For woodworking they’re not as useful as they would be to a machinist, but not having to measure off 1, 2 or 3 inches, being able to set up the bandsaw or fences with right angles, clamping odd things, they’ll be bloody handy for that I suspect. Need to put a mount on the wall for them (I suspect a pair of dowels in the nonthreaded holes will suffice). Pain in the fundament cleaning all the storage grease off them though, but when you do, they’re nice and shiny…

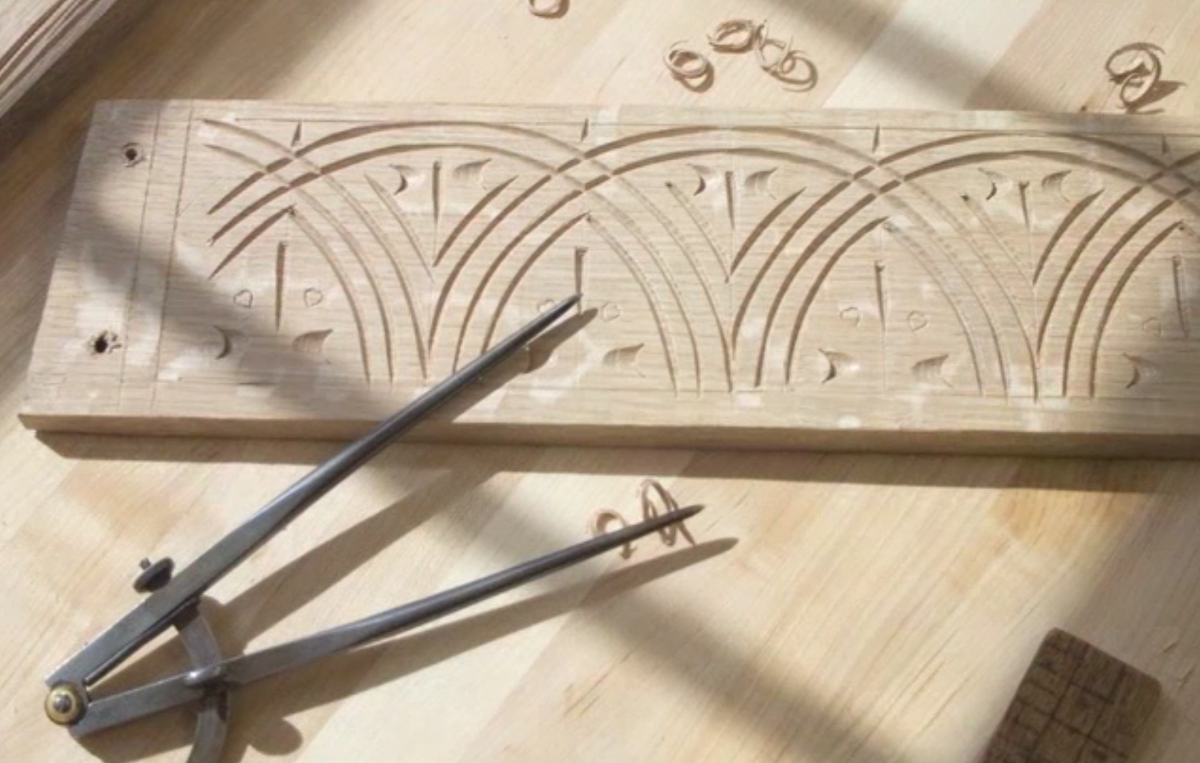
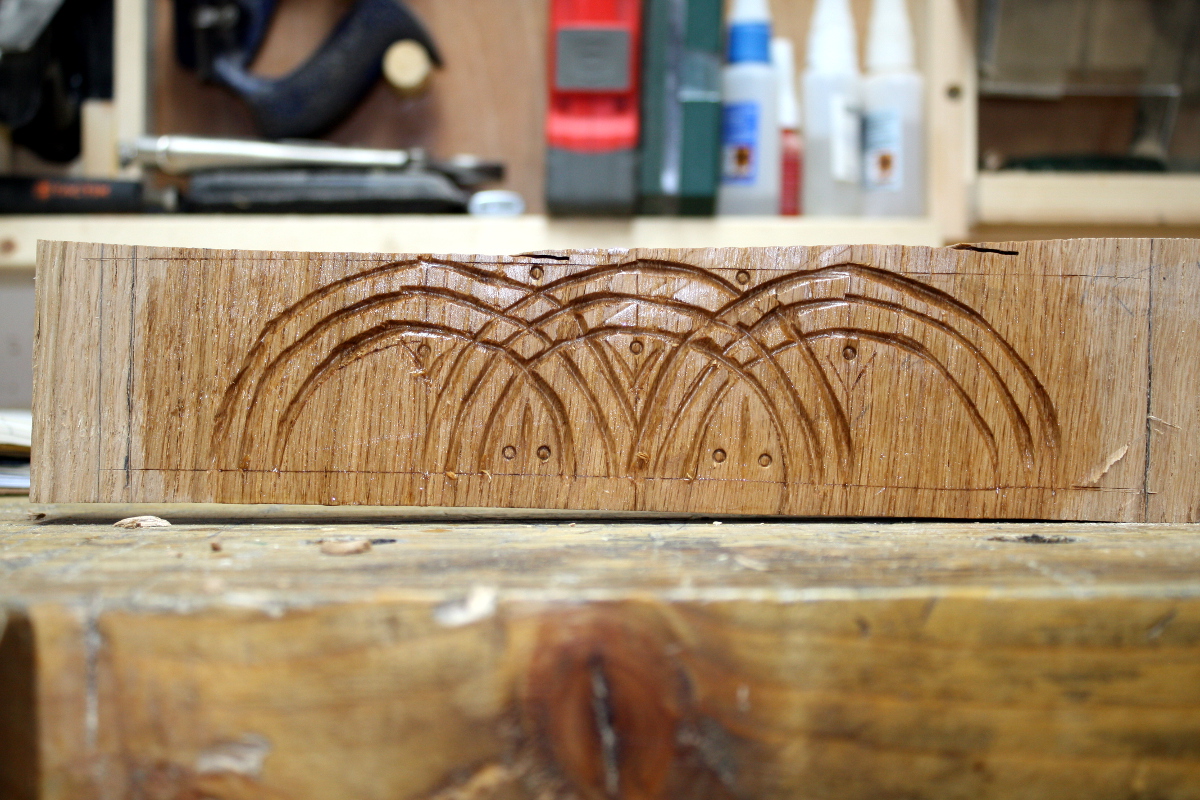
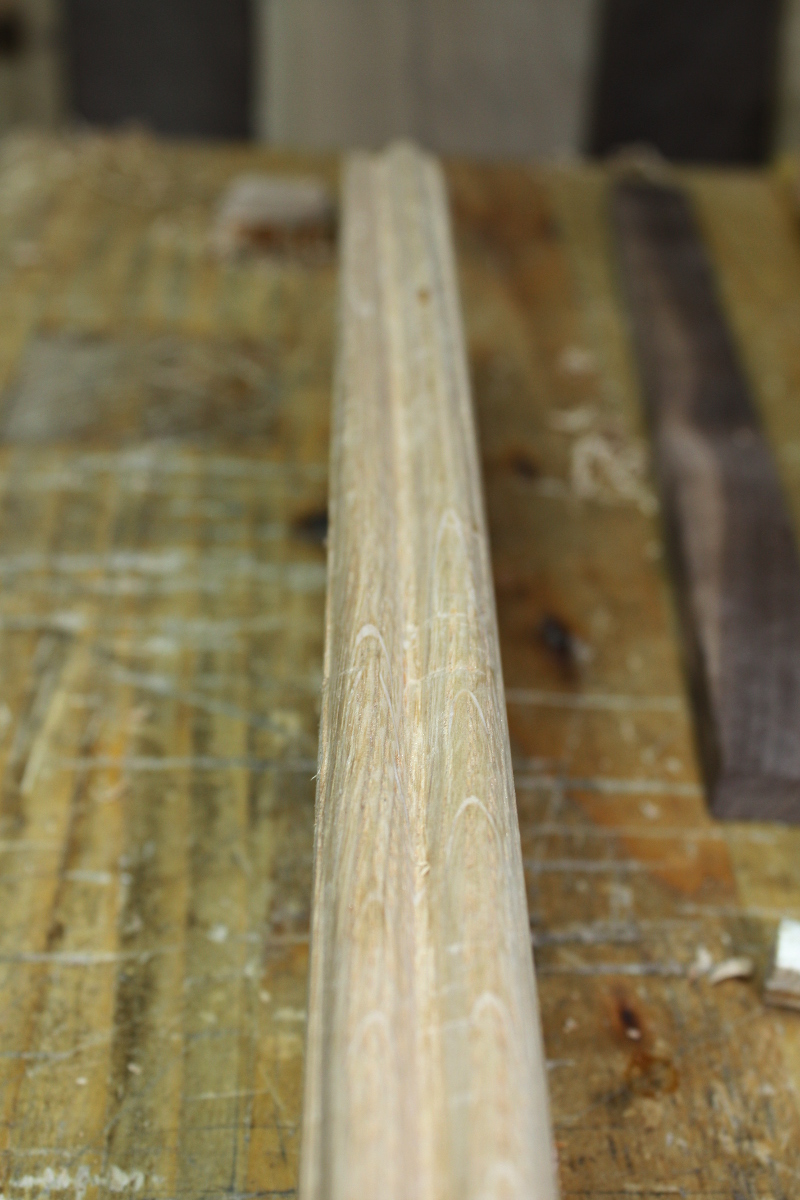
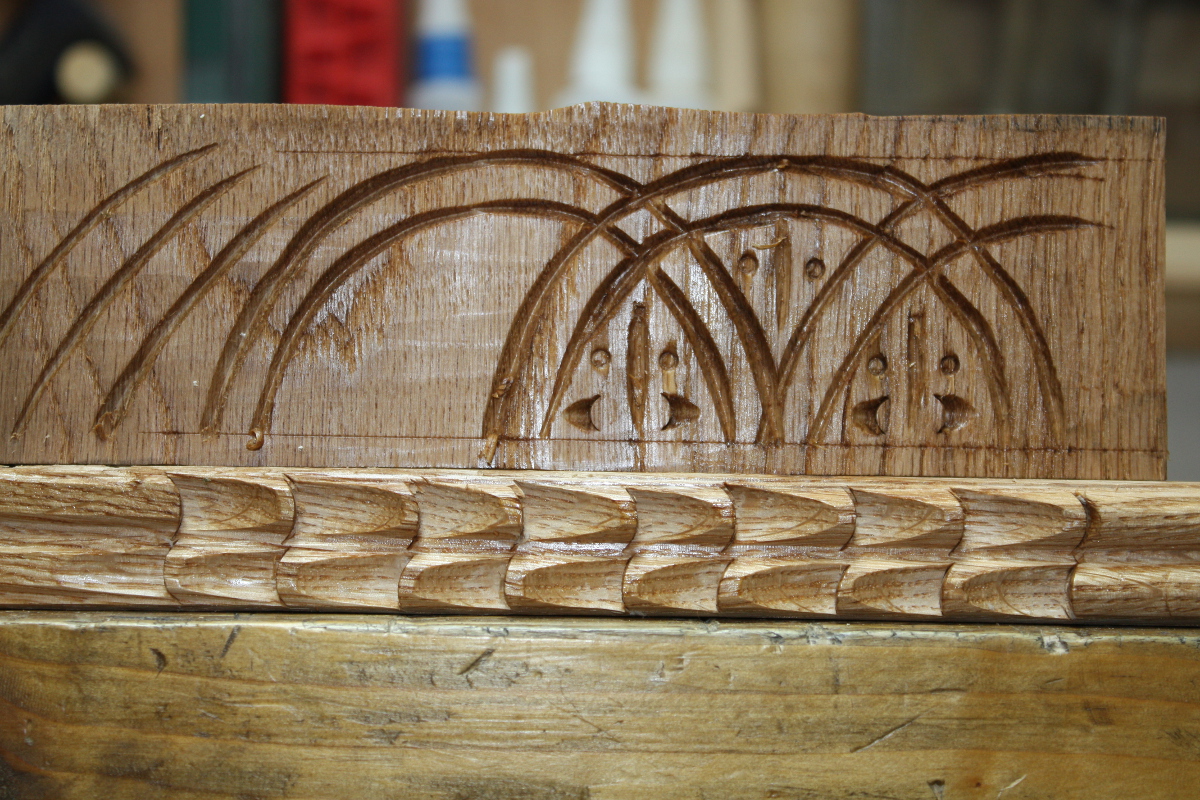
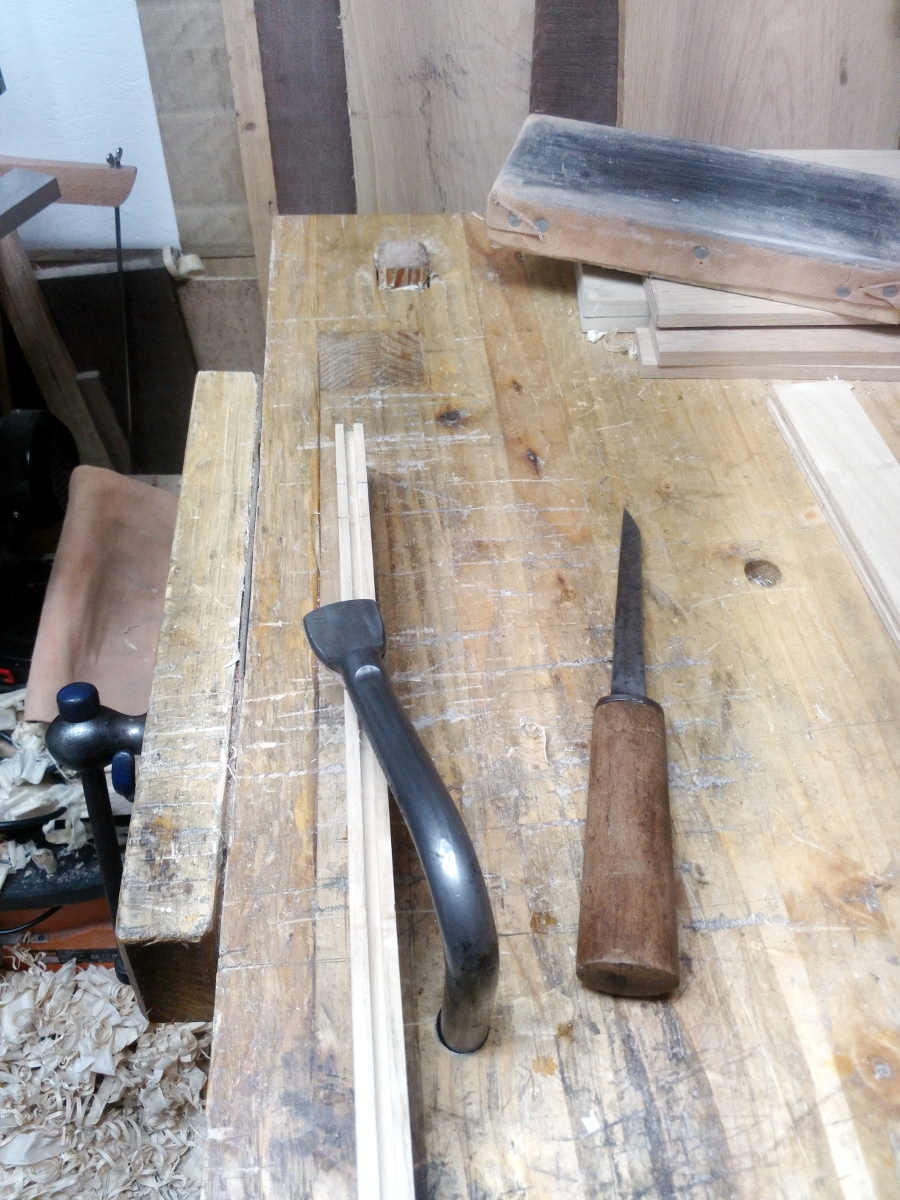
This radius cutter isn’t new, I’ve had it for 18 months or so but I haven’t used it (look, life gets complicated sometimes, okay? 😀 ). I finally got to watch the line-and-berry video this week and dug this out, I have an idea for a project I want to use it on. More to come but I need to make a tool or two first…

One tool down, another to go yet. I also need to find a source for 1/32nd holly veneer, which in Ireland seems more difficult than expected.

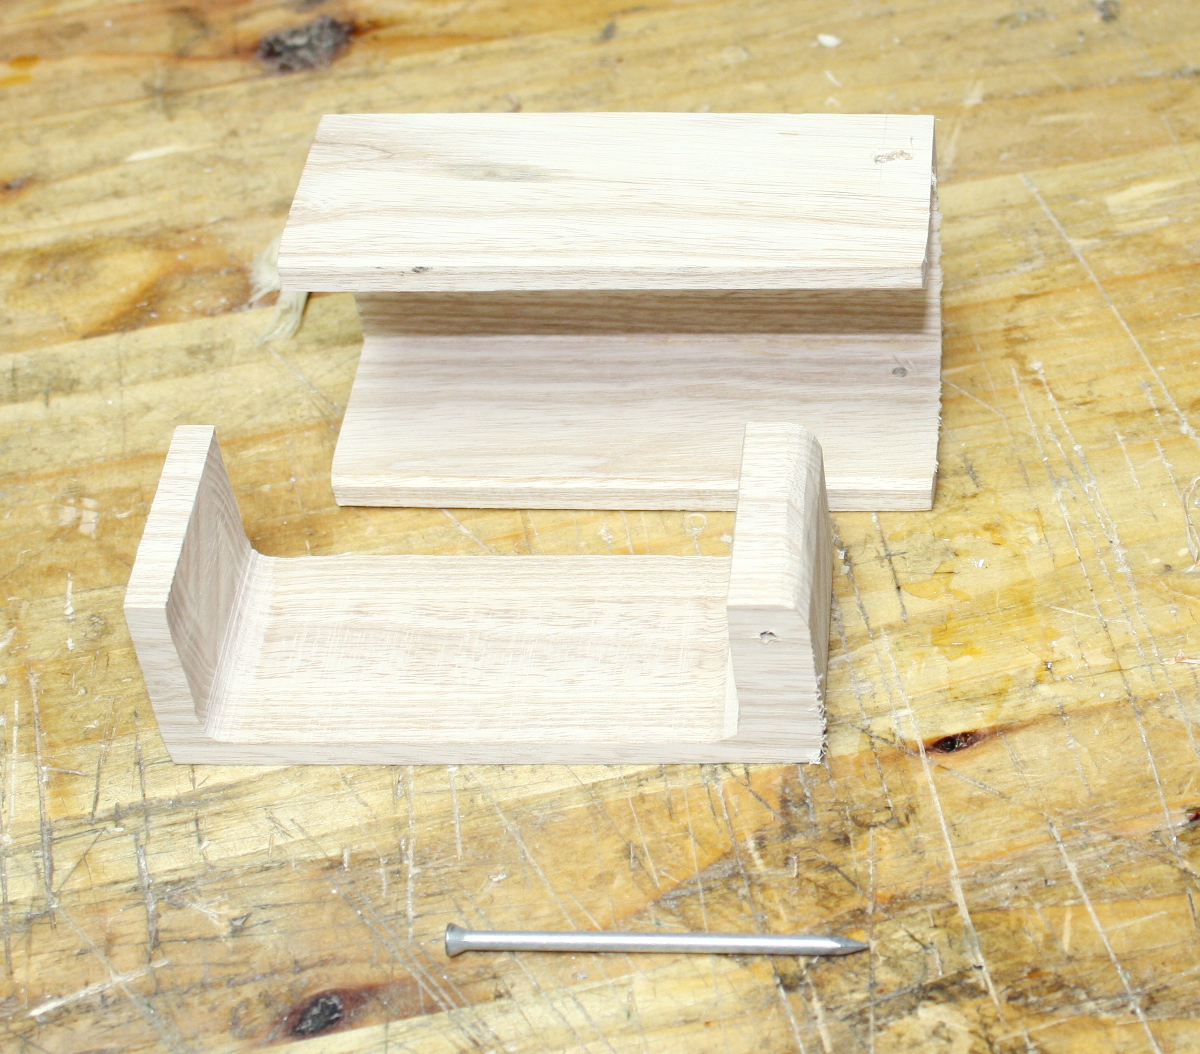
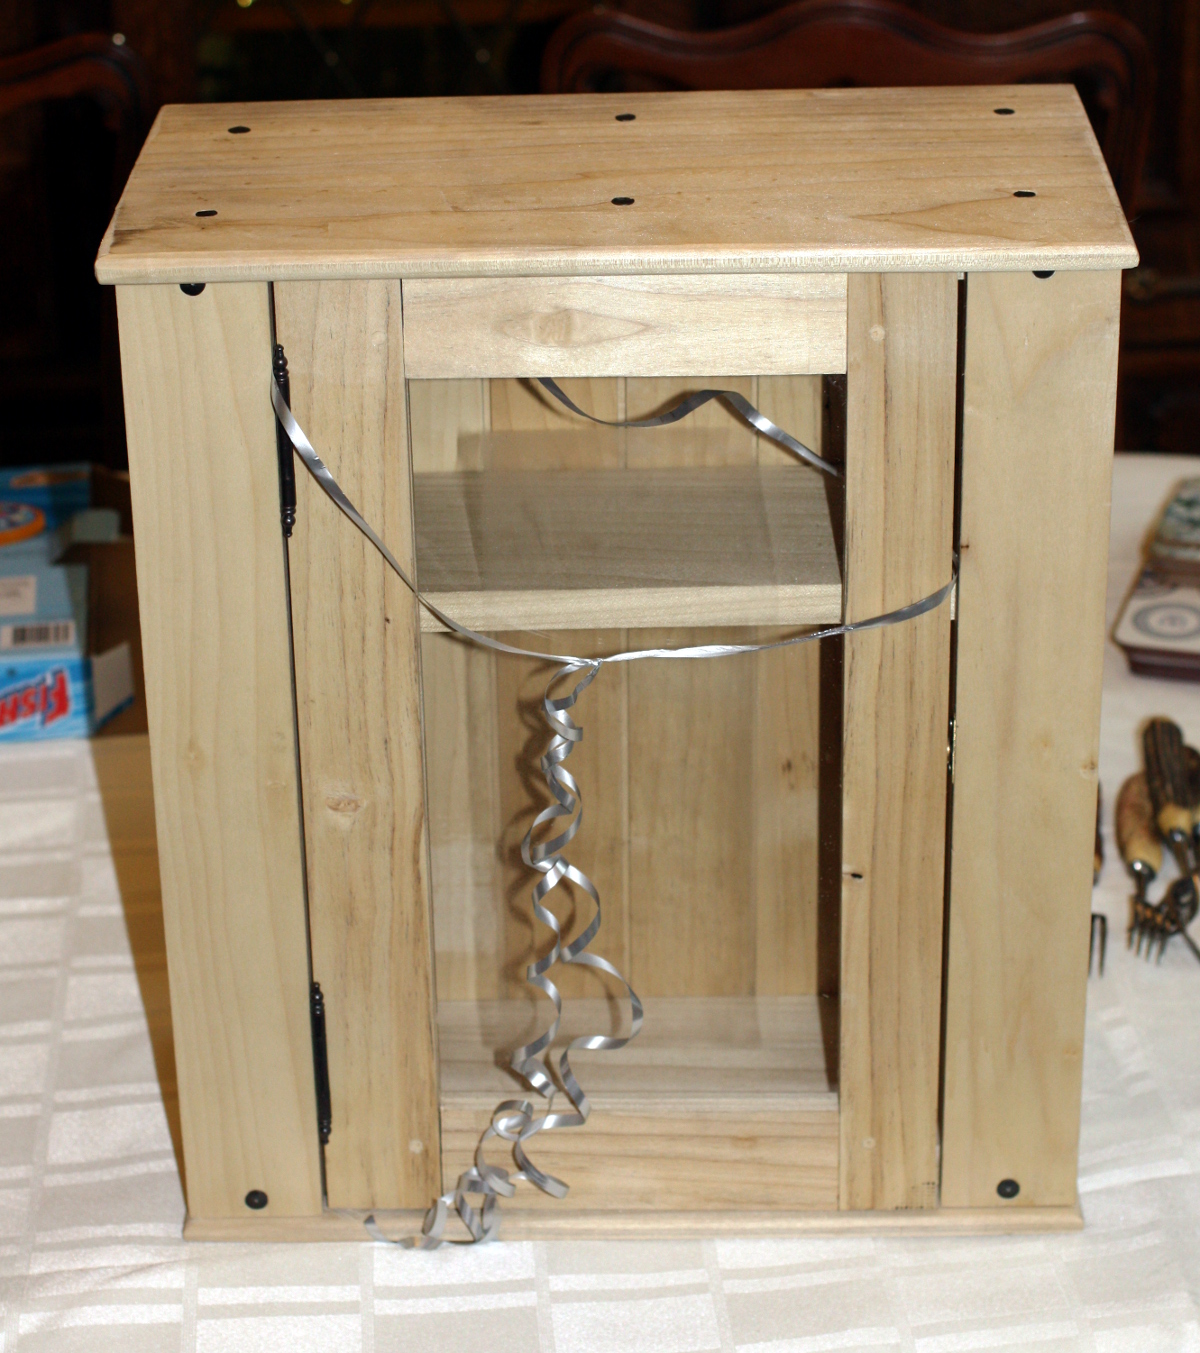
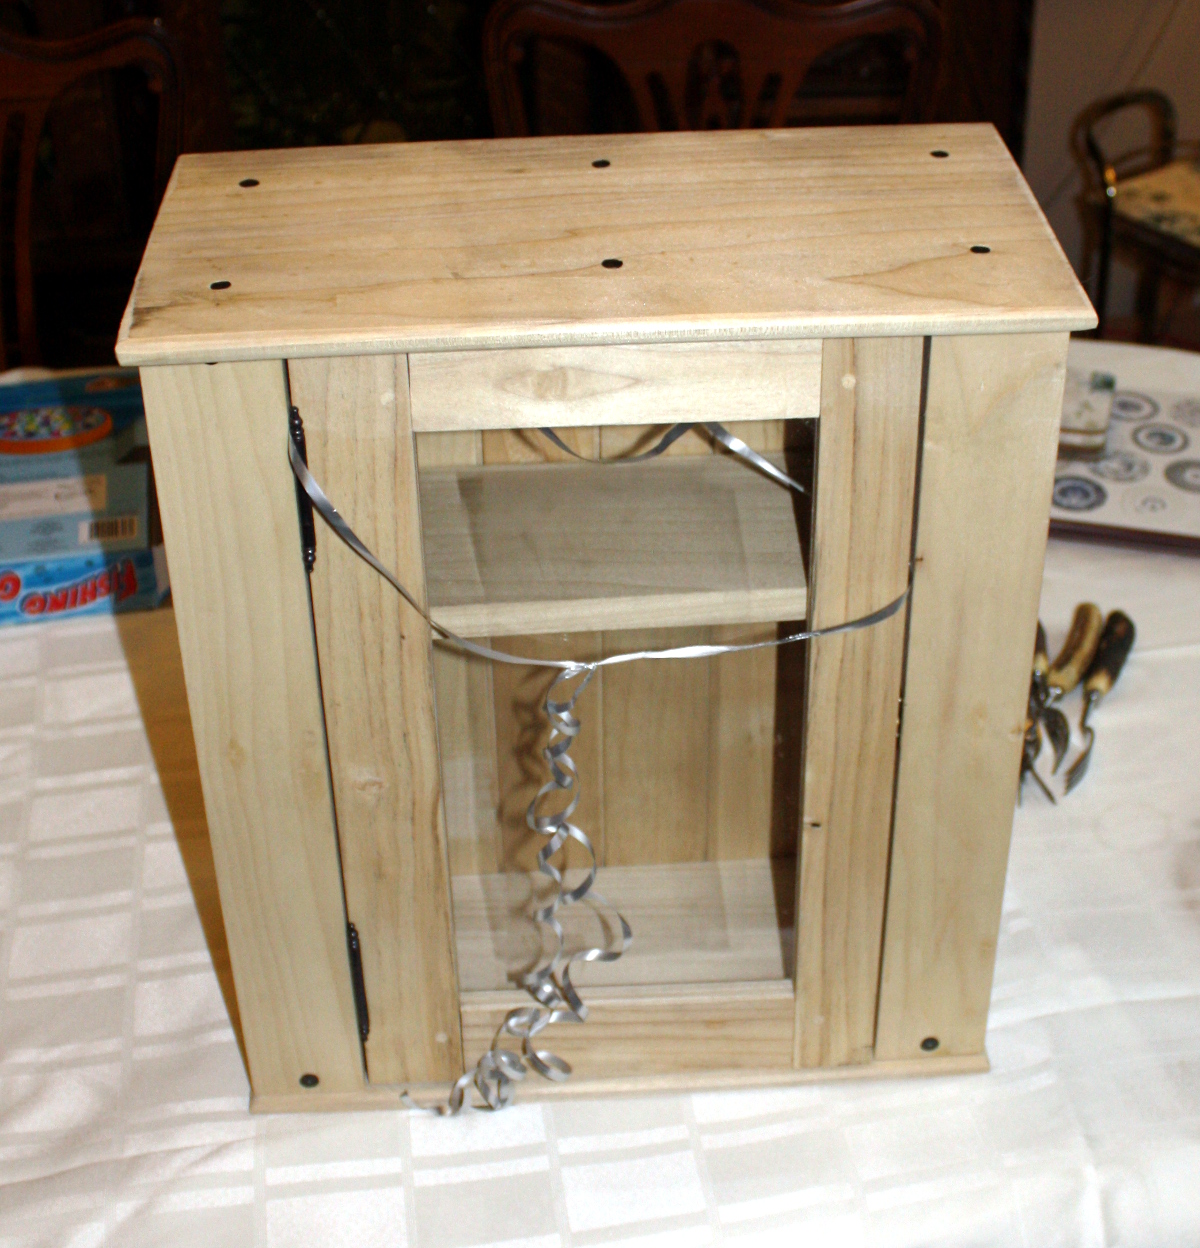
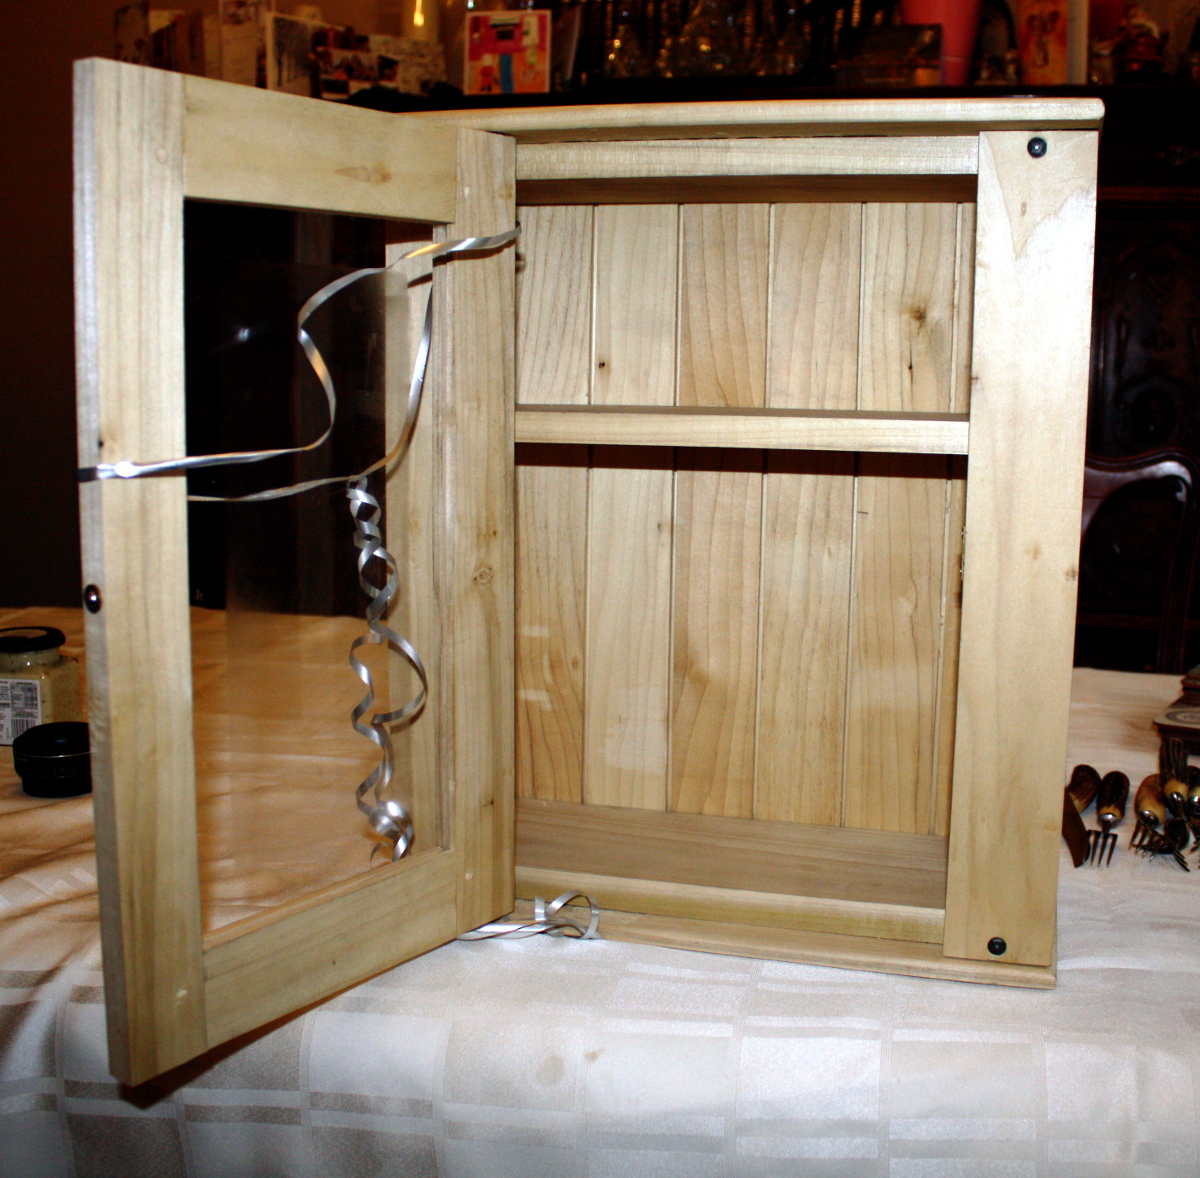
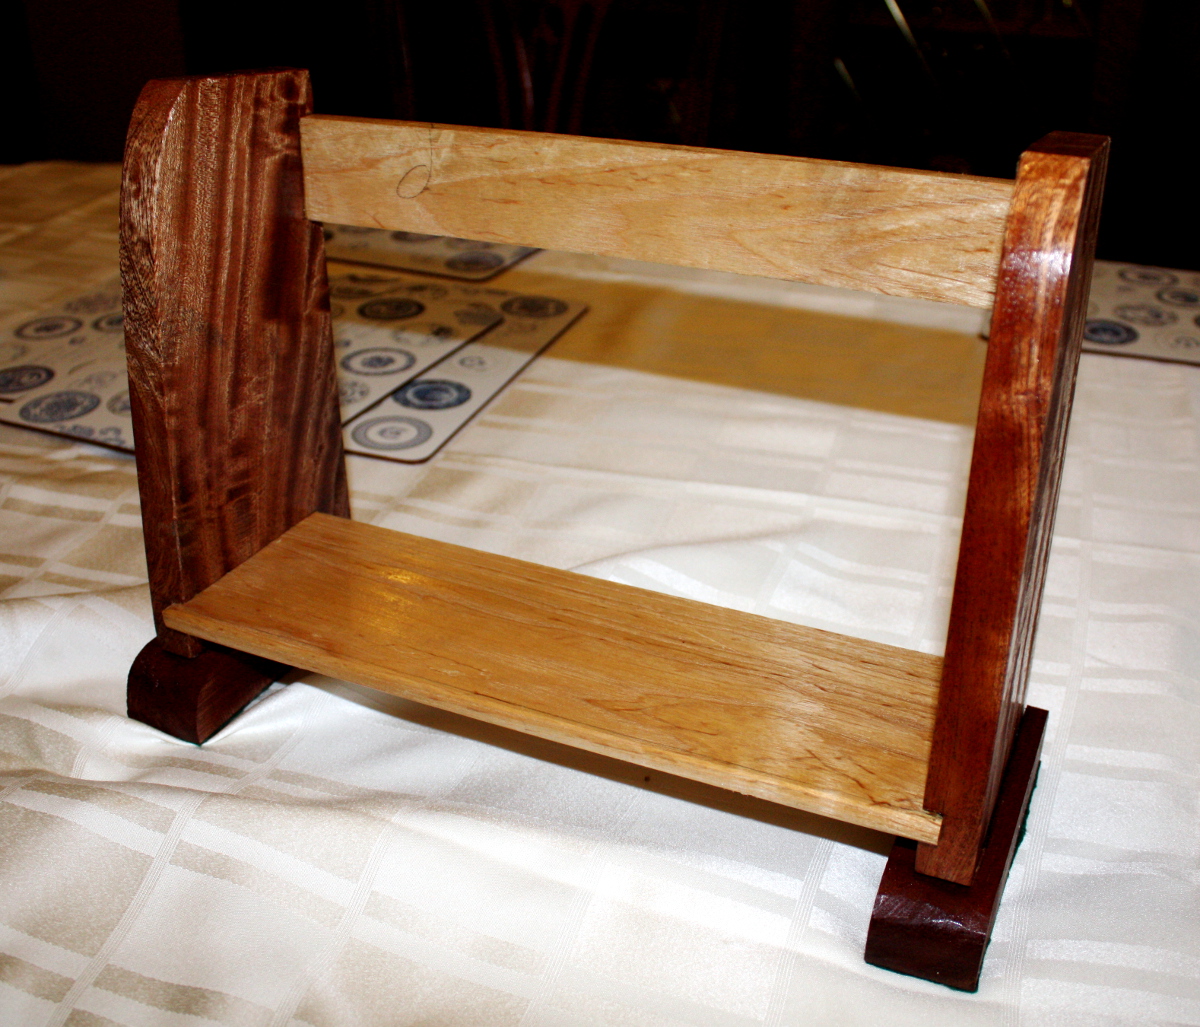
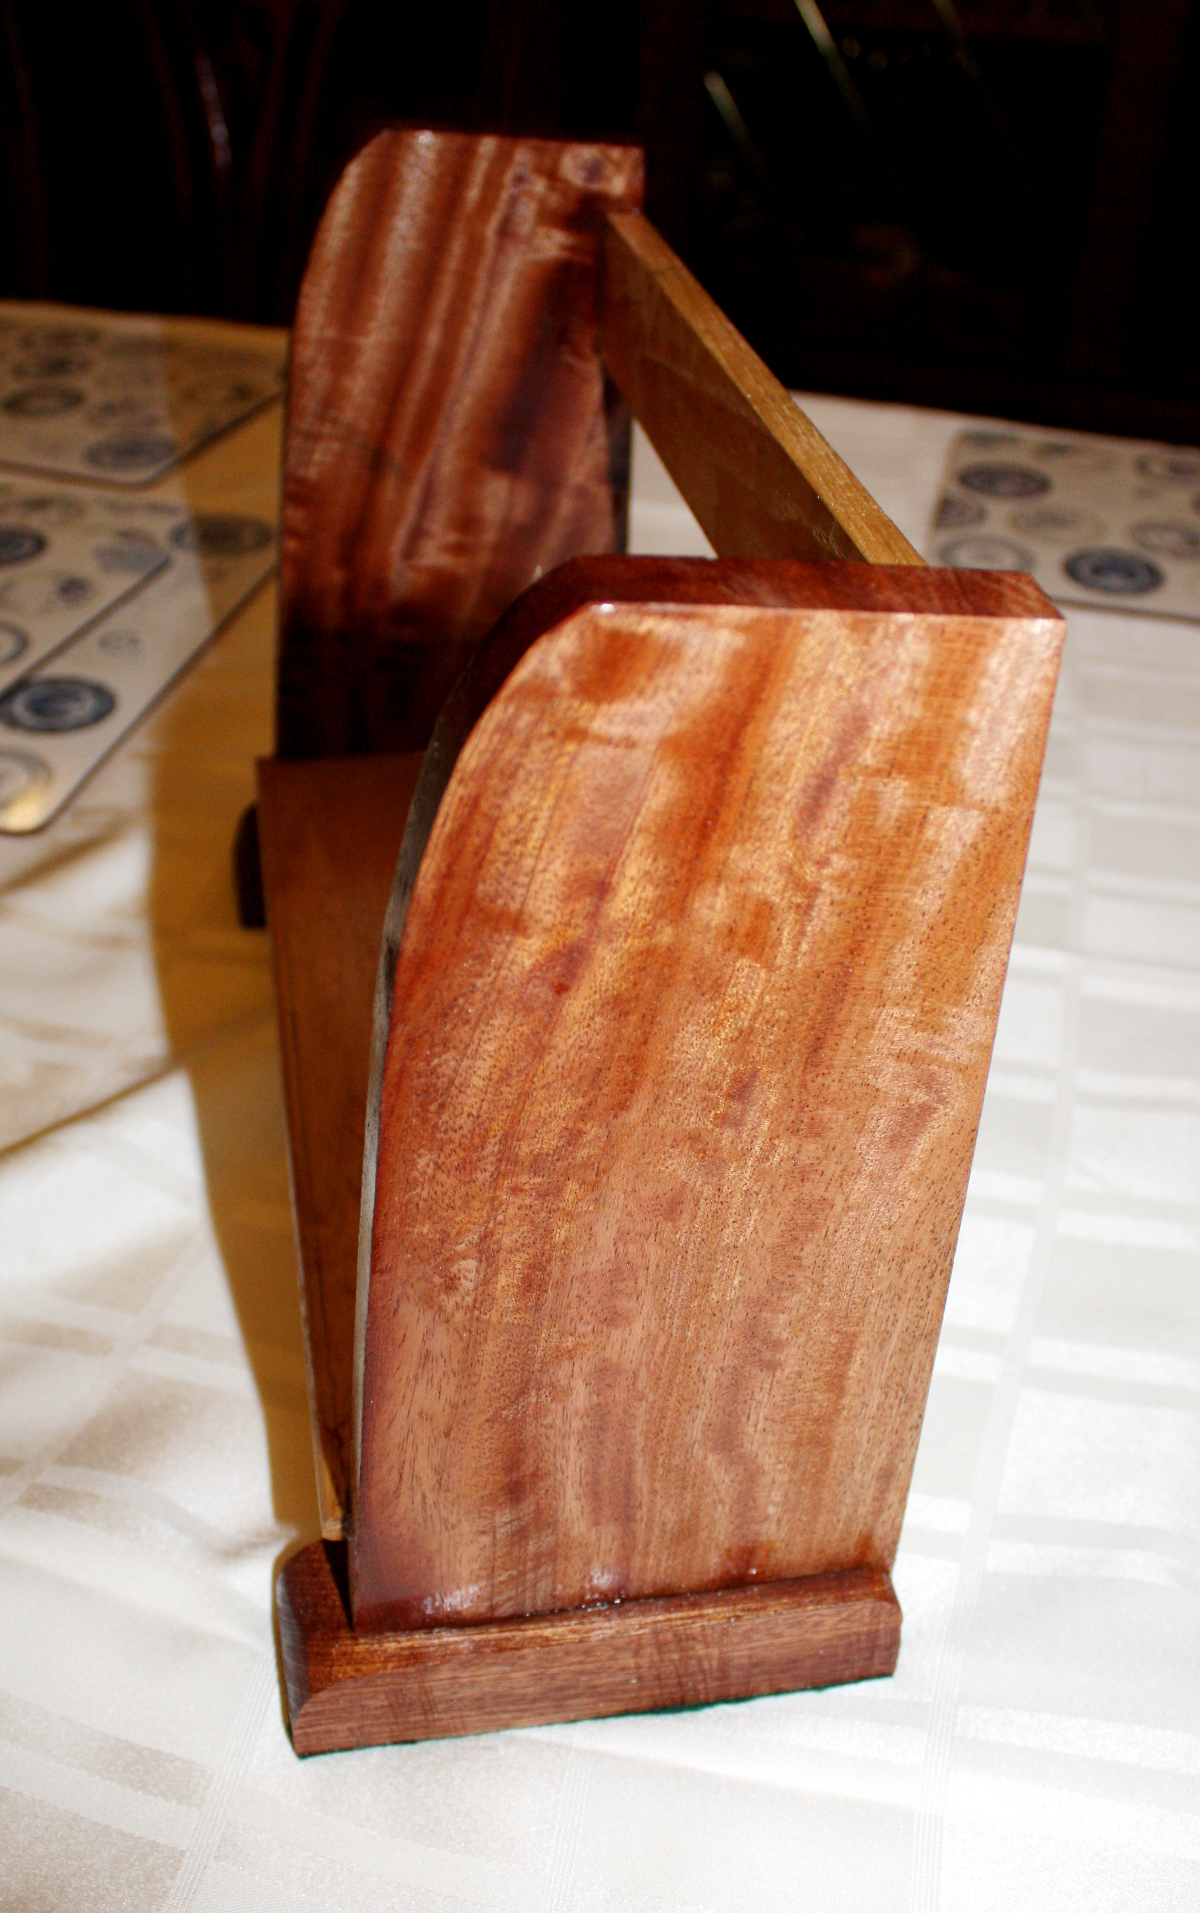
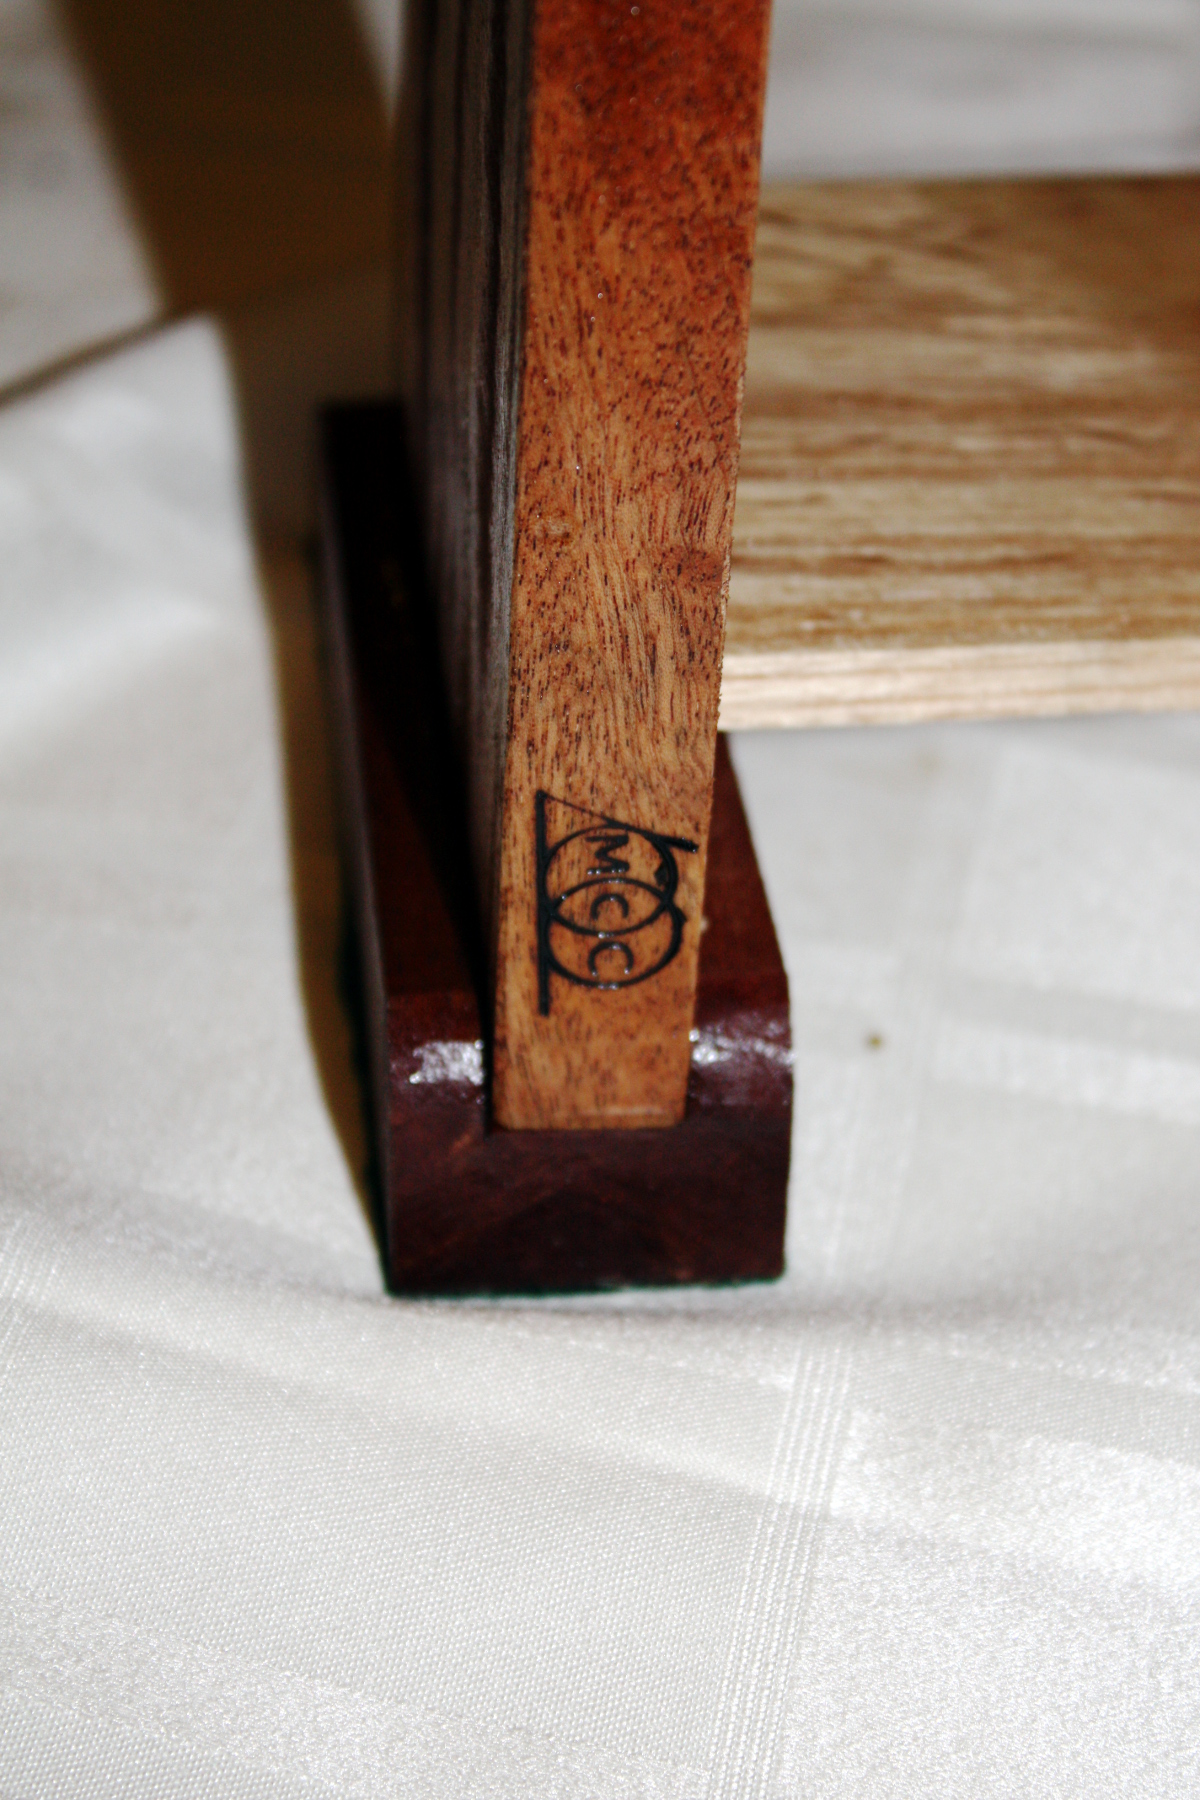
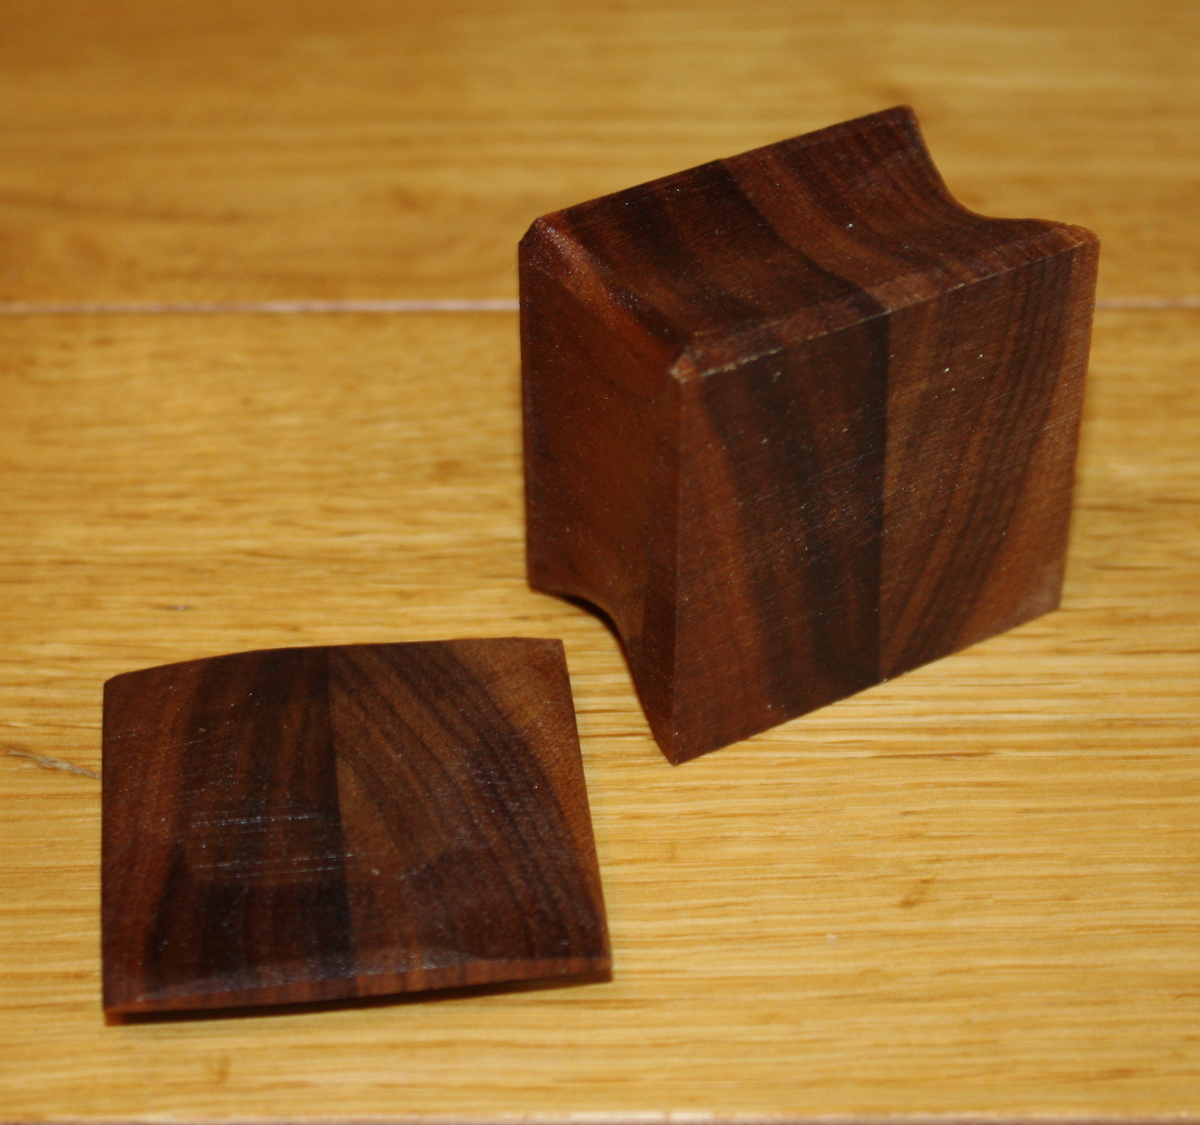
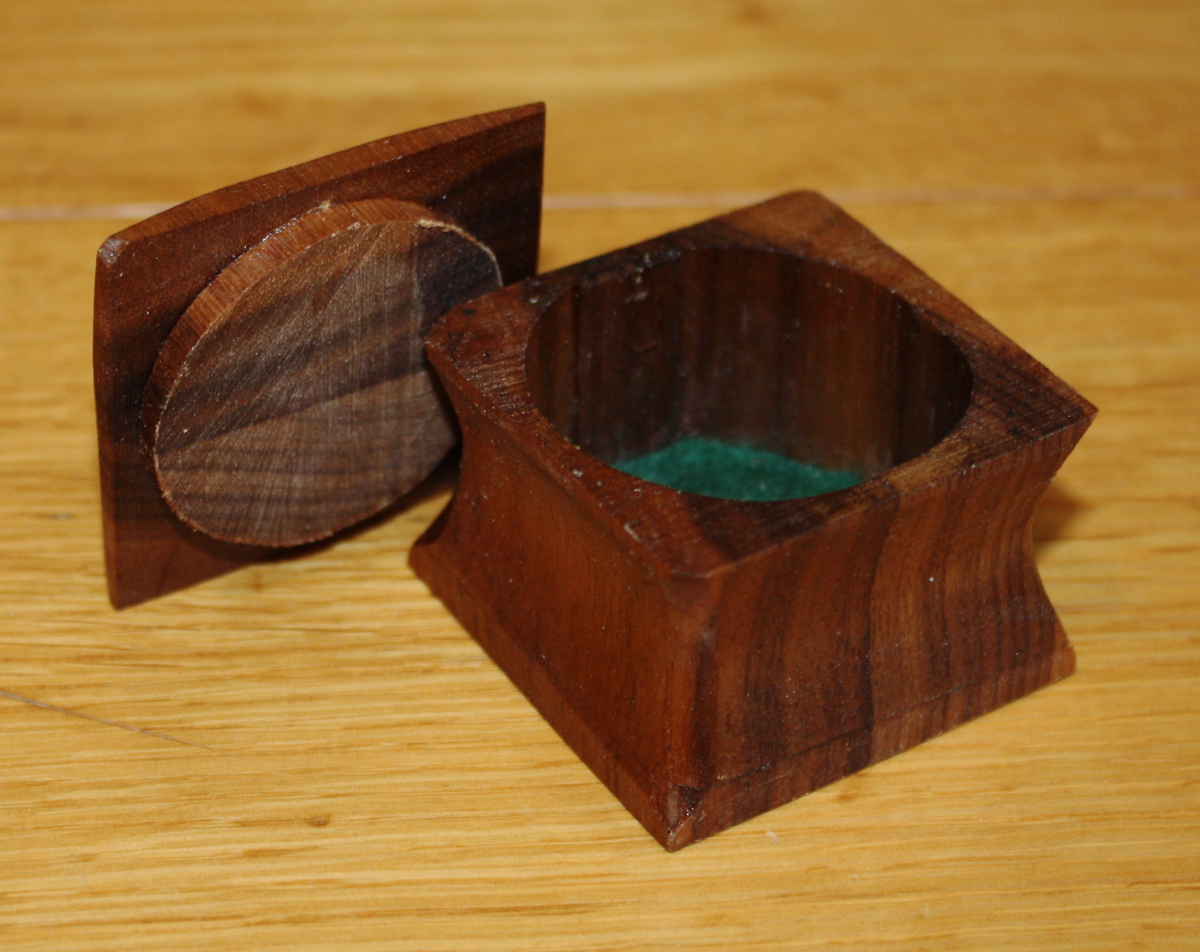
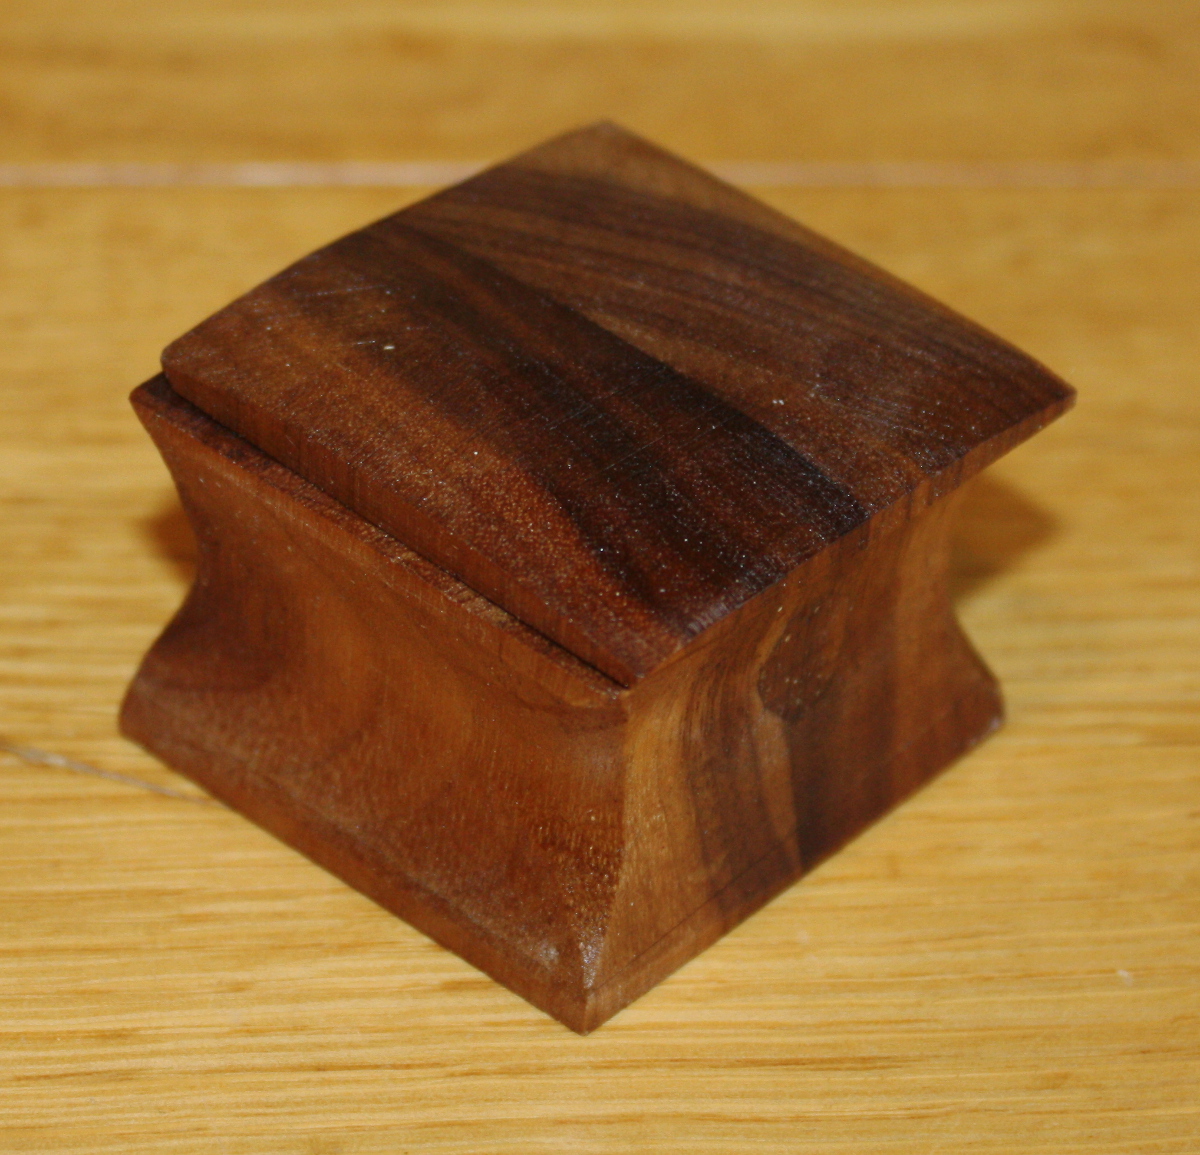
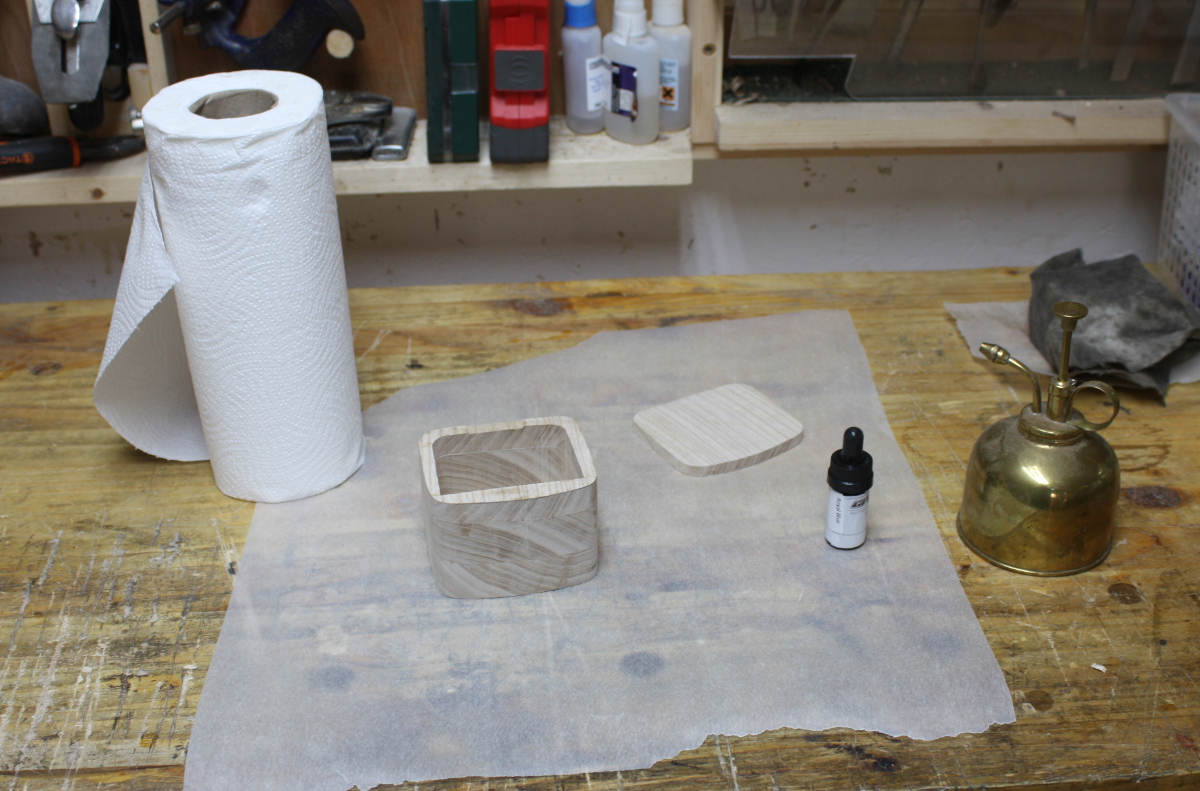
Wanted to finish this up as it was sitting around (it’s planned to be a salt box). It’s a bit… drab as is though. If only I had something to jazz it up a bit…

*hehehe*

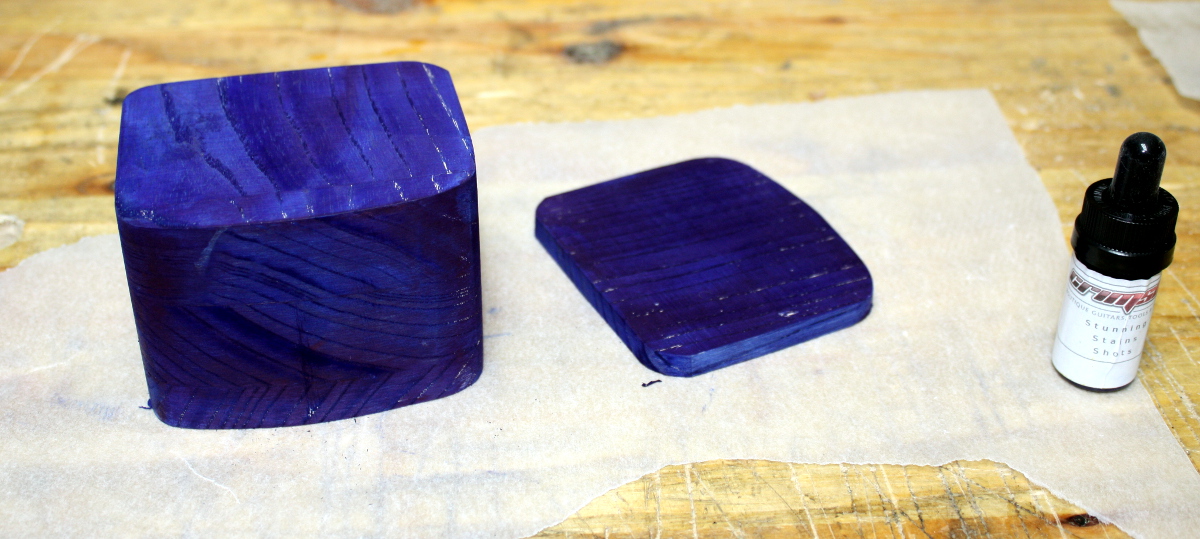
Well, that was… intense. Left it overnight, sanded lightly to knock back grain and re-stained it today and gave it a coat of spray laquer.

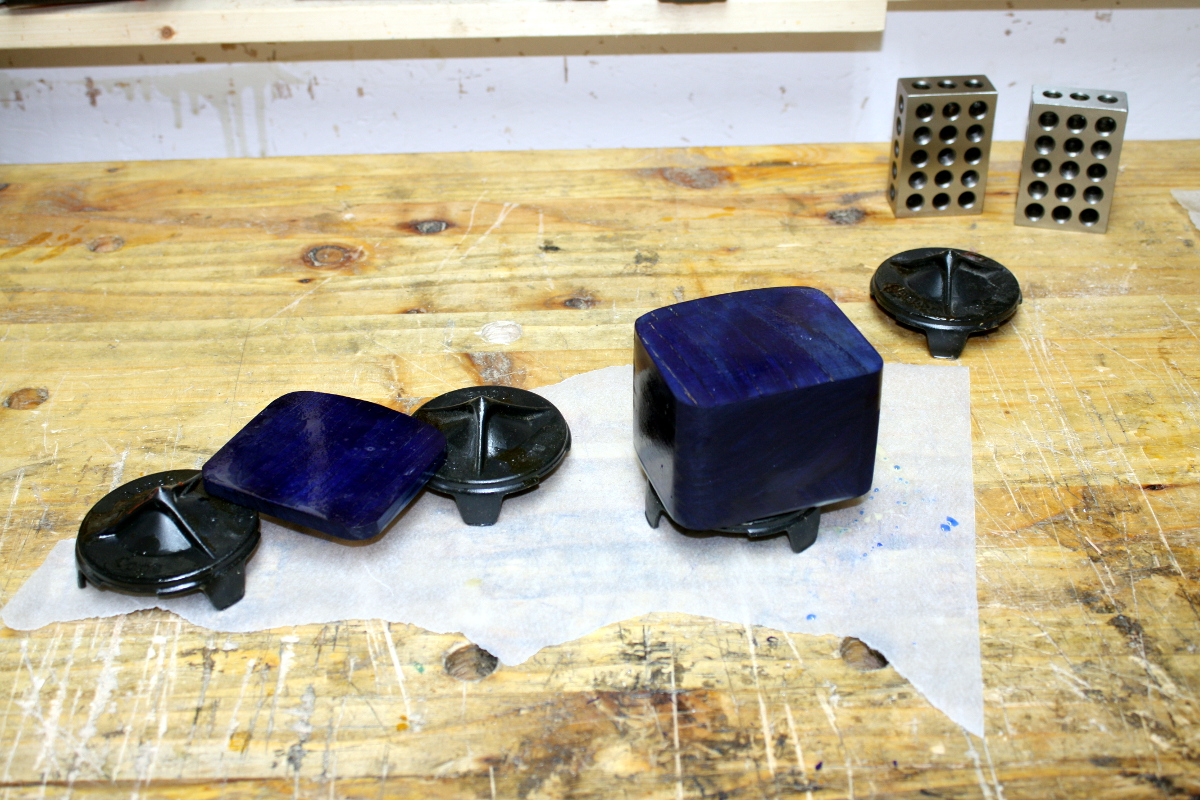
It’s not terrible, but it’s a bit more blotchy than I was hoping for. Hmmm….

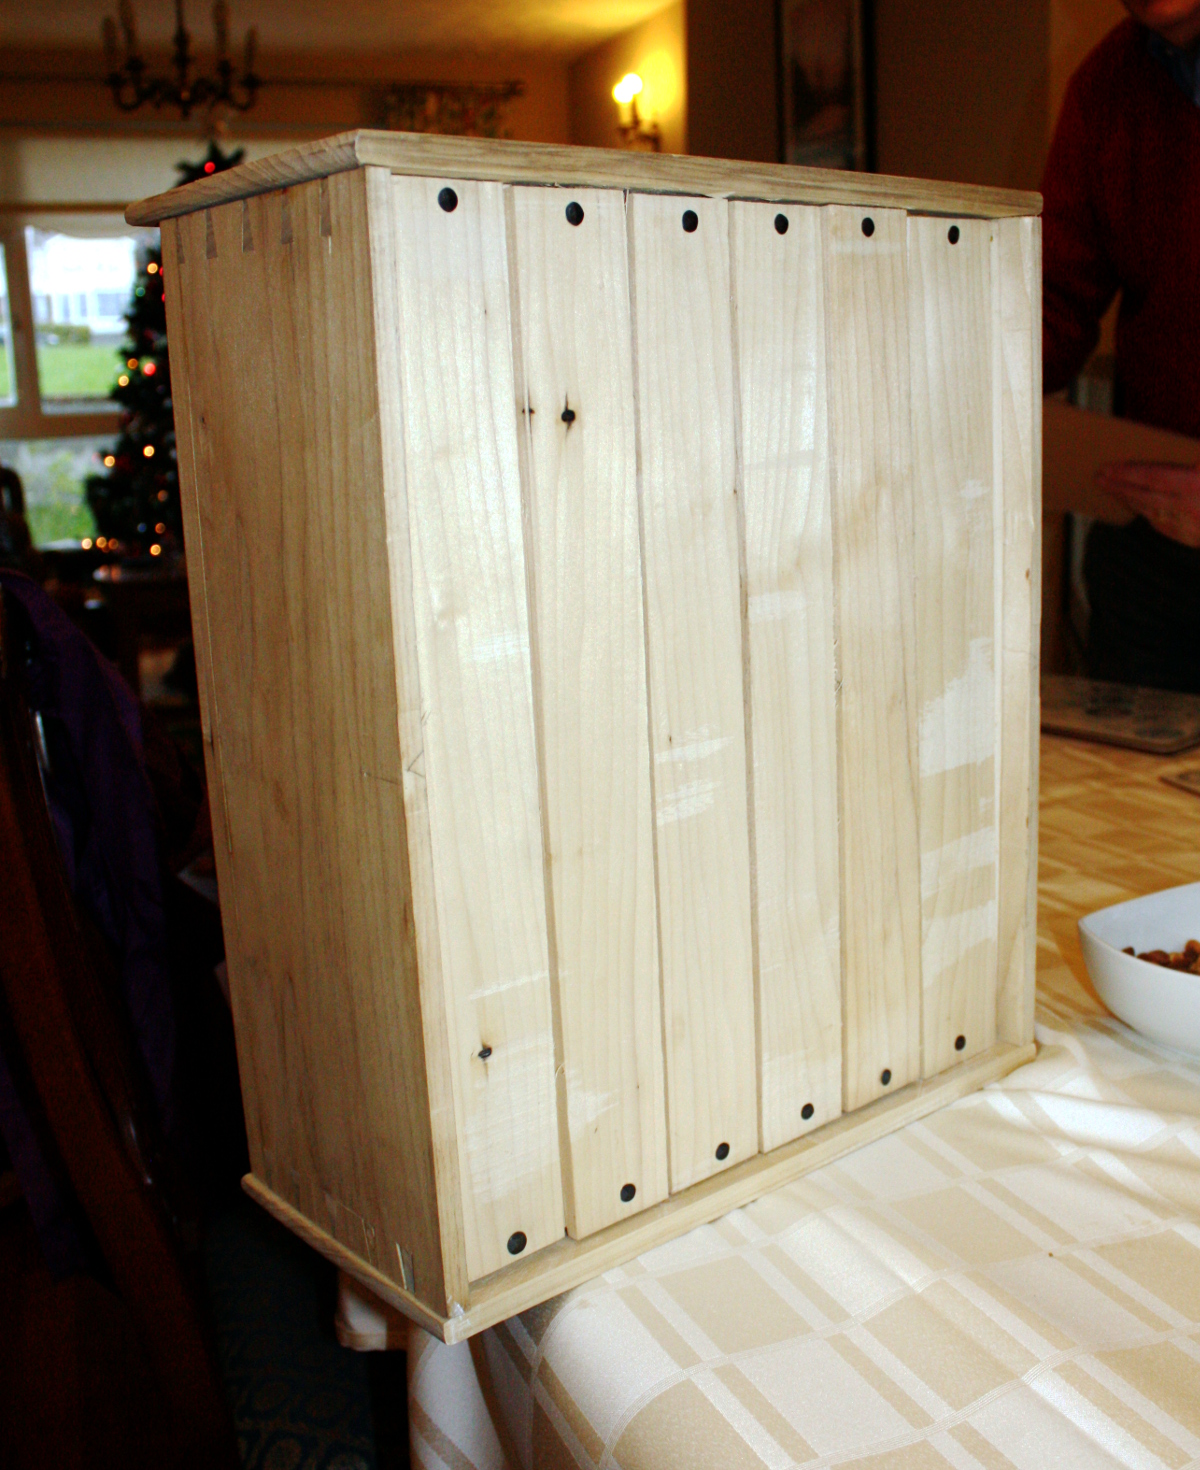
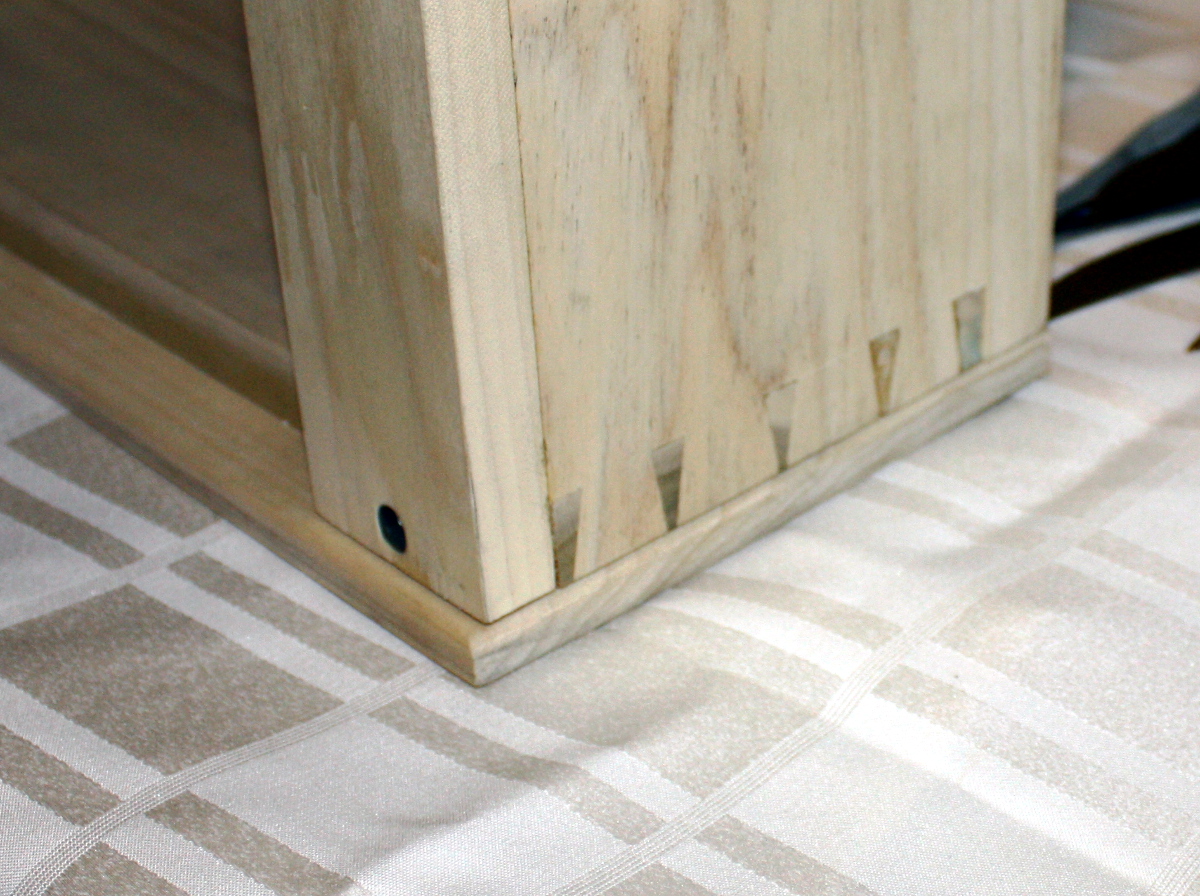
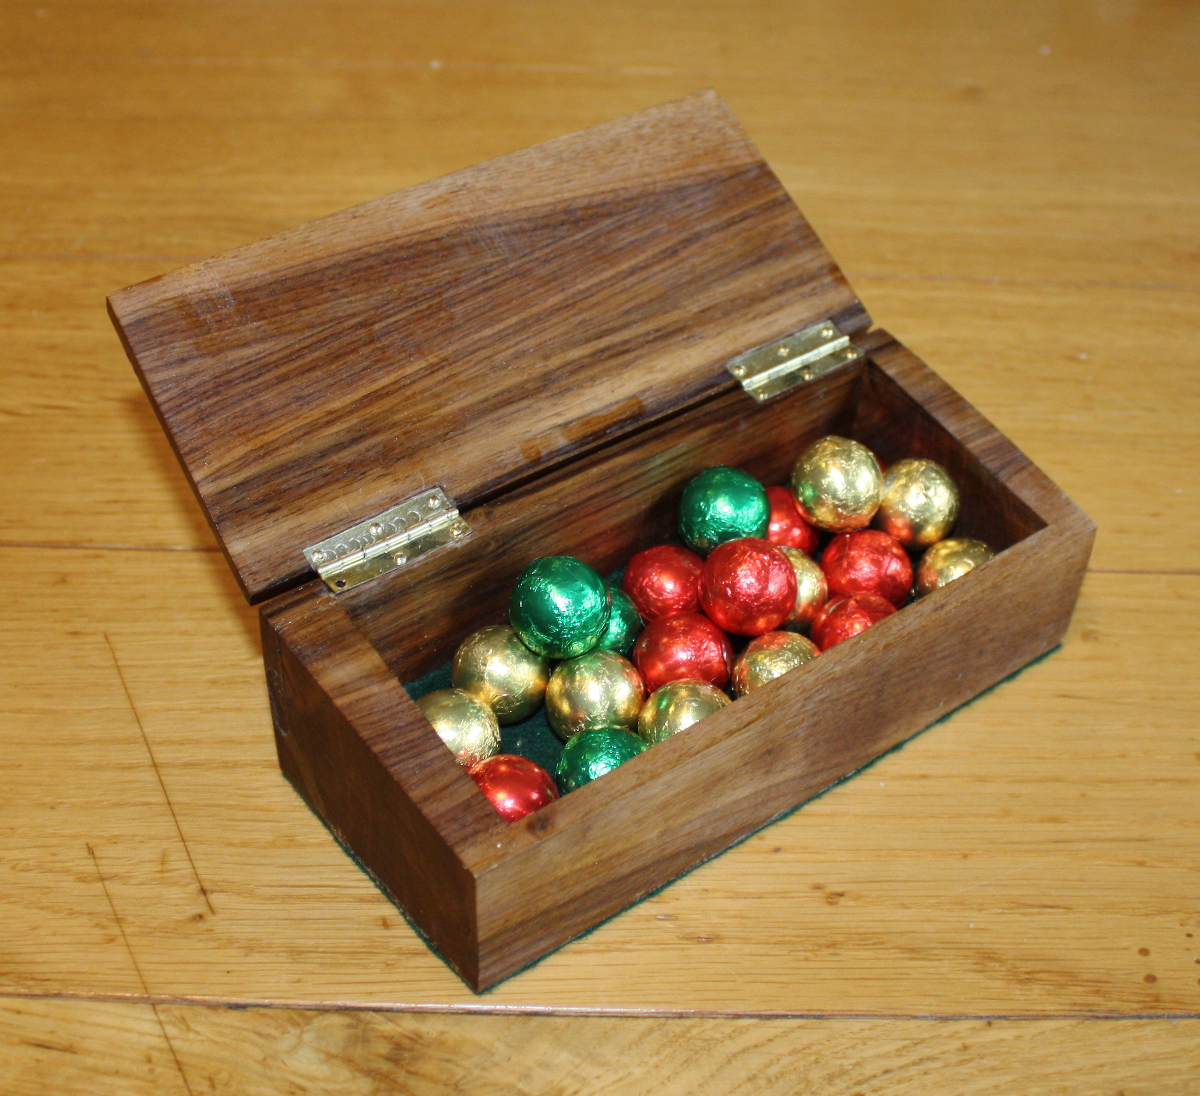
Also, I had another bandsaw box waiting to get a hinge and get finished so I wrapped that up as well but with just a coat of BLO…

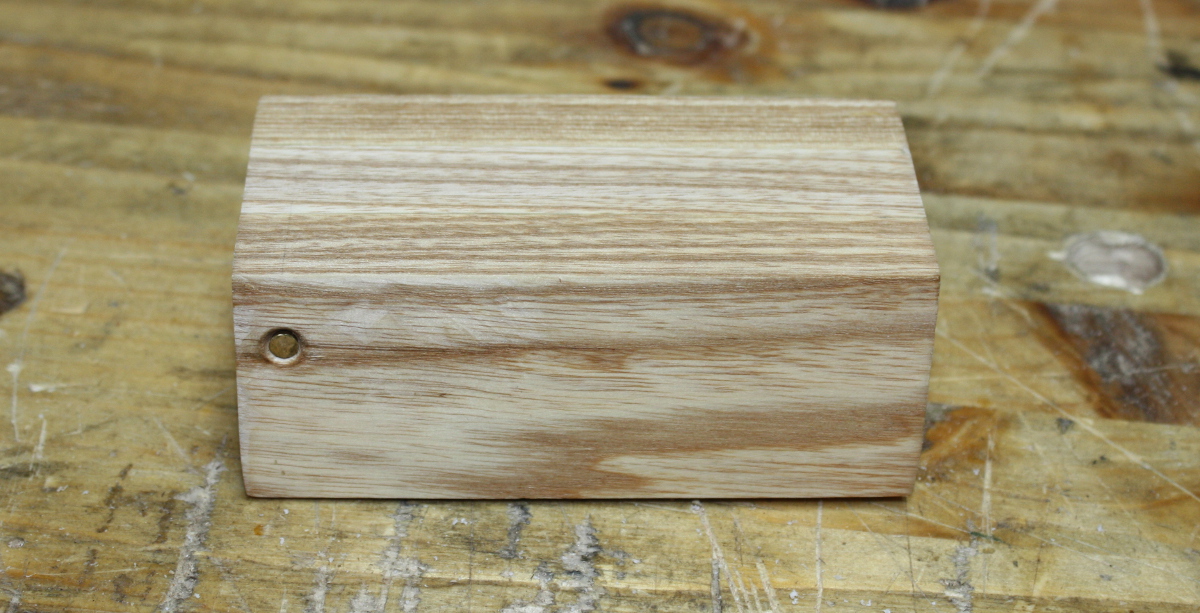
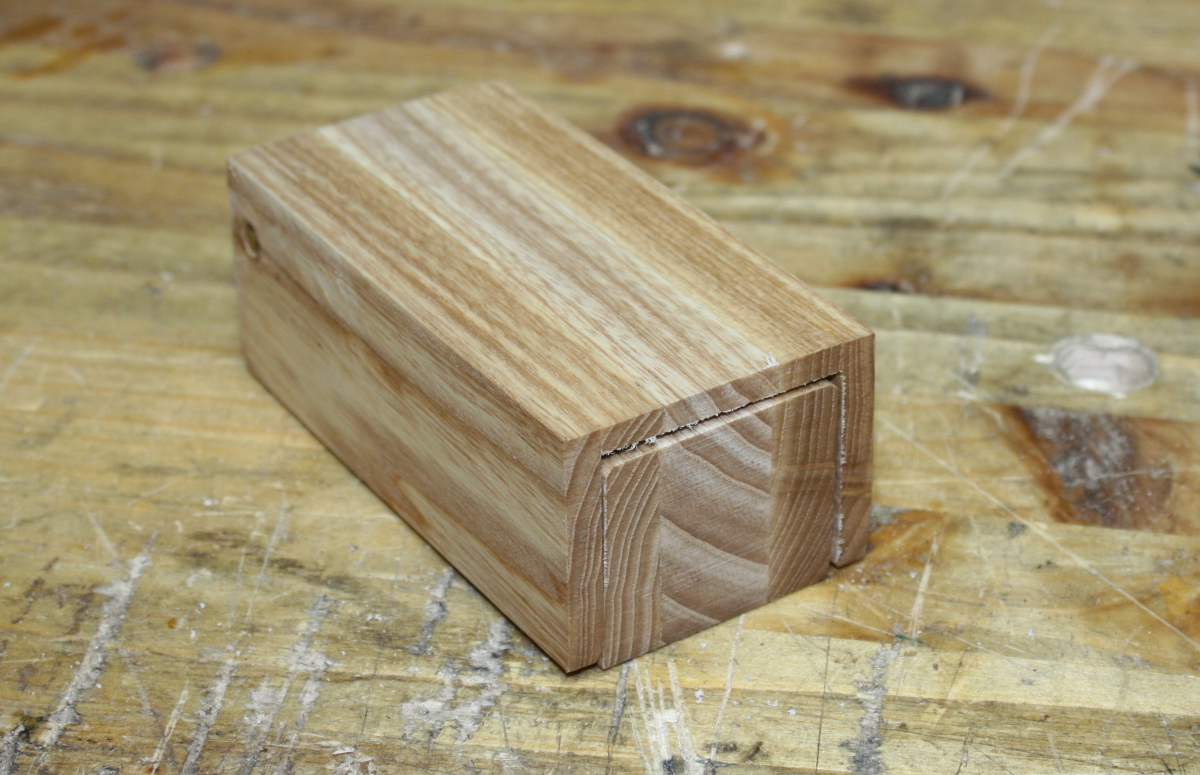
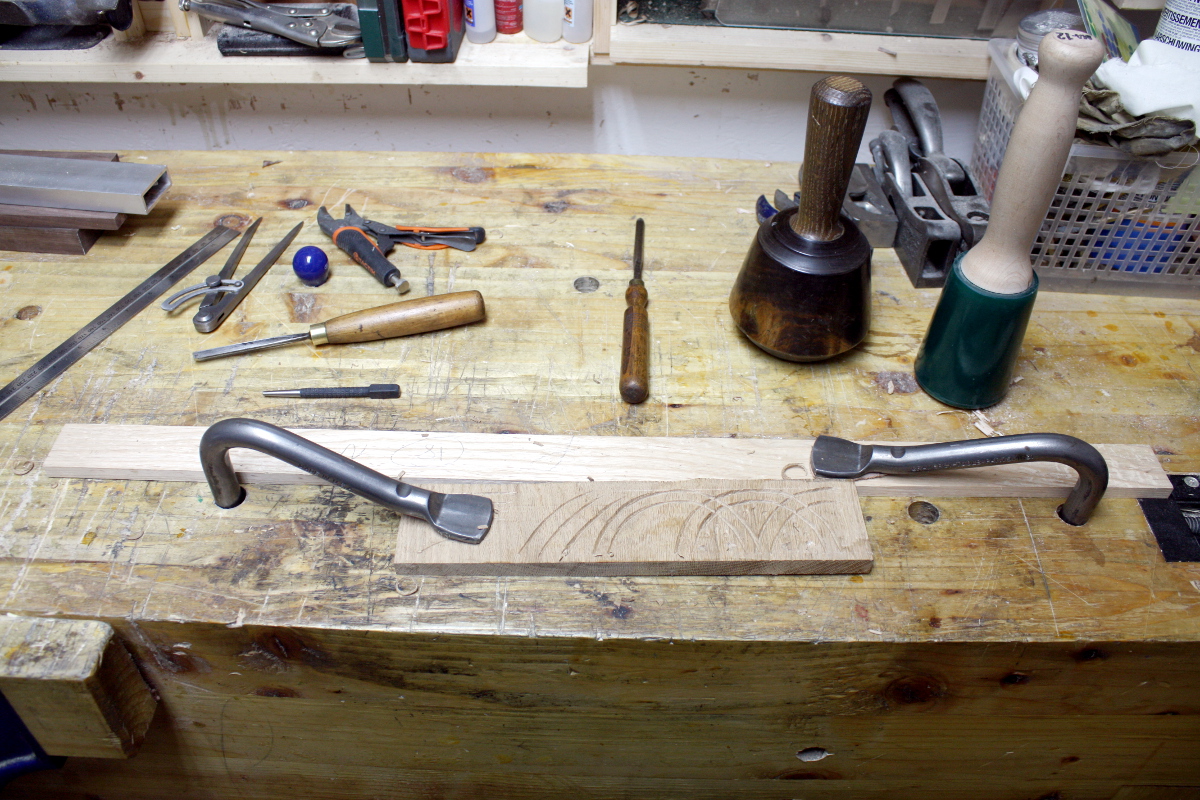
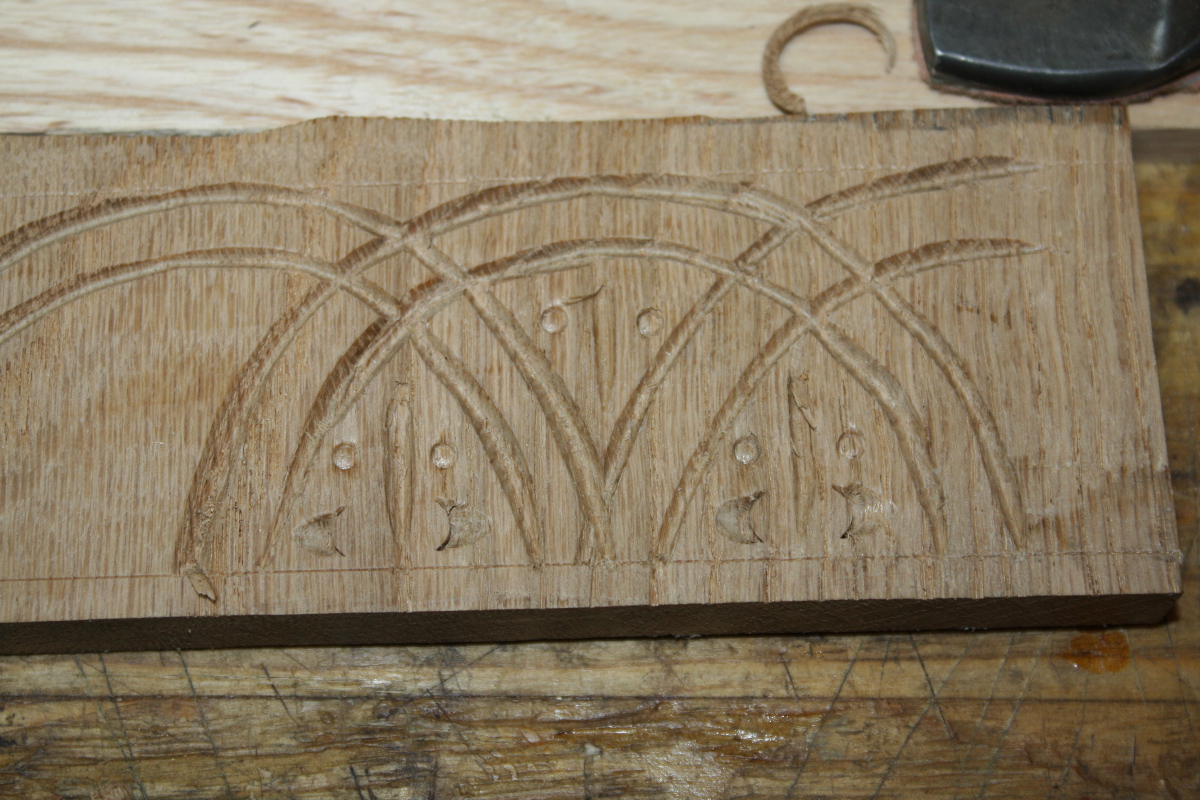
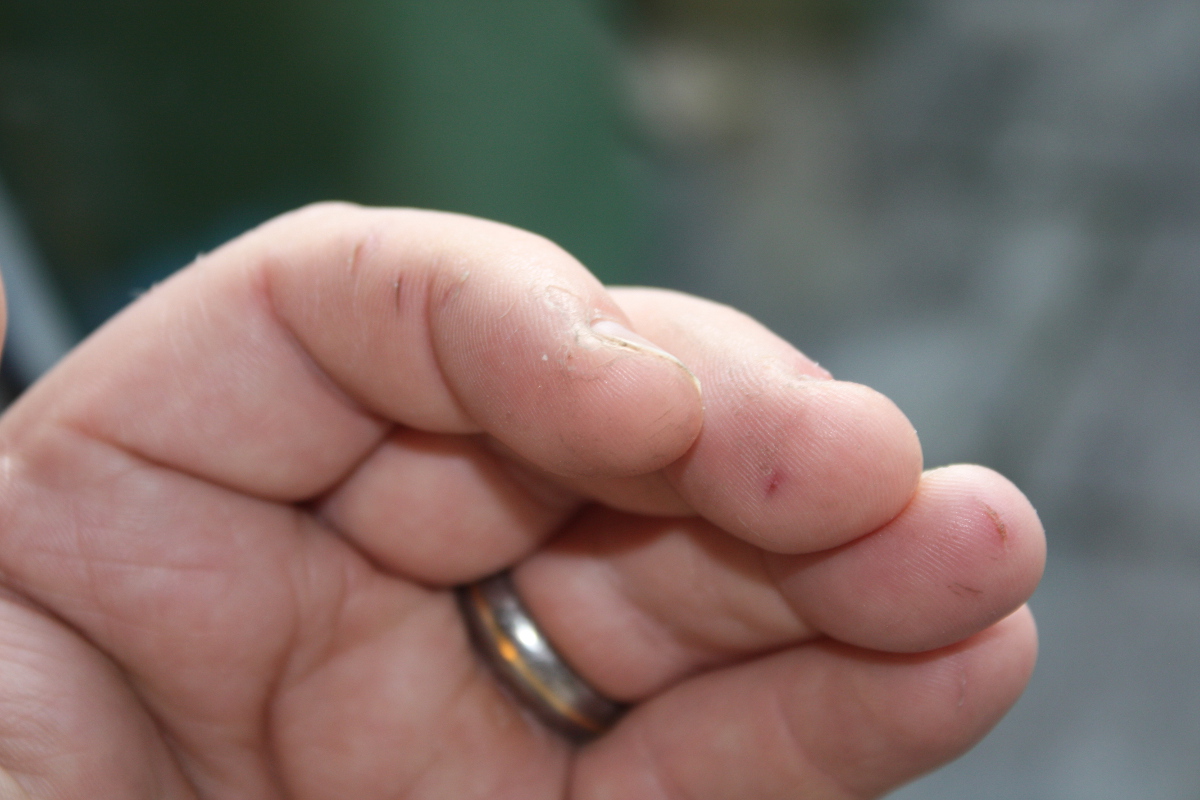
I have no idea what it’s for by the way, I just wanted to use up a scrap and play with making a brass hinge (learned I can’t really do it in my shed unfortunately, I’d need a proper anvil I think. Oh well).

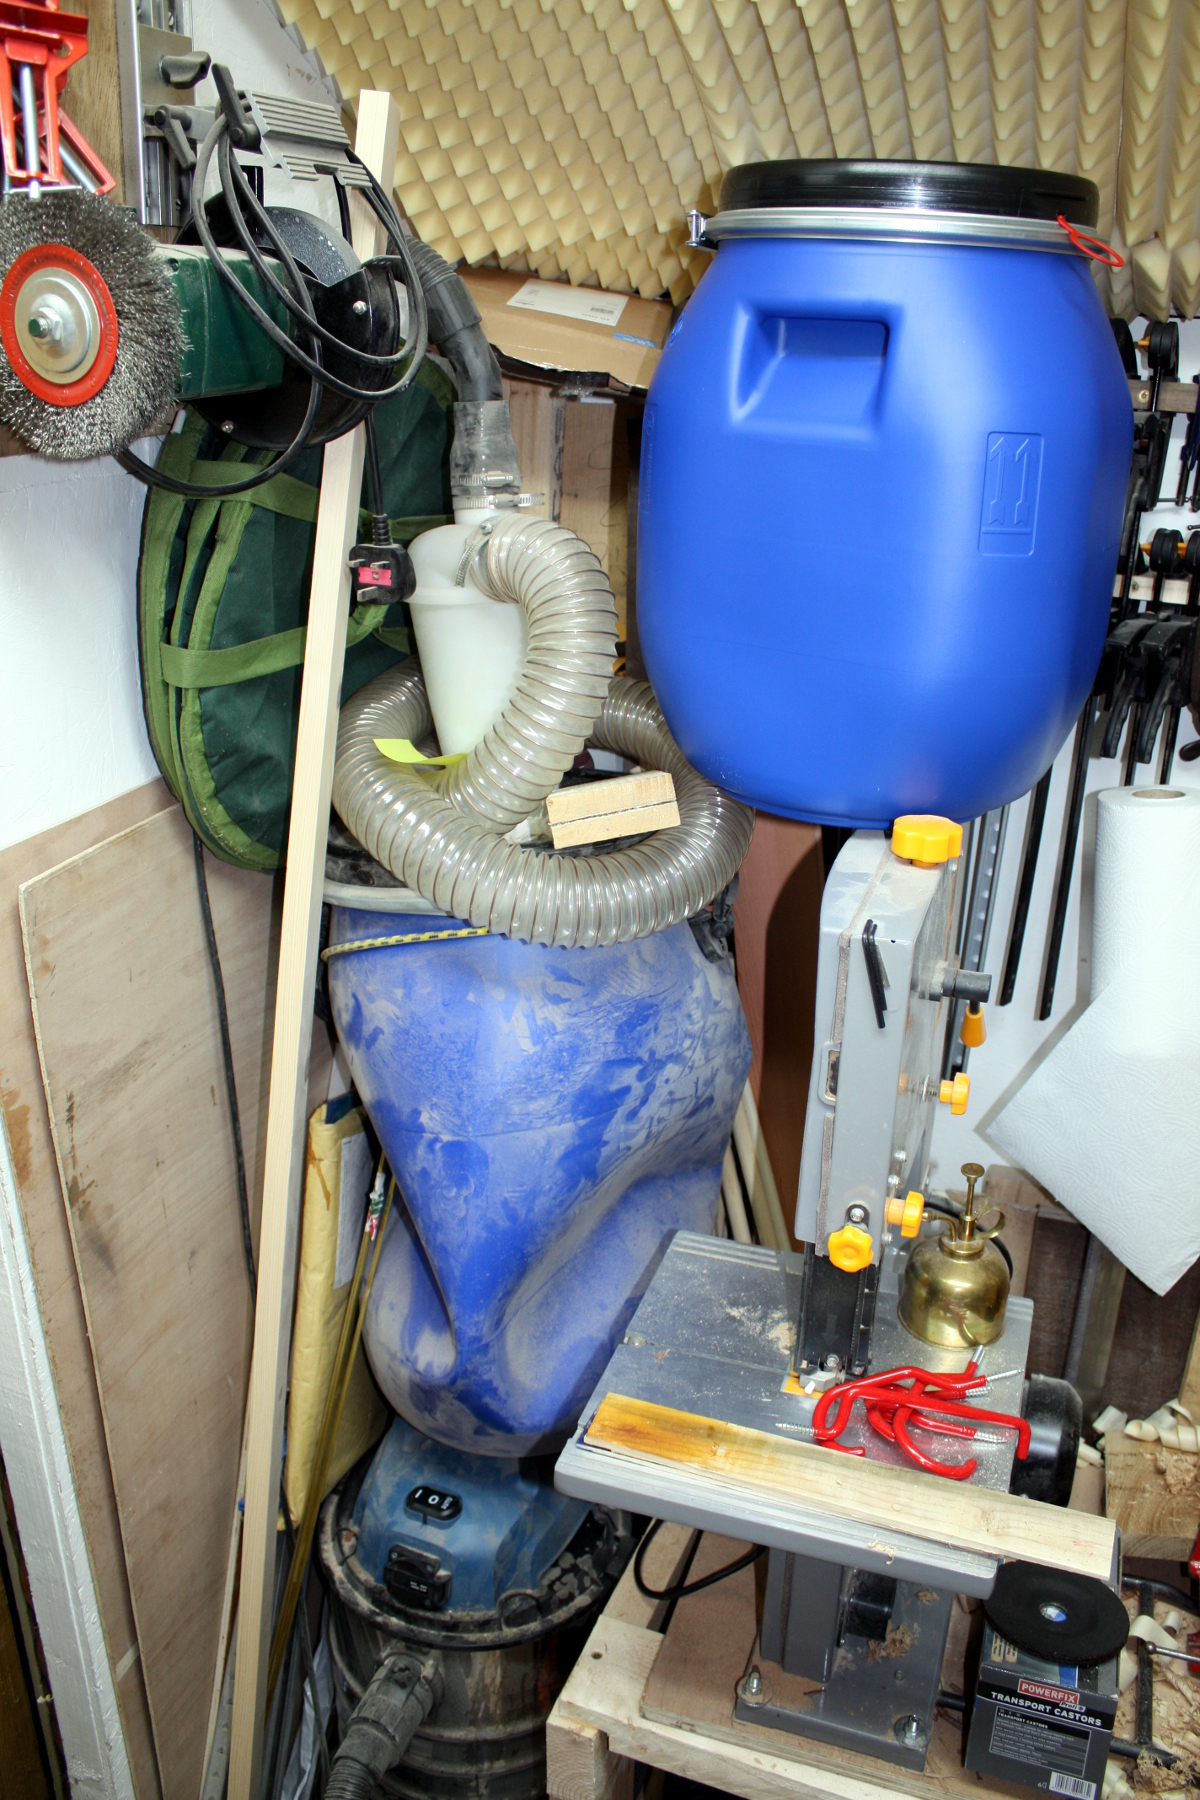
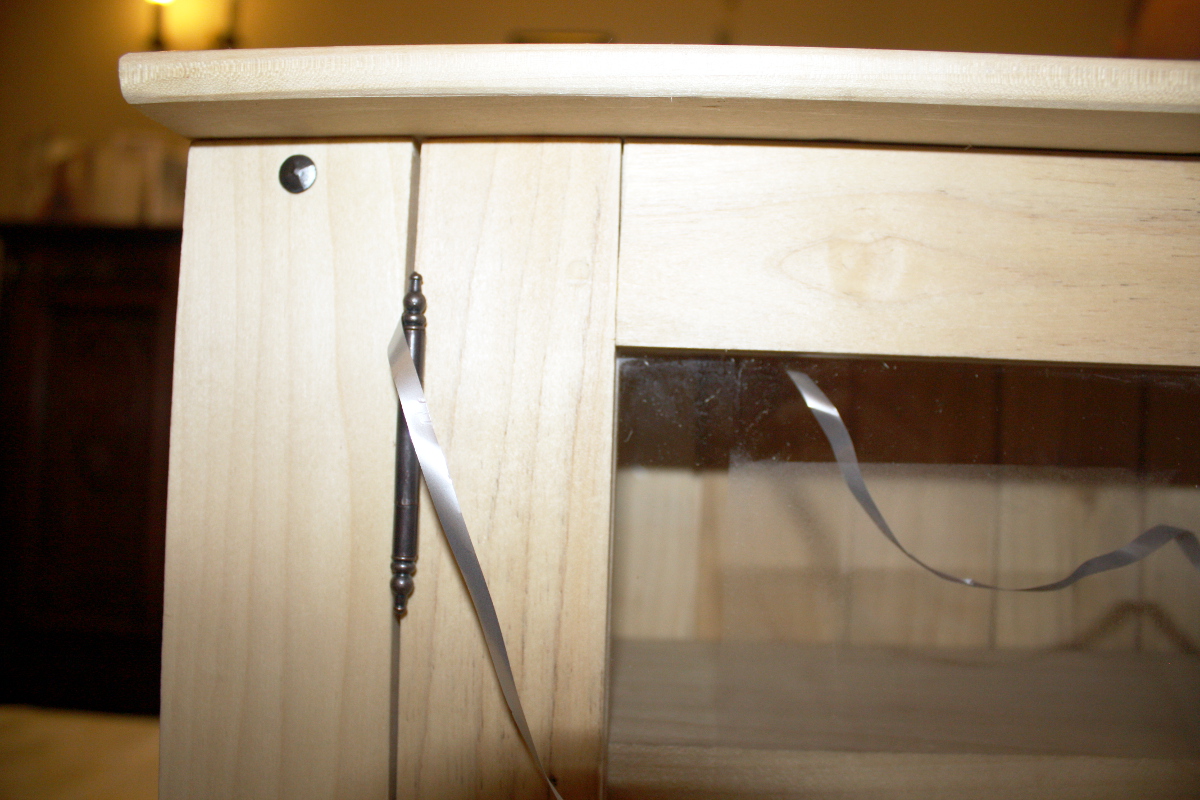
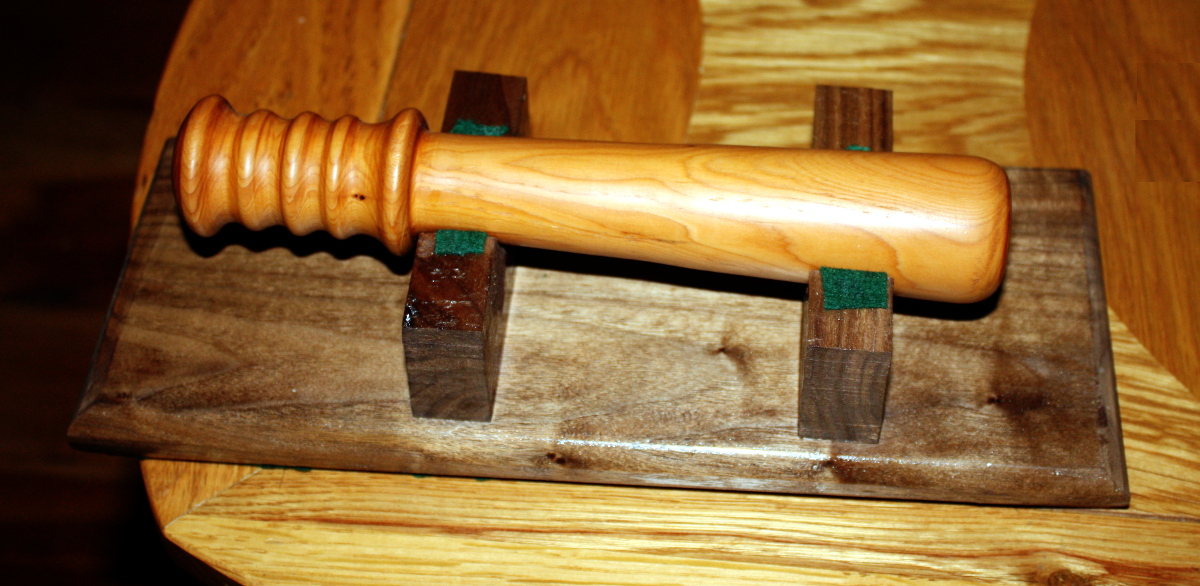
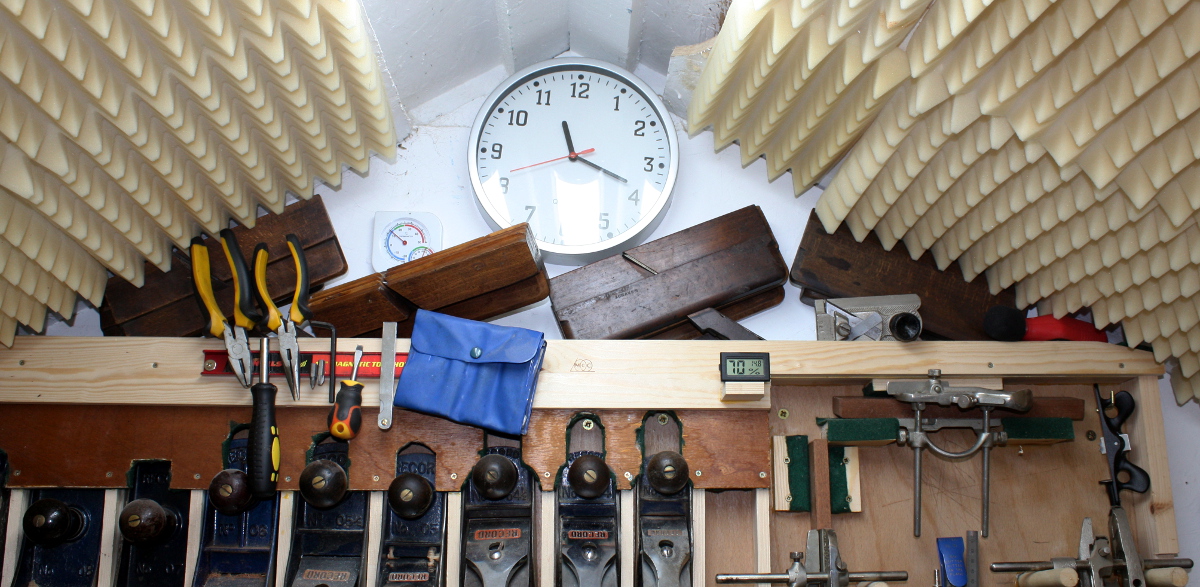
I’m almost done with the last of the tidying up at this point. Just need to sort out this guy and that’s the last big task I think. There are other things, magnetic rails and move some tools about and other small stuff, but this one’s the awkward one I think…


05
Jan 18

More small jobs and practice…

All small jobs today in the shed. Well. Was a bit chilly.

And it was colder before I turned on the heater. Not going to get much better before the end of next week either 🙁 Onwards…

Got my new japanese saw bench hook finished:

Spare offcuts of walnut and plywood, with 19mm dowels from woodies (if you’re in the US, woodies is what Lowe’s would be if they dropped their timber standards significantly and jacked up their prices by 50%). The dowels drop into the bench dog holes:

In theory this would work on any set of two holes, but it turns out there’s just enough variation in spacing that it only works for this pair 🙁 Next time I build a workbench, I’ll be a lot more precise with a few things and dog hole placement is one of them. Still, this is the best placed pair for sawing for me, so it could have been much worse. Tried it out in anger making some small parts and it works nicely. Not sure how much abuse it’ll stand but it doesn’t feel too precious. About those small parts:

Honestly, this one will be funny, bear with me…

Then some more practice with the v-tool:

The results weren’t terrible but lots more time needed I think. The practice pattern from Peter Follansbee’s video is a lot easier to carve if you make it simpler when you work on a piece of wood half the size he’s using – there’s a minimum resolution limit, so to speak, in oak and challenging it is not conducive to decent results. Still though, a ways to go to get from this:

To this:

But I think it’s a small improvement on this:

And then I got out the old oilstone and a 10mm dowel and some sandpaper and took twenty minutes to sharpen up the #7 hollow and the reeding plane I got before xmas and gave them a try. I still need to work on the hollow, but the reeding didn’t go too badly.

It’s a bit hard to see here, but the two beads were nicely formed for most of the length of the run. It’s a bit of a faff setting up the plane, but when it’s set, it’s sweet.

A bit of practice with the gouge later and I got to see what I bought it for:

A lot easier to make those two beads with the reeding plane than with a scratch stock. A little more practice and I might actually be ready to use this on a piece.

About that oilstone. I’ve had it for ages, it was one of the first things I ever bought for woodworking, but I’ve never really used it much – never liked oilstones, they’re mucky things really compared to diamond plates – but it does seem to be a higher grit than my 1200 diamond plate. I was planning on getting a D8EE plate later this month (DMT, 8000 grit) because I thought I was about ready to add another step up in grit to the sharpening process now that I’ve got the hang of the basics; I might just try using the oilstone in the interim. It probably needs to be flattened though, and I don’t really know what grit it actually is; must find a way to test that, even if it’s just “polish something on the 1200 grit plate and then on the stone and see which one left the larger scratches”.

And there was a bit of fiddling about with parts for various other builds that are in progress right now, like this one:

And this didn’t work too badly either, but I can’t pein over the end of the nail so I’ll order some brass rod stock to use as the hinge instead.


26
Dec 17

Done…

Next year, we’re rescheduling christmas. End of discussion.

This year, Christmas Eve started with a quick run to woodies for small brass hinges. Then to the shed and…

Awkward planing setup needed to plane the outside of the carcass (the inside was planed before glue-up). I know it doesn’t look too awkward, but that’s because we need to zoom out a little and let you see where you’re standing when working…

The spot is that one there behind that small green case on the floor, between the bench and the tumbledrier but not past the leg of the bench because there’s a lot of small boards there that didn’t go in the main wood store. The joy of a small shed…

The downside is that you can’t really move when planing, so it’s all armwork rather than legwork. Also, the battery on the camera died so those are from the cameraphone hence the odd colors. Once the outside was planed, the carcass went back onto the benchtop on top of that scrap of leather and the face got planed until it was all coplanar and then the faceframes were glued and nailed on. I just wanted one nail top and bottom (the proportions of the cupboard don’t really work unless you drag the eye to the top and bottom, otherwise it looks overly wide), so after nailing and gluing, the faceframes had to be clamped for awhile, so it was on to the door frame.

Had to thickness and square up the rails and stiles for the door, and then the #043 made short work of grooving them for the central panel with a 3/16ths cutter and then it was morticing time.

First time using a pigsticker for this; they’re a lot more controllable than the bevel-edged chisels and a bit more than the firmer chisels (and a lot more so than the 3/16ths firmer chisel because it’s got a round handle and isn’t quite so easy to keep a grip on). I still think the half-inch sized one is a railway spike passing itself off as a chisel, but the smaller sizes are a definite improvement on things. Definitely taking the smaller ones out of the box and putting them in the rack.

By this point the face frame is done with clamping. I cut the haunched tenons and test-fitted the rails to the stiles and when I was happy all was square, drilled through to pin the joints with a 6mm dowel (through a 5.5mm hole to keep things nice and tight). Glued and pinned the stiles to one rail ready to cut the panel, and I moved on to the backing boards, while the glue cured. The backing boards just got a quick skim-planing — they had been resawn down from one-inch to half-inch boards so one side of each was already flattened and planed and that face was facing into the cupboard, while the bandsawn side was going to face the wall so I just took the worst of the fuzz off. The #778 gave a quick shiplap to mate the boards up.

Then I installed the shelf (no glue required, nice tight fit) and resawed the top and bottom panels, rough-planed the inner surfaces and rounded over the exposed edges with a bullnose profile and at that point everything went to sit in the staging area and I moved onto bookshelves, cutting them to shape (hooray for french curves) and starting into cutting dados and dovetails (ah, Sapele, nature’s way of making you ask “why am I doing this to myself?”) and gluing up the bookshelf which got left to cure.

Then on to prepping and rounding over a presentation plate for a truncheon and cutting the mounts and gluing them in place, and then finally doing some finishing and adding hinges to bandsaw boxes.

At that point I knocked off the shed for the evening and went to bake a pecan mud pie for tomorrow’s christmas dinner and lay out mince pies and a glass of tequila for santa and so on, and finally got to bed around 0200.

The next morning (Xmas day) saw the traditional 0600 five-year-old wakeup and perimeter search for fat men in red suits or their spoor, then there was unwrapping and five hours of listening to and singing along to the Transformers:RescueBots theme tune (thank you so much Nicole Dubuc).

After that, back out to the shed, trimmed the backing boards for the cupboard to length and nailed them on, cut a 3mm perspex panel to size on the bandsaw (I don’t have glass-cutting facilities and really don’t want them because cleaning up broken glass in the shed would be a nightmare), fitted it and glued and pinned the other rail on the door, then fitted it to the cupboard opening (the pinned joints mean you don’t need to wait for the glue to cure). Then the top and bottom panels got fitted to the carcass and glued and nailed in place (after filing down the nail sizes because even the smallest cut nails I had would have punched through into the carcass interior and I just don’t like the look of clenched nails because the look like what I used to do to nails when I was five…). The presentation plate and the bookshelf feet got some CA glue and felt.

At that point, everything got a quick spray of matt or gloss lacquer depending on the project (gloss for sapele and walnut, matt for the cupboard) and left to dry for an hour or so.

You can tell I’m right-handed – right hand has three or four small cuts, while my left hand has 23. That’s because you hold the chisel in your right hand and stab it into the left one 😀

An hour and some tea later, the cupboard door got hinges and a latch and I then realised I didn’t have a handle for it even though I’d been standing beside shelves of the things yesterday in woodies… so we left some gift ribbon wrapped around the door to let it get pulled open. Oh well, screwing on a handle isn’t that hard…

And that was it. Time up and we’re off to xmas dinner at my parent’s place and delivery.

For my sister and her husband, a wall cupboard in some nice clean poplar:

The dovetails weren’t terrible

And the cut nails and the top plate worked well, I thought, especially with the bronze finish finials of the hinges and the perspex panel isn’t that terribly kitsch. There is a branded makers mark, but it’s on the bottom and I forgot to take a photo of it.

For mom, a sapele and ash bookshelf (the ash was part of the original batch of slats for her granddaughter’s cot, so she liked that feature):

For my brother who’s now training for the Gardai…

Irish Yew for the truncheon, which was the super-top-secret-squirrel commission that Tom Murphy did for me (he’s got a bit of form with turning); American black walnut for the presentation plate).

For dad, a large bottle of good single malt 😀

And for Claire, some chocolates:

And some nice earrings…

Getting slightly better at grain matching, not so much at coping with bandsaw kerf in internal plugs. There is also a nice walnut desk shelf with bookmatched back rails but it’s not finished yet (some projects got extended deadlines in favour of family time). But the next few days have no shed time planned and the next shed project will be cleaning down from the last few days while we eat all the selection boxes and stay in pyjamas drinking tea and I watch Peter Follansbee build a 17th century chest and all of the woodworking videos on youtube 😀

Happy Solstice everyone…