12
Apr 20

Maintenance day

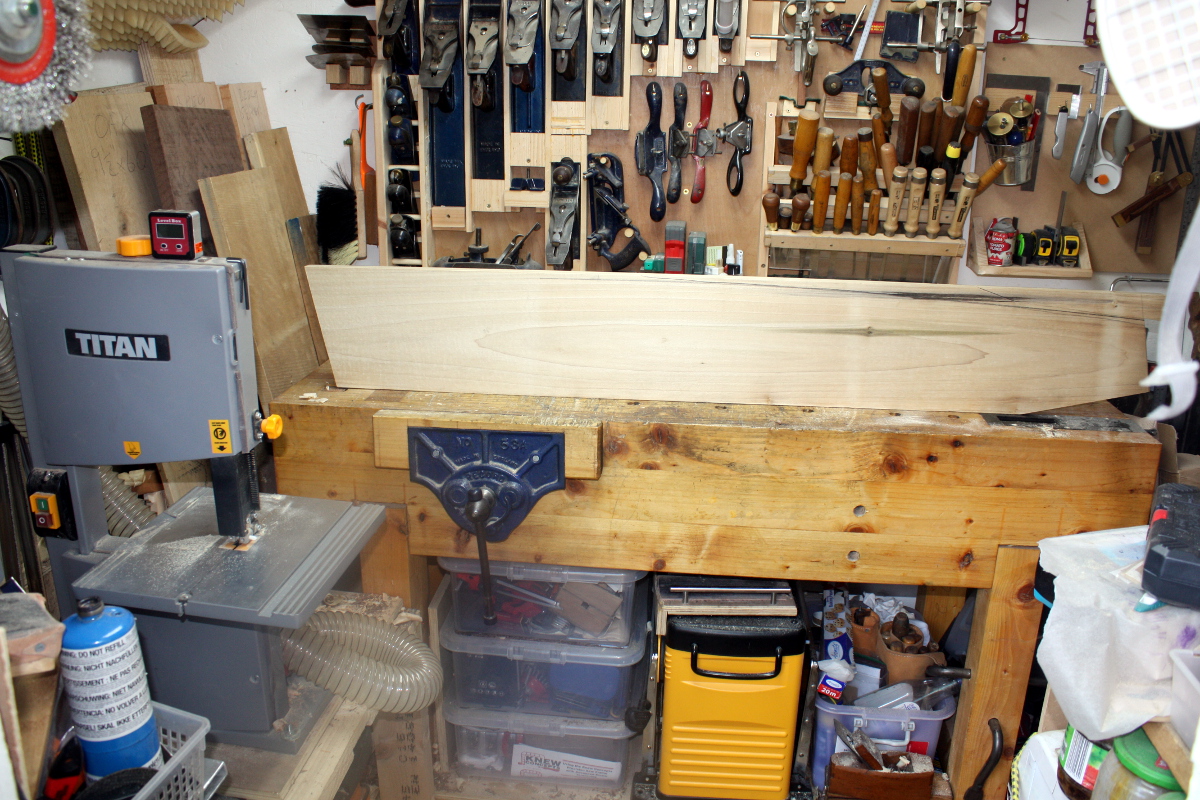
Cold wet Sunday so time to tackle a few bits and pieces in the shed that have been hanging about a while. Like mounting two magnetic strips on the inside of the door because I’ve run out of wall space for things, and epoxying some handles I turned onto the saw files.

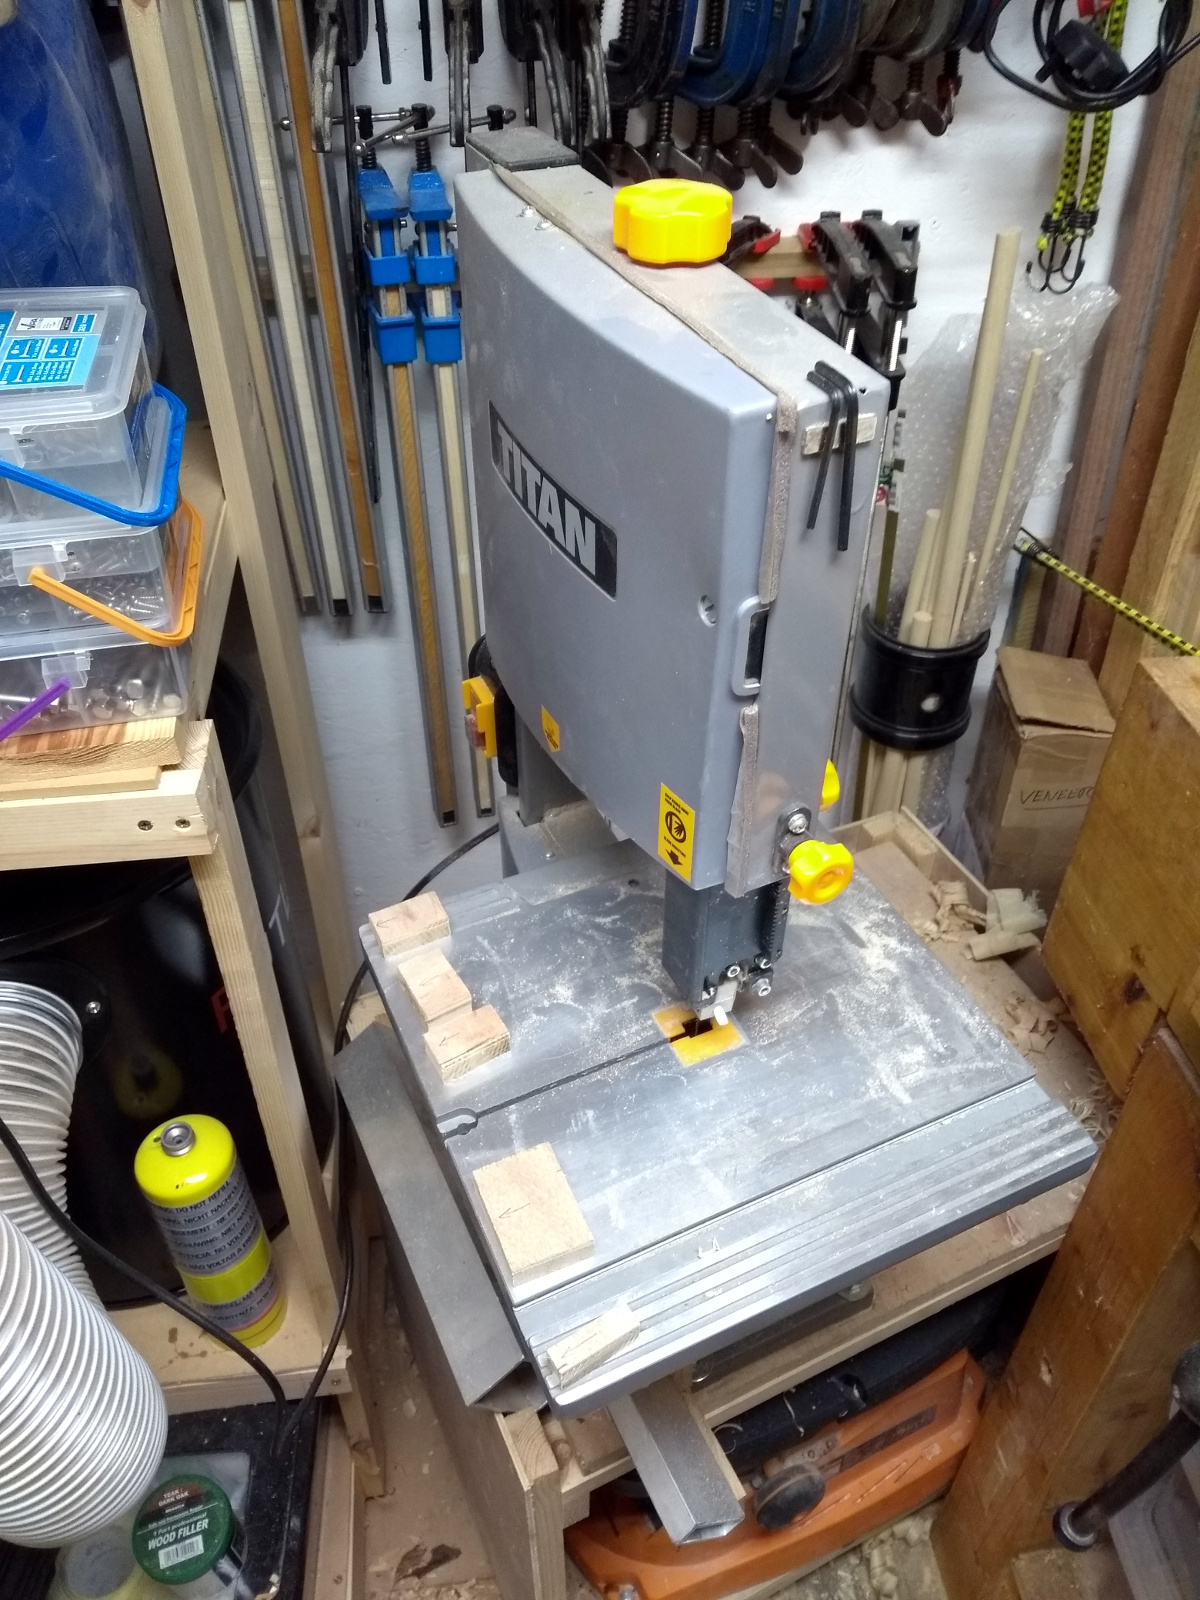
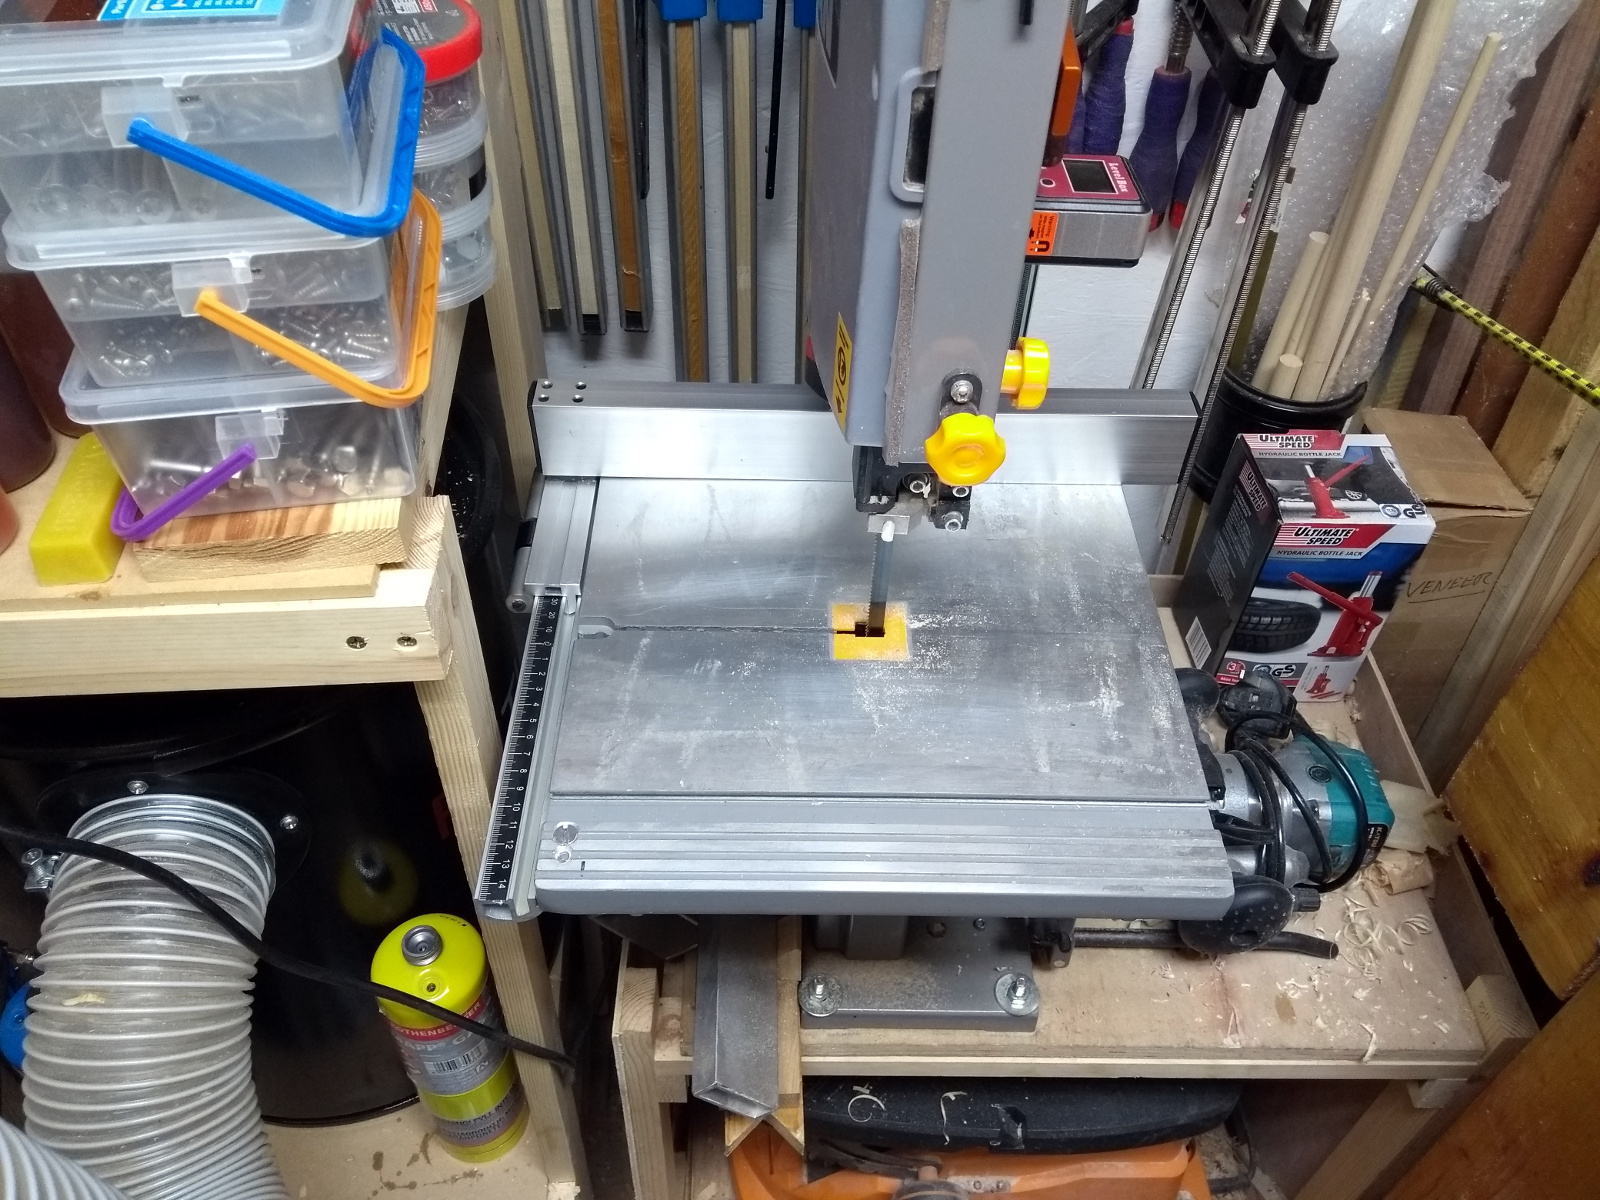
Larger tasks though involved a cardboard box that’s been eating bench space for the last few weeks. The little bandsaw that’s earned its spot in the shed over the last year or two came with a “fence”. Said “fence” followed the adage of doing one thing and doing it well, but unfortunately that one thing was weighing down a bin bag. It definitely was too cool to be square, daddy-o. But there are after-market fences (meaning we couldn’t make it well for the money, so give us more money and we can do it right). Peter Millard did a video on fitting one to his Titan bandsaw a while ago:

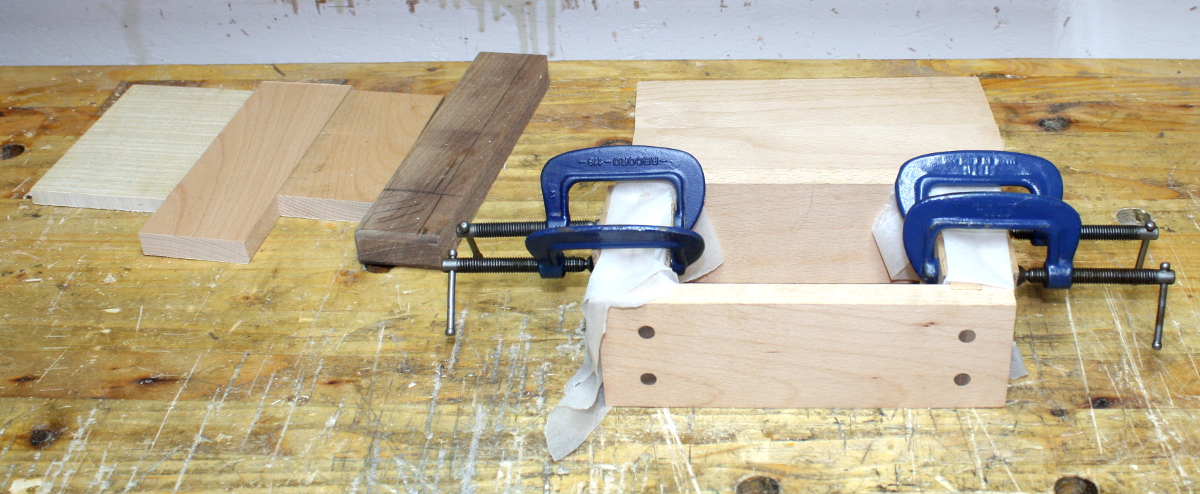
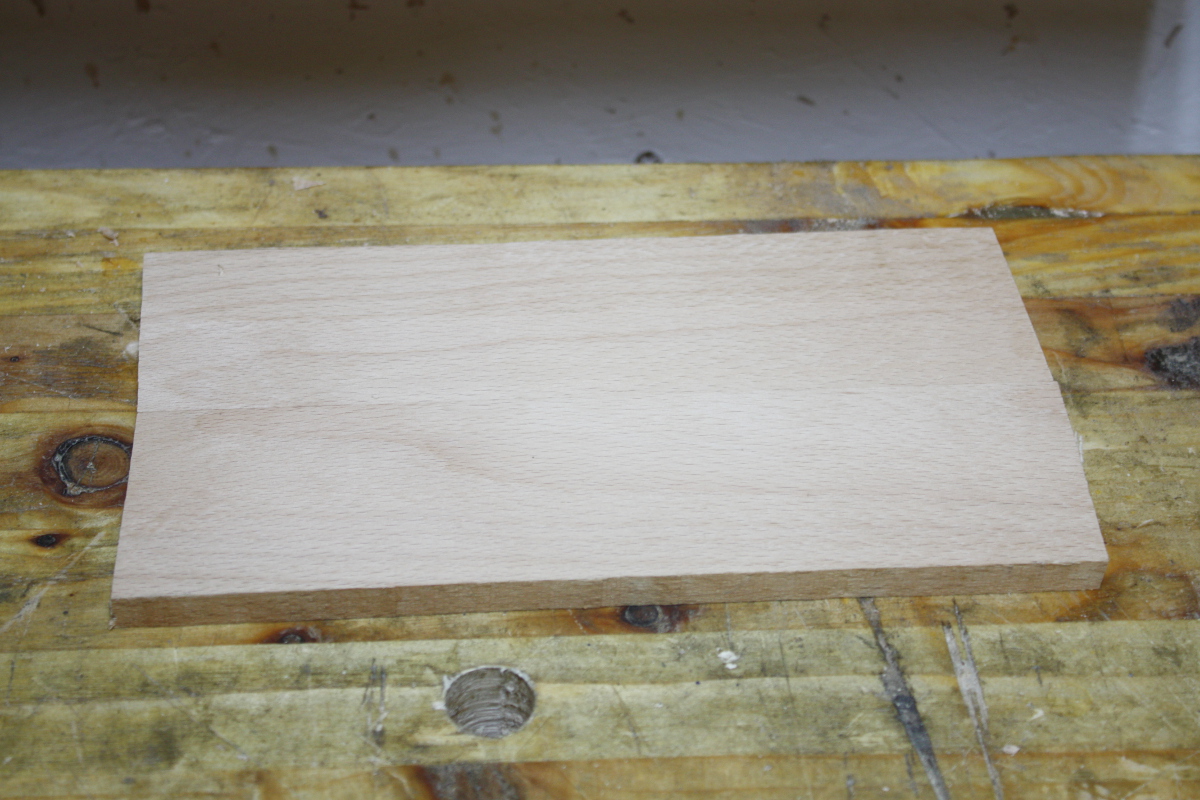
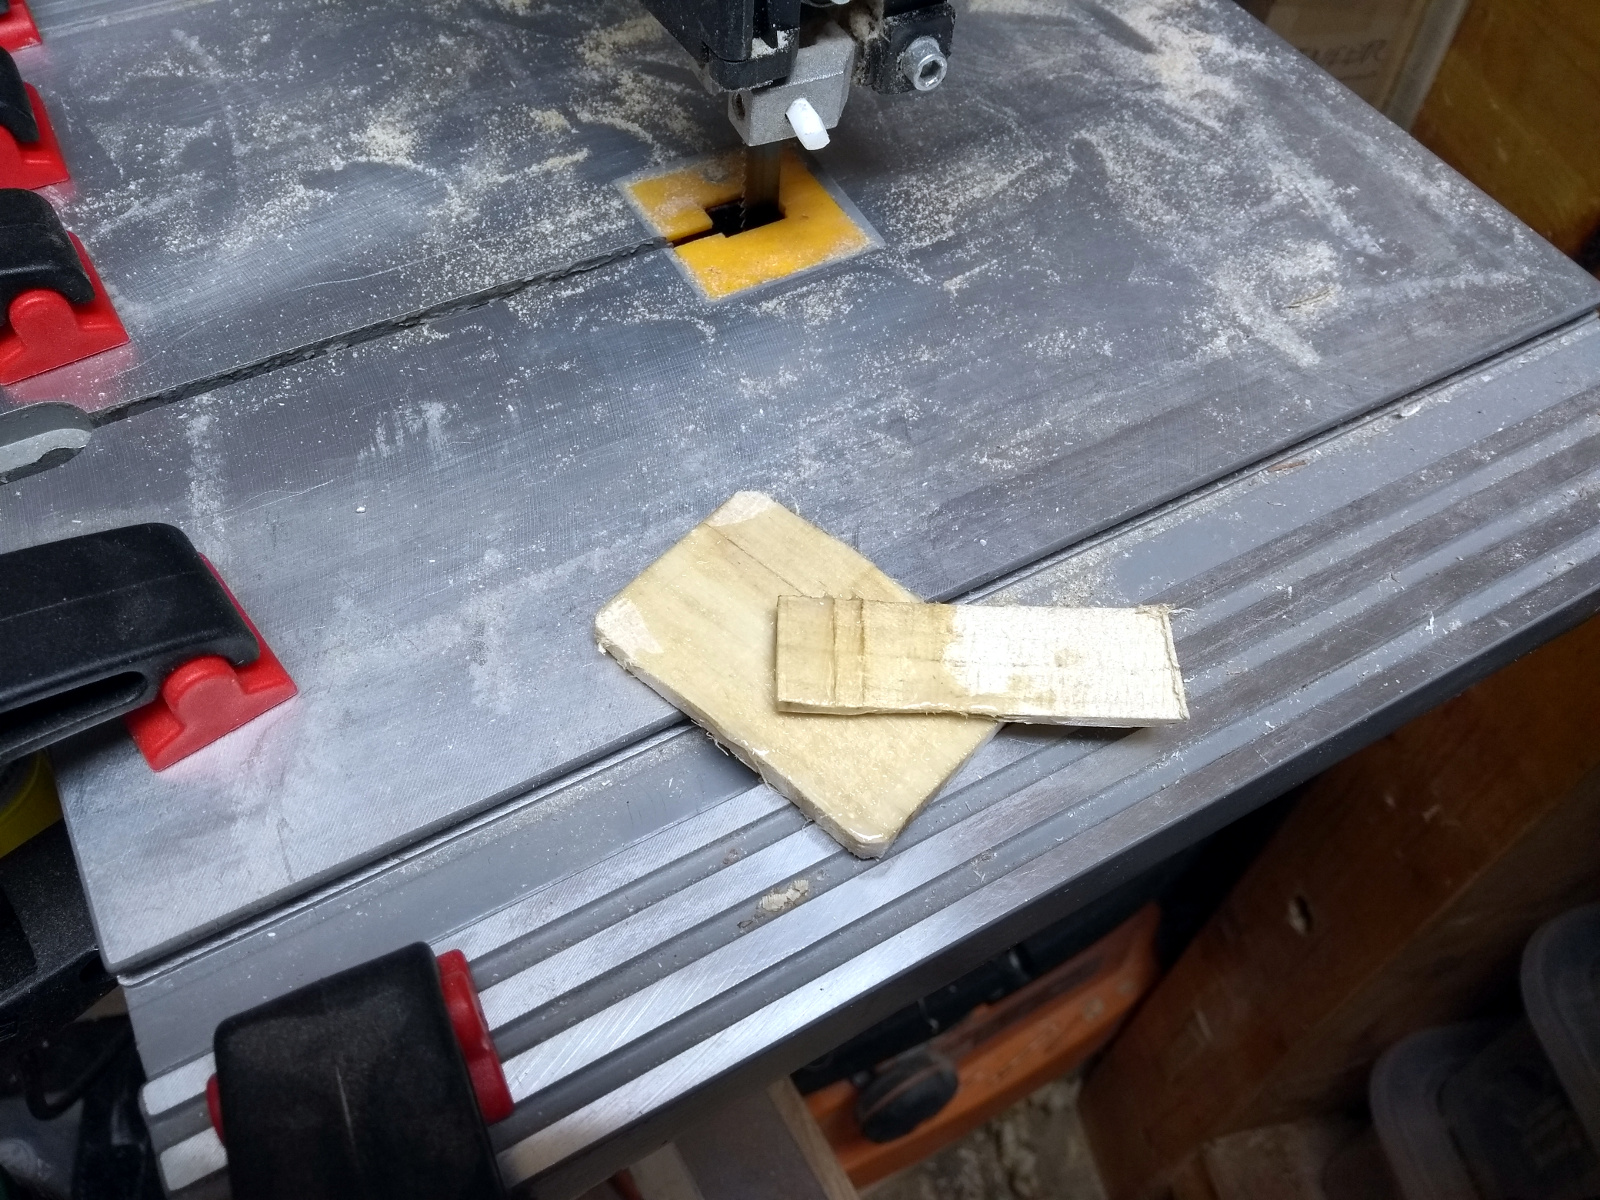
So I bought one… six months ago… so it’s aged enough to do something with it now. I’d made some spacers already.

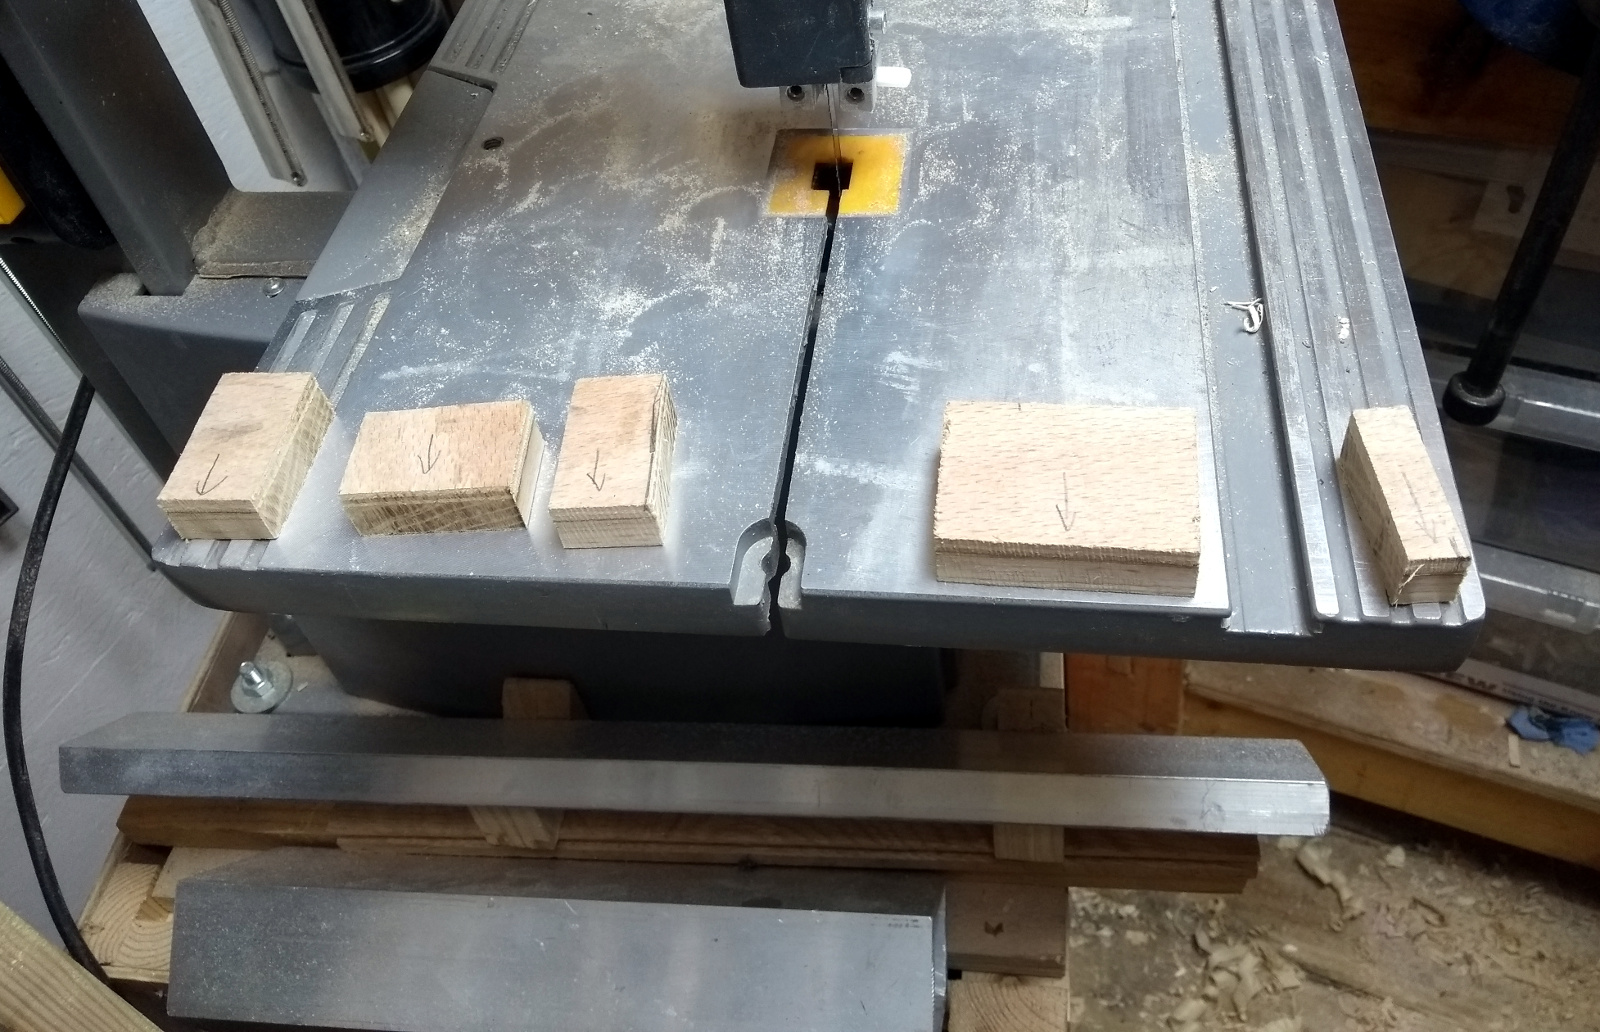
They’re cut to odd sizes because I need to epoxy them under the table so that the fence’s rail has something flat across the base to be clamped to, and the underside of this table is very irregular.

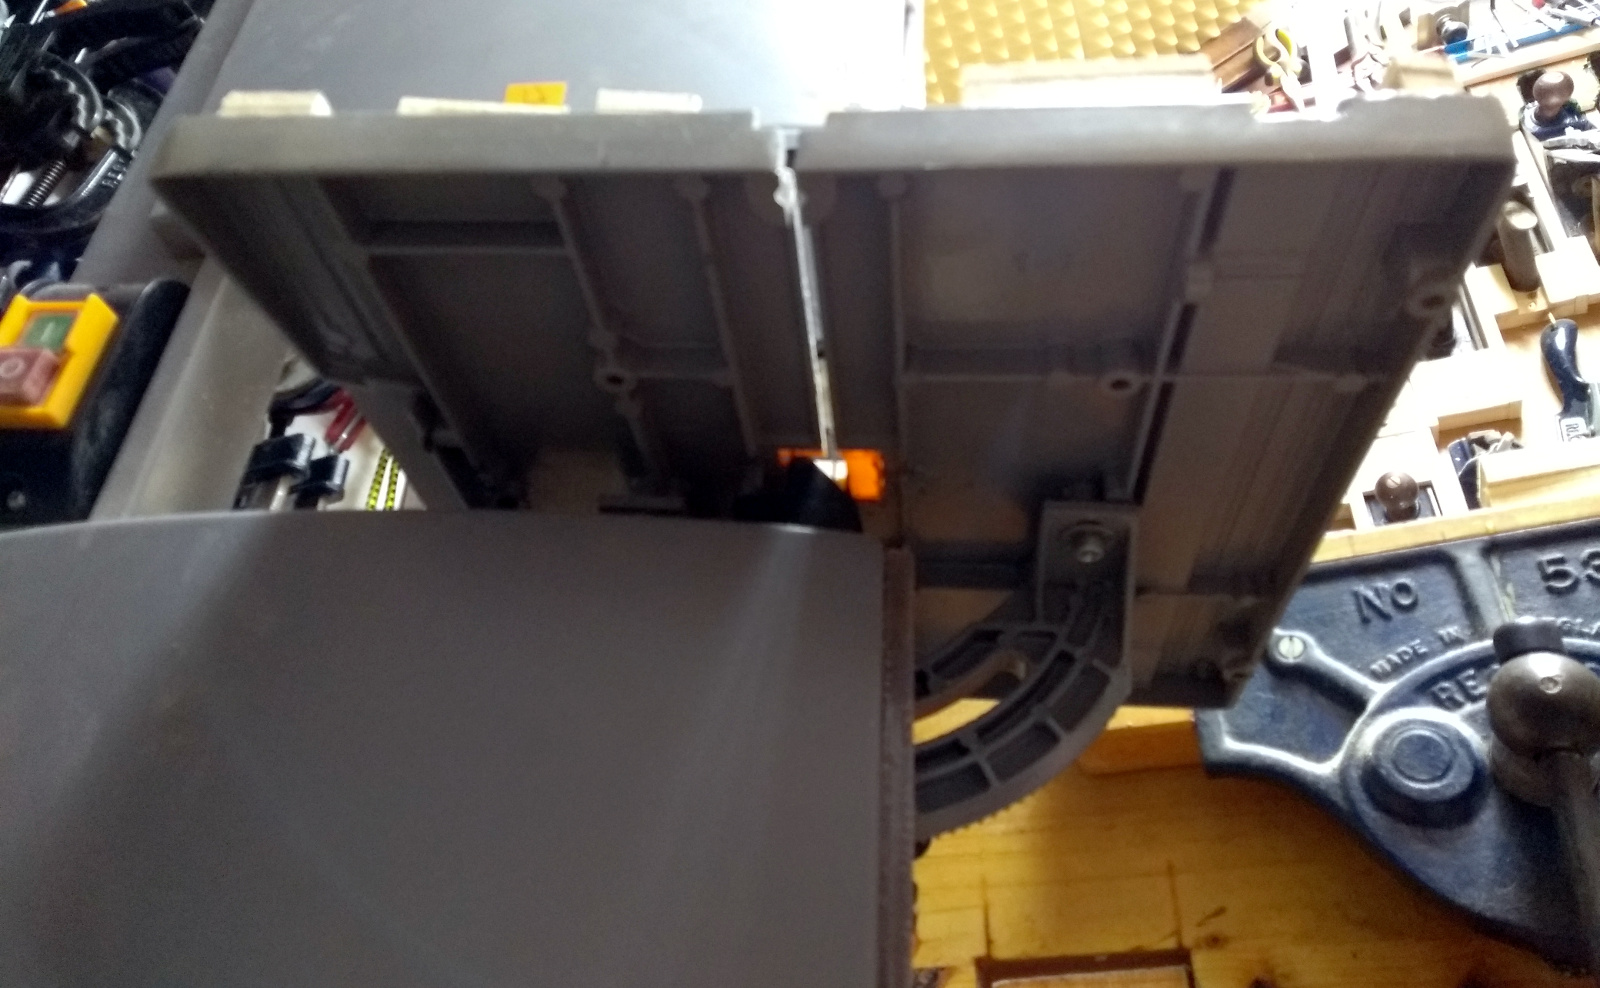
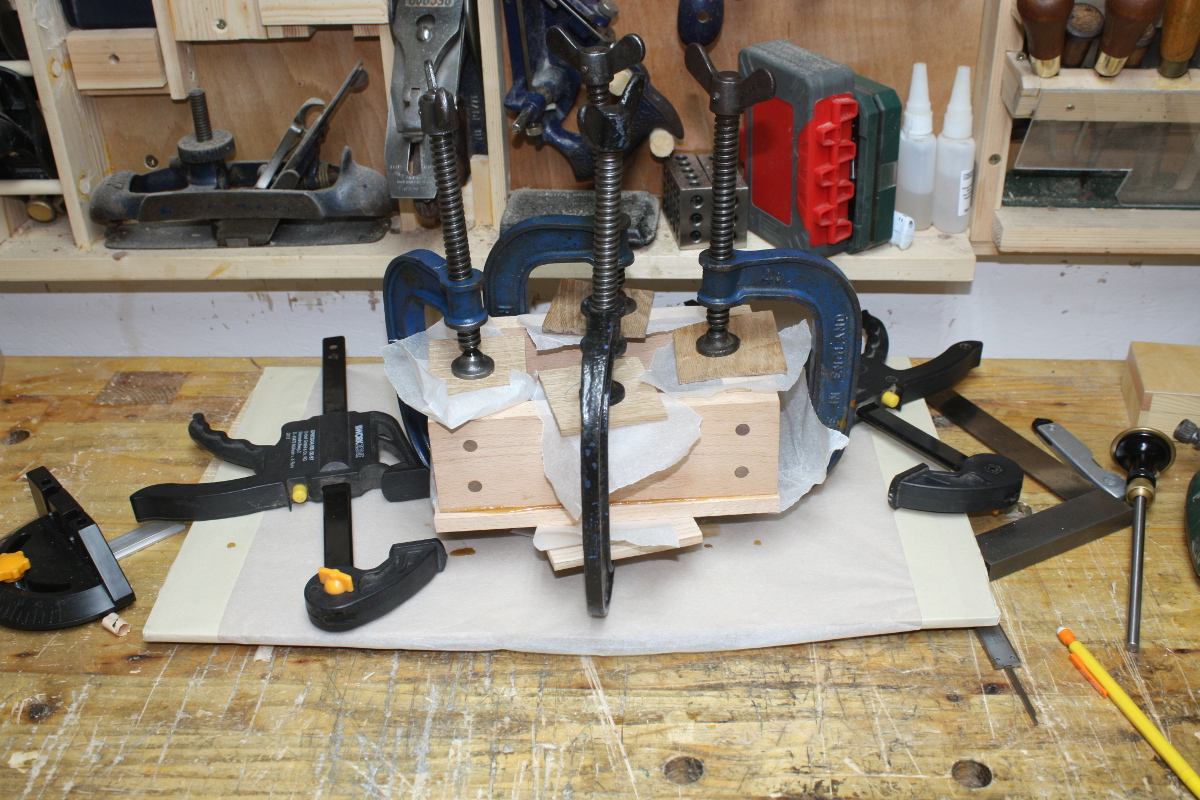
Some five-minute epoxy and a few clamps and it’s time for a cup of coffee.

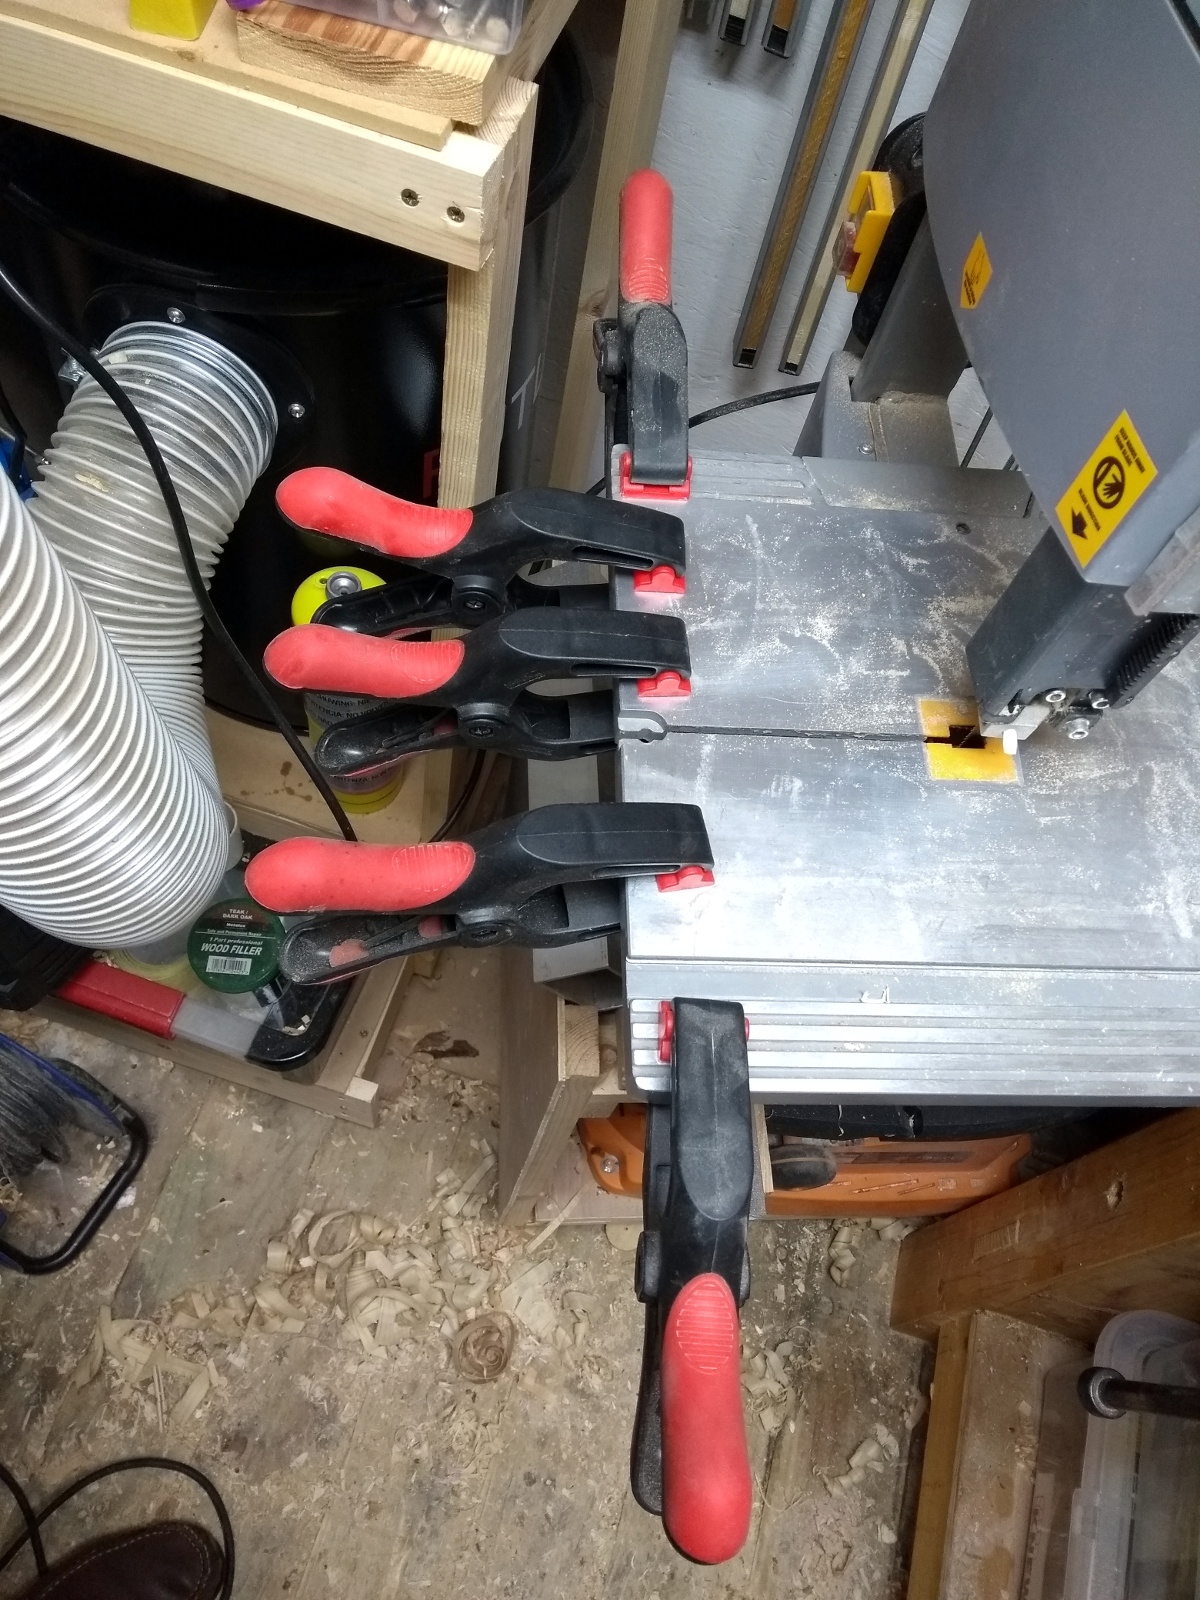
And I’m stealing Peter’s trick of leaving the mixing stick to be glued to the mixing board so I can check on the epoxy bond without testing the real bonds.

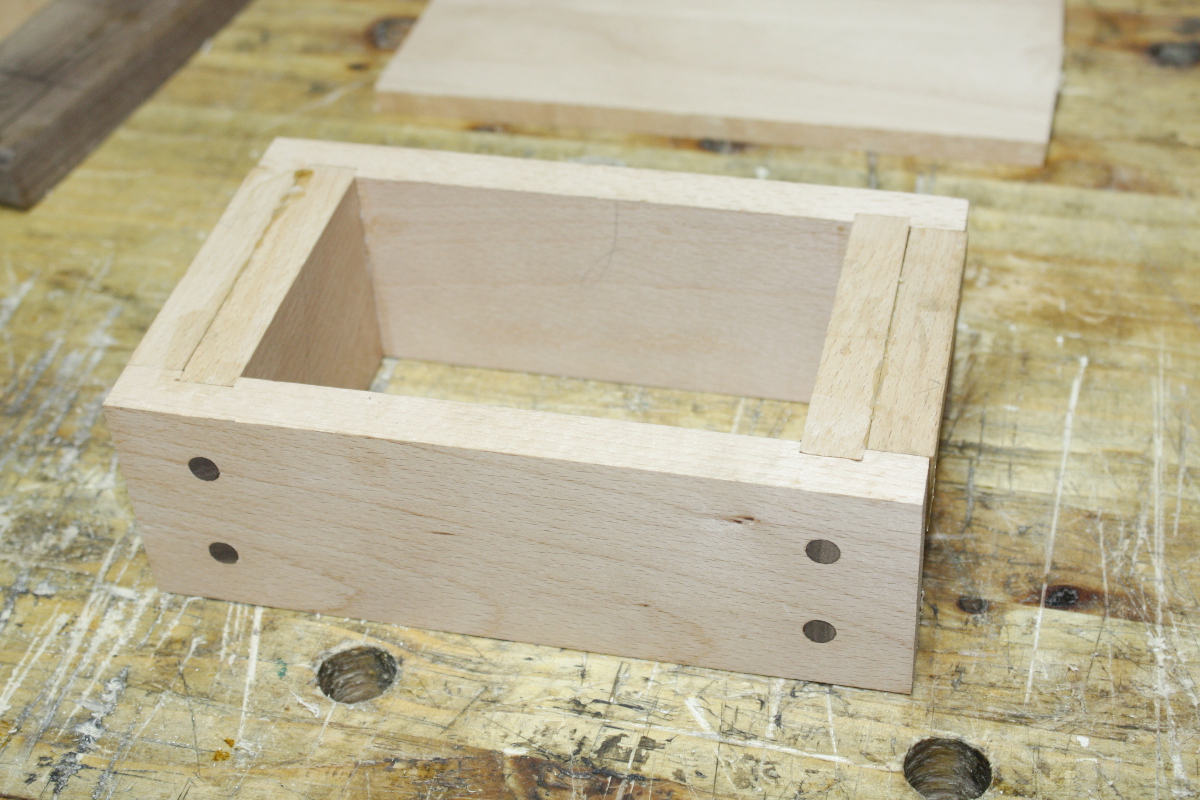
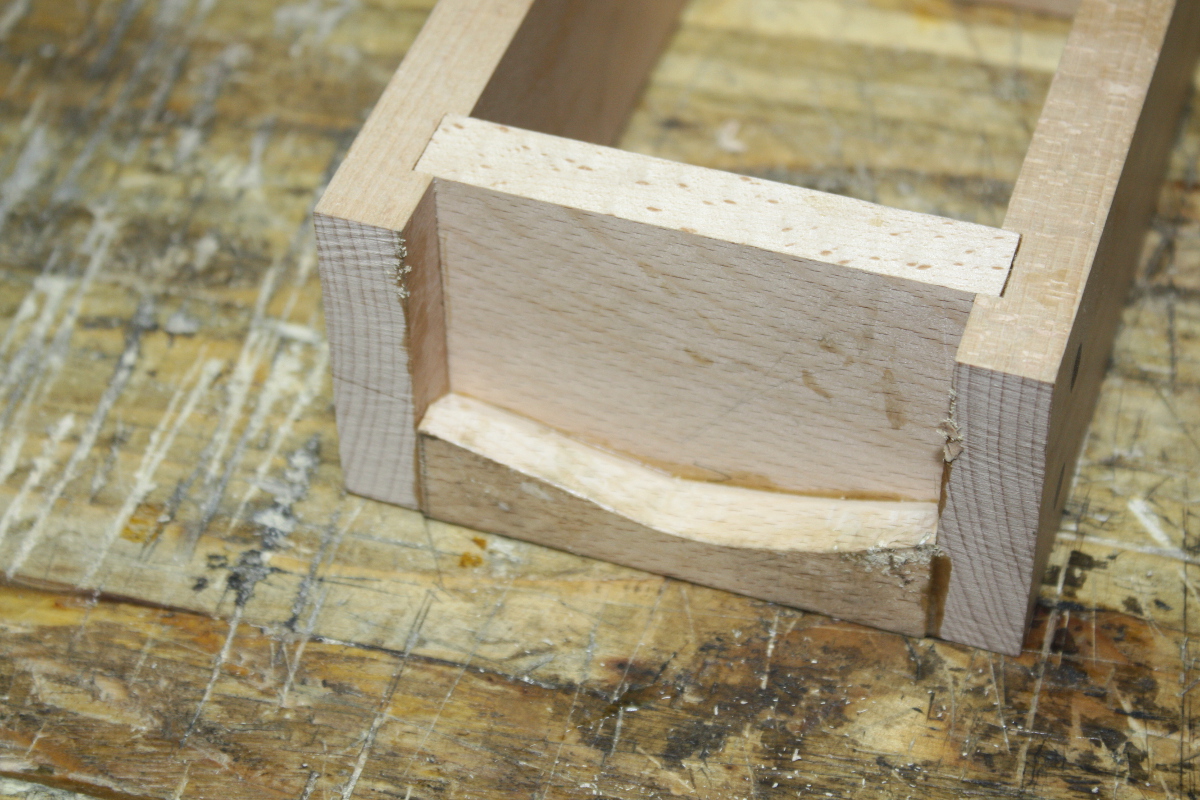
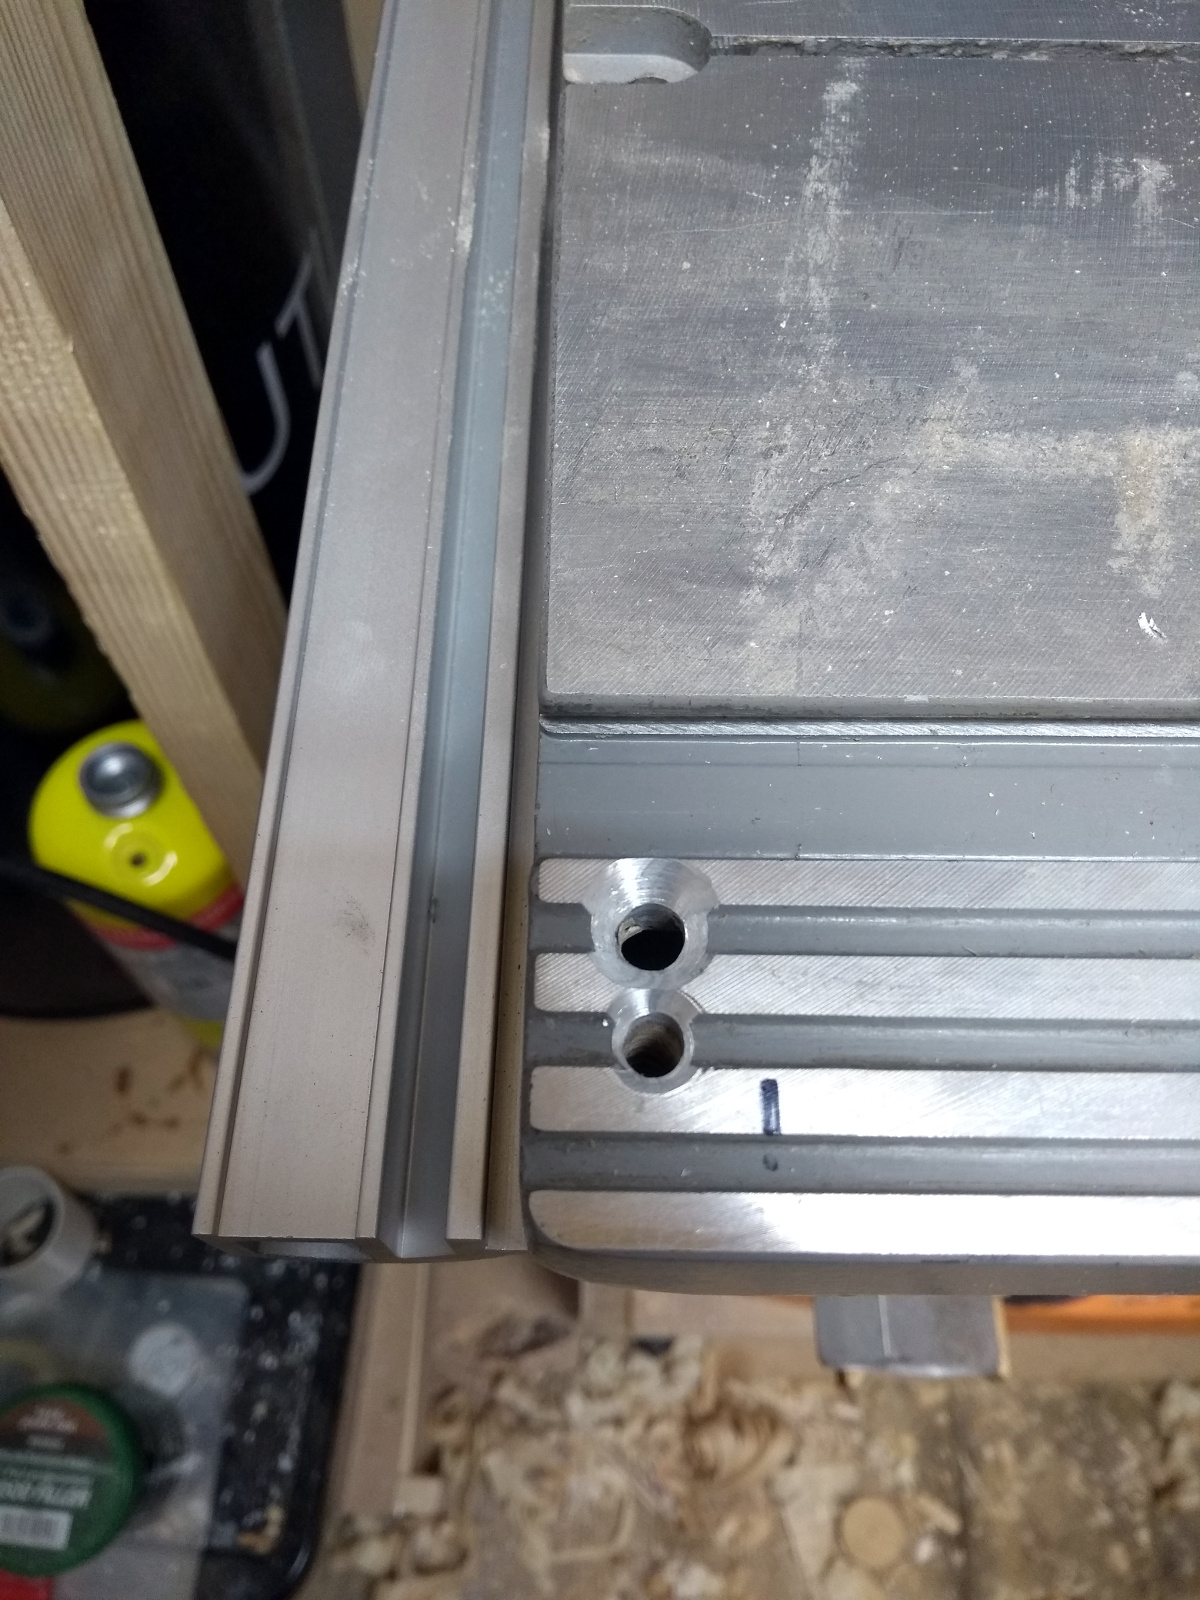
A half-hour of coffee and searching for various bits in the house unsuccessfully (I know I bought an LED floodlight for use in the shed only four years ago, it has to be here somewhere) later, I marked out the depth of the bit of the fence you’re to drill through on the table and then drilled three holes for mounting bolts, two in the right place and one spare in case I need another hole later on.

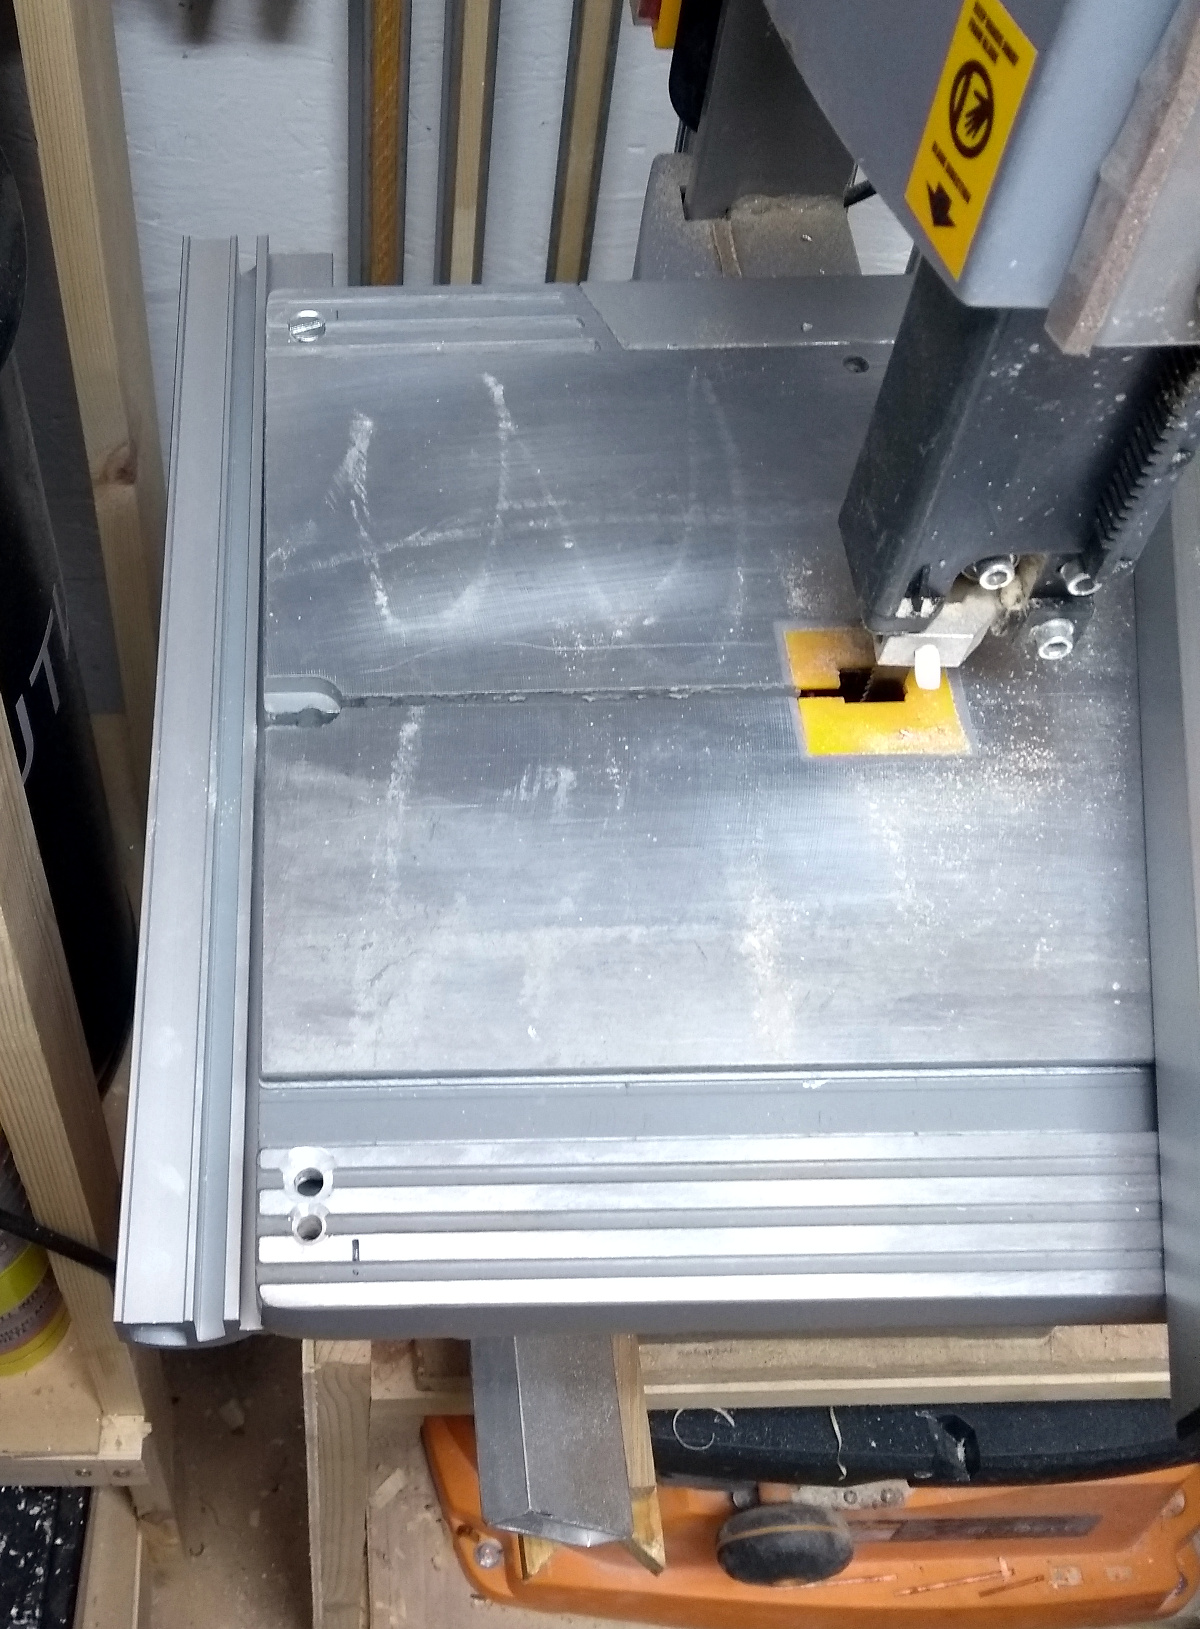
Deburred them as well obviously. I had originally intended to use M5 bolts, but it turns out I don’t have any M5 countersink-head bolts, but I do have M6 ones which is why my spare hole is a bit small.

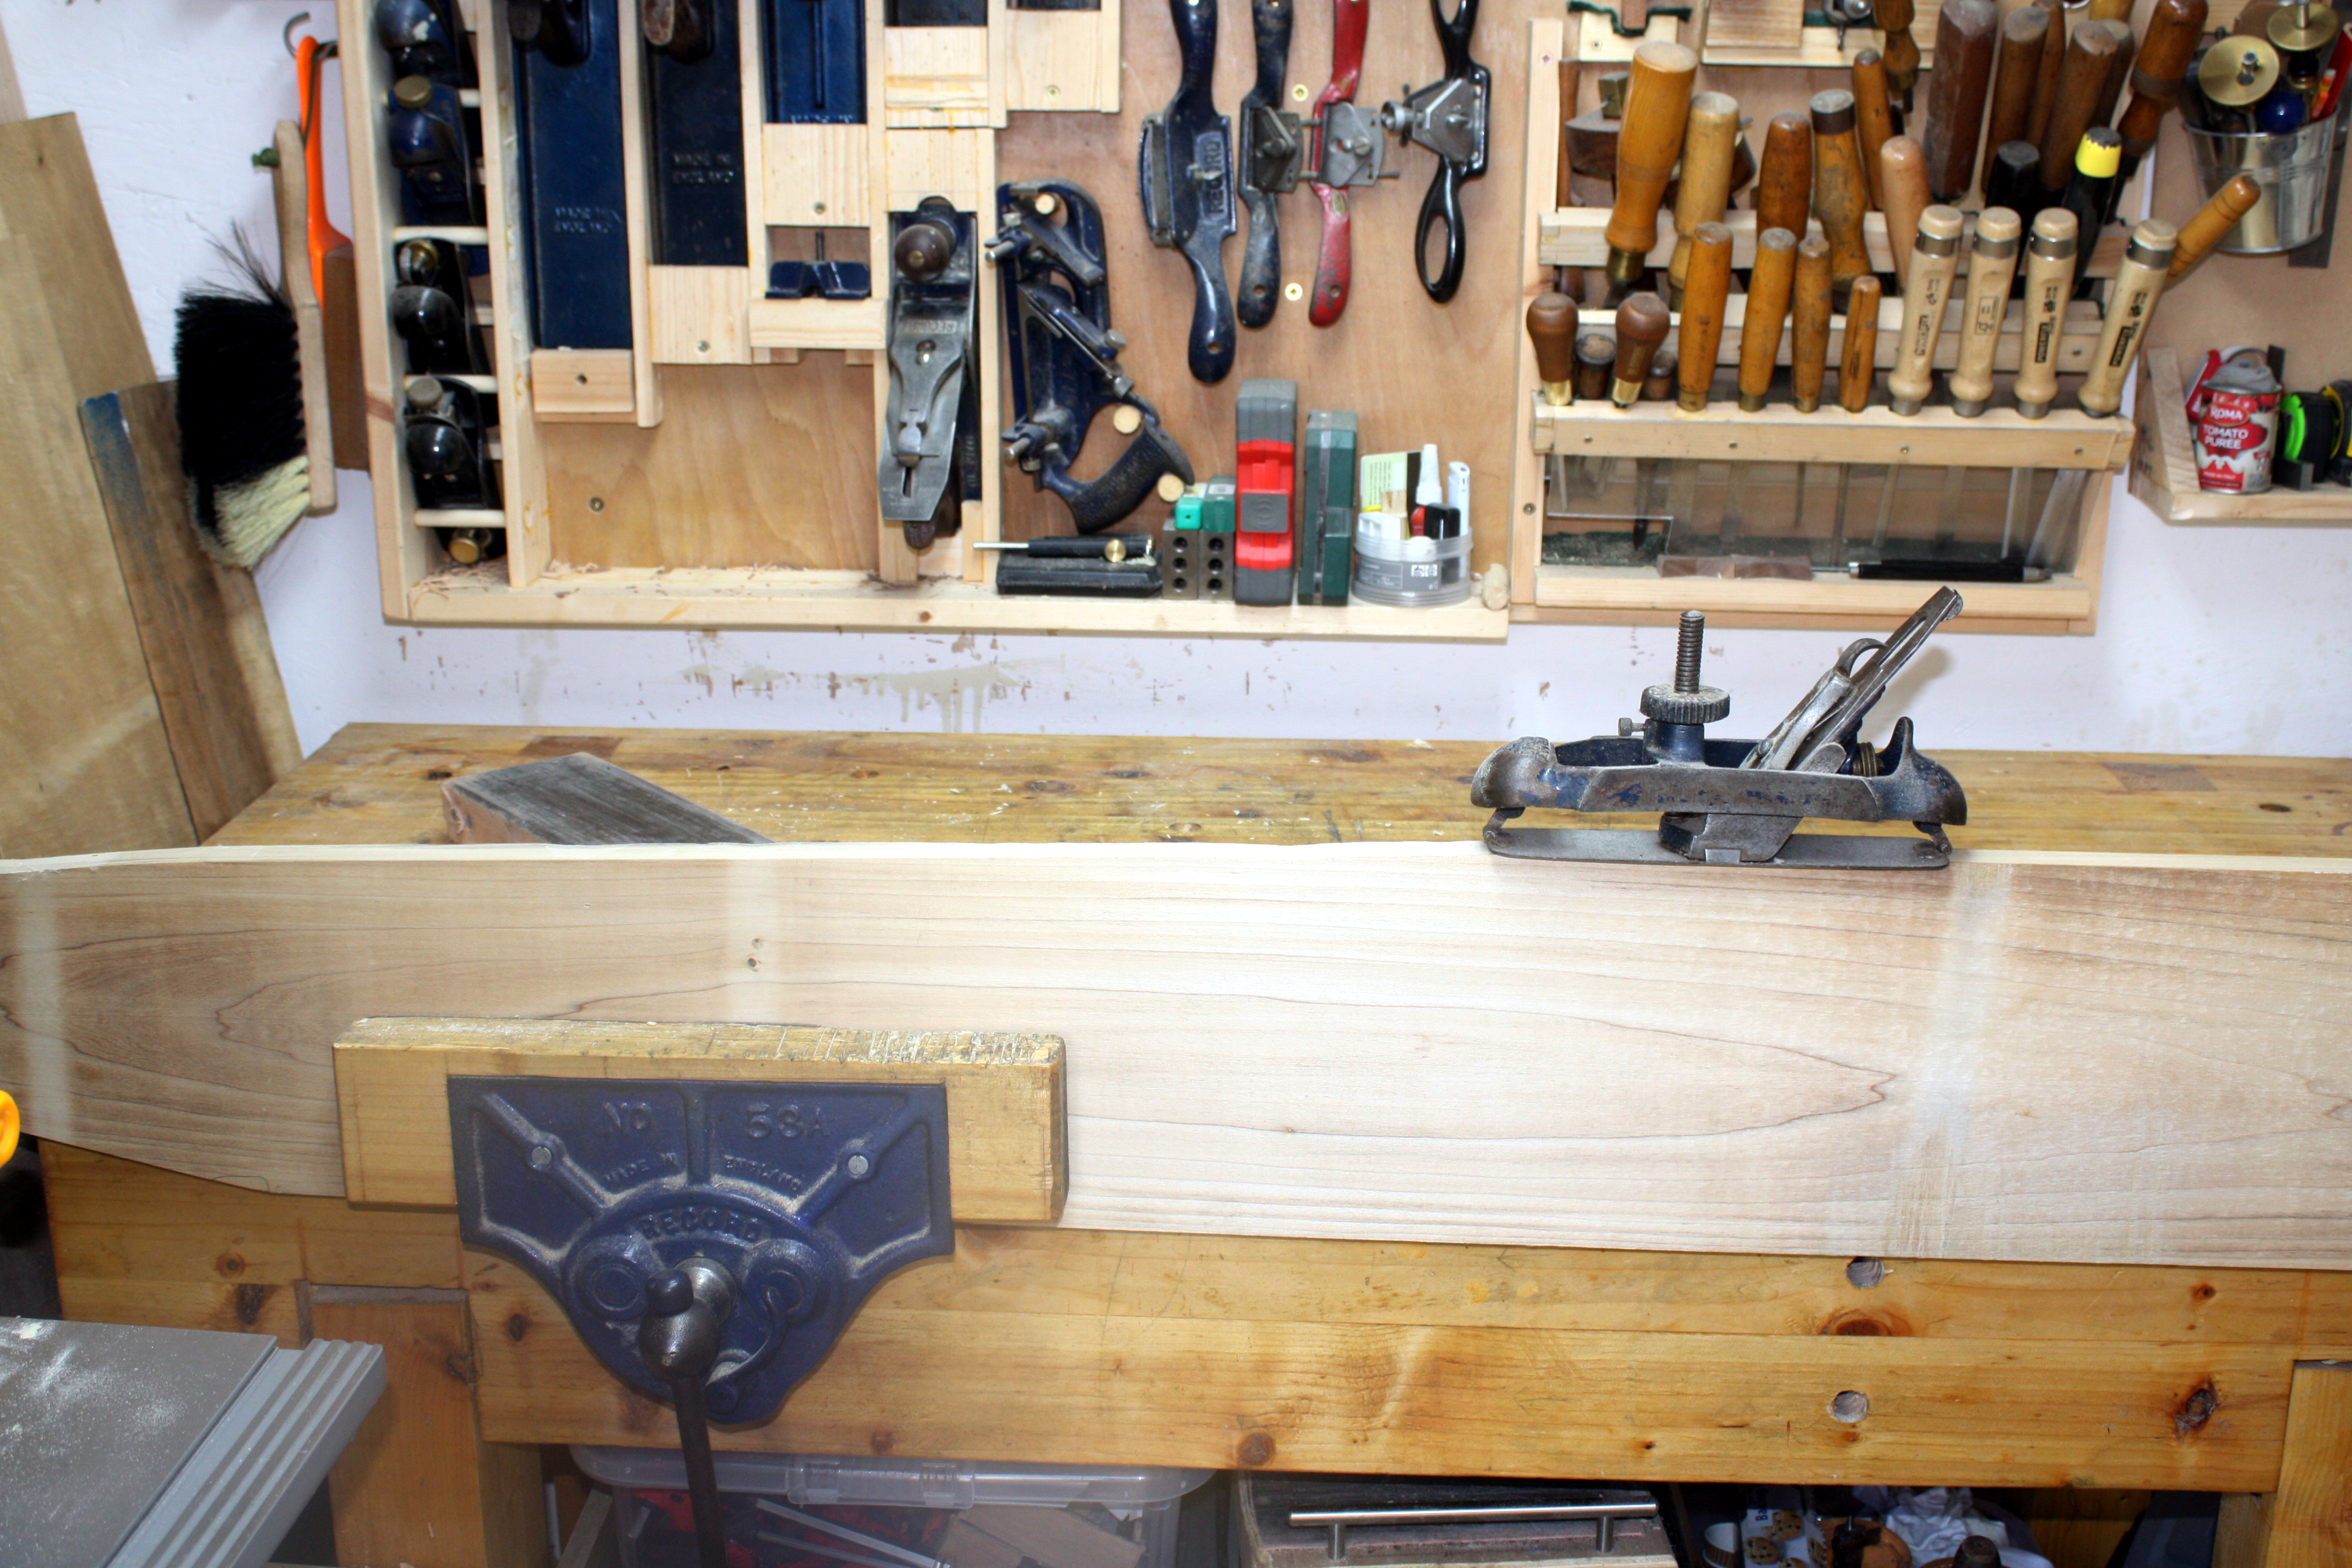
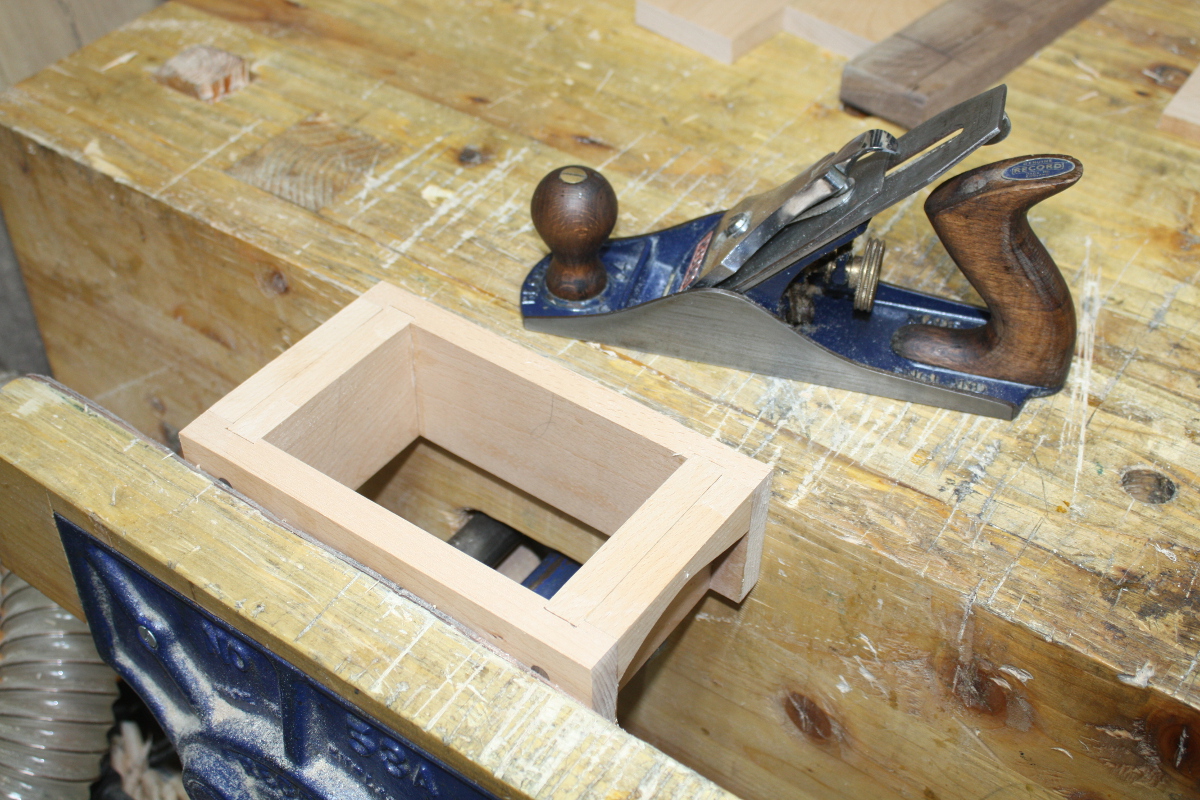
Then I stuck the measuring tape sticker into the track where I’m sure it’ll last for at least four days, and bolted the rail to the table. I need M6 wing nuts for this really because you have to take the rail off to change the bandsaw blade (and I also need an M6 wingbolt for the table stabilising screw that normally goes in where the slot in the table meets the edge of the table). I’ve ordered some from ebay so they should get here in a month, and until then I’ll make do with normal nuts and not changing the bandsaw blade.

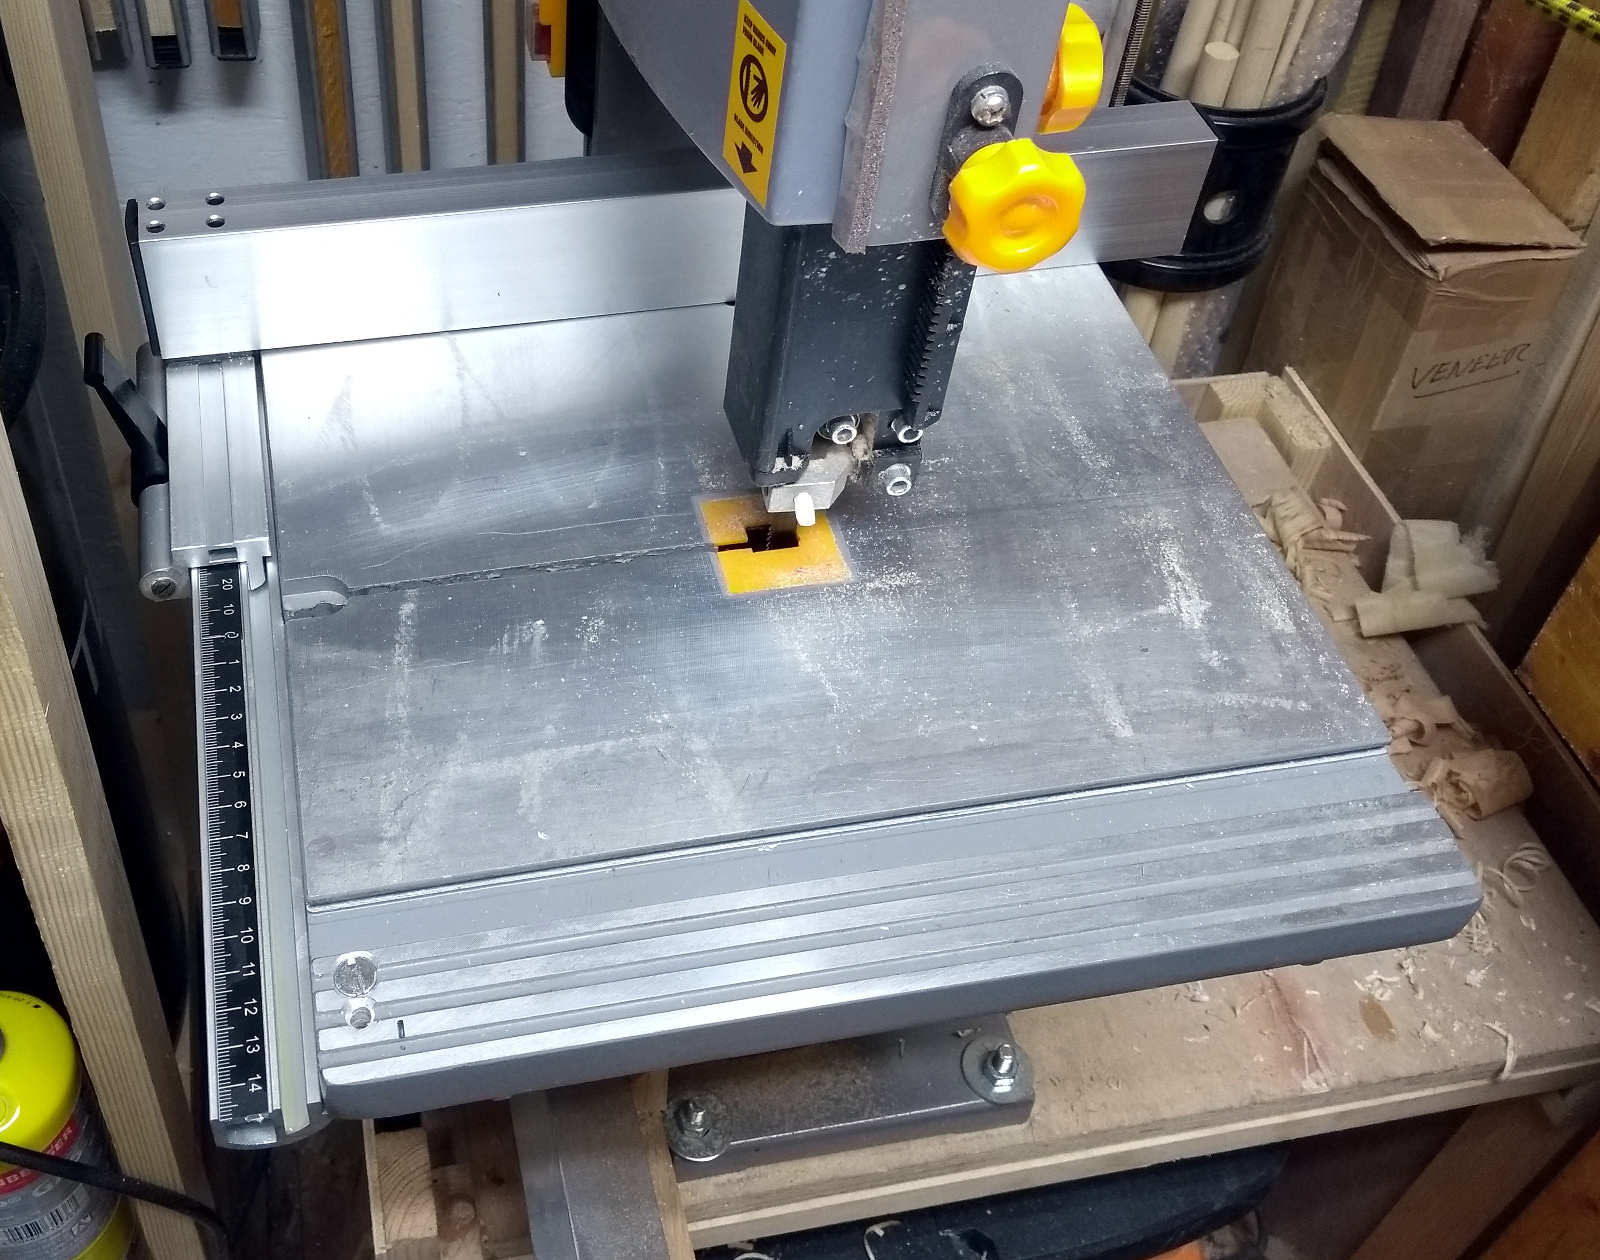
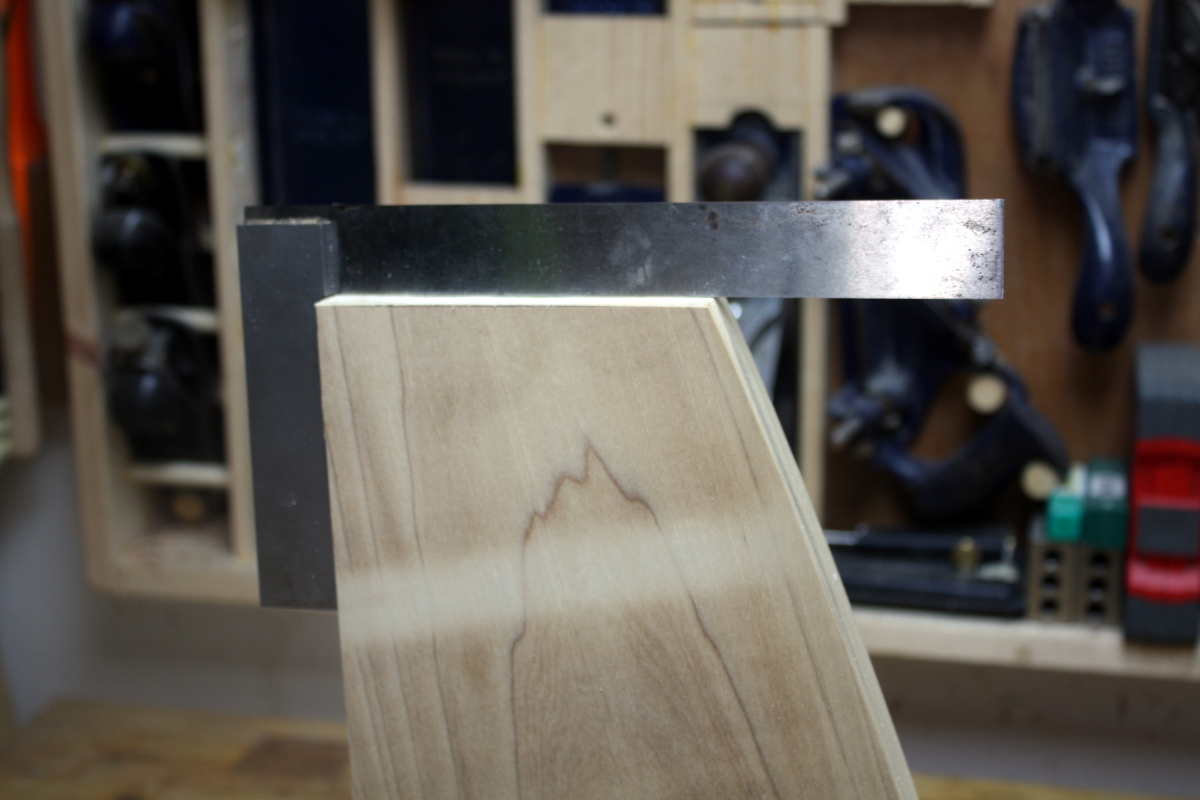
And now that that’s done, have to square the fence to the table using the adjustment screws under those four holes in the top of the fence.

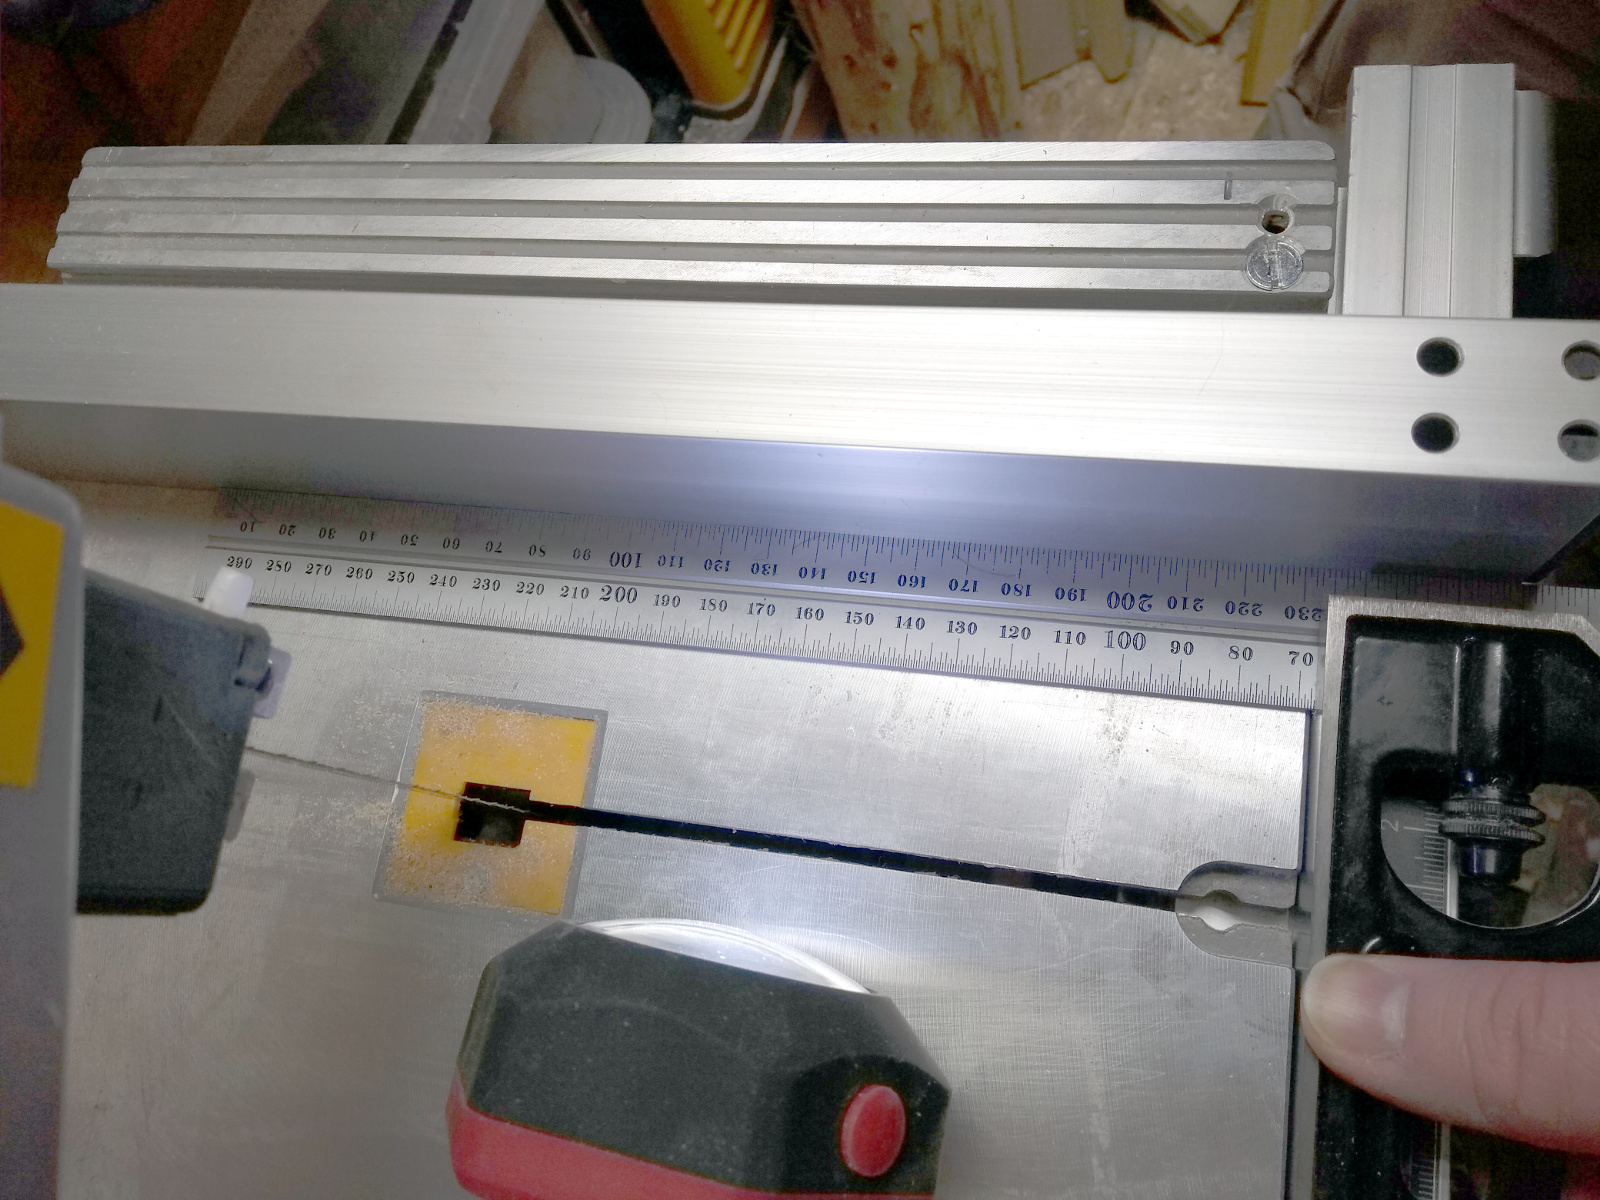
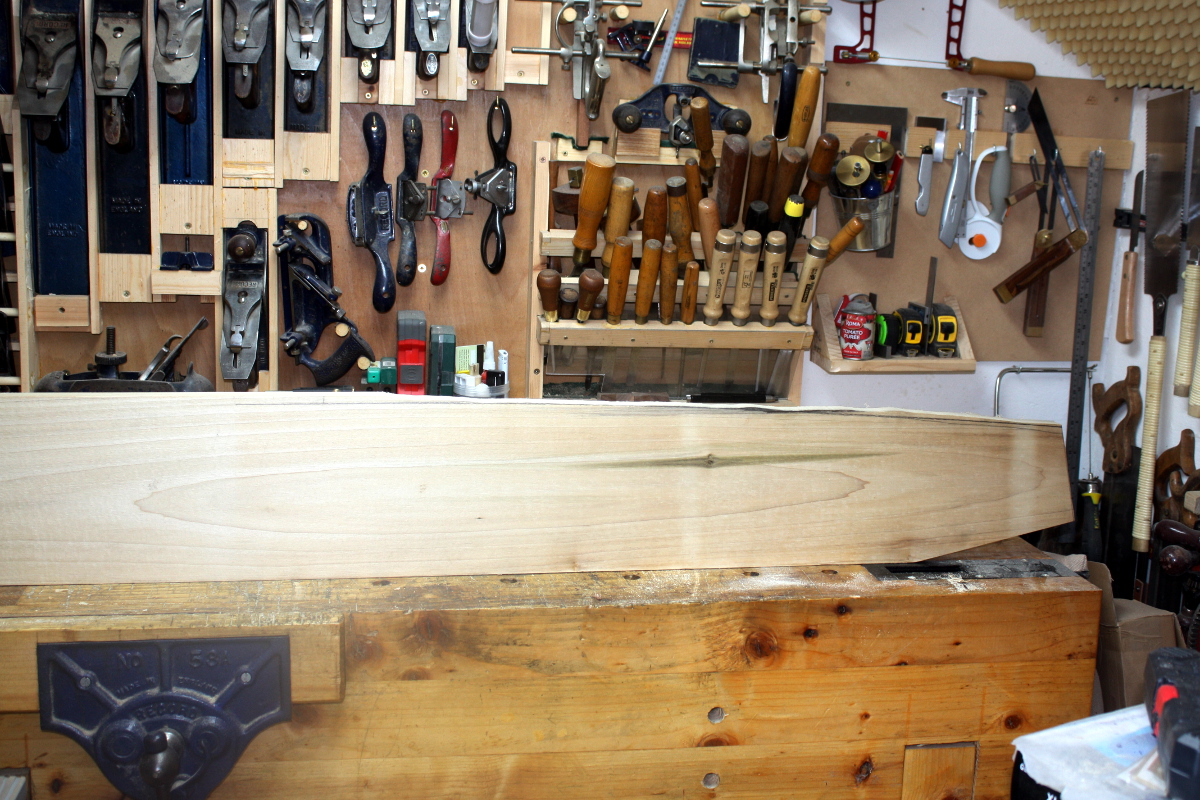
Or not. I didn’t believe it either so I triple-checked it with two squares, but yup, that fence is square to the edge of the table according to my most accurate Starrett square. I’m not sure what sort of necromancy was used to achieve this, but I’m sure it involved at least one plague of locusts.

And that’s off my bench at last. I look forward to using it once or even twice a year if I’m feeling frisky.

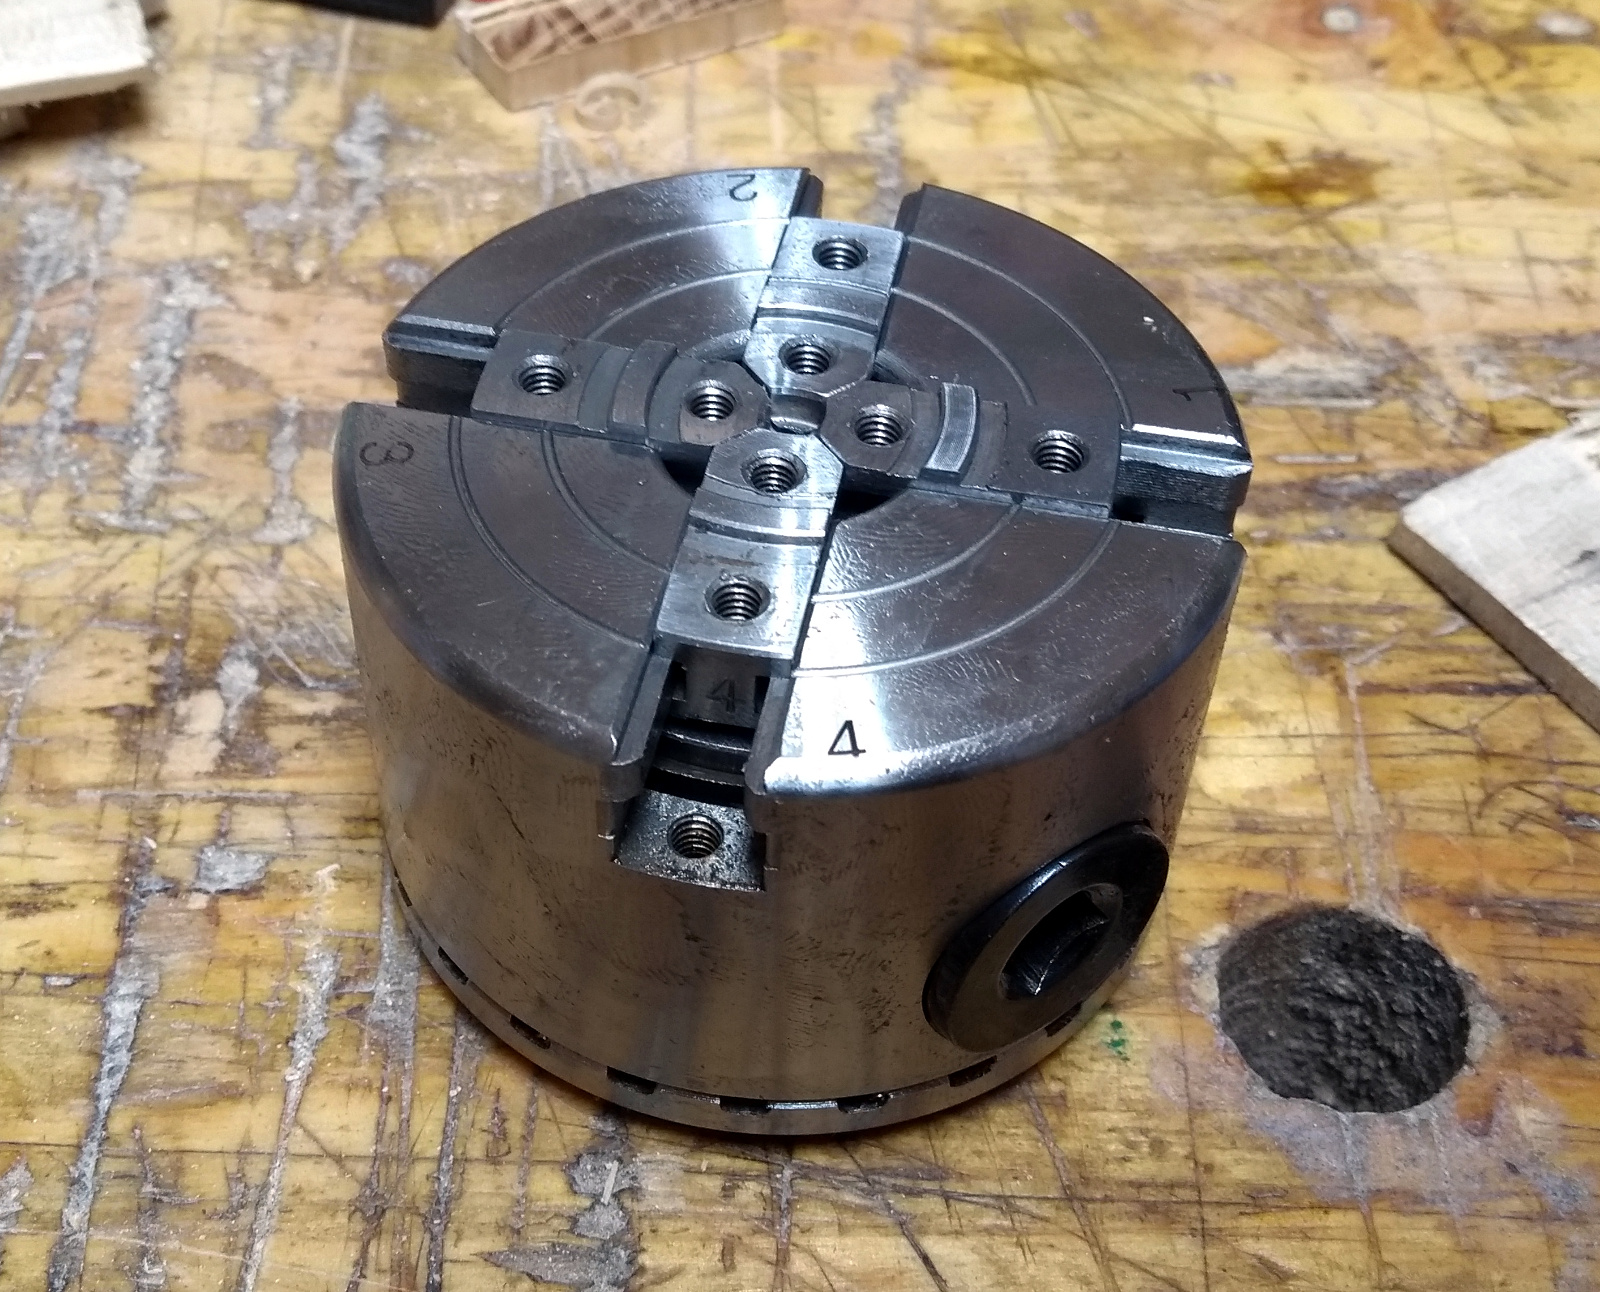
Next up, the chuck I bought for the lathe was a cheap one even normally but I bought a shop demo one that was on sale. And it’s been grand, but it does bind every five or six turns of the key, so I thought I’d take it to pieces and check it and see if it was something simple that I could fix.

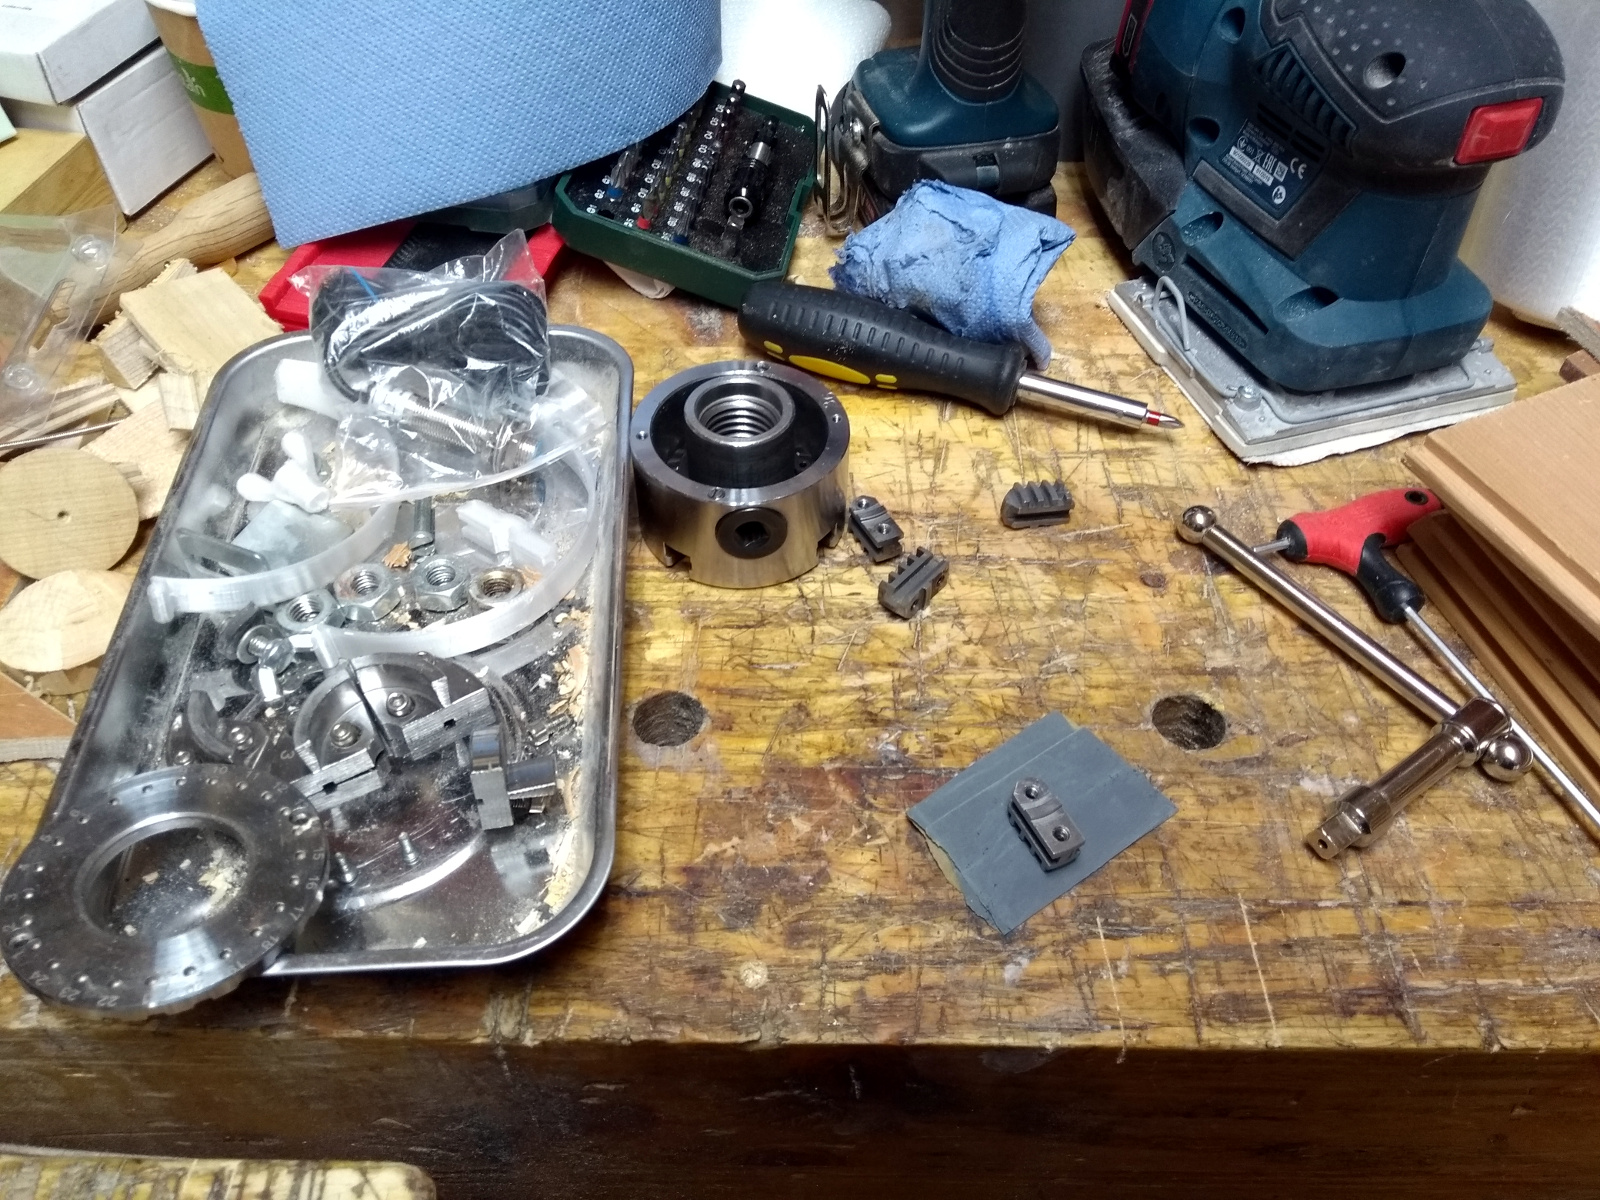
Turns out that a lot of the parts were not very well deburred, so I got out some 1200 grit wet-n-dry paper and deburred them as best I could.

There wasn’t a single burr-free edge on some of those parts. As to the pins that held the pinion gears in (the bits you put the key into), they looked like someone had attacked them with a dull beaver.

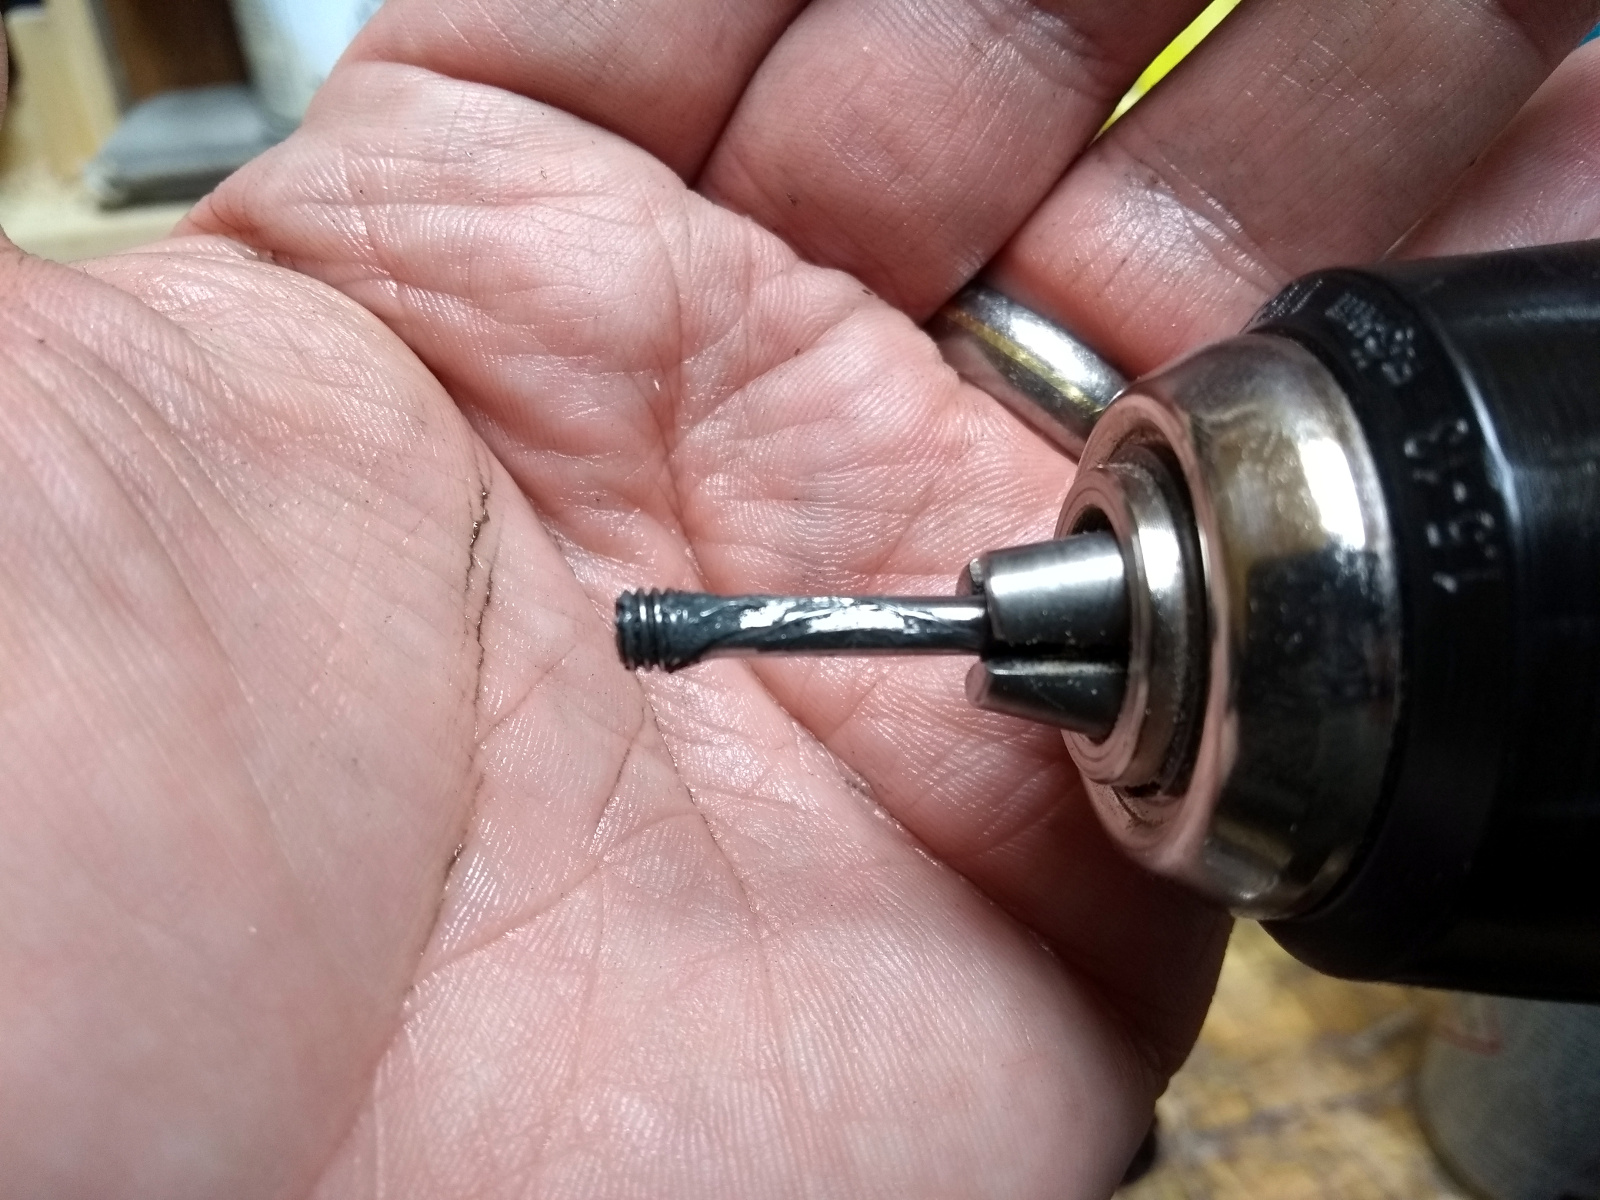
That’s the after photo. There wasn’t much I could do with that much damage so I chucked them into the drill and ran it at high speed while holding the wet-n-dry paper against it to smooth off the worst of it.

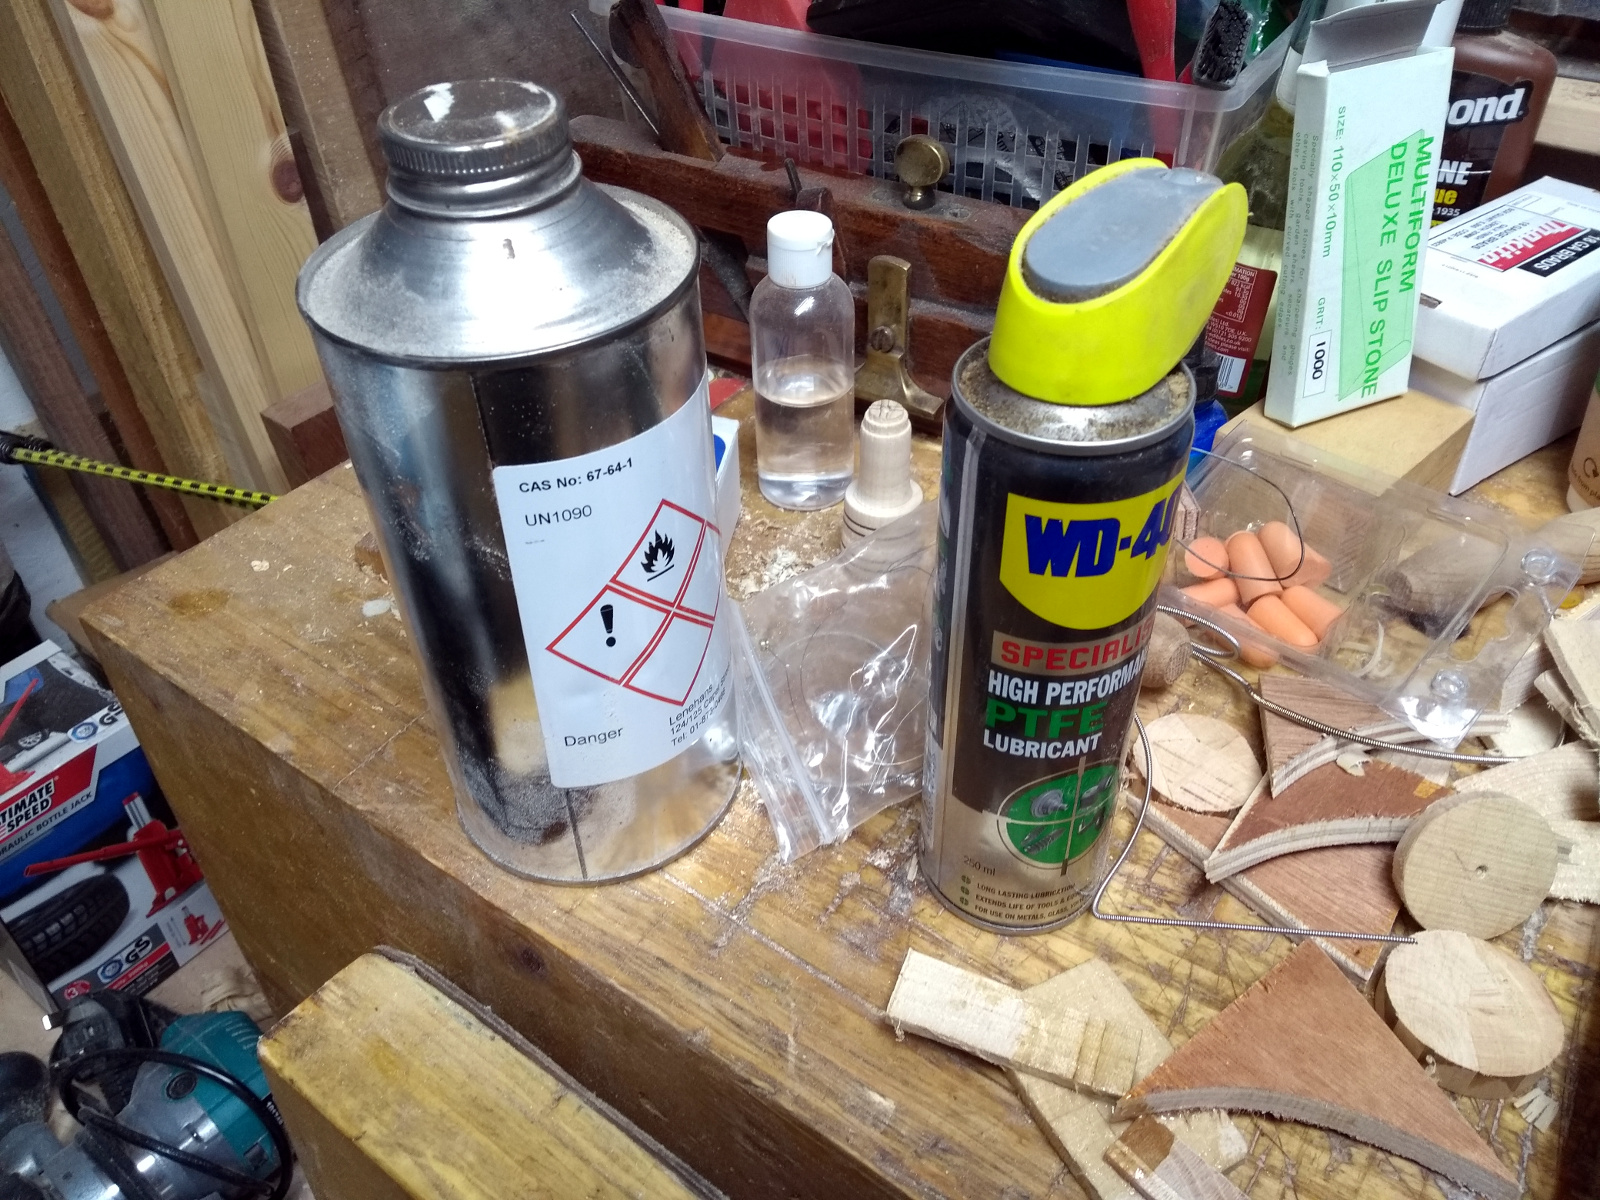
Then blowing out all the dust and grit with compressed air, degreasing with the really nasty stuff (remember the song kids – “acetone, it stays in your liver”) and liberal amounts of PTFE lubricant on the moving parts, And reassembly.

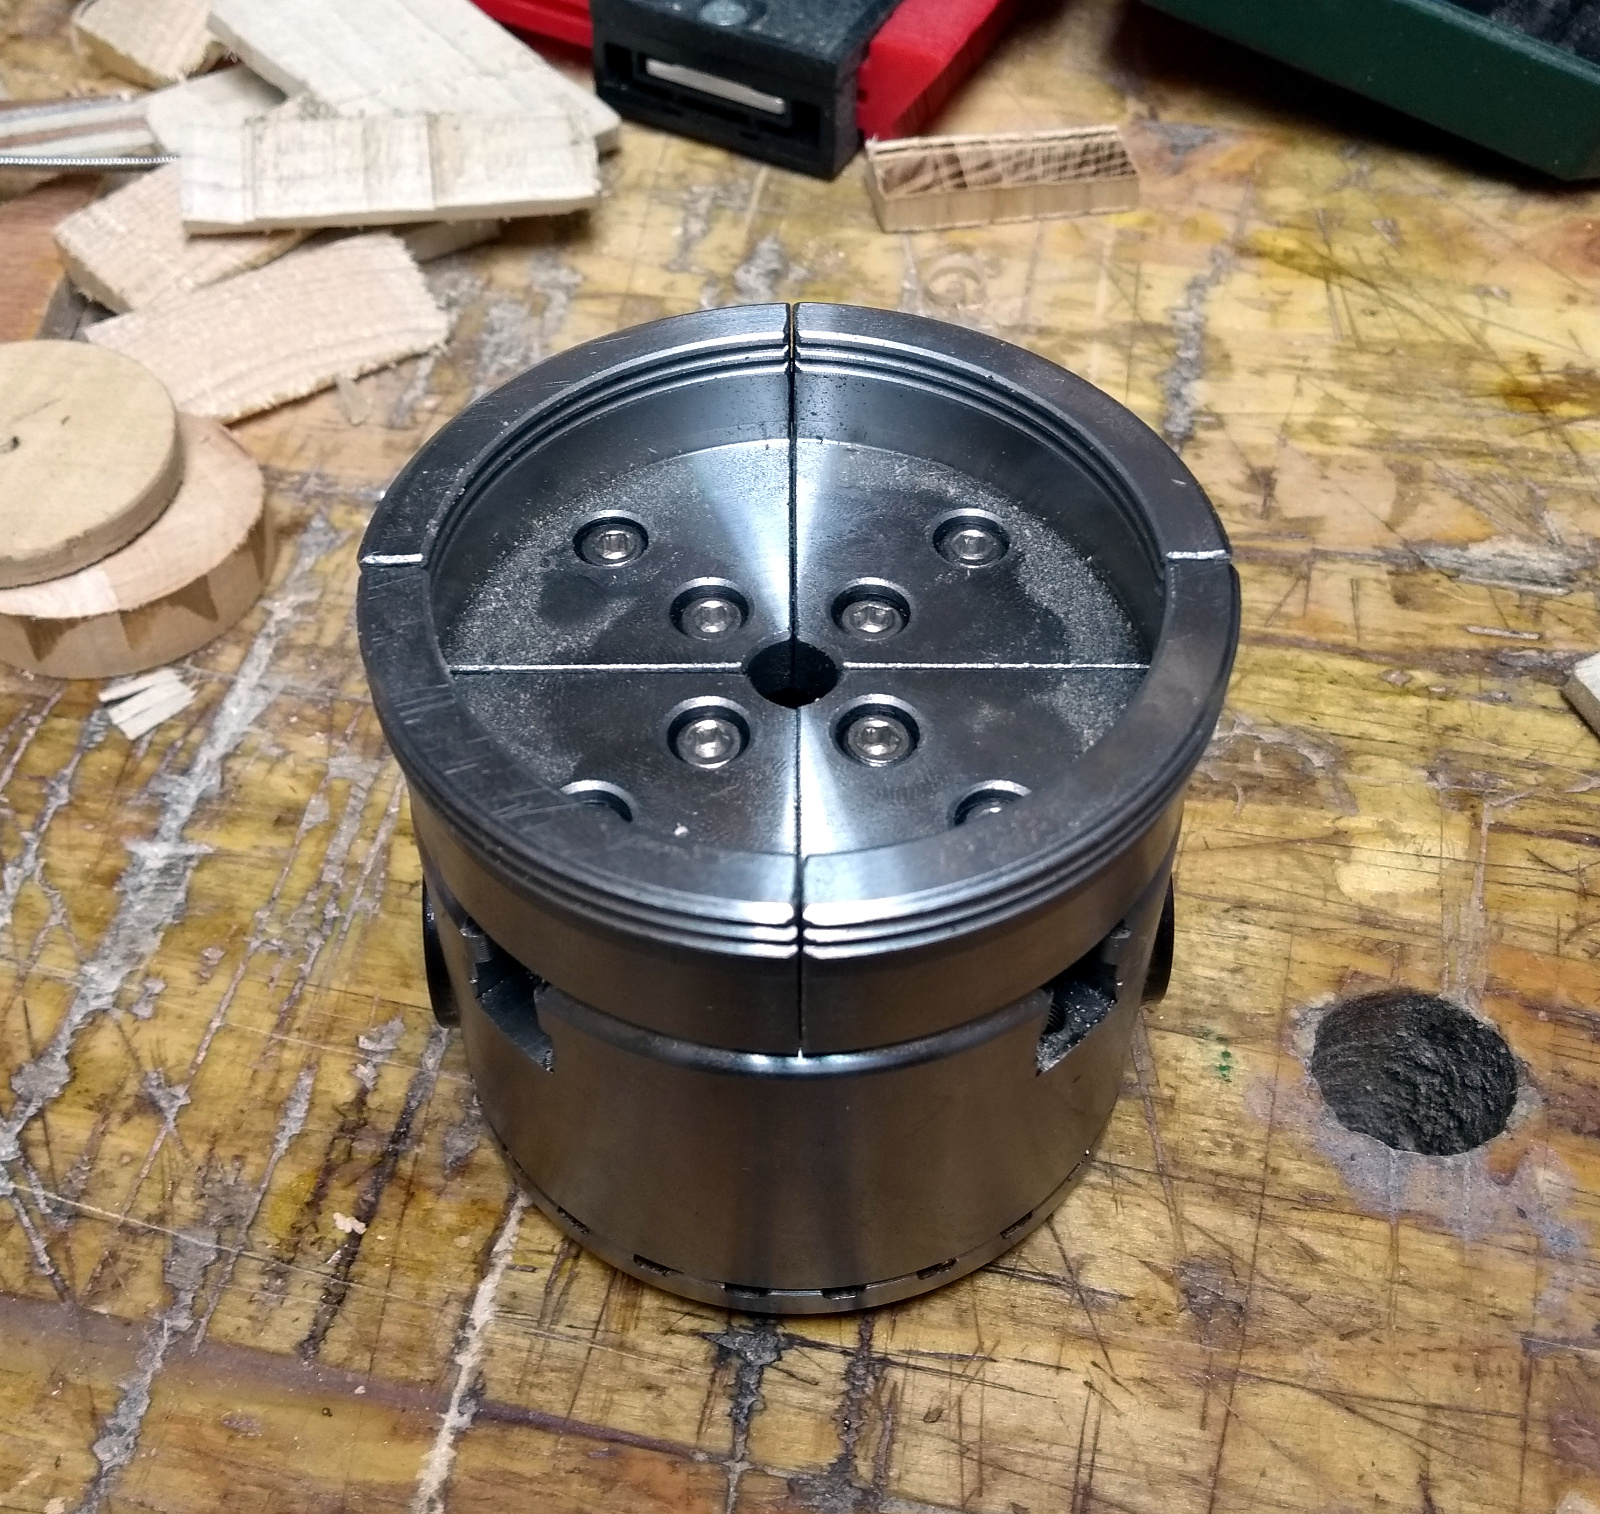
Didn’t think I’d get it back together, did you?

BTW, I haven’t put the regular jaws back on because I want to try the new ones I got. Thing about this chuck is that when you buy it you can either buy it with just the one set of regular jaws or you can buy the entire set of six different jaws, but since I got a demo model, I couldn’t get the entire set. And they will sell individual jaws (or a pack of jaws) for this make and model of chuck, but they don’t sell the flat bowl reversing jaws for it separately so I was looking to find compatible jaws from somewhere else.

So, quick PSA, if you bought the 3″ Xact chuck from Rutlands, and want spare jaws, the Viper2 jaws will fit it. I got these from here, but there are many other places where you can find Viper2 chuck jaws, the Viper2 being a reasonably popular model.

I’ll be trying these out on another miniature bowl in a while I think. They’re really for larger than that, but I want to try them on a 3″ blank rather than finding out they don’t hold well when there’s an 8″ blank in them…


02
Sep 18

More shaping

So I decided to go ahead and shape the front curve today, since it was going to be awkward to cut and might be noisy so it’d have to be a weekend job really.

Why is it awkward? Well, the plan is to make the first rough cut with the bandsaw and then to get down to the line with the compass plane and the board is long enough that swinging it around through the bandsaw inside the shed would be awkward and would probably need the door open and the plank sticking out at some point.

See what I mean? There’s not enough room for a cat to stand in here, let alone be swung around. But, with much swearing and cursing and with the door open and the plank sticking out for at least half the cut, it got done.

I even cut the top of the side to be parallel to the floor again while I was at it.

You will notice the artisan scalloped edge, and I’ll have you know that it takes a lot more effort to create such an artistic statement than it does to just cut a straight clean boring line.

Or something.

Anyway, it’s just a rough cut, so out with the #05 to knock off the absolute worst of the knobbly bits and then time for the fun tool.

The Record #020, variously known as a compass plane, a circular plane, a radius plane or a shipwright’s plane, it’s basically just a plane for curves. That big spinny dial yoke on top pulls the bit with the blade up or down relative to the ends of the sole, and the sole being flexible, takes on a curve that you can then plane into the wood. It’s a natty little tool, and while there are limits to how curved you can go, within those limits it’s great.

Mine is a little worse for wear in appearance. Everything works, I had it apart, cleaned, oiled and resharpened everything, but it’s had some light surface rust over the summer and the enamel’s long gone (and I still haven’t figured out a good way to restore that with the kit I have or can use). But anyway, it’s more than good enough to do the job and between that and the spokeshave I soon had a smooth curve instead of a decaying sine wave.

And I hate the look of it completely. The curve itself is more or less okay, I got rid of almost all that ugly damaged bit, but that little flare-out at the point where the desk will be just doesn’t work. It looks wrong in several different ways. So I ran the plane over the entire edge to get a nice single smooth curve instead of that little flare-out.

I’m more or less happy with this. I was thinking of making that curve into a bow rather than a sweep, so that the front edge would be almost vertical at the foot (that’s what those black lines there are for, they’re not spalting even though they’re following the grain line, I was just trying to see what it would look like). I’m not sure about this though. I’m worrying about the width of the sides and the strength of the piece if I start hacking off that much, but I might just be getting paranoid.

Anyway, I’ll leave it at that for now and maybe think about it again later before I cut the sliding dovetails (which will be the point of no return for the shaping I think). Next job, start to transfer the shape from this side to the other one…

I’ve already gotten the foot done (and it matches its counterpart well) and a reference edge planed on the back edge, but I haven’t finished the top straight-line cuts yet and then there’s the second front edge to shape. That should be interesting. I haven’t changed the compass plane’s setting so in theory it’s going to be grand…


12
Jun 18

Bases and colours

So the camera battery complained about being empty on Sunday and it got a few hours in the charger, but then come Monday, it said it was flat again. Hmmm. A replacement knockoff has been ebay’d. However, the fabrication of the handles and the glueup got missed. It wasn’t that hard, cut a piece of beech to width so it fits in the end of the box, then make a 1cm deep cross cut in the middle of the piece and chisel out a curve in it, then give up because the piece is too small to work on with the vices I have (I really need a sculptor’s vice sort of thing for a job like that) and cut the curve with the bandsaw and clean up by hand with chisels, small wooden spokeshave and sandpaper, then glue it in place. The following day (ie. today)…

Oh, and I cut the pegs flush and planed down a bit as well. They came out nice. Now to check the handles.

In need of a swipe with the #04…

And some squinting. Yikes that looks grotty. It’s nowhere near that bad in real life, but the handle is proud of the ends and top so it’ll be planed back flush.

All nice and neat again. I also glued up a panel for the base when I added the handles, so I planed that clean as well…

I spent a few minutes planing the lid to width and picking out wood for the end caps and the locking parts. I’m leaning towards all beech for those parts, with maybe just the key being something distinctive. We’ll see. First, the base…

And back to waiting on glue again. There’s a lot of that in this build I’m noticing. These boxes aren’t so much difficult as they are slow because stuff has to be done step by step and you can’t really do stuff ahead of assembly or in parallel – or at least, I haven’t figured out how to. If you were making them in batches you could crank them out I imagine, but one-offs seem to just be a slow thing by their nature.

Tomorrow, one end cap gets glued on and the lid gets its non-locking support bit. I don’t know the name for the part, but you’ll know what I mean when you see it.

Oh, and boss lady chimed in and she wants her locker purple. Good thing I have some stuff from crimson guitars…

The idea is you use the eyedropper to add the stain drop by drop to water to build up the colour, right?

Looks okay…

Hm. That looks thin as skim milk. Ugh. Added a drop more, still quite thin. Mixed with the blue stain underneath it’s too dark.

Rubbed on directly, the stain’s too dark as well, it definitely needs some dilution.

There might be a stain level in there somewhere that works, but it’s as messy as all get-out. But the purple *does* work if you add it to the cloth and then add water by spray can to the cloth before you rub it in, you get results like this:

I think that hue on the far left is what we want here, and to avoid going too dark. Might need to practice more, the planed beech surface doesn’t absorb water too readily.

Of course I may need to do some brazing first, my water can fell prey to the cold spell and an accidental knock. But I have brazing rod and a propane torch…