Yes, okay, I admit it, having a propane torch is a constant temptation after you’ve seen a shou sugi ban video on youtube 😀
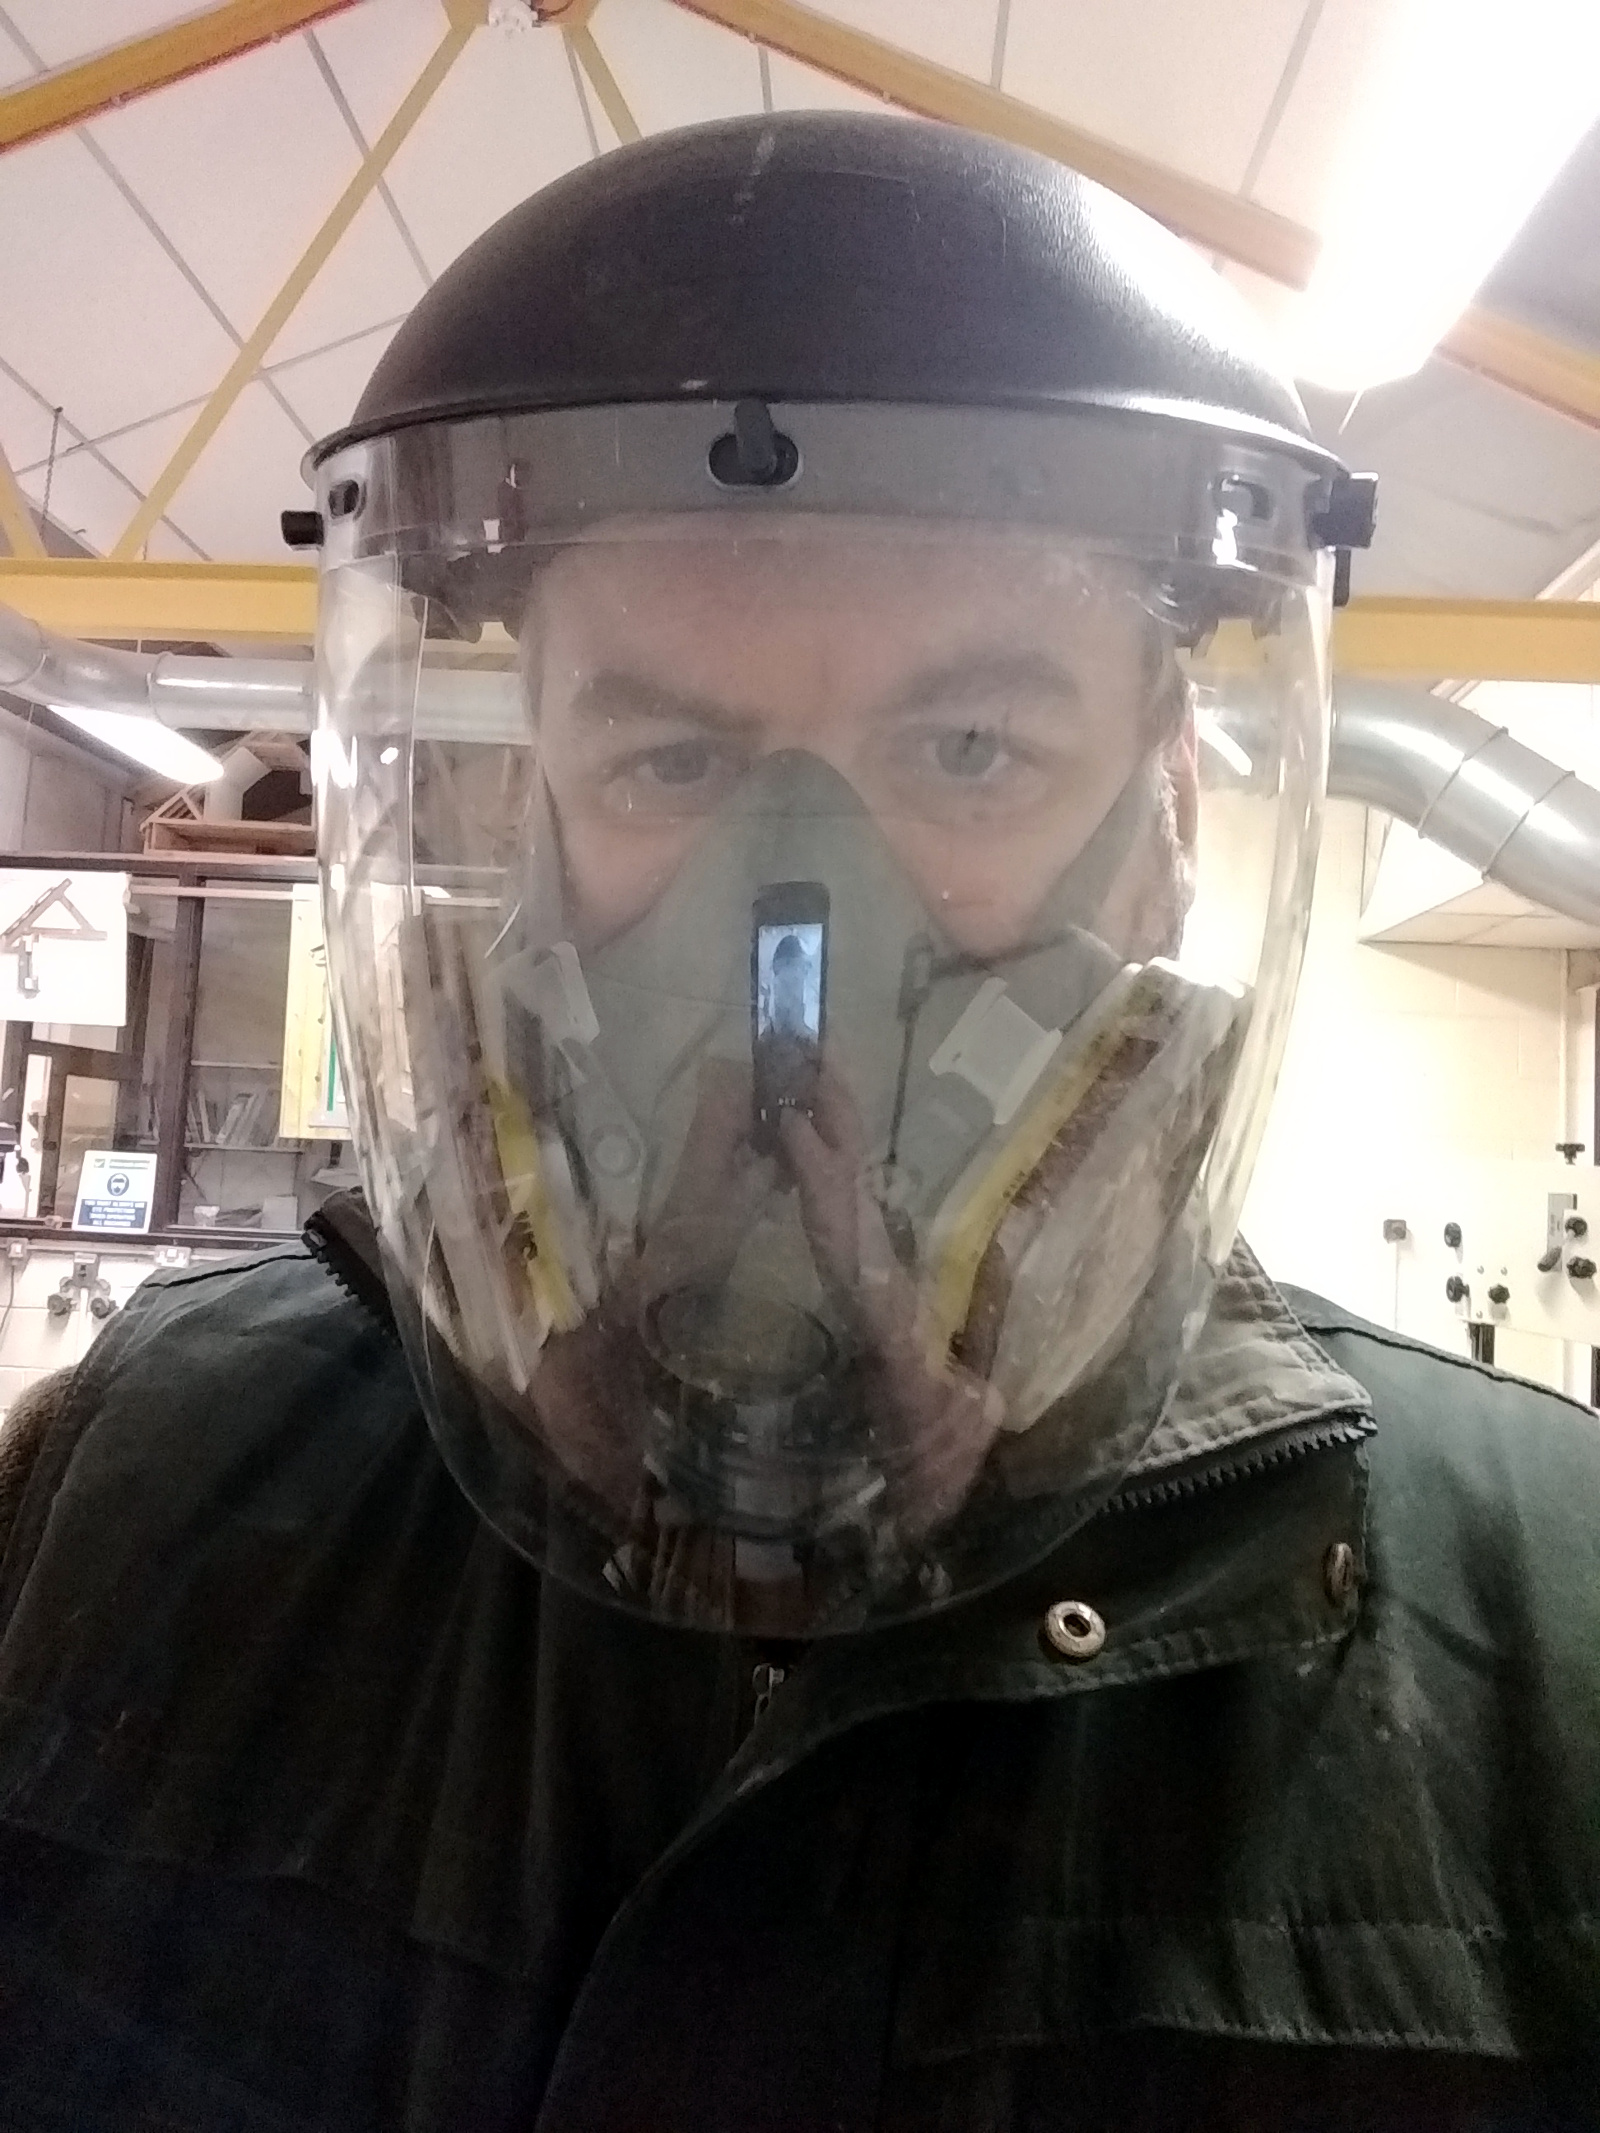
You really do need the safey kit for this one though, and to stop before you light up and vacuum up the cubic foot of shavings that are all over the lathe and everywhere else. Small fires in an 8×6 shed that has several litres of various different solvents don’t happen. Large infernos, on the other hand, are something worth avoiding 😀
The nice people at The Carpentry Store gave me a few blanks when I bought my lathe from them “to get going on with” (thanks Patrick if you read this, that lathe’s been a load of fun) and one of those was an ash bowl blank about 6″x2″.
Ash is a hateful chippy wood when dry I’ve found, I don’t know where all these stories come from about it being pleasant to work. I suppose it’s a different animal when air-dried or when green, but when kiln-dried it’s like a Jacobs cream cracker. But it does have a lovely white colour combined with a nice open grain, so…
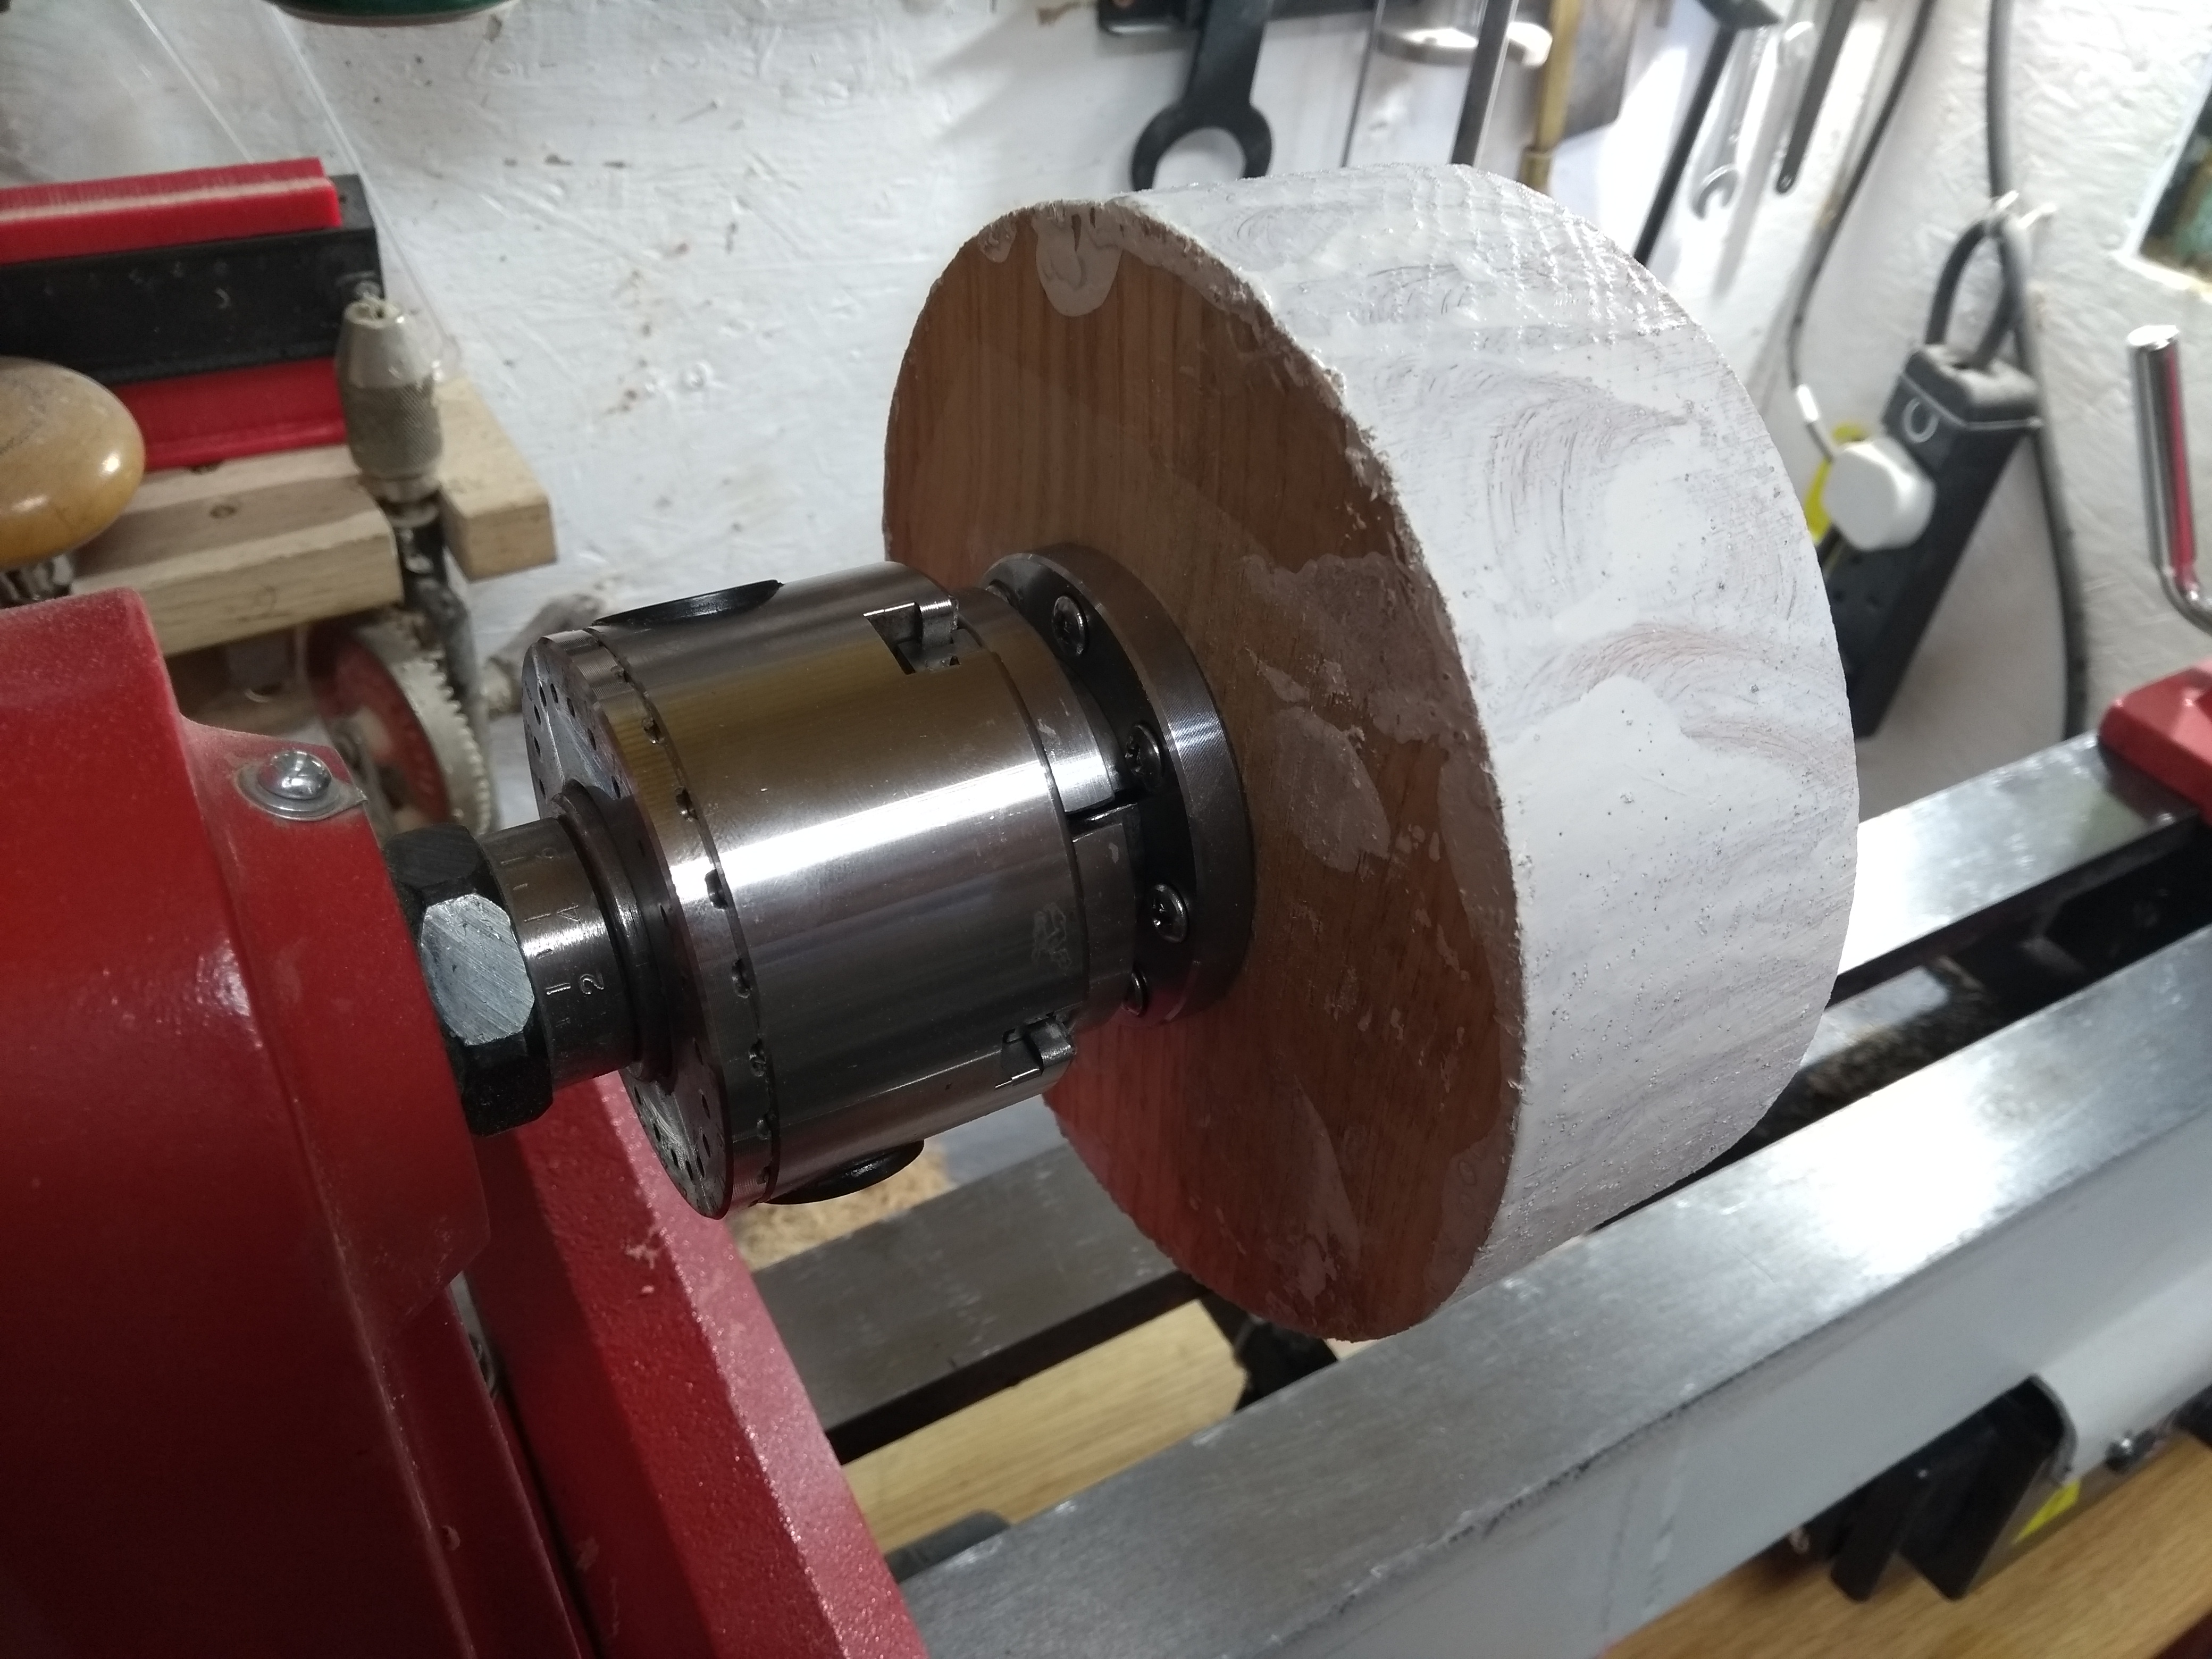
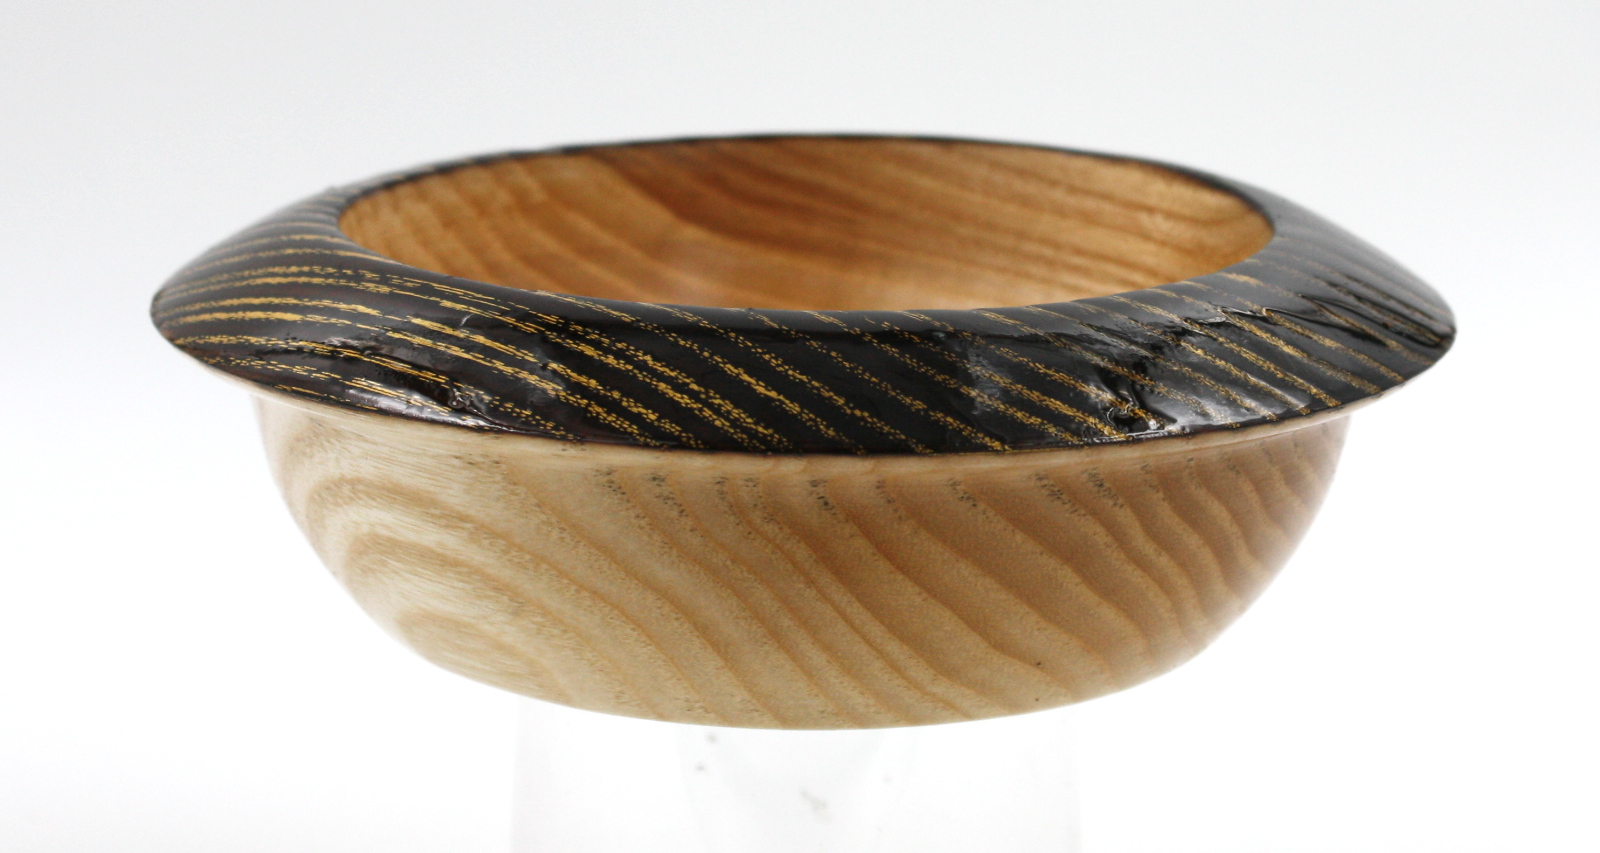
I finally found dovetail faceplate rings for my chuck (the viper 2 stuff from charnwood fits the xact 2 chuck) and mounted the blank that way. There’s a nice bowl shape I’ve had in my head for a while where the rim is basically a 45 degree bevel down from the flat top to the curved bottom, and I tried to get that shape here but missed. But I got it to a nice enough shape, turned a recess, ran up through the grits from 80 to 320, sealed it from the foot to the lip, and then used some yorkshire grit to polish and carnuba wax to finish.
Then I reversed the bowl, trued up the surface a bit, then cut a shallow chunk out of where the dish would be, and then I got out the propane torch (not the MAP torch, apparently that burns too hot).
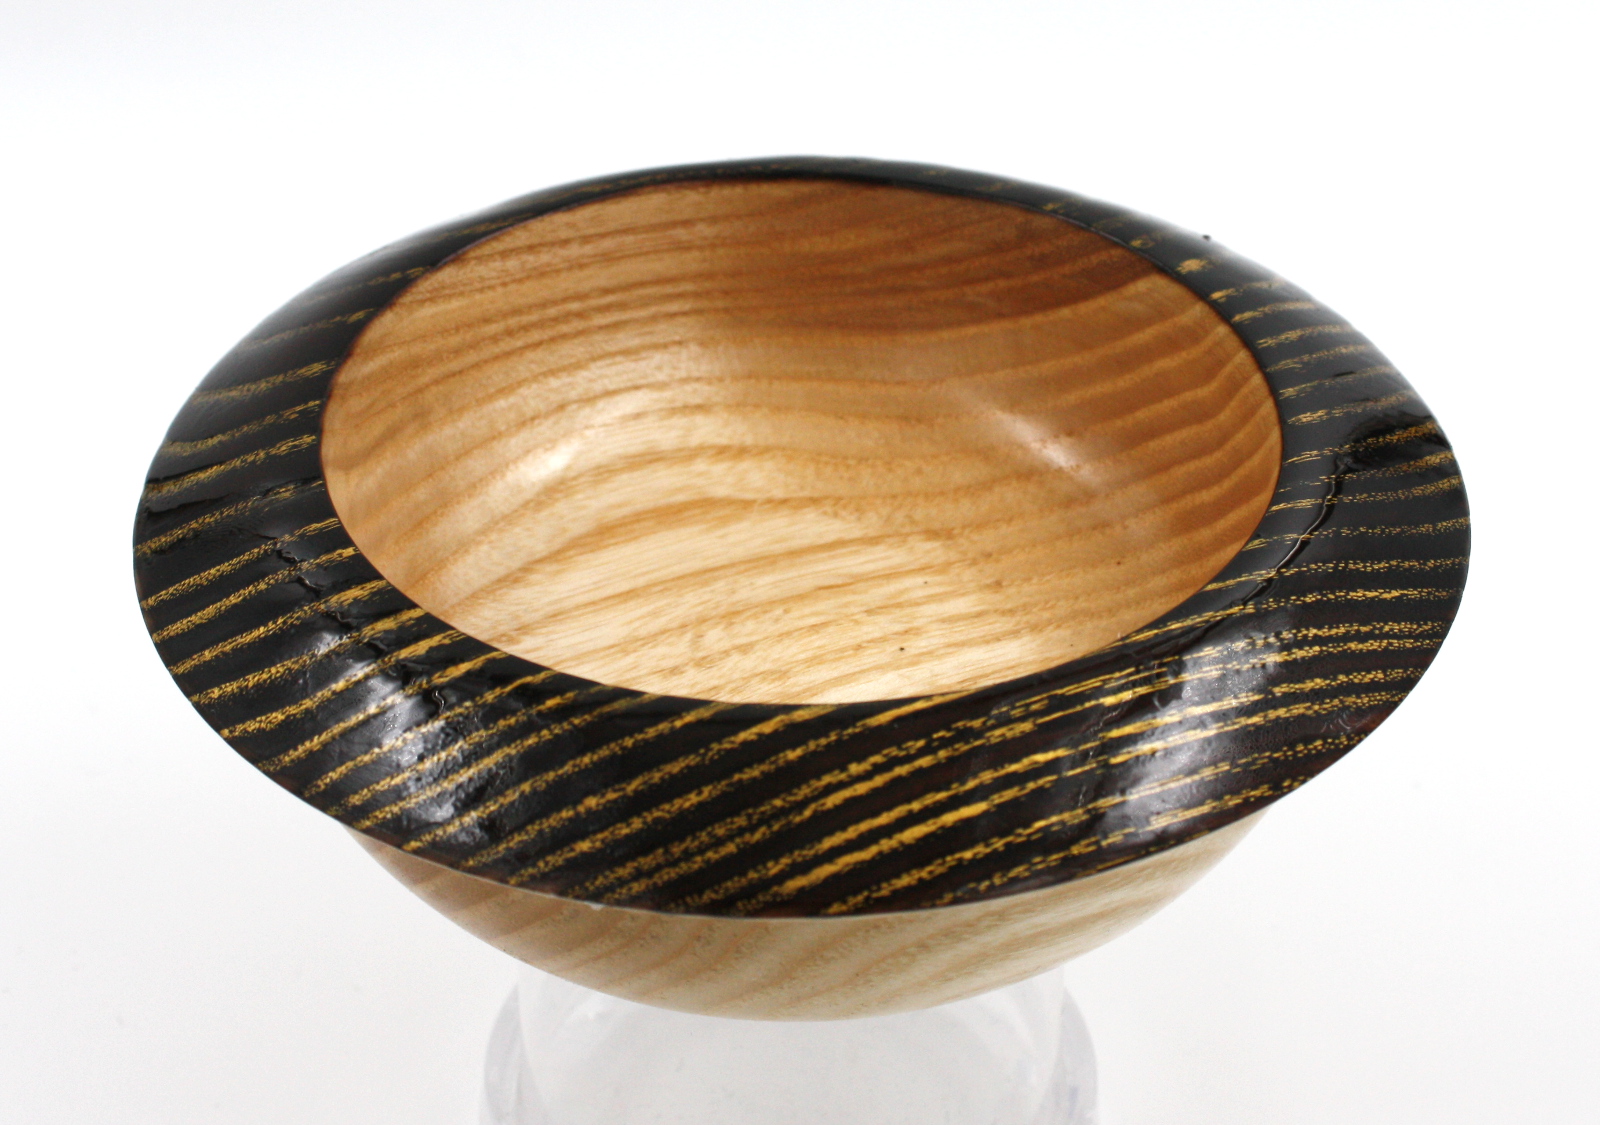
And of course, vacuumed up and cleaned up the wood dust and shavings at this point, before lighting the torch and then burning the beveled part of the rim. Took my time here, burning lightly in a lot of quick passes until I had a fully charred look, then I took a steel brush to the wood in the direction of the grain (happy accident this, I wanted to use a brass brush but couldn’t find mine). The steel gave a sort-of-sandblasted look to everything which is nice, if subtle. Wiped everything up with kitchen paper (this bowl used a lot of kitchen paper), then burned it all again, and then cleaned it with kitchen paper and 320 grit sandpaper. Got it smooth and clean, then sealed it with two coats of cellulose sealer, and then put on a glove and rubbed gold buff-it as embellishing wax directly into the grain on the rim, and then removed the excess with kitchen paper and 320 grit paper, then put a final coat of sealer over the top of all of that.
Then I got out the bowl gouge again, and cut out the inside dish of the bowl, though by the bottom I was having to switch over to the half-round scraper because the bowl gouge’s bevel wasn’t steep enough for the turn I was trying to make. Then sanded up through the grits and then sealed the inner dish, then yorkshire grit over the whole top half (inner dish first, then the rim because I thought I could pull soot into the pores otherwise). And then carnuba wax all over, and then two coats of spray lacquer from a can. Which of course, I got a drip on with the last coat, so I may need to finish that properly later.
But overall, I’m not too unhappy with this, even if the shape isn’t exactly what I wanted:
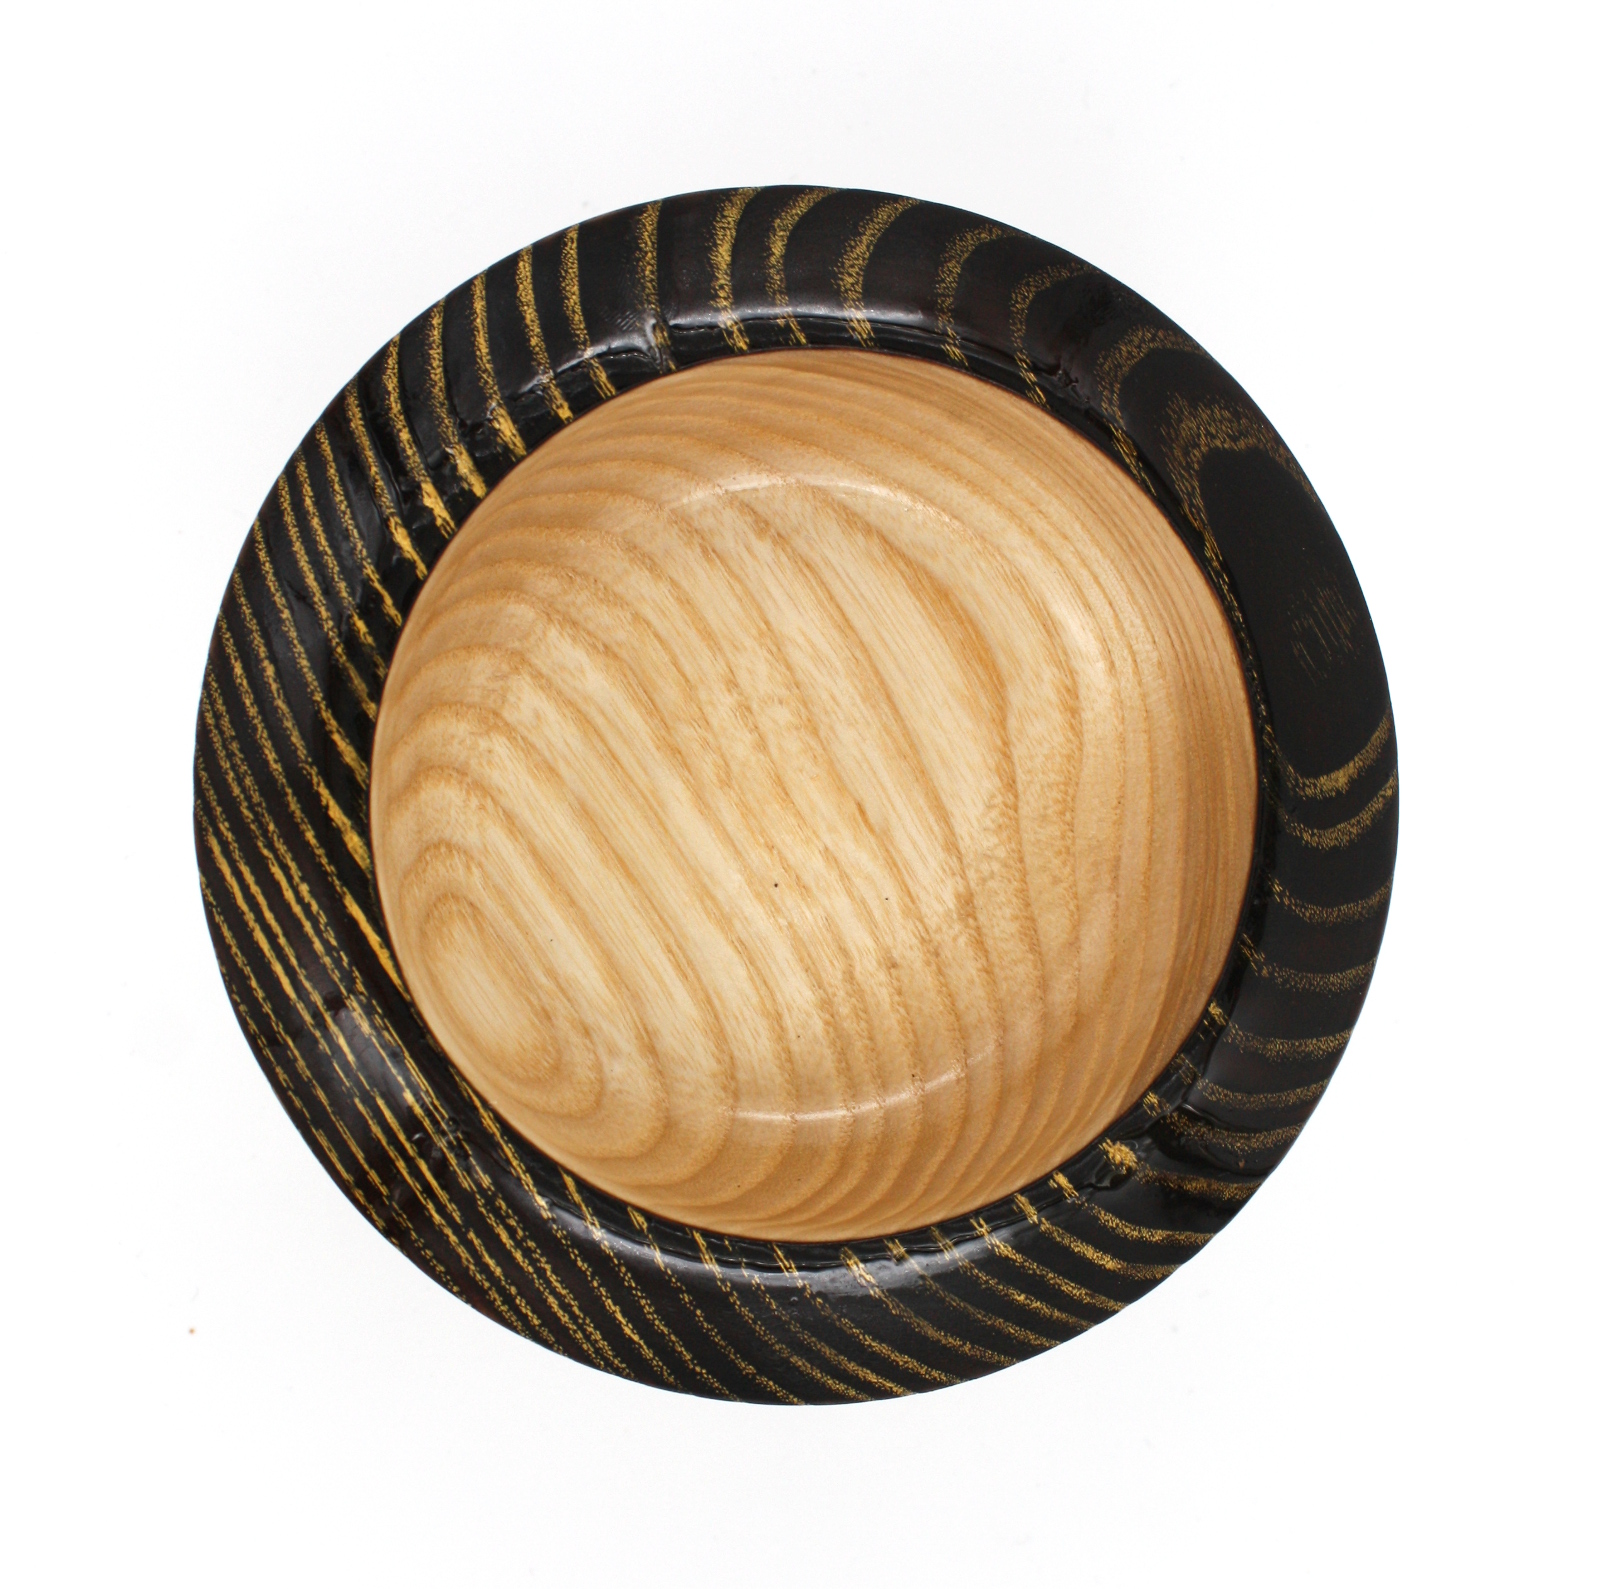

I have no idea what you’d use it for mind 😀
I just had this idea in my head to try a few ebonising methods after that bowl I stained a week or two back, and this was next on the list (and I like the gold-in-black look from the embellishing wax, though I think silver would work even better. I must get some later and try it).
The next method though, should be even more interesting, but that’s a few days or so away yet…