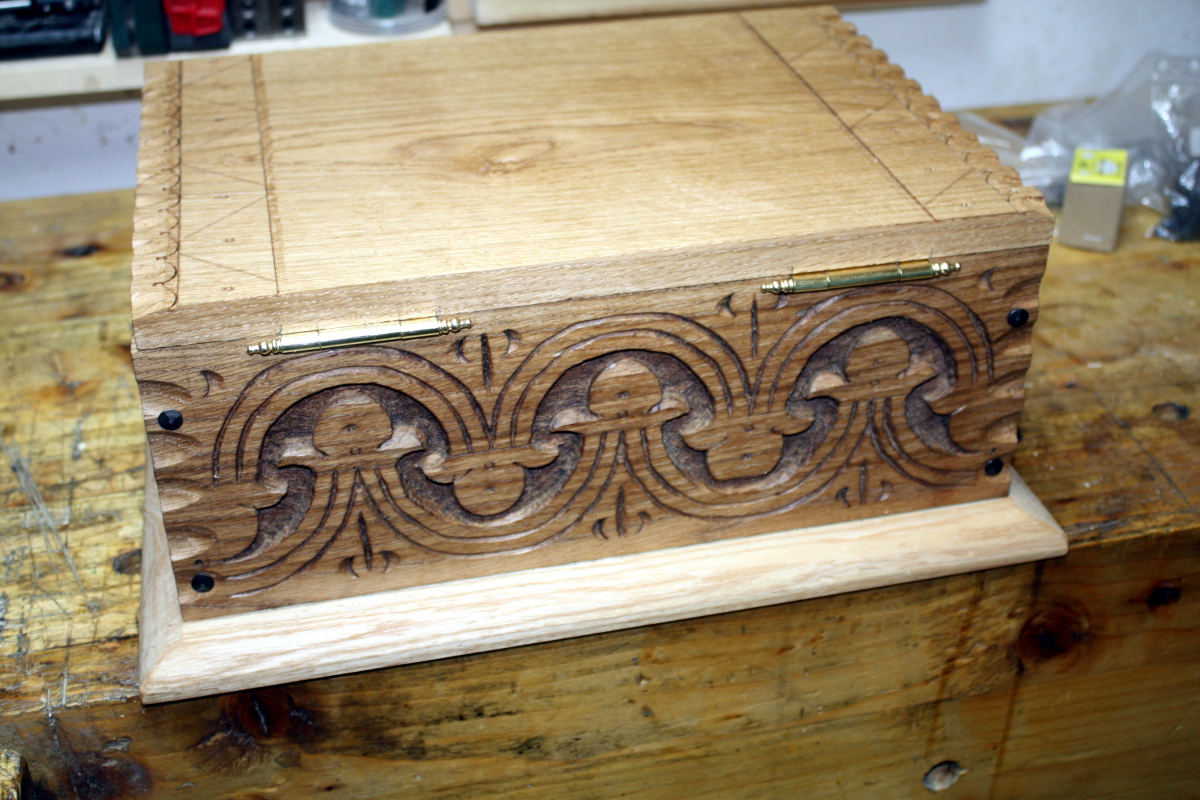
Adding the hinges actually worked this time. I have no idea why. I morticed them the same way I usually do, though I did take more time with the fitting to the lid and setting up for workholding with shims and such. I still think I have particularly cheap hardware to work with though – one set of Brusso hinges probably costs more than my entire little stock of hinges and hardware. And I think they’re all too shiny as well; a 17thC style oak box should have black or at most bronze hardware; and really a forged or cast iron set would be ideal. But this is faux-17thC so I can get away with blue murder 😀
Honestly, they’re garish. But they’re all I have and the deadline for delivery was over a week ago – the baby this is intended to hold blankets for was born ten days ago now. One of these days I’ll get these projects done on time or convince someone to delay a deadline for once 😀
They’re not as jarring from the front, happily. But they still clash with the other ironware.
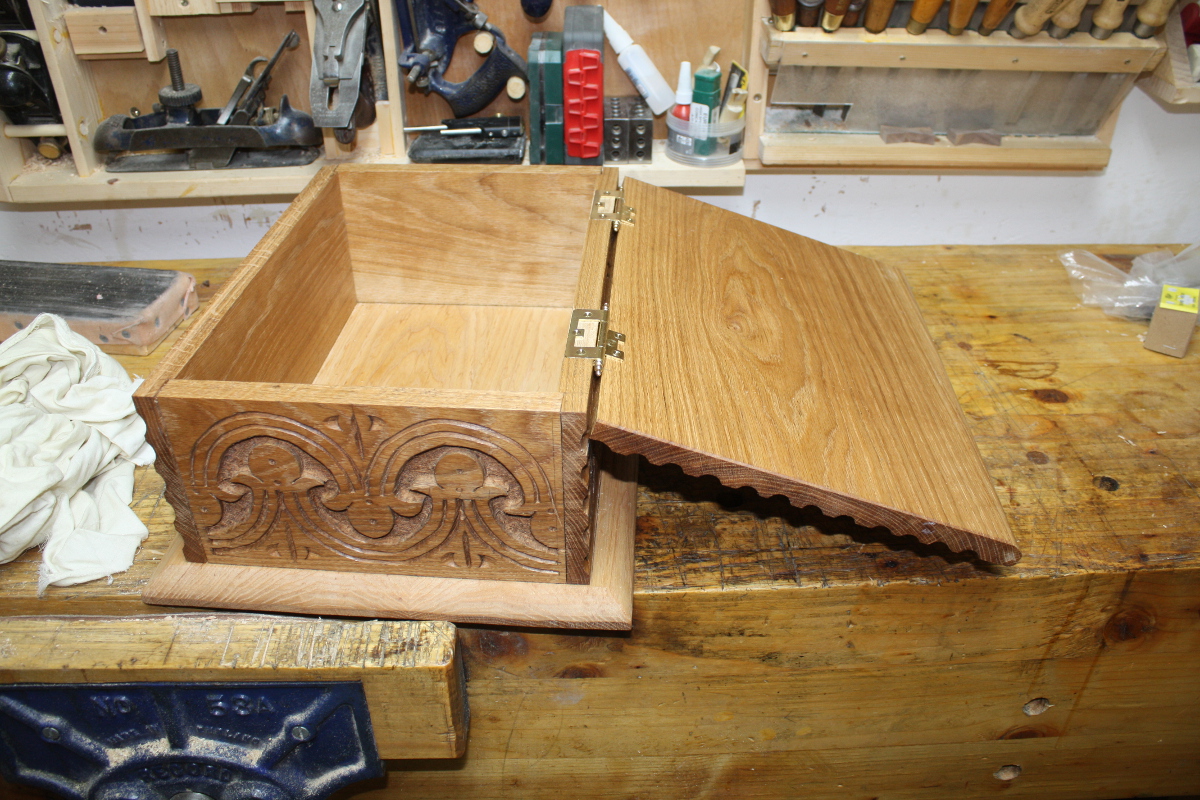
I really need to use a stay on these I think, but I don’t have one to hand. I foresee a small spending spree in the near future…
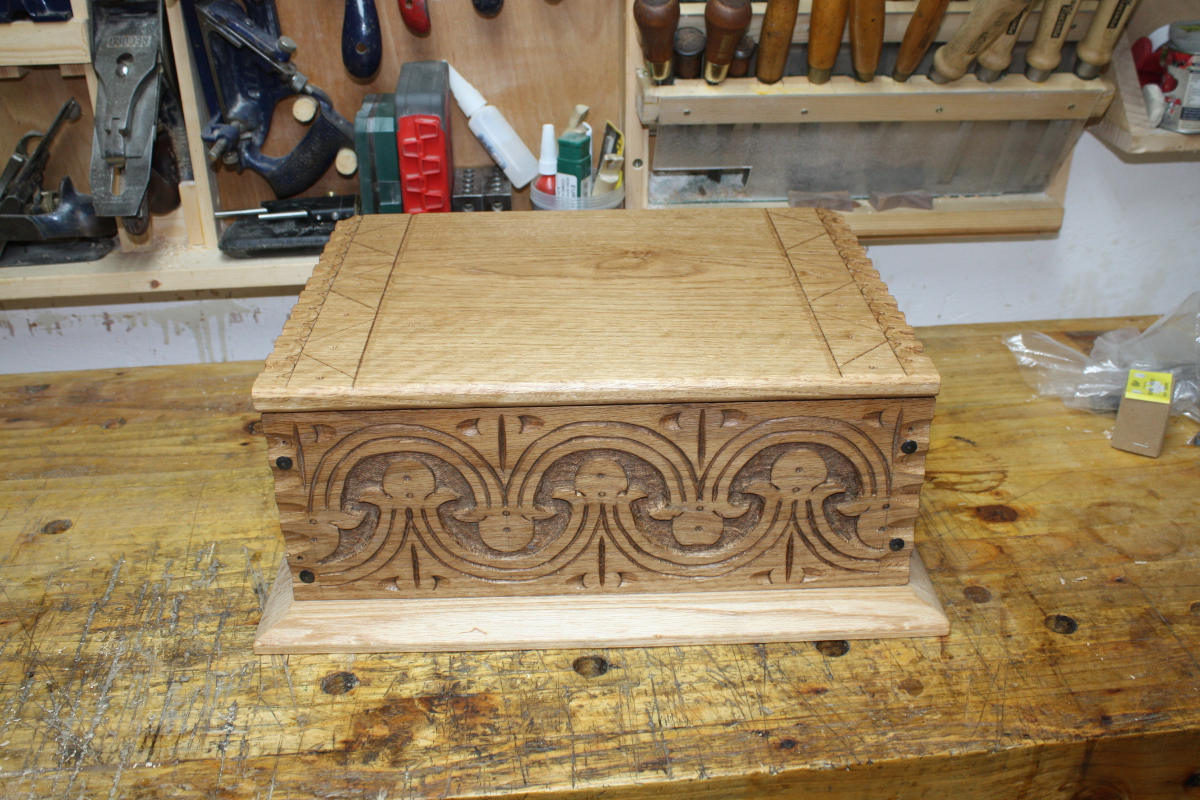
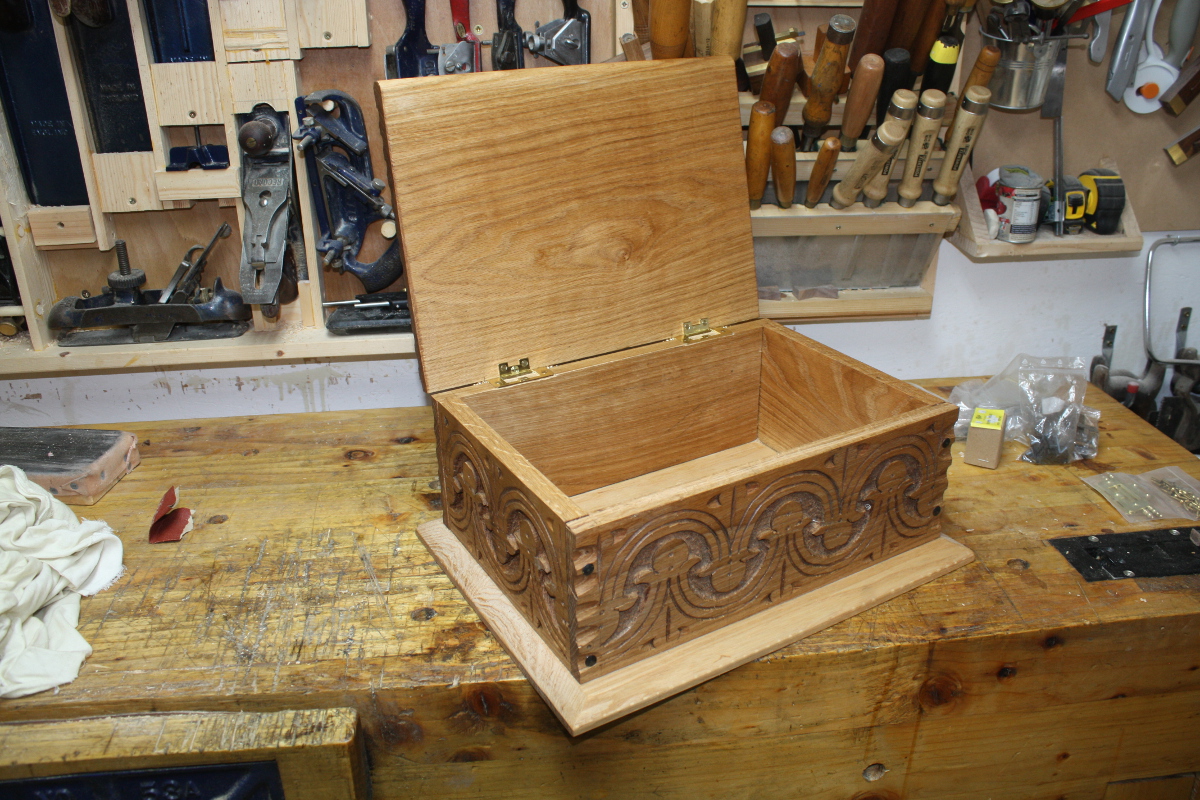
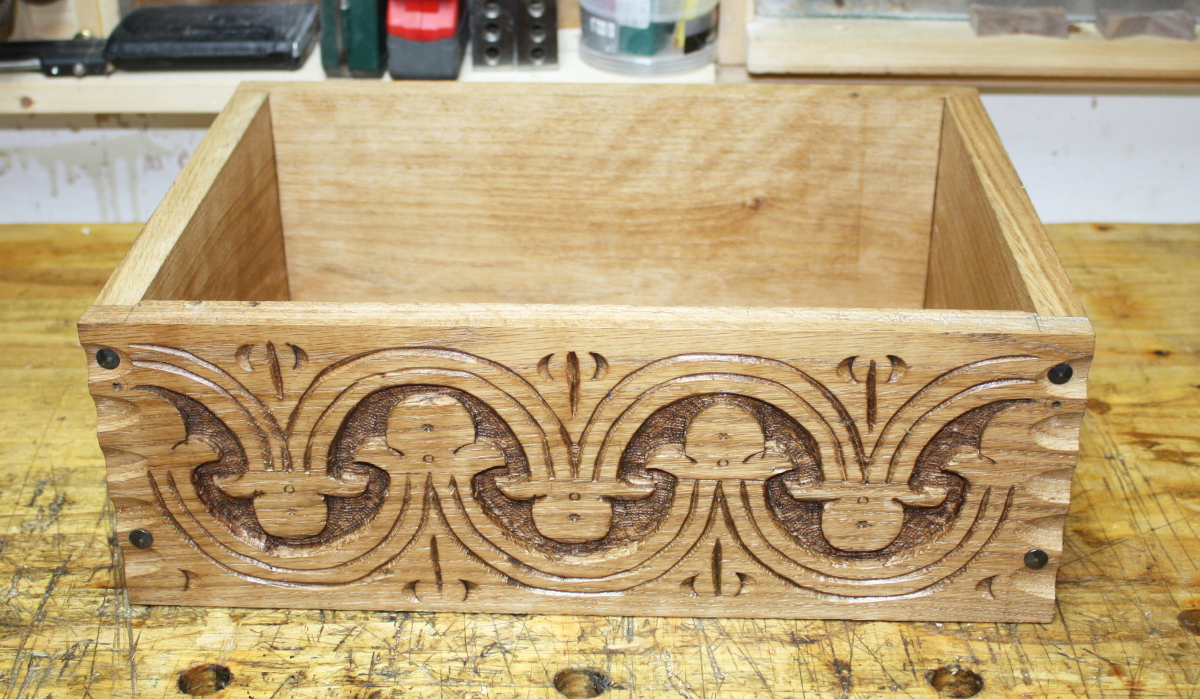
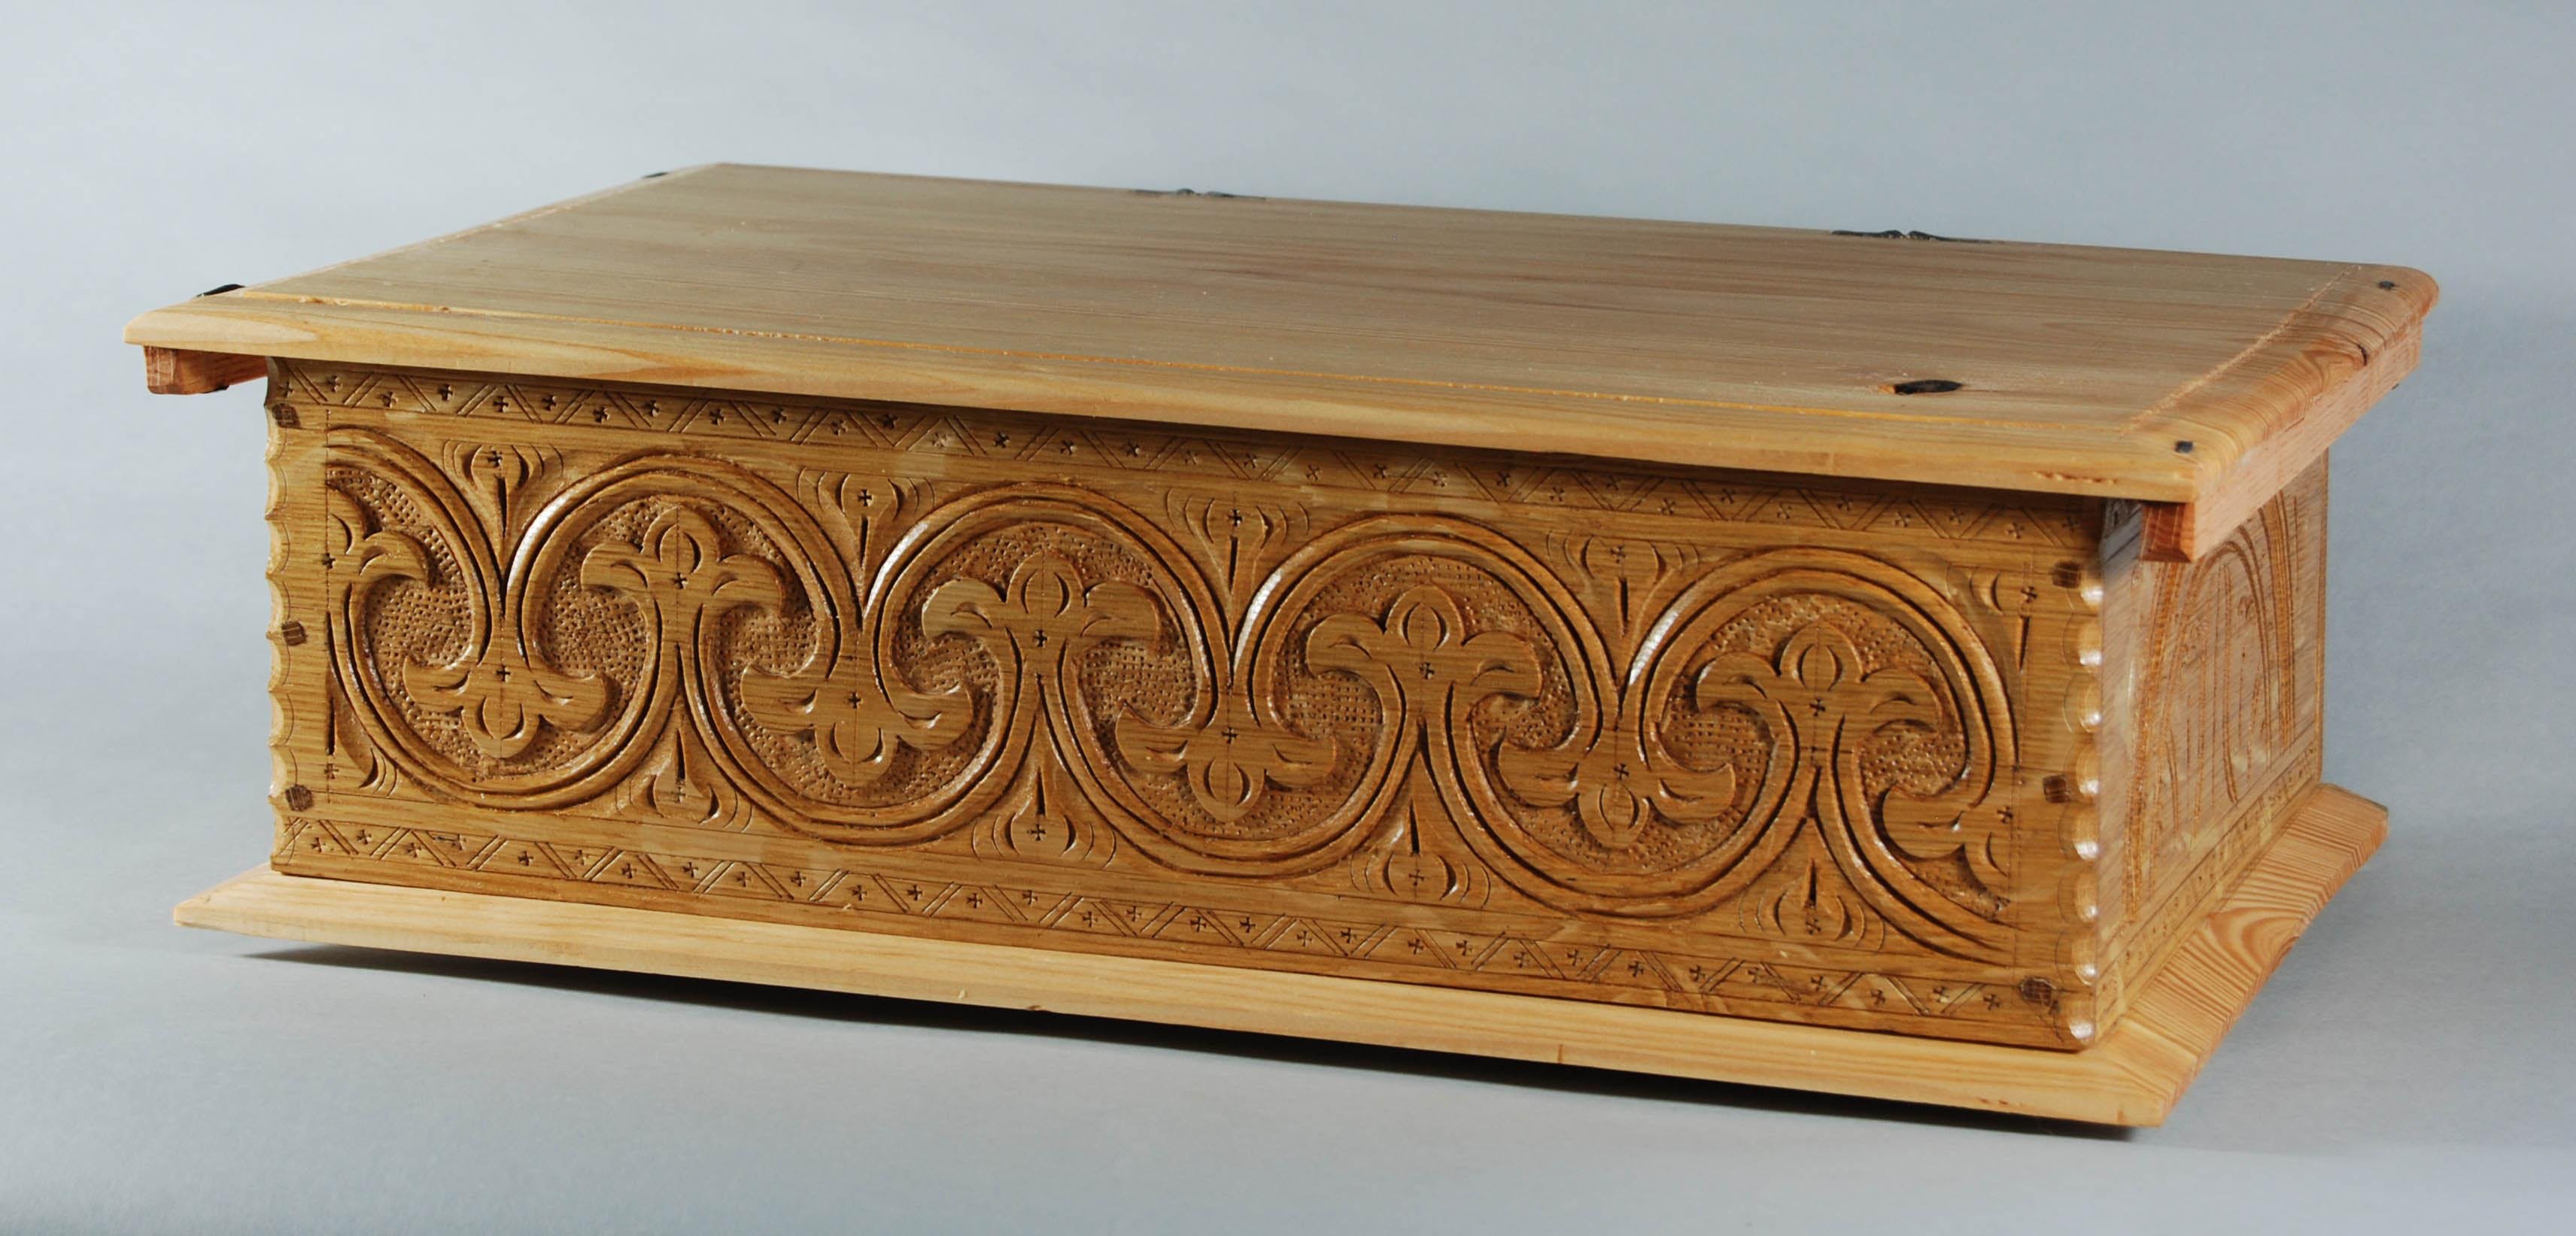
But for now, this project is done. Faux-17thC carved oak box with oak lid and ash base, finished with a simple coat of boiled linseed oil. Sized to hold mothercare cellular blankets that have been folded while you’re half-dead from exhaustion dealing with a newborn and two older siblings.
Even herself was impressed, so it must look okay 😀
Next up, cleaning down the last few bits remaining from this build, and then back to the inlay and decoration work for Calum’s desk/shelf unit. Primary school starts this autumn, so I only have a few months and at the rate I’m getting to the shed these days, that’s a tight deadline 😀
So, four day weekend so almost six hours in the shed 😀 Got the last of the background removal done…
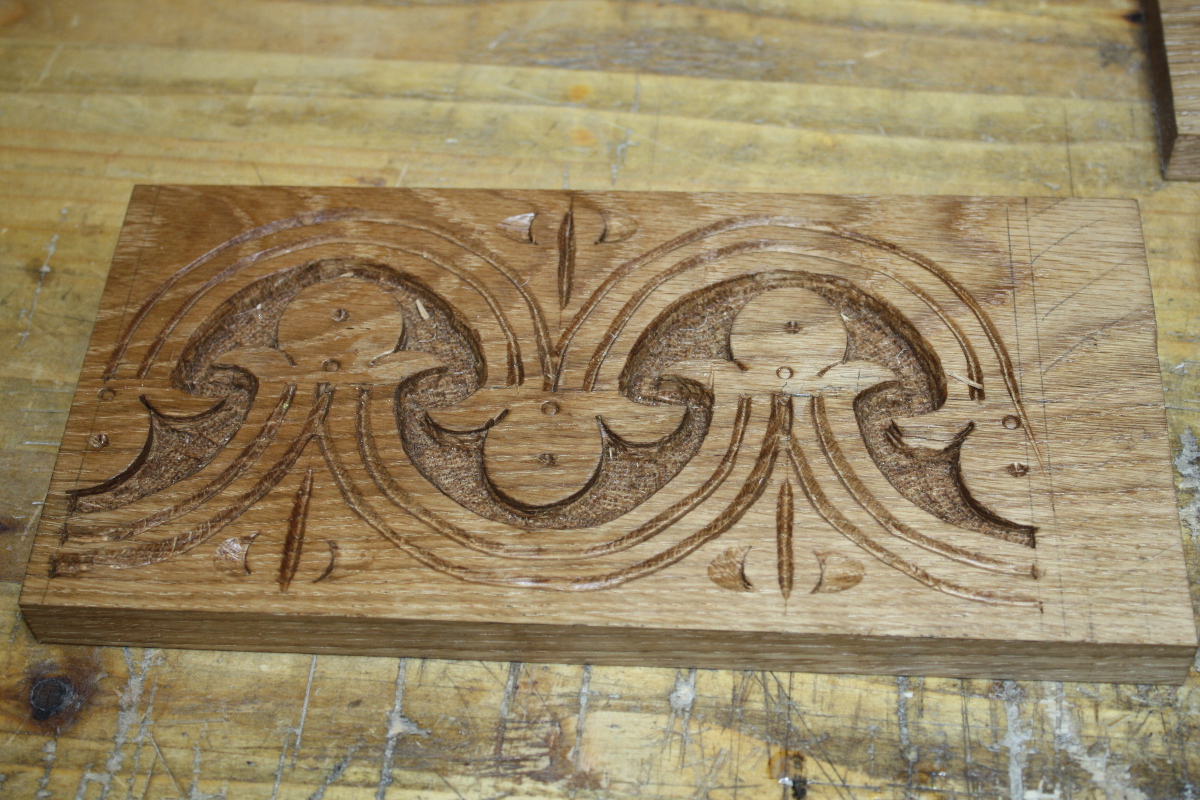
Mix of hand pressure on the gouges and whacking the everloving stuffing out of them with a mallet, and trying to get the background down about 4-5mm or so relatively uniformly across the background. Then to eliminate the unevenness, stippling!
Basically, lots of spikes on the end of a punch, and thwack it with a lump hammer lots and lots of times until…
And then just douse it in boiled linseed oil to show it all up. There are some decorative punches as well, just five or six on the panel.
BTW, Peter Follansbee makes all this look easy. This is a LIE. HE LIES. The git 😀
Front, back, and both sides now carved and all bar the front wiped down with BLO. Next up, cutting off the excess length on the boards that I was using for workholding; and then scalloping out the edges of the front and back boards and drilling pilot holes for nails.
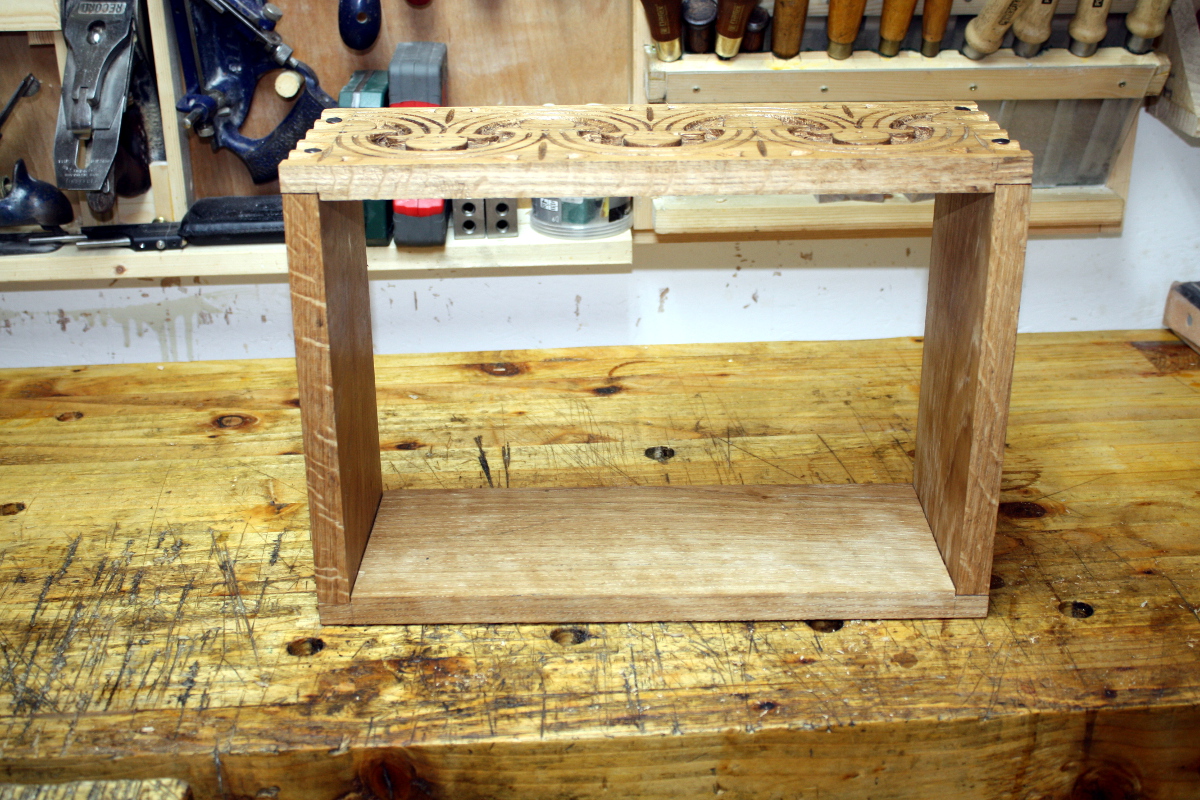
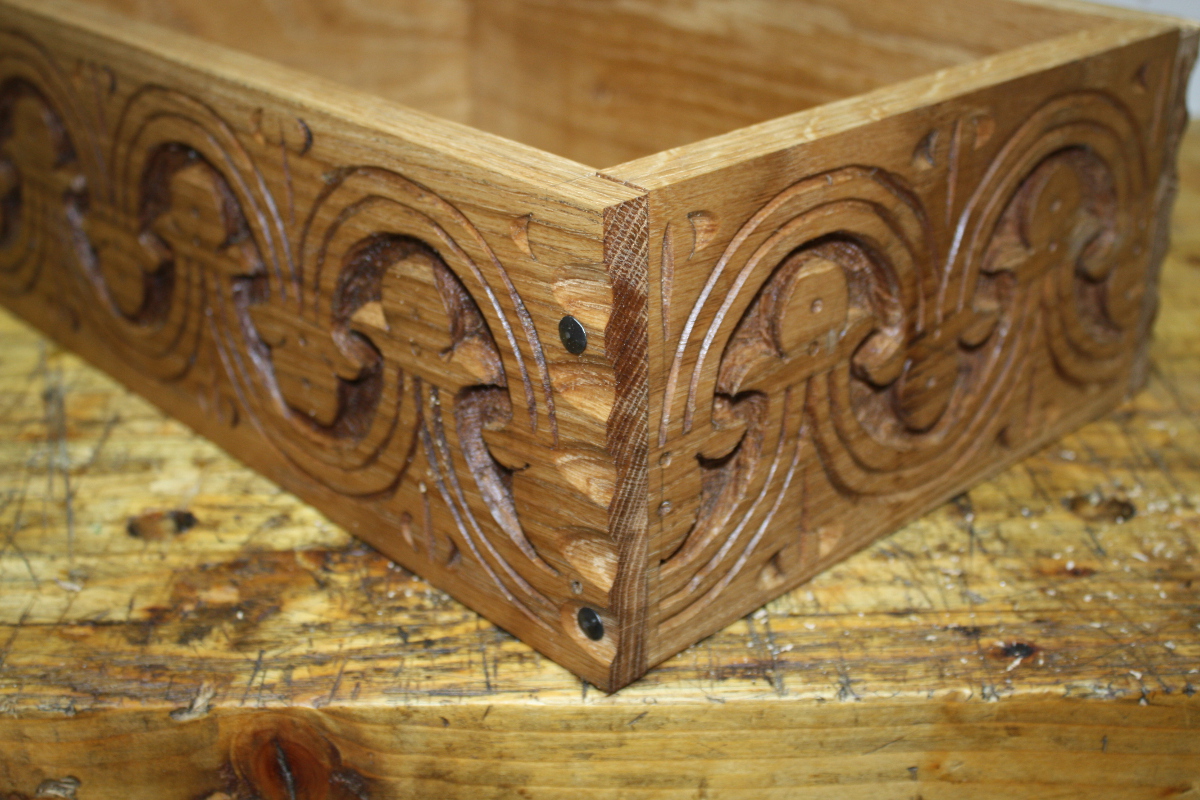
That done, marked out the front and back boards for a shallow rebate to locate the side boards (the joinery on these boxes is not normally very complex). Saw the shoulder, then stand the boards on end in the vice, hold your breath, stick the chisel in the line and split off the cheeks. A heart attack or two later and a bit of paring and fettling, then drive some cut nails home and…
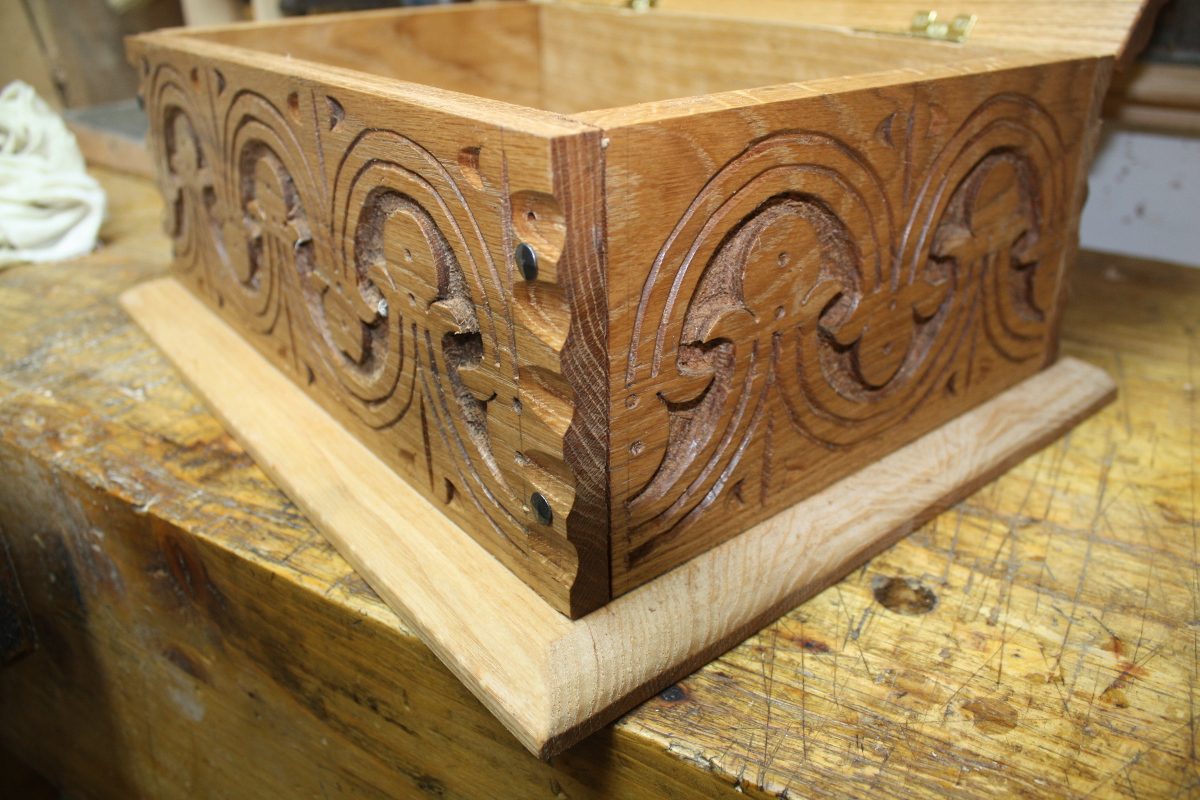
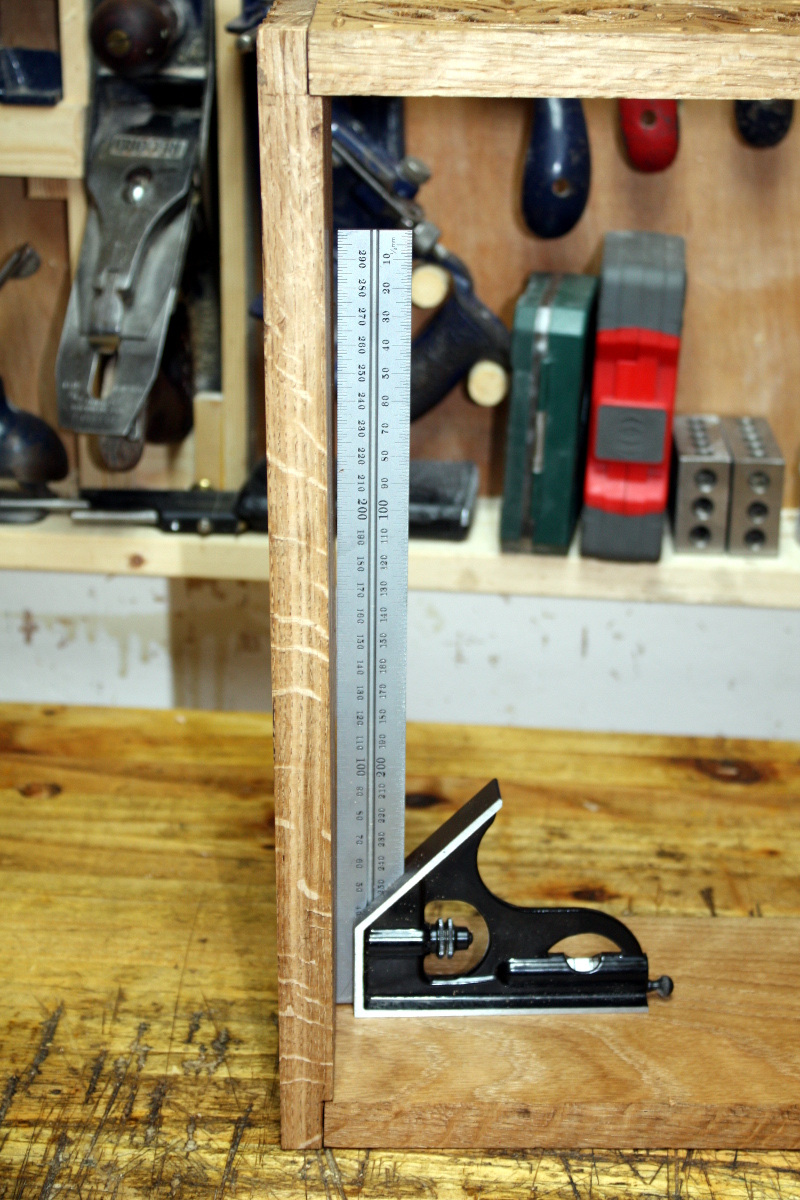
It’s not bad, it’s a little out of square:
It’s only out of square by about 3mm overall though (corner-to-corner). That’s not too bad and the base will pull it into square (you can readily rack it to square with very light finger pressure right now).
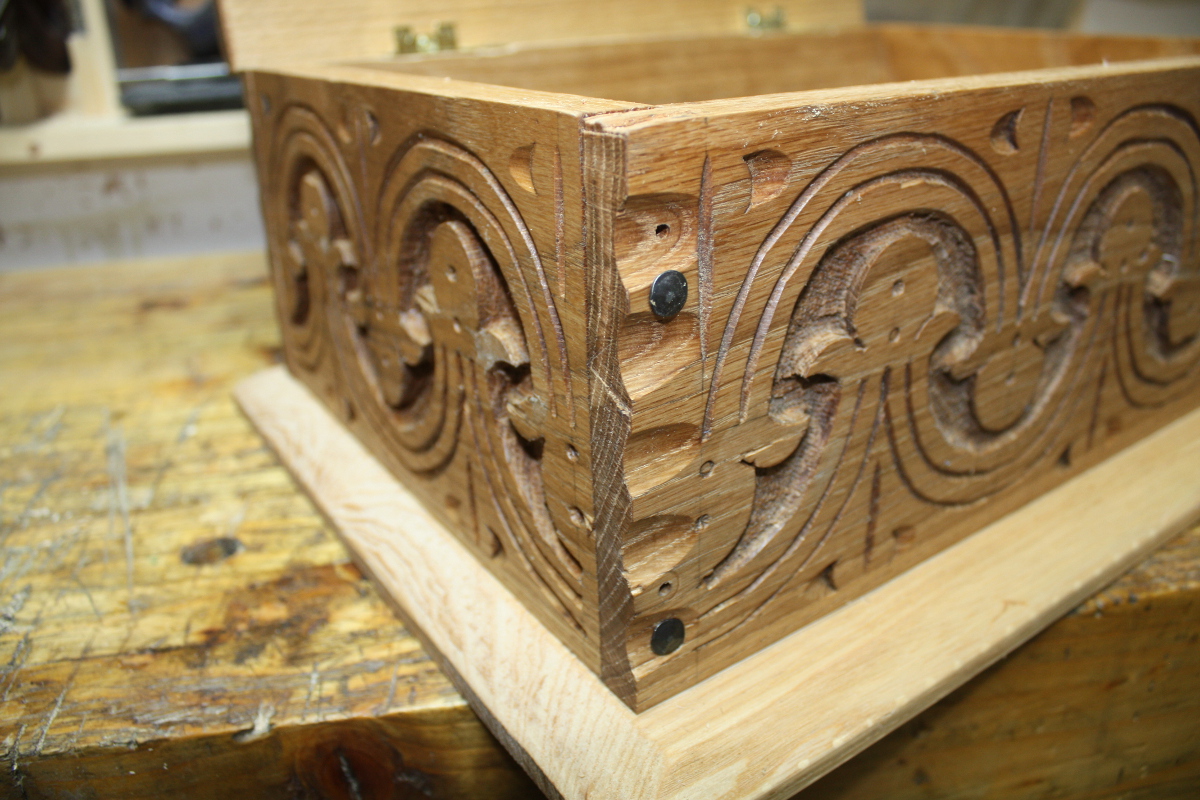
And I did manage to get the flow of the carving to look continuous, which was nice.
So not too bad overall (I might wind up disassembling it and reassembling it with a touch of glue and the nails to close up the < 1mm gaps before final assembly).
Next up, either the lid or the base. I haven’t made up my mind yet. Mind you, the way work’s been going, I may not get back to the shed till next April…
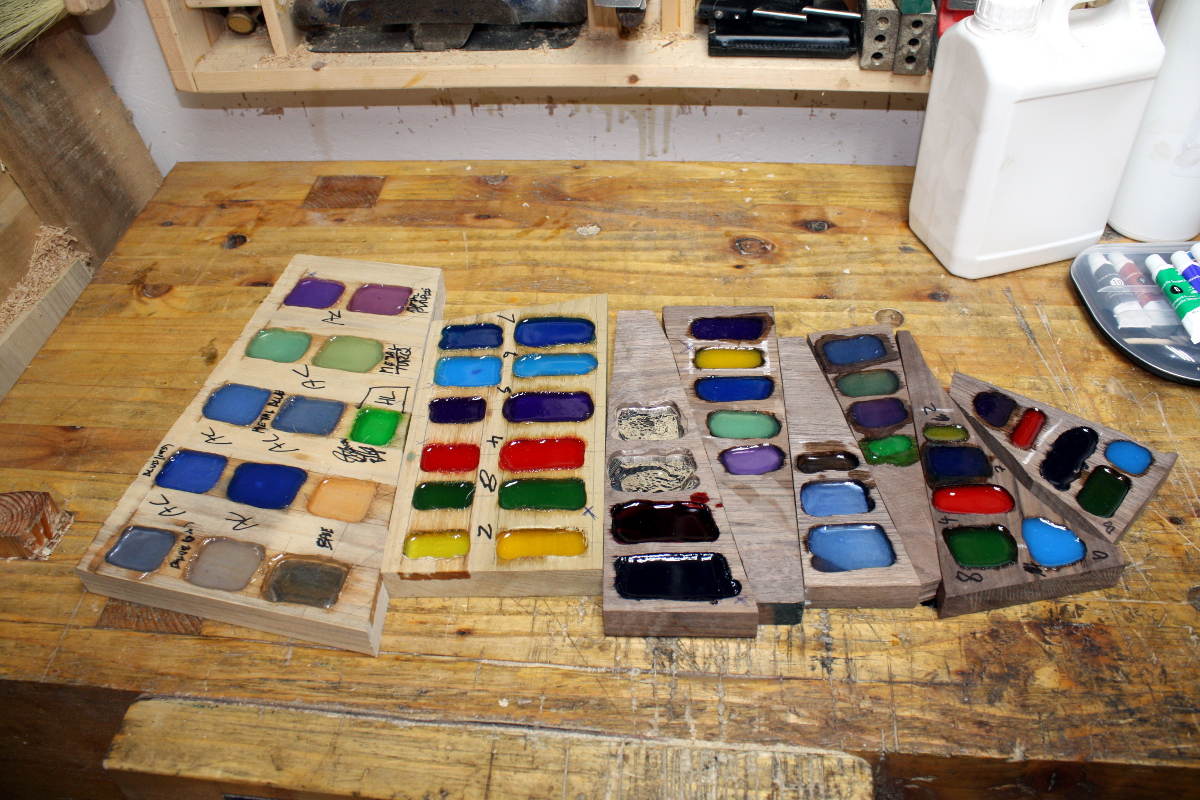
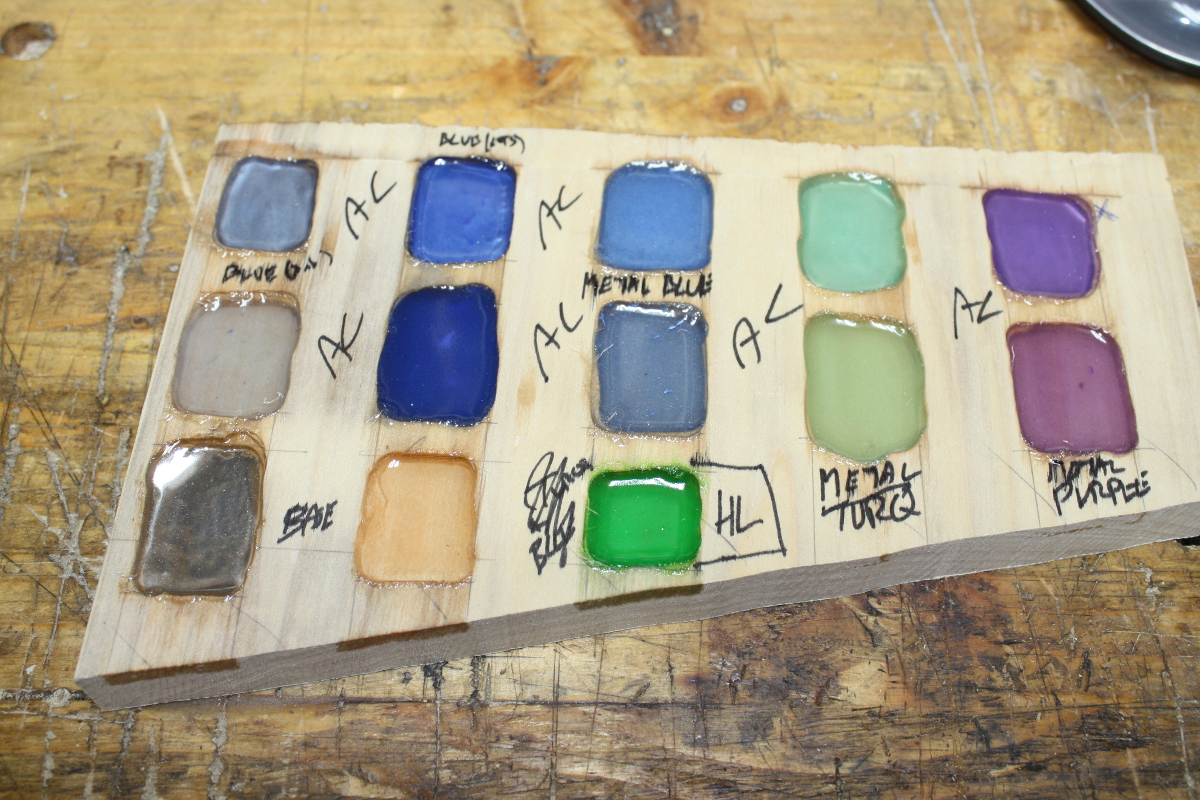
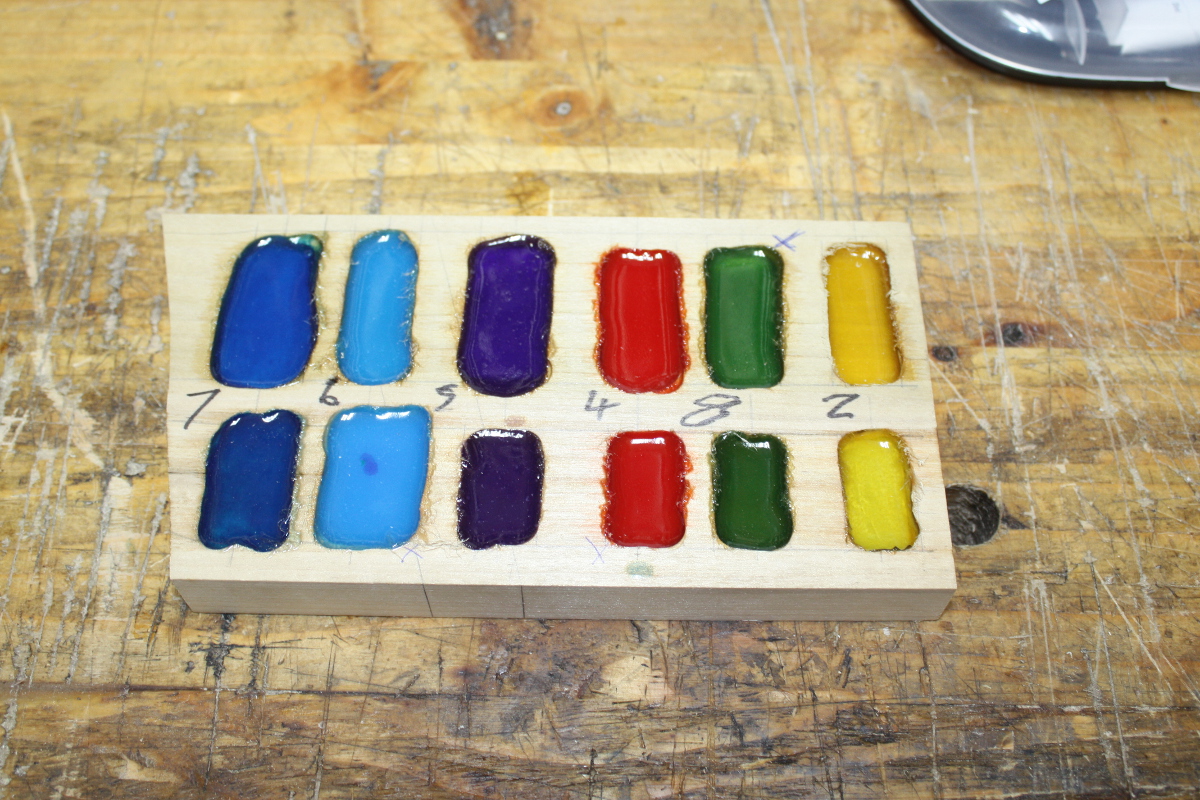
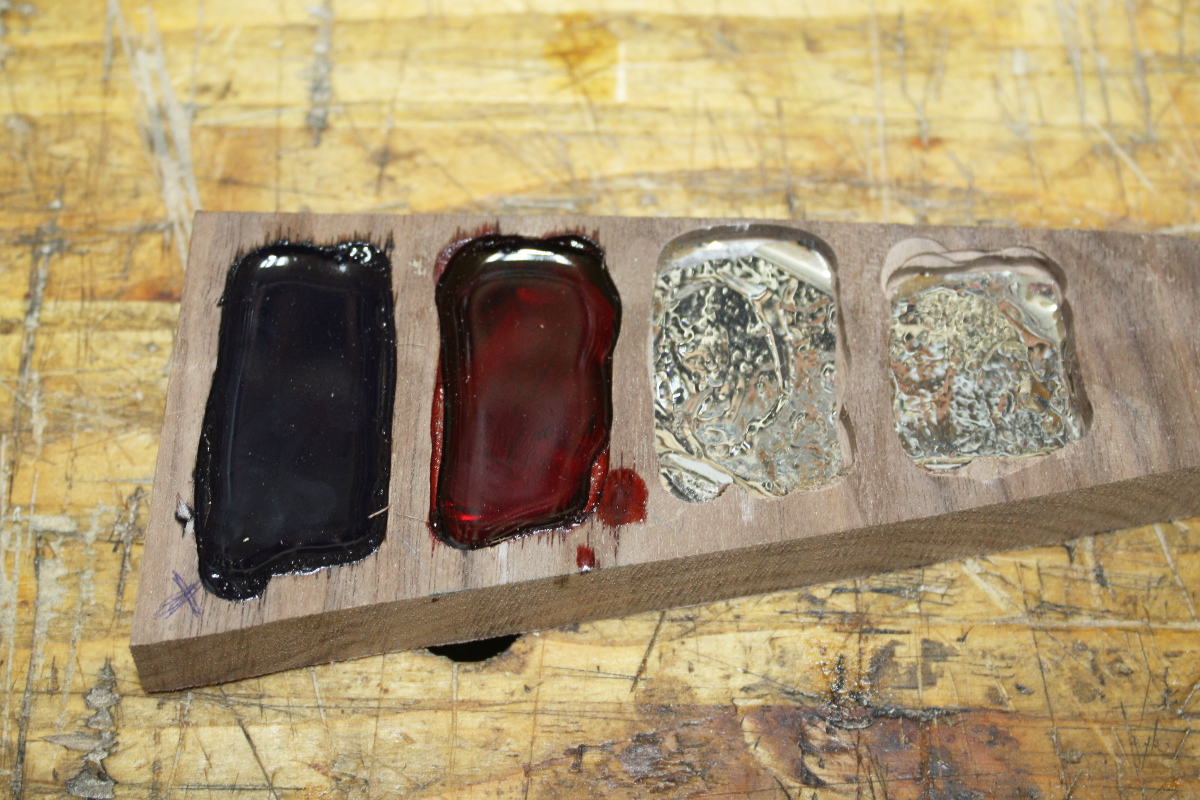
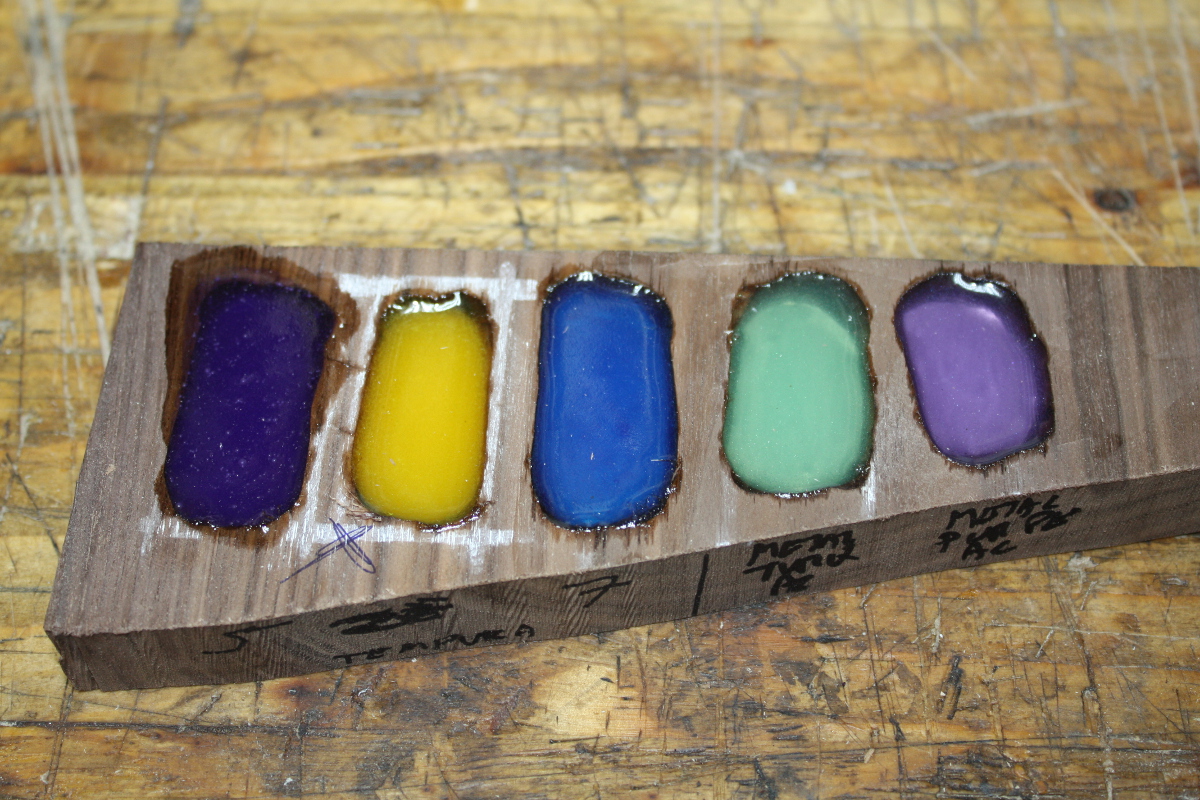
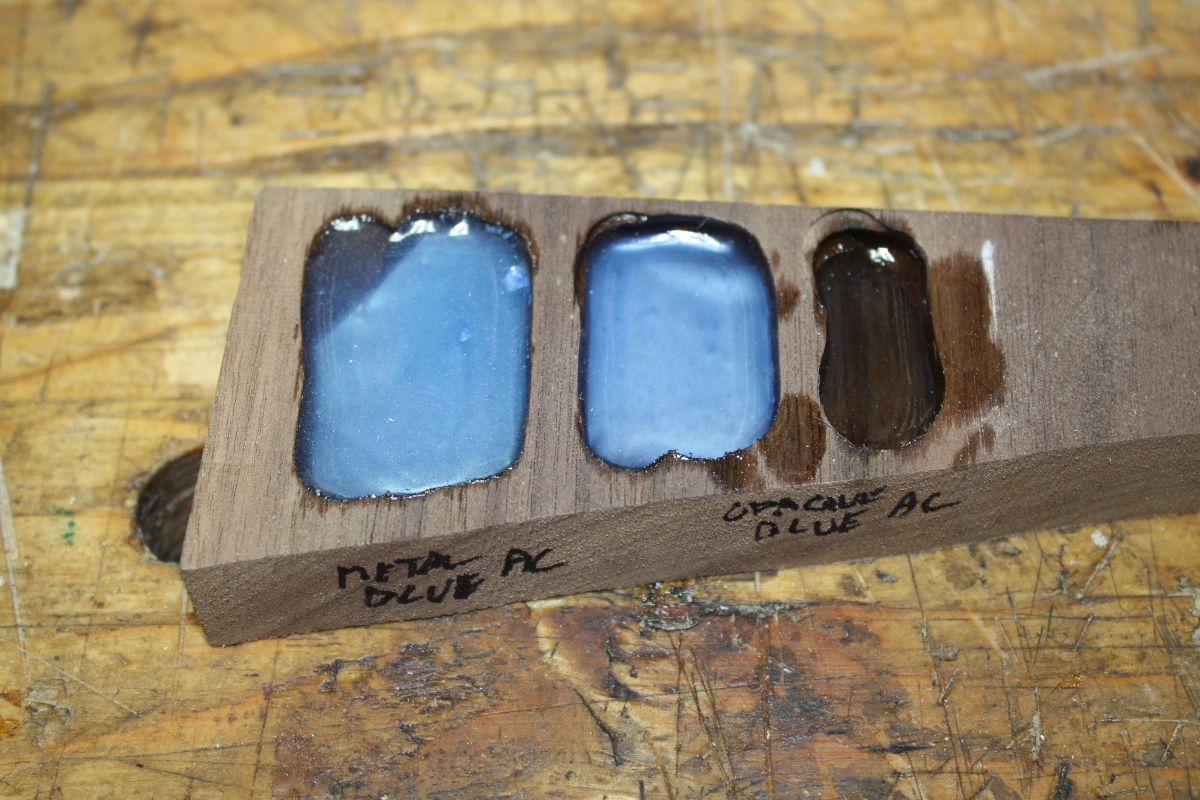
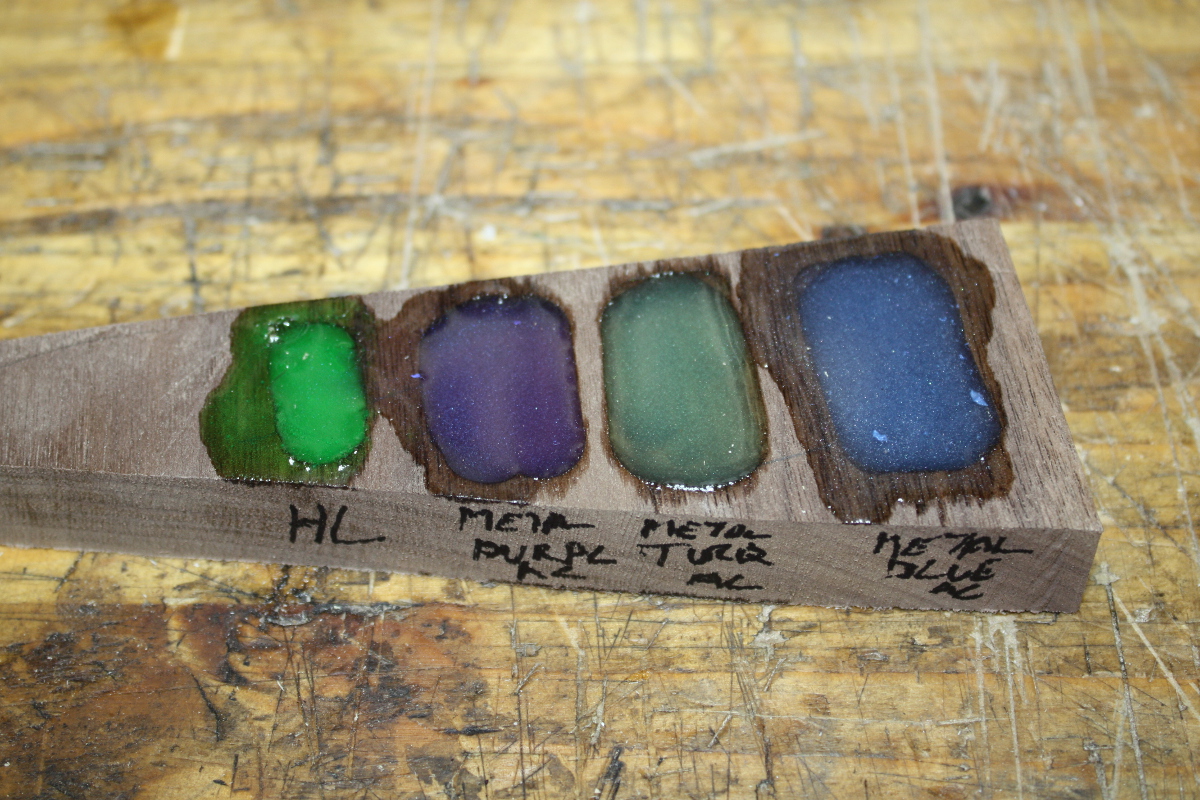
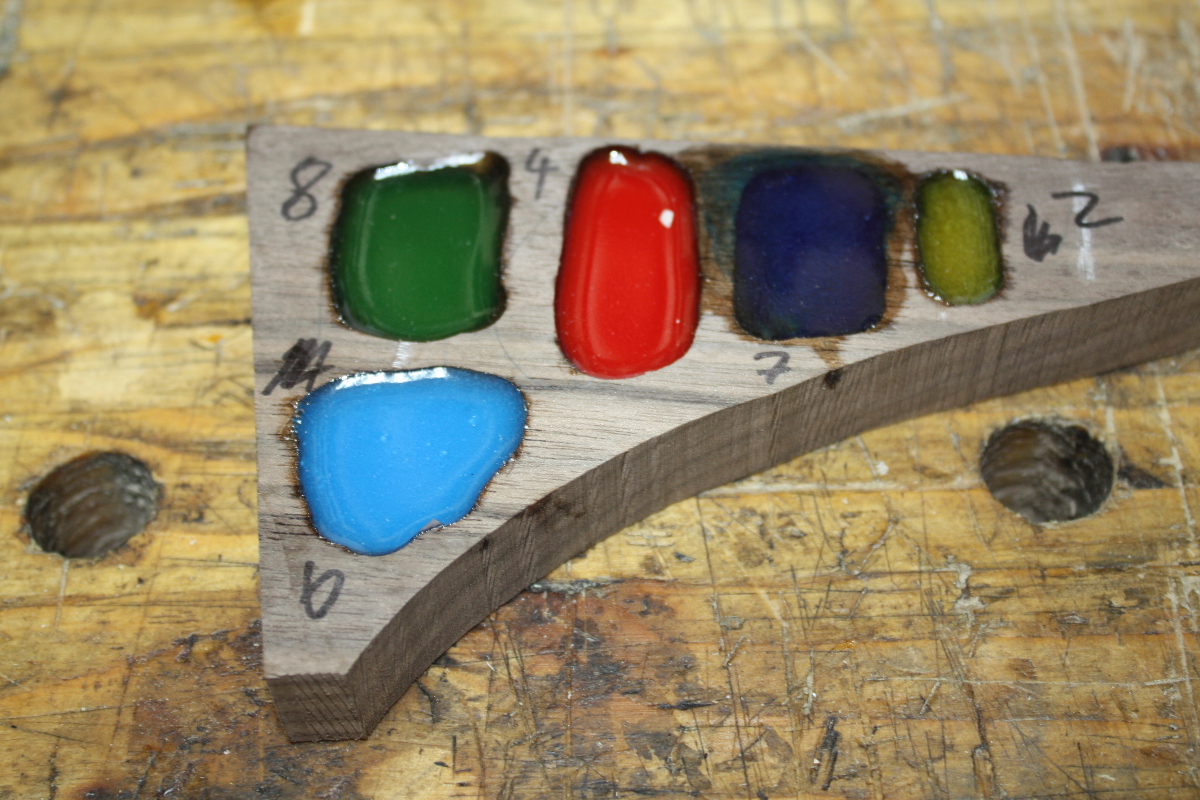
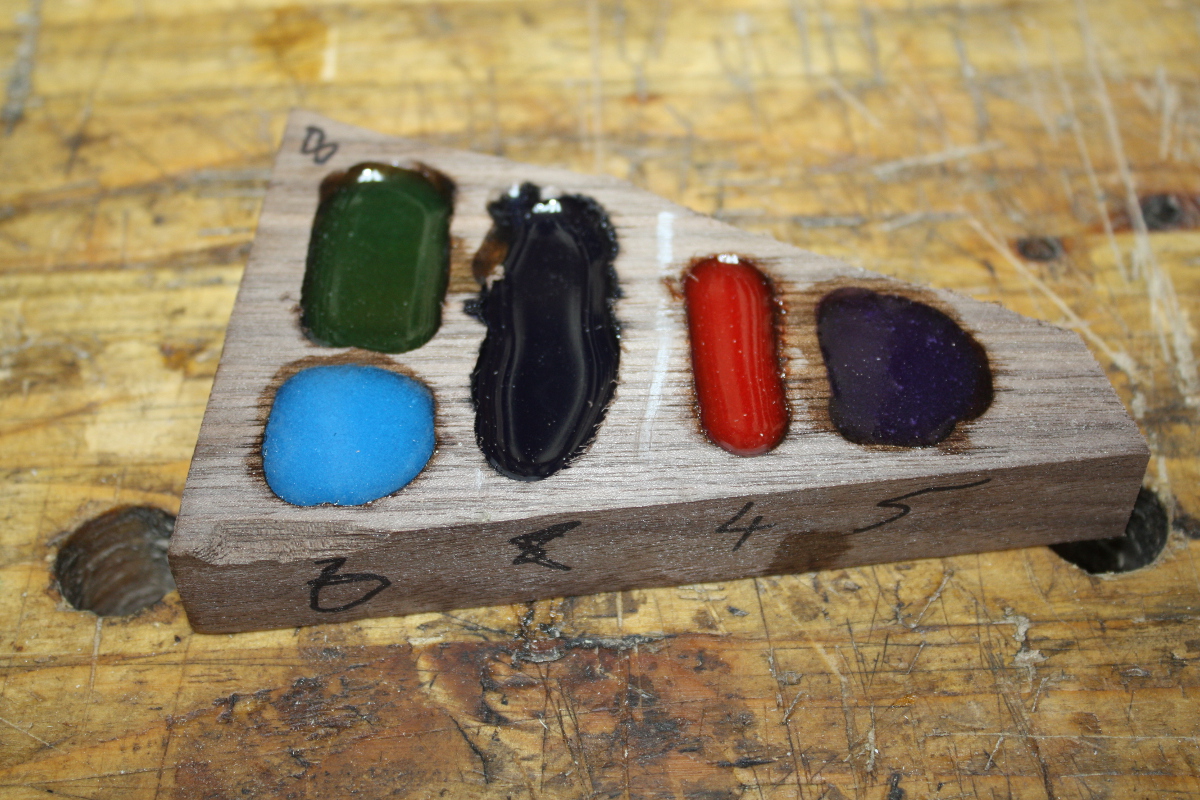
So the resin tests came out pretty damn good. The idea of putting the reflector under the resin worked quite well, and most of the colours came out well (the crimson guitars stains didn’t really pop but that was more down to the dark background – the way the red especially looked over the reflector suggests it’d be lovely over poplar).
Crimson guitars stains in walnut
Calum picked out a few he liked as well (the ones with crosses beside them in pen). So now I’m just picking out designs to do for the various parts of the desk, shelves and sides. I need to print a few out and find some transfer paper, then some will be done by inlay and some with resin and some with a mix. I also ordered two new inlay handtools for a few curves I can see coming that will have to be done freehand (yeah, you could get router inlay bits but I think we’ve established by now that I don’t like the router very much).
Think I’ll skip banding this time though. For a later project, that one (and I have one in mind).
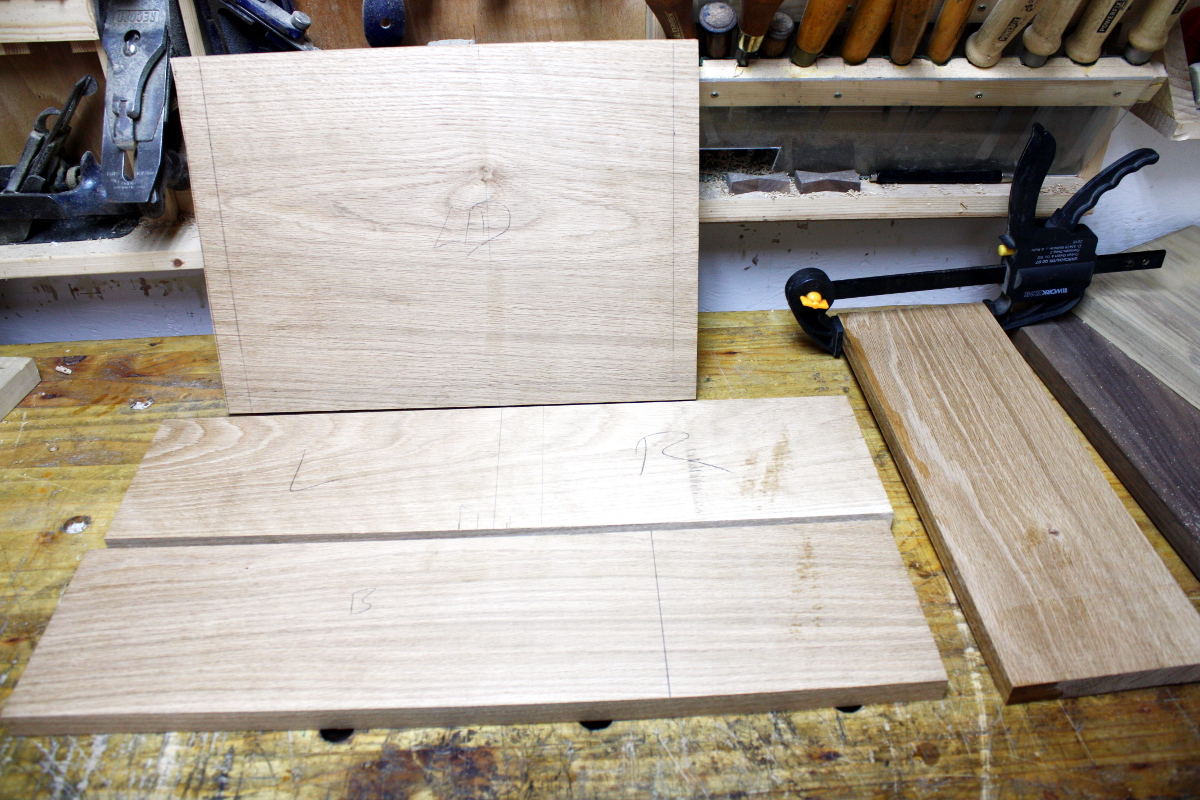
Meanwhile, I’m blocked for a few days so I made some progress on the oak box. Cutting the component parts was easy enough…
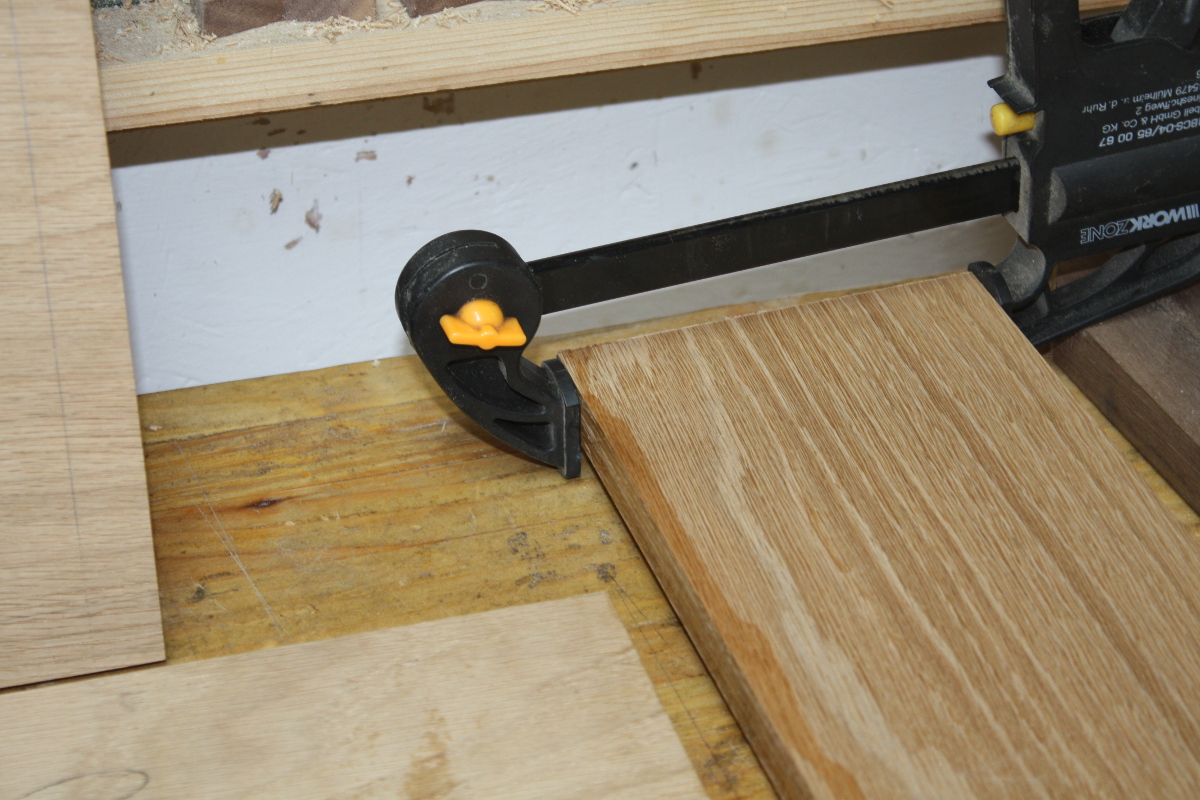
If anything I shouldn’t have cut them so early, but left that till after the carving. And I mucked up shooting the end of one…
And of course the CA glue stuck to the clamp so unclamping chipped the board anyway. Le sigh.
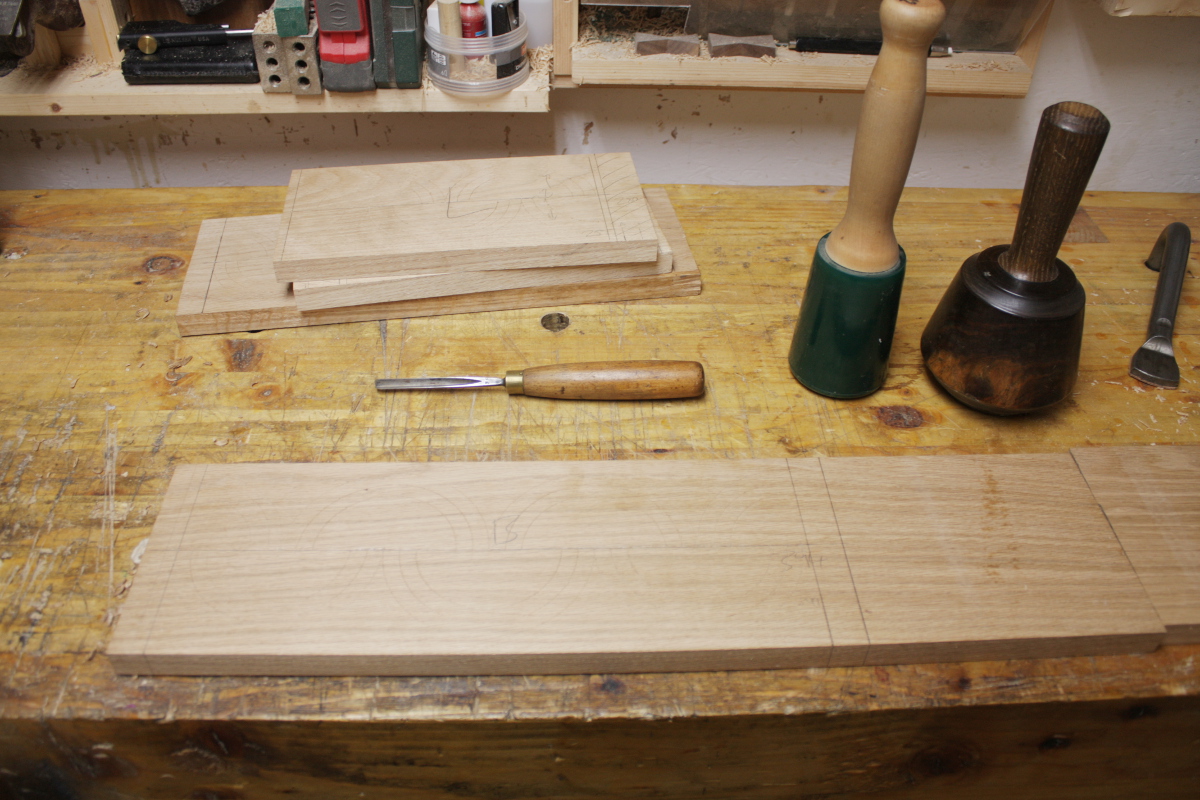
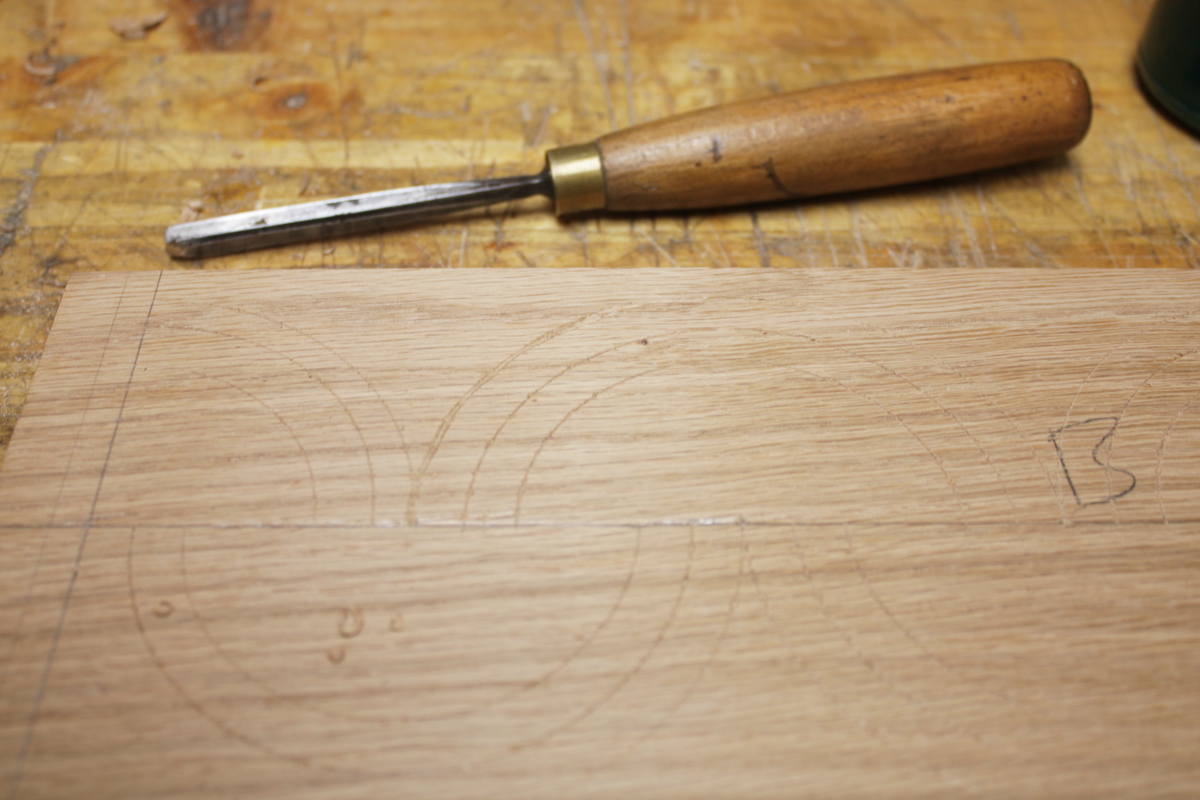
But never mind, on to the fun stuff..
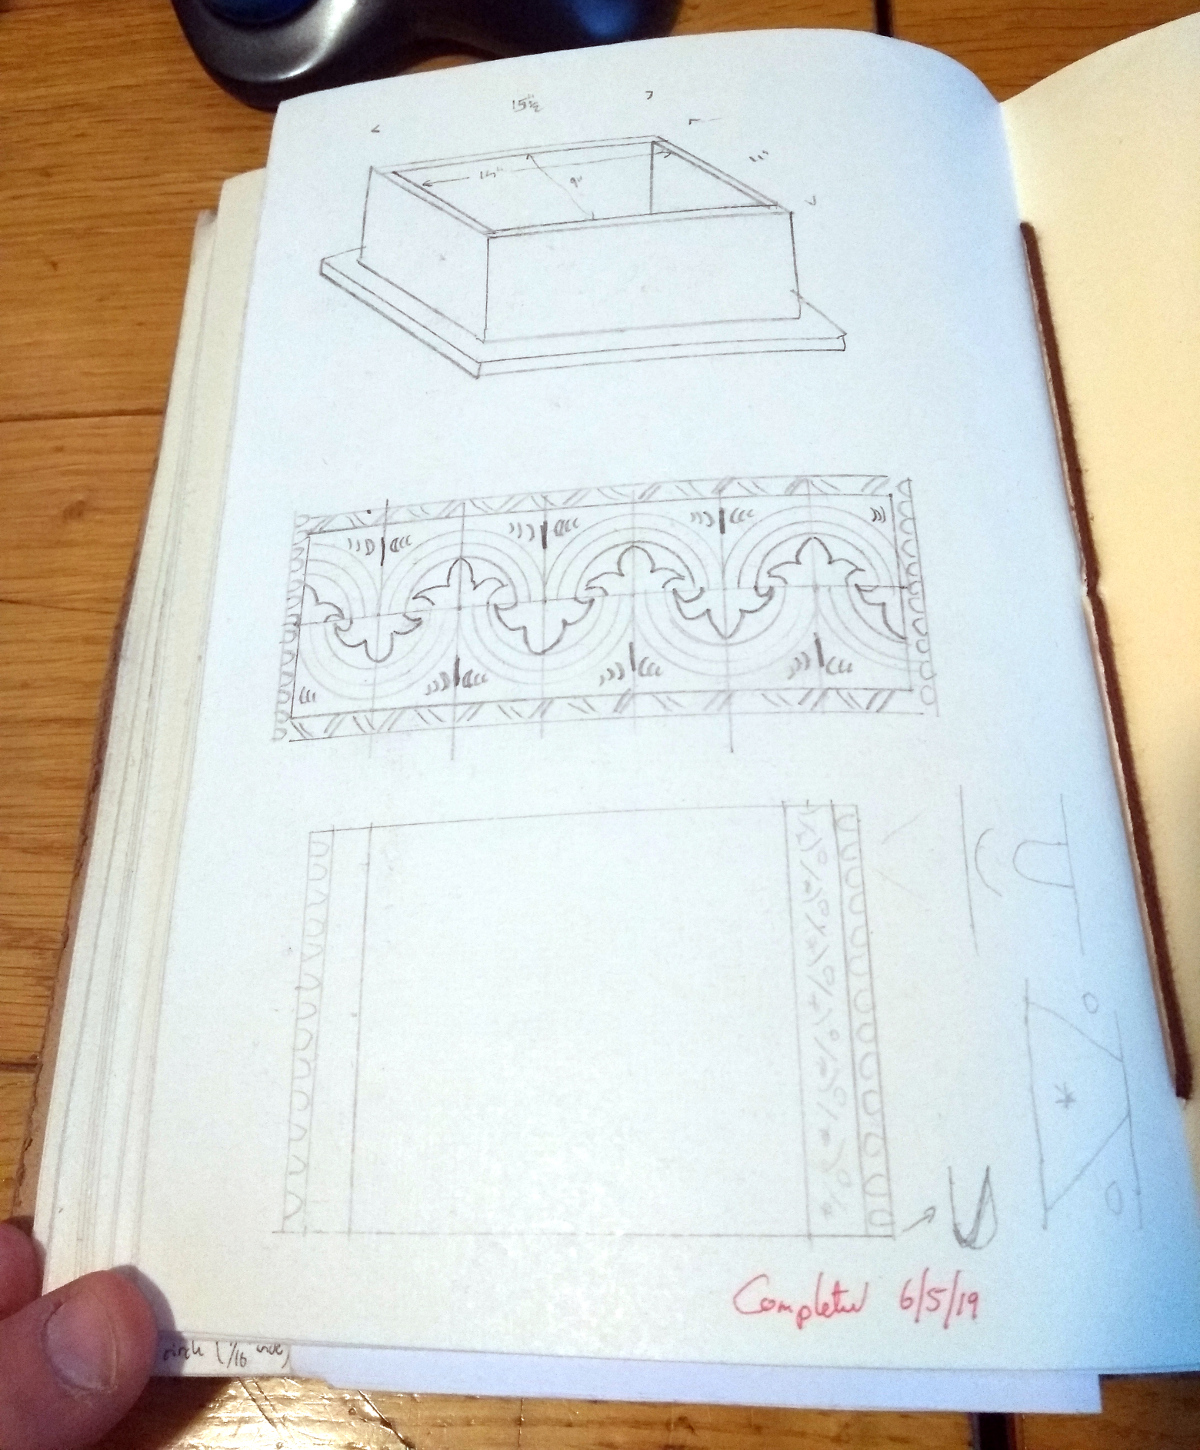
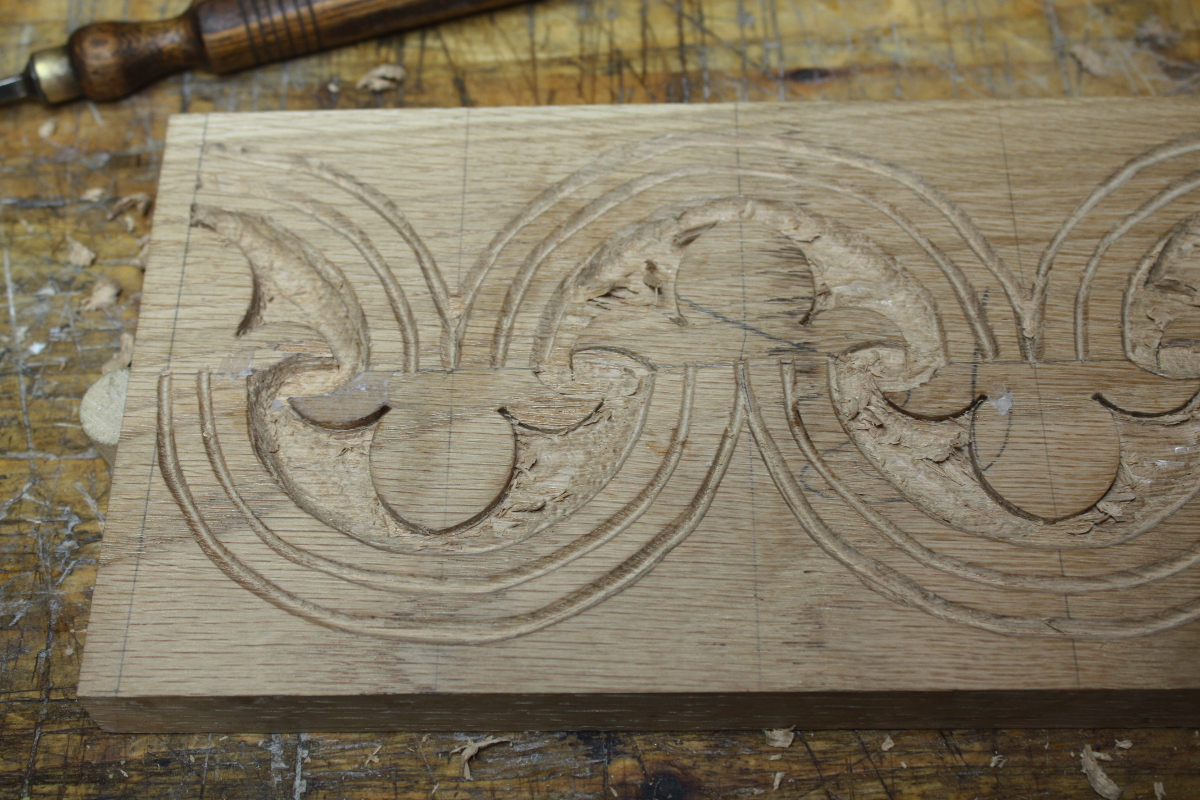
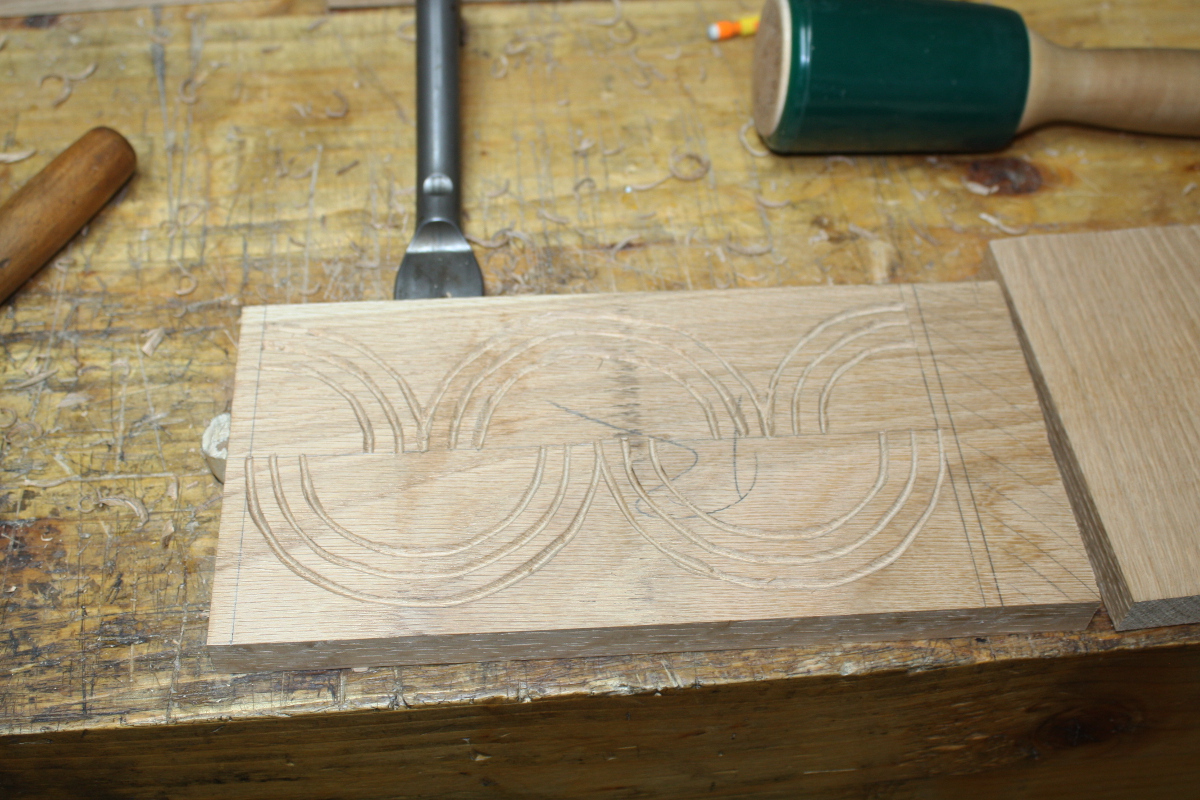
It might be hard to spot there because scratches on oak are, but I’ve marked a centerline and scratched in a series of opposing lunettes (to borrow Peter Follansbee’s term) and next up is cutting them with a V-tool. Well. Actually next up is spending some time with the diamond plates, slipstones and strops sharpening that V-tool and trying to sharpen a second one I had but which actually needs to be reground. Those V-tools are a little small but it’s a small box and the larger V-tool I have is an incanel one which, when used for this, bites in and heads for the far side of the piece. I can’t get it to work for this sort of thing. I’ll keep an eye out on ebay, but for now this V-tool will suffice.
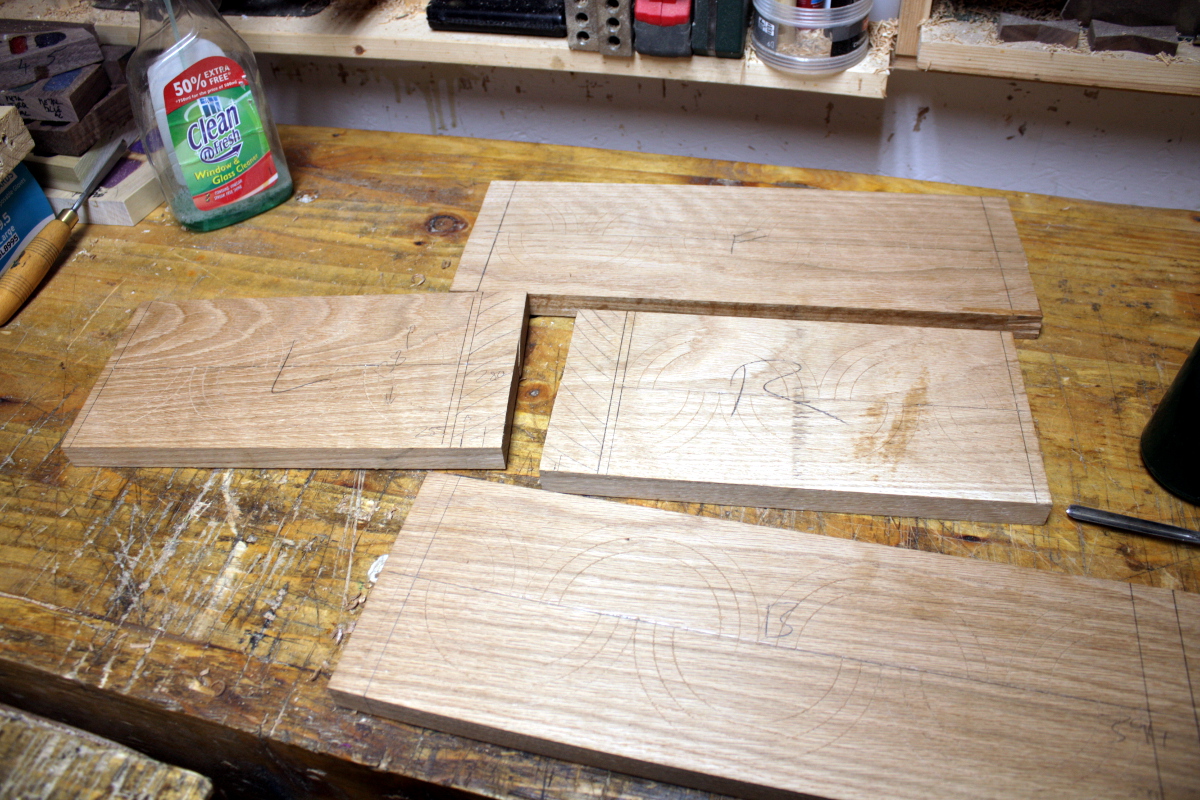
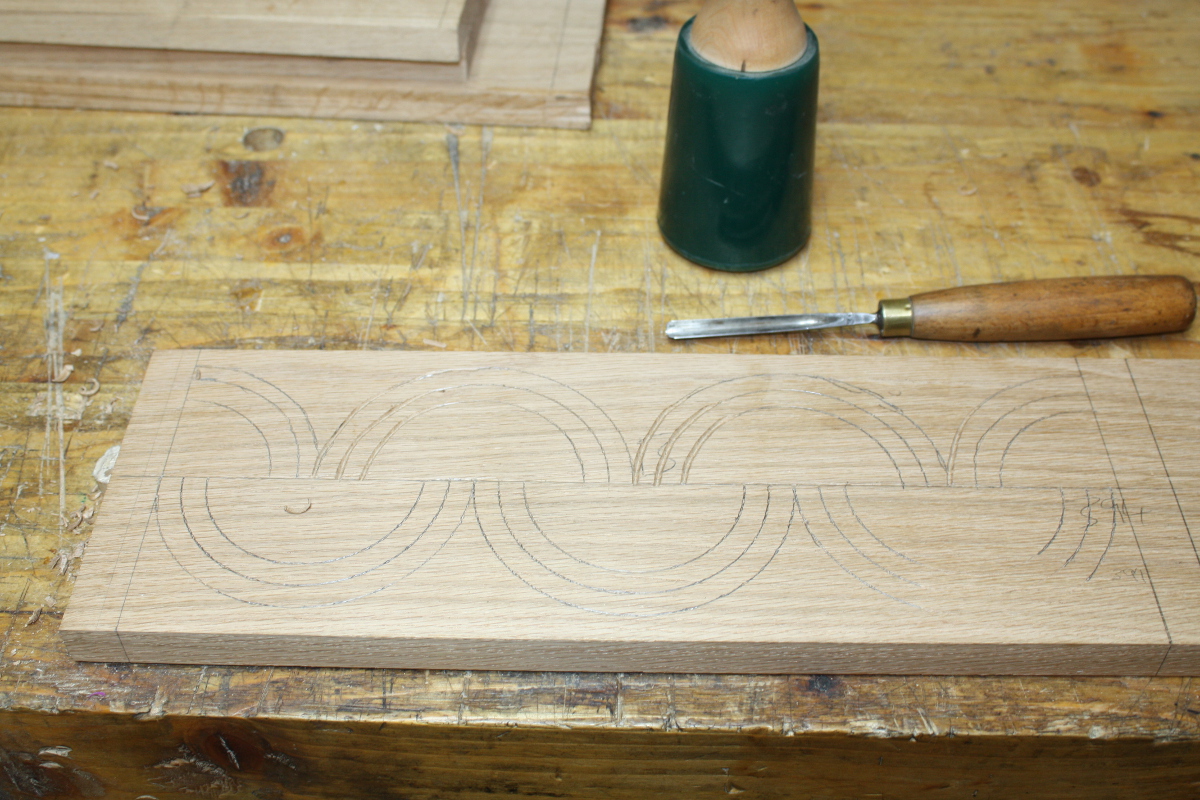
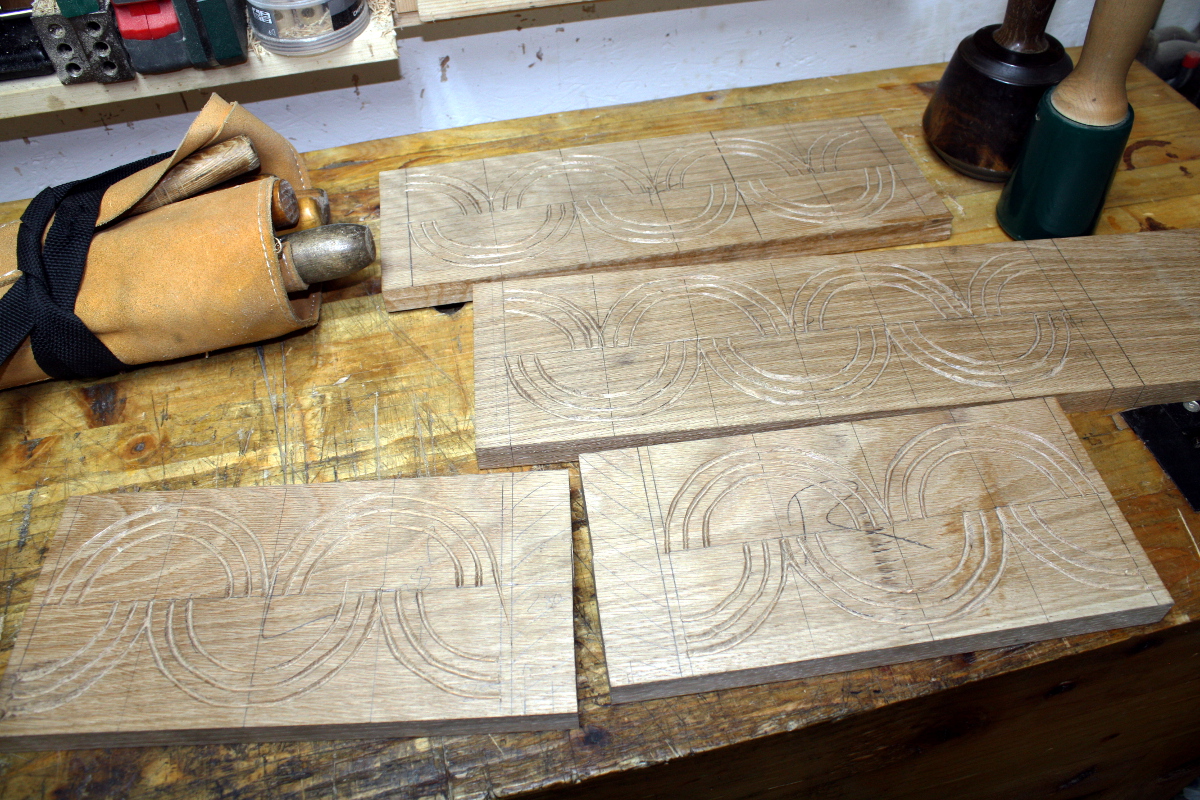
That’s all of them marked out in fact.
You can make out the scratches up close, but they’re still hard to see even standing in the shed. I wonder if Follansbee has it easier seeing these because he uses riven oak instead of this flatsawn stock. He’s said himself this is carvable but not the best.
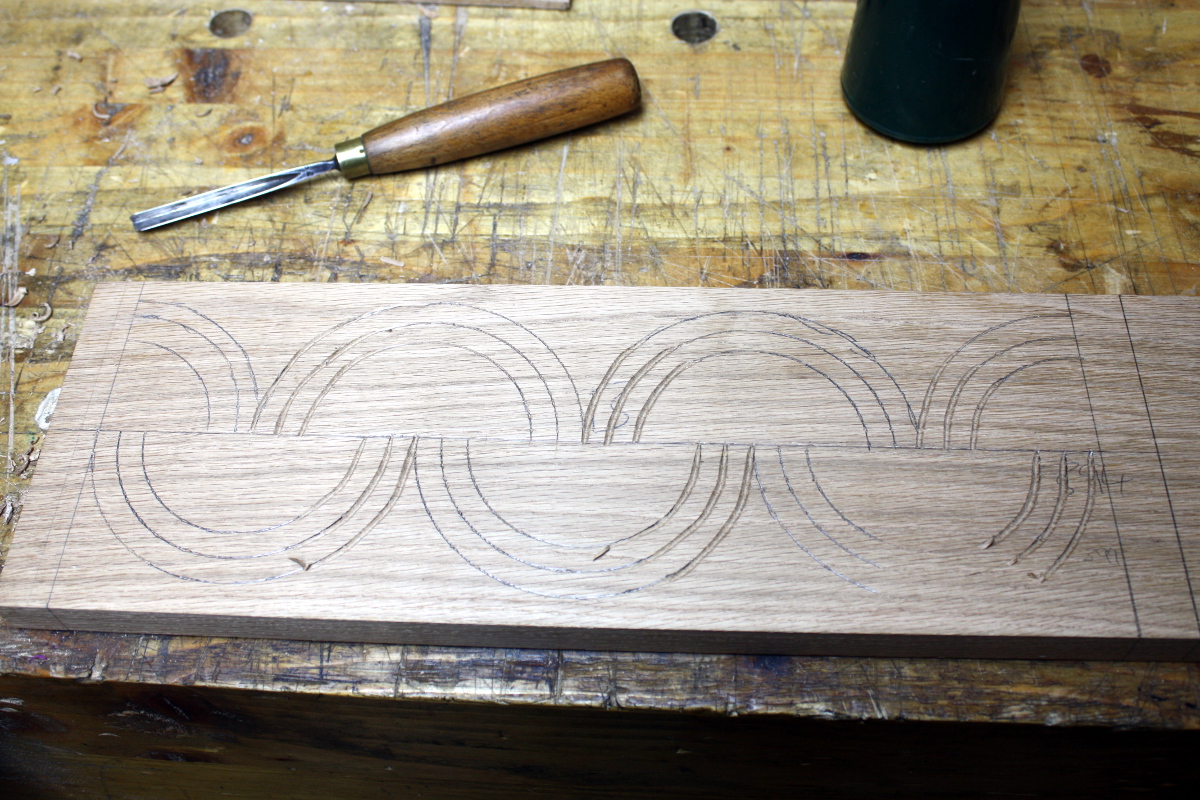
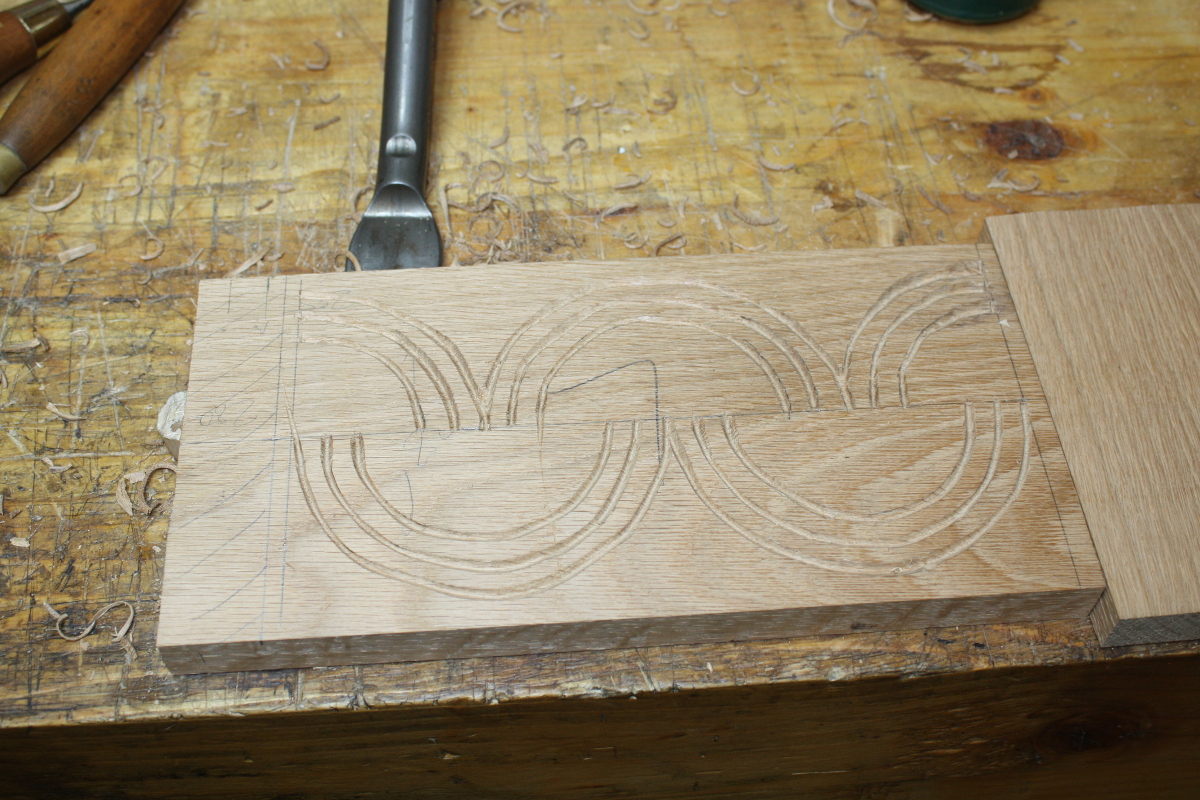
After a few minutes in fact, I gave up and just ran a pencil line around the scratches. They’re being carved out so it won’t mar the work.
Then I just work my way along, cutting out the same part of the curve on every curve, then moving on to the next until all the lines are cut out. You have to cut in sections so you can brace your V-tool arm and control the cut. I say that like I’m cutting perfectly regular lines, but I have to go over everything once or twice already and it’s still not perfect.
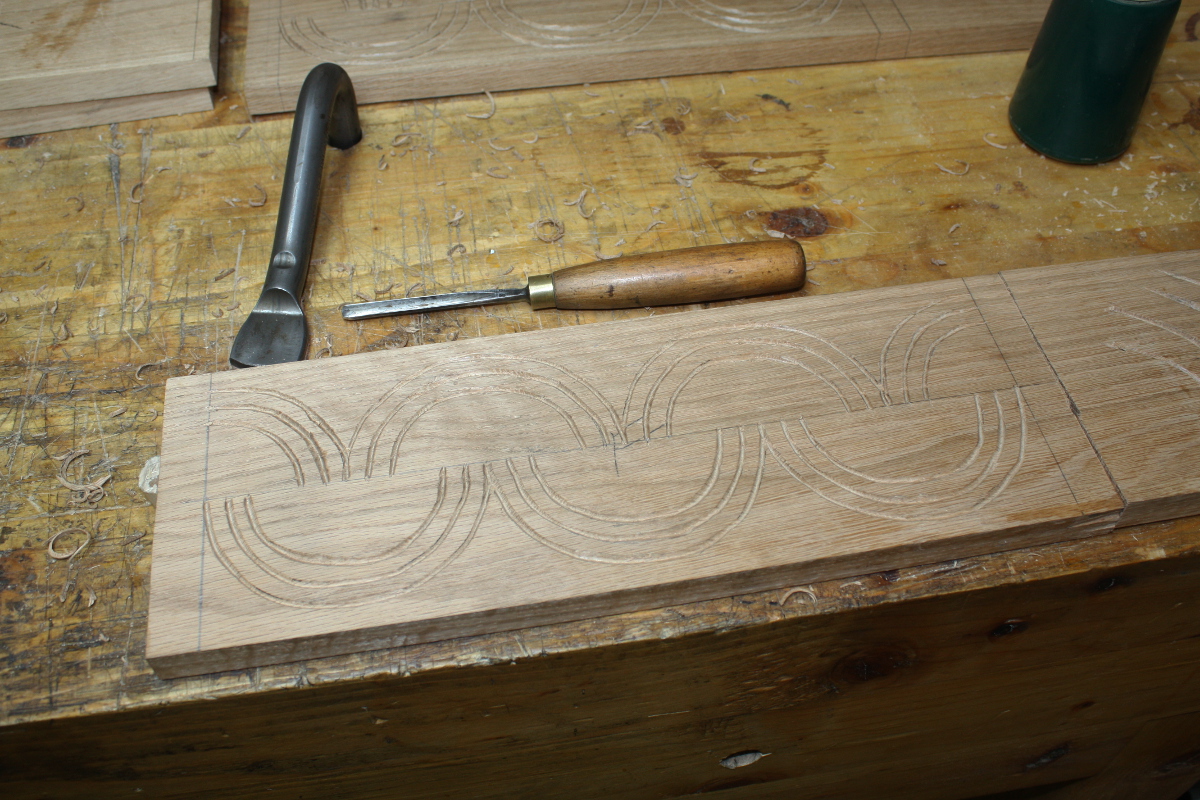
I mean, it’s not terrible, it’s just rough. Still though. Got all the V-tool work done on all the sides.
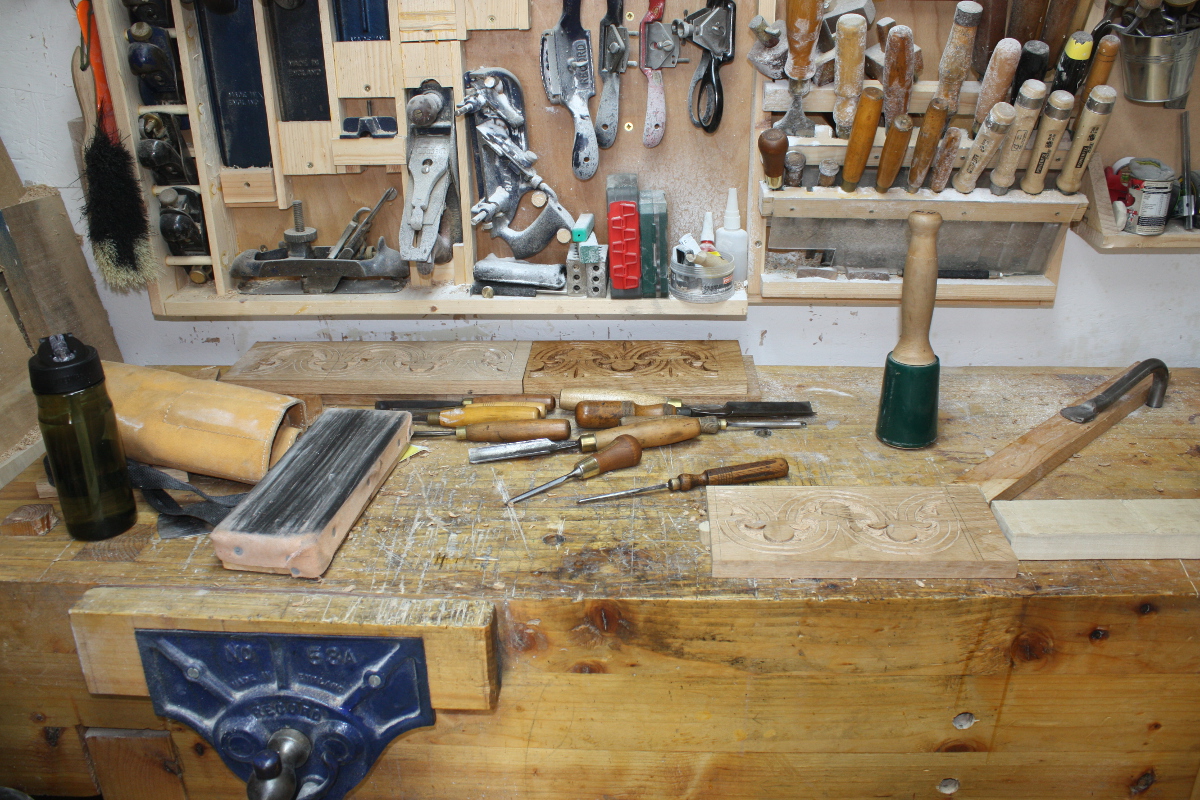
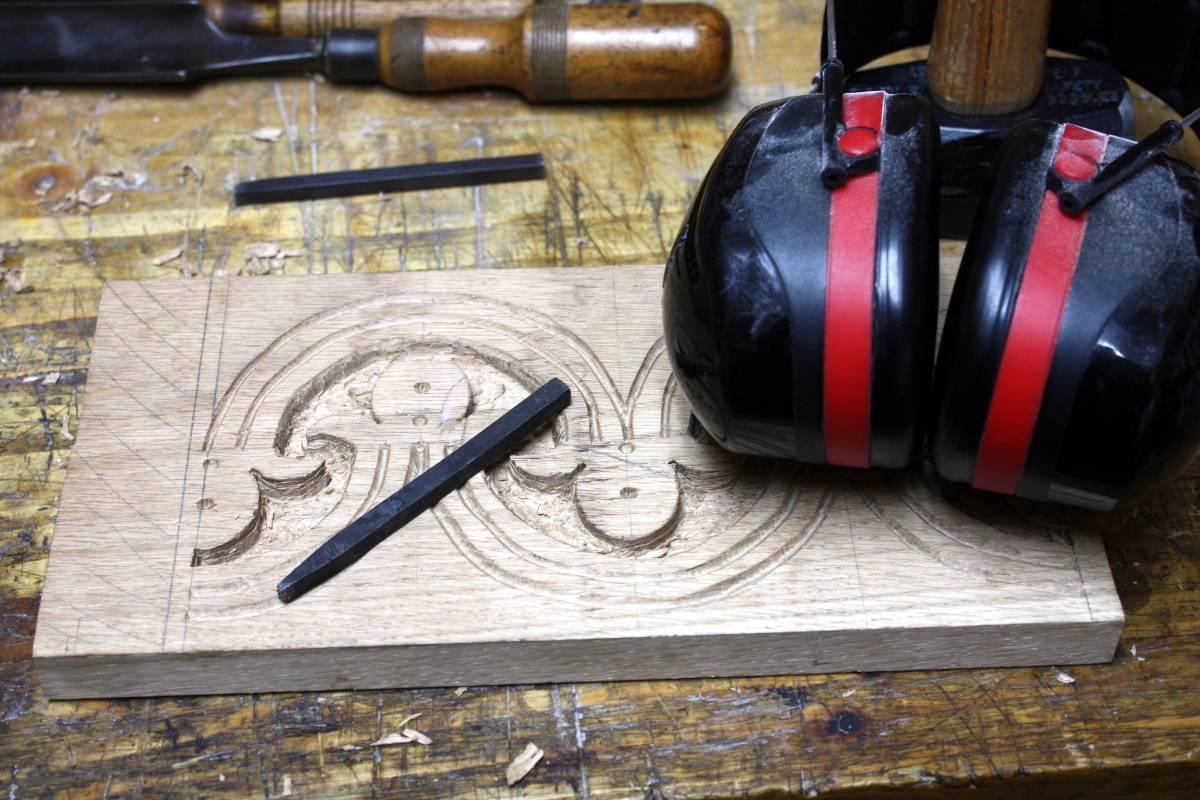
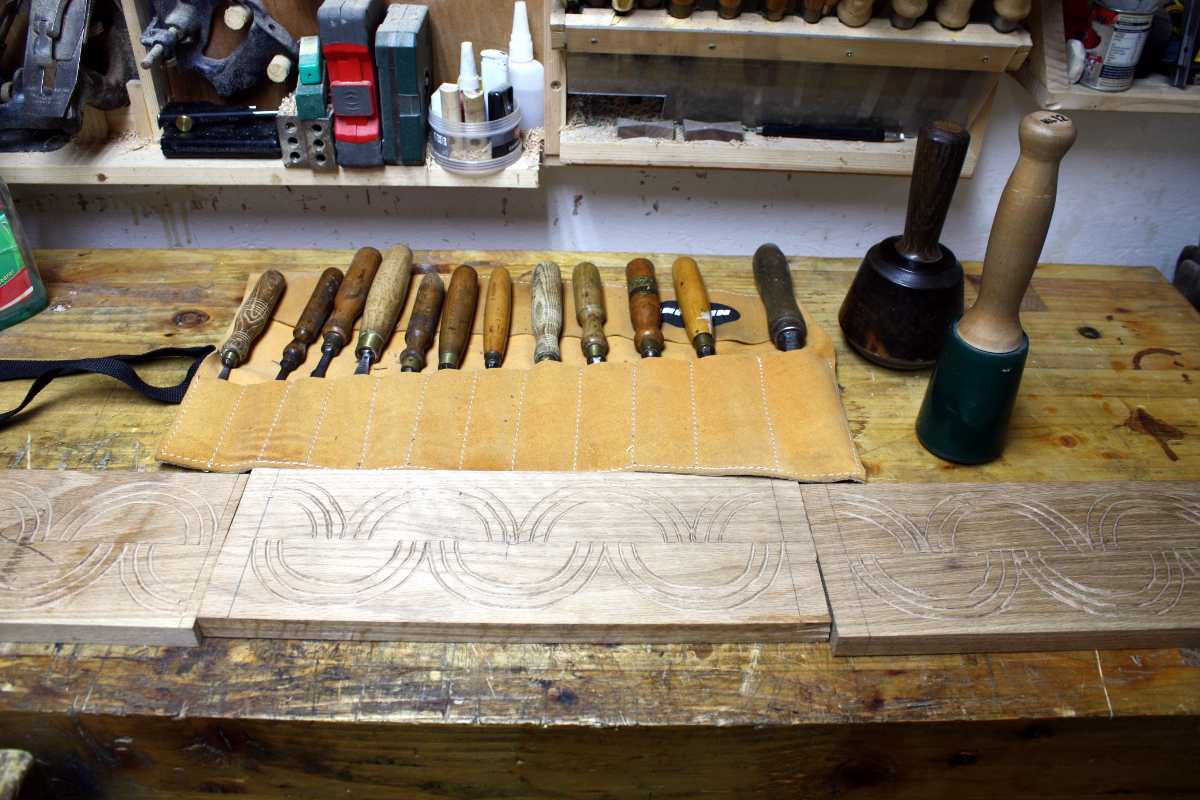
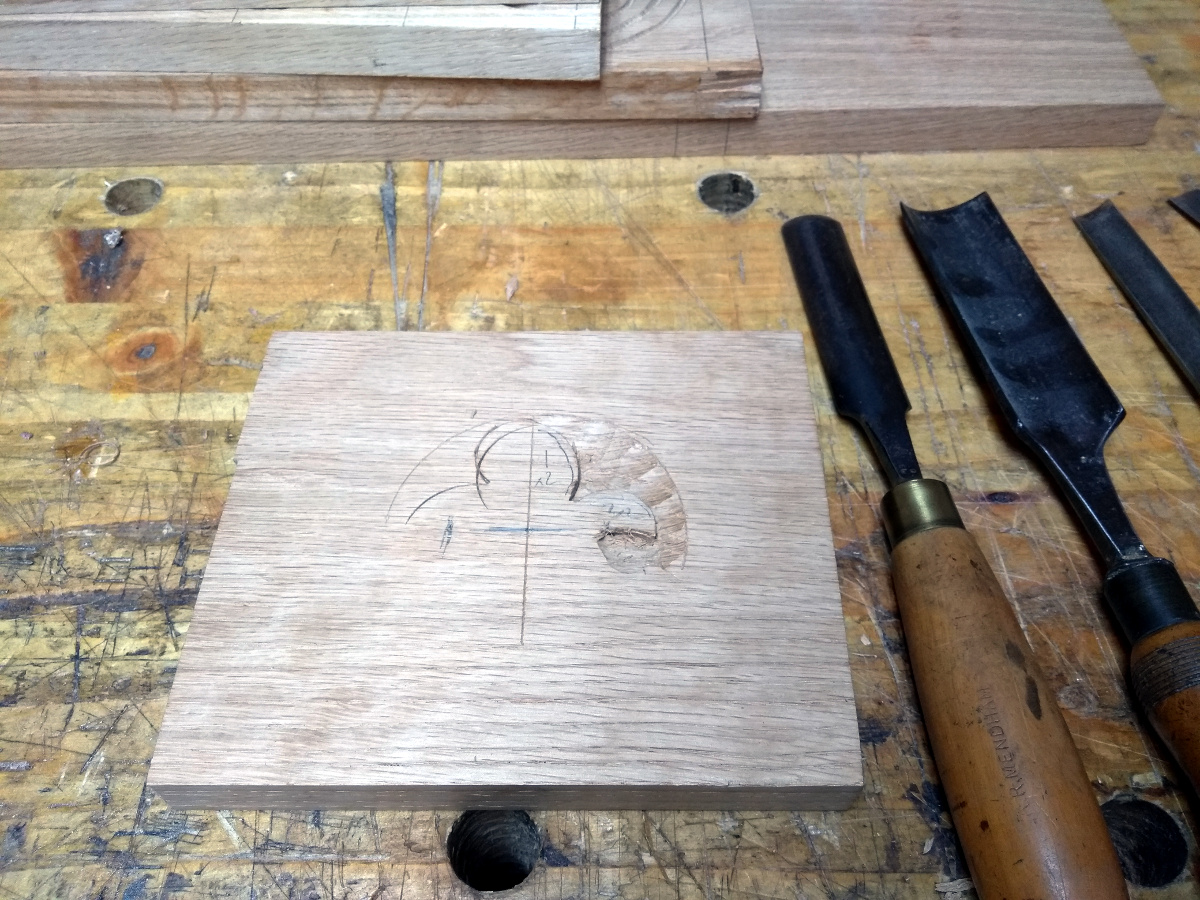
Next will be cutting the floral decoration. That’s done with a few gouges, so got some out to figure out what fits.
They’re all a bit small though. I suppose “you can never have enough gouges” is a thing as well. Still, bit of experimenting and I found some that’ll work. A few chops with each will act as stop cuts, then some removing of background up to those stop cuts with a shallow gouge, and you get this.
Bit of tidying up, some extra bits and pieces as decoration, and that should be reasonable enough so long as nobody looks at an original Follansbee for comparison…
This is not even a little surprising, but it's getting exhausting.
A party running on the platform of "we won't do the right thing when it matters, but we promise that we will later, if you just hand us completely unearned power once again."