So the weekend weather is forecast to be dry, and since I was stuck working from home because of the luas breaking down this morning:

I thought I might as well get a head-start on the shedwork by painting it. We’ve been planning to do that for a while and painted some parts to test what we thought of the colours and decided on a colourscheme, so I took out the sander, removed enough of the test swatches to get a good key for the paint and got out the masking tape.
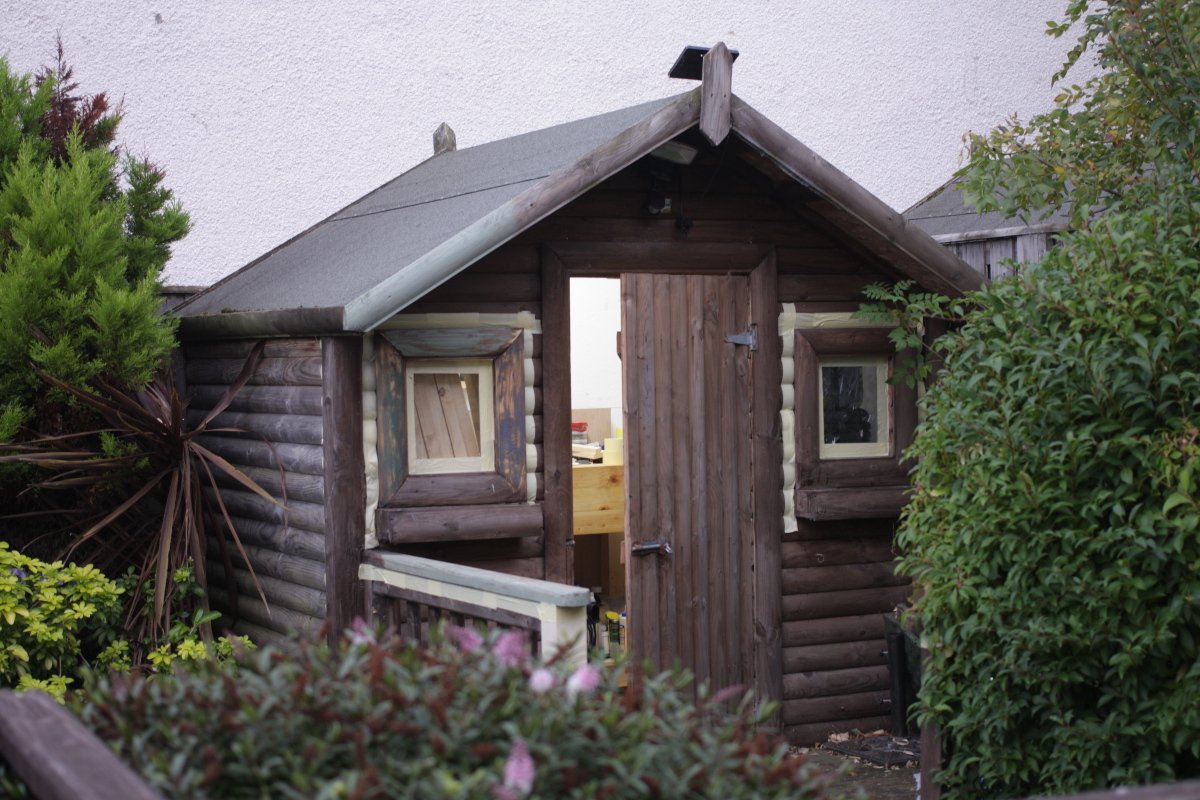
It’s not a bad little shed, but it’s a bit dingy. After a decade, the wood preservative stuff is just not really going to cut it for much longer, so a decent coat of paint should give it an extra year or two. So on with the first coat for the trim parts (trim’s really the wrong word I think, there’s such a small wall to trim ratio).
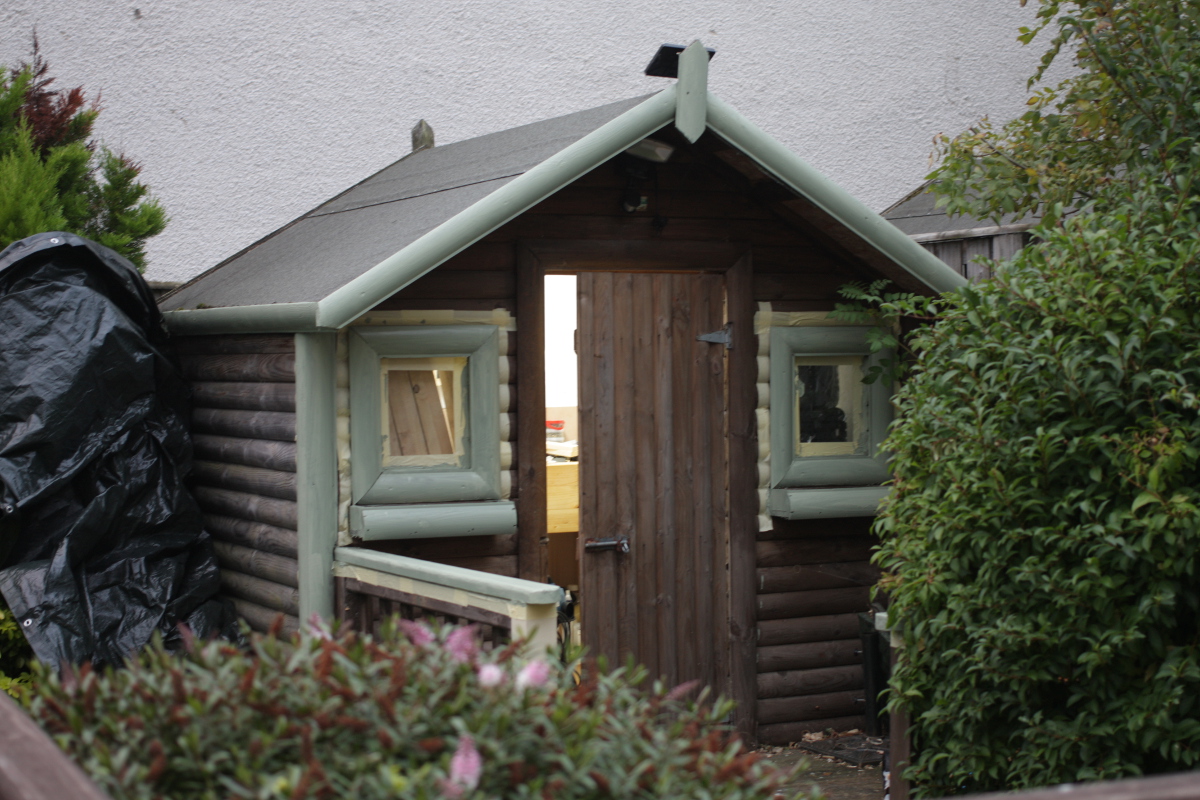
Looks better already. Pain in the fundament keeping those bushes on the left wall off the left wall while painting, mind you. Not looking forward to that bit.
Then after dinner, went out to look at the new toys that arrived in the post.
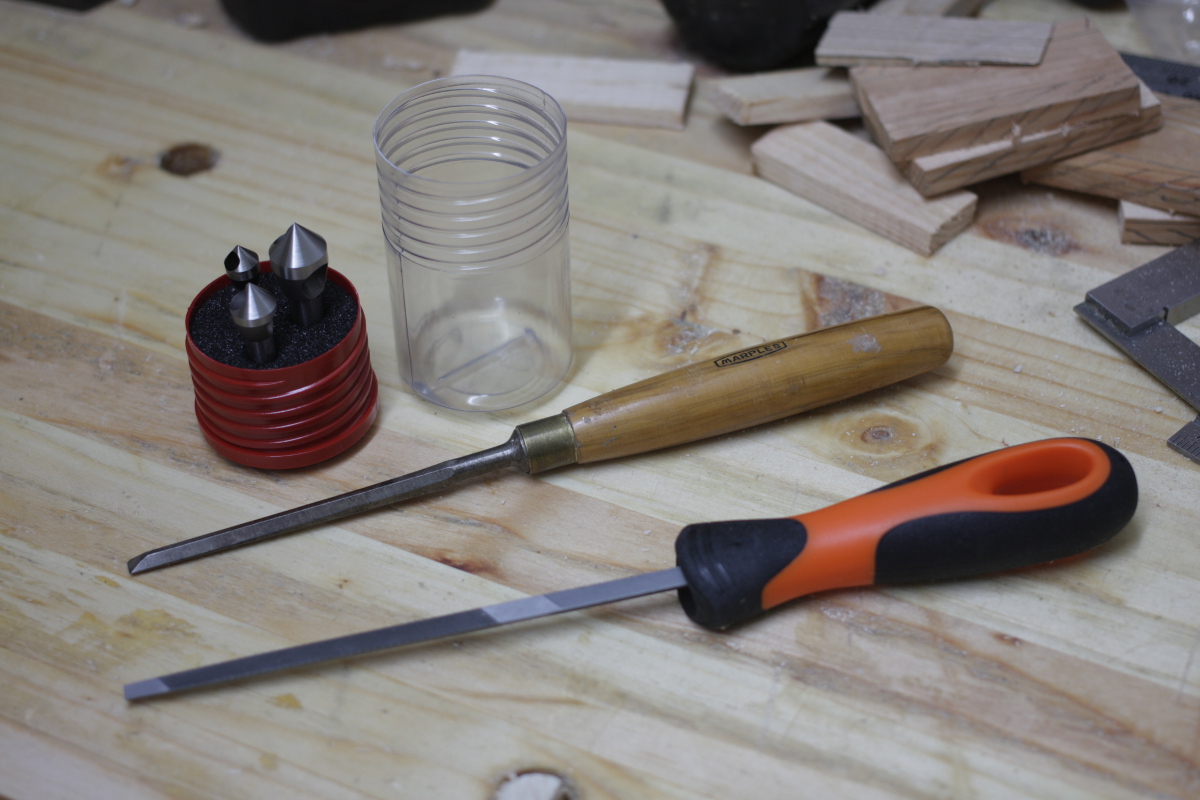
The chisel was an accidental win on ebay, I already had a set of three that would do, but had forgotten a bid on this and it won. Hey, for a fiver, I’ll take that.
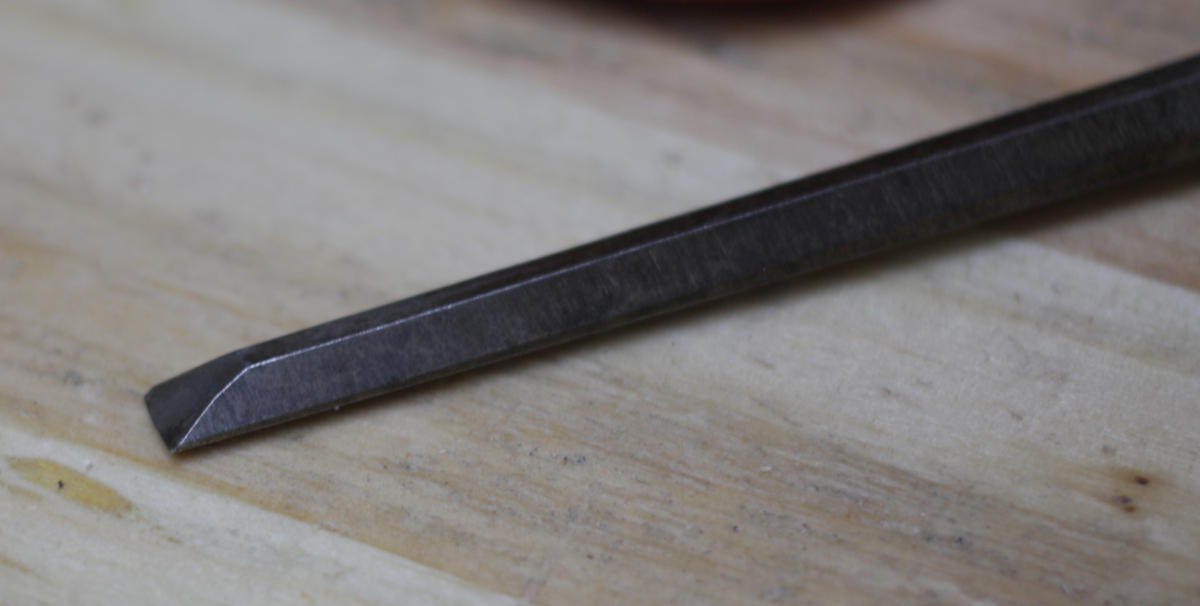
Bevel’s clean, no nicks on the edge, back could stand five minutes of lapping on the stones, but I don’t think I’ll even need the 80-grit paper for this one. Nice.
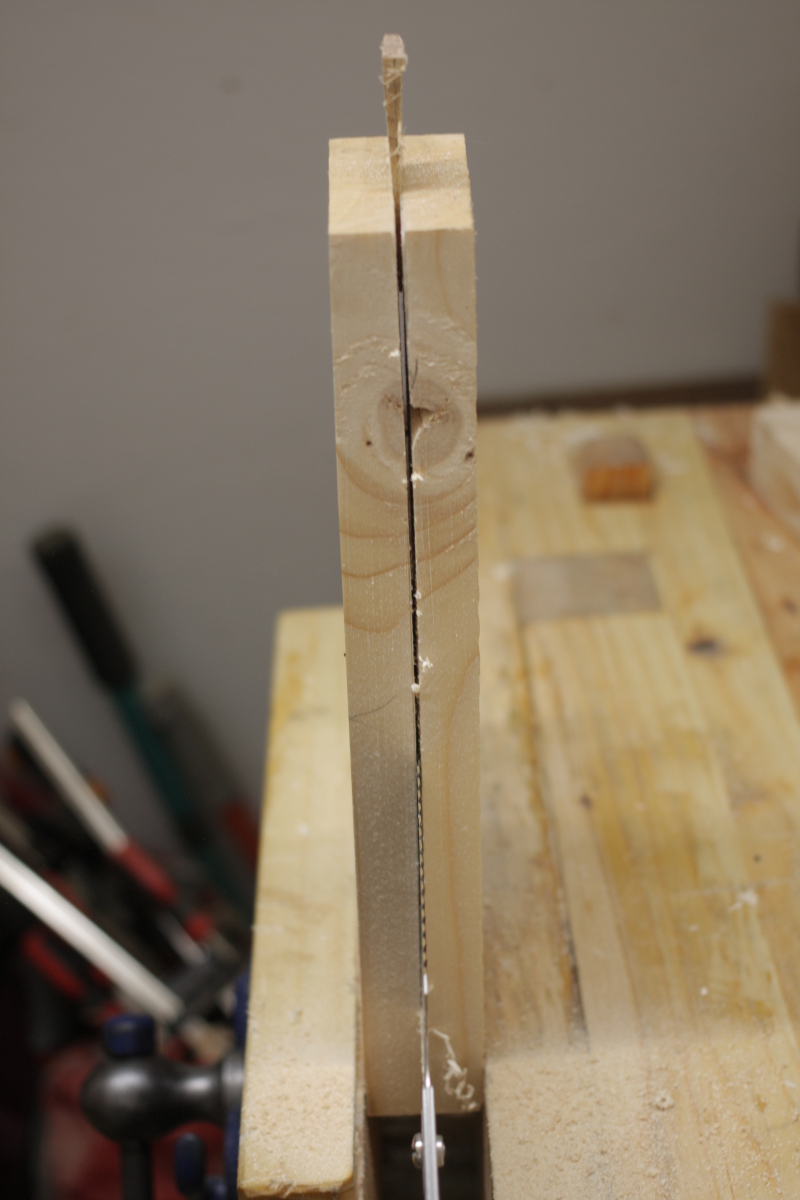
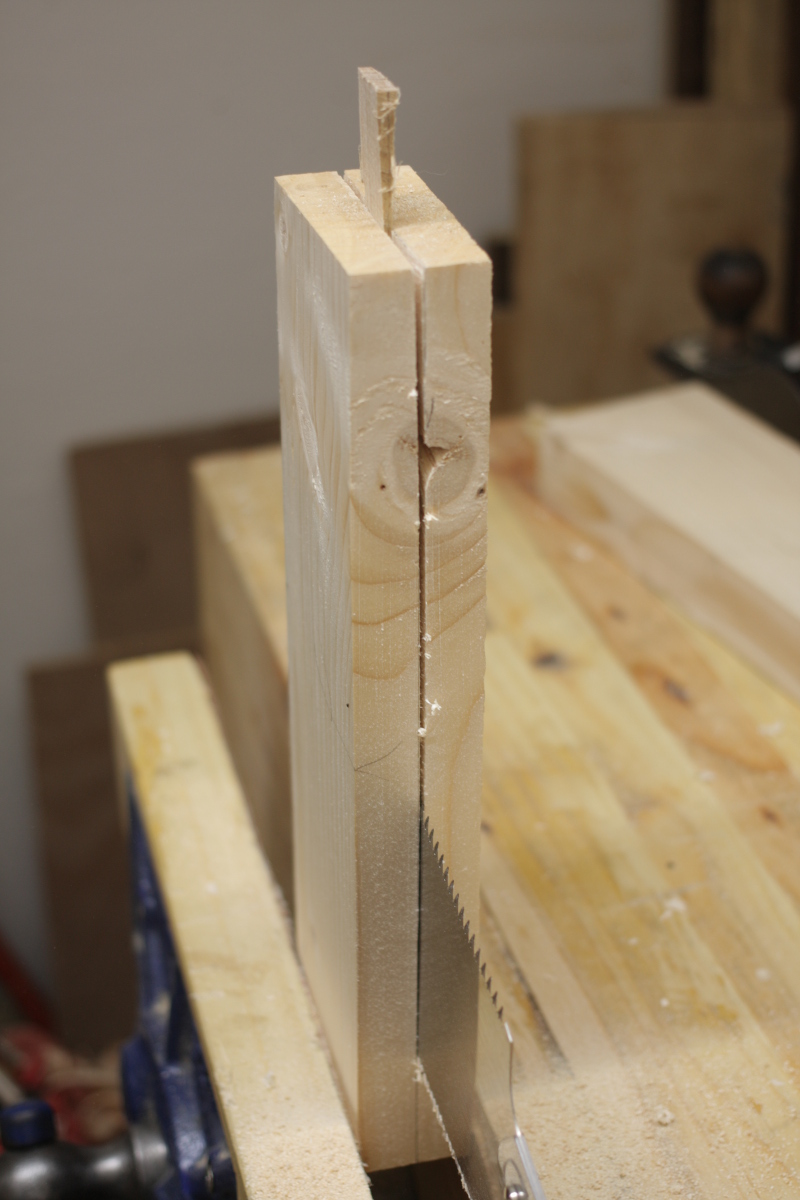
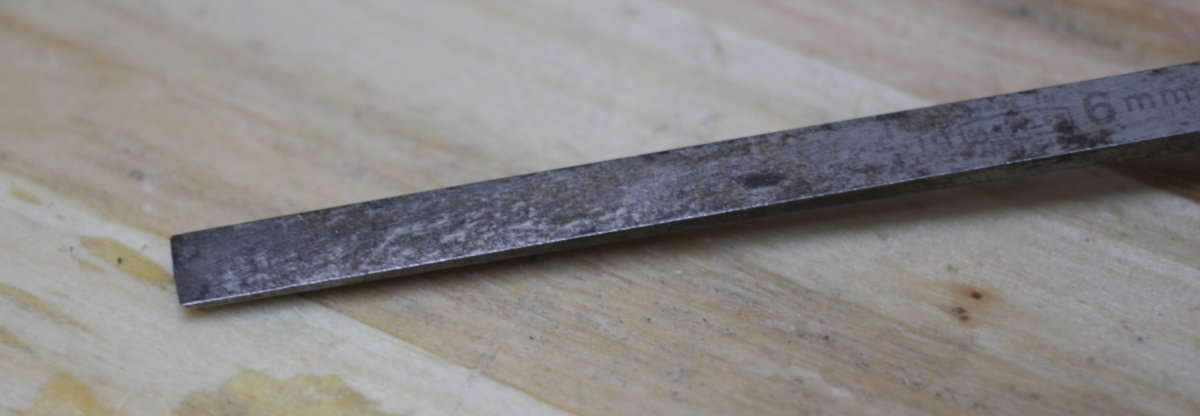
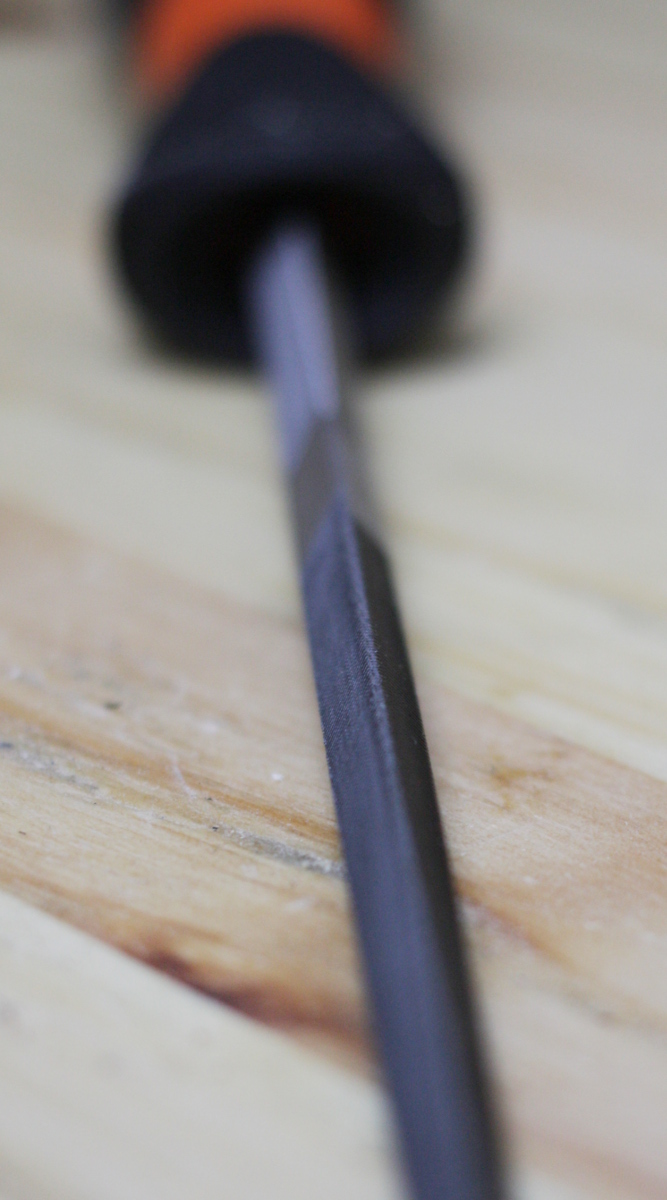
The saw file is equally nice, and needed if I’m going to sharpen these saws properly. Thing about a saw file is, it isn’t a triangular file, it only looks like one. Look closely at those “corners” and you discover they’re just very narrow flat edges with teeth:
 Apparently it’s become quite hard to get really good saw files anymore, on a worldwide basis, which is a bit worrying as it’s not a tool to use itself, but as a support tool for a pretty basic tool – the saw. If you can’t sharpen a saw anymore and you’ve lost the industry for making the tooling you need to do that, then you’ve lost the ability to make a decent saw, and that’s a pretty basic tool for a civilisation to lose…

And then there’s these guys. See, I already have a countersink bit set, they’re the ones that look like this guy:
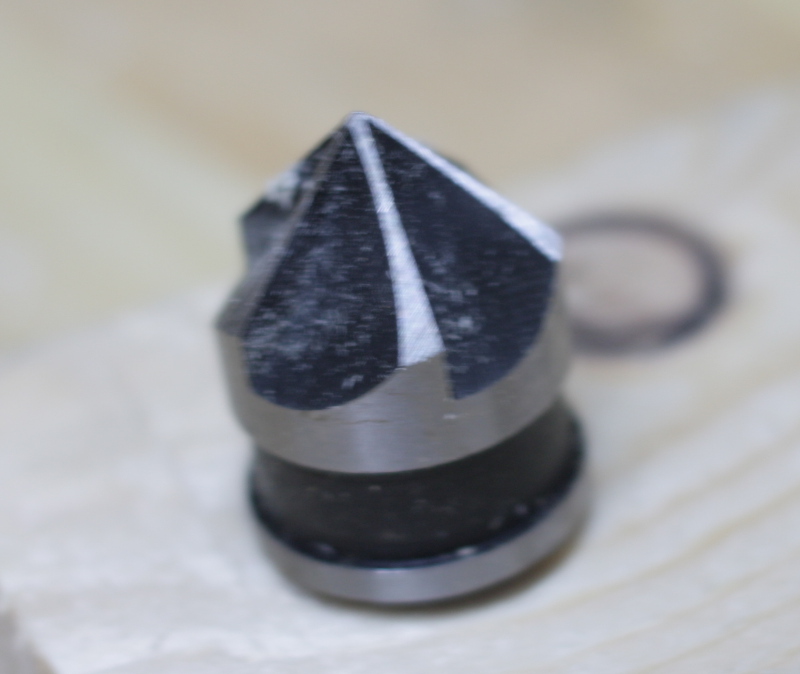
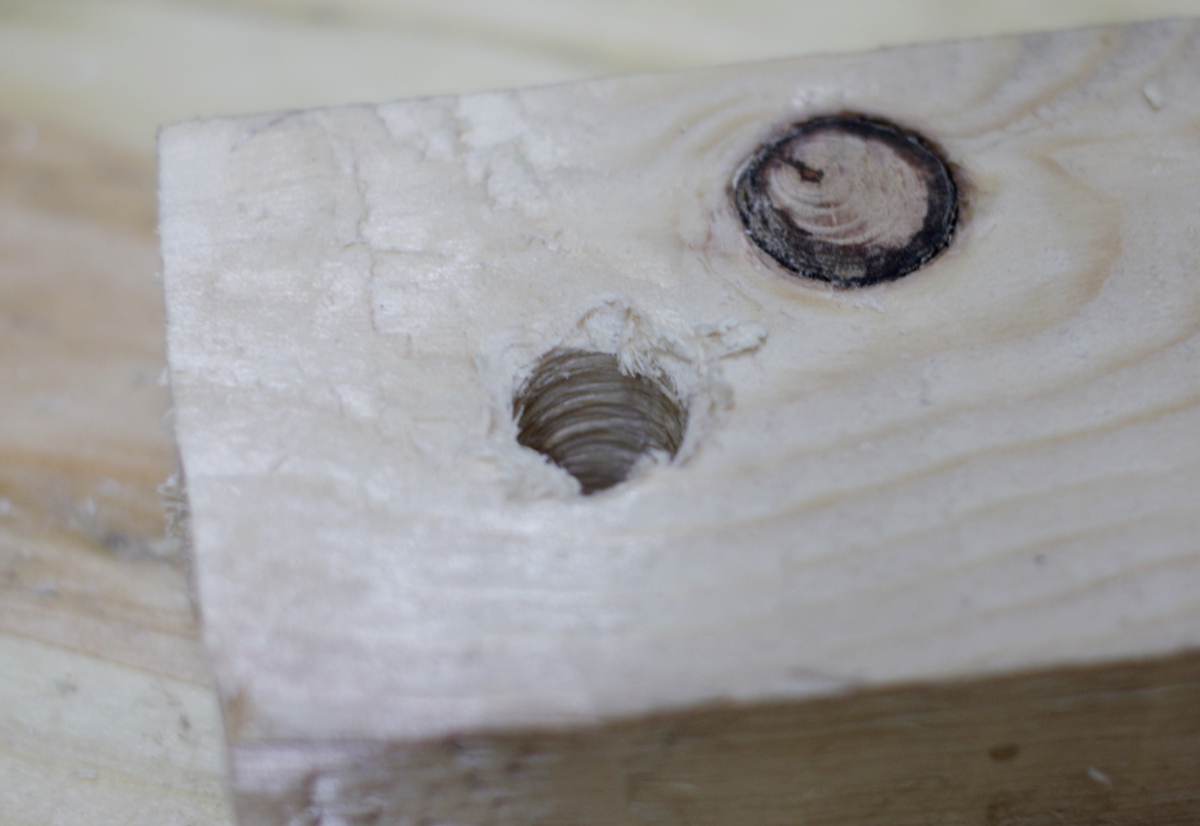
So if you’re buying a countersink bit, don’t buy one of these, they’re awful. They vibrate all over the place when you’re using them – power drill, eggbeater, brace, makes no odds – and they make a horrible mess of the wood. I suspect mine are cheap and unsharpened, but still, I paid about as much for them as I did for the new ones, and the new ones don’t vibrate at all. And as to the finish… well, here’s the old one:
And here’s the new one:
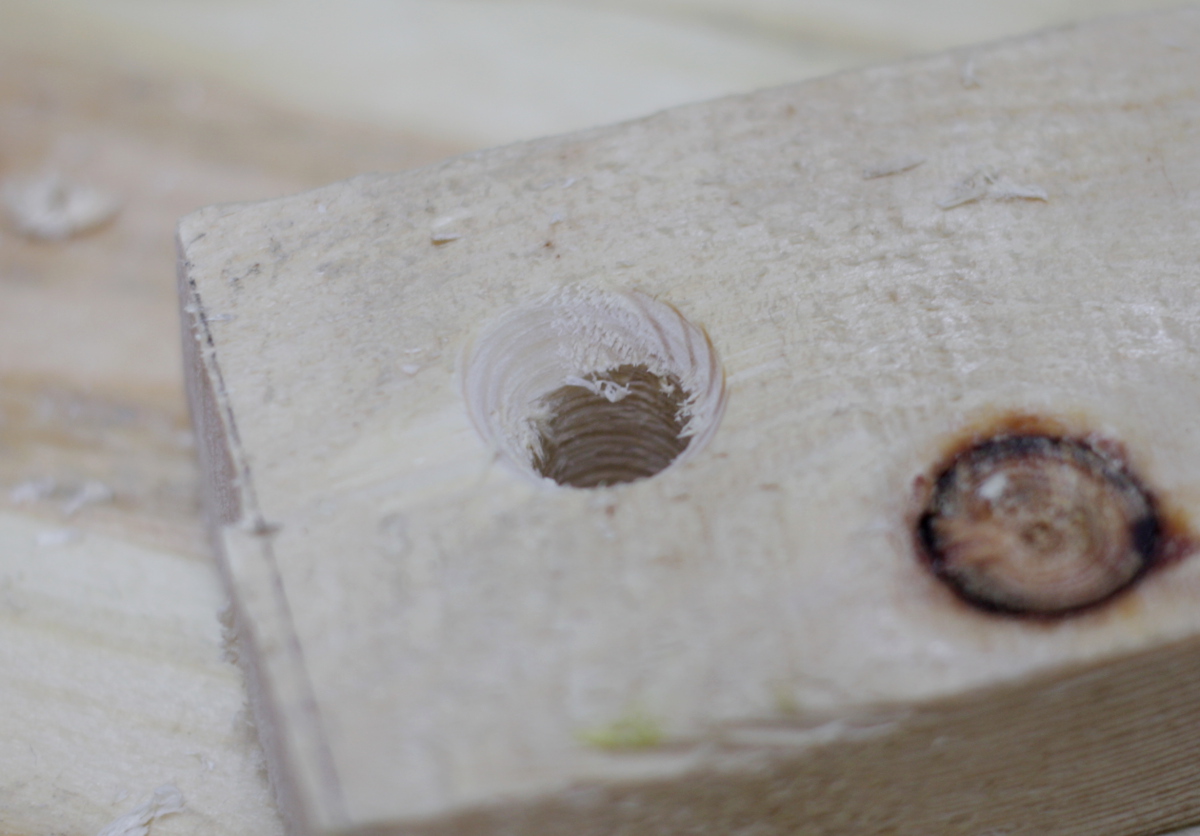
Same hole, different sides of the same scrap, in the same drill chuck at the same speed and pressure. Utterly night and day. The newer ones cut clean and burnish at the same time, smoothly without fuss. The older ones, it was like I had a hammer action on the drill and it was turned on, and it didn’t so much deburr as burr. Those bits are for the bin, and the new ones are very recommended in their place.
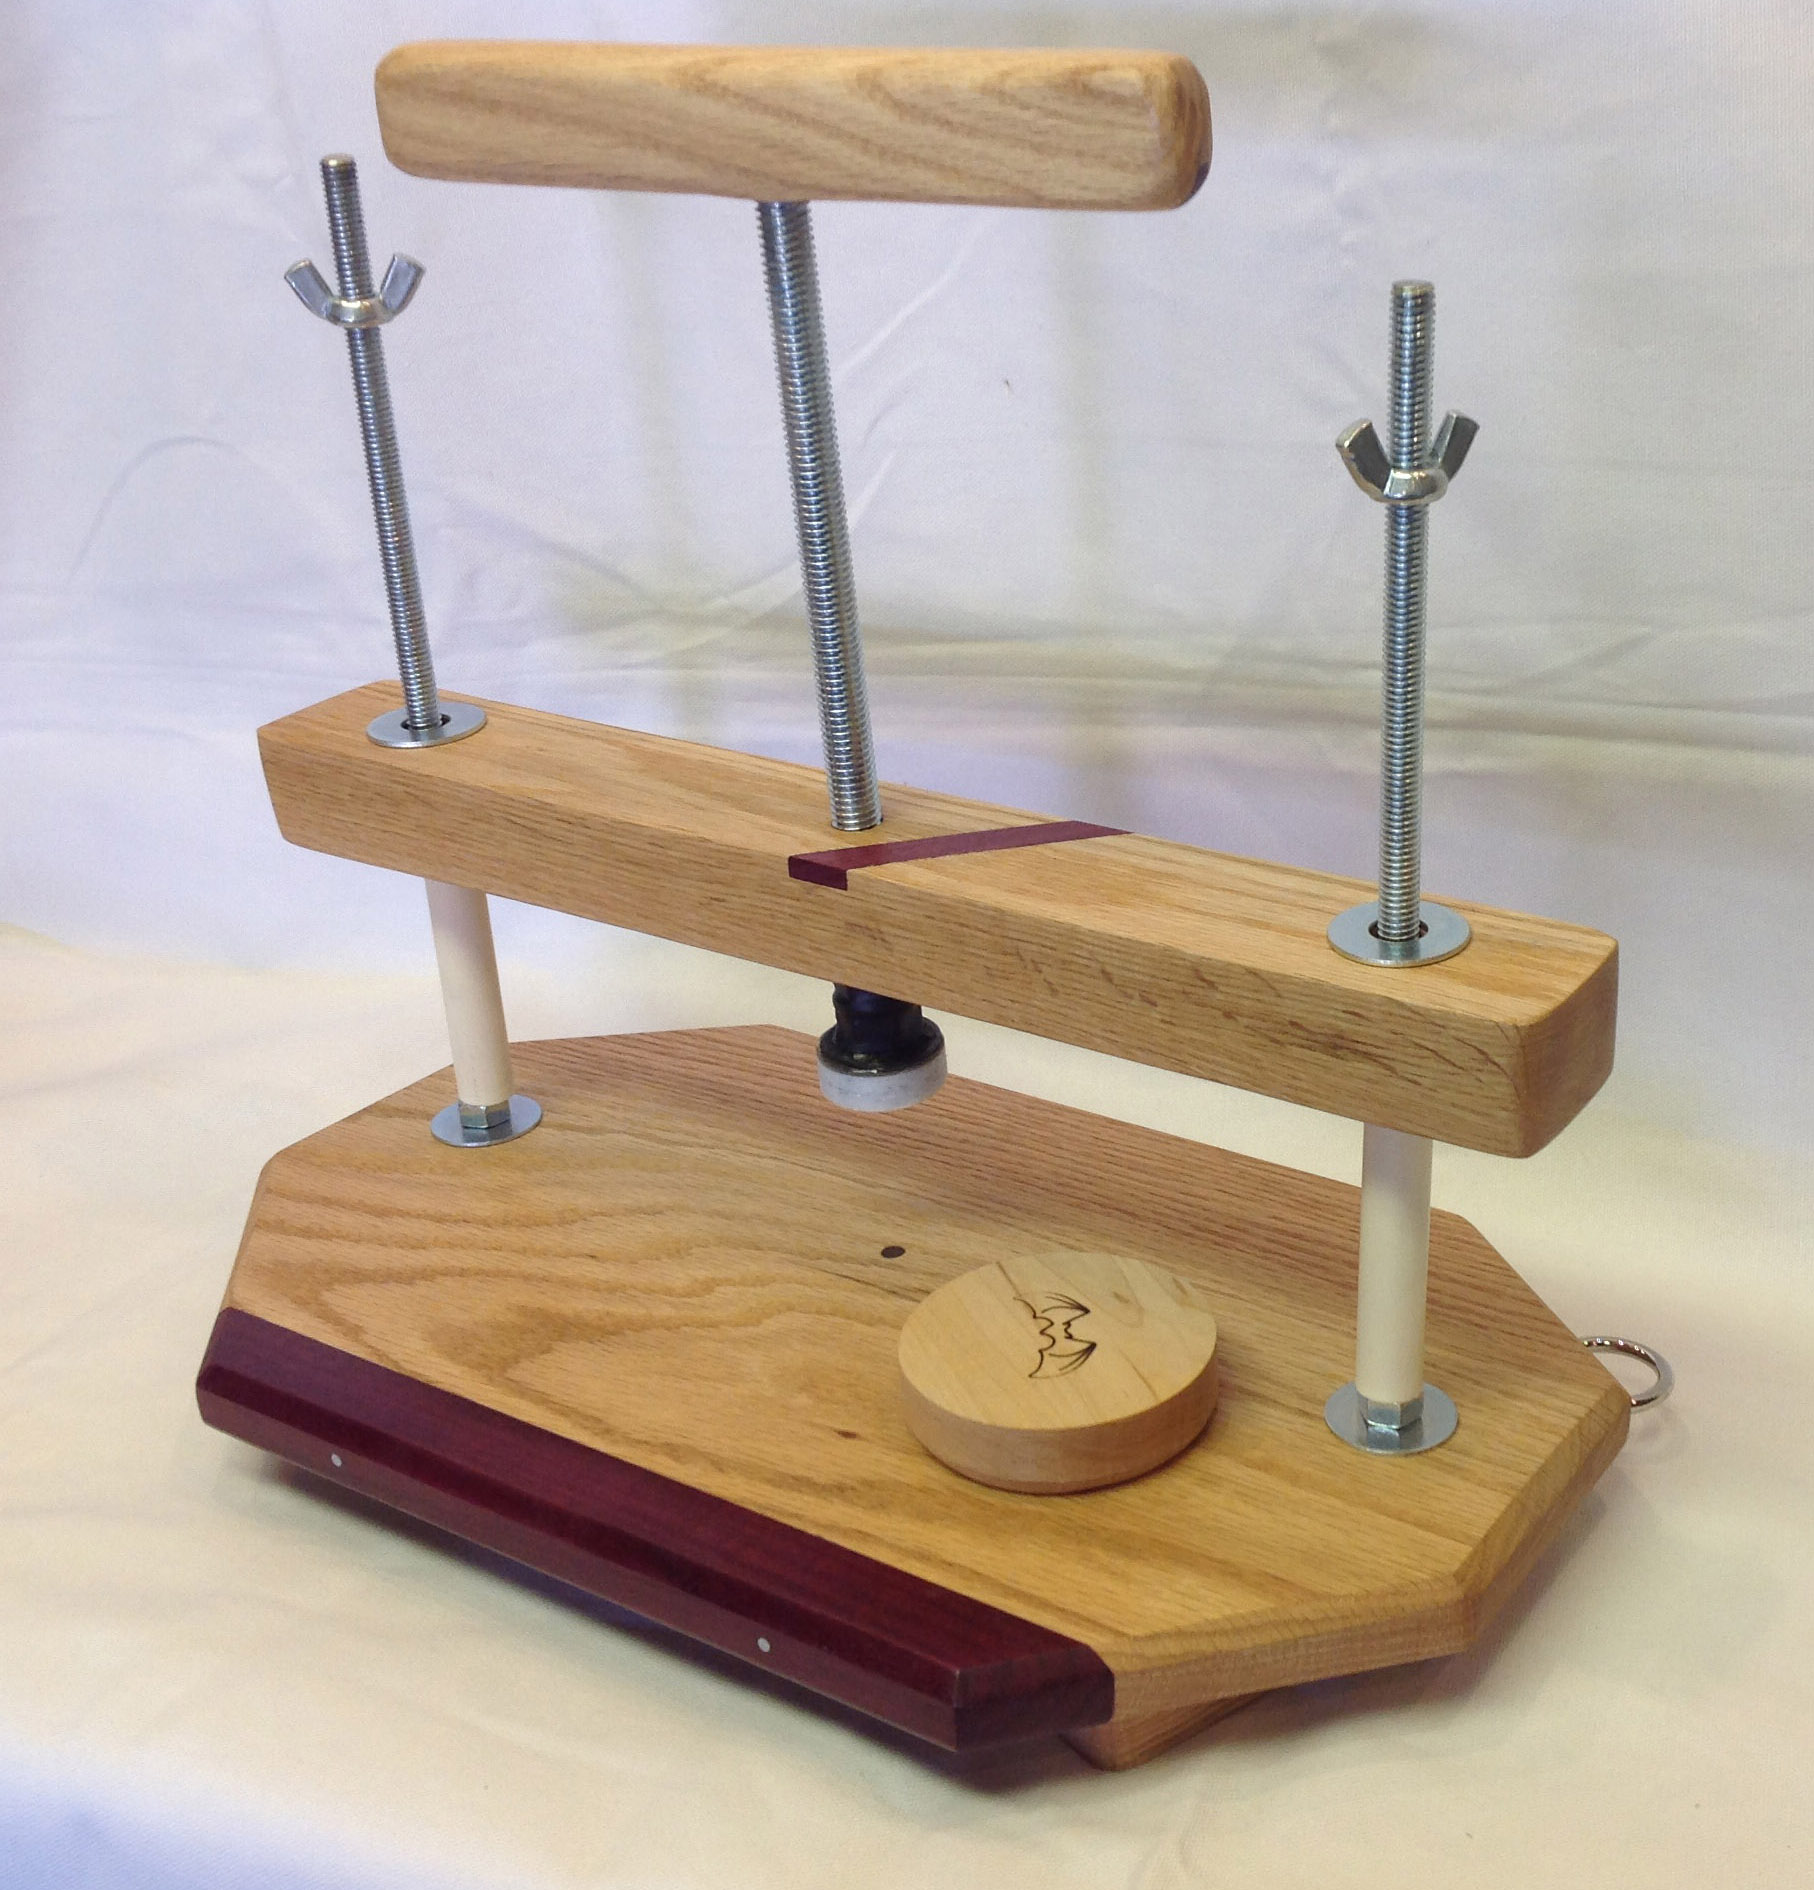
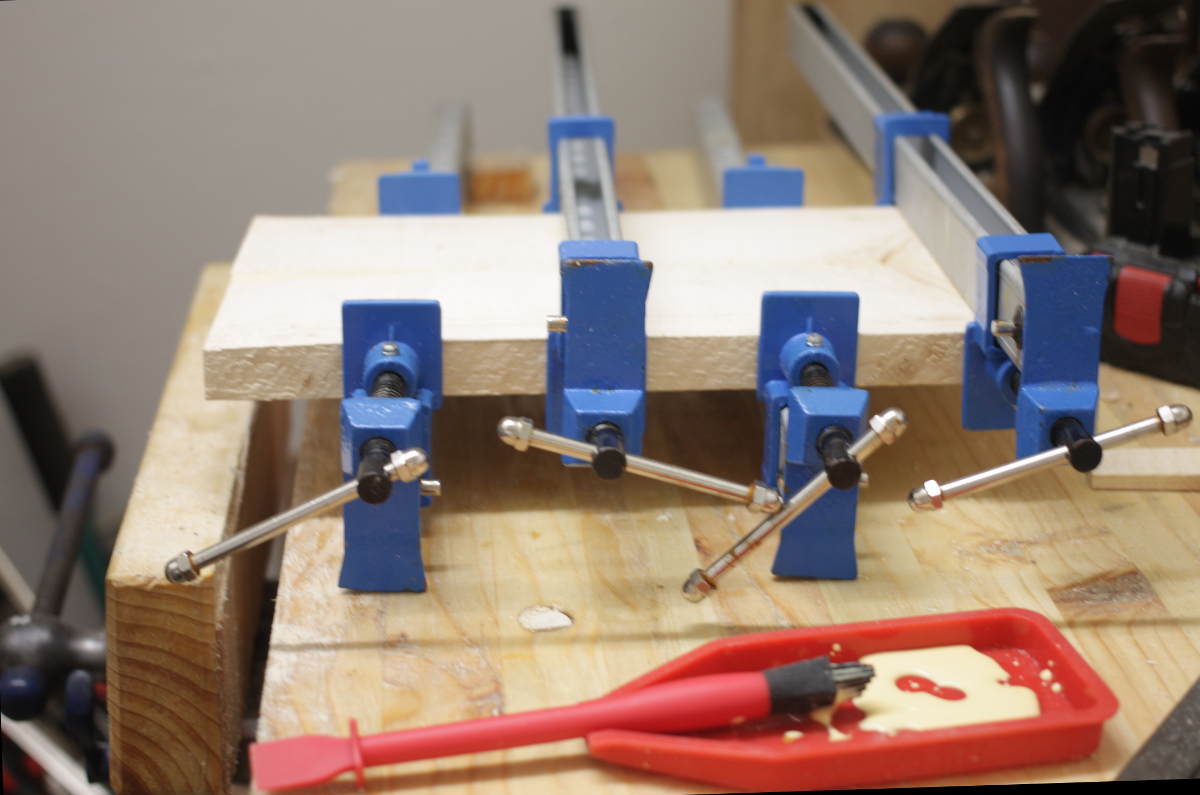
Then on to the cheese press. I took the base out of the clamps and had a look at it.
And then noticed I’d let one end get misaligned by a mm or so during clamp-up. Bother.
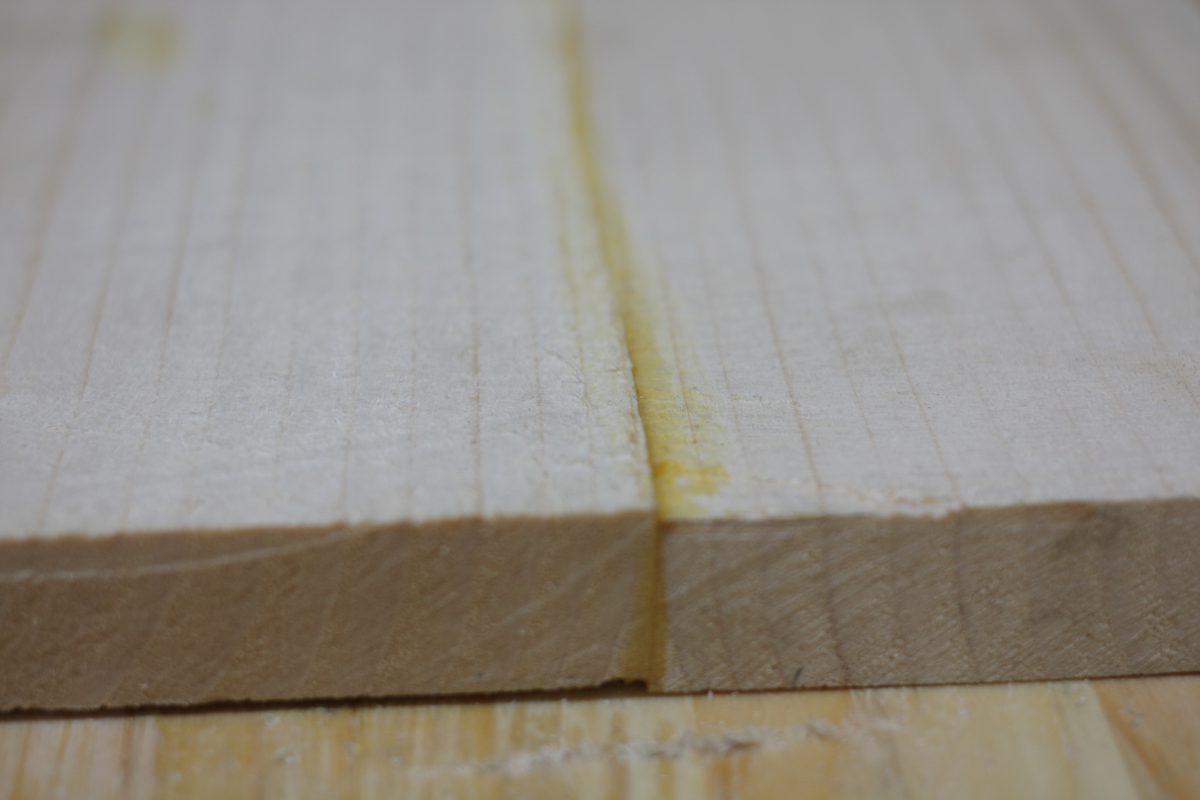
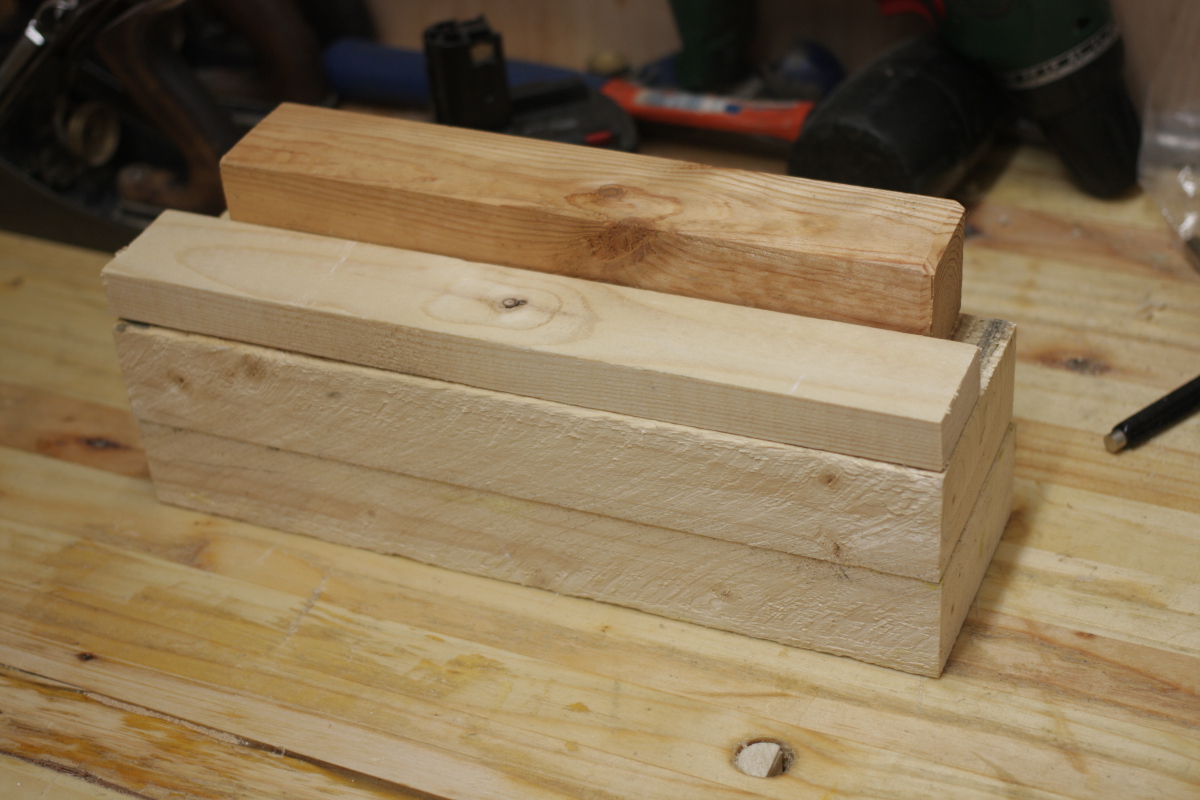
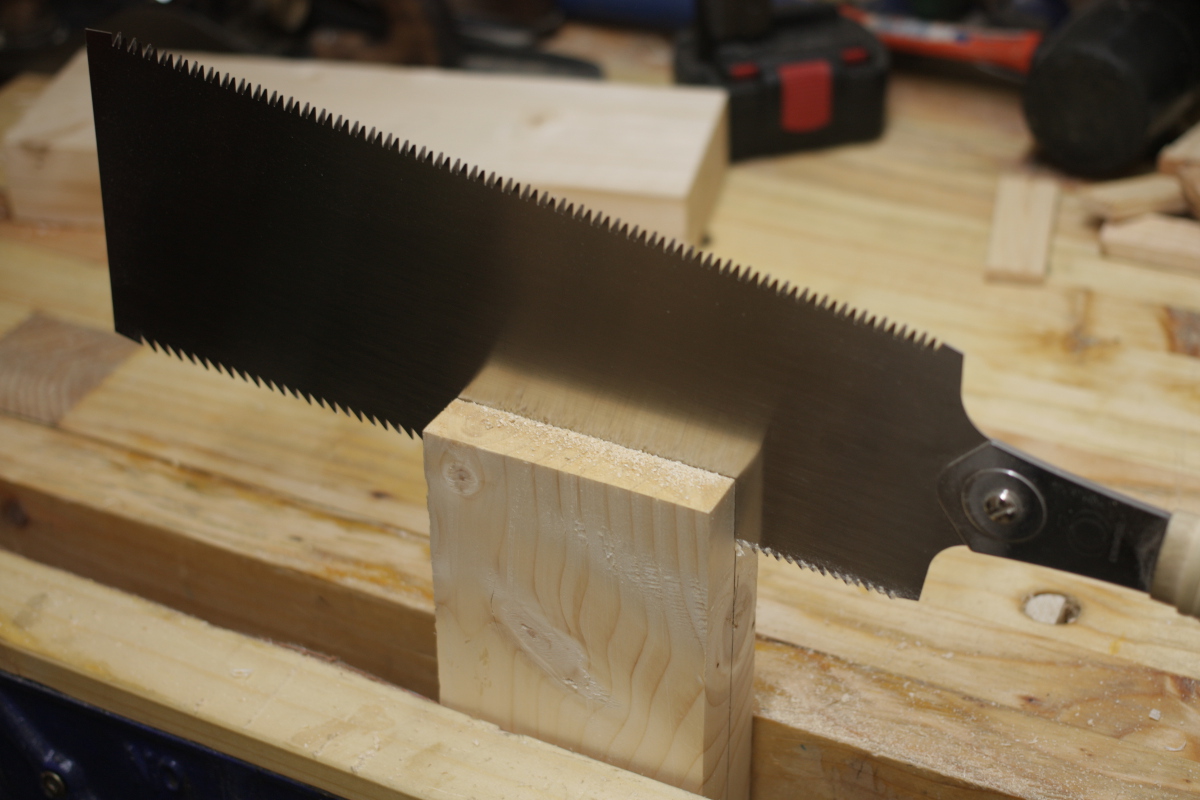
So, out with sid, and after a moment of pondering, got one of the slats from the cot that I rejected and used it as a thin batten for a planing stop.
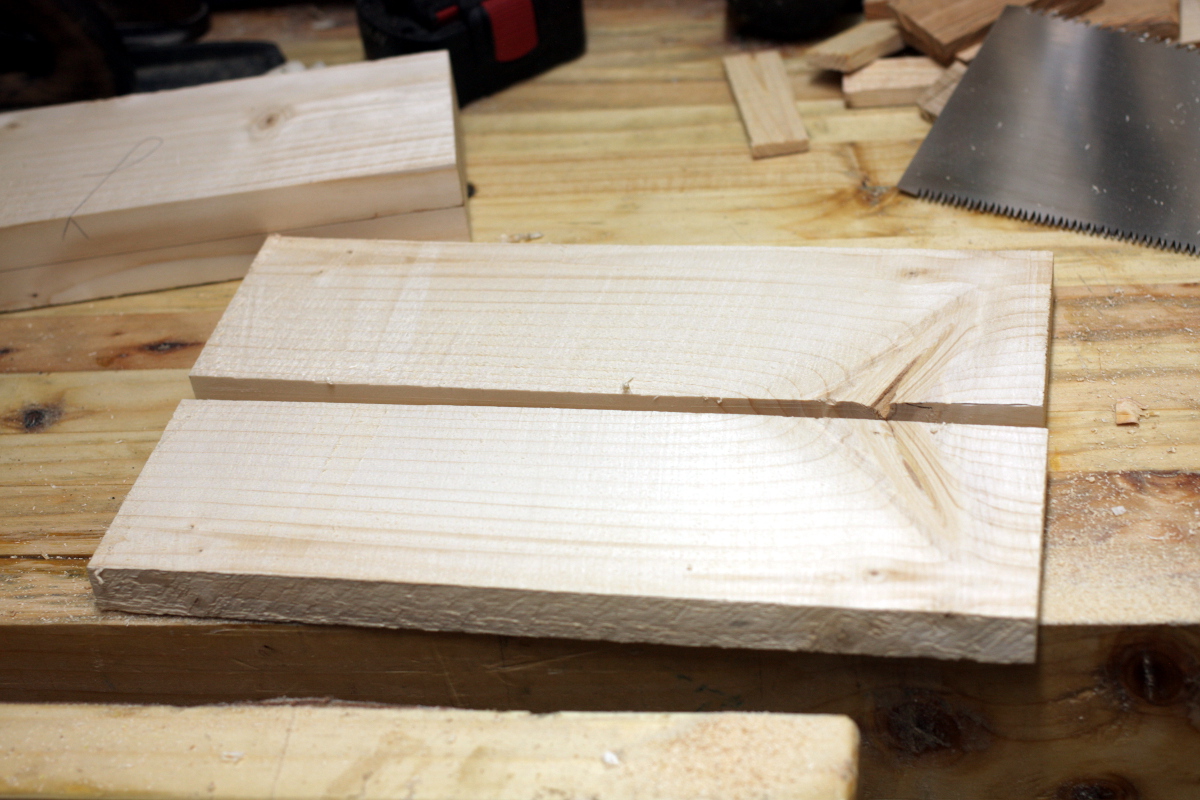
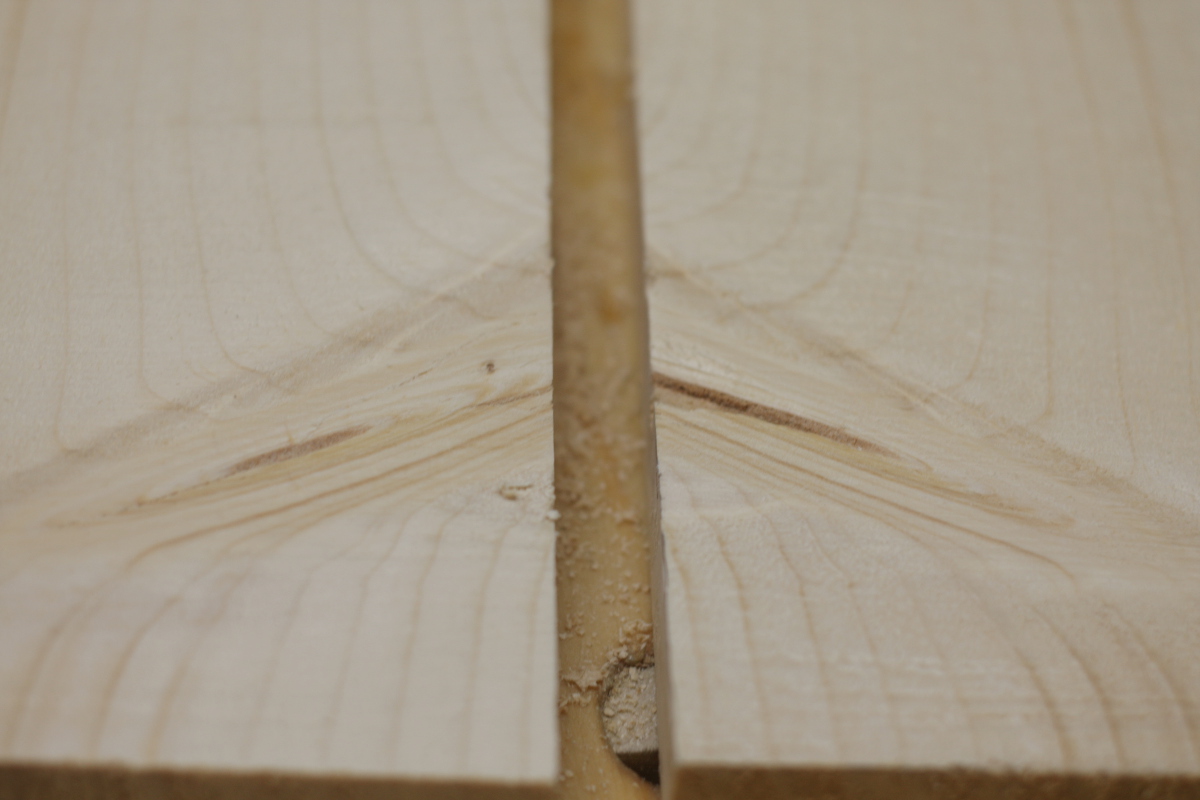
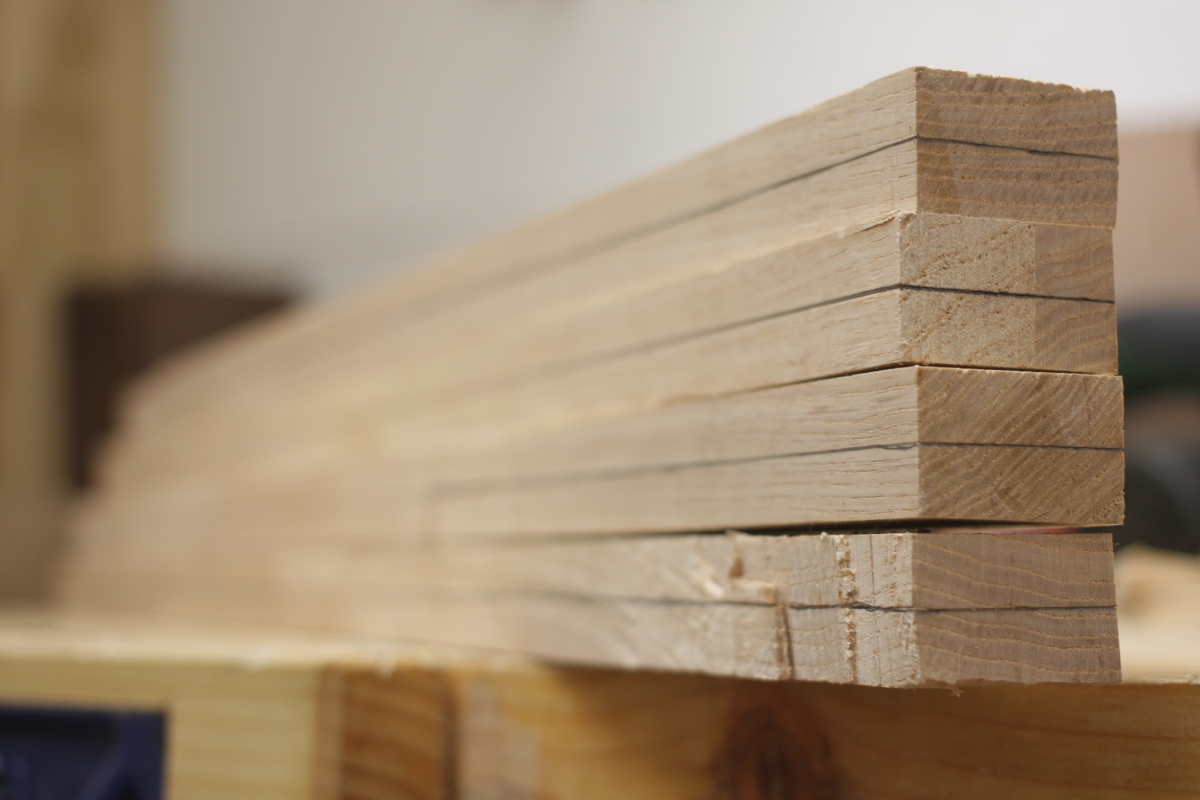
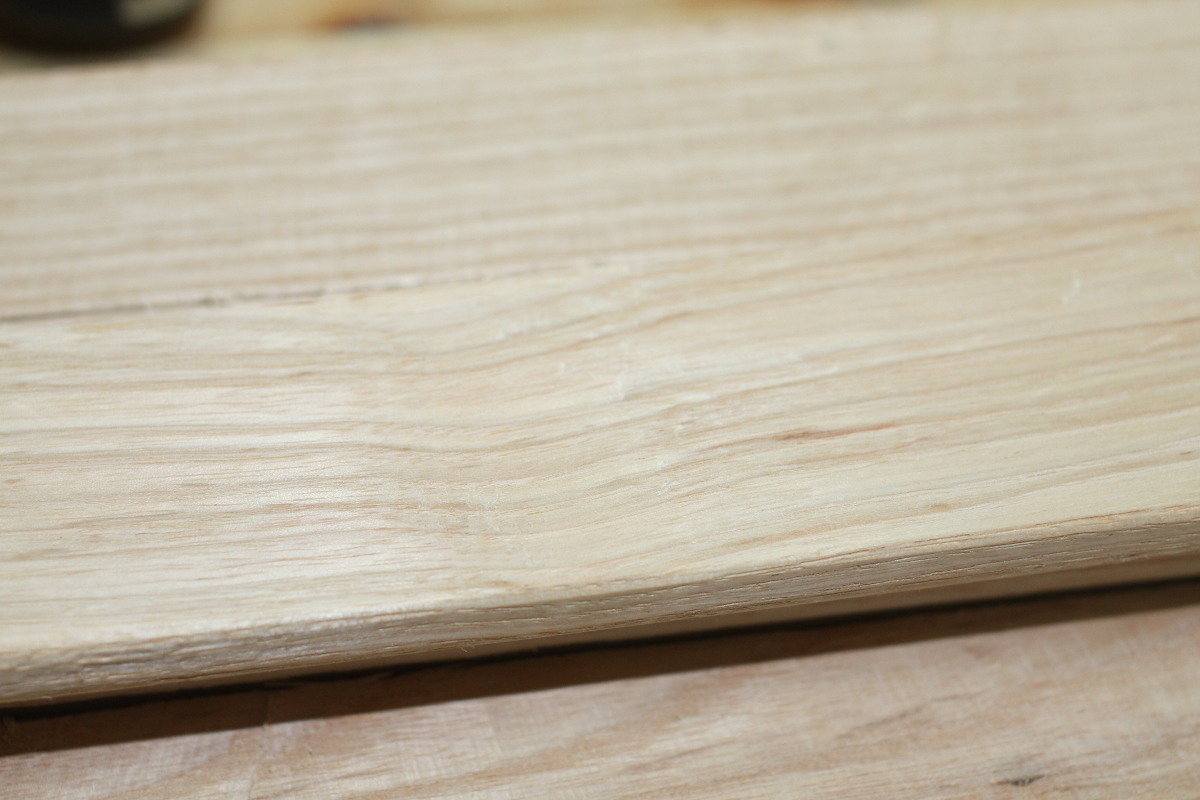
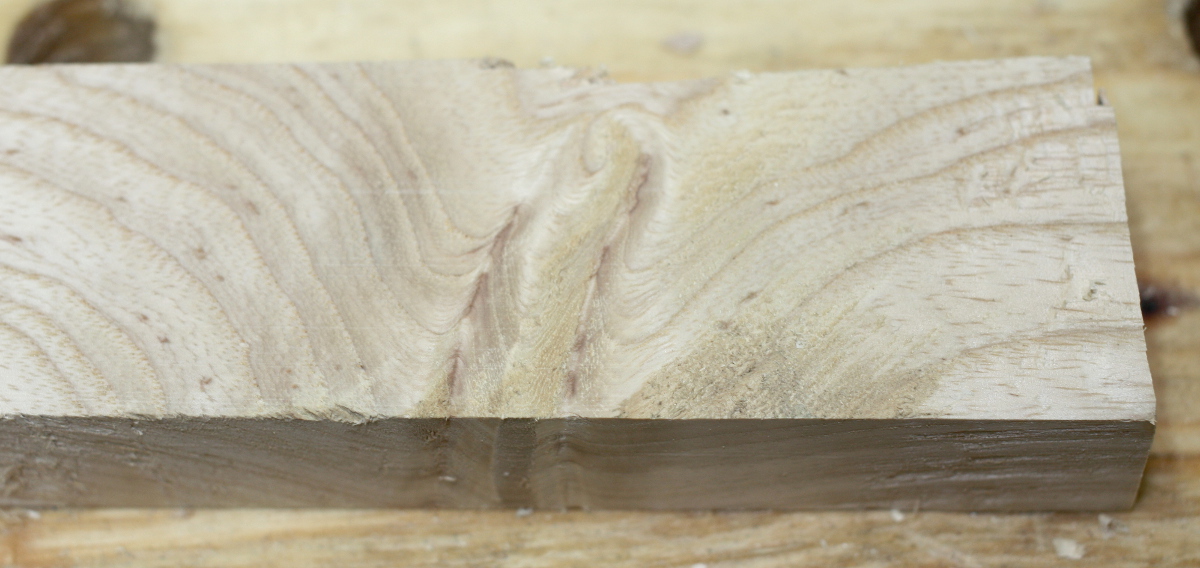
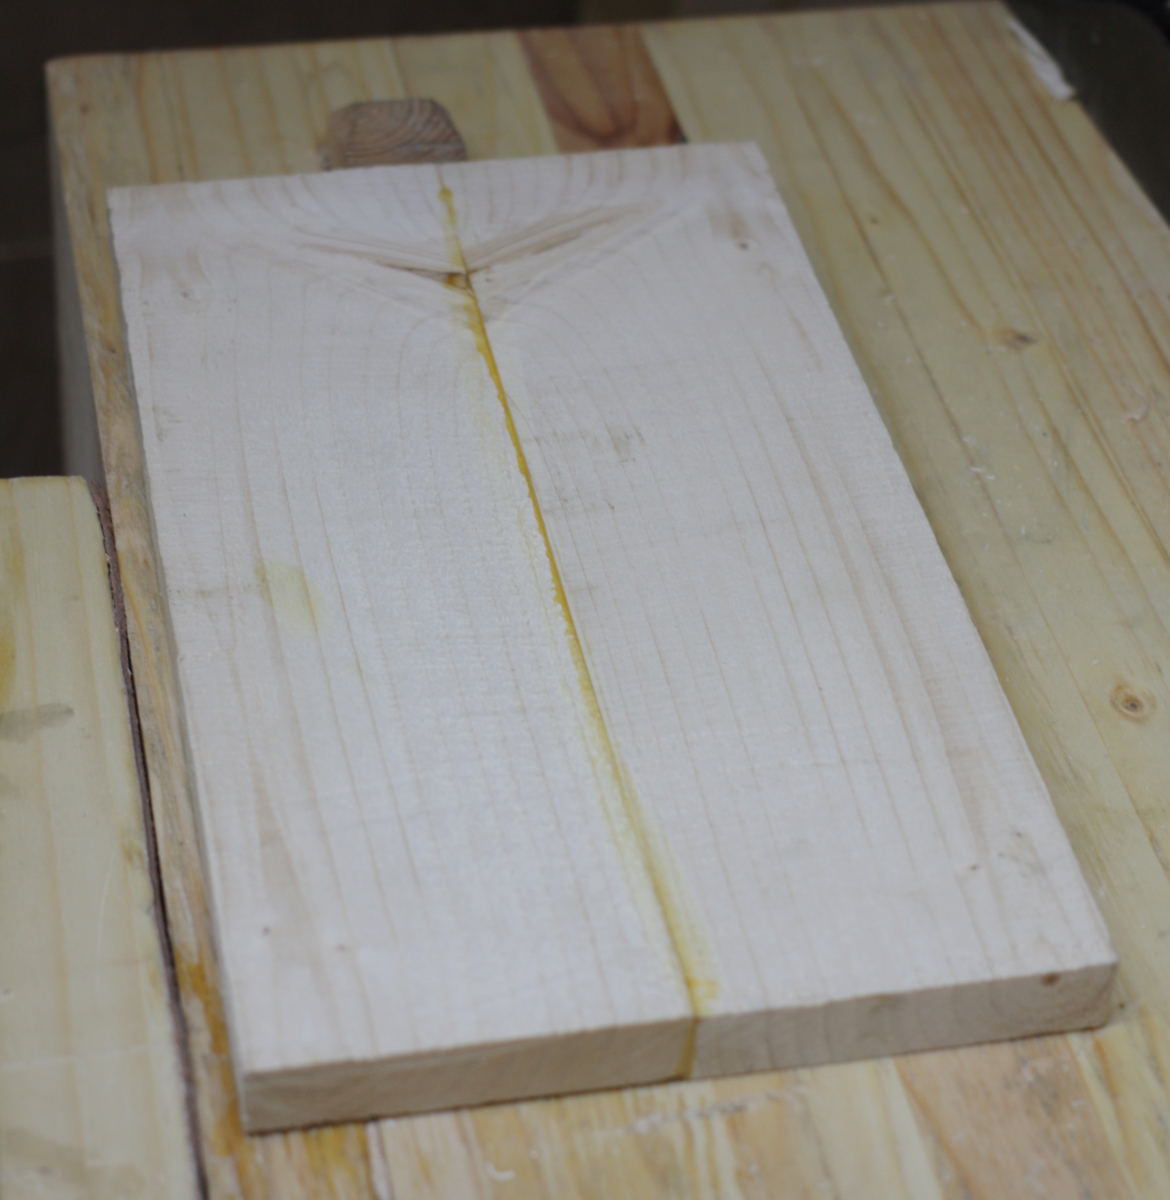
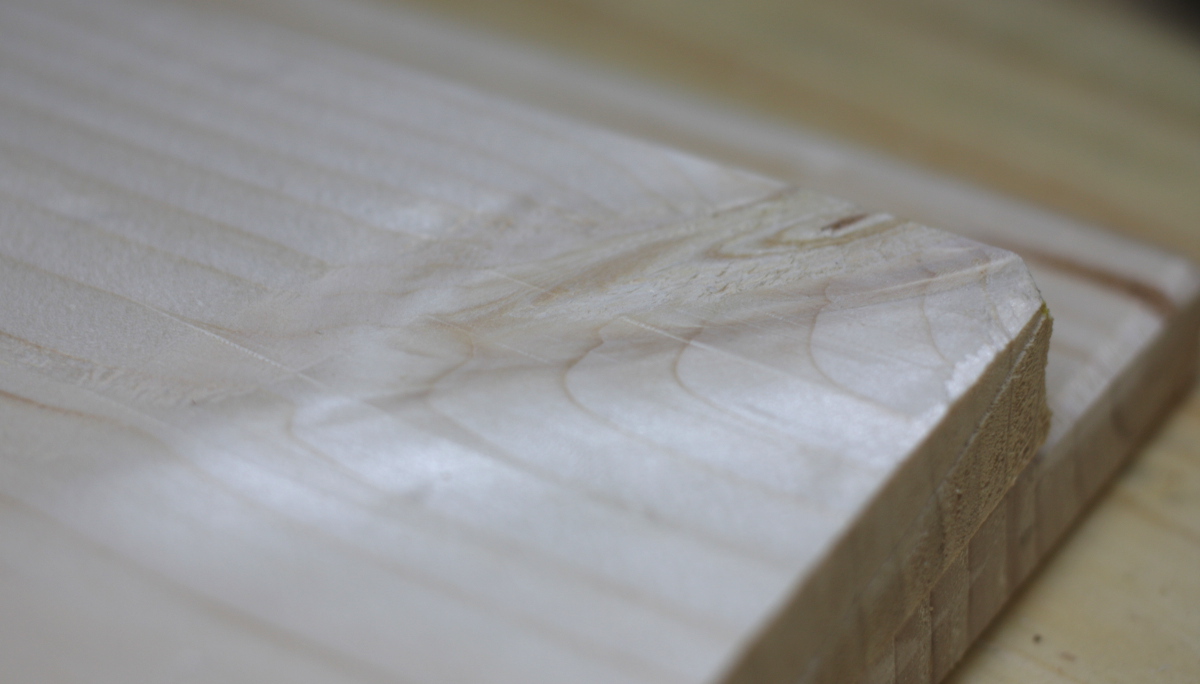
I gave the board a few swipes with sid and that mm was gone in less than twenty seconds. I then switched to the jack and got that top face with the figure flat, squared an edge and got the other face flat and parallel, and then rounded over the edges. Then I did the same for one of the other resawn boards that will form the top clamp. And found I had some nice grain pieces to show off.
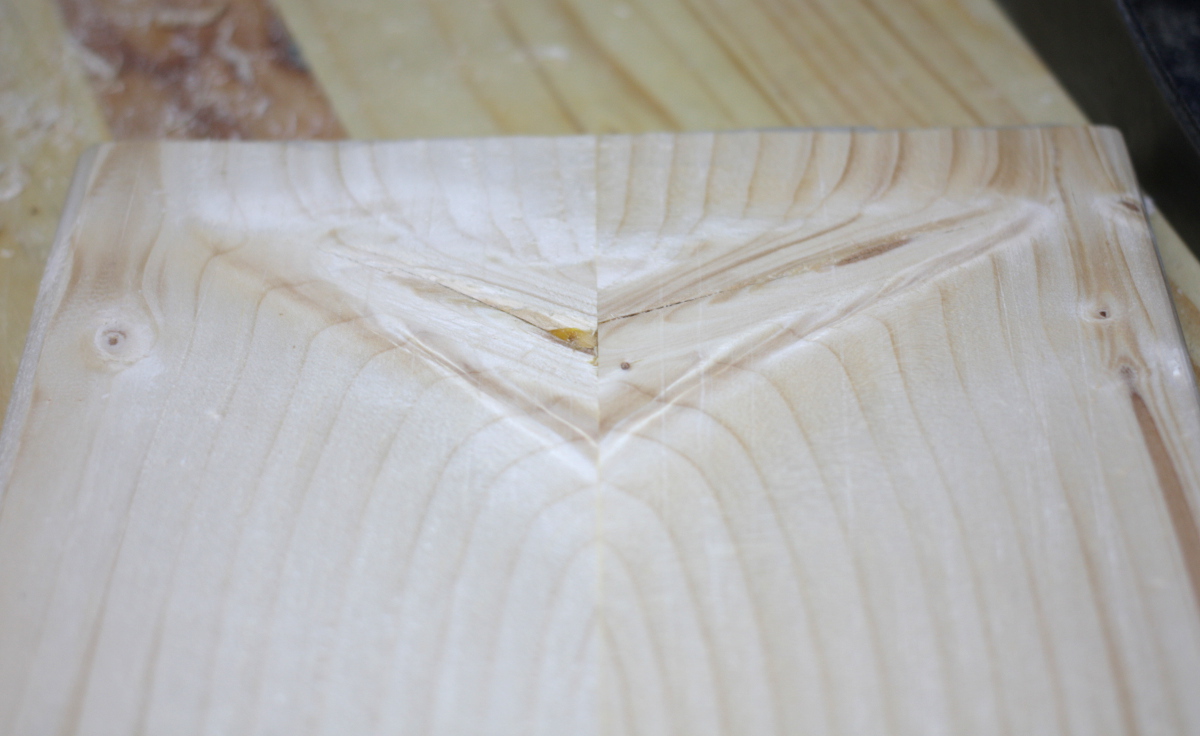
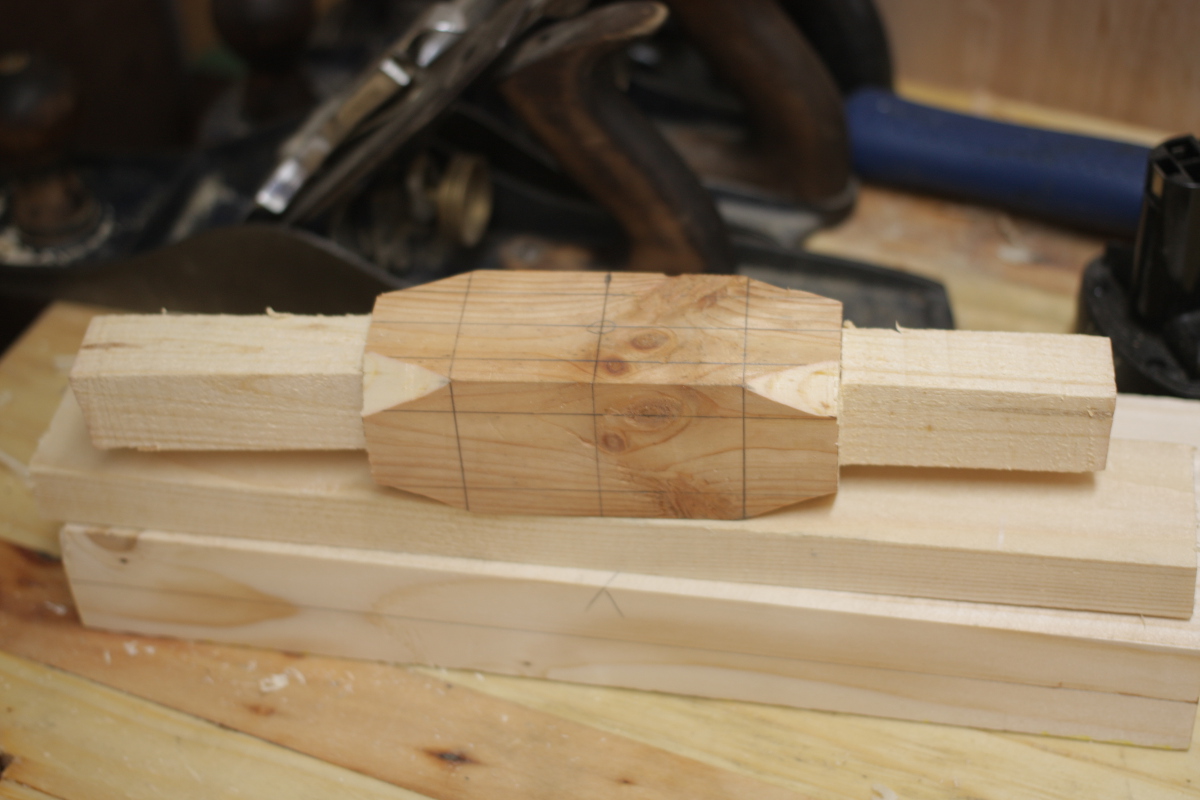
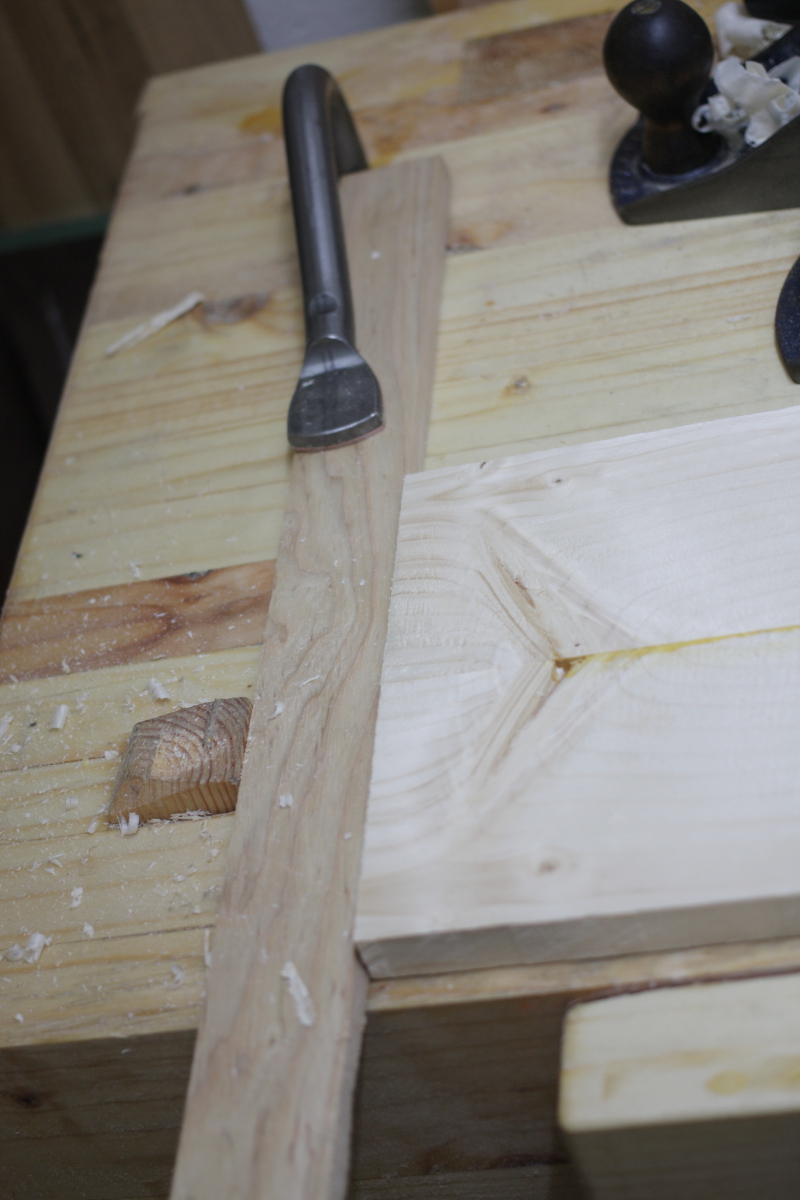
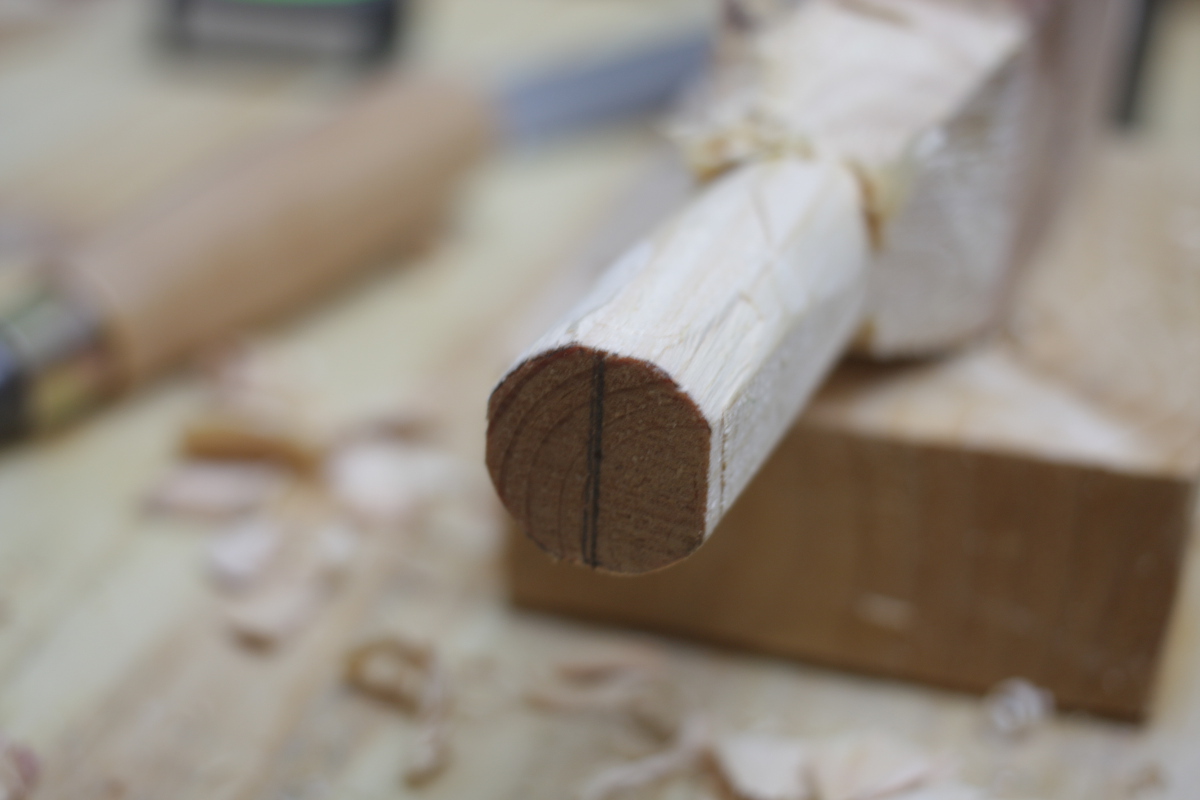
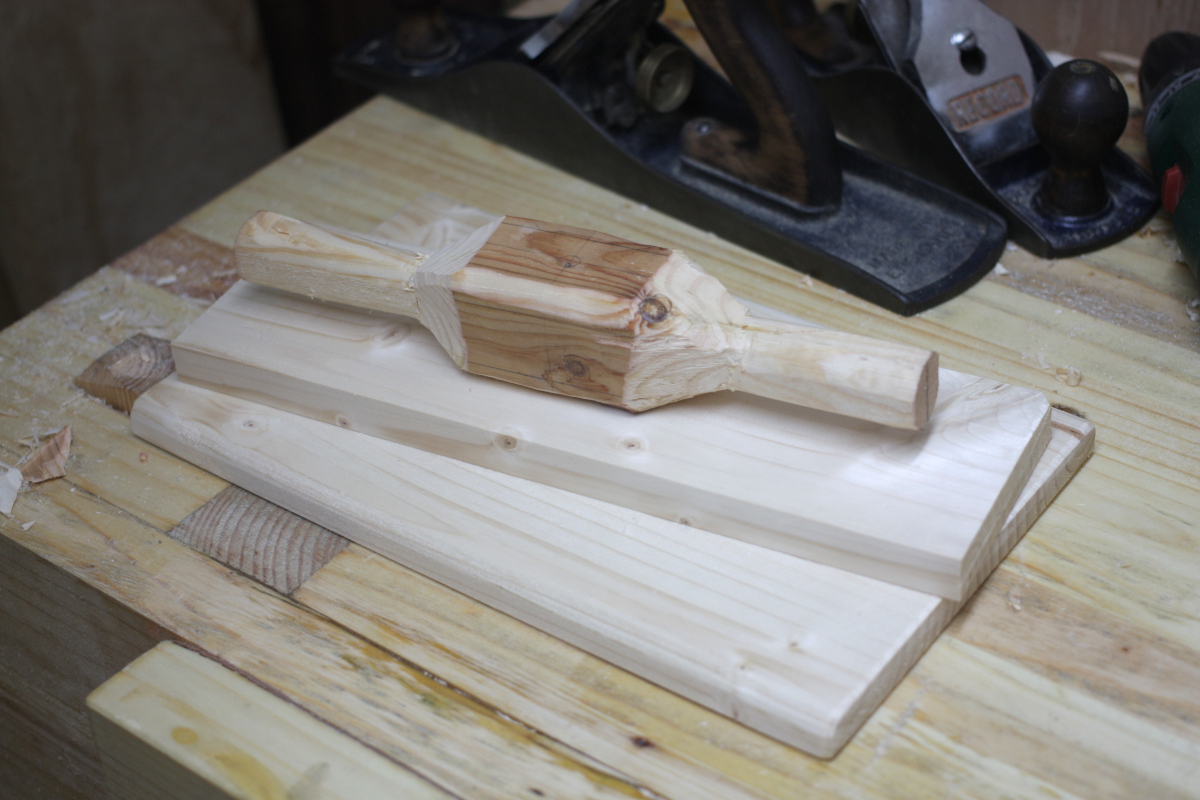
Then I considered the handle for the screw.
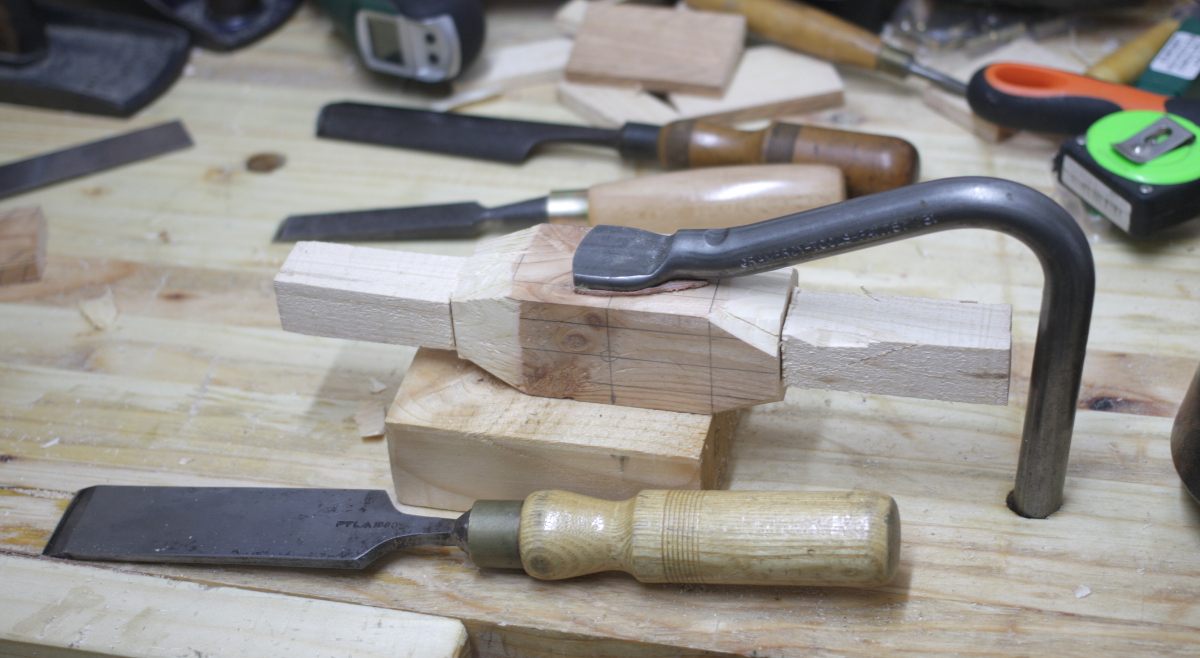 Workholding was nice and easy, and then it was a lot of paring with chisel and gouge (Hey Daniel! I made something with that birthday present! 🙂 ). It’s not overly complex – and it’s not done yet either – but it looks like it’ll do the job.
I left it there for the press for now, I need some metal bits from woodies or chadwicks tomorrow to finish it off and then there’s the actual finish to do (I have some shellac I’ve been looking to experiment with, or I could try using the soap finish I’ve been reading about. Choices, choices…)
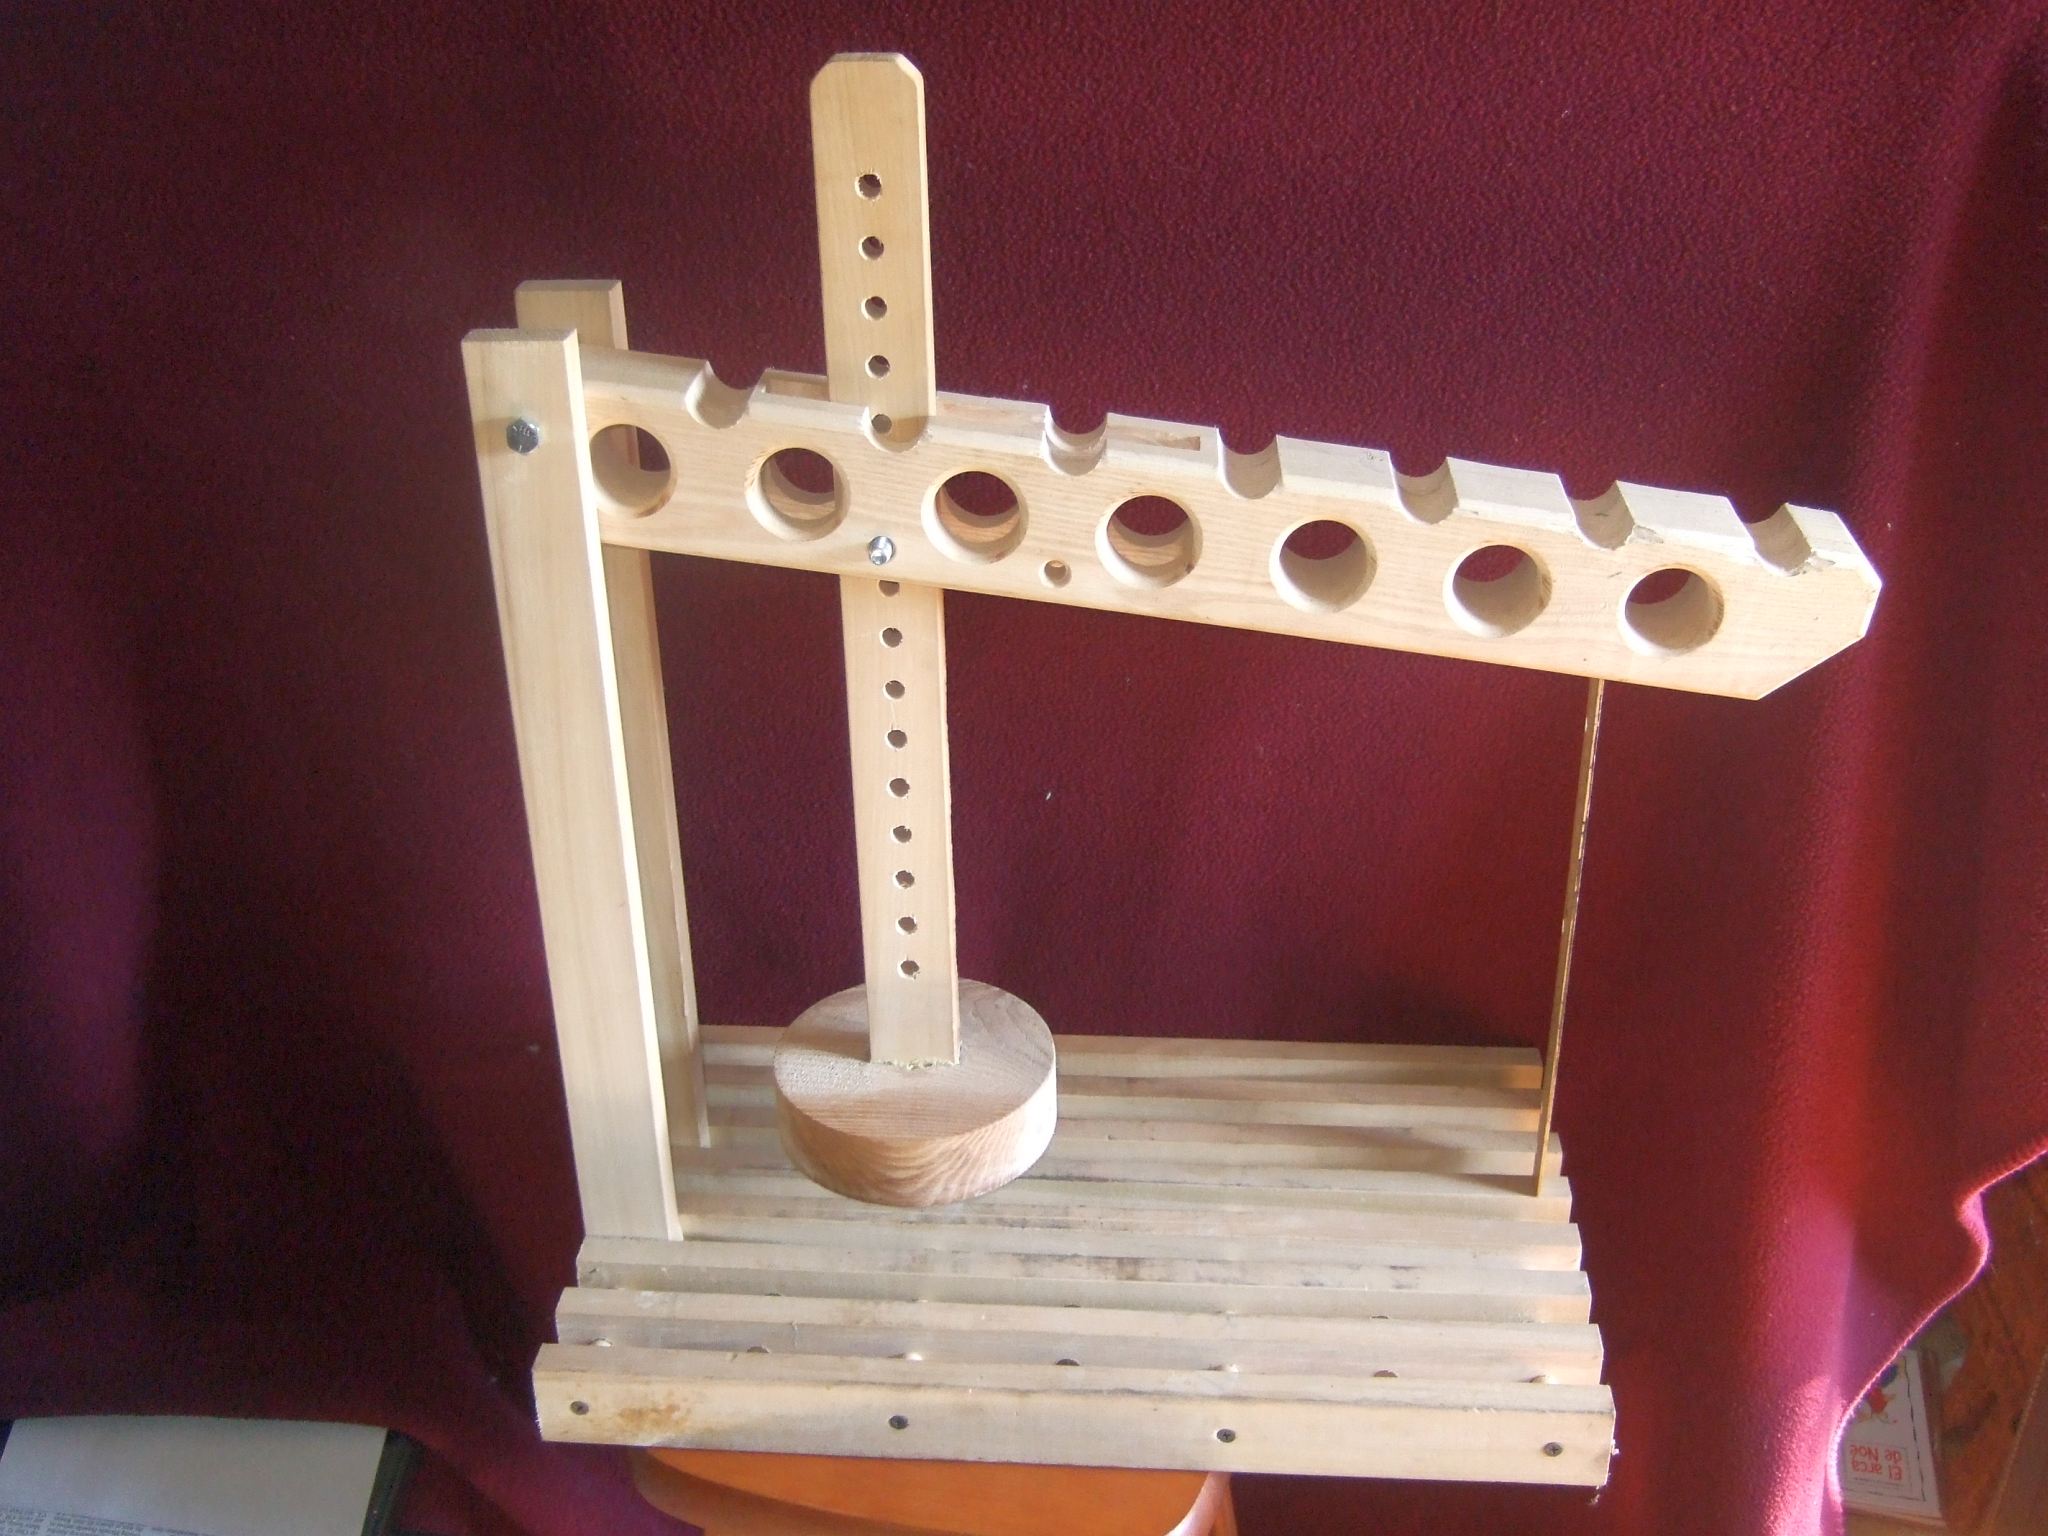
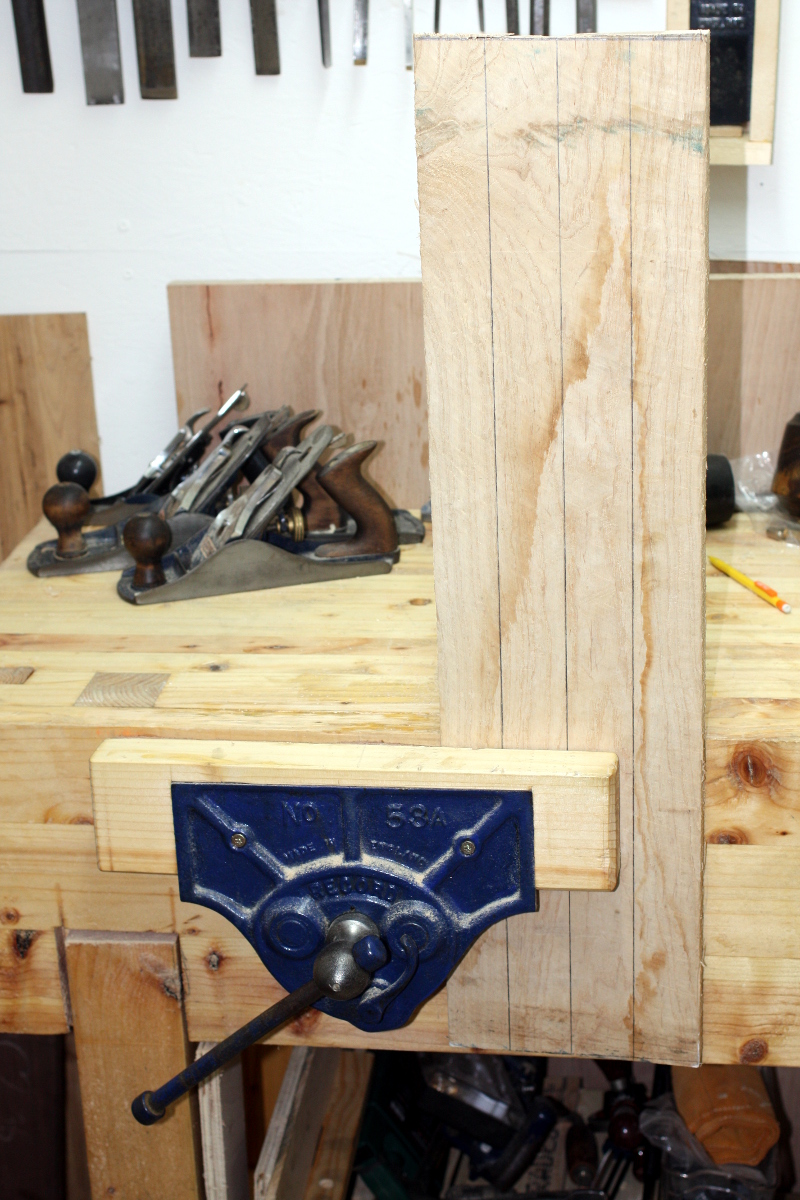
I did get some crib work done tonight as well – I now have 14 slats down, six to go – but the resaw was a pain and nothing seemed to go easy, so I knocked off at that point rather than make a mess out of a nice piece of ash because I was tired.