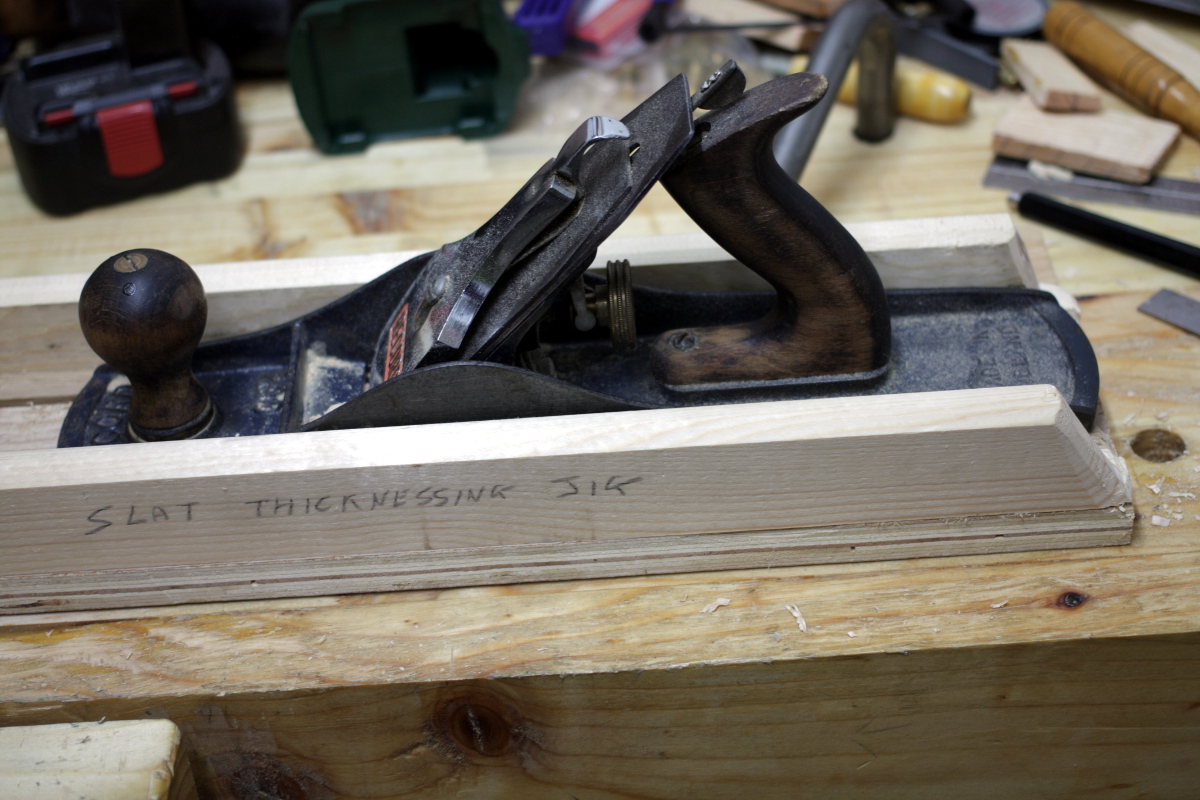
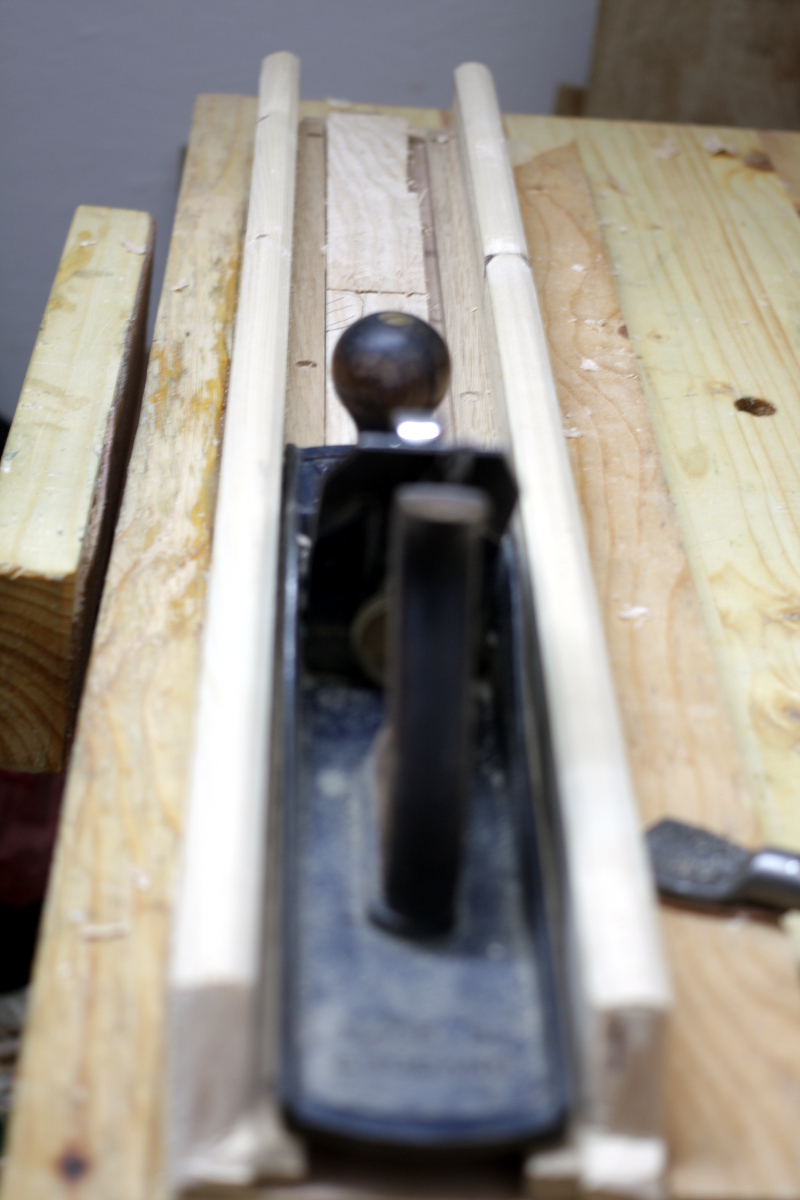
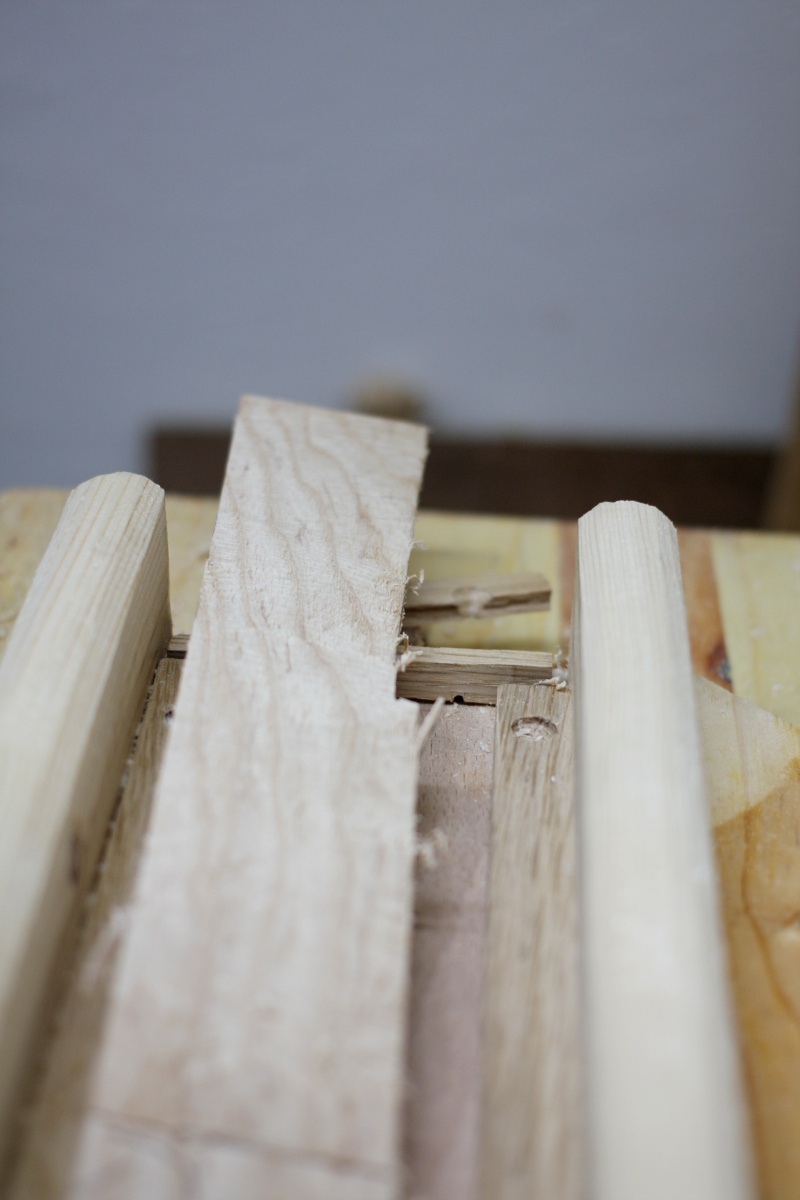
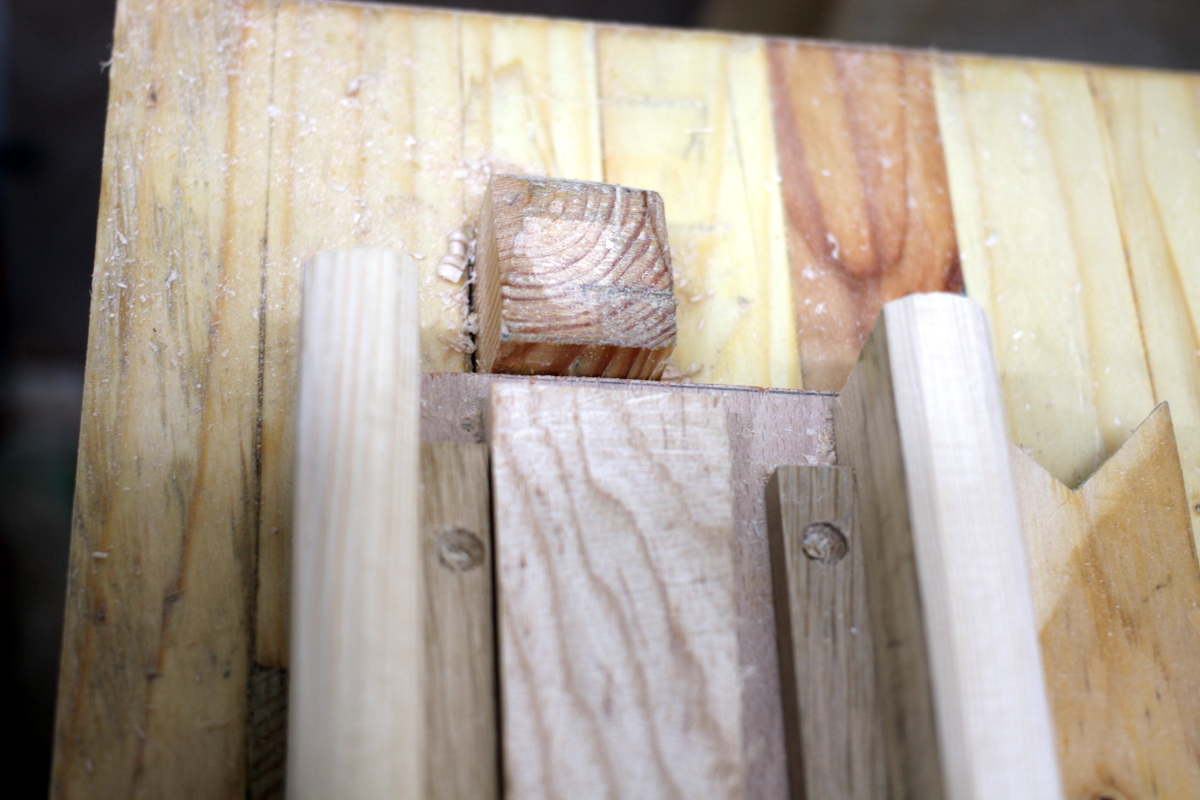
You can only thickness so many slats before you need to take a break 🙂
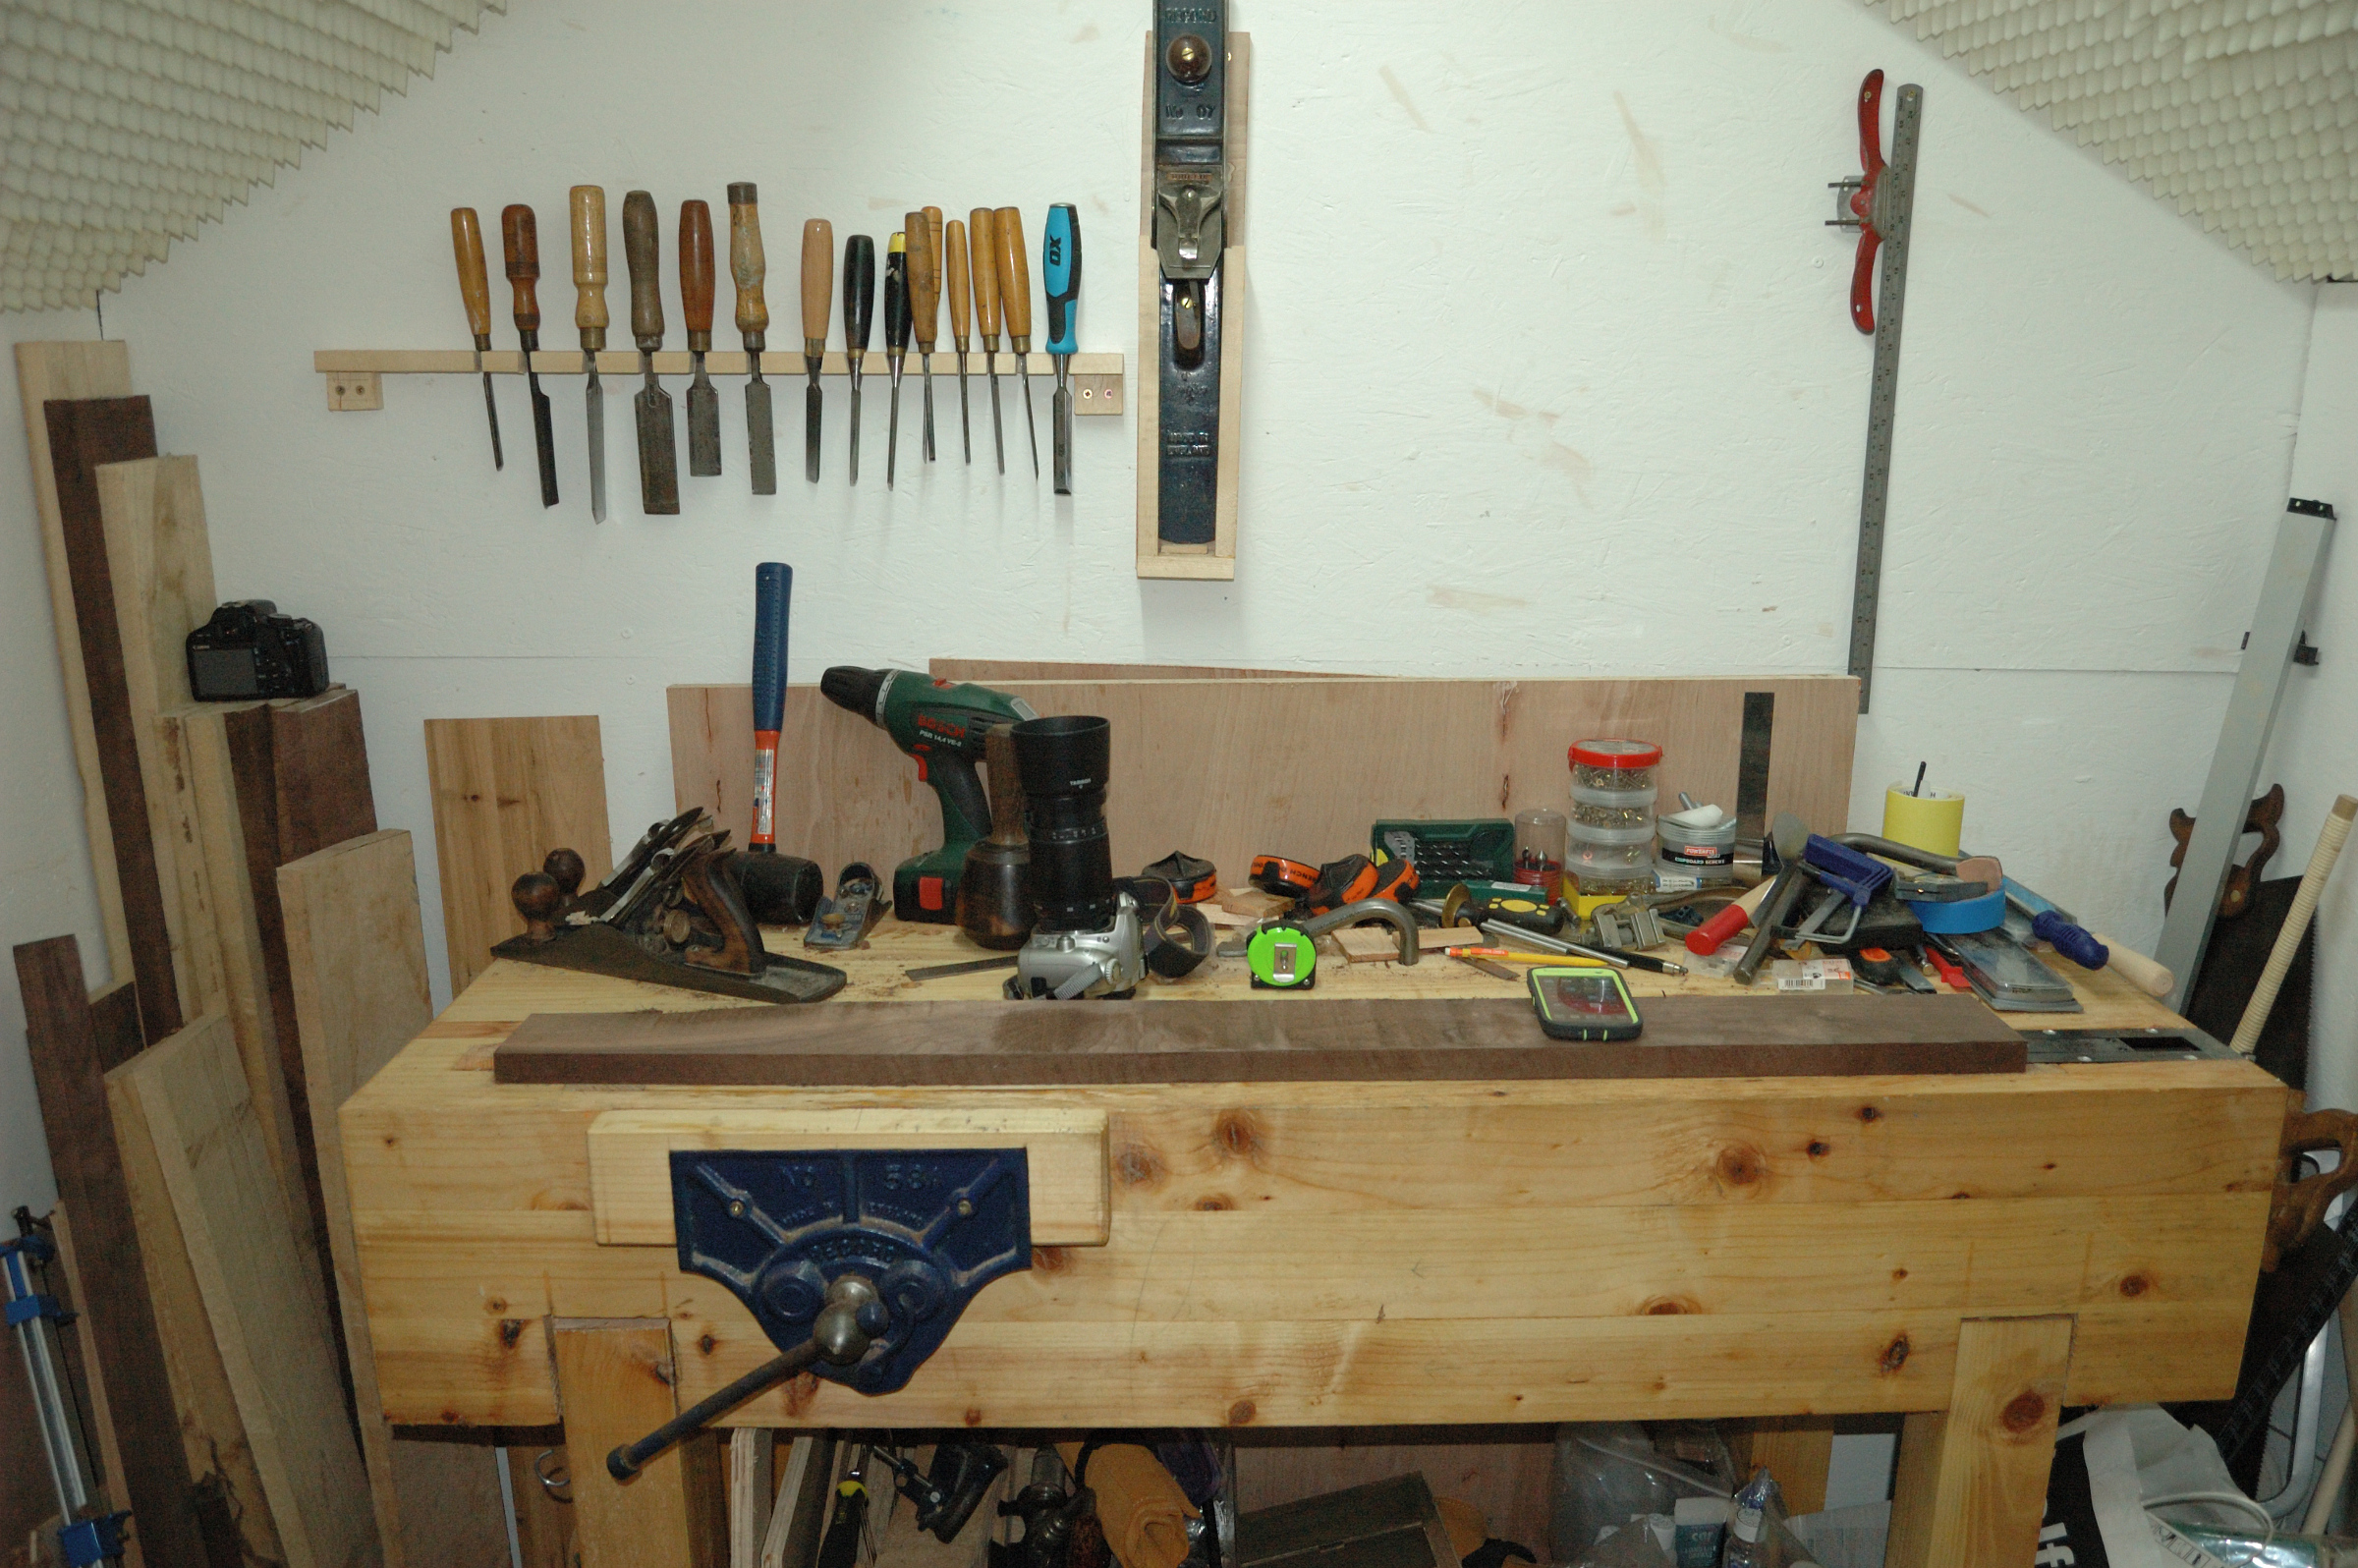
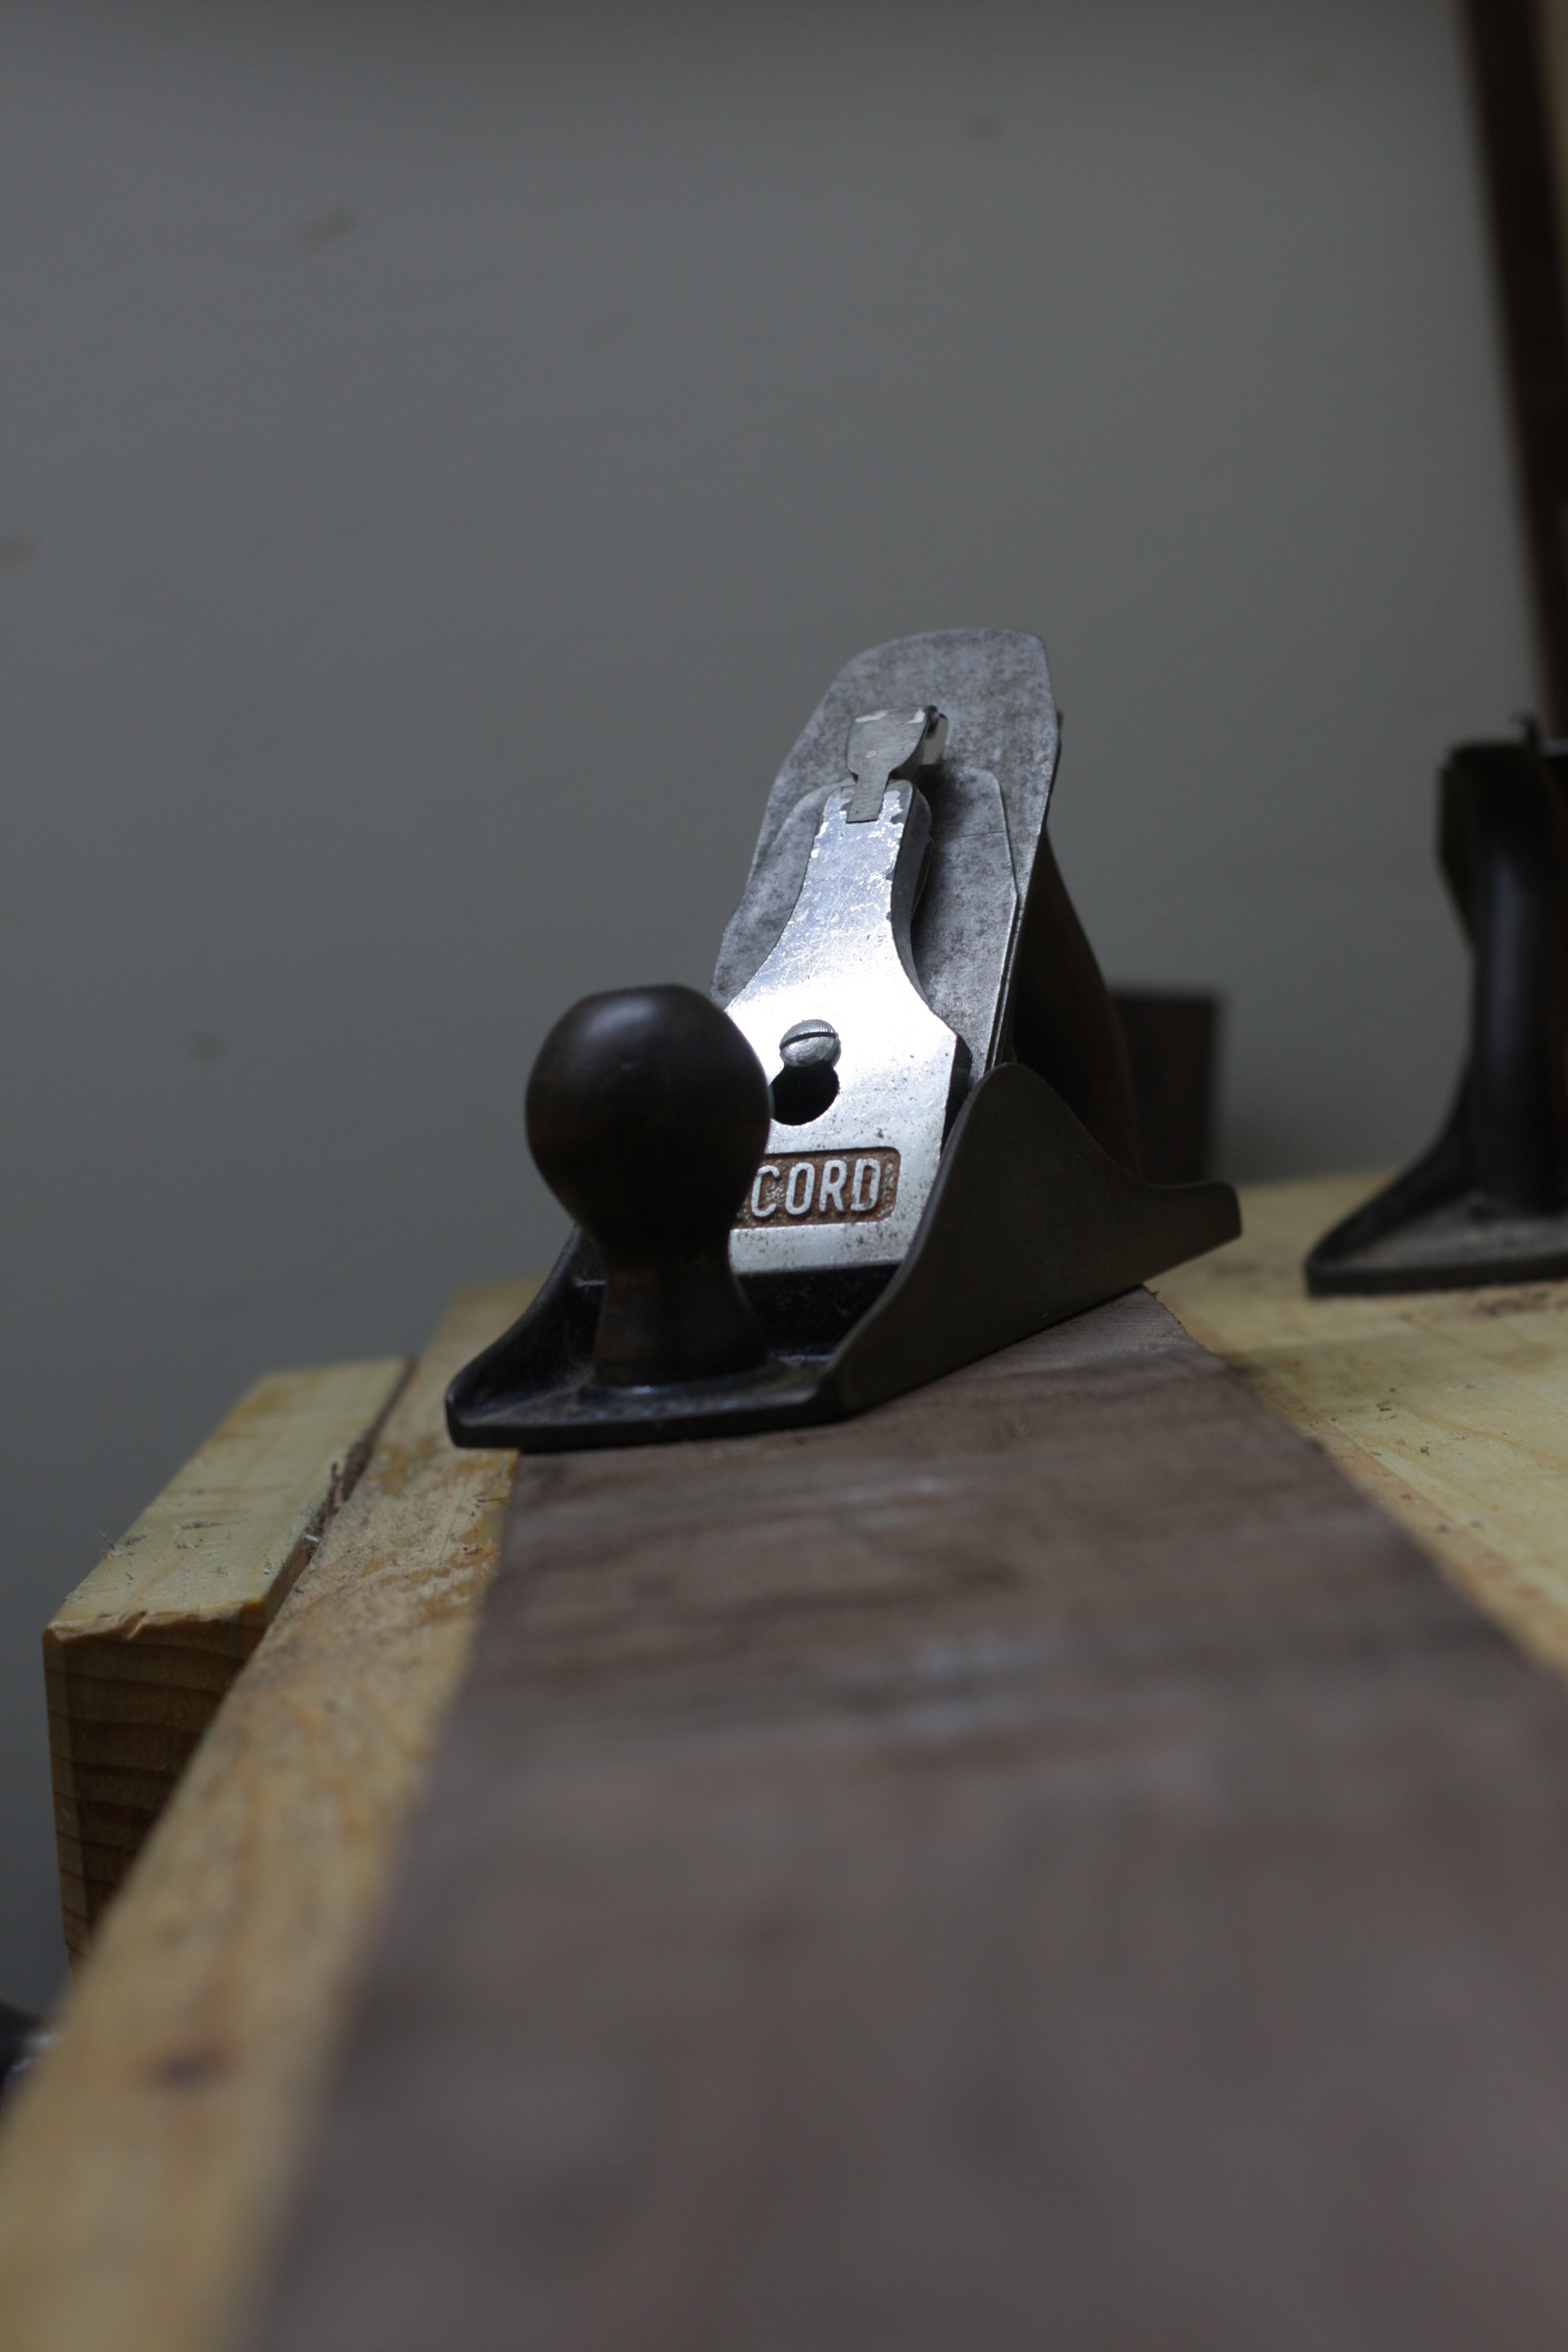
First off, I finally made a choice between the Nikon D70 and the Canon 450D I was comparing. It kindof came down to these photos. Taken from the same spot (though the Nikon had a different lens so it’s got different framing), the Nikon just had worse noise constantly. Look at the back of the camera over on the left or at the black lens on the camera on the bench (you’ll have to click on the image and zoom in):
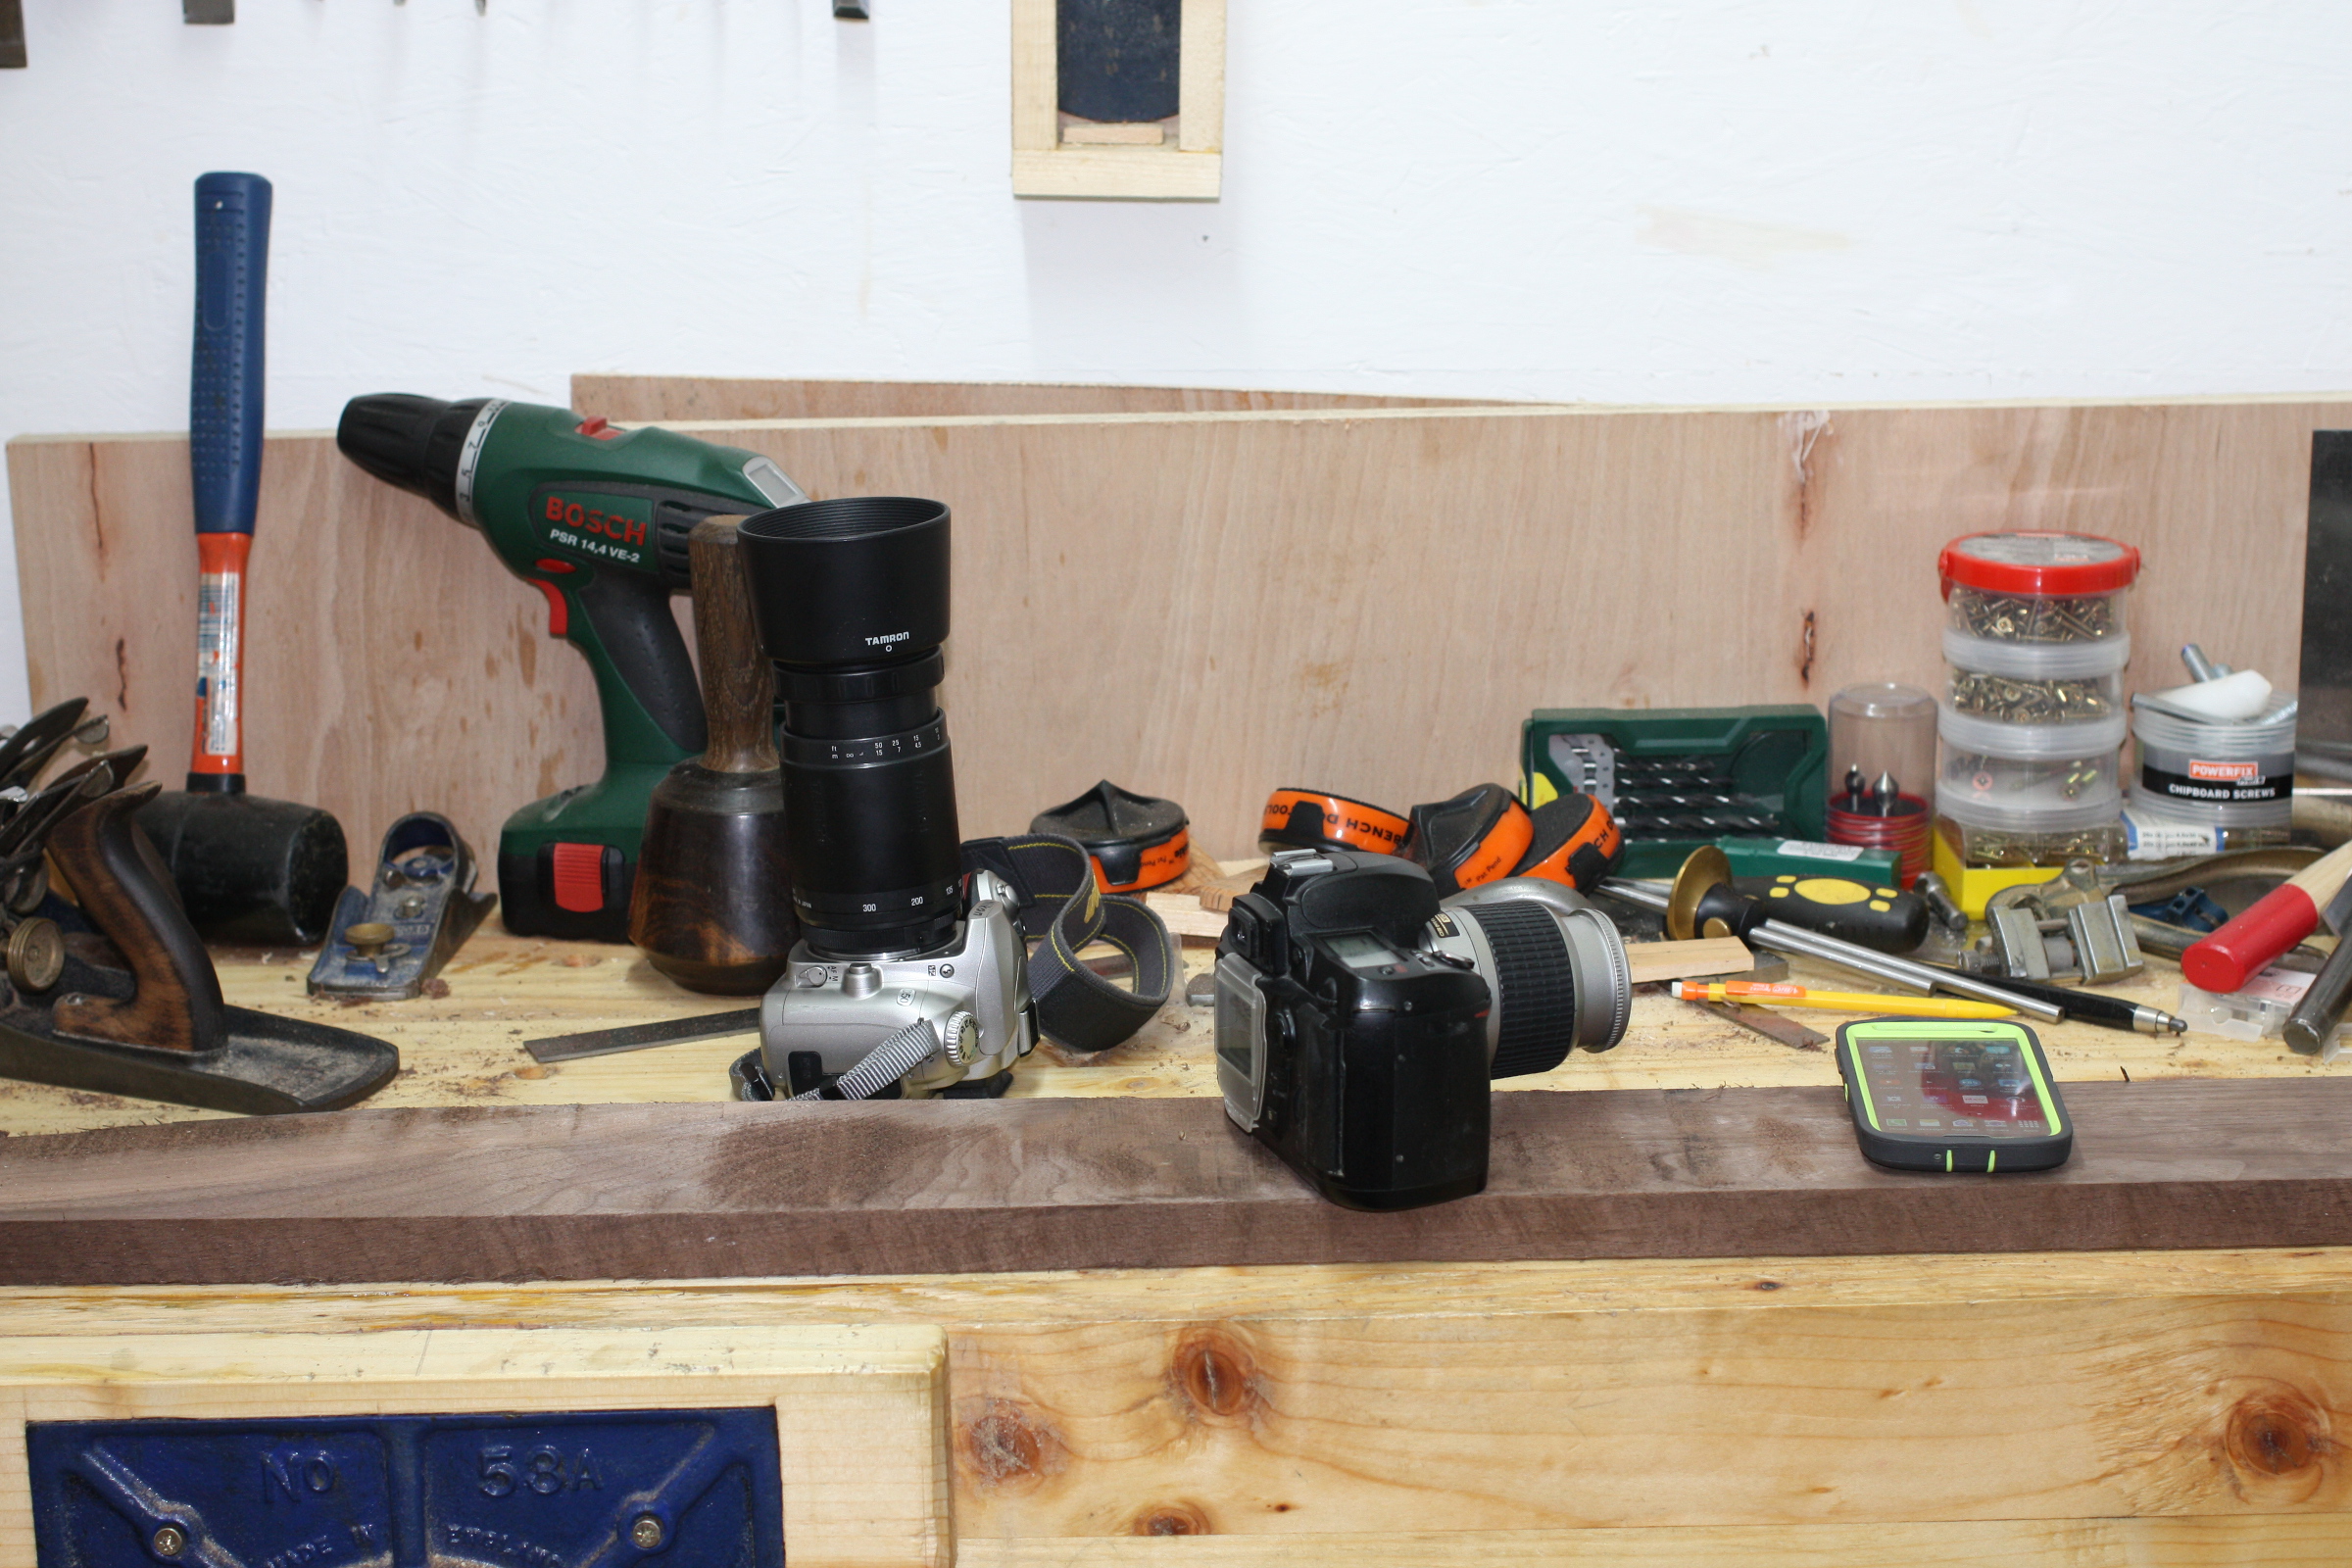
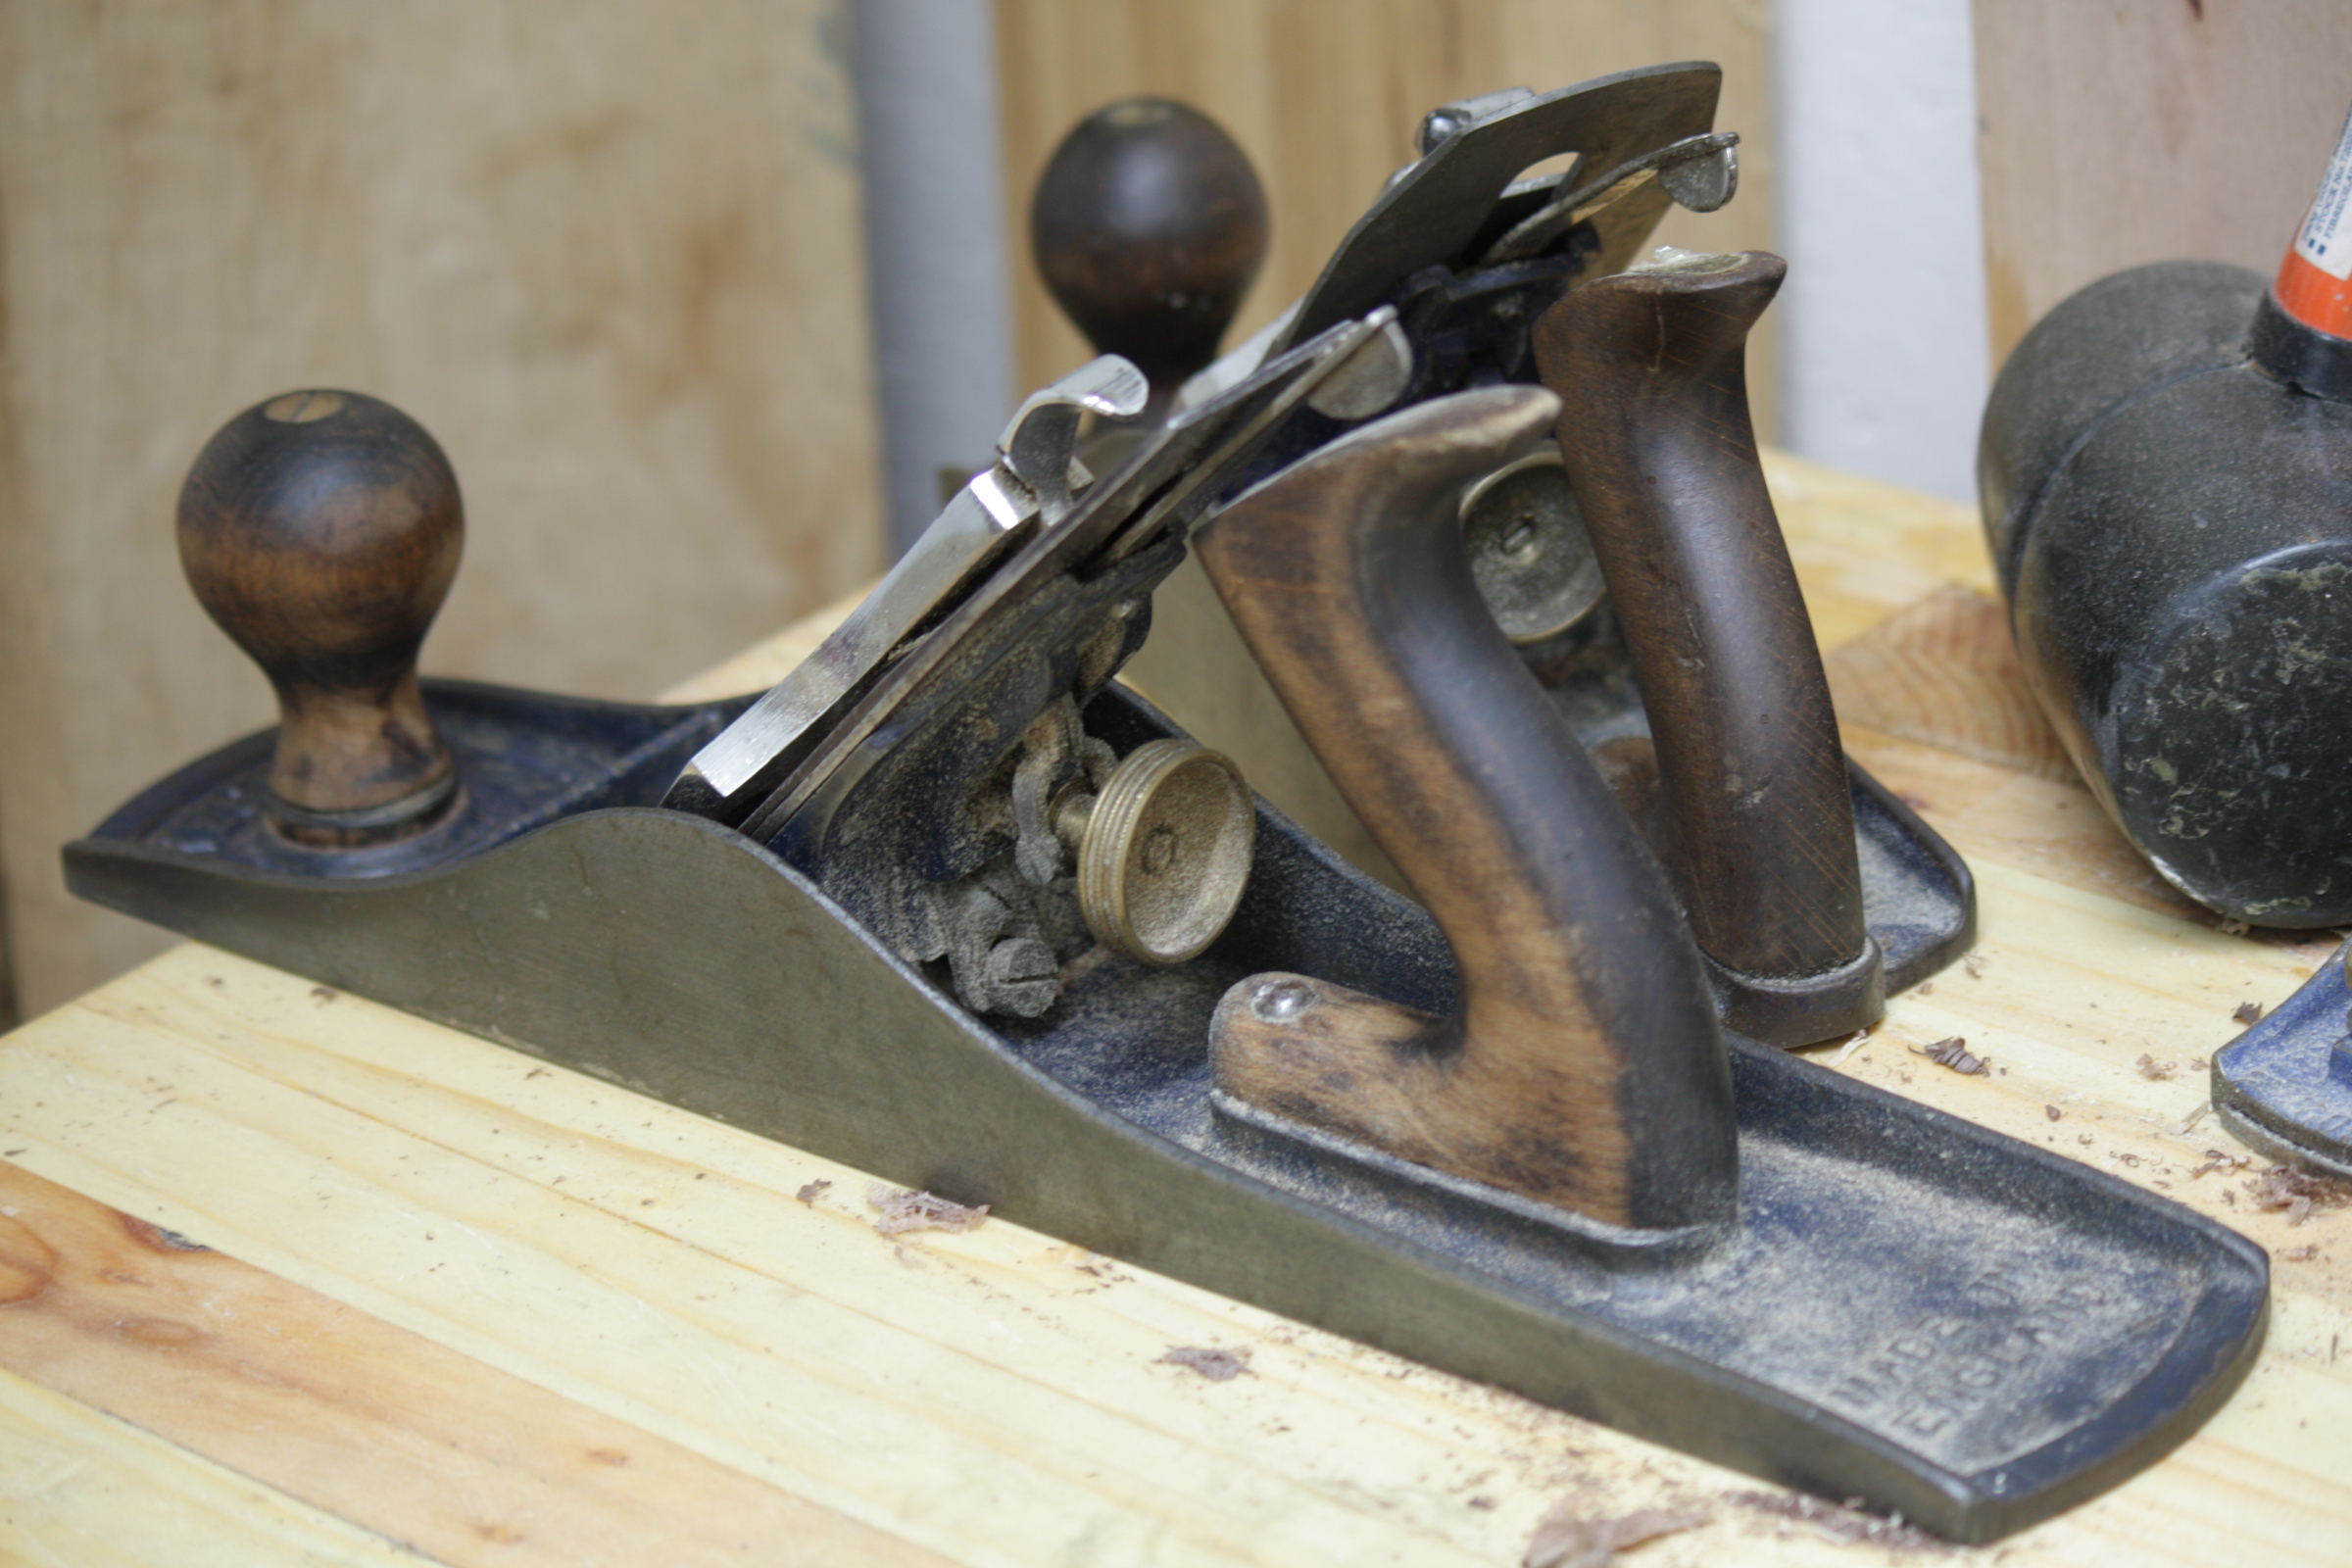
Then compare that with the Canon:
The framing’s different because of the different lenses, yes, but that noise is pure sensor, nothing to do with the lens. And yeah, it’s a low-light environment, but I don’t see me adding four thousand lux to the shed anytime soon. So I returned the D70 and bought the 450D. Still though, even the D70 was a big step up from my last decent camera (an old Fuji Finepix which has long since died).
Some of the photos the D70 produced are just, well, pretty:
But when you zoomed in the noise spoiled it. The Canon doesn’t have that problem, even if it can’t quite match the framing as easily because it’s using a prime lens:
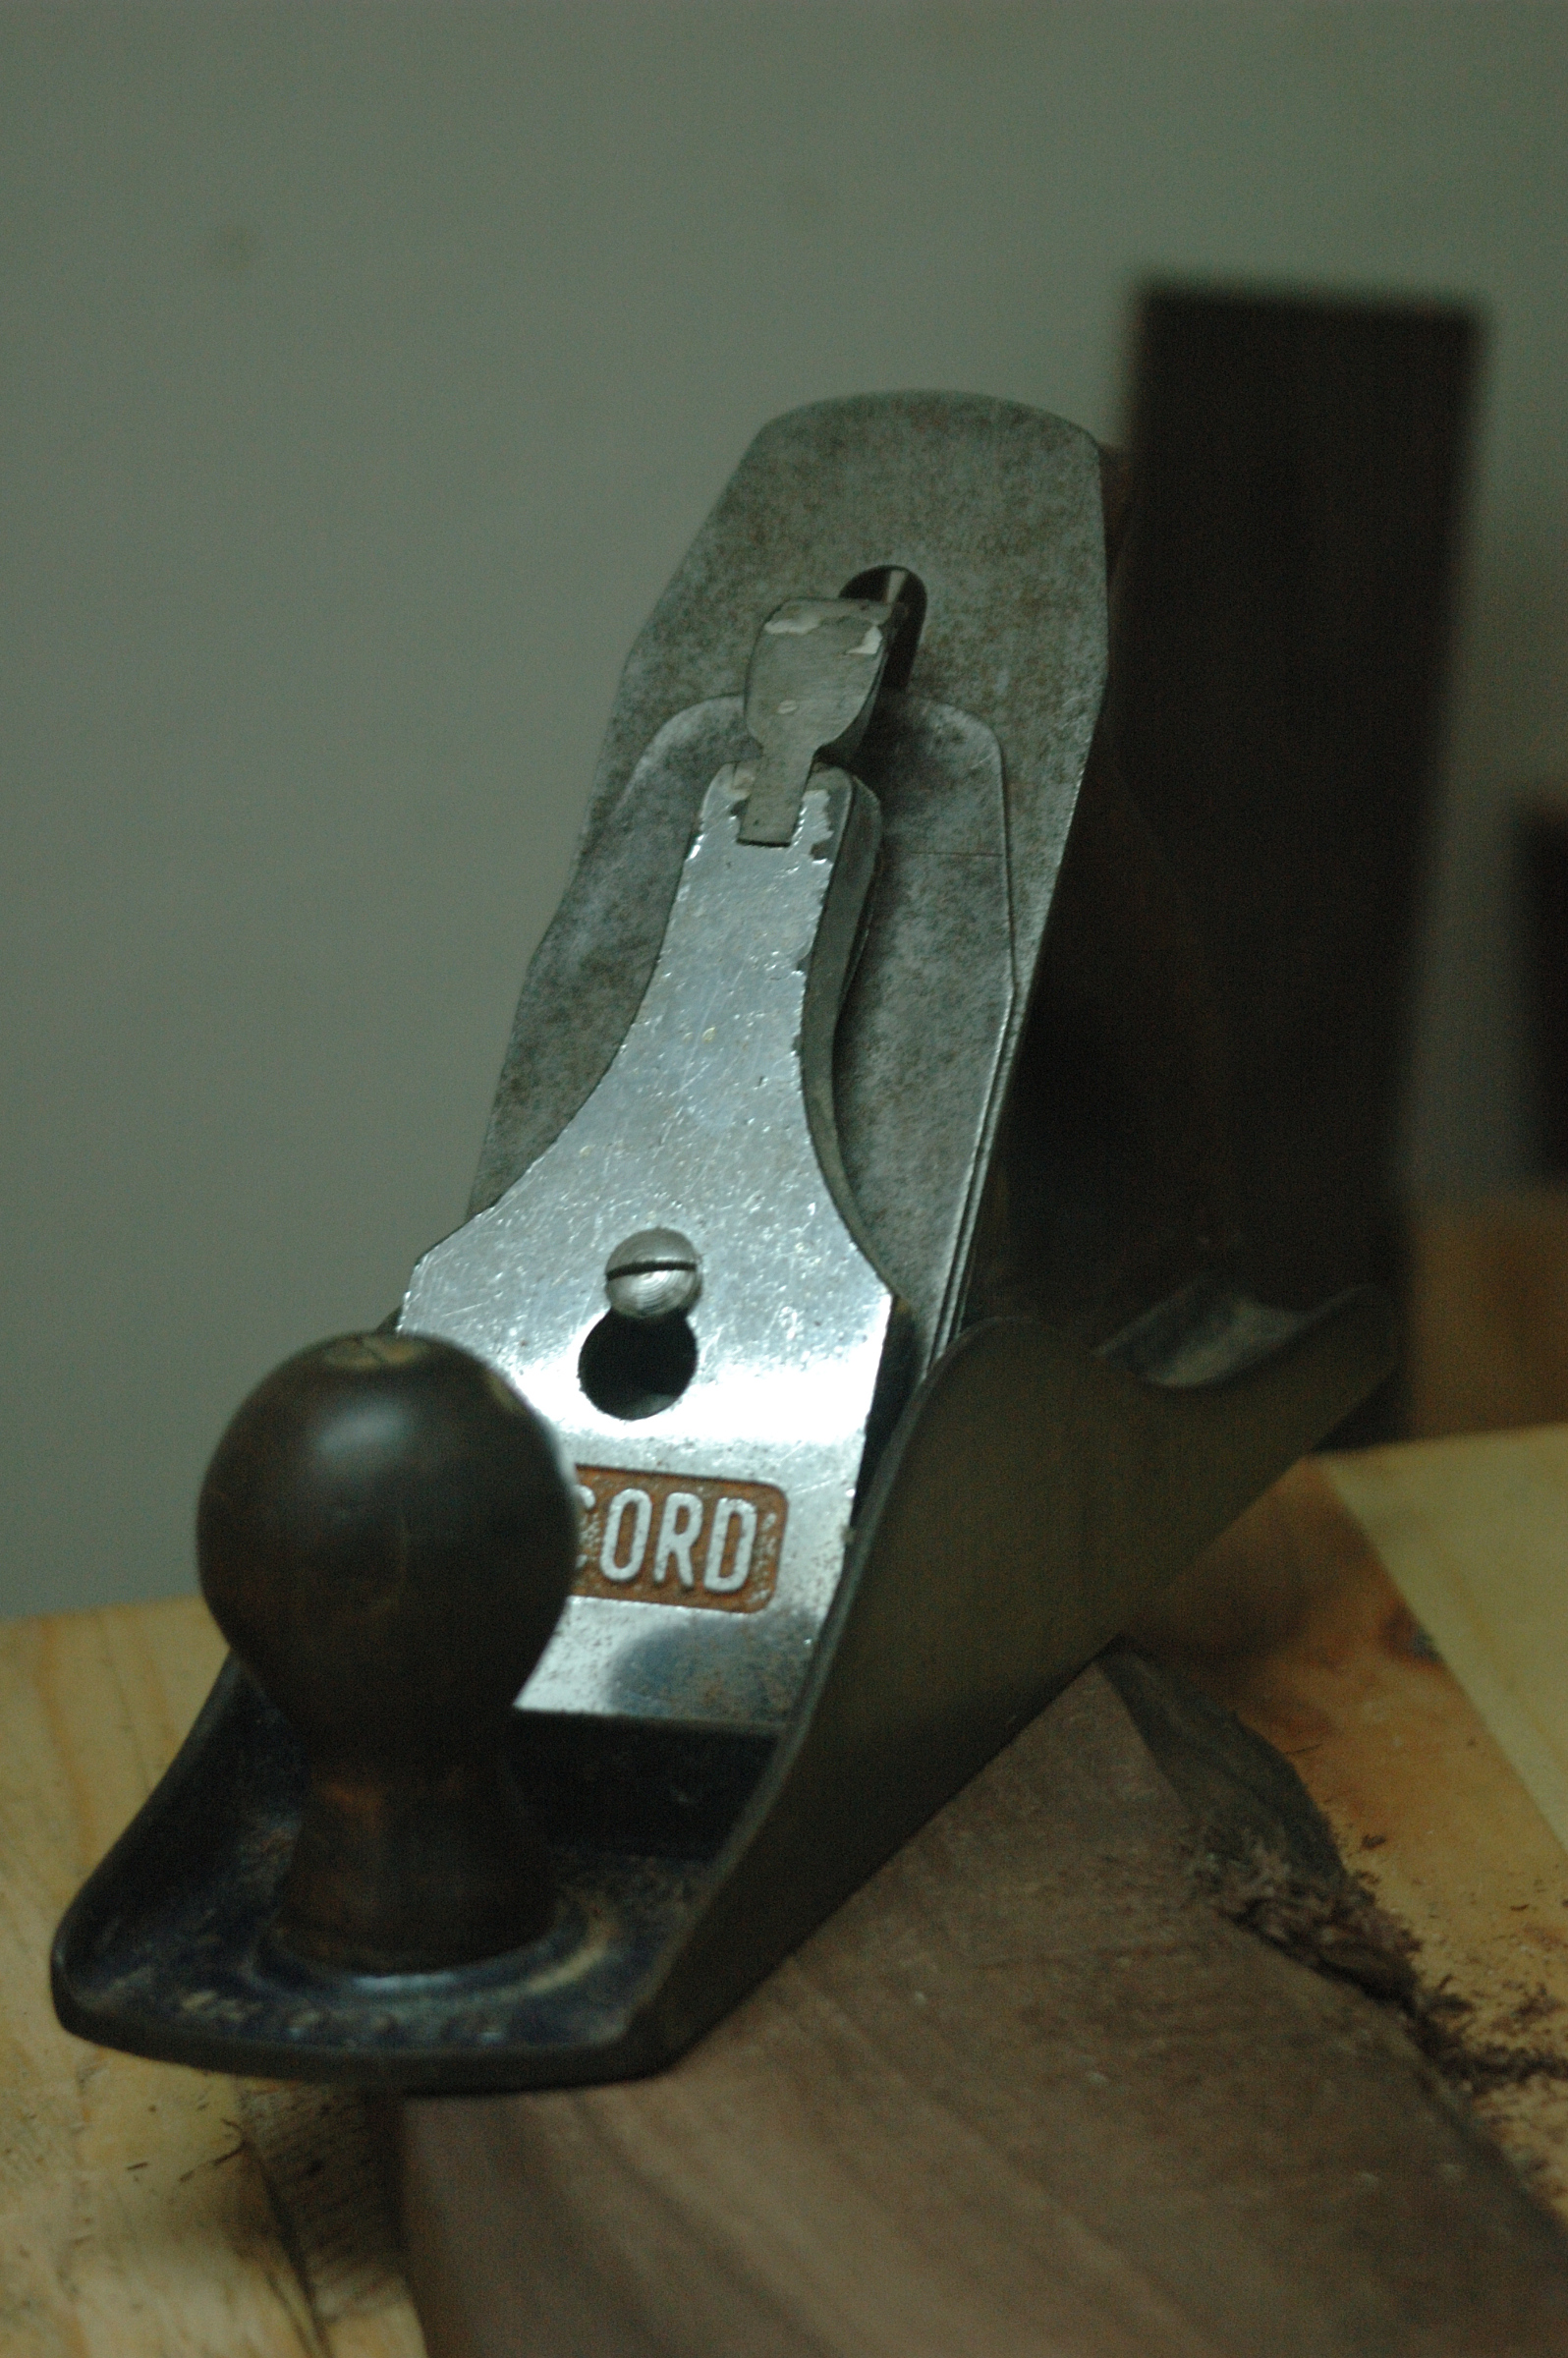
And I was mucking about with a borrowed telephoto lens just for fits and giggles today. I can confidently say it’s utterly without use in the shed, but I did get one nice photo out of it:
But I think something like an 18mm or less prime lens is probably what I’d want along with the 40mm I now have. And maybe later a tripod. First though, I want to get the battery grip for the Canon because it’s too small for my hands. Oh well, they’re relatively cheap for the clones at least.
Then, footering about complete, I got on with some stock prep. I wasn’t quite ready to return to the slats, so I finished up what I’ve been doing for the last two days:
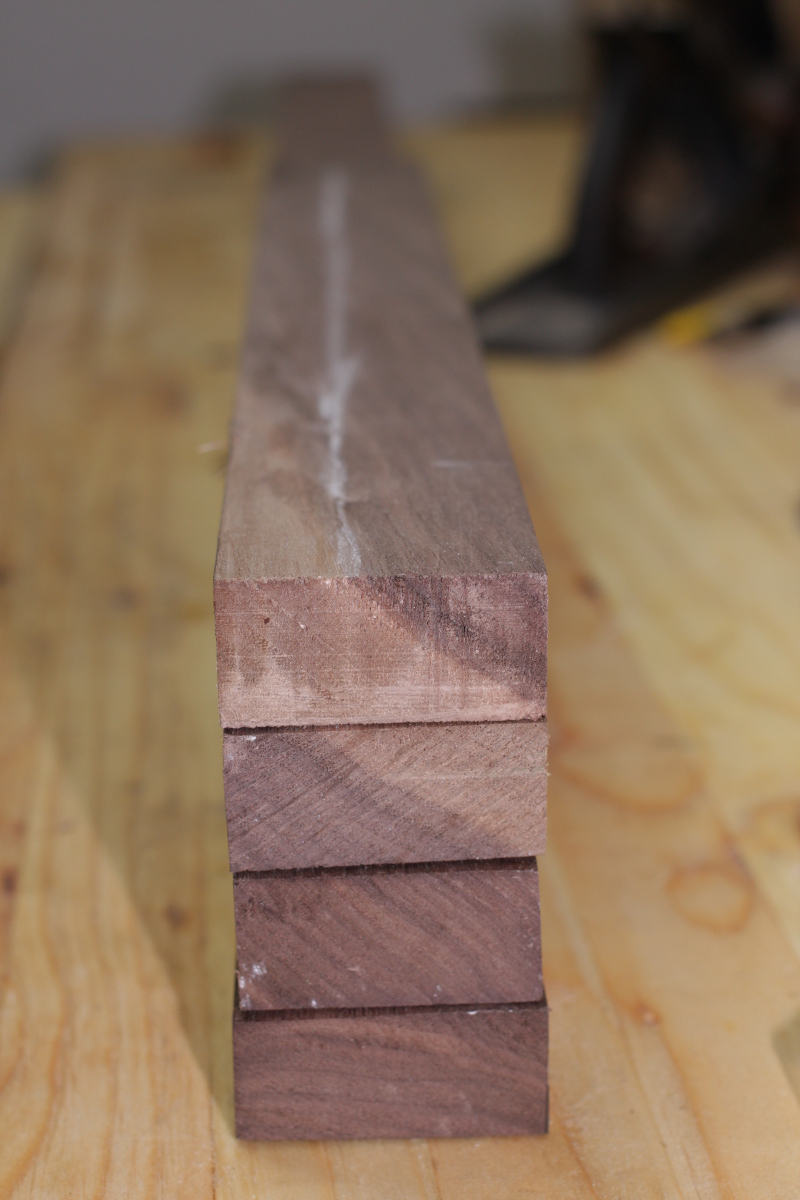
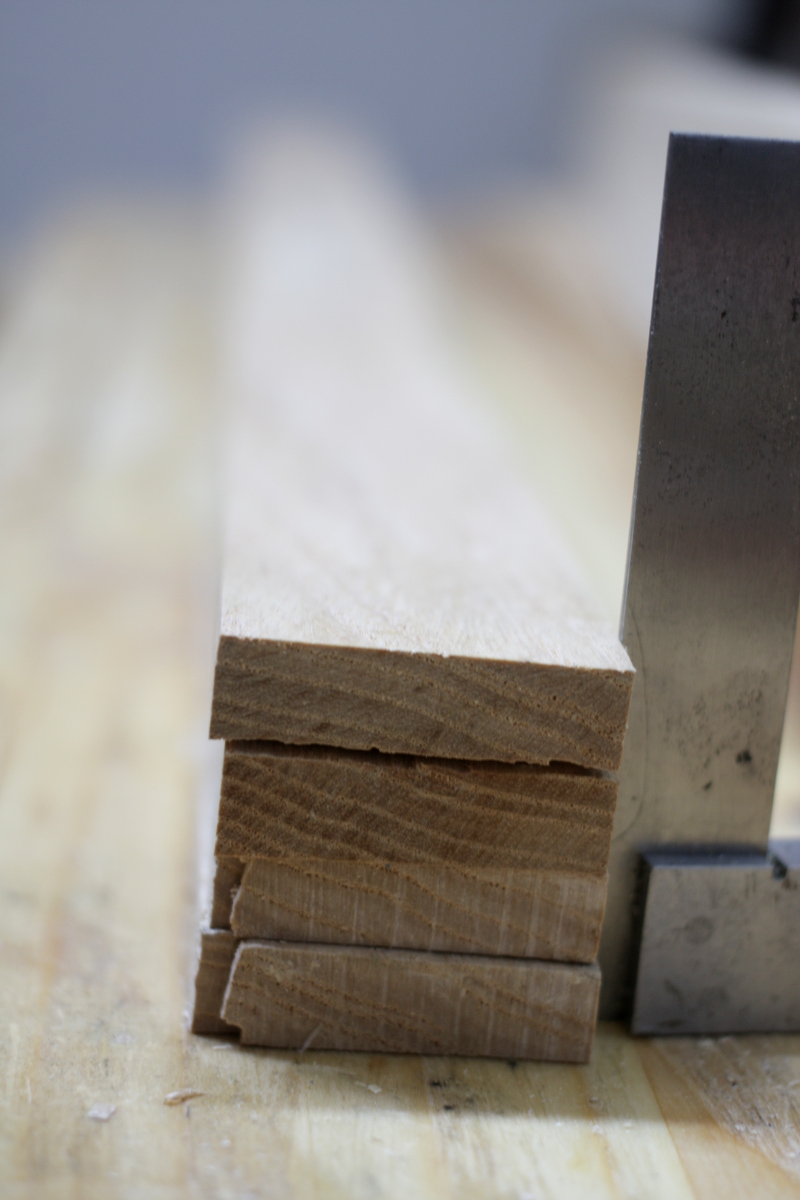
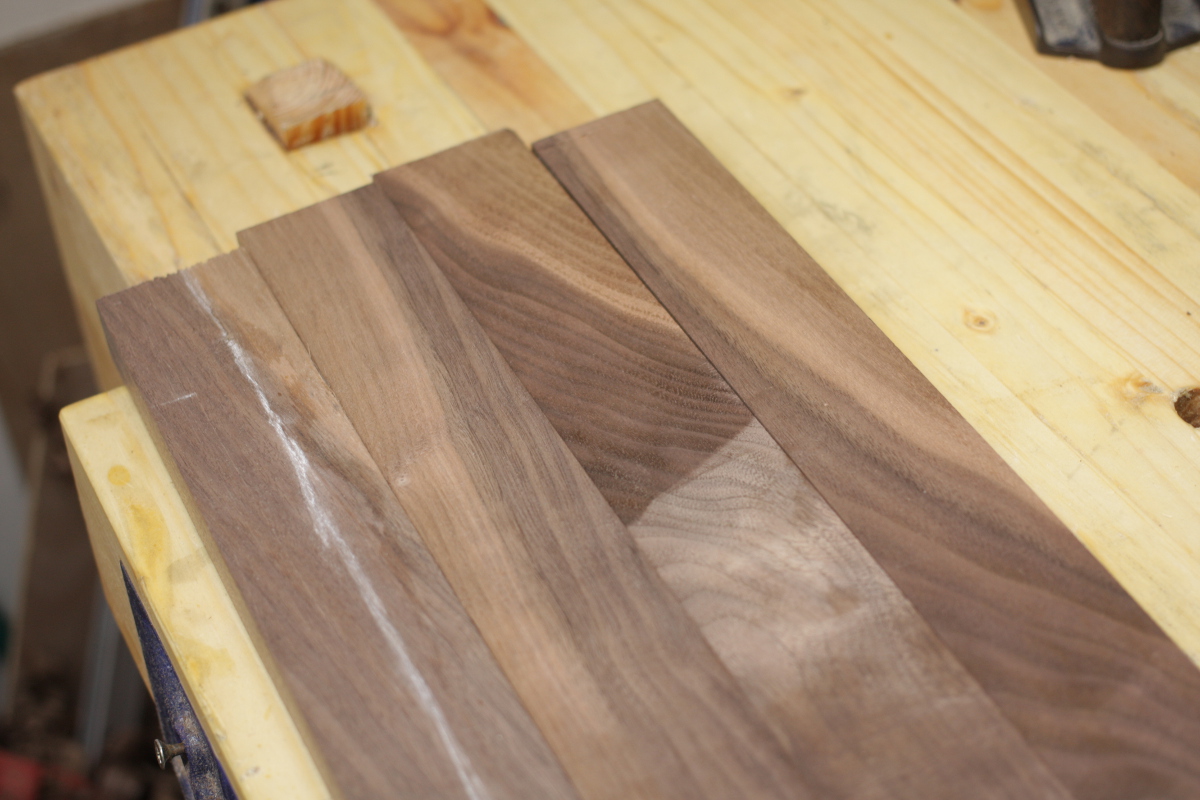
2″ wide walnut laths for the frame, ripped from 4-5″ boards and planed with the jack. They’re an eighth over 2″, and are going to get some more trimming later, but I’m going to get them prepped like this now and try to see if I need more walnut or not for this build. There’s a lot of sapwood though…
Although, apart from the waney edge bits that have eaten around a fifth out of each board (but hey, those are experimental bits for testing finishes and steambending and so on), the sapwood itself isn’t that ugly looking…
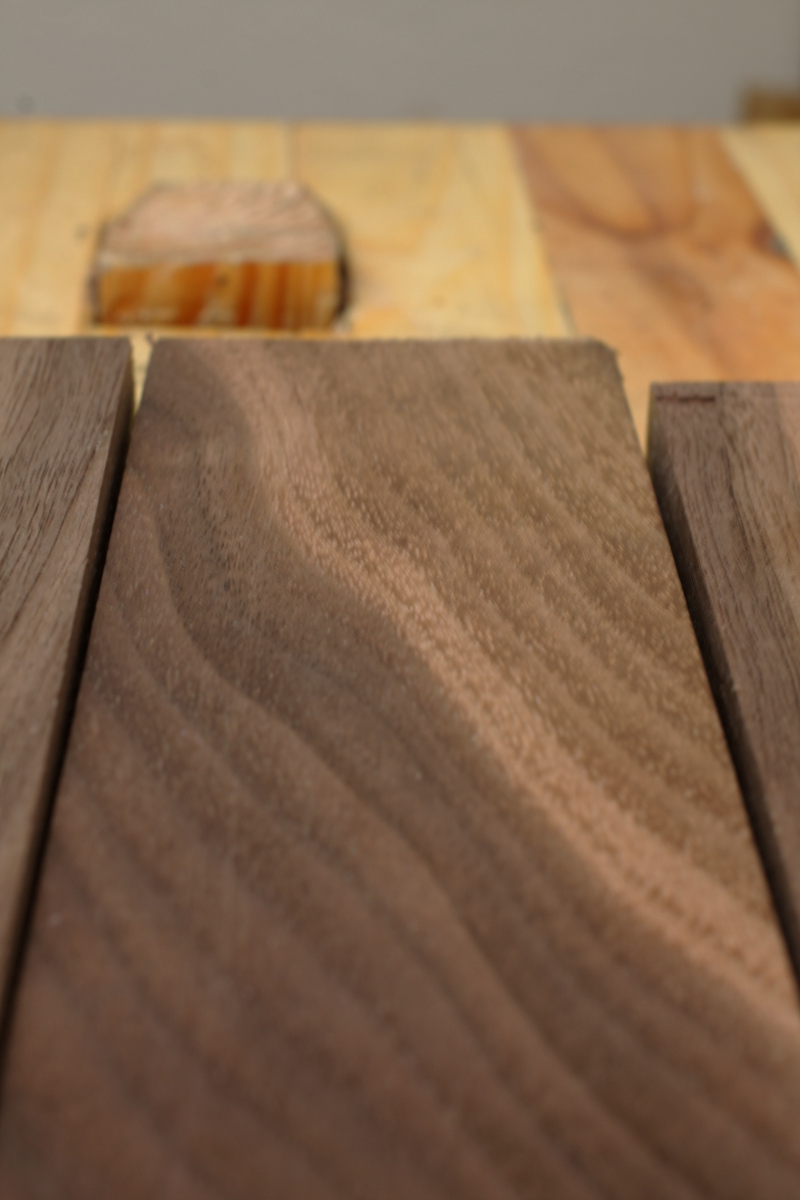
The grain’s a bit of fun though. I think the card scrapers are going to get a workout.
And with those done, I went back to work on the slats. I now have ten slats planed to thickness and squared. If I can get the rest done by the weekend, I can get the other walnut boards planed and ripped over the weekend (and sort out the dust collection and maybe some of the electrics) and then the following friday I’m going to the timber yard for some oak and poplar (and if I get those bits done, I’ll know how much extra walnut and ash I need).