13
Jan 17

Testing

Last few days have mainly been testing; both in the “new toys and new ideas” sense and in the “three days off from food poisoning and losing ten pounds in the process” sense. Happily, I only have photos from the former.

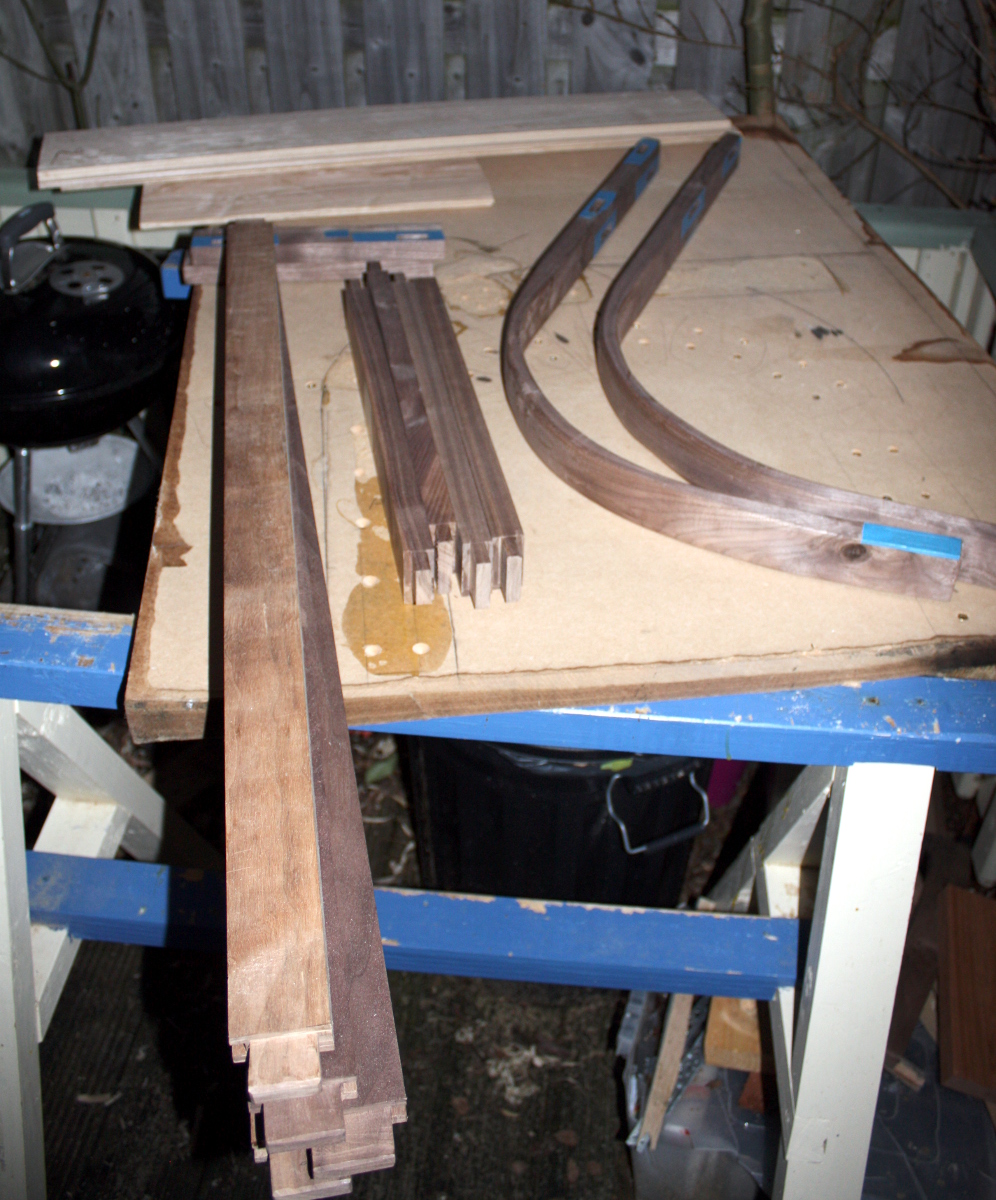
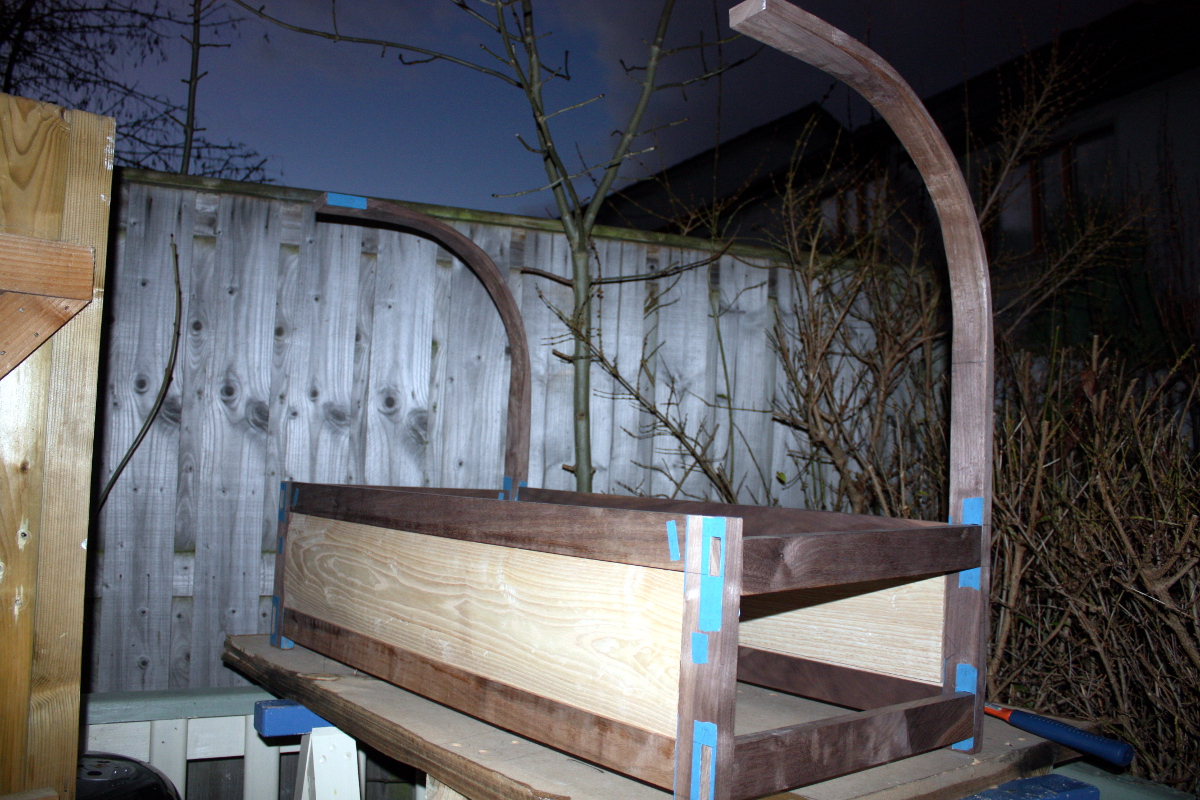
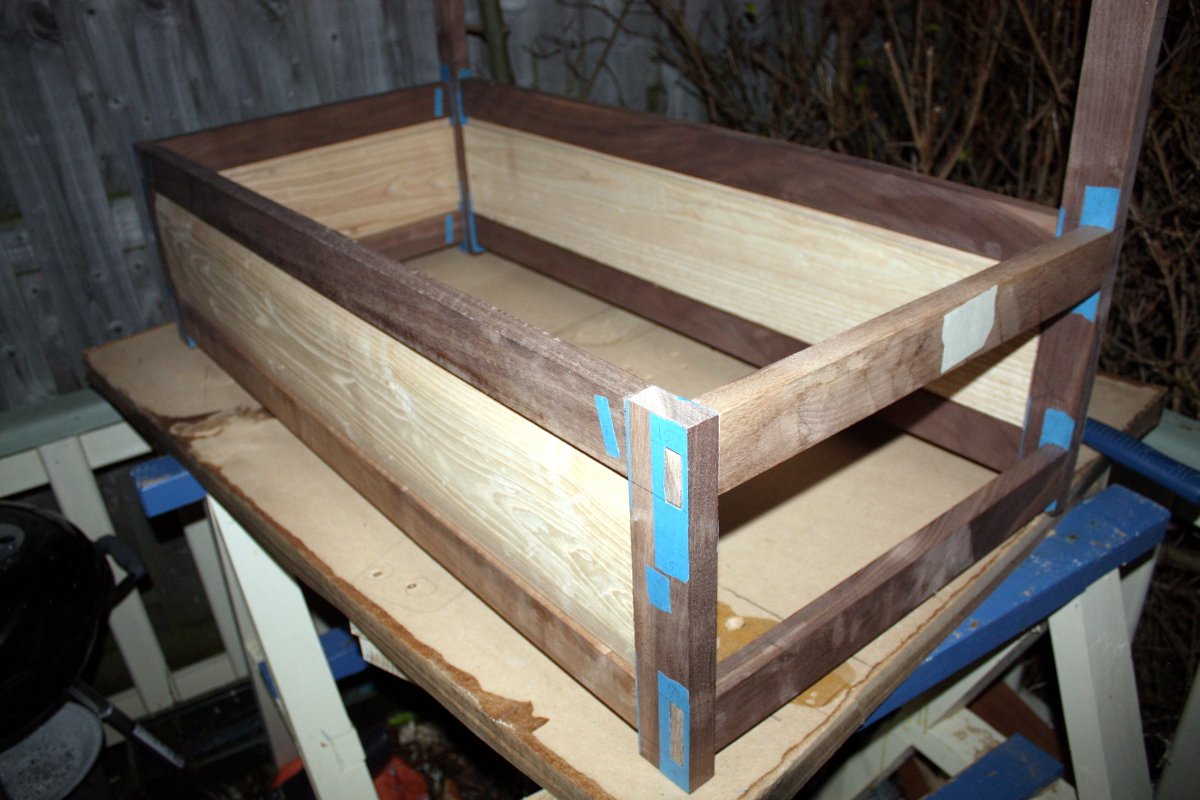
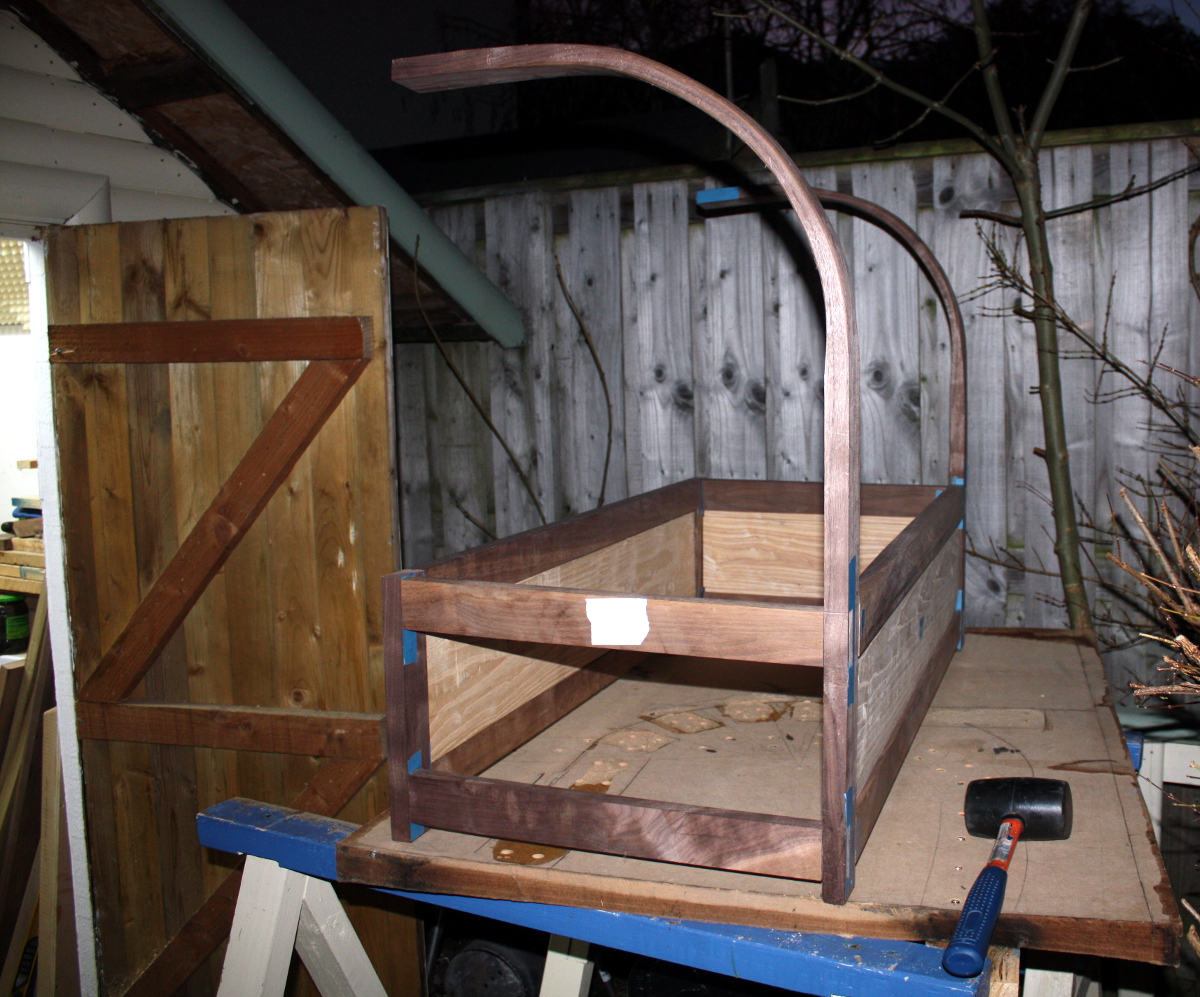
I did get some work done on the cot before the enforced break set in, the biggest and trickiest of the mortise and tenon joints is now all fettled and the slats have been picked out and I’m working on the spacing for them. But apart from that, it’s been small stuff only.

I was wondering about the exposed end grain bits there will be in the cot and then I saw this approach by Brian Halcombe :

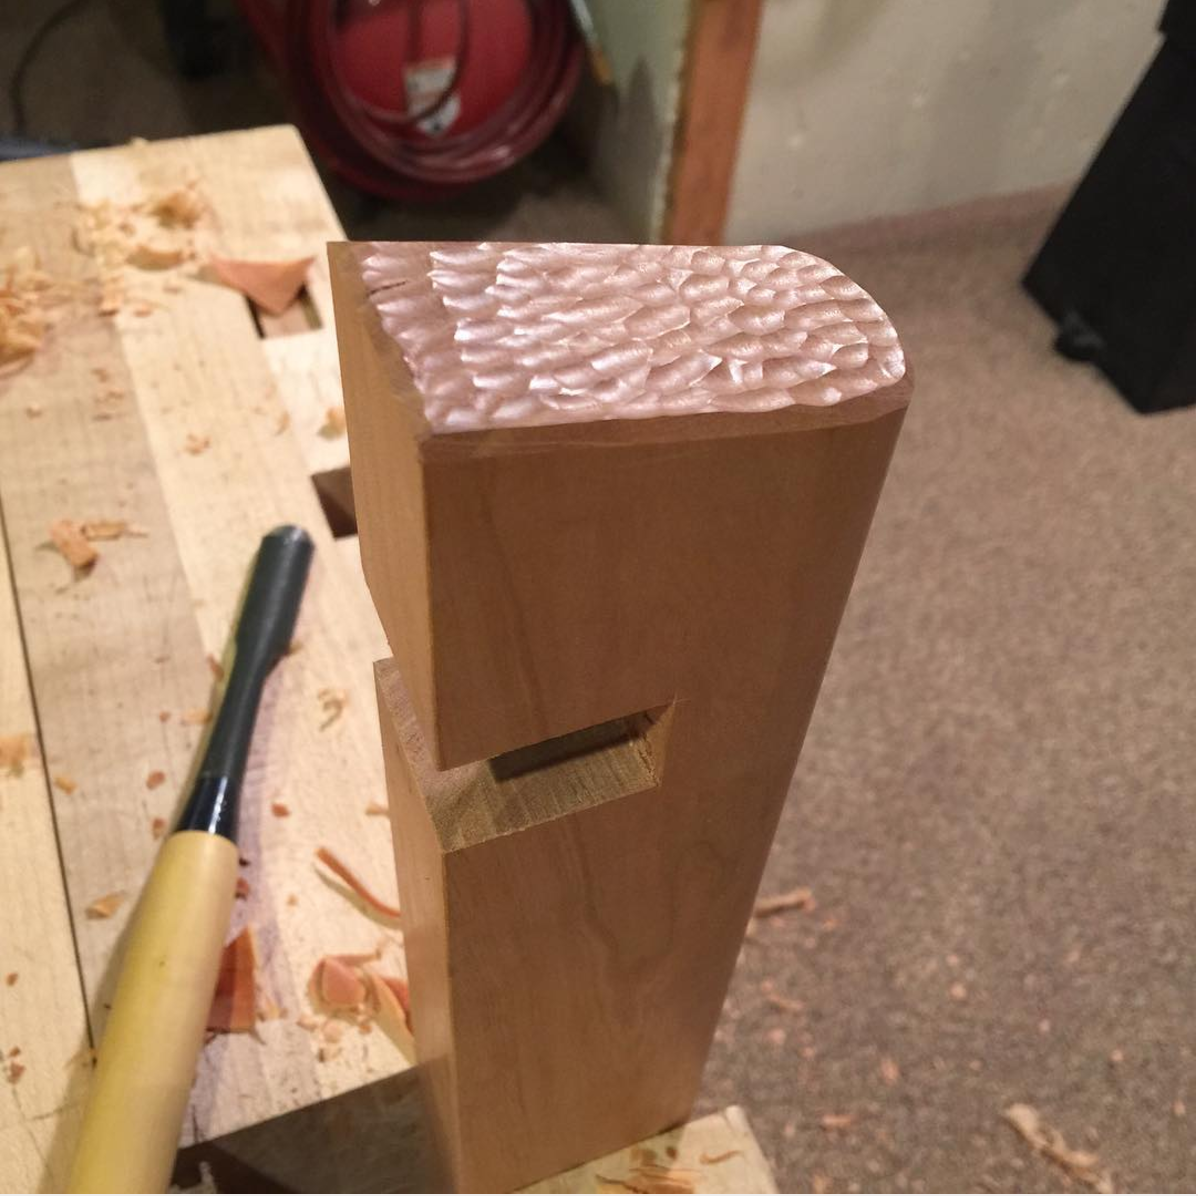
It’s downright pretty. I wondered if I could do that so I sharpened my smallest gouge and dug into a scrap bit of walnut:

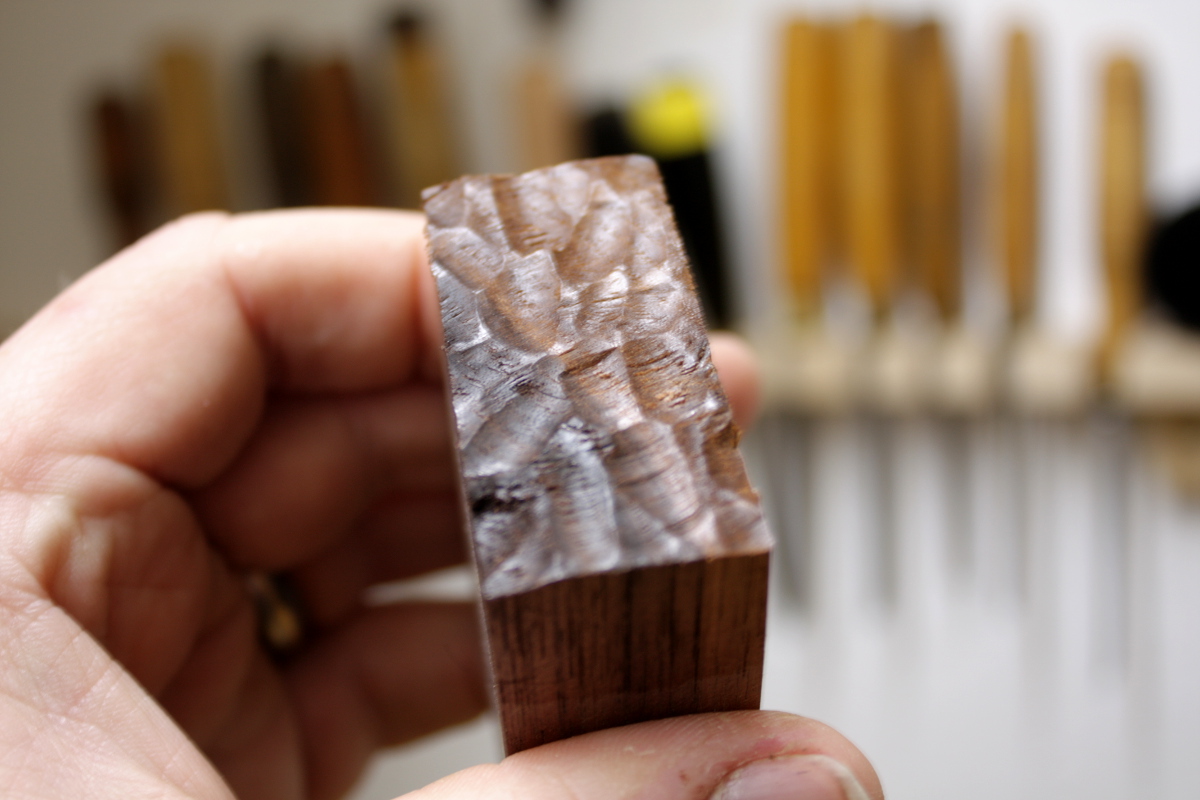
Well, the idea works at least. I need a bit more practice, and maybe a slightly narrower gouge (and it needs to be a lot sharper than mine was, I just stropped it, but it needs to go back to the stones properly), but that might be a runner.

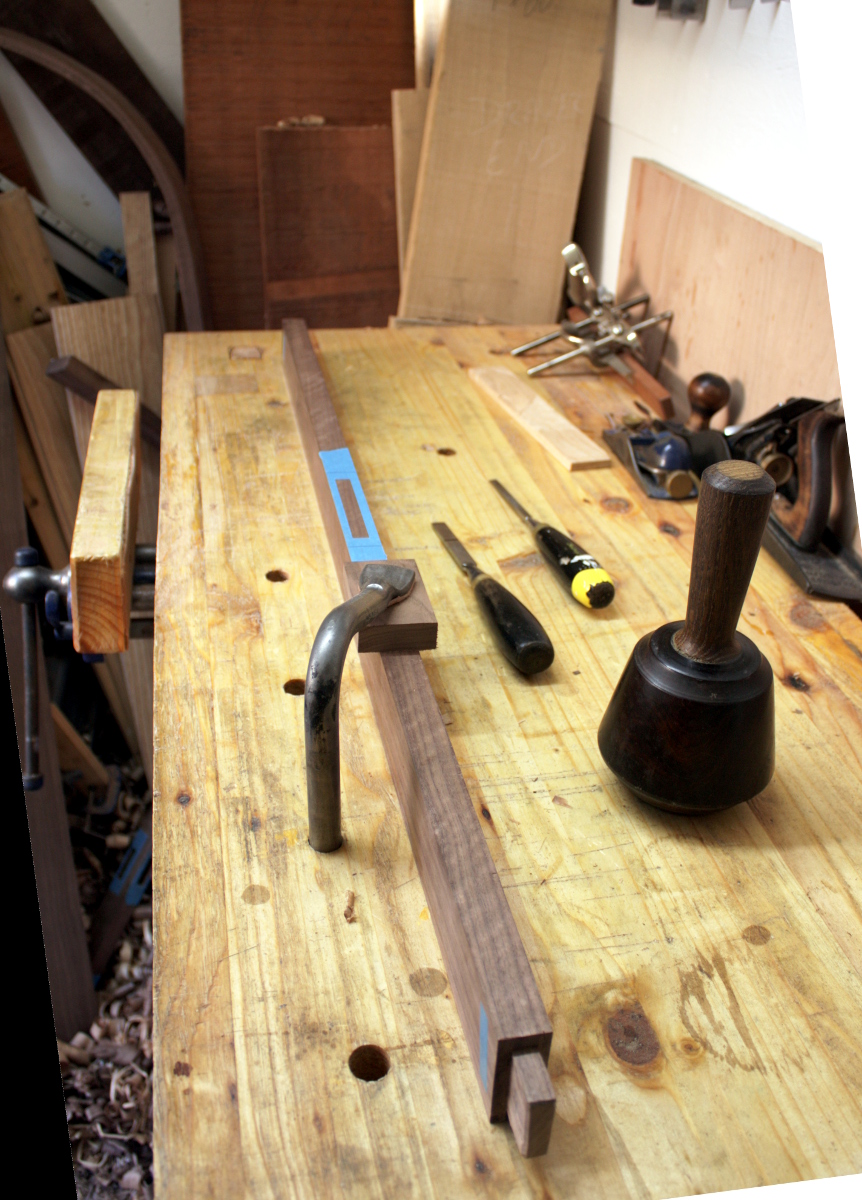
Then the new toy arrived…

For anyone who’s not seen one before, it’s a dovetail guide. There’s a magnet inside to hold the saw against the guide so your angles are correct, some low-friction pads over that so the saw can slide freely, and a bit of sandpaper to help keep the guide in place against the wood:

It’s pretty simple to use:

I had a bit of a play when it first arrived, just cutting saw kerfs to see how it handled, and then tried giving it a go for an actual joint. It works as advertised, but there is a point the instructions don’t warn you about, namely, be careful where you put it down on the bench…

…or else you get a ball of magnetised sharp edges and points to deal with 😀

Apart from that, it makes the process much easier.

I made life a bit difficult for myself here though, because the pieces of wood I was using weren’t wide enough for three tails given the size of chisels I have; I wound up cleaning out the waste with the tip of the marking knife in the end because my smallest chisel was over twice the width of the gap between pins. And between that and general fumbling, there were gaps all over the final joint:

But for a first attempt at dovetails, it’s not too bad. Besides, I was having trouble feeling my fingers, it was a bit chilly in the shed:

Eeek. No glue-ups possible at that temperature…


07
Jan 17

Lists

So, new years are all about lists and I figured I’d go through the last one…

  • Rip the top panel to width.

Yeah, that’s done. What I missed was that when I cut that top panel down to length, I cut it to the shoulder-to-shoulder length, not the overall length, so it was now too short. The single biggest part in the entire piece and it didn’t fit. It turns out that in the shed, they can hear you scream.

So, new item:

  • Add spare piece of walnut to top stretcher on drawer end, matching grain, to fill the gap left by the top panel being too short.

And that’s now done as well.

  • Add the rebate and bevel to the top panel.

Done, and I’ve had to make small cut-outs at the corners to allow for the vertical posts as well.

  • Cut grooves for top panel in long stretchers.

Not doing that yet; I’ll do it after the mortices for the slats are cut because the groove will weaken the back top stretcher somewhat so I’d rather cut the groove after the bit that involves me belting the thing with a hammer is done.

  • Cut mortice for back support.
  • Cut back support to length and cut tenon on bottom end.

Not done yet…

  • Figure out joint at the top of the back support for the top crossrail.
  • Figure out joints at the tops of the two steambent uprights.

Both of these are done; the steambent uprights will end in tenons with the mortices in the crossrail, which will help with that small deviation in one of them. The joint at the top of the back support will be a dovetail (I have a David Barron dovetail guide in the post to help with that because freehand I suck at these).

And now another new item, after I gave up on using the existing crossrail (it would have been too short):

  • Rip new crossrail from last long walnut board in my stash, and plane to S4S and twist-free.

That was relatively painless but my ripping with the ryoba was not very good. Still, was able to clean it up with the plane with the aid of a benchtop four-year-old.

That’s all that’s been done so far. I lost two days to making a new shooting board and fixing the T5’s blade; the end results from the test pieces have been much, much better than the last one. And I’ve been too tired to hit the shed a few nights in a row; I’m about ready for a holiday after that xmas break…

To-Do List (now in new order):

  • Fit top crossrail to back support and steambent uprights.
  • Cut mortice for back support.
  • Cut back support to length and cut tenon on bottom end.
  • Cut back slats to length and cut tenons.
  • Measure off side slats (because they’re going into a curve, this is going to be fiddly) and cut tenons.
  • Cut mortices for slats.
  • Cut grooves for top panel in long stretchers.
  • Joint drawer runners into the bottom end crosspieces.
  • Thickness the boards for the drawer.
  • Cut the drawer front to size.
  • Cut the drawer back and sides to size.
  • Cut dovetails for drawer.
  • Groove drawer with #43 for plywood base.
  • Assemble drawer.
  • Drill for drawboring on the M&T joints that I’ll be drawboring (the long rail to upright ones and probably the back support and top crossbar joints).
  • Make drawbore pegs.
  • Finish plane all parts.
  • Finish walnut pieces with a few coats of shellac.
  • Paint drawer with milk paint.
  • Assemble and glue-up and drawboring of everything.
  • Finish entire assembly with several coats of Osmo wood wax.
  • Close door of shed, lock it, walk away and never do another project with a deadline ever again.

29
Dec 16

Testing…

Finished the last of the crossbars today, checked the fit and fettled a bit, and then thought I’d try test-assembling the base…

That’s the bending jig; it was MDF so I considered it disposable (I must recover the screws from it now that I think about it). And the light was just going, hence the odd lighting. This really is too large to assemble on the bench; I’ll have to assemble it on this. It’s worse for wear thanks to moisture, but pffft. It’s MDF. It’s for the bin anyways.

Mental note, next time do this in daylight; can you see the deliberate error? 😀 I put the top bar at the end closest to the camera in upside down by mistake and got almost an inch of misalignment at the top, which gave me a moment’s pause until I figured out what I’d done.

When I put the end crossbar in the right way up, it’s nice and flush. Next job will be to cut the grooves for the top panel (and then cut the top panel to size, it’s quite a bit wider than the base because I didn’t rip the boards down; why bother until I had the final width determined?).

That nearest steambent upright is actually perfect, annoyingly. The end (the one floating in mid-air there) is at a perfect 90 degrees to the vertical. It’s making the other one look bad.

So, what’s left?

  • Rip the top panel to width.
  • Add the rebate and bevel to the top panel.
  • Cut grooves for top panel in long stretchers.
  • Cut mortice for back support.
  • Cut back support to length and cut tenon on bottom end.
  • Figure out joint at the top of the back support for the top crossrail.
  • Figure out joints at the tops of the two steambent uprights.
  • Fit top crossrail to back support and steambent uprights.
  • Cut back slats to length and cut tenons.
  • Measure off side slats (because they’re going into a curve, this is going to be fiddly) and cut tenons.
  • Cut mortices for slats.
  • Joint drawer runners into the bottom end crosspieces.
  • Thickness the boards for the drawer.
  • Cut the drawer front to size.
  • Cut the drawer back and sides to size.
  • Cut dovetails for drawer.
  • Groove drawer with #43 for plywood base.
  • Assemble drawer.
  • Drill for drawboring on the M&T joints that I’ll be drawboring (the long rail to upright ones and probably the back support and top crossbar joints).
  • Make drawbore pegs.
  • Finish plane all parts.
  • Finish walnut pieces with a few coats of shellac.
  • Paint drawer with milk paint.
  • Assemble and glue-up and drawboring of everything.
  • Finish entire assembly with several coats of Osmo wood wax.
  • Close door of shed, lock it, walk away and never do another project with a deadline ever again.