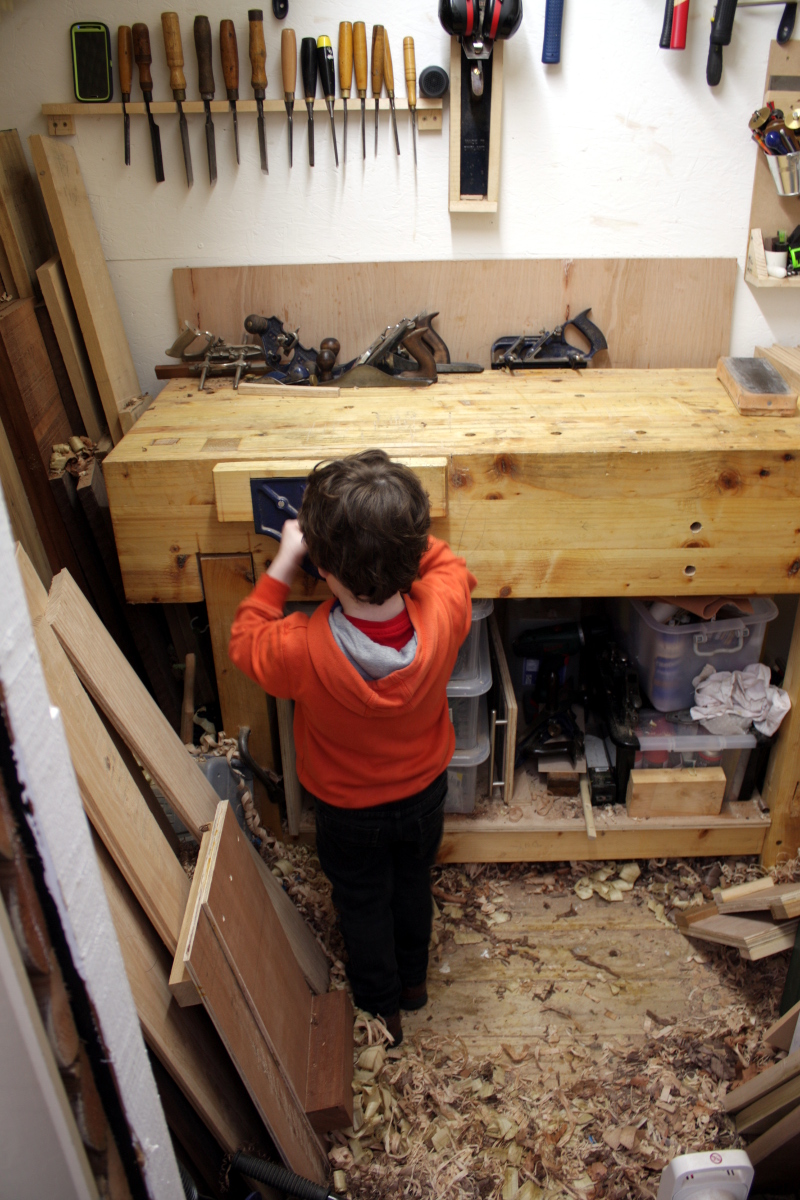
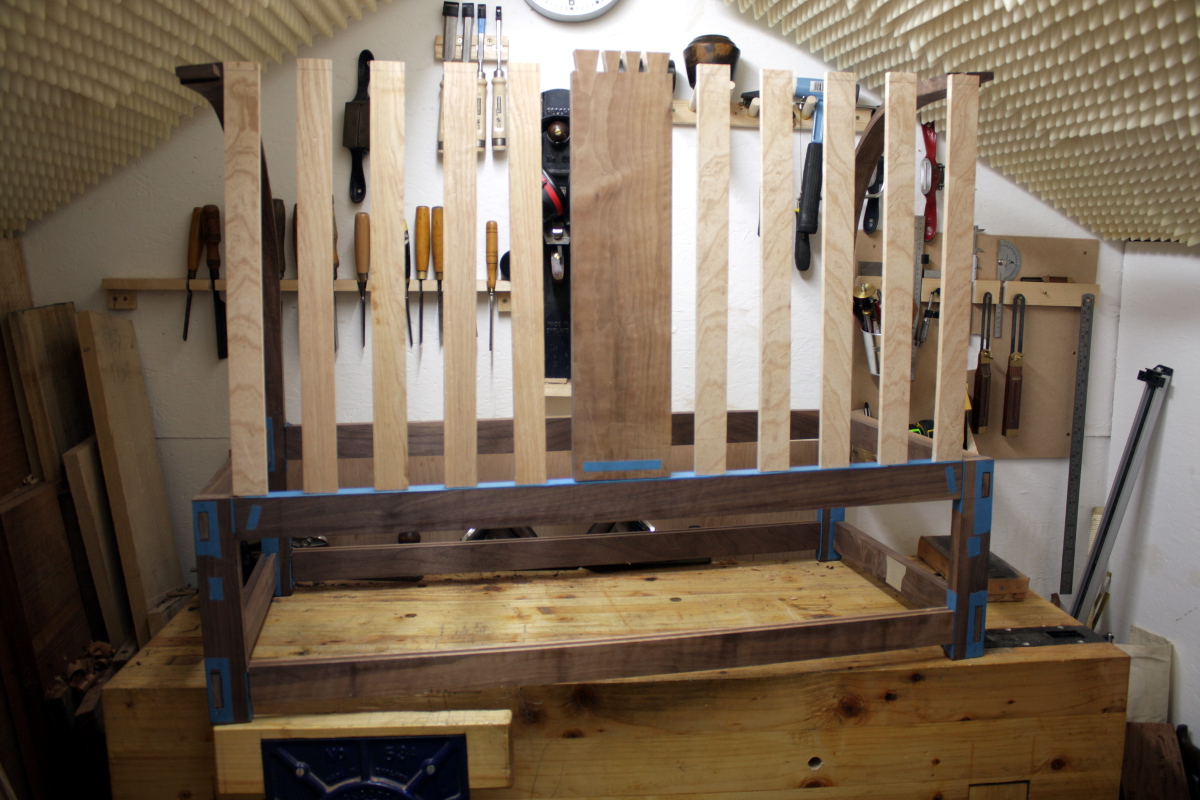
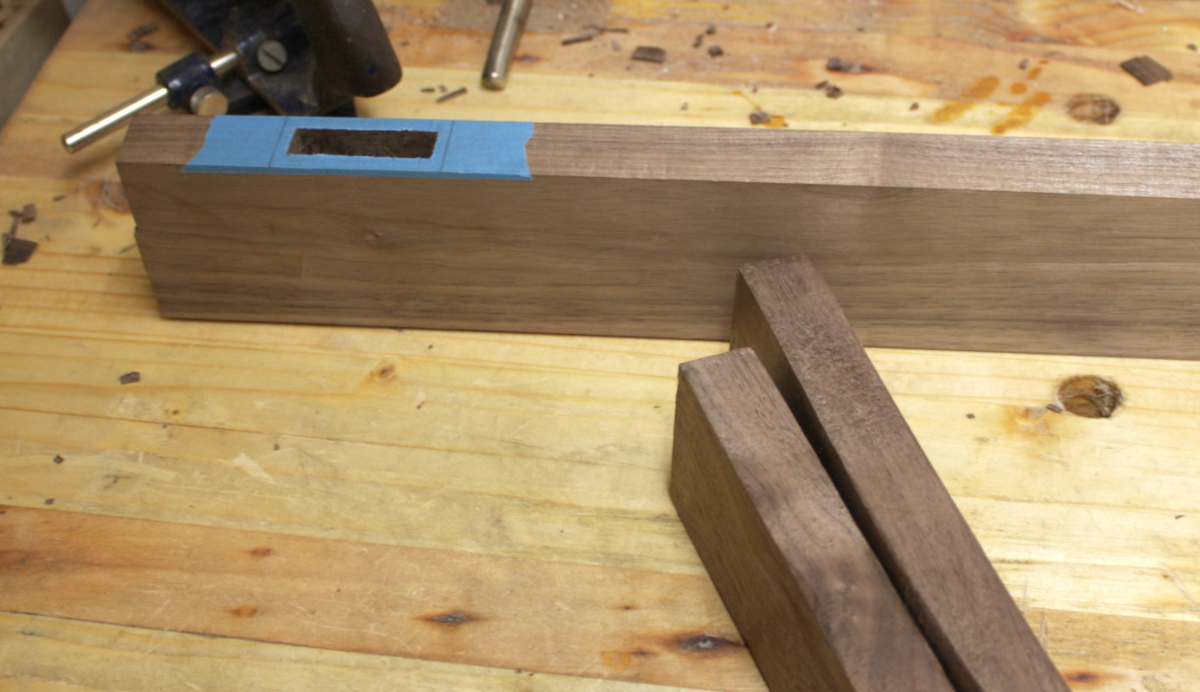
Late night in the shed tonight. Over the last few days, I’ve cut the groove for the top panel, gotten the side slats all roughed out and half of them have had the tenons cut and the curved upright has had the mortices cut in it. Then I discovered I’d matched the wrong side’s slats to the curved upright. I don’t think it’s fatal, but I’ll have to reassemble things for the tweaking needed. This was annoying, so I decided to switch tasks a bit for the rest of this evening, and I finish planed the frame and panel for the back panel and drilled the joints for drawbore pins (I have the drawbore pins riven but not yet shaped; seemed rude to be driving pins through a plate after 2300h). And then I put some shellac on the walnut frame bits (the panel only gets osmo, so that happens when the entire thing gets osmo). I also rounded over the corners with the spokeshave.
So by the end of this weekend, I’ll have at least one part of this thing assembled and partially finished.
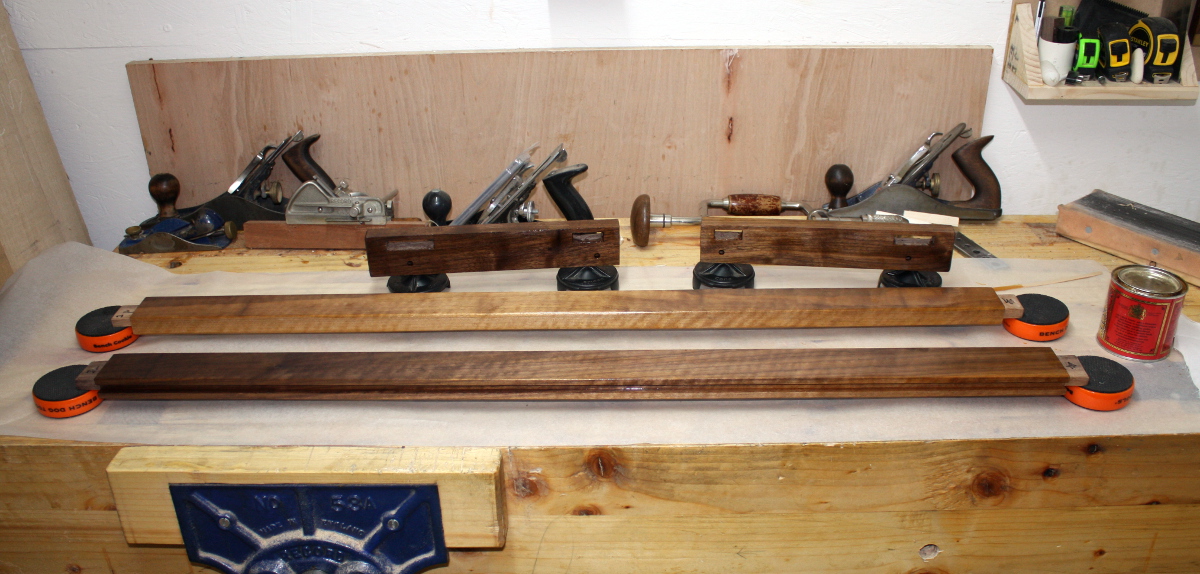
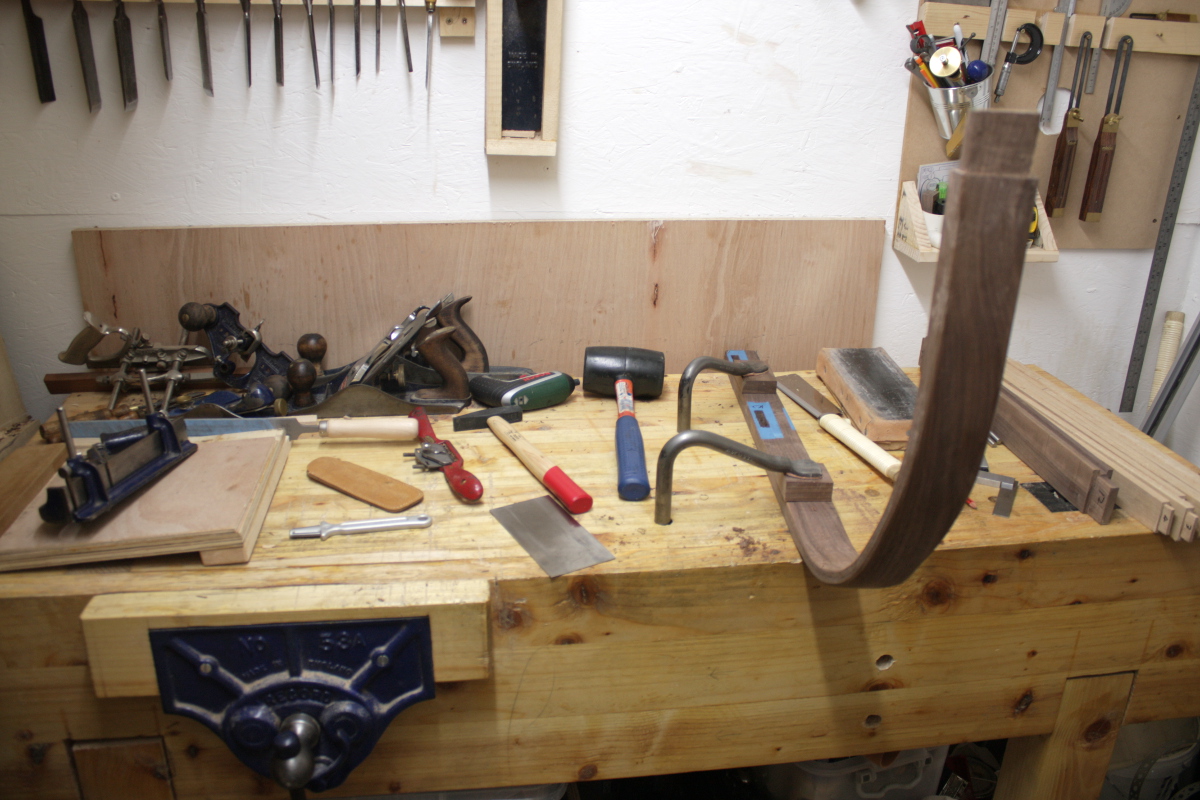
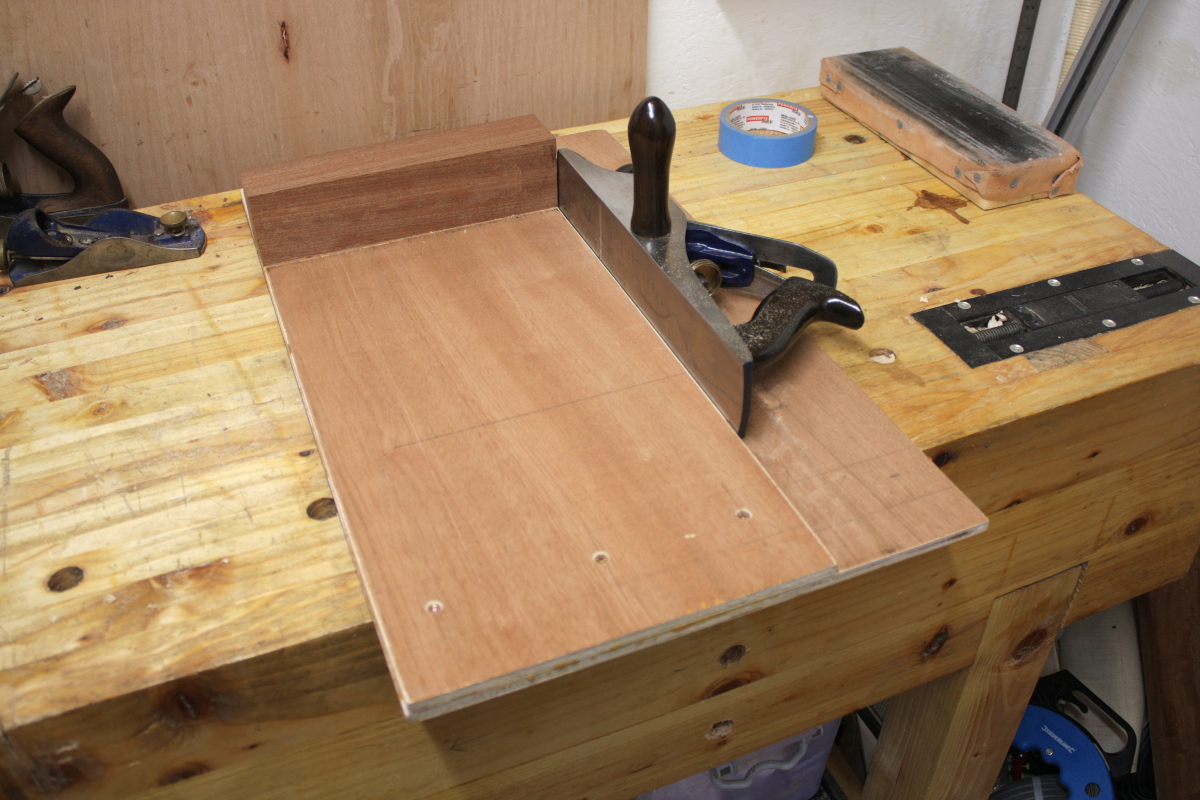
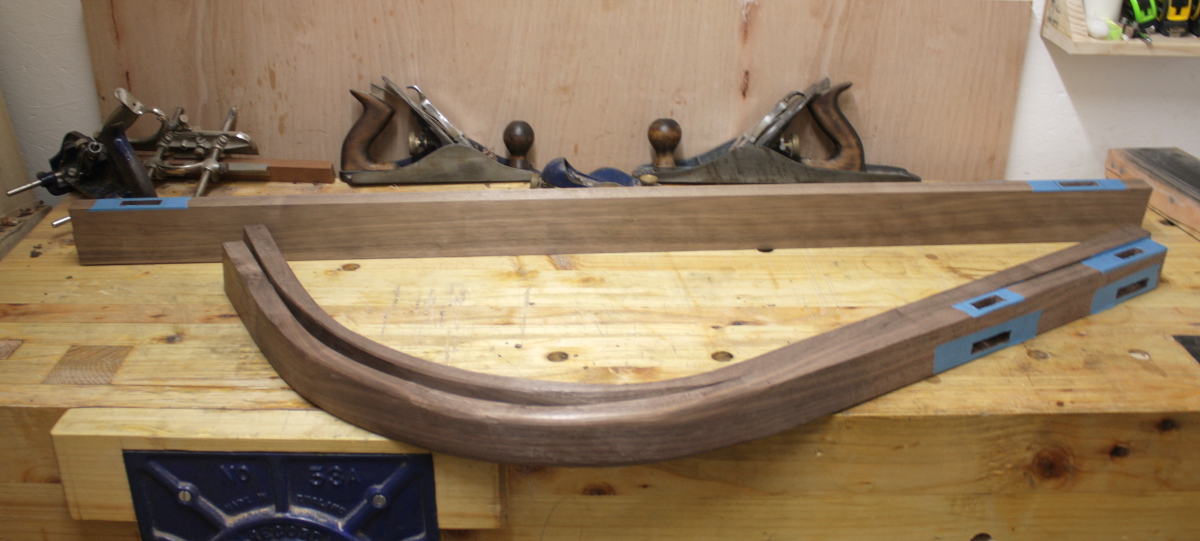
Before first shellac coat:
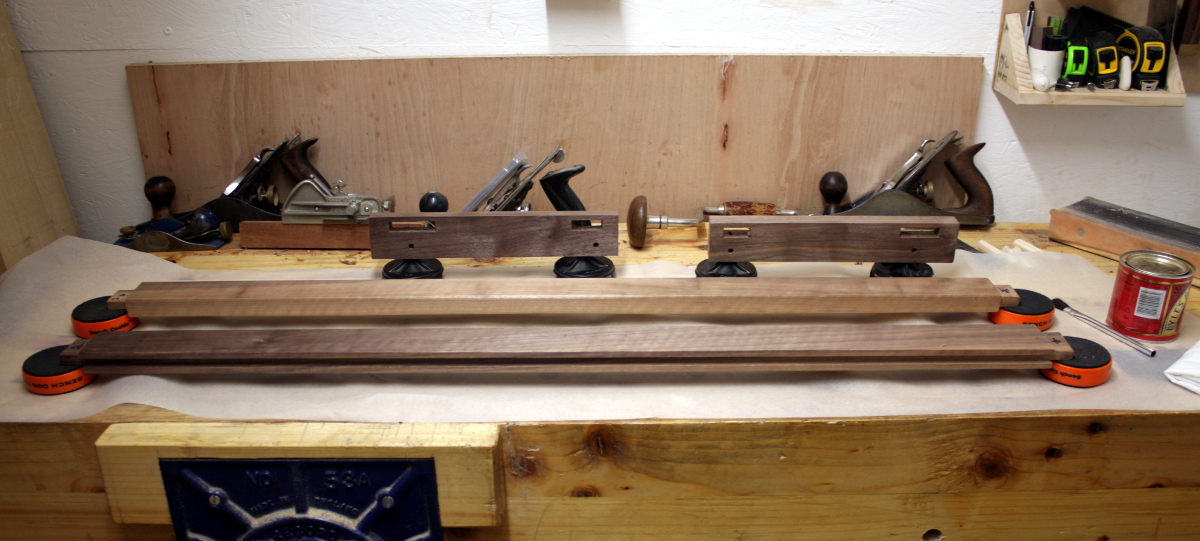
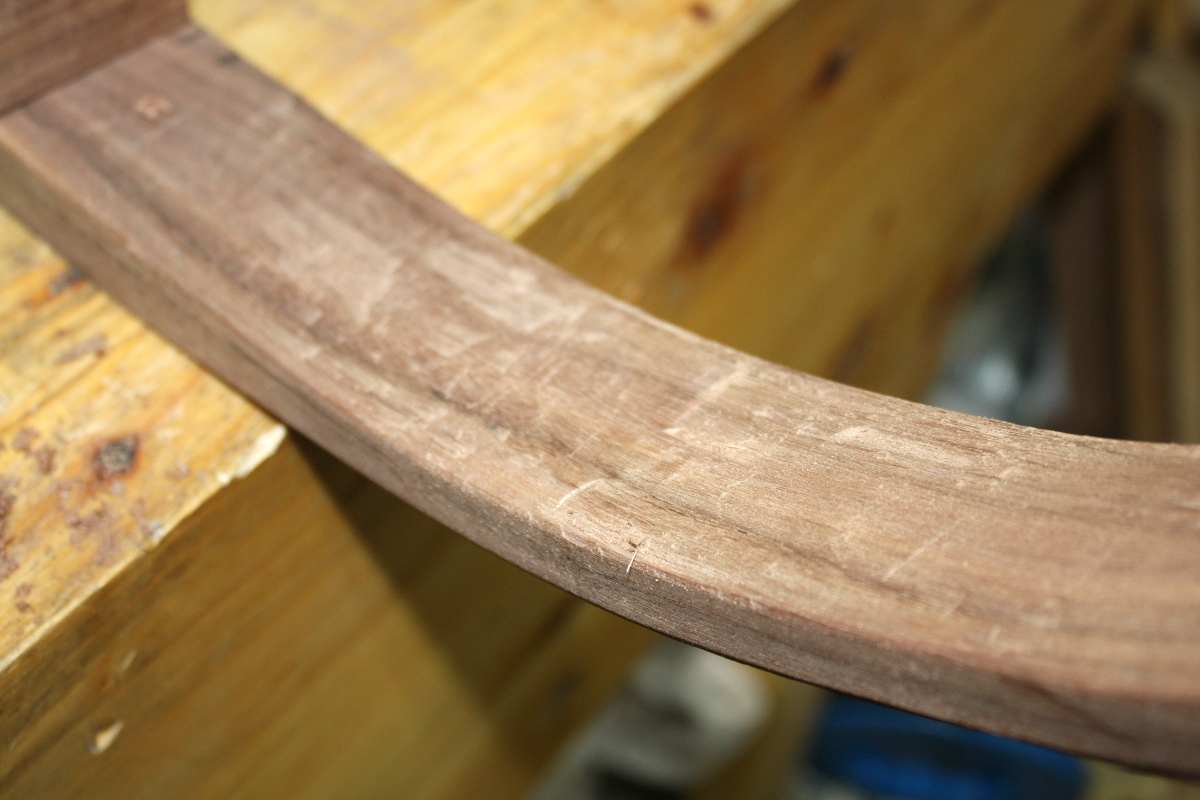
After:
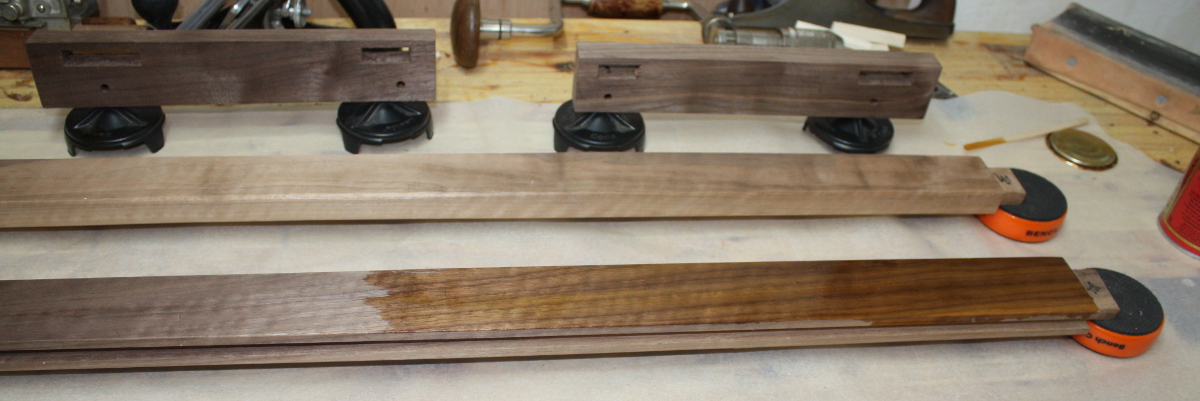
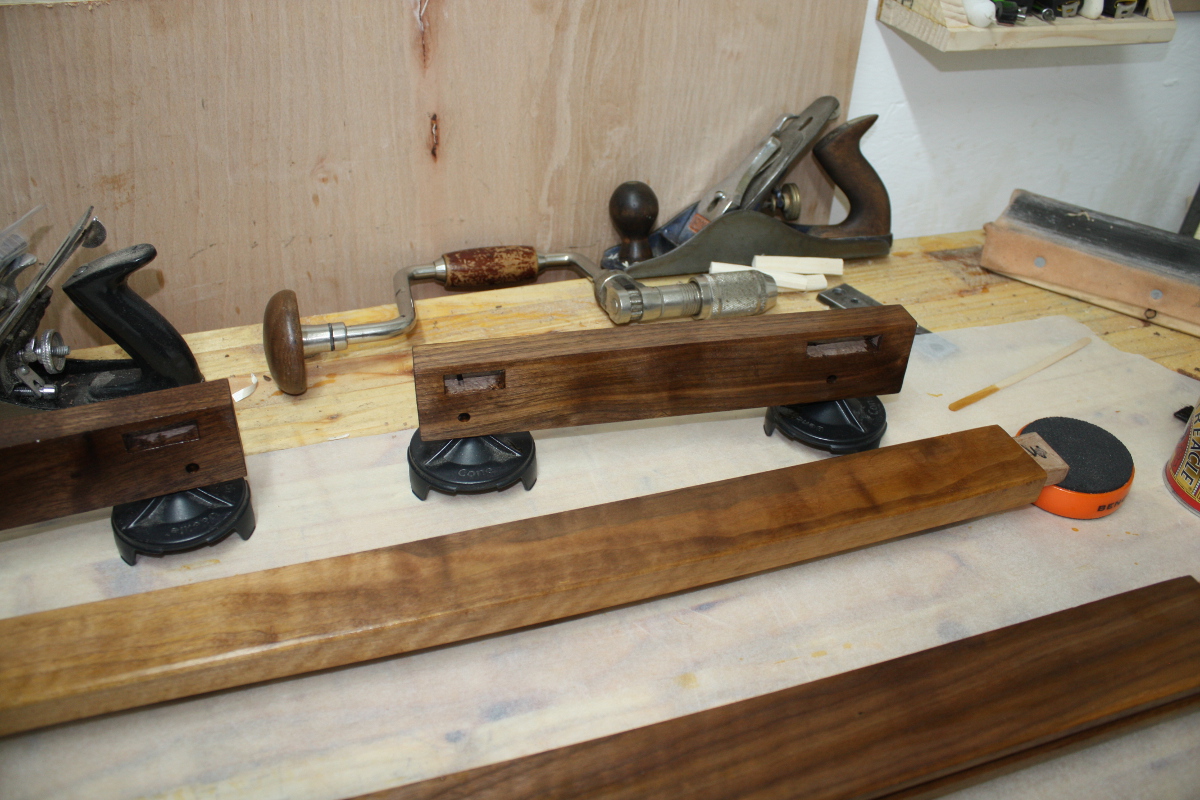
And the magic happening:
It doesn’t look terrible. It’ll look better after a few more coats of shellac though.
To-Do List (stuff in progress in blue:
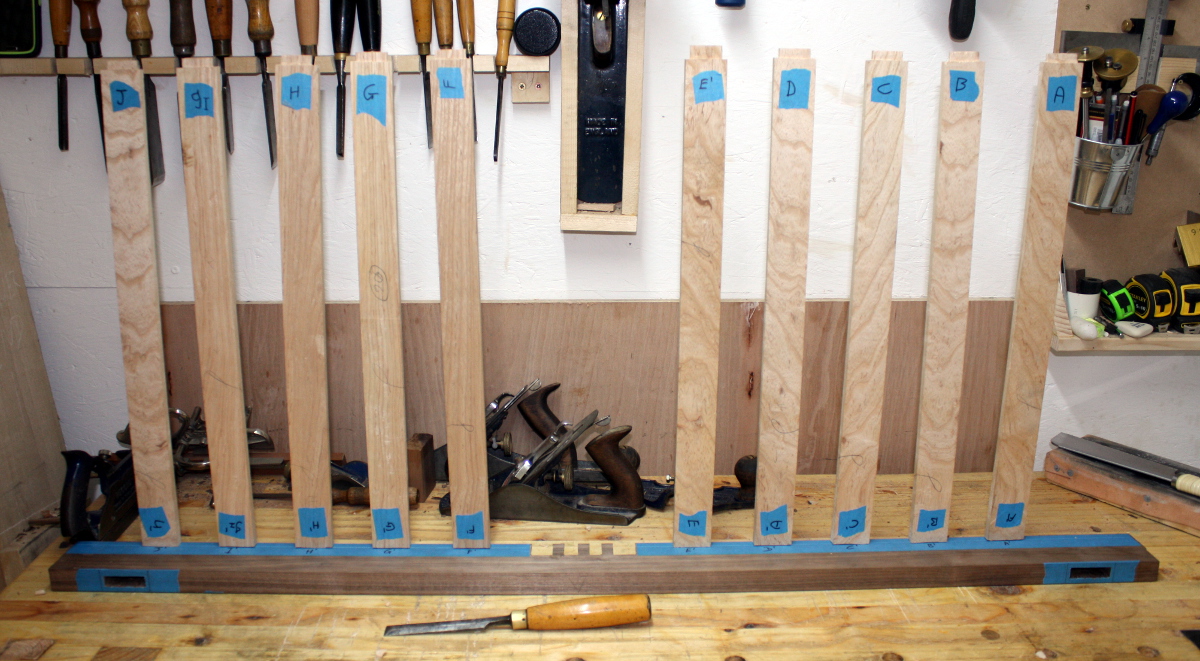
Measure off side slats (because they’re going into a curve, this is going to be fiddly) andcut tenons.Cut grooves for top panel in long stretchers.- Thickness the boards for the drawer.
- Cut the drawer front to size.
- Cut the drawer back and sides to size.
- Cut dovetails for drawer.
- Groove drawer with #43 for plywood base.
- Assemble drawer.
- Drill for drawboring on the M&T joints that I’ll be drawboring (the long rail to upright ones and probably the back support and top crossbar joints).
- Make drawbore pegs.
- Finish plane all parts.
- Finish walnut pieces with a few coats of shellac.
- Paint drawer with milk paint.
- Assemble and glue-up and drawboring of everything.
- Finish entire assembly with several coats of Osmo wood wax.
- Close door of shed, lock it, walk away and never do another project with a deadline ever again.

