26
Feb 17

Drawering to a close…

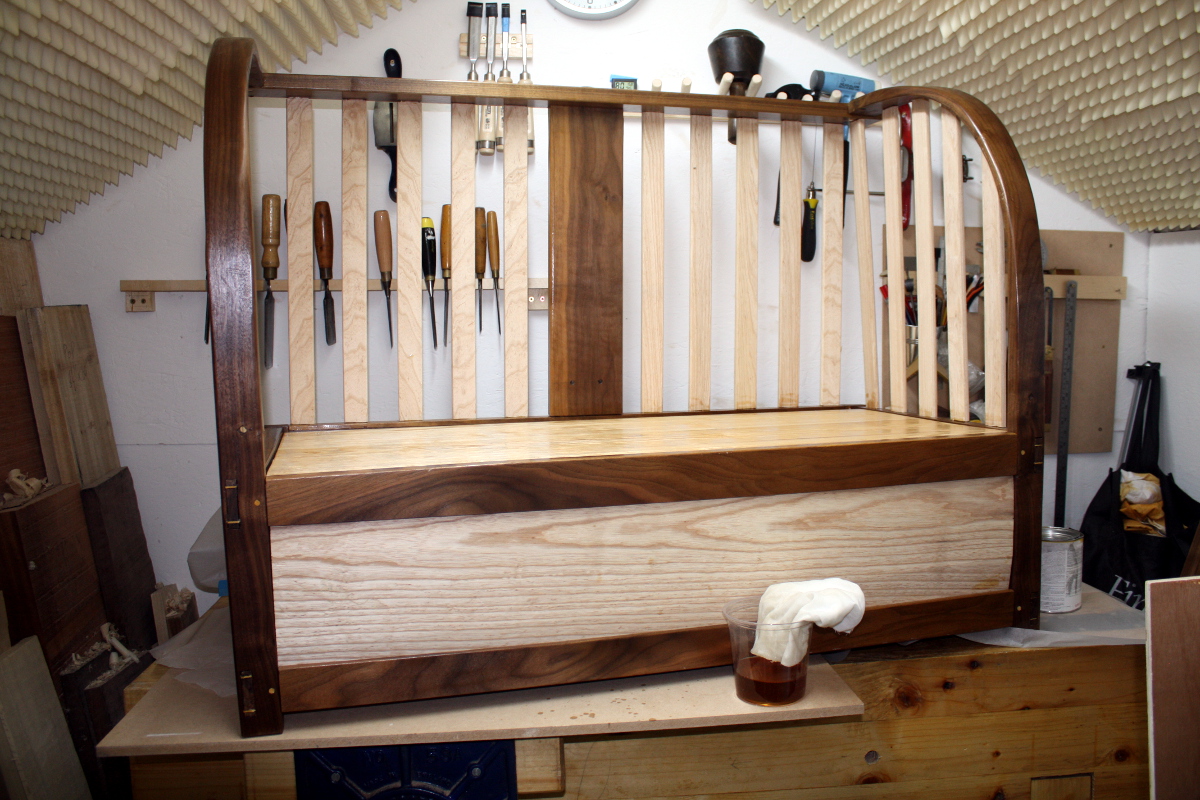
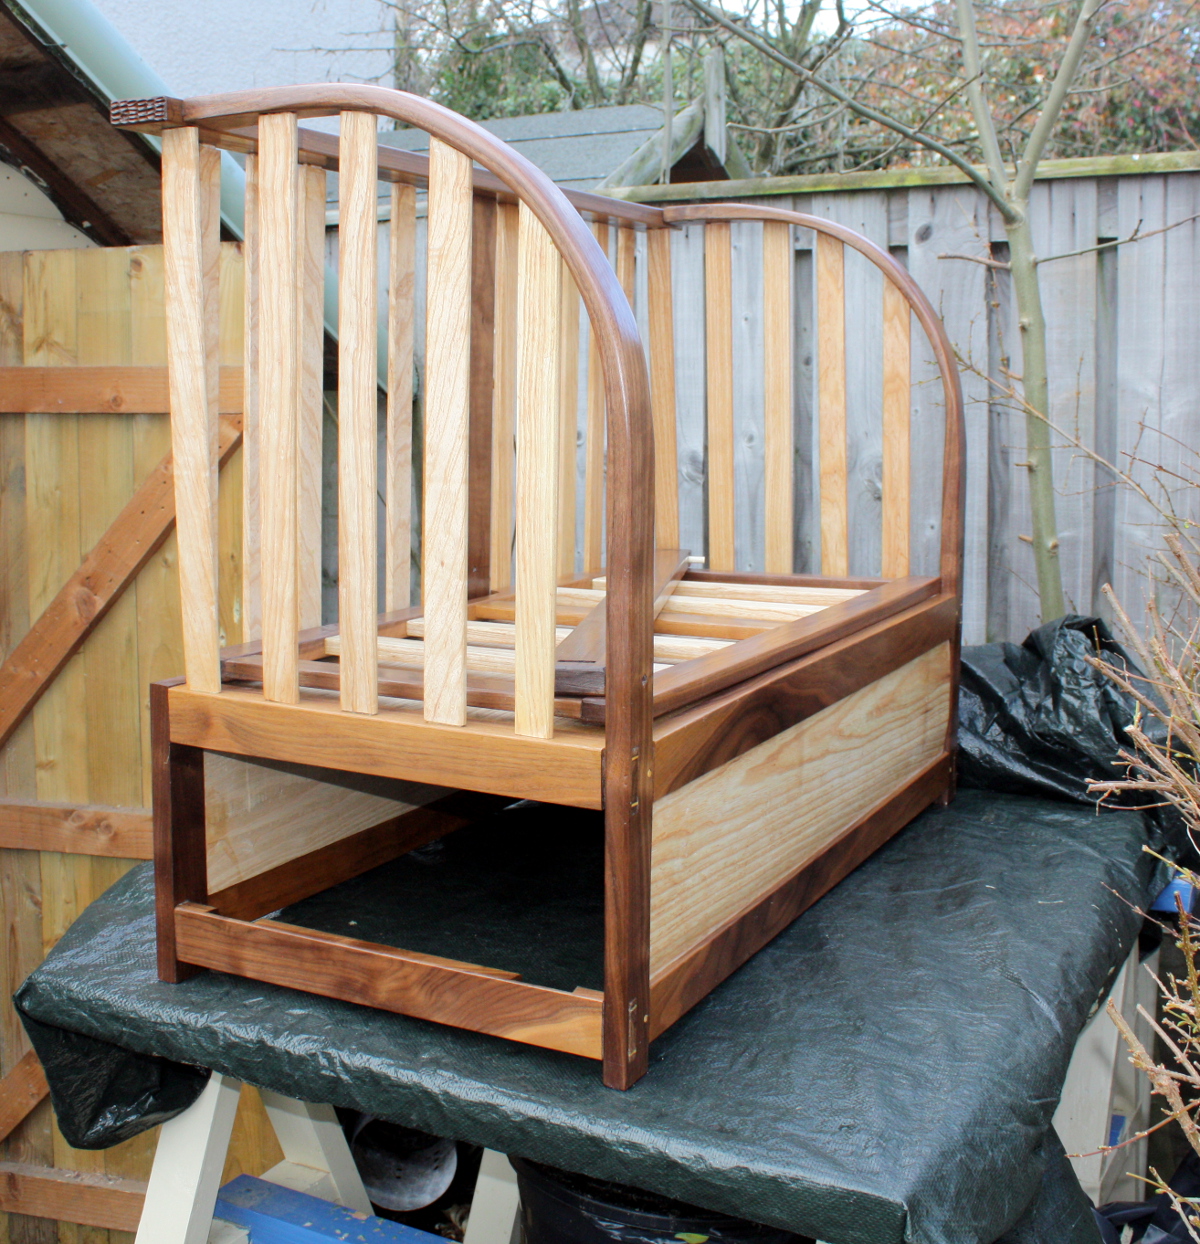
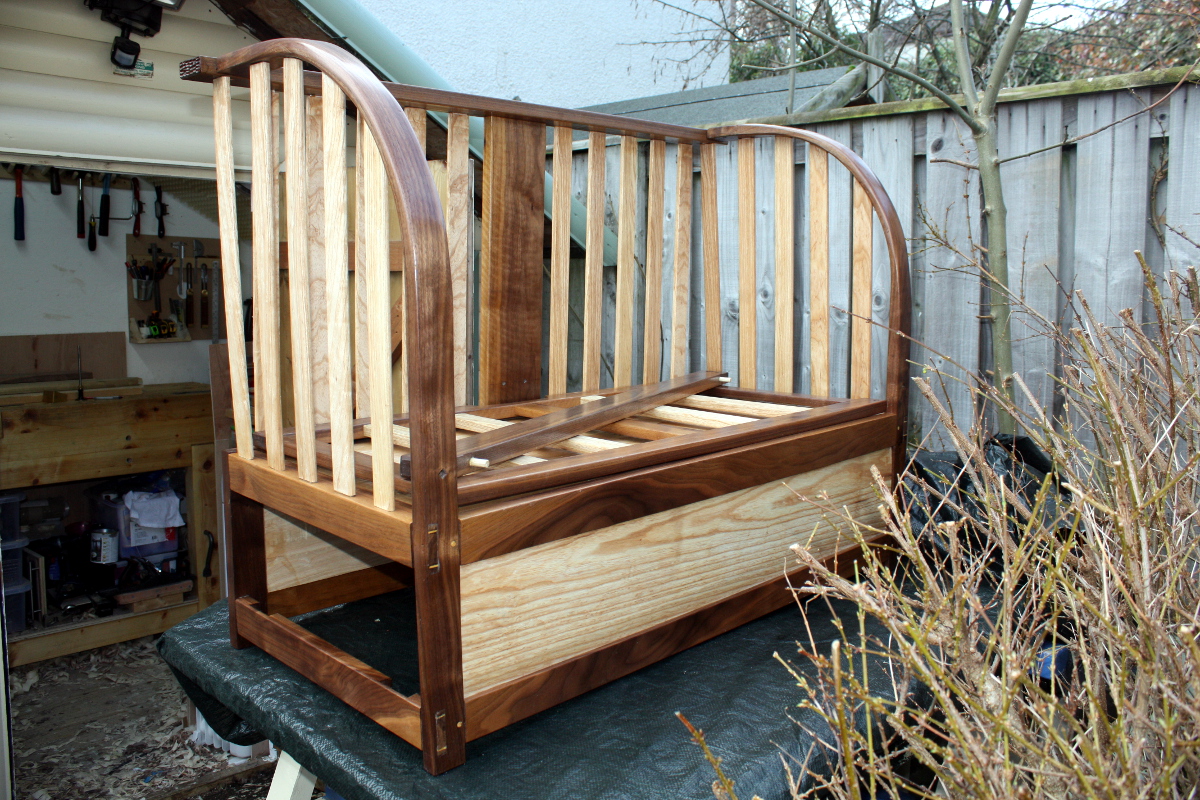
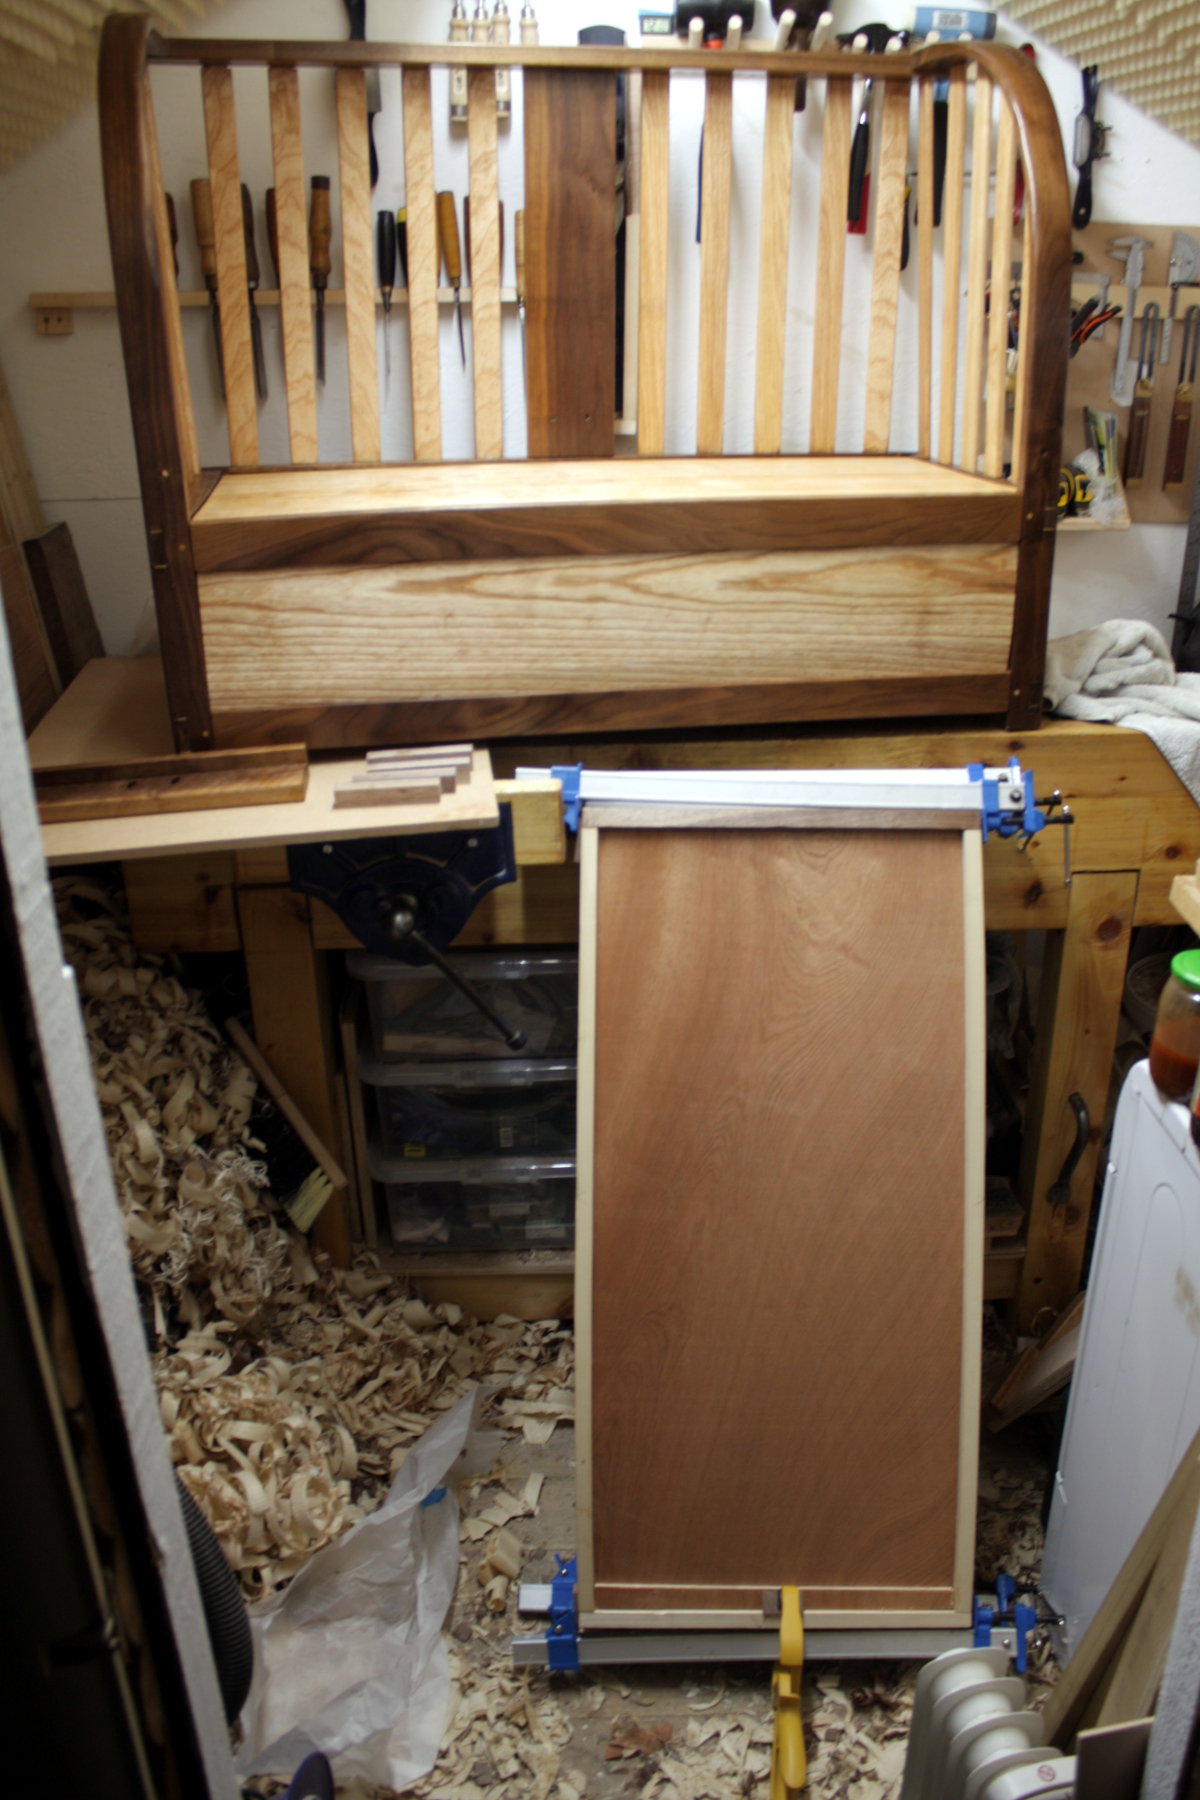
The idea was to get the last bits done today. Didn’t quite make it, but came close.

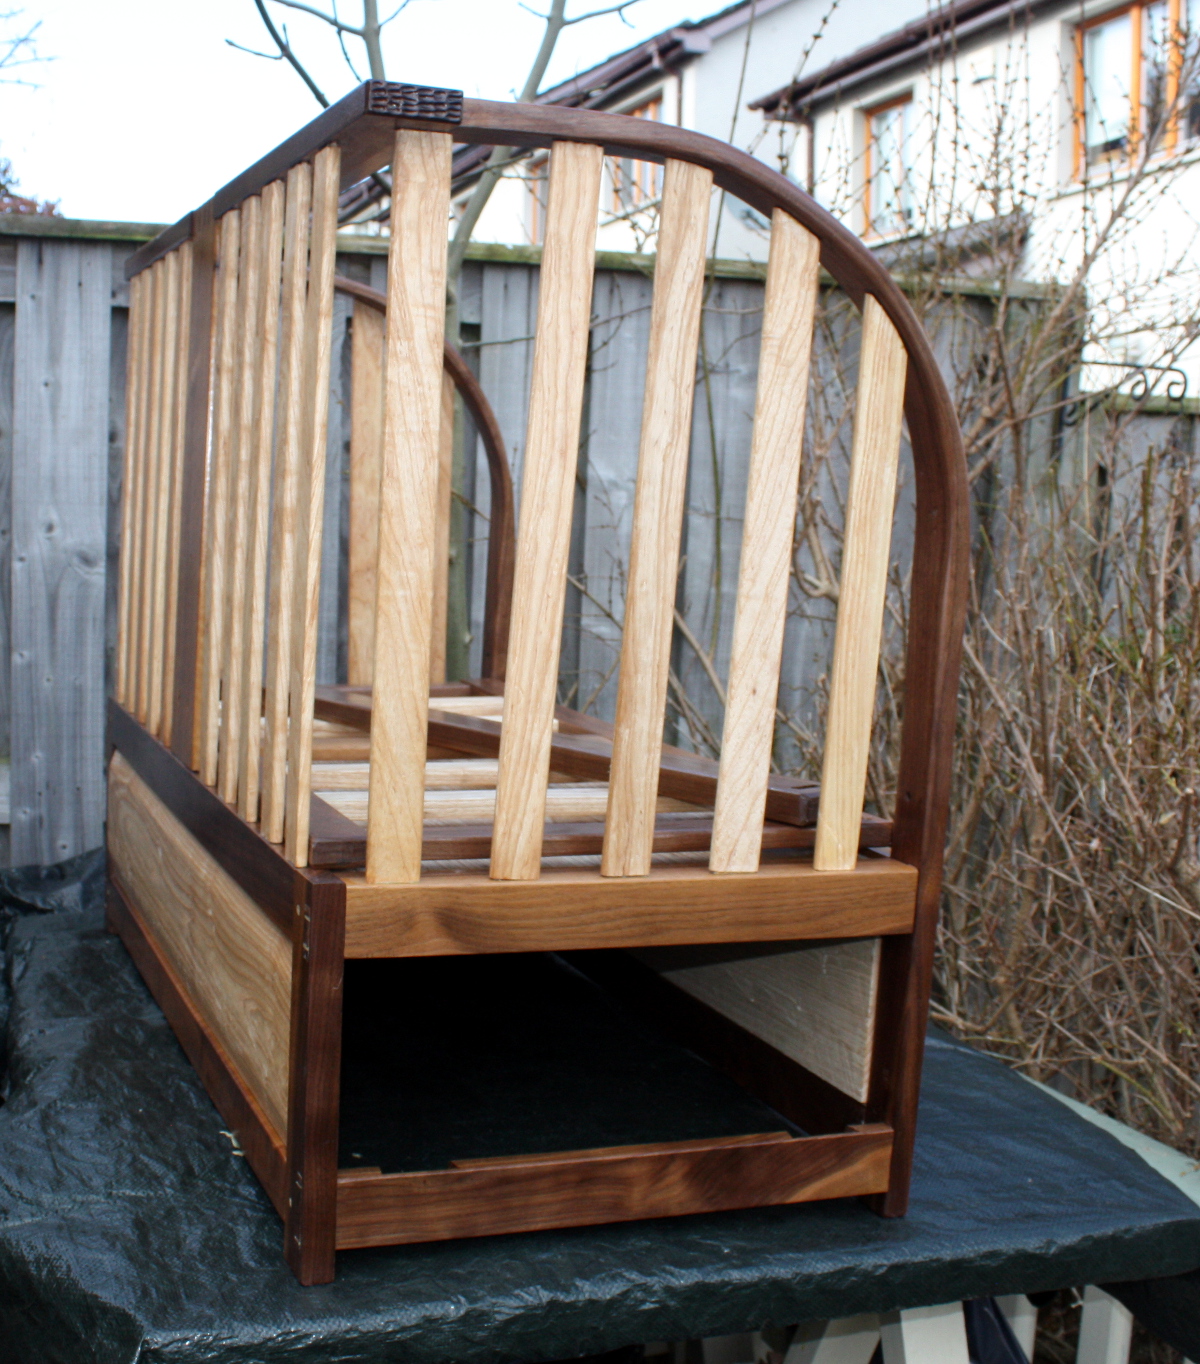
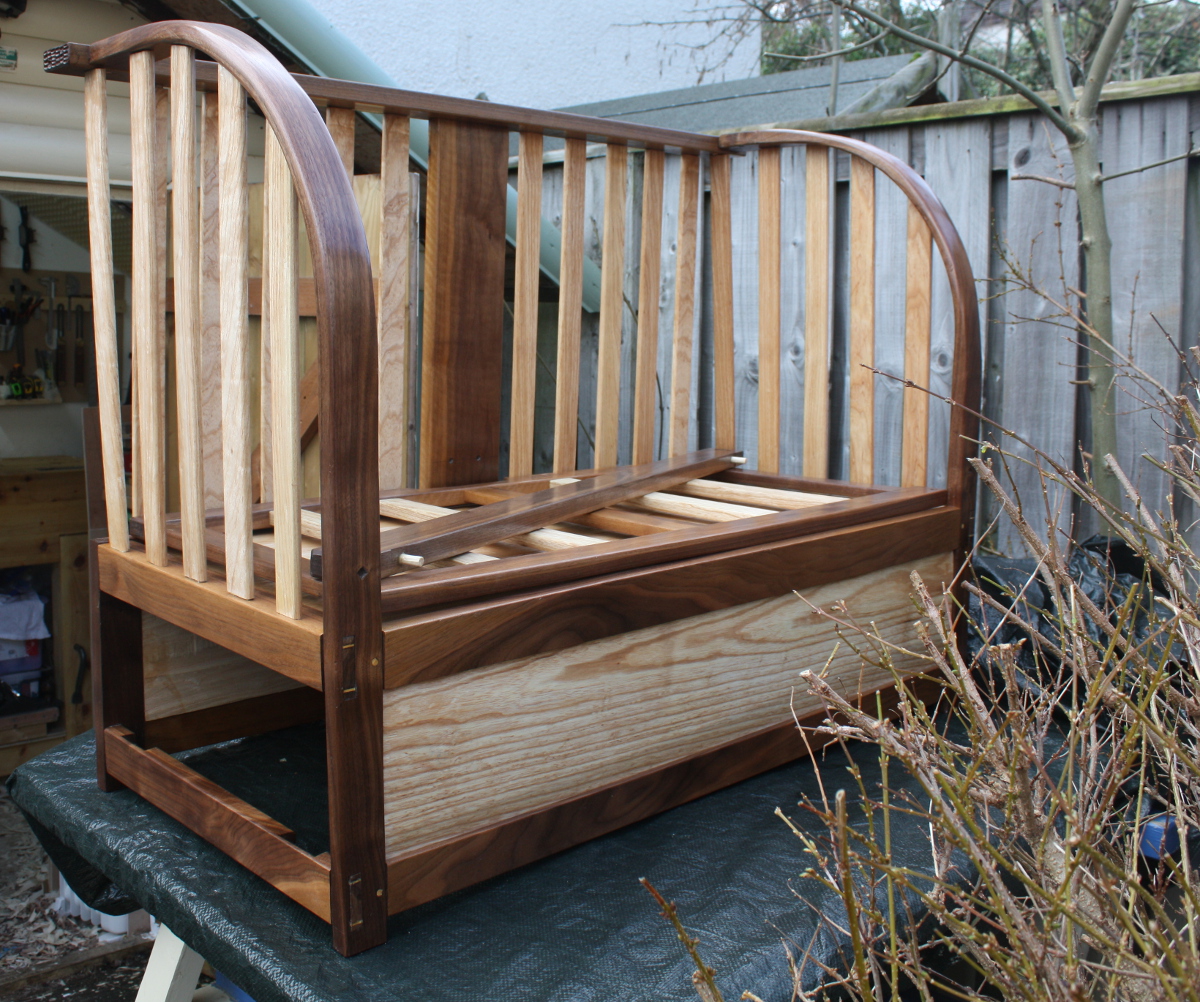
Got the cot out of the shed first so I could do some work. Looks nice in the sunshine…

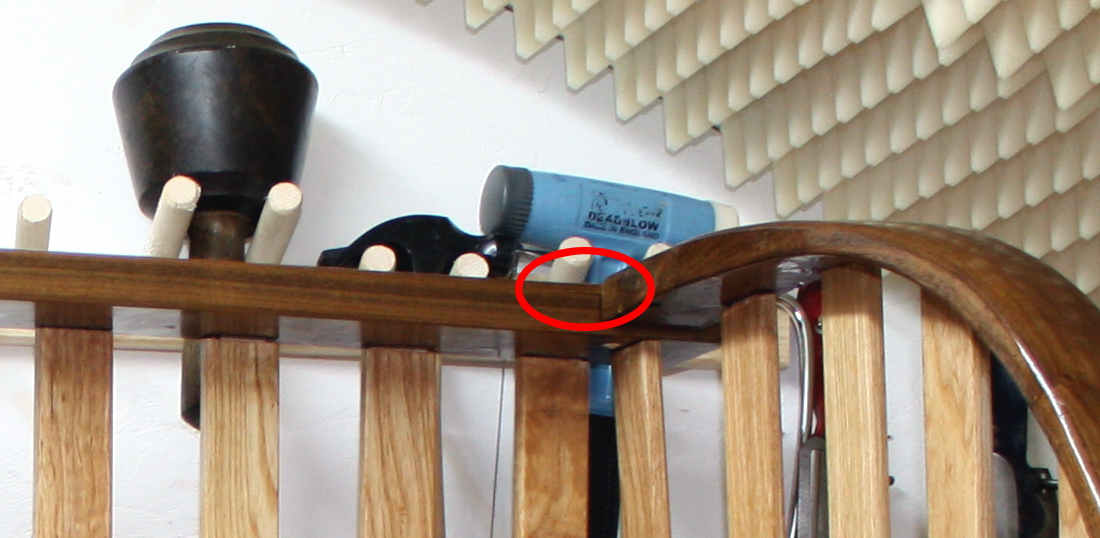
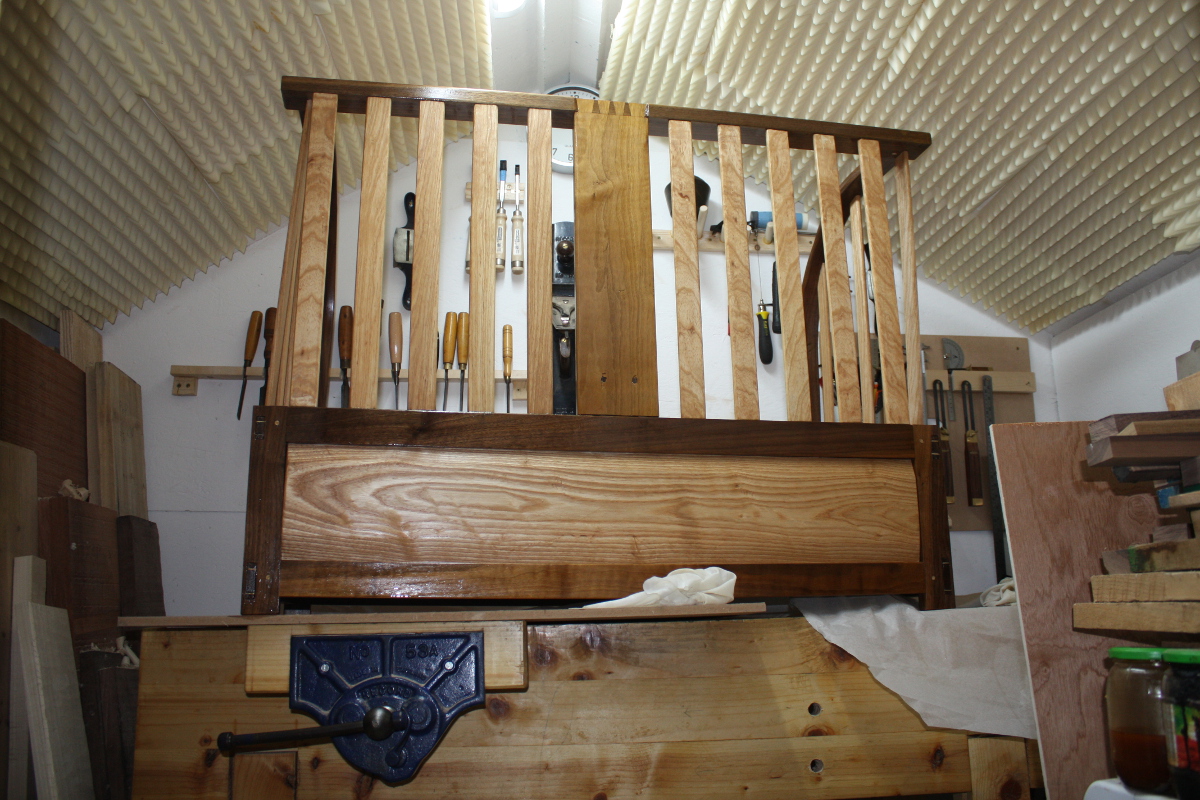
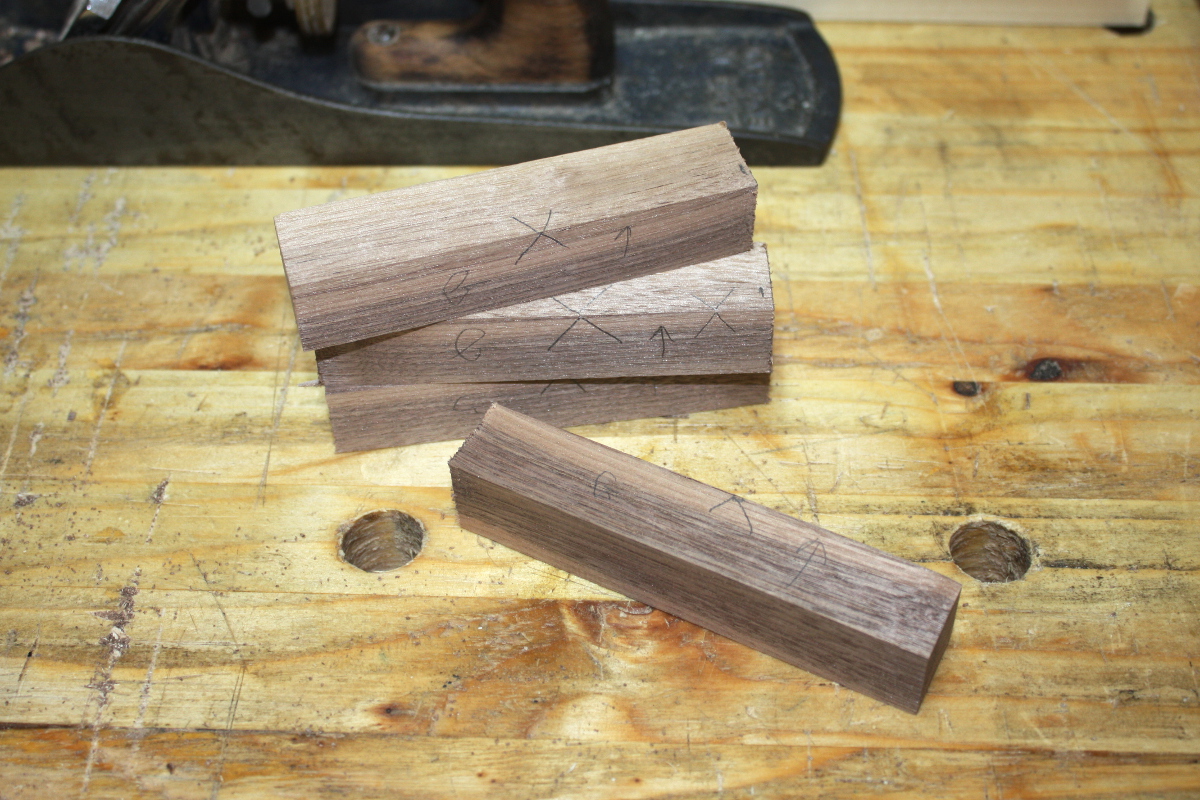
Then made up the glue blocks I was thinking about yesterday to support the top panel.

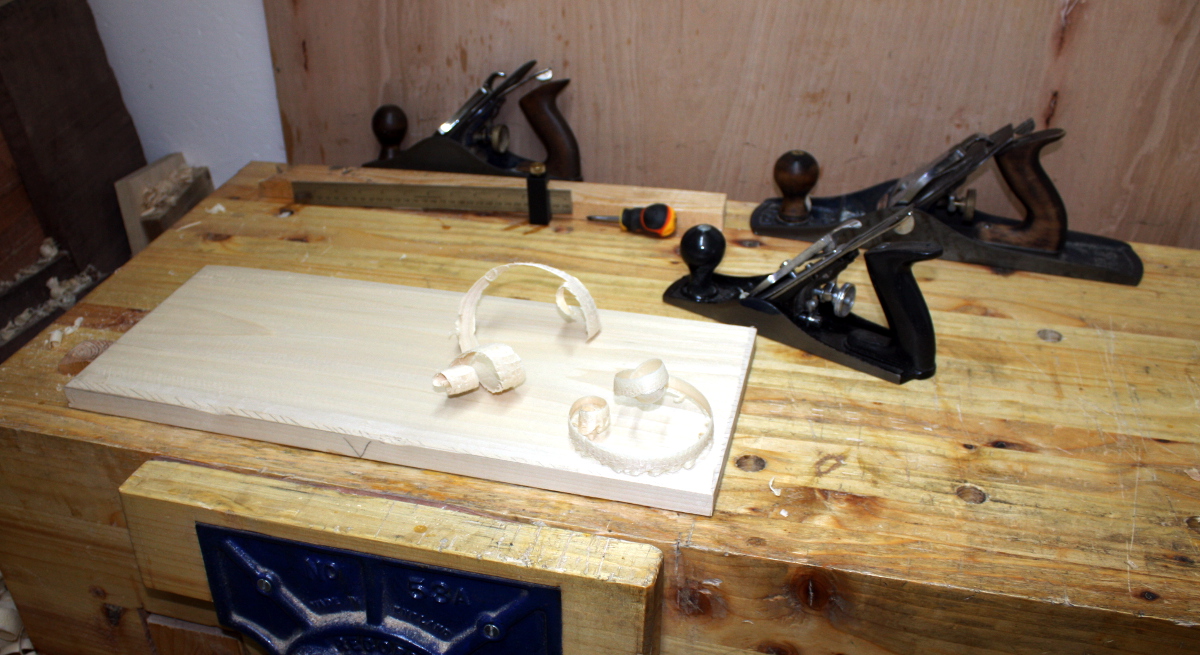
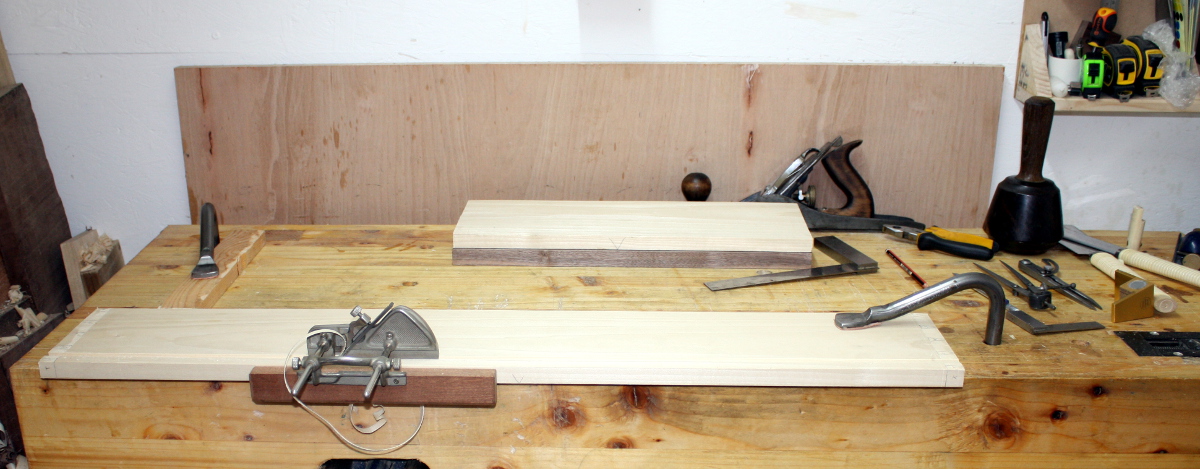
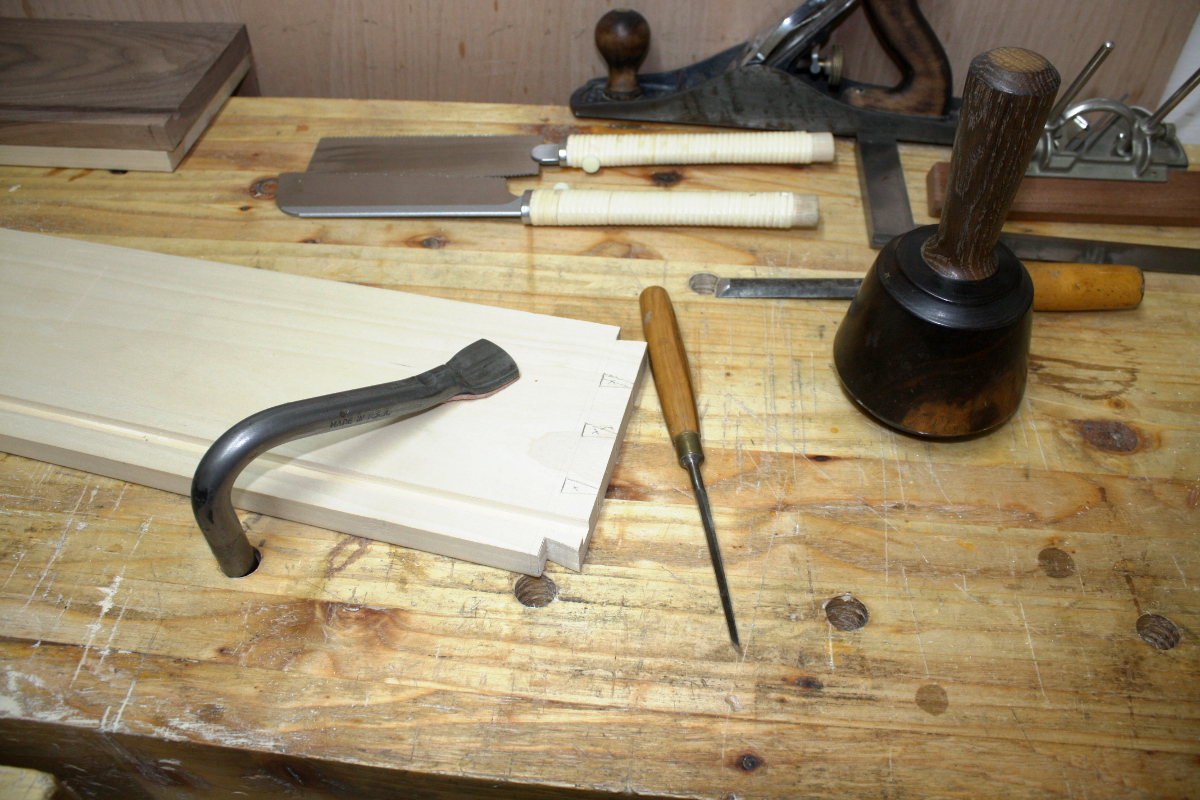
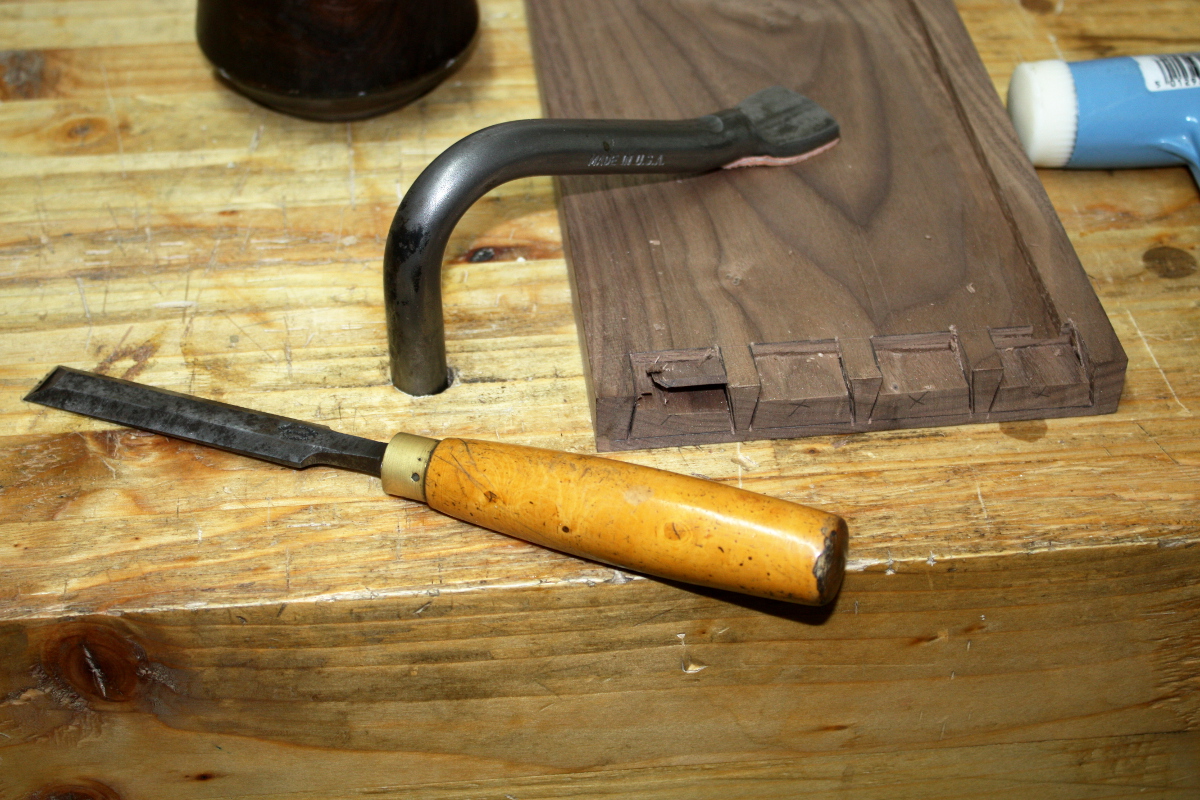
And then gathered all the tools up…

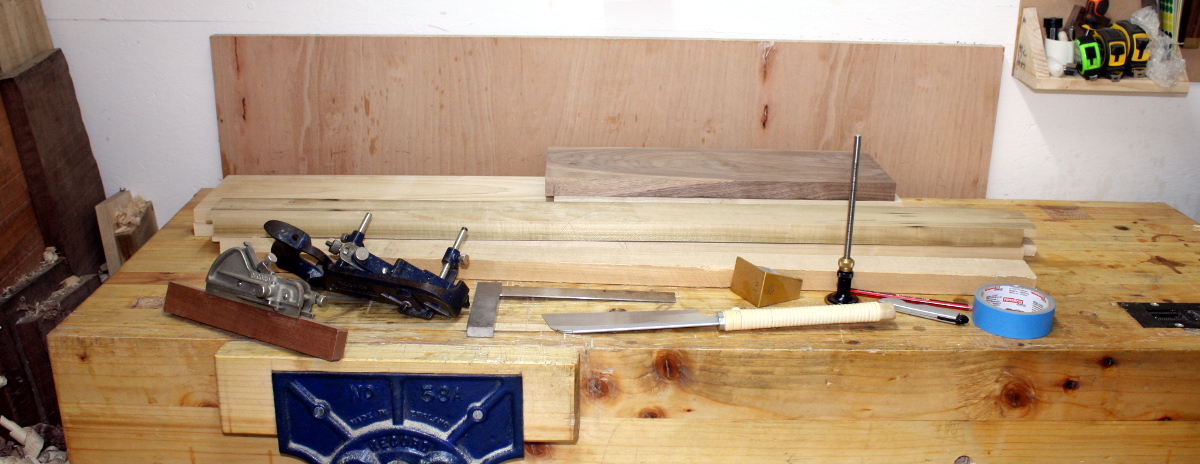
The #778 is there to cut a small alignment rebate on the inside of the tails for the dovetails, in what Rob Cosman refers to as the “140 trick”. I don’t have a Stanley #140 (it’s a rather expensive skew-blade block plane) and the #778 is a little finicky for this, but it works if you’re careful. The idea is that you cut a tiny little ledge in the tailboard and after the tails are cut you sit the pinboard up against the tails and on that ledge to align it and let you mark the pins more easily (and it works quite well).

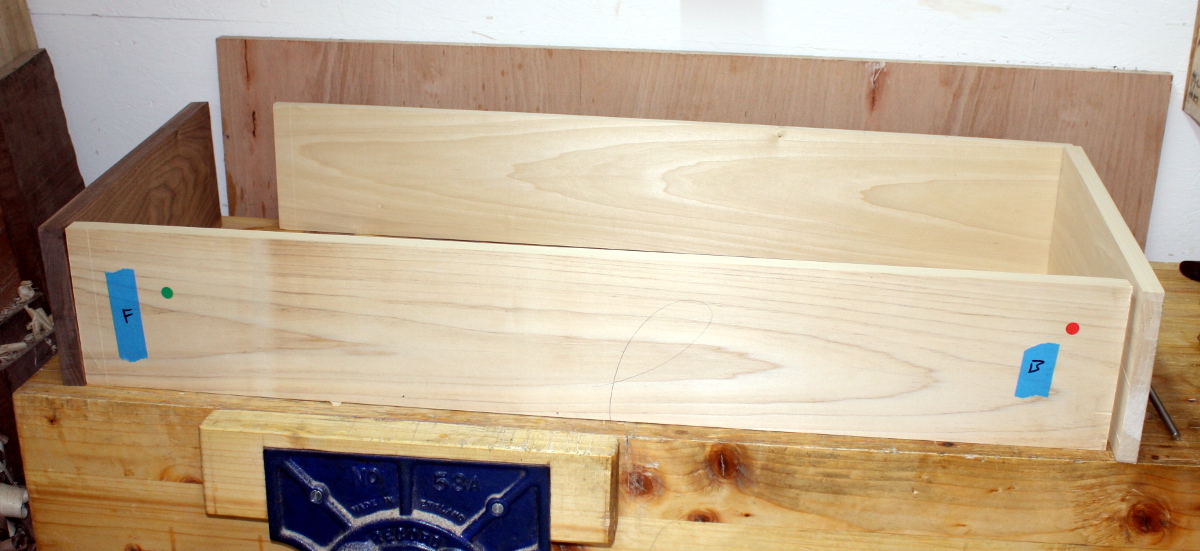
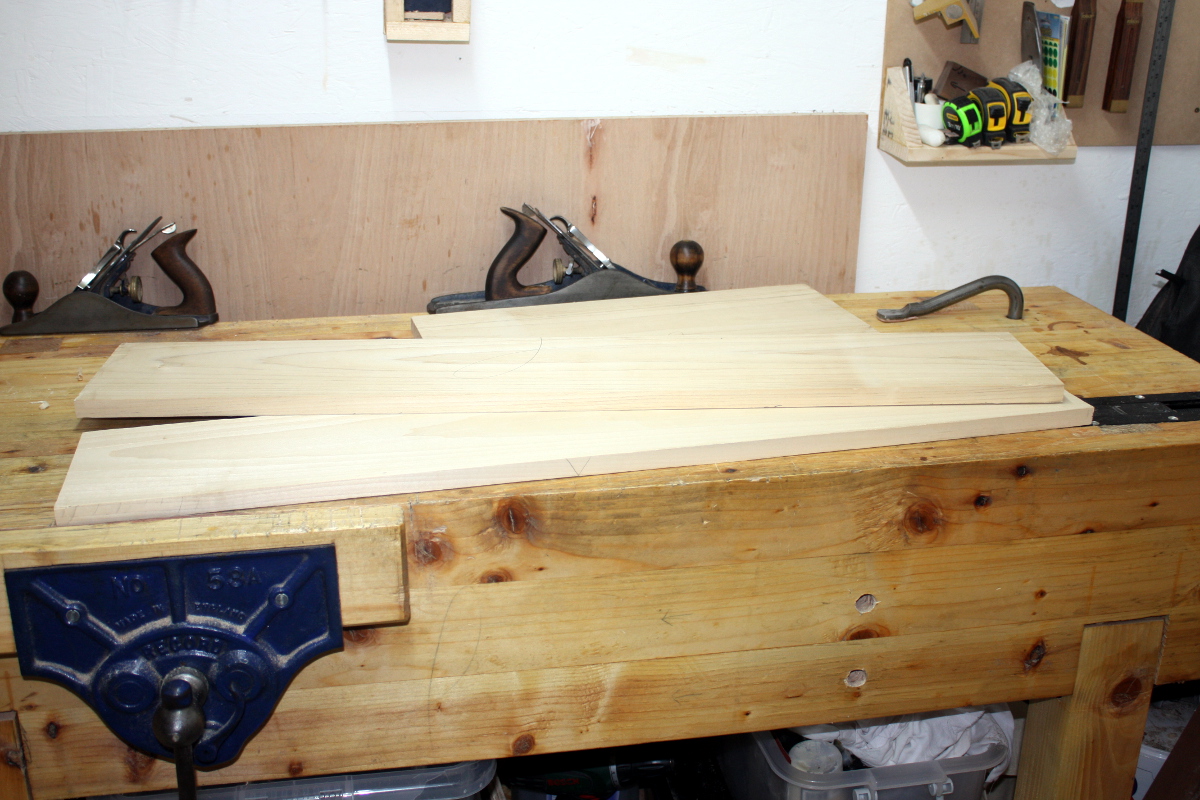
That’s the four boards laid out to check for any obvious weird whoopsies. The coloured dots are a David Barron trick to keep track of the pin and tail boards for each corners so I don’t accidentally cut the tails for one corner and mark off for the pins of a different corner and bugger everything up.

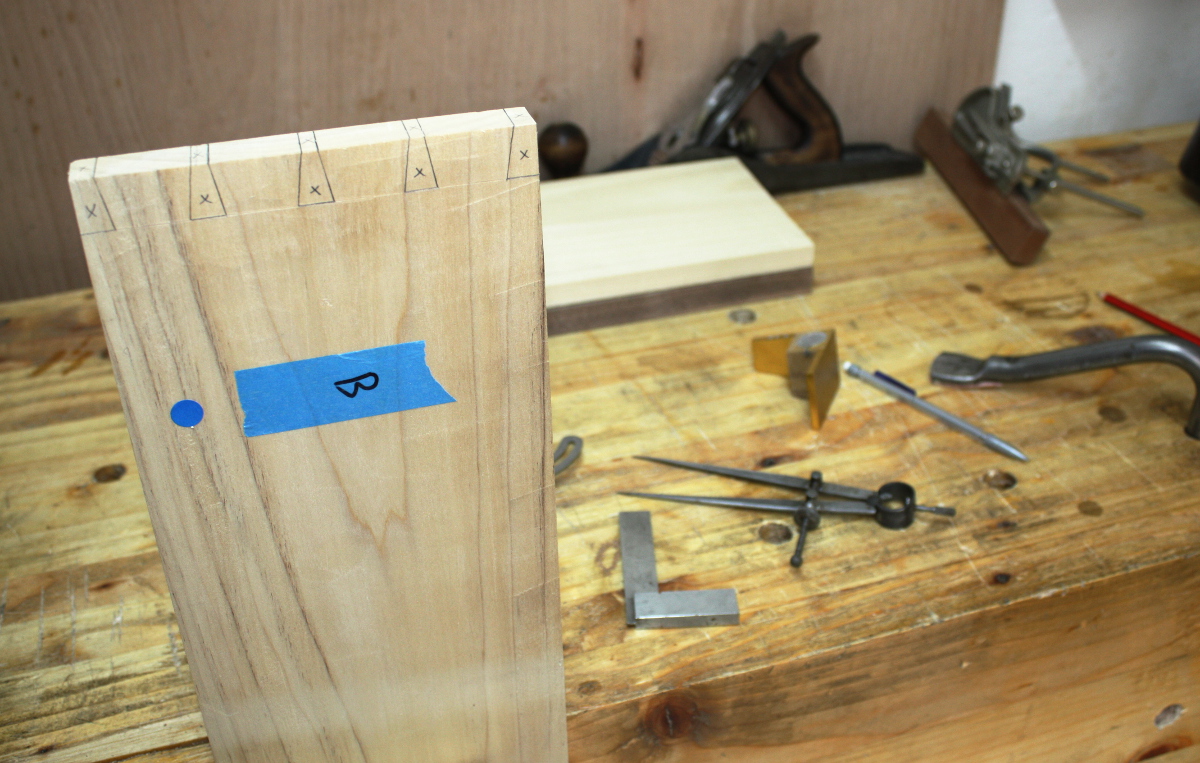
Laid out using dividers (I use one dividers for the shoulder pins and then the other dividers to lay out the tails) and the David Barron dovetail guide.

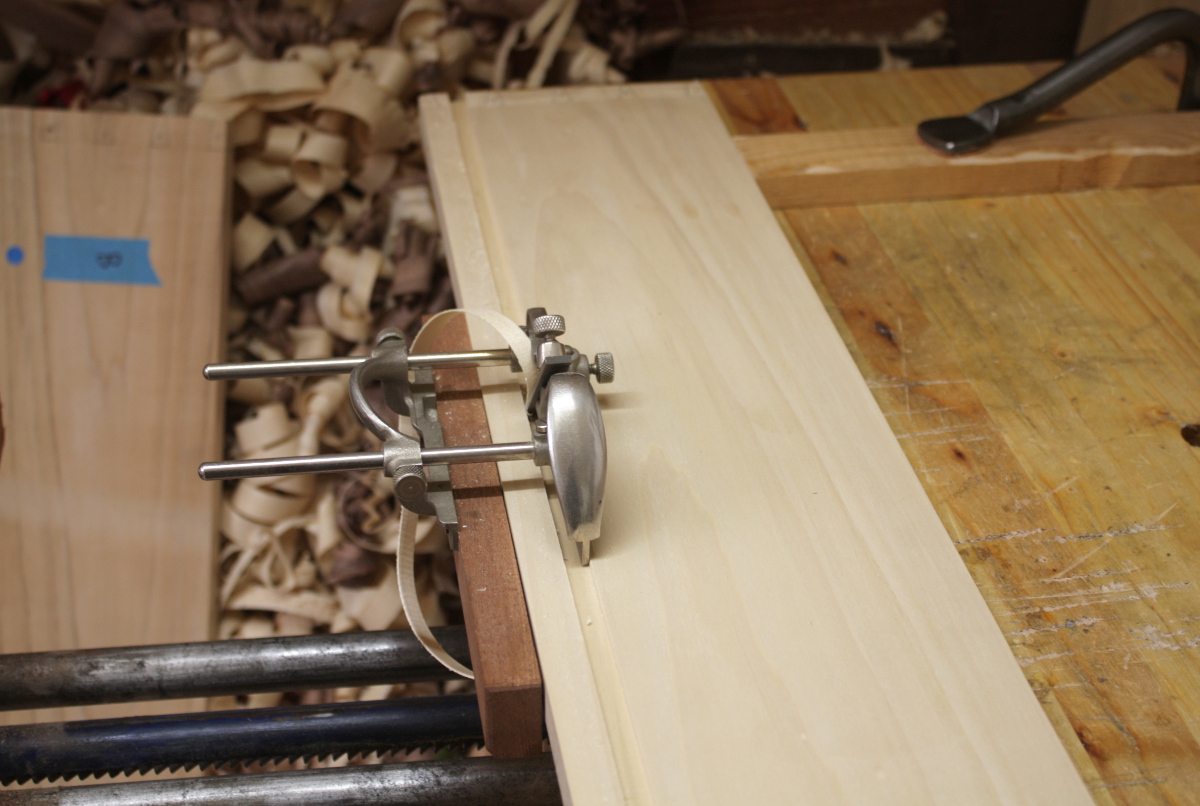
Cut out the groove for the plywood base with a #043 plough, which is pretty much what happens when you take the unix philosophy of making tools that do just one thing but do it very well and then apply it to woodworking tools. It’s not much use for anything other than cutting this one groove, for drawer bottoms, but it’s probably the best tool out there to do the job.

Haven’t cut the tails yet here (but did lay them out) in order to put the groove in the middle of the bottom tail.

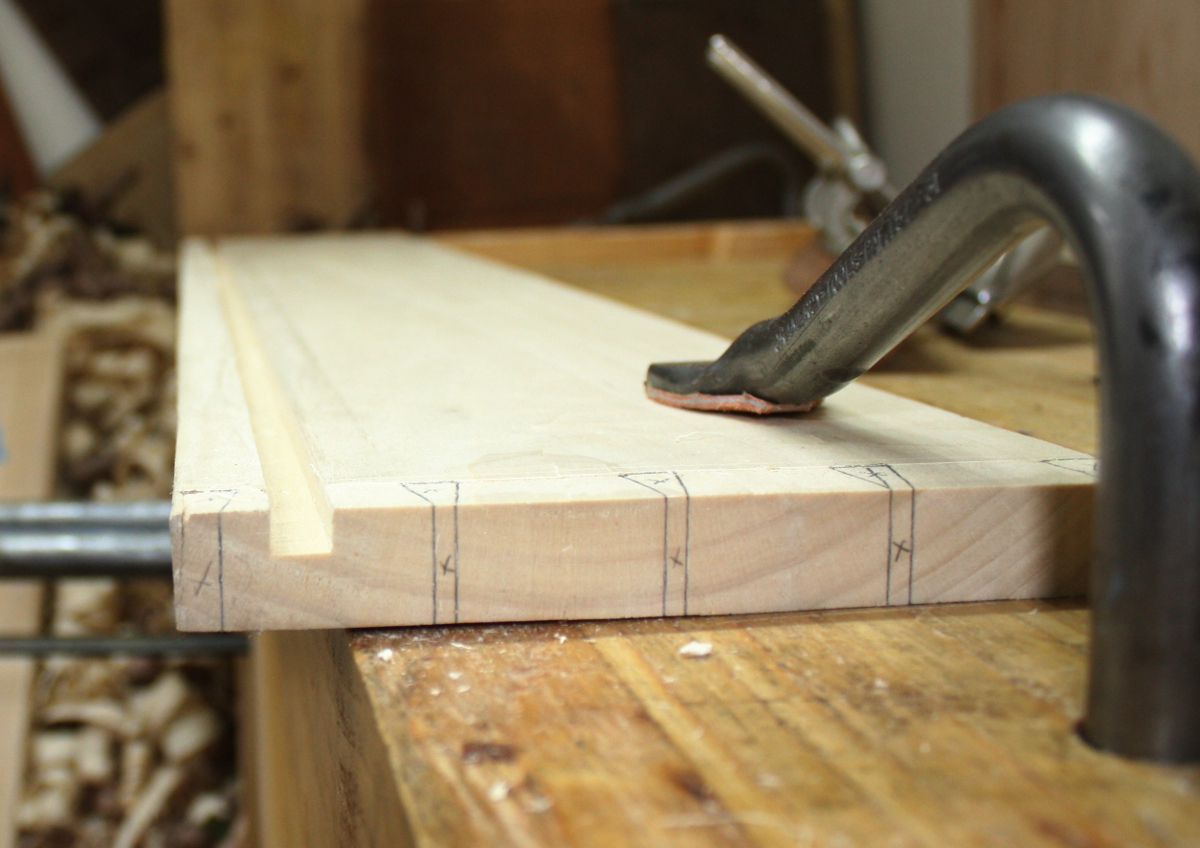
See what I mean? For any other groove, it’s not a great tool (which is why you have plough planes like the #044), but for this one, it’s just fantastic.

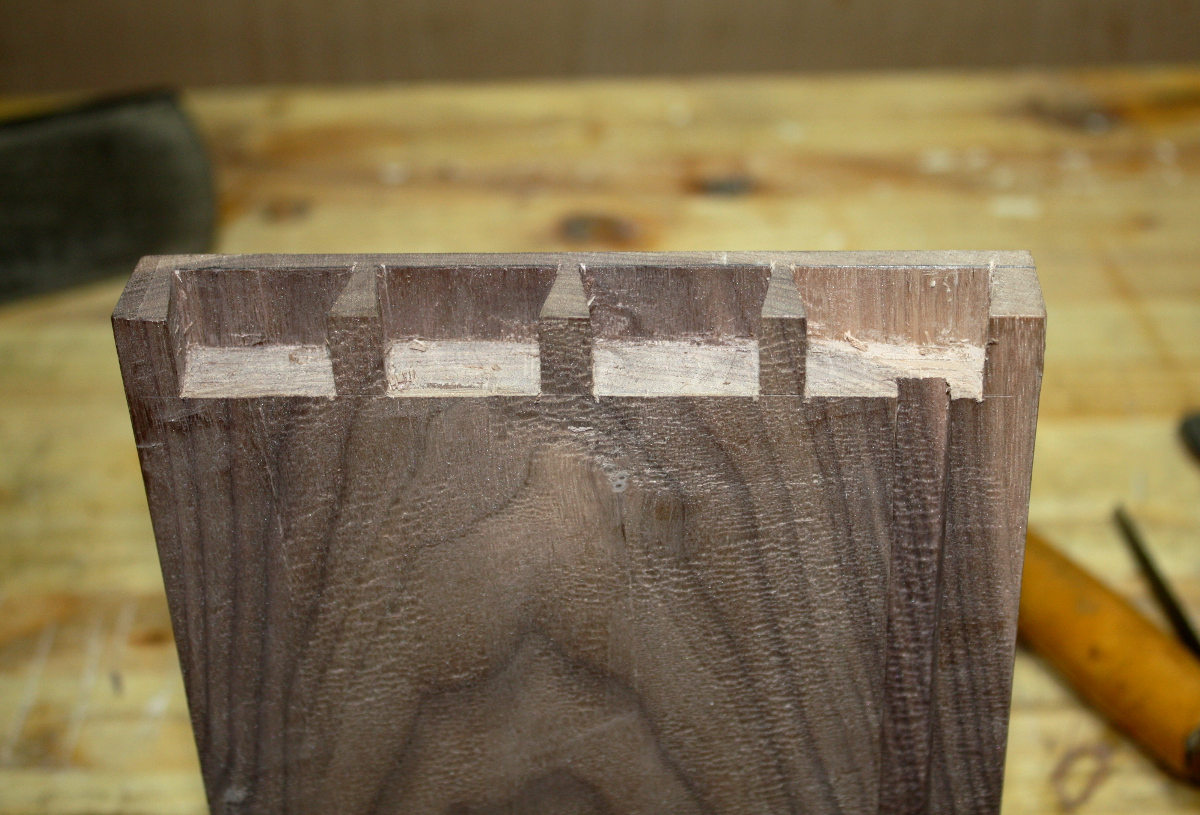
Sawed out the tails with the ryoba and the David Barron guide, then chopped out the waste with a ¼” chisel.

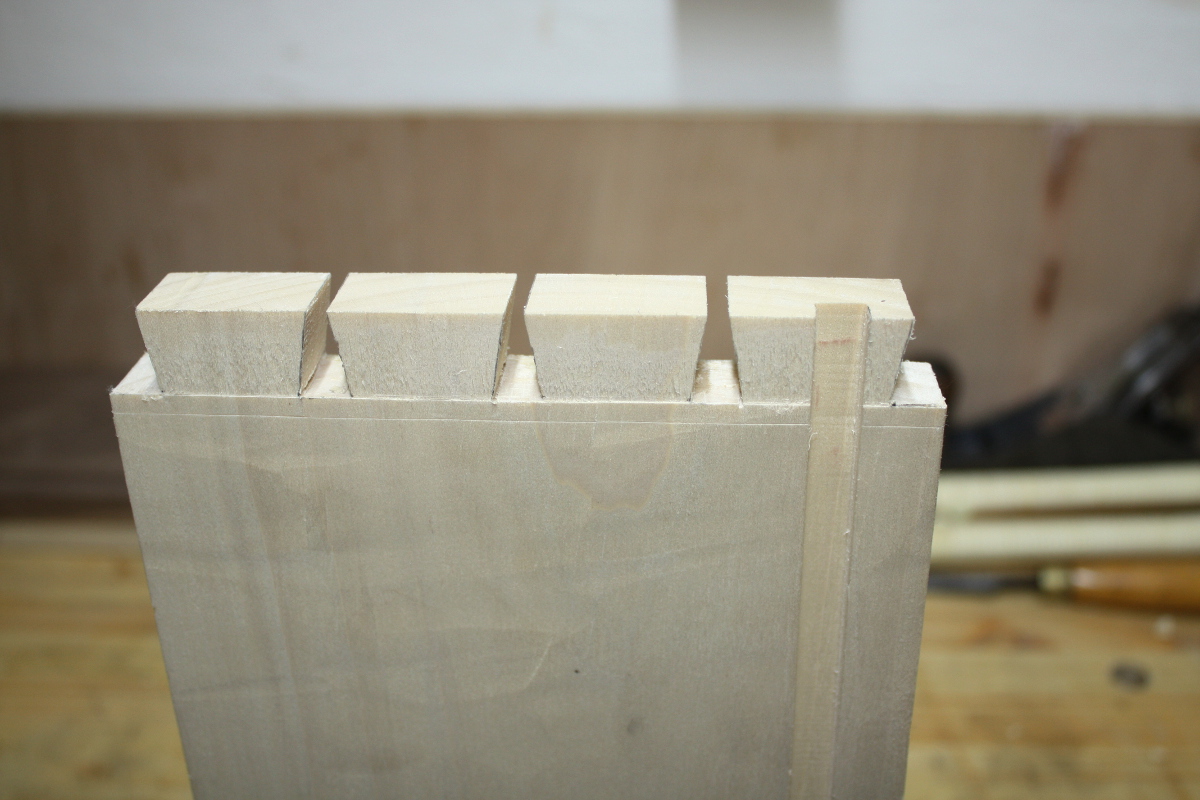
Not horrific. Cutting out the pins though, did convince me that I really need to get one of those Knew Concepts fretsaws. Chopping out the waste between the tails is one thing; chopping out the waste between pins is a whole other ball game and the fretsaw would be a lot faster (plus, cutting curves with a saw, what’s not to love? My coping saw, that’s what not to love. That thing is terrible…)

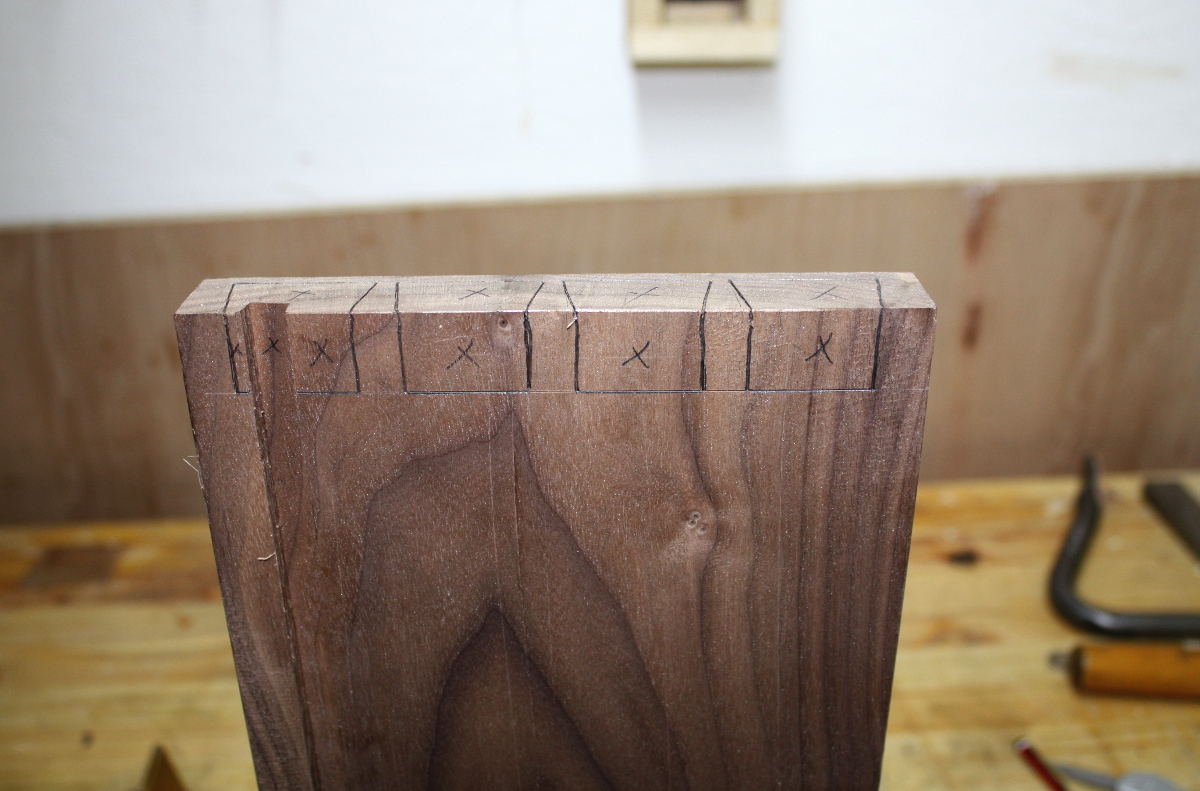
On to the half-blind dovetails for the drawer front. Marked it off against the tailboard, reinforced the knife marks, highlighted with pencil, marked the waste and sawed down the diagonal with the Barron guide and the ryoba.

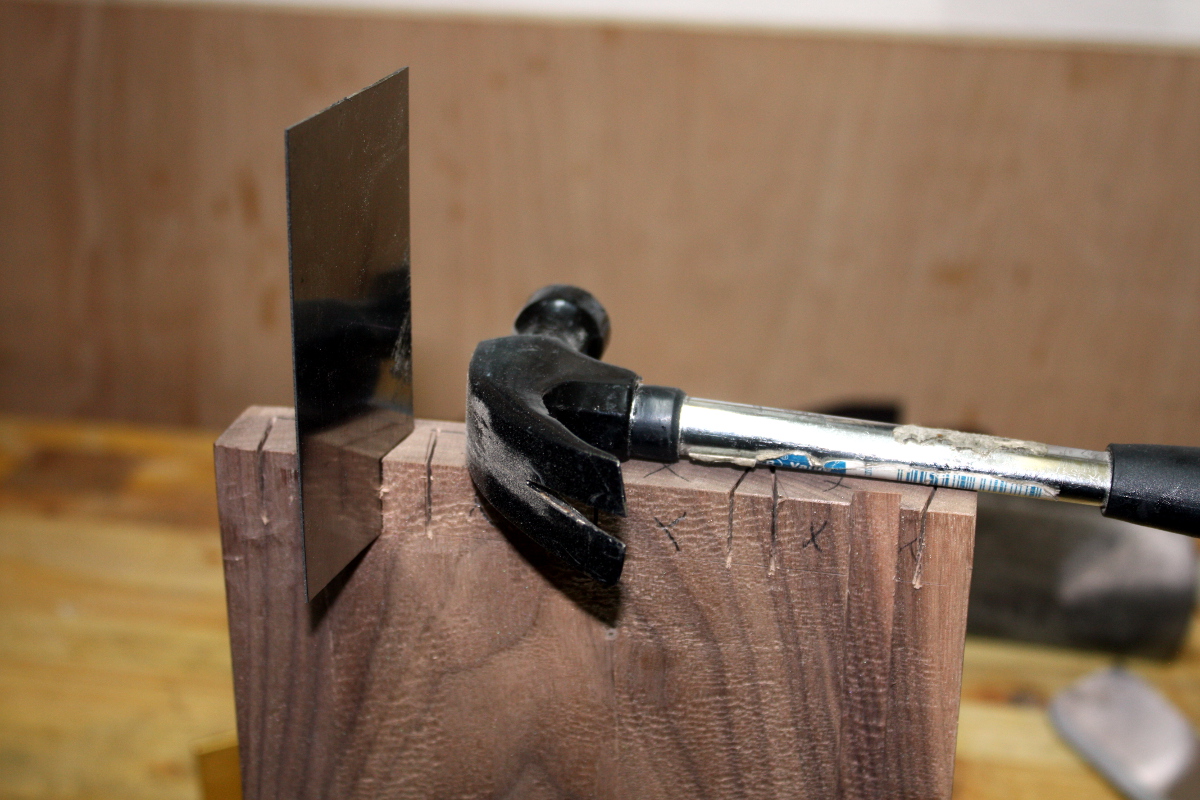
Then took another trick I heard from Cosman’s youtube channel and smashed down the fibres on the remainder of the diagonal using a piece of metal with the same width as the saw kerf (in this case, a spare card scraper). This means I now have both sides of the cavity cut out fully and that makes it easier to chop out the waste.

For the last few mm I put the board upright in the vice and pare, rather than chopping.

By the way, Walnut. Wow, is this so much easier in this wood than in pine. If you want to learn to do this, don’t try it in pine. I mean, don’t learn in walnut either, it’s way too expensive for that, but try it in a hardwood like poplar. It’s so much easier than in softwoods.

I’ve left out the amusing bit where I fit the plywood base, trim it to size by carefully measuring it and double checking the measurements and then somehow managing to cut it a full inch too short anyway and having to bodge up a fix. And the fun part where during the glue-up I found that the plywood base was still too wide by a few mm and I had to disassemble it, plane down the base to width, and complete the glue-up. Thank goodness for hide glue’s long open time, that’s all I’m saying…

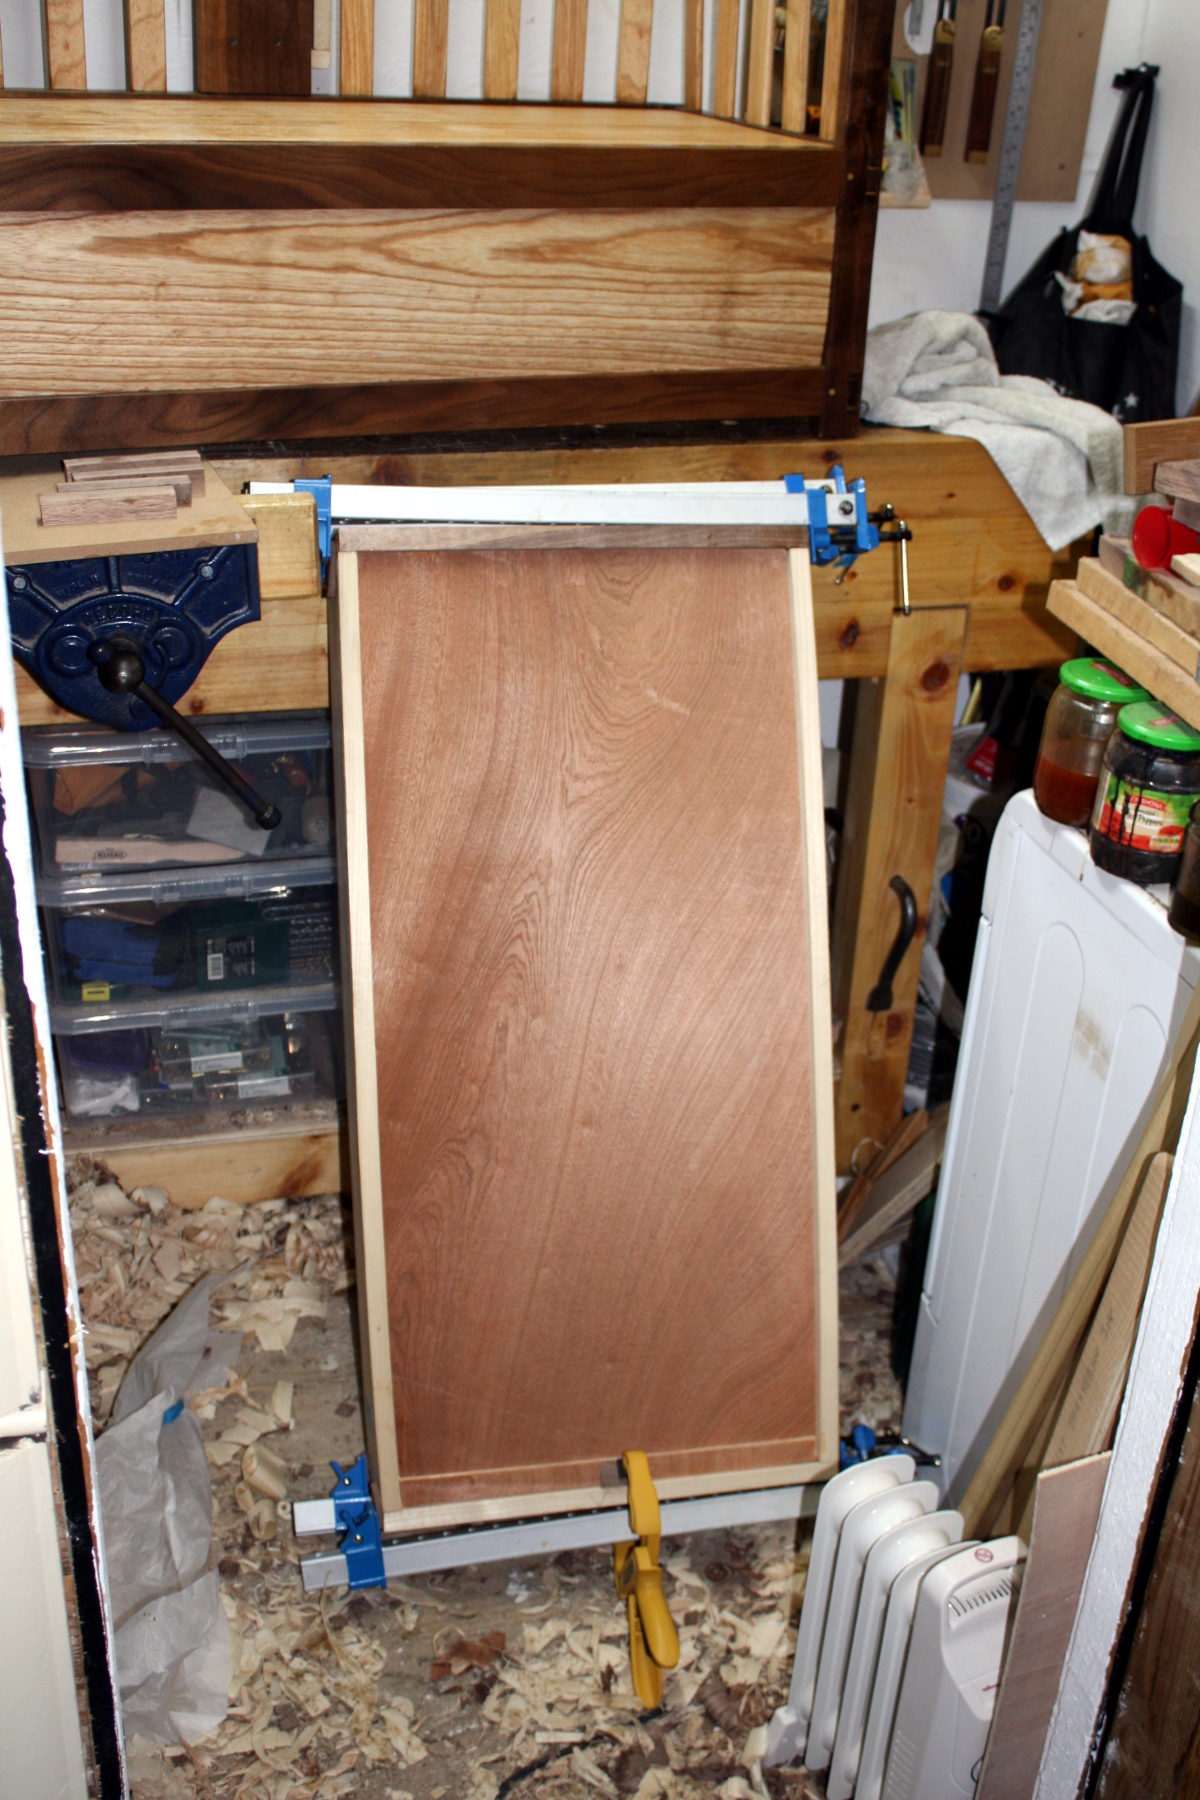
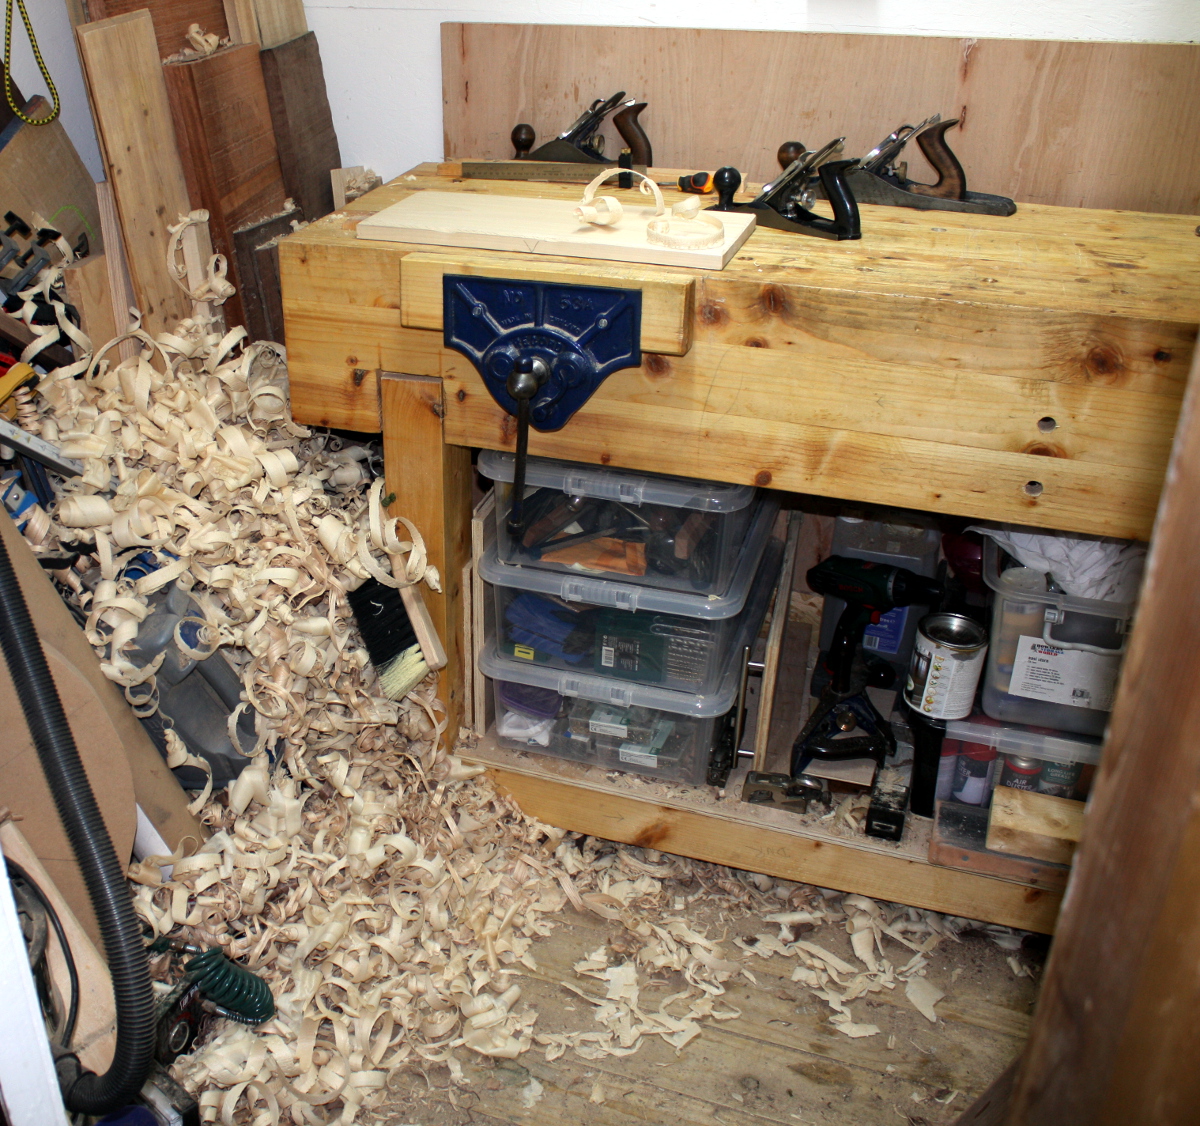
Also, I NEED A BIGGER SHED. Holy carp…

To-Do List:

  • Make a drawer
    • Cut dovetails for drawer.
    • Groove drawer with #43 for plywood base.
    • Maybe add runners underneath the drawer?
    • Finish drawer with shellac.
    • Assemble drawer.
  • Glue the drawer supports into the frame.
  • Even more last minute fettling and foostering (panel support blocks, drawer stop blocks)
  • Close door of shed, lock it, walk away and never do another project with a deadline ever again.

24
Feb 17

Drawer prep…

…is done. Phew. The thicknessing, as I might have mentioned, is interminable donkey work, but it’s done. Even with a freshly sharpened scrub plane and using that chamfer-down-to-the-line-so-it’s-easier-to-see-what’s-left-to-come-off trick, it’s still a long-winded pain in the arse.

Yes, yes, very clever, shut up.

Back of the drawer was the easiest to do because of the shorter run, but it’s over-wide. Also, you see how it’s such a small, compact board? Yeah, well, take a quarter-inch thick board that size and turn it into even thick shavings and this is what happens:

No time to clean it up yet, have to get the crib finished and then there’ll be a long tidyup afterwards and a clean-down. And a memorial service for one of my bench cookies, which managed to fall off where I’d perched it and in between the OSB sheeting lining the walls and the outside wall of the shed. It will now live there, buried in the wall, until the shed gets torn down because I’m not taking out the washing machine and taking off the wall to get back a five euro bench cookie I was planning on buying more of anyway. Farewell, little cookie, enjoy your new home.

And after thicknessing, there was jointing (with the #7 after the #5½ did this initial trimming), and the front of the drawer was trimmed to size against the opening – it’s not a piston fit, but the drawer carcass is open on the bottom so meh, who cares; if this was an airtight box the piston fit would be awesome but here it’s just faffing about weeks after the delivery date has come and gone. And then when the drawer face fitted, the back and sides were trimmed to match and shot to square on the shooting board.

Back and sides, thicknessed down from 1″ to ¾” by hand, trimmed, squared and ready to do the actual joinery.

Oh, and over the last few days, I got three coats of osmo onto the rest of the crib, sanding down with steel wool between each coat. So that’s now all done with the exception of glueing in the runners for the drawer; I didn’t want to do those until I’ve finished making the drawer because I want to put in stop blocks on them so the drawer can’t be pushed in so far that the face is no longer flush with the frame. That’ll be easier with the runners still removable. And I’d like to add in a few small wedges to the frame and panel setup to stabilise it just a bit, it’s a little rattle-y right now.

And I was wondering about the top panel and shrinkage; depending on how dry the room it’s going into can get, it might just be possible that it could shrink enough to fall out of the frame. It’s unlikely — it’d have to go into a relative humidity of 40% or lower according to the shrinkulator but just to be safe I might add in a glue block or four.

To-Do List:

  • Make a drawer
    • Thickness the boards for the drawer.
    • Cut the drawer front to size.
    • Cut the drawer back and sides to size.
    • Cut dovetails for drawer.
    • Groove drawer with #43 for plywood base.
    • Maybe add runners underneath the drawer?
    • Finish plane drawer front
    • Finish drawer front with shellac.
    • Paint drawer sides with milk paint.
    • Assemble drawer.
  • Last minute fettling and foostering.
  • Even more last minute fettling and foostering.
  • Finish entire assembly with several coats of Osmo wood wax.
  • Close door of shed, lock it, walk away and never do another project with a deadline ever again.

19
Feb 17

Drying day.

My original plan was to make the drawer today, but that plan didn’t take into account things like drying time on glues given the current low temperatures. Titebond PVA glue would be grand, but hide glue is something I’m still figuring out, so I’m giving it lots of margin for error. Especially as I found today that I almost had a major error during the glue-up; the use of a mallet to drive the top crossbar and back support into the mortice put torsion stress on the two end joints, as I knew it would (stupid mis-steam-bent upright) but I thought it’d be safe enough.

Nope. Small (1.5cm long) crack right there. Not critical; the wood is now stabilised by the glue and it’s holding well; but enough to give me a moment of thinking “wow, that nearly destroyed a week or so of work without the raw material available to do it over…”

I might just try to get a little glue in there and clamp it closed tomorrow, just to be safe.

Meanwhile, the rest of today went on getting the frame out of the shed onto the assembly table in the late afternoon, getting all the clamps off and holding my breath to see if the glue had cured (it had), and doing the last bits of trimming on drawbore pegs and the like. And then the last coat of shellac got touched on in a few places to cover some scratches and once that had dried (it dries fast outdoors), I moved it back into the shed as it was dark outside by now, and got the first coat of osmo going.

Just ragging on a thickish first coat here, in two parts (you can see the contrast here between the untreated side panel and the just-treated top panel). The plan was, on with the first ragging, leave for 30 minutes, rag off the excess and immediately on with another ragging, wait 30 more minutes, then rag off the excess again and leave to cure until tomorrow evening. Then tomorrow, I’ll take 400grit paper or wire wool to it, and rag on a thinner coat, leave for 30 minutes, then rag off the excess, then leave to dry until the next day, and we’ll do at least four coats of that.

In the meantime, I’ve a drawer to make up as well.

Also, this is WAY TOO BIG to be doing in this shed…

To-Do List (stuff in progress in blue:

  • Make a drawer
    • Thickness the boards for the drawer.
    • Cut the drawer front to size.
    • Cut the drawer back and sides to size.
    • Cut dovetails for drawer.
    • Groove drawer with #43 for plywood base.
    • Maybe add runners underneath the drawer?
    • Finish plane drawer front
    • Finish drawer front with shellac.
    • Paint drawer sides with milk paint.
    • Assemble drawer.
  • Last minute fettling and foostering.
  • Finish entire assembly with several coats of Osmo wood wax.
  • Close door of shed, lock it, walk away and never do another project with a deadline ever again.