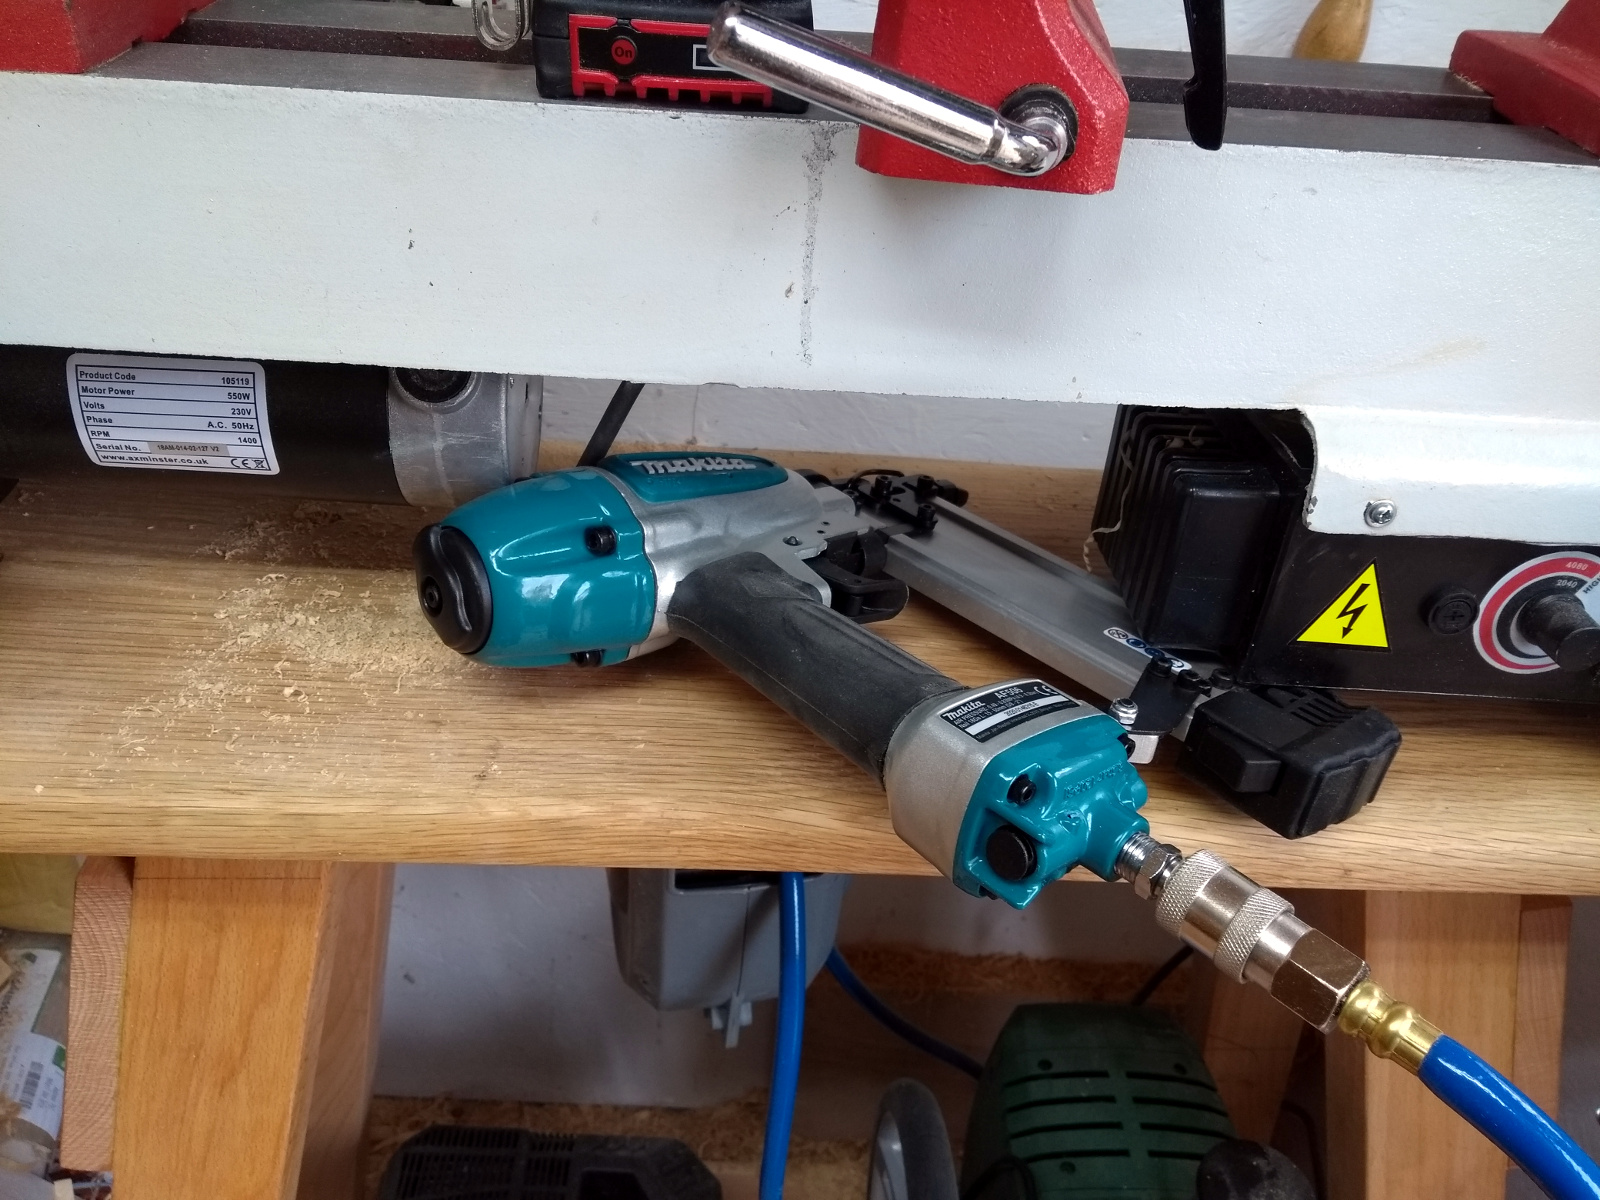
Well, I’ve never clamped anything to this side of the vice before….
I couldn’t move the boxes beneath the bench out of the way because there’s nowhere for them to go, and I didn’t want to spin the piece around because I was using the nailgun and I’m not quite ready to point anything at myself that has the word “gun” in the title just yet. But this worked well enough.
It’s just scraps of pine – that base was actually a board that was in the living room for the last four years and I’d forgotten about it because it was up on top of a bookshelf. Some glue, a few brads and on we go.
Again I didn’t have brads of the right length here so glue and screws provide the holding strength and the brads just pin everything in place long enough for me to get the screws into it. The posts don’t make it up to the top of the edges this time; not all offcuts are long enough. Oh well.
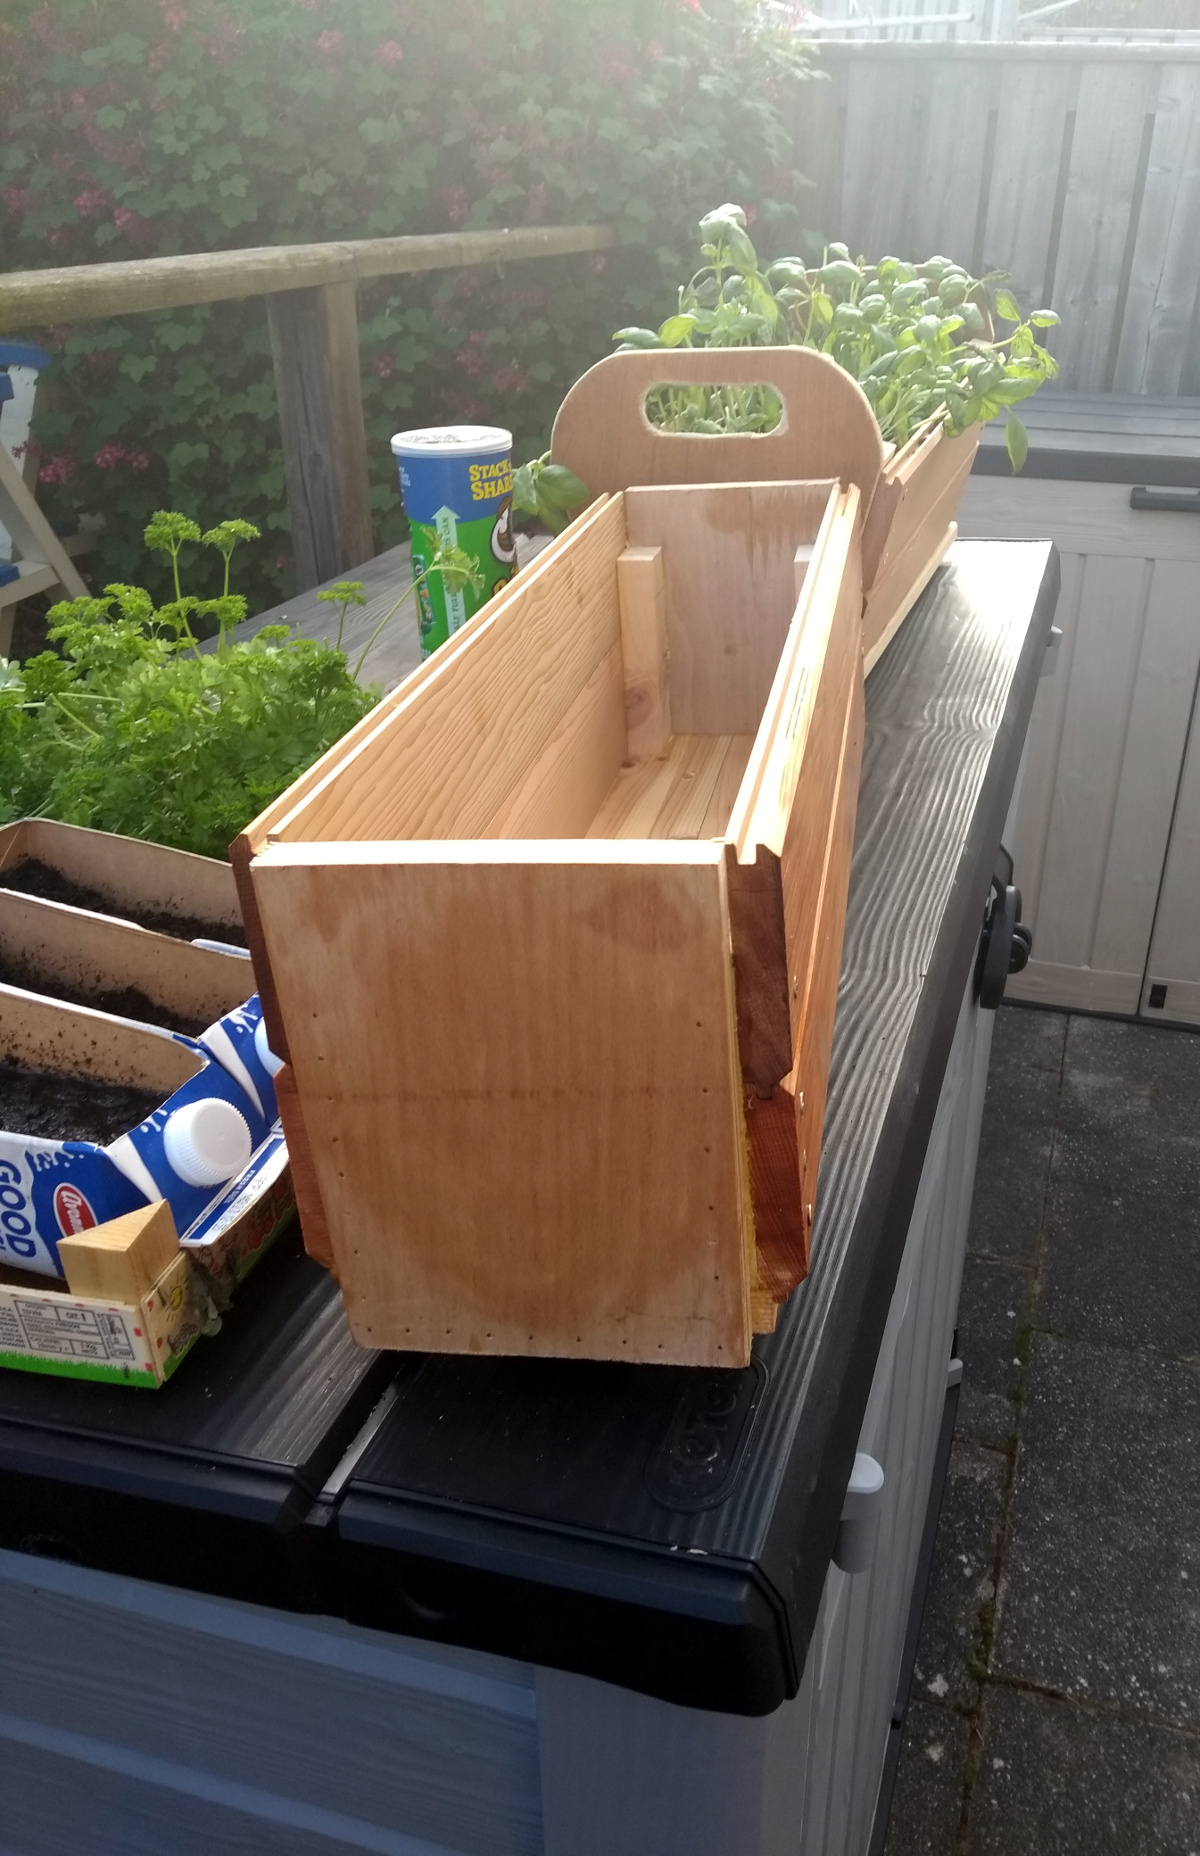
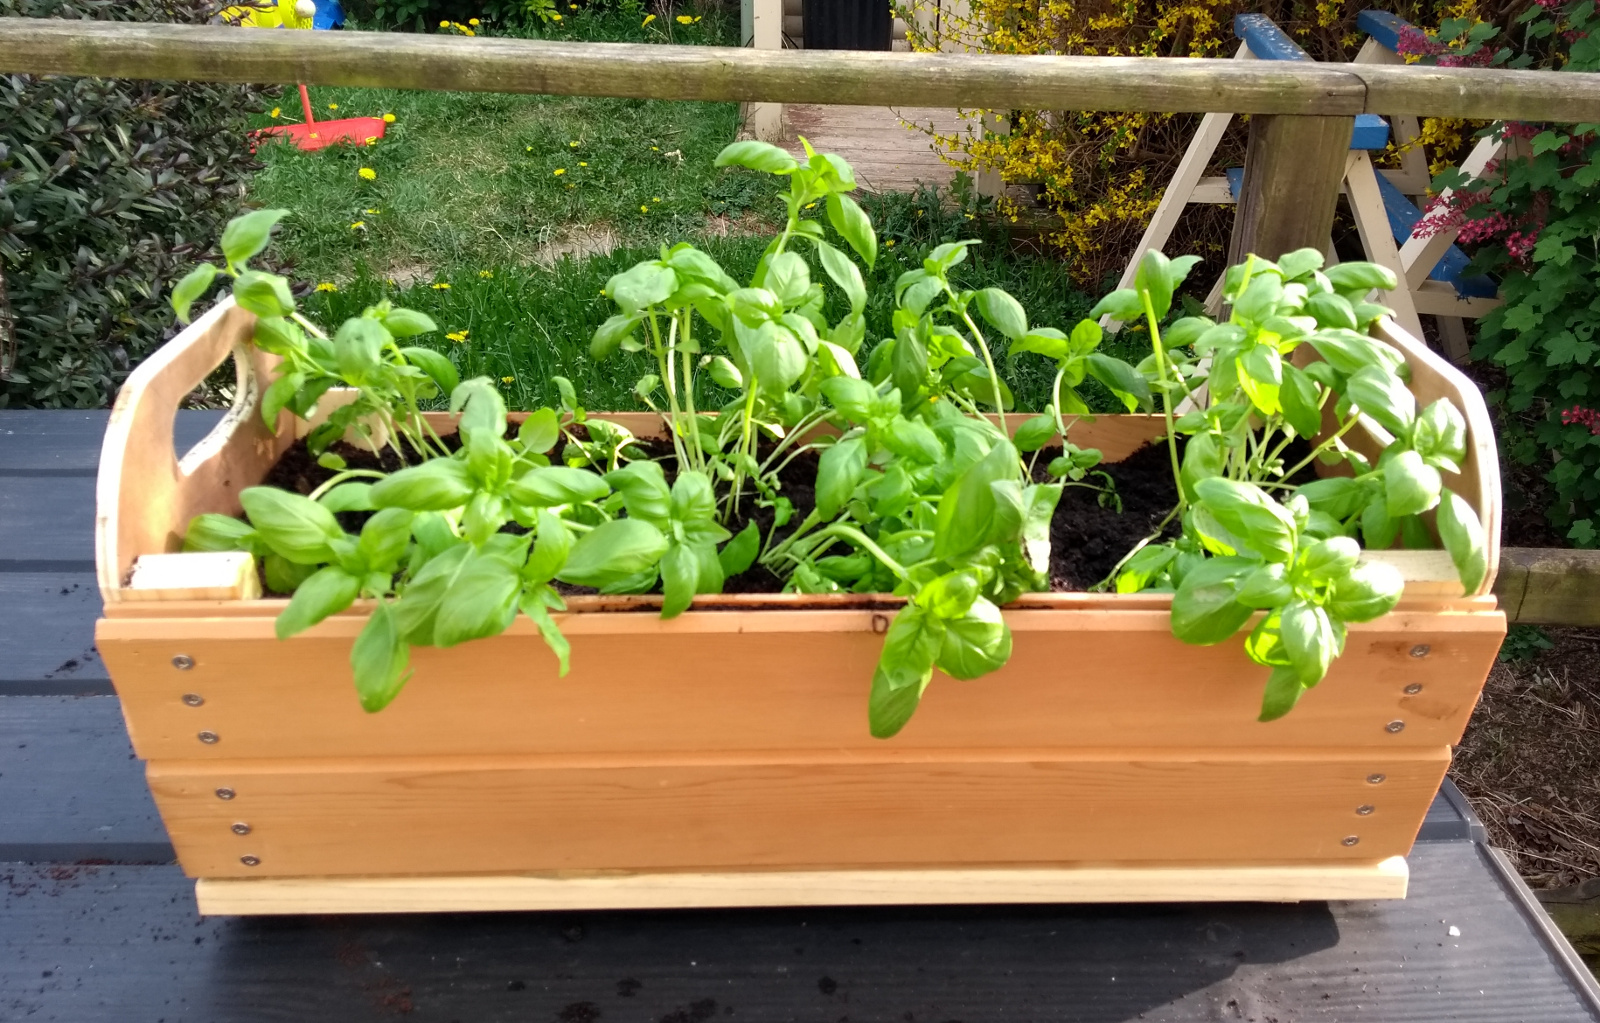
It’s very rough-and-ready and I don’t think it’ll last more than a year at most, but welcome to making do in the Lock-in. It’ll be grand. I slathered it with some BLO so I’ll fill it with compost, coffee grounds, eggshells and plants tomorrow.
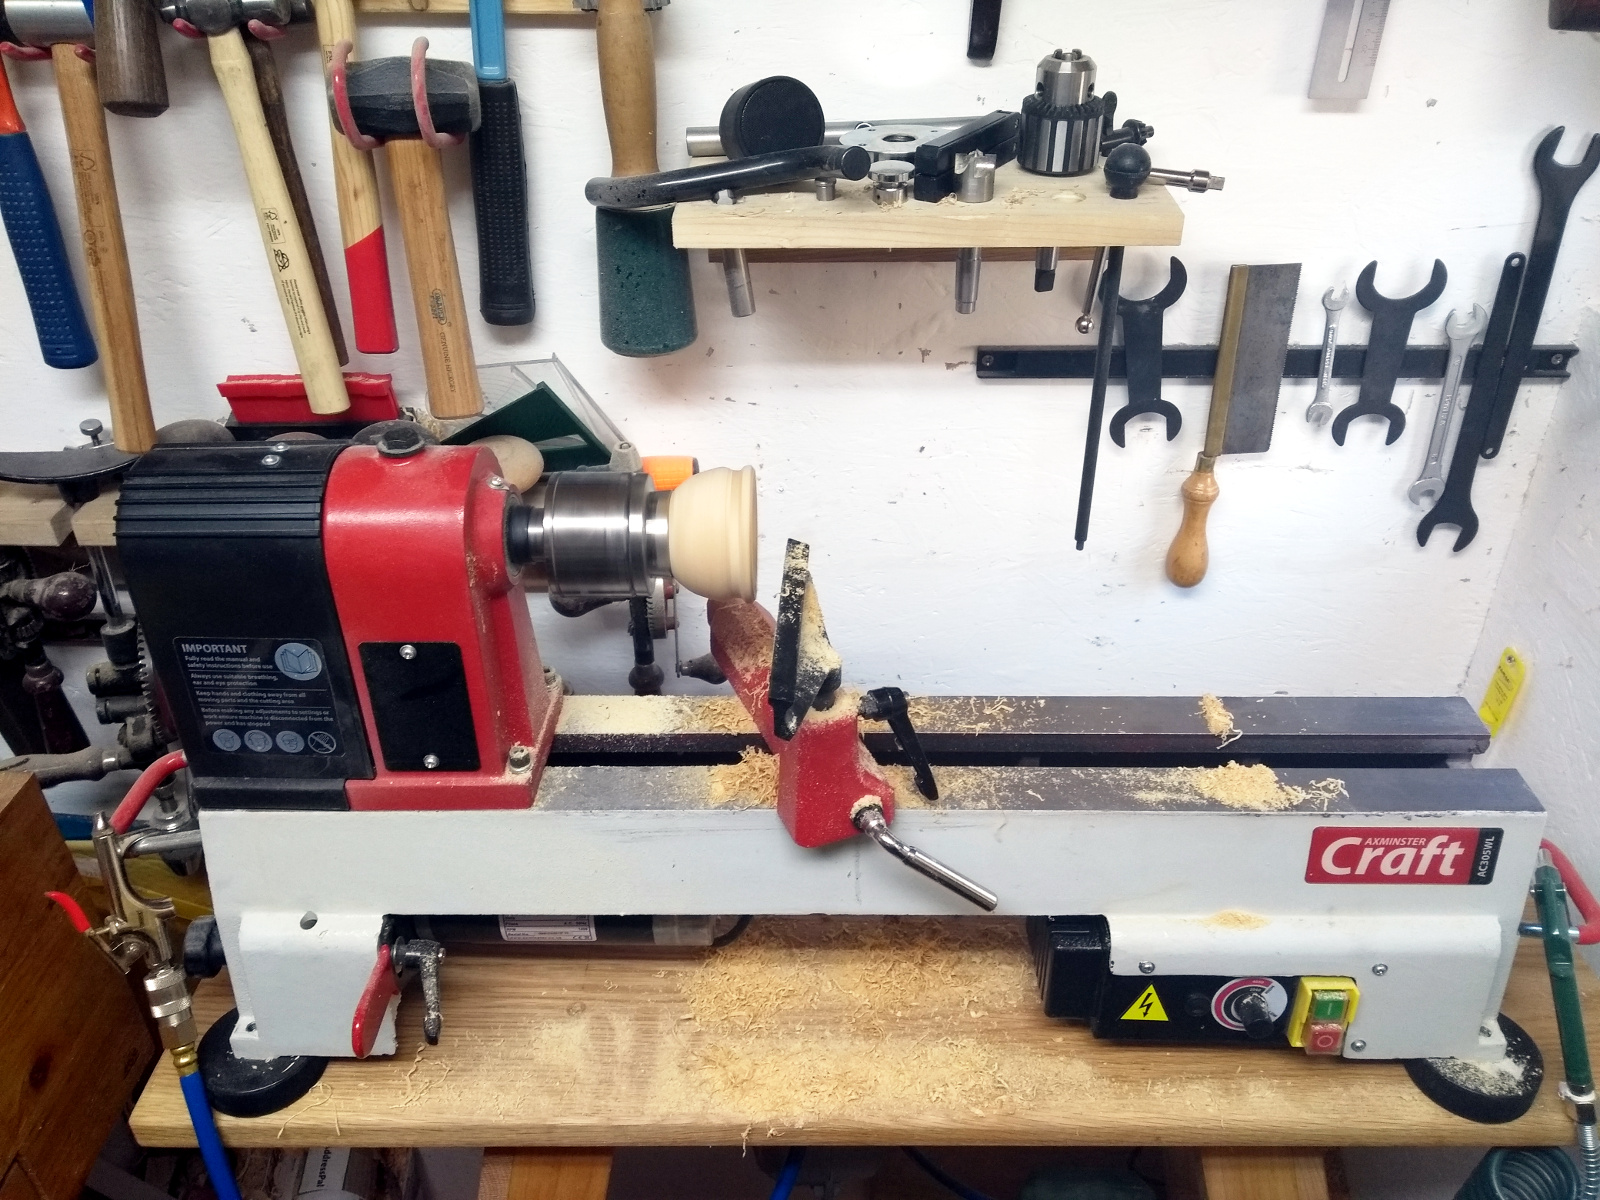
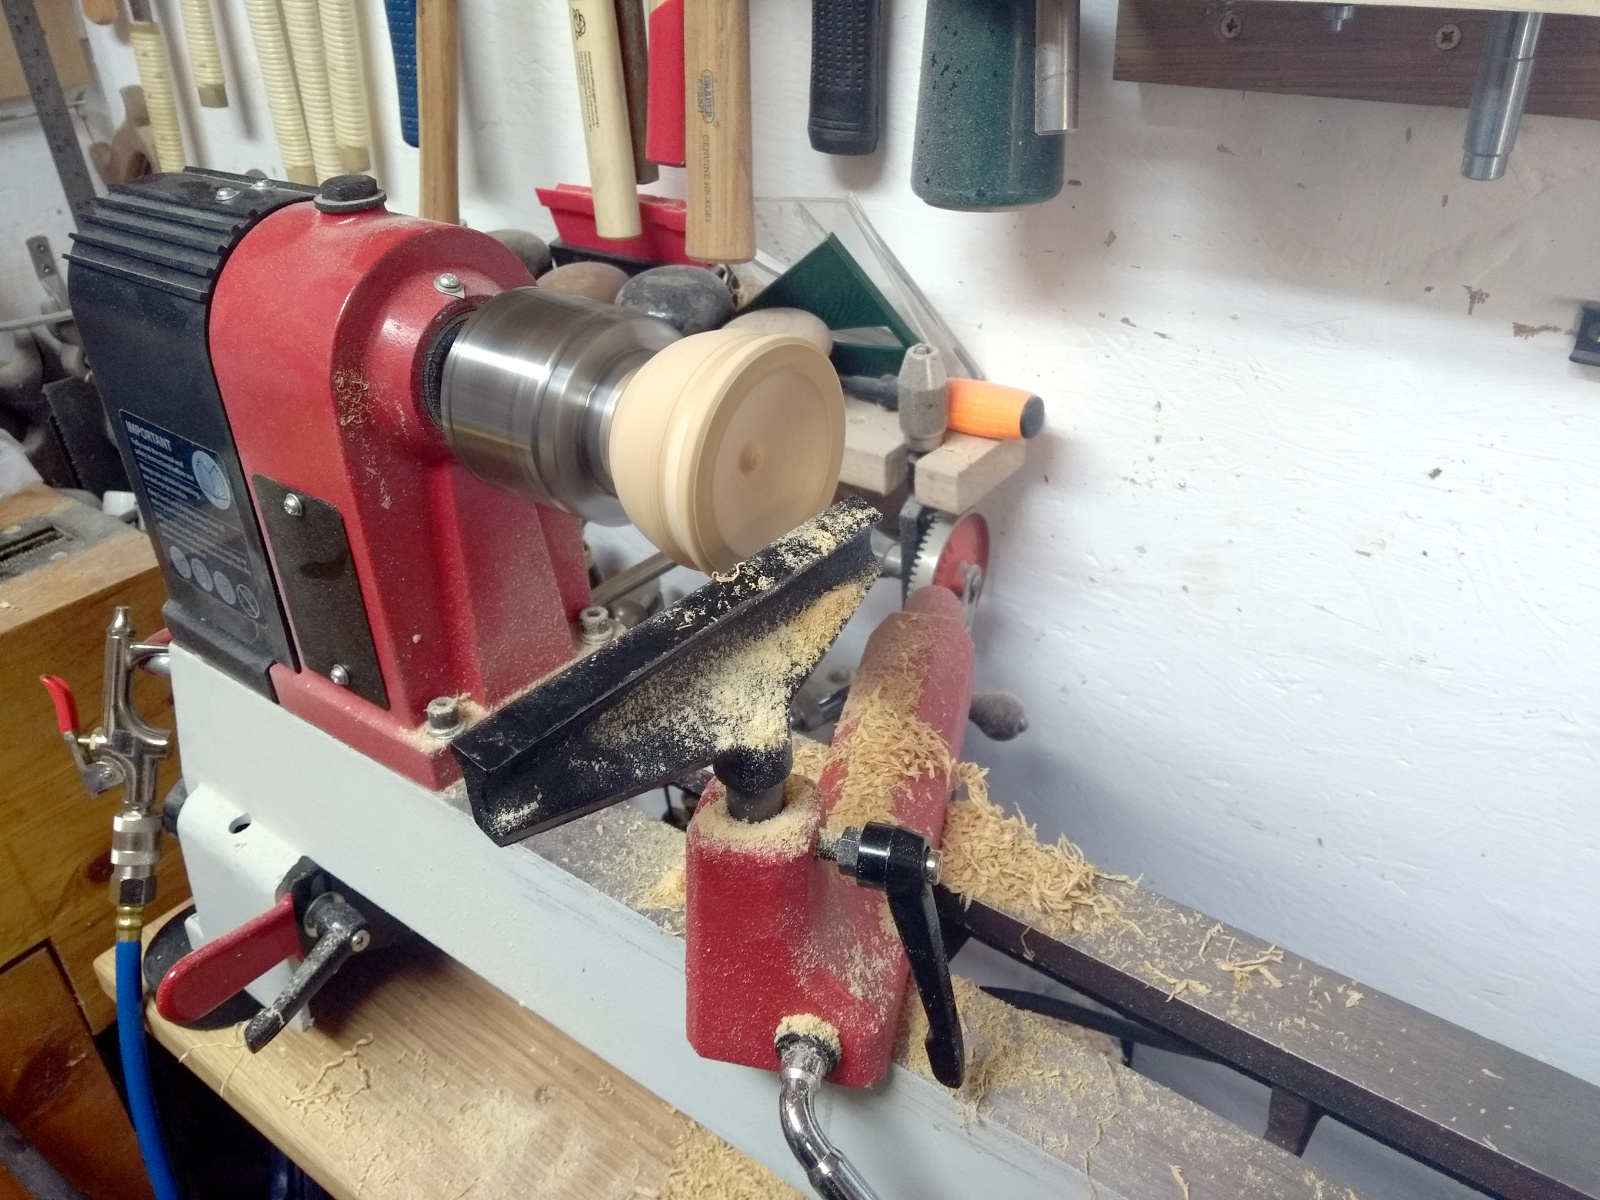
Did get a bit of turning in as well today.
I didn’t use the big jaws after all, I wanted to get this piece done quickly so I skipped the experimental bit and just repeated yesterday’s process.
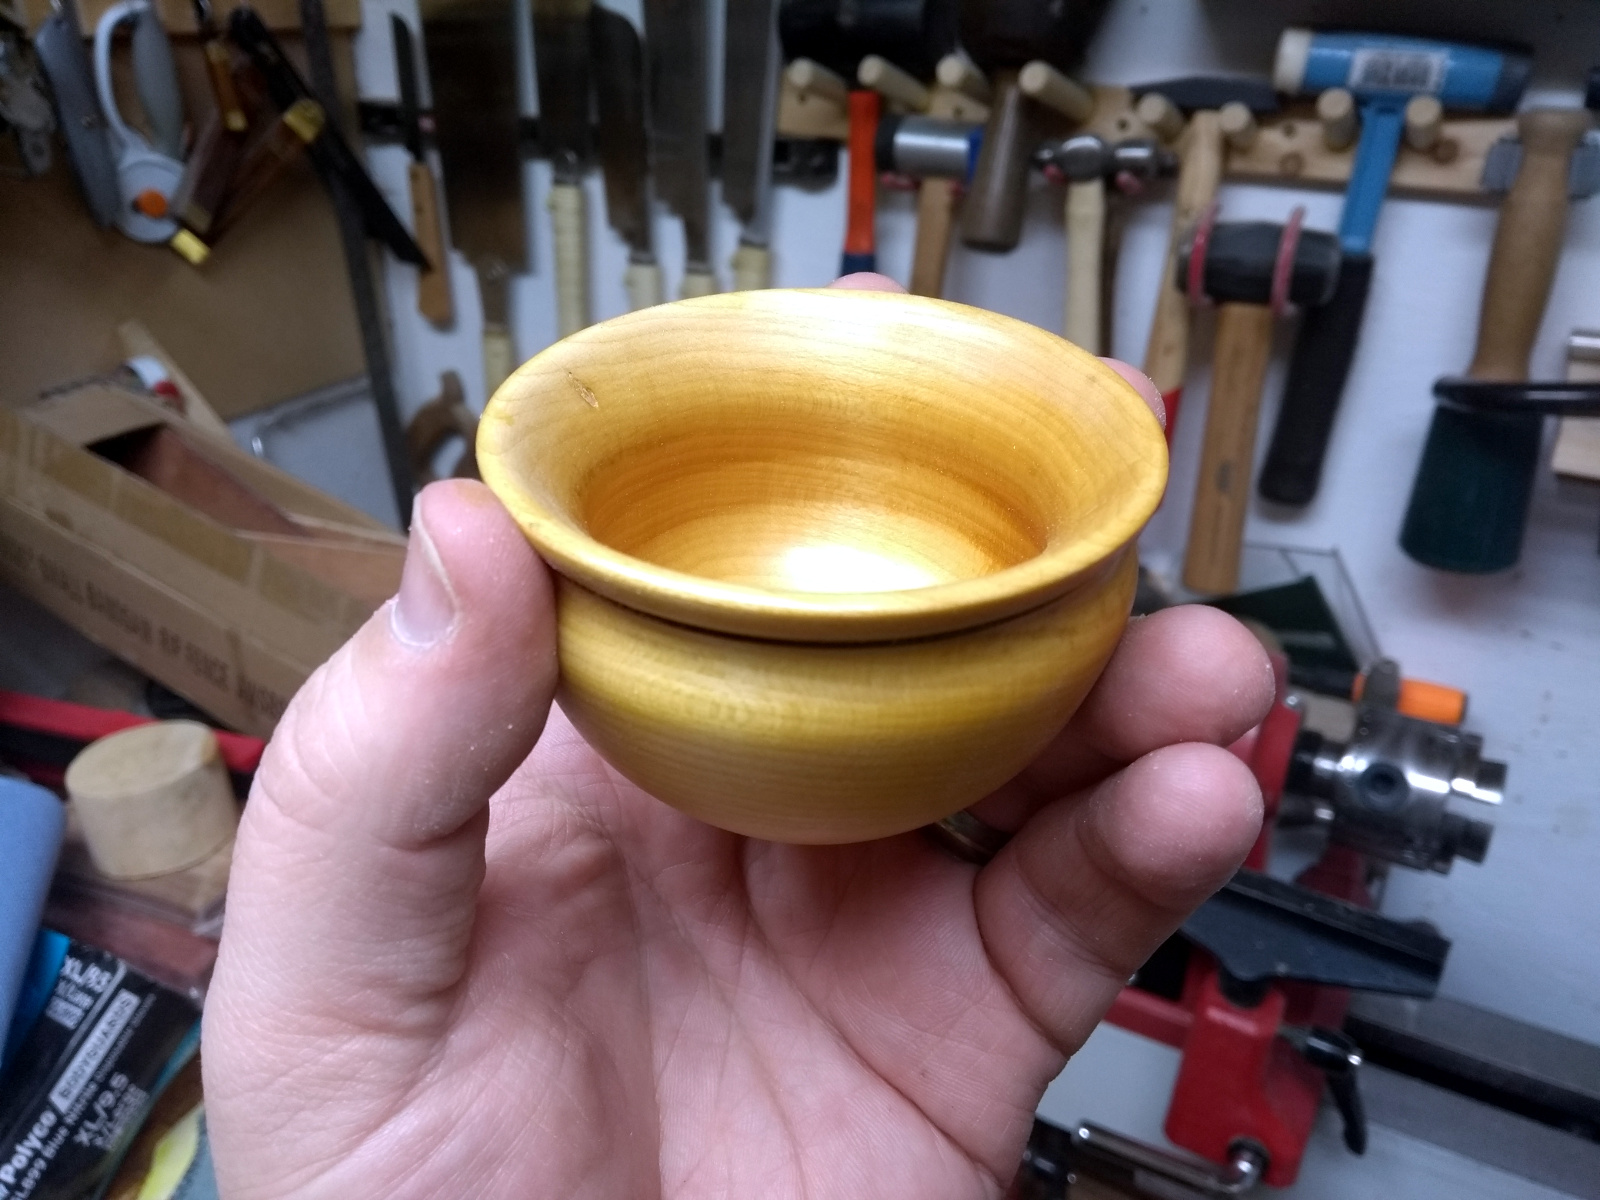
I was a bit more aggressive with the hollowing out this time, with the result that the walls are a bit thinner than the first bowl. And it went pretty well, with almost no catches (and I could recover the one I did get), though I did find myself wondering for a good 20-30 seconds what was wrong with my scraper when cleaning up the bottom of the bowl before I realised I had the sodding thing upside down.
Sigh.
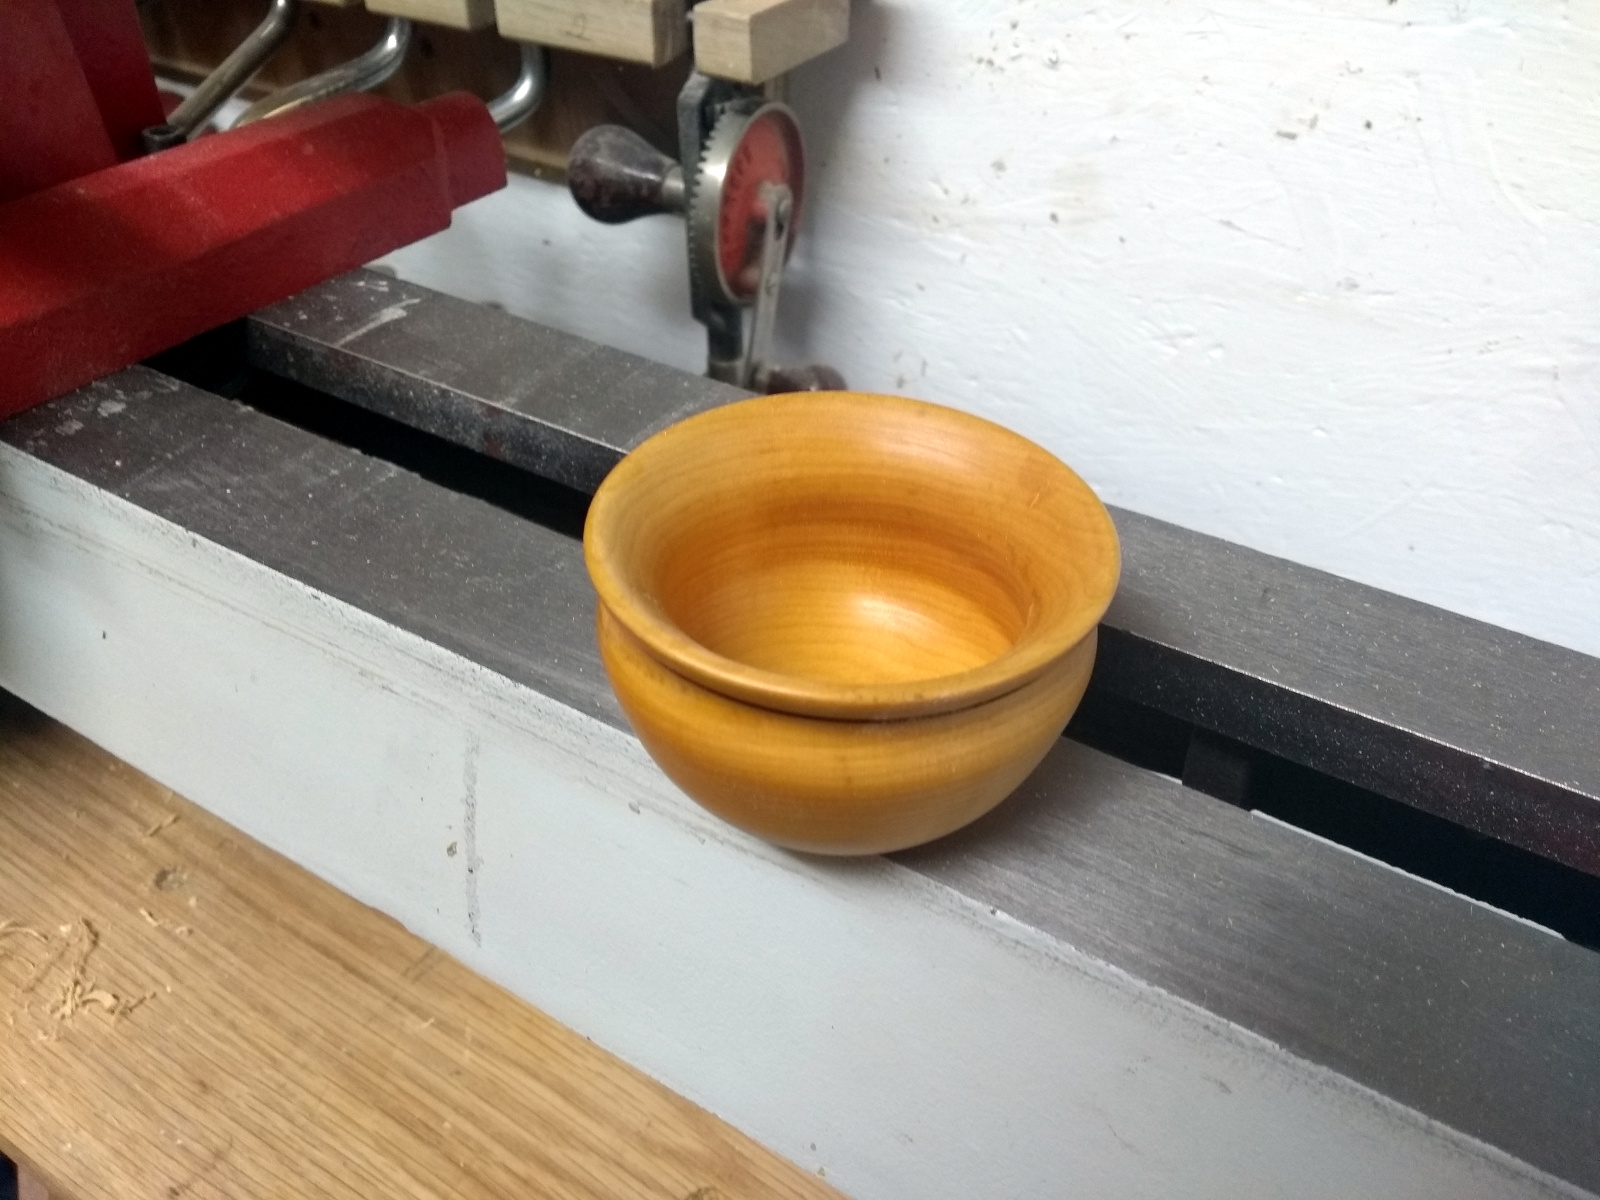
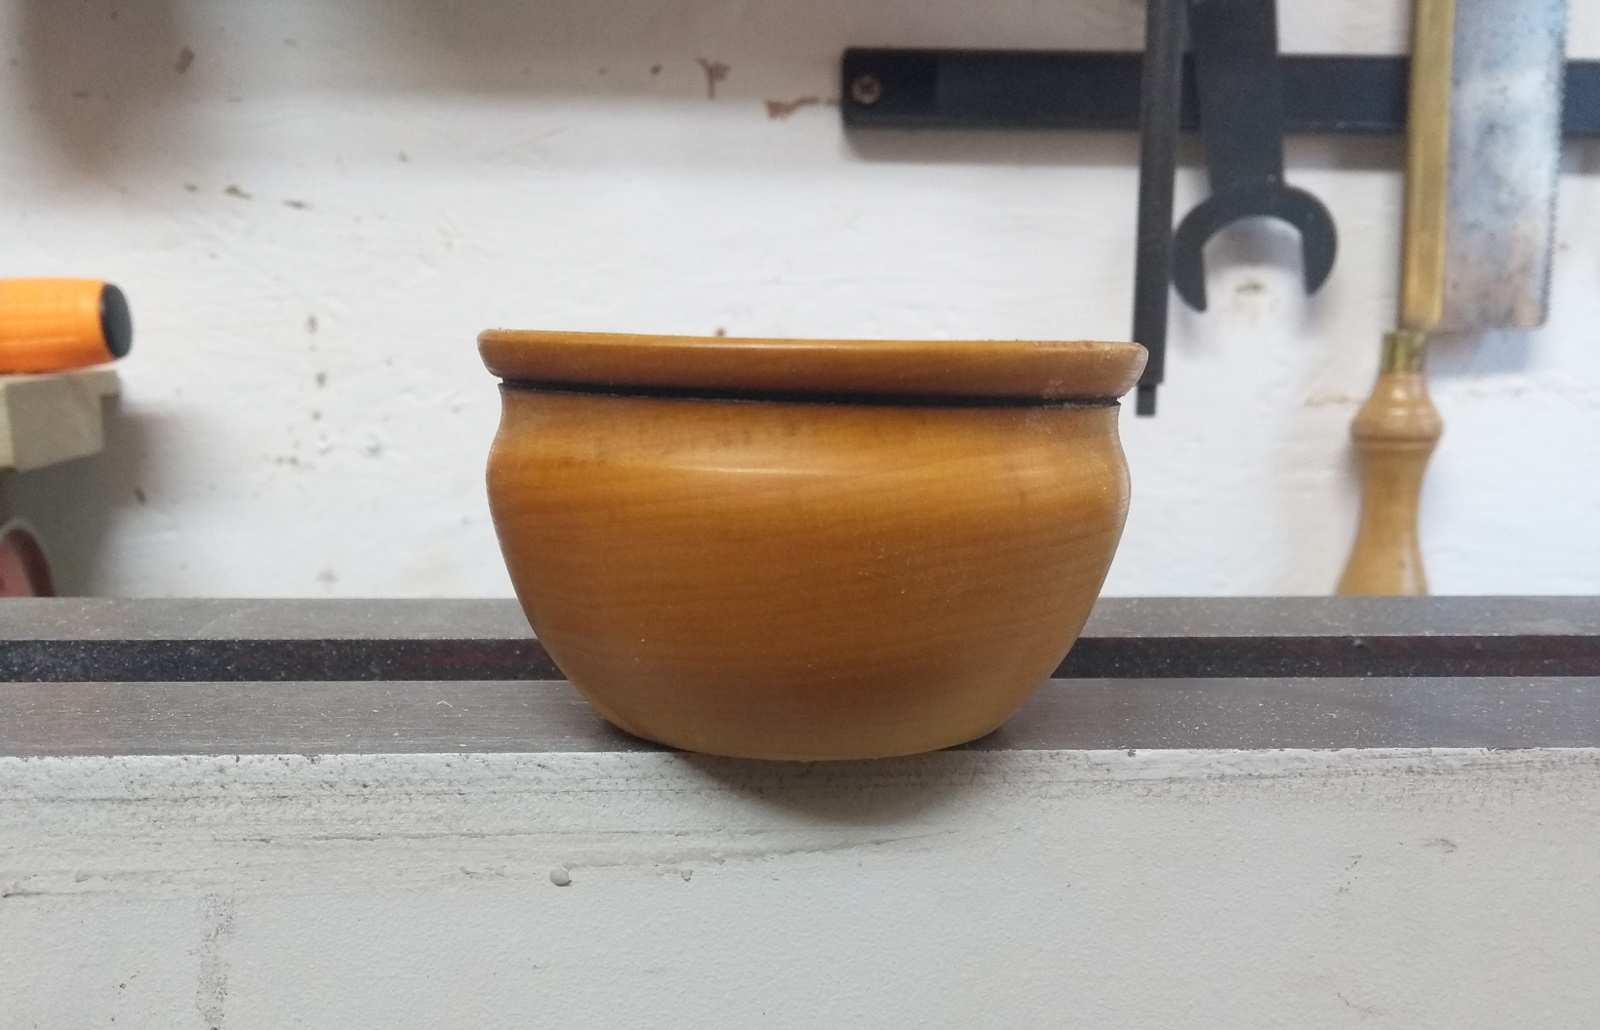
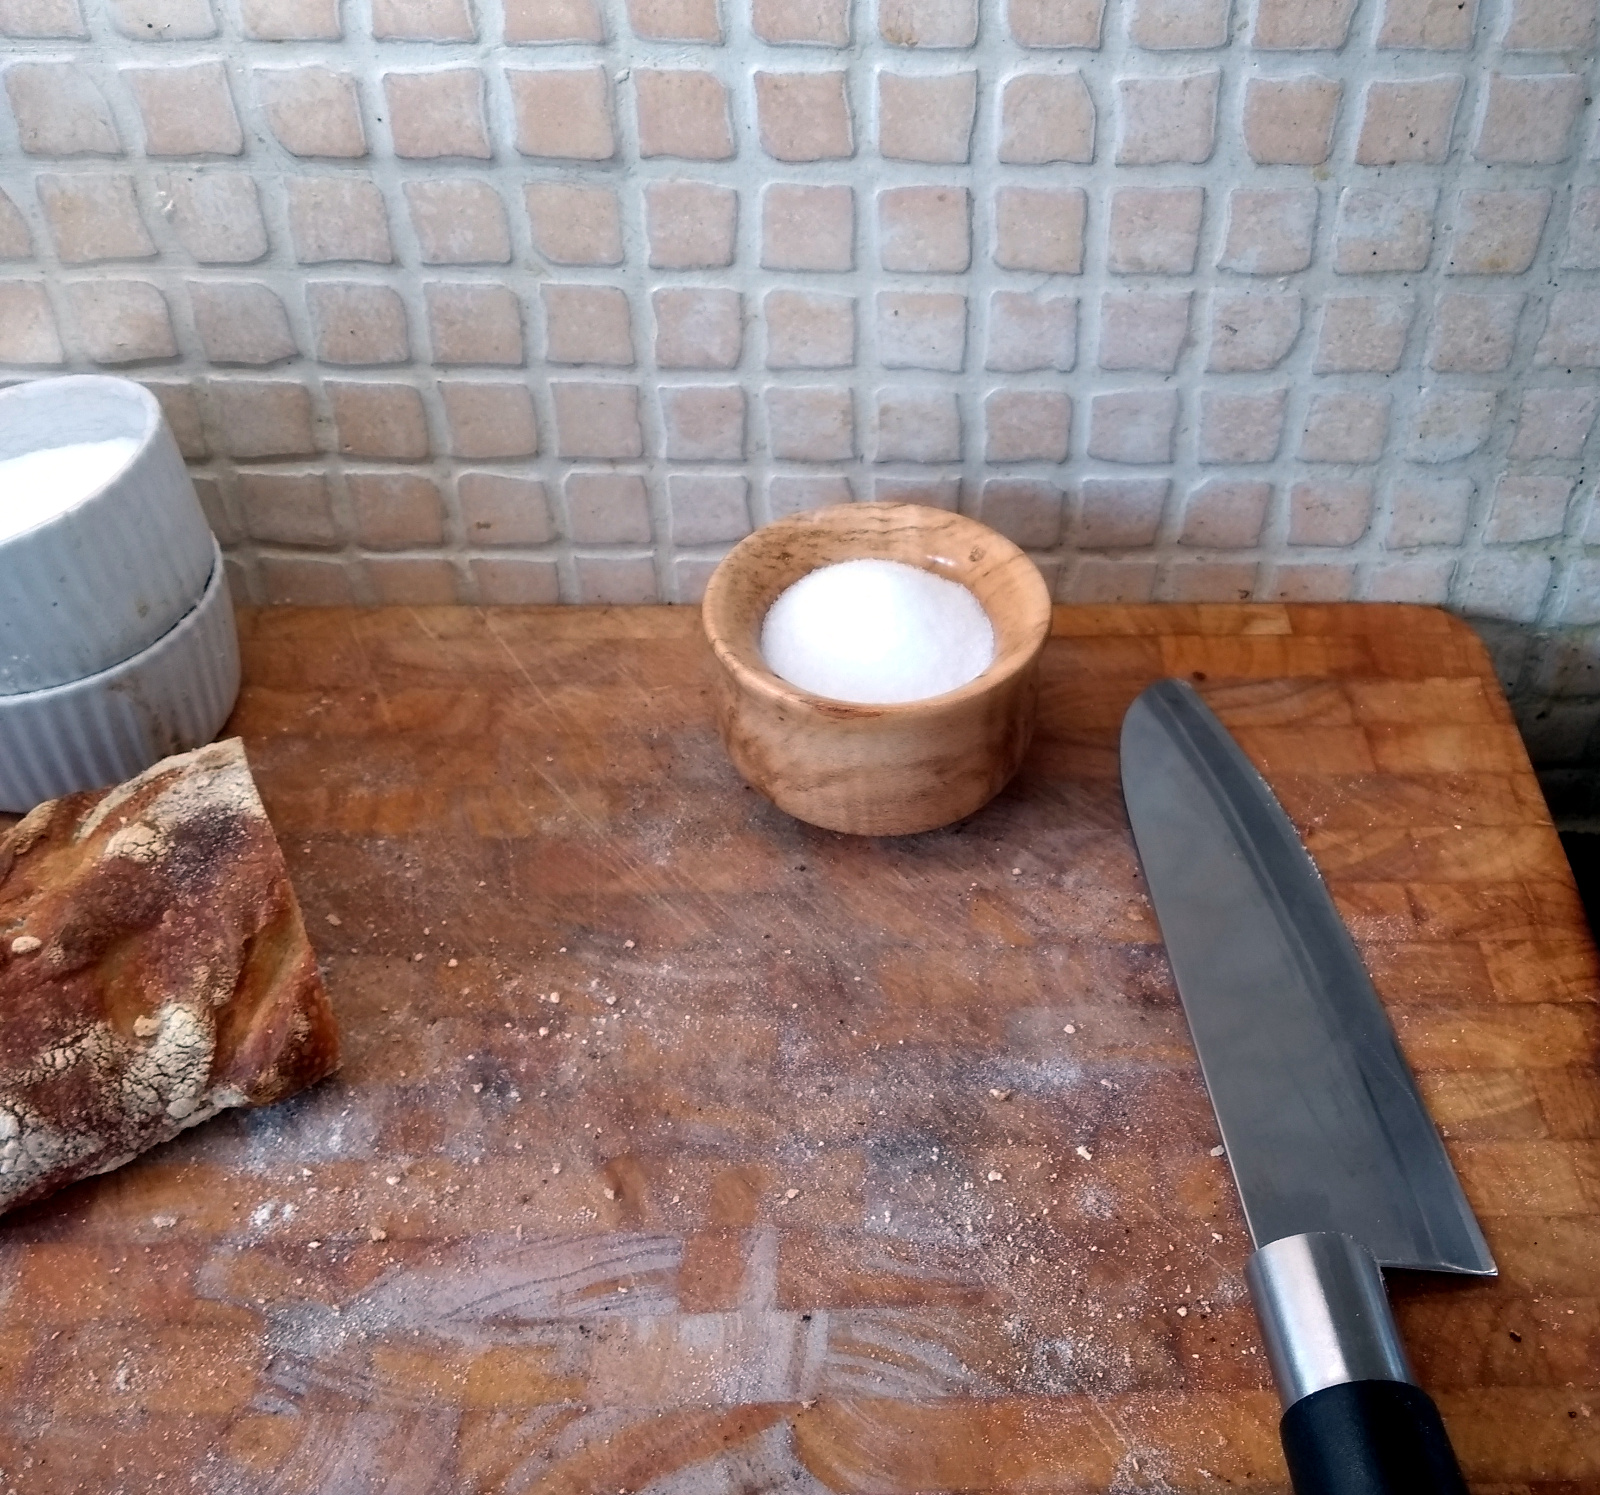
Still, turned out nice.
I like the burn line beneath the rim as well, I only put it in on a whim and it came out well.
It’s only a little thing but it’s grand for use as a salt pig. I like that urn-like shape as well, though the hollowing out with a bowl gouge and a scraper is a bit awkward. I’ve sent away for a few bits and pieces to make up my own carbide scrapers, they might help with that. But for now I’m having fun with this, and I have a few more blanks to get through, as well as an entire green log to break down and make things for Fernhill with. Maybe a bowl would work for that, it could act like a natural birdbath….
Dropped it off with some shopping to Mom&Dad who’re cocooning away at the moment. Who of course immediately picked it up bare-handed, so lots of handwashing all round required. Next time I’ll disinfect it before putting it in a box…
Cold wet Sunday so time to tackle a few bits and pieces in the shed that have been hanging about a while. Like mounting two magnetic strips on the inside of the door because I’ve run out of wall space for things, and epoxying some handles I turned onto the saw files.
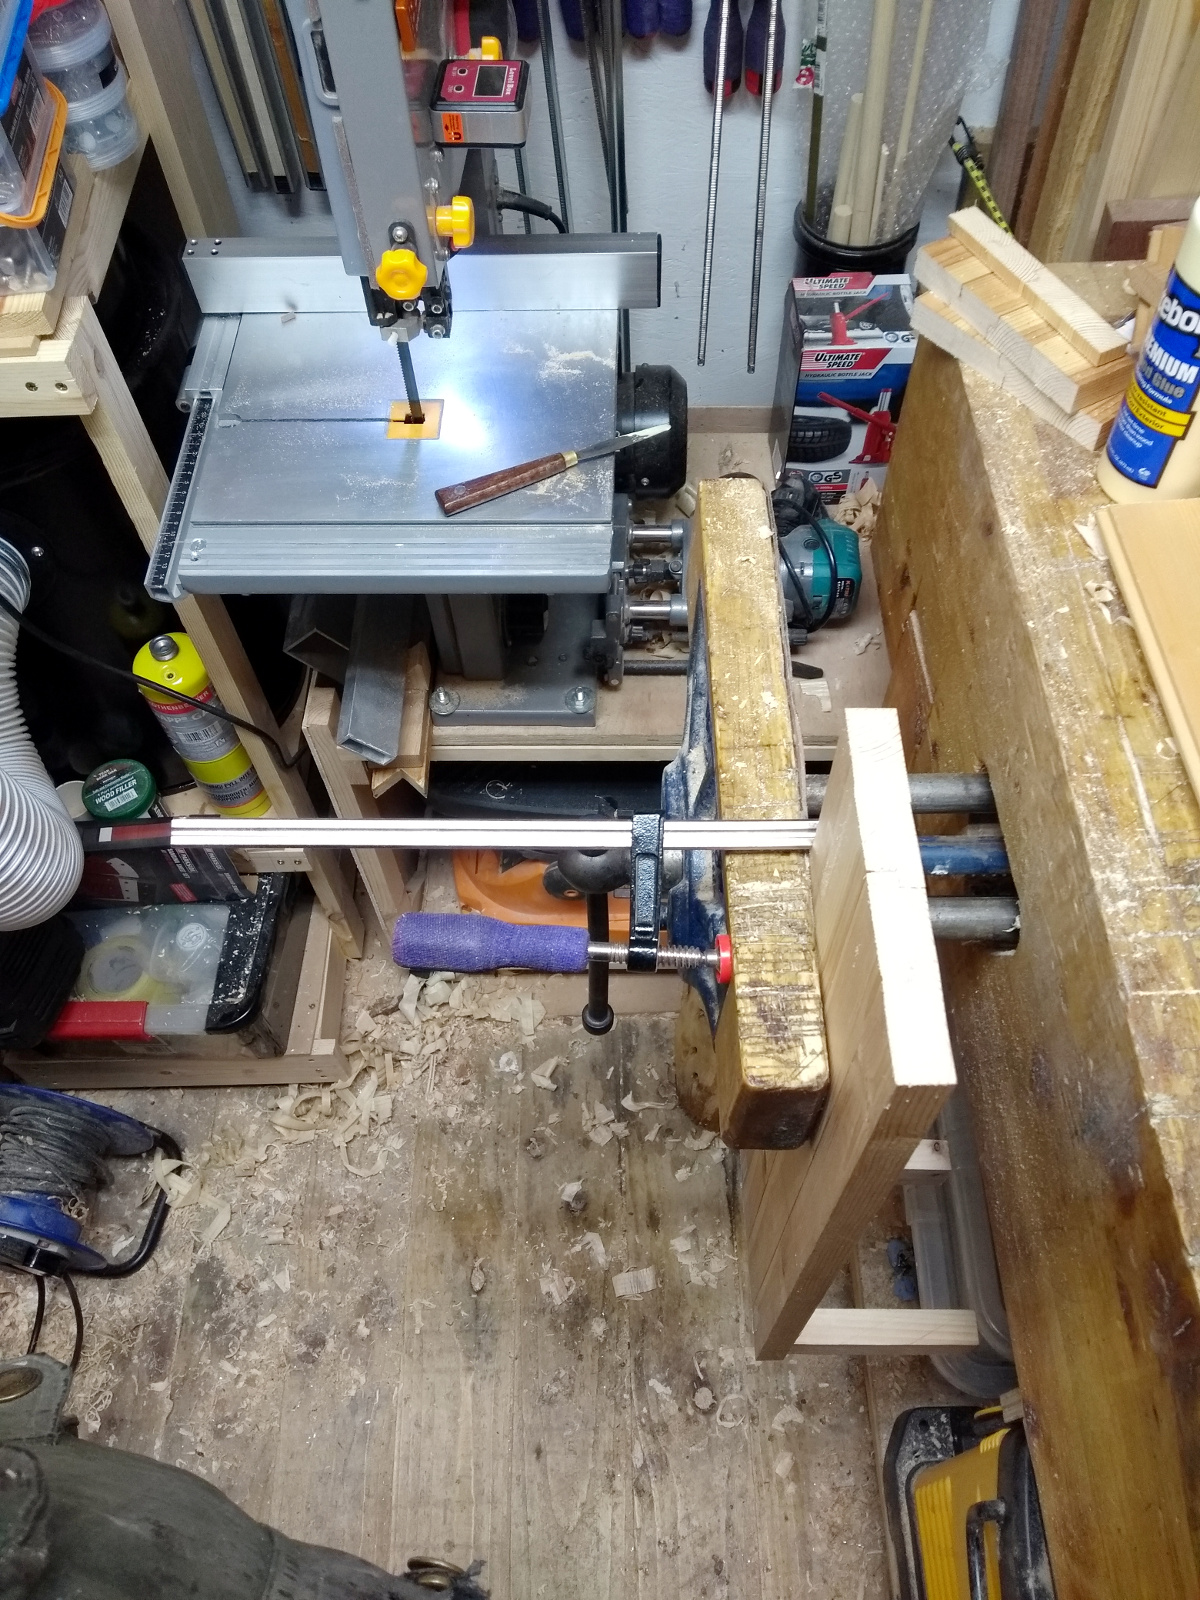
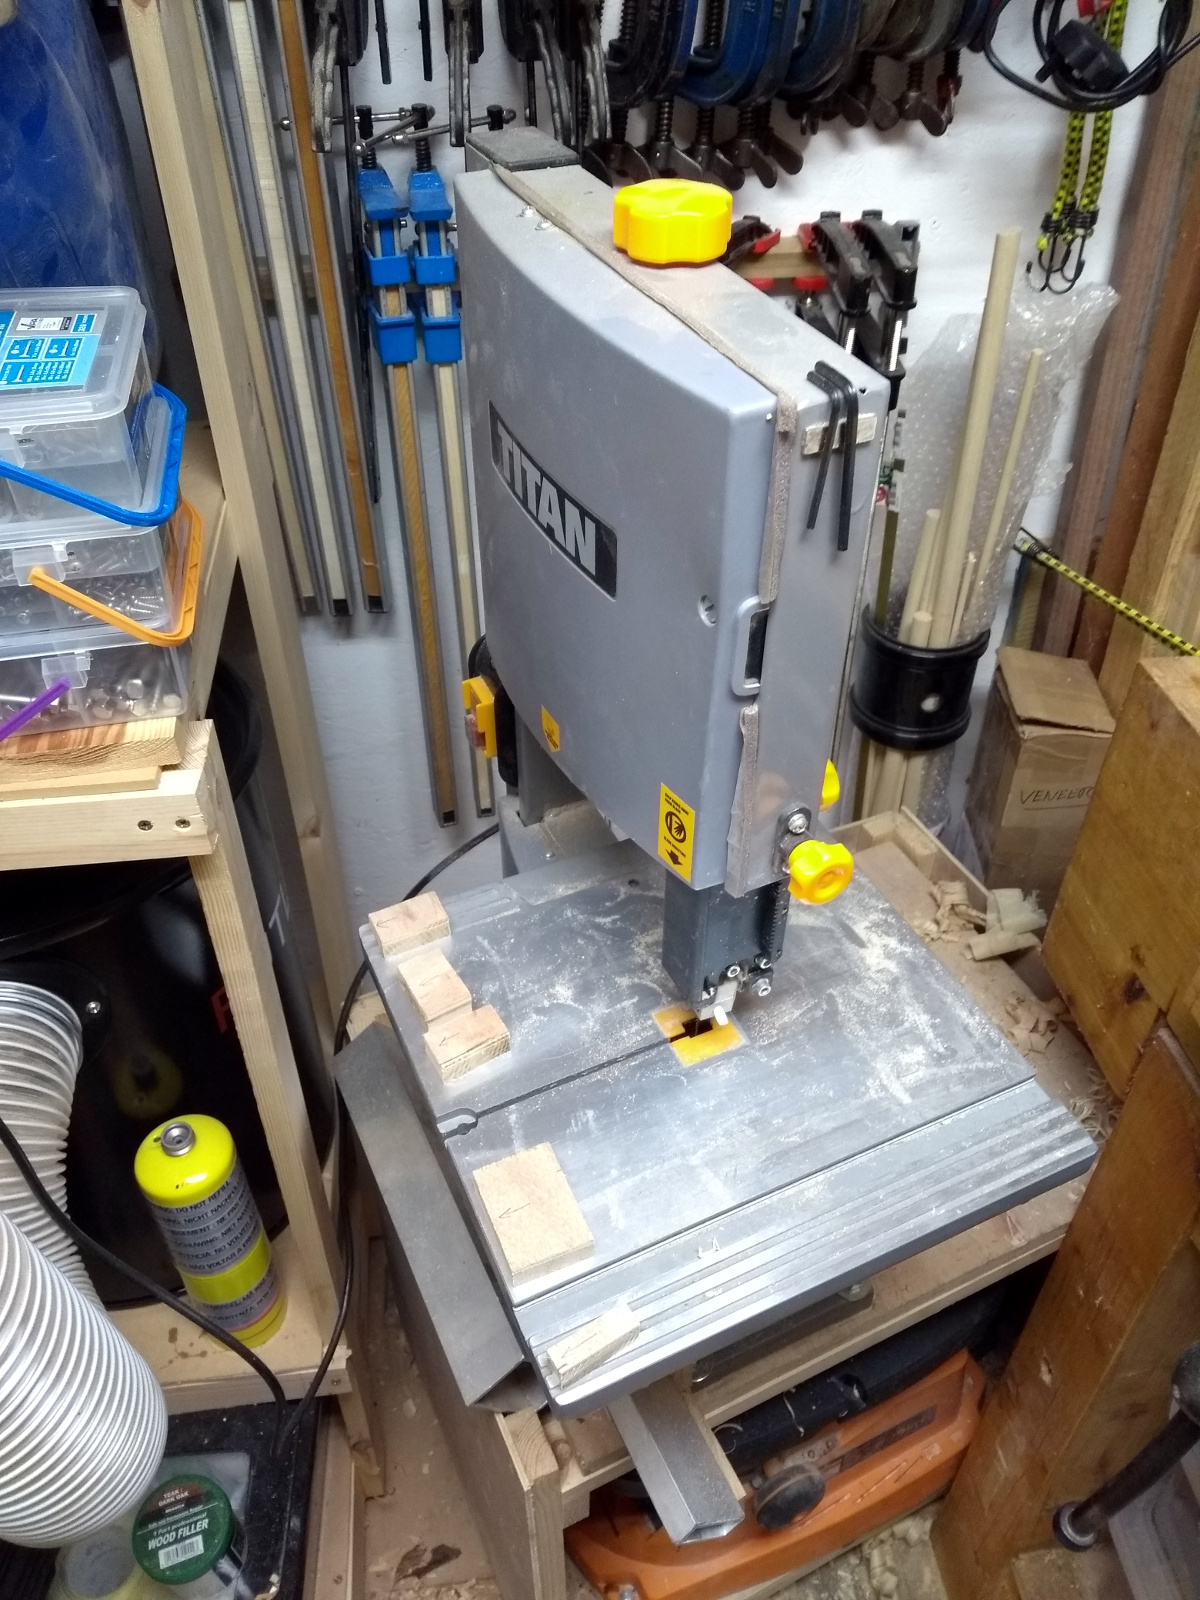
Larger tasks though involved a cardboard box that’s been eating bench space for the last few weeks. The little bandsaw that’s earned its spot in the shed over the last year or two came with a “fence”. Said “fence” followed the adage of doing one thing and doing it well, but unfortunately that one thing was weighing down a bin bag. It definitely was too cool to be square, daddy-o. But there are after-market fences (meaning we couldn’t make it well for the money, so give us more money and we can do it right). Peter Millard did a video on fitting one to his Titan bandsaw a while ago:
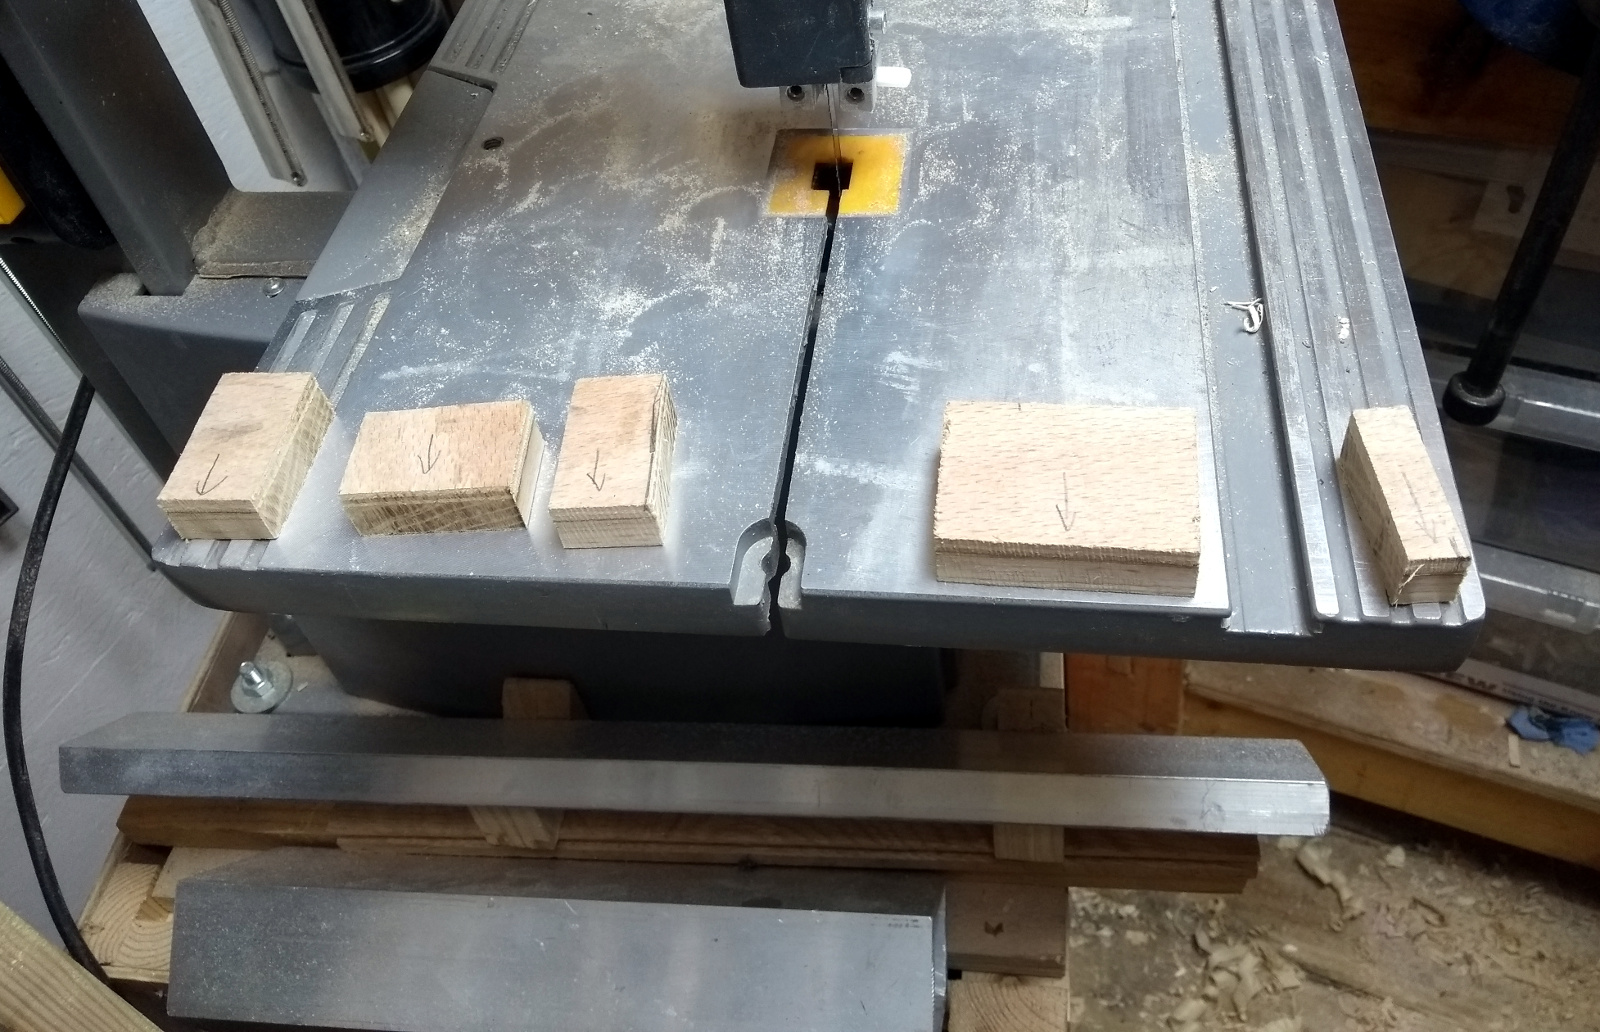
So I bought one… six months ago… so it’s aged enough to do something with it now. I’d made some spacers already.
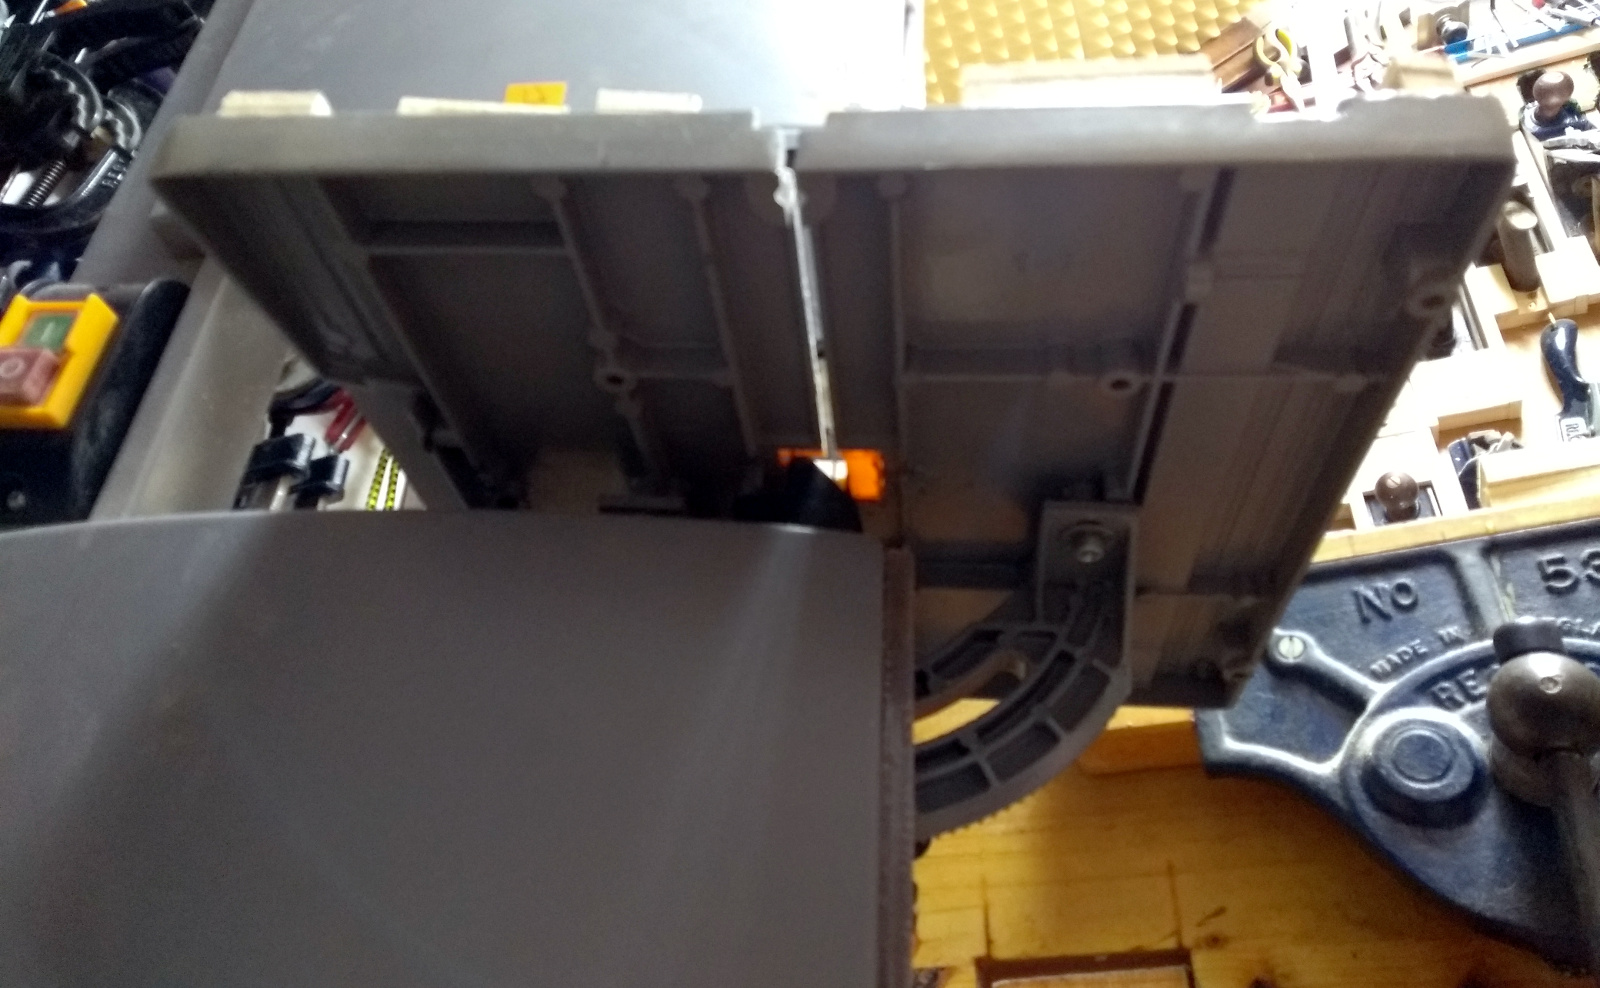
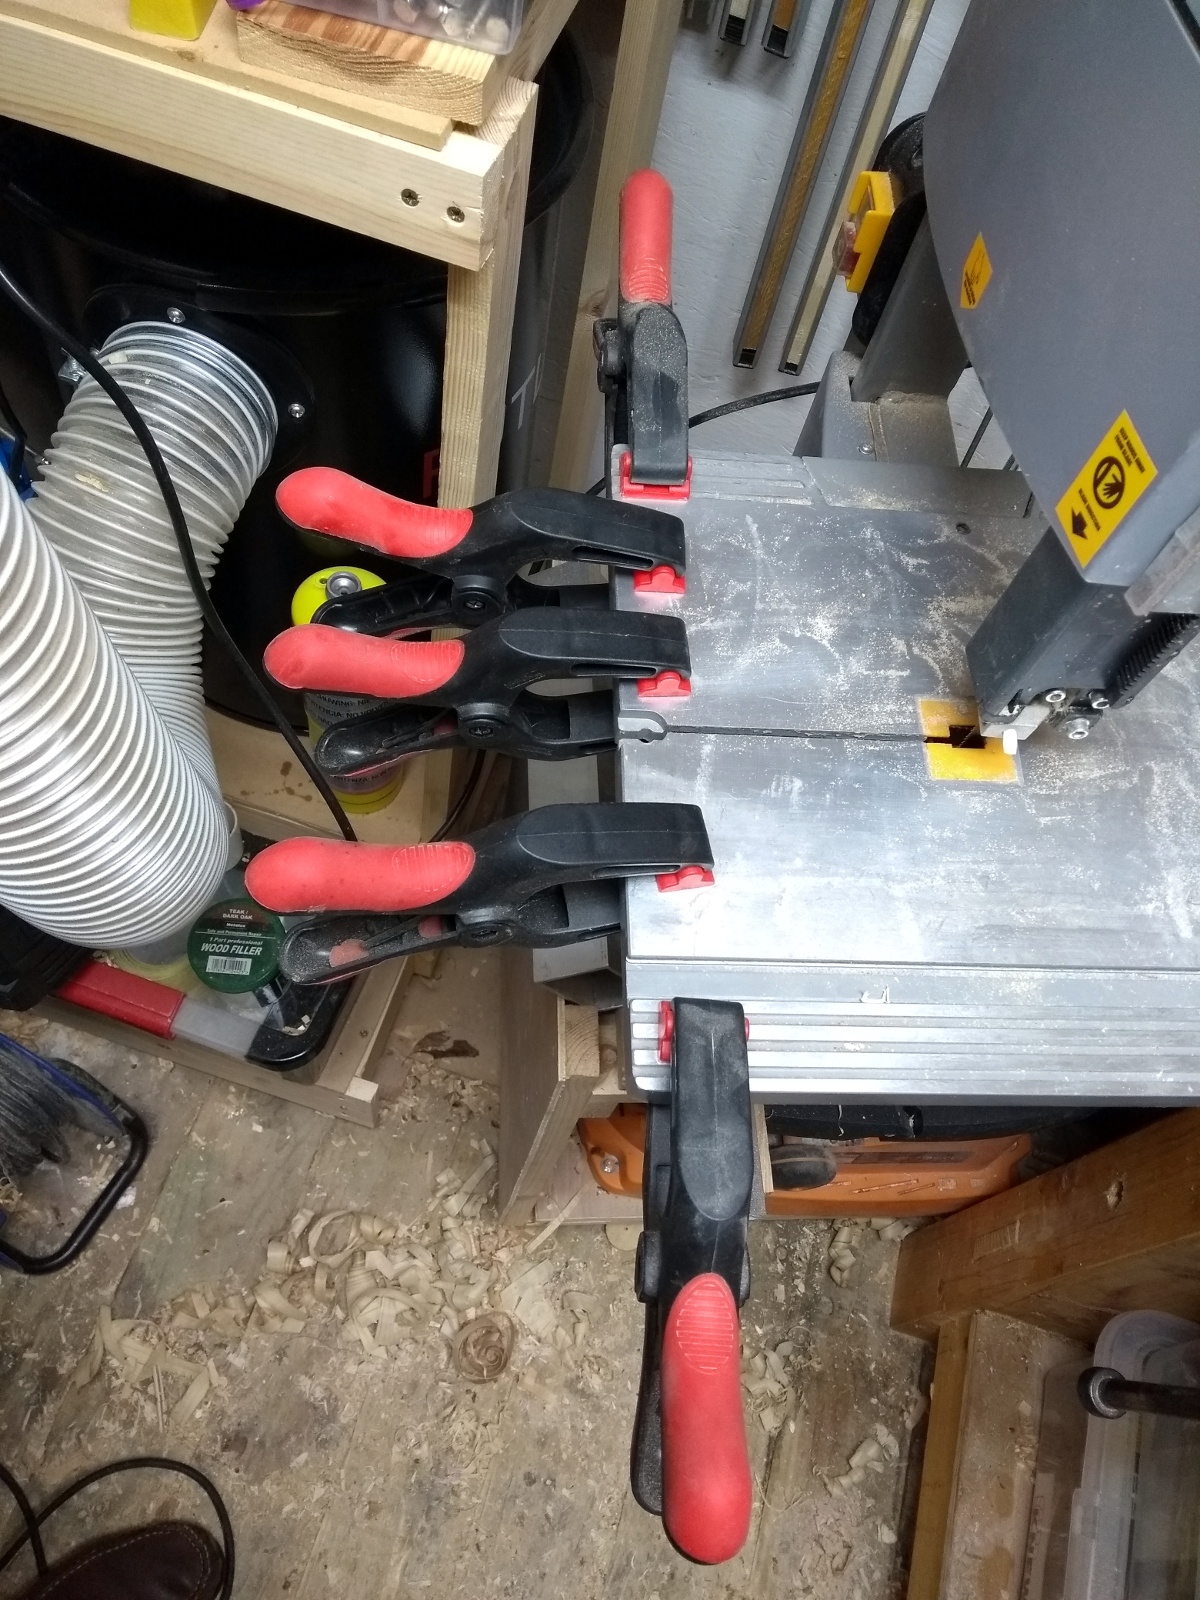
They’re cut to odd sizes because I need to epoxy them under the table so that the fence’s rail has something flat across the base to be clamped to, and the underside of this table is very irregular.
Some five-minute epoxy and a few clamps and it’s time for a cup of coffee.
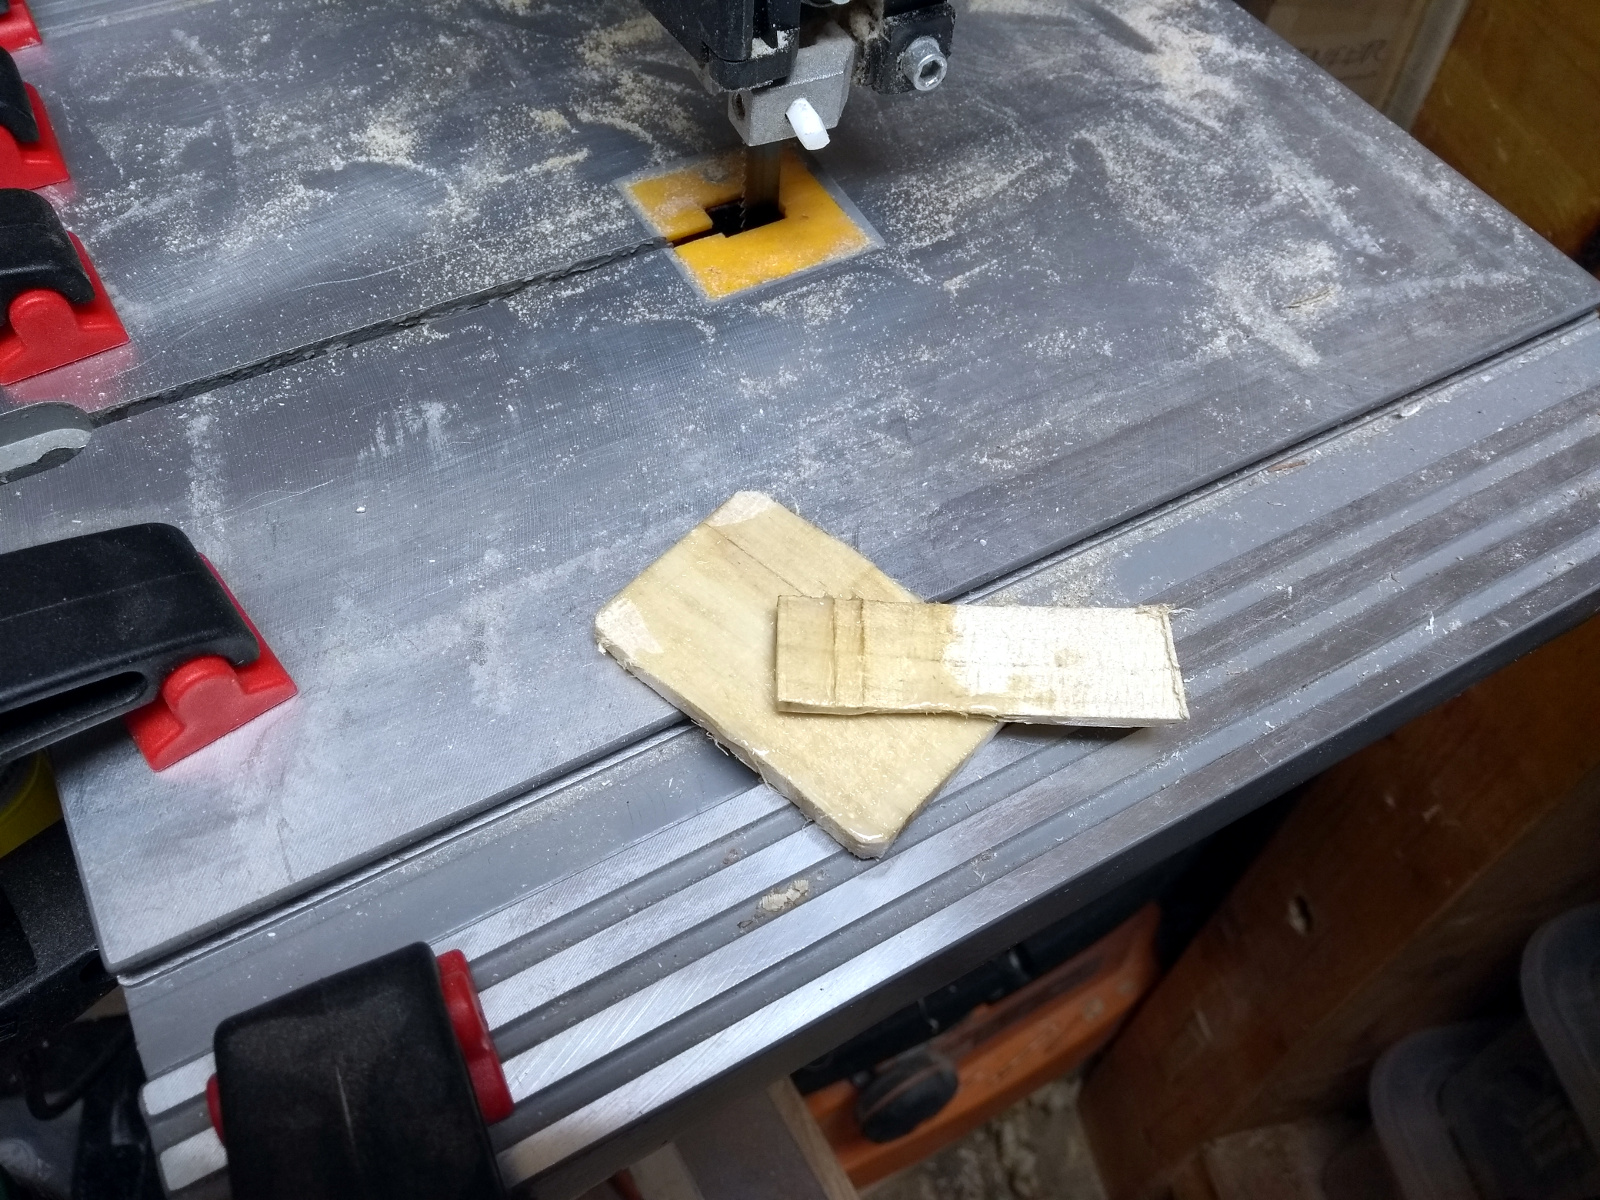
And I’m stealing Peter’s trick of leaving the mixing stick to be glued to the mixing board so I can check on the epoxy bond without testing the real bonds.
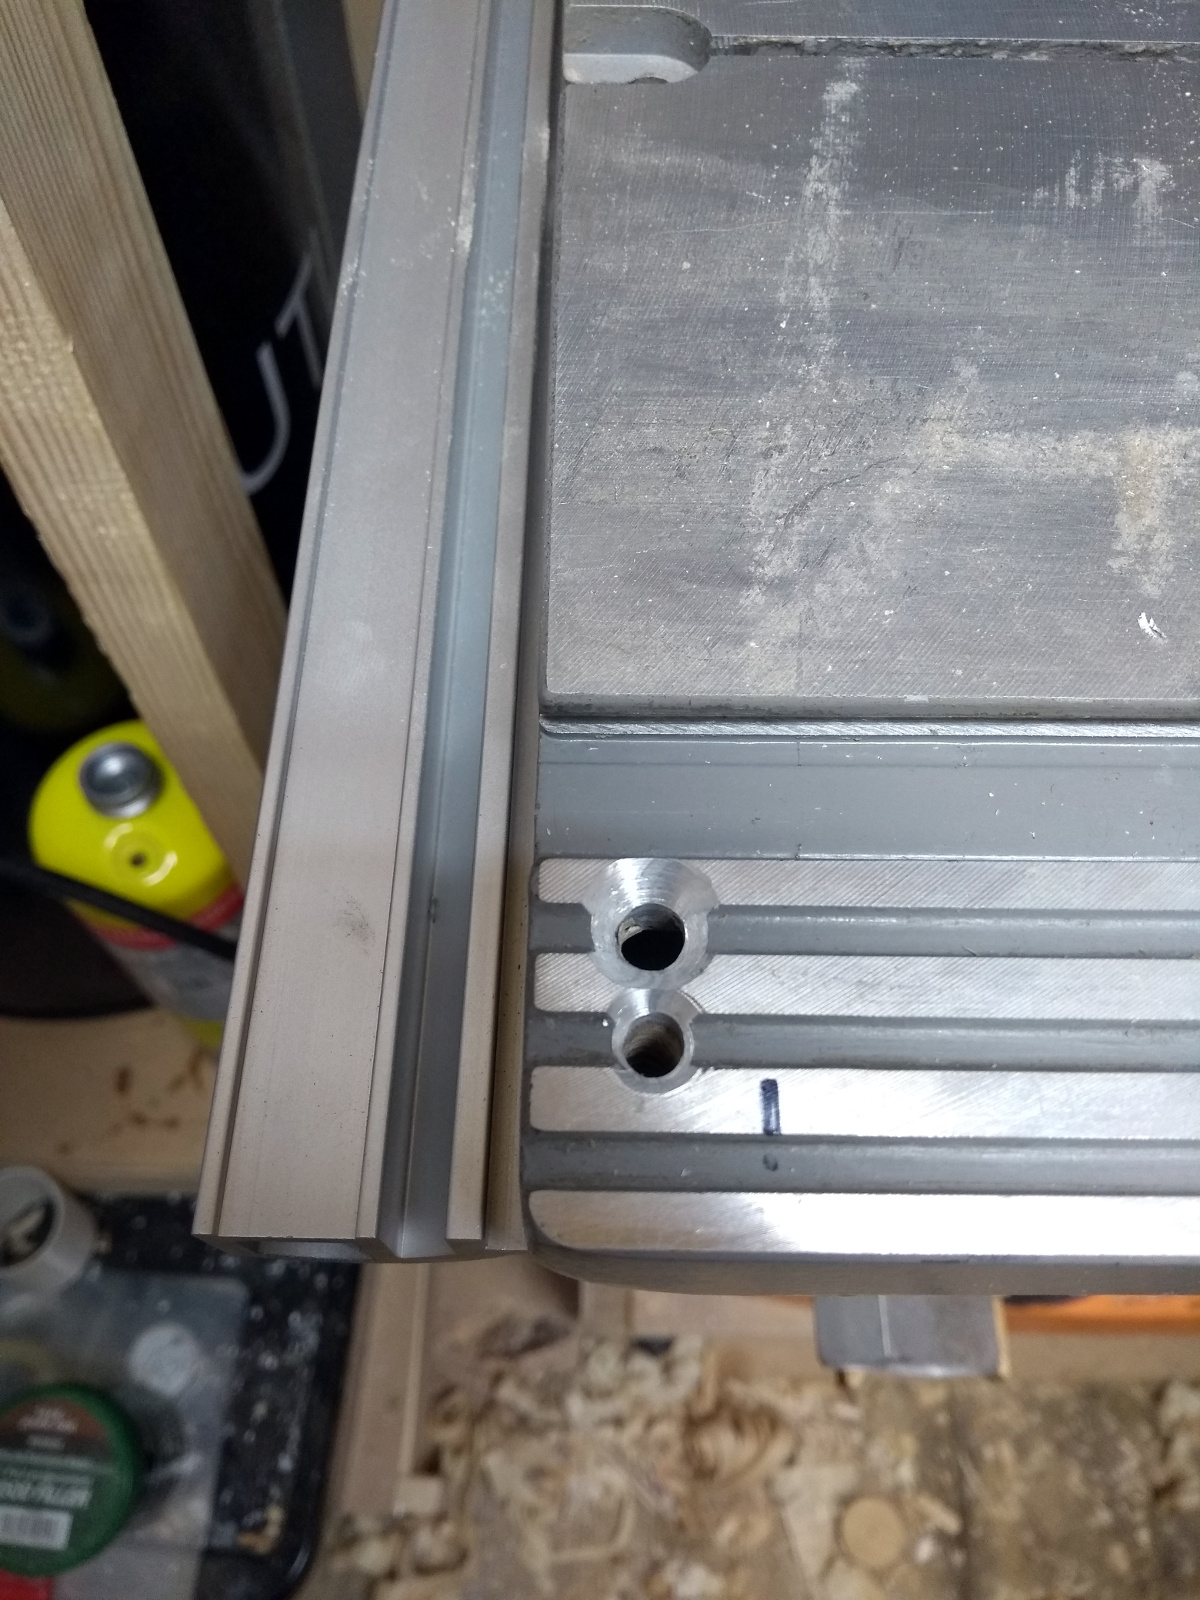
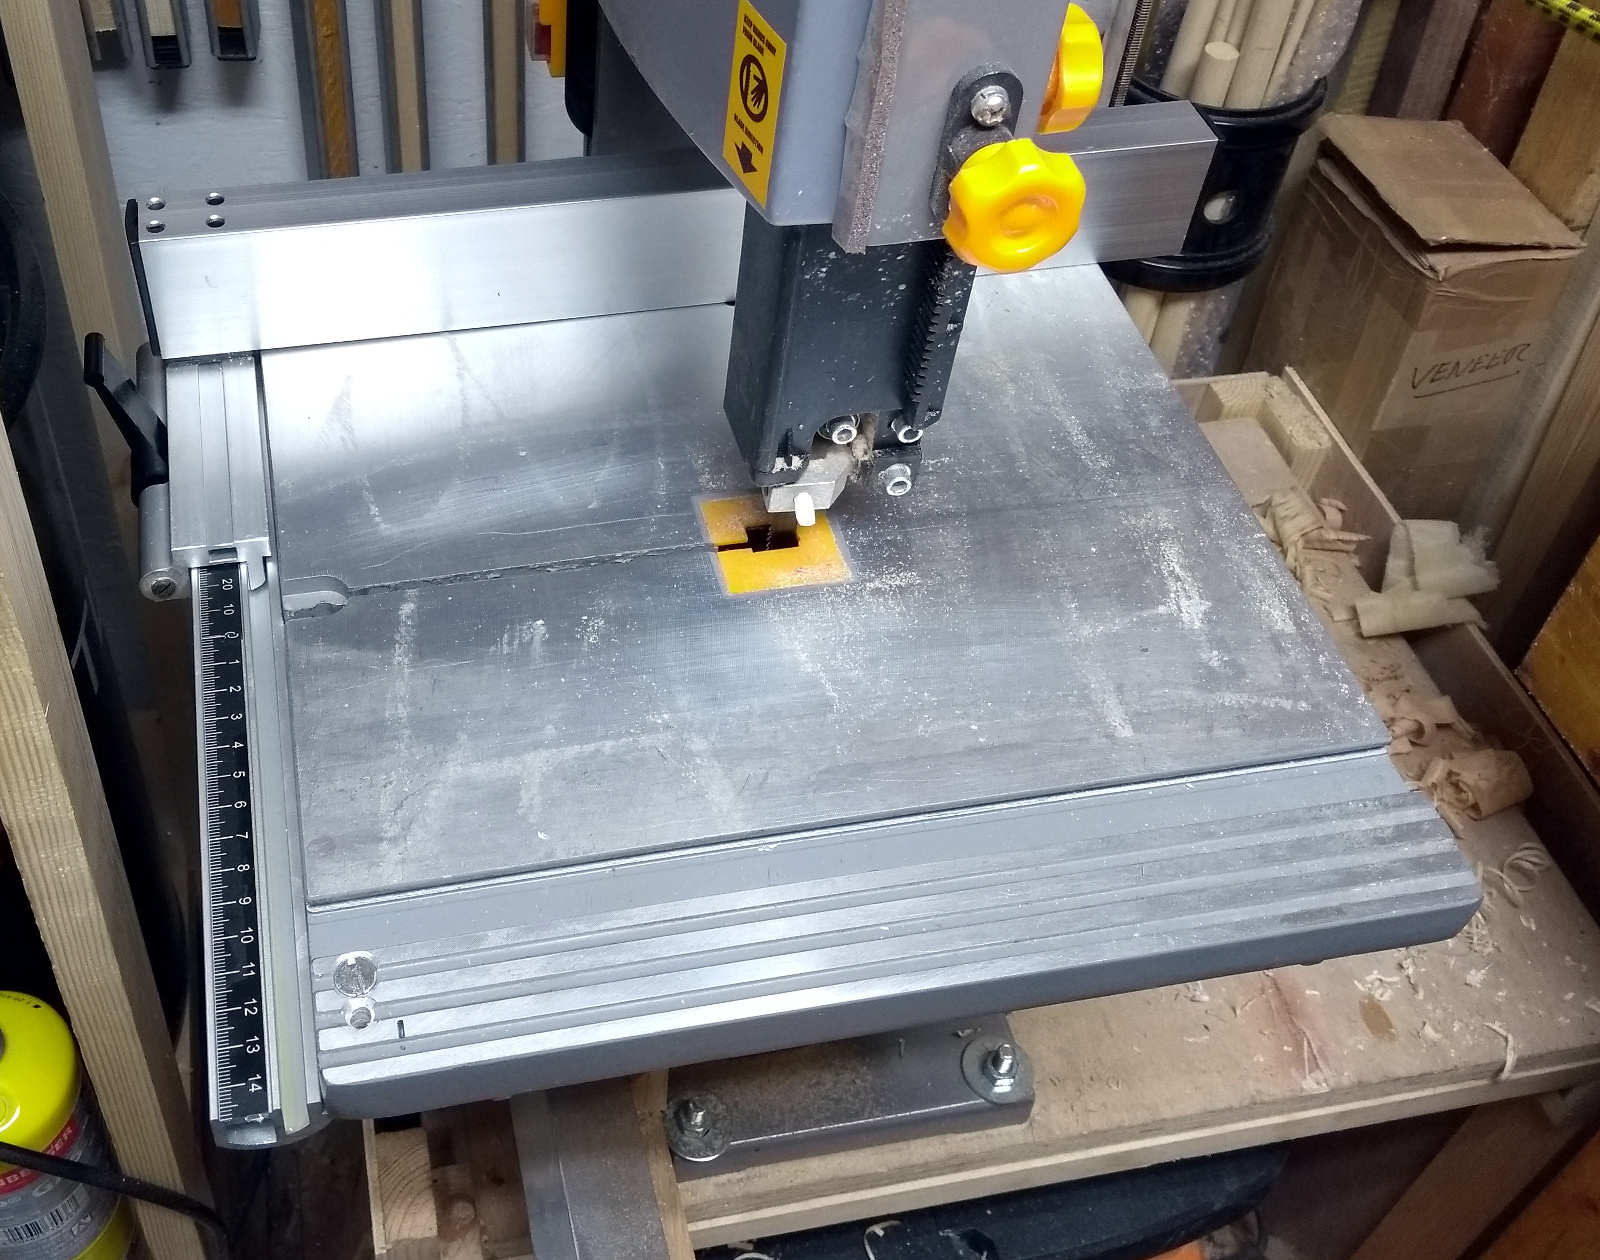
A half-hour of coffee and searching for various bits in the house unsuccessfully (I know I bought an LED floodlight for use in the shed only four years ago, it has to be here somewhere) later, I marked out the depth of the bit of the fence you’re to drill through on the table and then drilled three holes for mounting bolts, two in the right place and one spare in case I need another hole later on.
Deburred them as well obviously. I had originally intended to use M5 bolts, but it turns out I don’t have any M5 countersink-head bolts, but I do have M6 ones which is why my spare hole is a bit small.
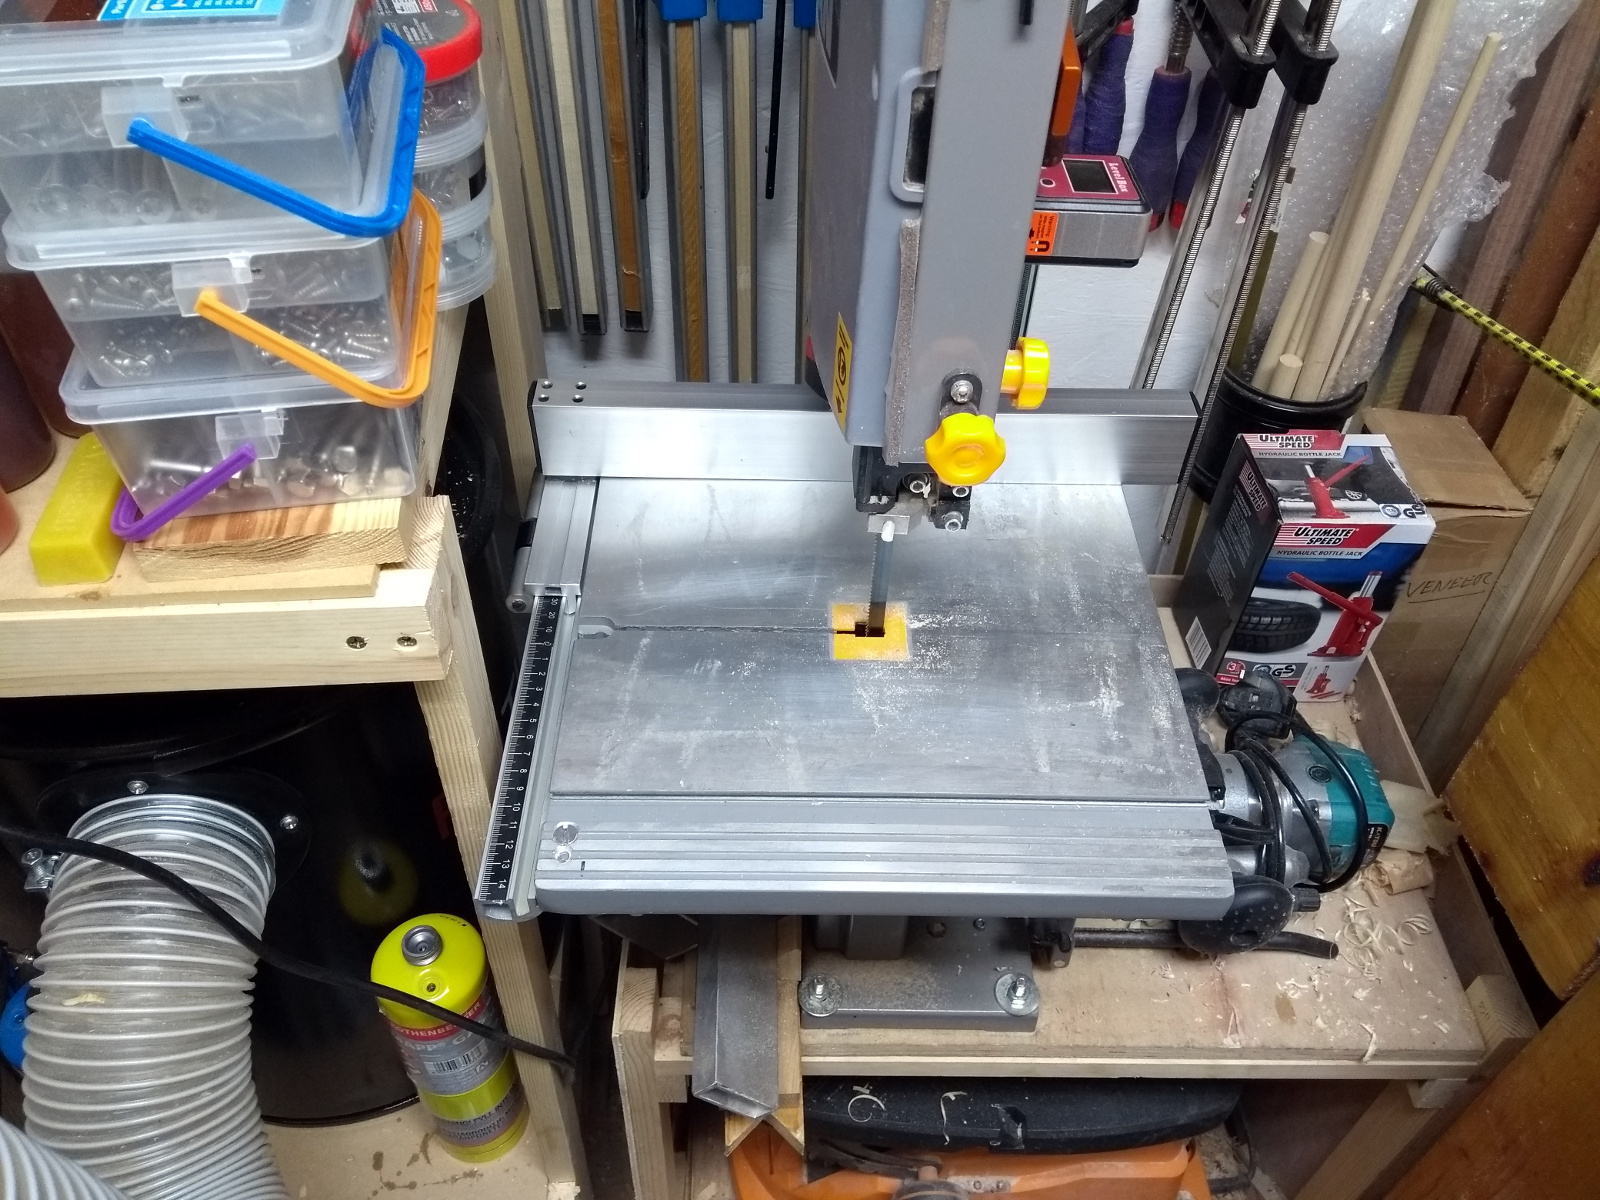
Then I stuck the measuring tape sticker into the track where I’m sure it’ll last for at least four days, and bolted the rail to the table. I need M6 wing nuts for this really because you have to take the rail off to change the bandsaw blade (and I also need an M6 wingbolt for the table stabilising screw that normally goes in where the slot in the table meets the edge of the table). I’ve ordered some from ebay so they should get here in a month, and until then I’ll make do with normal nuts and not changing the bandsaw blade.
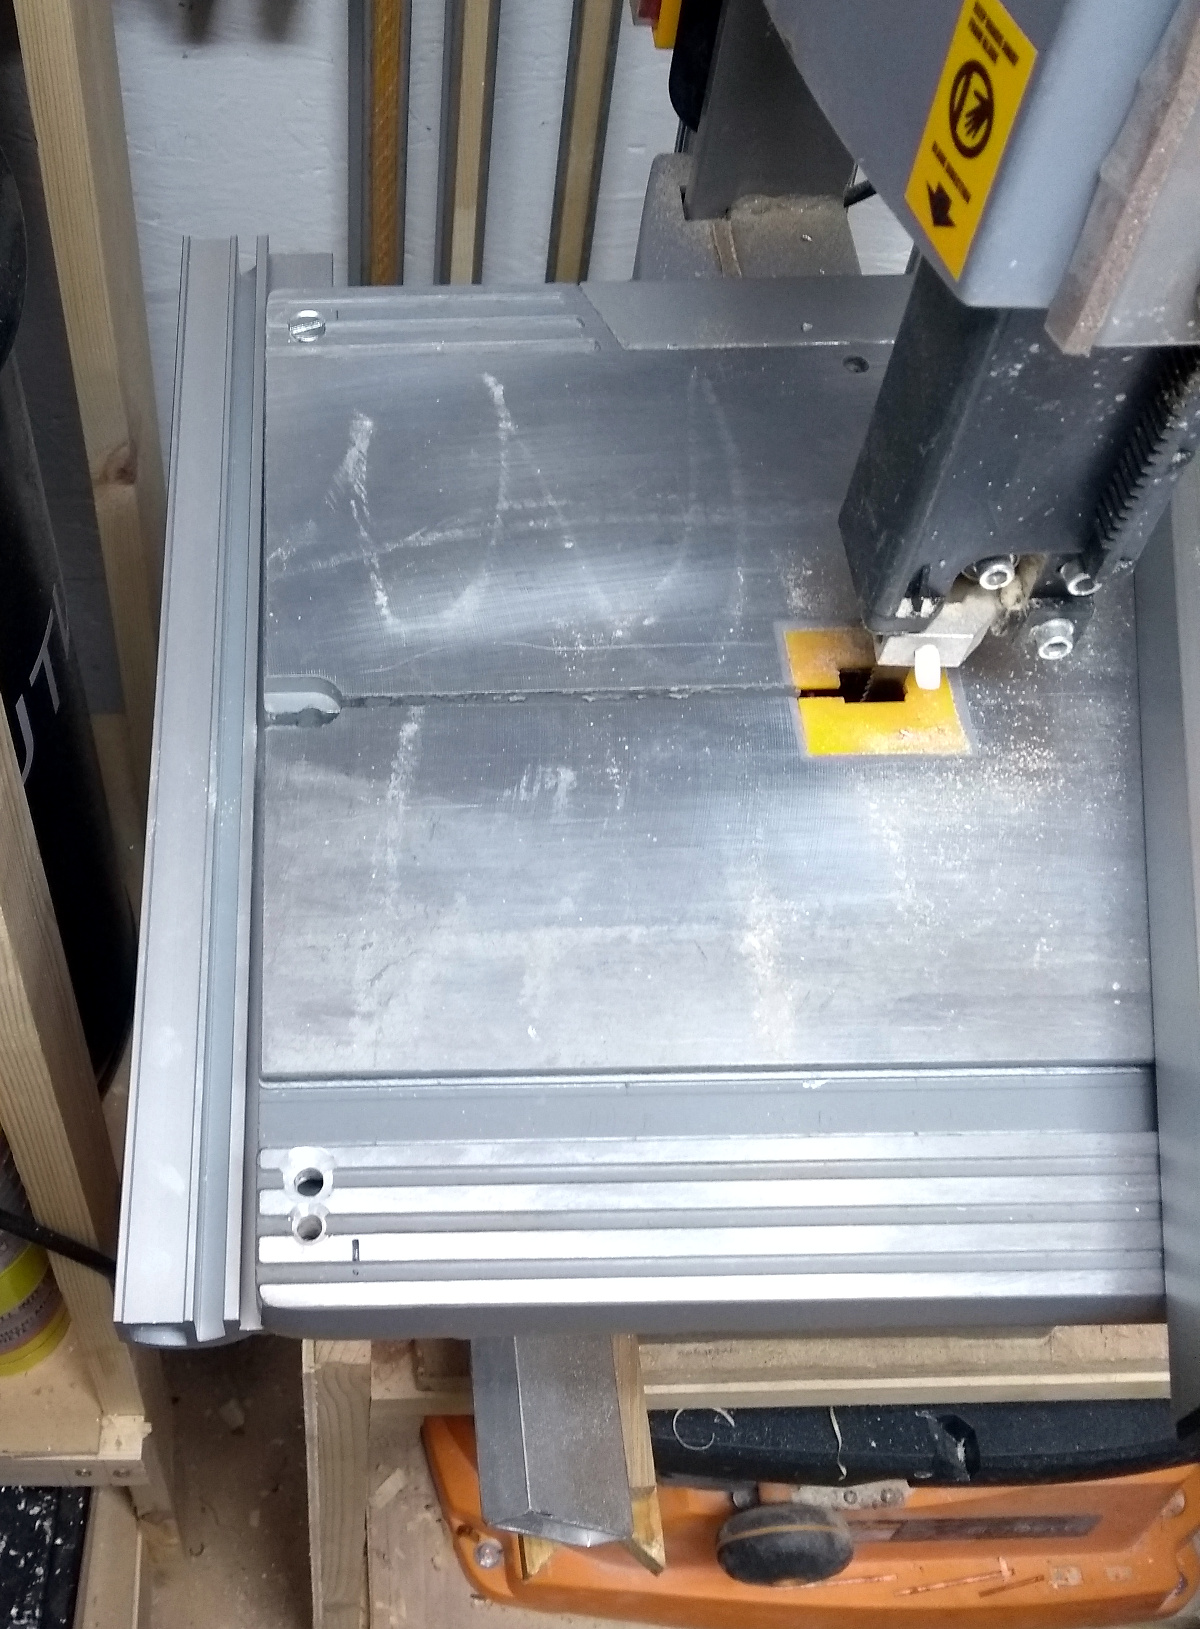
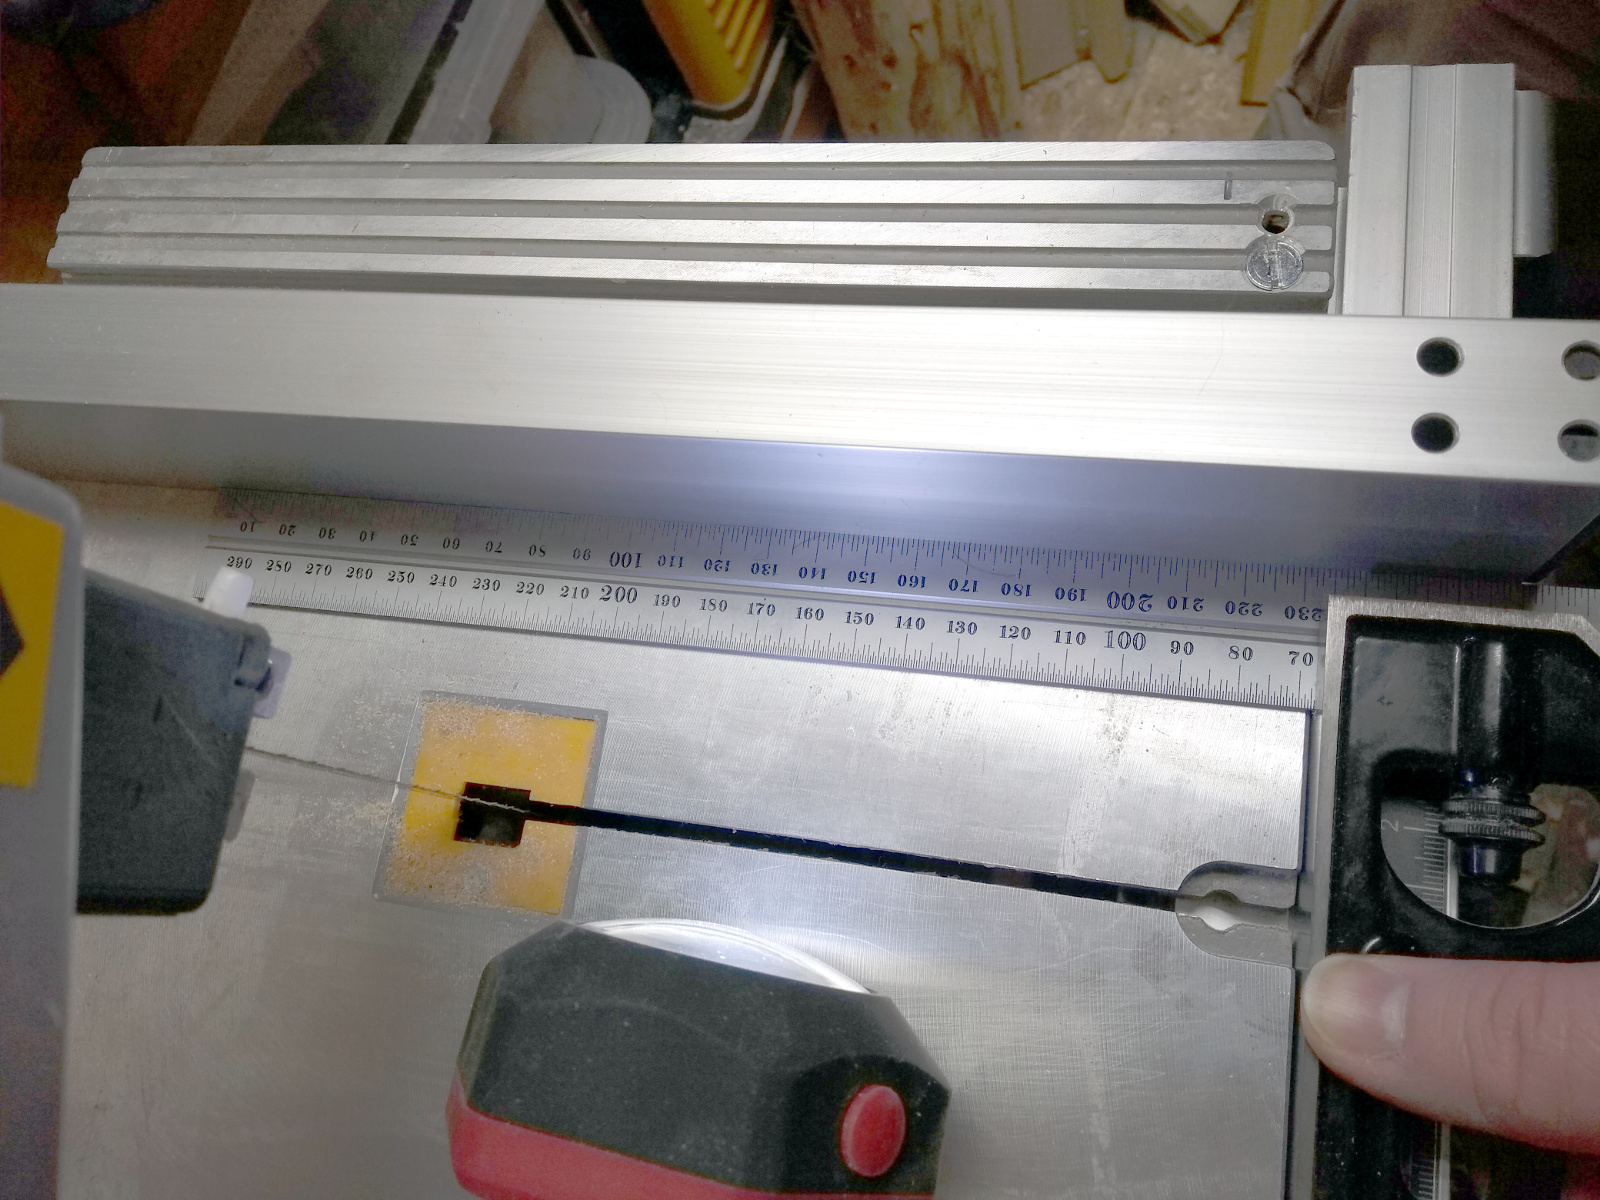
And now that that’s done, have to square the fence to the table using the adjustment screws under those four holes in the top of the fence.
Or not. I didn’t believe it either so I triple-checked it with two squares, but yup, that fence is square to the edge of the table according to my most accurate Starrett square. I’m not sure what sort of necromancy was used to achieve this, but I’m sure it involved at least one plague of locusts.
And that’s off my bench at last. I look forward to using it once or even twice a year if I’m feeling frisky.
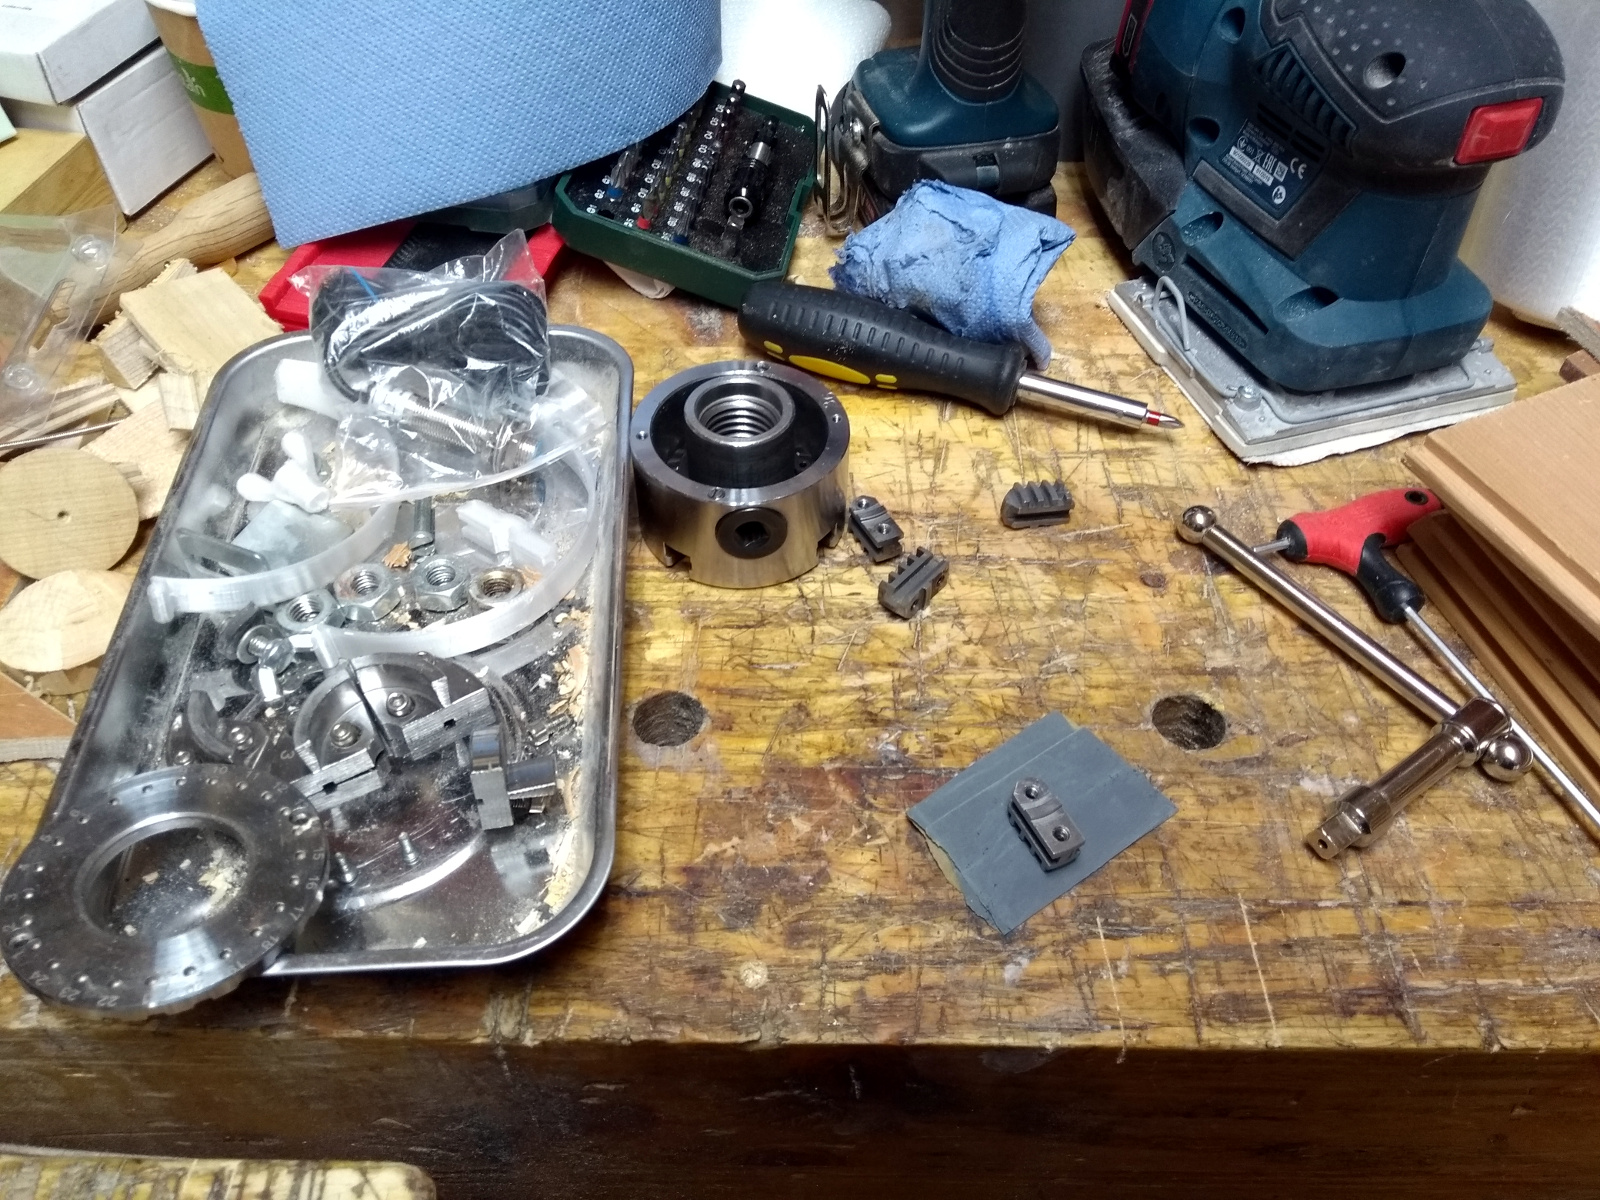
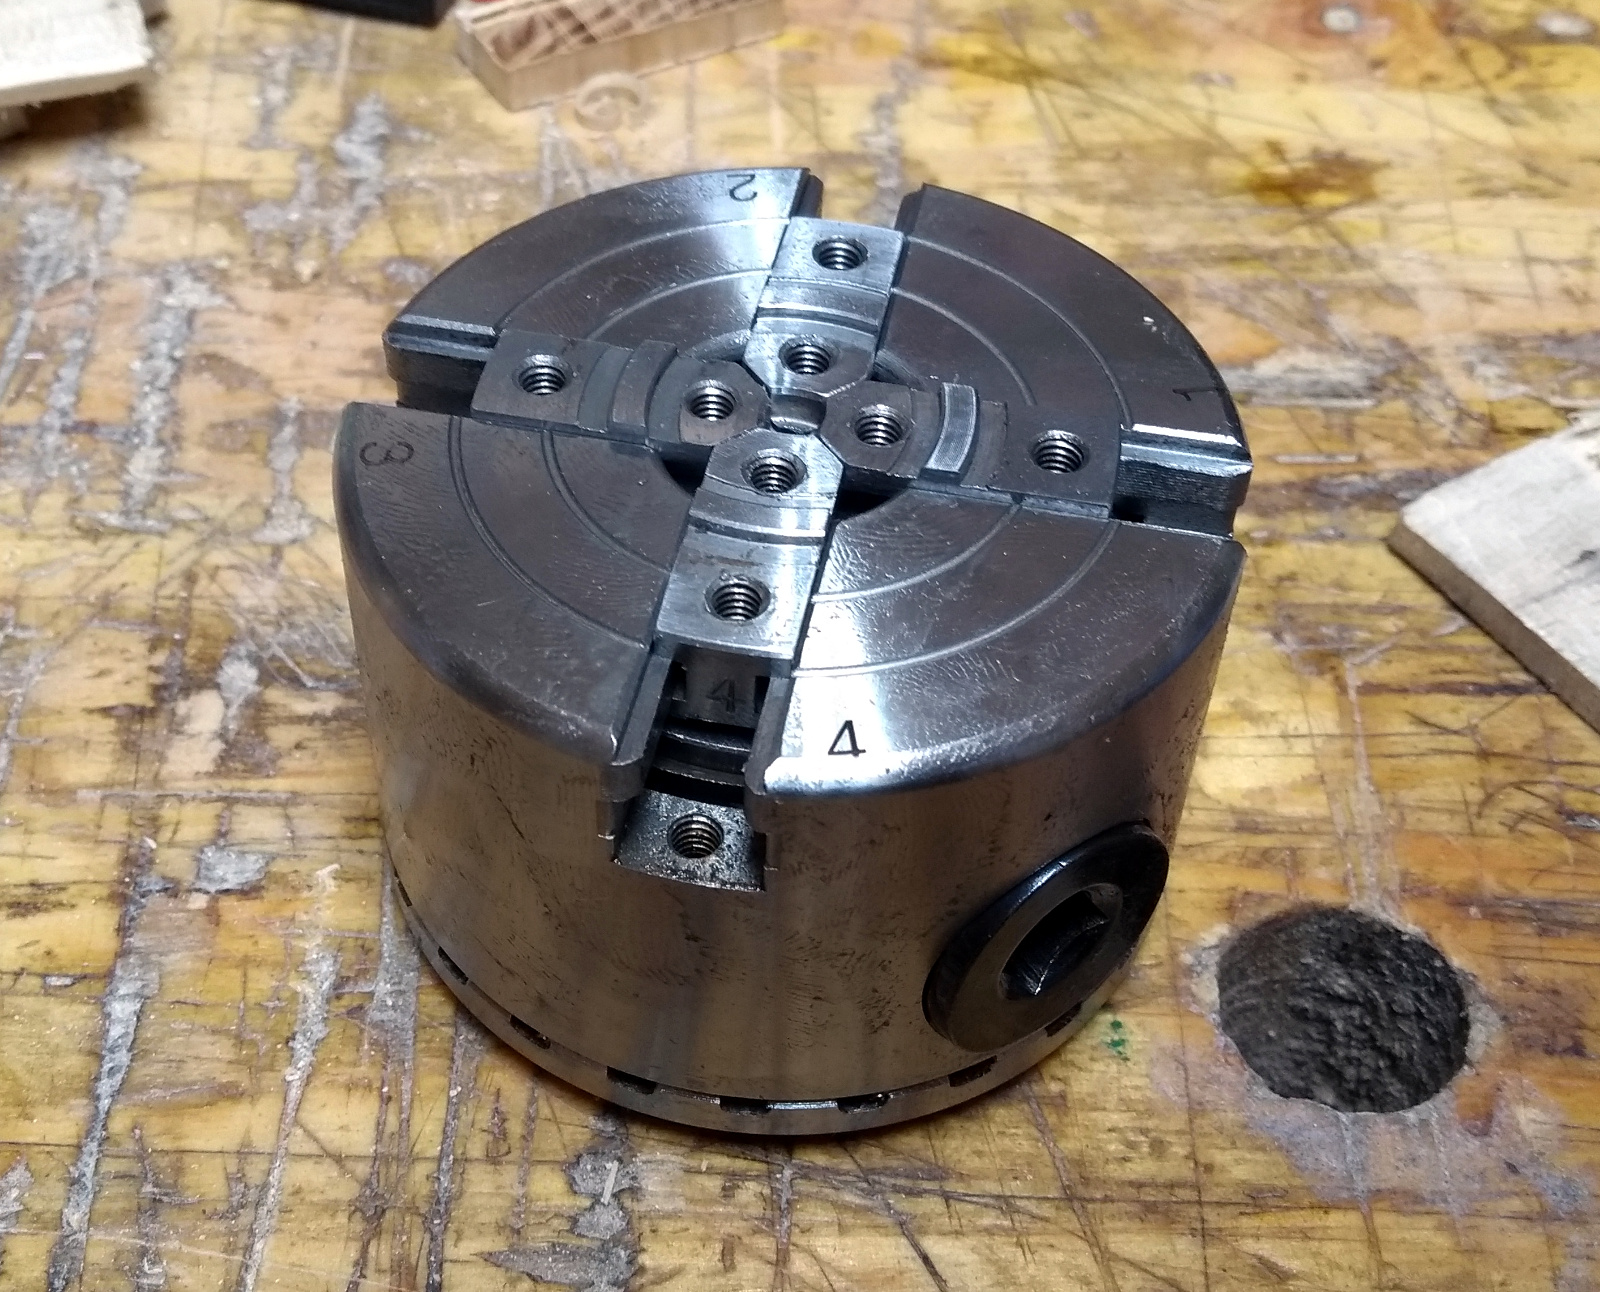
Next up, the chuck I bought for the lathe was a cheap one even normally but I bought a shop demo one that was on sale. And it’s been grand, but it does bind every five or six turns of the key, so I thought I’d take it to pieces and check it and see if it was something simple that I could fix.
Turns out that a lot of the parts were not very well deburred, so I got out some 1200 grit wet-n-dry paper and deburred them as best I could.
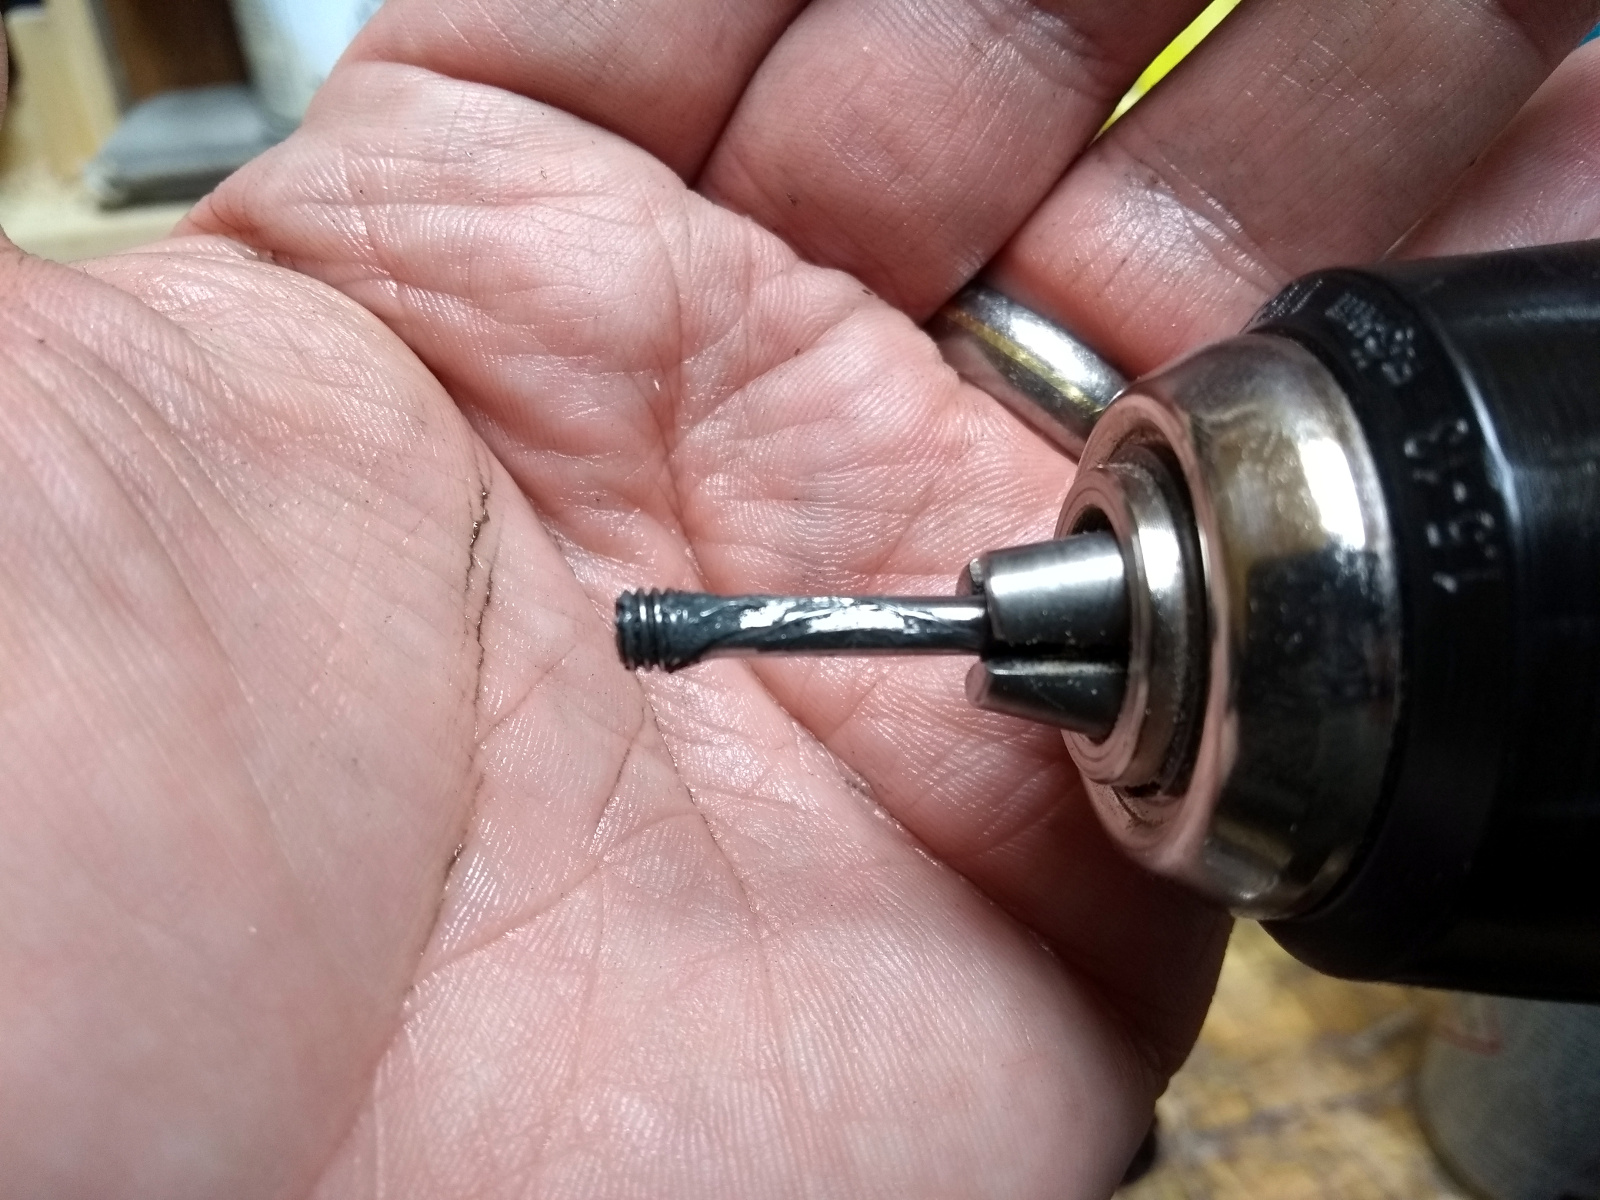
There wasn’t a single burr-free edge on some of those parts. As to the pins that held the pinion gears in (the bits you put the key into), they looked like someone had attacked them with a dull beaver.
That’s the after photo. There wasn’t much I could do with that much damage so I chucked them into the drill and ran it at high speed while holding the wet-n-dry paper against it to smooth off the worst of it.
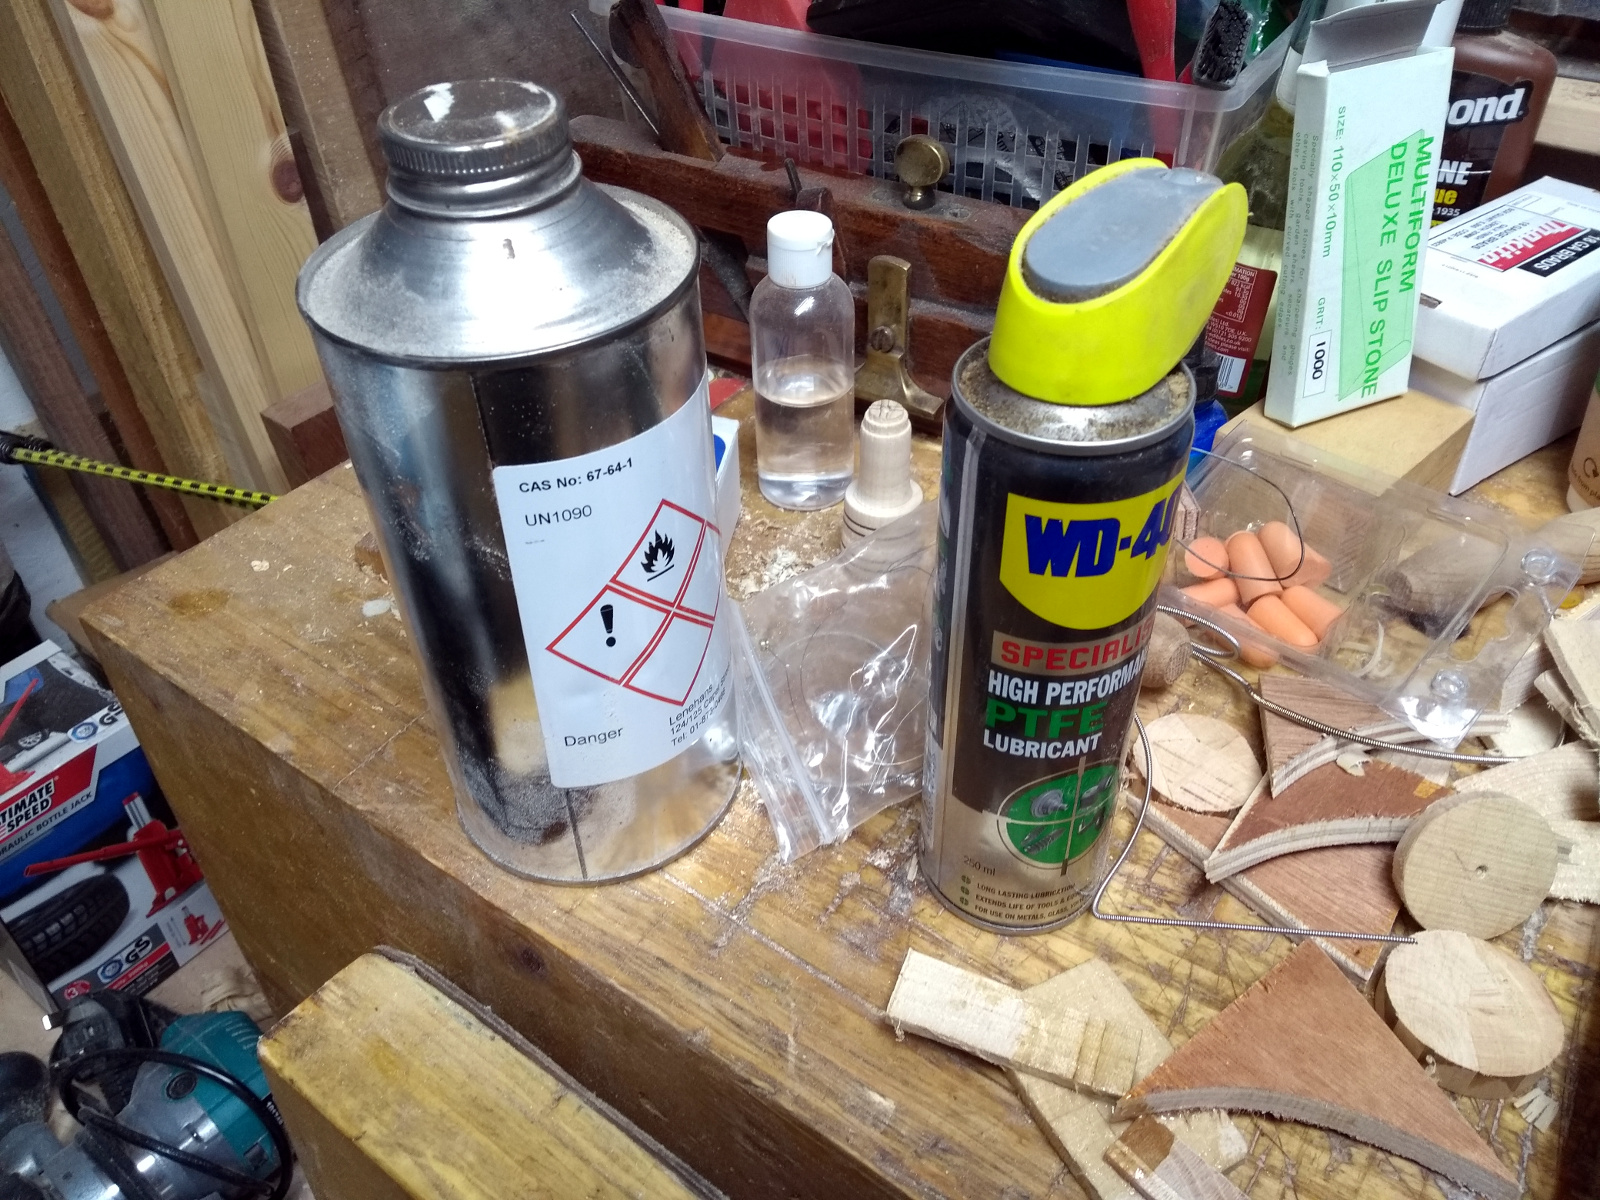
Then blowing out all the dust and grit with compressed air, degreasing with the really nasty stuff (remember the song kids – “acetone, it stays in your liver”) and liberal amounts of PTFE lubricant on the moving parts, And reassembly.
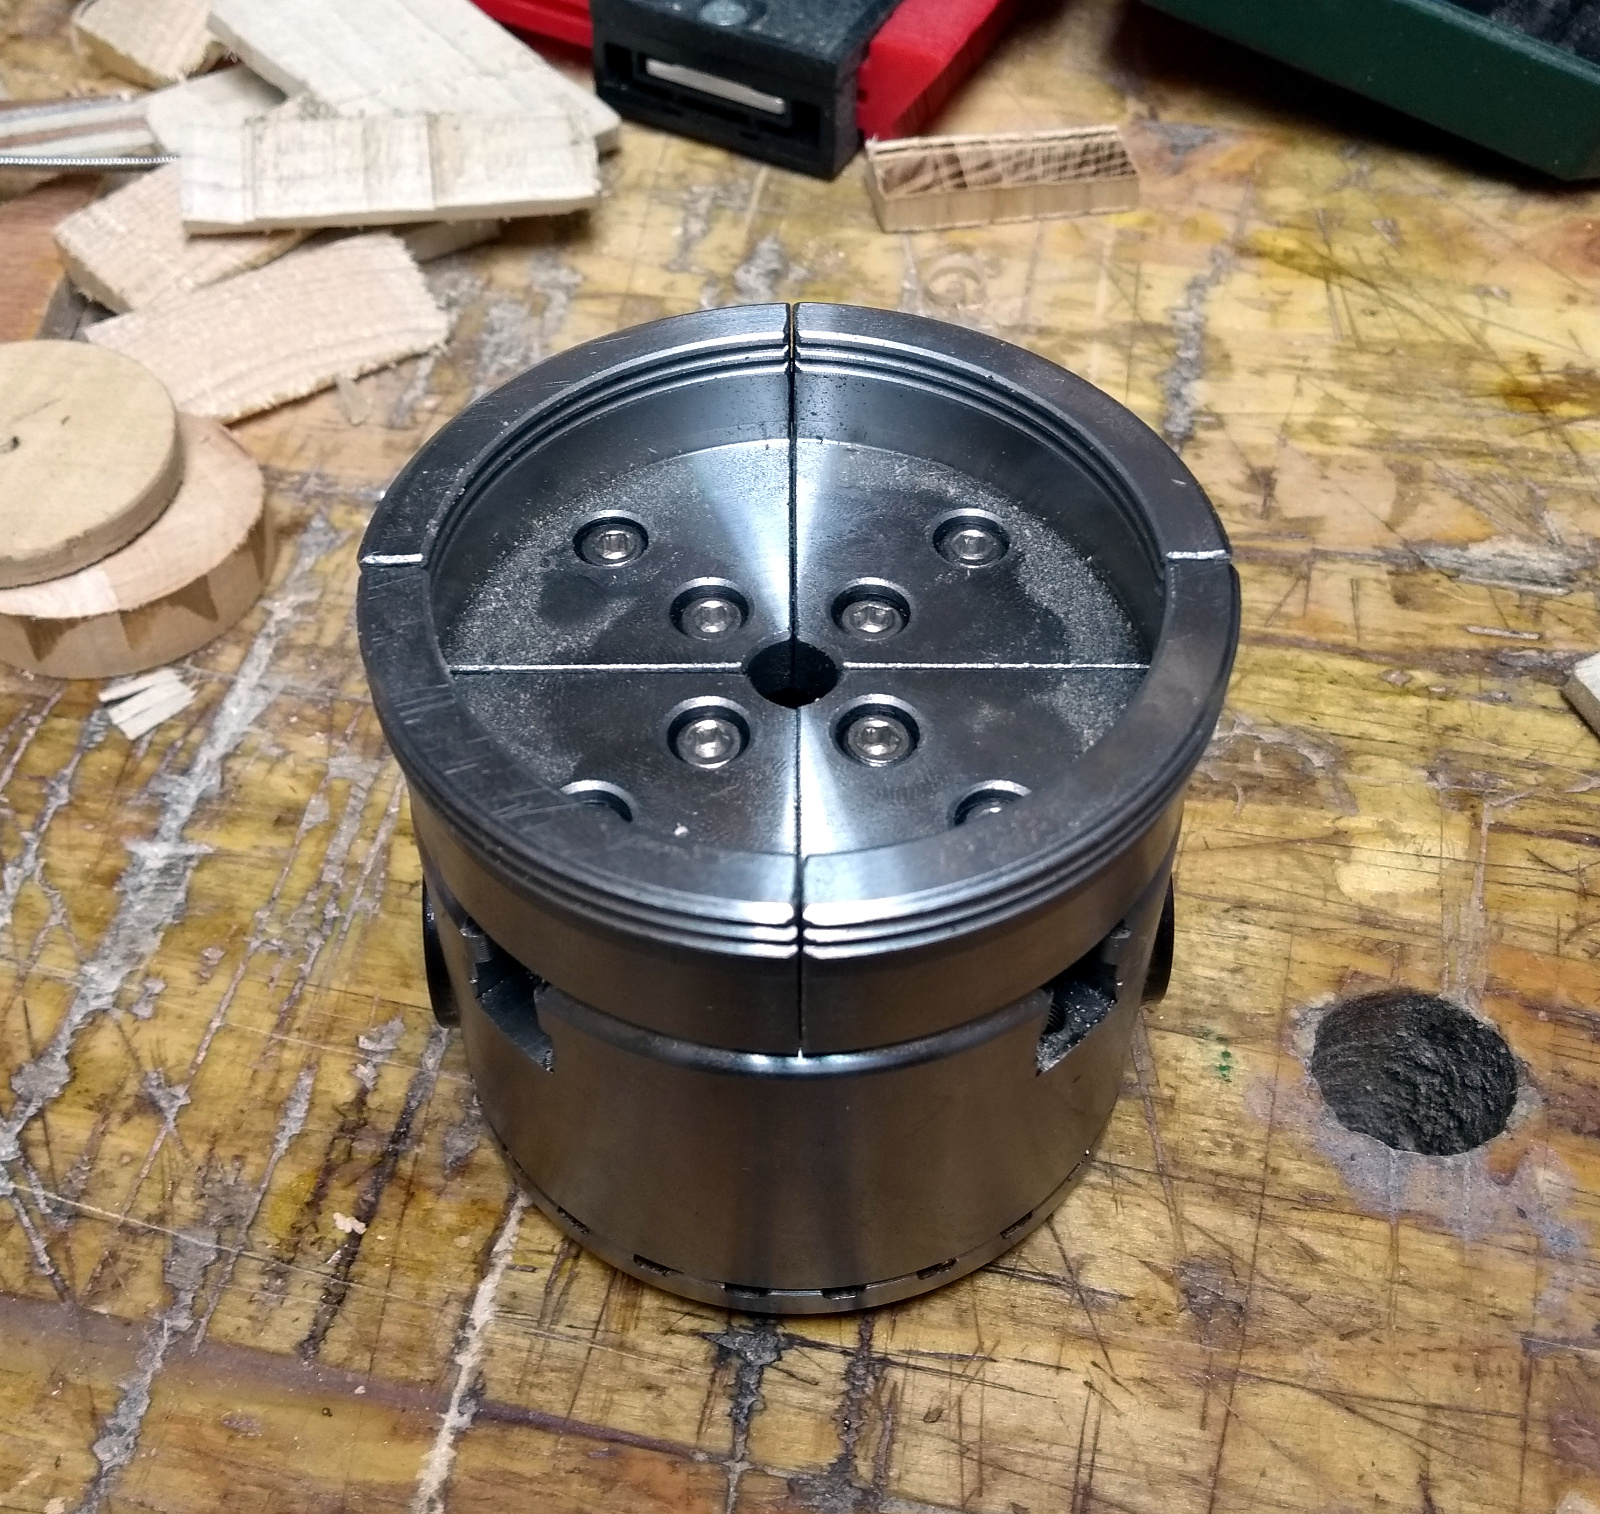
Didn’t think I’d get it back together, did you?
BTW, I haven’t put the regular jaws back on because I want to try the new ones I got. Thing about this chuck is that when you buy it you can either buy it with just the one set of regular jaws or you can buy the entire set of six different jaws, but since I got a demo model, I couldn’t get the entire set. And they will sell individual jaws (or a pack of jaws) for this make and model of chuck, but they don’t sell the flat bowl reversing jaws for it separately so I was looking to find compatible jaws from somewhere else.
So, quick PSA, if you bought the 3″ Xact chuck from Rutlands, and want spare jaws, the Viper2 jaws will fit it. I got these from here, but there are many other places where you can find Viper2 chuck jaws, the Viper2 being a reasonably popular model.
I’ll be trying these out on another miniature bowl in a while I think. They’re really for larger than that, but I want to try them on a 3″ blank rather than finding out they don’t hold well when there’s an 8″ blank in them…
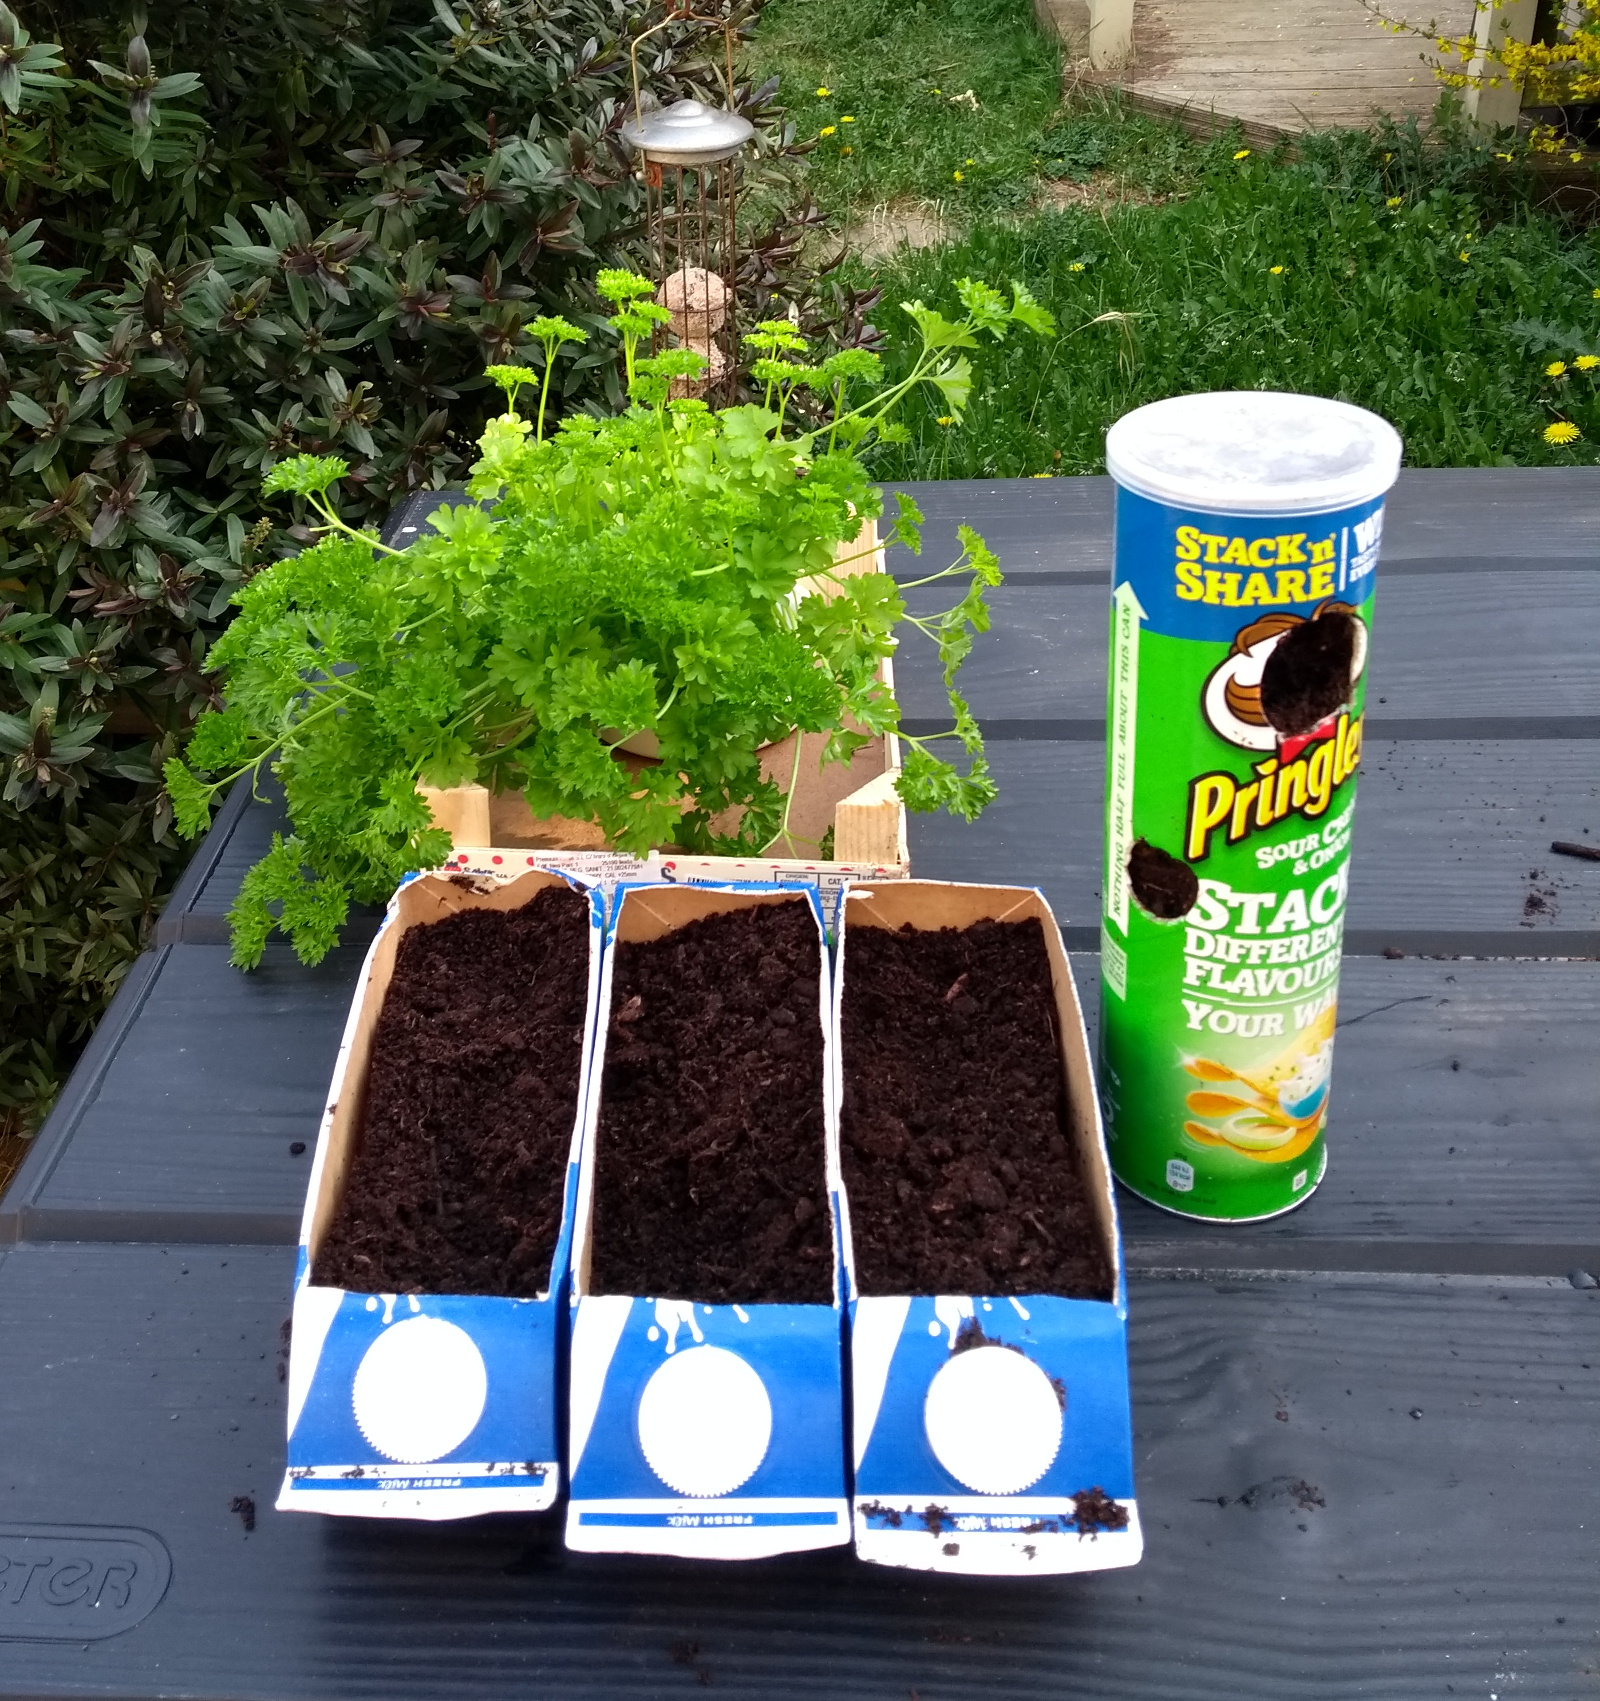
So with the lockdown in Ireland now extended to May 5 – or The Lock-in as we ought to be calling it the way WW2 was The Emergency – garden centers are closed (apparently the Greens asking us to feed ourselves from our window boxes full of lettuce didn’t make Woodies an essential business 😀 ). I ran around one before the Lock-in commenced and got a lot of seeds and potting compost (and we already had a general-purpose liquid fertiliser and tomato feed and for high-nitrogen stuff like Basil, well everyone knows that trick of mixing eggshells and used coffee grounds with their compost, right?); but I thought we had more planters than we had. Seems I threw the ones we did have in the bin a few weeks ago because the UV had finally mangled them past maintenance’s hopes. Oh well.
I do have a shiny new brad nailer…
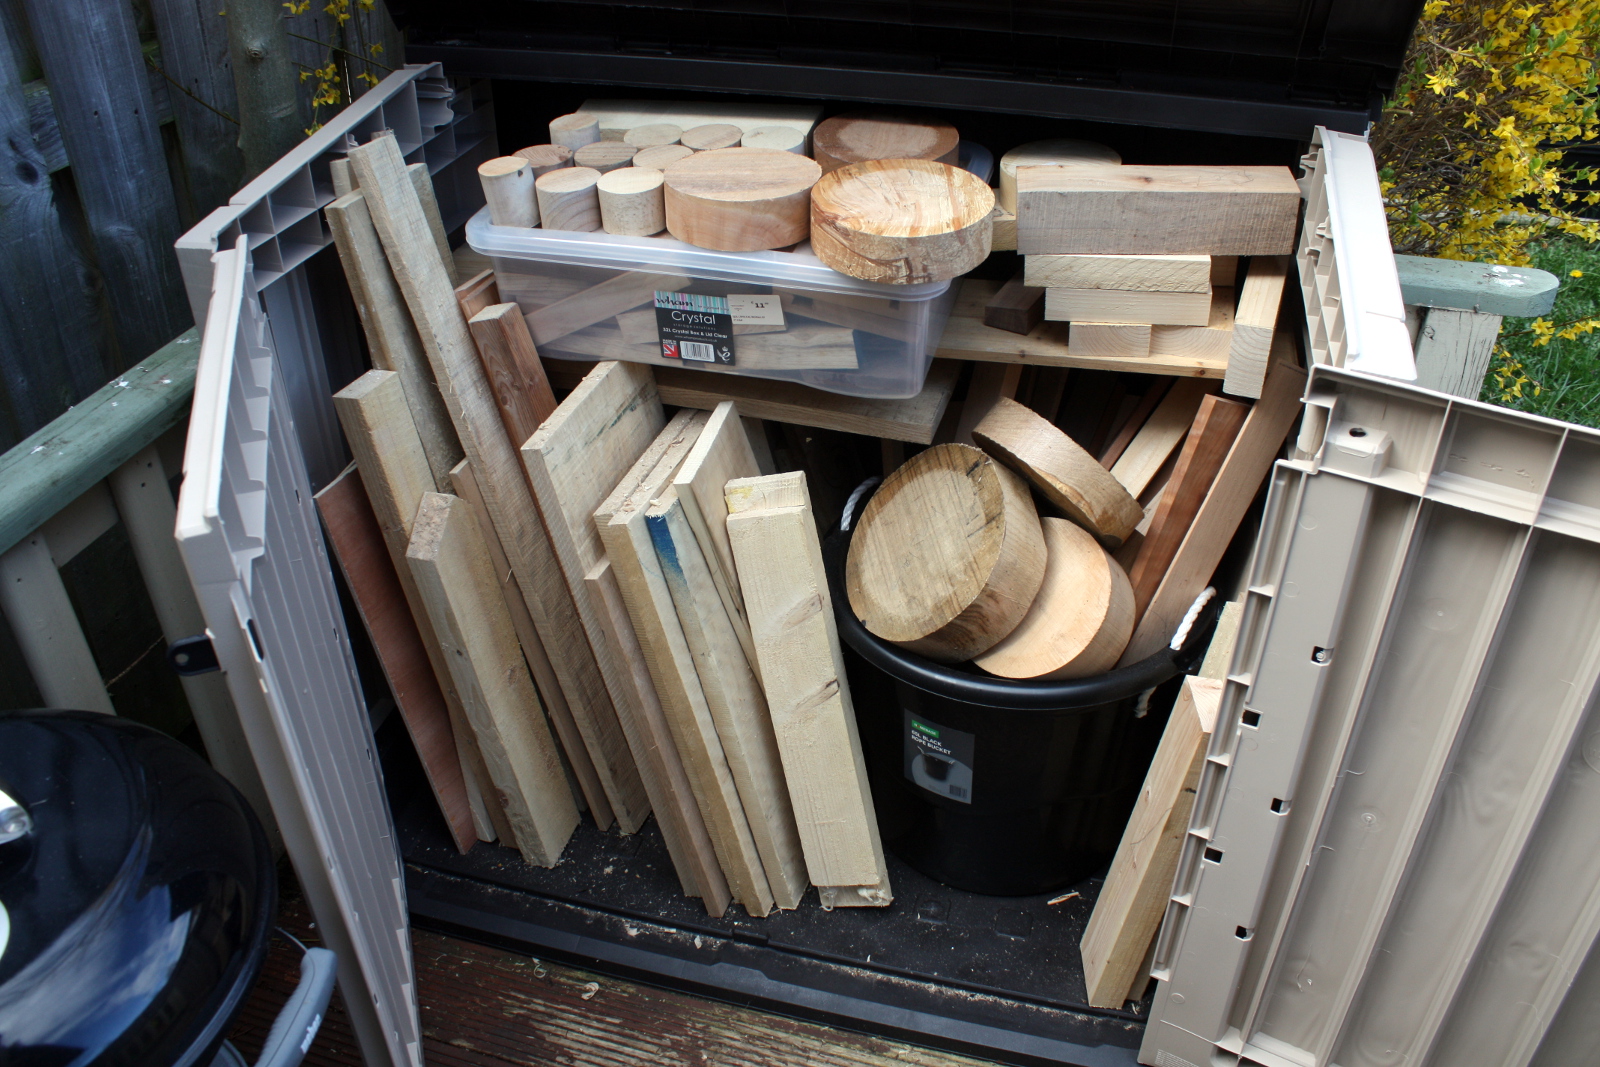
And I also have every woodworker’s inability to throw out wood combined with a large timber storage box 😀
Why yes, those are a lot of bowl blanks, and yes, my first bowl is all finished off and put to work as well, thanks for asking 😀
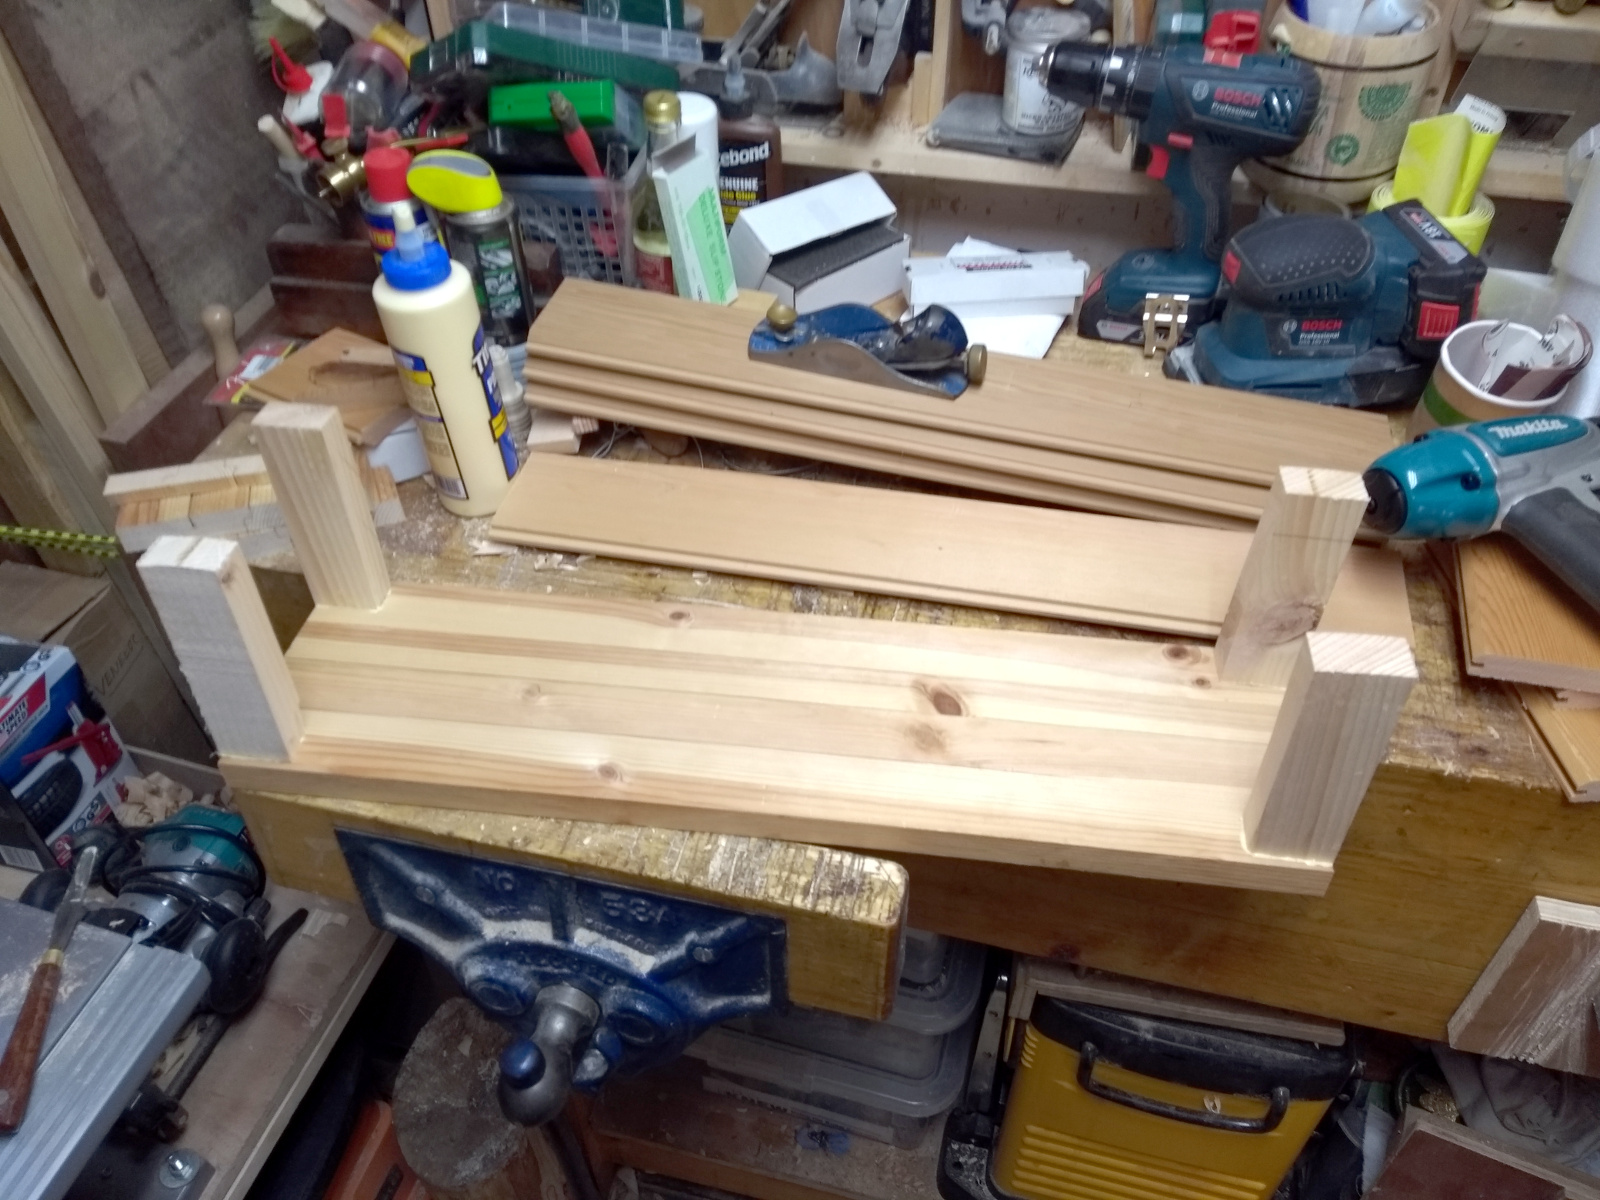
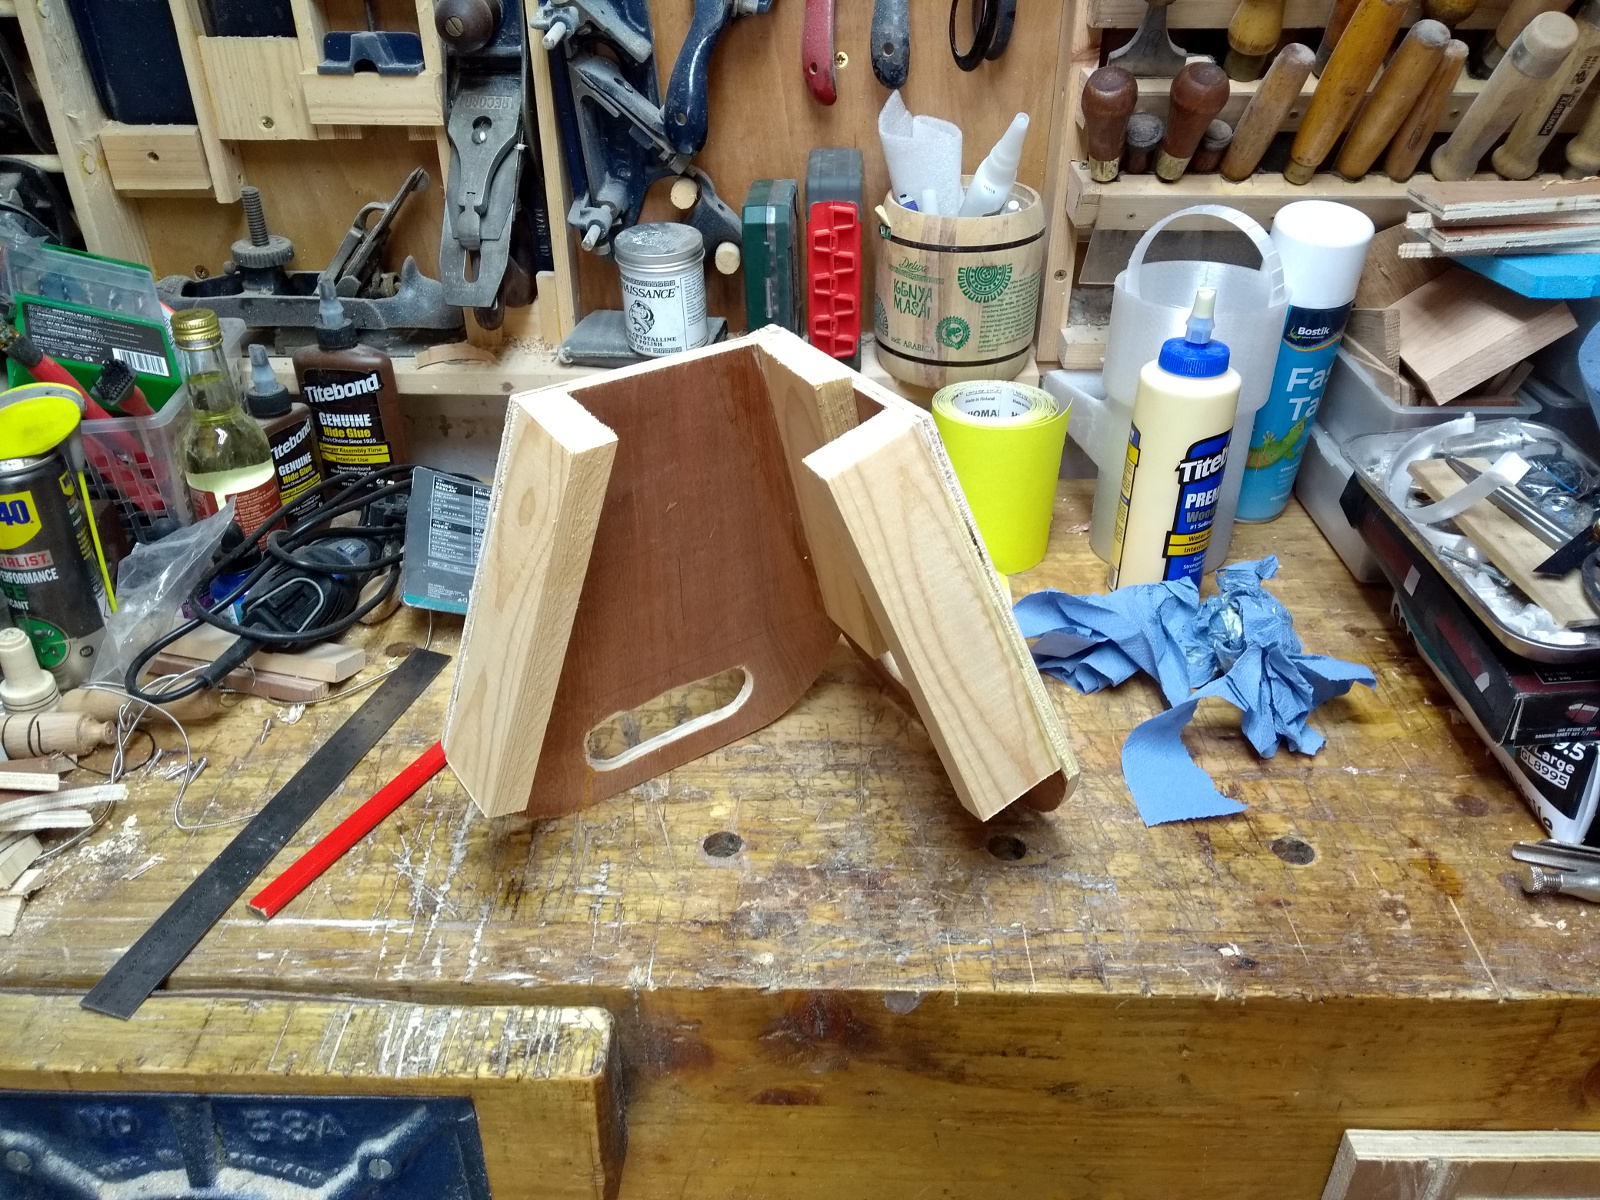
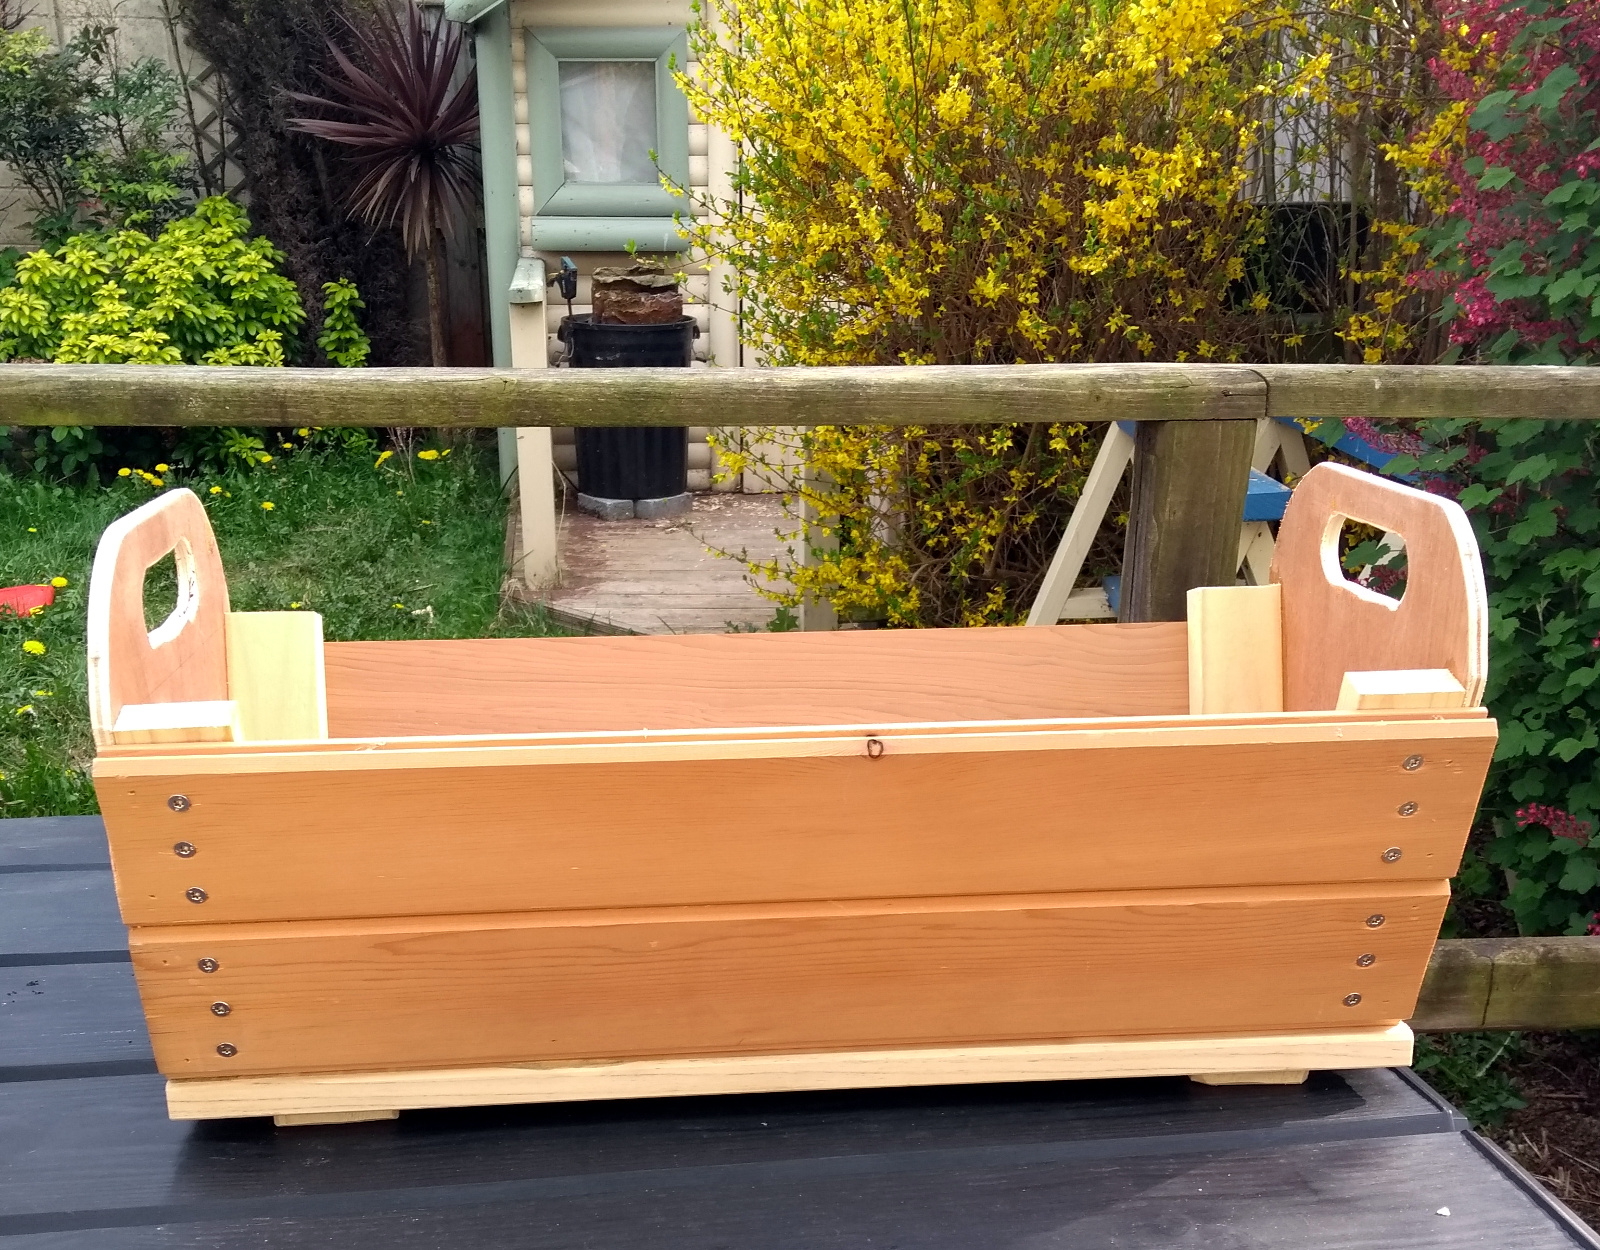
So I found some of the cedar T&G lengths I had which I have literally no other project in mind for but I still had a single three metre length in the house and three or four metre lengths in the box, so those are obviously the sides, and I can do the ends with some plywood bits and pieces and use some 1×3 scraps of deal to tie them together.
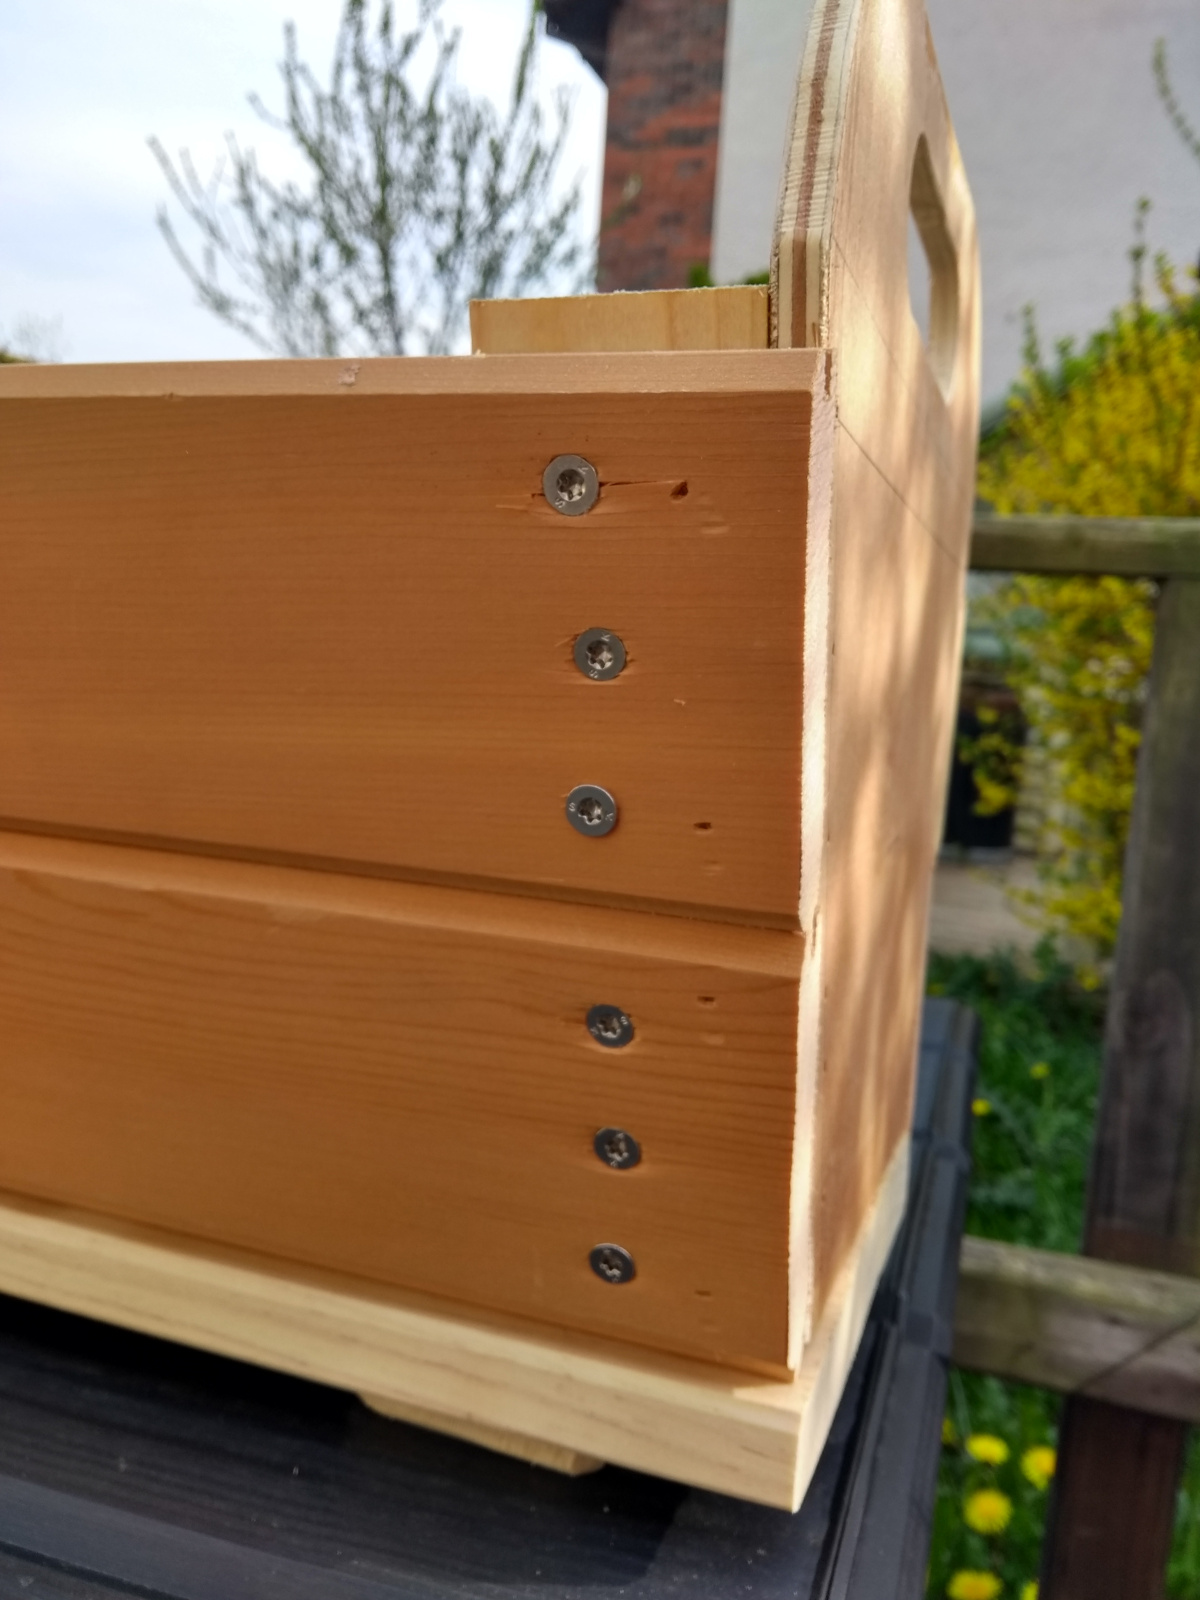
For rapidly knocking something like this out, that brad nailer is a bunch of fun. There’s glue providing the actual long-term strenght but a few 50mm brads act as temporary fixings and clamps all in one.
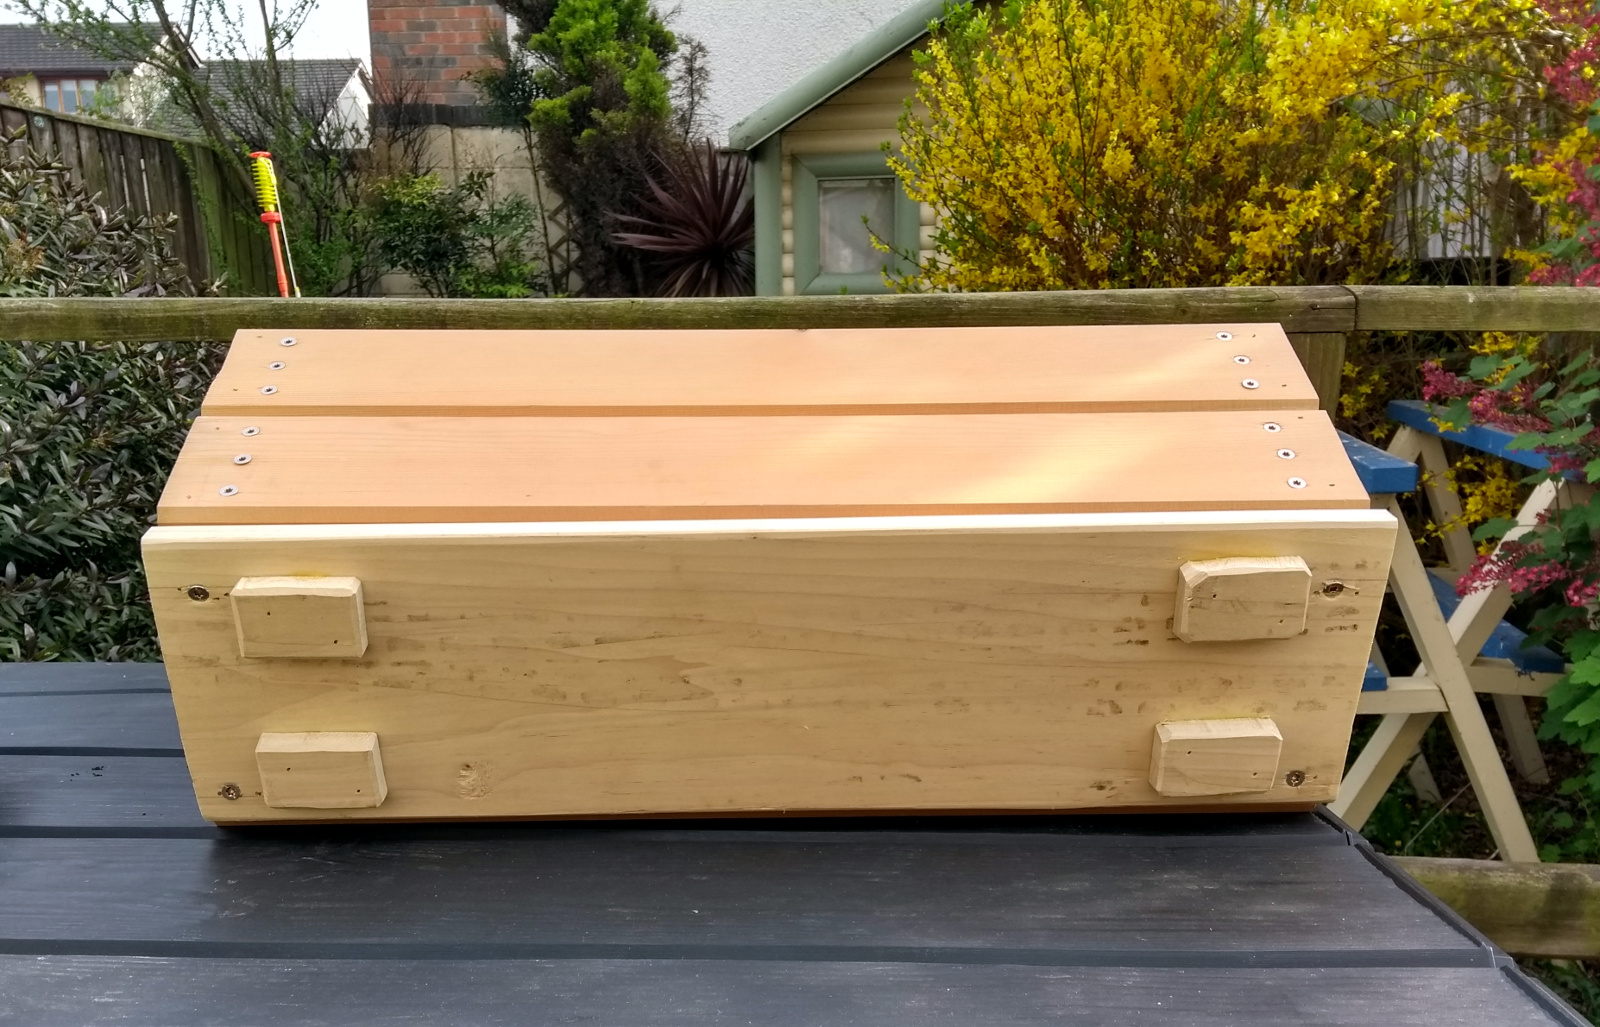
Then an offcut of poplar which was, to be honest, so scraggly that using it for anything proper would have meant a fair bit of work getting it straightened out, but for something that will live outside and be full of earth, this is grand. It acts as the base, and it was about 3″ too long so those 3″ get cut up into feet.
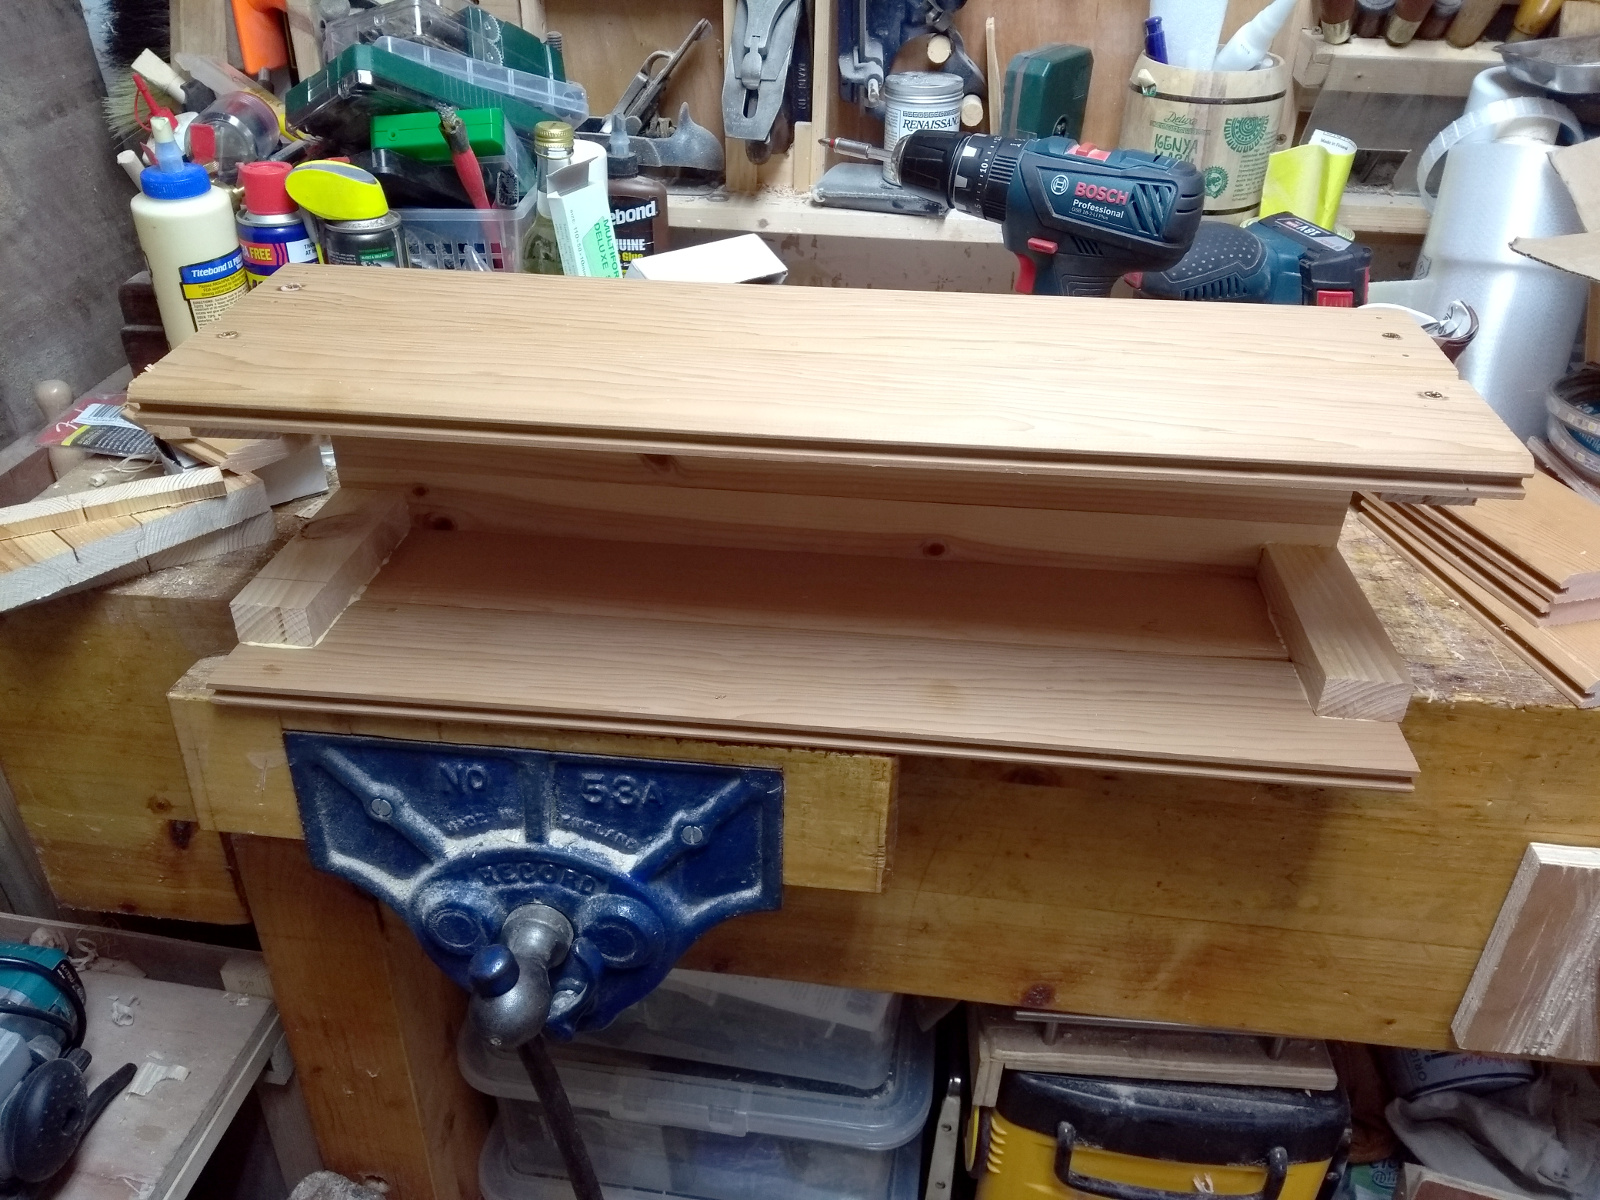
I didn’t have brads in any size bar 20mm and 50mm so I had nothing that really held the sides in place; the 20mm ones pinned them in position long enough to drive longer screws into the 1×3 battens though. Need to buy a few more lengths.
And that was it really. Very quick and dirty, handsaws and brad nailers and even the pillar drill with a fostner bit for the handles (along with a rasp, some sandpaper, a block plane, and some tidying up with a chisel). But it does the job and kept us at home, so that’s fine by me.
Filled with potting compost mixed with eggshells and coffee grounds, then transplanted our basil plants into it and watered with some liquid fertiliser.
This is not even a little surprising, but it's getting exhausting.
A party running on the platform of "we won't do the right thing when it matters, but we promise that we will later, if you just hand us completely unearned power once again."