19
Dec 17

Kneedeep in shavings and carrying on

So, I’ll start with the end of something. Made as a gift for a friend of Claire’s:

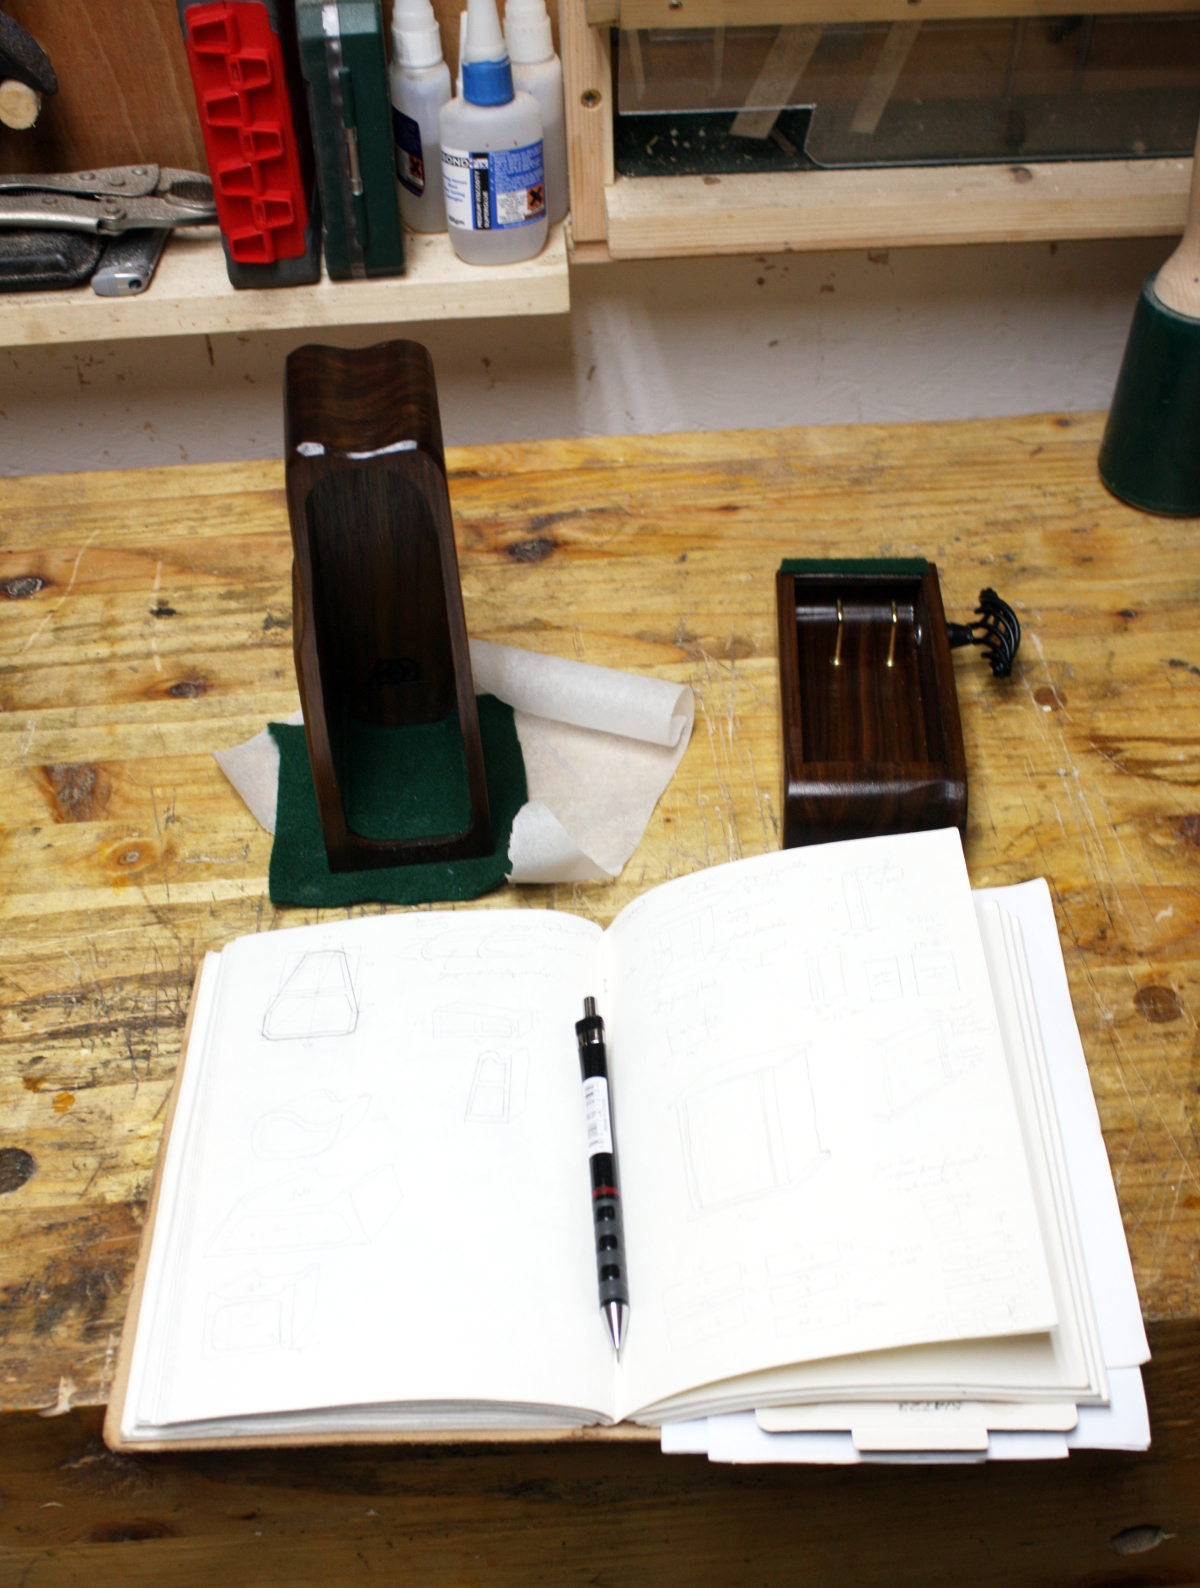
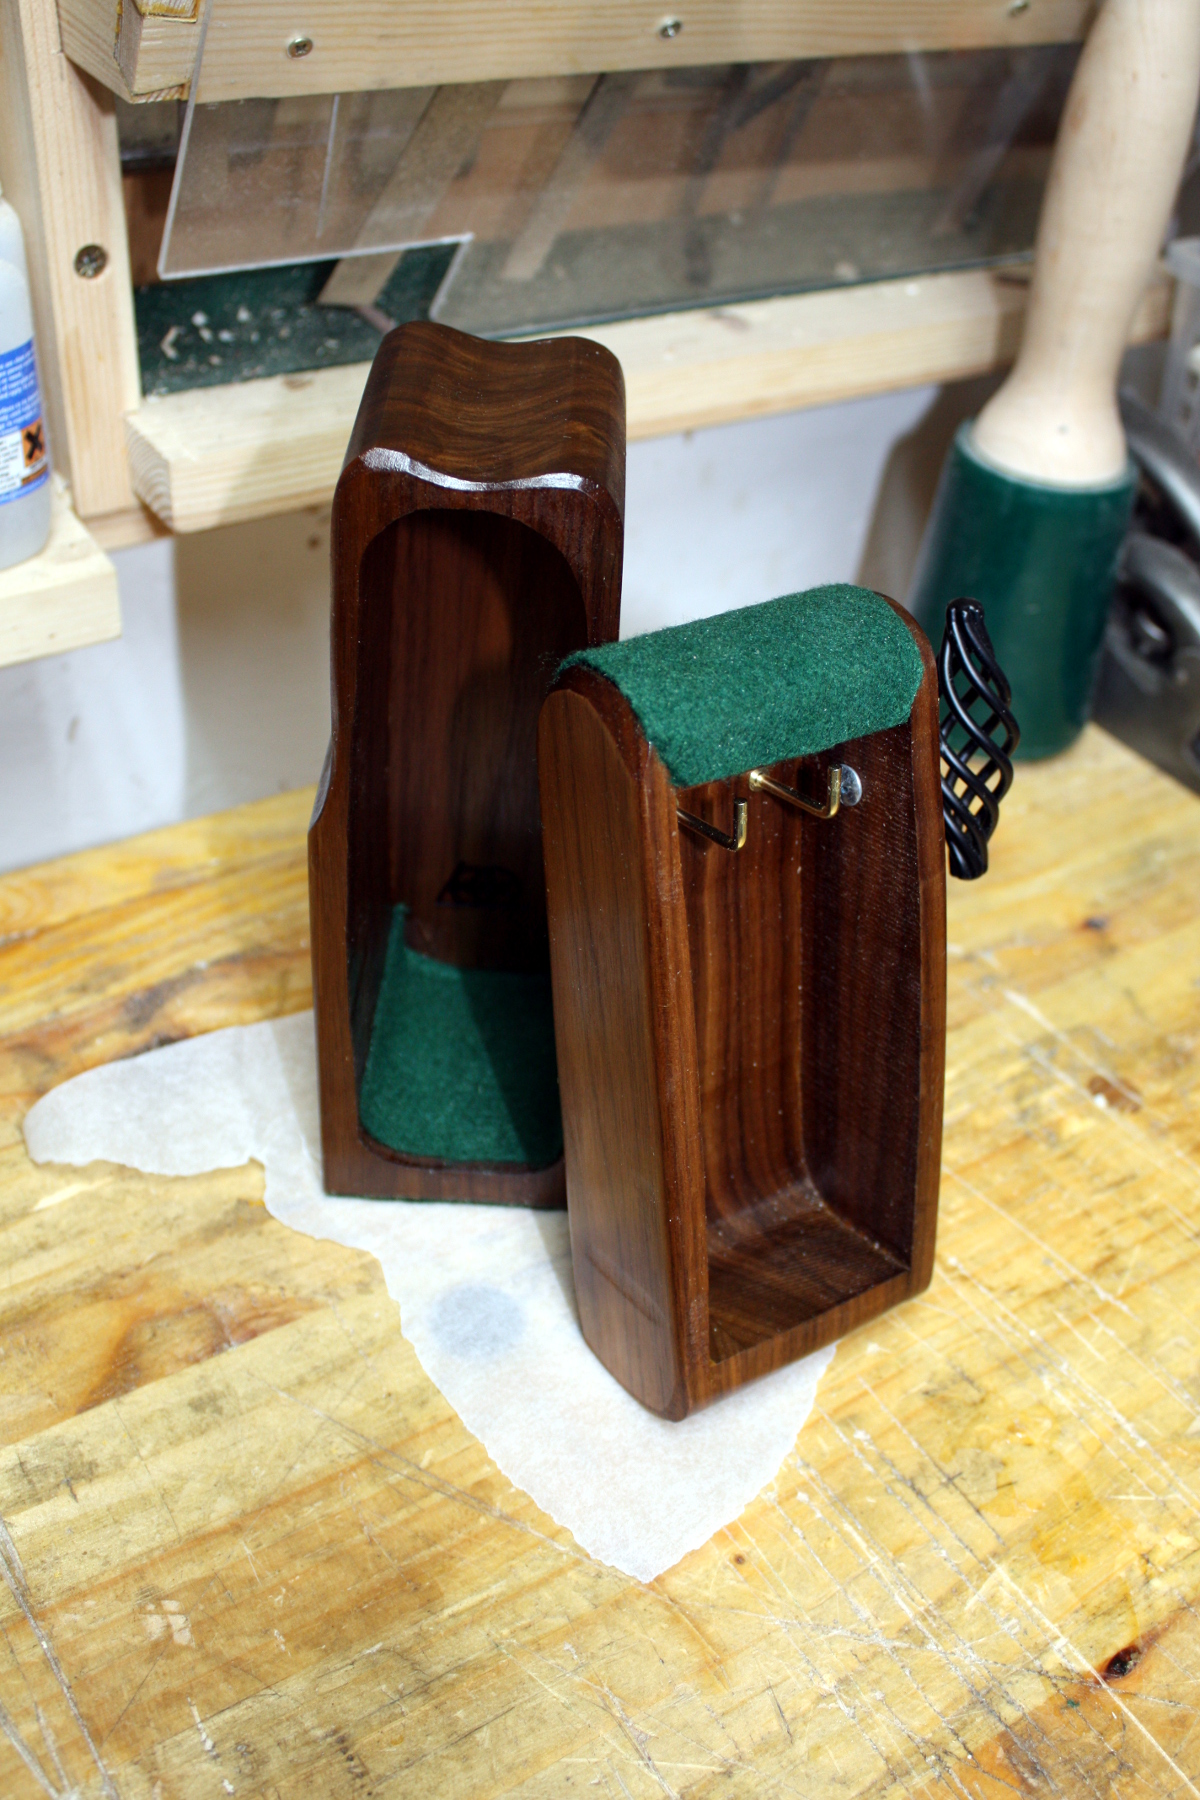
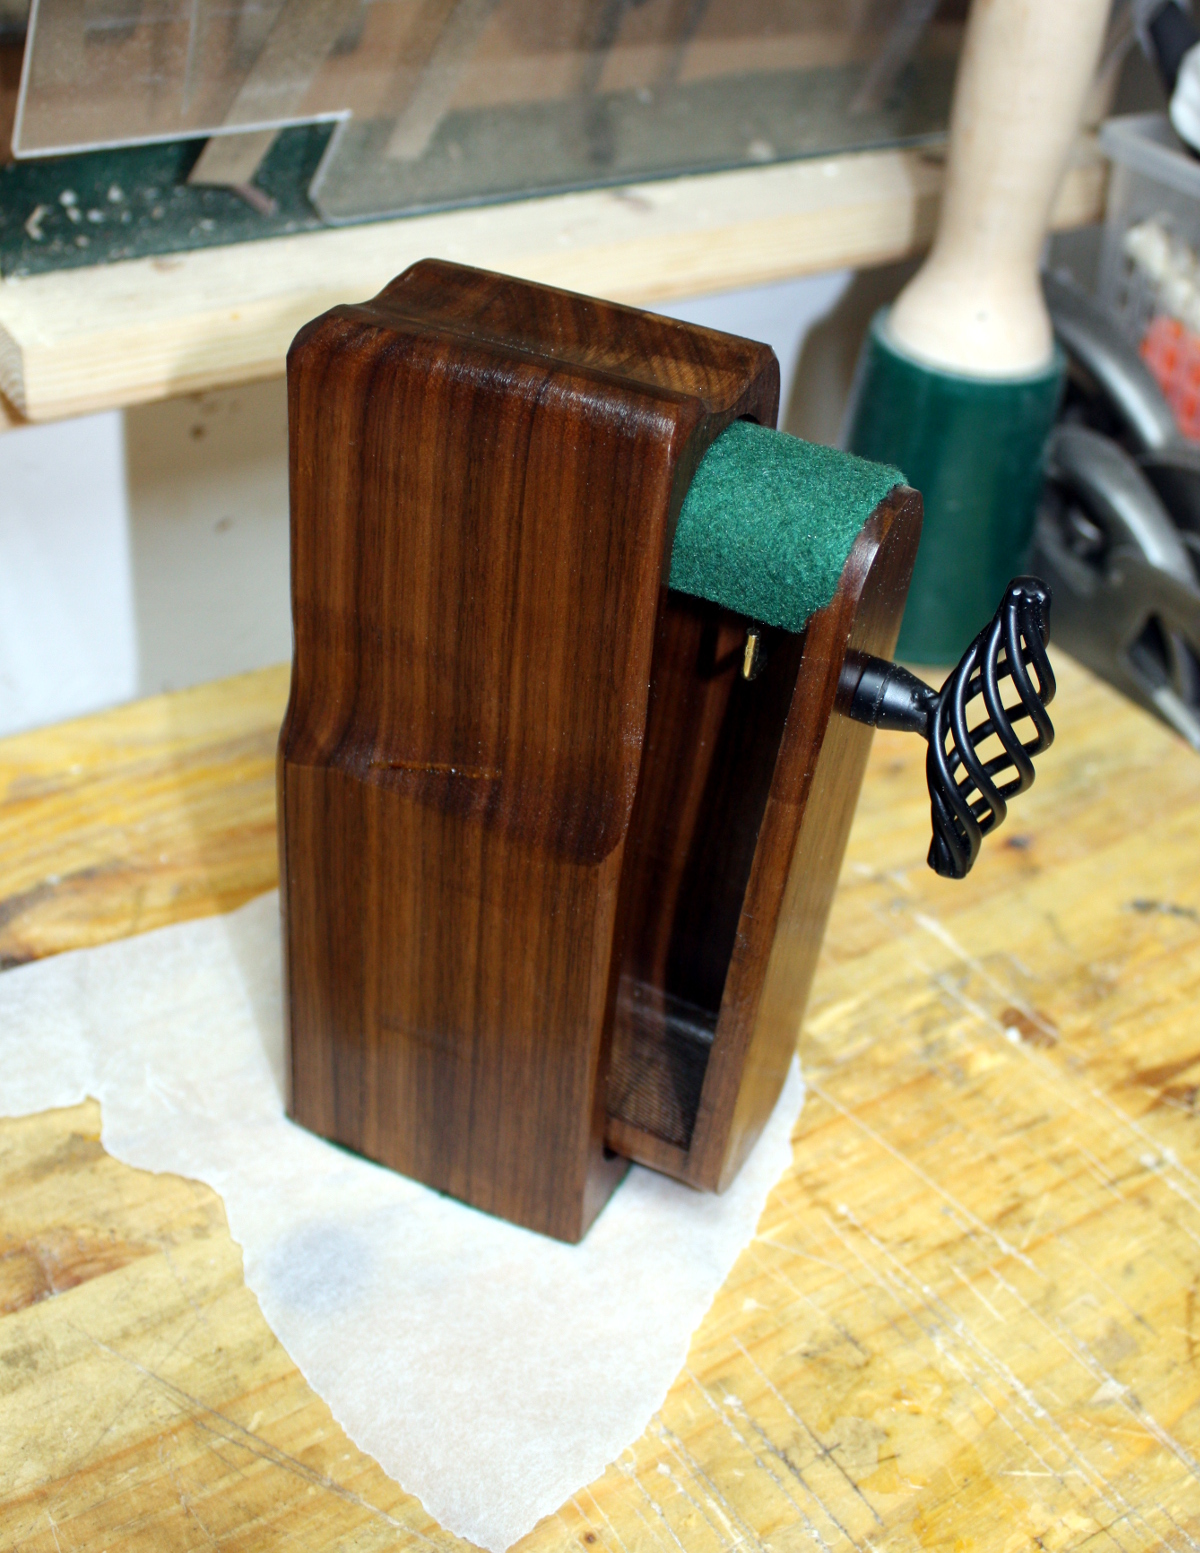
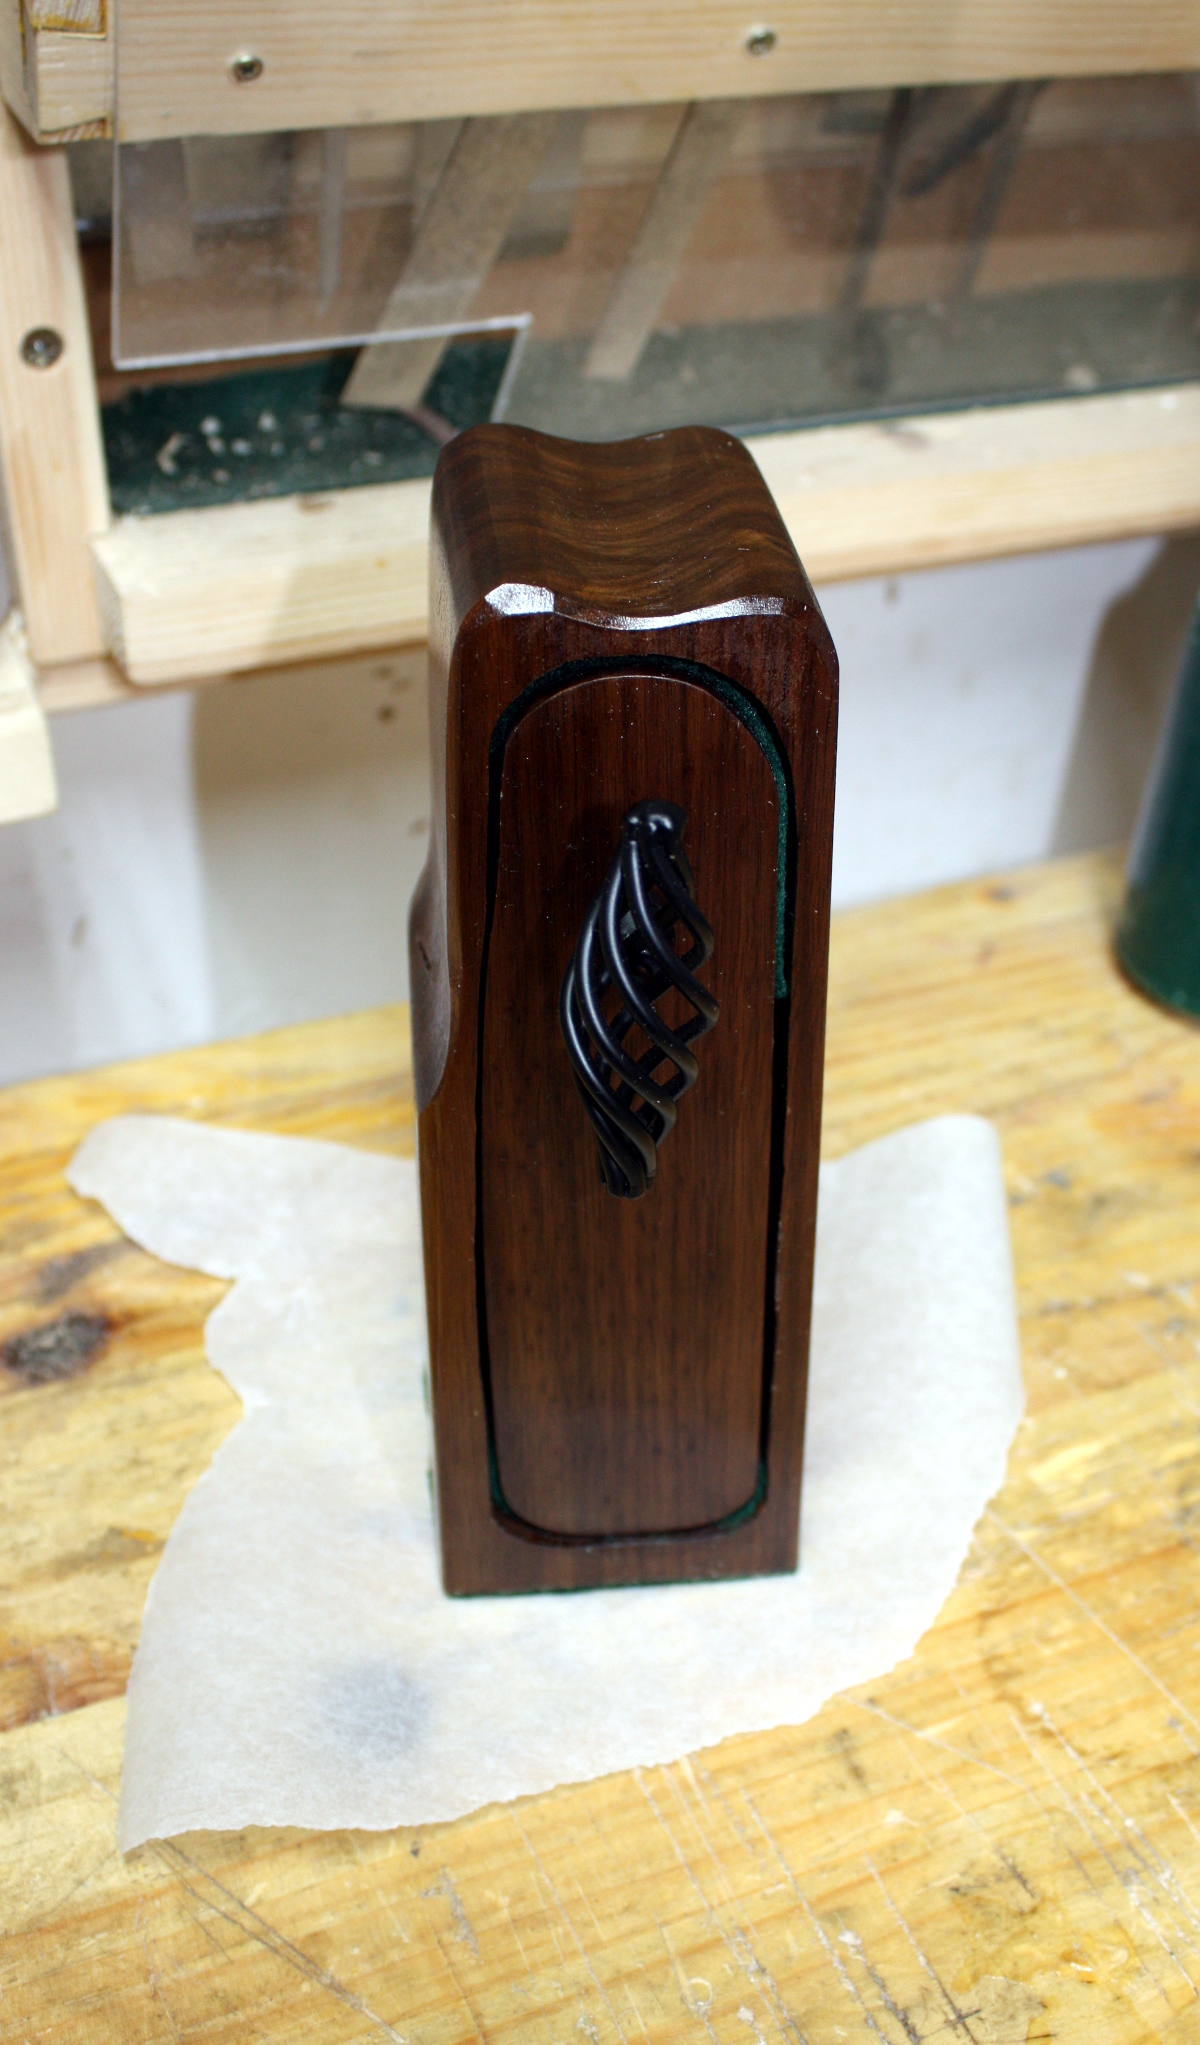
Walnut offcut from the cot, some brass and pewter hardware and felt and viola, a small necklace box. Or key box I suppose. Didn’t come out too badly.

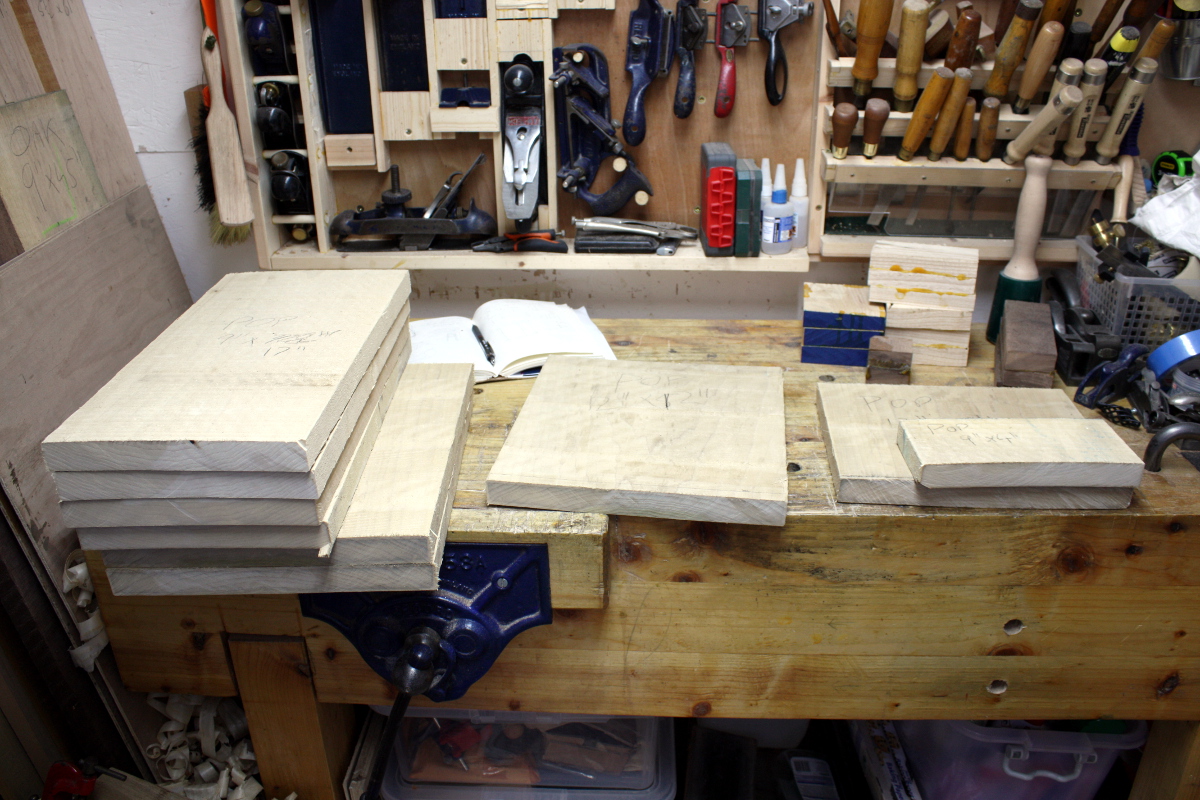
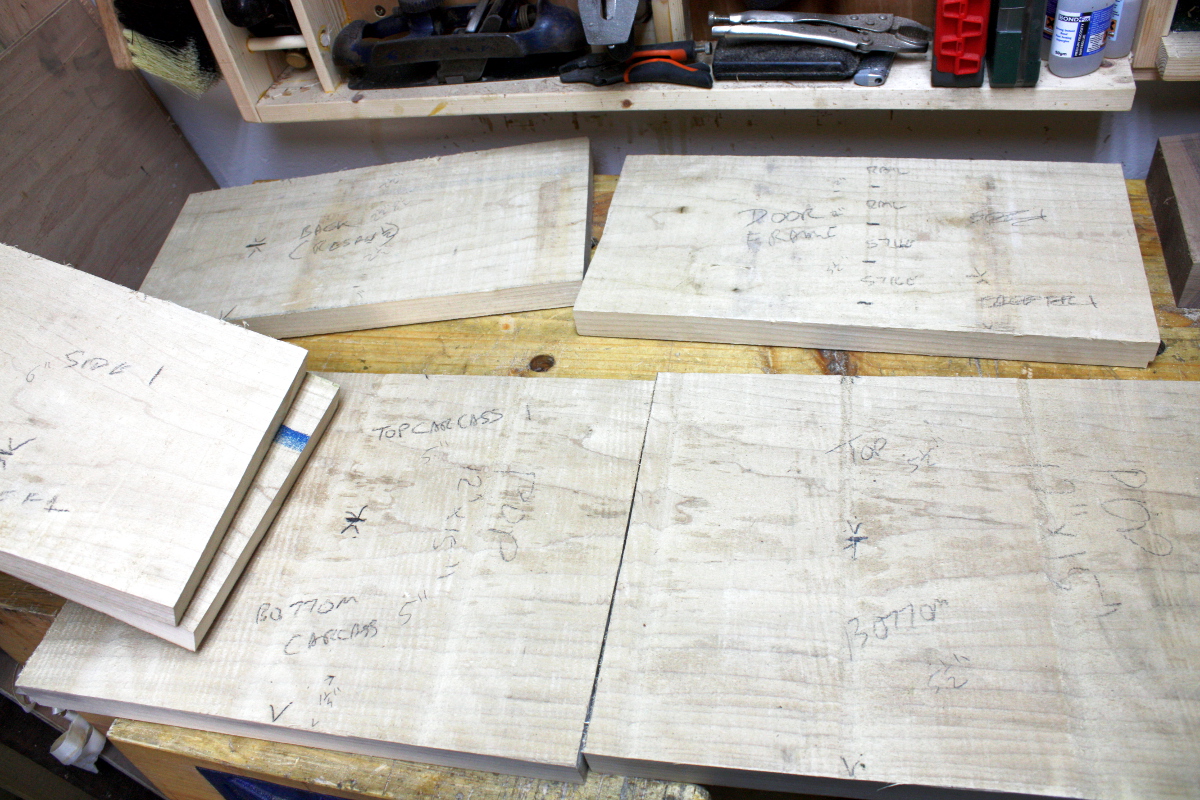
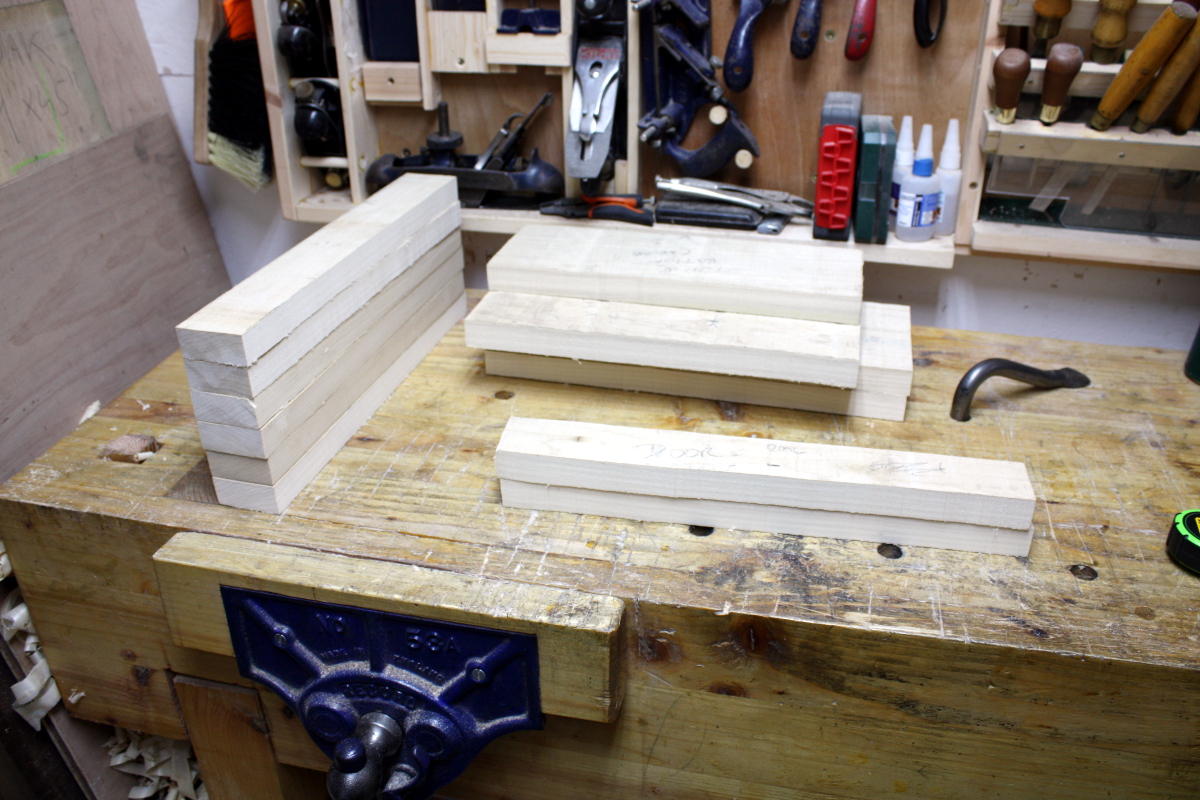
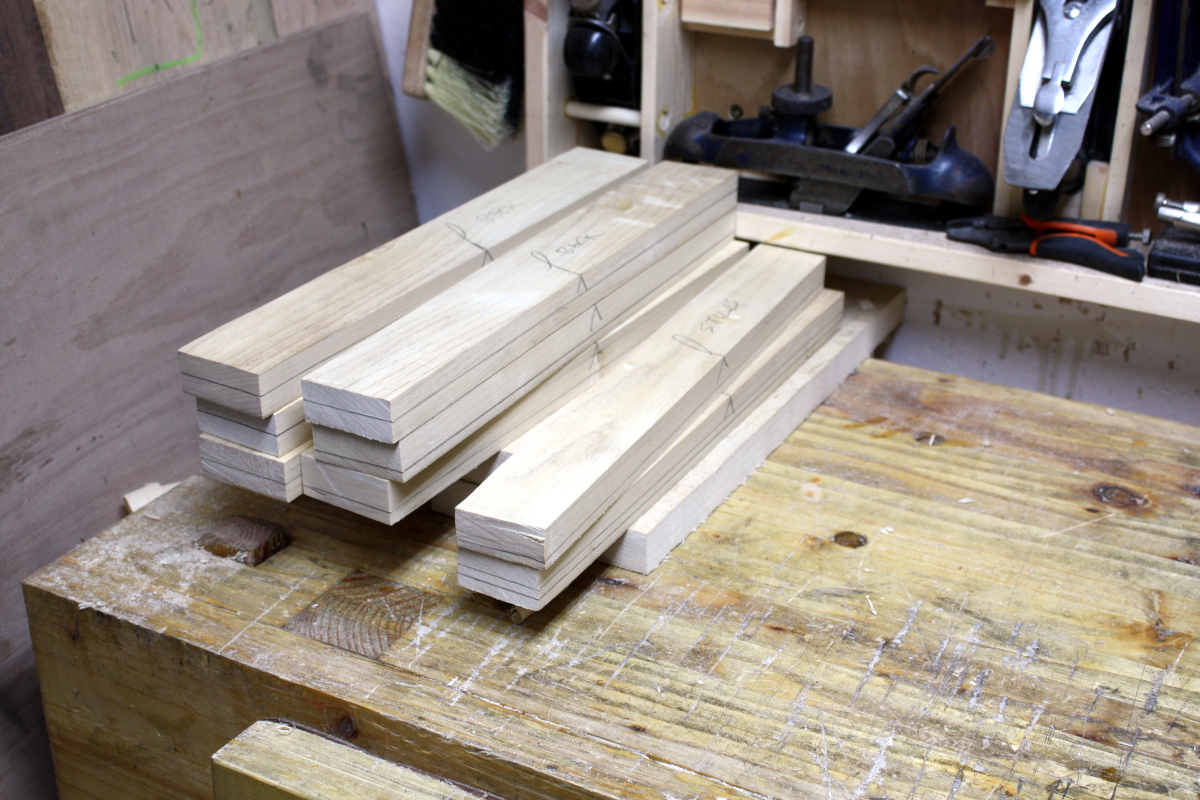
Then it was time to start pushing.

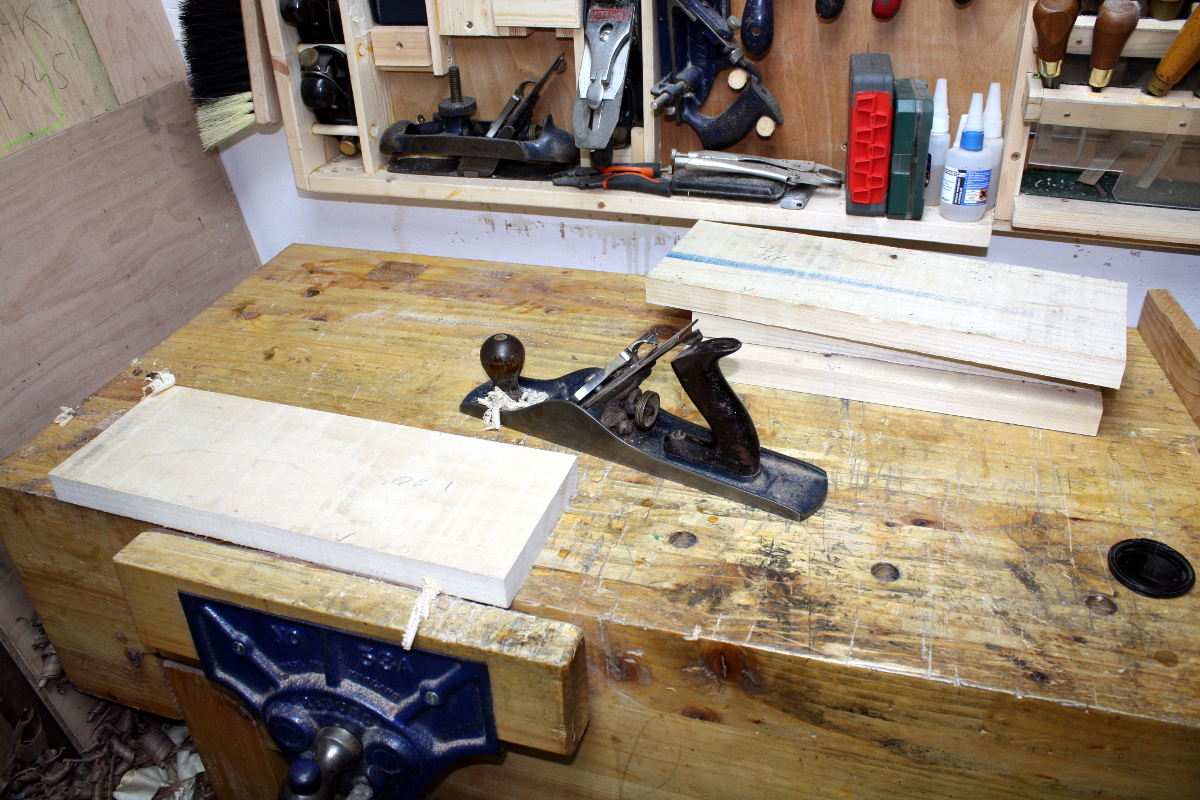
The problem with making a lot of rough-cut component parts is that then you have to turn them into planed non-rough component parts. At least it’s just poplar. And I did stop for forty minutes or so at the start to take the irons from my #04, #04½, #05 and #05½ planes to the diamond plates. It would have been less time, but I discovered the #05’s iron was skewed quite badly (one side was almost 2mm longer than the other). No wonder my lateral adjuster was always canted right over. Cue a lot of time on the 300grit plate because for some reason I thought that’d be faster than turning through 180 degrees and taking the bench grinder down off the wall. I don’t know, ask your mom.

I’m finding that this is pretty nice poplar by the way, I’d be tempted to oil this stuff. I know it gets a bad rap with woodworkers who think timber is NFG if it wasn’t all riven by hand from a single tree that grew in a tropical rainforest on the southern slope of a hill in Fiji before being cut down by hand using dental floss, but this has some nice grain and surface appearance. I might do this project over again in beech later, but I’m not regretting using the poplar here.

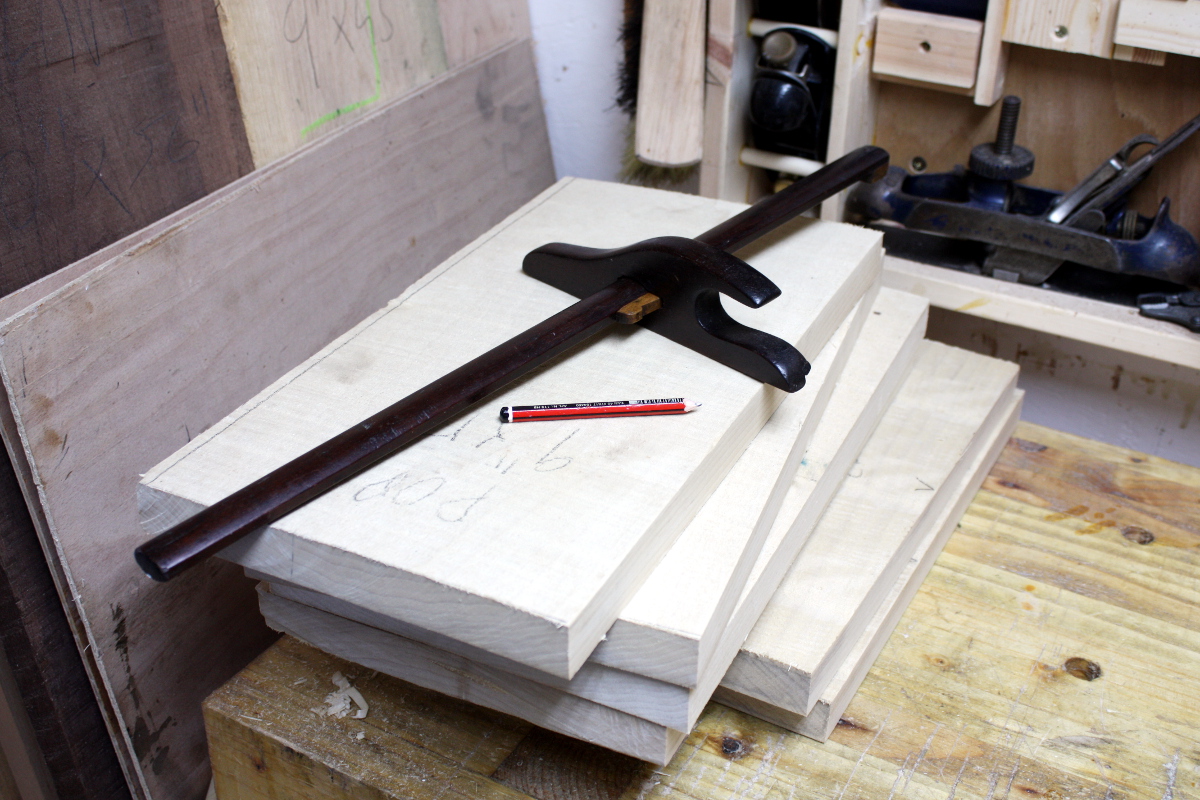
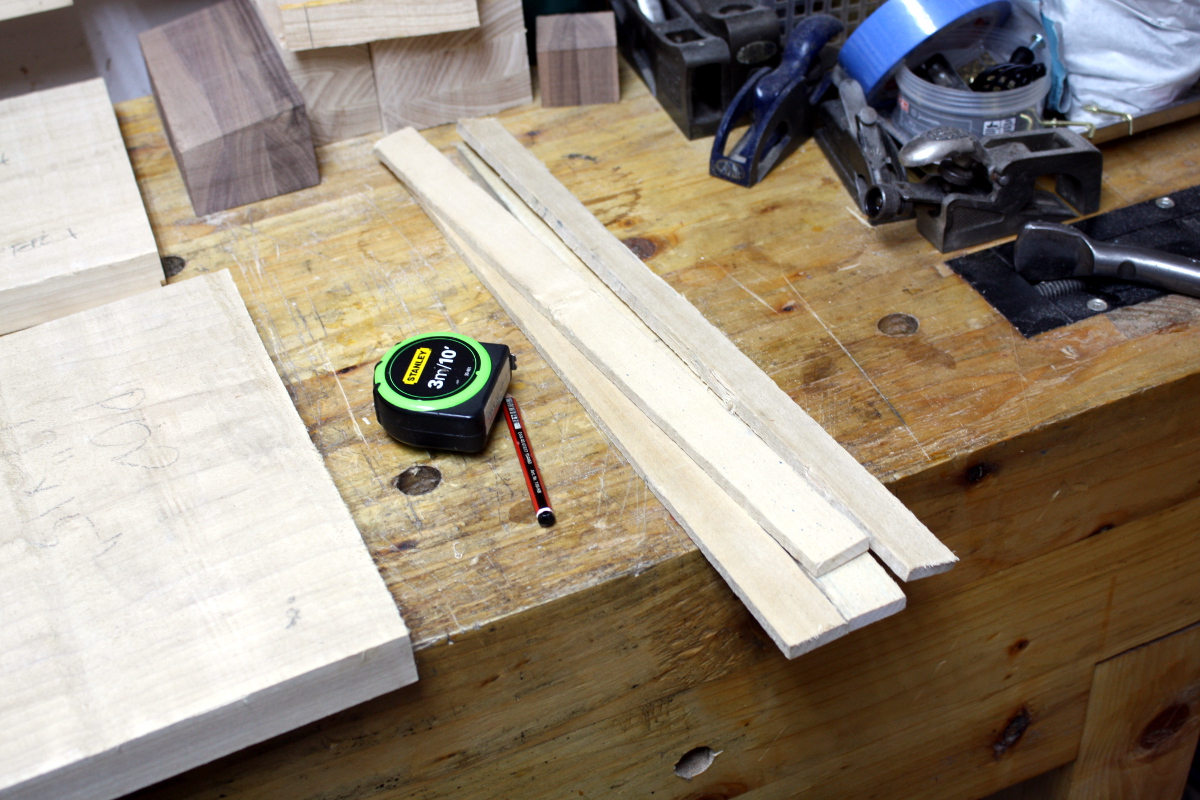
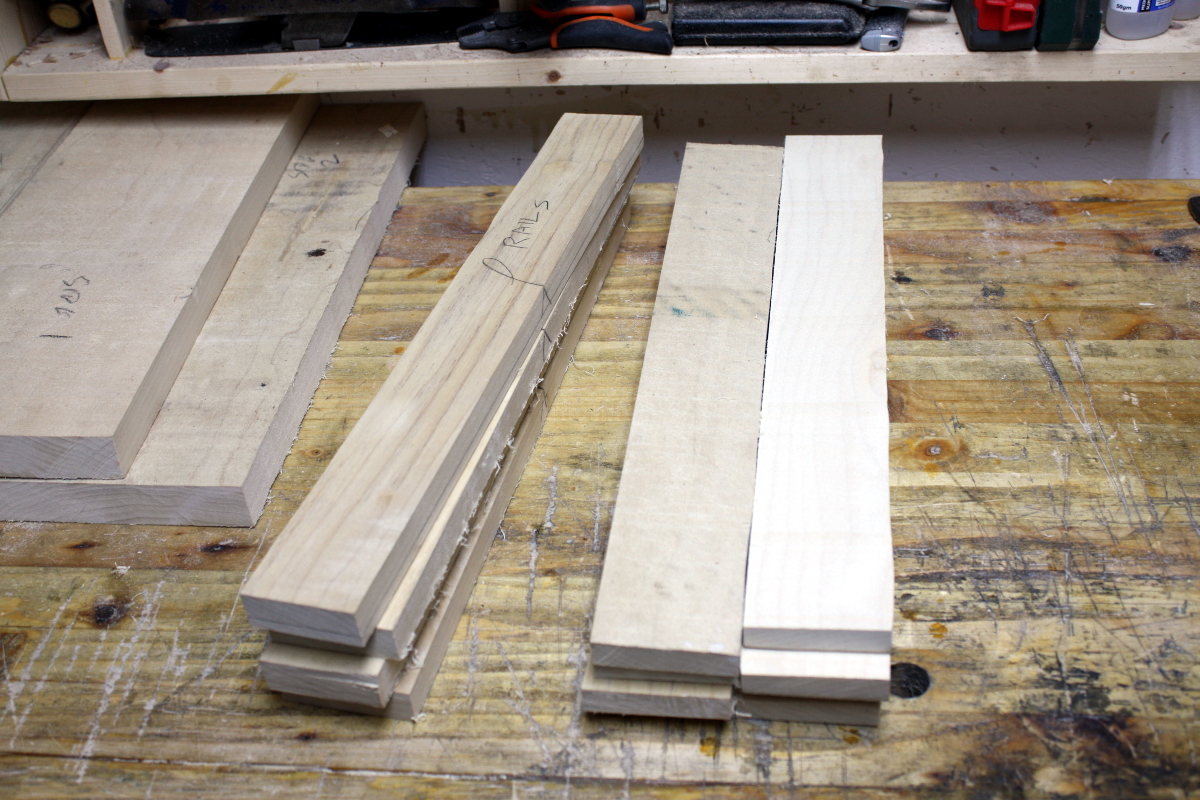
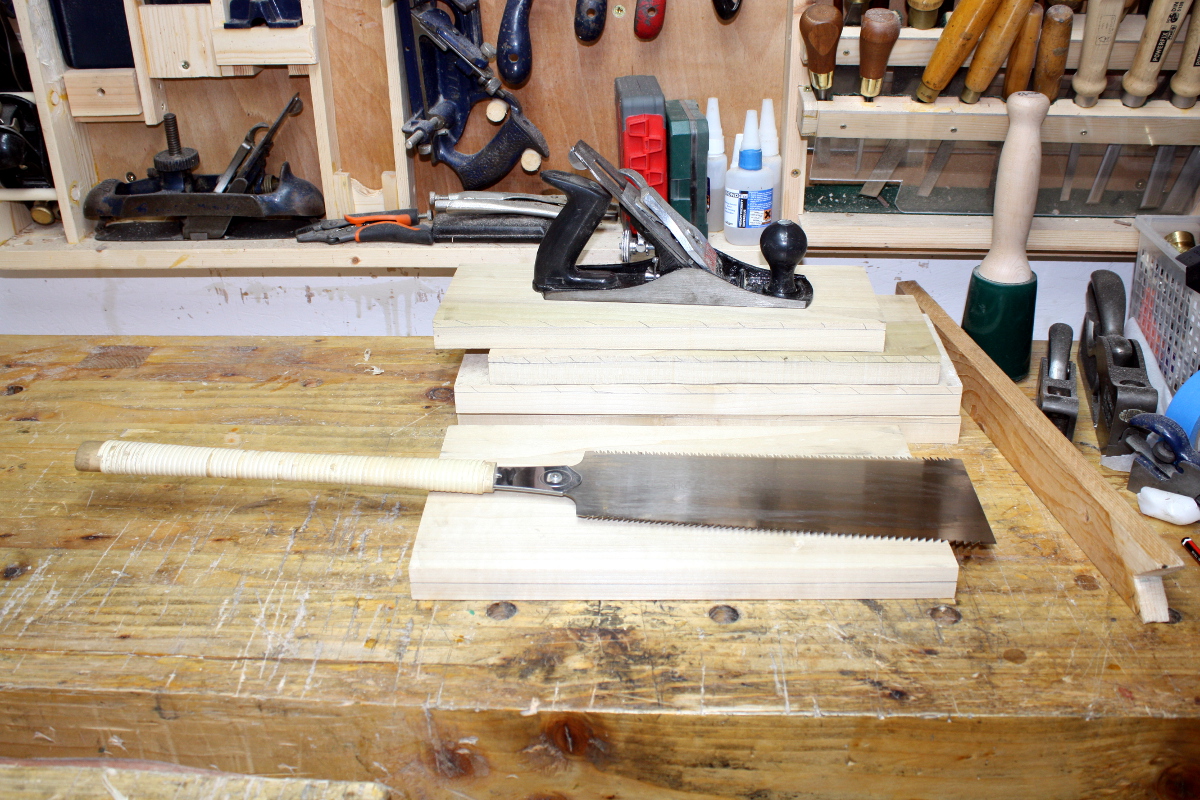
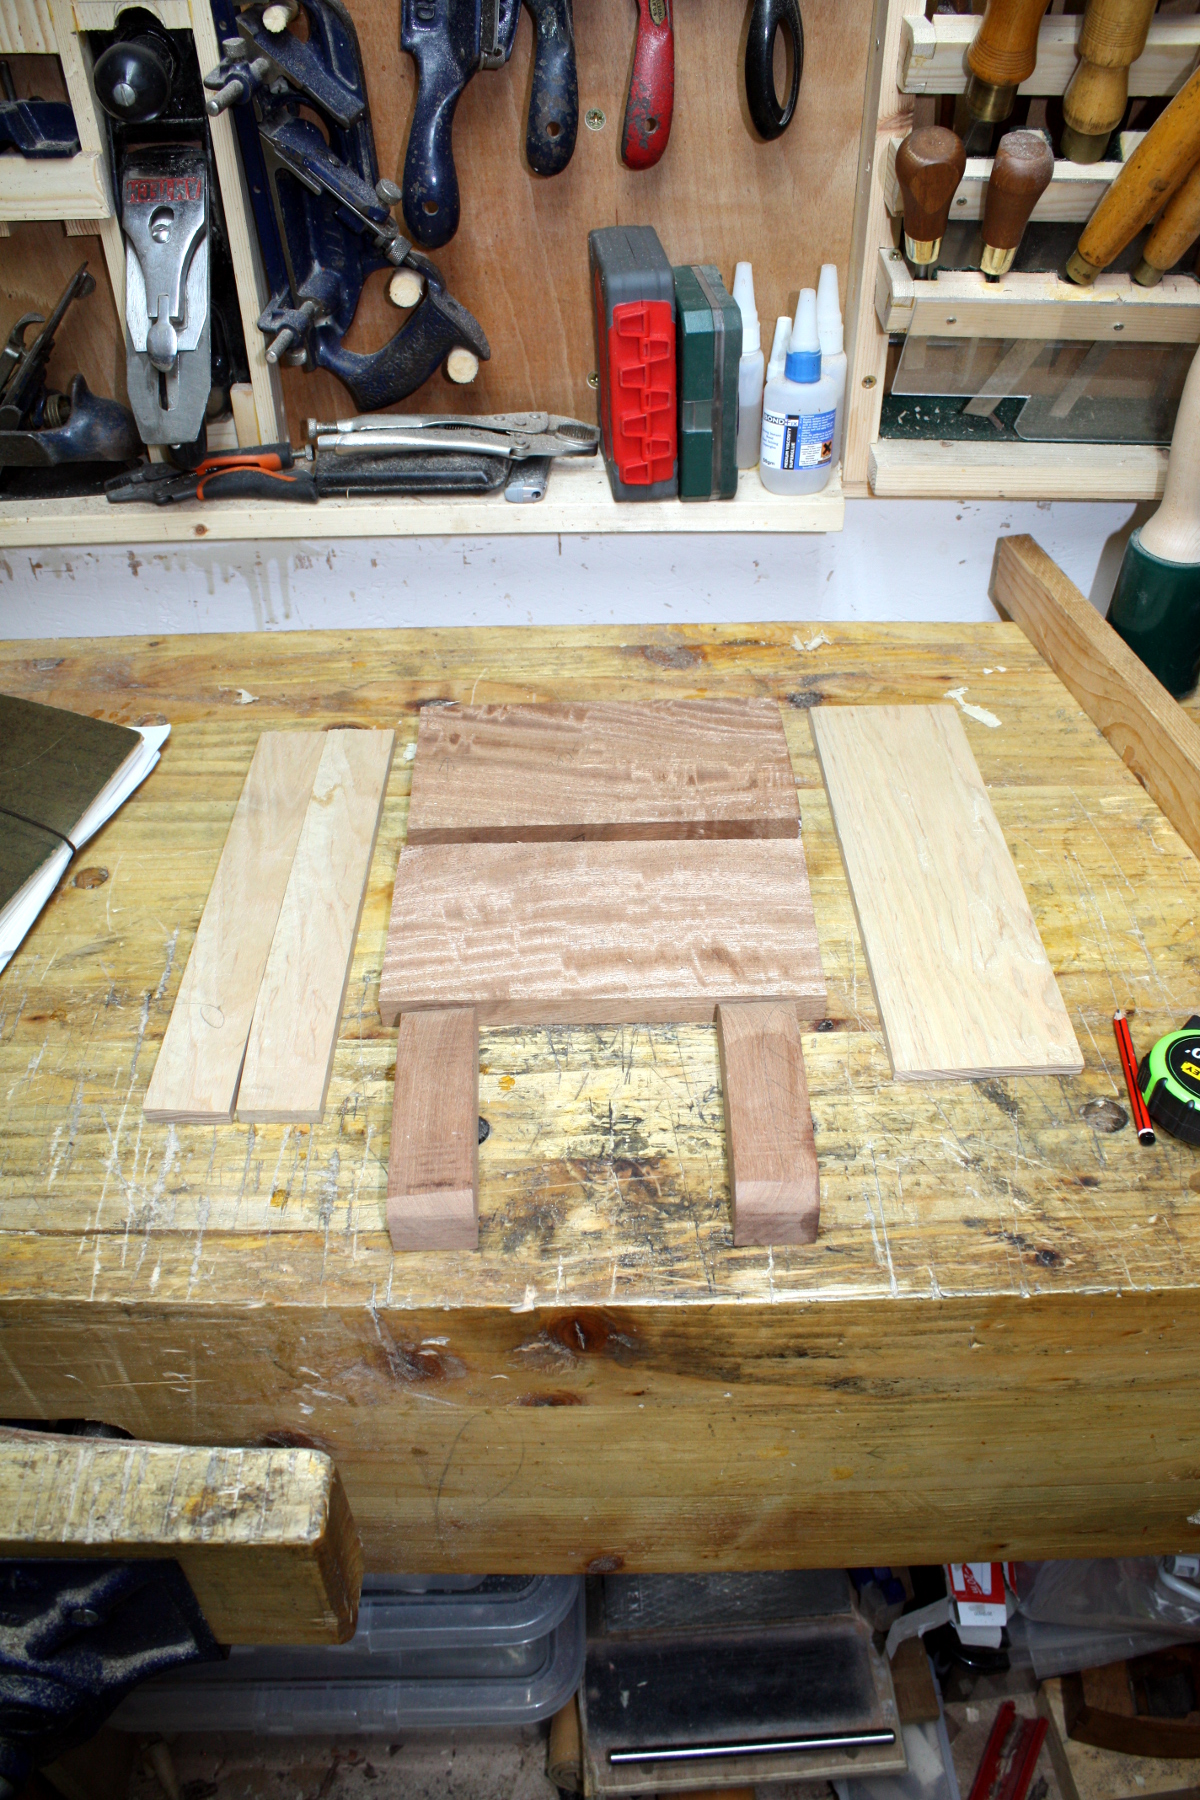
That chunk of plywood and the dowel on the left will become a new Japanese saw benchhook:

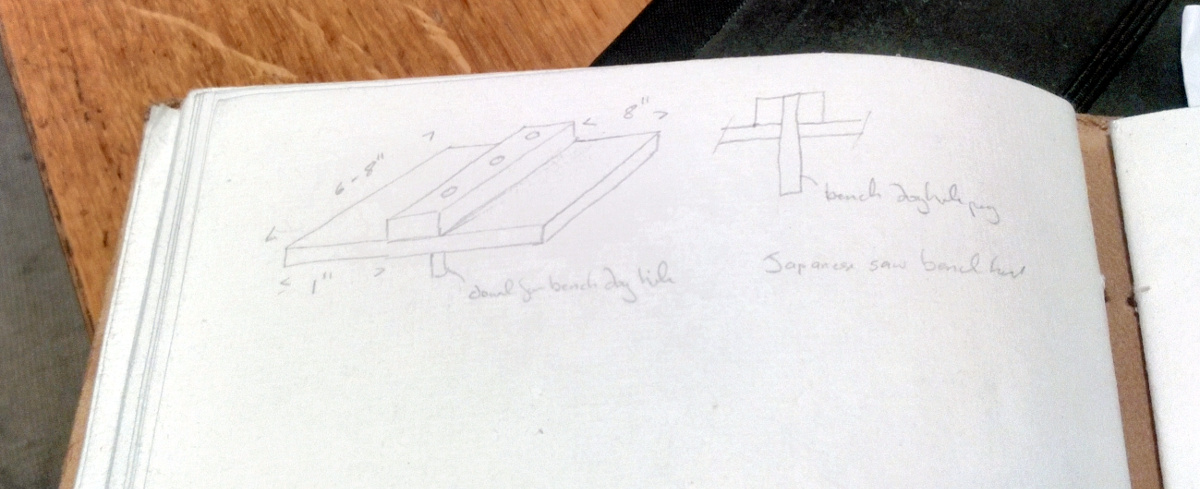
I was going to use that small piece of sapele the dowel is resting on as the stop but it’s a bit short and a short stop is a bit of a pain so I planed, halved and glued up a scrap piece of walnut there on the right. Yes, scrap walnut exists. Hush.

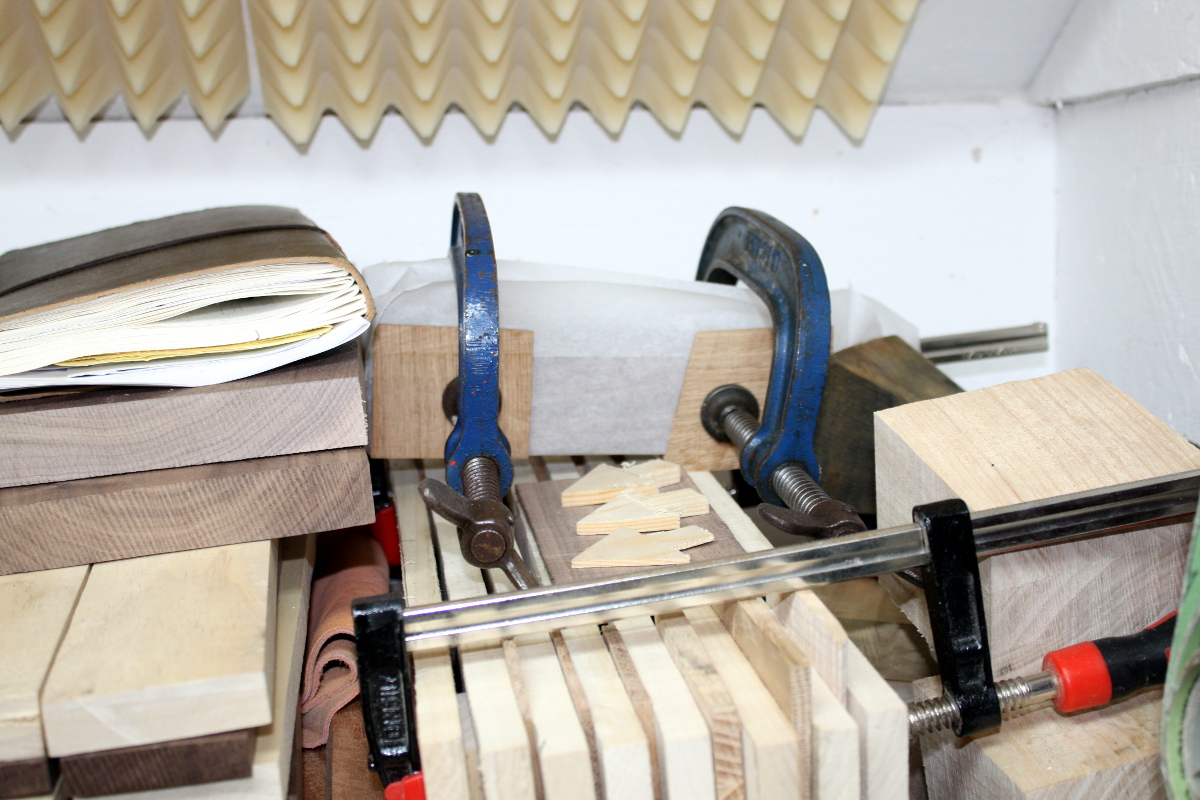
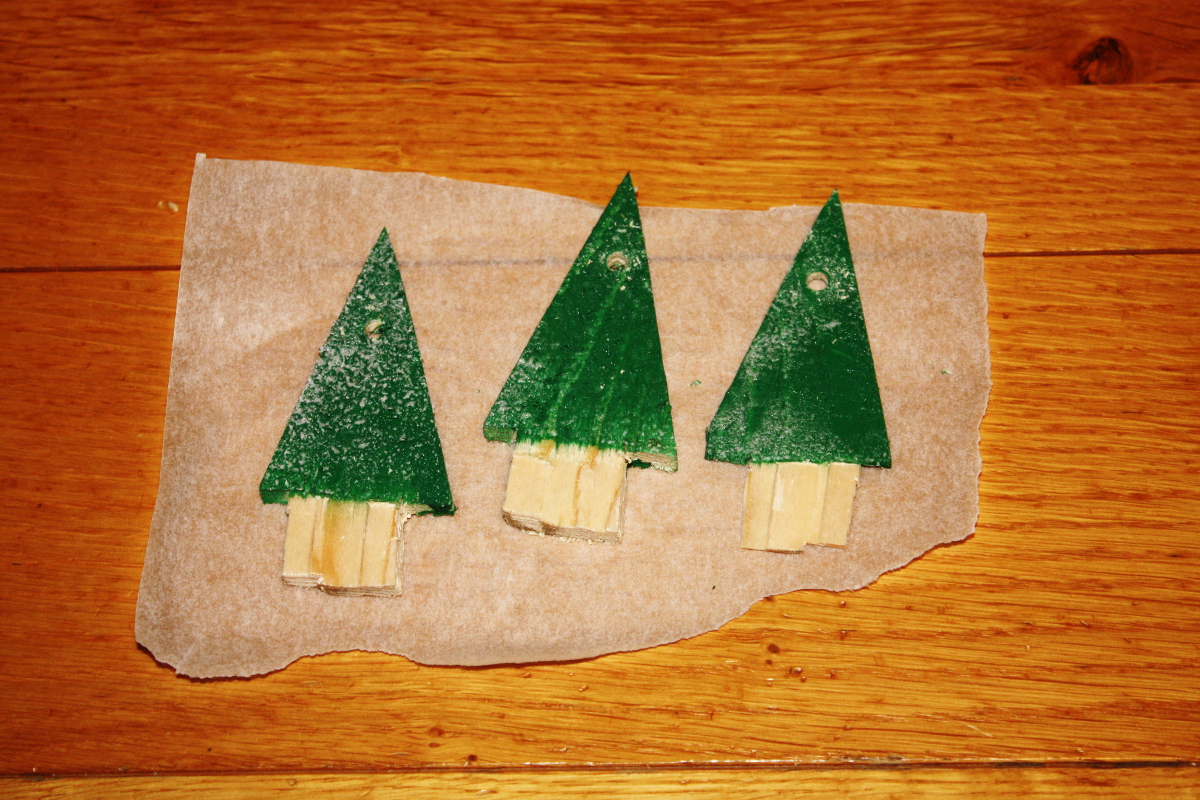
I don’t know why I’m keeping those little pine arrow shapes and the walnut scrap they’re on. Every time I go to chuck them I just find myself stopping for some reason. Presumably my subconscious has an idea it’s not ready to tell me about yet. We’ll see.

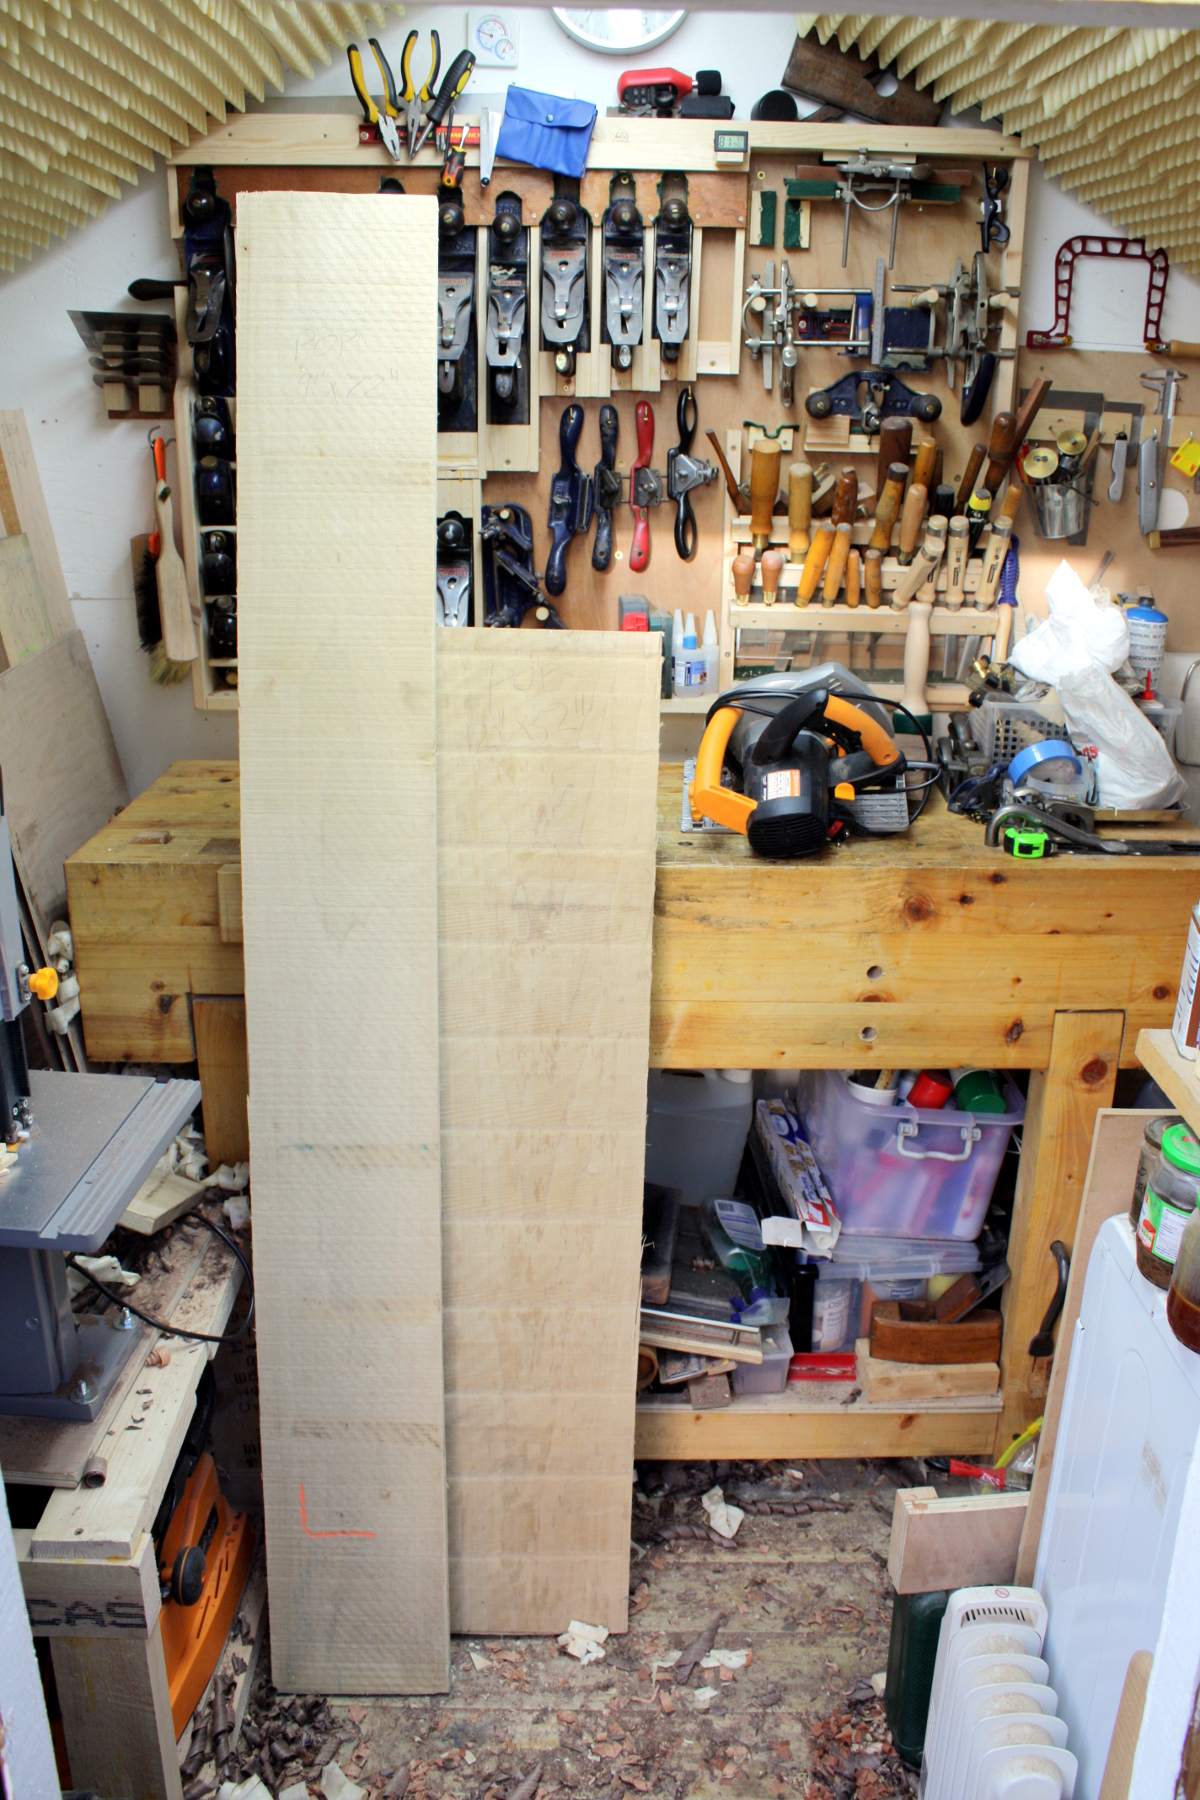
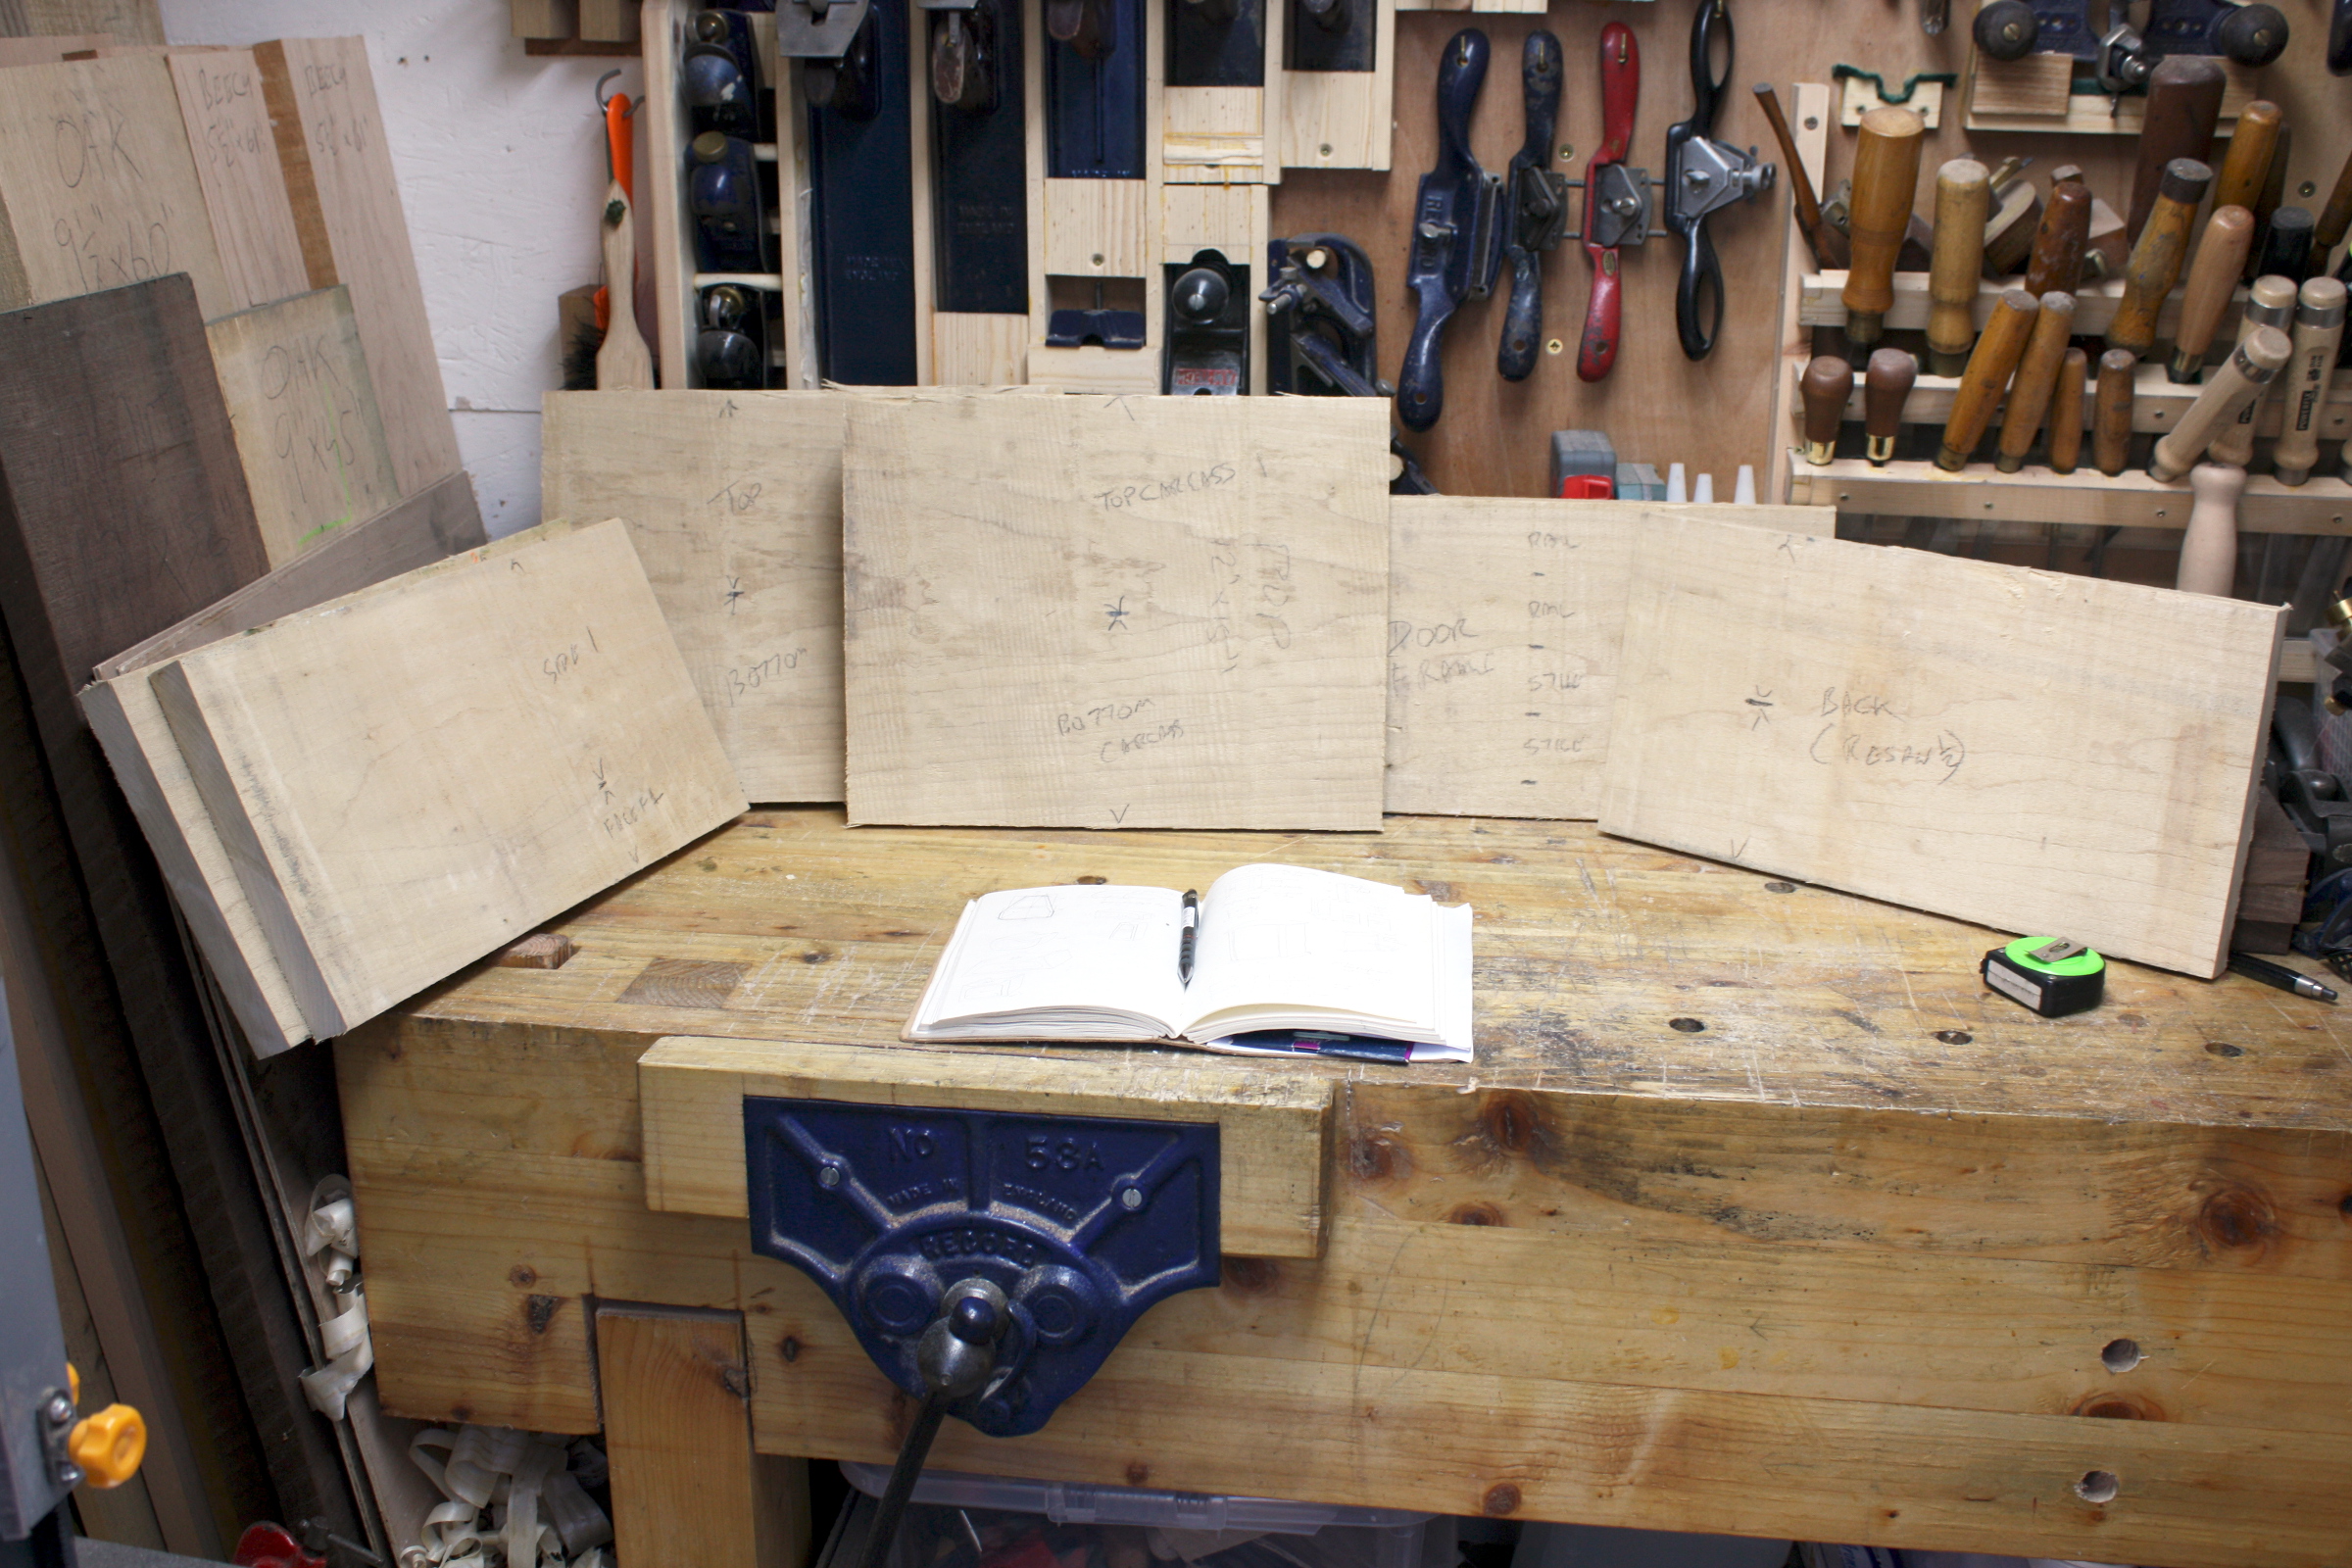
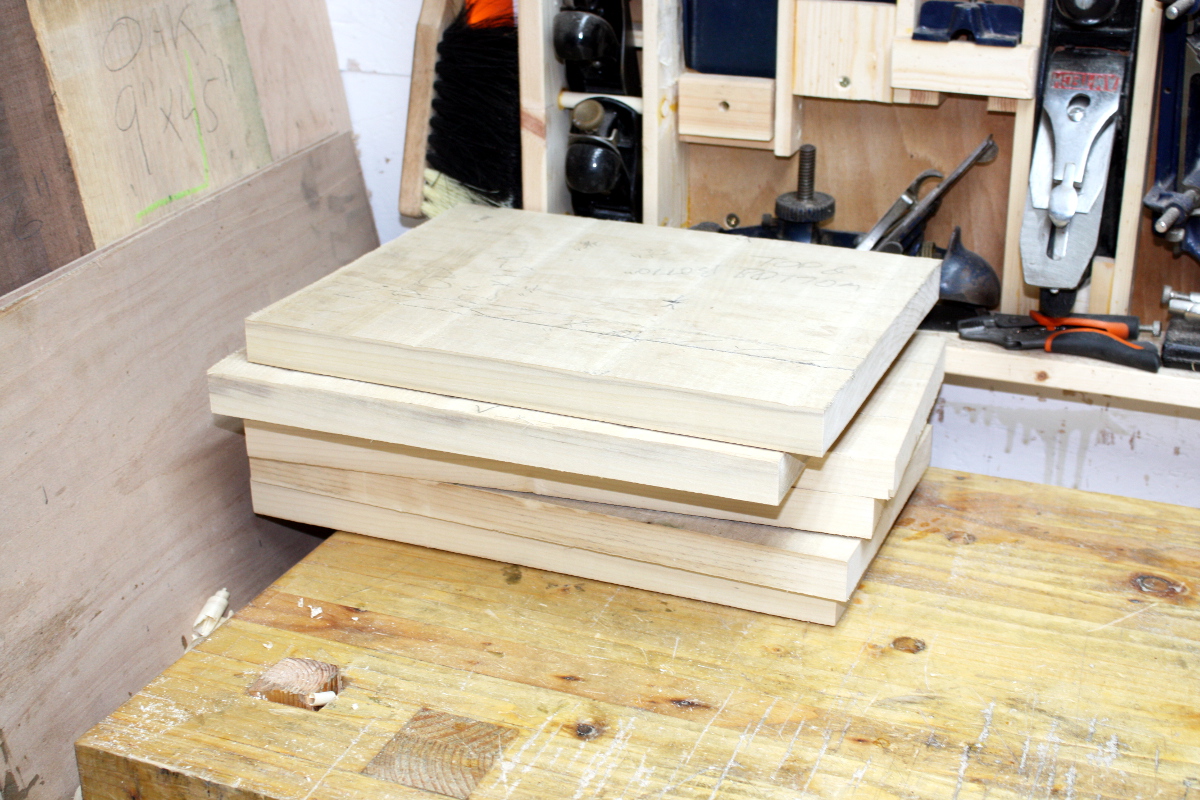
Four boards to thickness down by a quarter inch and an eight-inch wide board to resaw. Well, that’ll get you procrastinating in a hurry. I’m annoyed as well, I bought a frame saw just for this job and it’s still in Germany. What’s the holdup…

Huzzah! It might be here by tomorrow so. Right, ditch the resawing/thicknessing work and let’s park that project until the saw gets here on the bet that a frame saw makes resawing as easy as everyone says it does.

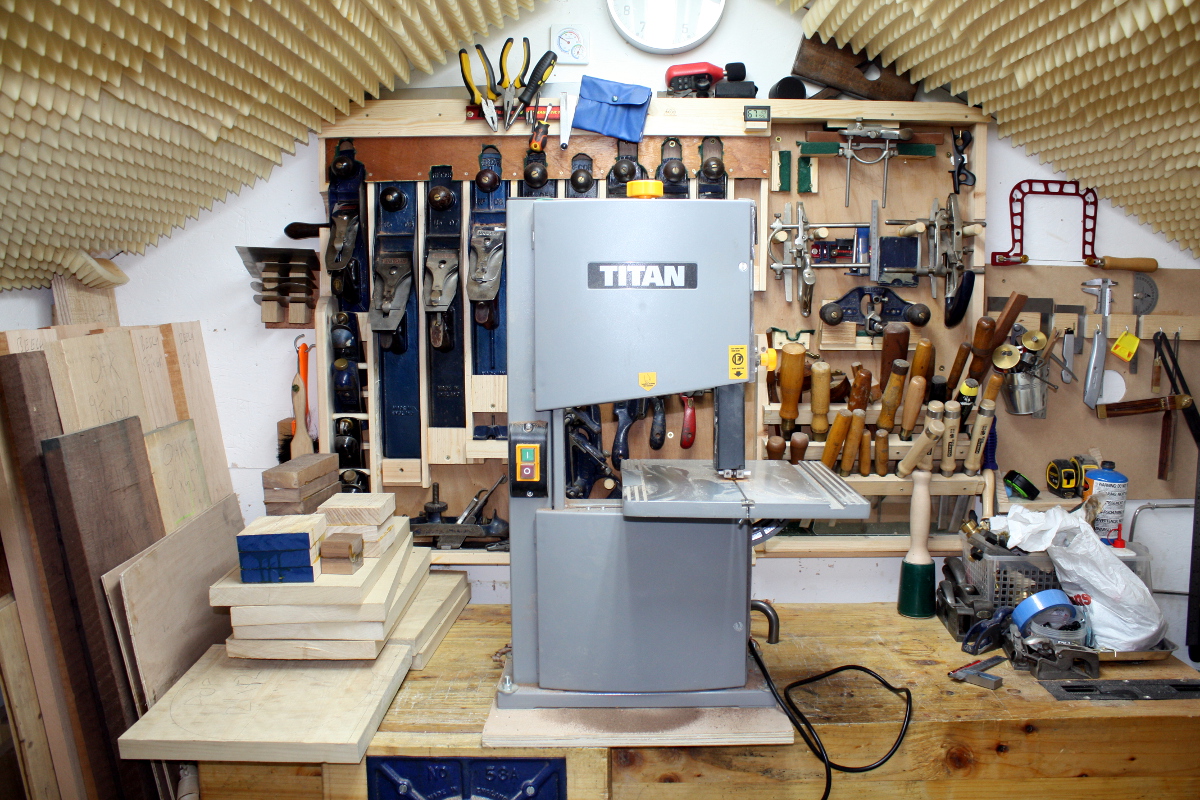
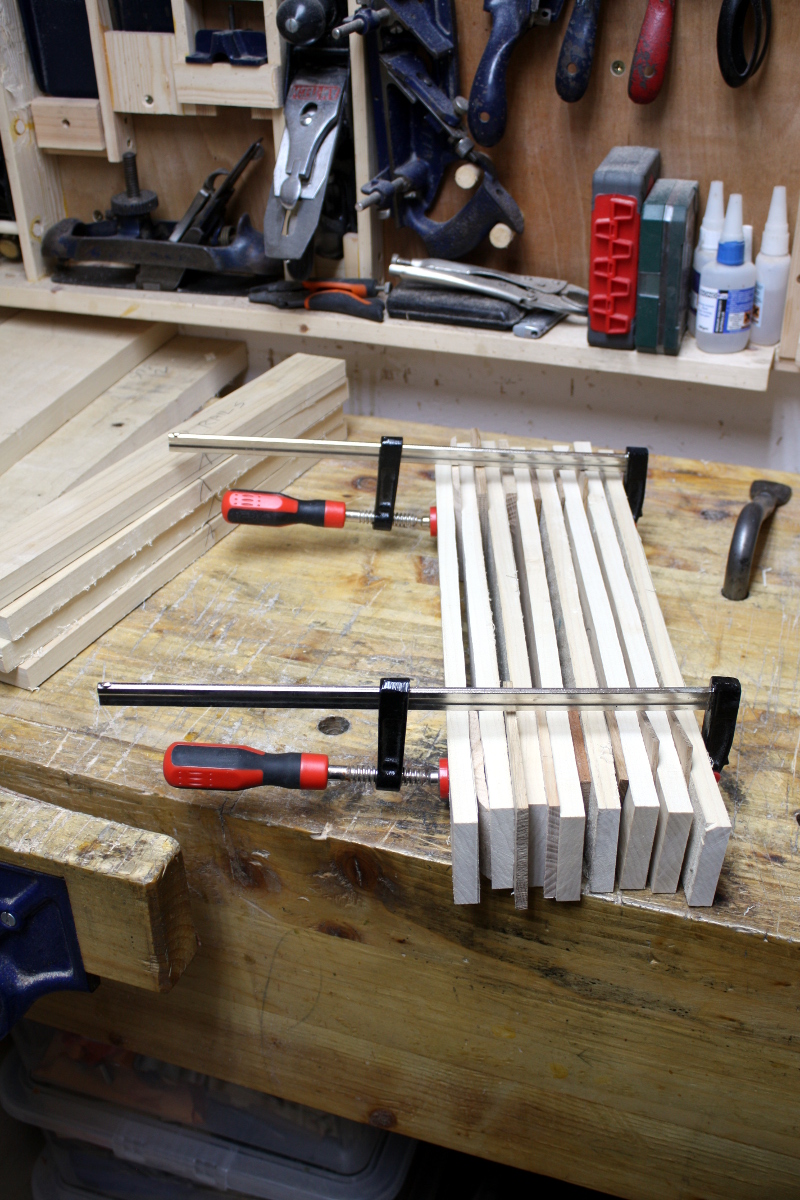
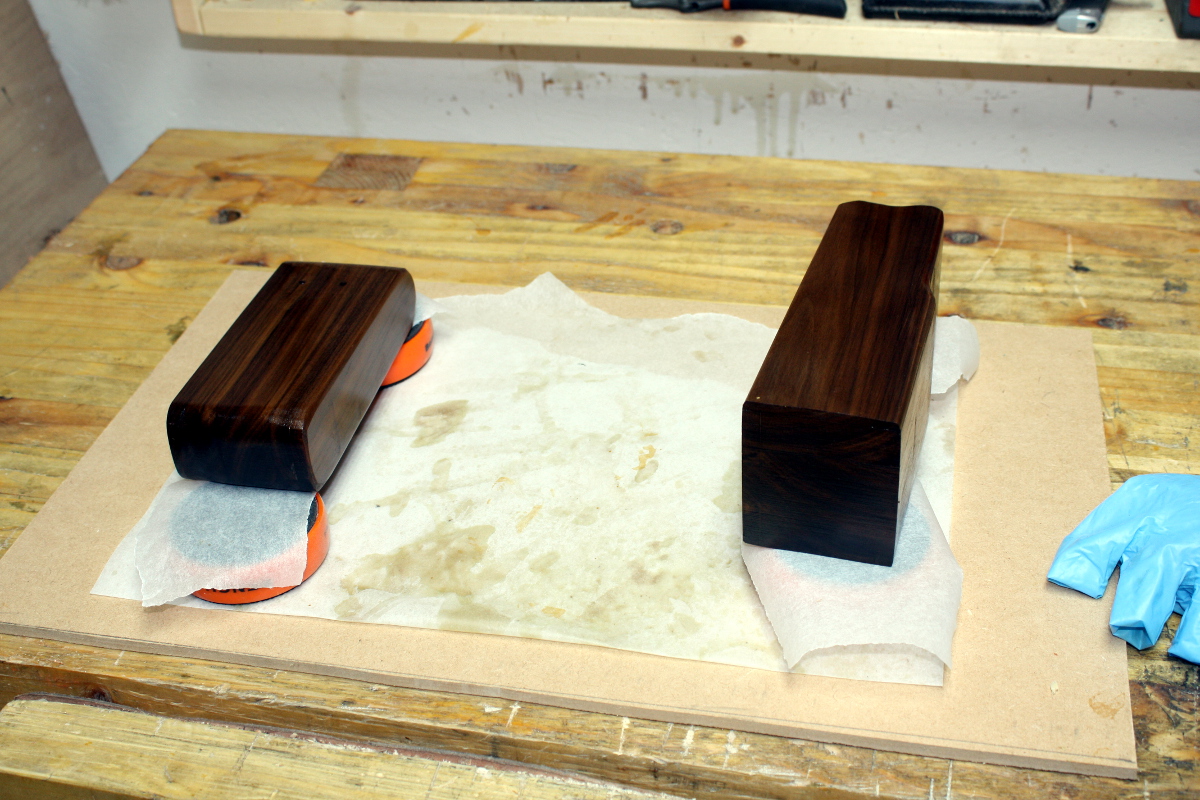
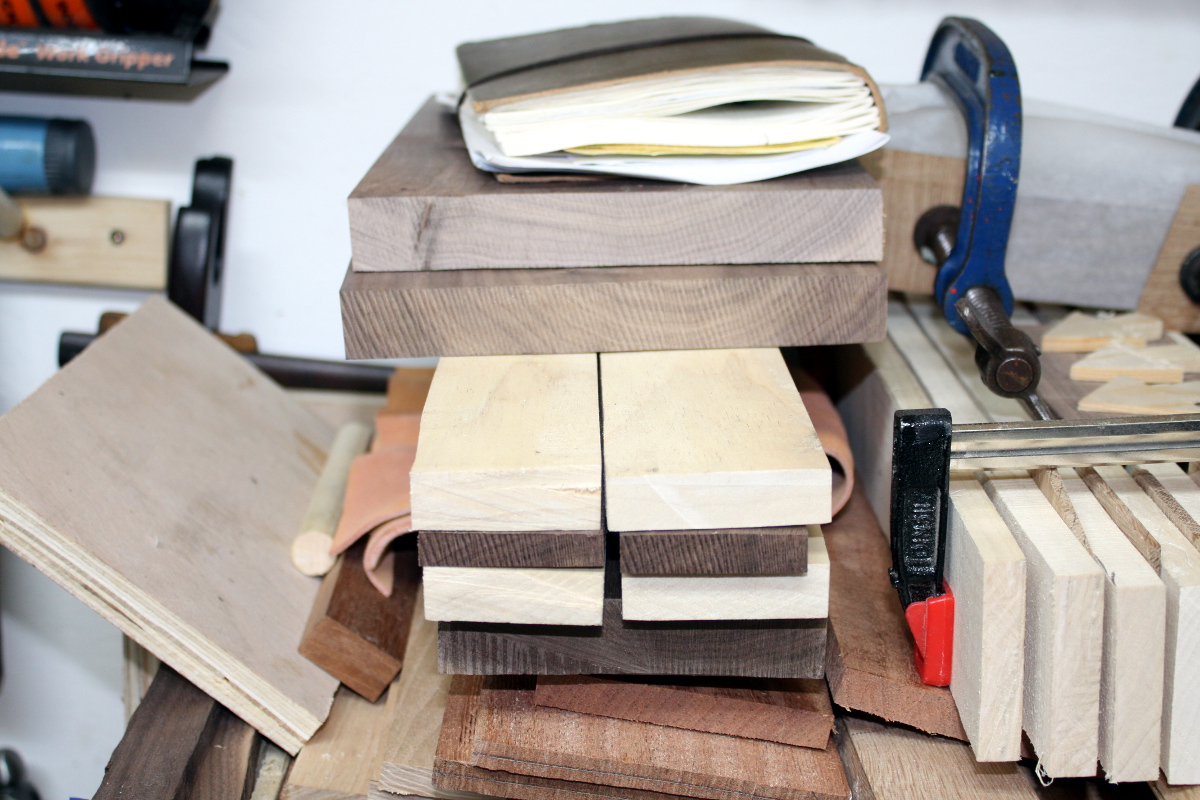
On to other things. I have a few bandsaw blanks; time to stare at them for a while and think of what to do with them…

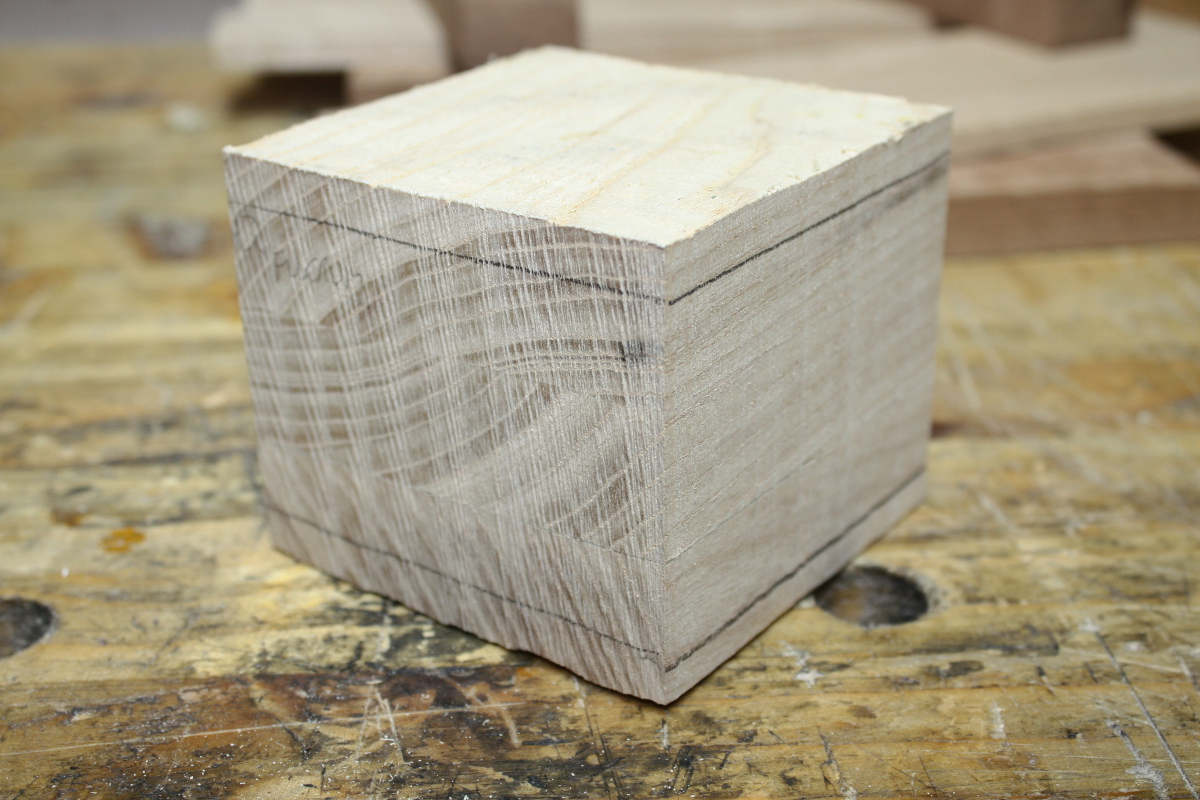
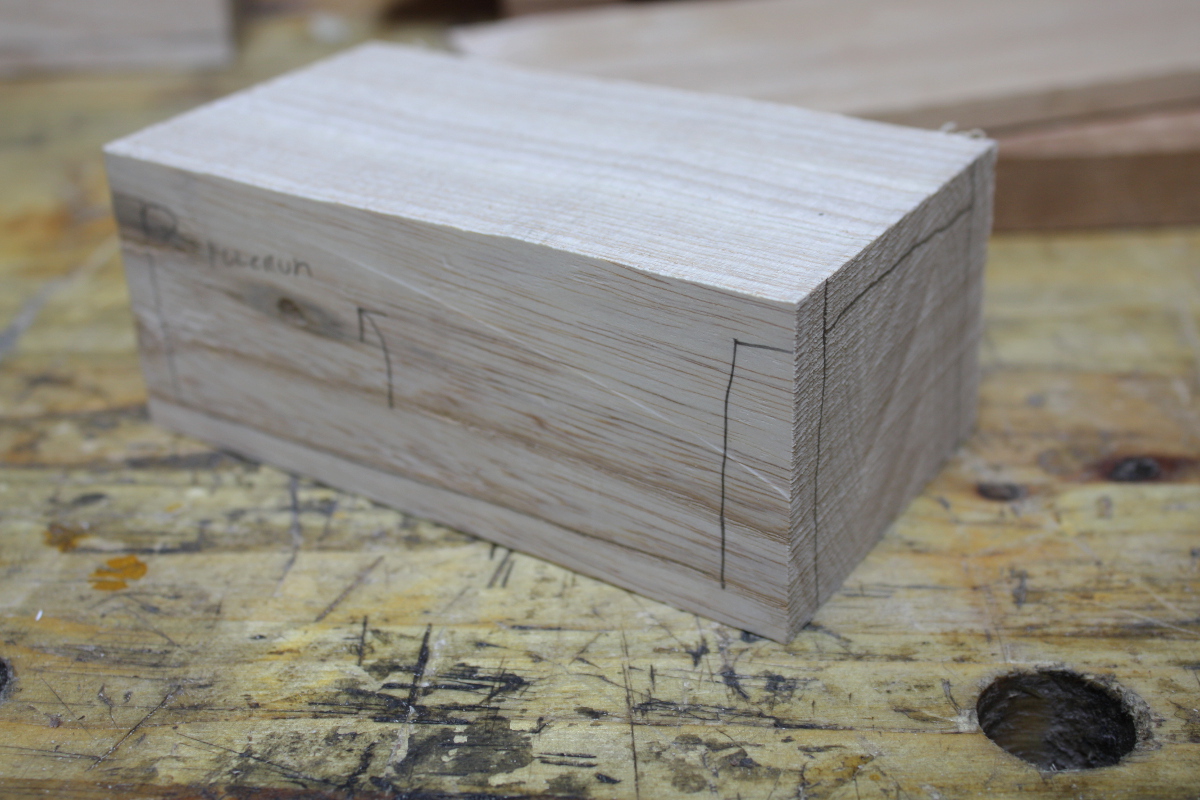
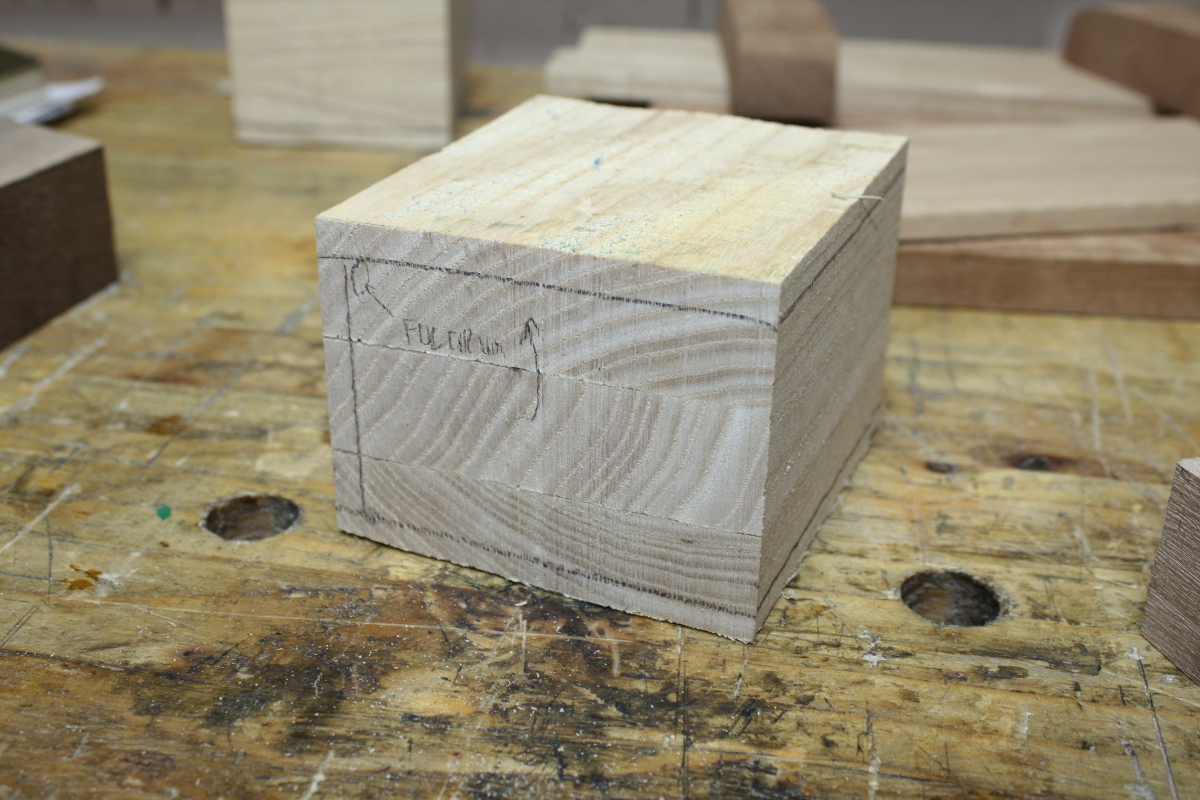
We’ll see if they turn out the way I hope. I don’t like using machinery at the best of times but that late in the evening it felt like it’d be unsocial so nix that and I’ll do it tomorrow.

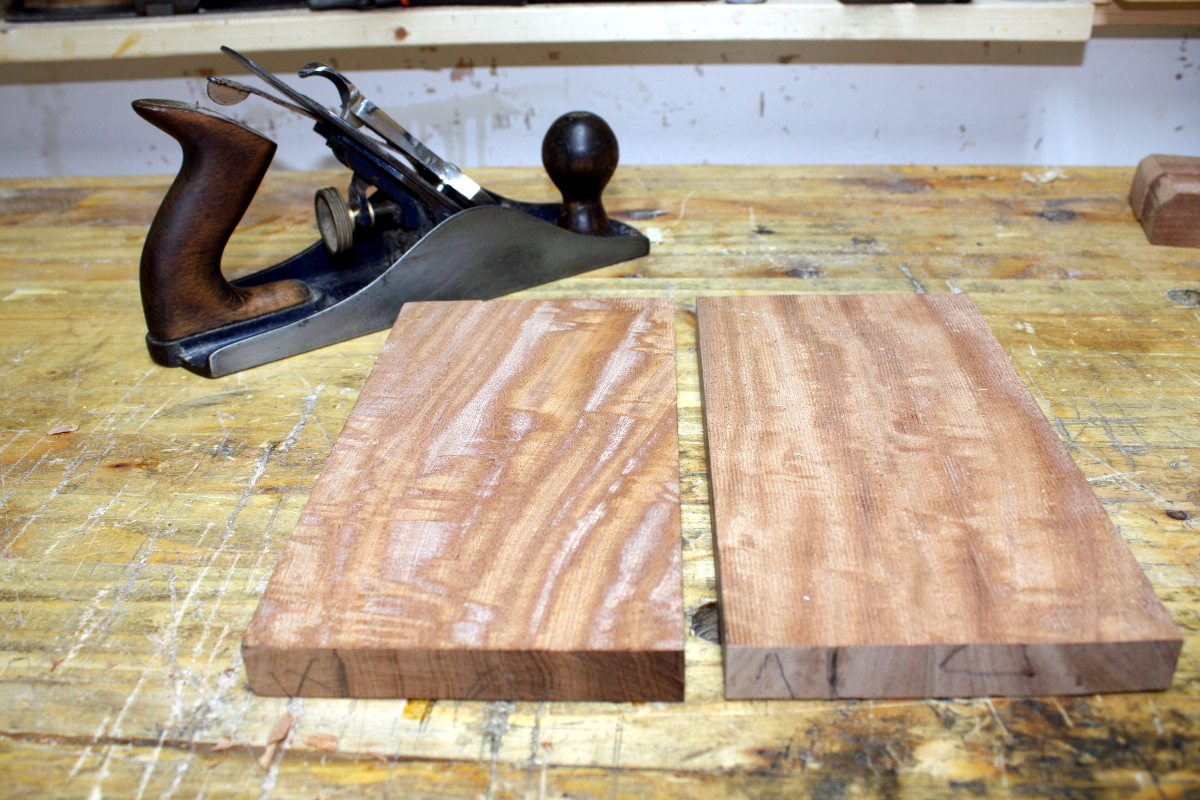
Sapele. Lovely to look at but a complete PITA to work with by hand. The toothing plane was needed to flatten that board (hence the grooved dull appearance of the board on the right) and to then smooth the surface I resorted to my #04½ because I ground that thing with a higher angle a while back and put a back bevel on the iron. And even with it set to a whisper thin cut and skewing the iron and having the chipbreaker set within a glint of the cutting edge, it’s not quite perfect. Scrapers will be needed… but I’ll leave that till after joinery is done.

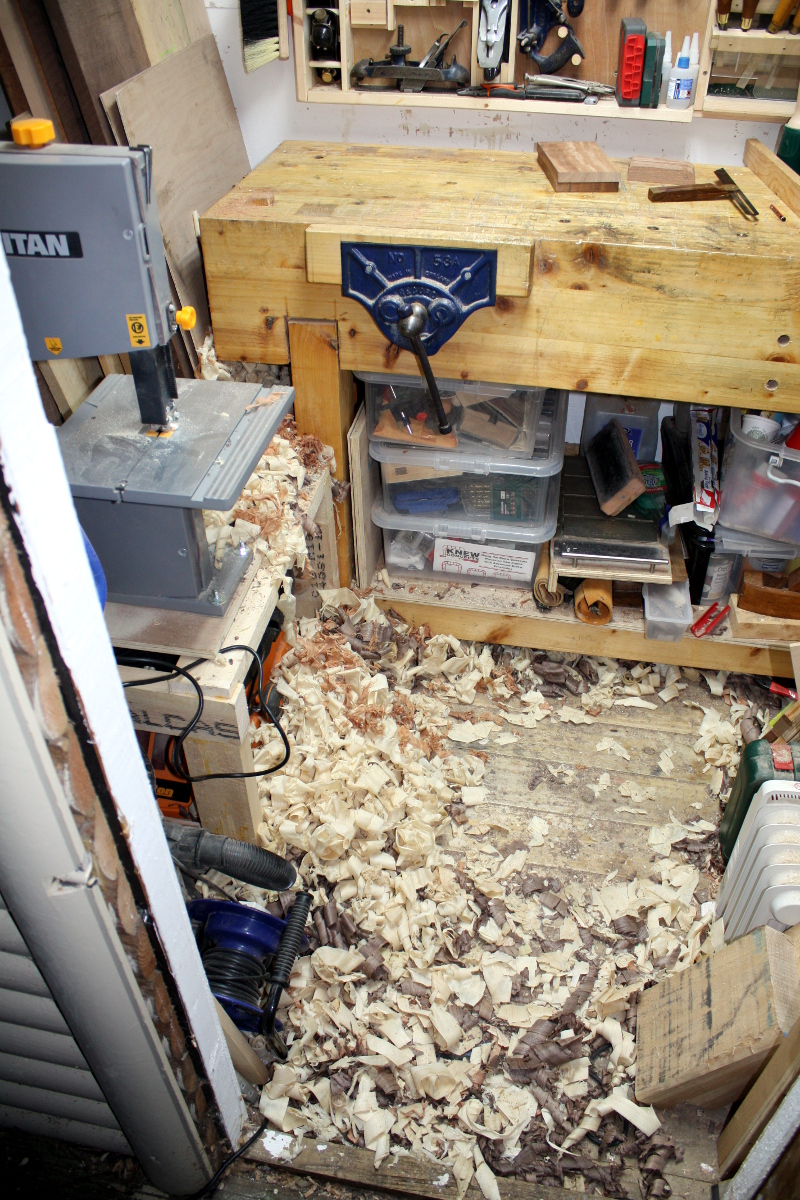
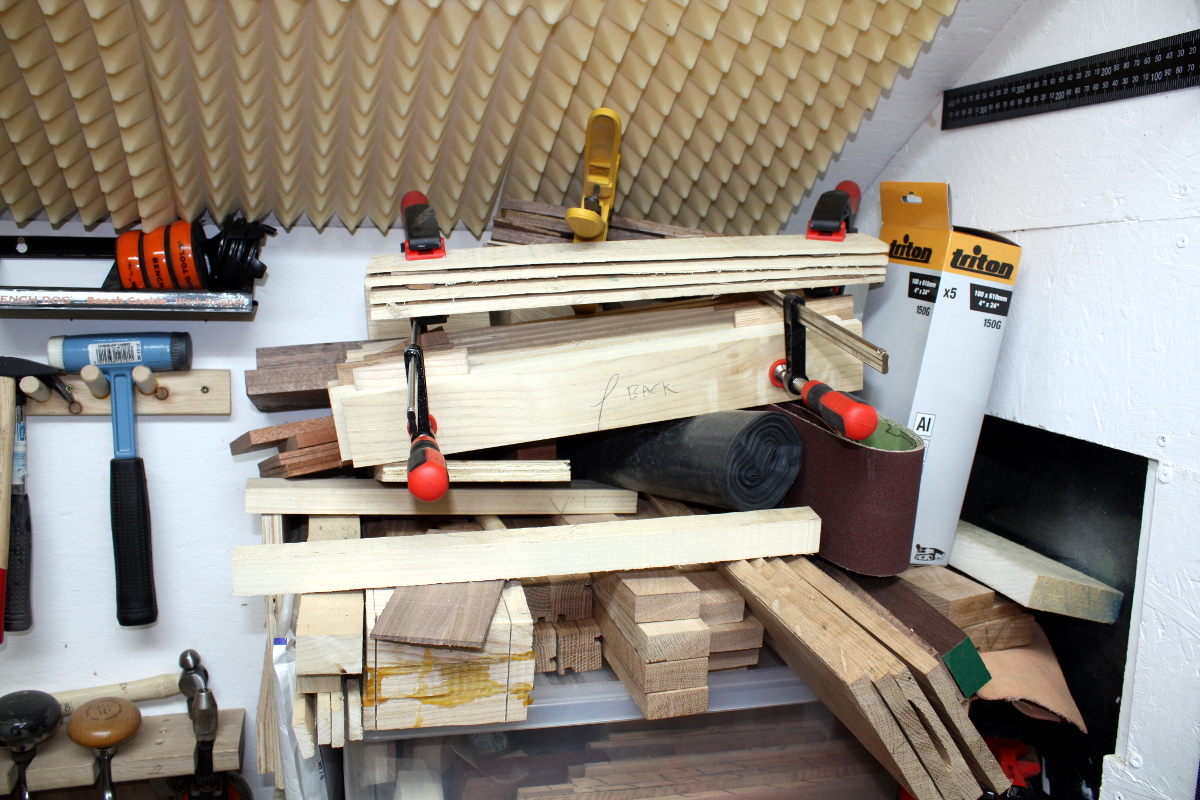
Meanwhile, I need to do some cleaning up. If only I knew someone who had a wood stove in the middle of the kilkenny countryside I could get to burn this lot…

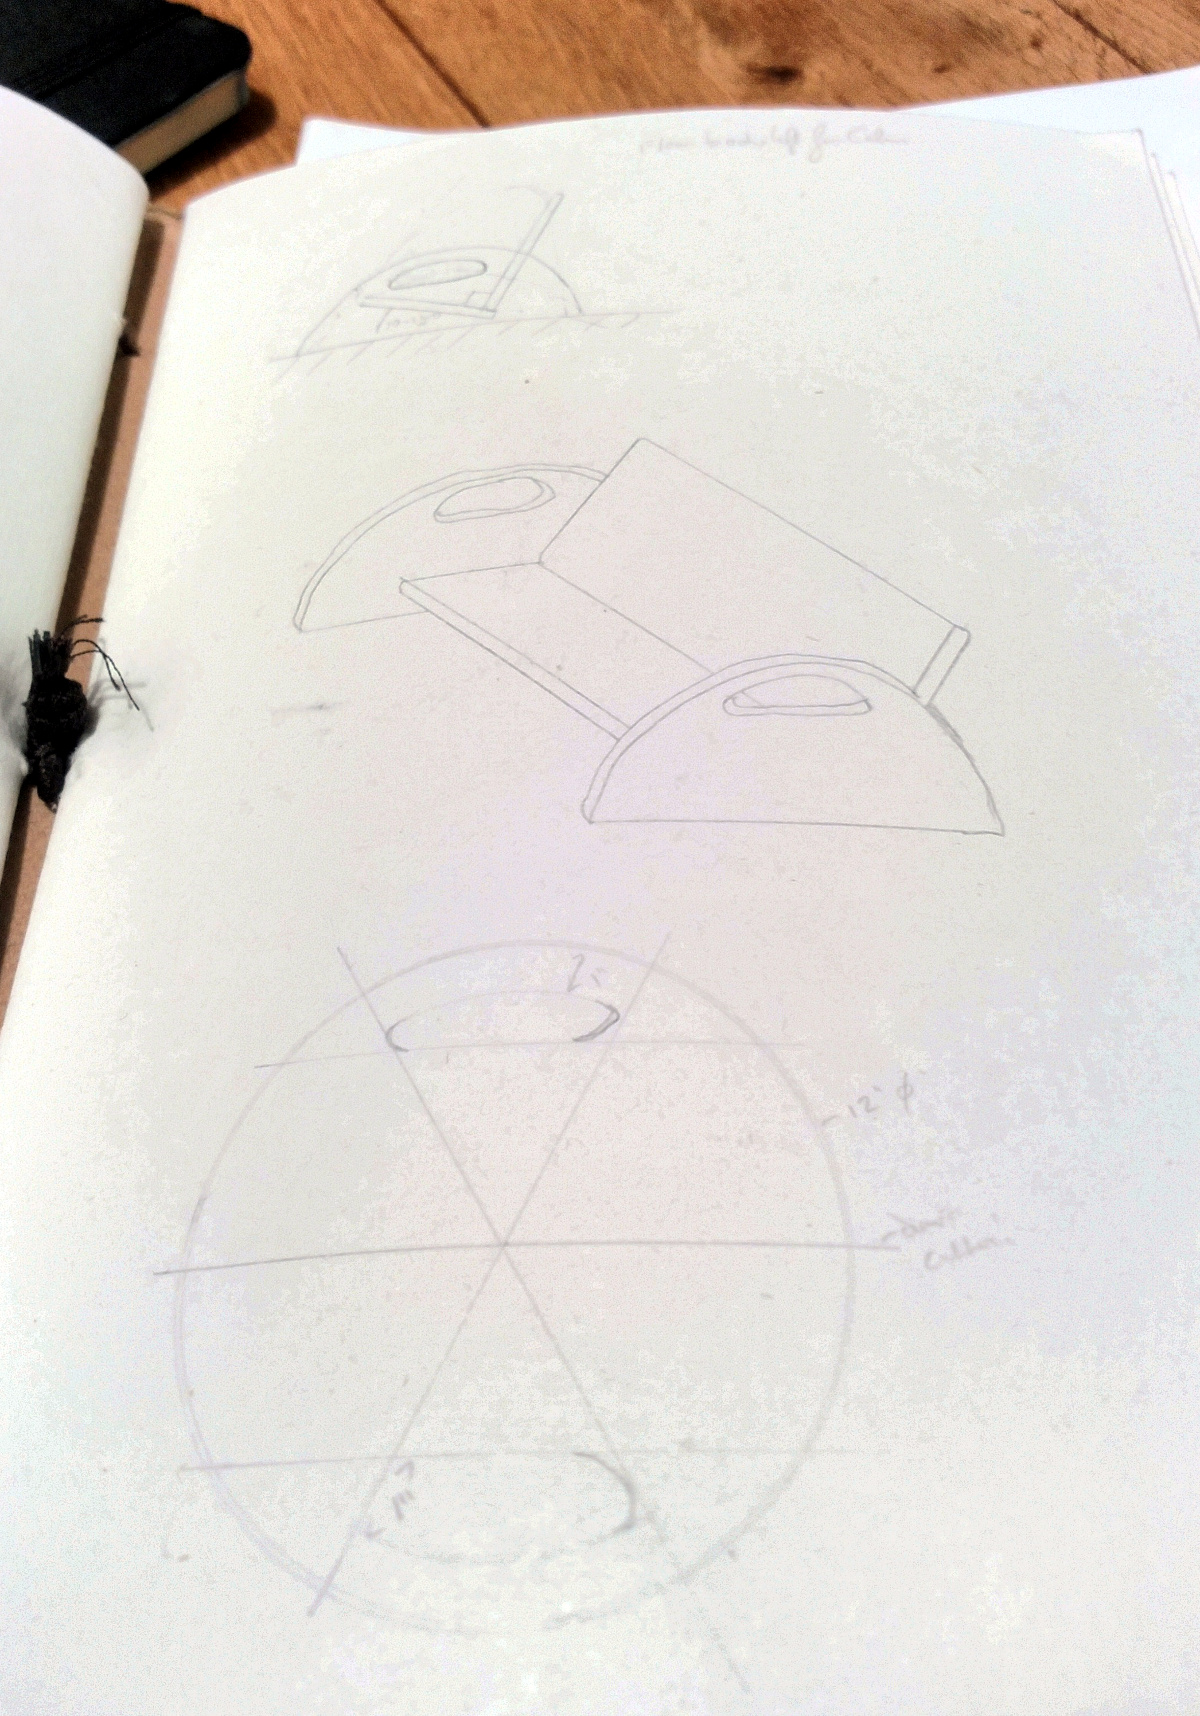
And it’ll probably get done sometime next week, but I have another commission. That’s the word for when your wife orders you to make something for junior, right? 😀 He needs a shelf for his bedtime story book, but it should go on the floor because that’s the easiest place to keep them if you’re sitting by the bed reading to him. So…


18
Dec 17

Starting again…

I figure, with six projects sitting in component form in the staging area of the shed, best get to work making even more components for a seventh project. Because Reasons.

Anyway, the first video I ever saw by Richard Maguire was about building a small wall cupboard (in a sort-of, kind-of, if-you-squint shaker style probably best described as “`English colloquial” 😀 ):


I’ve wanted to build this for a while. But I don’t have the ten feet of pre-planed three-quarter inch thick pine his plans call for. What I do have is a pair of boards of inch-and-a-quarter rough-sawn poplar, mostly free from green stains…

That should work. And sod feeling bad about doing the rough-cuts with a power circular saw. Do you see room in there for me to swing a full-size handsaw? Or have a sawbench? Besides, do you know how they did this back in the 17th century? Apprentices!!! (And there isn’t room for one in there either, even if you can find smaller rooms being rented for the price of a car a month on daft.ie). So.

Woodwork al fresco. Yes, the deck’s a mess. I’ll tidy after the solstice when there’s time.

Right, that’s the rough-cut chunks for the cupboard on the left, a chunk intended for another project (yes, that’s eight, I know, hush), and offcuts that will probably become bandsaw boxes or the like.

Now, time to figure out layout a bit better.

Design, meet wood. Wood, meet design. This is the humming and hawing stage when I try to think through the size in the design and how to break down the parts best, and whether stuff is getting thicknessed by scrub plane or resawn or whatever.

Resawing is a pain to do, thicknessing is only slightly better, but a lot of parts in this can be under three inches wide and those I can resaw with the bandsaw reasonably easily. I do have a frame saw on the way for wider stuff to see if it helps (lots of people say it does), but the thing’s in Cologne with no sign of moving for the last week. Sodding DHL.

Round one with the bandsaw. I’ve planed a reference edge with the #05 and #08 and marked off the far edge with the panel gauge after sharpening the pin a little with the diamond paddles. I’ll rip those on the bandsaw and get widths (there’s some damage on the edges – the boards must have been near the edge of the pack in the timber yard I guess).

And I’m trimming up the bandsaw blanks while I’m at it.

Right, that’s the edges sorted. Plus I get a few pieces to test finish on.

Then I start marking off various parts. By the time I’m done, I’ve used almost all my gauges (you don’t unset the gauge until you’re sure you’re done with that measurement; that ensures you’ll only have to reset the gauge for the one cut you’ve forgotten instead of five or six times).

And time for round two with the bandsaw (after lunch):

Right. Now I plane a reference edge and face on each part and mark the relevant parts for resawing or thicknessing. And then change my mind about thicknesses – I’ll leave the front of the cupboard three-quarters of an inch thick (which is a standardish sort of thickness for these things) rather than a half-inch. The back panel will still be a half-inch, and I’ll make the sides three-quarters and the top and bottom of the carcass and the shelf will be half-inch and so will the top and bottom cap pieces (so top and bottom overall will be an inch thick and the sides a quarter-inch less).

This is about the point where I discover that my favorite small proops brothers engineers square is… not. Square that is, it’s out by almost a full mm across its arm, I must have whacked it off something without noticing. I know I didn’t drop it. I don’t know if you can true one of these back up with the kit I have available. I may just need to buy a new one (for all of a tenner or so). In the meantime, I have another engineer’s square and the new Moore&Wright sliding square so that’s fine. Except that I had to reshoot a bunch of edges to get them back to square. And then marking them out for resawing.

And back to the bandsaw for round three…

Right. That’s the rails and stiles for the front door, the boards for the back, and the sides and top and bottom will have to be resawn by hand.

Just clamping and stickering them for now to let them dry overnight without too much warp.

Yeesh. Really do need to start joinery on something soon, if only to clear space. I only just finished tidying this up on Saturday…

Also finished up the bandsaw box. Two coats of garnet shellac on top of two coats of danish oil, and then some hardware, and then some felt for the base and the drawer gap. More photos tomorrow.

And then there was this idea from Paul Sellers:

And it looked simple enough that I could do it with Calum, so I prepped a piece of pine and this evening we drew lines on it, sawed it with a small ryoba rather than using the chisel Sellers used which would be a little dangerous for a five-year-old (or for me in close quarters with a small child holding a surgically sharp pointy lump of metal for that matter), and cleaned it up using “his” number #03 plane (because it has two places to hold that keep small fingers away from sharp edges). And then split it with a hammer and enough glee to convince me it’s a good thing we don’t have a cat.

Then break out the green spraypaint and masking tape and do the next bit outdoors 😀

Came back a bit later with spray-on snow and drilled a hanging hole…

Not bad for a five-year-old.


17
Dec 17

Madelines

Well, this post has sat around as a draft for two years now, so maybe I should finish it…

Anyway. Madelines. Small crunchy-on-the-outside citrusy sponge cakes that are brilliant with a cup of tea in the morning. Yes, crunchy. If you’ve had them and they were soft, they weren’t fresh. They go soft as they go off.

Also, you need a special pan. Yes, you do. You can pour the batter into anything but it won’t be a madeline, the same way it’s a stew instead of a tagine unless it’s made in a tagine or a casserole has to be made in a cassarole or a … you get the idea. It’s one of those named-for-the-dish cooking vessels. For madelines they look like this:

Sorry, no, google I said “madeline pan“…

And you’ll want to have a piping bag. You’ll think you won’t but you try doing this with spoons and you’ll wind up swearing a lot about how next time you’ll use a piping bag.

Also, preheat the oven. Temperature is a massive thing for this recipe, as is piping in the right amount of batter.

The easiest way to start is in the stand mixer bowl (you don’t need a stand mixer. You also don’t need a car to get to work, the bike or bus or train would do fine, but you’re a fancy sod, aren’t you?) and try to get 100g of eggs in (just keep cracking eggs till you’re at or past 100g, then scale all the rest of the recipe to match – the rest of the amounts here will assume you got to 110g, beat the eggs to a homogenous mix, then ditched 10g of the egg mixture because you’re phobic about maths).

Now, 90g of butter and 2 teaspoons of honey into a small pot, melt gently on the hob and let it come back to room temperature. Once they’ve melted and are cooling, you can add citrus zest or vanilla essence or whatever you feel like. Personally I like lemon zest and vanilla here and adding a handful of poppy seeds to the flour later but if you want to make mint salted caramel madelines, well, not in my f*&$ing kitchen you’re not.

Now, back in the stand mixer bowl add 75g of castor sugar, 10g of soft brown sugar and a pinch of salt. Mix with the whisk attachment by hand just to get the sugar off the bottom and into solution, then put the attachment back into the machine and whisk on high until the mixture triples in volume. Don’t cut this step short, this is all the air that’s going into this and you don’t want to eat window putty, you want a light sponge which means lots of air at this step.

Next, sieve 90g of plain or self-raising flour into a bowl. There’s not enough difference in the two flours to really worry about at this stage. Michelle Roux Jr. might worry, but unless you’re a professional pastry chef who’s famous for his desserts and underpaying his staff, the difference isn’t going to be very important to you. You’ll screw something else up sufficiently to hide the difference anyway.

Now, sieve the mixed flour into the stand mixer bowl, folding it in carefully with a spatula (yes, turn off the mixer and take the bowl out first, or it’s going to be very funny for everyone else). Lose as little of the air in the batter as you can. Once you’ve finished all the flour, do the same with the butter that’s by now cooled to room temperature (if it hasn’t cooled and you try this, you’ll scramble the eggs, which will suck and won’t make madelines). Pour the butter down the side of the bowl rather than dumping it directly into the batter, or the whole thing collapses and sinks like a souffle in a cement mixer.

Fill the piping bag, then put it in the fridge and forget about it till tomorrow.

Next day.

Yes, the next day. Feck’s sakes, you didn’t start reading this ten minutes before you needed them did you? Anyway. Next day. Preheat the oven to 210C.

Take a tablespoon or two of butter and put it in a plastic bowl and microwave it till it’s almost melted (or, if you don’t have kids you can use a small pot on the hob or microwave it in tupperware or whatever). Now brush it on the depressions in the pans. You don’t want a thin translucent smear here; you want a thickish coat because that butter is going to fry the batter for that crust. I mean, not a tablespoon per madeline, but a good schmear.

Now, pipe in batter to each depression. You want to fill each depression by about 75% – I usually find that piping at a good rate from one end to the other and back again is about right, but give it a go yourself and you’ll figure it out. Or, you know, just give up, curse the whole thing and buy them from a bakery in future.

Then put the pan into the 210C oven (no, put it back on the counter and feckin’ wait for the oven to heat up, for feck’s sakes…) and immediately drop the temperature to 200C and bake for 10 minutes or until golden brown. The batter will rise in the oven in a small peak in the middle of each madeline, called the nipple because it’s a french dessert and of fecking course it is…

Knock them out of the pan immediately (and then use a butter knife to prise out the last two that always stick) and then cool them on a rack for a few minutes until you can hold them without burning your hand, and serve while still warm.

Oh, and if you can’t serve them warm, leave them cool completely and then dip them in chocolate. I mean, they won’t be as good as fresh, but they’ll be dipped in chocolate and well, what isn’t better for being covered in chocolate?