18
Jan 18

Nocturne

Nocturne because all day today I was Chopin’, see?

Yeah, well. It was funny in my head.

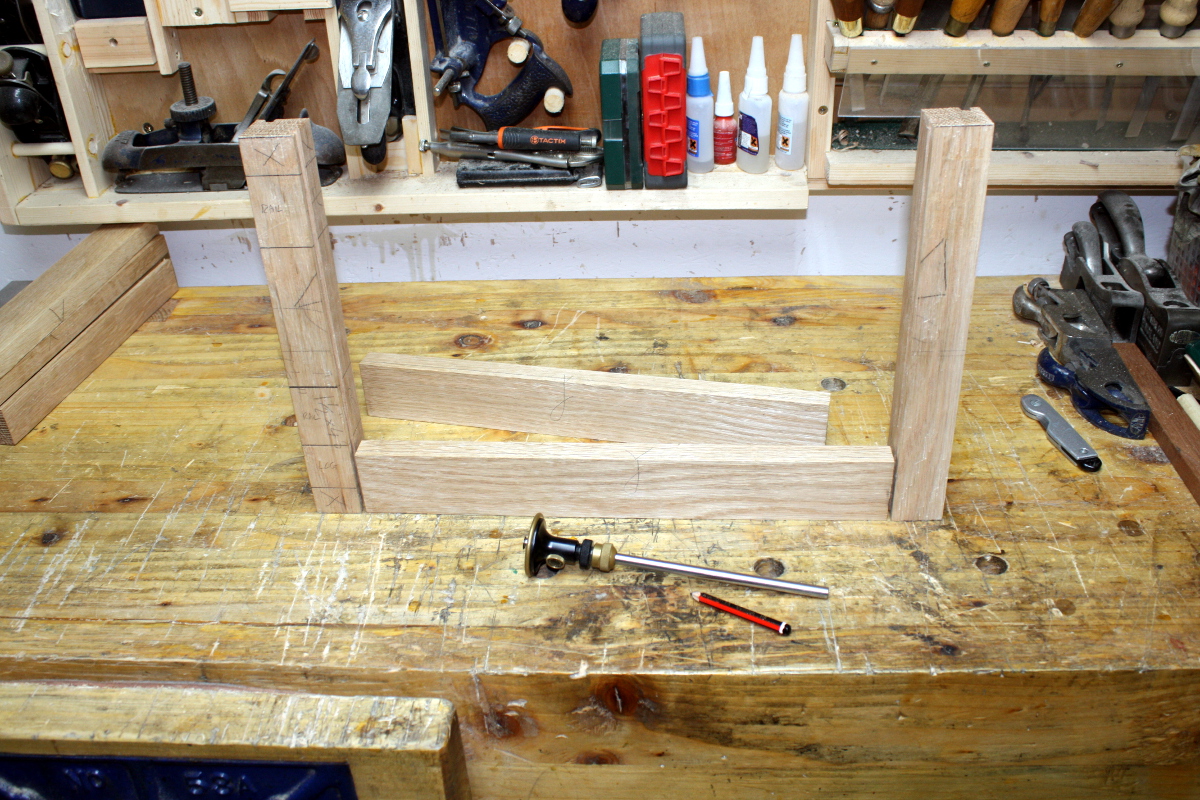
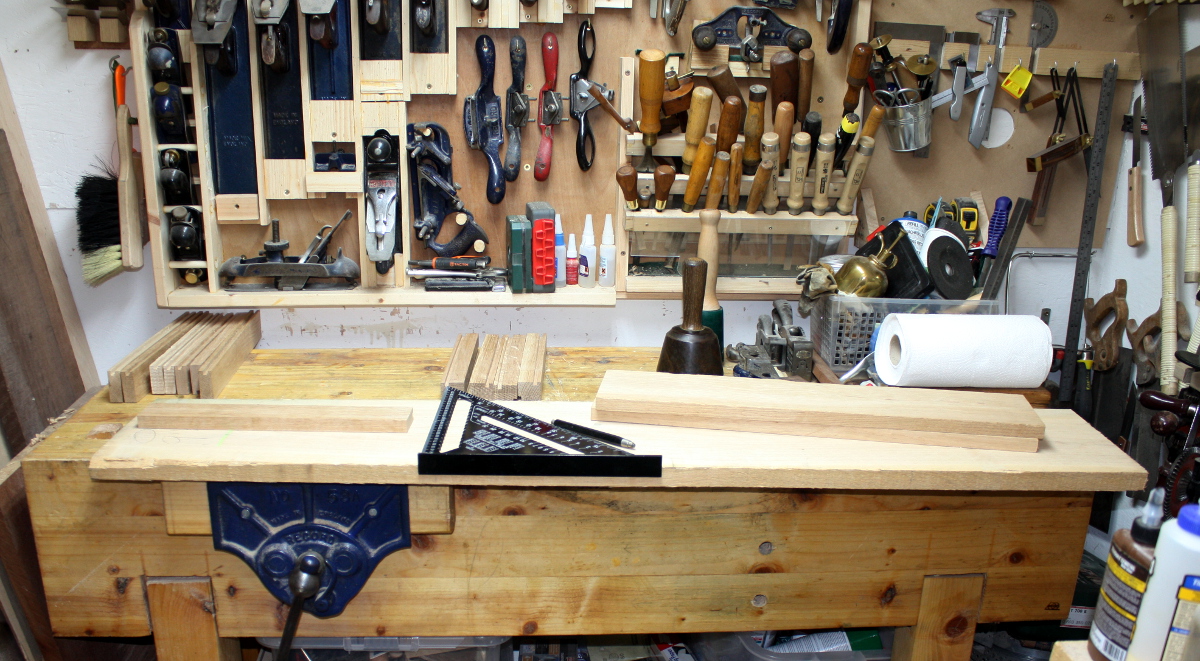
Anyway, today was mortice day.

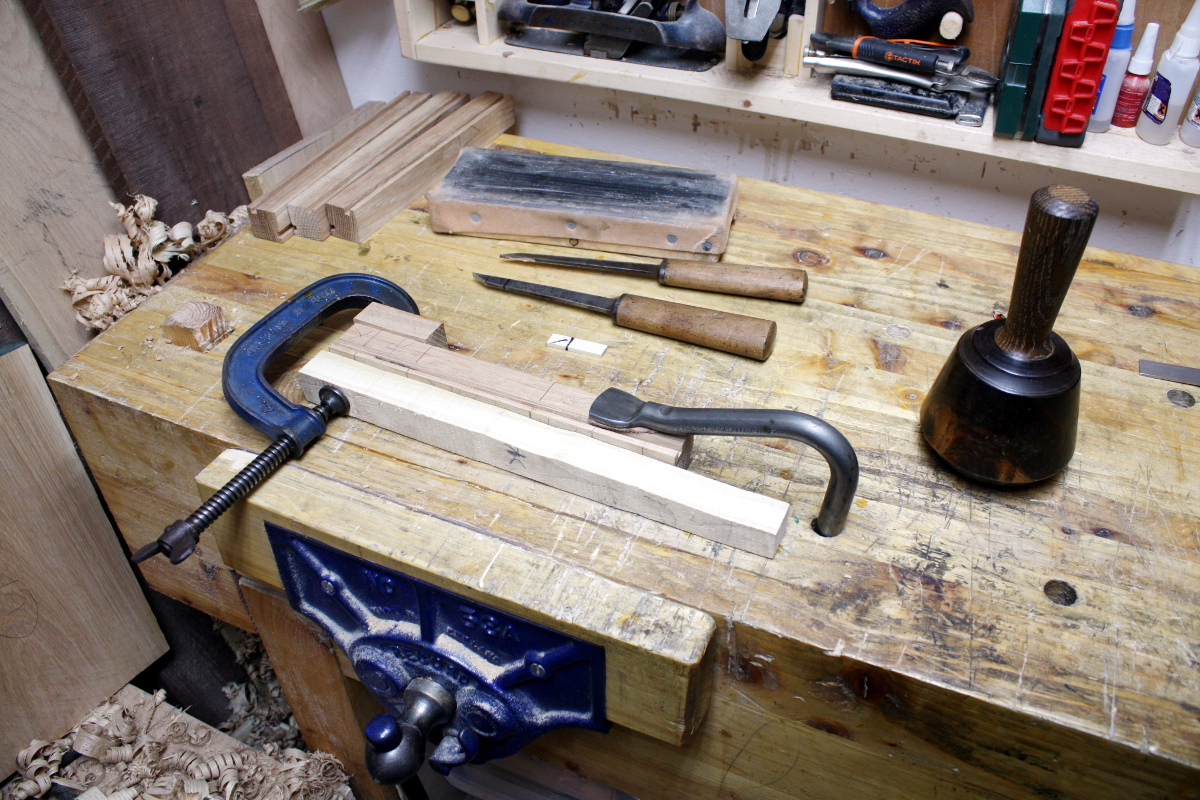
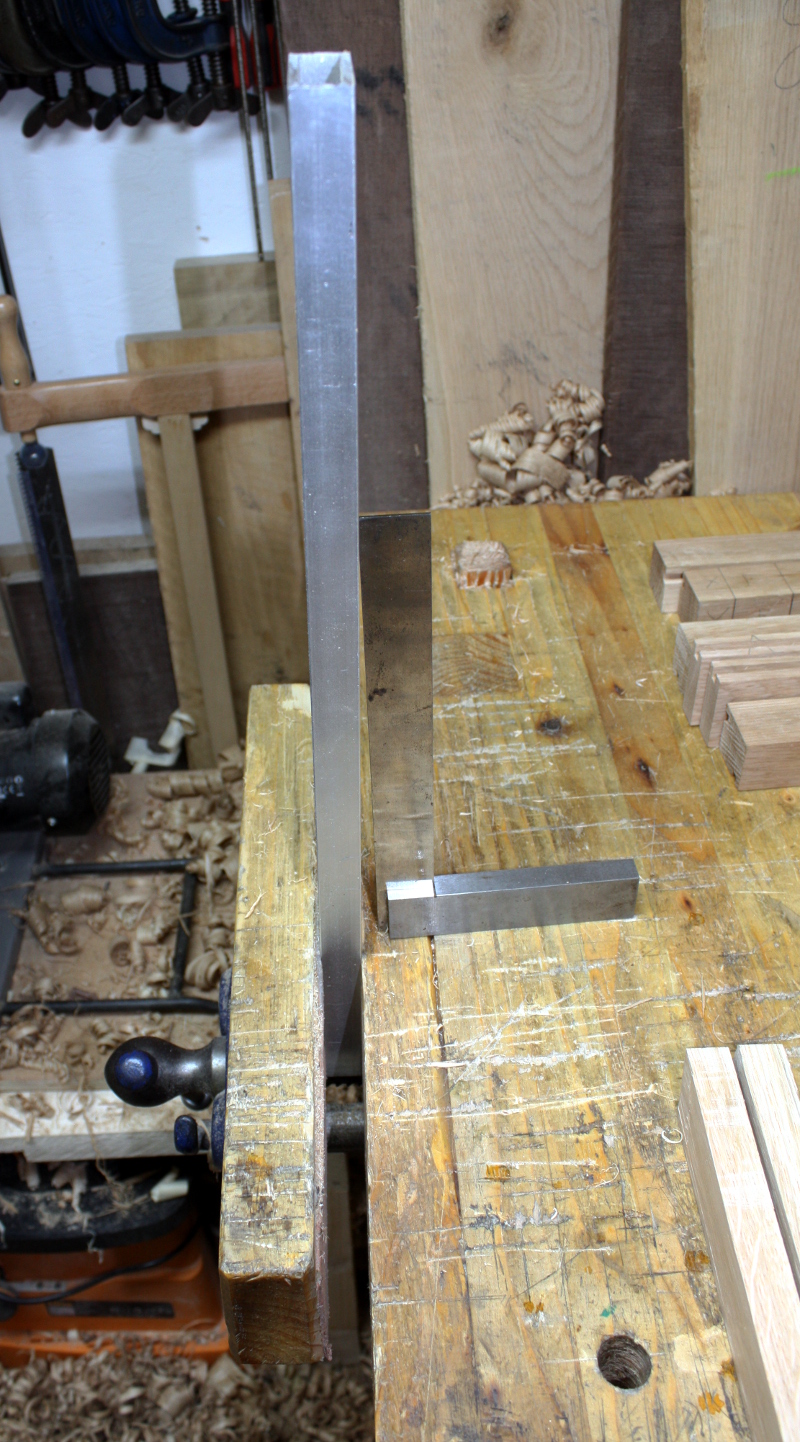
That’s my normal way of cutting mortices. The piece is over (or close to) the vice leg (which is thicker than the other workbench legs for just this kind of reason), rather than held in the vice because that way you don’t have to crank on the vice until the steel creaks so your piece doesn’t slip while you’re wailing on it. The holdfast method is just better, faster, and causes less hassle. The clamp and other pieces of wood only come out when the mortice is close enough to the edge that I worry about blowout; and really I’d like to get one of those traditional dual screw woodworking clamps to use instead.

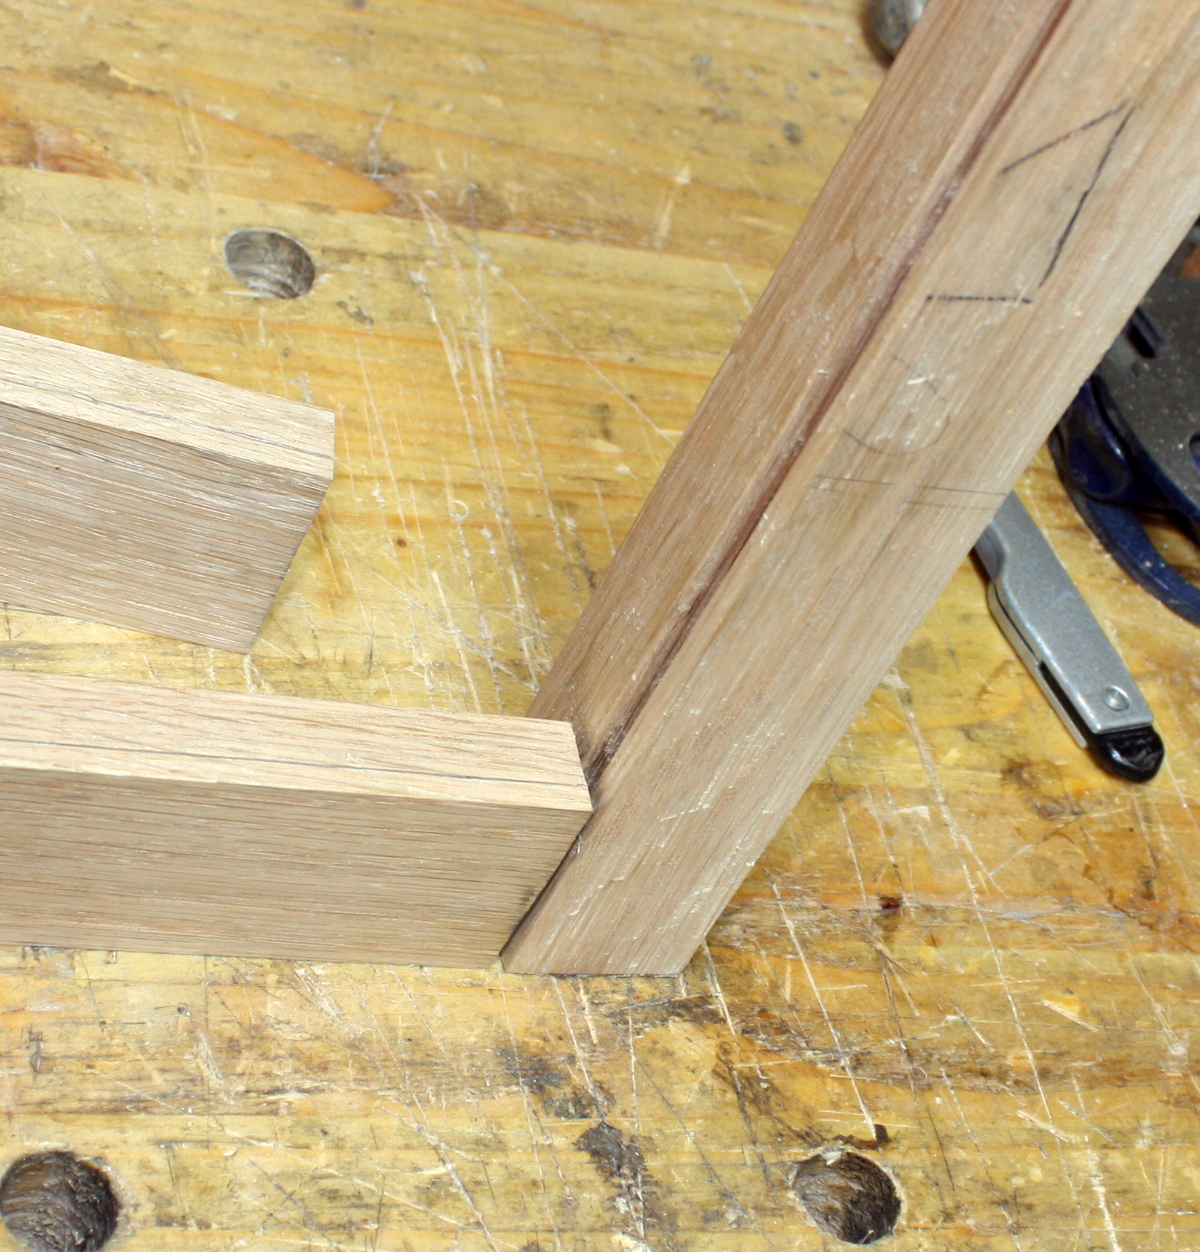
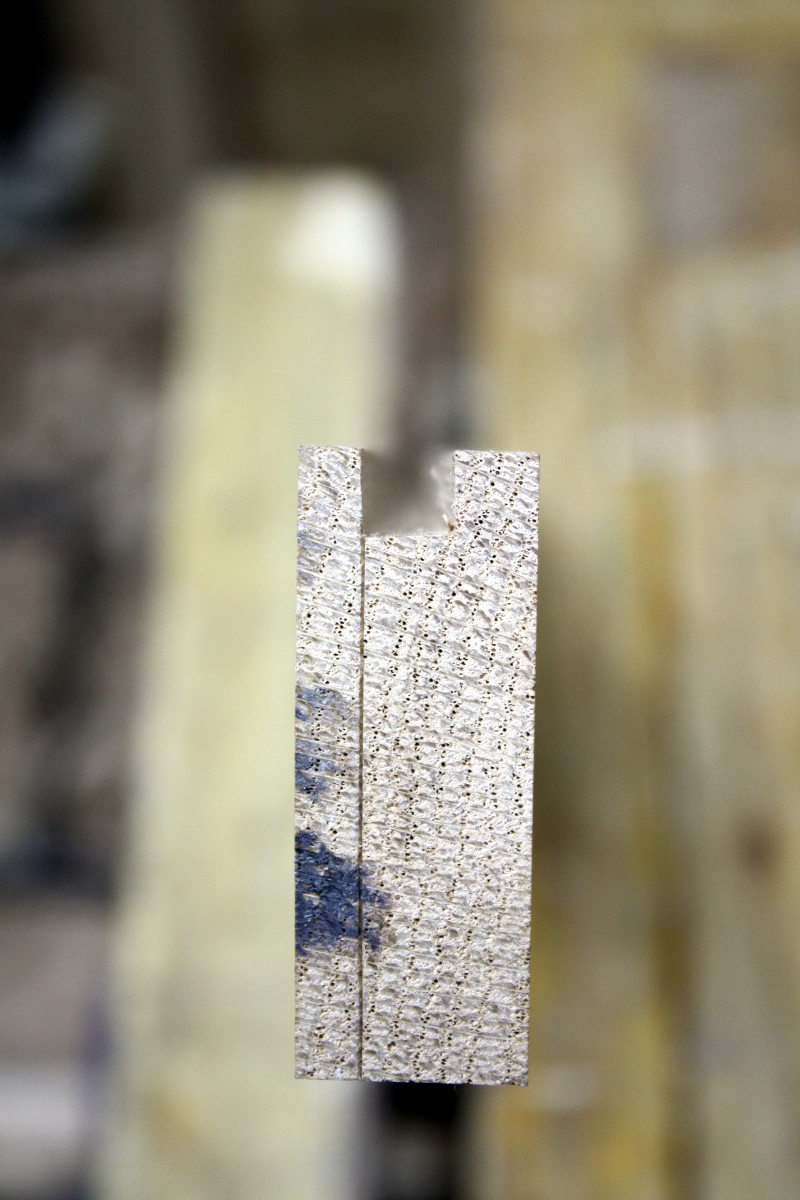
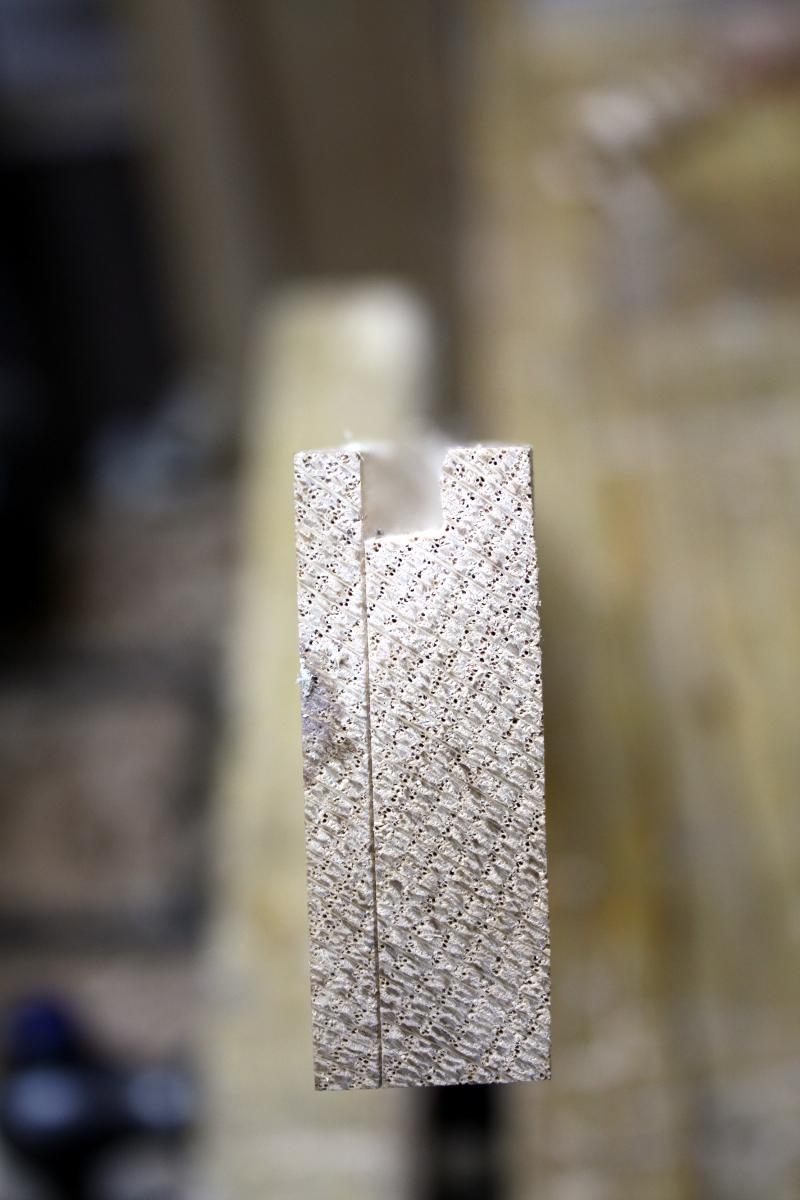
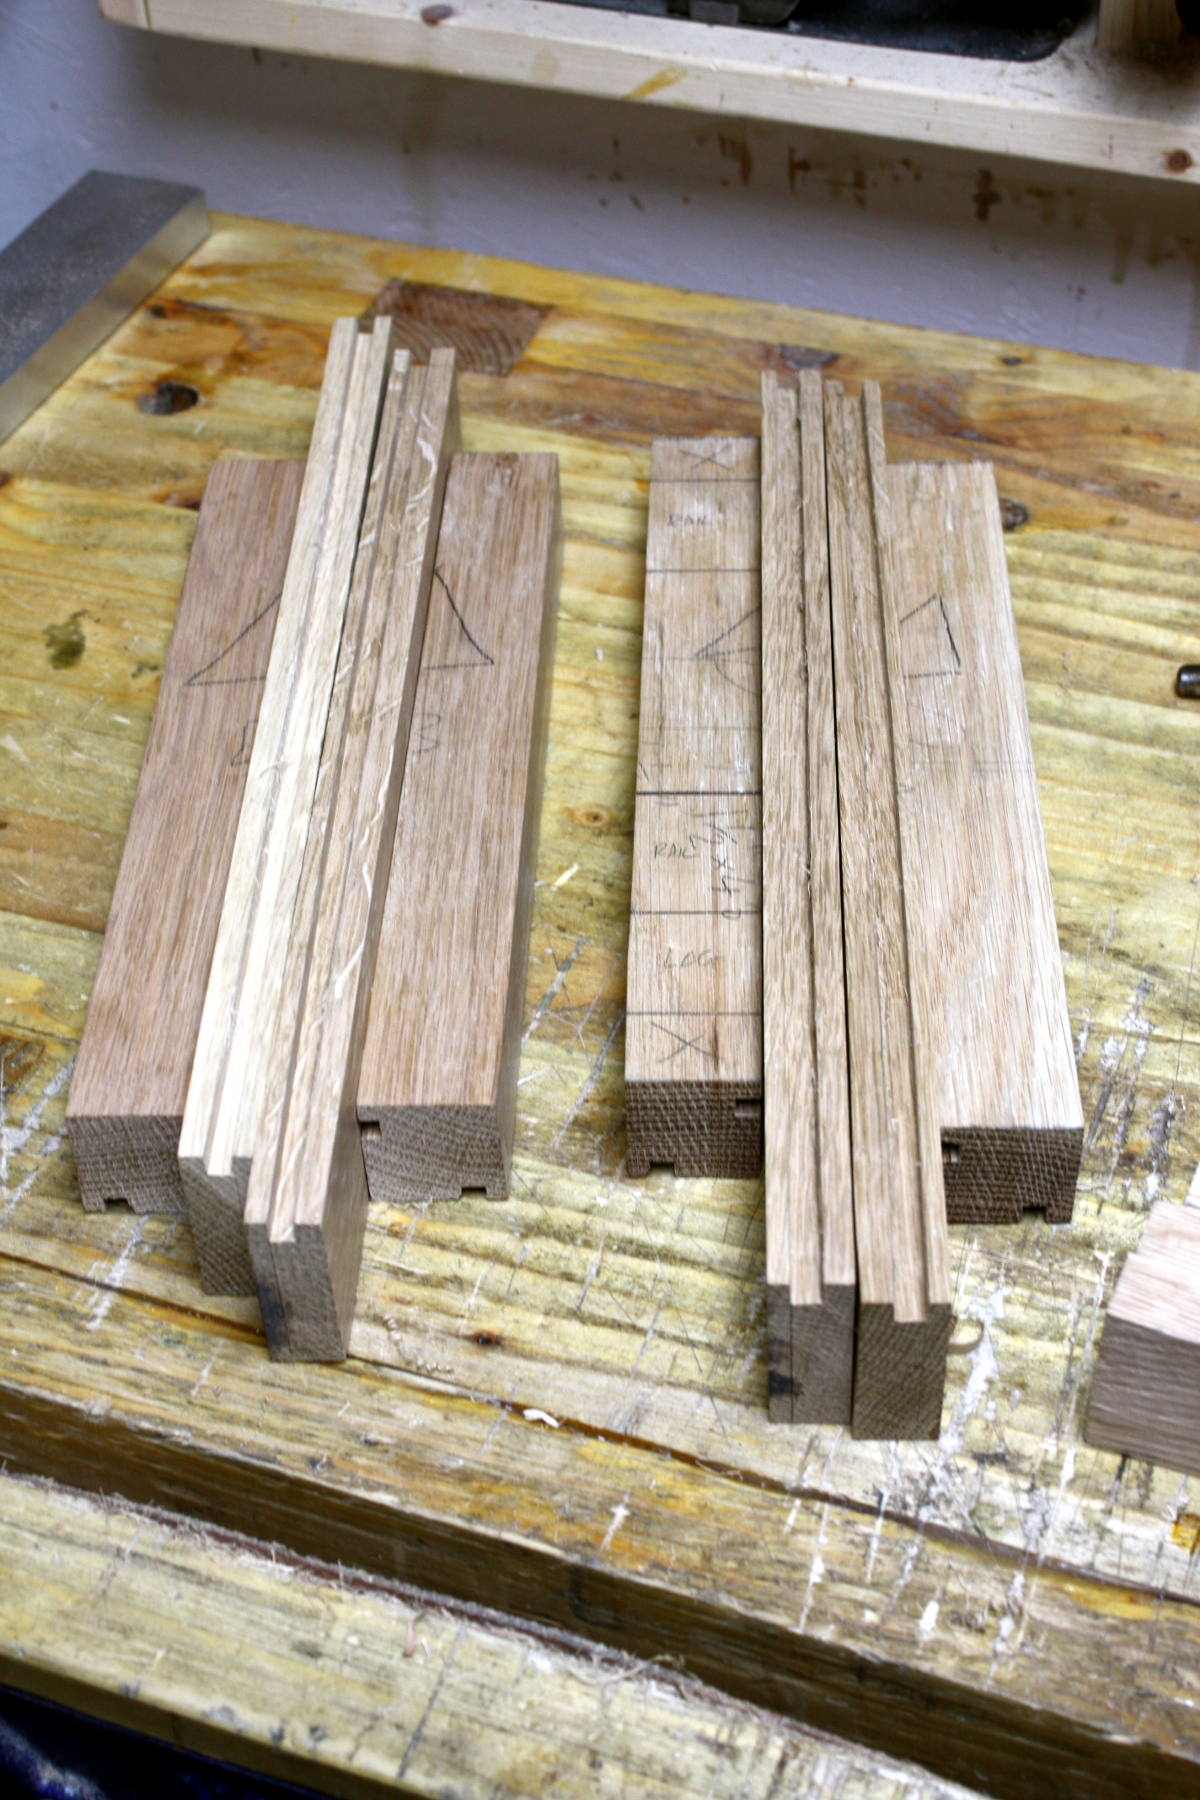
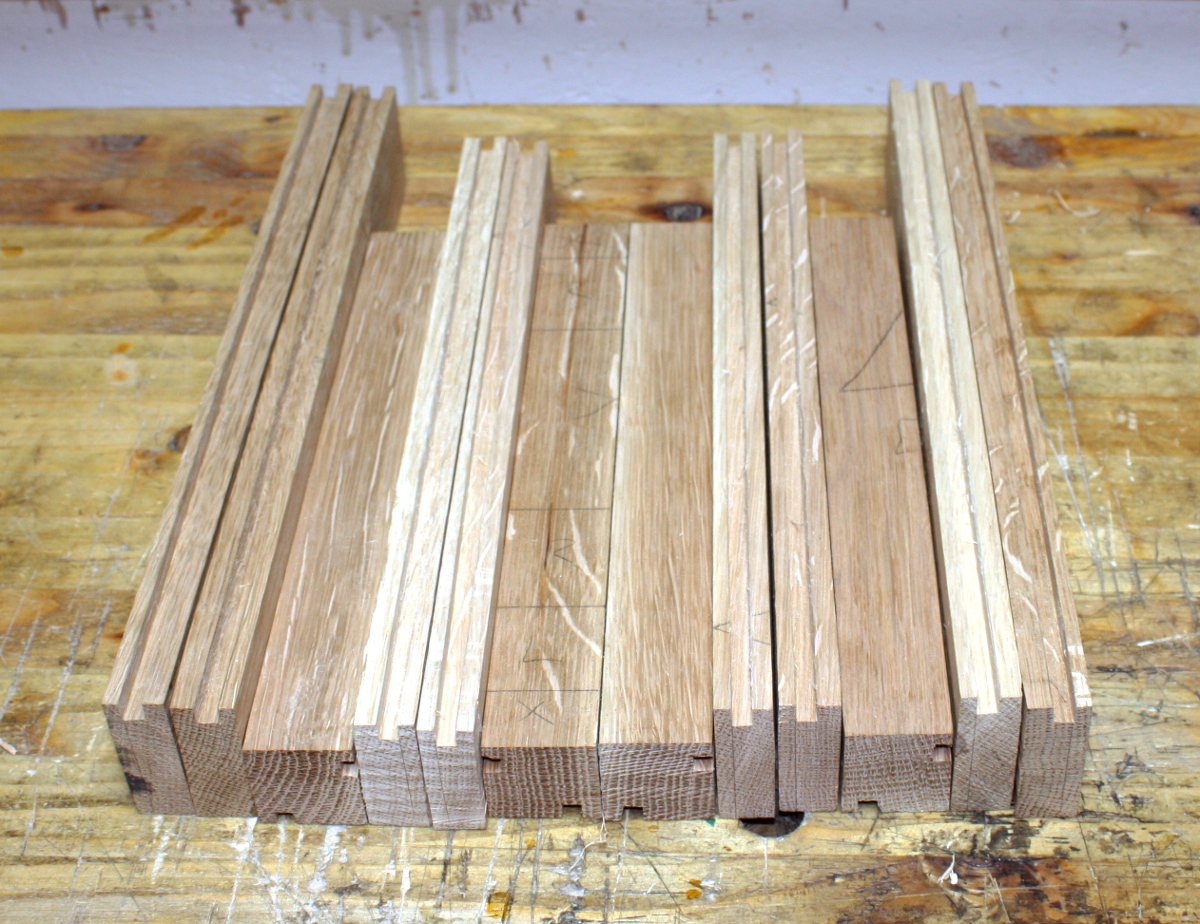
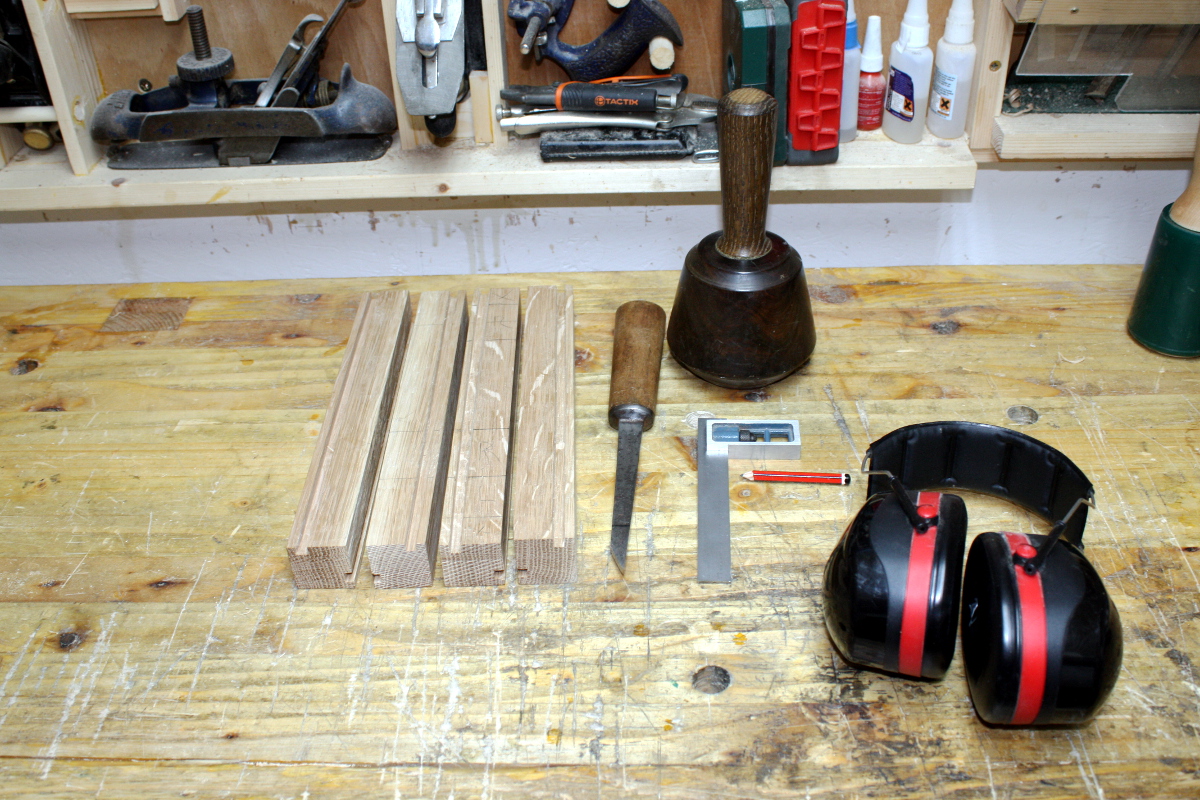
The idea would be to clamp around the piece so the clamp’s on either side of the mortice and then holdfast down either the piece or the clamp. Bit more convenient. But I haven’t found one for sane money yet. Oh well, no rush, the current approach I’m using works fine. Four three-eighths mortices per leg, just under three-quarters of an inch deep and inevitably there’ll be some breakthrough between the bases of pairs of mortices but that’s okay (the tenons will have chamfered ends and I can cut them a hair short if needed), so sixteen shallowish mortices but close to the edge of the pieces, so you can’t just wallop away without thinking.

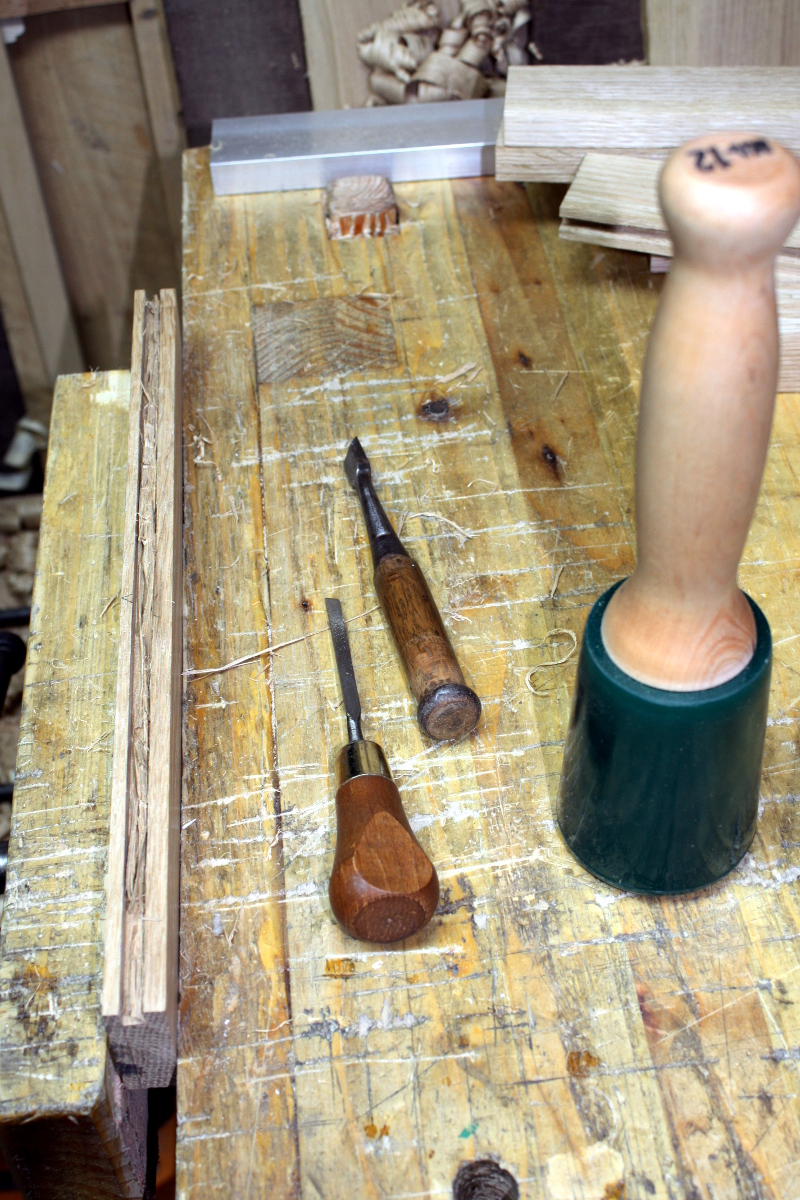
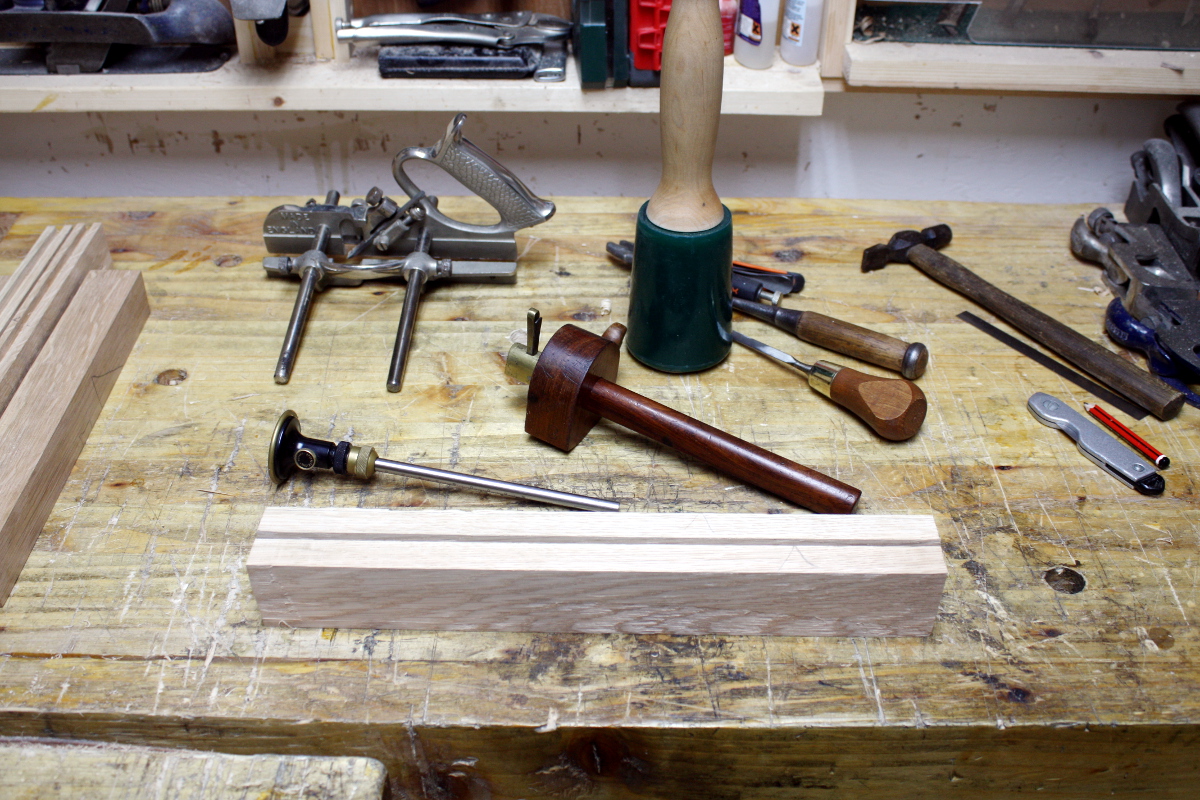
Also, I’m loving the morticing chisels. They’re almost overkill on mortices this small but they’re so much easier to keep from twisting and so much more controllable.

Anyway, it took me just over two hours in three sessions today to get it all done.

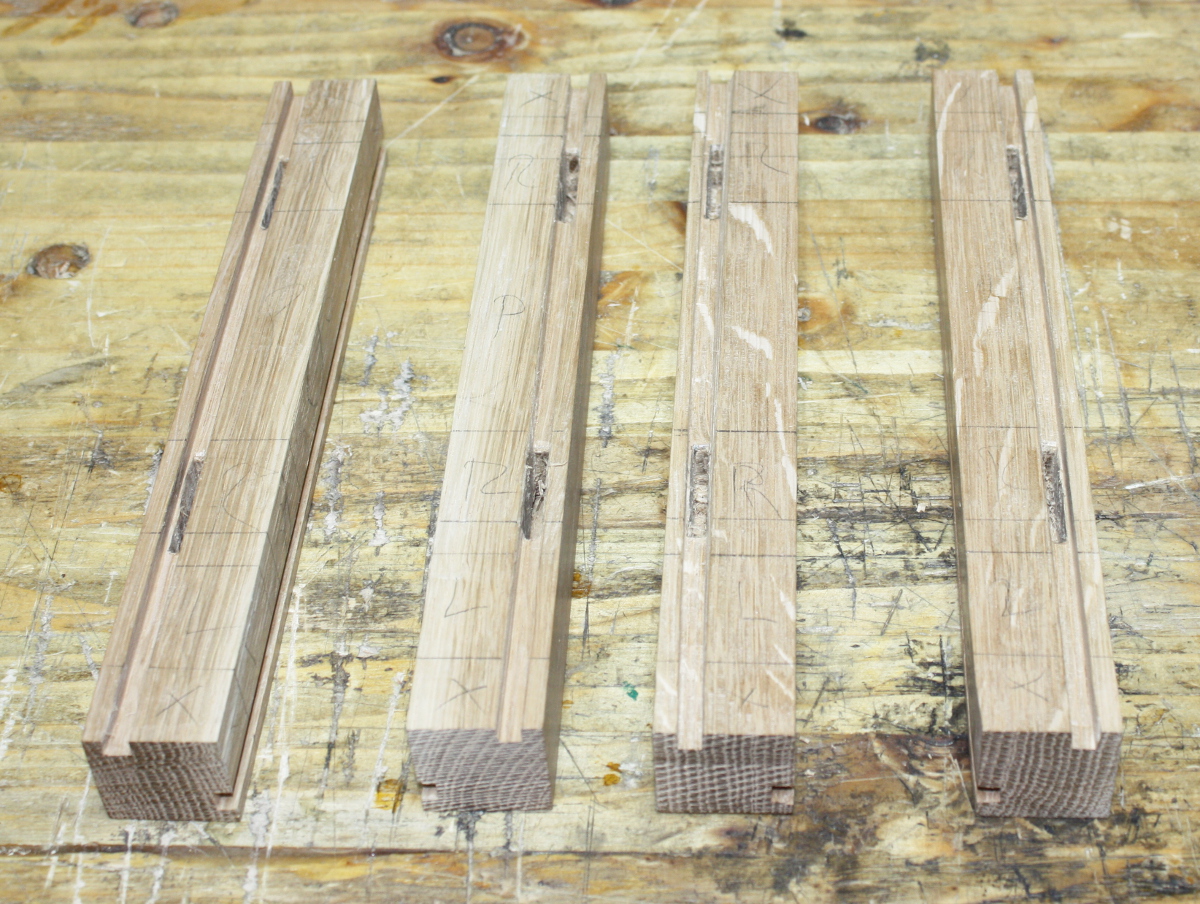
And no blowout, no accidental through-mortices, everything’s fine. And I remembered to leave the horns on the stiles this time to prevent blowing out at the top of the pieces, so yay.

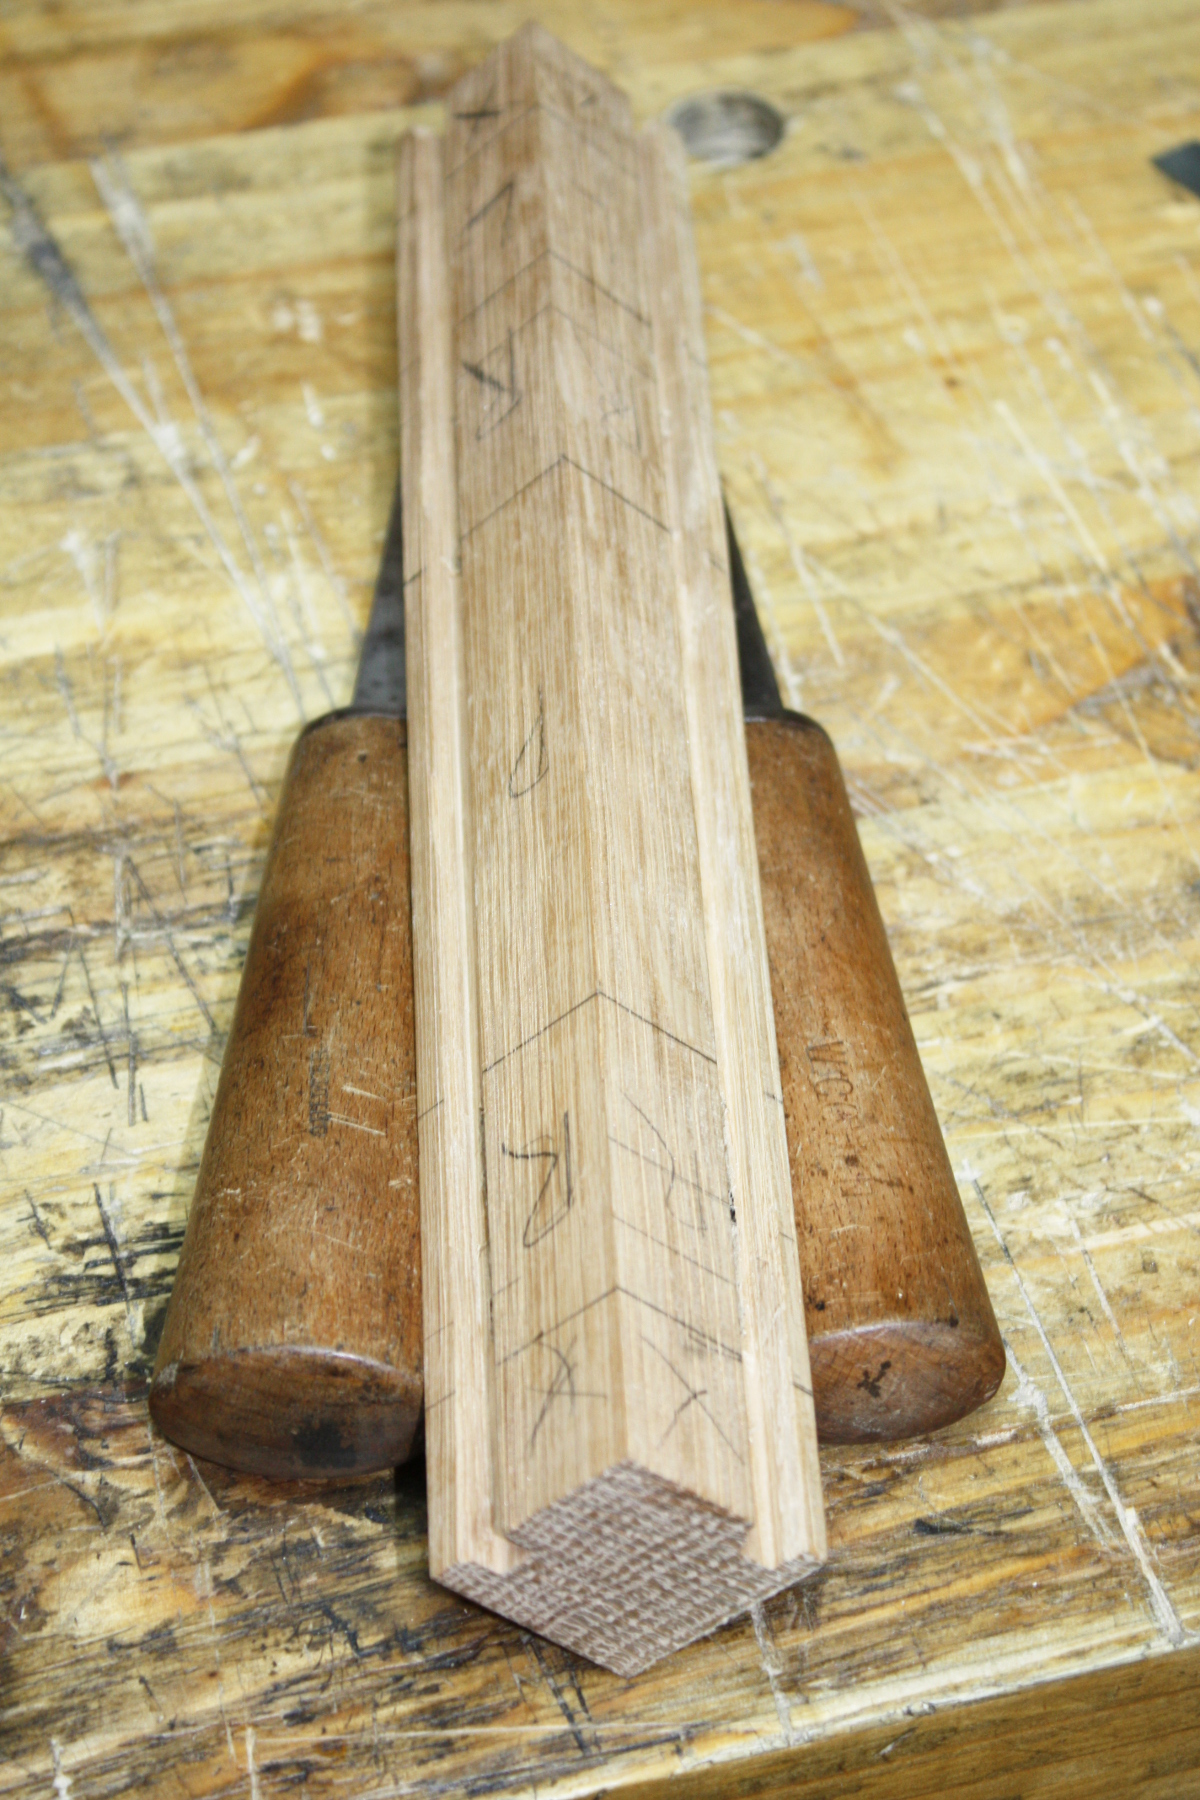
Tomorrow, I start on cutting haunched tenons, and if I get enough done I might drill the drawboring holes and start on making pegs.

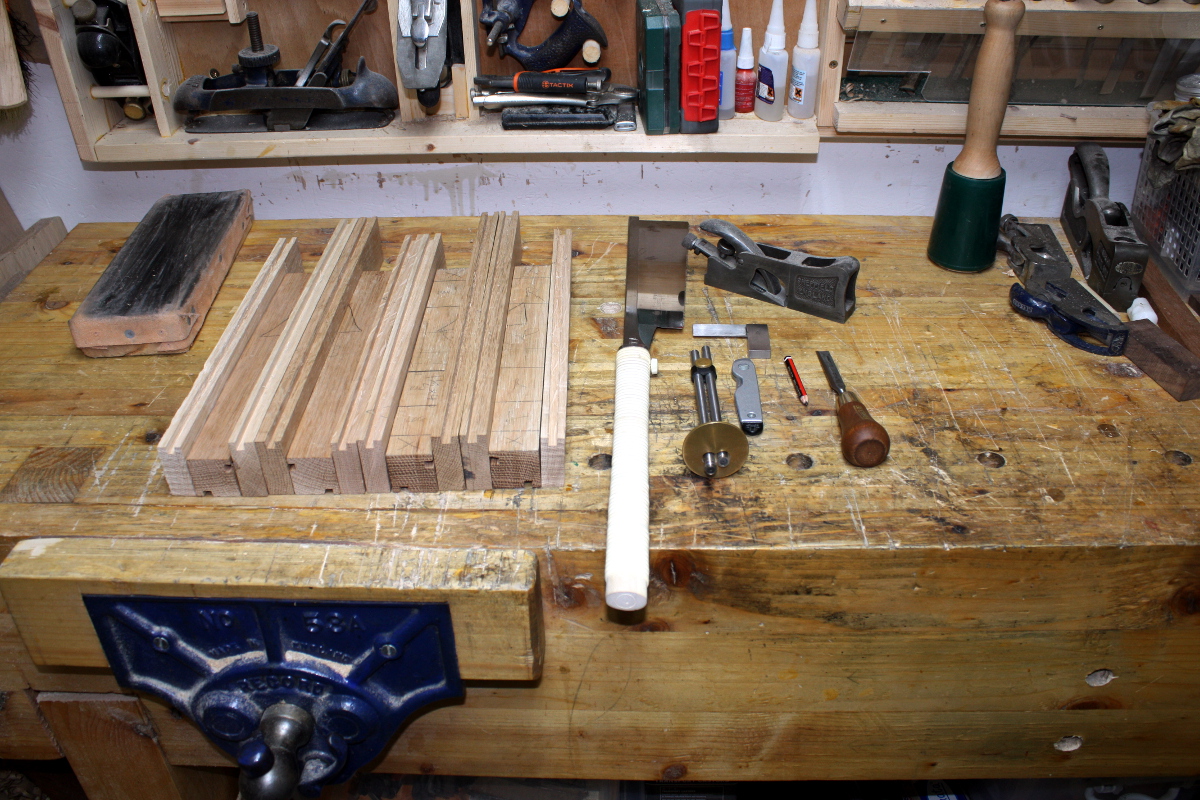
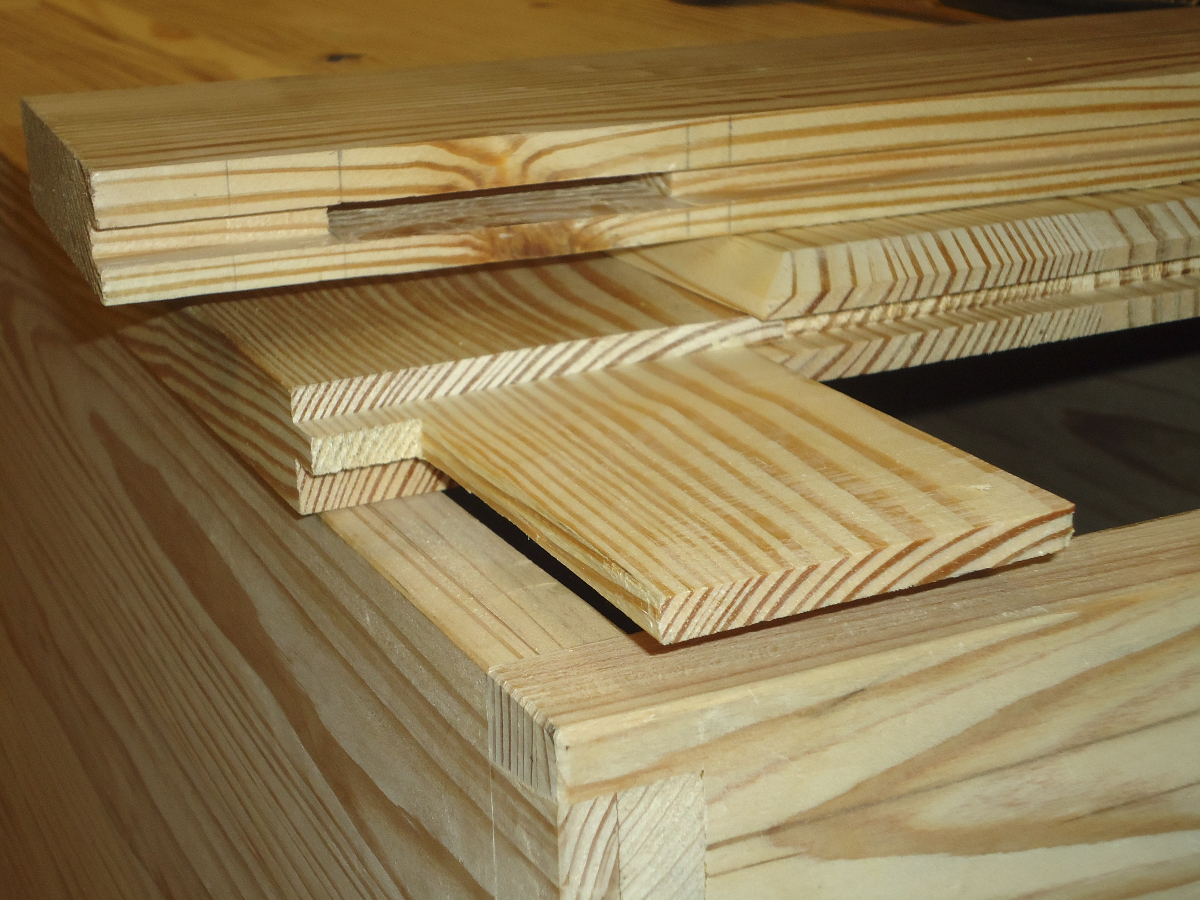
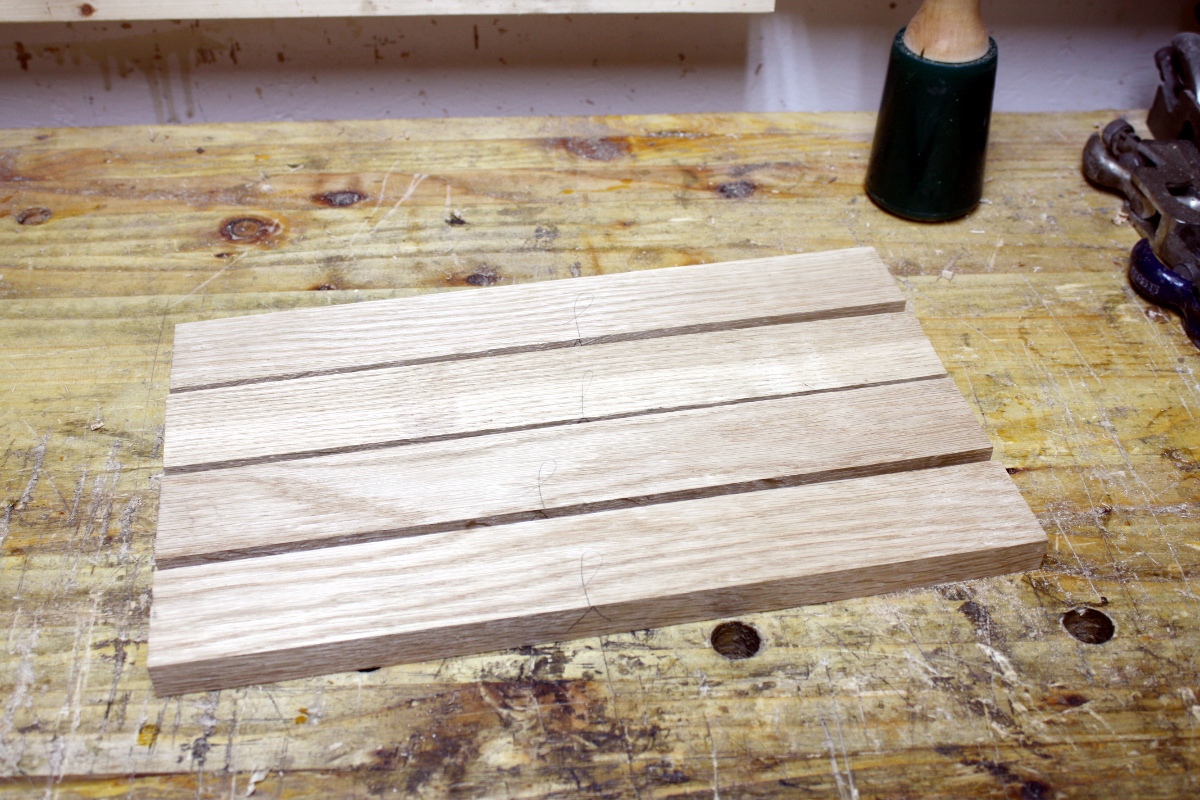
I didn’t get to the lid parts today. I might mark out and rip those out tomorrow first, use the bandsaw over lunch when it won’t bother anyone.

TDL:

  • Rip out lid frame parts
  • Groove lid frame parts
  • Cut lid frame M&T joints and drill for drawboring
  • Measure out lid panel size
  • Groove lid panel
  • Shape lid panel
  • Cut box tenons and drill M&T joints for drawboring
  • Groove bottom box rails for floorboards
  • Crosscut floorboards to width
  • Plane away inside corner on stiles
  • Cut edge floorboards to fit around stiles
  • Assembly
  • Hinges
  • Finishing

17
Jan 18

Groovin’ right along…

The rails were all prepped and squared last night so today at lunch I hobbled out to the shed and started grooving them with the #044.

First off, checking the position of the groove and the shadow lines (if we have any) with the long rails.

Line up the reference face of the rail with the stile and nick the corner with the marking knife at the edges of the groove on the stile. Then use the marking gauge to run those lines around three of the four edges and reinforcing the lines on the edge with the groove using the cutting gauge. Then into the vice and plough the groove out with the #044.

But the inside edge is a bit rounded and ragged which could cause issues, so out with the japanese chisel (which I’m starting to enjoy using – it’s great for anything involving chopping but for paring it leaves a lot to be desired) and the narex to clean up.

And when the straggly bits on the bottom are cleared out and the inside edge is straightened up, a single pass with the #04 along the top to tidy up and we’re done.

Not every rail needed quite so much work (and I went back and fixed two grooves on the stiles the same way later). And with the long rails done…

…time for the short rails.

Same procedure as before, right down to the cleanup. By this point we’re through lunch, and a coffee break around four, and into afterdinner time, but:

Done. That’s the main carcass of the chest ready for the mortice&tenon joinery. But by now it’s too late to start chopping mortices (because of the noise and the neighbours) so something else needed doing. I still hadn’t picked material for the lid so I started picking through the timber store and found two short oak boards that are already prepped from an earlier build I didn’t pursue, they’ll do for the frame of the lid. For the lid panel I wanted a single solid piece of nice looking oak between three-quarters and an inch thick. Couldn’t find any offcuts, so…

Measured off slightly more than I’ll need and crosscut with the 300mm ryoba in the face vice, then skim-planed off both faces to see which side should be up. Sometimes that’s a hard choice. This time… not so much 😀

Three guesses which way’s up? 😀

Also, it lets me use up the end of that board that had a damaged edge – I won’t need the full width of the board for this. The idea is to have a frame-and-panel lid, but where the lid has a groove around the edge instead of a tongue so that the bottom edge of the groove acts as the tongue for the frame and the top edge of the groove is proud of the frame:

Of course, you don’t really need the groove on the frame, you could use a simple rabbet. I’ll have to think about that a bit. The panel does have to be grooved though, because I want to shape the half-inch or so that would be proud of the frame and I’d like to be sure the line between lid frame and lid panel is hidden away.

With the parts skim planed and set out (I’ll rip out the frame rails and stiles tomorrow), and the floorboards already picked out (I have some cedar for that), there was something I wanted to check, namely whether parts in the vice are definitely at right angles to the workbench top; that would explain the slight angle on the base of the 044’s grooves.

Nope, not even very close. That’s a tad disconcerting. I wanted to see if it was the vice jaw or the apron…

Seems like it’s both. Well, I guess I can’t think of the corner of the workbench as a square anymore. I suppose it’s not bad for cheap 2×4 material, but I do see the attraction of hardwood benches now.

That done, I laid out tomorrow’s job, wrapped up for the night and hobbled back indoors.

Tomorrow, we mortice!


16
Jan 18

Sneachta!

Still hobbling round the place today with the sartorious, so working from home (the joys of IT – you can work anywhere, meaning you can work when sick). Over lunch, I tottered to the shed and flattened the board I was going to pull the rails from, and shot a reference edge with the #08.

The stain’s from accidental contact with the ebonising potion from the table build, but it’s surface only so it’ll plane out. Out with the panel gauge and mark off 2-and-a-quarter inch laths (we want two-inch-ish wide rails when it’s all done and squared so I’m leaving room for cack-handedness).

Back to work at this point until around about fourish, at which point I get stuck waiting on system tests, or in XKCD terms,

So to the bandsaw (rather than the ryoba because time). Ripped all four parts, then out with a medium-set #05 and a fine-set #08 and a straight edge and a square and a marking gauge and we get reference faces and edges on all four of these and mark off the reference faces for thickness.

This doesn’t take long and I leave the four parts marked up for resawing on the bandsaw and head inside for dinner. The light was fading and it was gray overcast when I went into the shed, then I open the door and…

Sneachta! And someone’s not seen this before…

Later, after dinner, back out to the shed and onto the bandsaw, resaw the pieces down to thickness (we want about three-quarters of an inch so the gauge was set to seven eighths (the pieces are about nine eighths thick)) and then it was back to the #05 and #08 to get the bandsaw marks off and the faces clean, and then taking them to S4S which didn’t take very long.

Ready for joinery. That was all I wanted done in the shed today (pick small goals, you’ll feel better), so I opened the door to go back inside and again, more sneachta!

Doubt it’ll last though. Oh well. We have driving wind and freezing rain on the way to replace it apparently…