26
Mar 18

Groovin’ tools

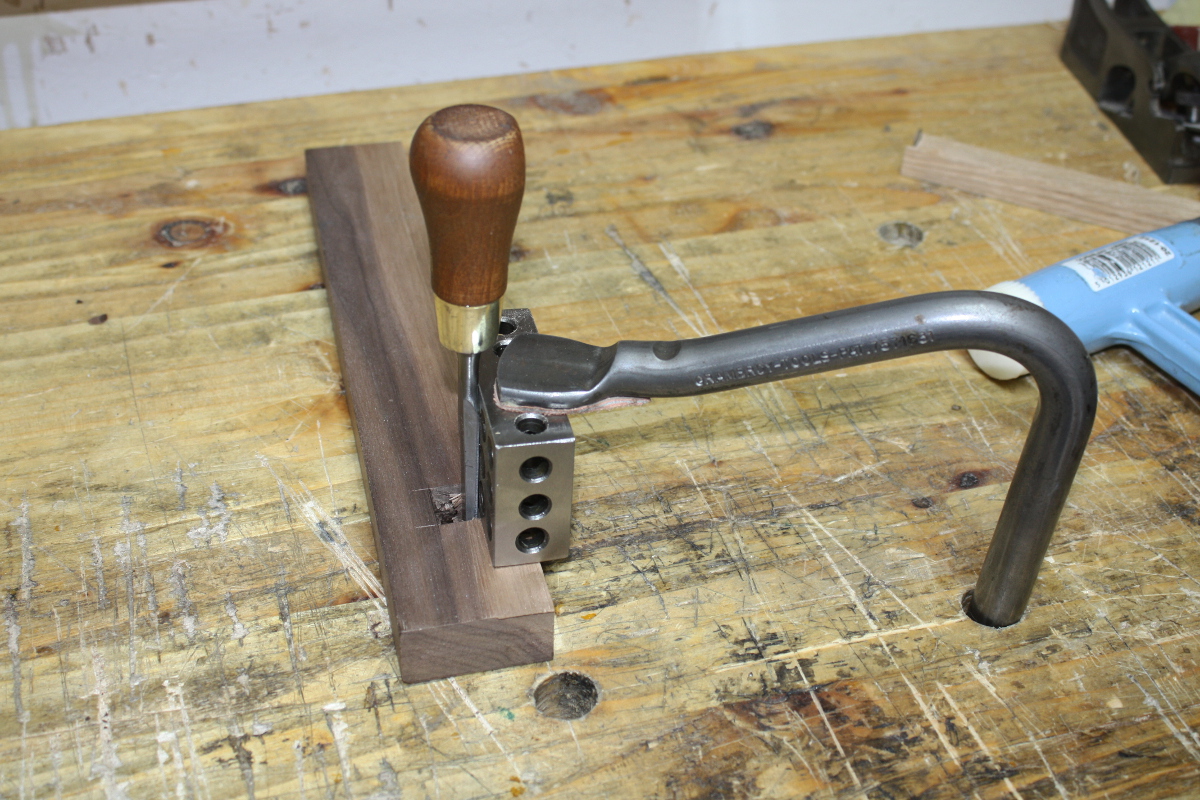
So the last try to make a straight line cutter for stringing didn’t work so well, the fence mortice was too sloppy. So today I cut a new one. Simple process; pick a scrap of wood from the bin (in this case a piece of walnut because I’m not averse to cheating when it comes to mortices 😀 ). I’ll reuse the beam so I mark off a line on the fence with a square, drop one edge of the beam into it and then mark the width off on the fence and carry the line around with a square; mark top and bottom of the beam with a wheel gauge using the same reference face you used for the square, and that gives you the outline of the beam on the front and back of the fence and aligned. Then drill out the middle to get rid of most of the waste:

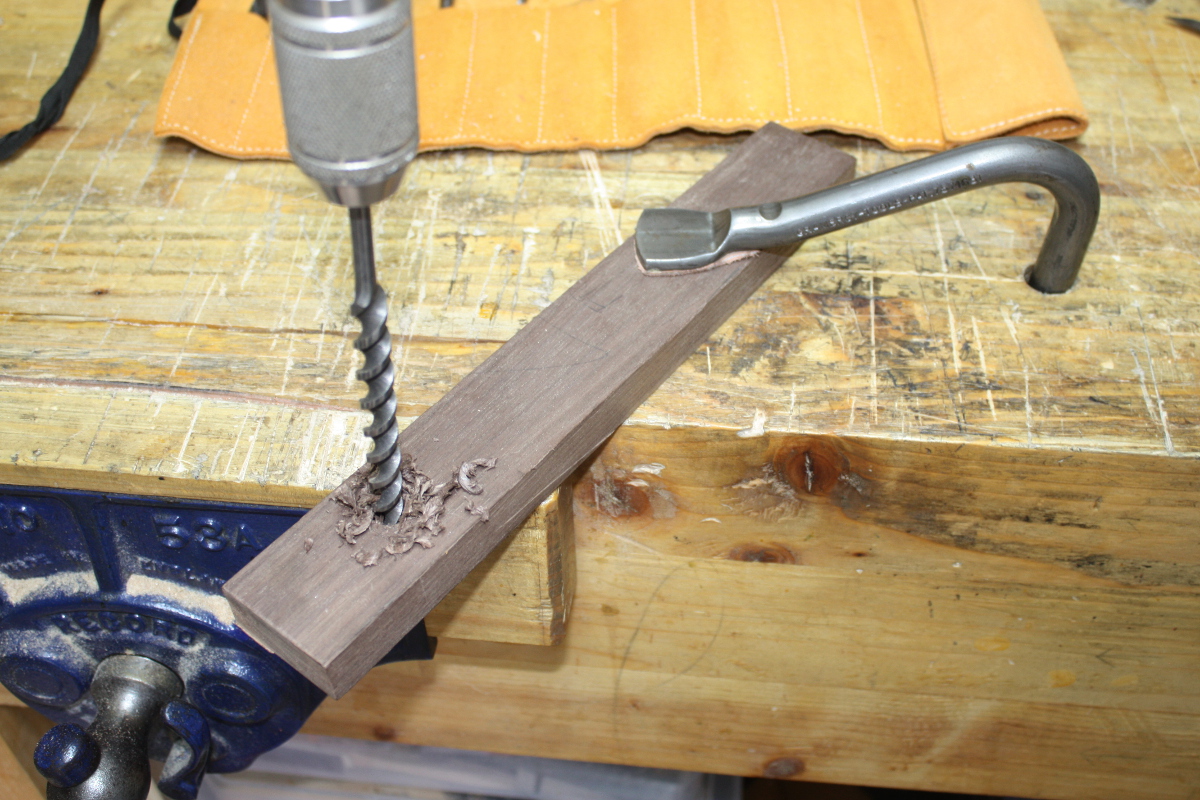
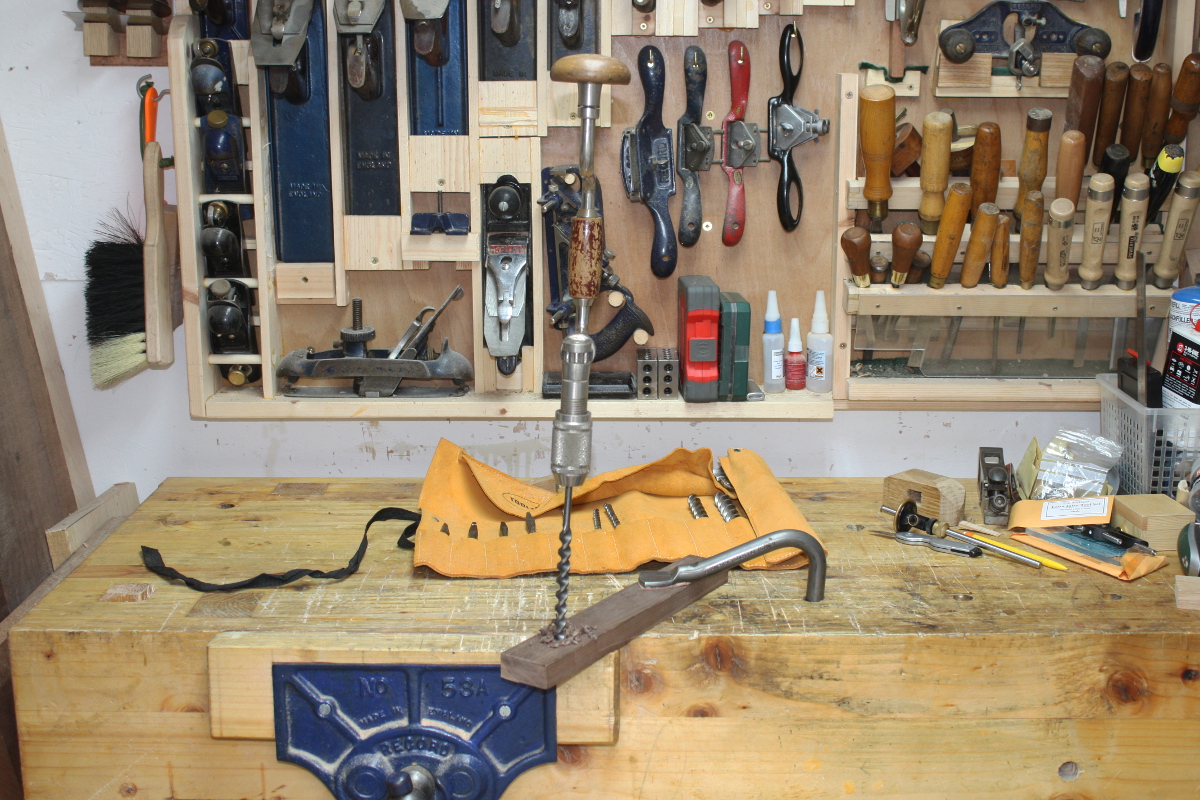
I know it looks off-vertical, that’s because I let go to take the photo 😀
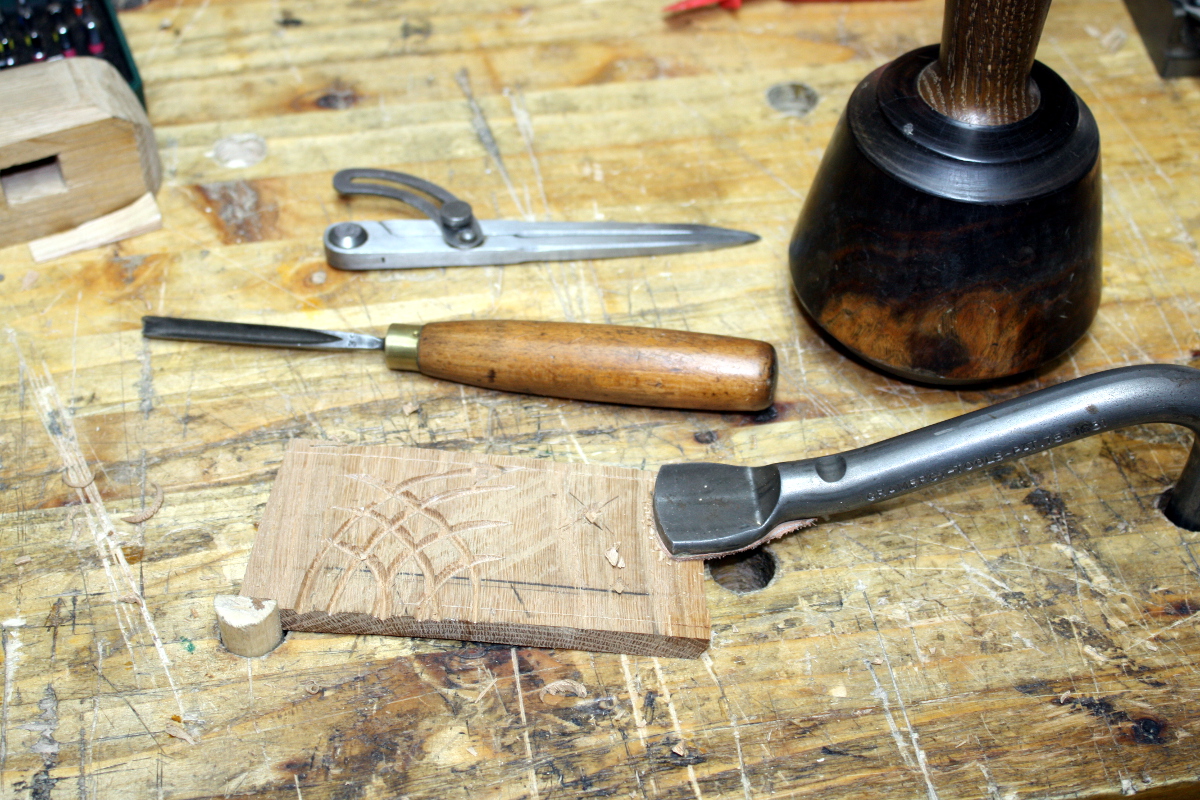
Once the hole is drilled (and from both sides, no blowout involved), it’s chopping time.

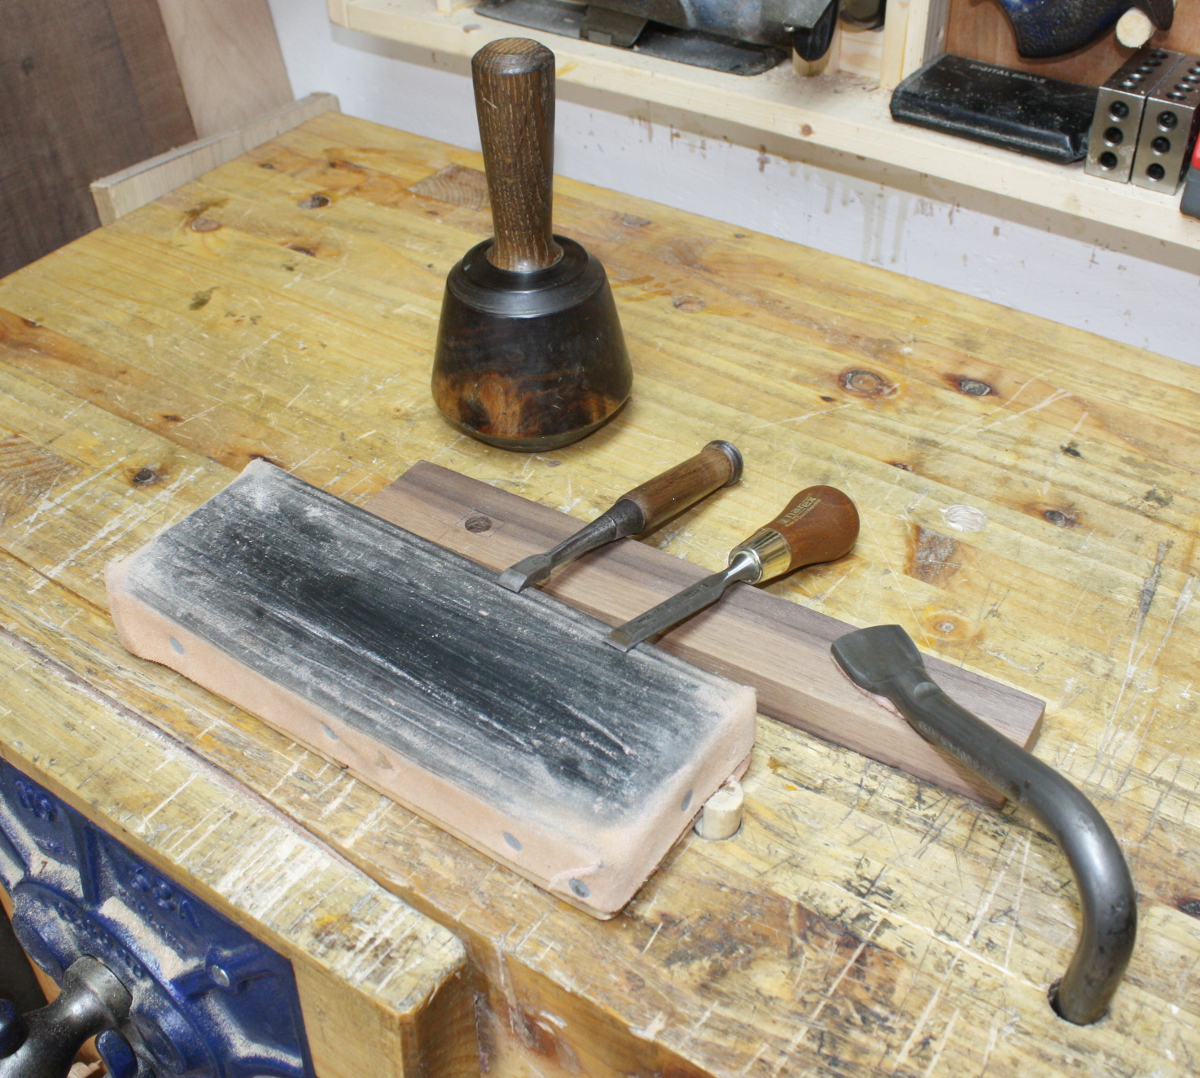
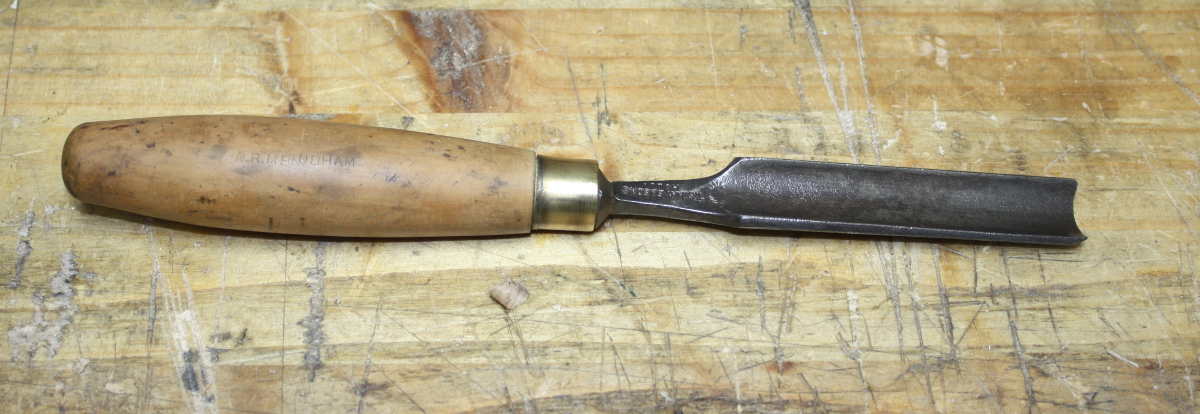
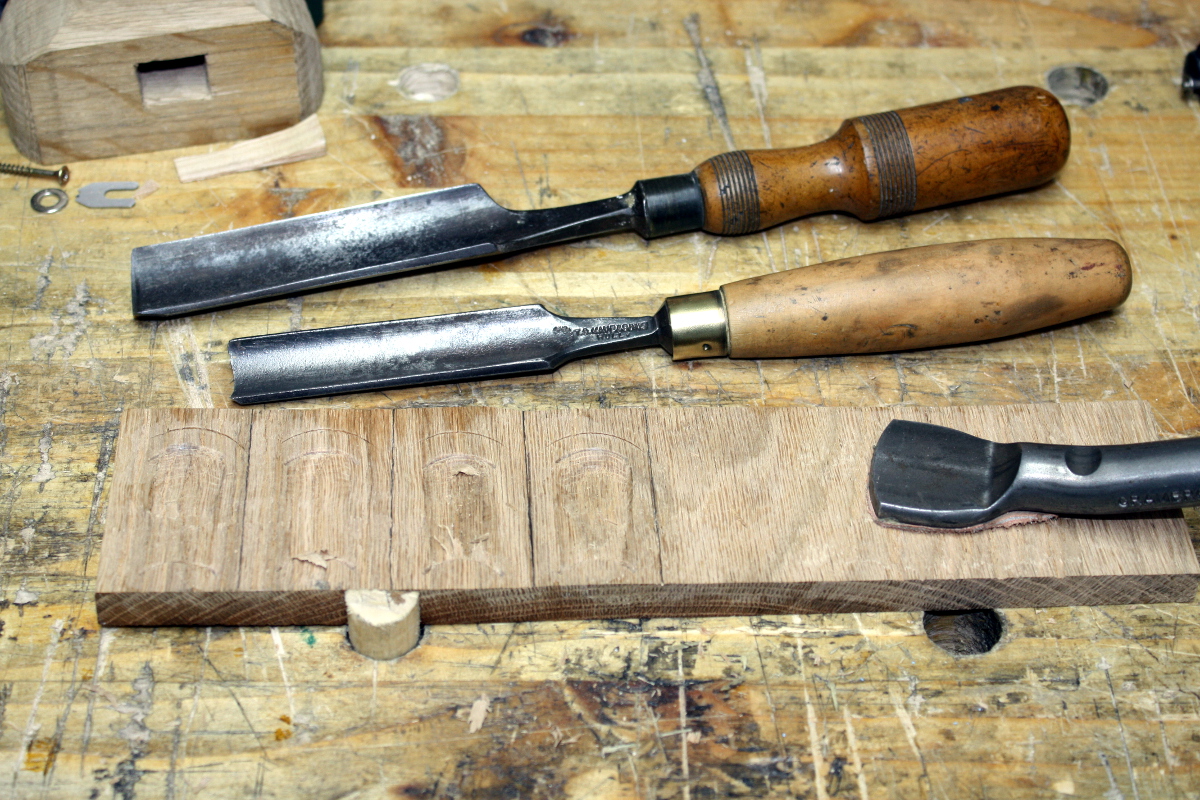
Quick touch-up on the strop first, that little dog being useful to keep the strop from dancing much, and I use the japanese chisel to chop out the mortice from both sides roughly, leaving just a small half-millimeter or so of material between the lines and the mortice. Then pare the last bit using the narex butt chisel. But I wanted a guide so the paring chisel was done at right angles and it just so happens I bought some 1-2-3 blocks recently, so…

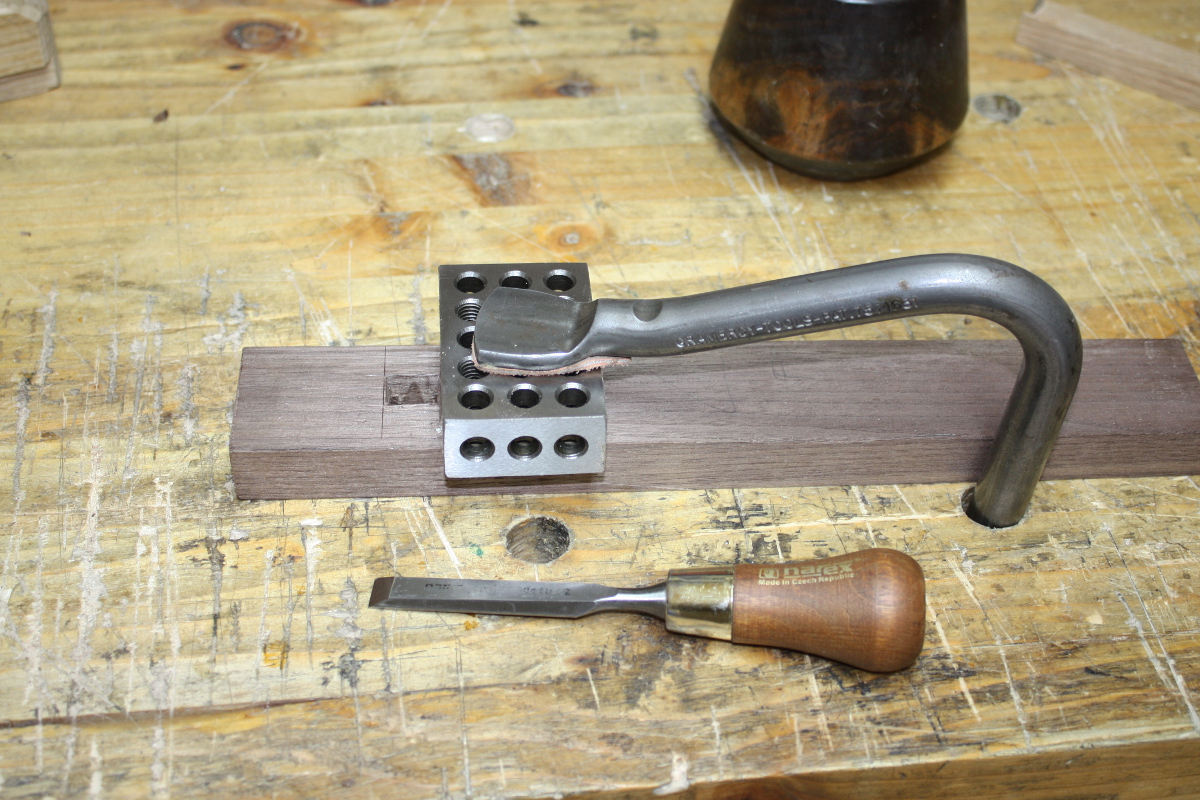
Make sure the back of the chisel runs flat on the 1-2-3 block. You could just use a wooden block for this if you have one that’s square, but I had the 1-2-3 blocks so why not.

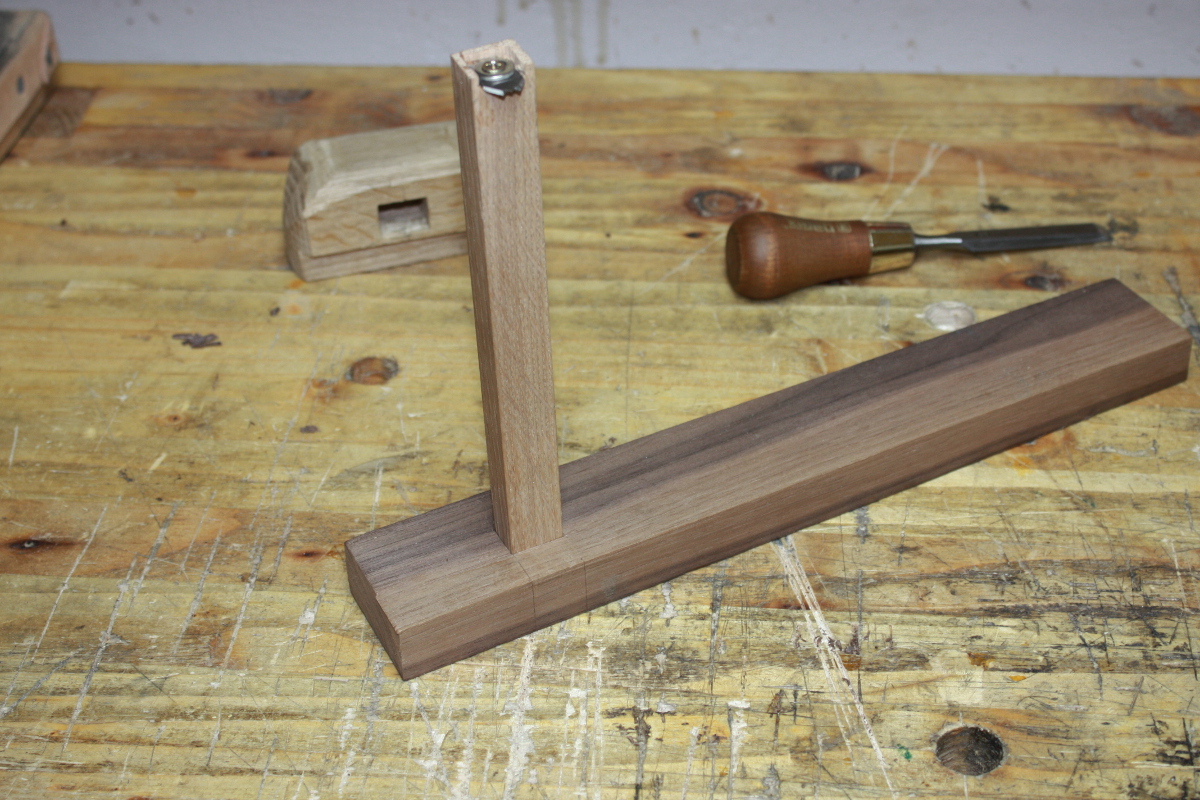
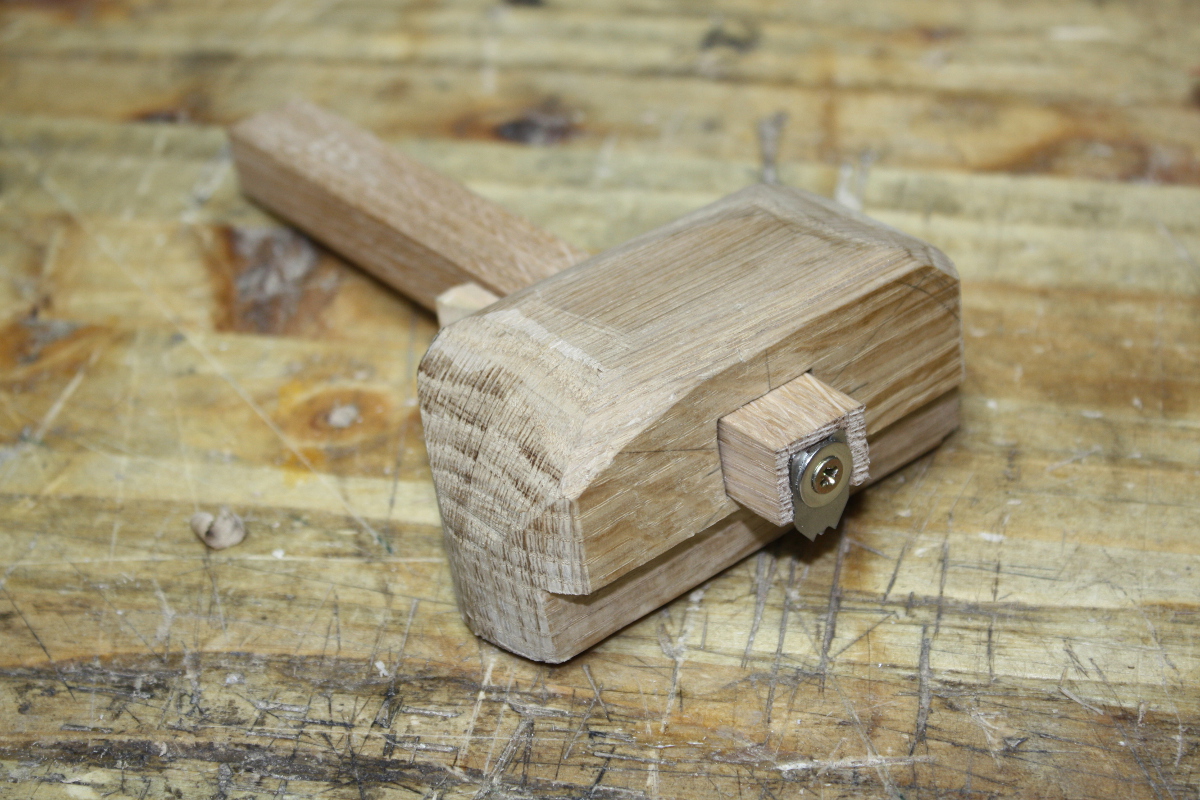
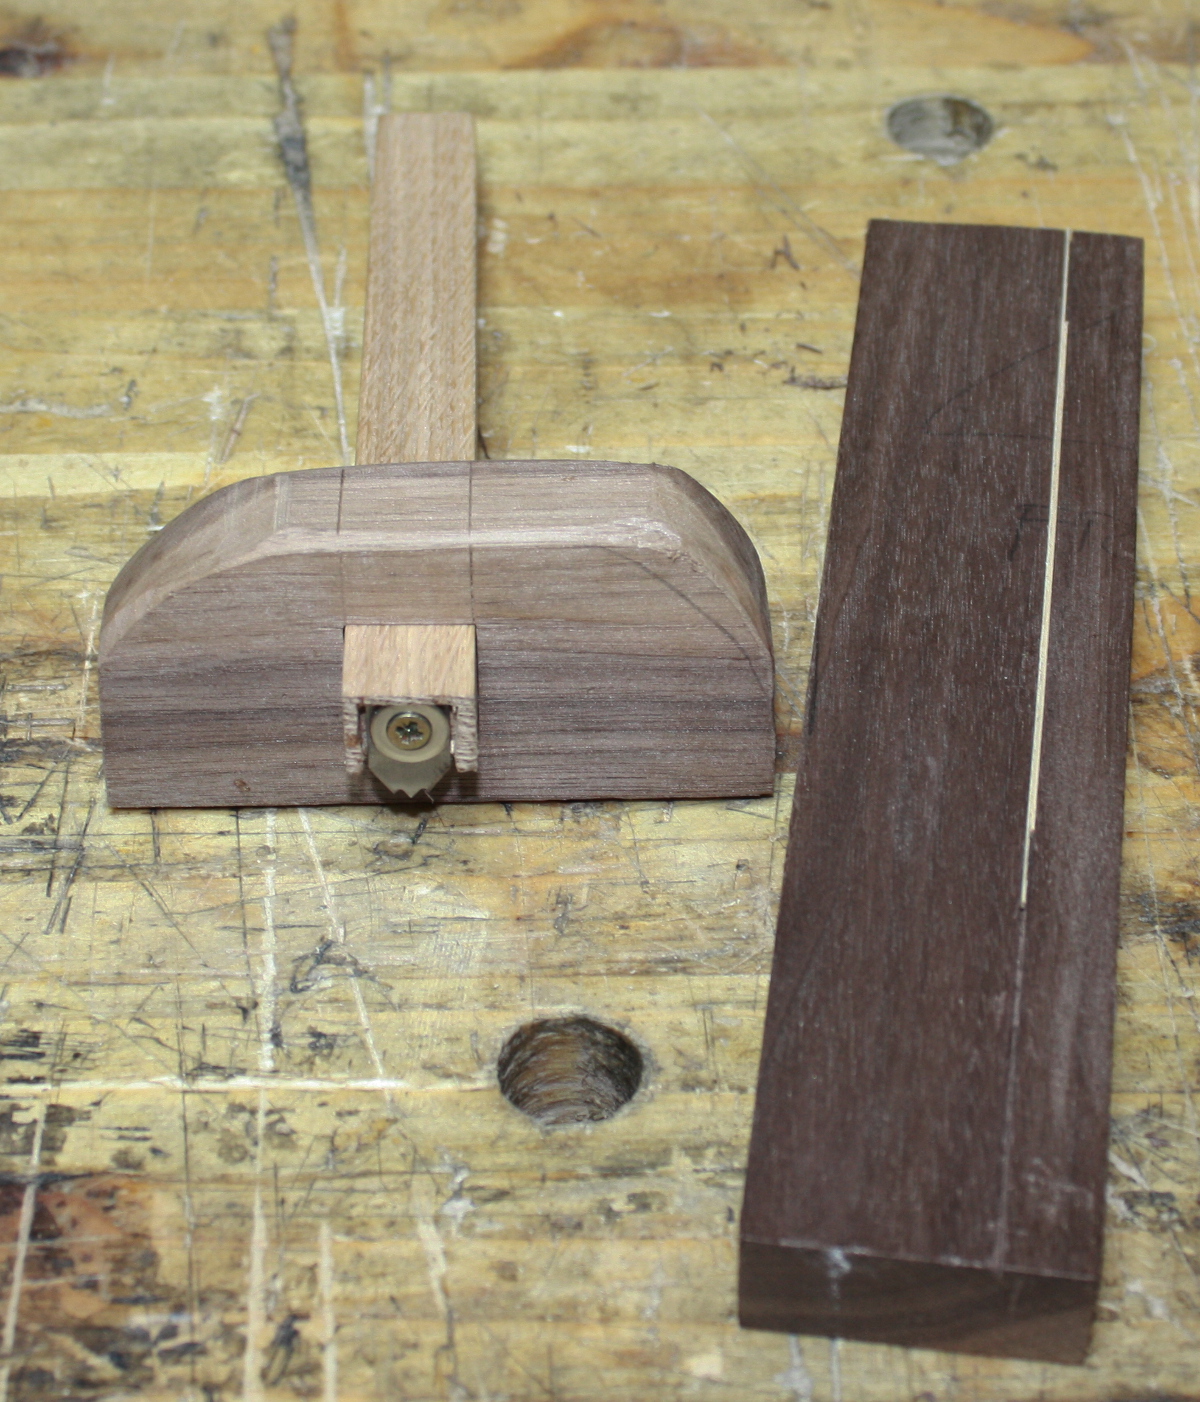
And when you’ve trimmed to the line, it’s time to start test fitting and fettling. The beam doesn’t initially fit; once I’m satisfied (using a square) that the inside of the mortice is square and the corners are clean, I’ll take a fine-set #4 and take a swipe off the beam, test fit it again, and then another swipe and so on. It takes a while because you’re sneaking up on a snug fit, but eventually…

It’s not bad. It’s not perfect – the beam still has more play than I’d like when it’s out at full extension, but since this cutter won’t really be asked to reach more than an inch or two in from an edge, that’s no major worry. At some point I expect it’ll loosen up due to wear and tear, and when/if that happens, I’ll cut a slot in there for a wedge like in a traditional english marking gauge and fit it with a wedge.

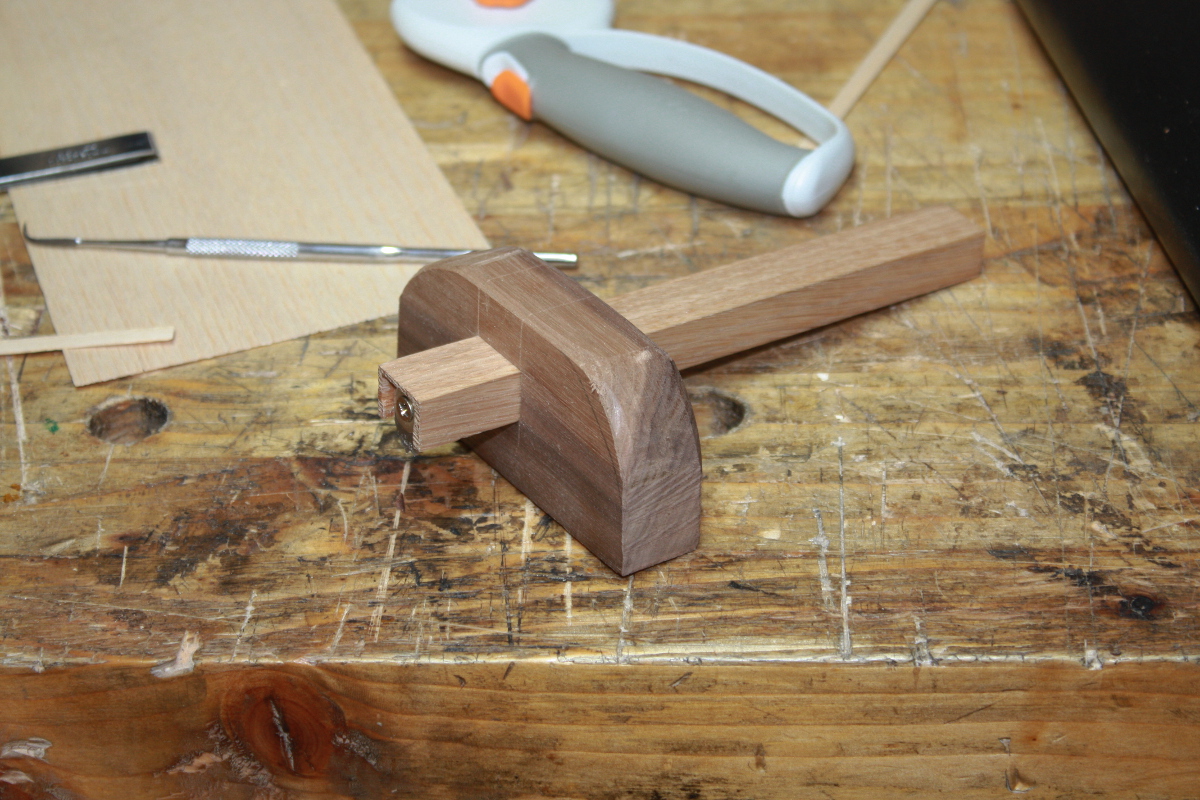
Not too shabby. Time for some testing.

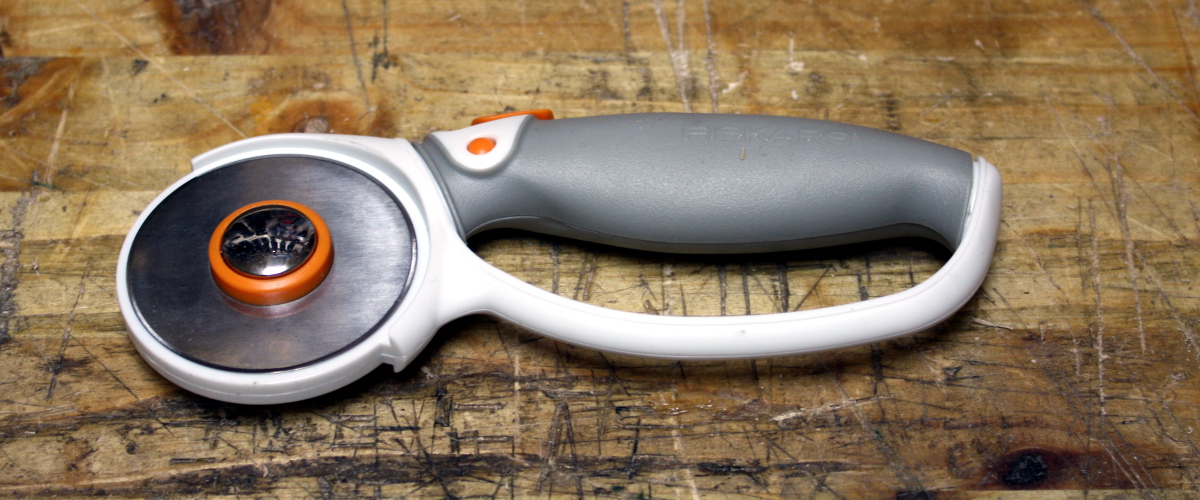
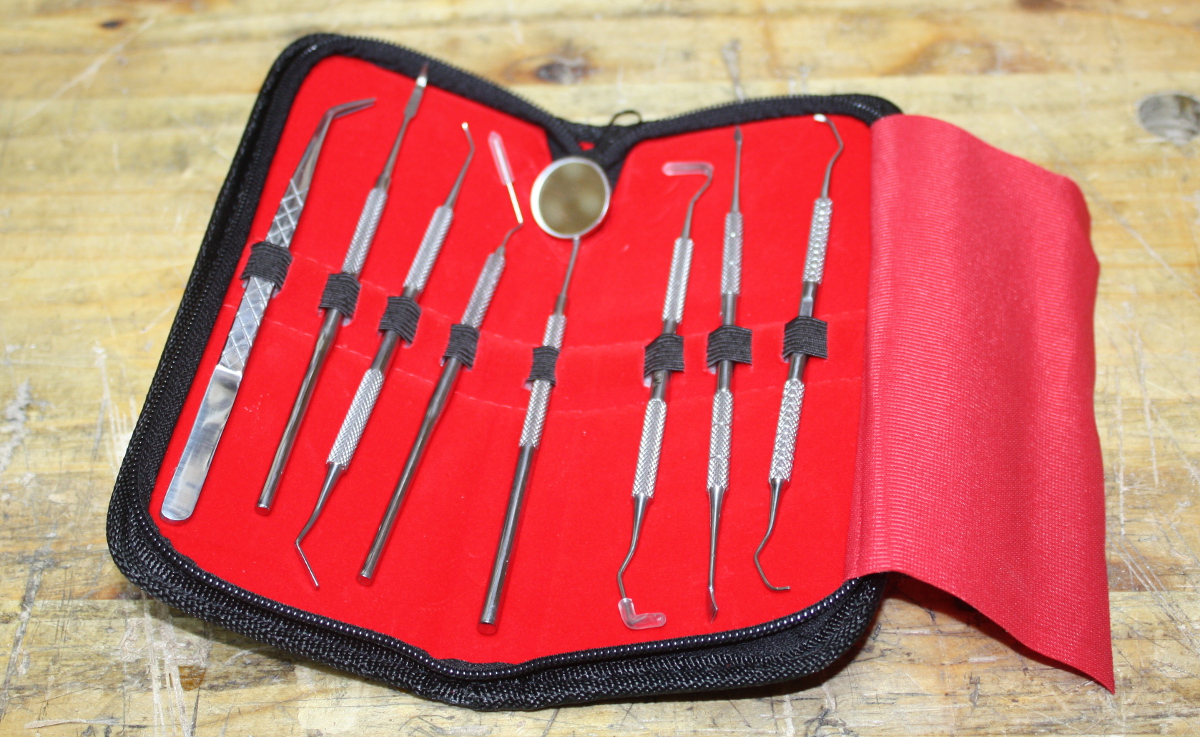
Just cutting a groove here in a scrap piece of pine. The pizza-cutter thing and the dental pick are for cutting a slice off the veneer to test with and to clean out the groove, respectively.

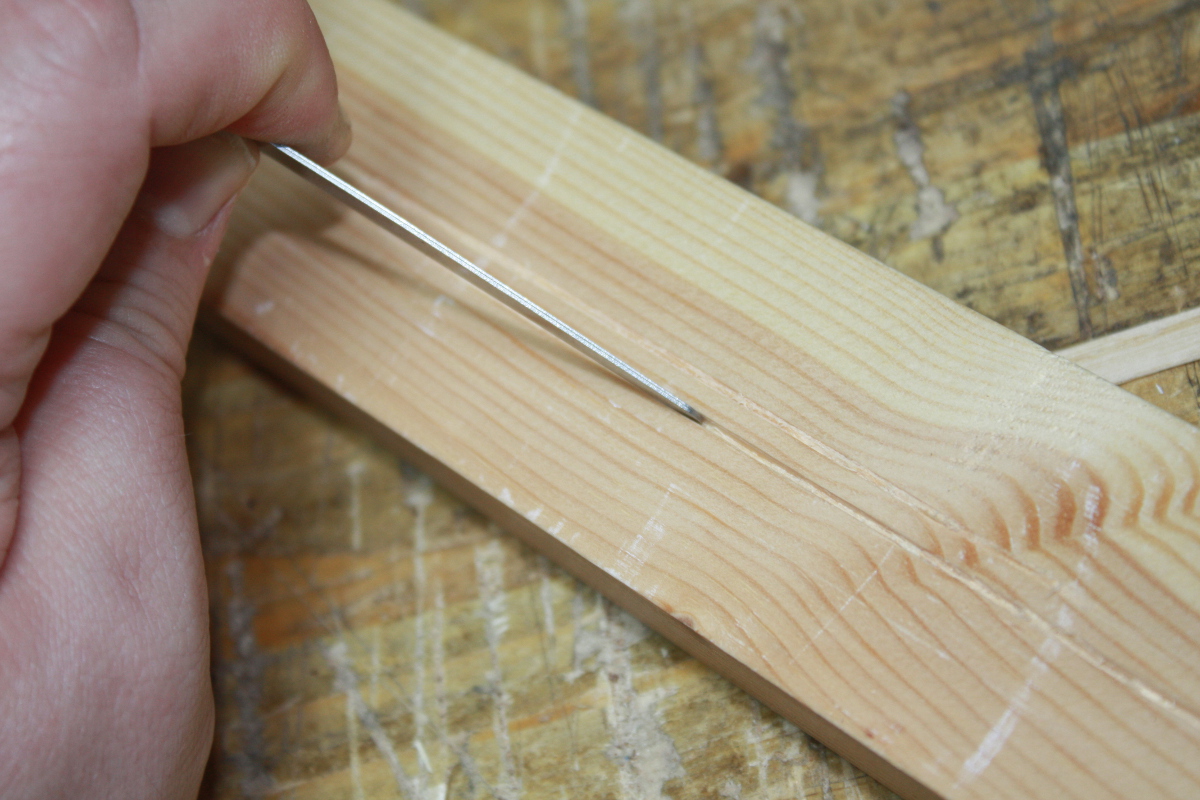
Groove looks clean and parallel to the edge, feeler gauge says the width is 0.8mm as expected, and it’s not too ragged. I think that’s good.

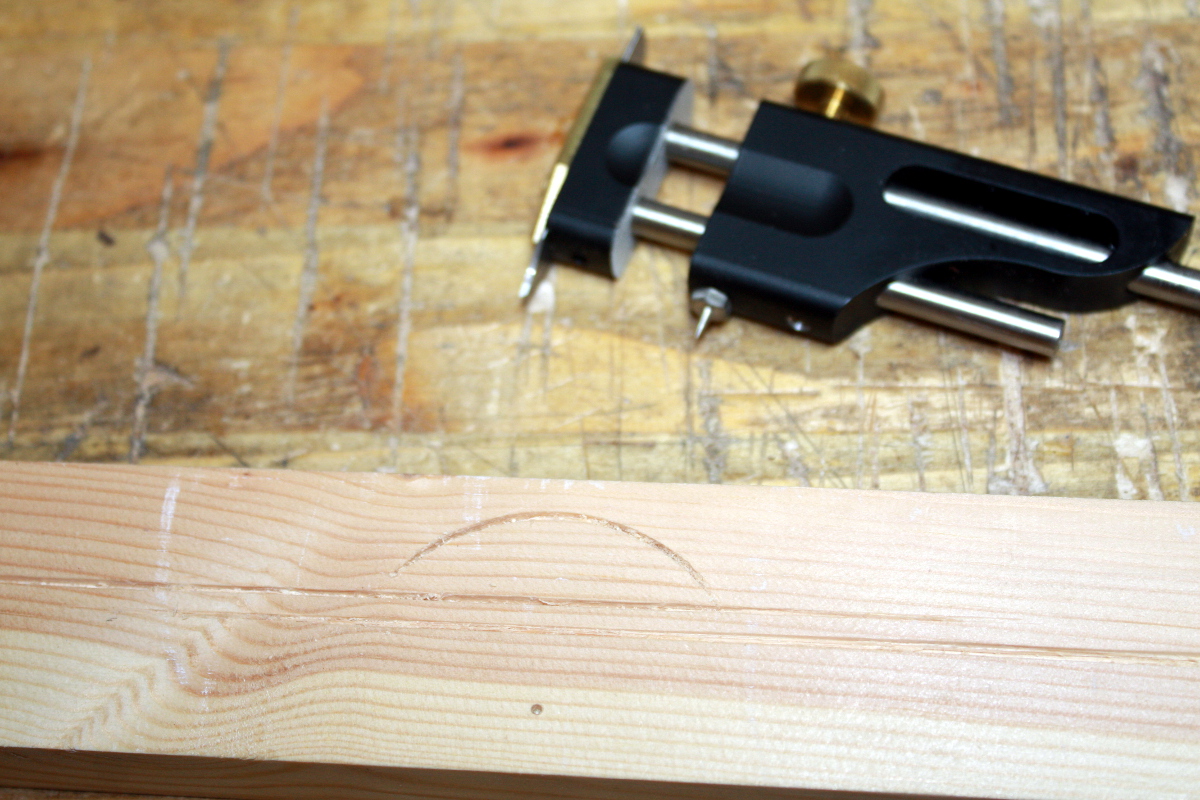
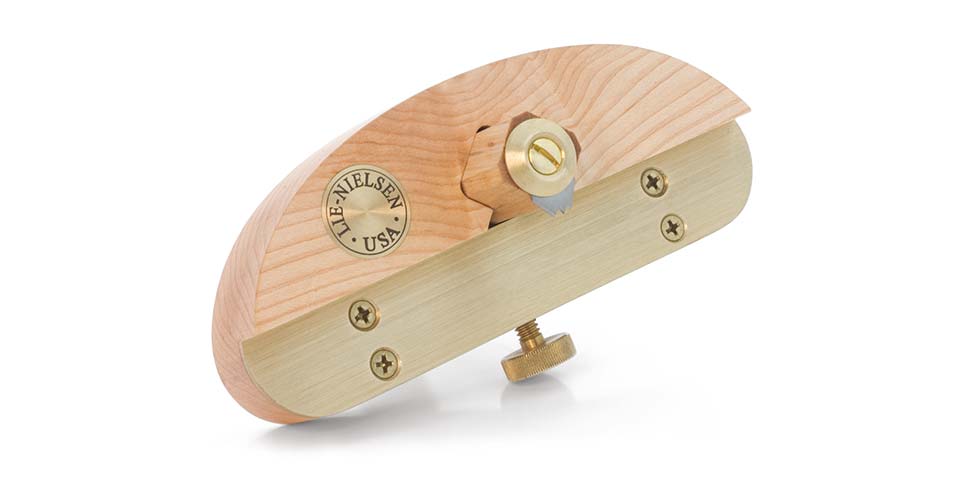
And looking at the professionally-made radius cutter, the groove appears to be solidly comparable. I’m happy with that for now.

I’m not happy with the veneer I have though – it’s 0.6mm, or at least it claims it is (the calipers says it’s closer to 0.5), so if I test on a small scrap of walnut…

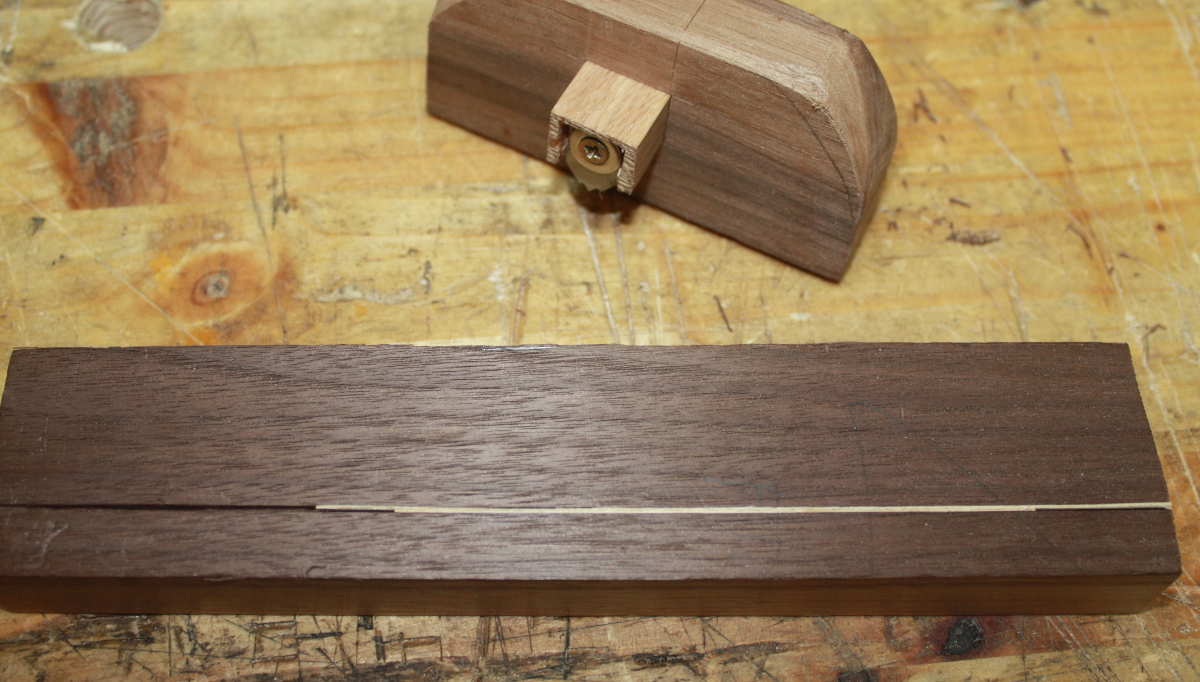
The groove is too large for one thickness of veneer and even if I put in two layers of veneer, you can still make out the hairline (and ragged) line caused by the gap between them.

I need to find a source of constructional veneer that doesn’t expect me to buy an entire tree’s worth…


18
Mar 18

Ah for feck’s sakes…

I only just finished digging that sodding thing out!

*sigh*

And I’ve not been getting much done in there thanks to subzero temperatures and public transport making the work commute into anything up to a six-hour-a-day nightmare (yes, a foot of snow won’t slow down Canada, but Canada spends more on their snow clearing hardware and people than we spend on Varadkar’s Strategic Communications Spin Unit…). Mostly I’ve been putting together new tools for some things I’d like to try, namely stringing and carved arcading. So for the stringing, I already have the dead fancy radius cutter from lie nielson (probably the most bling tool I own), and a small perspex scrap to give it a pivot point when working on some of the usual designs:

But I haven’t got a straight line cutter because I figured I should be able to make one, they’re basically a marking gauge, see the lie nielson one:

Fancy, but basically just a marking gauge. So I ordered a spare blade from the lie nielson cutter to skip the whole metalworking bit because hell, learn one thing at a time. Then I laminated two scraps of white oak, cut and squared a stem from another scrap and chopped a mortice (and a rabbit on the base). Some test fitting, adding the blade in a little recess and…

Mind you, it doesn’t work. The mortice isn’t good enough so the beam isn’t at right angles to the fence, so the blade gets dragged along while skewed so you don’t get a nice thin cut line, you get a wider scratched mess. I think I’ll take out the beam, add a brass strip inlaid on it for a bearing surface and use the brass thumbscrews I have here as a lock. And I’ll remake the fence from a single thickness scrap piece of something; it’s too thick to cut a mortice accurately through (at least for me). Some guide blocks when morticing will probably help too. It’s not hard, but it does take a mite more care than I used on the first try.

Also, I’ll need to cut strips off the veneer to make the stringing, and I was finding my marking knife wasn’t up to it and neither was my heavier stanley boxcutter, both would be fine for a few inches and then wander off the line following the grain. So I got this:

Think pizza cutter. But with a tungsten carbide blade. It’s normally used for cutting cloth for quilting. Doesn’t get dragged off to either side by the grain as much as a normal knife that’s embedded in the grain would because with the wheel, the cutting surface is constantly coming out of the wood so the material hasn’t as solid a grip on the blade (which is precisely why we use these for pizzas and the like). Tested it already and it works like a charm. My veneer on the other hand, is too thin; I need to source better material, which I’ve had some pointers on from the UK forum.

And for cleaning out the stringing lines before gluing in the stringing, a dental pick is a pretty decent tool and dirt cheap on ebay. You get the oddest looks in the office when it’s delivered, mind you…

….but the looks you get when you order the syringes for putting glue in the stringing grooves surpass anything I’ve seen so far 😀

I also had to restock on glue and got a bunch of liquid hide glue in a sale on ebay so that should be all the glue I need for the next year or three (it’ll go off before I get through all of it I’m guessing). So I think I’m set right now for everything but the veneer for stringing; I’ll sort that out while I fix the straight line cutter and then start experimenting.

Meanwhile, Peter Follansbee did a nice blog writing up how he does carved arcading; I’d like to give this a go myself, it looks like fun:

It’s just damn pretty in walnut. And it looks terribly complex when finished, but like a lot of this period’s carving, it’s all geometric and done by leveraging the characteristics of tools rather than being some kind of sculpture that relies on twenty years of experience (which would be harder to try).

I do need to get one or two gouges that are larger than what I currently have so I got a nice three-quarter-inch one for a few euro off ebay again:

And between that and one that was a present from an old friend, had a go at the basic core elements to see if it was even possible (here in an oak scrap rather than walnut):

It’s somewhat easier than the v-tool work that I’ve been practicing (and not getting hugely better at, though having better sharpening kit is making a difference):

Something else to get back to, when I dig the shed out again…. this whole thing of letting the north pole melt and turning off the north atlantic current and ruining the climate is playing absolute hell with my shed time…

It’s not even for the birds!


07
Mar 18

Craft

So, there are a bunch of things I could say on this, primarily centered on the way that “Craft” is the latest fad in certain industries (looking at you, Silicon Valley) and how most people you hear using the word can be safely written off as asshats who think you should “follow your dream” (which is lovely but the bank still want their mortgage paid at the end of the month). I’ve read otherwise apparently sensible people talk about how it’s easy to “pursue your craft” and how you only need to have twenty thousand or so in the bank as insurance against most of the things that can go wrong; people talking about how it’s a shame that today’s consumerist world builds everything with machines (hey, I like working with hand tools as a hobby but it’s only suitable for mass production if you’re not in favour of human rights or people being able to live a decent life); and a small host of other things that would force a polite person to bite their tongue and go read something else.

But instead of that rant, just go read this. It’s one of the best, most romantic-bullshit-free bits of writing I’ve seen on the topic in a long time.

Craft by Alexander Langlands

And then if you want to get depressed, go read some of the older books on things like woodwork and see what the living conditions were like and how badly the industry treated workers who reached the end of their working lives through old age or accident.

“Craft” is a word with a lot of hidden nasty sharp bits. Use with care.