12
Apr 17

Thermomorph

So I came across this goop watching Crimson Guitars recently (I don’t want to build guitars, I just find the woodworking part fascinating while finding the music part kinda meh).

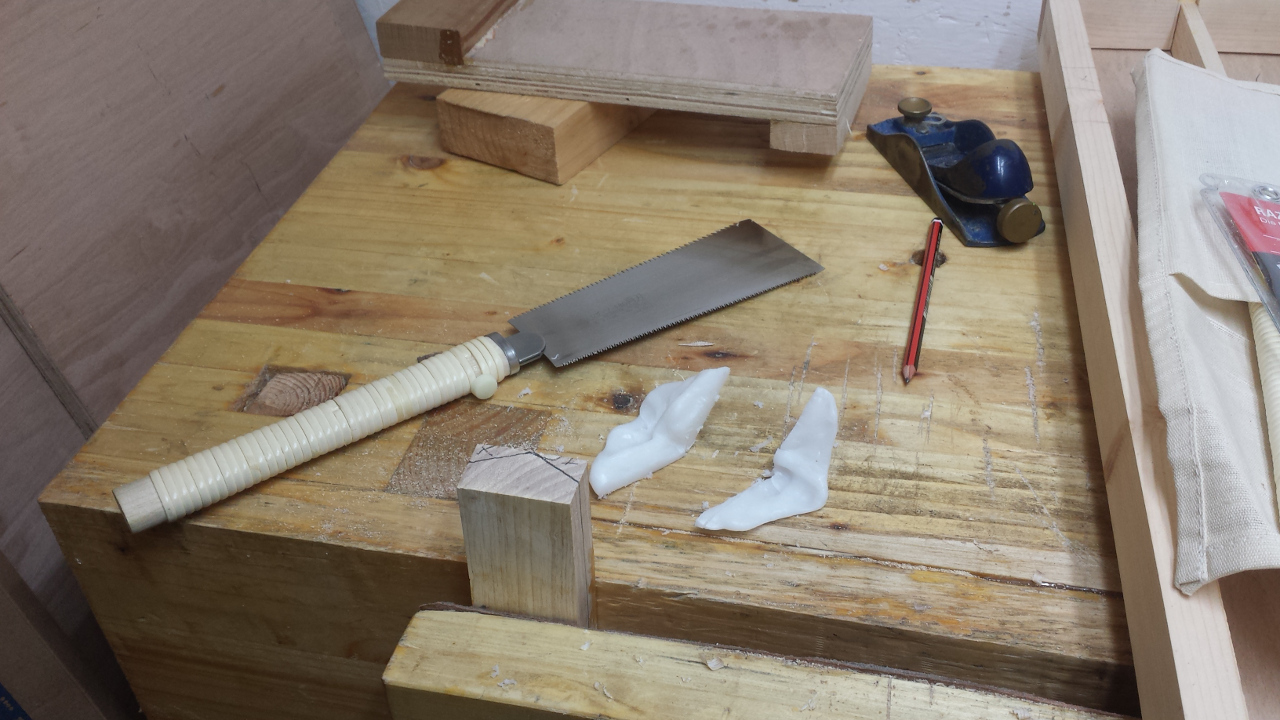
Basically, take this plastic (which comes in little balls like styrofoam packaging), put a few tablespoons into hot water (60C/140F is where the magic happens) and it goes from hard white solid to transparent goop. Fish it out of the water with a spoon, give it a second or two to cool down so you can hold it without third-degree burns to your fingertips, and now you have something similar to mala (or plasticine or playdough or silly putty or whatever you grew up with); only when it cools down, whatever shape it’s in it sets up hard in.

When it’s back to being hard again, it’s a hard white plastic that you can saw, drill, file, tap (no idea how much load it’ll take though) or otherwise work. And when you’re done with it, put it back into hot water and it goes back to transparent goop again and you can reuse it. No idea how many cycles you’ll get from it, but I’m up to three or four so far with no sign of degradation.

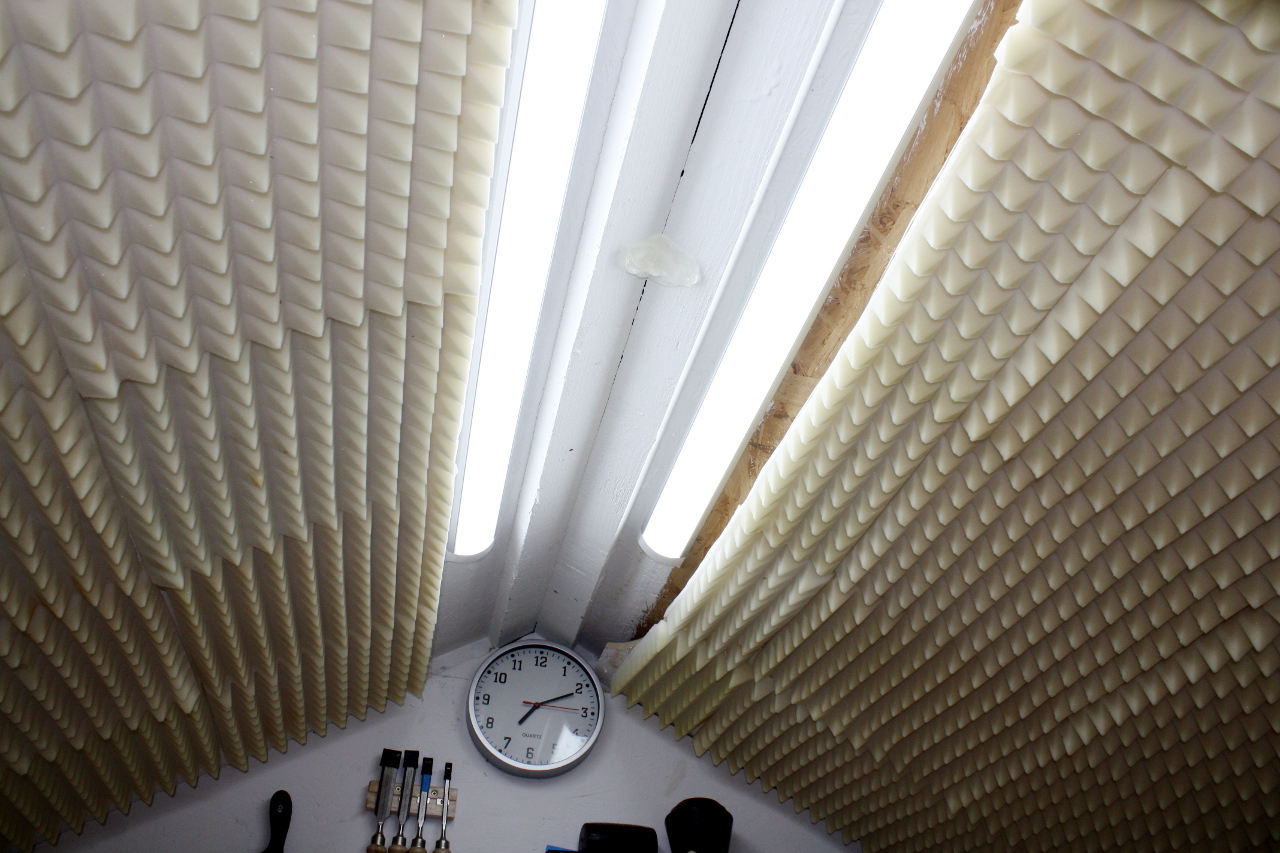
So how’s it useful in the shed? Well, I use LED T8s to light the shed. Or more accurately, until last weekend I used one. Then the second one arrived last weekend and now I use two.

Thing is, when I ordered that second one, I accidentally ordered two of them. So I wanted to fit the third T8 and in between the other two is the only viable place left. But the roof has no handy single flat surface there (if I picked either of the two flats I’d get uneven light distribution and I’d go spare). So I need some blocks cut to the angle of the roof and attached so that I have a horizontal surface to mount the light to.

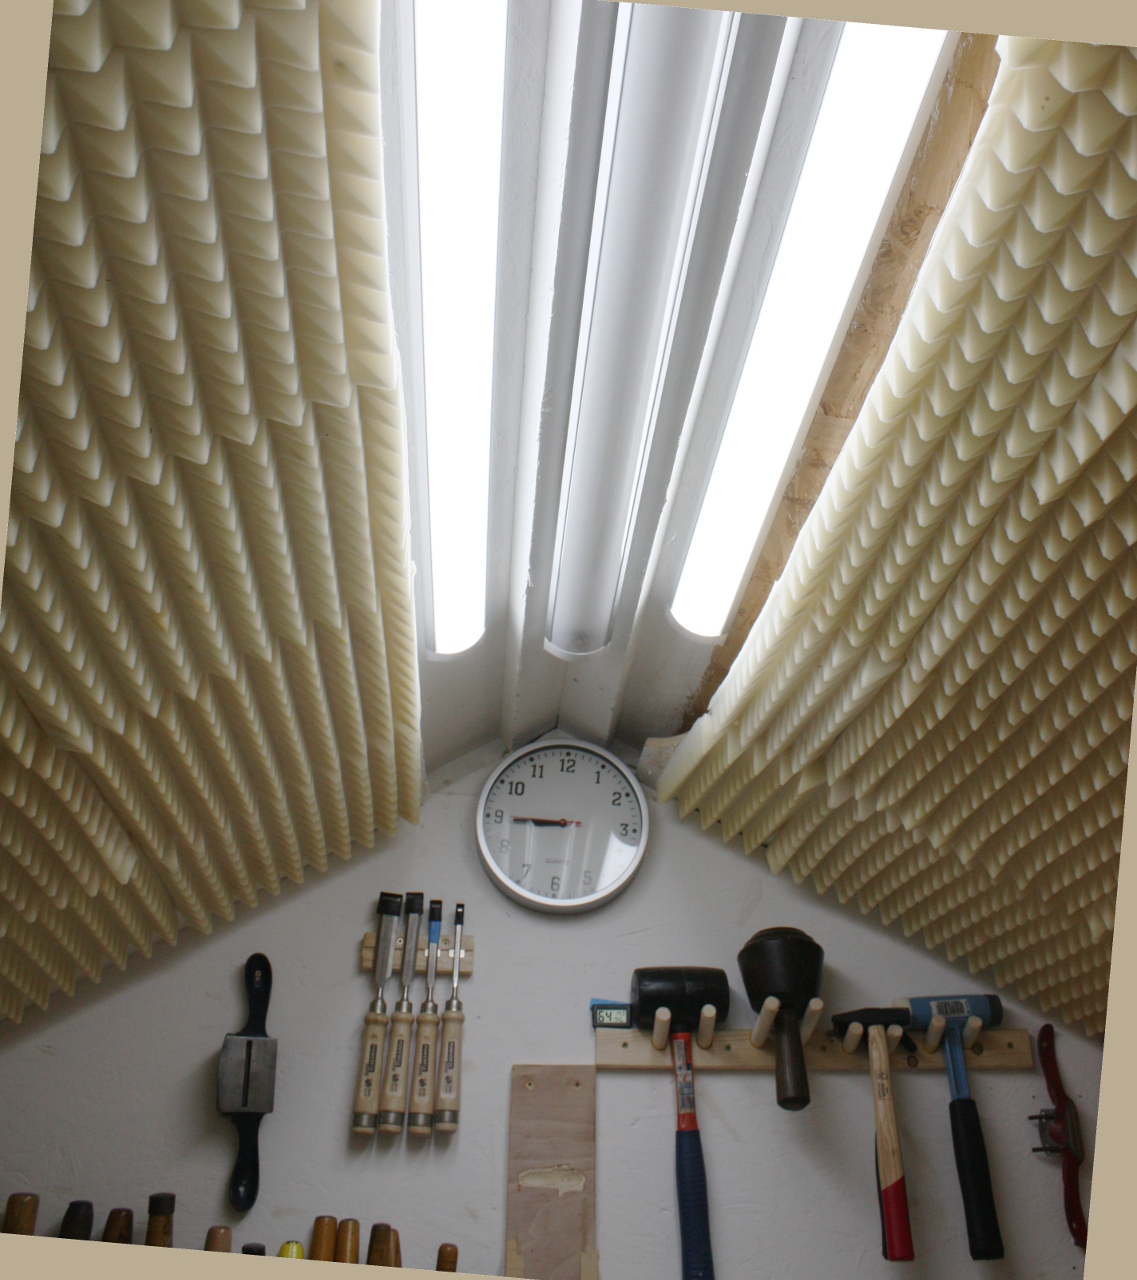
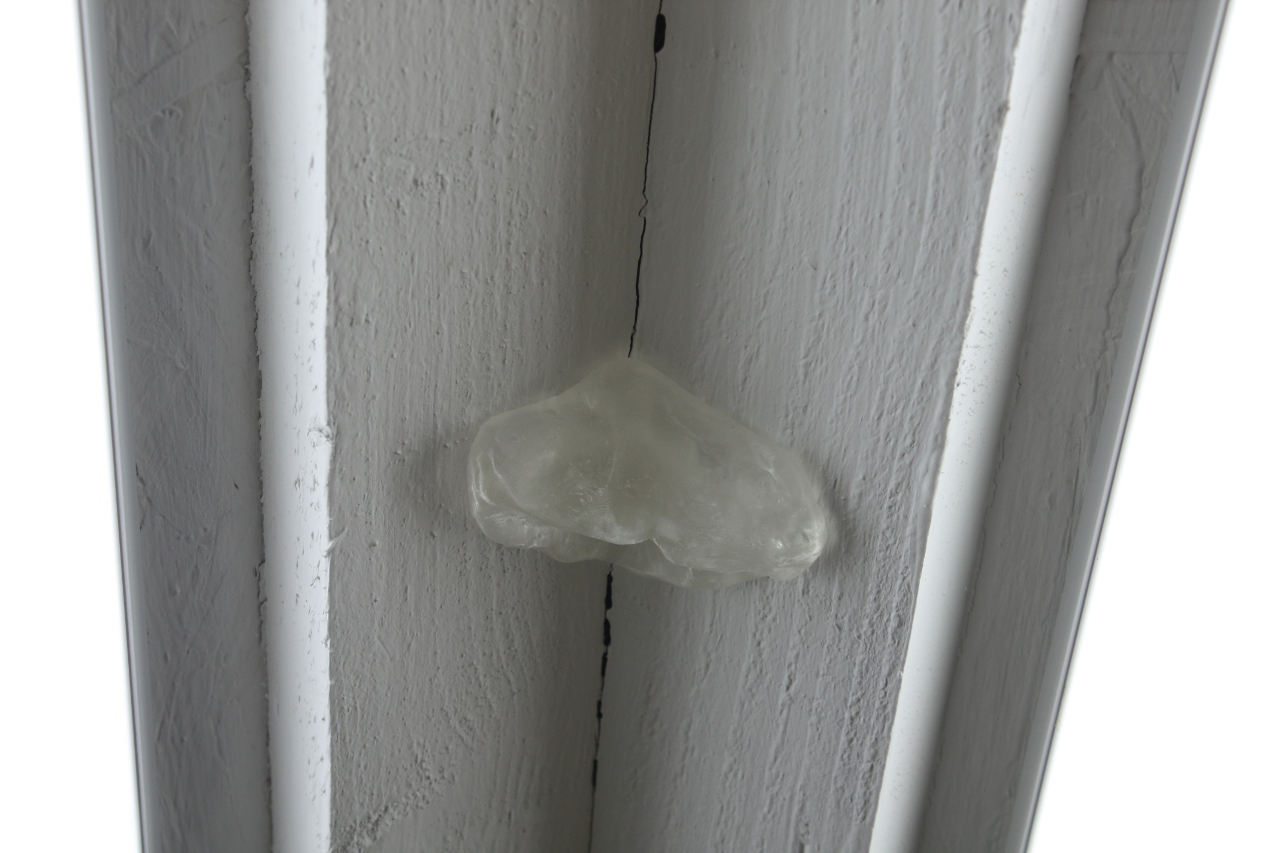
But I don’t know that angle, it definitely isn’t something nice like 30, 45, 60 or 90. It’ll be 57.423 degrees or whatever hastily-nailed-together-8-by-6 sheds use. So out with a few tablespoons of thermomorph, let it go transparent, cool back to translucent, and then shove a wodge of it into the roof angle (you can see it above in that picture).

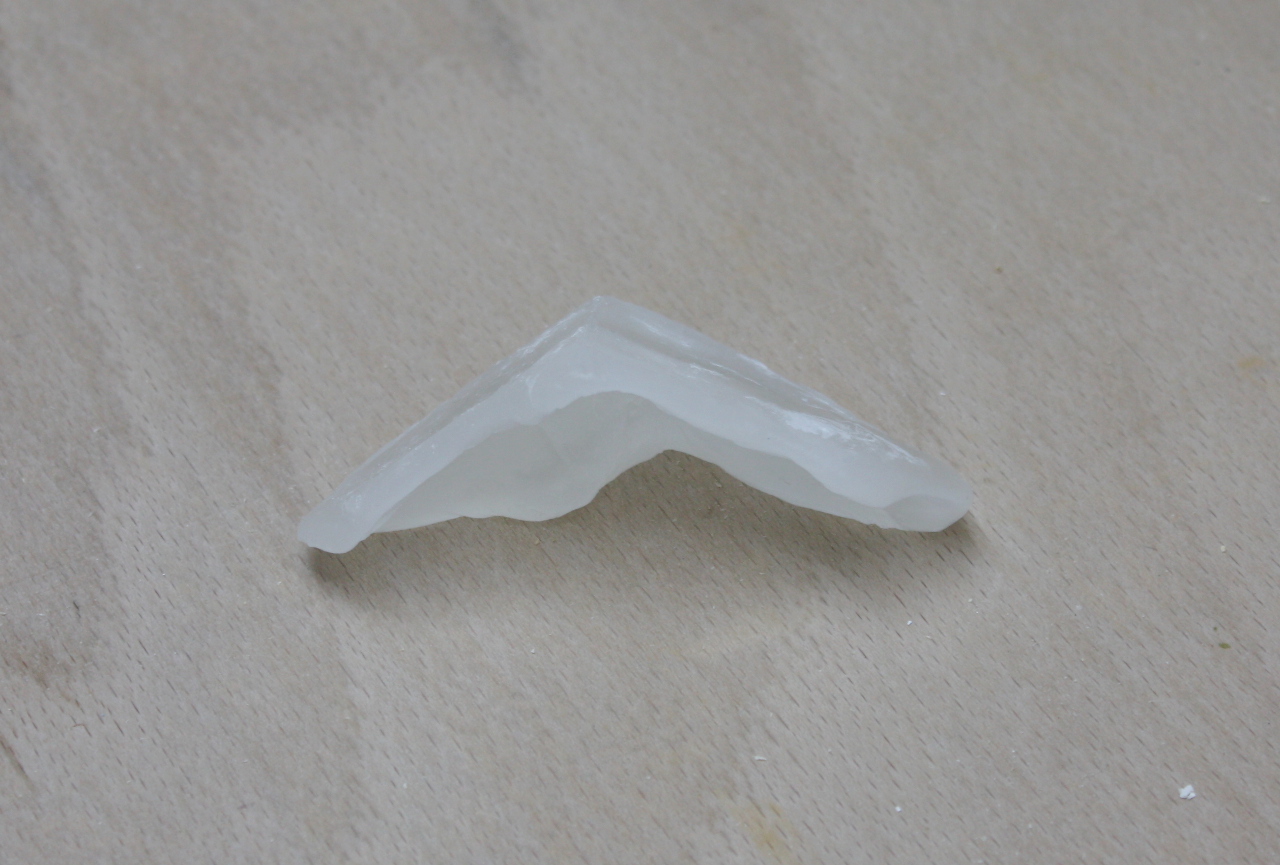
And then when it cools, take it down and let it cool fully to harden fully.

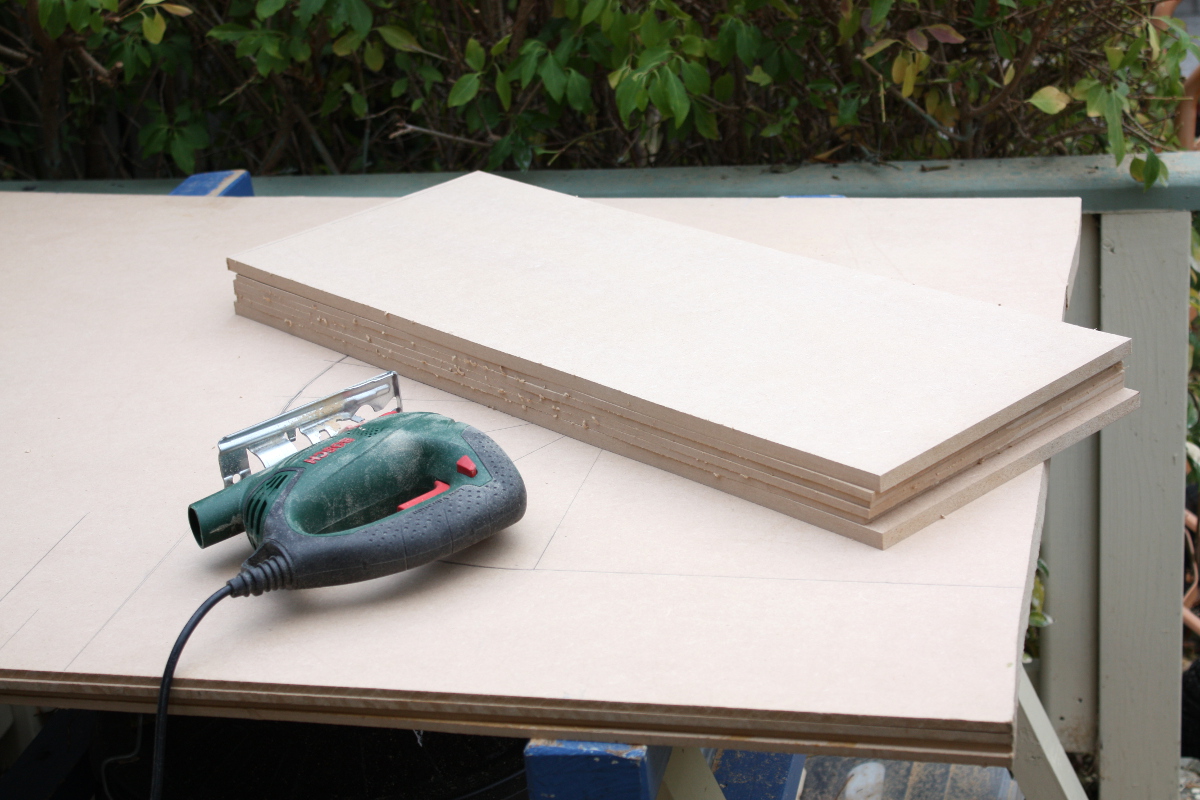
And there’s your angle. Now take your saw and cut it in half so you have a flat face to present to the wood, and mark off the angles.

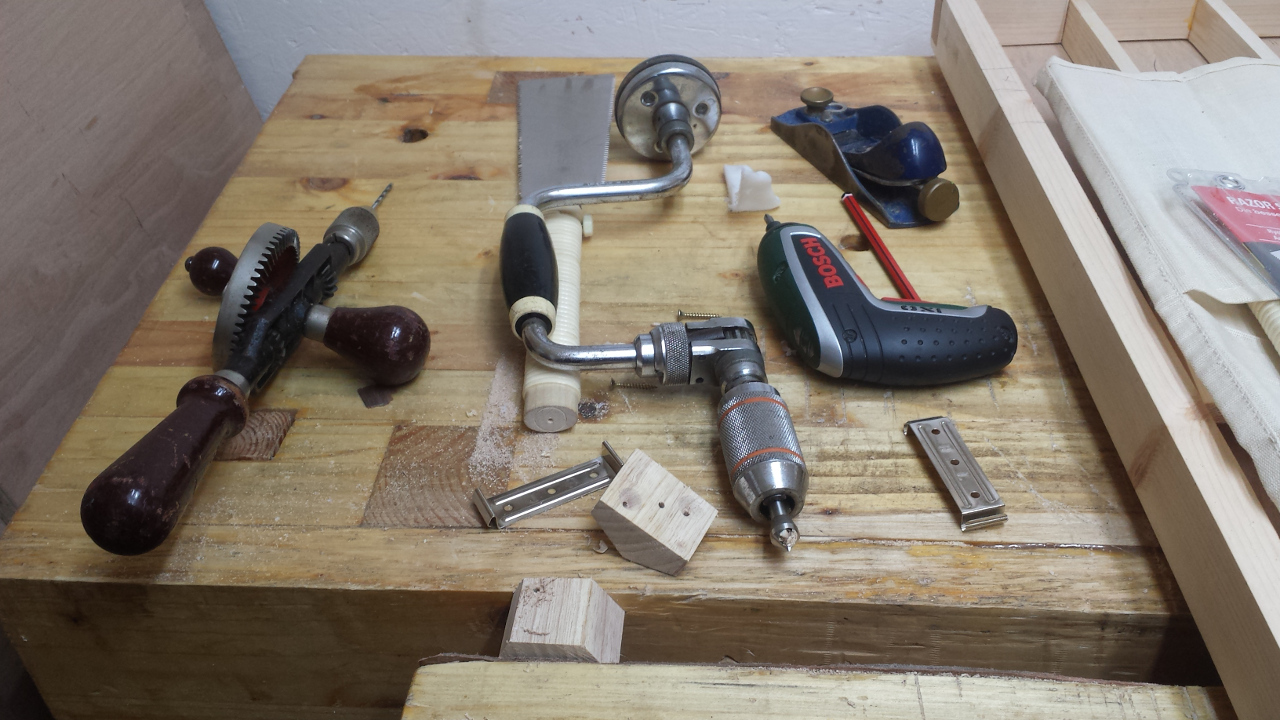
And now you just saw down the lines, then crosscut into two blocks, and start drilling pilot holes for screws and countersinks.

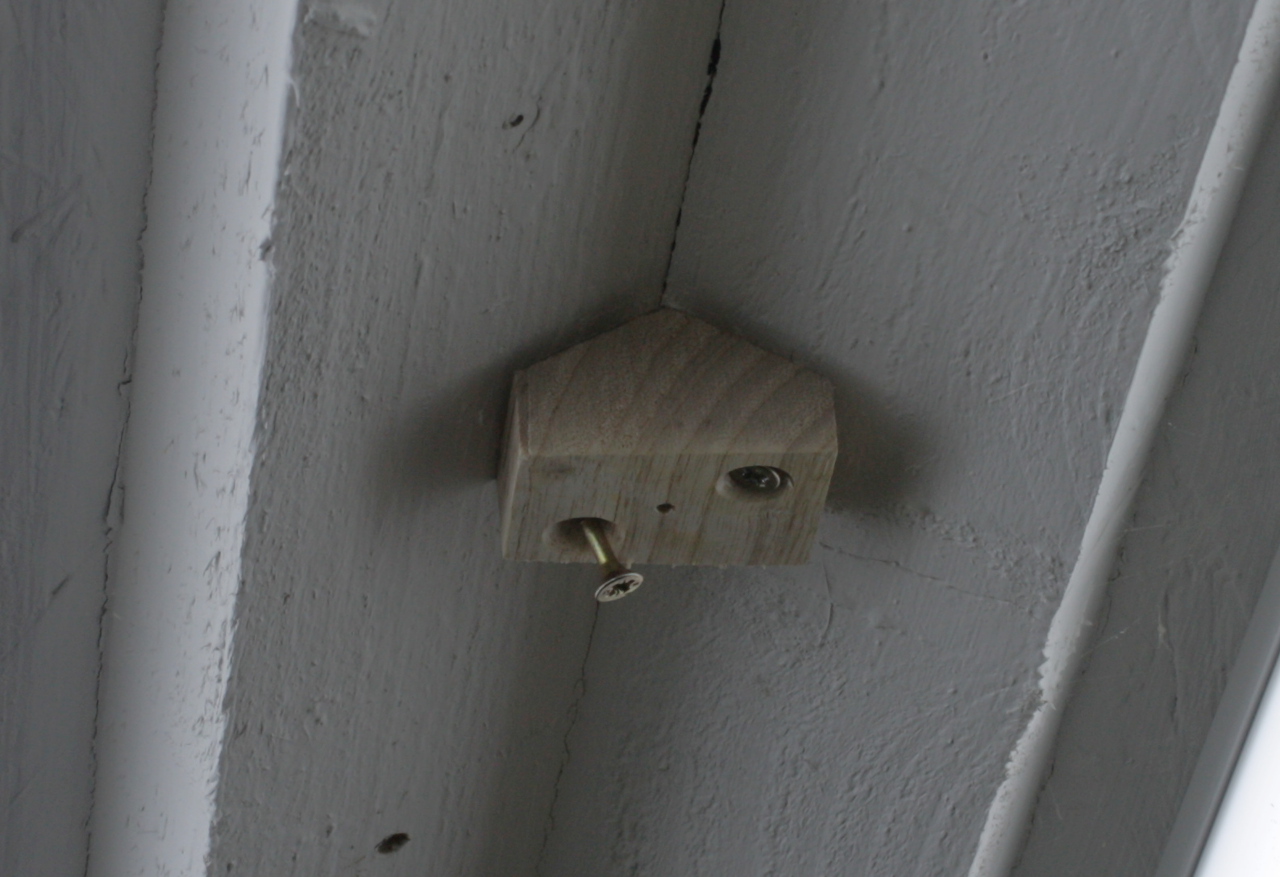
Then screw the blocks to the roof…

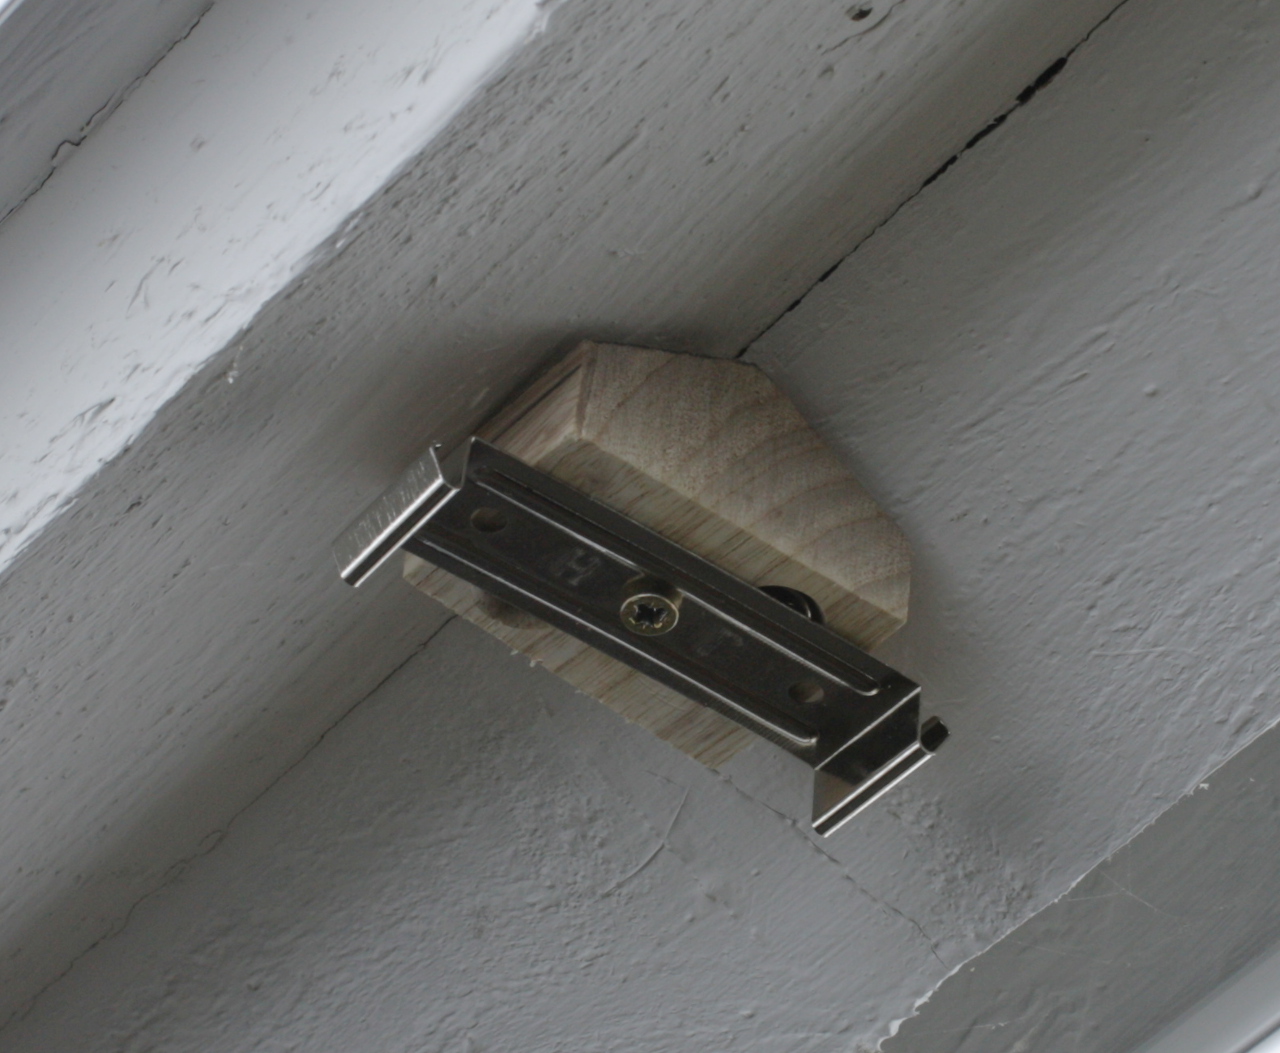
…and the mounting clips to the blocks…

…and then clip the T8 into the clips.

And done. No faffing about with cut-and-test-and-cut-and-test-and-plane-and-test-and-plane-too-much-and-test-and-curse-and-start-over-again.

Yeah, you could probably do this with a bevel as well, if you had a small 2-3 inch size one, but the thermomorph can get into small awkward spots a bit better than most bevels. Plus, as Ben Crowe was showing in that video above, you can replicate curves and other odd profiles just as readily as straight line angles.

And you can get different brand names as well (Multimorph, Polymorph and so on) as well as dyes in case you don’t like white, or even food grade versions of the stuff. And near-infinite shelf life too. So definitely some stuff to have handy in the shed from now on.
29
Dec 16

Testing…

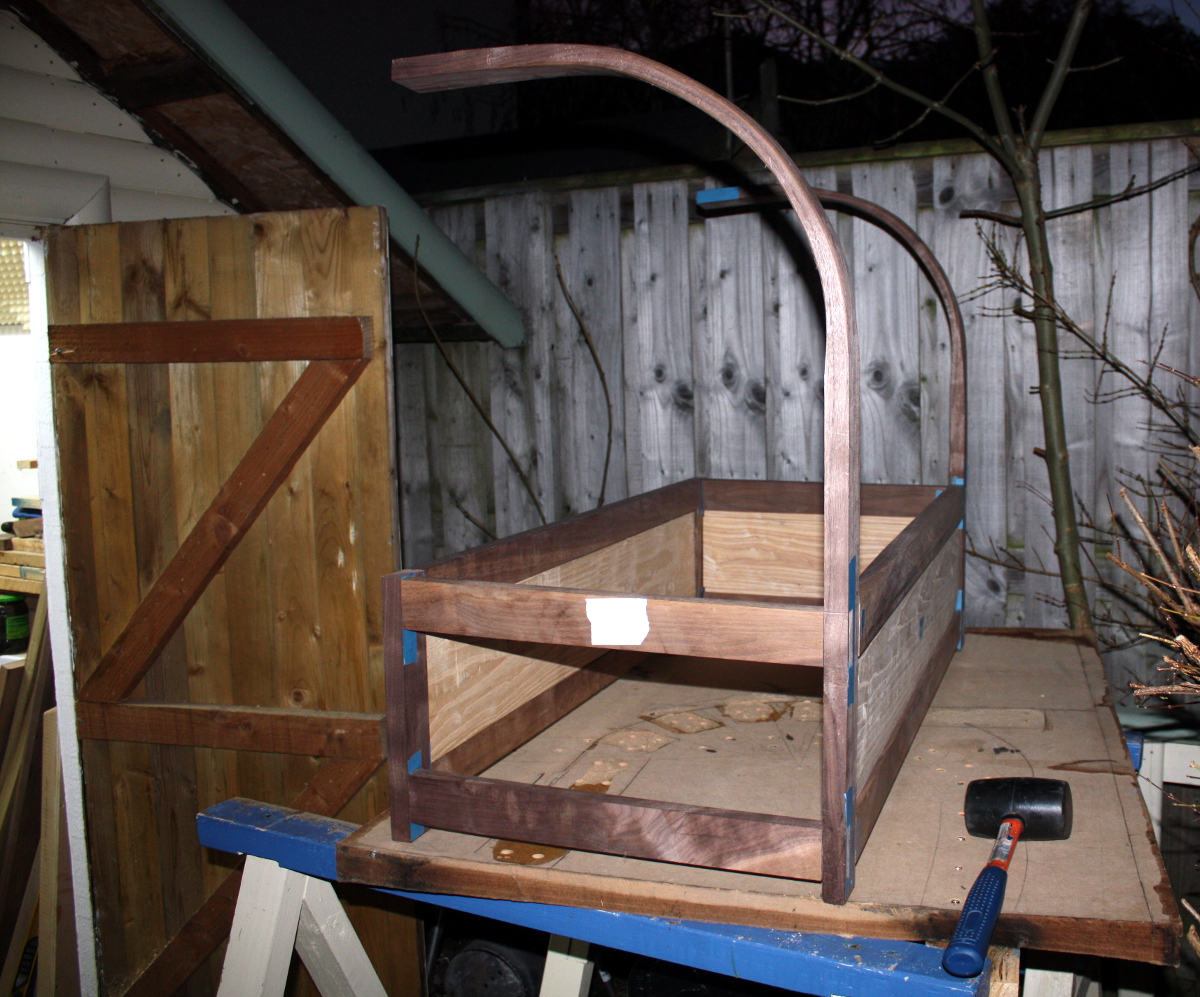
Finished the last of the crossbars today, checked the fit and fettled a bit, and then thought I’d try test-assembling the base…

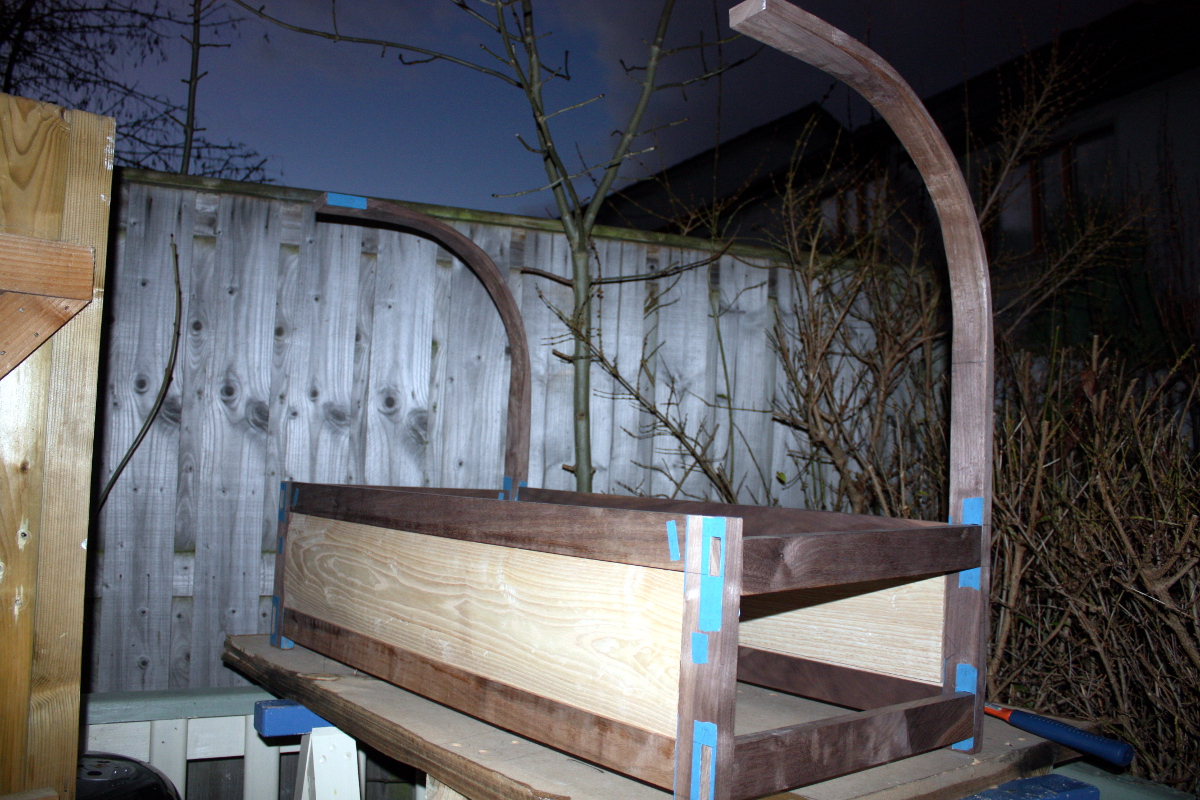
That’s the bending jig; it was MDF so I considered it disposable (I must recover the screws from it now that I think about it). And the light was just going, hence the odd lighting. This really is too large to assemble on the bench; I’ll have to assemble it on this. It’s worse for wear thanks to moisture, but pffft. It’s MDF. It’s for the bin anyways.

Mental note, next time do this in daylight; can you see the deliberate error? 😀 I put the top bar at the end closest to the camera in upside down by mistake and got almost an inch of misalignment at the top, which gave me a moment’s pause until I figured out what I’d done.

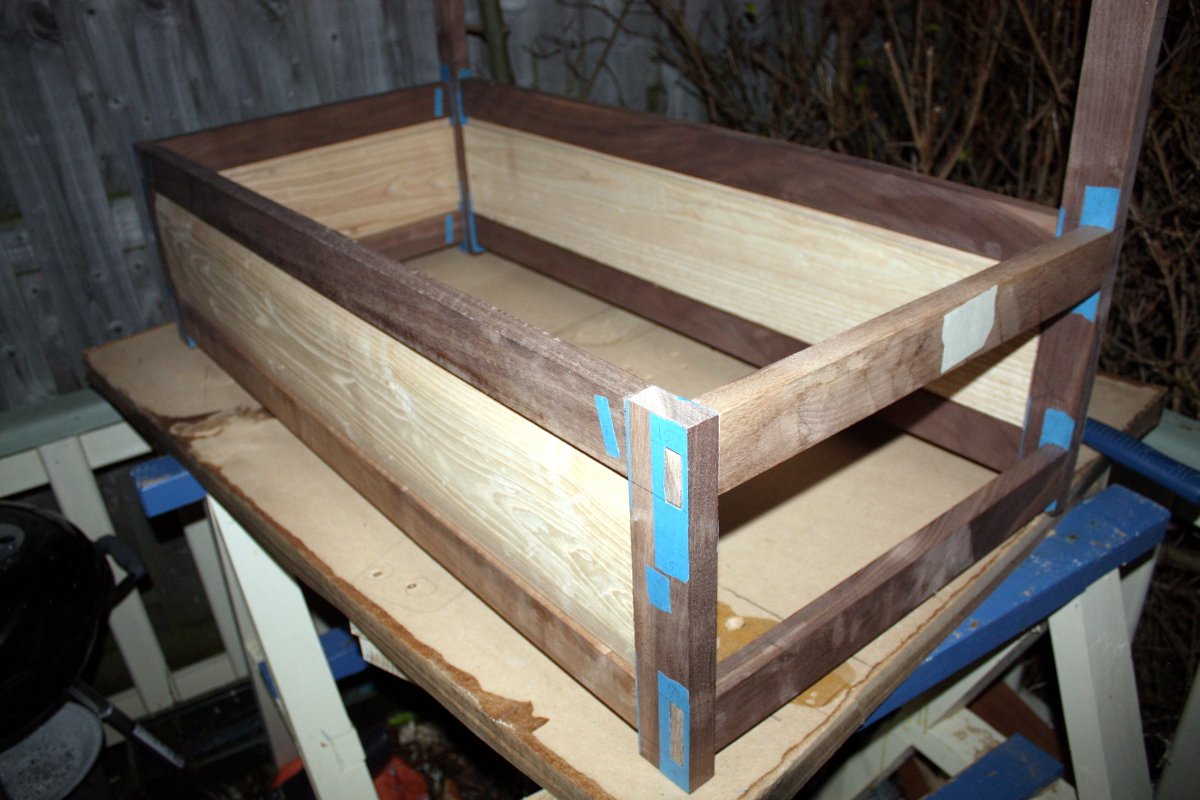
When I put the end crossbar in the right way up, it’s nice and flush. Next job will be to cut the grooves for the top panel (and then cut the top panel to size, it’s quite a bit wider than the base because I didn’t rip the boards down; why bother until I had the final width determined?).

That nearest steambent upright is actually perfect, annoyingly. The end (the one floating in mid-air there) is at a perfect 90 degrees to the vertical. It’s making the other one look bad.

So, what’s left?

  • Rip the top panel to width.
  • Add the rebate and bevel to the top panel.
  • Cut grooves for top panel in long stretchers.
  • Cut mortice for back support.
  • Cut back support to length and cut tenon on bottom end.
  • Figure out joint at the top of the back support for the top crossrail.
  • Figure out joints at the tops of the two steambent uprights.
  • Fit top crossrail to back support and steambent uprights.
  • Cut back slats to length and cut tenons.
  • Measure off side slats (because they’re going into a curve, this is going to be fiddly) and cut tenons.
  • Cut mortices for slats.
  • Joint drawer runners into the bottom end crosspieces.
  • Thickness the boards for the drawer.
  • Cut the drawer front to size.
  • Cut the drawer back and sides to size.
  • Cut dovetails for drawer.
  • Groove drawer with #43 for plywood base.
  • Assemble drawer.
  • Drill for drawboring on the M&T joints that I’ll be drawboring (the long rail to upright ones and probably the back support and top crossbar joints).
  • Make drawbore pegs.
  • Finish plane all parts.
  • Finish walnut pieces with a few coats of shellac.
  • Paint drawer with milk paint.
  • Assemble and glue-up and drawboring of everything.
  • Finish entire assembly with several coats of Osmo wood wax.
  • Close door of shed, lock it, walk away and never do another project with a deadline ever again.


06
Nov 16

Small jobs again…

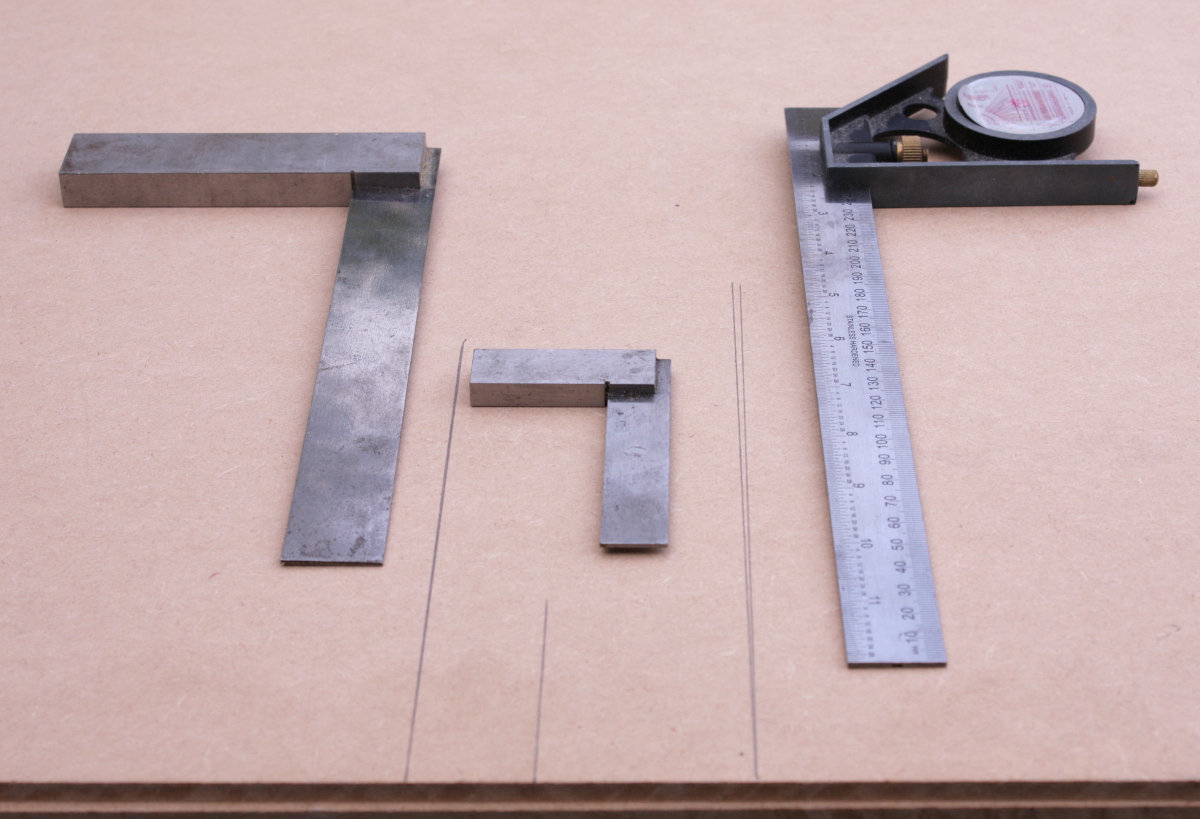
Just not a very productive Sunday really. Checked my squares, found one is so not square that I threw away the crosspiece and I’ll use it as a straightedge from now on.

img_9818a

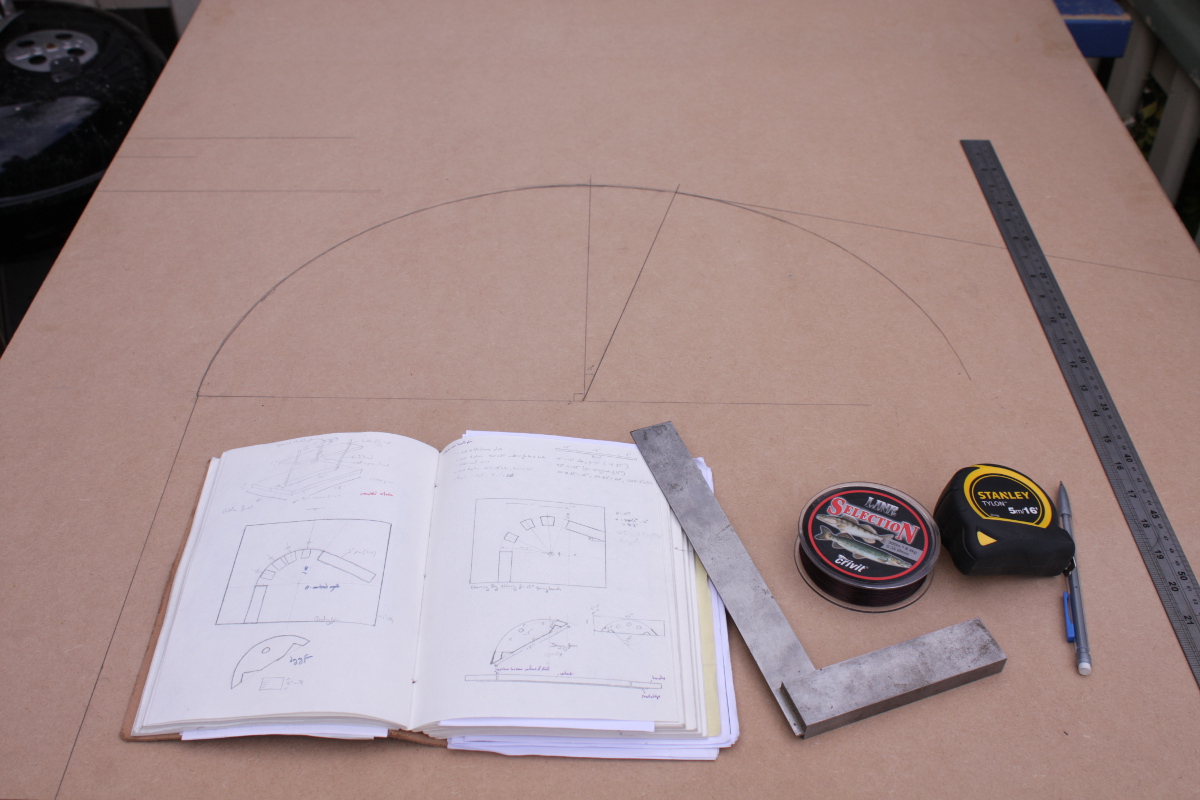
Then got on with building the jig. Laid out the geometry (a 10.3″ radius curve gives a 12″ radius curve and 15 degrees of springback).

img_9822a

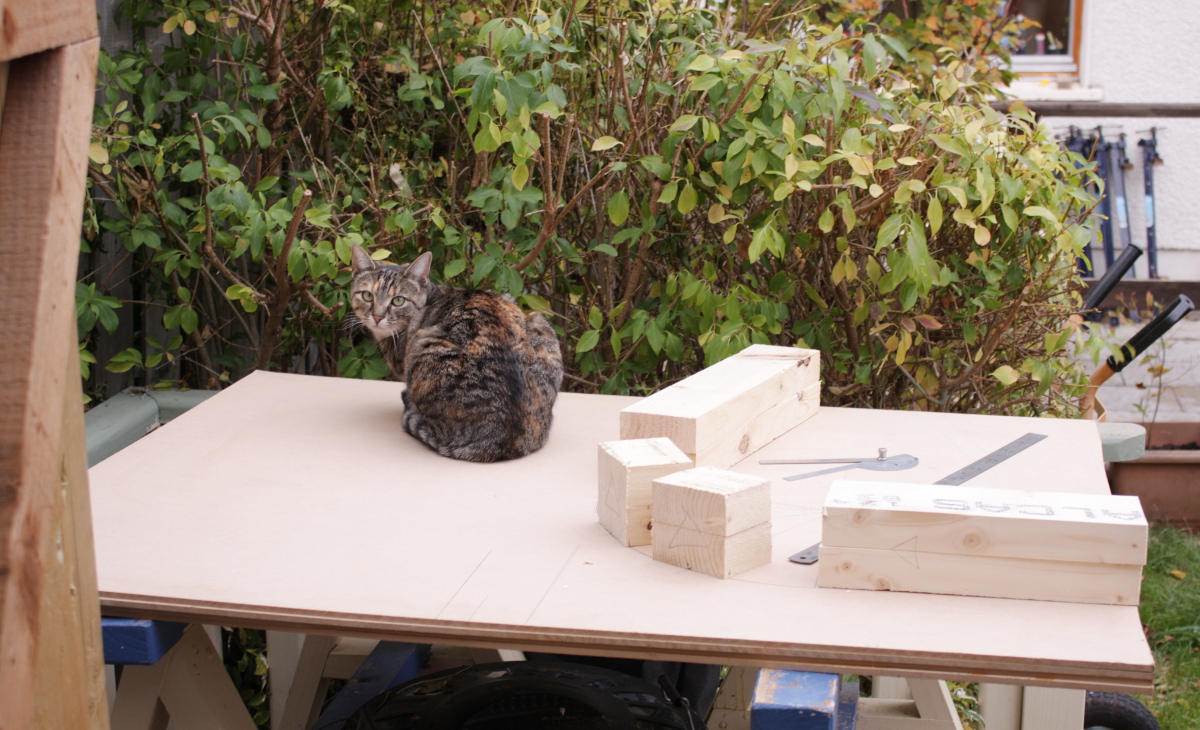
Shop cat is somewhat critical of the layout…img_9829a img_9831a

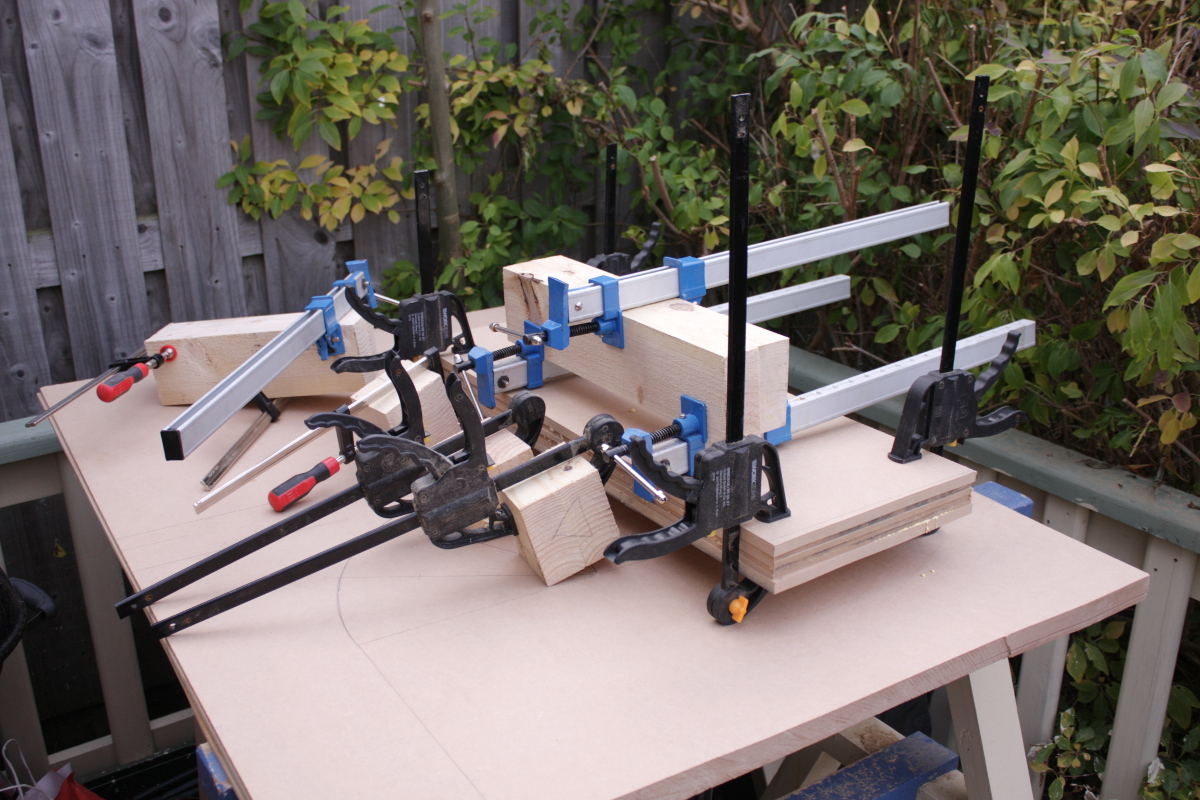
Laminating MDF to make a drying form (which will have the 12″ radius and the walnut gets clamped to this for a week after it’s had a day or so on the bending jig to cool).

img_9833a

Lots of laminated MDF and 2×4 chunks. This is when you not only have insufficient clamps but also insufficient space to put the drying bits 😀

img_9838a

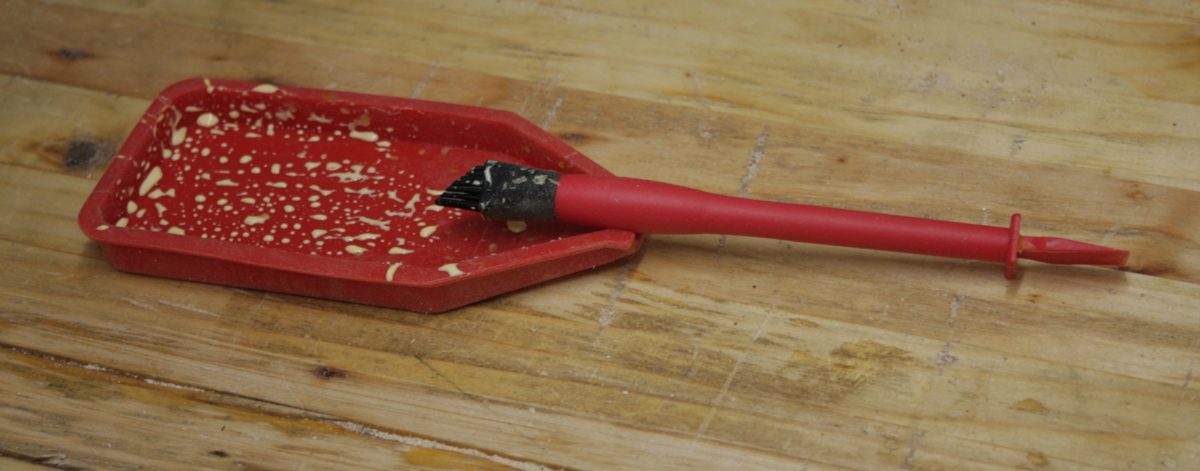
I thought it was a bit of a gimmicky thing when I bought it, but those silicone glue brushes work damn well. Worth every cent (especially when buying them from Rutlands in the UK instead of buying the Rockler ones from the US).

img_9840a

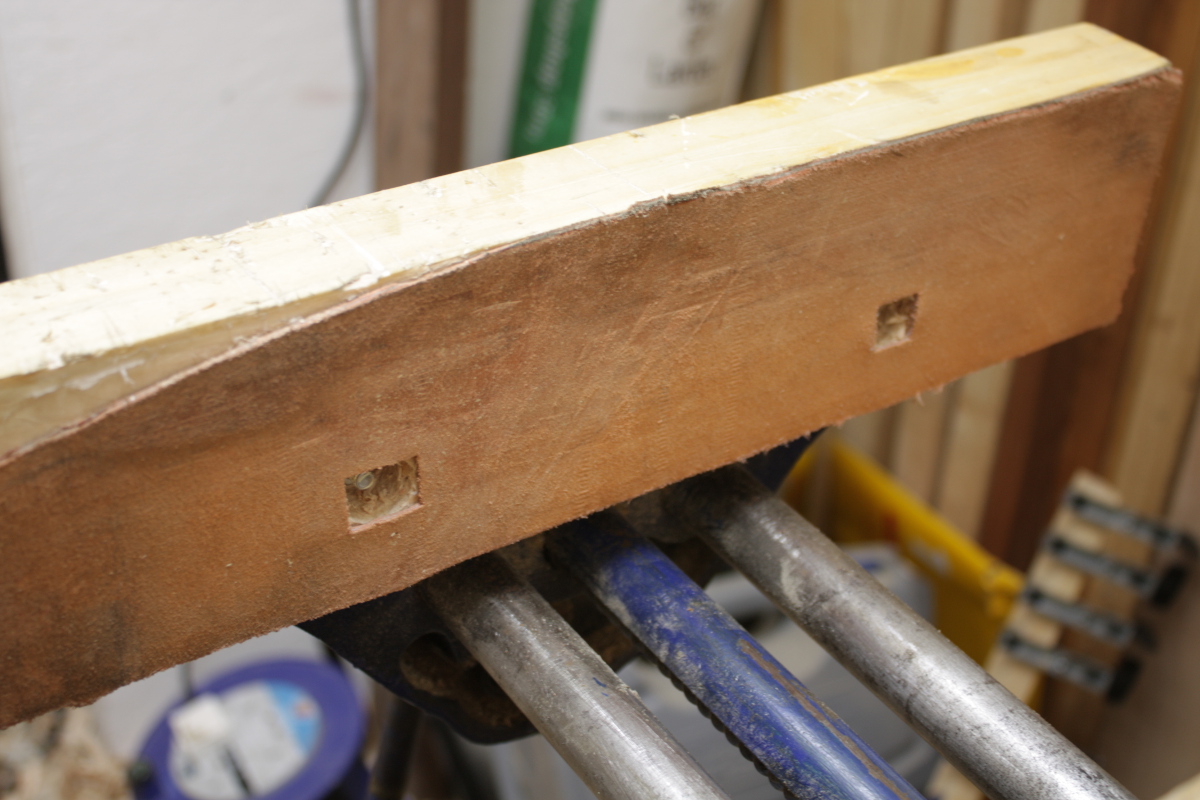
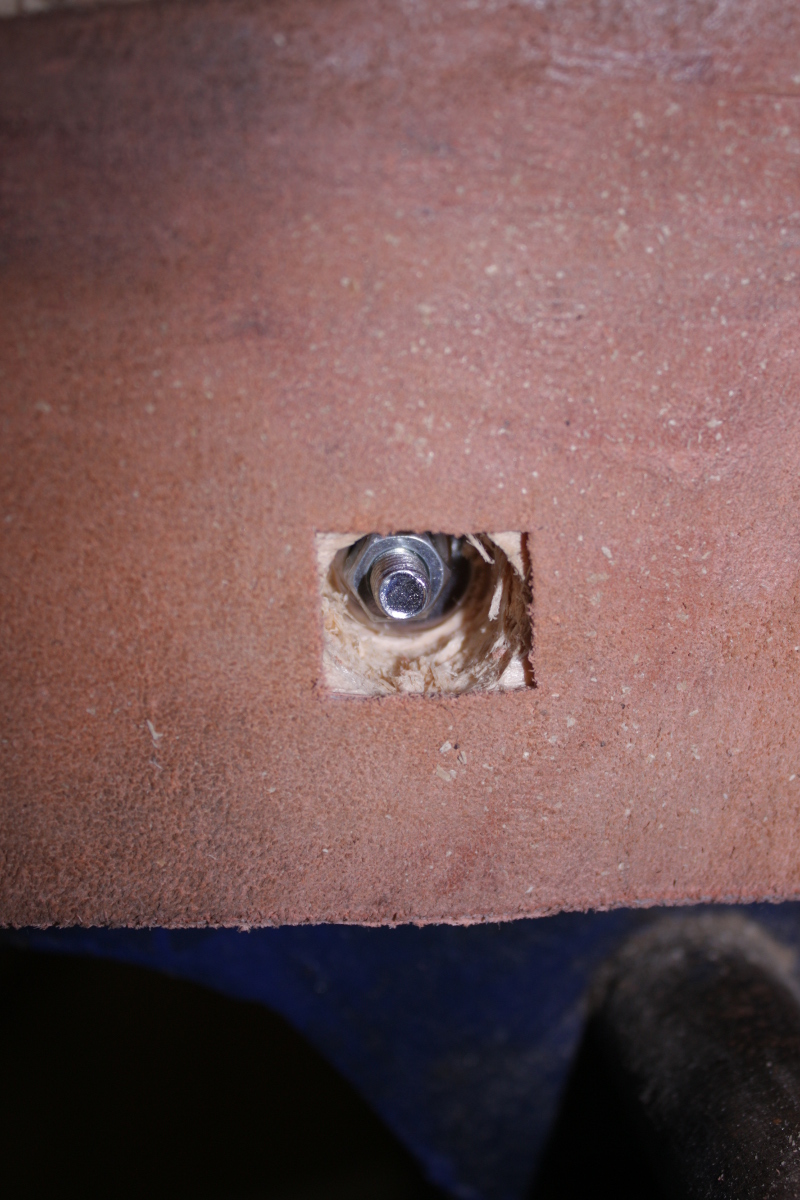
And last job, fixing and reattaching the vice jaws (finally – shop jobs seem to be cobbler’s children really). img_9843a

Simple enough job, just counterboring for nuts and ensuring they were below the surface of the face. Complicated only by not having a drill press or fostner bits, but an auger bit and brace and a little fustering sufficed.

Then went through the stock in the woodpile matching pieces to cutlists and finding that for the largest panel in the crib, I don’t have long enough boards to do lengthwise glue-ups in the panel. Hmmm. Is it okay to run the glue-ups crosswise I wonder….