29
May 20

Cheating

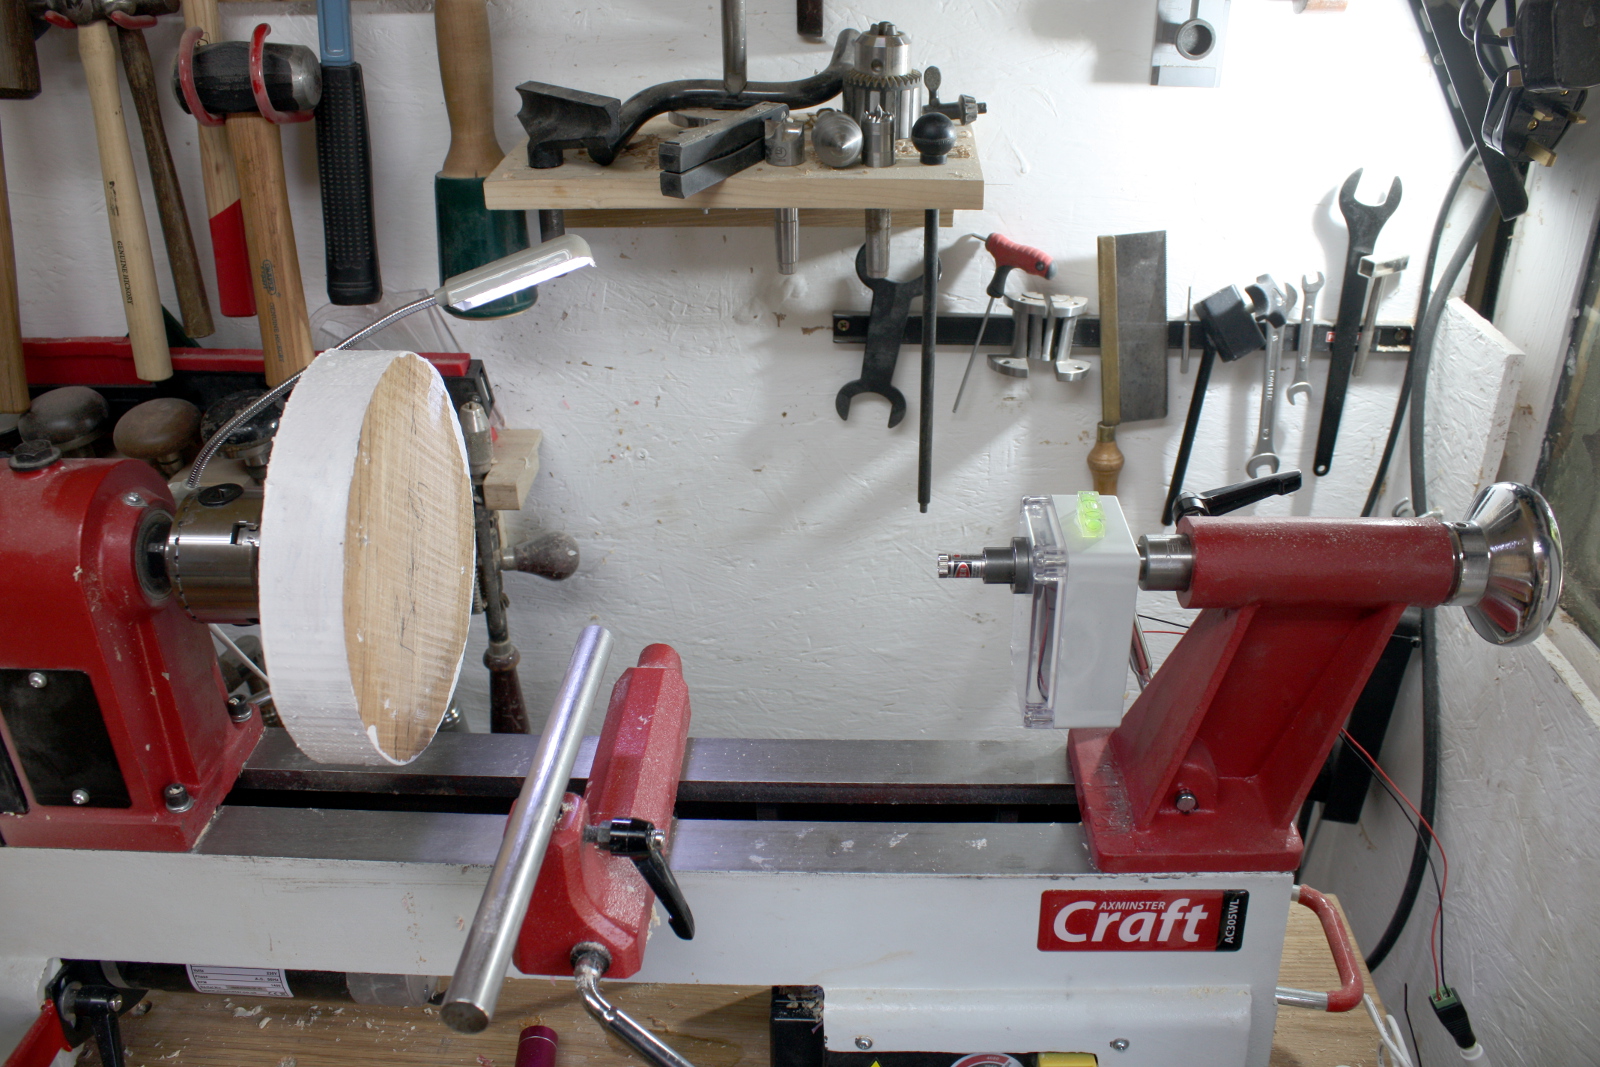
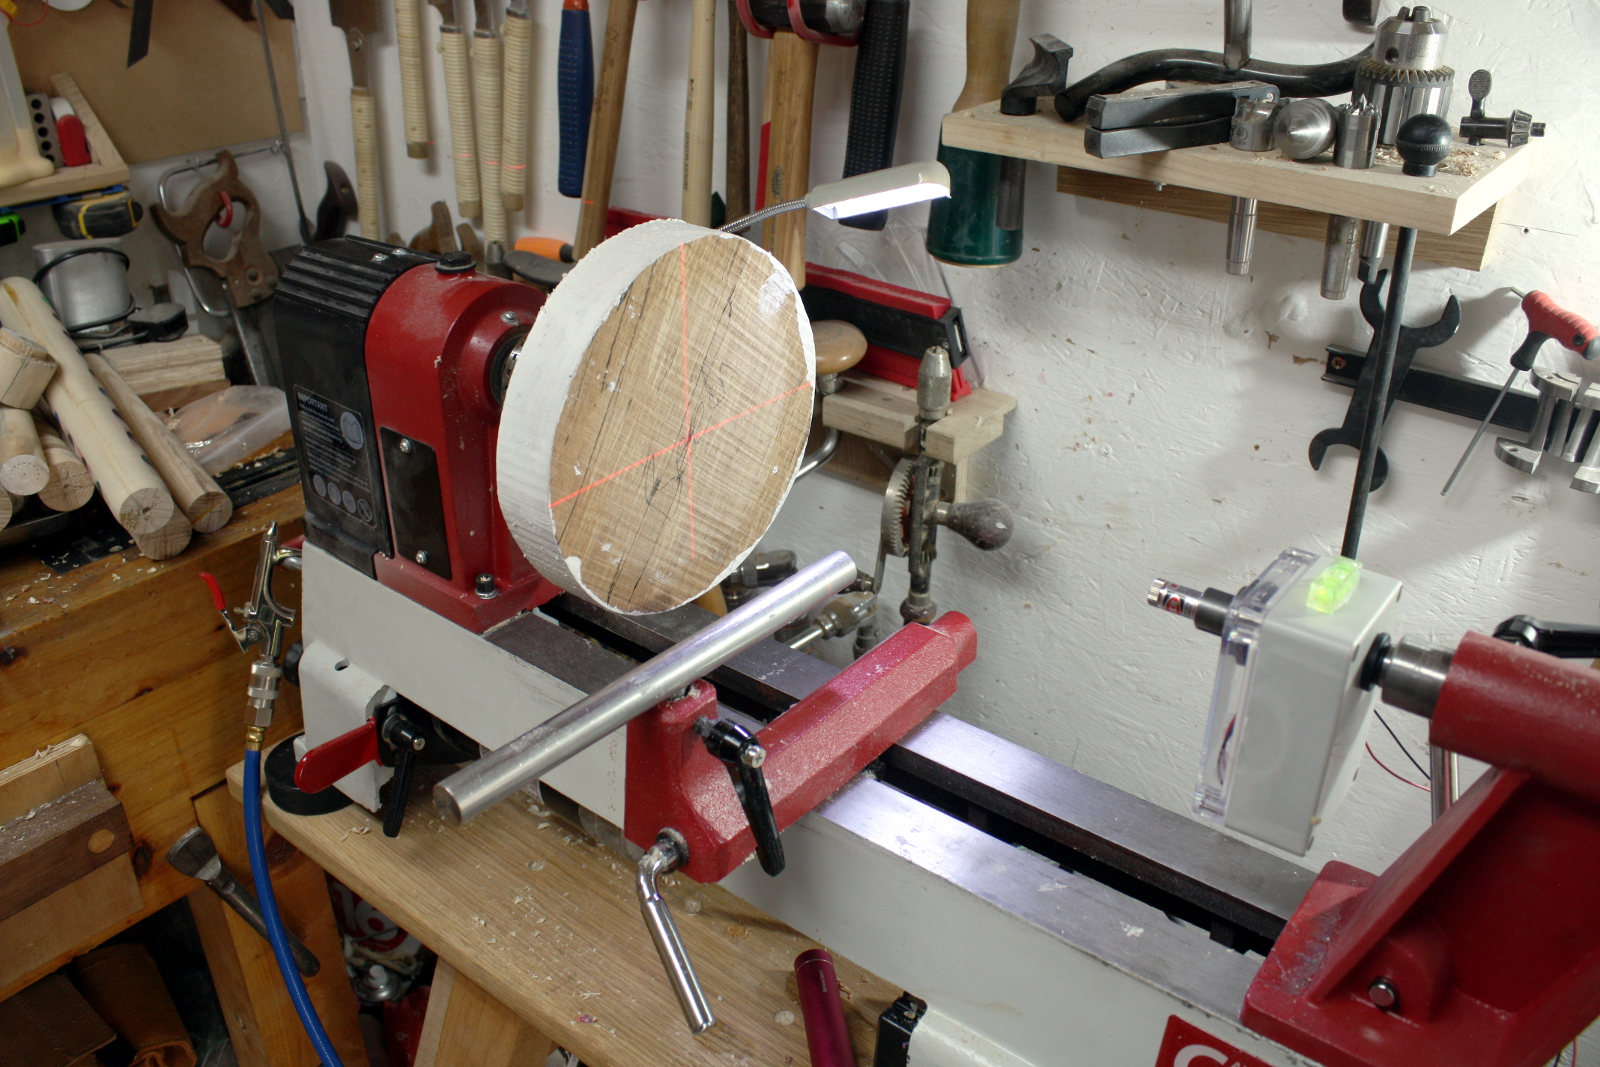
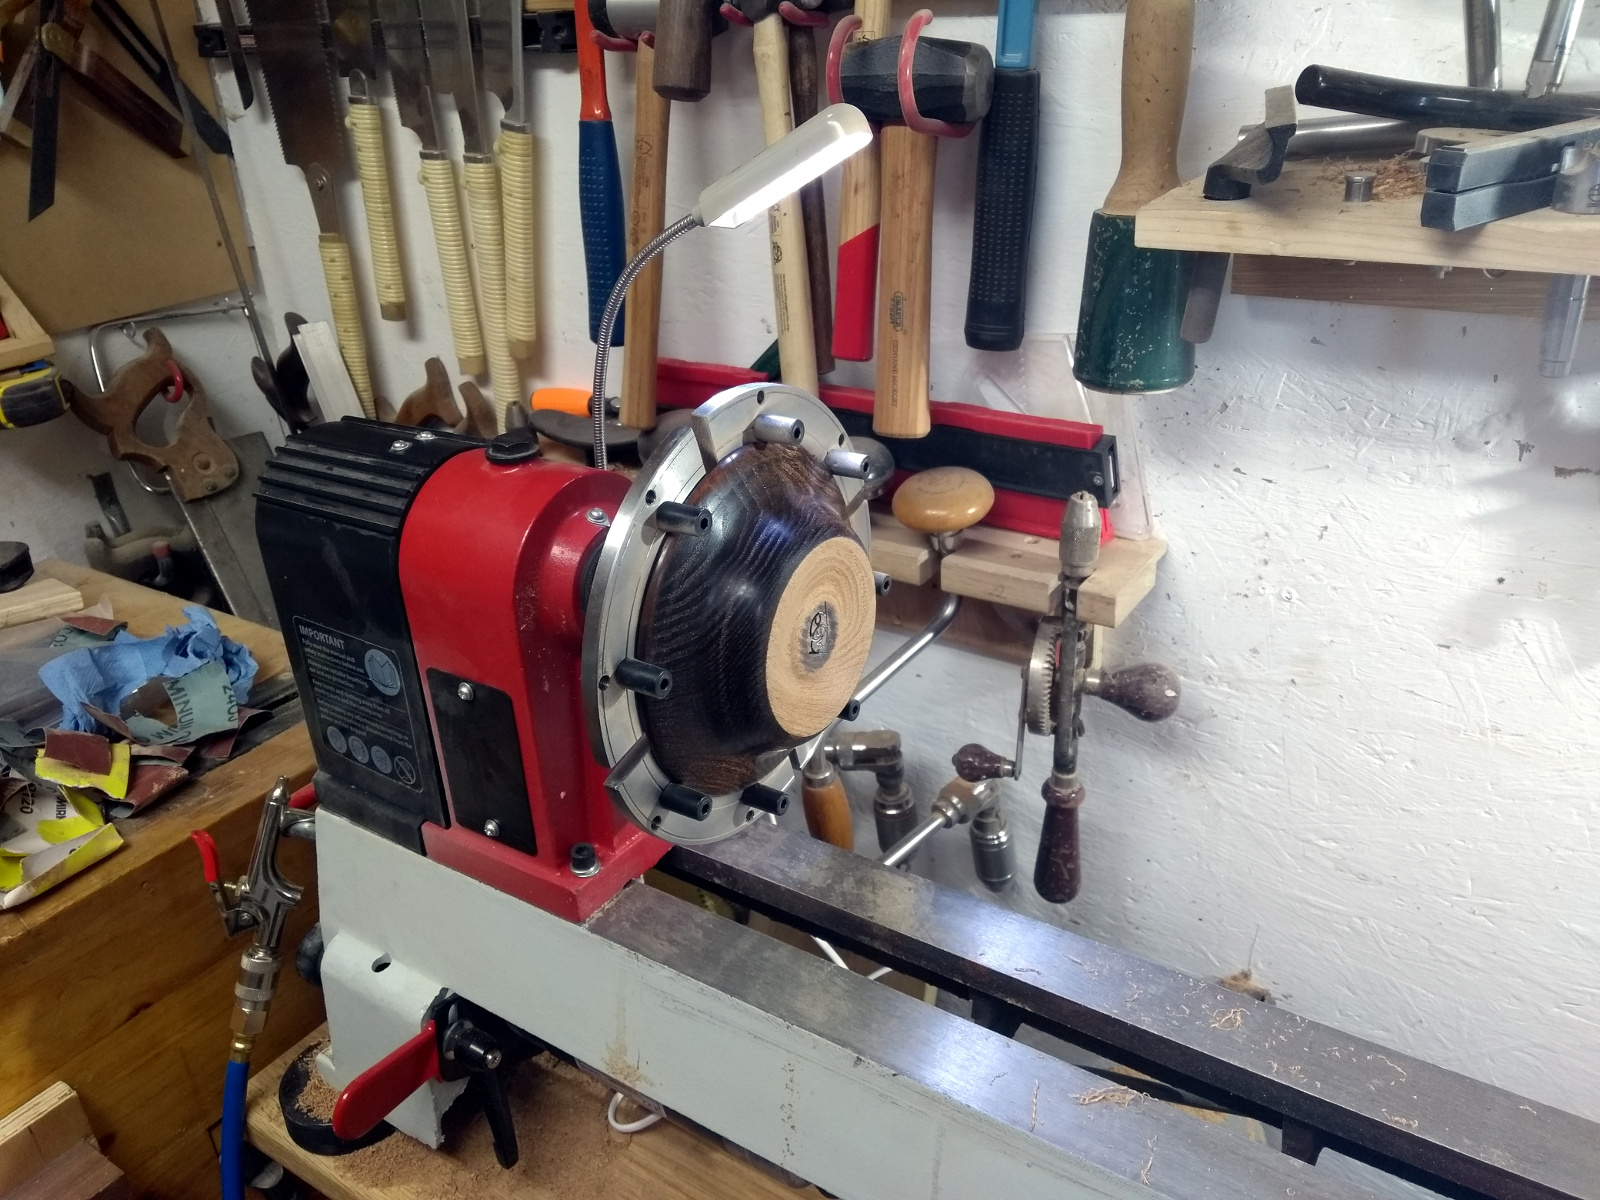
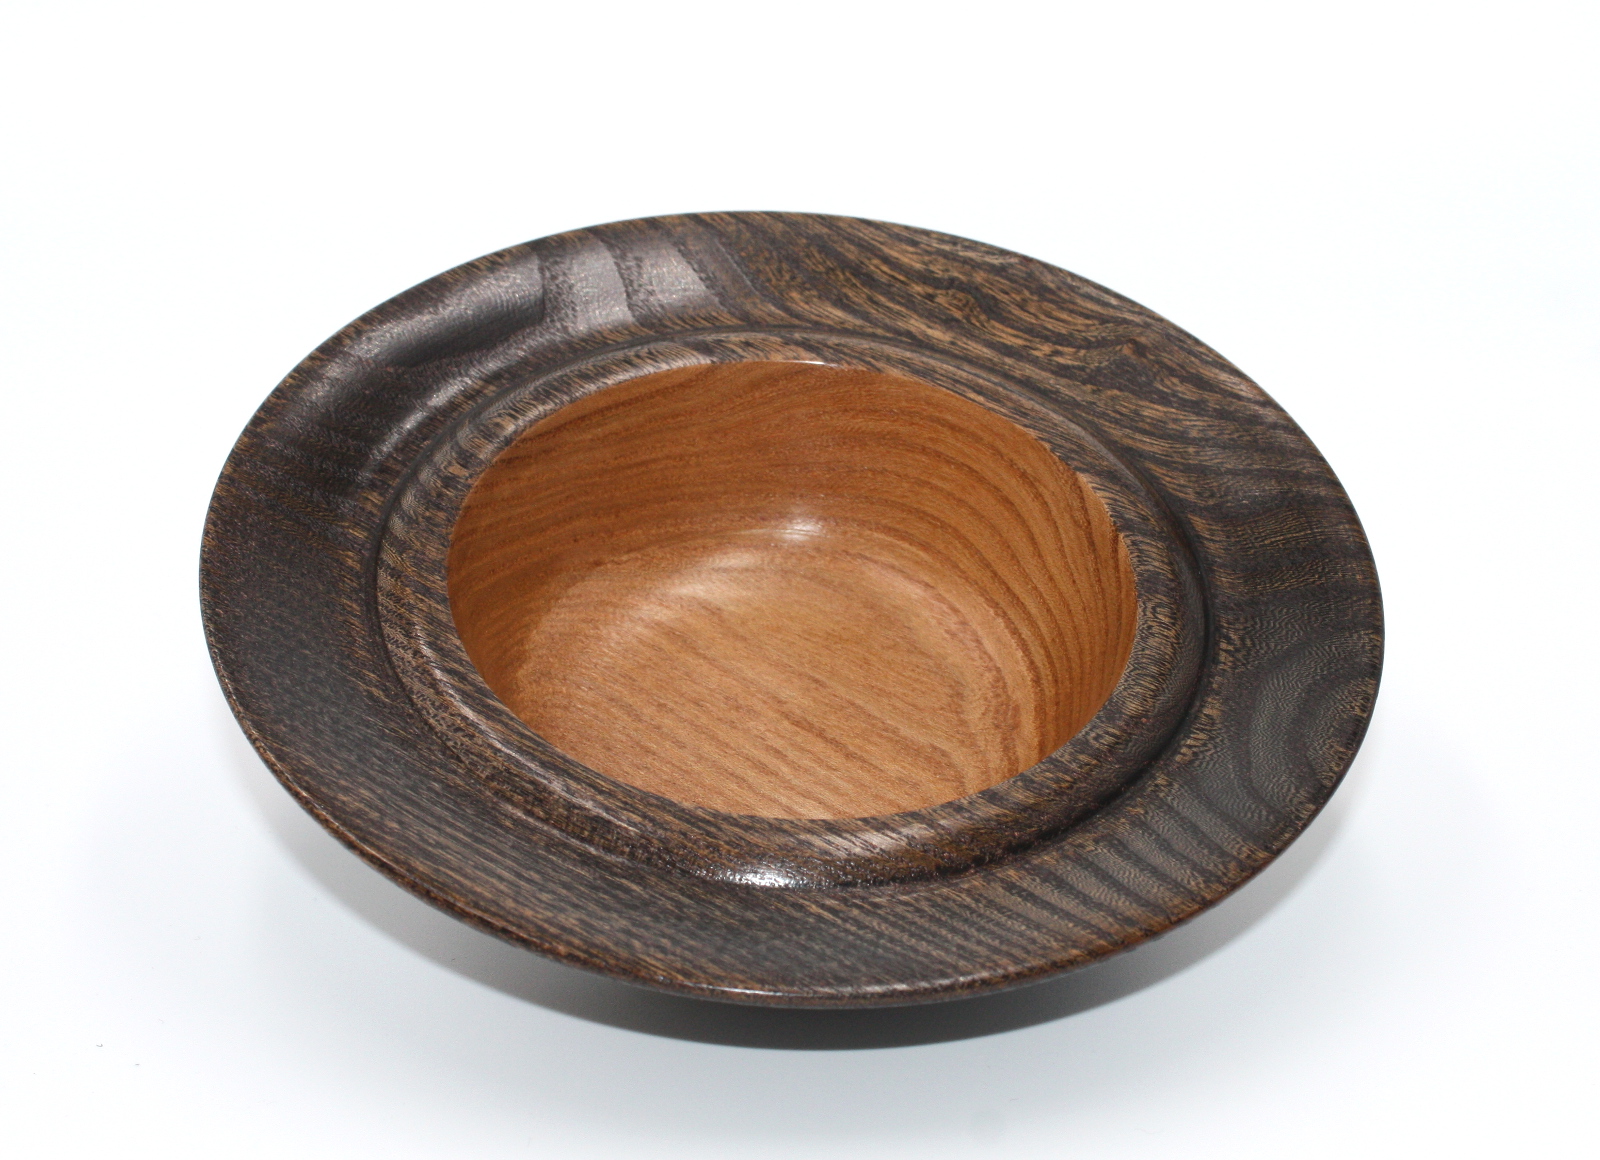
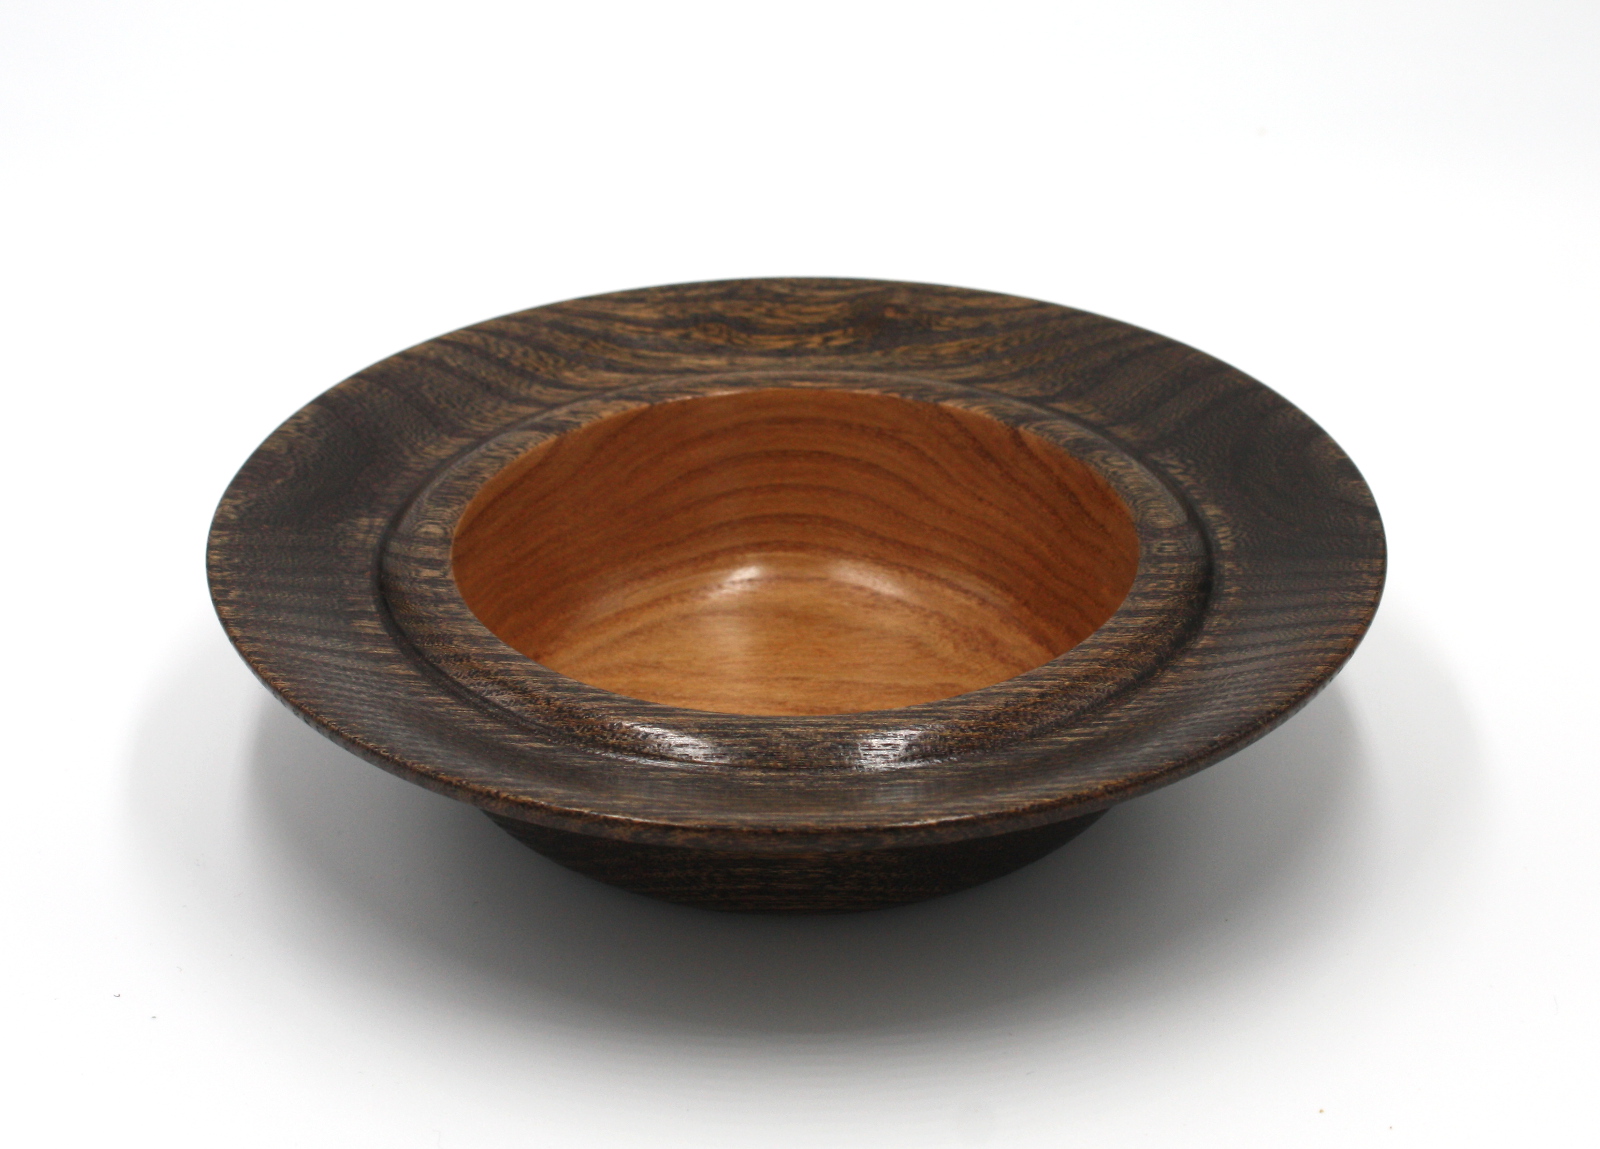
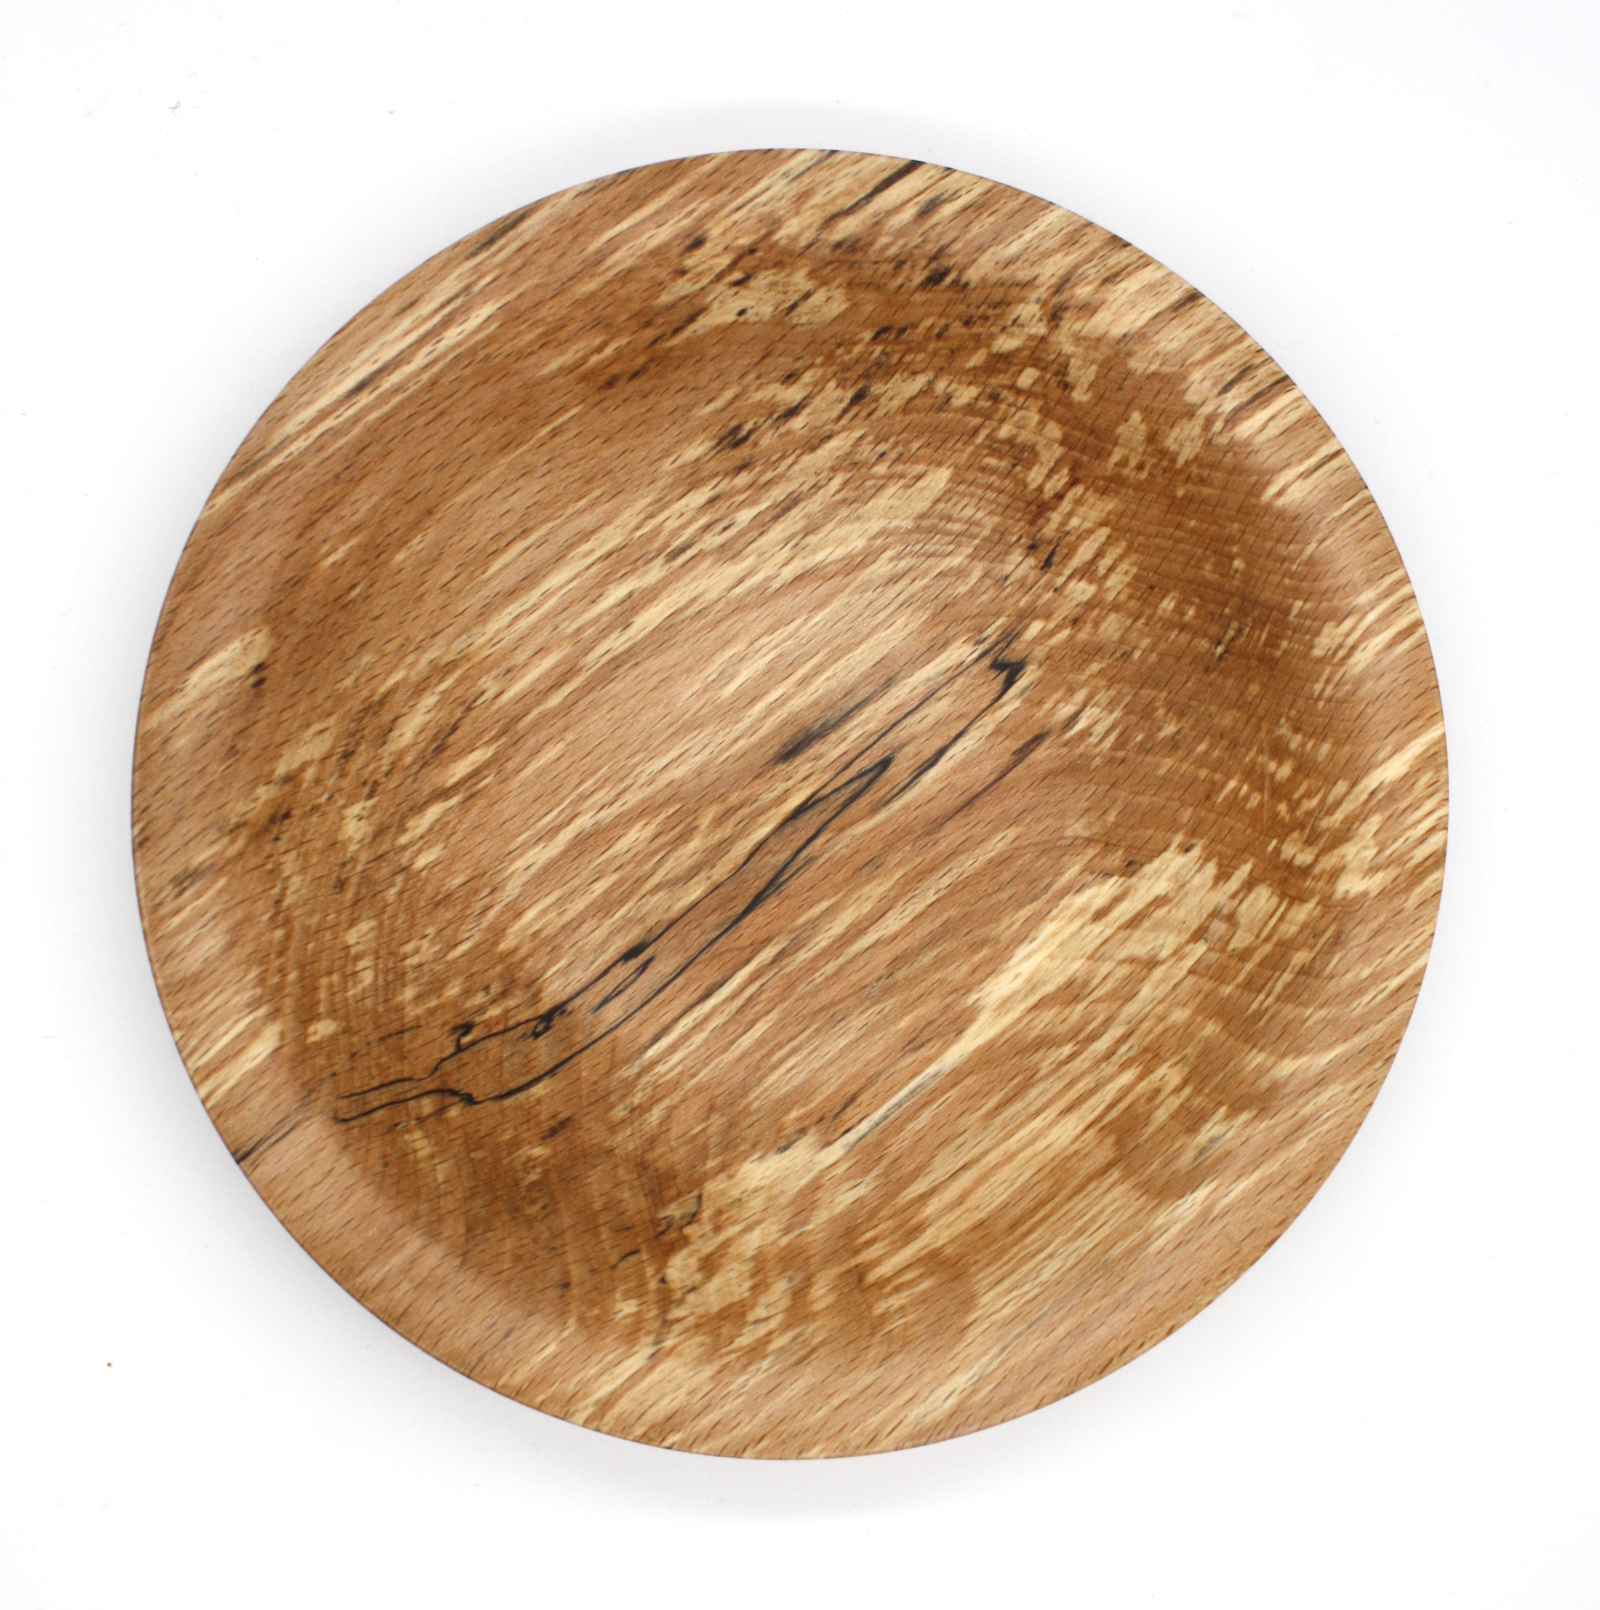
I’m progressively increasing the size of the blanks I’m trying on the lathe, rather than jumping straight into a 12×3″ or 10×5″ blank which would be up near the top end of what I think you can safely do on my minilathe. This was a spalted beech blank about 8″ in diameter and 2½” thick. Small by most people’s standards I’d say, but give me time 😀

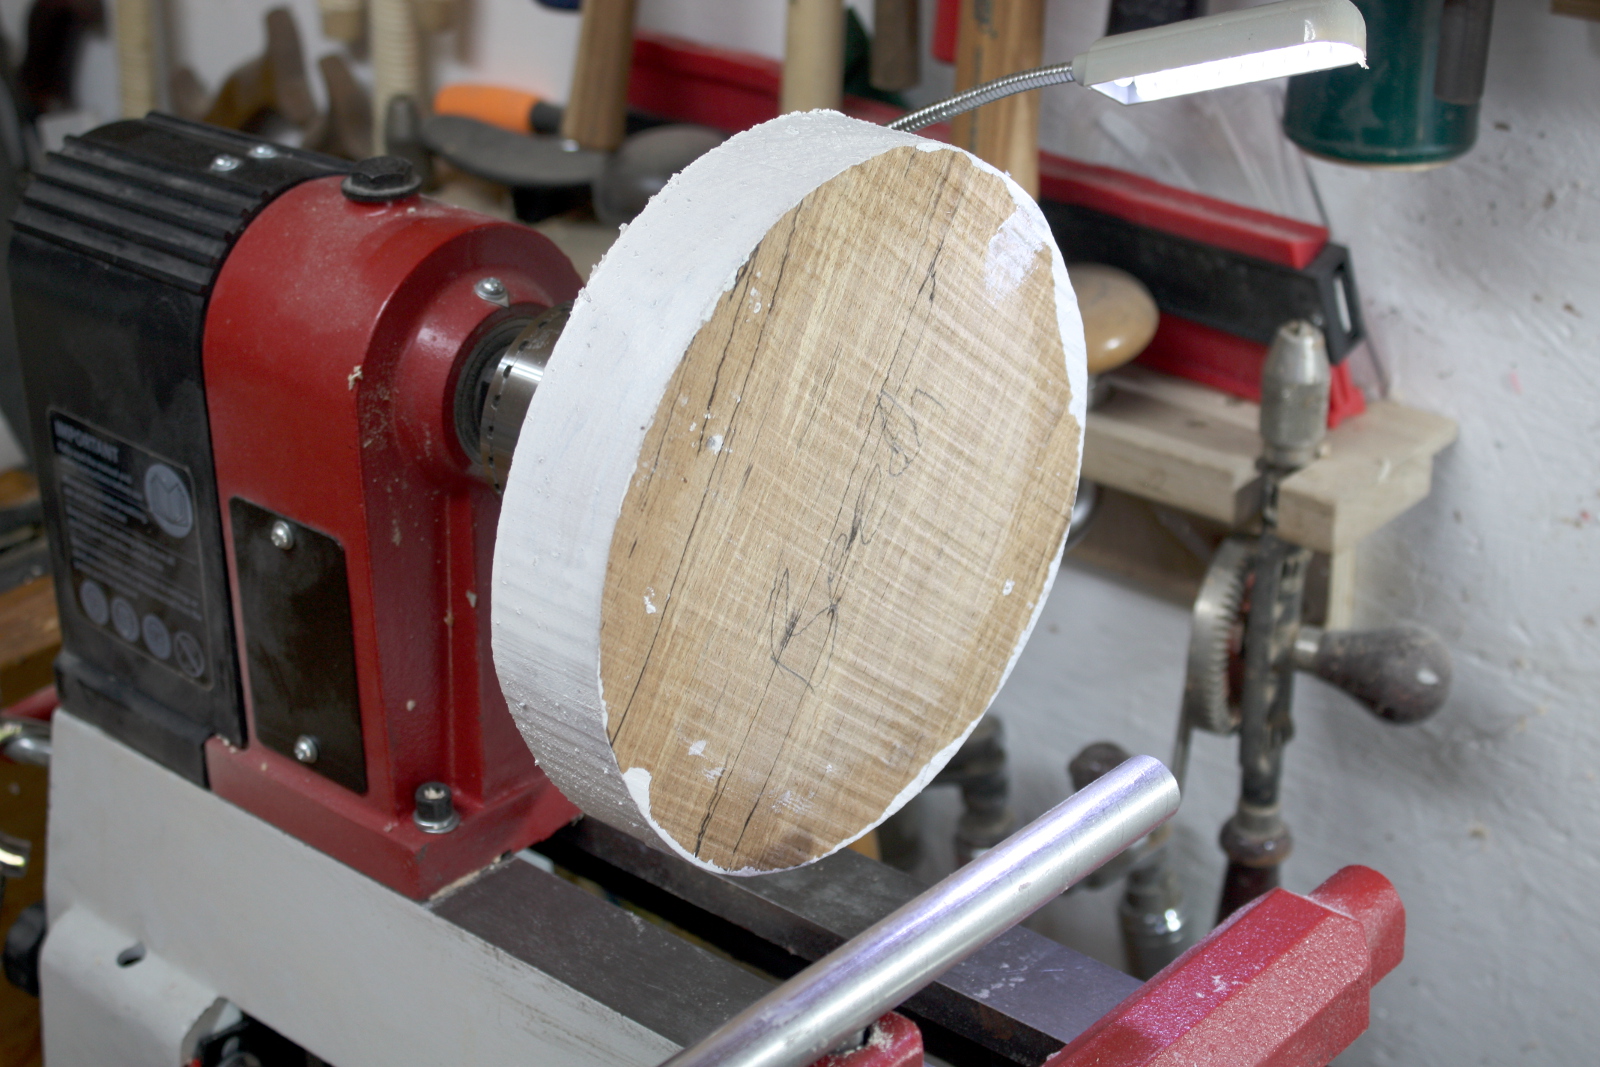
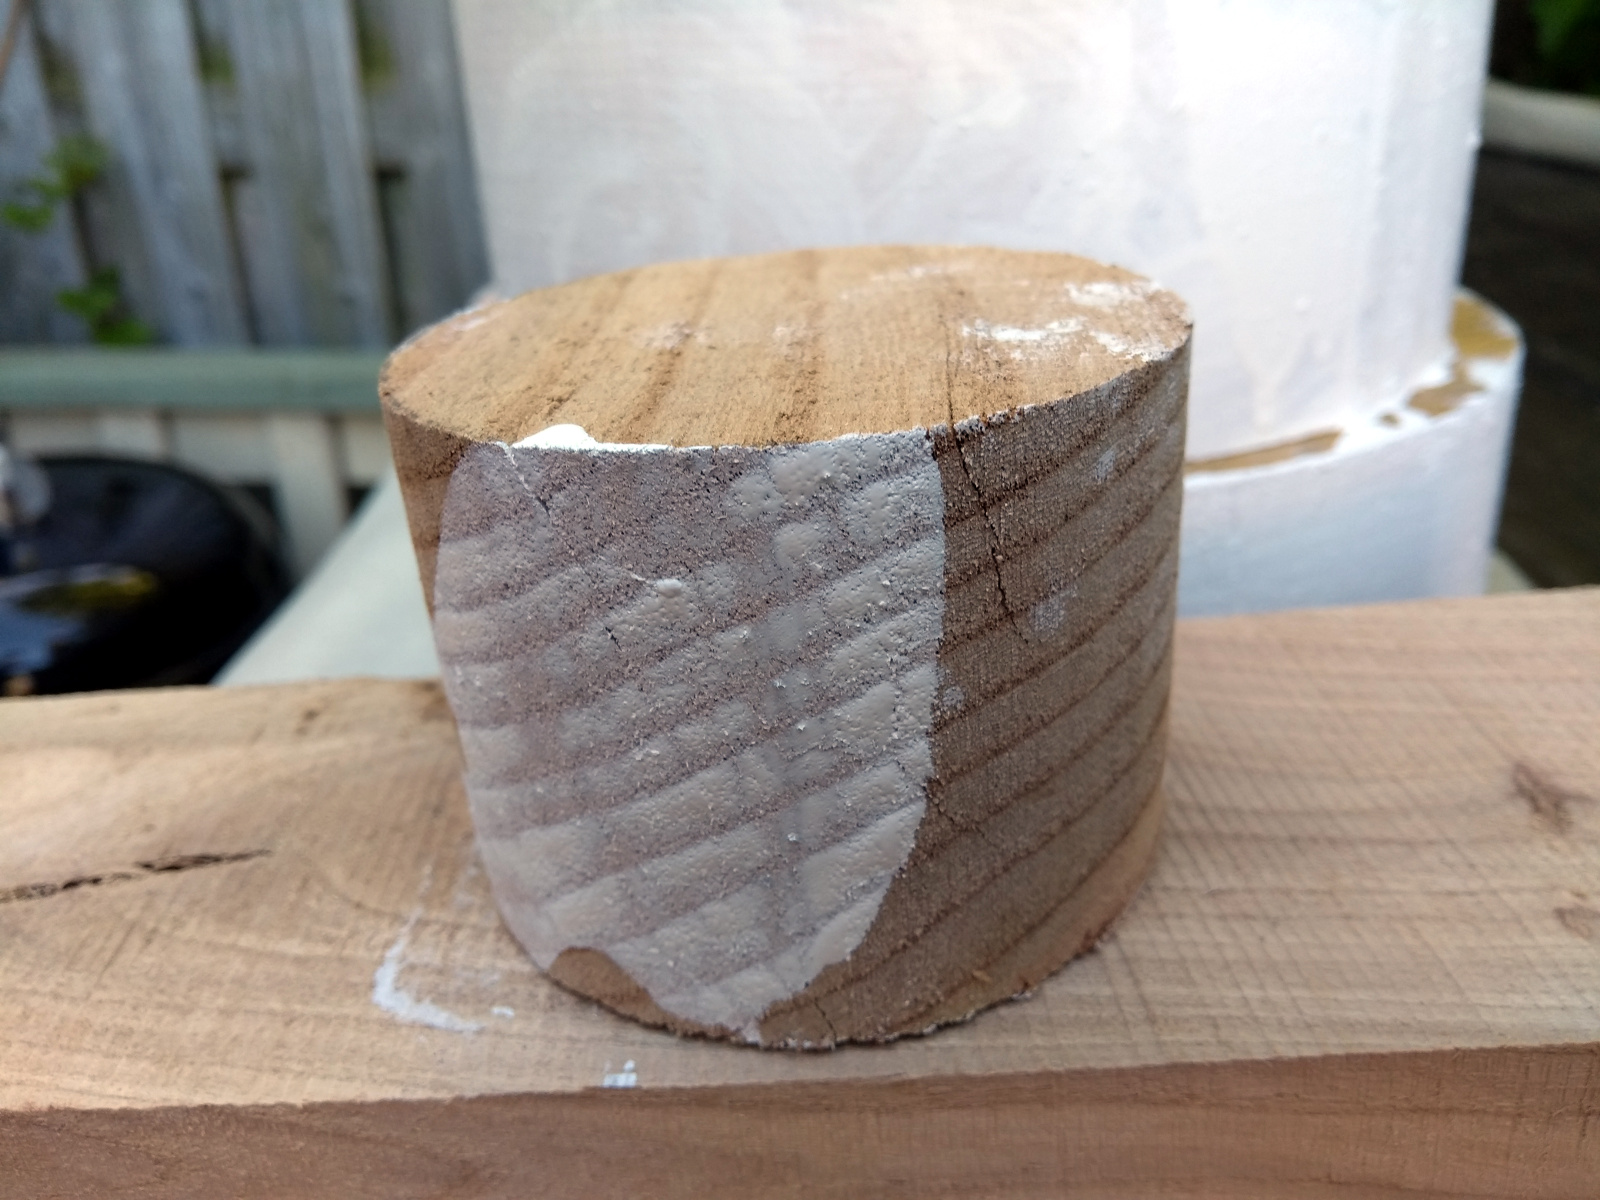
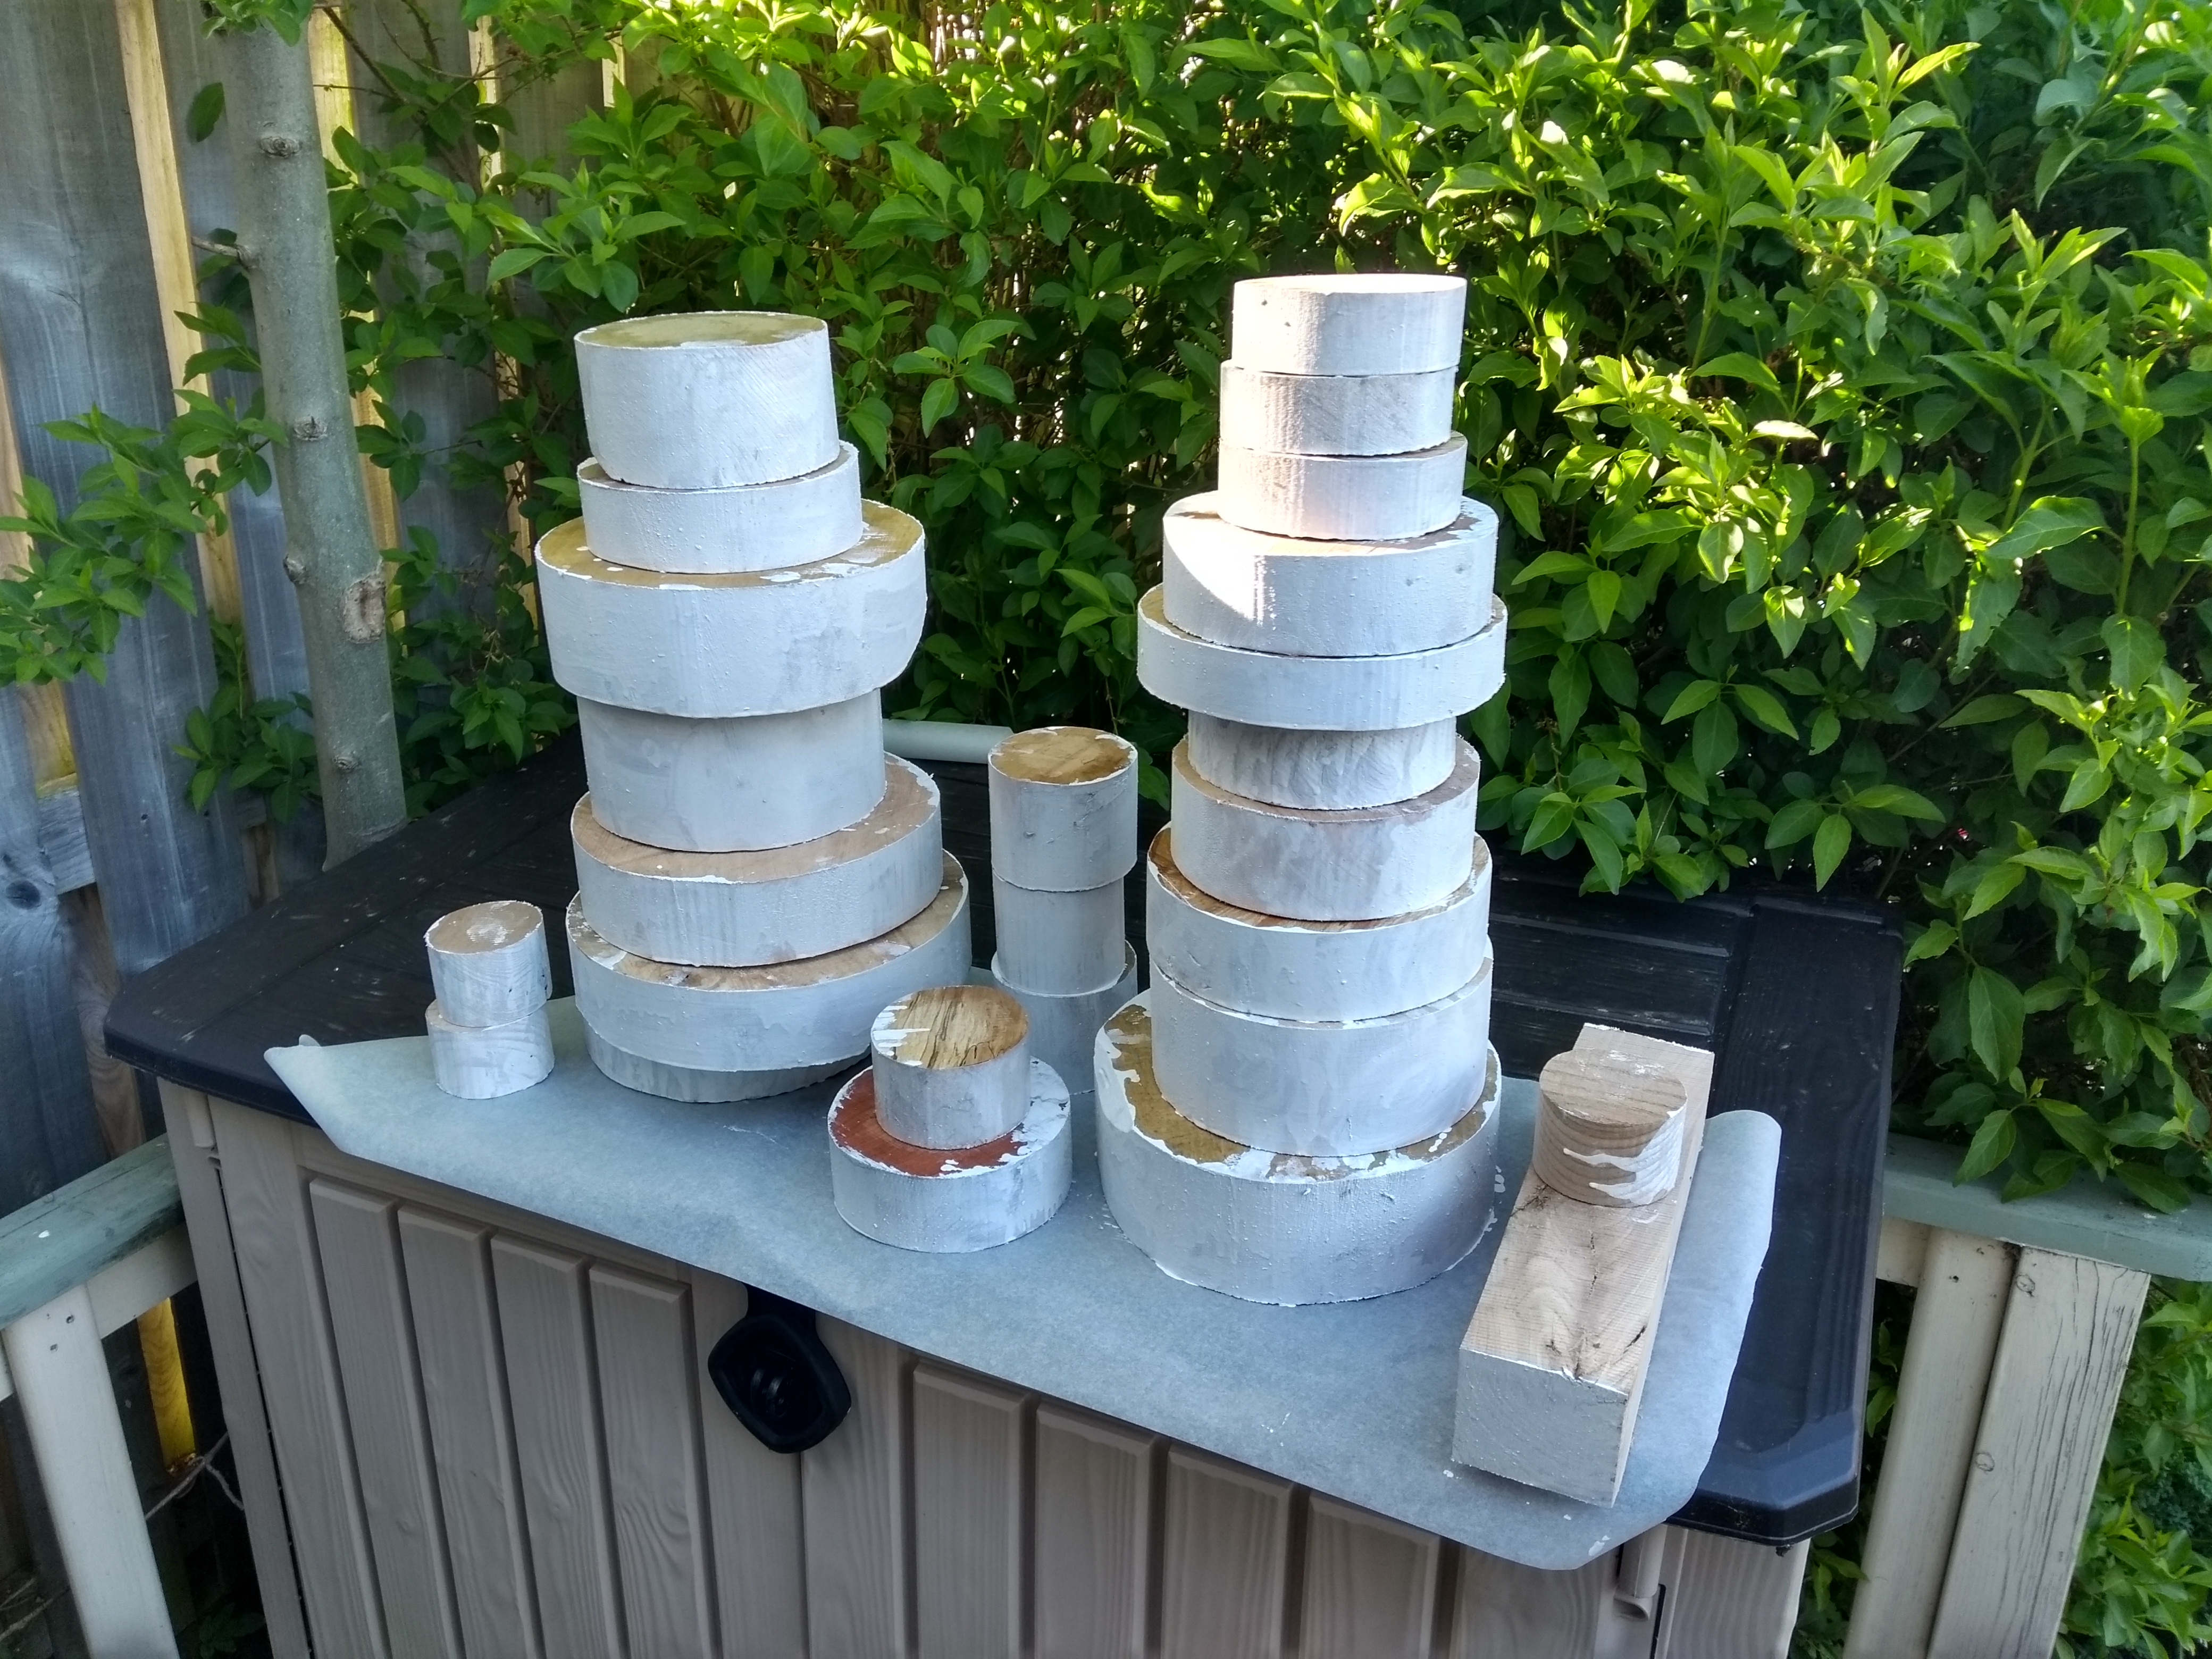
The blank did come sealed btw, using parrafin I think, but I had one miniature blank check badly on me so I kindof went on a paint-all-the-endgrain rampage 😀

If it’s worth doing, it’s worth overdoing…

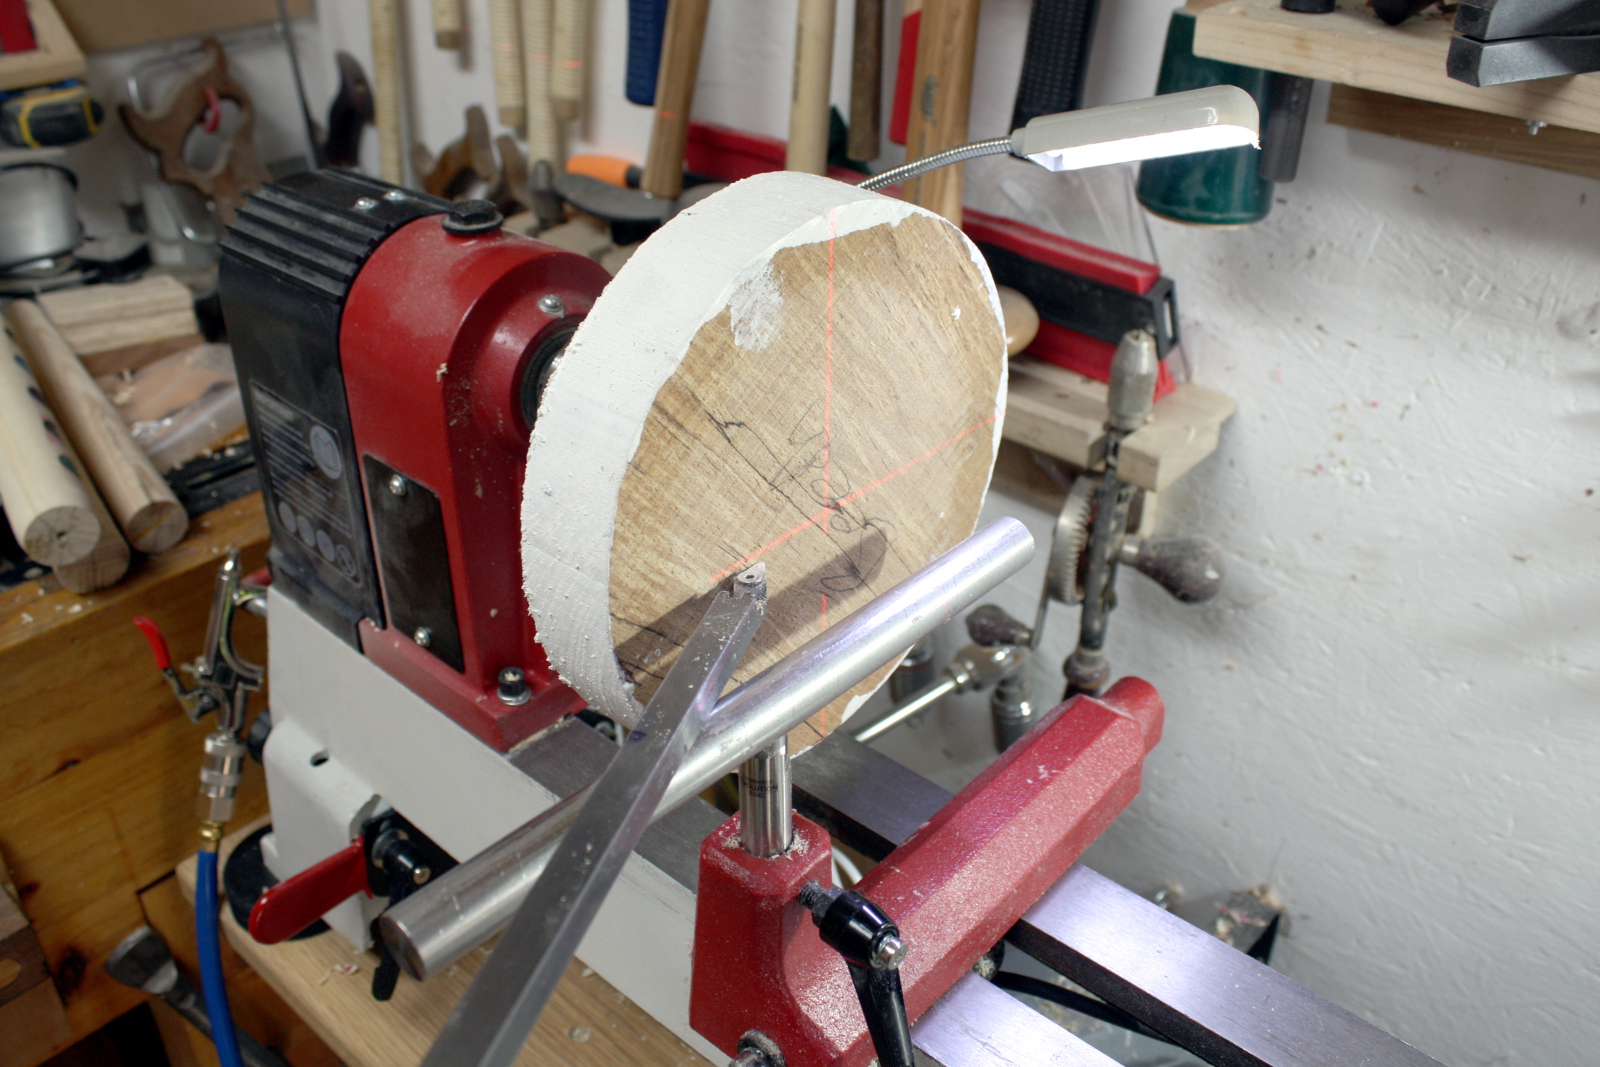
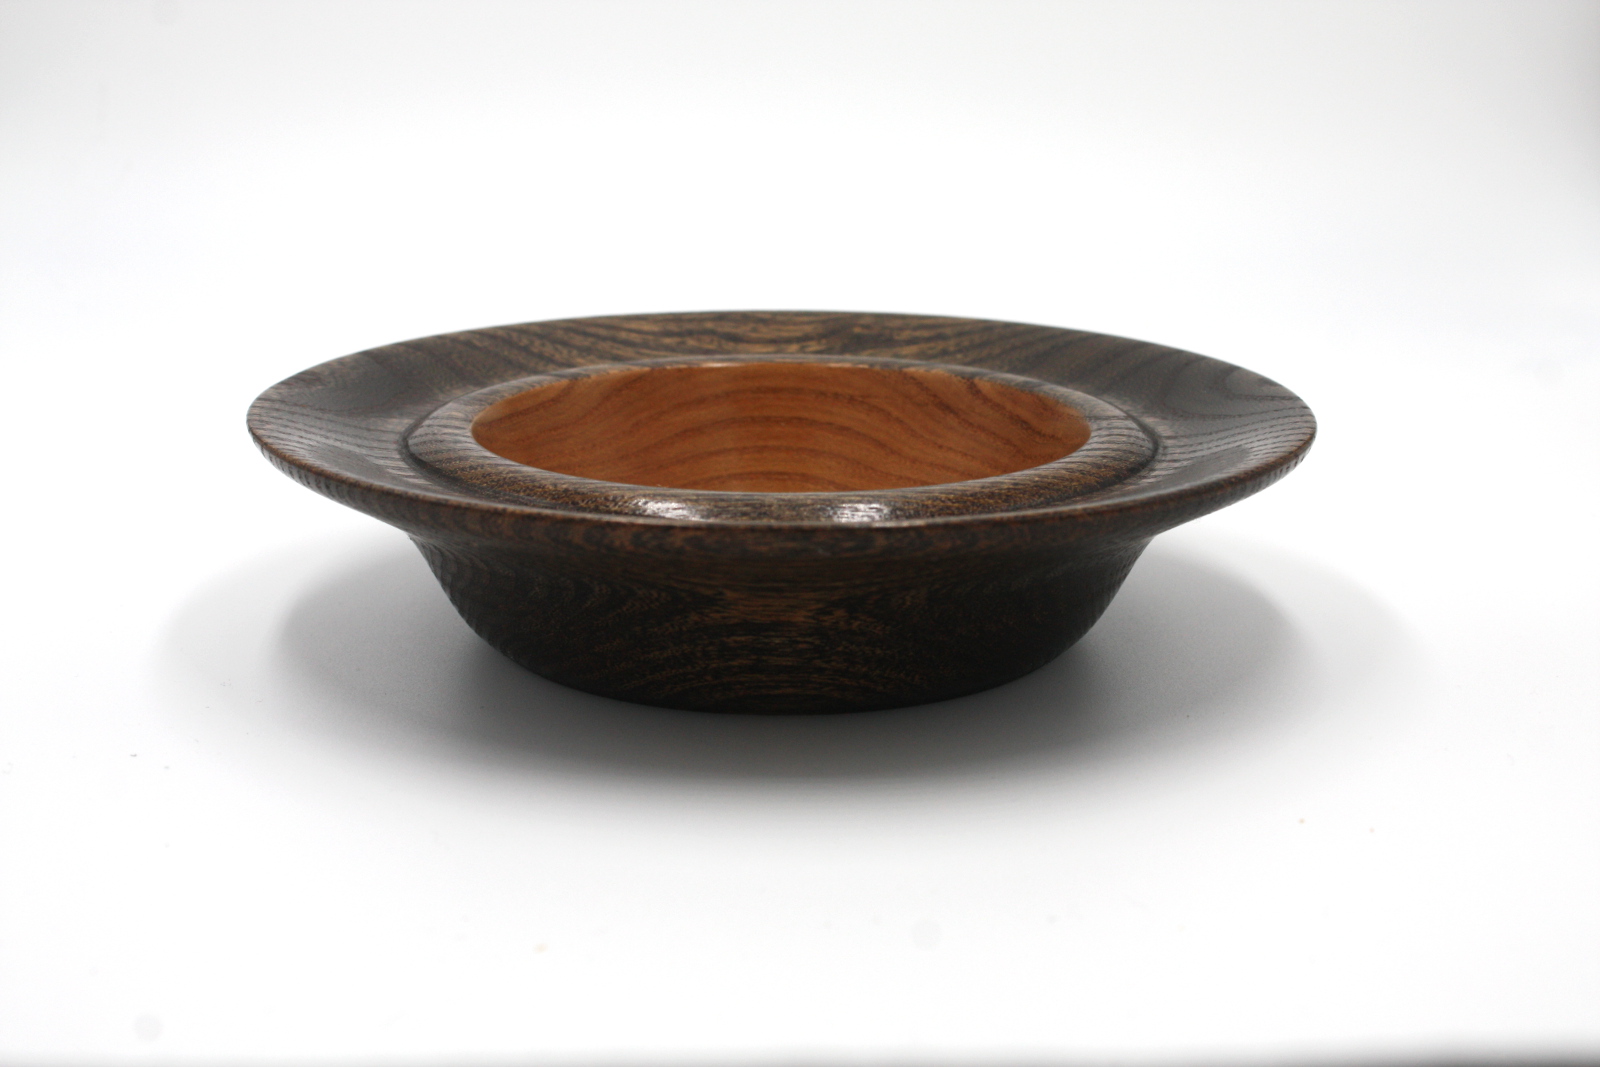
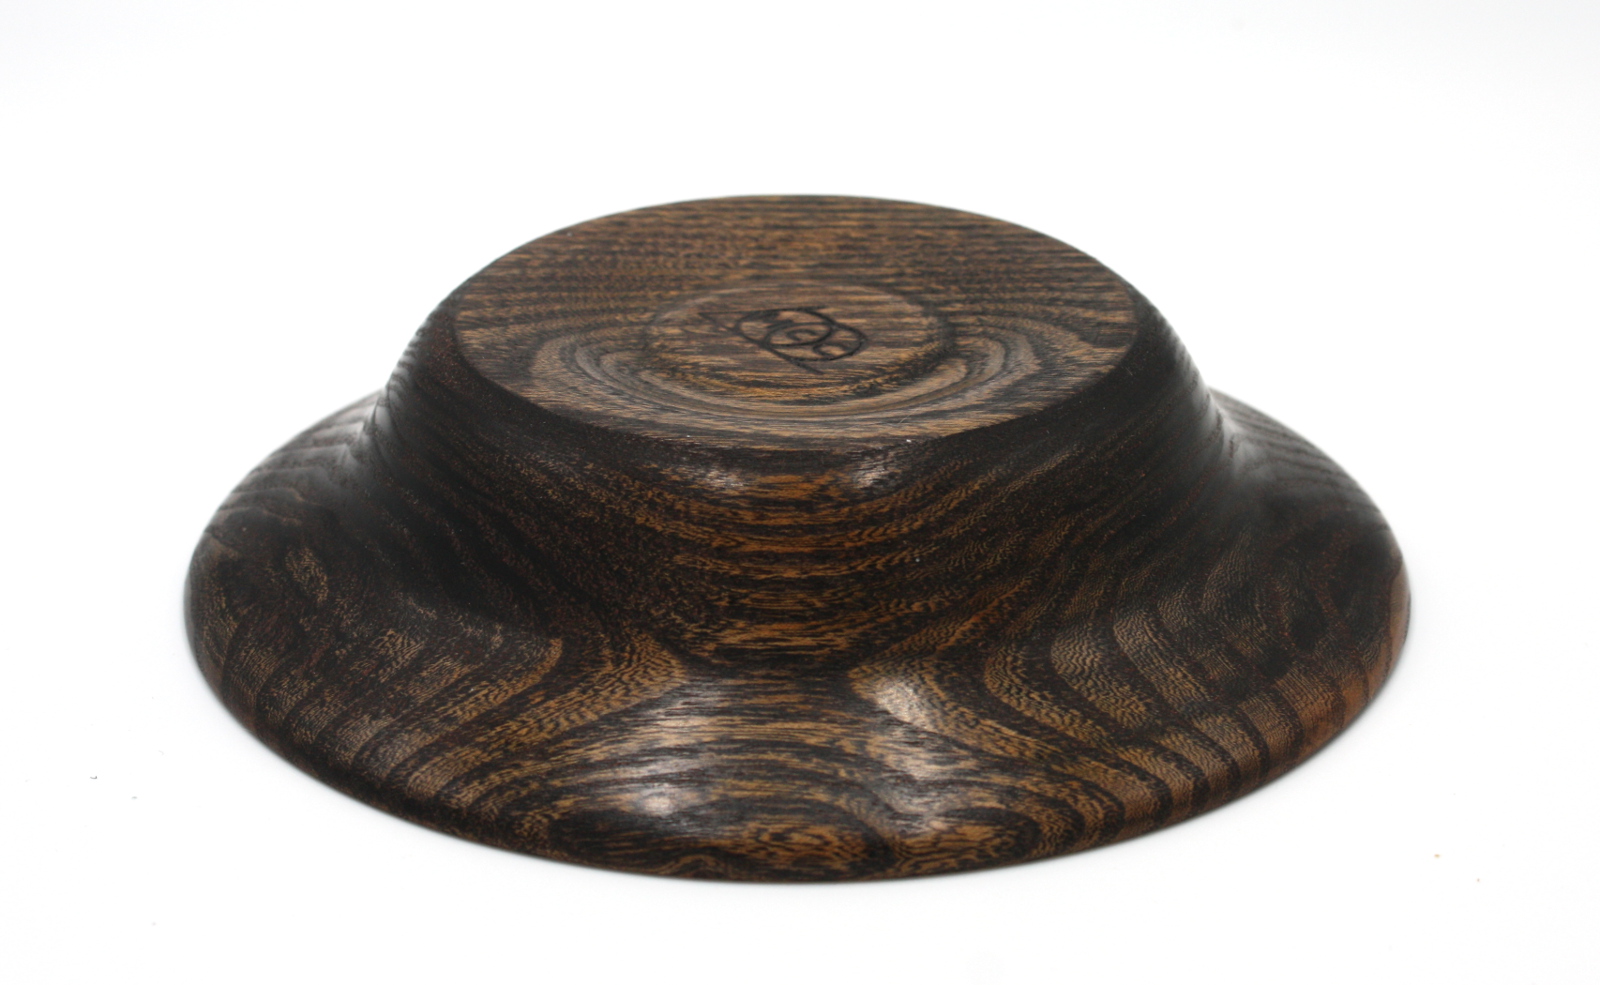
Since this was another step up in size I kept the shape nice and simple and focussed on not getting a catch and flinging the bowl off the wall and into my face.

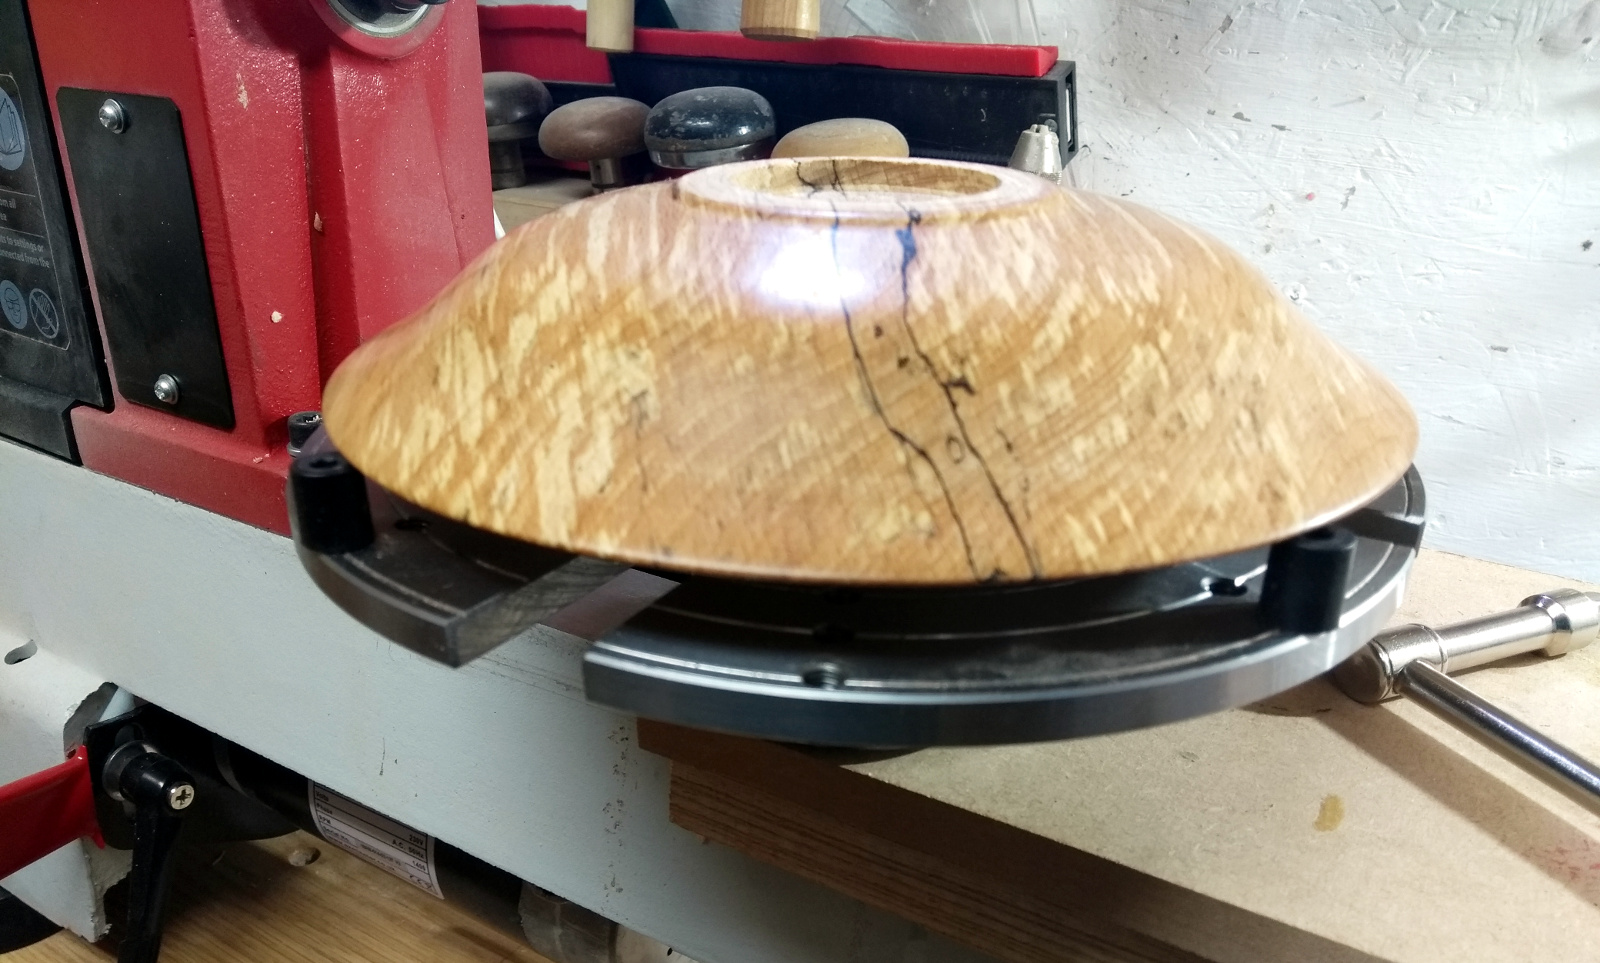
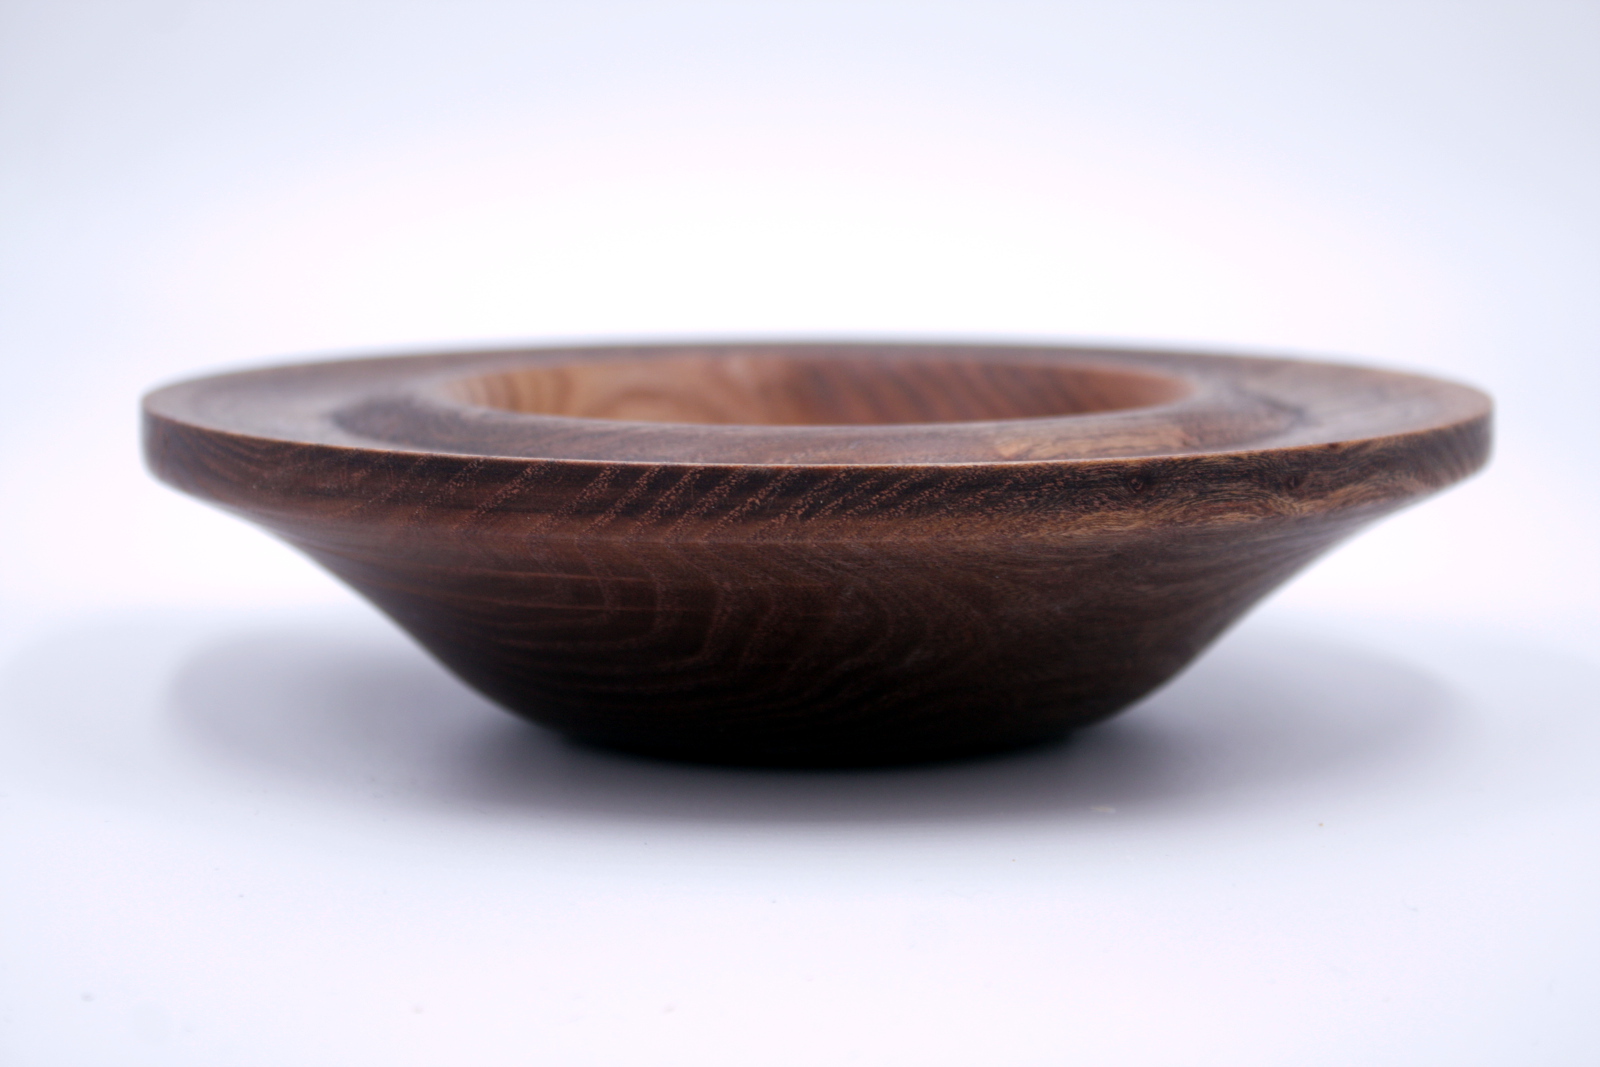
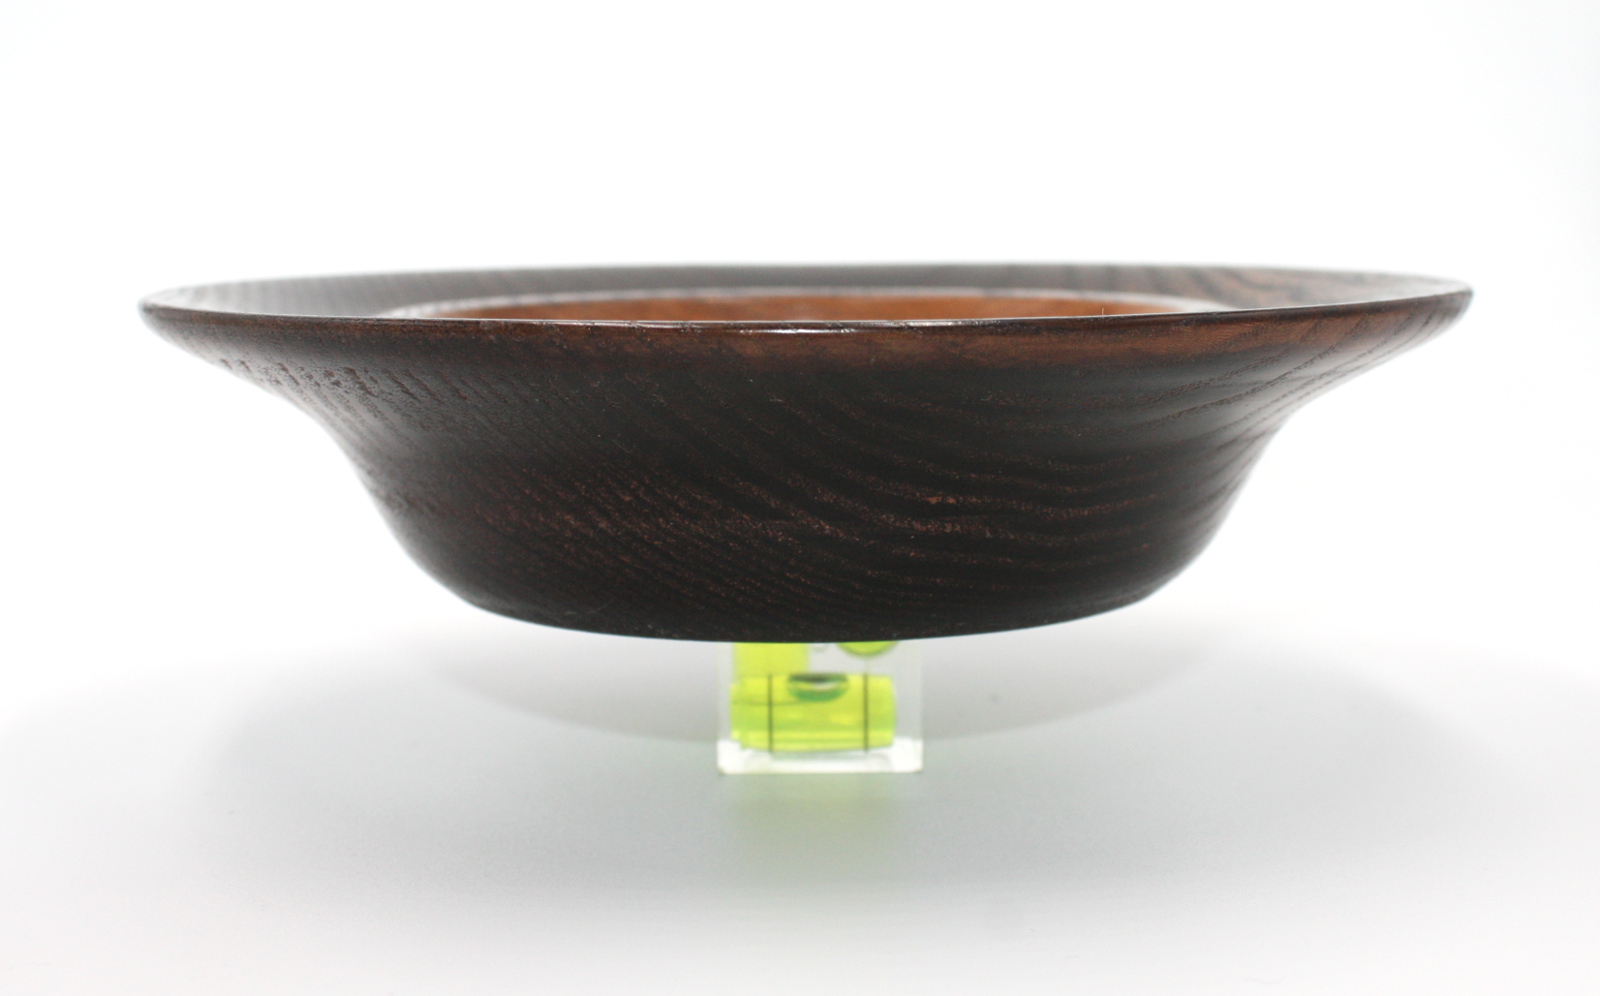
I did okay as well, up to this point. The bowl turned out to be too big by a few mm to go into the cole jaws, so I had to use a jam chuck for the first time and my choice of a tennis ball as a jam chuck was not without issues – I managed to get a catch and ruin the foot and it took ages of very shallow cutting to get back to something that was at least usable (but still not right, the damage was too much for that).

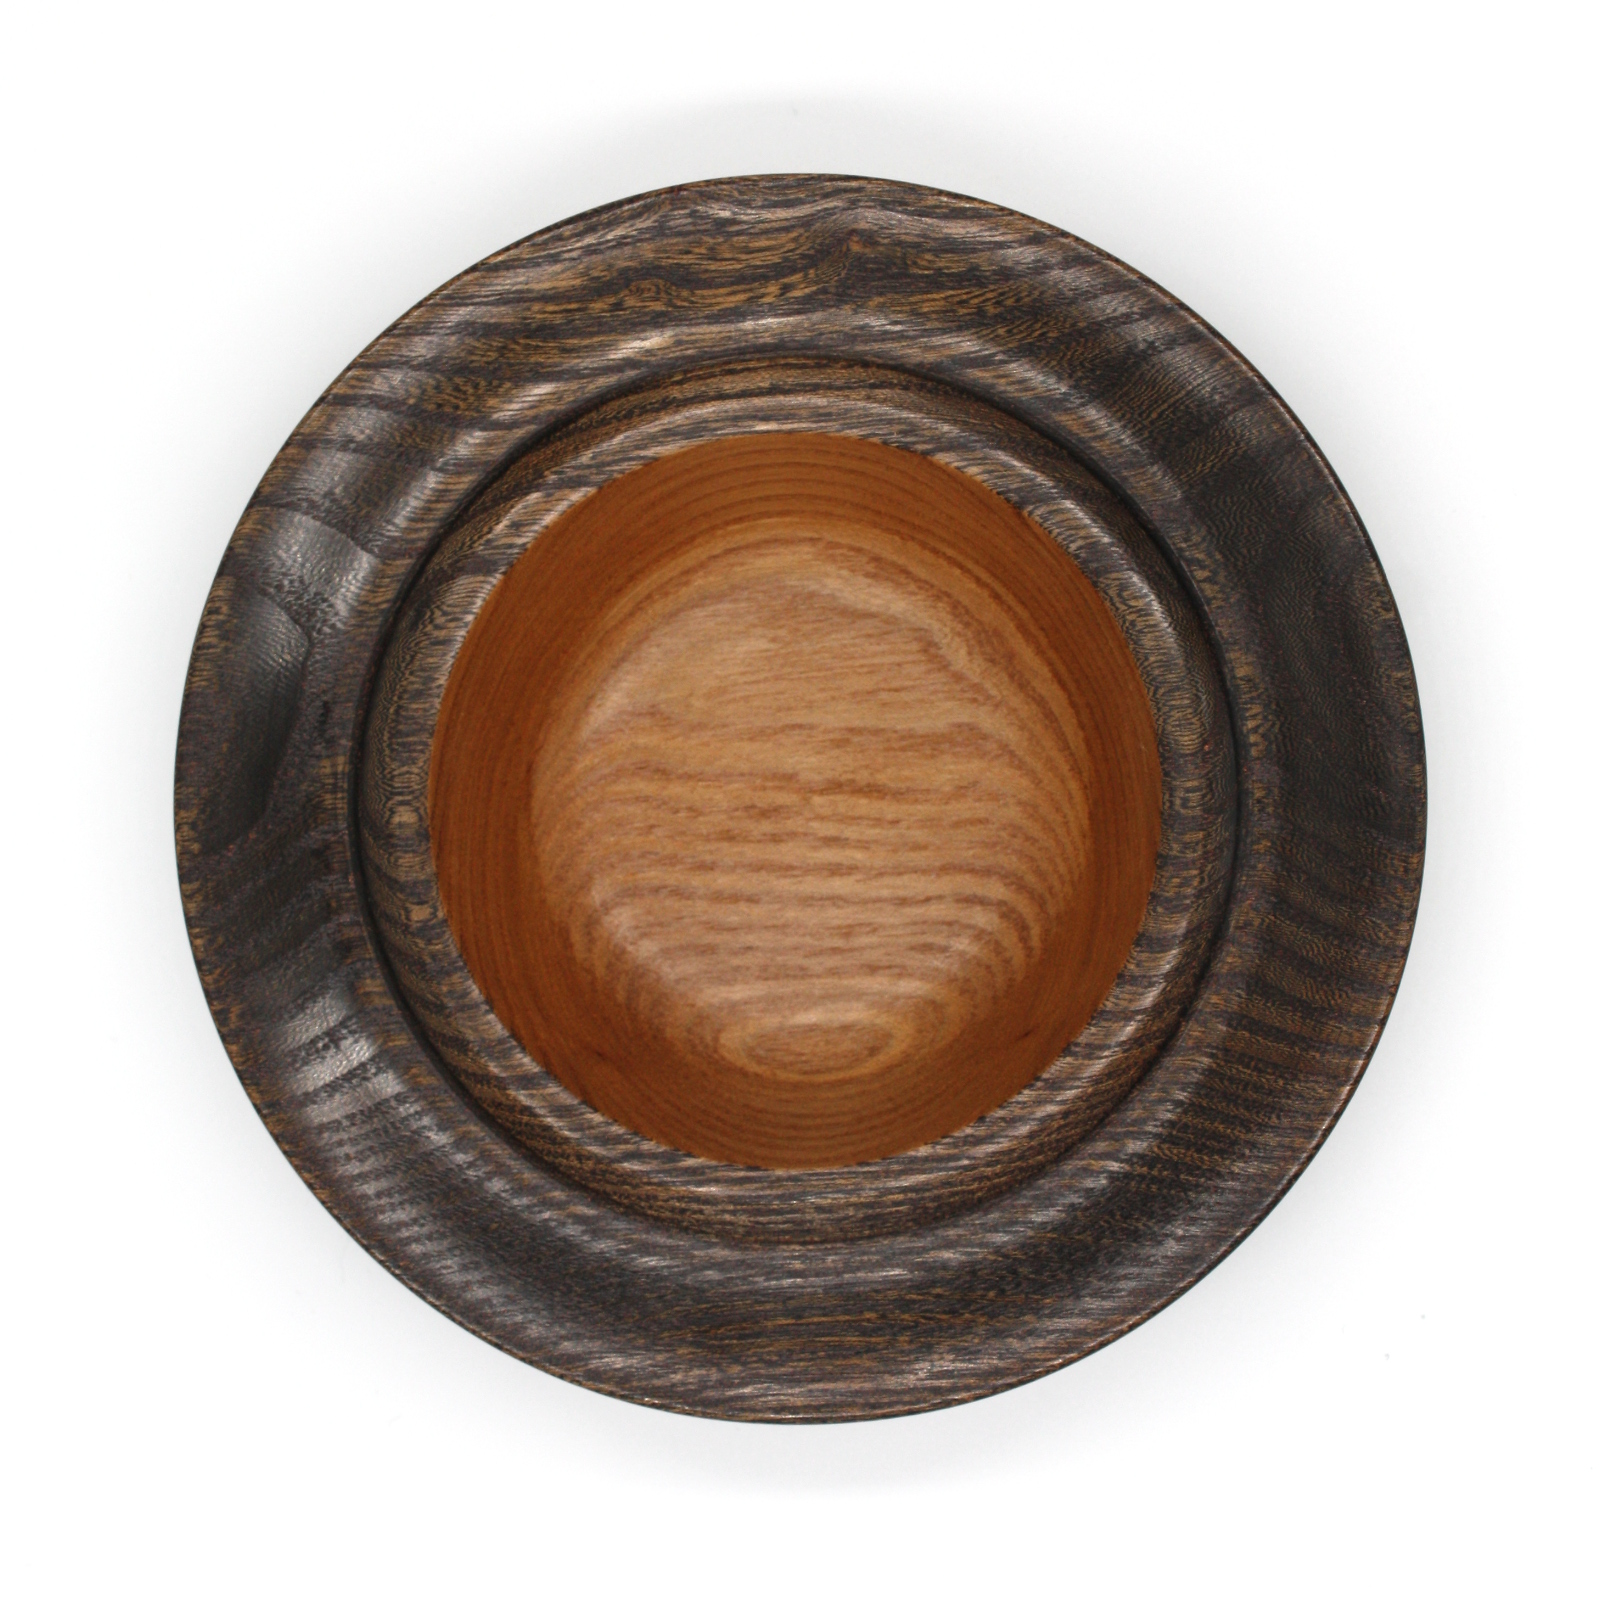
Still though. If you use spalted beech, you’re basically cheating off the bat because it never seems to turn out ugly 😀

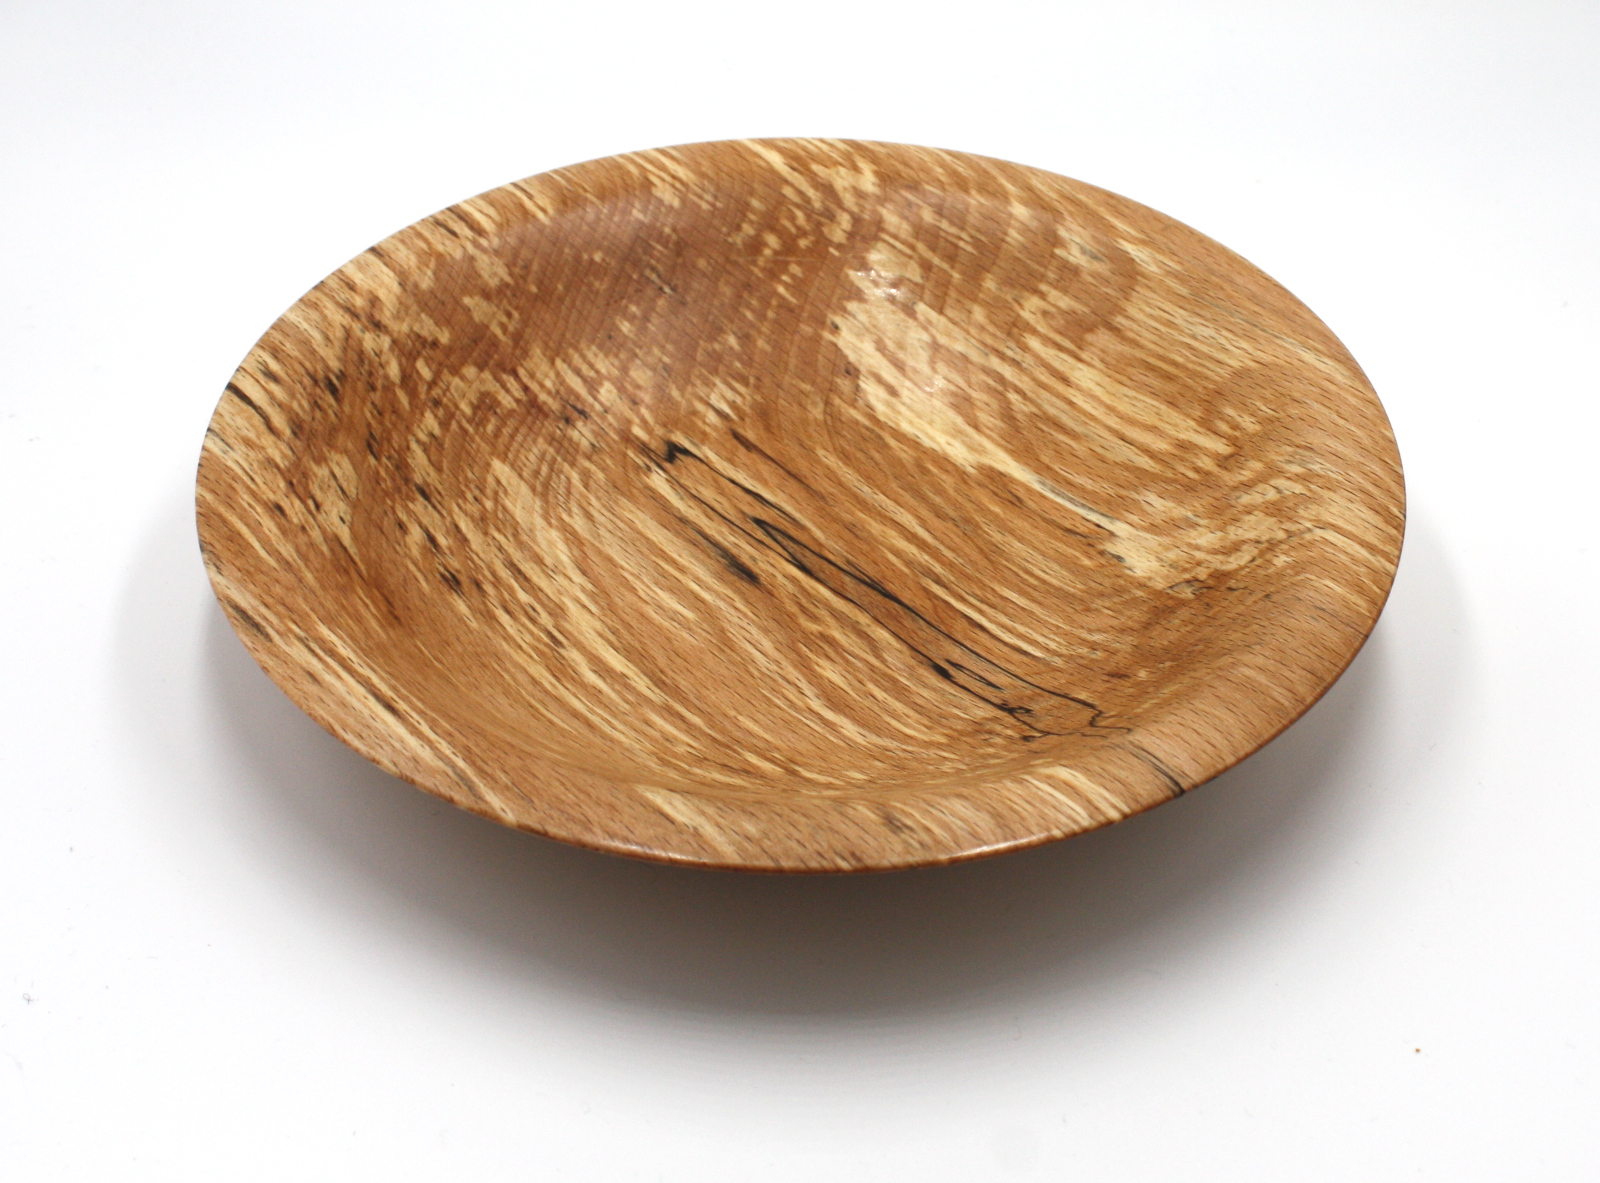
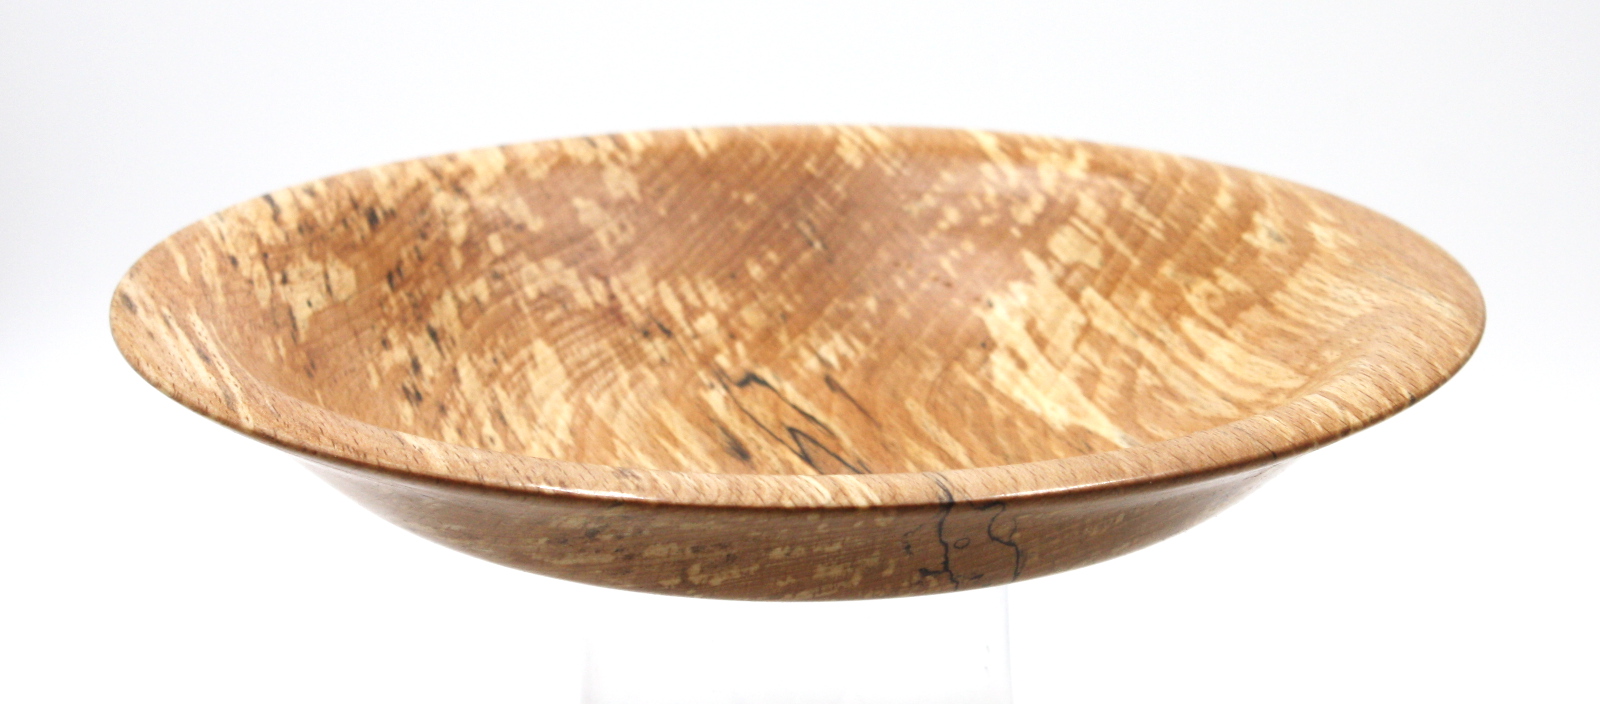
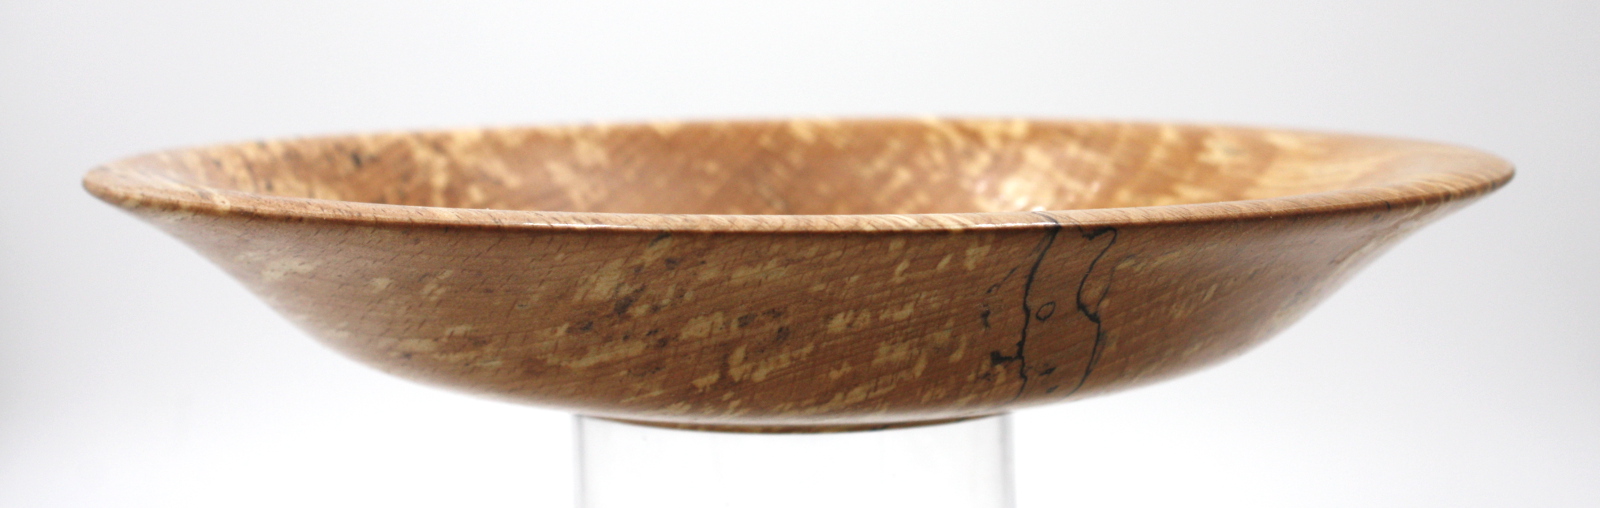
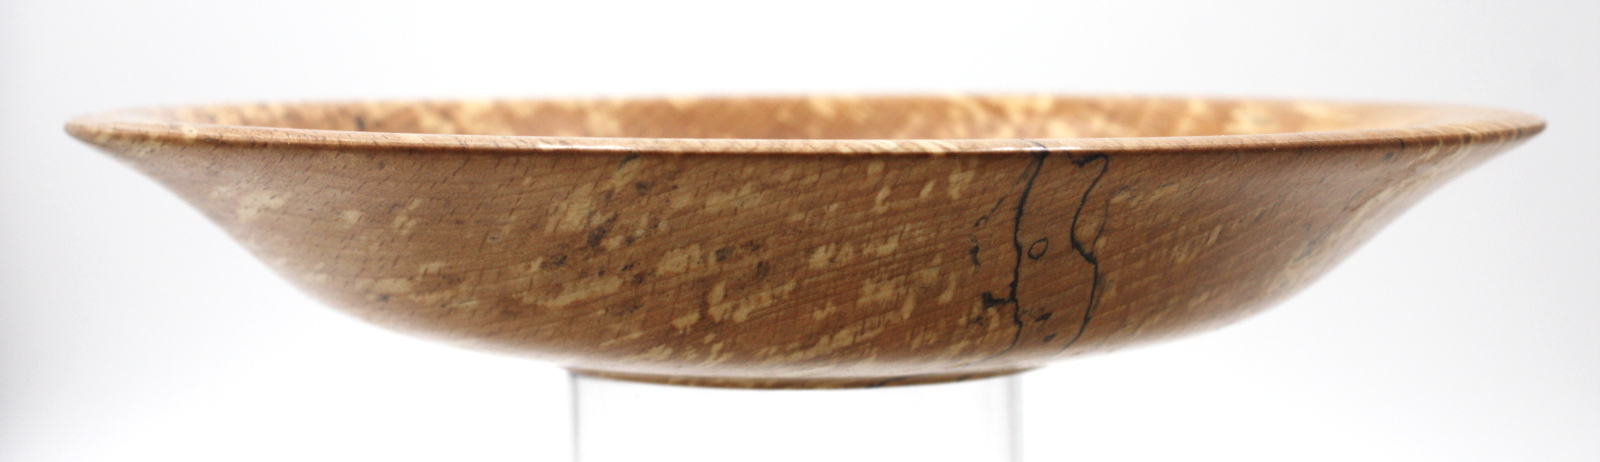
I’m happy enough with that as a very small fruit bowl 🙂


24
May 20

Centerline finding aid prototype

So I had an idea and I’ve not seen this around for sale anywhere so I figured I’d build it.
When learning to turn, we keep getting told to set the height of the tool rest so that the cutter is along the centerline of the bowl.

I mean, after a few you can kinda get the hang of it and just set it by eye six times until you get it right and I’m told that after a few years you can drop that down to only setting it by eye two or three times to get it right 😀 But my lathe has morse taper 2 fittings in both the spindle and the tailstock, and you can get blank MT2 arbours for various other things (it’s not just lathes that use MT2 fittings) so I bought a blank MT2 arbour and some other bits and pieces and made this.

Small voltage source, some hardware for mounting something concentrically with the arbour and a laser diode with a cross collimator and…

And now you have a centerline to set your tool rest height to.

Now that’s just a protoype so it’s got some mechanical issues (that box isn’t as rigid as a metal one would be, and it’s enormously large compared to what it needs to be, but lookit, it’s a prototype not a finished thing and anyway I mostly made it because I wanted to see if it’d work anyway.

You do need to align the laser, and if your lathe has indexing like most newer minilathes, that’s easy, you just take off the chuck and turn on the laser…

Line up the vertical laser line so it hits that indexing marker above the spindle and that’s it aligned (assuming that your headstock and tailstock are aligned, but that kind of alignment is a routine lathe thing and you can get specific tooling for it and so on).

Activate laser, raise toolrest, put scraper on tool rest, cut bowl.
What do you think? Useful training wheels for learners?


02
May 20

School day, take two

That sodding bowl was annoying me.

So, put it back on the lathe using the recess, which wasn’t completely destroyed by the catch yesterday, and re-cut the rim (and of course, half-way through that, I had another catch and the bowl jumped behind the lathe to hide in the shavings pile). Once re-seated on the chuck, I finished recutting the rim, cleaned up the lip and deepened the ogee.

Then sanding, re-staining, sanding sealer, gilt cream on the rim, lip and back while trying not to lose a finger to the dovetail jaws, and then tried out Yorkshire Grit to polish the bowl (quite impressed by that by the way).

Then, new toy, cole jaws for the lathe!

Those buttons on the jaws that hold the bowl in place, by the way, are nowhere near as soft as the name “rubber button” suggests if you accidentally stick your finger into one while the lathe is spinning…

Happily didn’t break anything, but my manicure is ruined. Cut away the ruined recess and recut a wider foot than before, and then on to sanding, staining, sealing and some shellac. The branding survived so didn’t have to rebrand it.

And rewired the shed a little so that I now have enough plugs for the lathe and lights and dragging the lathe around a bit to get better access doesn’t drag wires under the lathe or pull plugs out of sockets.

End result is what I was hoping for.

The foot’s not fantastic, but the rest is so much better.

Before:

After: