04
May 19

Lid and base

May day bank holiday weekend. Going to try to finish up the box. First up, the lid, which I already have a piece prepped for:

Also, bought two new tools, this time off aliexpress.com rather than ebay.co.uk. You wouldn’t think of aliexpress for hand woodworking tools, but there are a few…

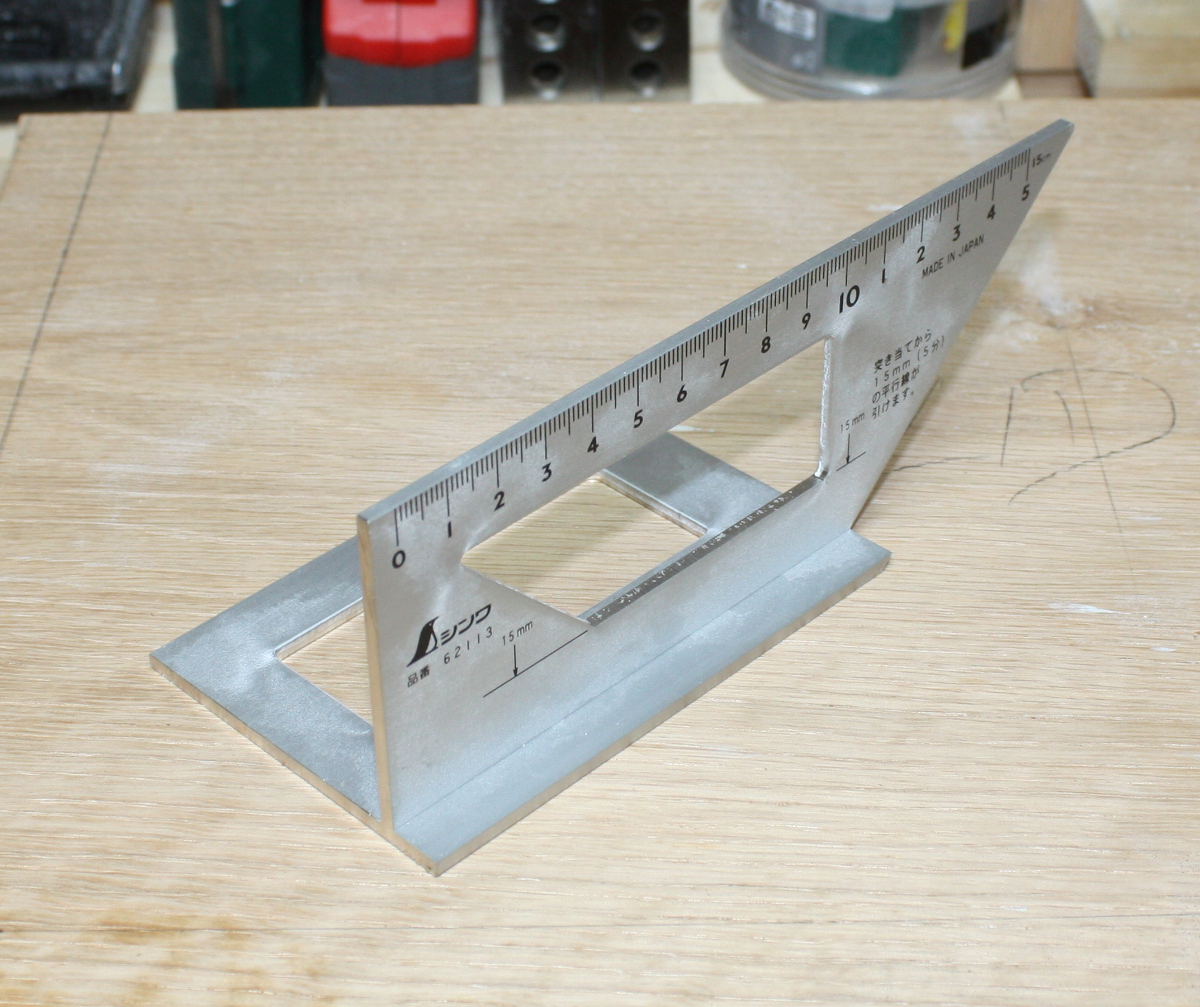
A clone of the shinwa saddle mitre square, and…

A marking gauge. Works like a normal marking gauge on the right hand side there; on the left hand side, you have two contact points that rotate, so you can mark a line “parallel” to a curved edge. Neat.

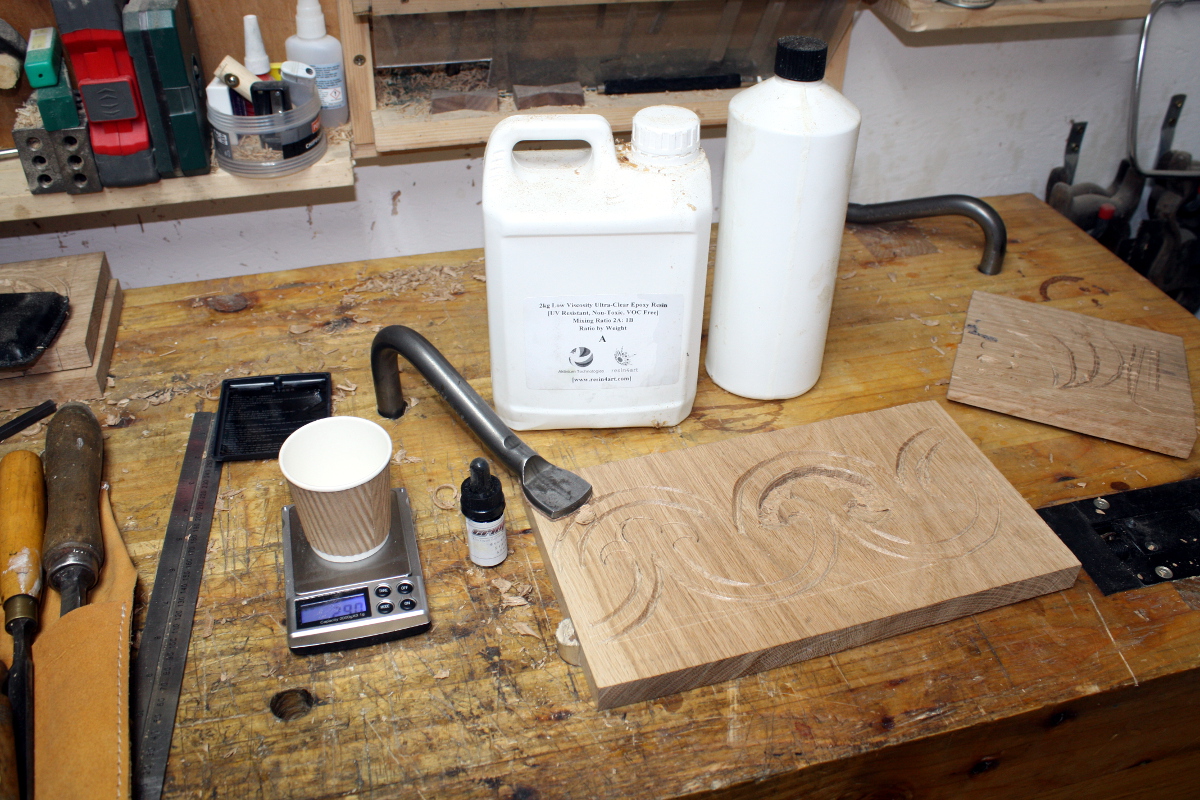
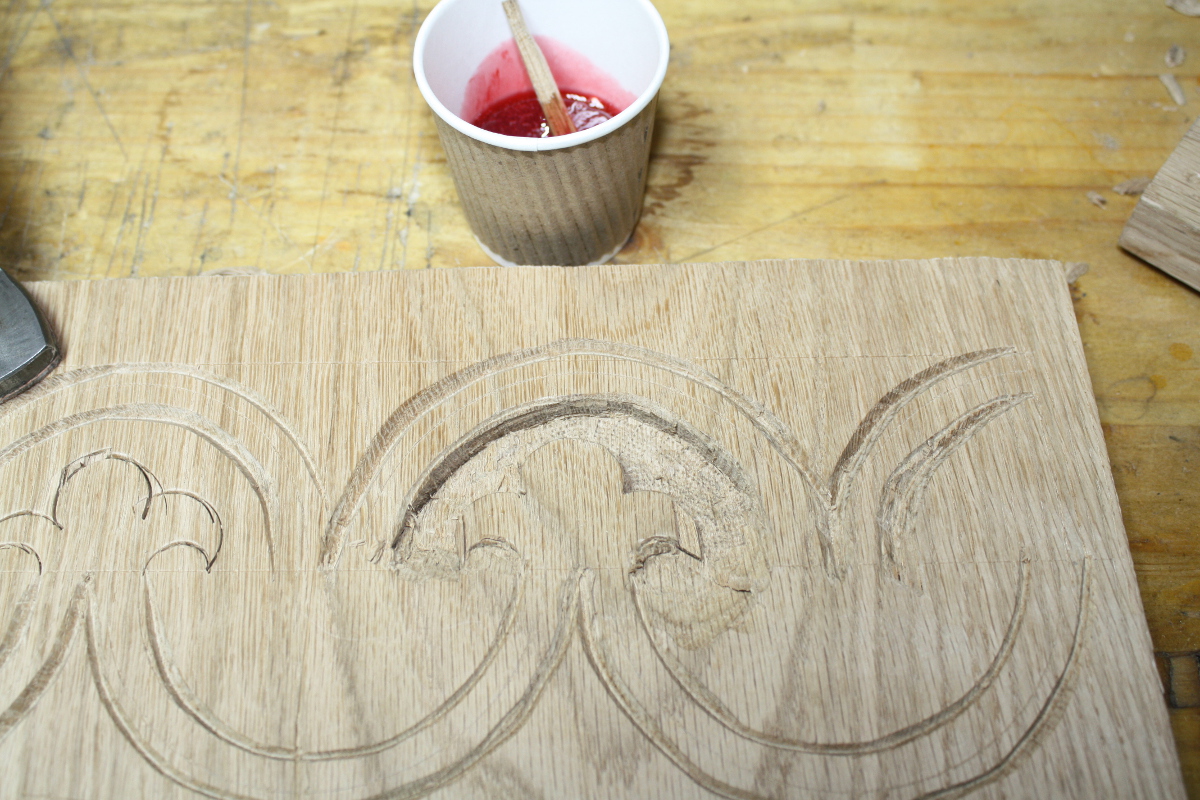
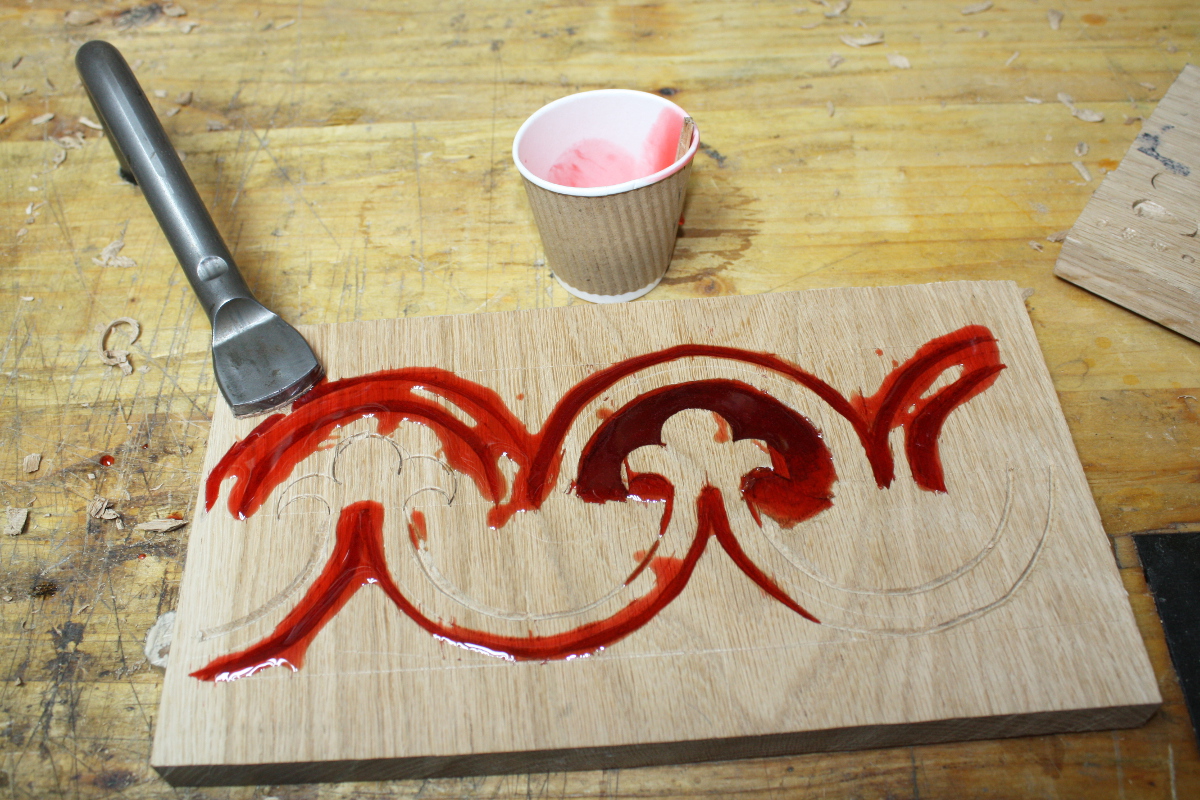
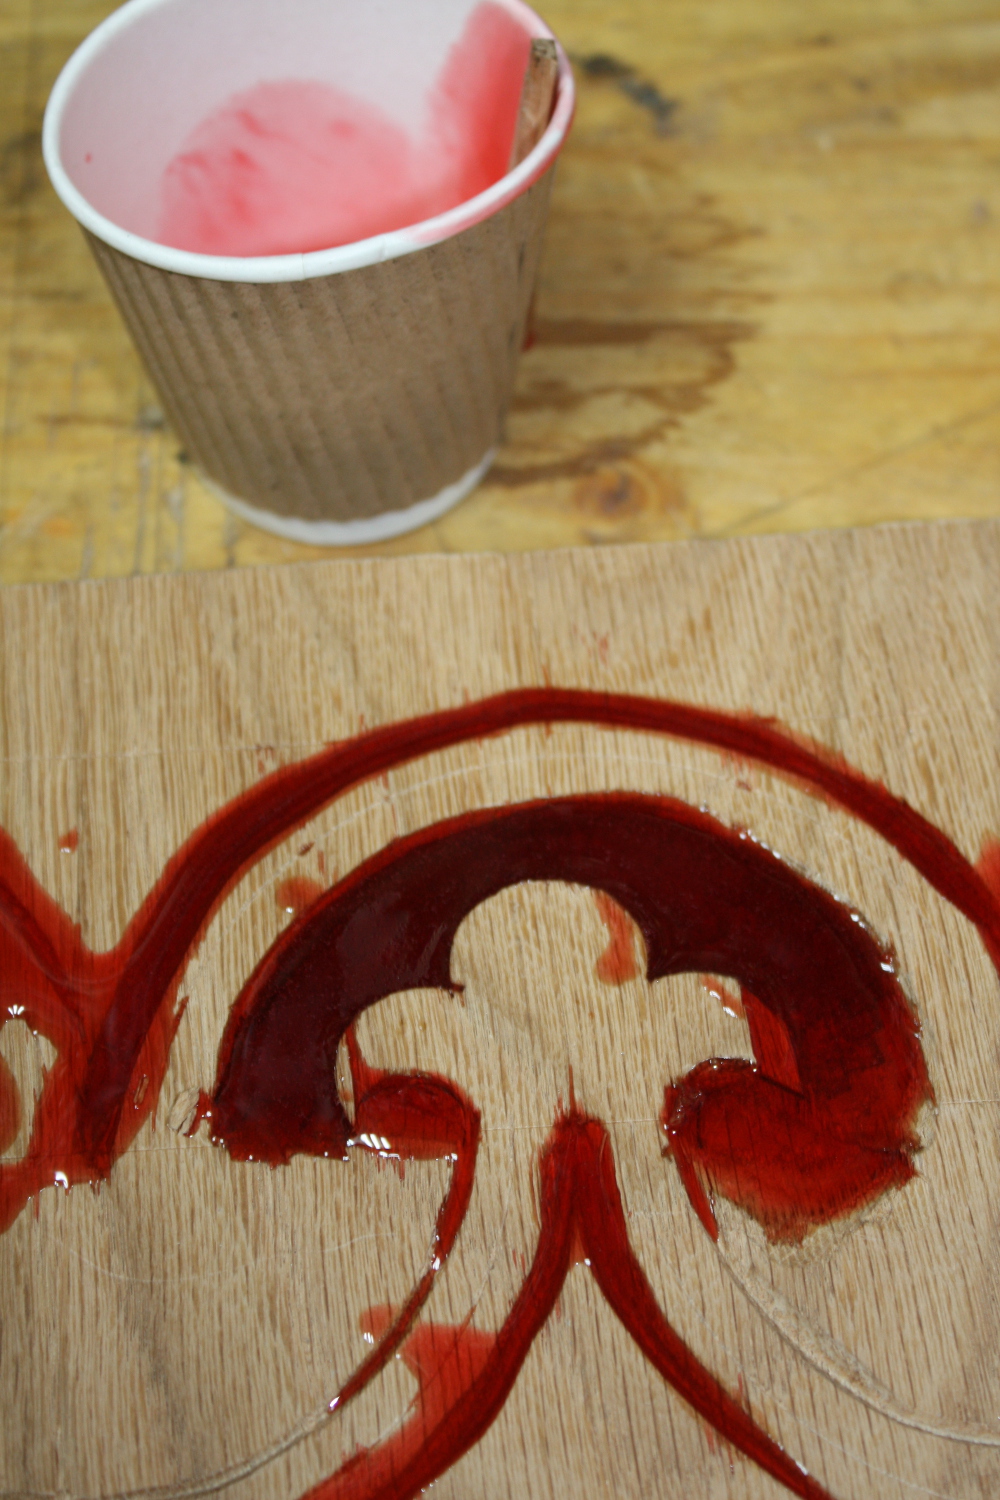
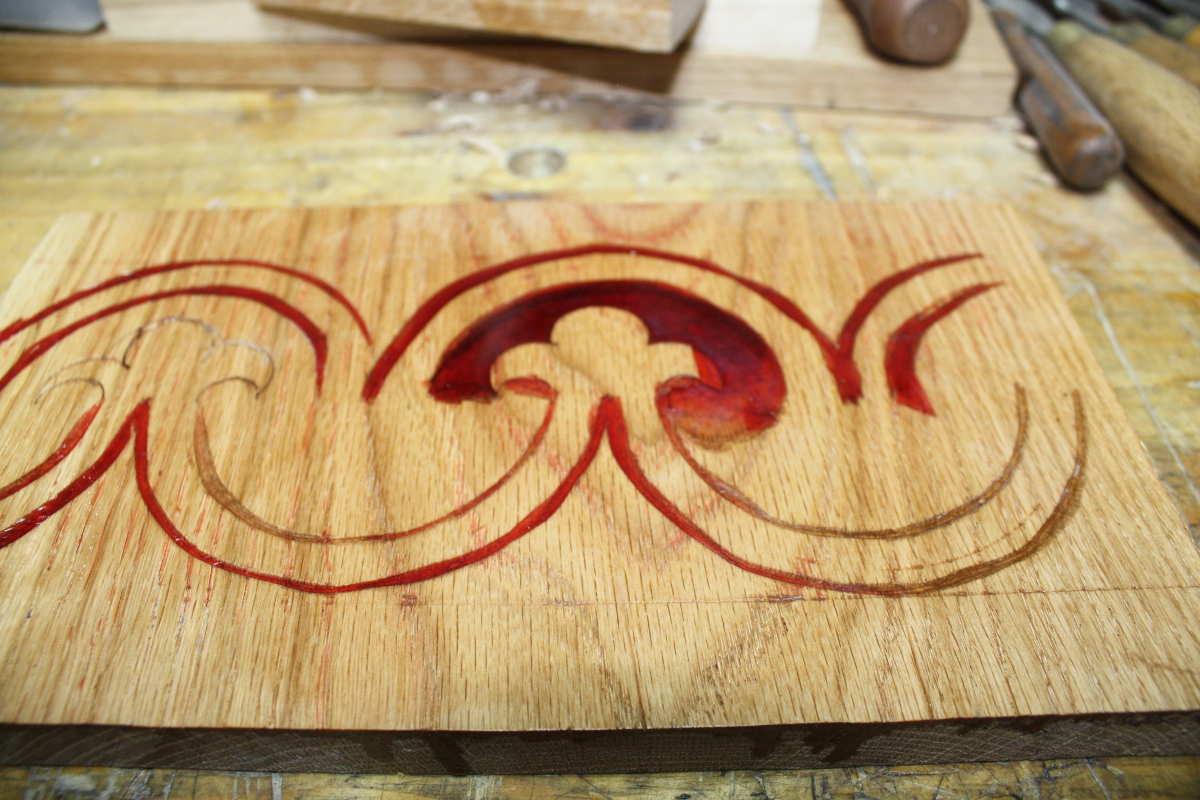
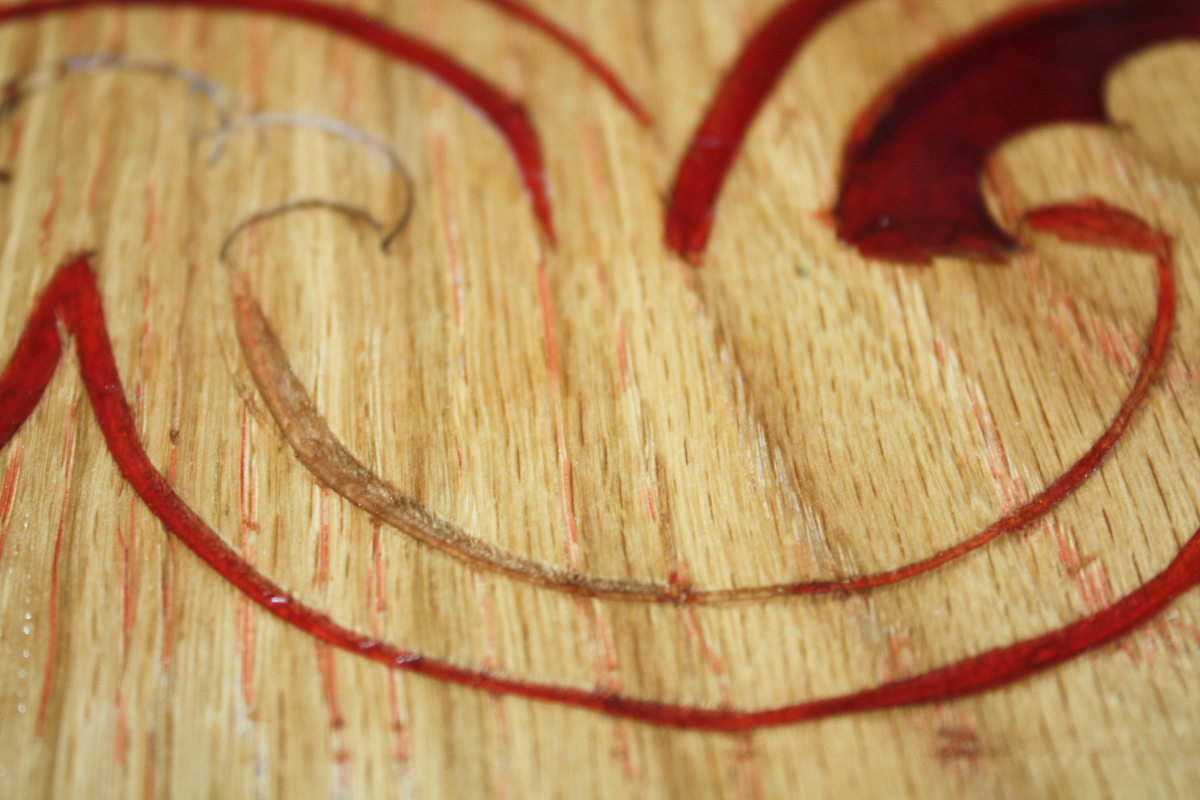
Oh, and I want to try that resin experiment again, but this time seal the oak grain so the resin can’t wick into it.

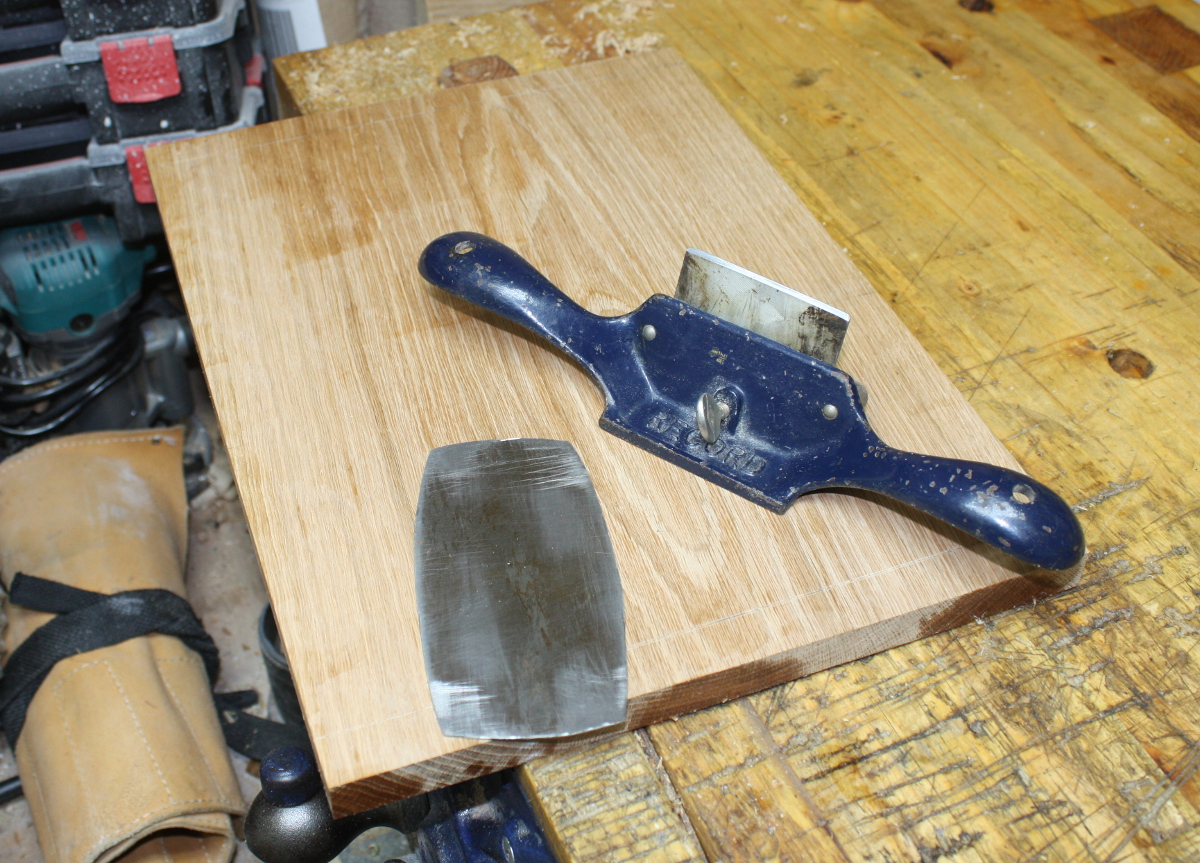
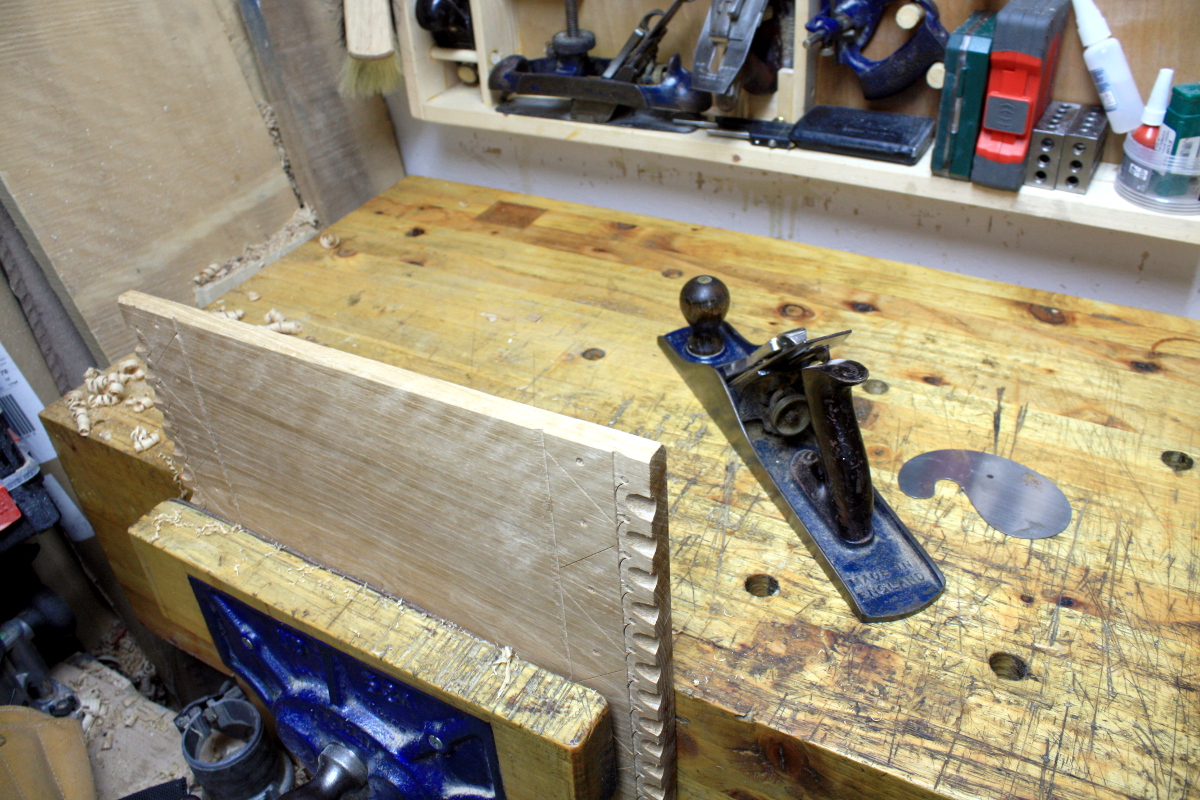
The lid’s been sitting around for a while. It had twisted very slightly. Fixed that with a few #04 swipes and then took the #80 to the surface to clean it up nicely, with a few focussed bits from the cabinet scraper. With that done…

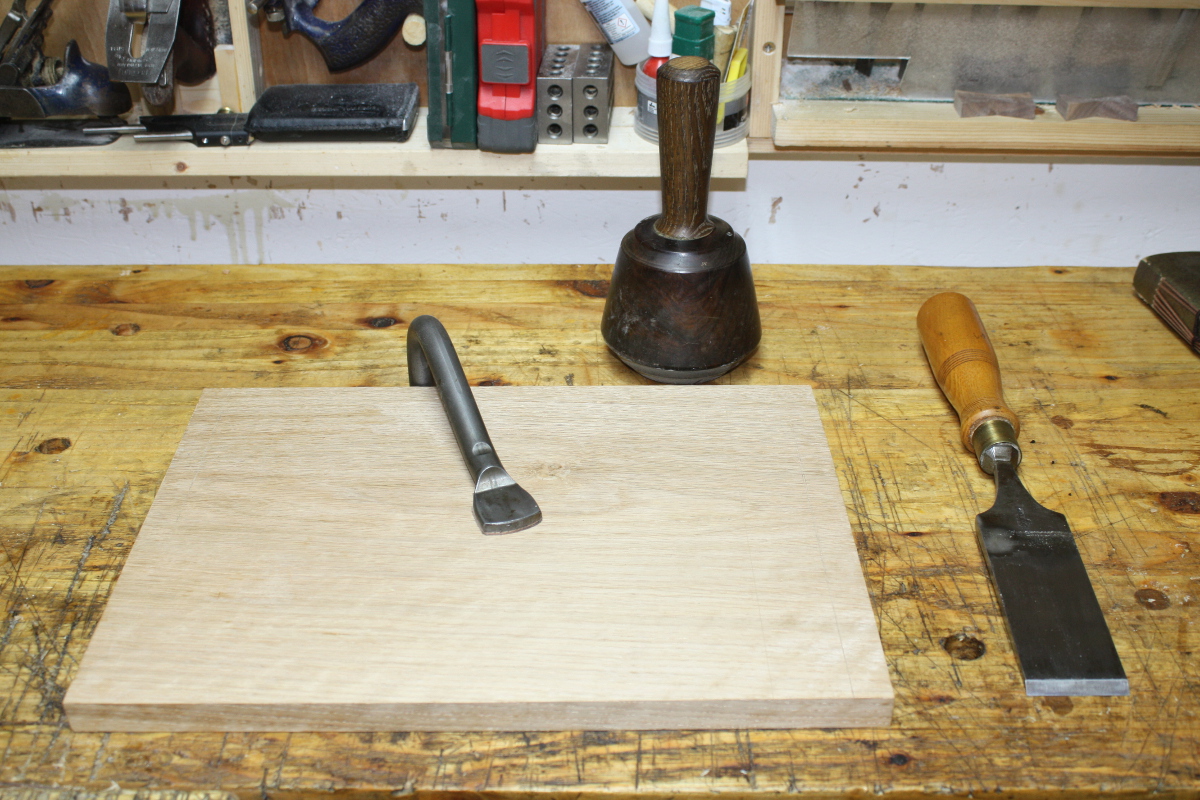
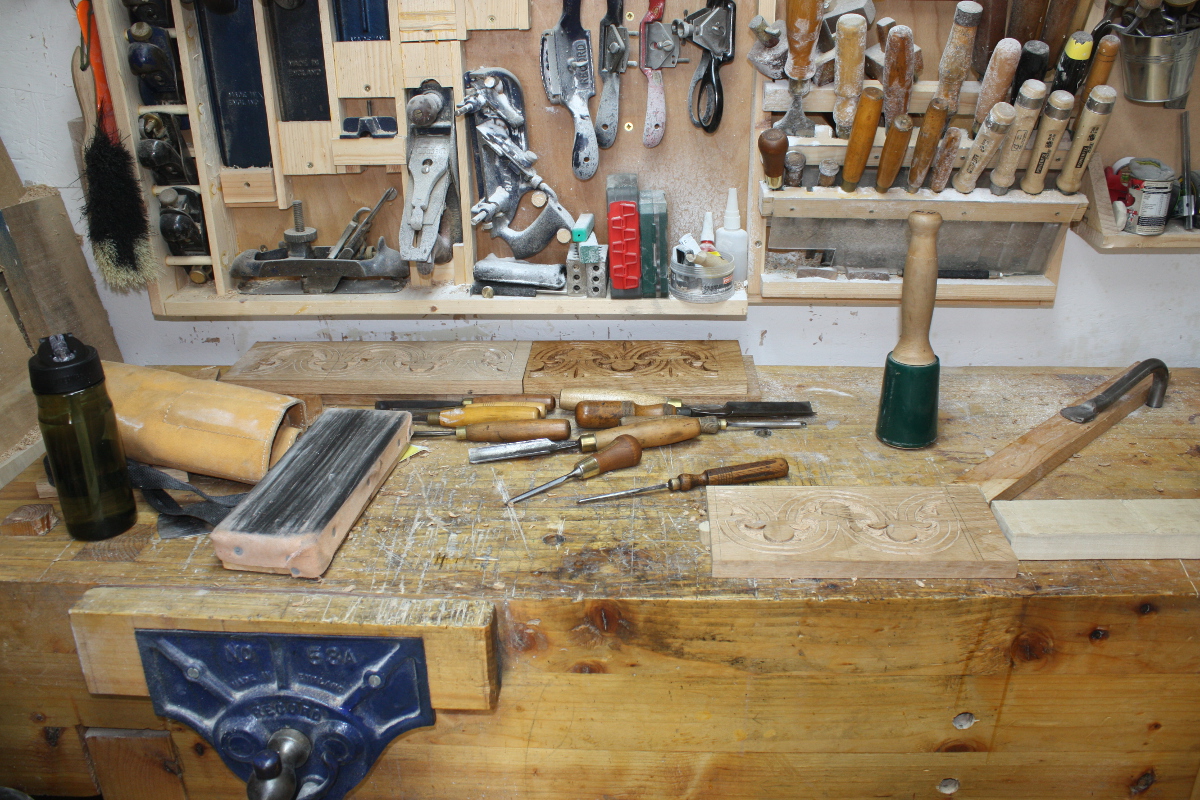
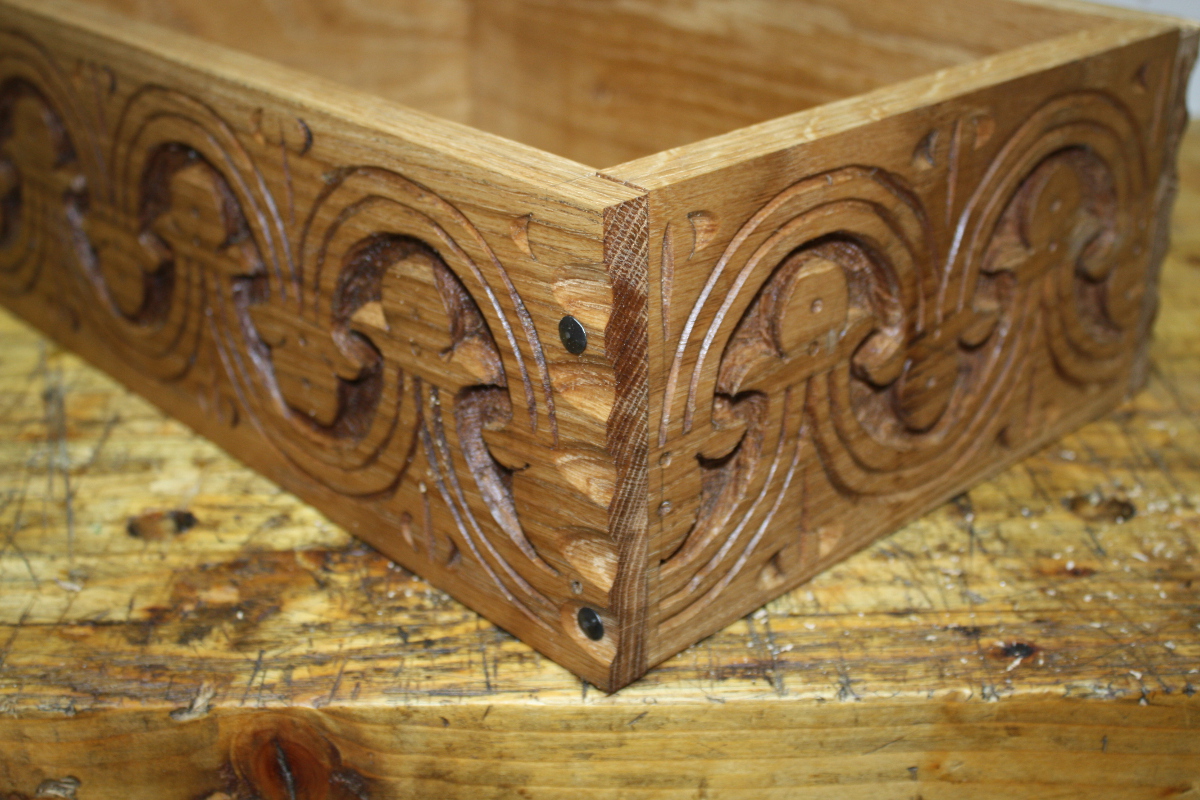
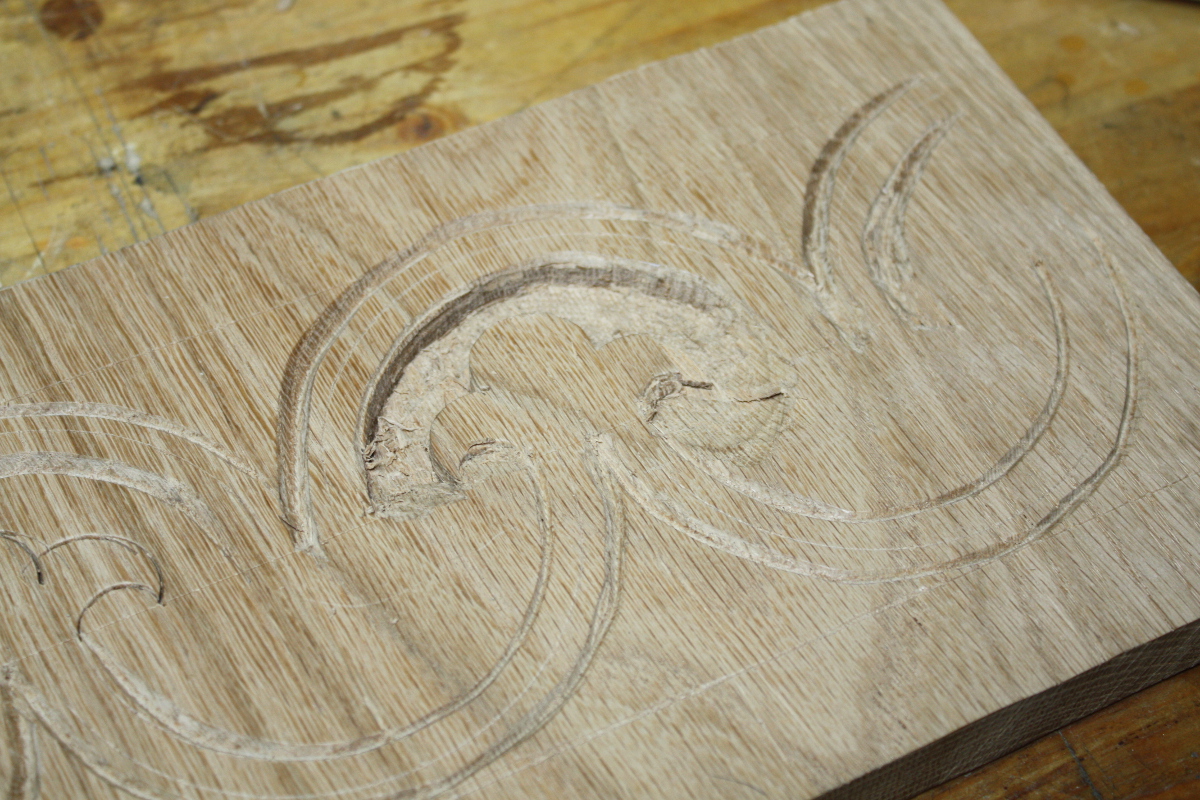
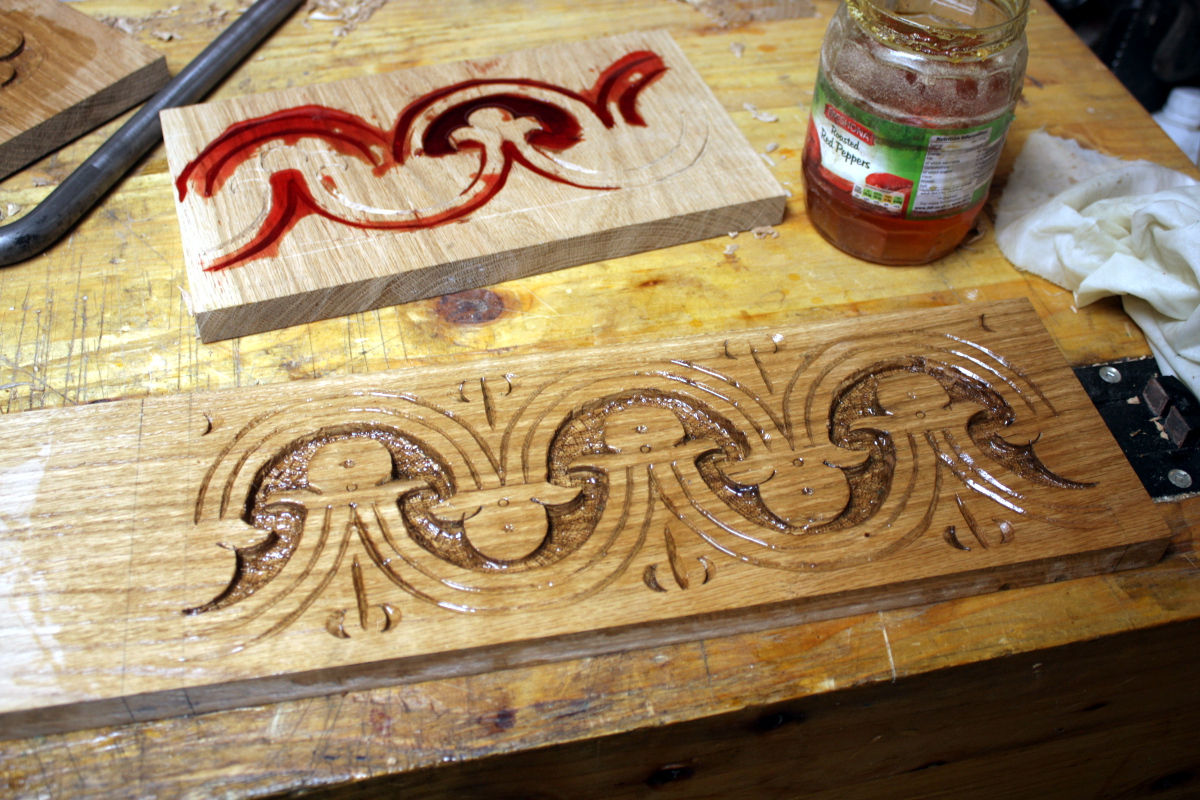
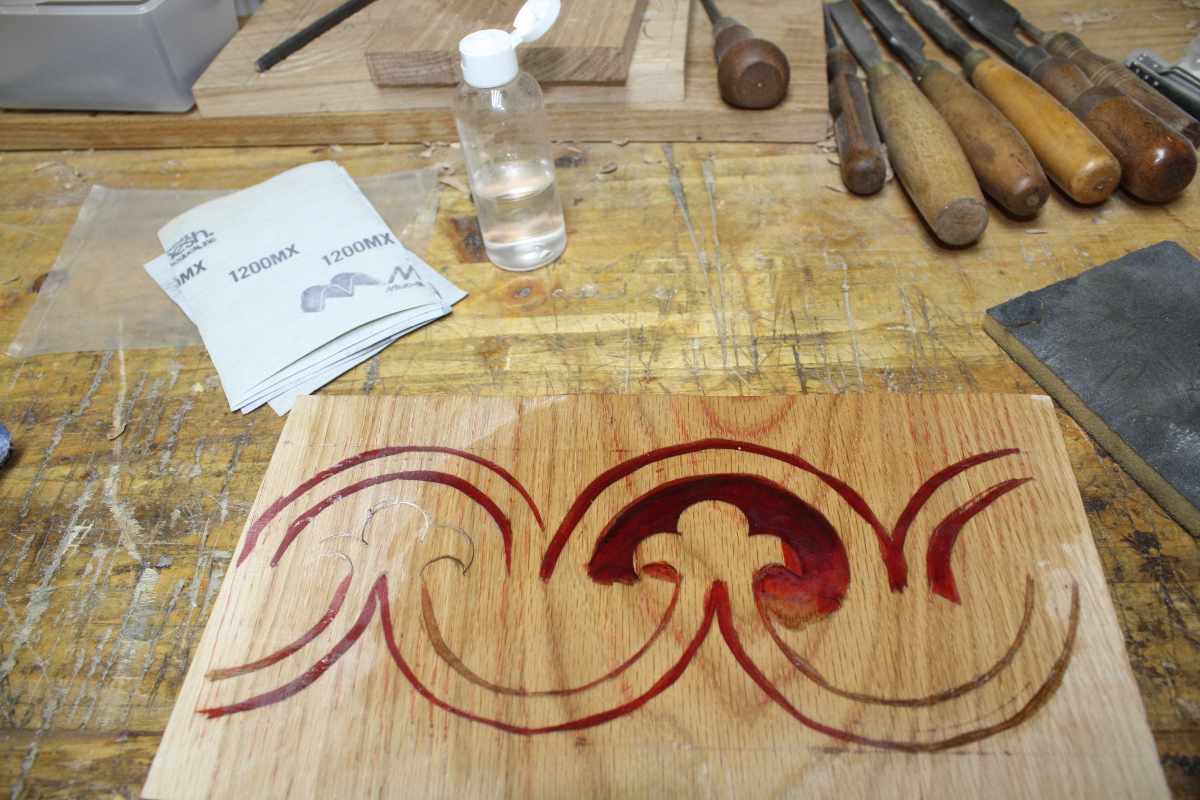
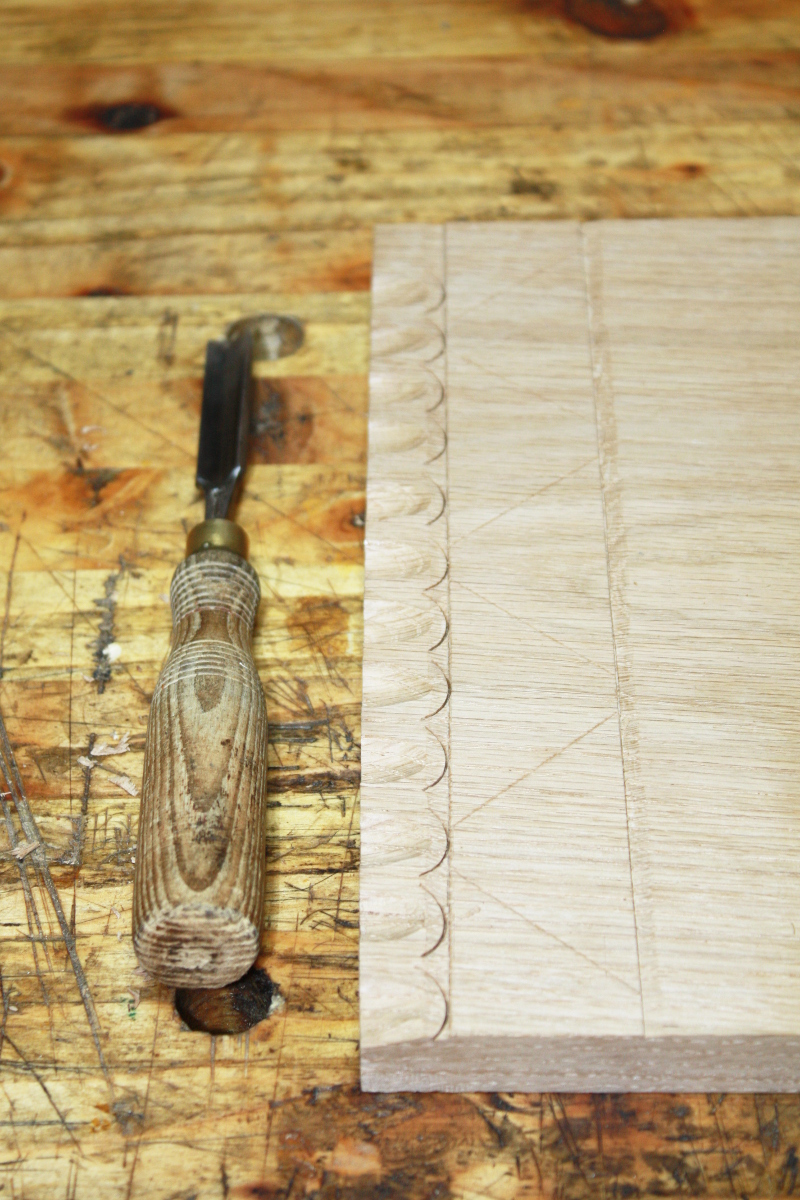
Just a little decoration on the top.

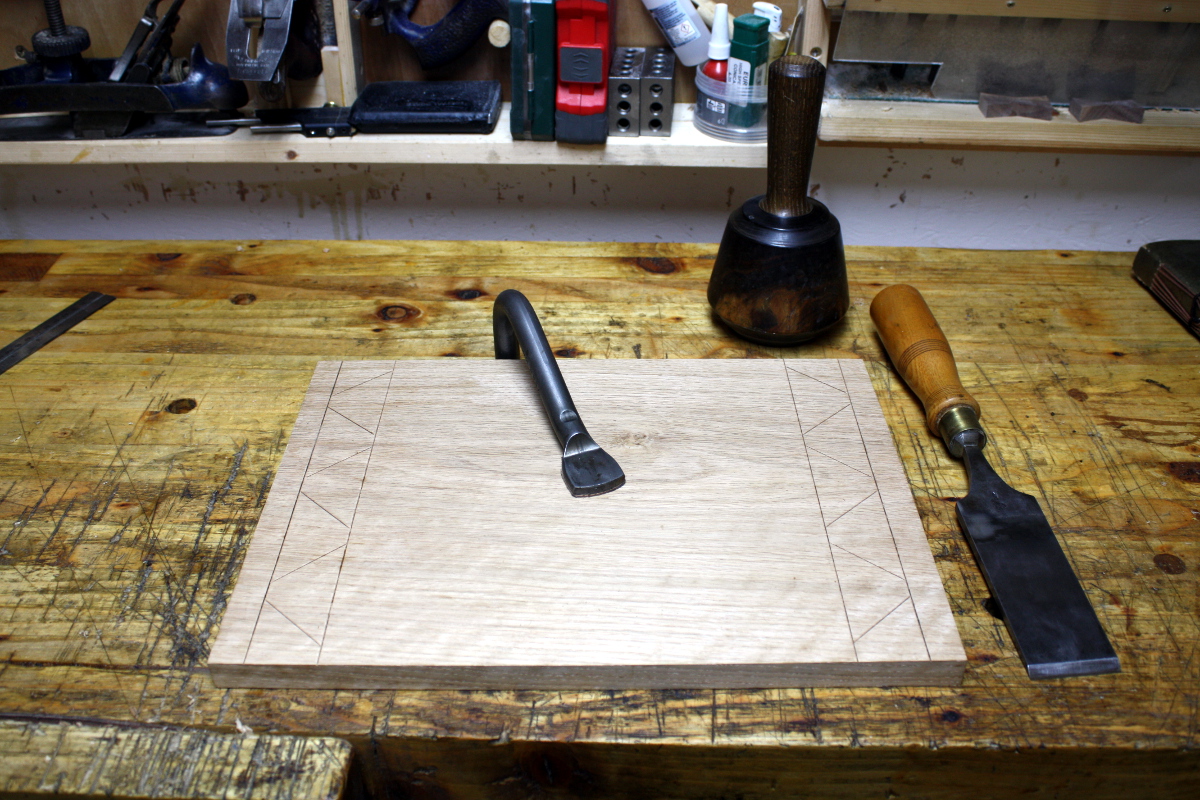
Some straight-chisel work, and then I want to treat the long lines like a knife wall, so there’ll be a little low relief to it.

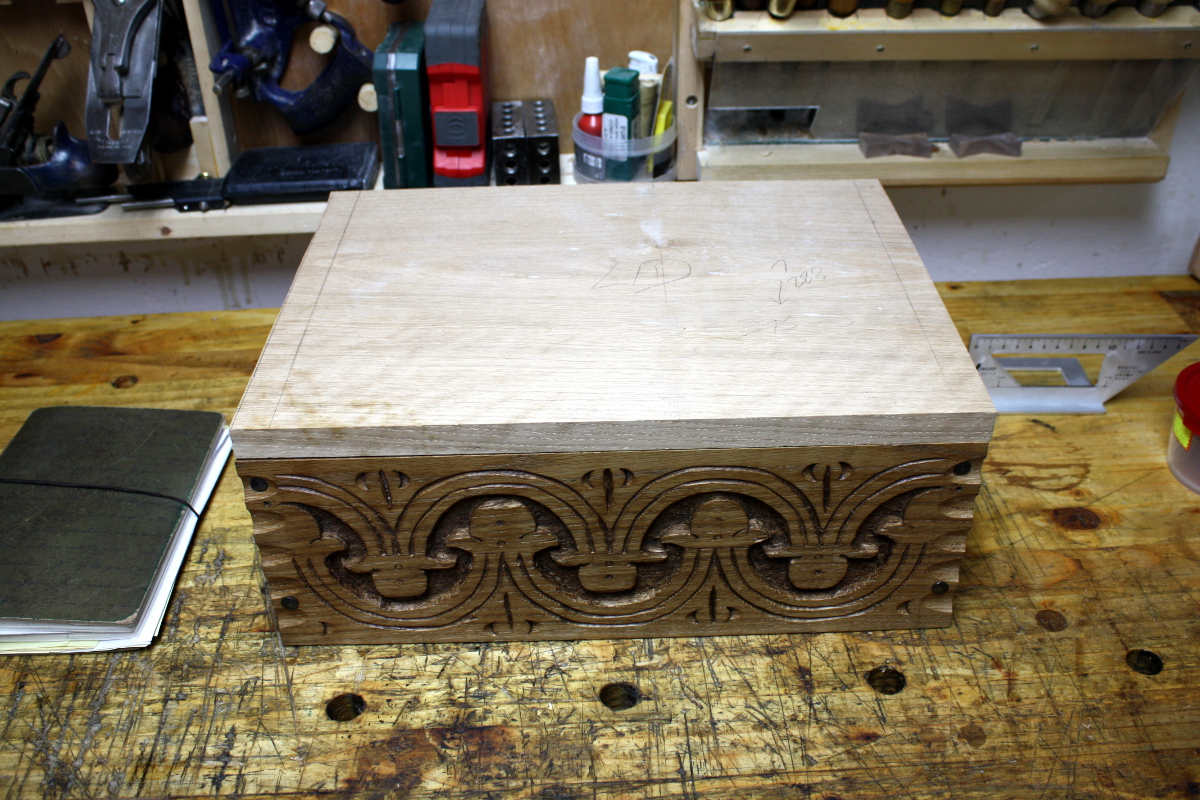
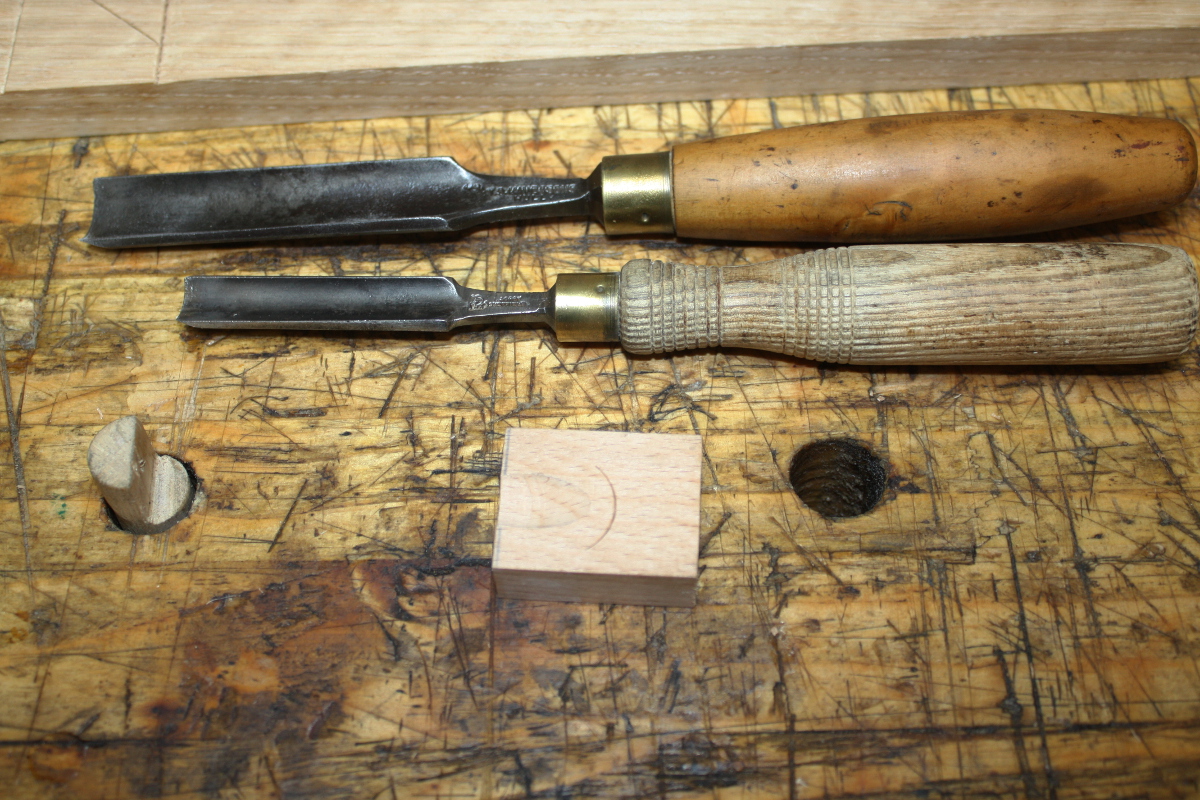
That’ll do. Next, gouges…

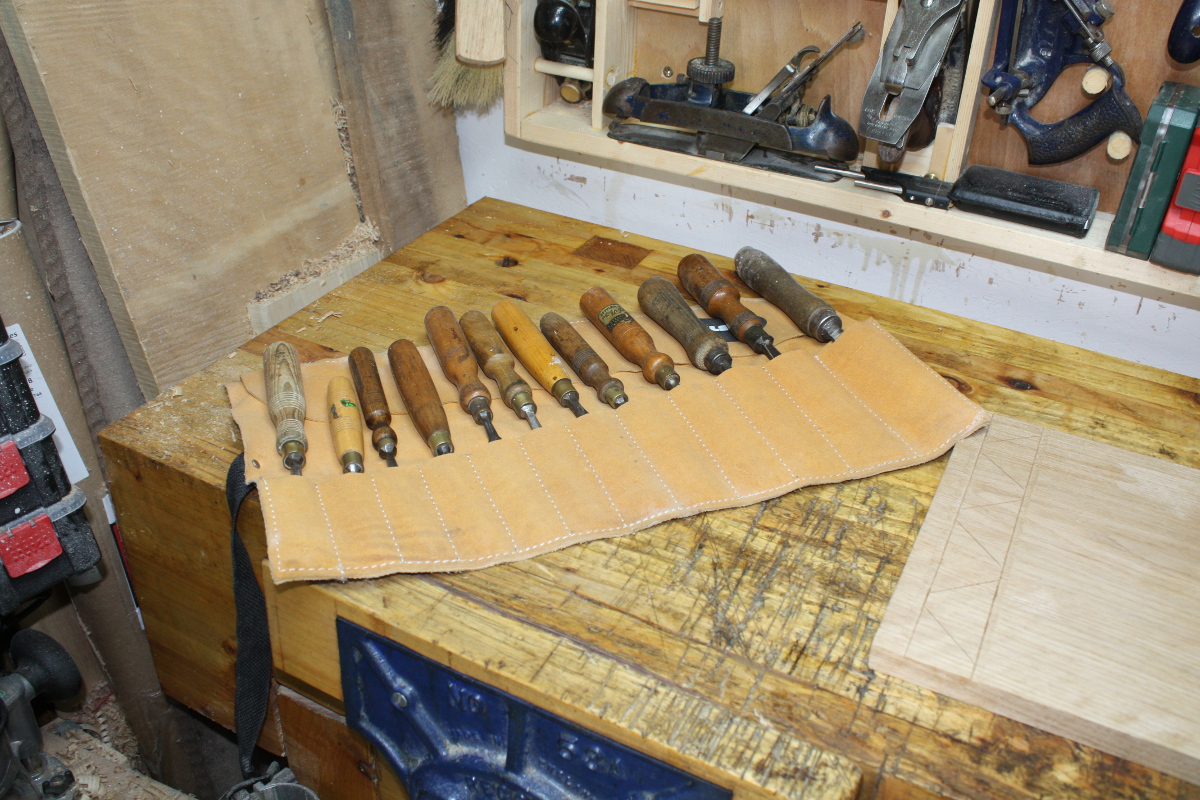
A bit of experimentation and picked out two.

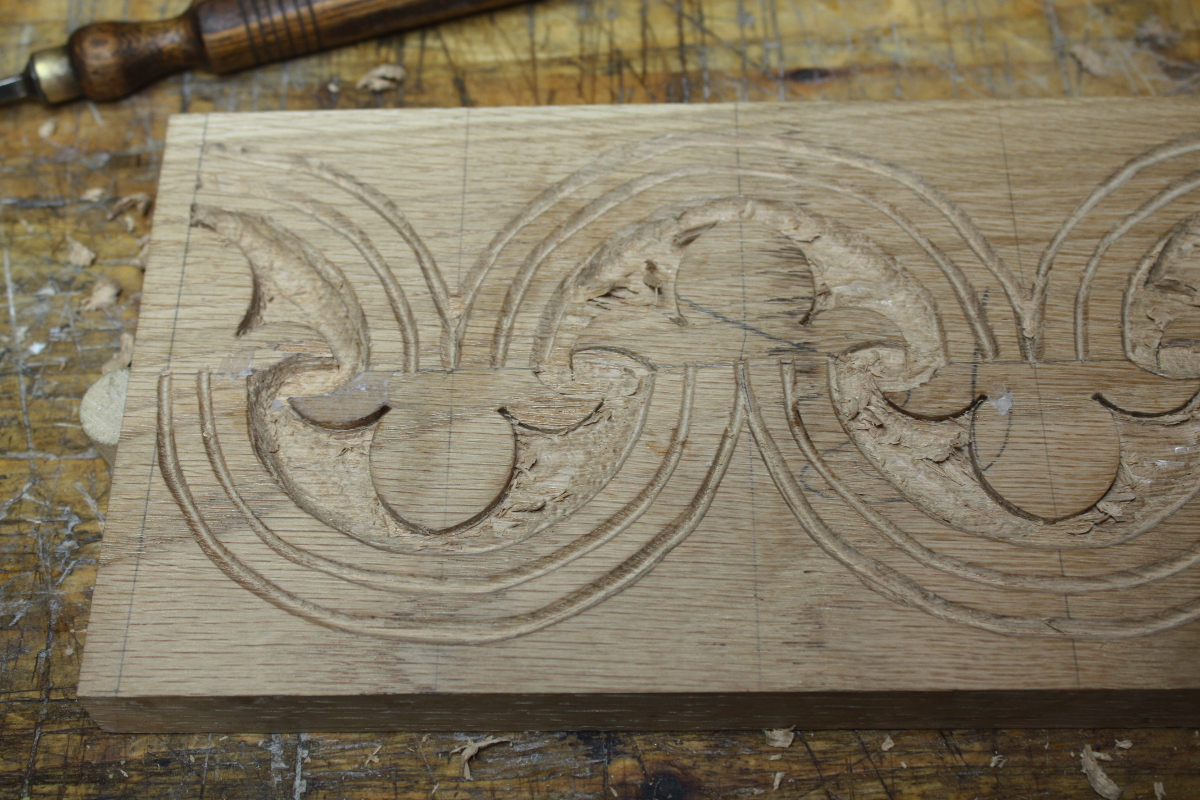
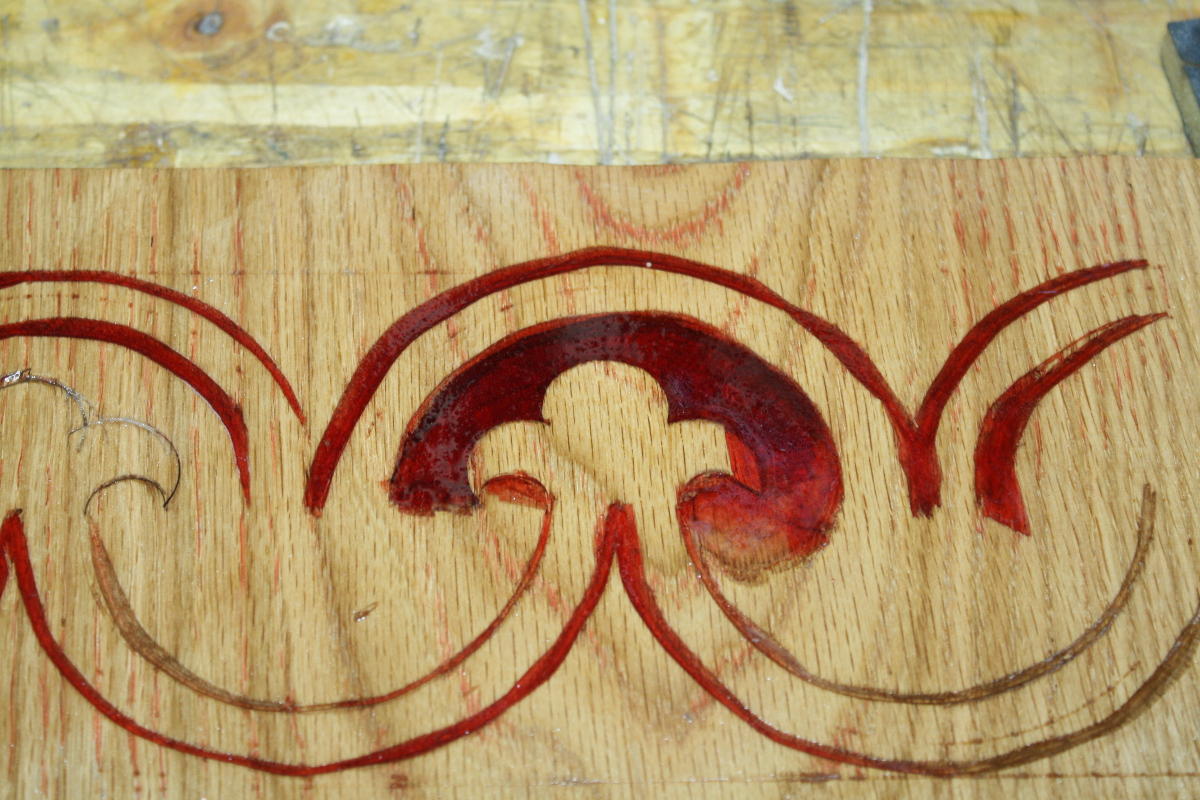
Right, so chopping with the larger chisel to set up the pattern:

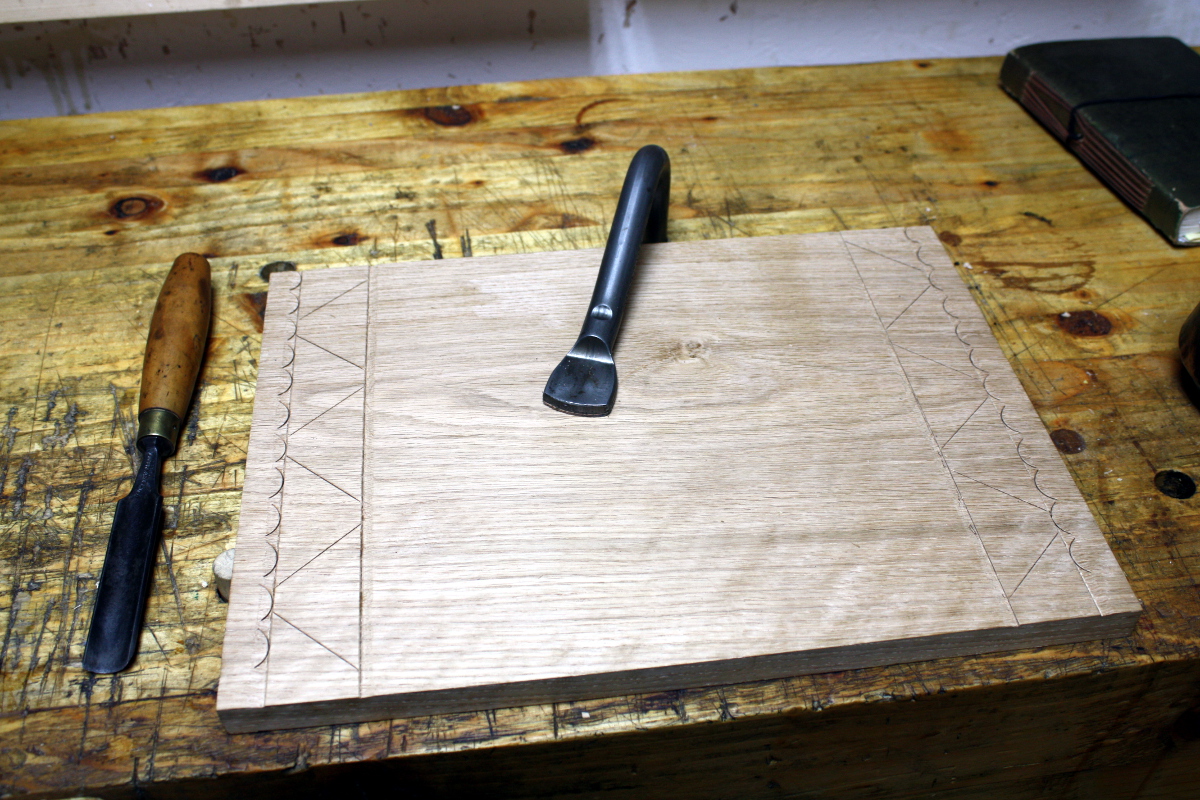
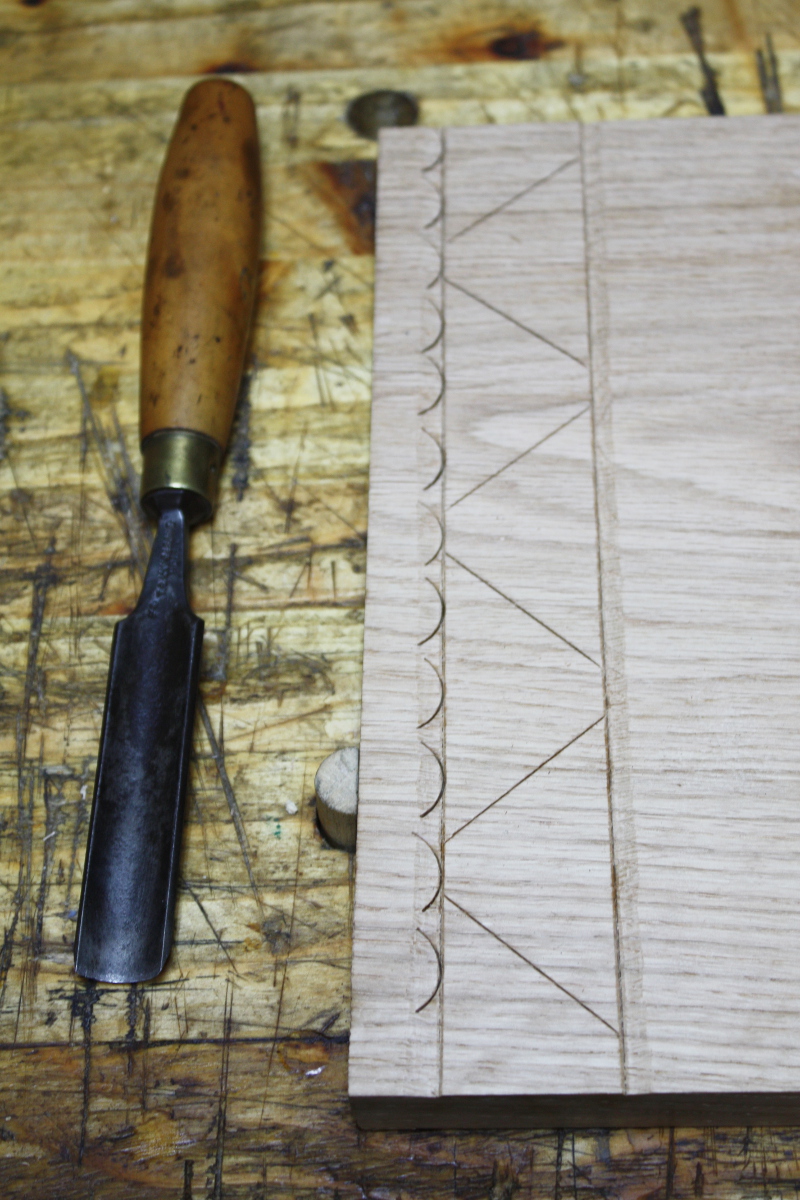
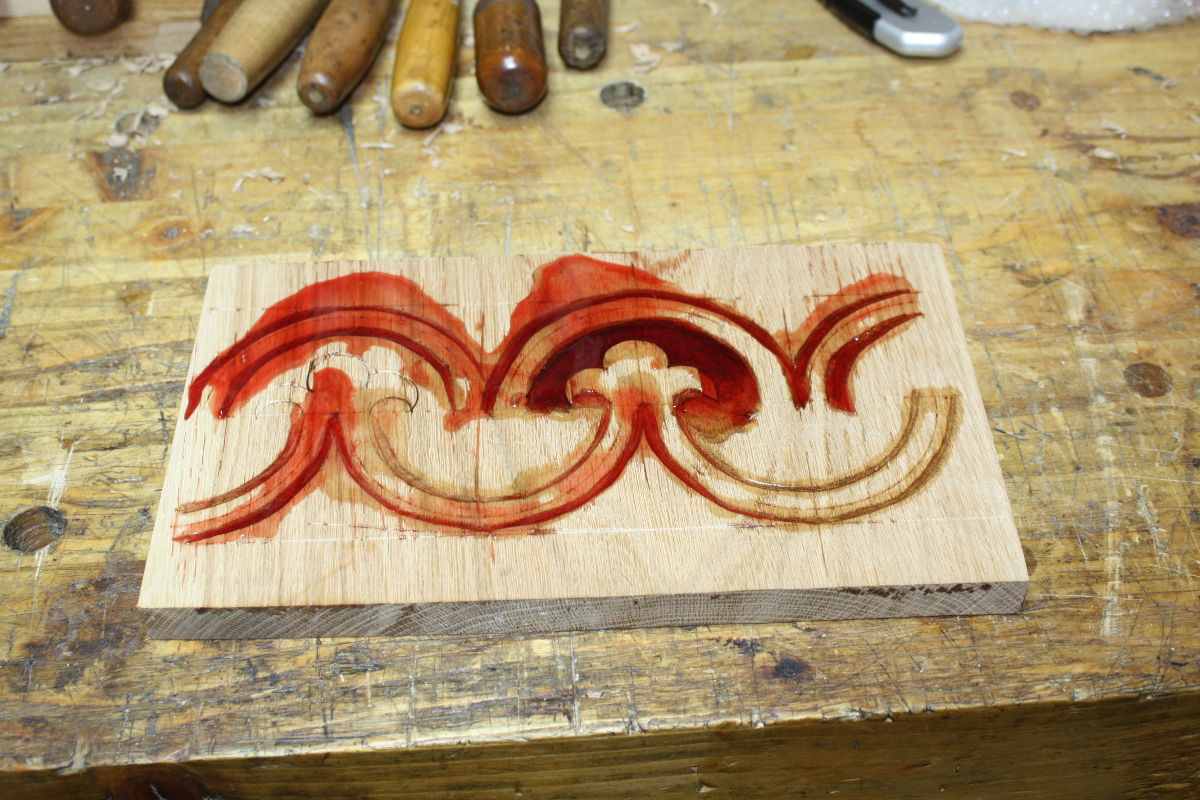
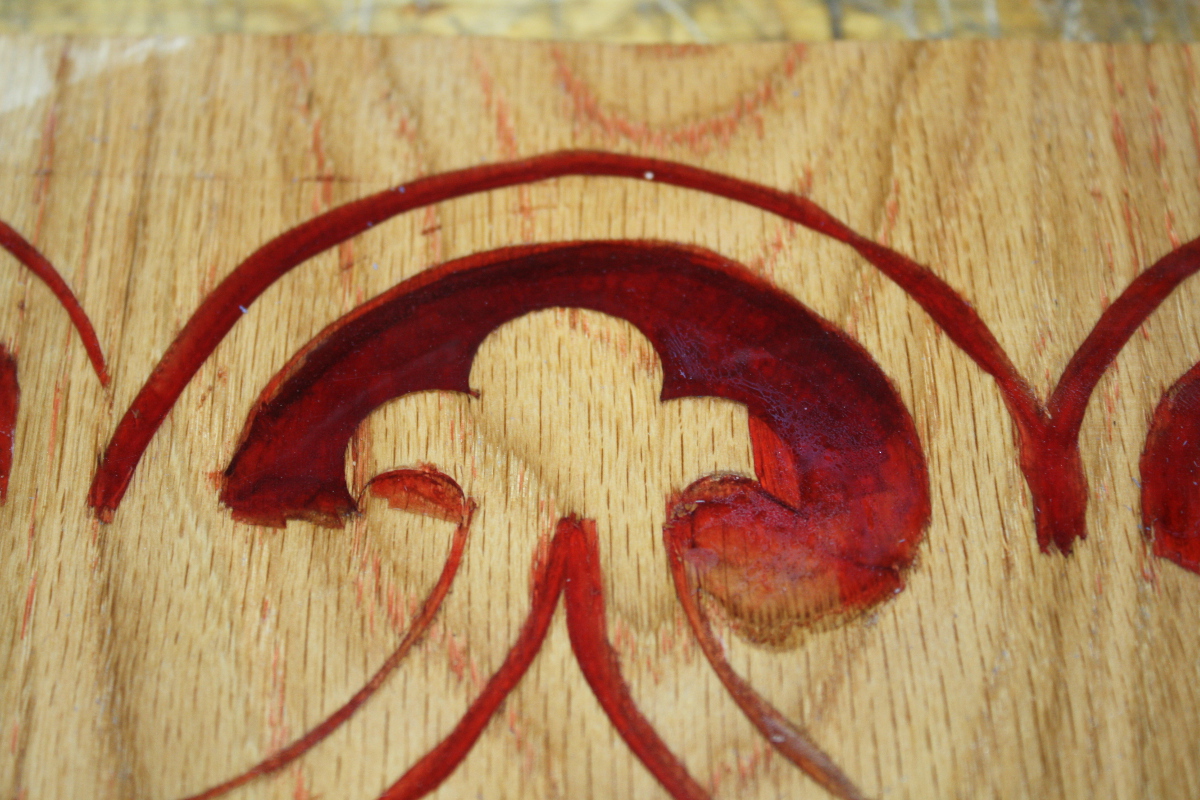
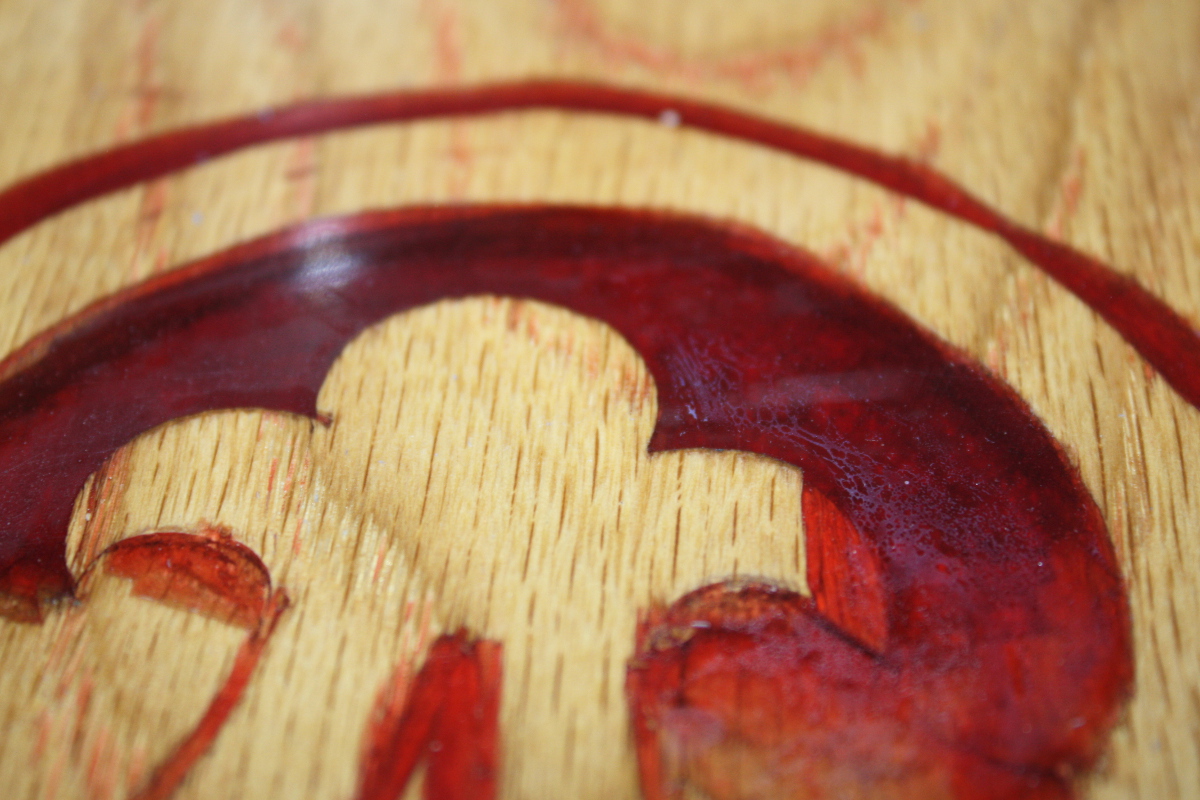
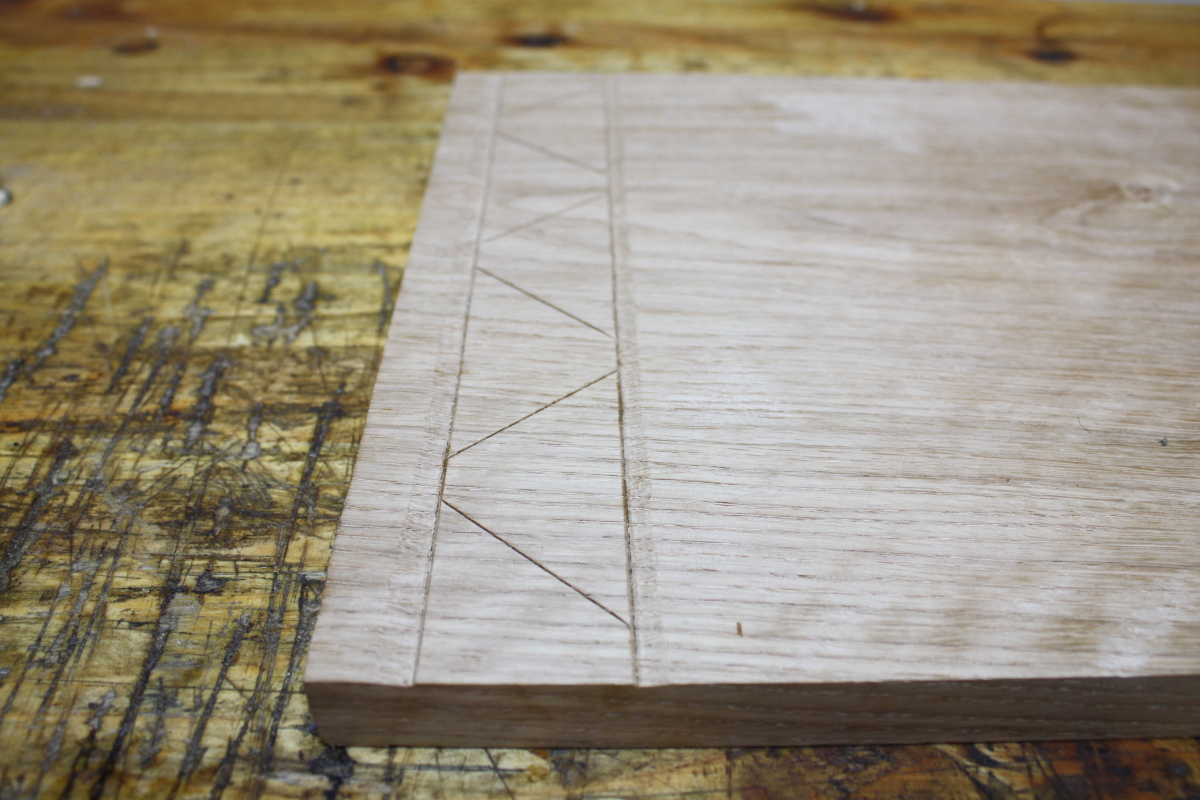
And now use the smaller gouge to take out some scallops so the endgrain edge has some decoration.

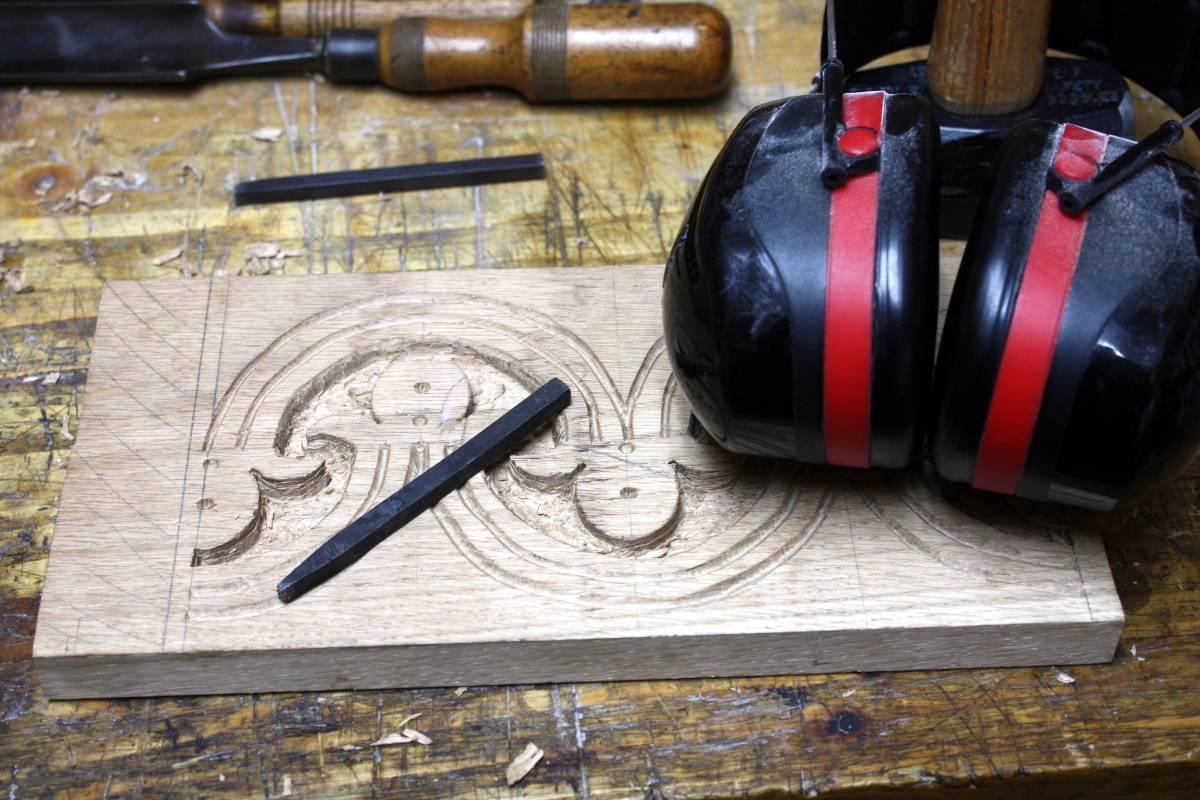
Okay, now some punchwork to add a few decorative points.

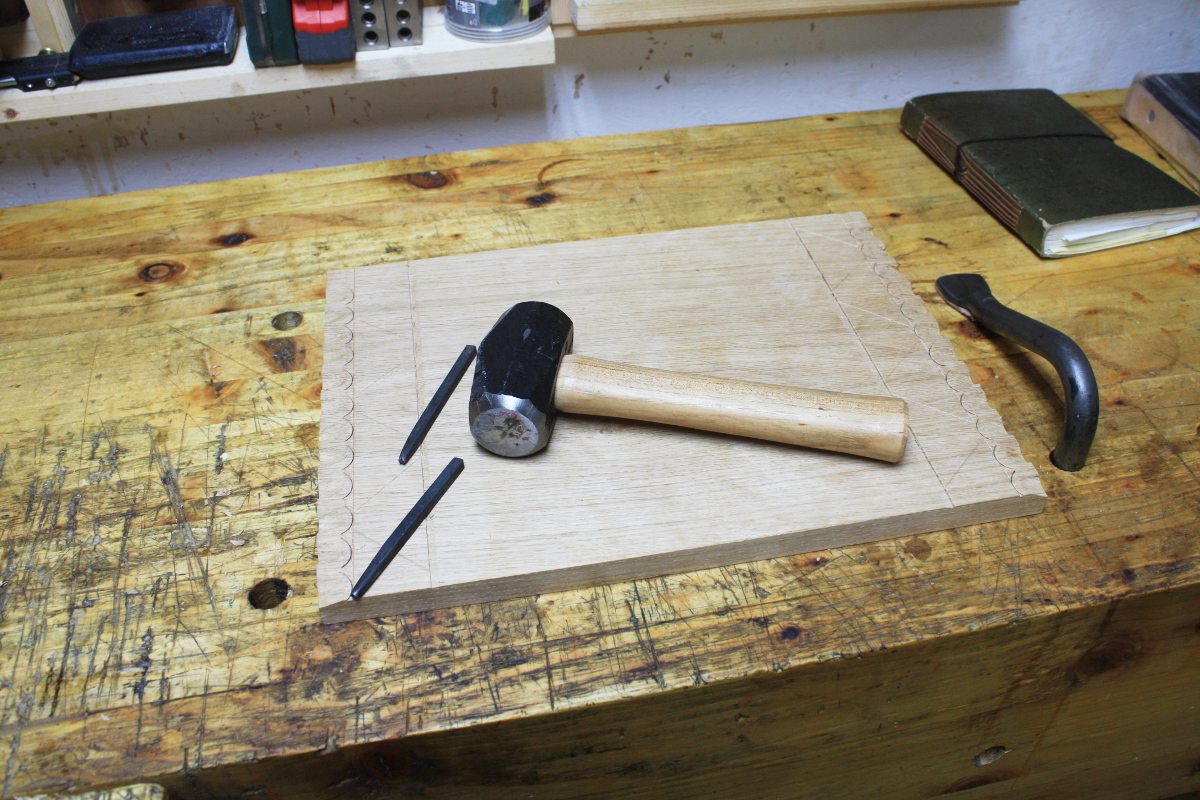
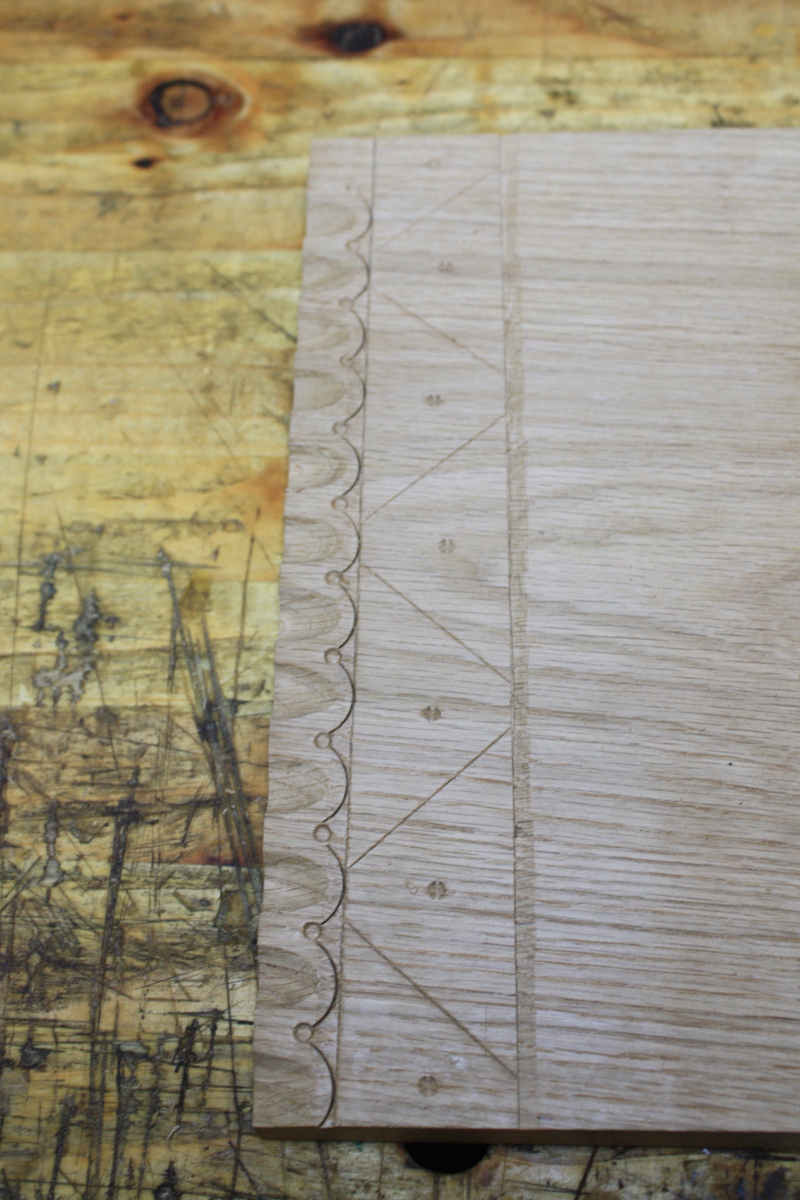
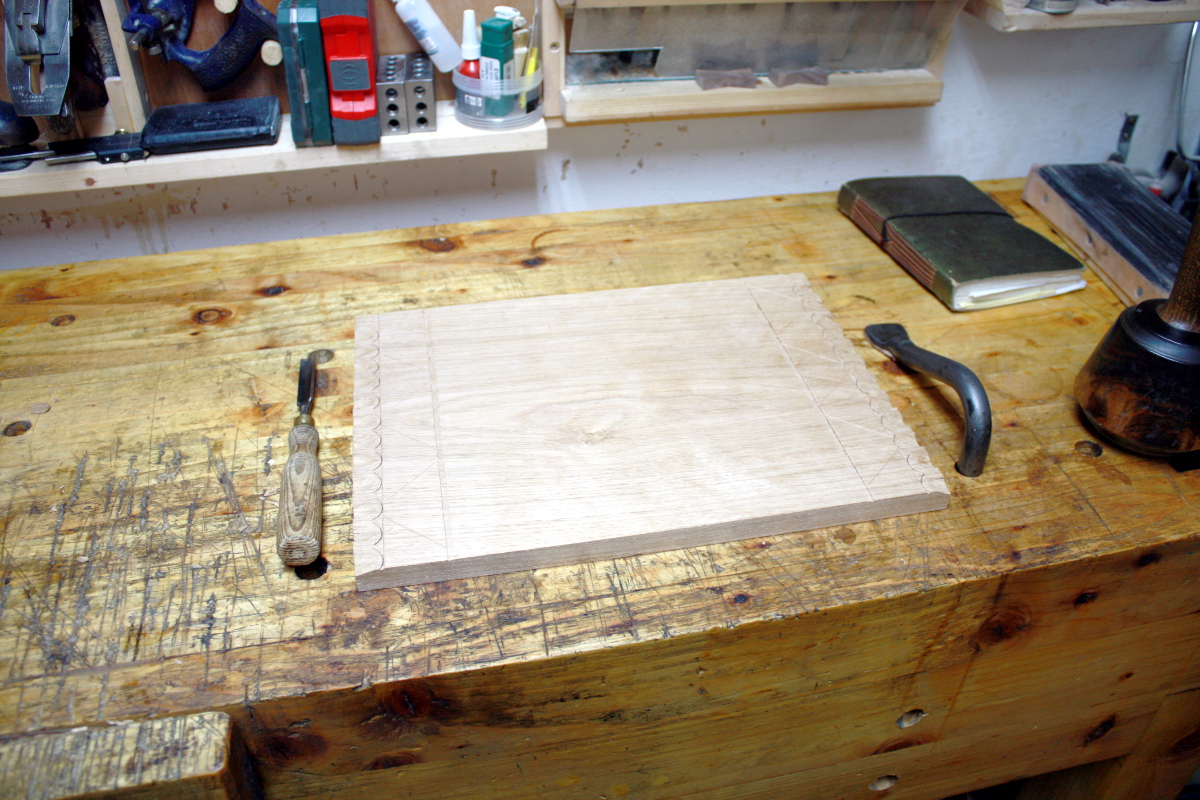
I’m happy with that.

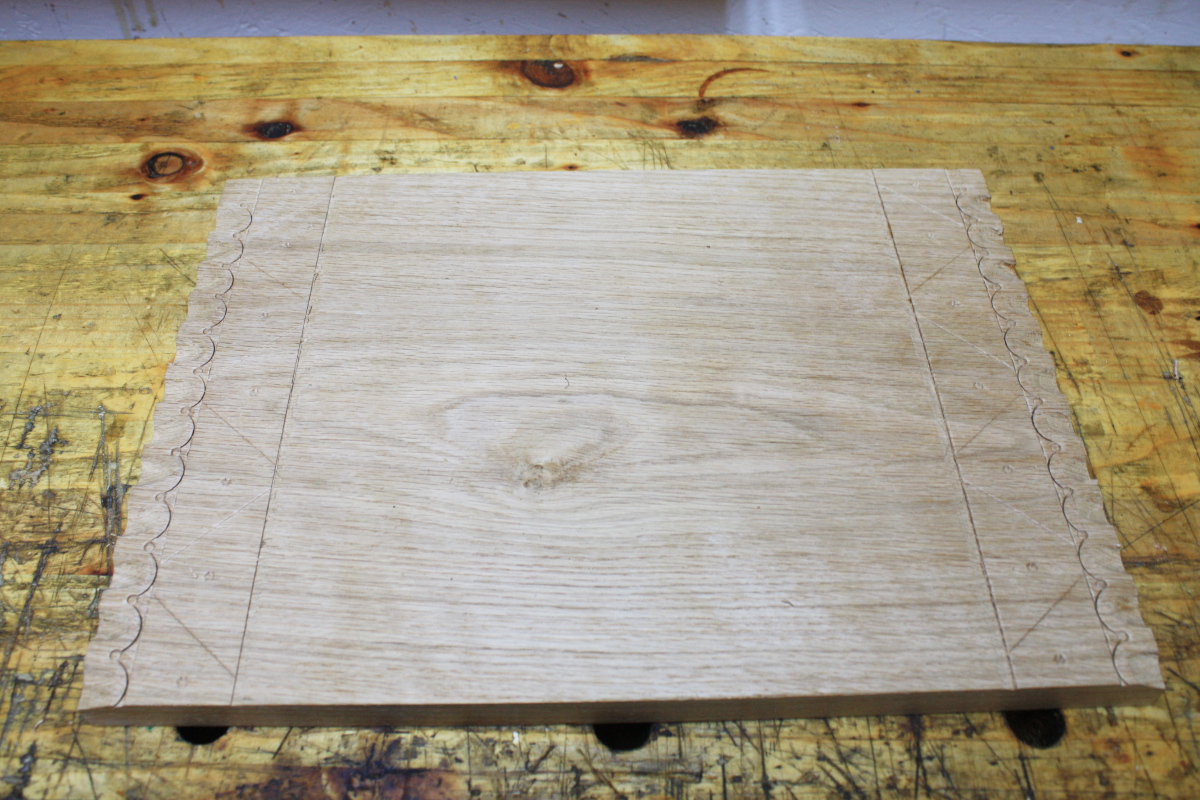
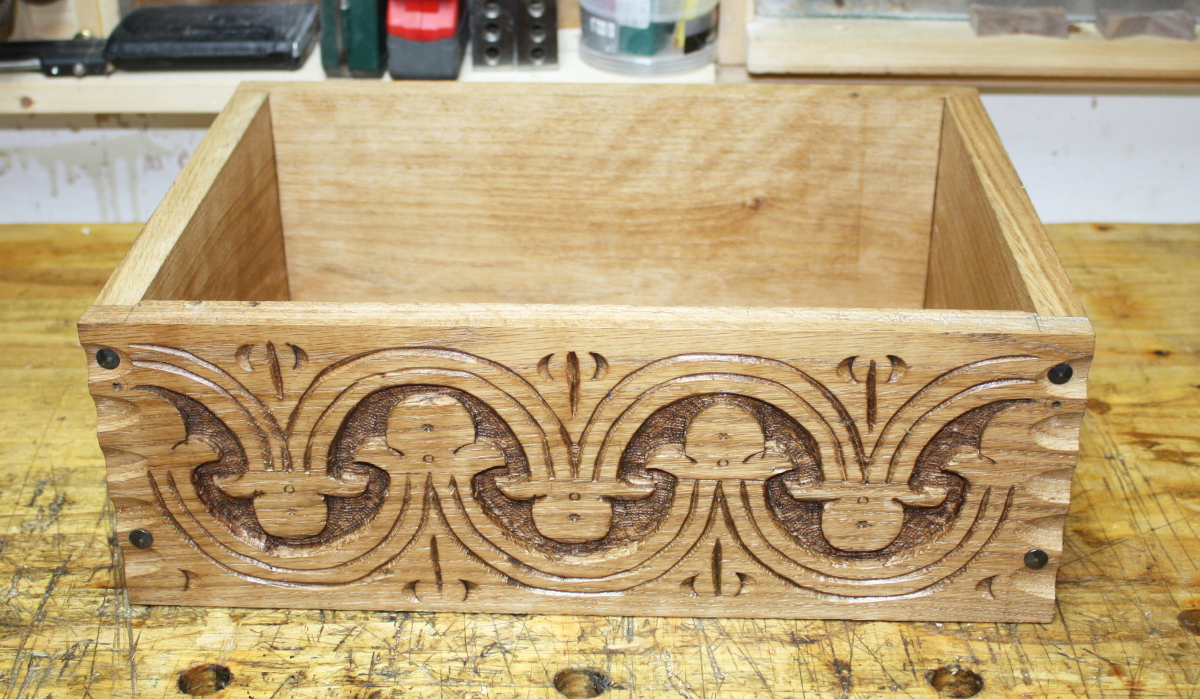
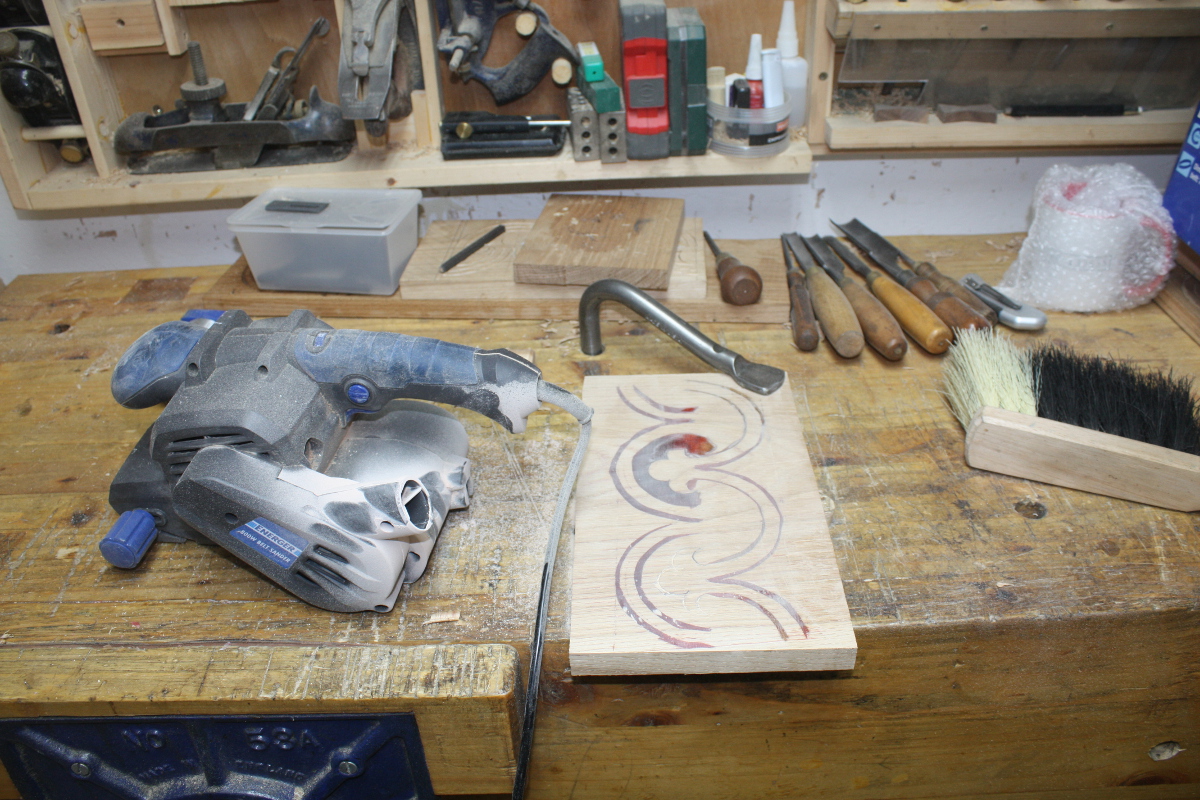
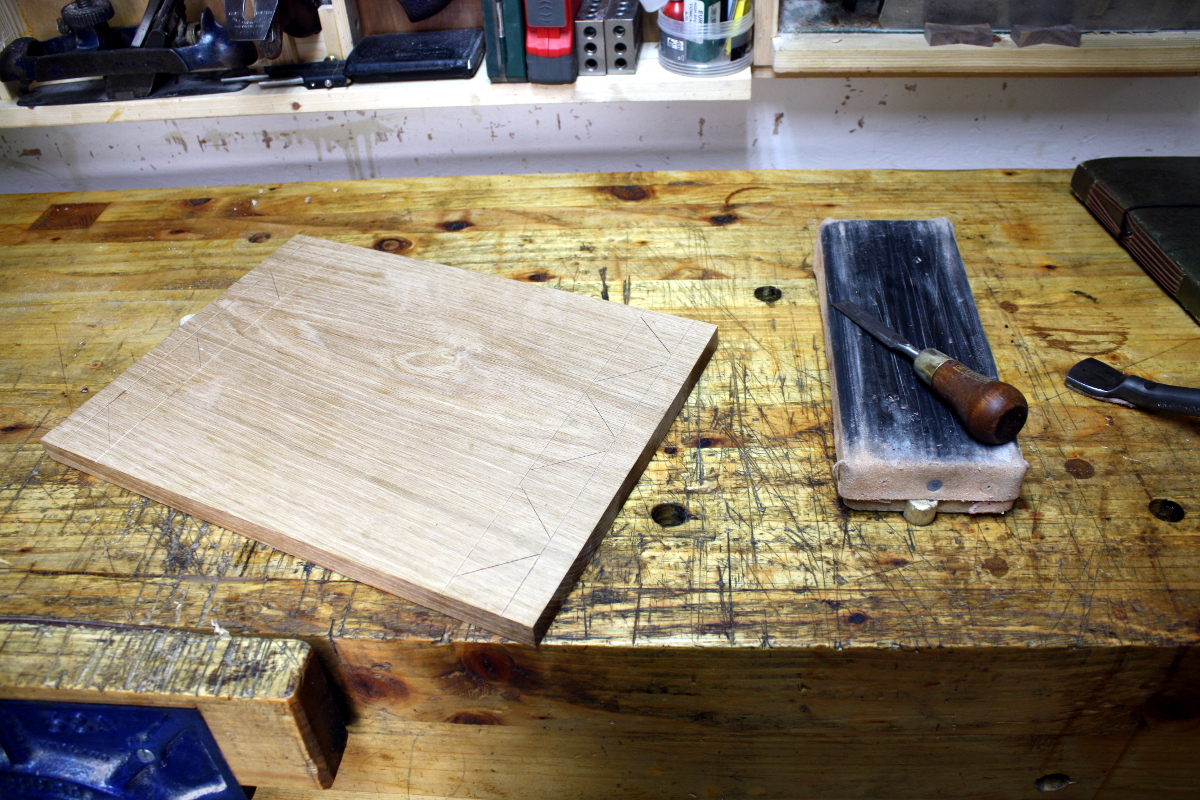
Okay, now just some breaking of edges and shaping of the front edge:

Gooseneck scrapers are great for this.

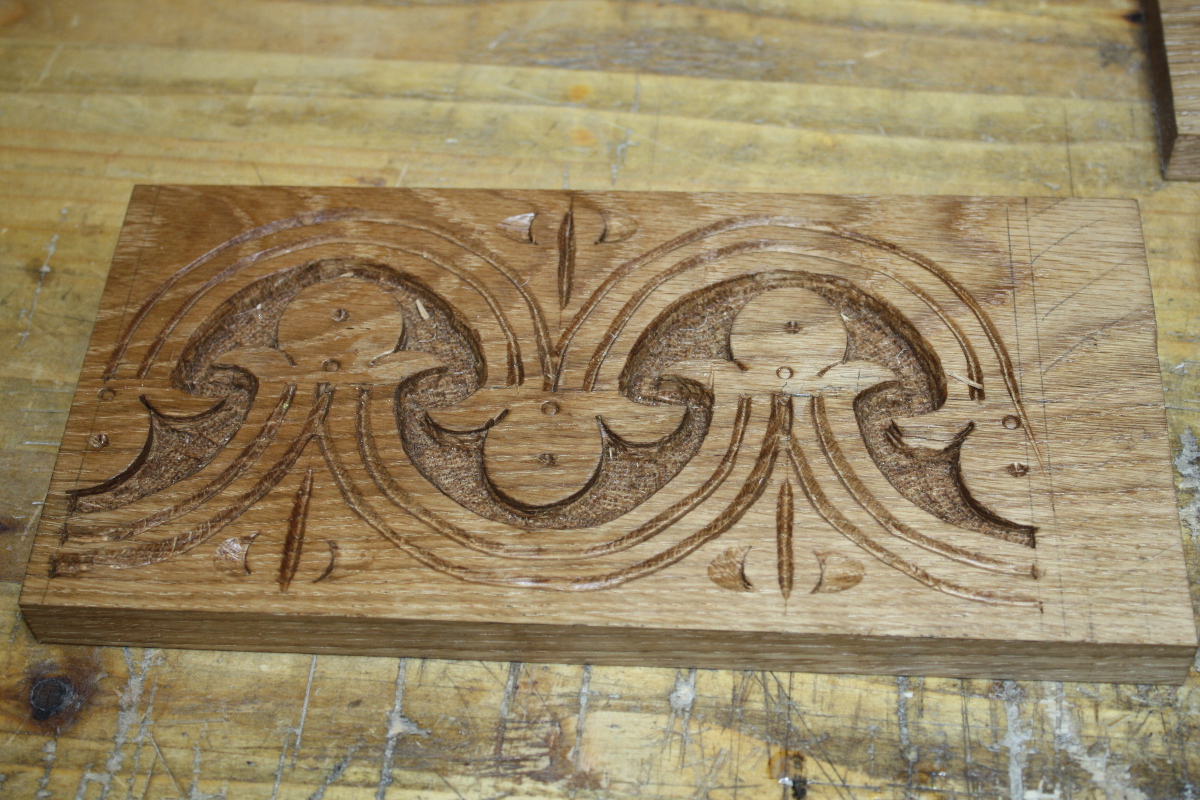
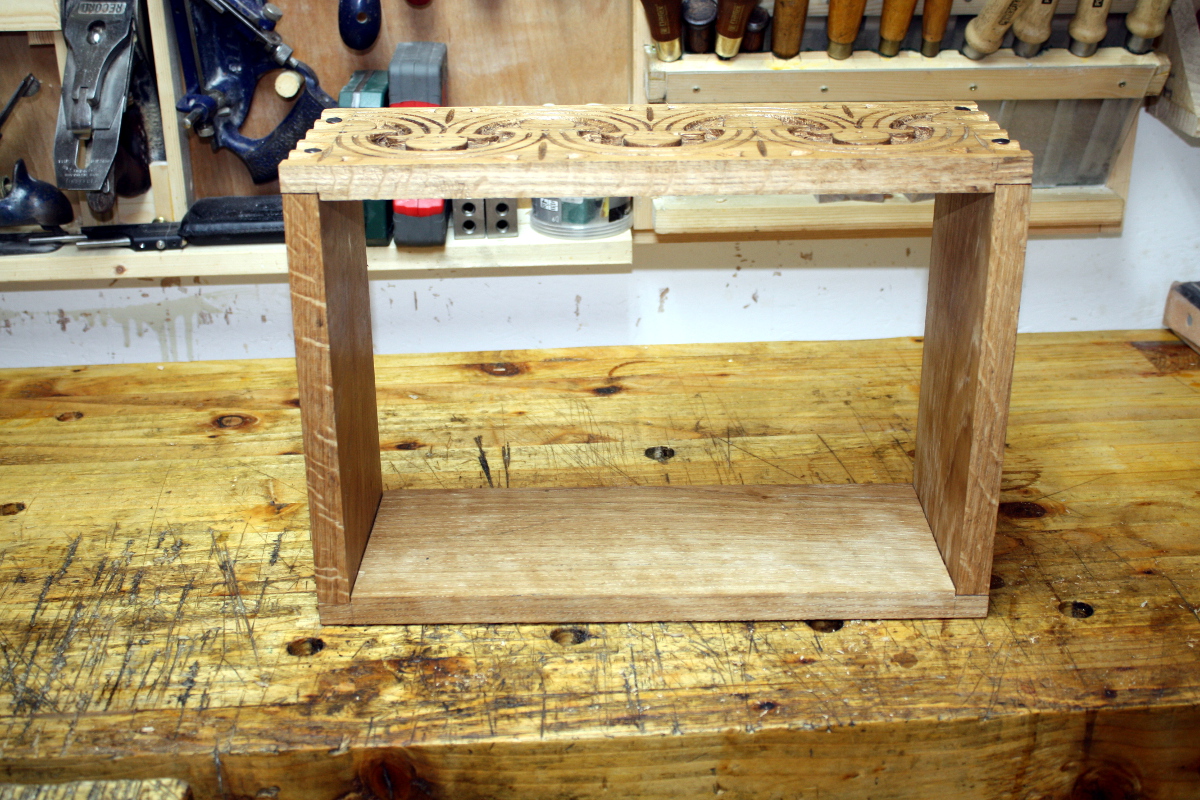
Okay, that’s the lid done.

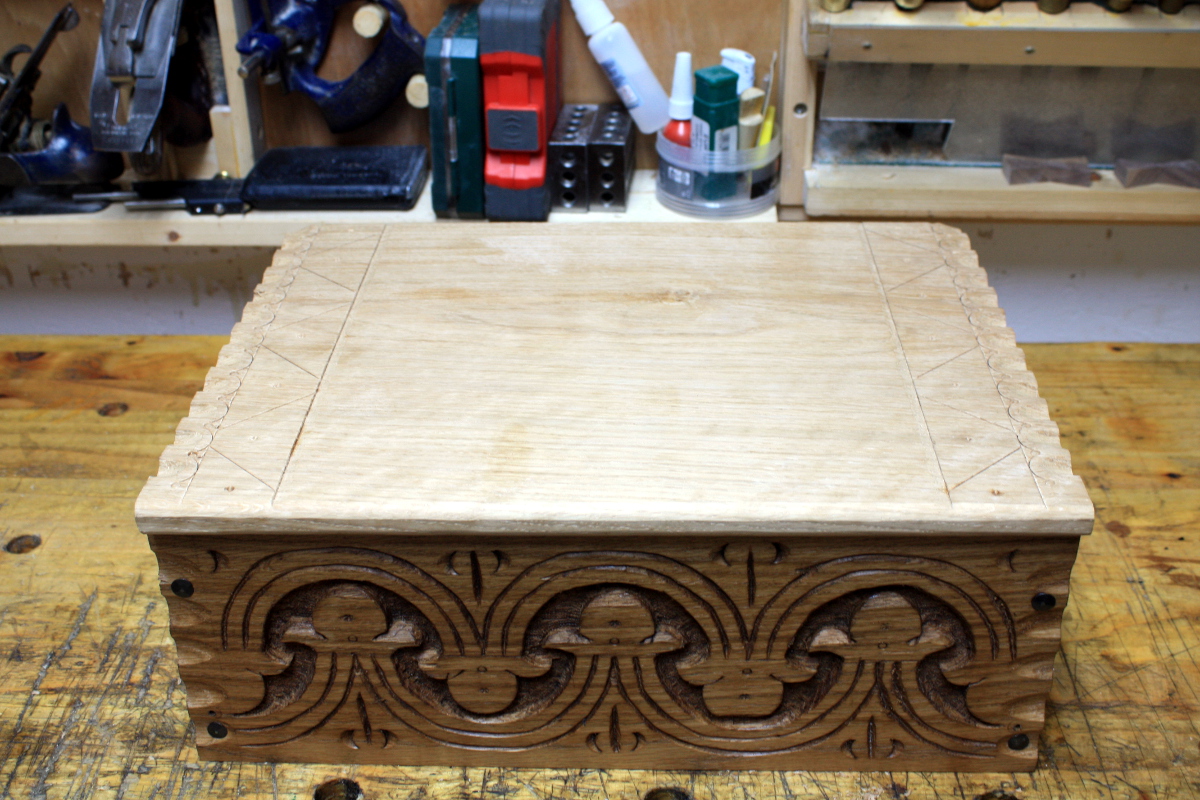
Add some linseed oil and that’ll fit in nicely.

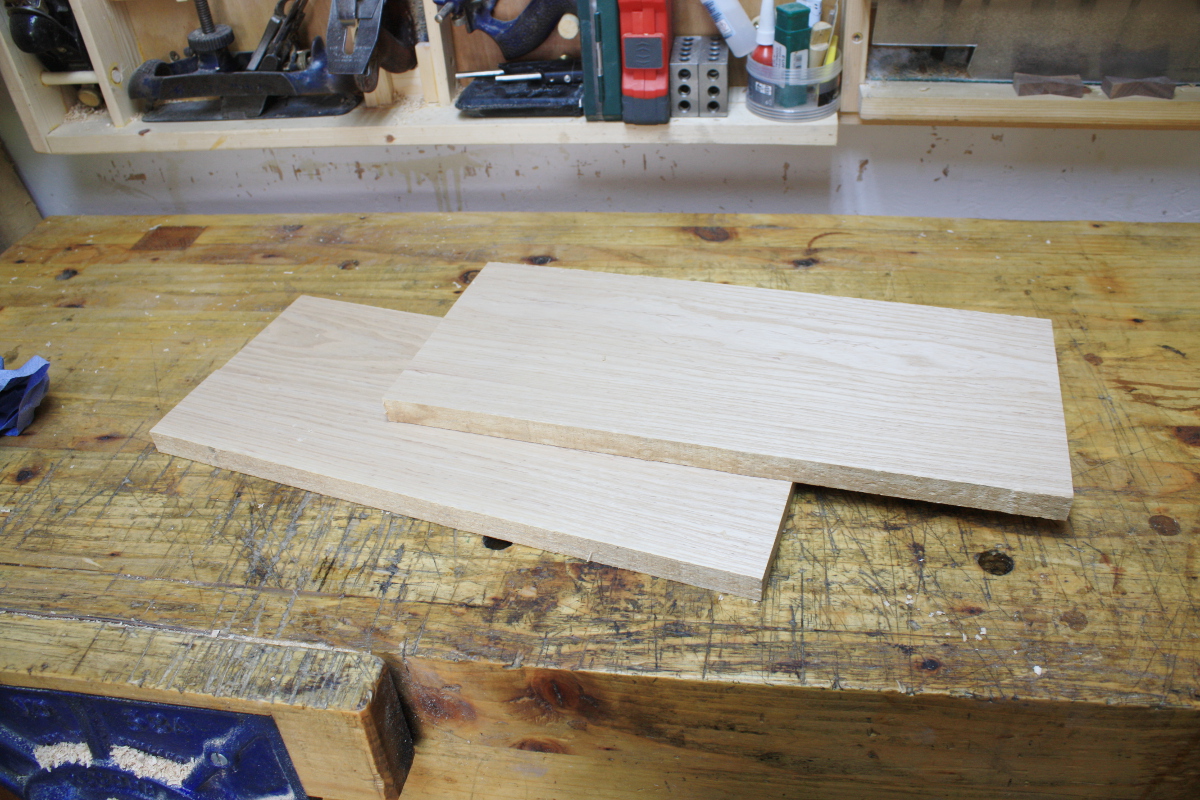
Now the base. I don’t have enough ash offcuts to make a shiplap base, annoyingly, but I have a small offcut of an ash board that I can use if I hack it in half and make it into a panel.

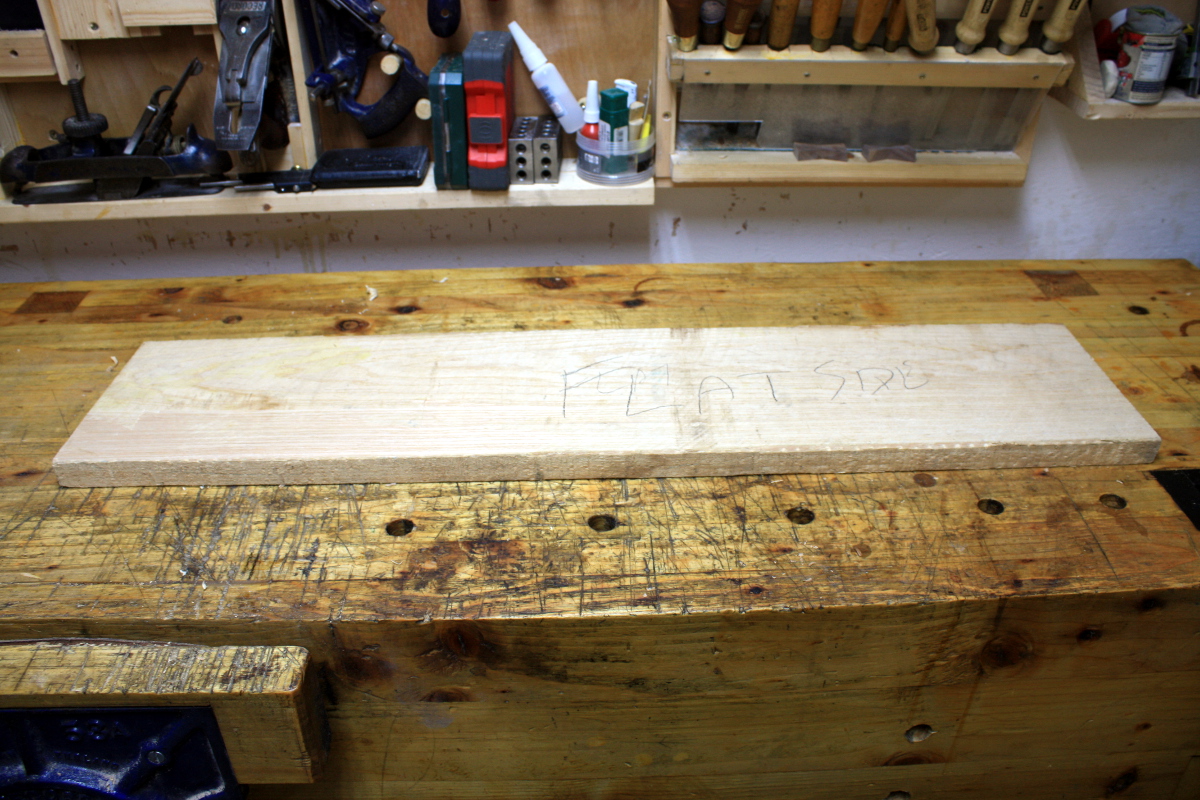
Flattened it with a #05, but I’m not thicknessing this by hand.

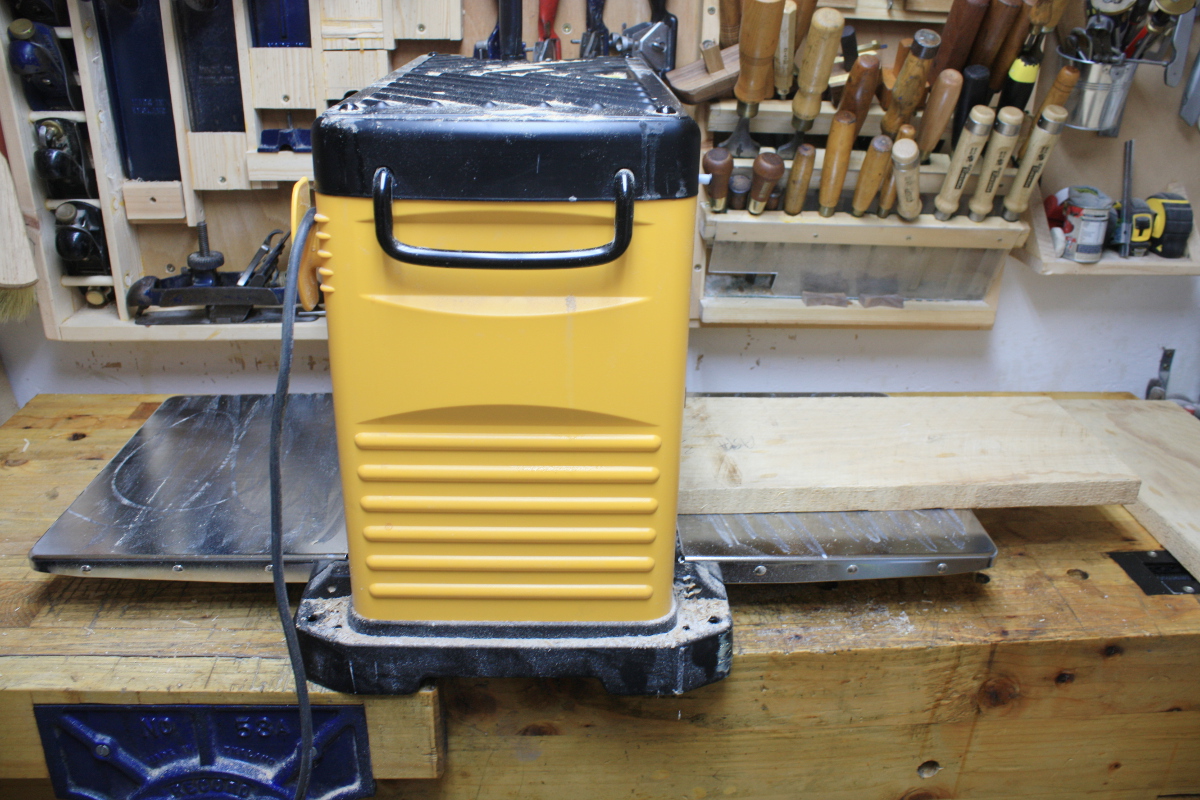
I hate the noise, the PPE, the mess and the fuss, but the speed is nice.

Done in about 15 minutes. That would have been a few days before now.
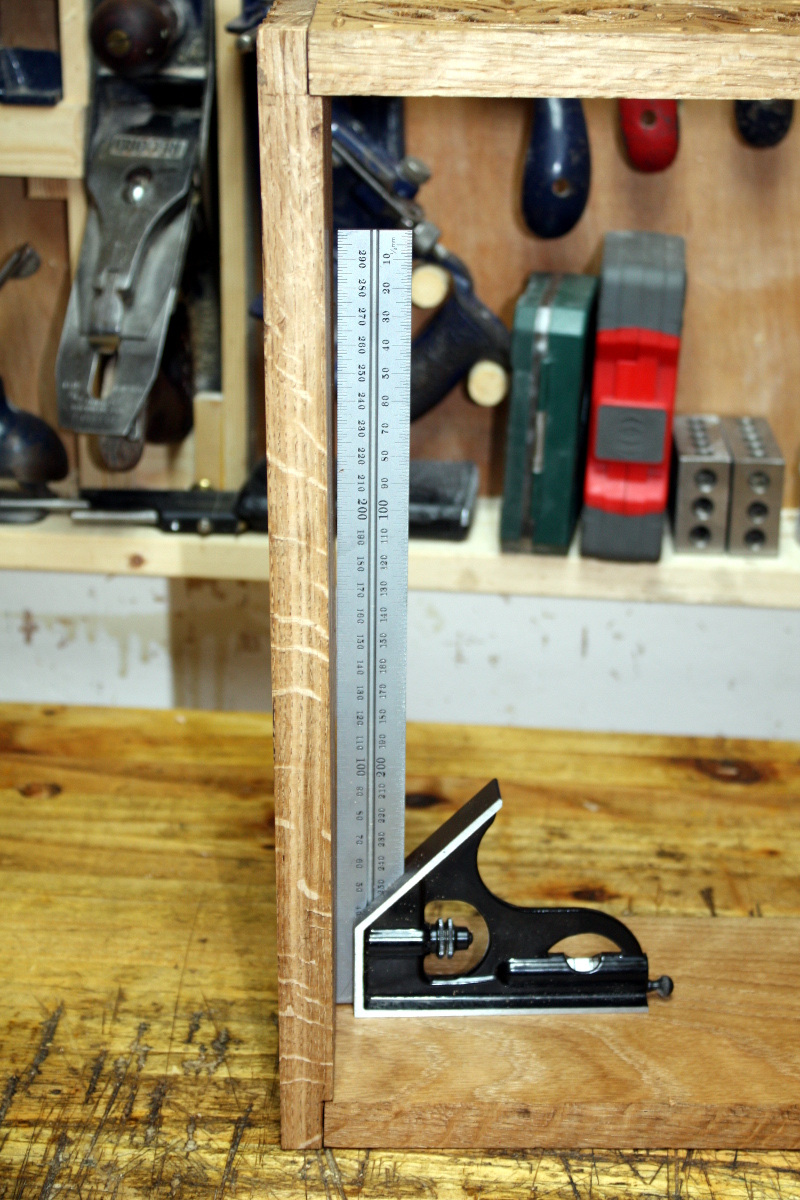
Okay, so #05 to clean the edges, then do an edge joint with the #05 and #08 and glue up with liquid hide glue.

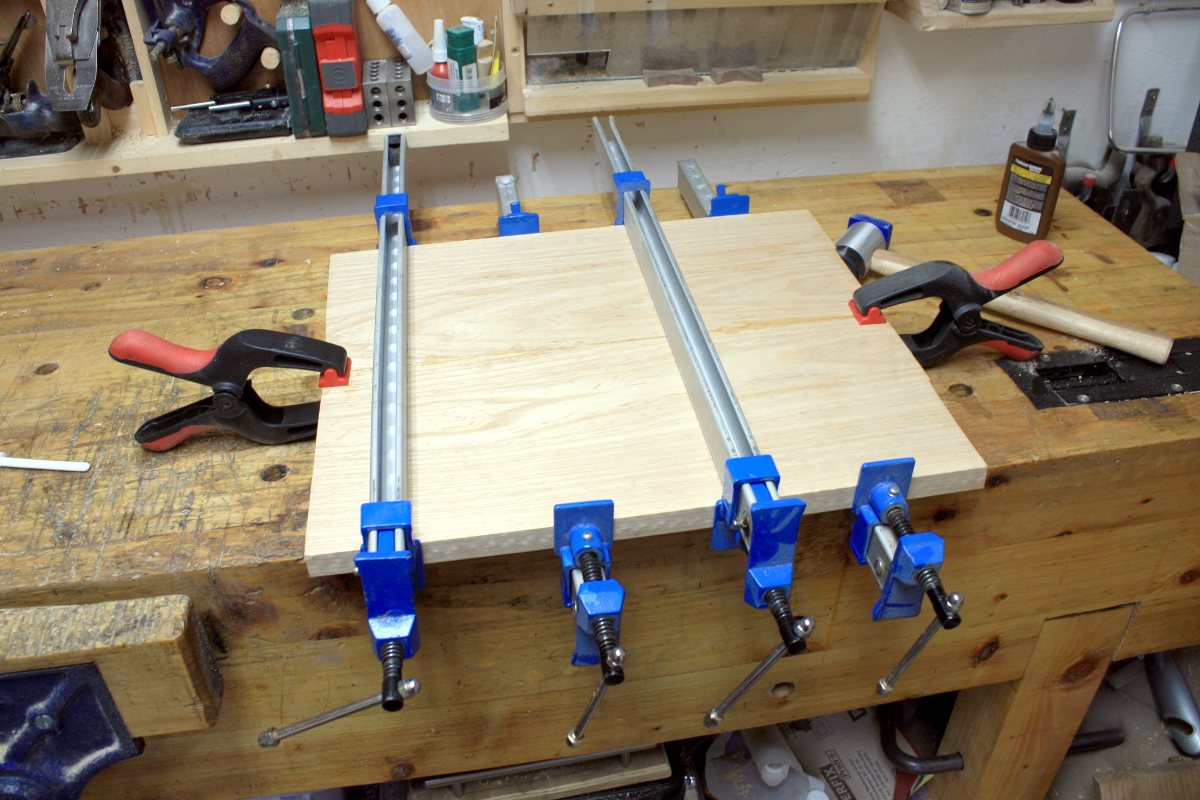
That’ll be ready come tomorrow and I’ll just attach the board to the base and fit the hinges, douse it in a few coats of BLO and that’ll be that.


22
Apr 19

All sides now…

So, four day weekend so almost six hours in the shed 😀
Got the last of the background removal done…

Mix of hand pressure on the gouges and whacking the everloving stuffing out of them with a mallet, and trying to get the background down about 4-5mm or so relatively uniformly across the background. Then to eliminate the unevenness, stippling!

Basically, lots of spikes on the end of a punch, and thwack it with a lump hammer lots and lots of times until…

And then just douse it in boiled linseed oil to show it all up. There are some decorative punches as well, just five or six on the panel.

BTW, Peter Follansbee makes all this look easy. This is a LIE. HE LIES. The git 😀

Front, back, and both sides now carved and all bar the front wiped down with BLO. Next up, cutting off the excess length on the boards that I was using for workholding; and then scalloping out the edges of the front and back boards and drilling pilot holes for nails.

That done, marked out the front and back boards for a shallow rebate to locate the side boards (the joinery on these boxes is not normally very complex). Saw the shoulder, then stand the boards on end in the vice, hold your breath, stick the chisel in the line and split off the cheeks. A heart attack or two later and a bit of paring and fettling, then drive some cut nails home and…

It’s not bad, it’s a little out of square:

It’s only out of square by about 3mm overall though (corner-to-corner). That’s not too bad and the base will pull it into square (you can readily rack it to square with very light finger pressure right now).

And I did manage to get the flow of the carving to look continuous, which was nice.

So not too bad overall (I might wind up disassembling it and reassembling it with a touch of glue and the nails to close up the < 1mm gaps before final assembly).

Next up, either the lid or the base. I haven’t made up my mind yet. Mind you, the way work’s been going, I may not get back to the shed till next April…


13
Mar 19

17th Century Resin?

So, y’know when you have an odd idea and you can’t be sure if it’s good or terrible?

The oak carving is going okay. But depressingly regularly, while cutting away the background, a piece of the foreground chips off. Sometimes I can fix it with CA glue, sometimes I can soften out the edges so it looks like it was supposed to be rounded instead of oops-broke-a-bit, but I kept wondering about how well the box would hold up if it’s this chippy, and also while I like the way it looks, well, most of the appeal of this sort of stuff comes from the medullary rays and the lines of the grain you get when you rive oak, and the flatsawn stuff just isn’t as pretty.

And then I wondered, well, what if you carved a Peter Follansbee pattern, but then filled it with Peter Brown resin?

And I couldn’t decide if that was a great idea or a horrific one so I took an offcut, scratched in the pattern and spend a very hurried ten minutes hacking out the basics of the pattern and annoying myself that despite speeding through it, it came out better than some of my more careful attempts.

No, it’s not finished – in particular we’re only down to even close to depth on the right half of the pattern there. But the goal is to just test this idea and see if it’s truly awful. So I stopped here and mixed up some resin with some Crimson Guitars crimson dye (because there is actual historical precedent for this style of thing to be painted, mostly in red and blacks).

I’m fairly sure digital scales in the 0.1g range were not common in 17th century New England, but neither was epoxy resin or a polio vaccine, so, y’know, I can live with it.

Two parts A to one part B by weight plus two drops of crimson stain and mix for a full minute to make up 60g of resin. And then pour.

It looks like a seriously impressive accident just happened.

I know it’s spilled over, that’s deliberate. If I don’t put in enough, the oak being porous soaks up enough resin that it dips below the surface and I’ll have to take it down too far afterwards to get a clean surface again. I’ll let this set then pour more resin over the top to get it all above the datum (and I’ll leave it clear so I can see what a clear resin looks like in some of those v-tool cuts as well; that might also be something to try.

I mean, yes, one’s had more work, but so far this isn’t convincing me it’s a massive improvement, but let’s just see.

So it cures for a few days and then today…

Yikes. Messy. I tried planing down the surface with the #05 but even on a light cut the resin chips and it’s just not viable. So sanding is needed and I only had a half hour so…

Repeat after me, “It’s only a test, it don’t mean a thing”

So that took off the excess and got back to an almost-flat surface (one part of the oak drank a lot more resin than even the second pour made up for). And then more sanding is needed to get an idea of what it could be if I did it right.

Wetsanding with micromesh up to 1200 grit (but not for a huge amount of time, only 30-40 seconds per grit) gives this.

For fits and giggles, add the linseed oil that you’d normally finish oak with:

And the transparent resin is interesting as well – you can see the pattern, but not feel it and the surface is smooth as glass.

The rushed beltsander is not the best tool here. It grinds the resin dust down into the pores of the oak and it’s nearly impossible to fix that. I need to think about that a bit to figure out what to do to prevent it or if it can be prevented at all. Maybe a #04 with a really really fine cut is an answer, I don’t know for sure. Maybe I should finish carving, seal the pores and then pour the resin.

Or, you know, maybe this is an absolutely terrible idea 😀 It certainly isn’t as good as a Follansbee, so maybe that’s why I’ve not seen this done before. Need to think about it a bit more.