25
Aug 18

Milling time

So, been sick. Children, they’re basically walking petri dishes that deposit germs on you. Anyway, back to it today. And nothing fancy, nothing terribly skillful, just milling timber to rough thickness.

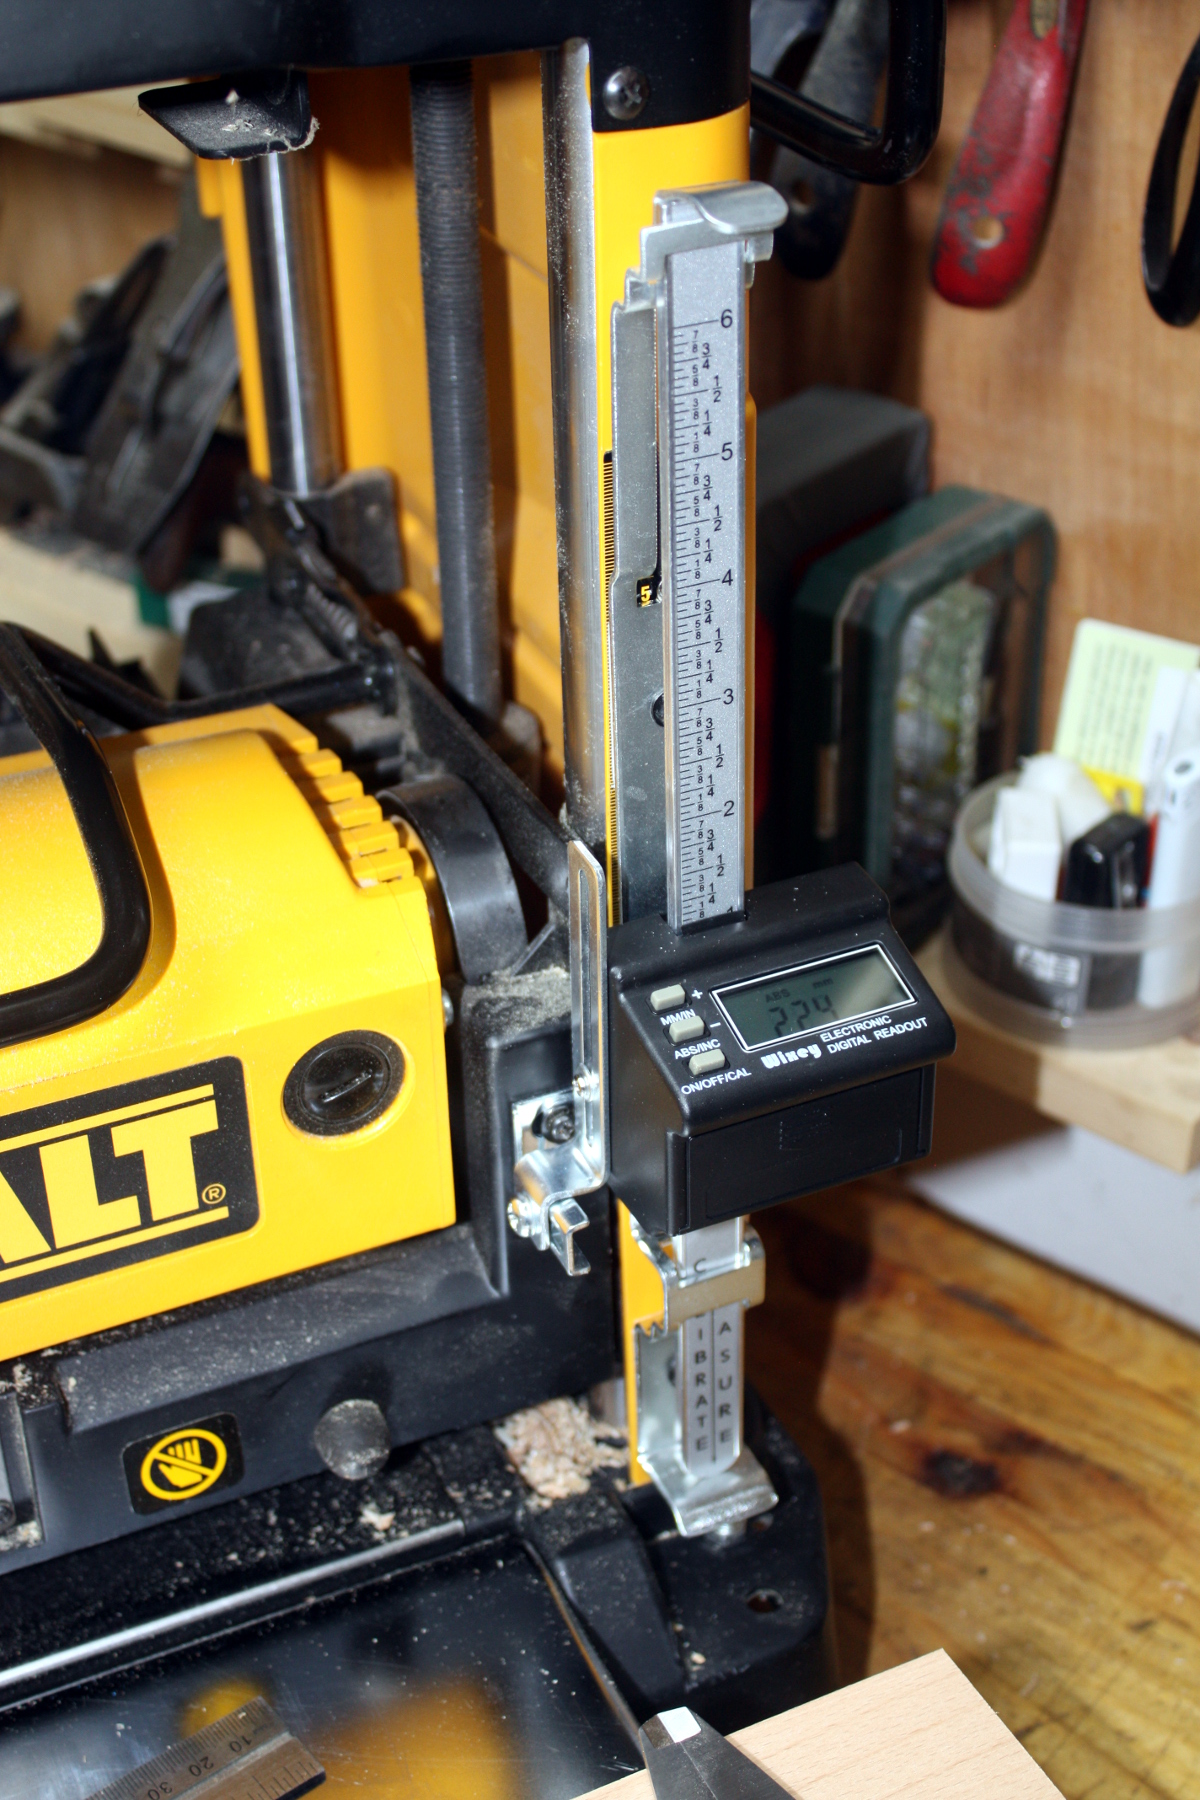
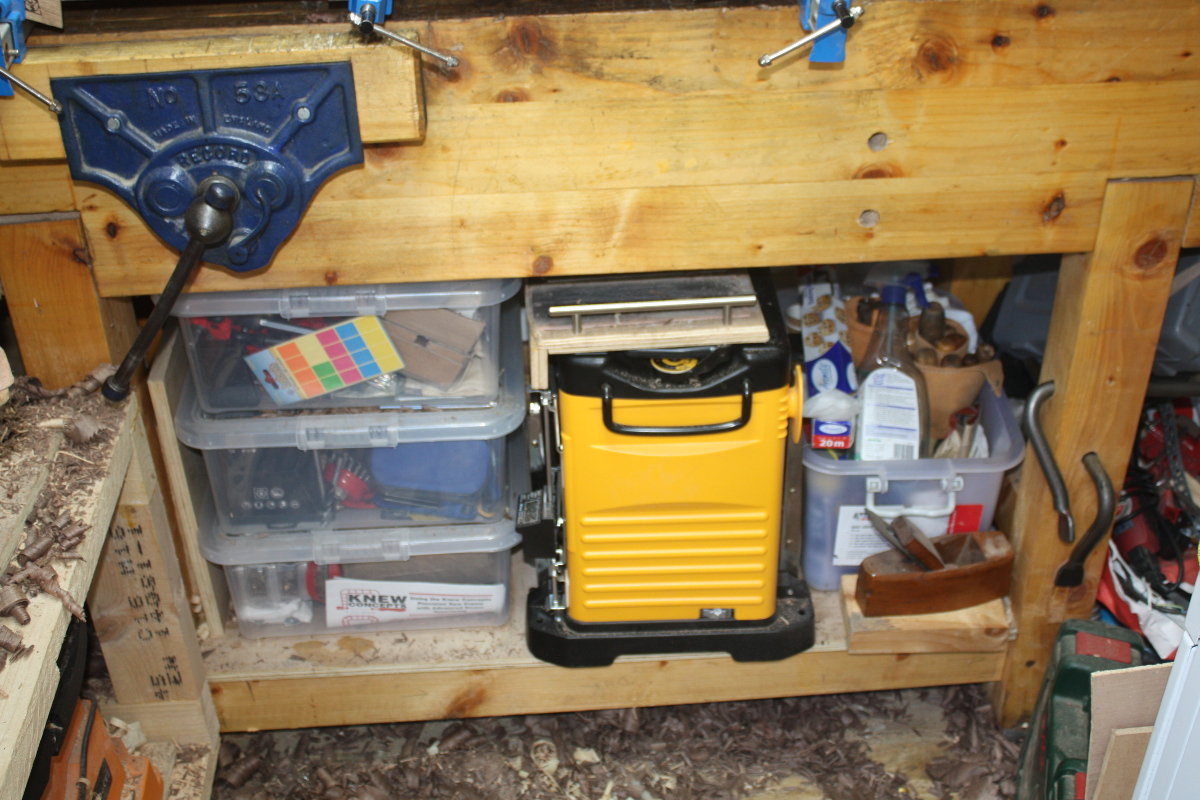
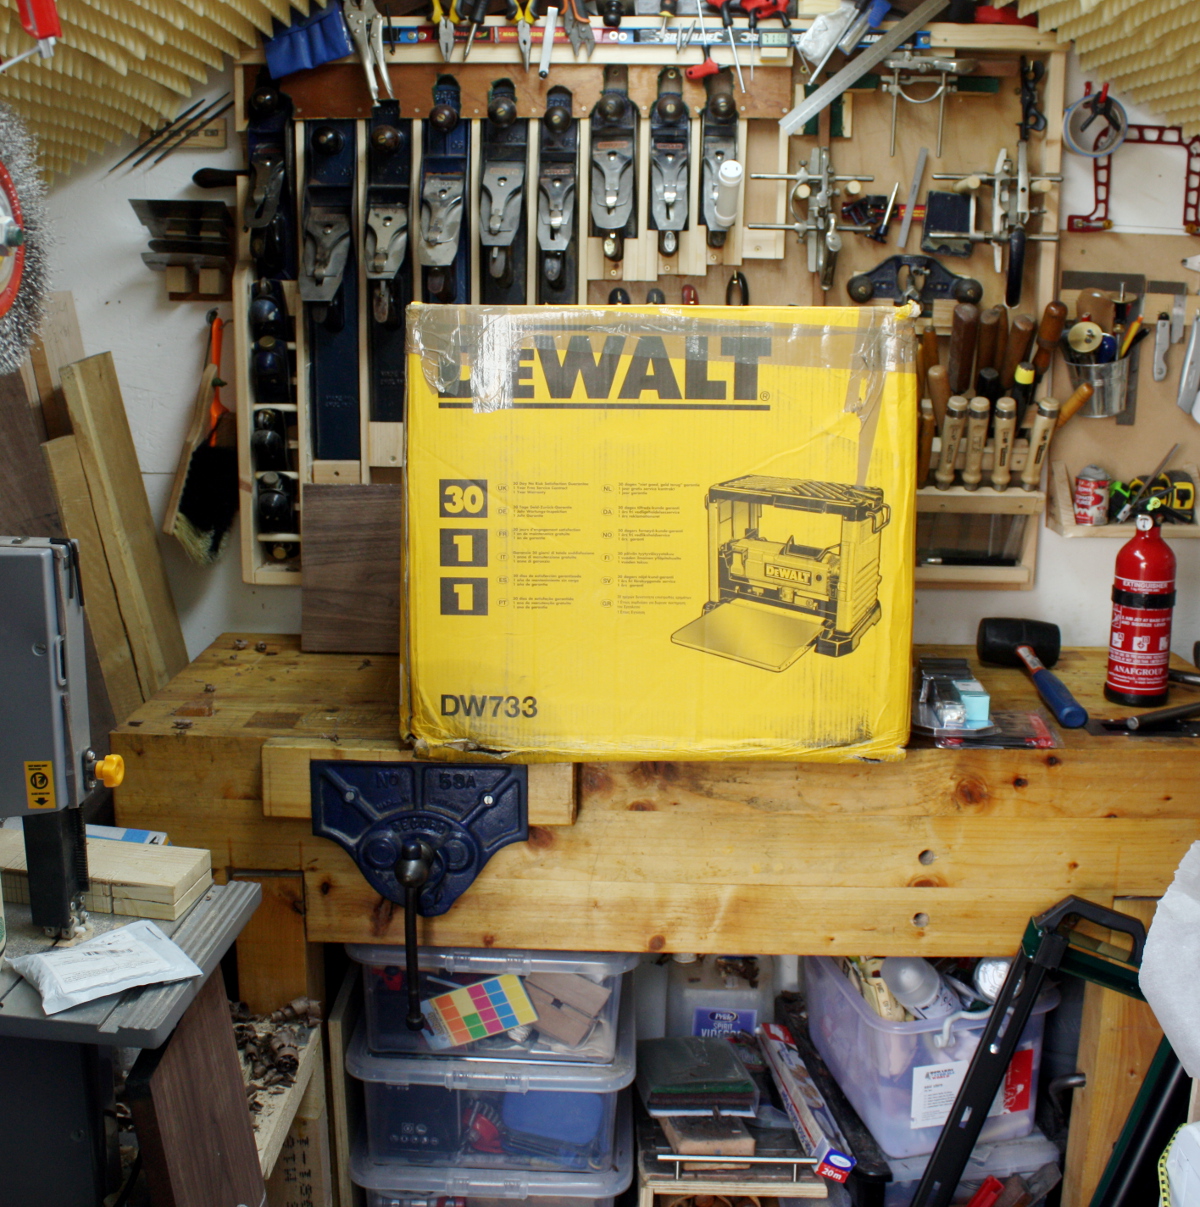
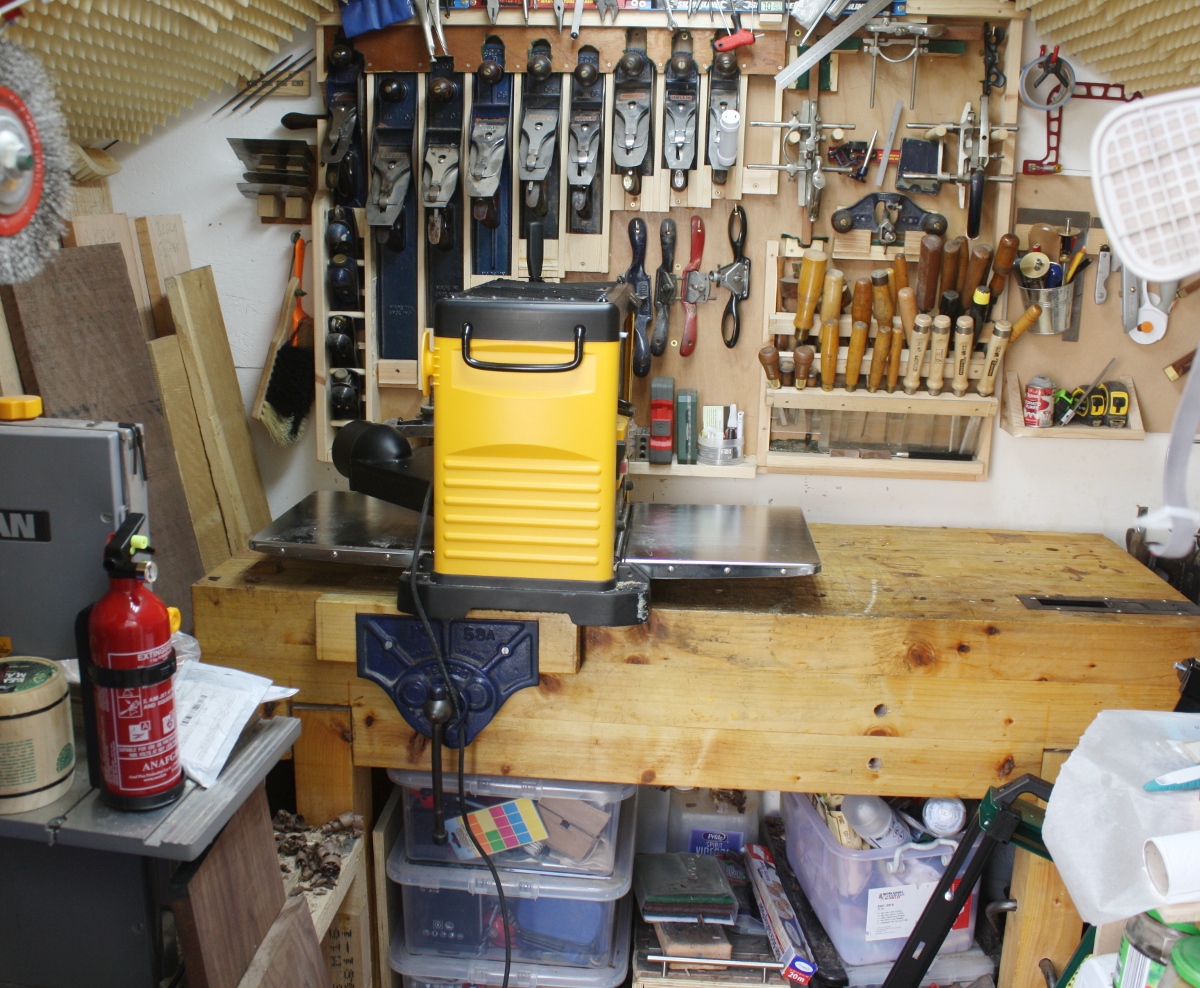
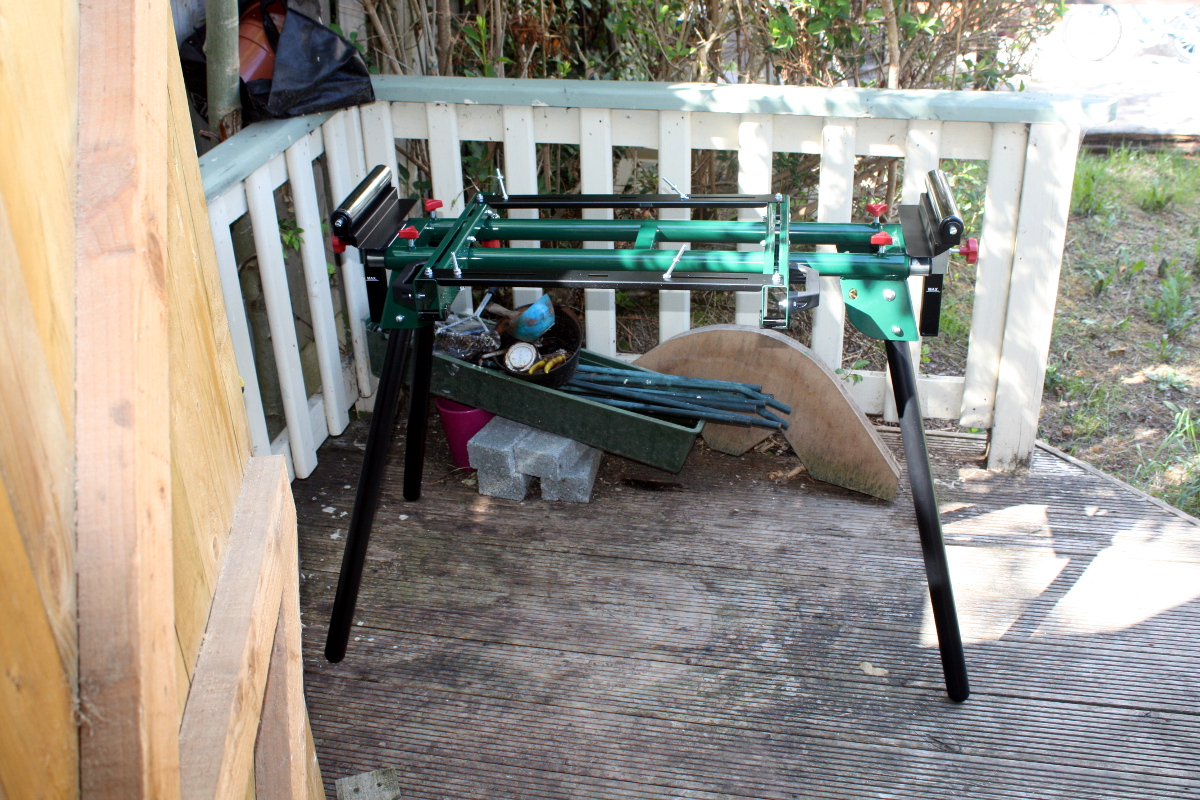
Retrieved the mitre saw stand I bought from lidl a few weeks ago out of the attic, set it up, and mounted the Dewalt to it, spent a while faffing about with the mounting screws discovering that I’d fastened it down using the screws that are for adjusting the infeed and outfeed tables that are built into the thicknesser and had to re-mount it (turns out the thing won’t mount to the lidl stand quite perfectly because it’s too wide, but it’s stable enough to work).

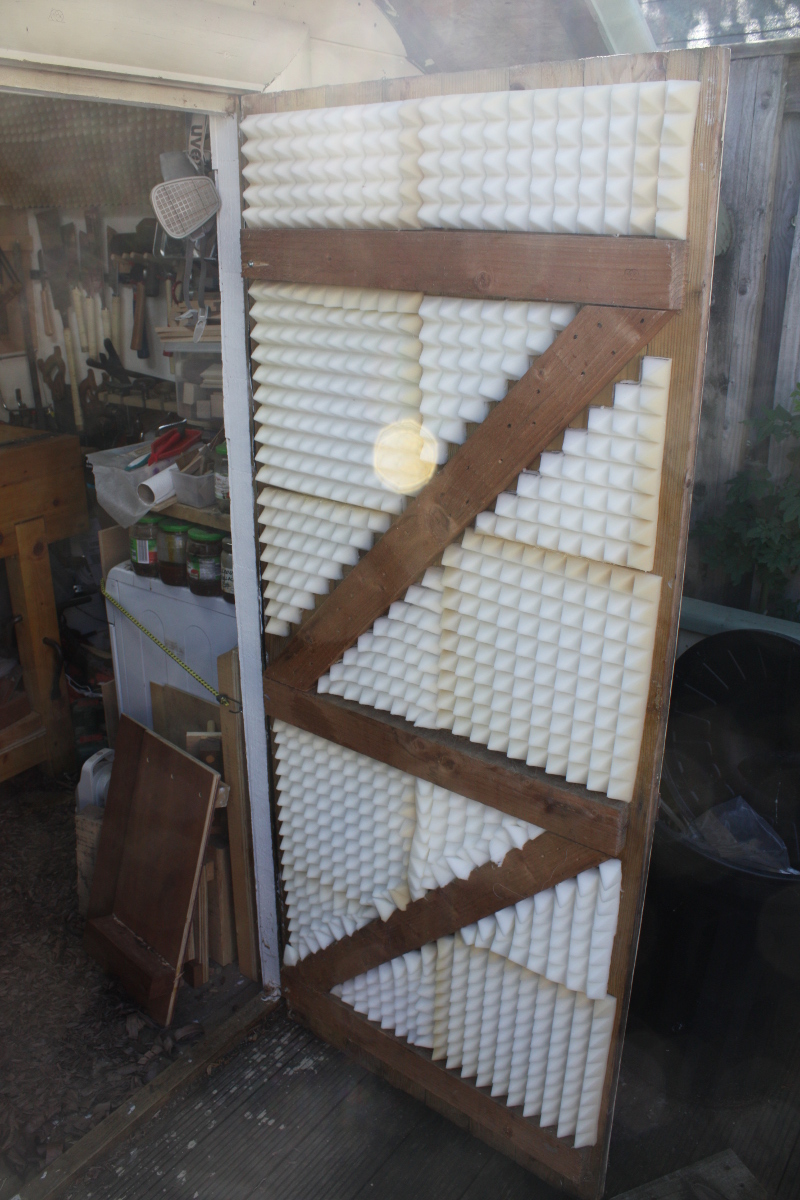
I was going to mill up the two sides as well as the two remaining shelves, and the sides are just too long to do this in the shed, so I waited for a Saturday afternoon and did it all on the little decking area outside the shed. Which, noise-wise is a bit obnoxious, but this is a one-off (normally milling only happens for a short period at the start of the project, and on top of that, normally I’d mill up in a soundproofed shed so it’s as noisy to the neighbours as someone mowing a lawn, but with an annoyingly higher pitch). Anyway, the plan is to not do this in an evening and to try to time it all for Saturday afternoons if needed, and mainly not to need it by not picking projects which are physically too big to fit in the shed readily.

That needs to be a bit more of a cast-iron rule really.

On top of which, while I love what that machine can do and having that capability now, I don’t much like actually using it…

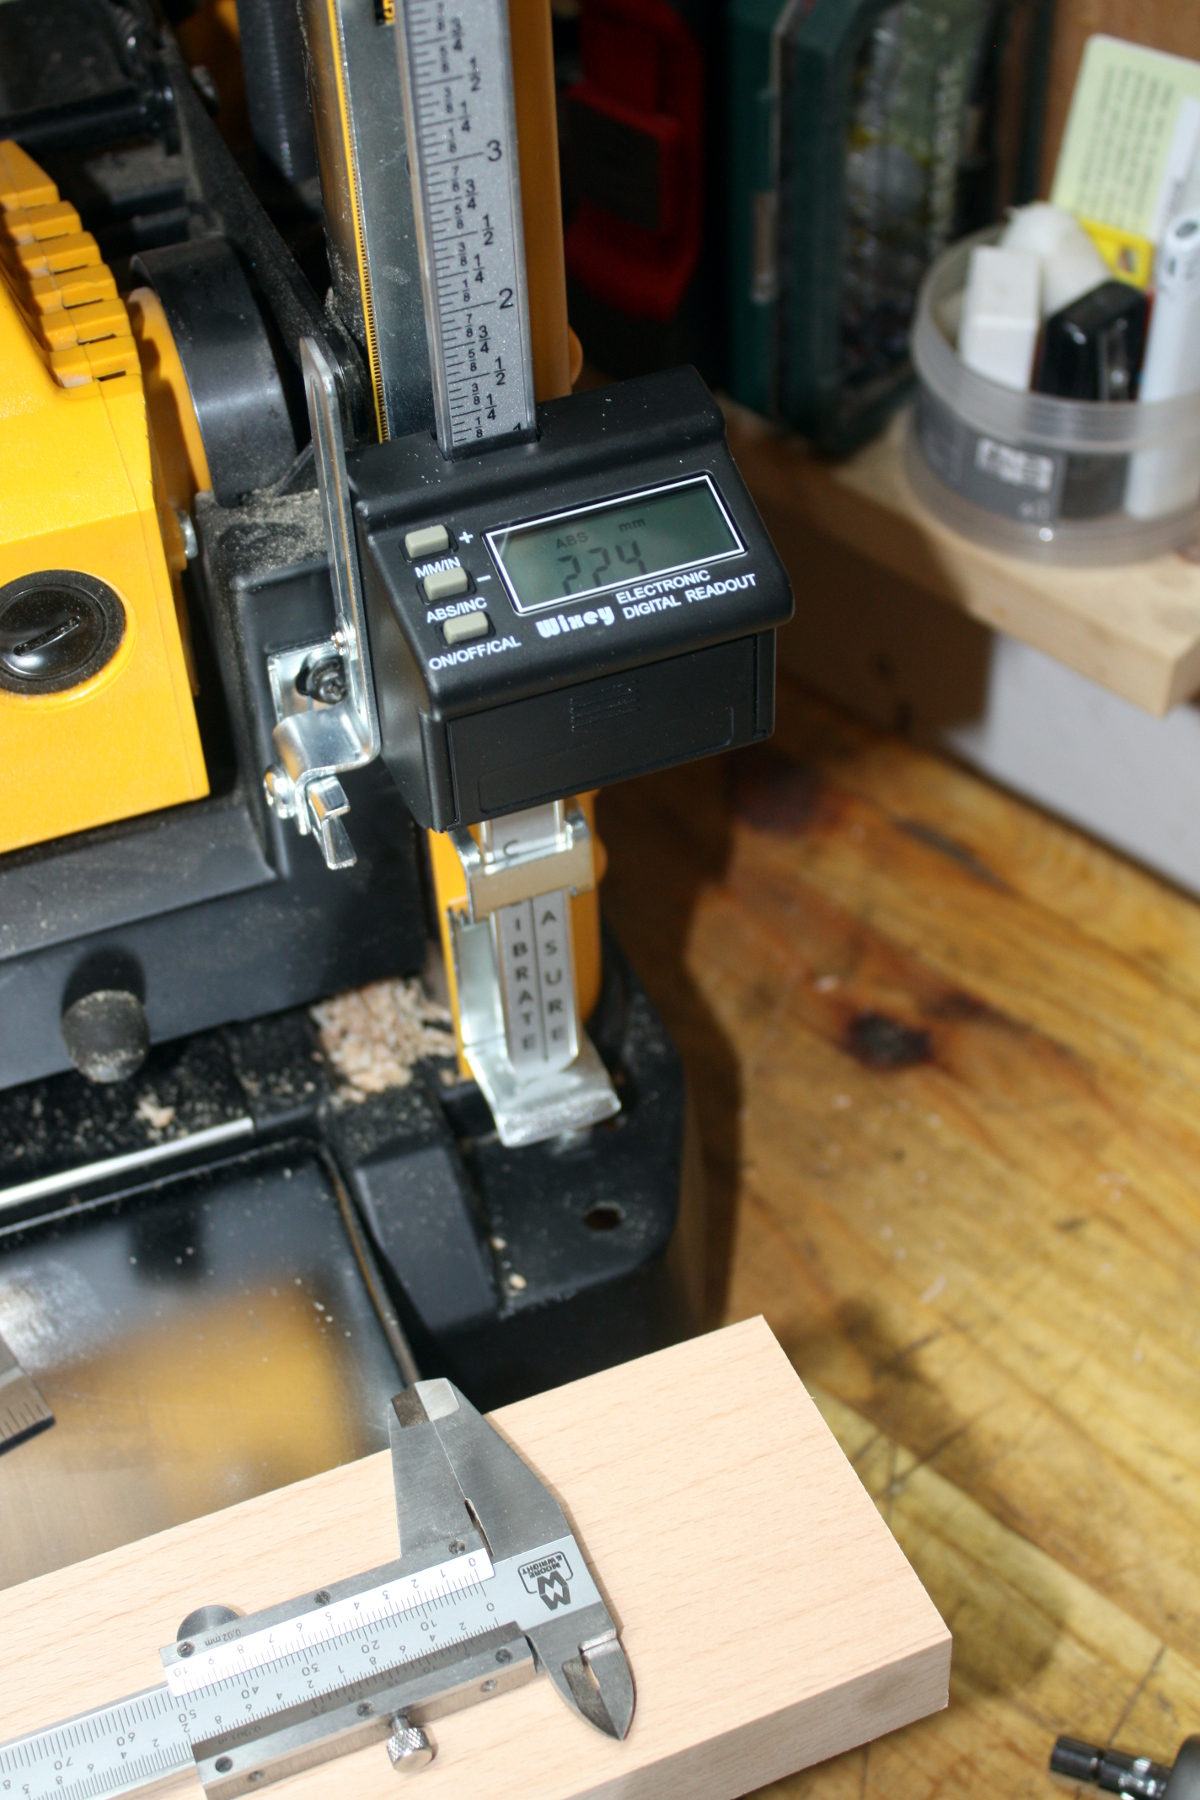
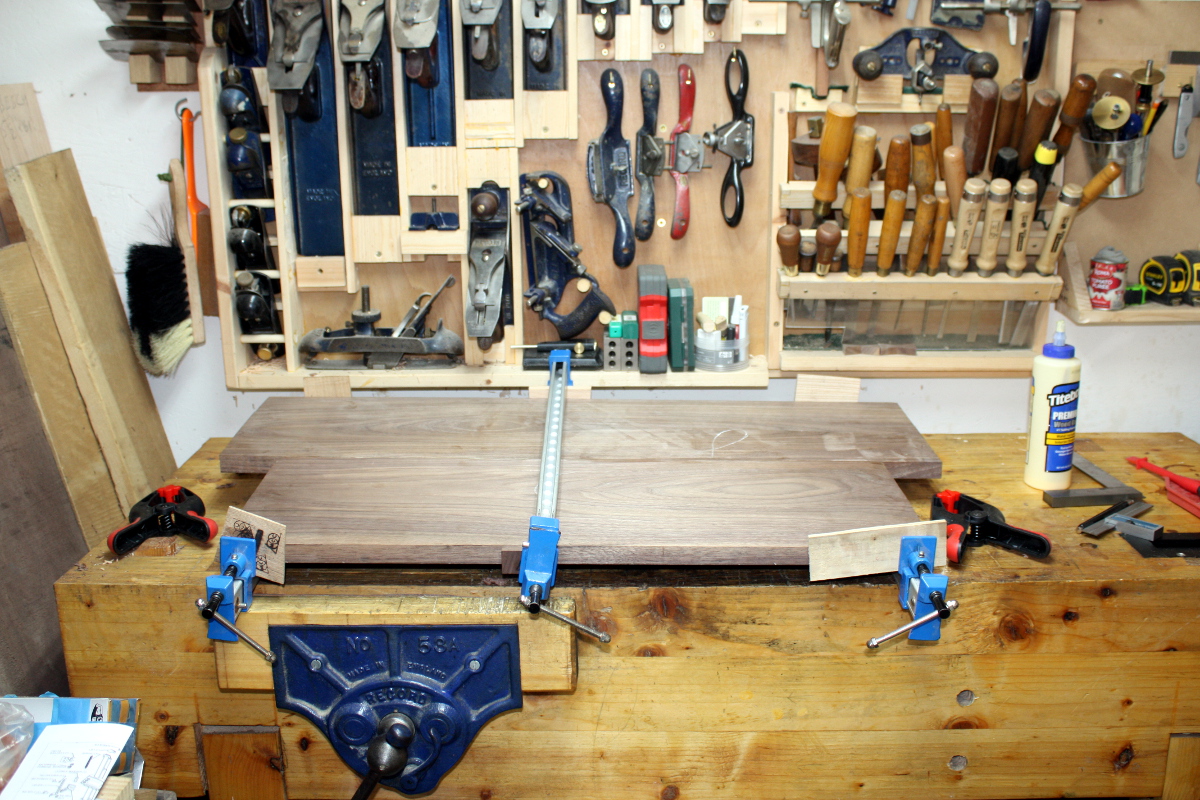
Anyway. Rigged the machine, faffed about with setup, then took the boards (which I’d checked were flat on one side and had flattened by hand if they weren’t) and ran them through the thicknesser taking off a mm or so at a time until I was down to an inch for the sides and just under for the shelves (it’s kid’s furniture, I’m aiming less towards elegance and more towards brick shithouse). It took under 30 minutes to do all four boards from inch-and-a-quarter down to planed, flat inch thick boards. Previously, that would have been most of a week’s evenings doing donkey work that was boring and sweaty and which tore up my hands.

Like I said, I don’t like using the machine, but I love what it does. Now I get to do fun stuff for the rest of the time, like shaping and joinery and finishing work and inlay and so on.

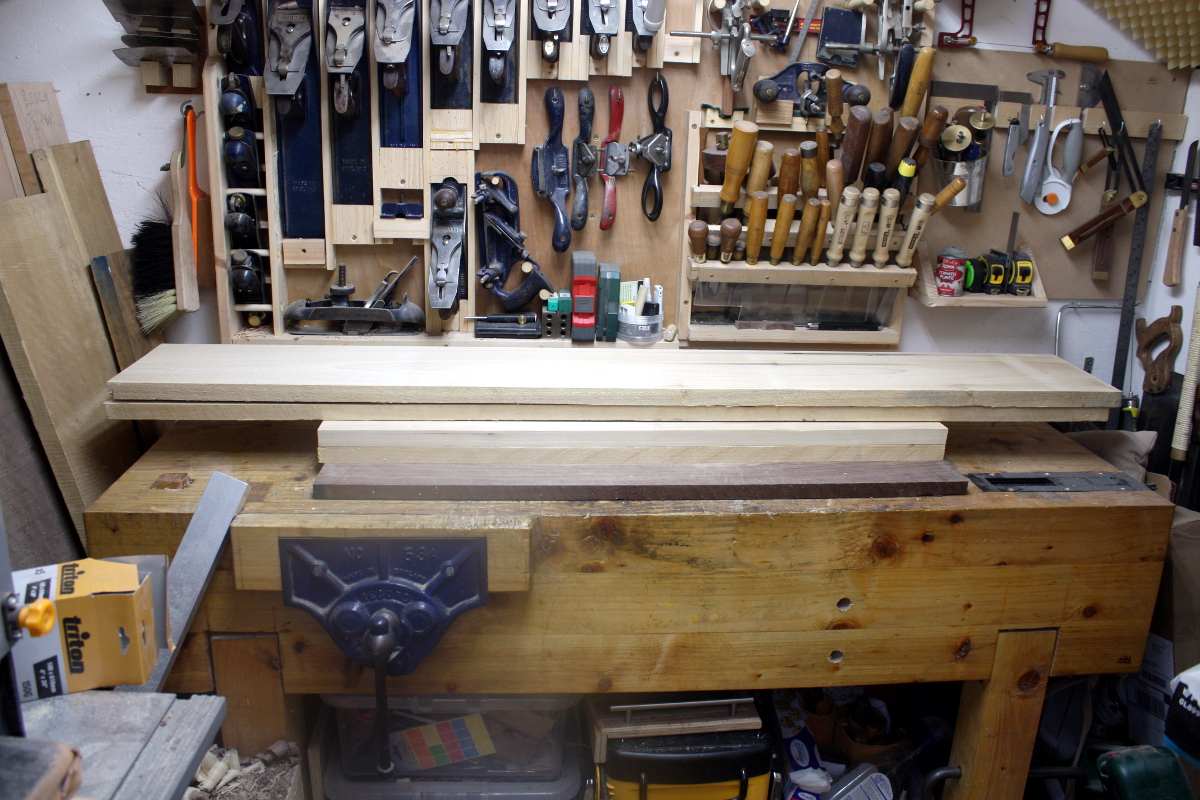
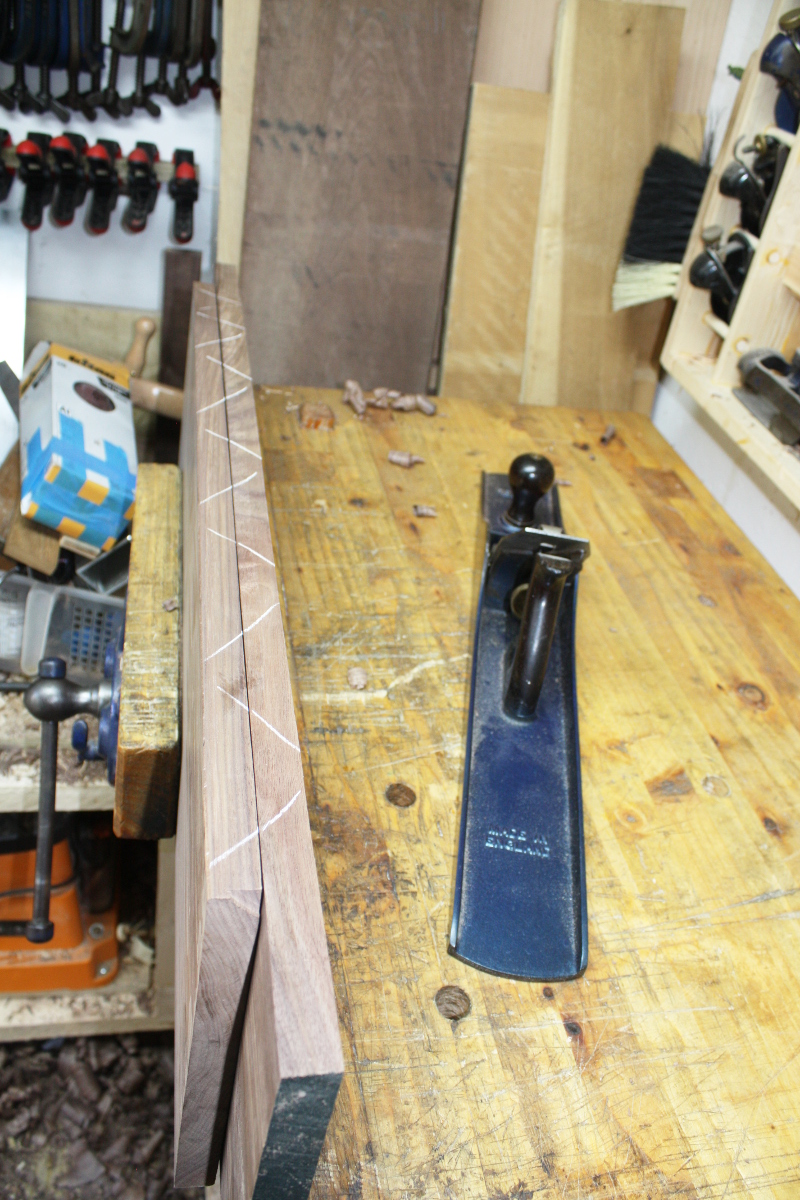
Now they’re not perfect. This is rough thicknessing only, I’m not good enough with the machine to do anything else yet and don’t plan to be for some time. But those shelves are grand and so is one side – the other has a little twist in it that I need to correct still, annoyingly. And the other has what must have been a bark incursion or something that I’ll have to arrange to be in the part that gets cut away when shaping the curves:

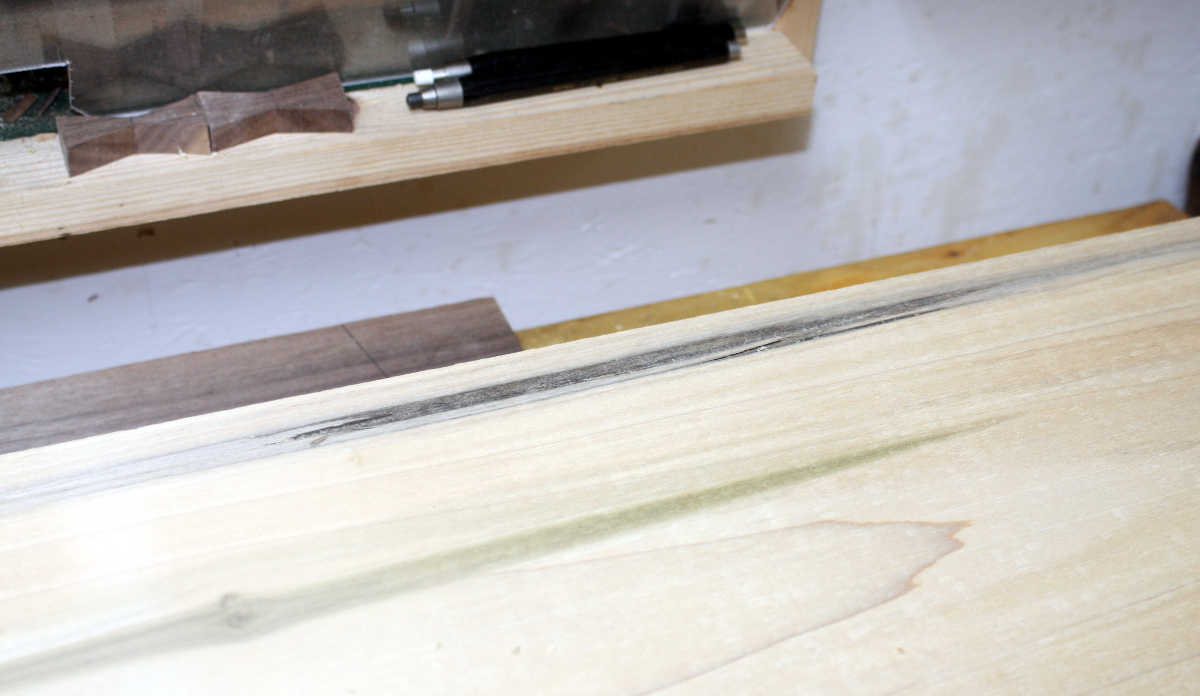
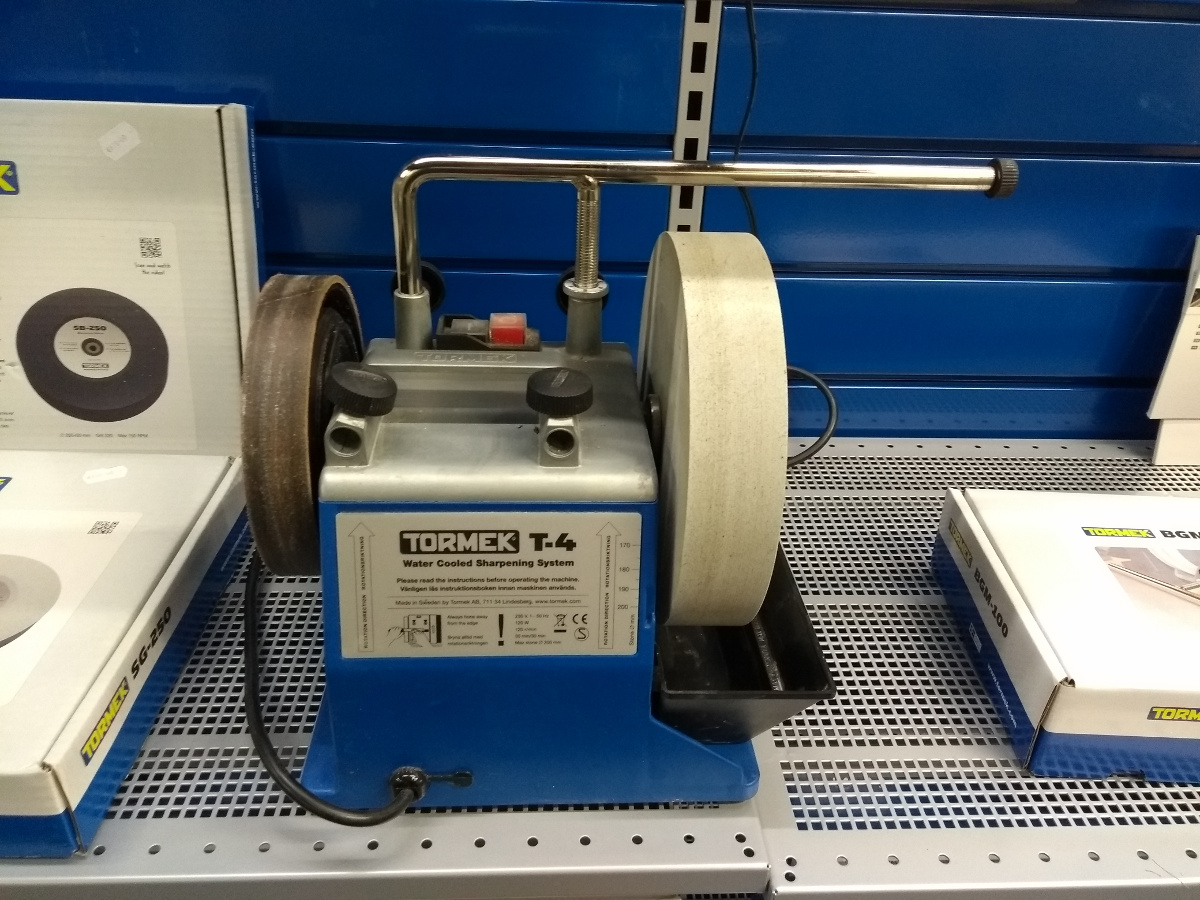
But I can do all that by hand readily enough. At most, a cut or two with the bandsaw. And of course some router work for the sliding dovetails. But nothing as obscenely loud as the thicknesser.

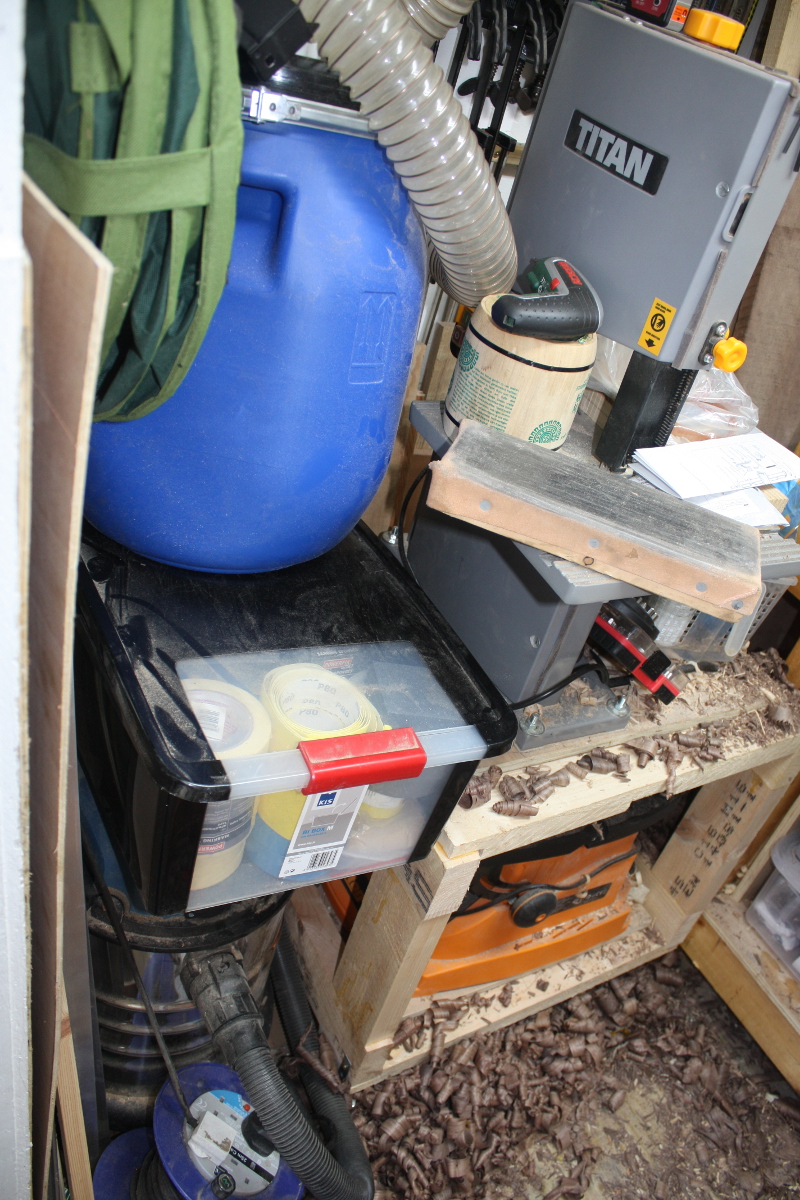
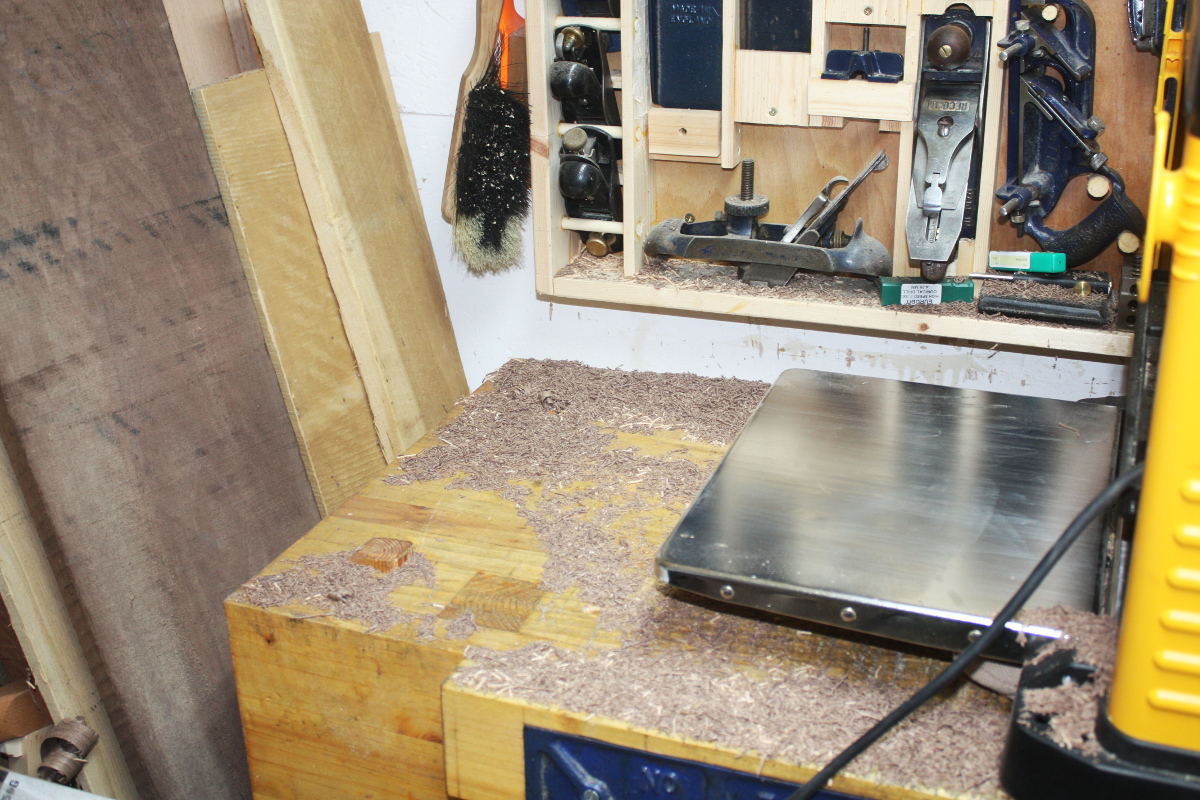
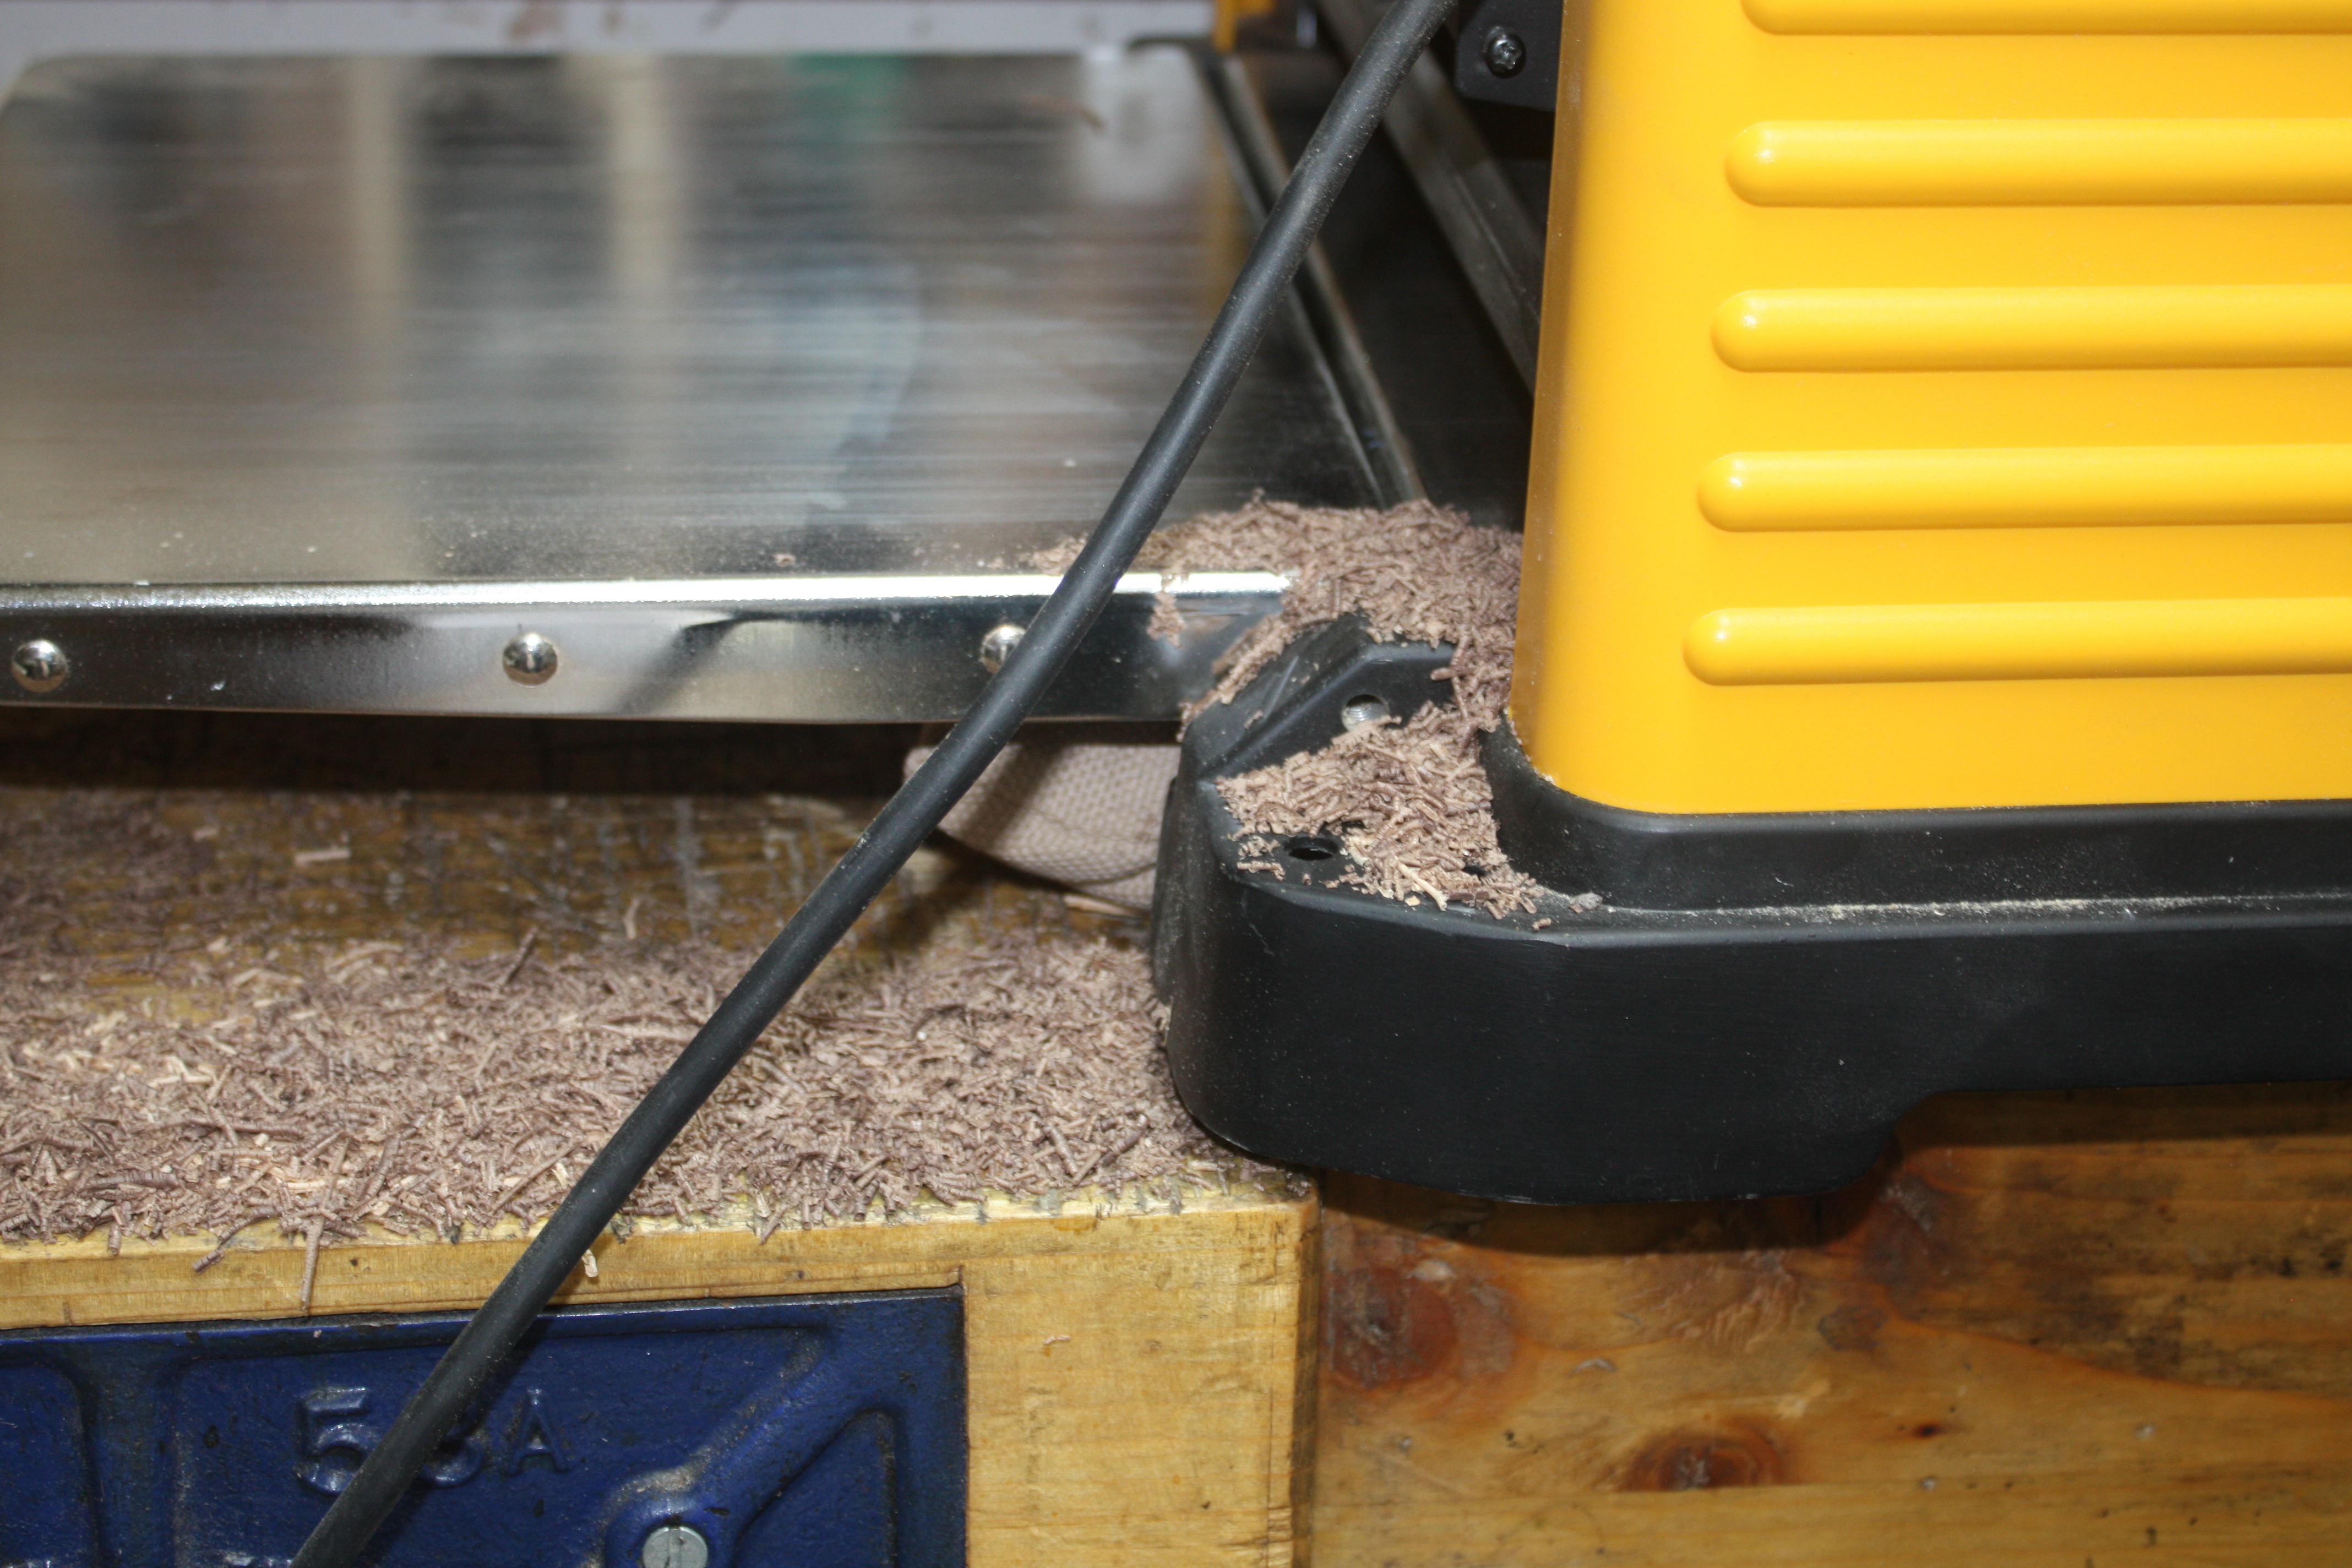
The amount of cleanup that machine generates is something else by the way. Wow. I mean, setup took a good half-hour, and tear-down took fifteen minutes, but cleaning took all that again, and even after that…

Still messy and needing a proper clean. Might do that tomorrow so I can start into the fun stuff without wading through shavings.

In other news, Boss Lady got her locker and loved it, especially the colour.

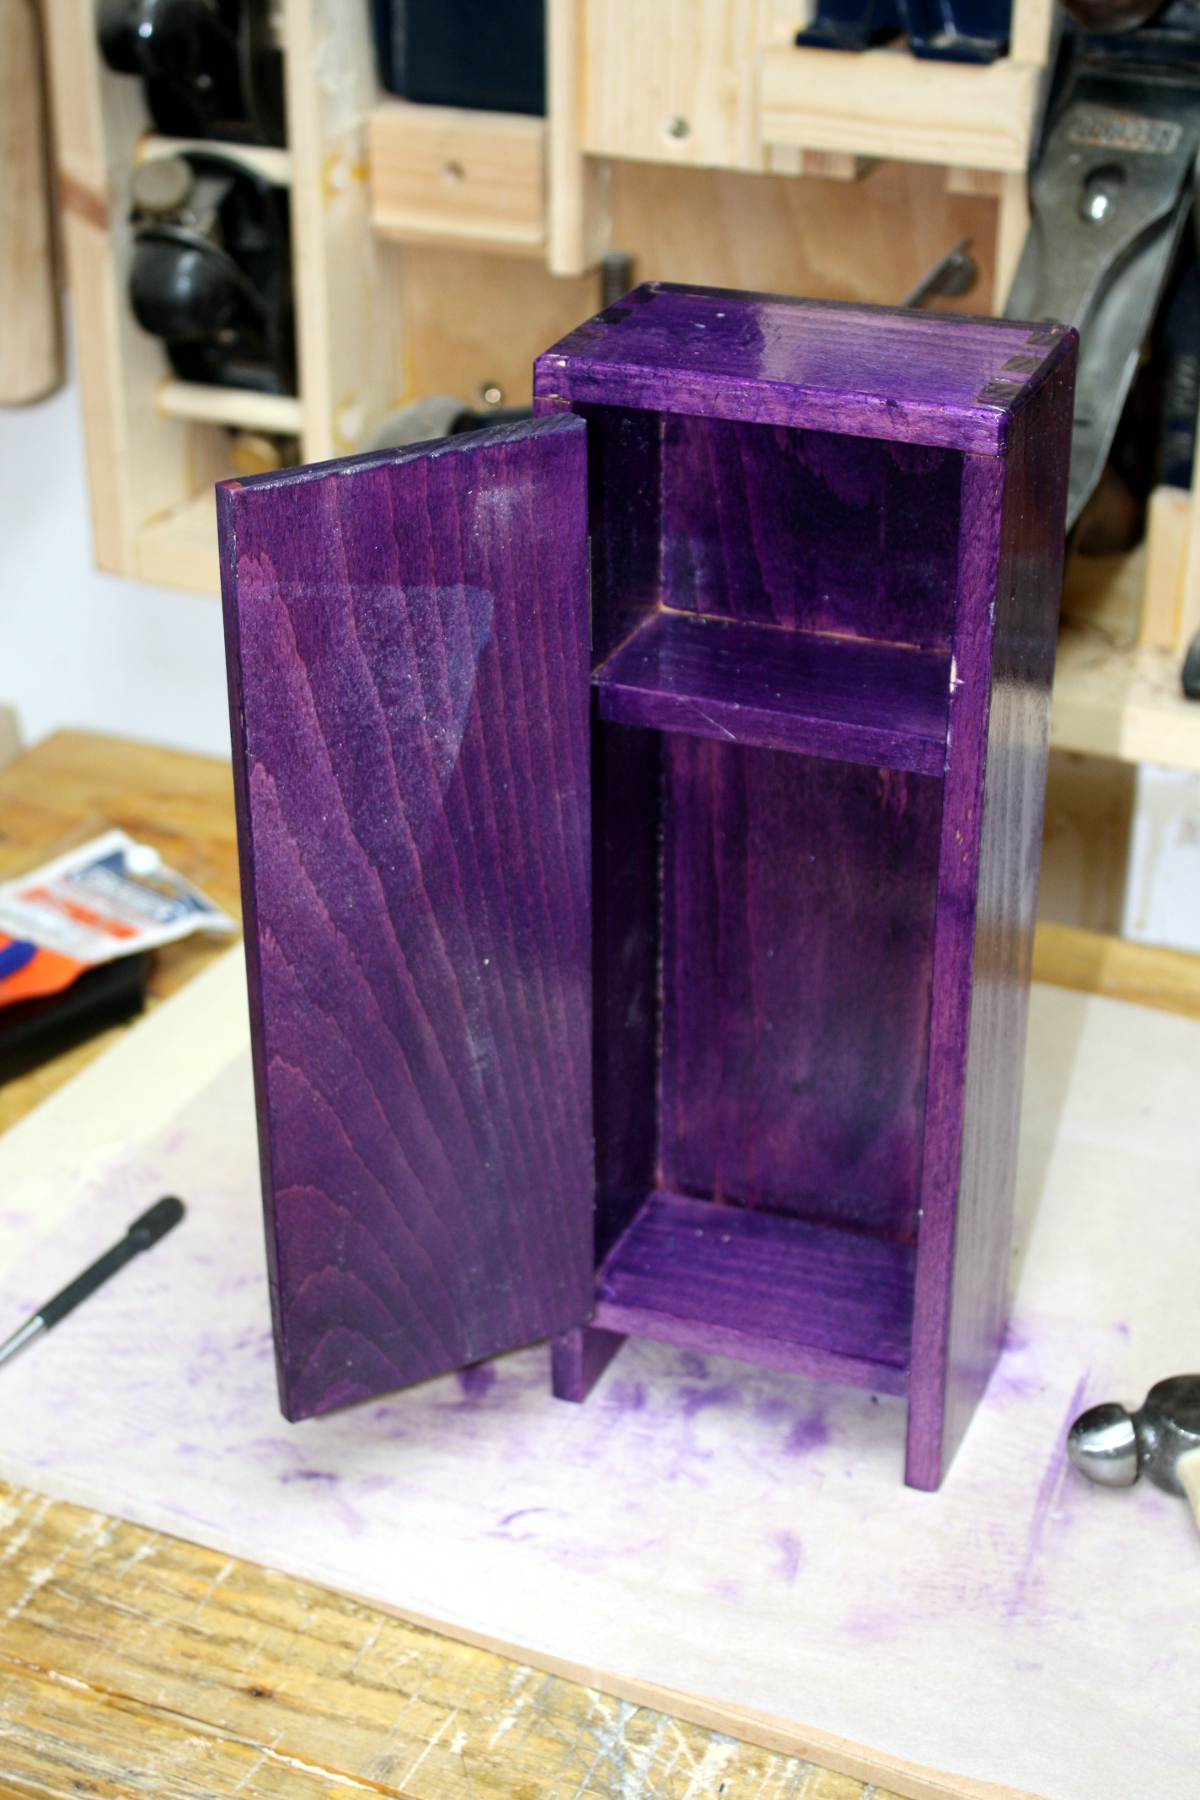
And promptly gave me another commission, this time for building a pair of bunk beds for the same dolls that will be using the locker. I do have to get Calum’s desk finished first, but there’s the next project lined up I guess 😀

Actually, little projects like that can be a bit fun and a nice way to practice things like inlays or kumiko or making shoji (no idea how that’d get worked into bunk beds, but you know what I mean).

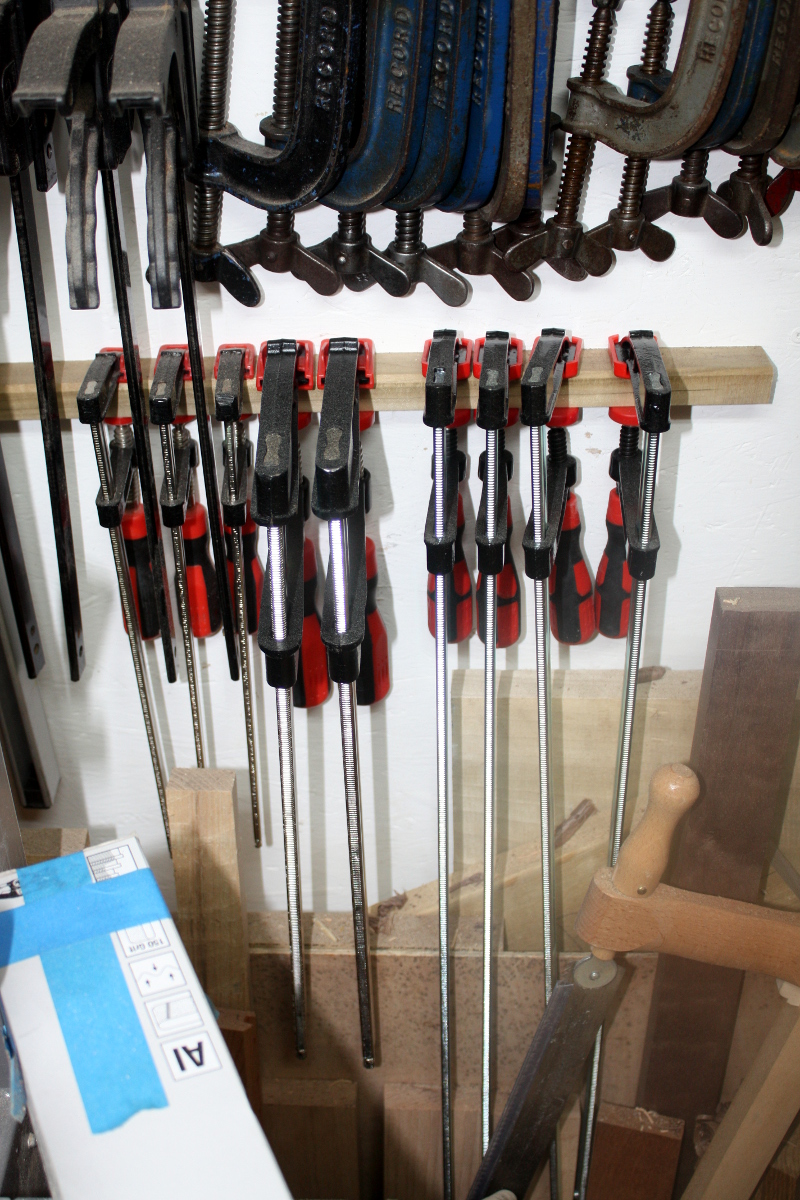
And lidl had a nice sale of F-clamps, so I filled out the third rail:

And then to top it all off, I finally bit the bullet and bought myself a proper combination square. A Starrett, no less.
I mean, I know they say “buy once, cry once”, but I think they omit the bit where, yeah, you’re only crying once, but you’re crying for so much longer. Seriously, I think this will be the most expensive tool I’ve bought yet (not counting the machines). But that’s precision marking-out kit for you I guess. Anyway, everyone who has one say they last a lifetime, so I can amortise the cost and then have another cry at how little difference that makes 😀


05
Aug 18

First chips

So it’s a weekend afternoon so if there’s a more civil time to use a planer, it involves taking a day off work. So to the shed!

First up, fitted the DRO to the planer. Slightly fiddly, and it does still bind a little so I’m sure it needs tweaking – or I could just remember how this is for roughing work only and how it doesn’t matter all that much and never touch it again 😀

It’s within 0.1mm after a very quick calibration. That’s… rather impressive. Well past my abilities so maybe I really don’t need to do much to this. Have to be careful not to kick the DRO when the machine’s put away mind.

This looks to be where it’s living for now at least – that DRO’s a tad more exposed than I’d like, especially if I’m getting at the tools in the plastic boxes on the left, which is a regular sort of thing (I really could use drawers there but shigata ga nai). Also, the sharpening plates are now riding on top of the thicknesser and an entire crate of finishing stuff is now displaced and living on top of the vacuum cleaner…

It really is getting cramped in here. And no, I have no more wall space left after the latest addition to the wall…

Oh well. On with the project I think. I took the walnut board I was thicknessing last time and fed it through the planer four times, three on one side, one on the other, taking small cuts each time of less than a half-mm.

Hm. Oh yeah. Extraction. 😀

Well, I have a 4-to-2.5-inch reducer in the post and I’ll hook that up to the extraction port when it gets here (and I’ve ordered the bits I need for that mod to do a quick-disconnect on the extraction hood as well). For now, this is manageable – just sweep the cuttings to the floor and then hoover up later.

It’s a shock to see how fast the process is though, not to mention how easy – I mean, you’d be able to keep up with the rate of material removal using a heavy-set scrub plane across the grain if the board was small, but for anything long, this just runs away with it and in terms of effort, it’s not even a comparison. I don’t plan to use it for anything other than roughing, but for taking a quarter-inch off a board in less than an evening’s free time, this thing’s excellent.

The noise is pretty hefty, but I discovered that putting a flat cushion between the thicknesser and the bench did cut down on the really unpleasant bass notes; the thicknesser seemed to have been resonating with the entire shed and the decking outside, which was… sortof impressive? Something to remember for the other machines as well I guess.

Anyway, with the board to rough thickness, out came the #05 and some finish planing was done (the board had bowed slightly in the last week or so because it had been sitting on the bench with one side planed and the other not), and then it was on to edge jointing…

The crosshatching is to watch material removal again. It took a bit of tweaking to get a joint I was okay with, and then a tad more planing of the boards individually to get a nice joint with a spring joint space in it, and then, glue-up…

Should be okay in the morning (the panel will have angled sides so those offsets are fine). The joint isn’t bad but the top will need some work with the plane to get a nice flat surface….

There’s almost a half-mm step there in the middle and we’re flush at the corners. Well, I’ve had worse and this is what hand planes are for…


04
Aug 18

Toys

Not done a tap in the shed in nearly two weeks now. Between work kicking up a notch and a short holiday away, not been near the place.

You might wish you were here, but it’s hard to know where “here” is…


On the way back, I did get to browse around The Carpentry Store for a few minutes, but alas they don’t carry Ashley Iles so I couldn’t try out those dovetail chisels. Mind you, I almost bought a few other things (but I was good…)


One day… when I have a bigger shed… it shall be mine…


And then there was the shiny shiny…


And I now finally understand why people go nuts for Stanley 51s…

This thing is awesome. For the price, it bloody well ought to be, but still. Wow. Solid. Chunky. But just so well balanced, so well put together. Damn nice. Maybe after I win the lotto 😀

And then there were lathes. I mean, even forgetting the fullsize monsters, there were ones that would fit on my bench…

You don’t really grok until you’re facing these just how compact they are. Which is a dangerous place to be when carrying a credit card 😀

But no, I think I’ll hold off on this a little longer because there was something already waiting for me in the mail room in the office. So we returned home, and then this morning junior and I headed into the office via the post office and…

It’s a nice little thing this, just a cheap and reasonably accurate DRO kit. Of course, then I needed something to attach it to, so…

😀

Finally caved in and bought one second-hand from a poster on the UK woodworking forum. A bit of unwrapping later…

And that’s a wee bit larger than even I was expecting.

And holy hell it’s loud. 110dB when cutting wood. I mean, even if you hated your neighbours, you couldn’t do that very often. So this is basically just for when I need to do a lot of hogging off (basically replacing the scrub plane) instead of doing planing per se, and it will live under the bench most of the time (I need to move the sharpening gear, but then I wanted that to be out where I could get to it more readily anyway). I might have to move finishing stuff around a bit though, but hell, that’s life in my workshop. I have to move stuff around if I get a new idea, let alone a new tool. And it works quite well, though I need to get an adapter for the extractor and I’ll have to modify the extractor hood so it’s more readily removable/refittable because it’ll be taken on and off more often than DeWalt though to plan for. There is a mod to do that, I will probably be doing that:

I need to find a way to protect that DRO as well, instead of knocking it off when putting the planer away.

I did think about having a stand to put it (or the mitre saw) on and Lidl were doing a cheap special (which to be honest, looked exactly the same as every other cheap mitre saw stand for half the price) so:

However, given how loud that planer is, I think this is a non-runner. The soundmeter puts it at 110dB inside the shed, and 79dB on the deck outside the shed with the door closed and that’s just too damn loud. I think I can reduce it slightly with more sound baffling on the one surface left that isn’t already covered in baffling or lining:

But I think this is going to be one of those things that only happens for short times at civilised hours like weekend afternoons.

And lastly, the last time I was grinding metal out there for a scratch stock, I noticed a lot of sparks heading towards a lot of flammable things that I was standing in the middle of and at that point I became very cognisant of the distance to the nearest fire extinguisher, so….

Better safe than on fire I say…