10
Mar 19

The problem with having lots of gouges…

…is that you have to sharpen lots of gouges.

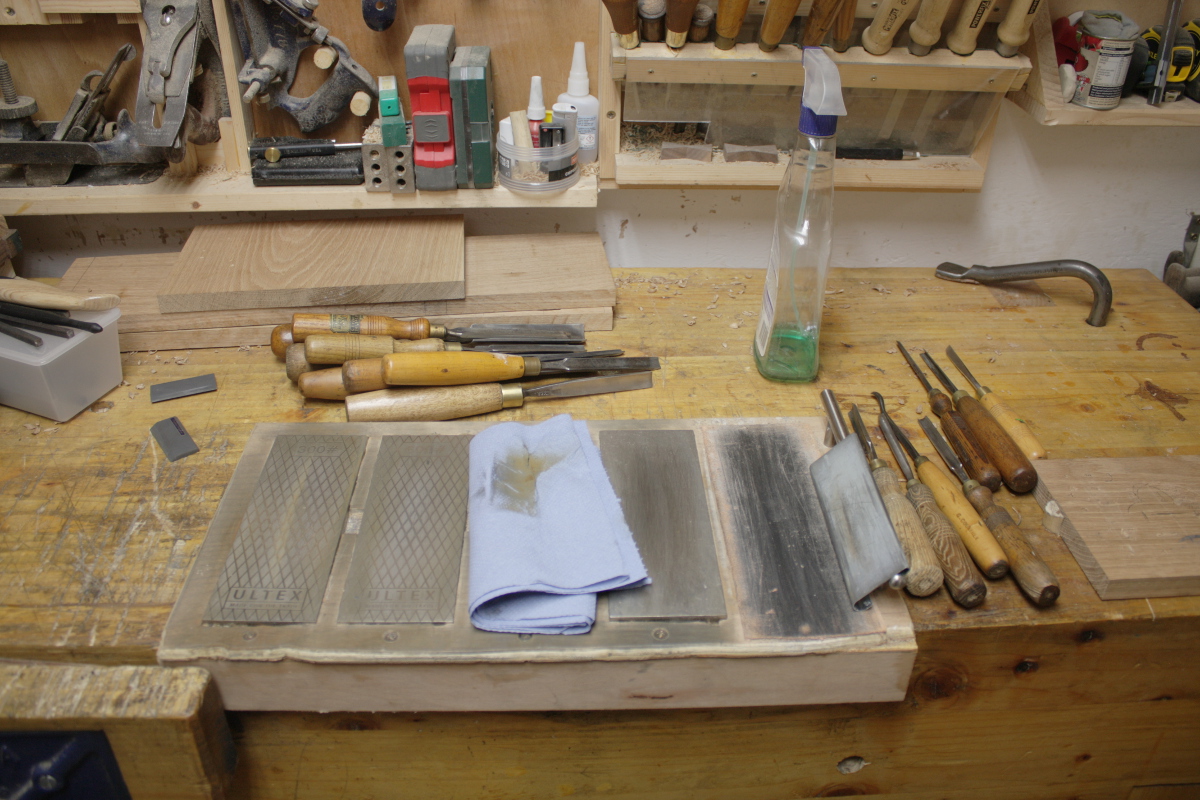
After noticing all the chipping out I was getting, and some awkwardness with the v-tool work, I took the entire carving toolroll out and took the grinder off the wall.

Then I pushed my luck by squaring the ends of the gouges and v-tools on the side of the stone. Don’t do this, it’s not a great idea for anything stressful and figuring out what qualifies as stressful isn’t clear. In my case I took off less than a half-mm or so of length at most and the thickness was minimal because it was at the edge.
After that, reground the bevel on everything to a more acute angle (around about 25 degrees or so) and even more acute on one of the v-tools for an experiment.

And then out with the diamond plates and lots and lots of rubbing stuff back and forth at a consistent angle while rotating the tool to grind the faces evenly – I’m understanding why things like Tormeks and Sorby’s belt grinder yoke are so popular with woodturners, this would be hellish if you had to be doing it every hour or two. Mind you, you can endure a fair bit of hell before shelling out €400 or so…

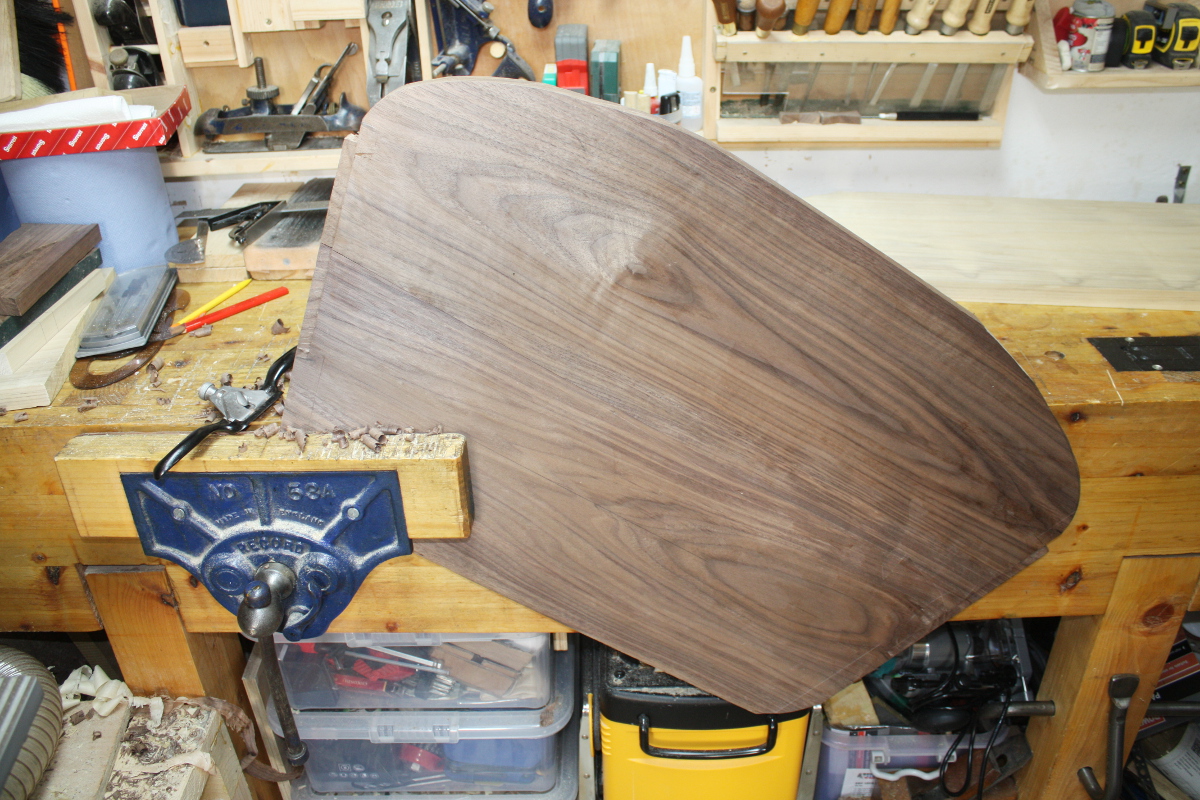
After all that, back to carving.

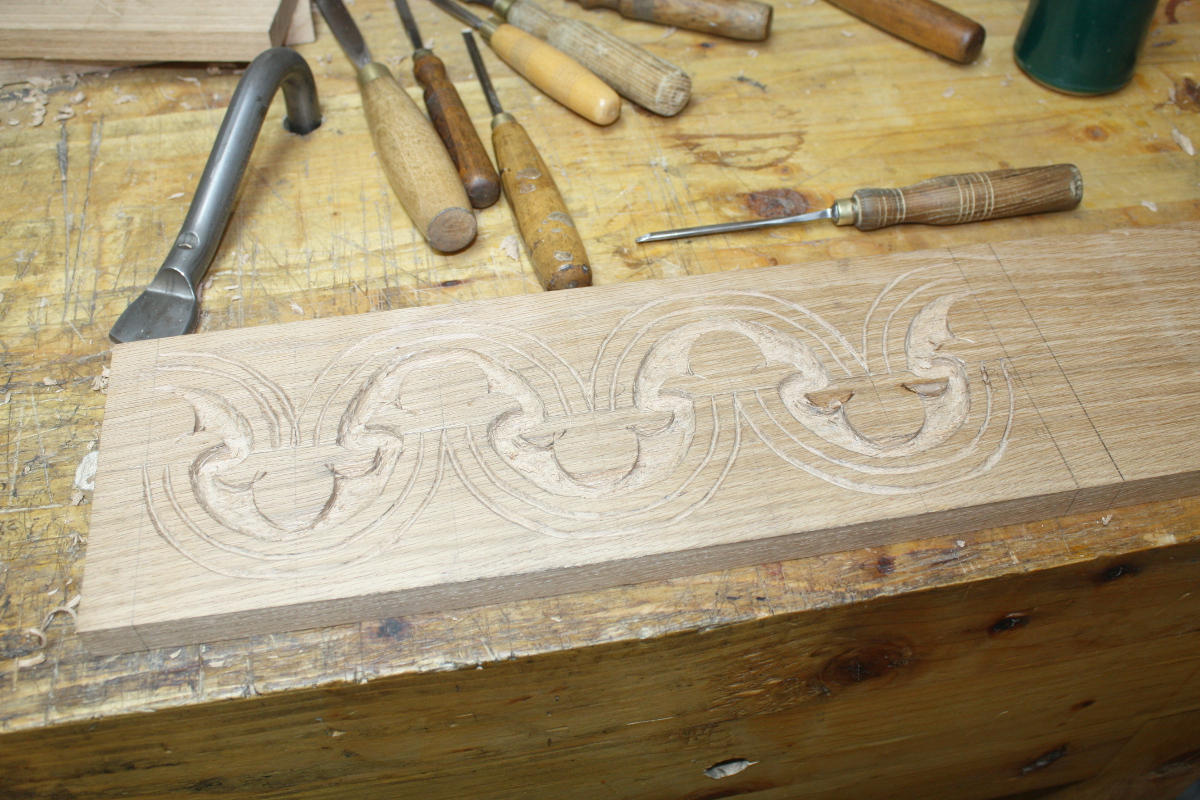
Mostly it was cleaning up the outline a bit (rechopping with sharp gouges did help) and taking down the background a bit further helped as well. Then stippling, but the main punch I use for that was in need of a touch-up as well. In case you’re wondering how that’s done, it’s not exactly complicated:

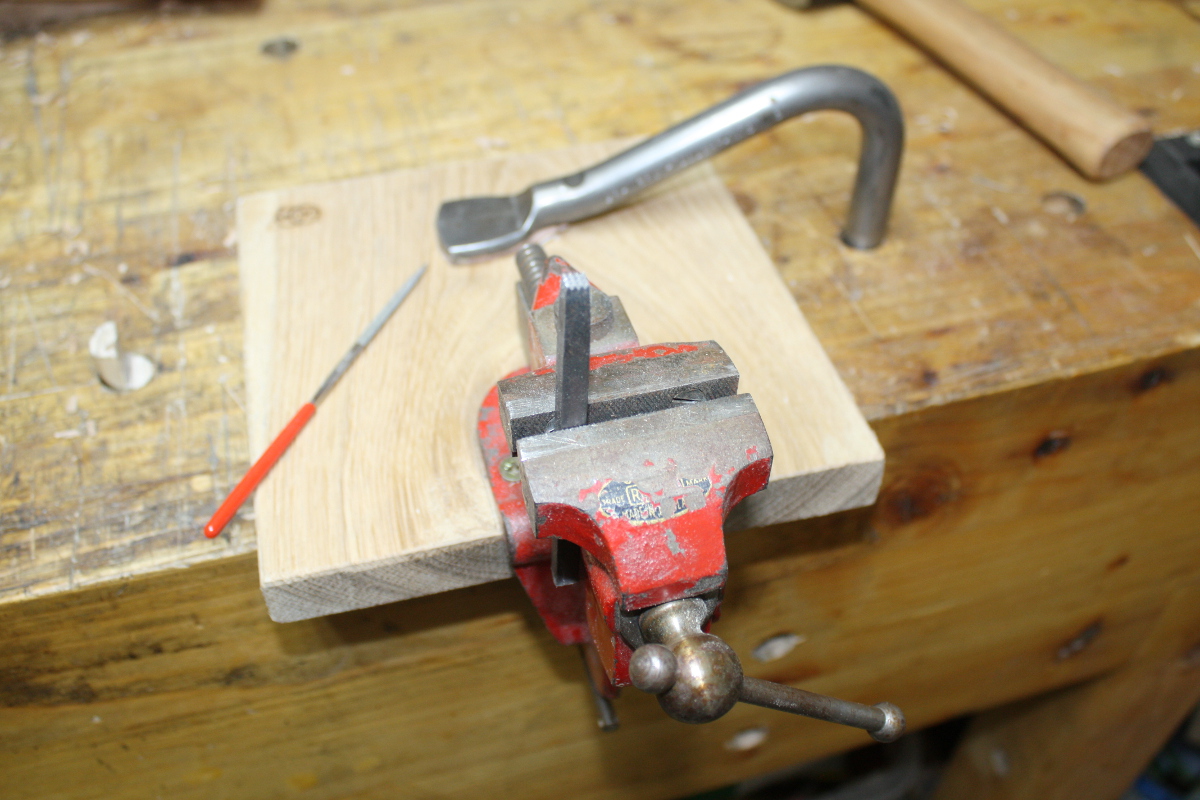
I do like that imp vice. Handy little thing. The diamond file is Lidl’s cheapest but it did the job well enough, and you have enough diamond coating left on it afterwards to do at least one more touch-up…

Still, did the job and I know I have a better set of needle files somewhere, I just couldn’t find them (having two projects in flight at once in a shed of this size is a mistake).
Then stippled the background and added a few small details like another v-tool cut and some stop-cut chips and so on, then daubed on some linseed oil to see what it looked like.

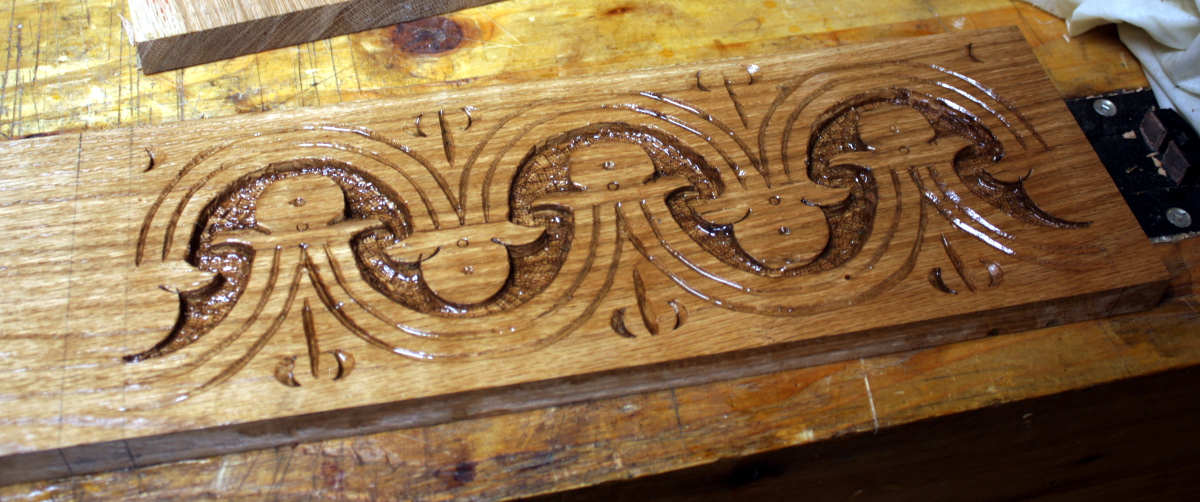
It’s okay… I’m not convinced yet. I do have another idea in the back of my mind that I did some testing with today but it’ll be a few days before I know what that turns out like. More on that later. Unless it’s embarrassingly terrible…


17
Feb 19

Fettling

More shed time today, and I spent the first half of it fettling the middle shelf in the desk. Straightforward, if repetitive process – assemble, check what’s too tight and what’s too loose, cut or pare the shelf a little narrower with saw and chisel, reassemble, recheck, repeat until the dovetail joint that was horribly stressed by the shelf being too wide:

…is no longer stressed, but just snug:

And doublecheck all the other joints to be sure nothing else is opening up.

Okay, I’m happy with that.

I’m also happy because before assembling this, I marked out the back of the top of the sides to show which bits had to be cut off to give a straight line across the back (because the top goes up against the wall for support), and when I assembled it:

Nice straight line.

So, now time to get rid of all the straight lines! Out with the French curves and the compass.

And also did a bit of marking with pencil of various things to know what goes where when assembled. Then I broke it all down and spent some time with the bandsaw, various handsaws, chisels and my favorite spokeshave to shape the shelves.

Not done yet, but nearly there for the walnut desk, and a little behind that for the middle shelf. Once they’re done, it’ll be time for inlay and decorative stuff. I need to order some resin for that, and do some testing. And there’s be the light fitting and cable chasing and then finishing and then final assembly and that’ll be that.

Meanwhile, there’s another project I want to start on because I’ve been watching Ron Aylor’s latest bout of carving recently and I’ve been wanting to go do some. But that will require some oak to be prepped. I have some but…

Well, I’ll have to dig it out…

…with a JCB. Le sigh. Also, it’s a bit thick for the size of box I have in mind. Time for the DeWalt 734 to earn it’s pay…

I’m kindof shocked really. I pulled four boards (because why dig that much for just one?) and with the #05 got one face to sit flat on the bench. That took about 25 minutes in total.

Then I fed all four through the 734, dropping thickness by about 0.4-0.5mm on each pass, and alternating sides once the first uppermost side was flat. That took 20 minutes to give the boards above. That would normally have taken all of this week’s evenings with the scrub plane. That’s a massive boon, I think it’s obvious the 734 is going nowhere. I mean, it’s not my idea of a finish planing, it’s very rough milling but still. That’s damn useful.

Now, I want them a few mm thinner, but it was getting late and the 734’s noisy, so I’m leaving them to warp and cup overnight before doing the last few passes in the 734. And also, I think I need to (a) clean up and (b) sort out something about extraction…

Yikes.


03
Sep 18

Square-off

So I recently had a birthday and bought myself a present that I’d been thinking about for a few years but had been putting off because spending a chunk of money on a small thing is usually painful and if you’re not going to be doing something long-term, a bit of a waste, but I finally convinced myself that this making stuff thing wasn’t a fad, so after some advice from the pros I went off to one of my usual sources for new tools and bought…

A red box! And inside the red box…

What can only be described by Herself as “a ruler that cost 150 euros?”. 😀

Yes, yes, I know, but you can’t feel it. This thing’s just solid in a way you have to see to appreciate. I didn’t get the combination square thing till now – I rely on my engineering try squares because the combination square things I’d seen were the €20 bahco things that are… somewhat less than accurate. To the point where I threw away the square head part of the one I had and only kept the ruler to use as a short straightedge. But this thing feels like it’s more accurate than almost any other square I have (and I happen to know from the second-hand market that this thing will last long enough for Calum to pass it on).

So, naturally, have to try it out…

And then it’s time to compare it to every other square I have. You know the routine, have a reference edge, draw a square line, flip the square over to the other side of the line and draw another line, see how parallel they are.

The starrett is, as you’d expect, perfect. The moore&wright double square (the blue one on the right) is equally perfect:

Not even a hairline gap there.

The small engineering square (which is just a cheap proops bros one) is also grand:

But the 8″ proops engineering square is not quite square…

Now I’d checked that one a little while ago, and it was fine; over the months since I must have been less gentle with it than I thought. It’s also a Proops brothers and it’s still not horrific, but now you see why the Starrett is more expensive – it’s built and certified to just a much higher standard of accuracy and takes over now as the most accurate square I’ve got.