10
Nov 19

Cleanup

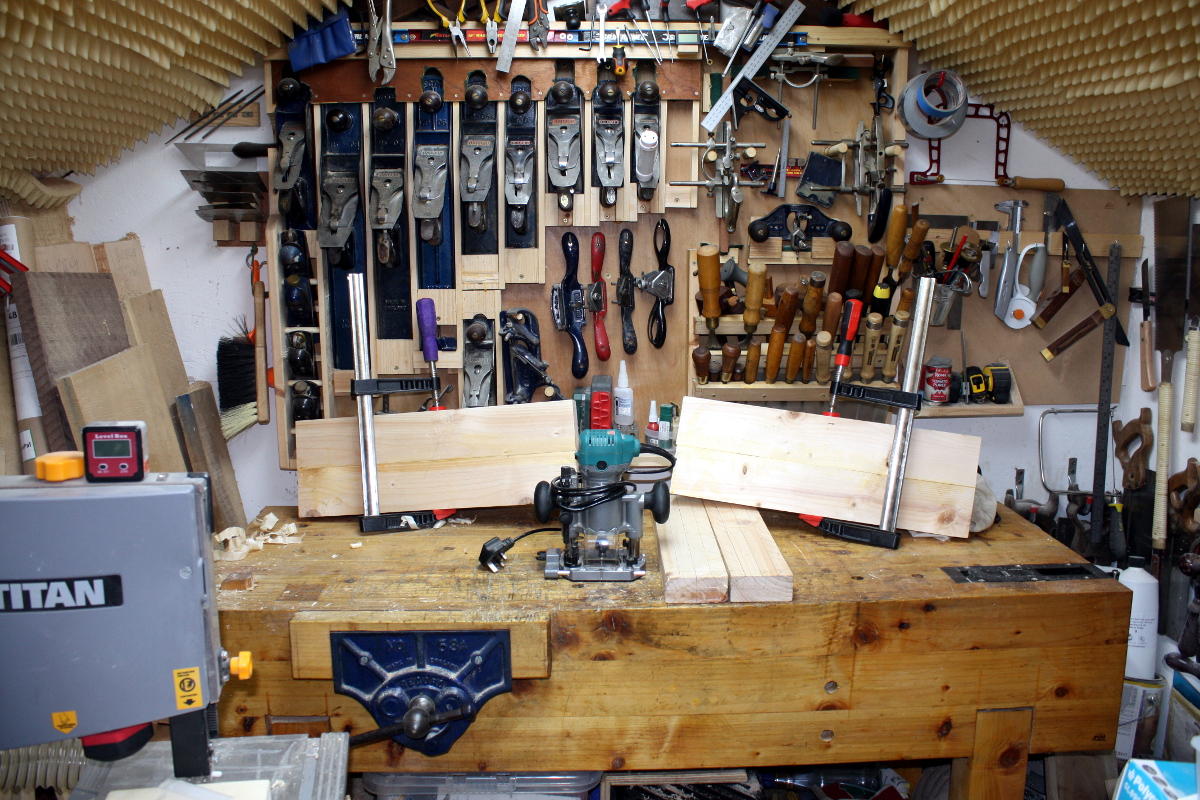
After every long project, the shed is usually a mess – stuff I can’t reach around the piece of work physically to grab and put back in its place, finishing supplies out of their usual storage boxes, sawdust and shavings everywhere, and so on. Stuff you’ll get to when you have a minute. So today was cleandown day after the desk. On with the kneepads, pop out the collapsable garden waste bin (useful little thing that) and I wheeled the bandsaw and sander outside to give room to get all the detritus out, stuff that had built up over the last year or so, including behind and under the workbench and in between the stored wood planks. Long projects are the worst for this sort of thing.
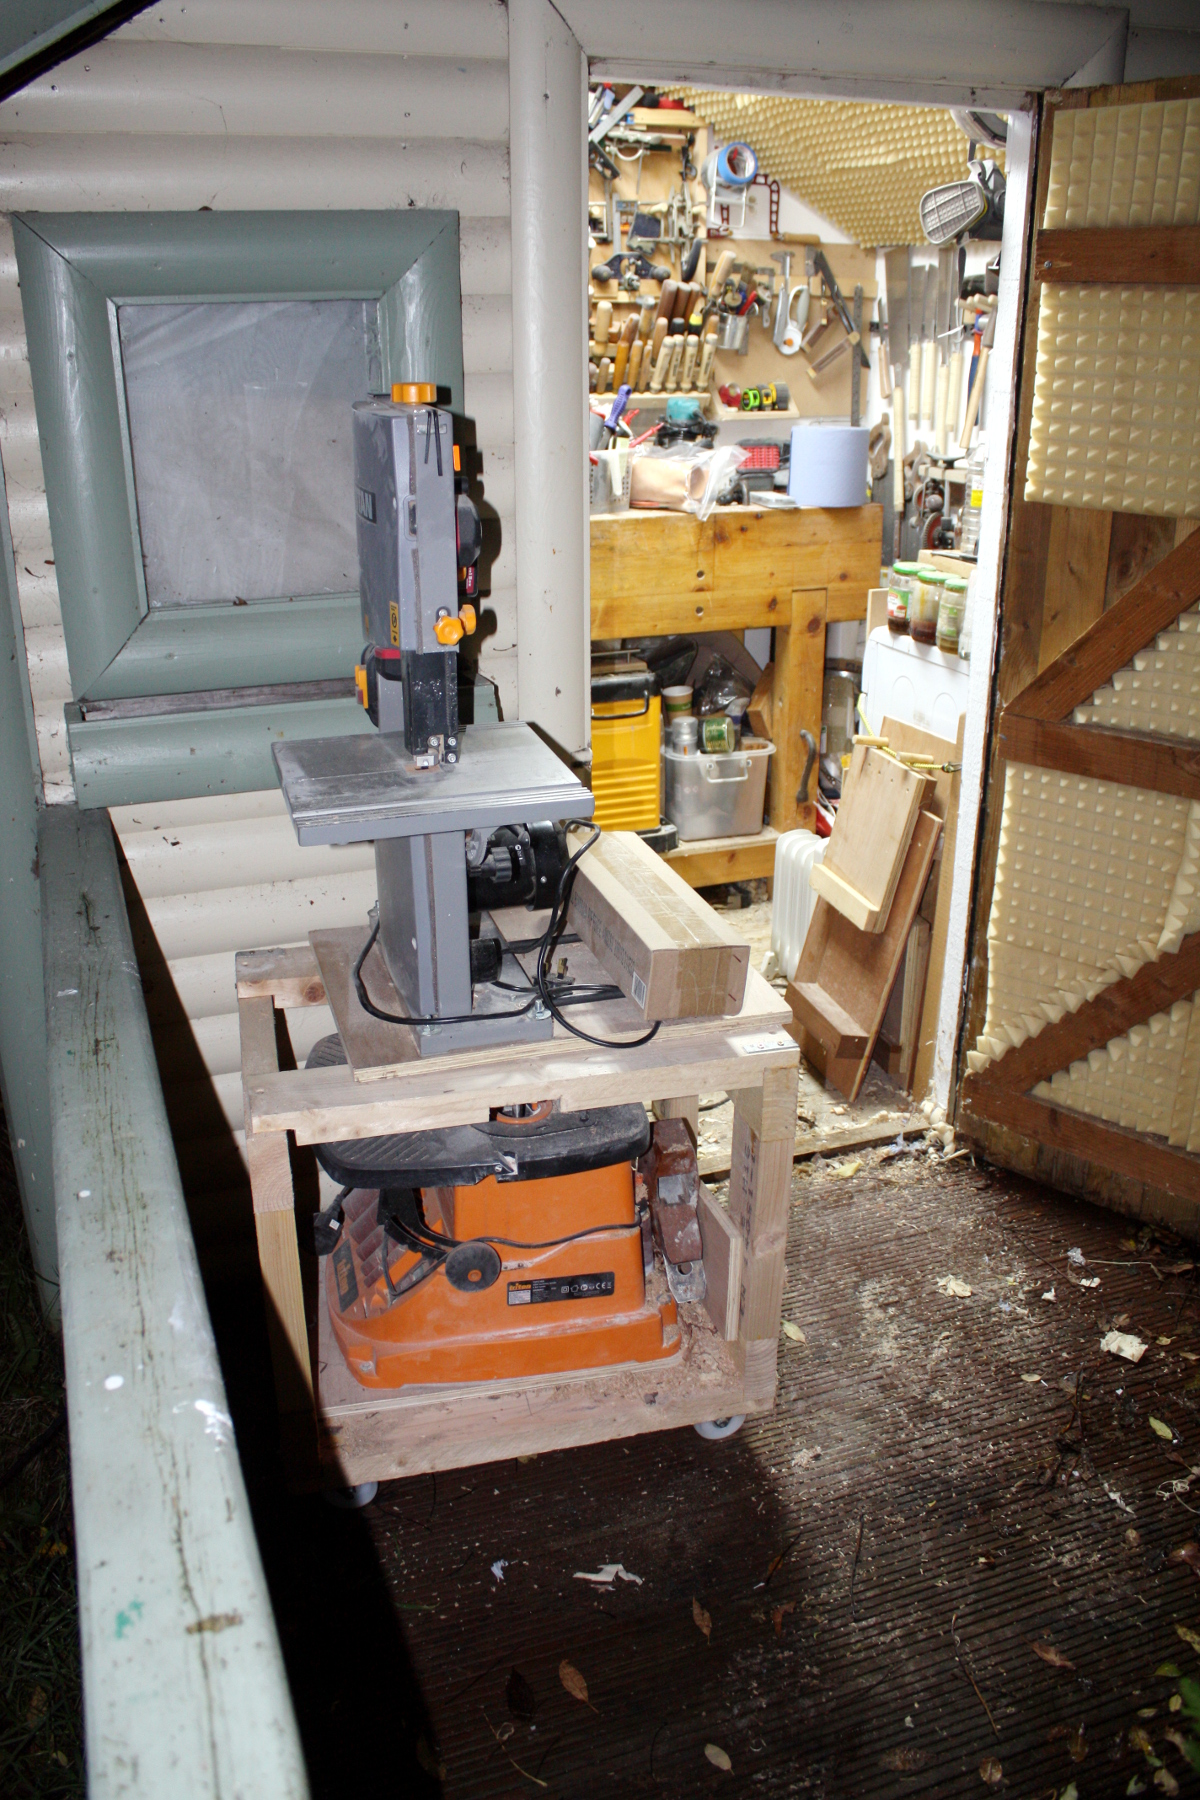
Two hours in, I came to a decision to go through all the scraps and offcuts and get merciless. Anything that was being held onto for bandsaw box material or cutting board material got a careful looking over and if it warped, if it wasn’t large enough realistically, if there was any wane, it all went in the bin. Which is doubly painful for me because thanks to our local government rules, you can’t burn wood in a fire pit outdoors, and we don’t have a woodburning stove indoors, and the local recycling center will take wood but it has a minimum charge for a full carload and one binbag of offcuts costs as much to recycle as a full van stacked floor to ceiling until its suspension cracks. The local bin collection company, Panda, will not accept shavings or sawdust or solid wood in the compost bin or the recycling bin, all of which taken together means that I can pay 80 quid for a cubic foot of walnut, then pay another tenner or so to dispose of the sawdust, shavings and offcuts after the project is done.

This is not an environmentally sound set of policies.

Anyway, after clearing out as much detritus as I could, I started to reorganise things. Small offcuts go in a largish storage box, I returned the paints I’d borrowed as resin dyes to the arts&crafts box for junior, and finally hung my panel gauge and grasshopper gauge up on the wall to try to dissuade myself from letting stuff build up there again.
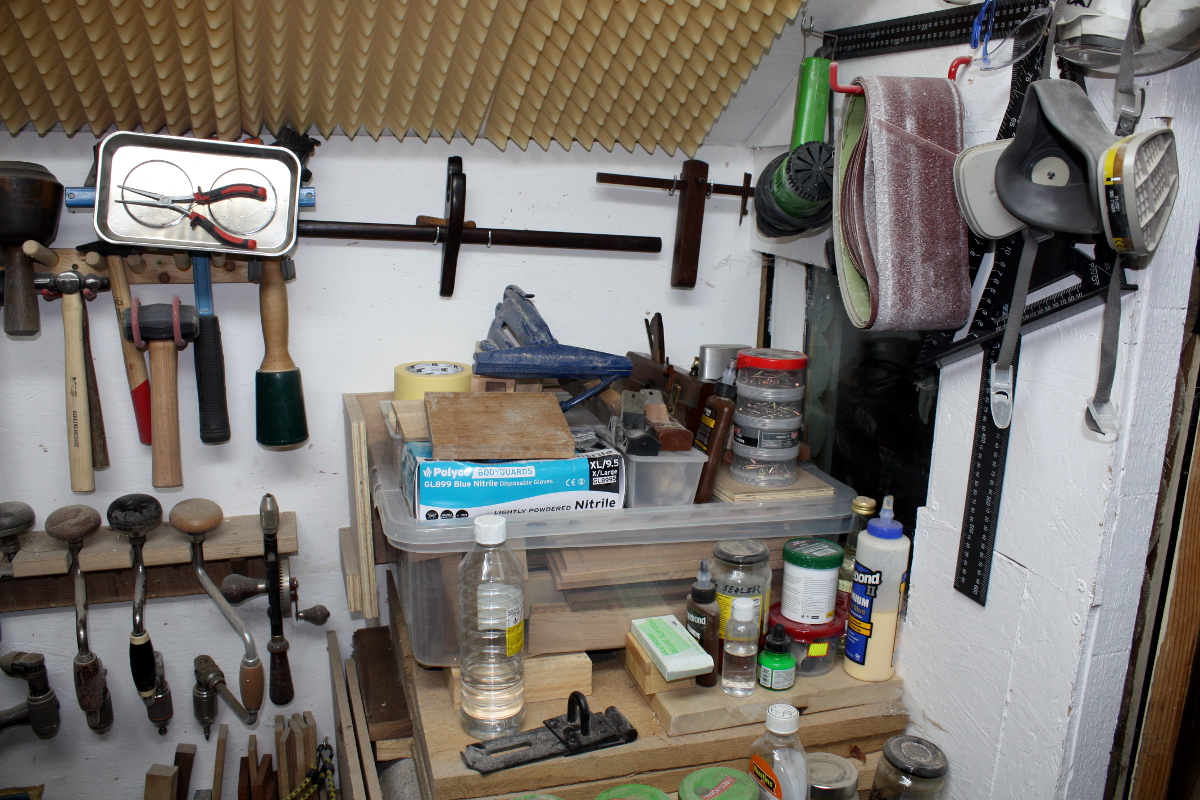
There are about four small shed jobs lying on top of there already though, an unfinished bandsaw box, a new-to-me saw vice that needs a mounting solution so I can try to finally sharpen and get to grips with my western saws (before I finally call it quits and get a new veritas saw or something), my new-to-me moving fillister plane that needs a better mounting place, and I really need to replace the hasp on the door with that new one. I did at least manage to hang up the heat gun (I know, I know, it has a plug, but do you know how they heated stuff in the 17th century? They set it on fire. That won’t fly here 😀 )
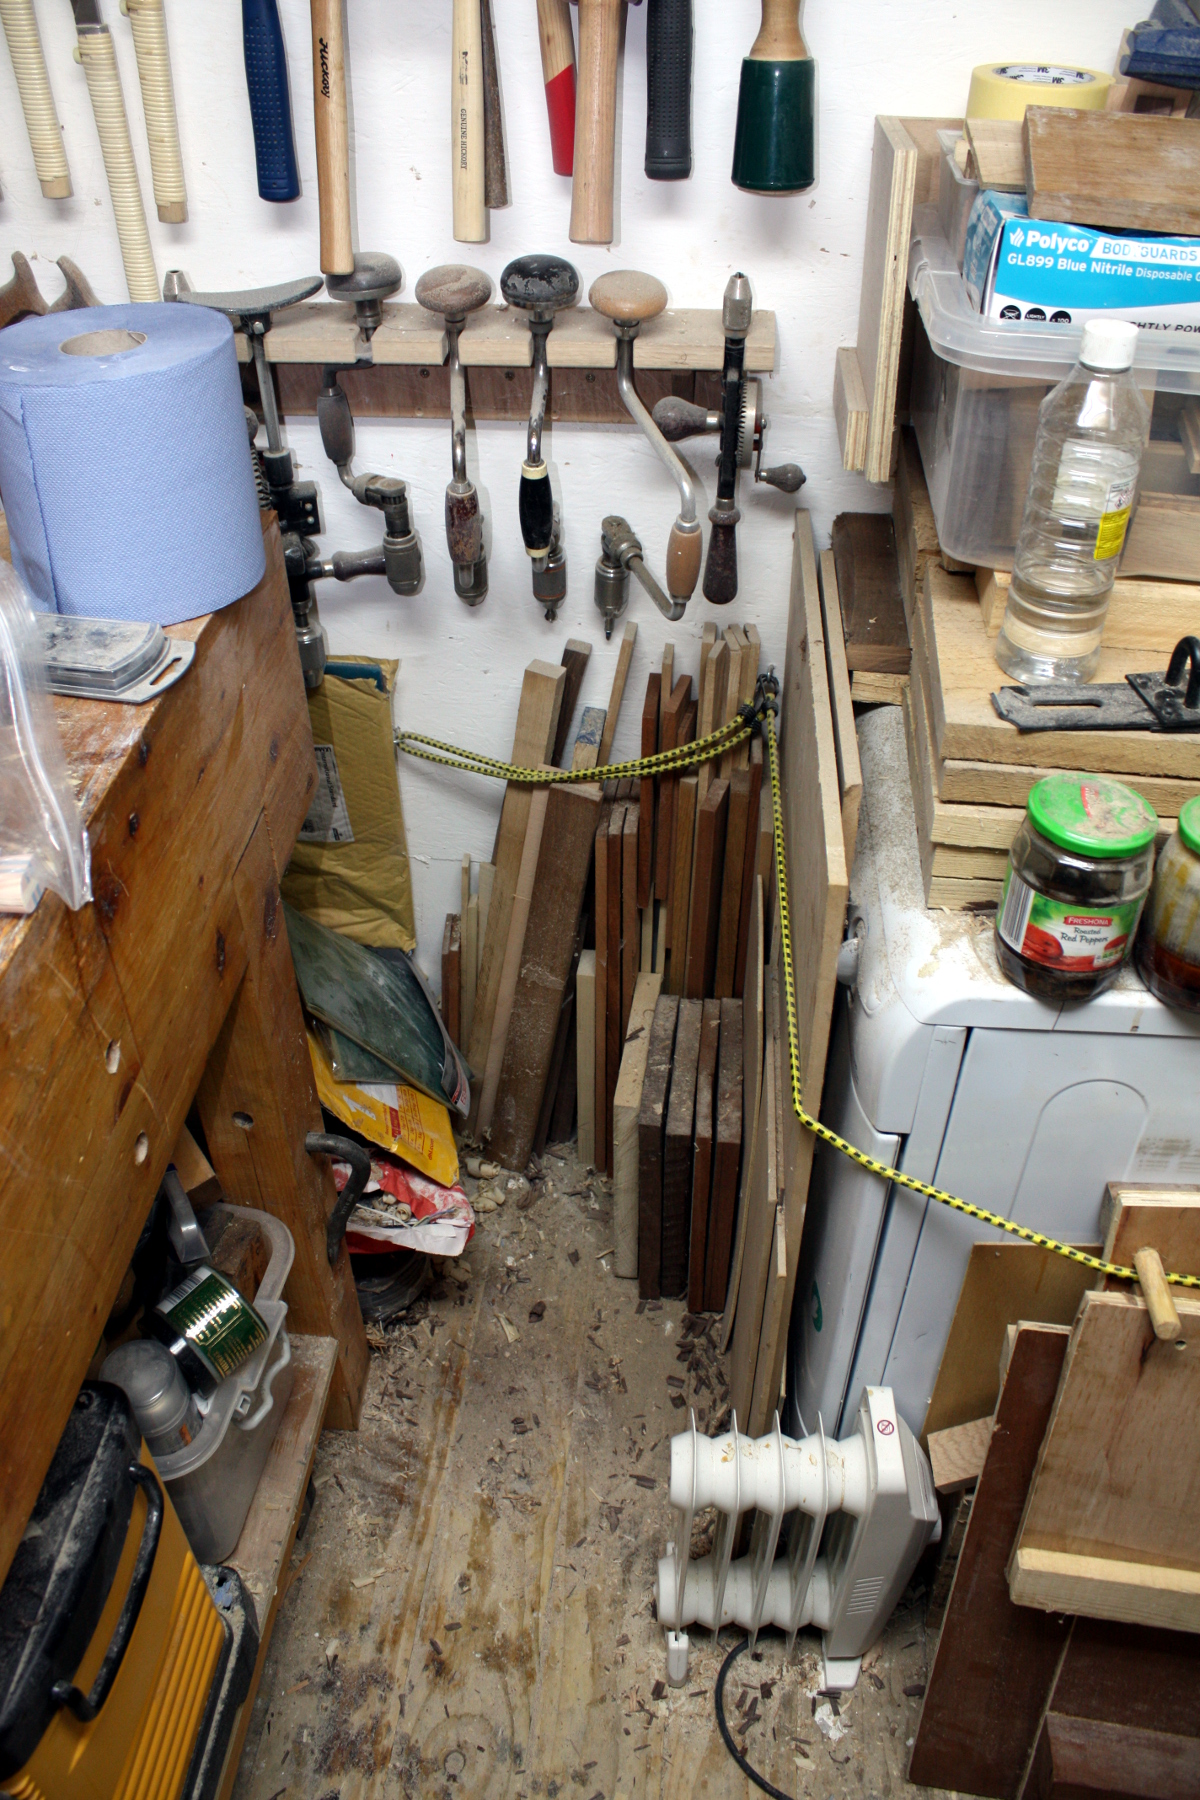
I can actually see the floorboards. I mean, there’s still a mess of finishing stuff round the end of the table, but I could actually stand there. Luxury!

And on the other side, I rearranged all the larger boards I have left, and the smaller ones, leaving stuff I know I’ll want to get to soon towards the front, and generally tidied stuff up.
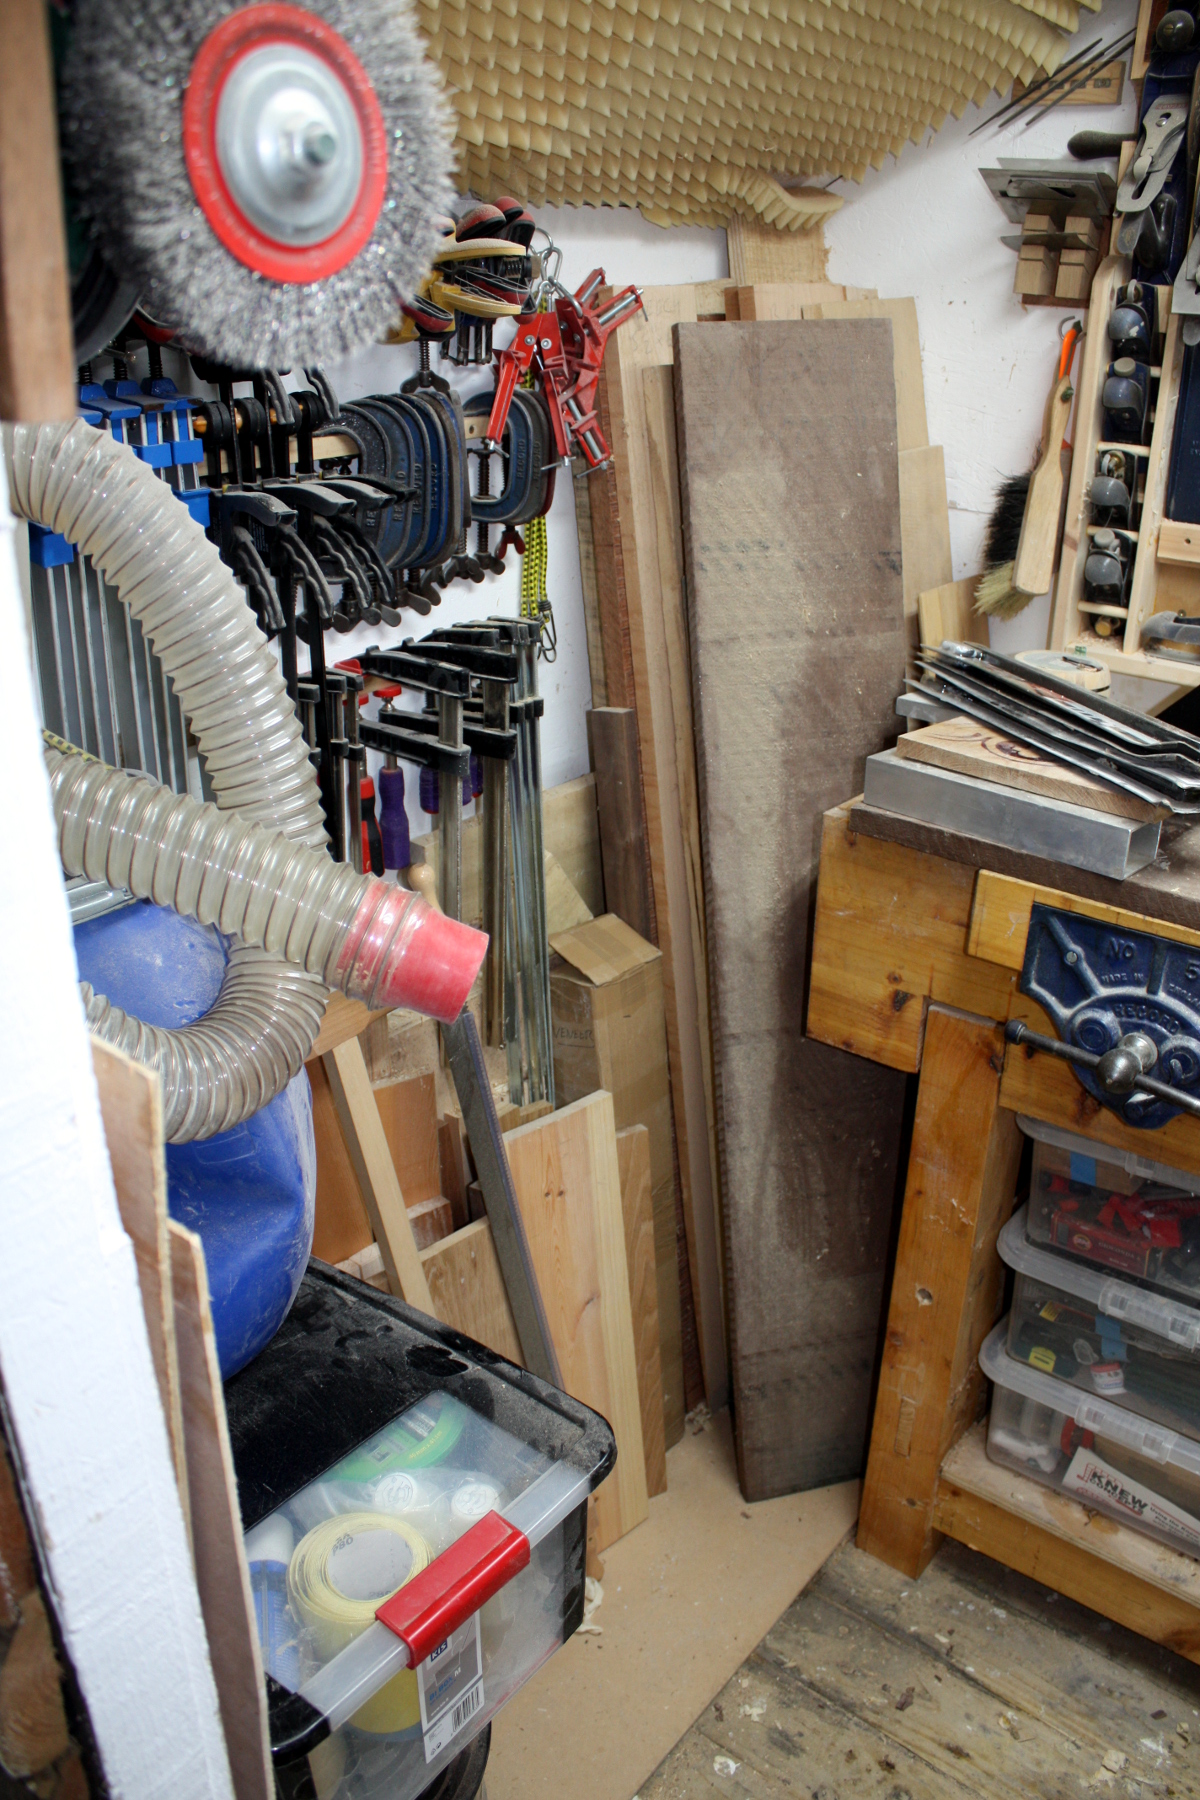
I think I want to take the dust collection vac and dust deputy solution I have there and build a proper cart for it. It’s all kindof piled up in the corner (along with that box of finishing stuff) and that’s just so damn messy. A cart might actually save me a few inches of room.

And those few inches are pretty critical. If I rebuild the cart for the bandsaw using something other than the 2x4s I knocked this one up out of, I might regain just enough space that using the vice is no longer very awkward…
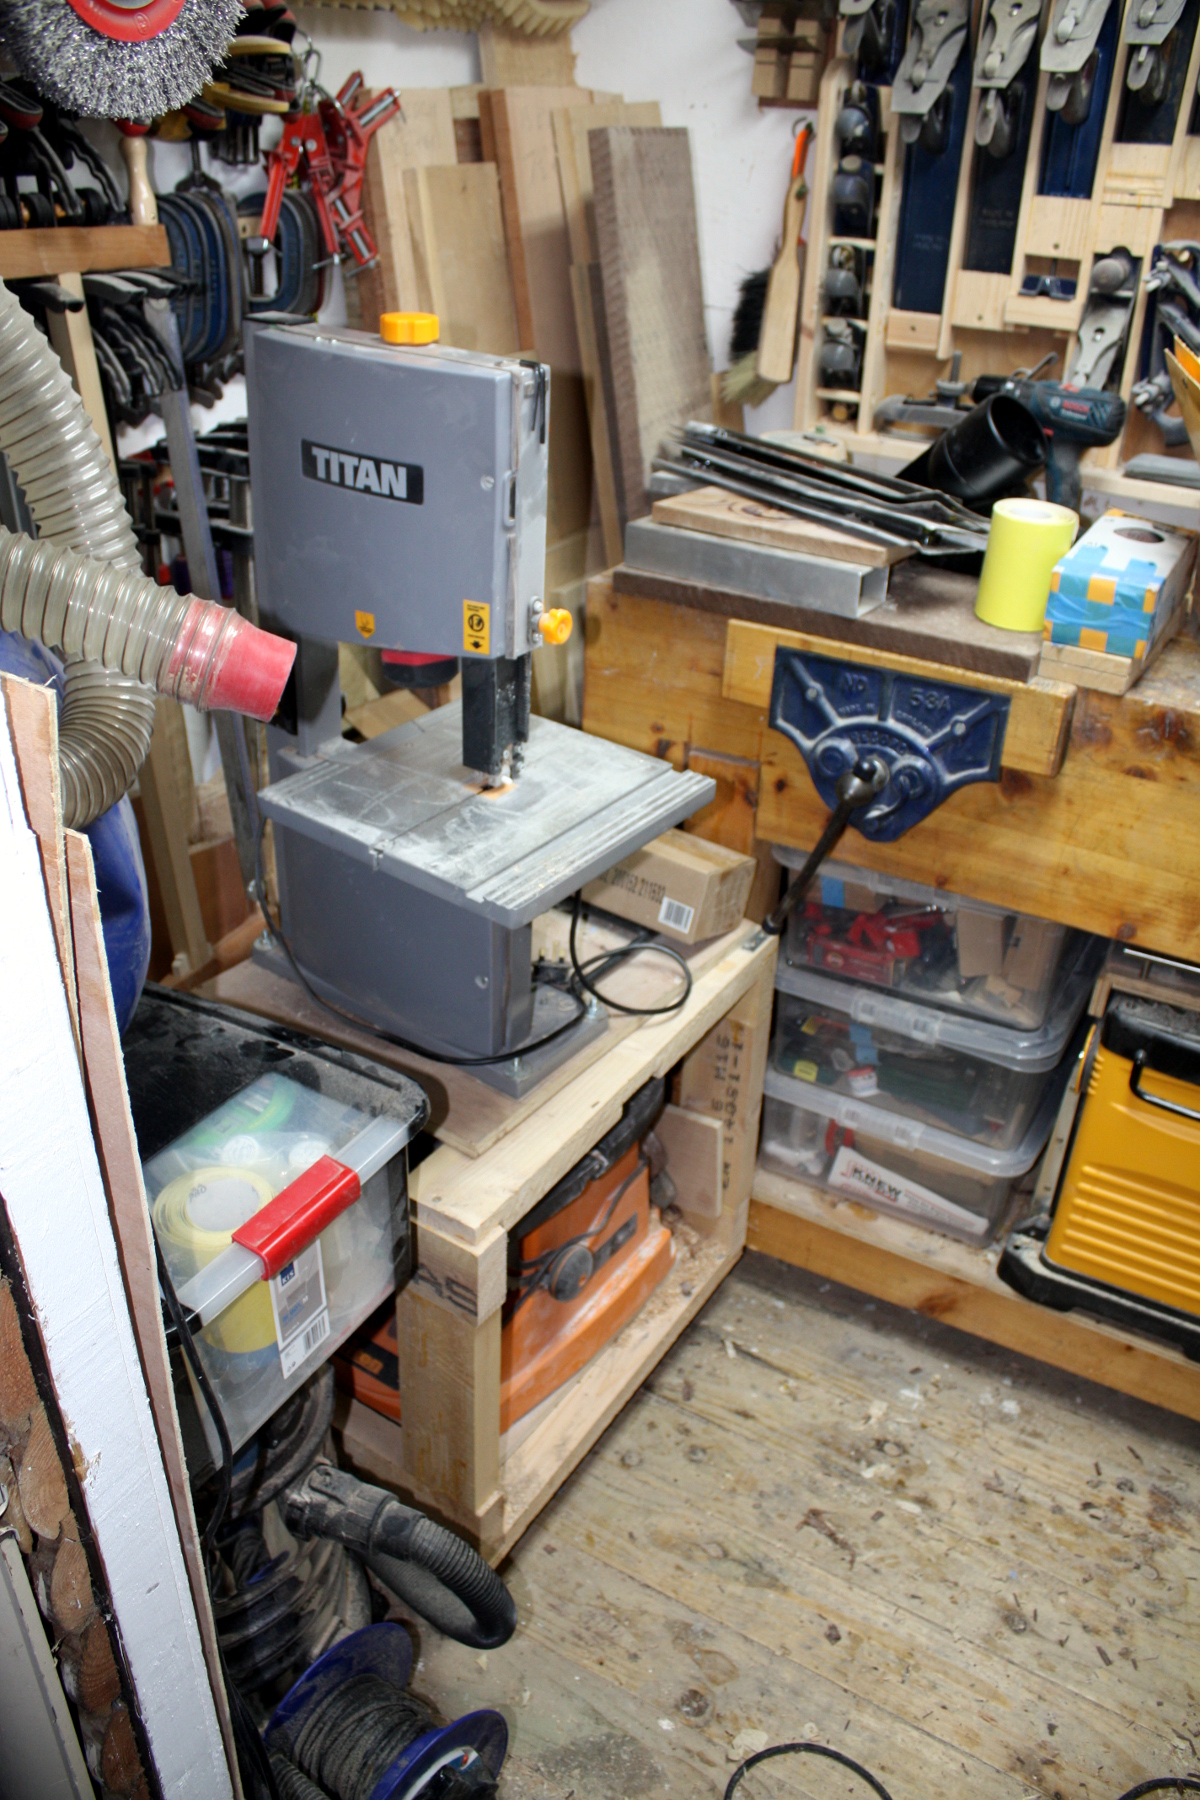
Even getting those storage boxes out from under the vice is a pain because of two inches of protrusion by the cart. Make it over, make it a bit tighter, might get that space back.

Of course, first I want to finish the tidying up…
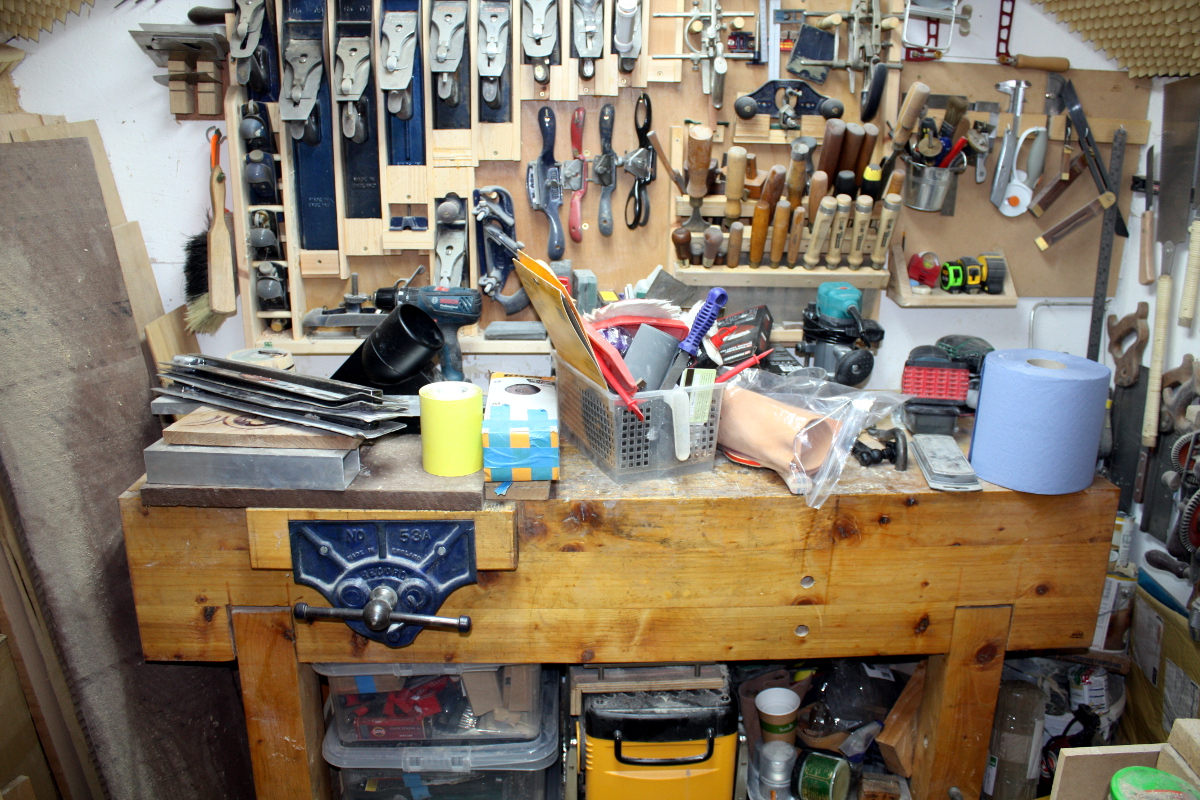
…and then there are just a few projects to dive into, like hooking the thicknesser up to the dust collection…
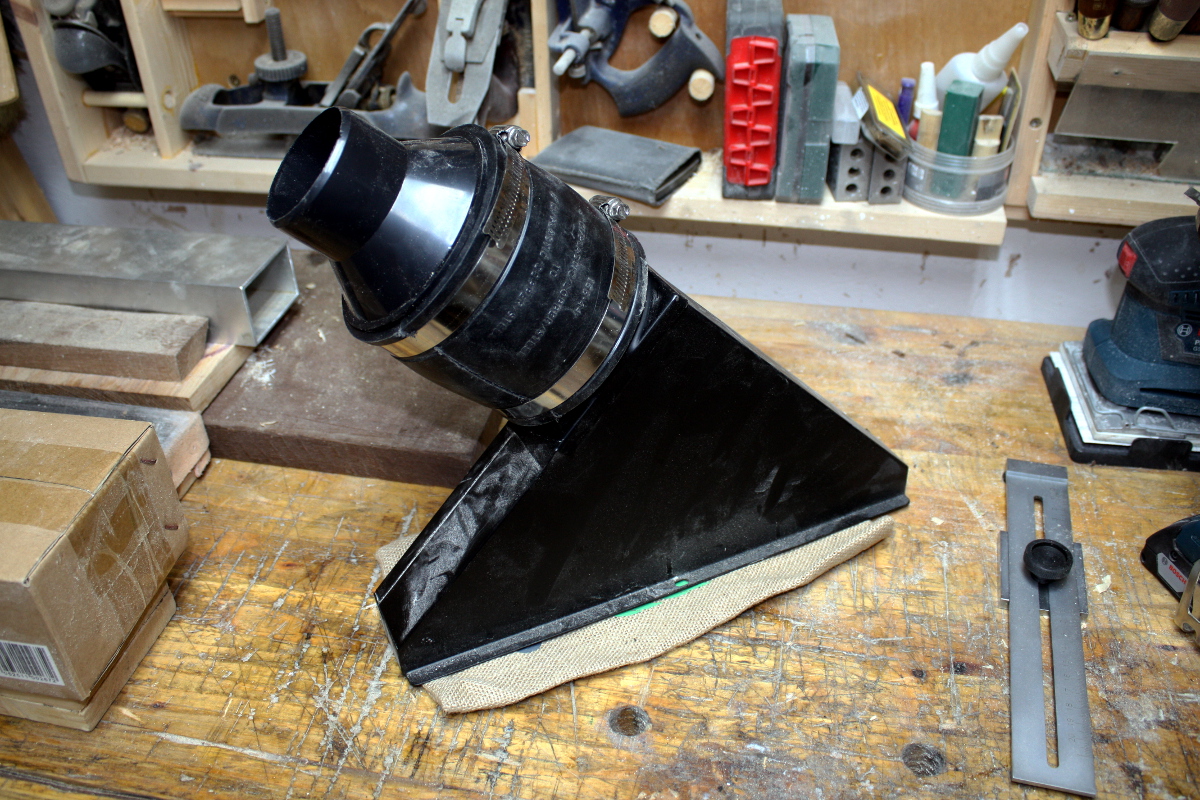
…and I have a few projects in mind after that as well…
…so yeah, I might get to the cart sometime next year. Or after that. Such is the way these things go 🙁
11
Aug 19

Pouring the sea

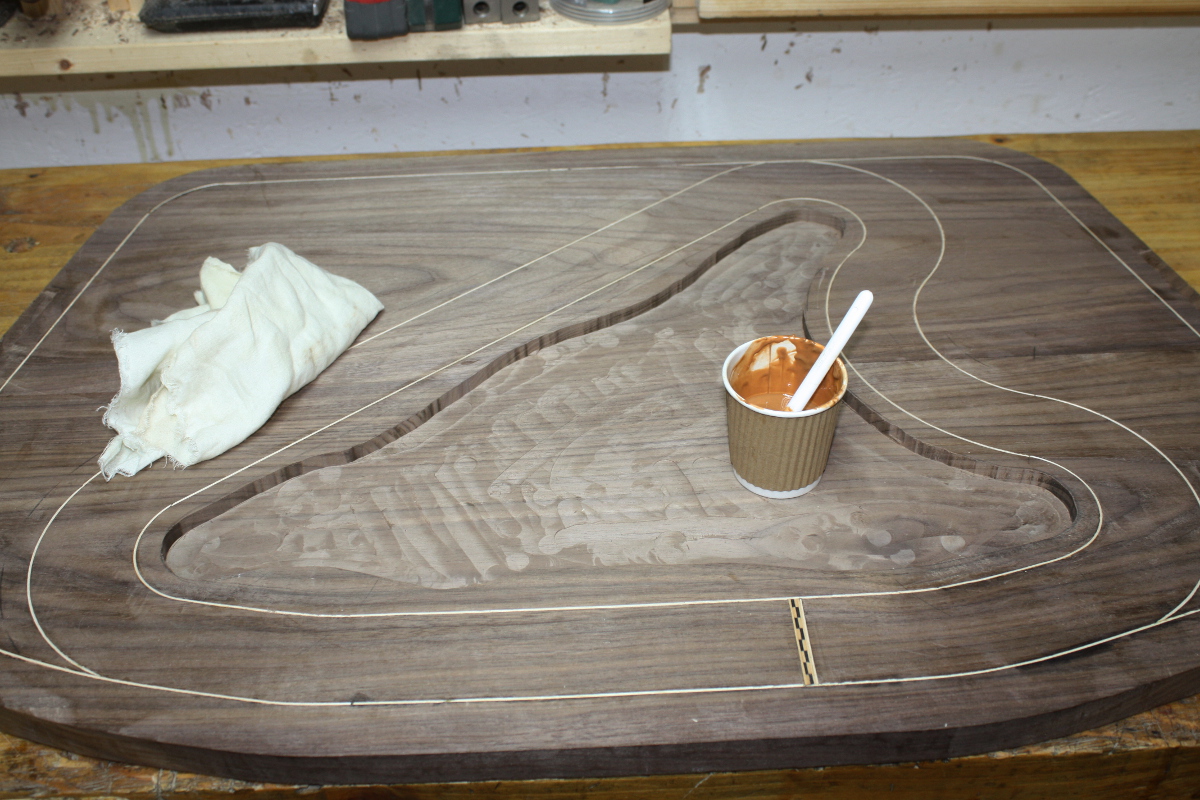
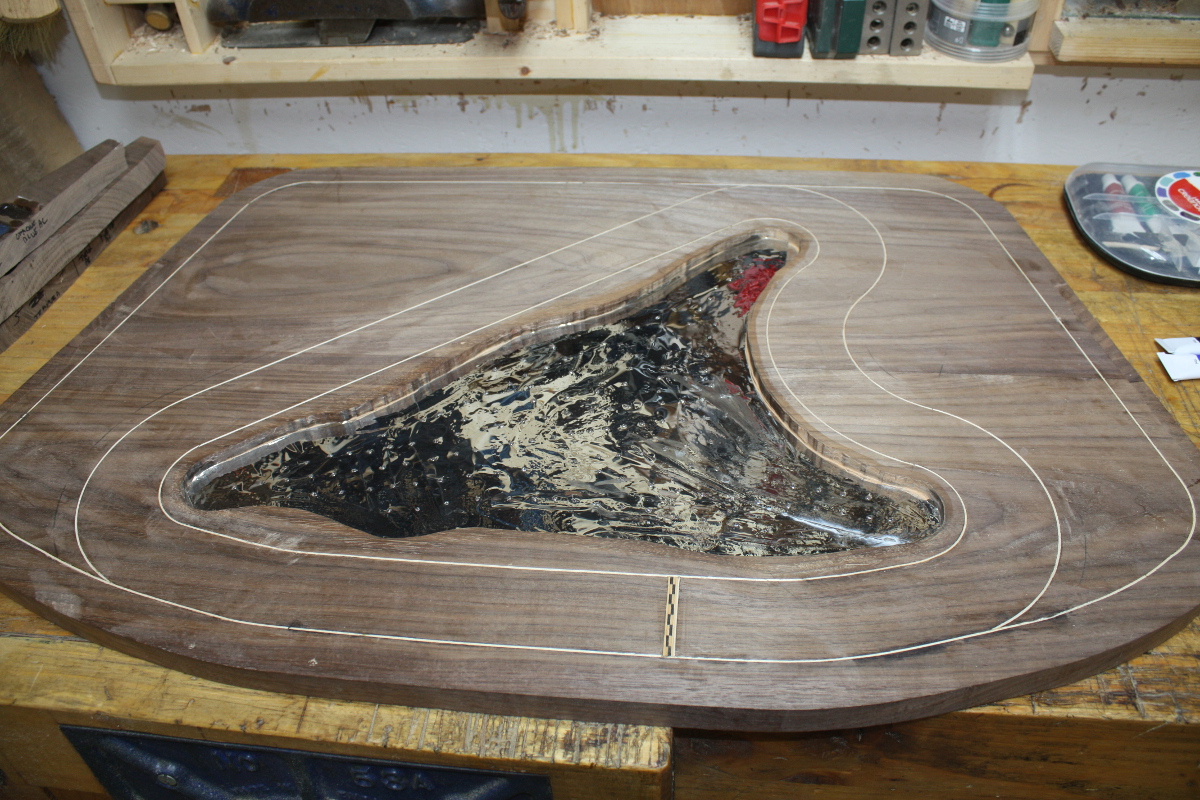
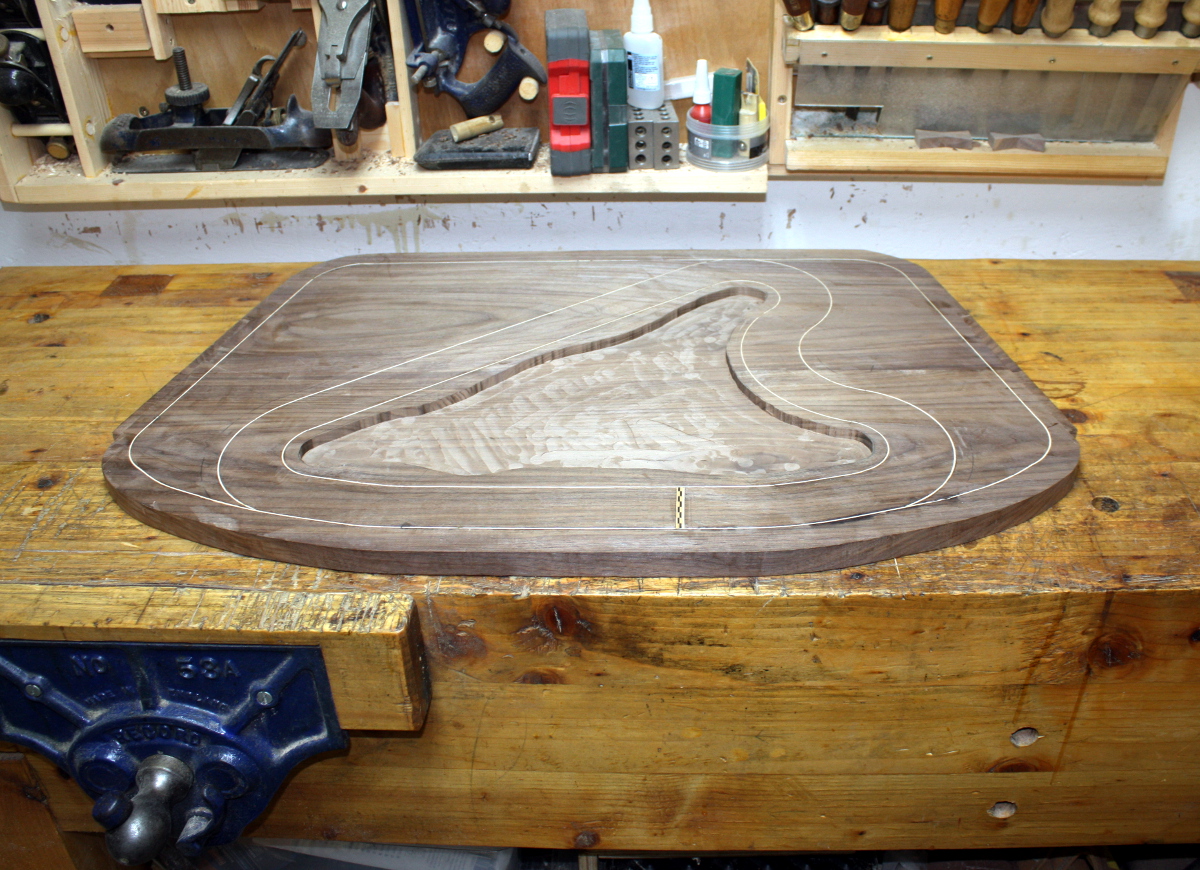
So the next step was to even out the bottom of the sea a bit with the router. That took about five minutes and was mostly making light cuts here and there rather than any systematic grid pattern thing. 

Then time to seal the grain; I don’t really want the resin leeching out through the grain. I mean, it’s walnut, it’s not very porous but still. 

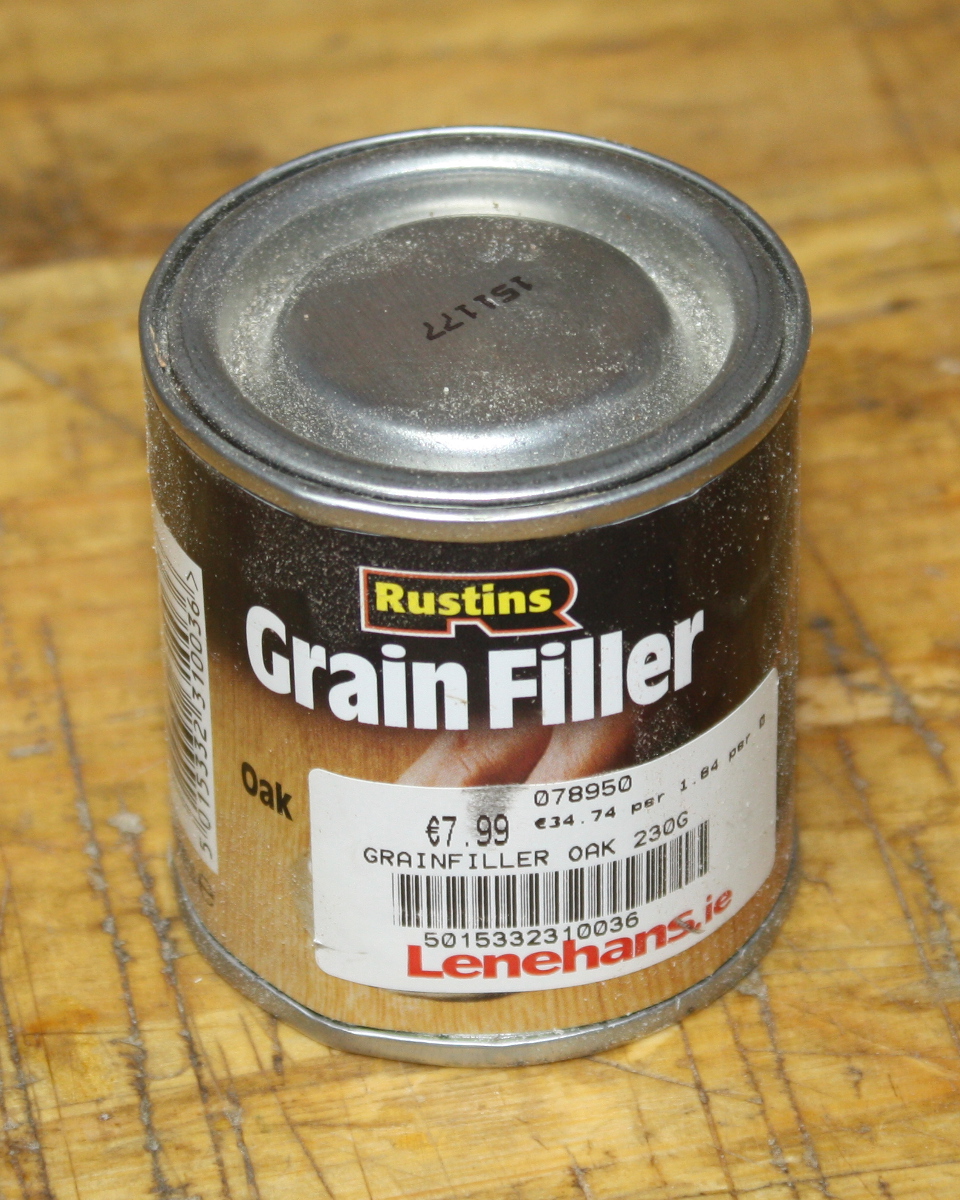
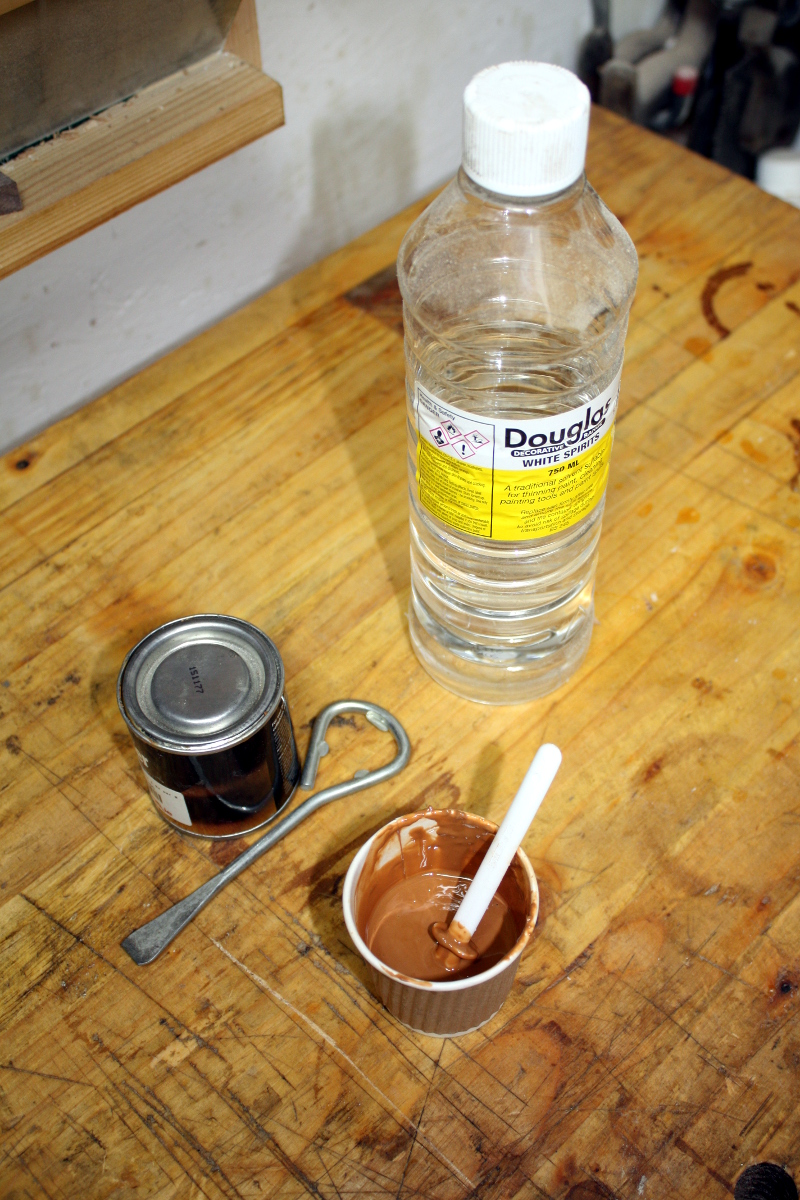
This stuff isn’t wood filler, that kind of putty I use to cover my mistakes, this is much much finer grain material that is supposed to get into the pores and block them up. It’s a pretty thick mix in the tin, almost at a putty consistency, but you dilute it to a thin slurry with white spirit and then rub that into the wood with a rag, and clean it off when you’ve gotten as much in as will go.

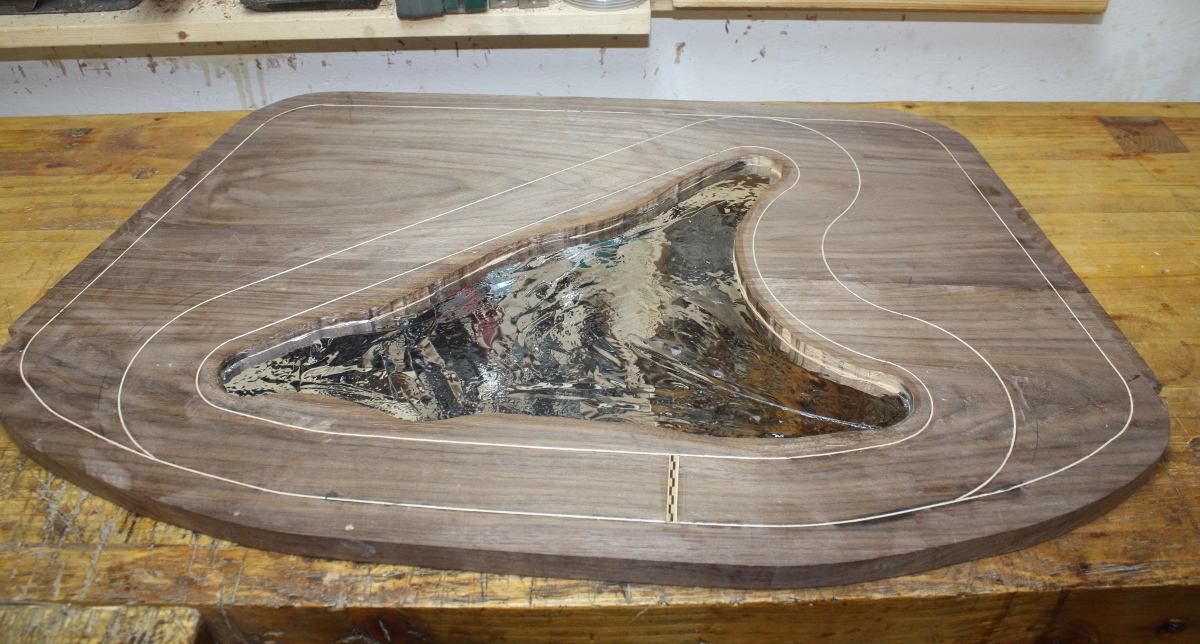
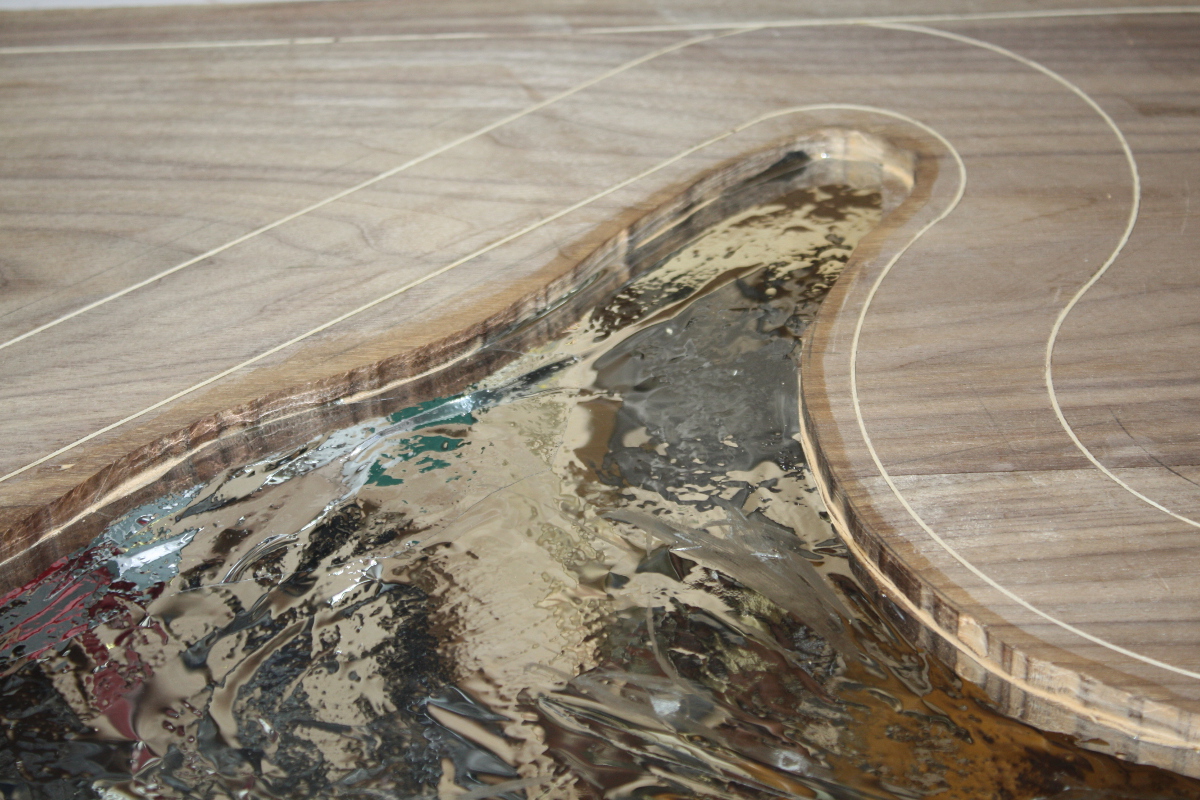
With that done, it has to dry overnight. Oh well. Next morning, out with the reflective window film, and a fiddly job getting it to sit into a very irregular shape…

Looks fine so long as you don’t look too close…

But who’d ever do that? 😀 
Also, that film is self-adhesive on clean surfaces like glass, but forget about it being adhesive enough to stick to wood, especially if there are any irregularities. It’s being held here with a judicious application of CA glue. 
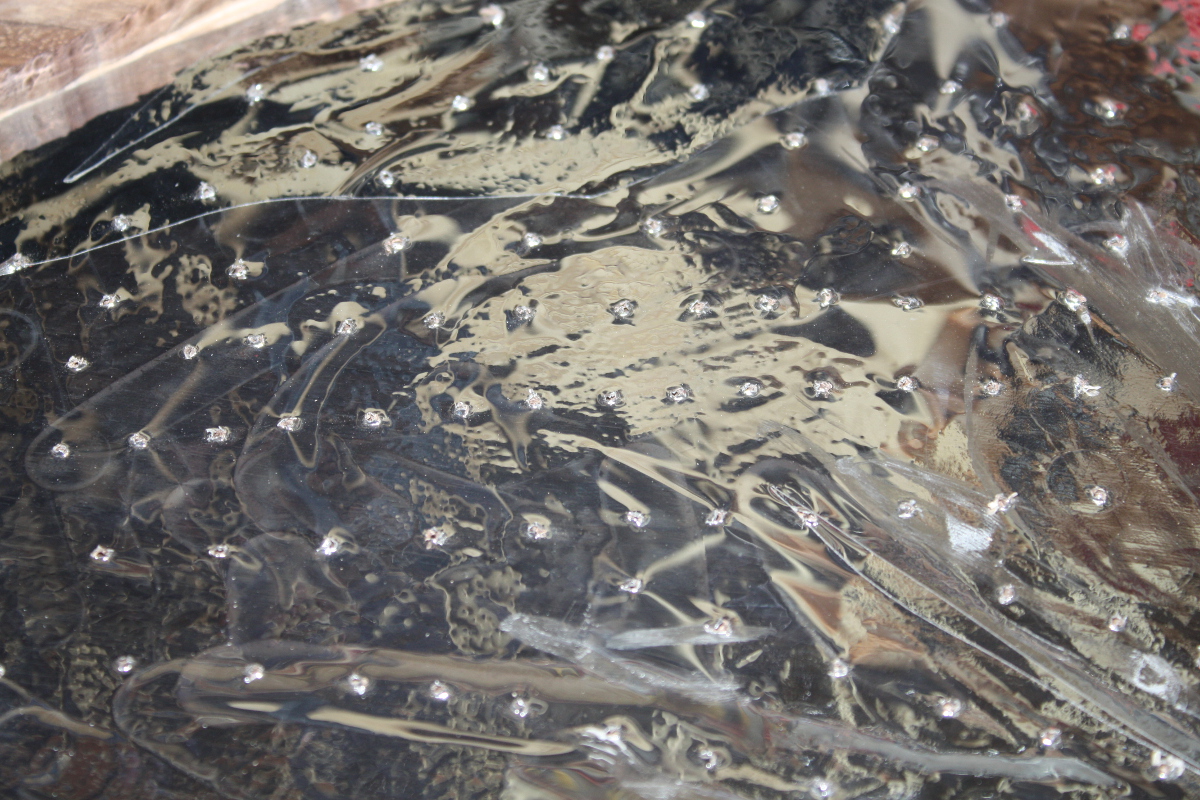
Then I started worrying about the resin adhering to the film and the film not adhering to very much at all…

So to let the resin seep into the walnut enough to get a grip, I drilled through the film with a 1.5mm drill bit all across the sea bed.

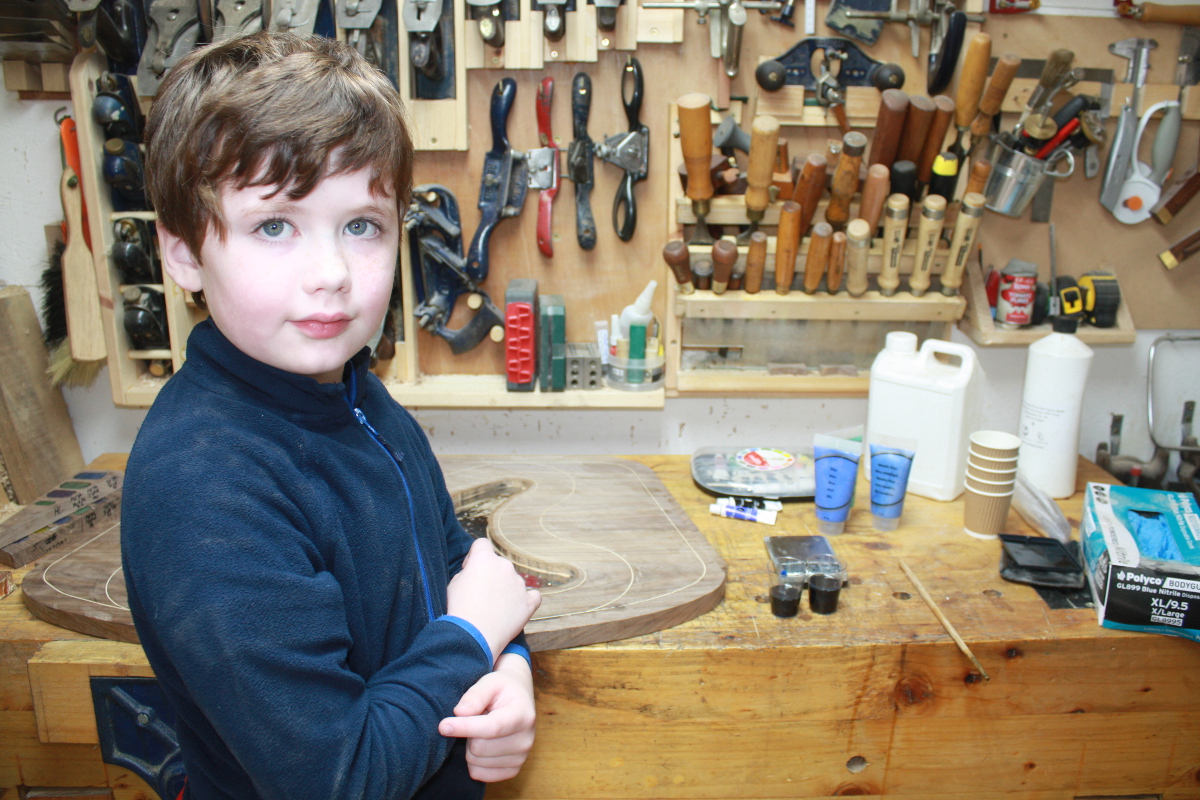
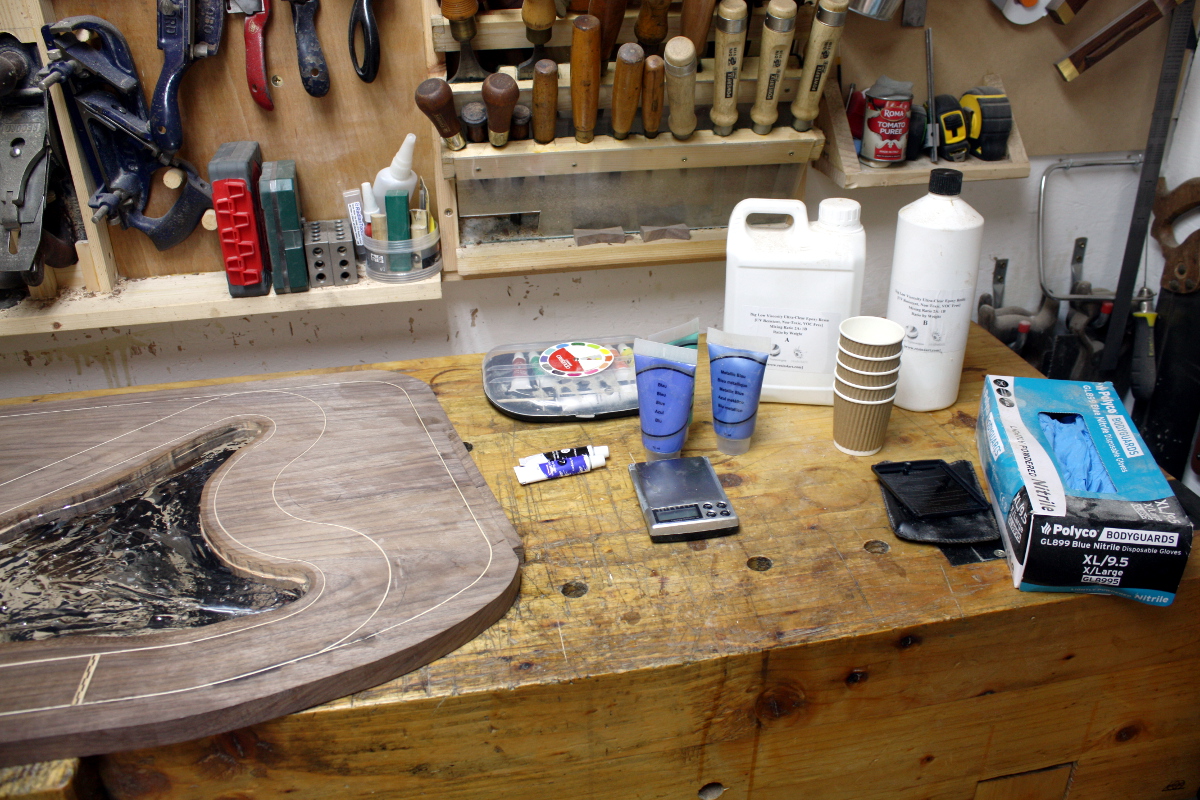
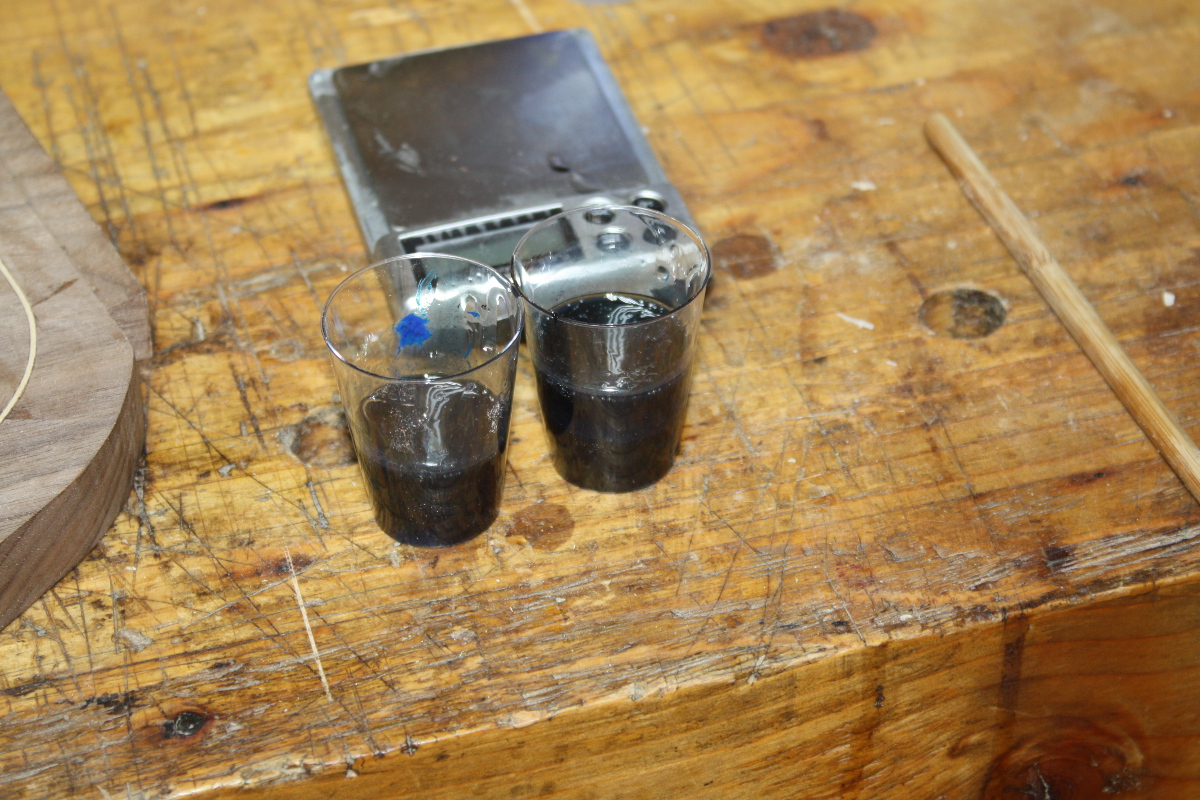
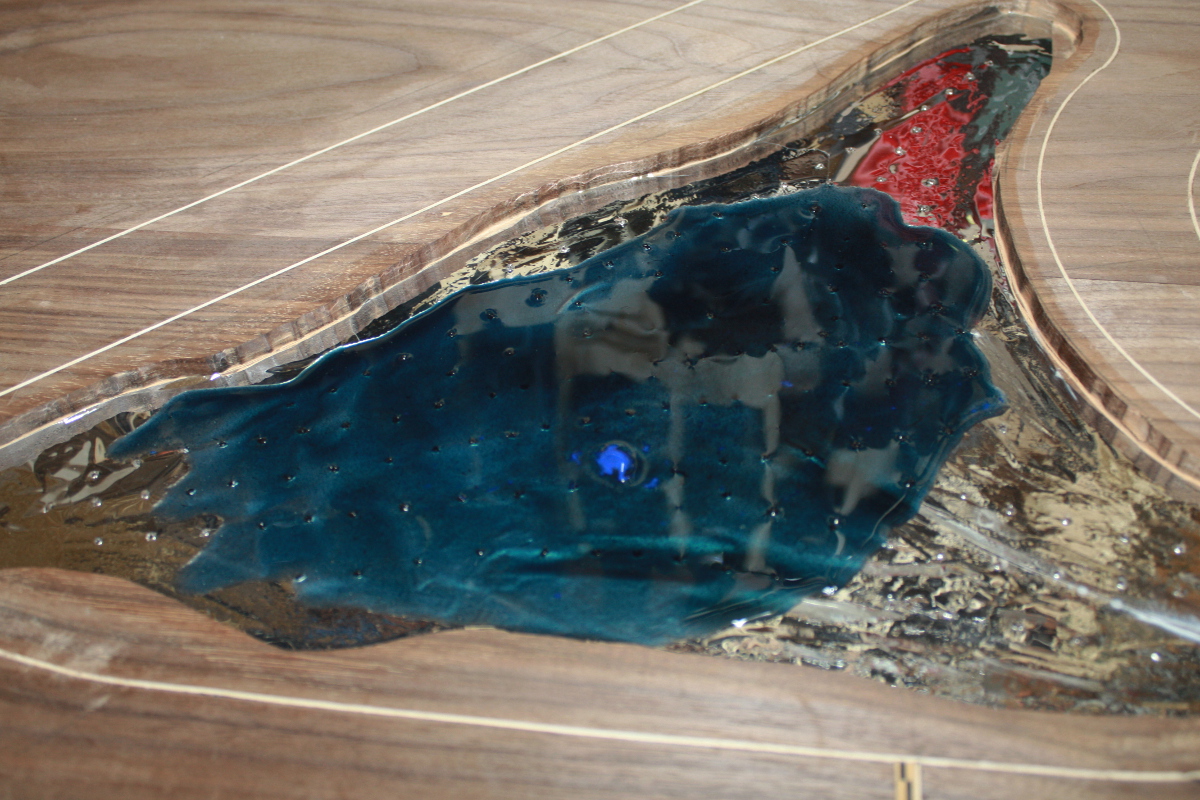
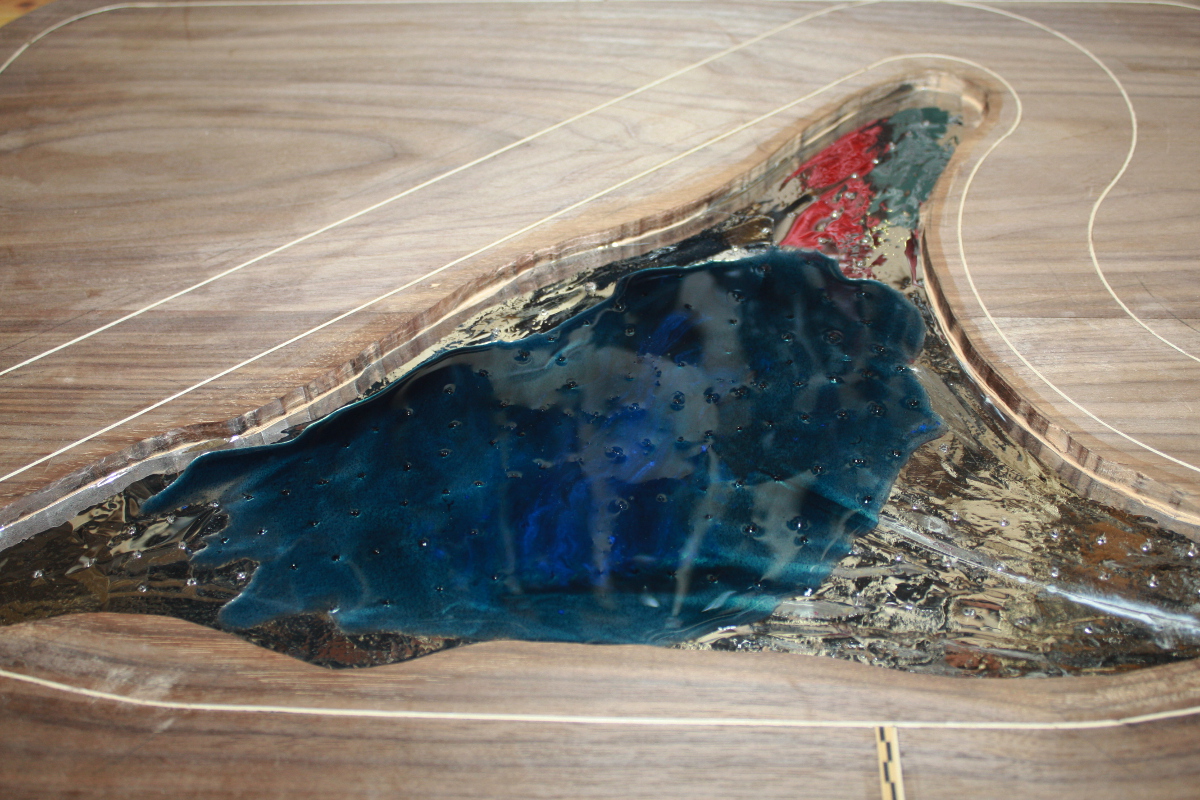
And I figured that was the ready-to-pour state. So I fetched a helper and we mixed up the first layer. Like we’ve been learning in Octonauts, the sea has three layers, starting with the midnight layer which is not only very dark but also hides the holes and gives a nice appearance of depth…

A bit of paint managed to not get mixed in the container so it got mixed on site…

Not too shabby. Left it for an hour, then came back to pour the Twilight Zone…

Not too bad, I’m liking how the layering is giving that differing depths look. The last layer was the Sunlight zone but that was after my helper’s bedtime so I had to pour it solo (I want the layers to bind as they set).

It’s almost deep enough here. One side was flush…

But one side was slightly shallow.

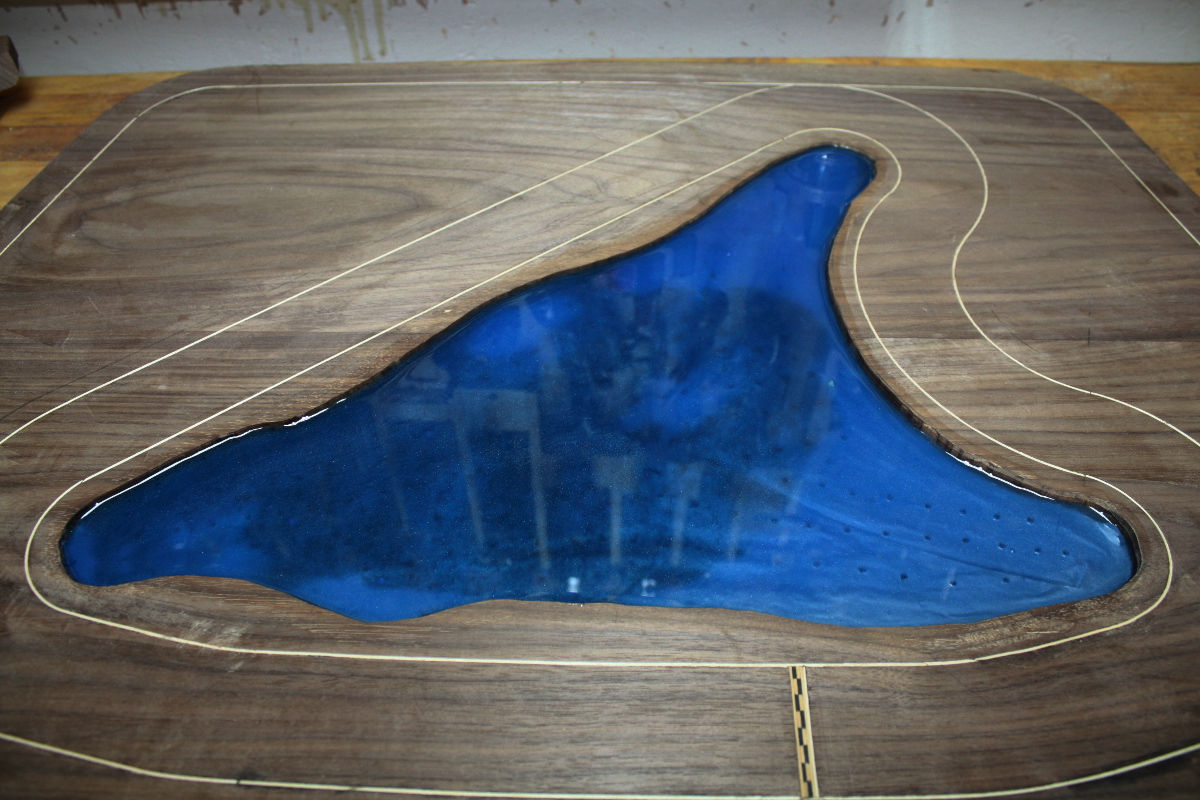
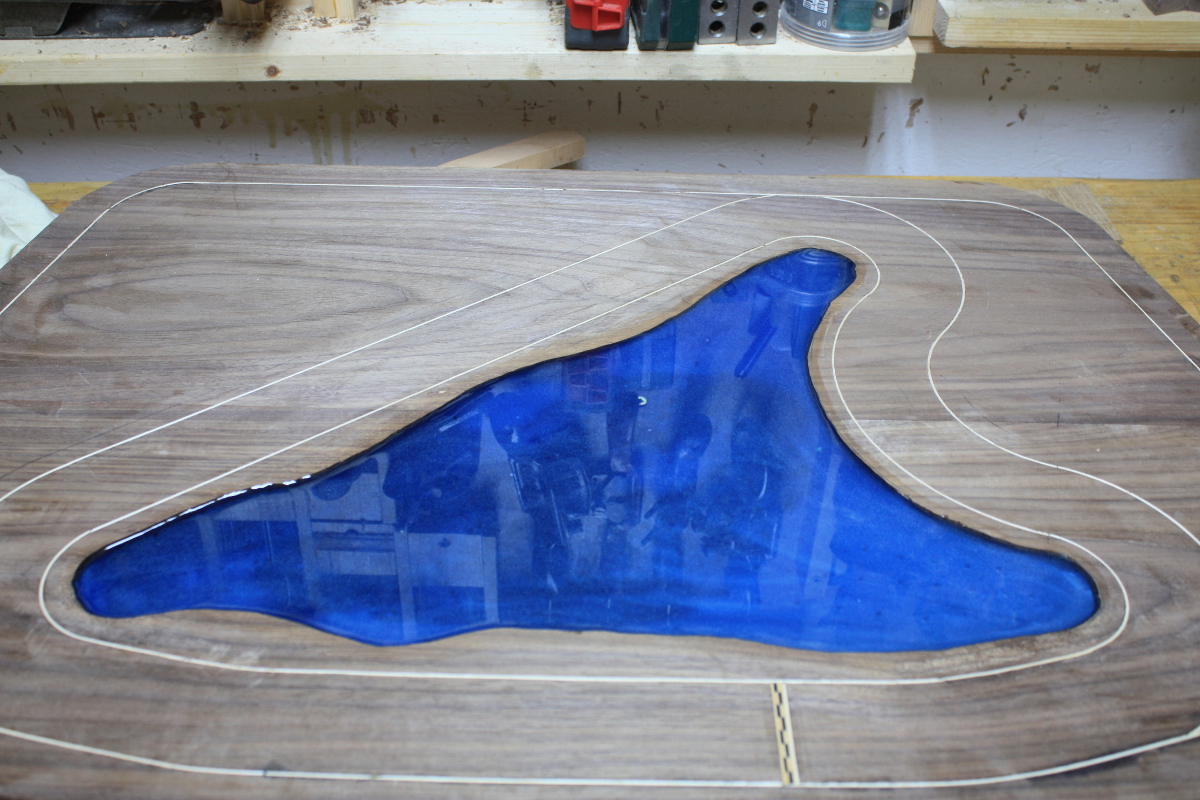
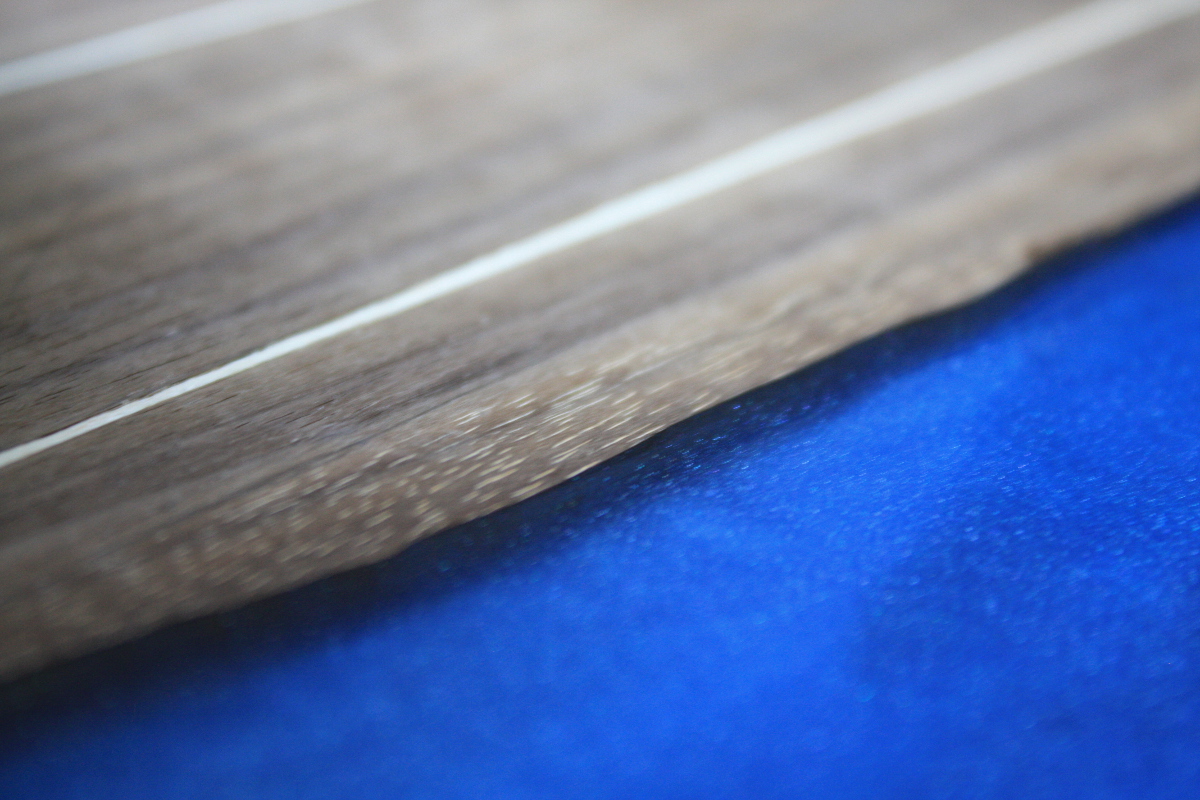
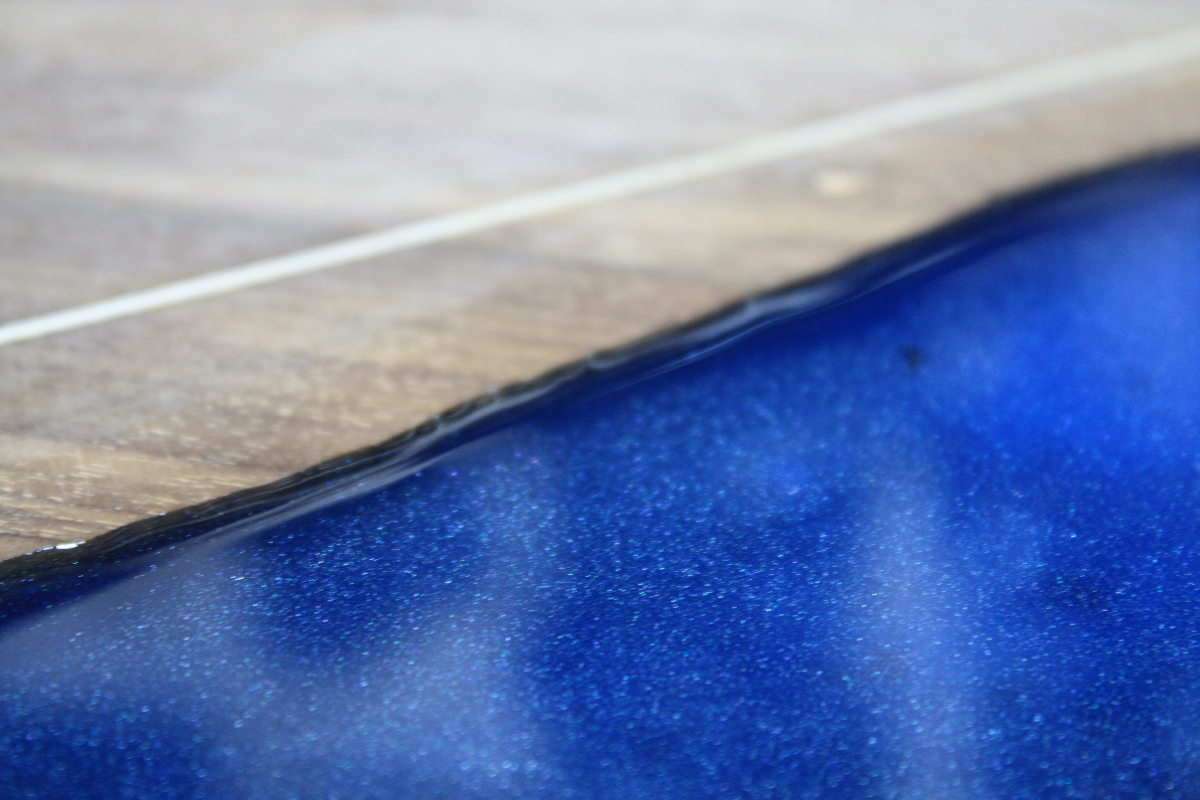
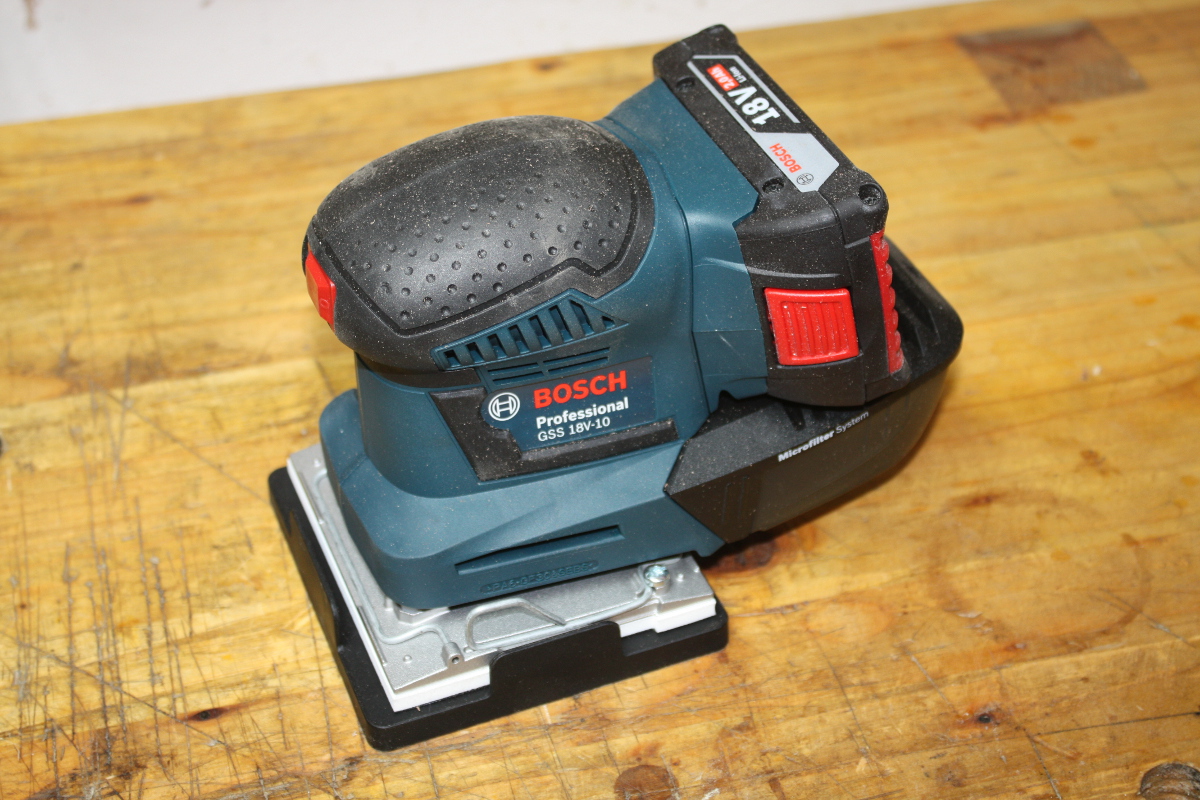
There followed fifteen minutes of tilting the board back and forth as the resin started to cure, to get a more even depth. Final result is even but still not proud of the surface and I want the resin to be slightly proud of the surface so I can use my new toy to take the whole surface to one contiguous plane…

I think the last bit will go down tomorrow evening, and then sanding can happen over the next few days. Once that’s done, that’s the walnut part of the desk done I think. I’ll think about how to decorate the poplar bits or even if they need to be decorated, or if I should just do the final shaping (the edges are all square right now to allow for easier handling but the final shaping will take off all the sharp corners and round everything over). Thinking about stuff. That’s the easiest bit of this hobby 😀


14
Jul 19

DIY intermission

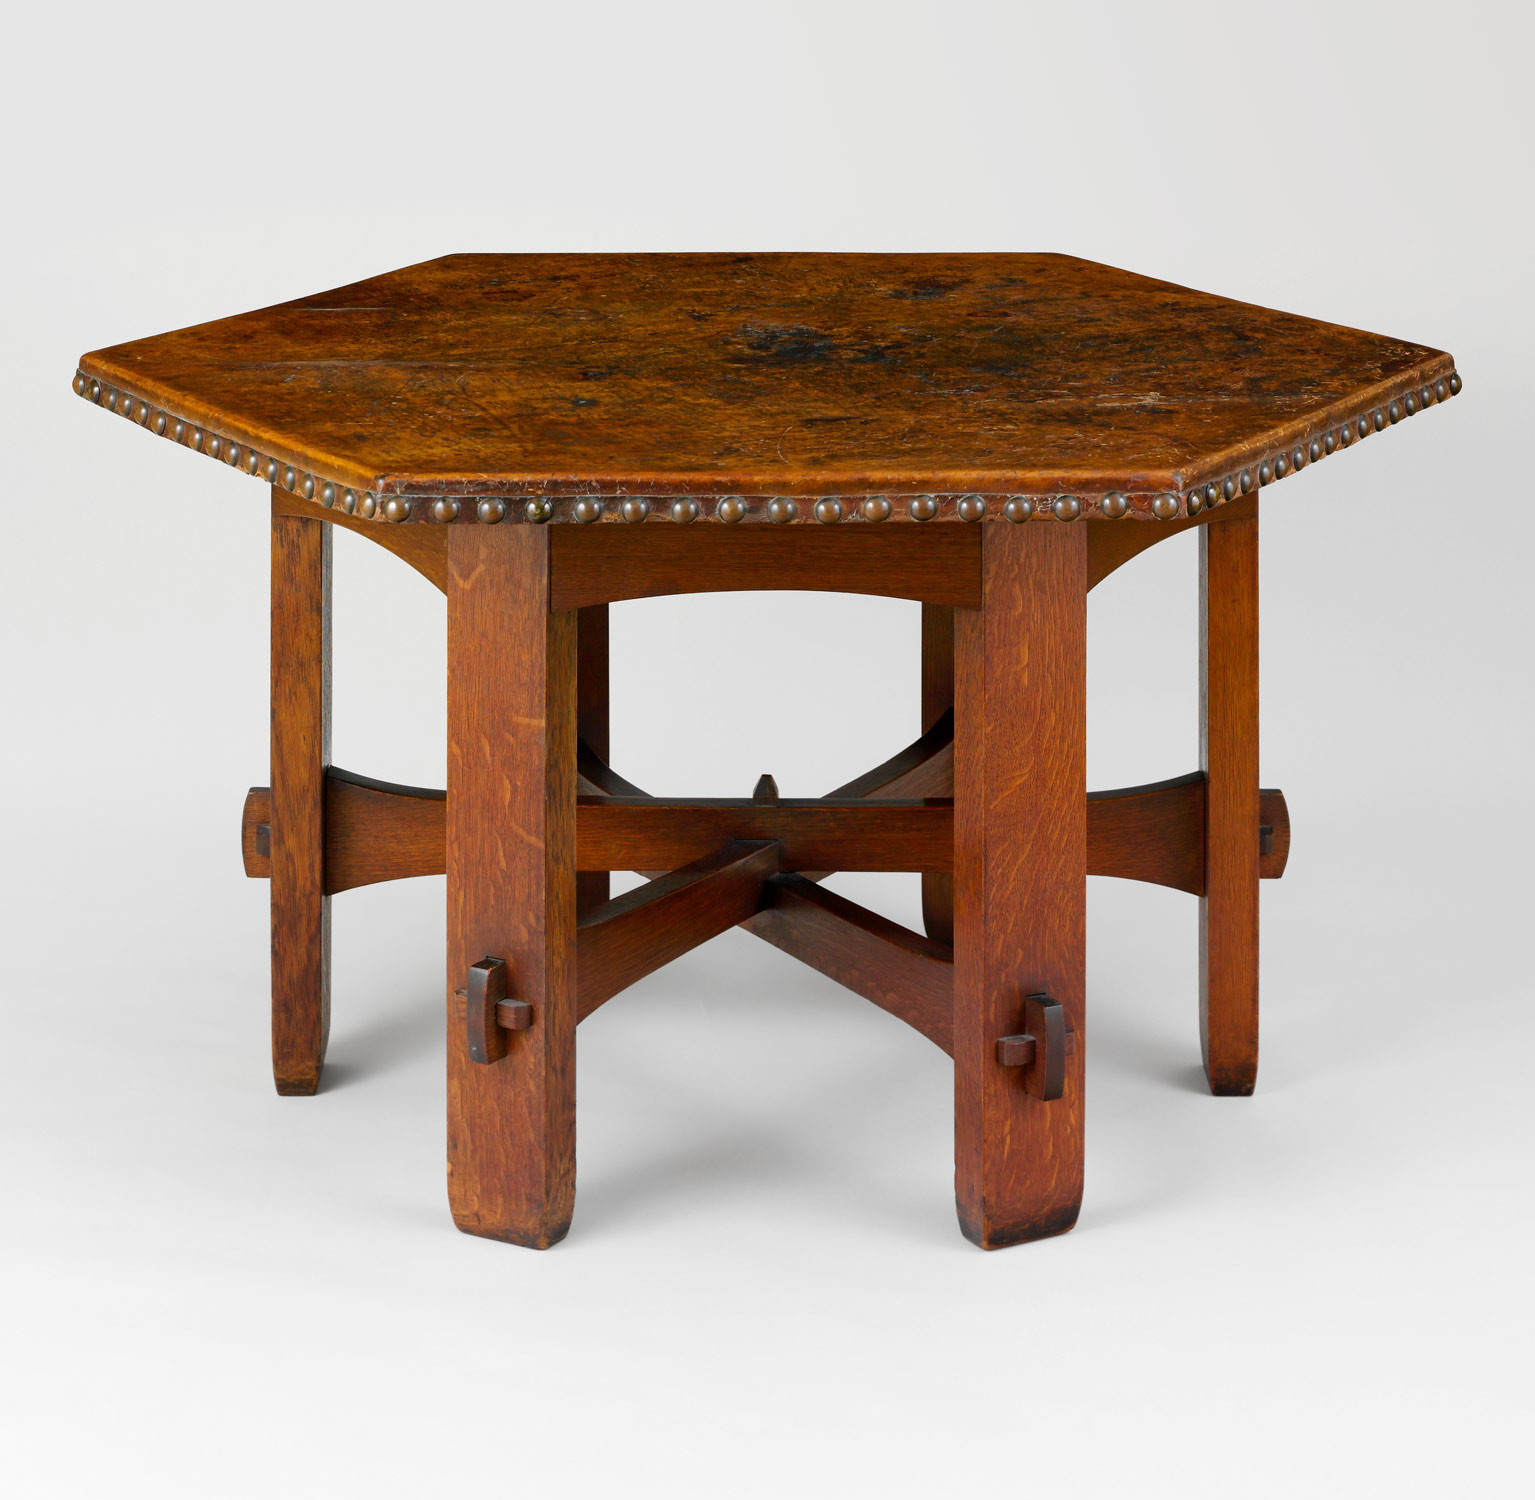
Funny thing about DIY, it gets all the Tim-the-Toolman-Taylor jokes and all the Daddy-Pig jokes, but at the core it’s a repeat of the Arts-and-Crafts movement of the late 1800s and early 1900s which led to things like this:

From the Met Museum : https://www.metmuseum.org/

I mean, it’s not to everyone’s tastes (I don’t like it much personally) but you can’t really argue it’s incompetent or that it’s inferior because it wasn’t just an aesthetic, it was a philosophy – one of using more traditional craftsmanship rather than industrial processes and moving away from the previous mass produced furniture (sorry Henry, but Ford didn’t invent mass production, High Wycombe got there at least six decades earlier and they might not have been the first) which people felt wasn’t as good as human-made furniture (as in, wasn’t as nice to look at, wasn’t built well, and so on). 
If that sounds a bit familiar, well, have a sip of your artisanal coffee and suspend laughing at hipsters for long enough to admit that actually, compared to the burned toast flavoured sludge we used to have for coffee in the 90s and the starbucks of today, coffee made by someone who knows what they’re doing is actually a lot better – and there in a nutshell is the core of the arts and crafts movement (and the DIY movement and the hipsters and probably a few other movements over the centuries since industrialisation). 

Anyway. DIY in this case is a lot less airy and a bit more safety-oriented; the mass-produced MDF kitchen our fridge is in is quite old and after the first decade or so MDF doesn’t really hold up so well it turns out. Or at least old MDF doesn’t, the process may have changed since then so the material is now more robust, but this stuff  is tearing apart and right now there’s a six-foot tall fridge freezer sitting on a shelf where one corner has torn out of its fastening and the whole arrangement has taken on a distinct tilt that I’m not at all in favour of. So an emergency support is getting shoved in until it can be fixed properly.

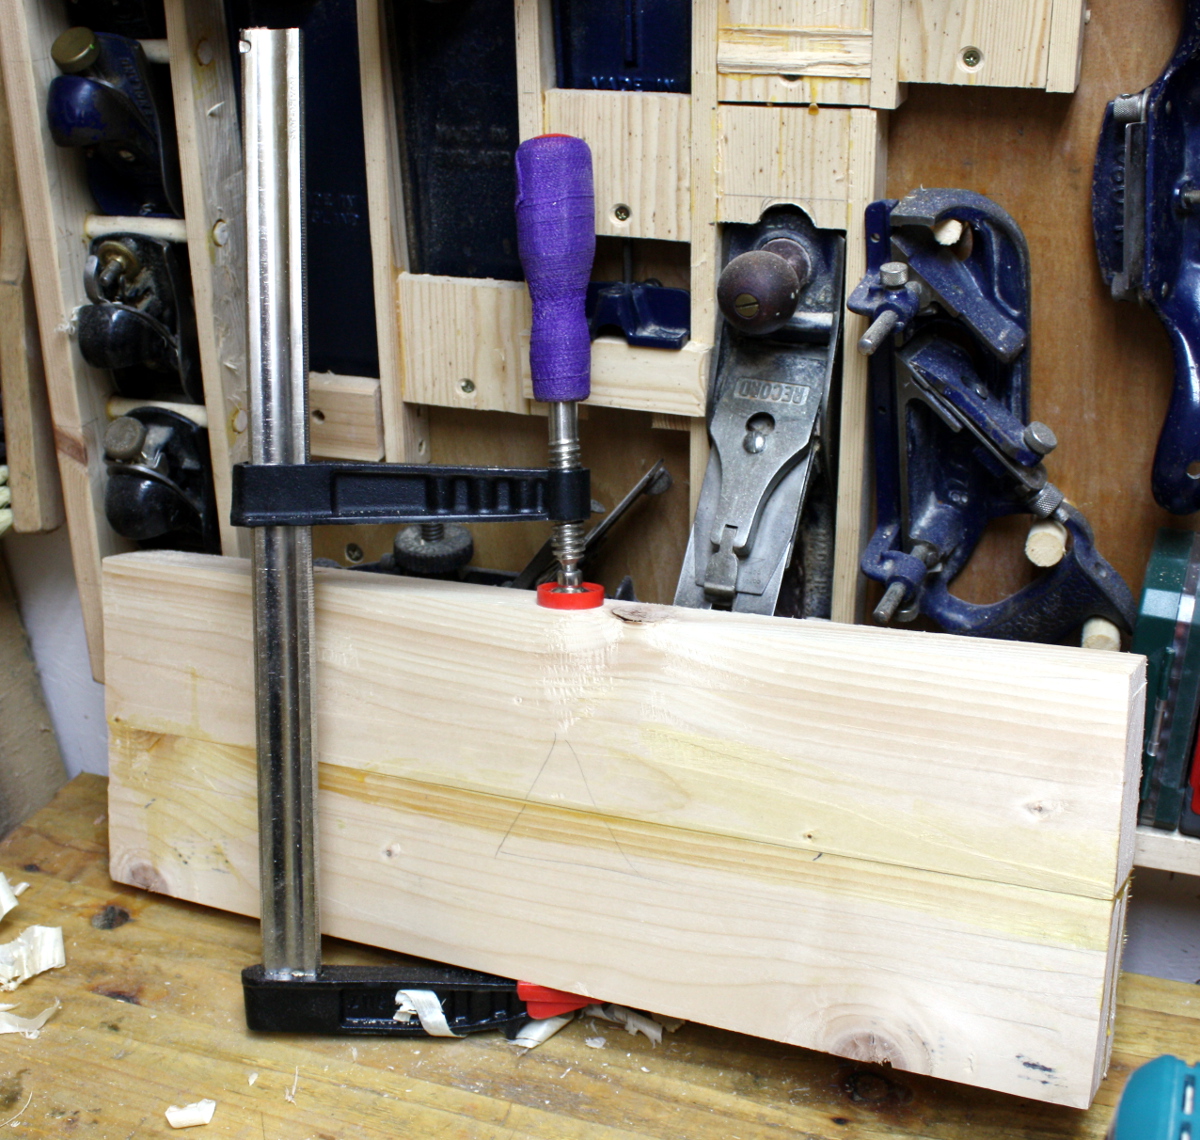
This is when it’s handy to have some CLS 2x4s around. A bit of planing, some measuring and cutting and a pair of edge joints later…

BTW, you’ll notice one F-clamp has a black and red plastic handle and the other has a purple one – that’s a Rob Cosman trick, it’s hockey stick tape to give more purchase on the handle. Gotta say, it works a treat and I’ll be getting more and doing it to all of the clamp handles. 

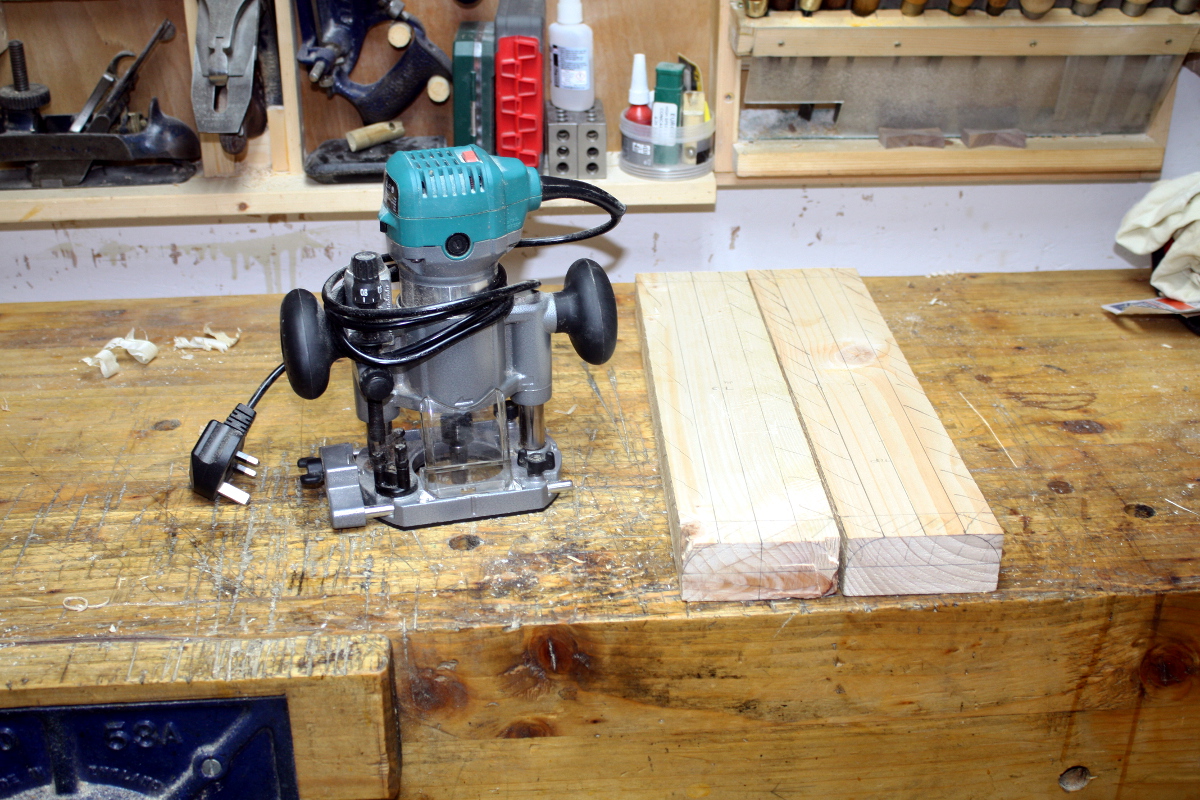
Glue will be cured by tomorrow and then I’ll scribe the sides of those uprights against the faces of the feet and then I’ll route out a cavity to set the overall height. Might have to trim or plane the edges of the uprights slightly for that, not sure. We’ll see. 

Really don’t like that tool, but it’s the best fit for this job. Have a new cutter in it as well, the one I intended for the sea in Calum’s desk, a Radian Tools three-flute cutter. Either it’ll be brilliant or it’ll shatter when it hits a knot, but either way I’d rather find out here than on the walnut desk…

Once I’ve routed the cavity to the right depth, I’ll glue and screw the feet to the uprights. Might shape them a little first just so it’s not completely ugly. Then drive them in below the shelf to support it and the fridge until we can get a more permanent fix. 

Also, new toys!

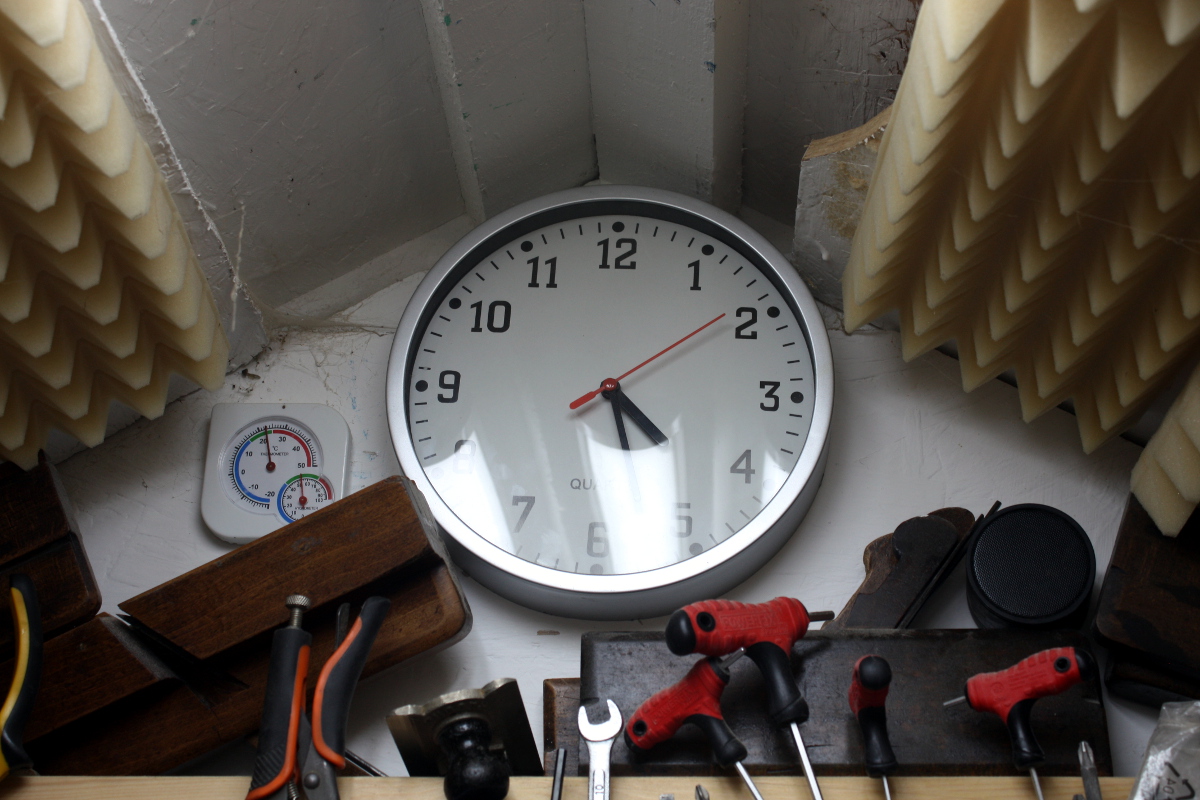
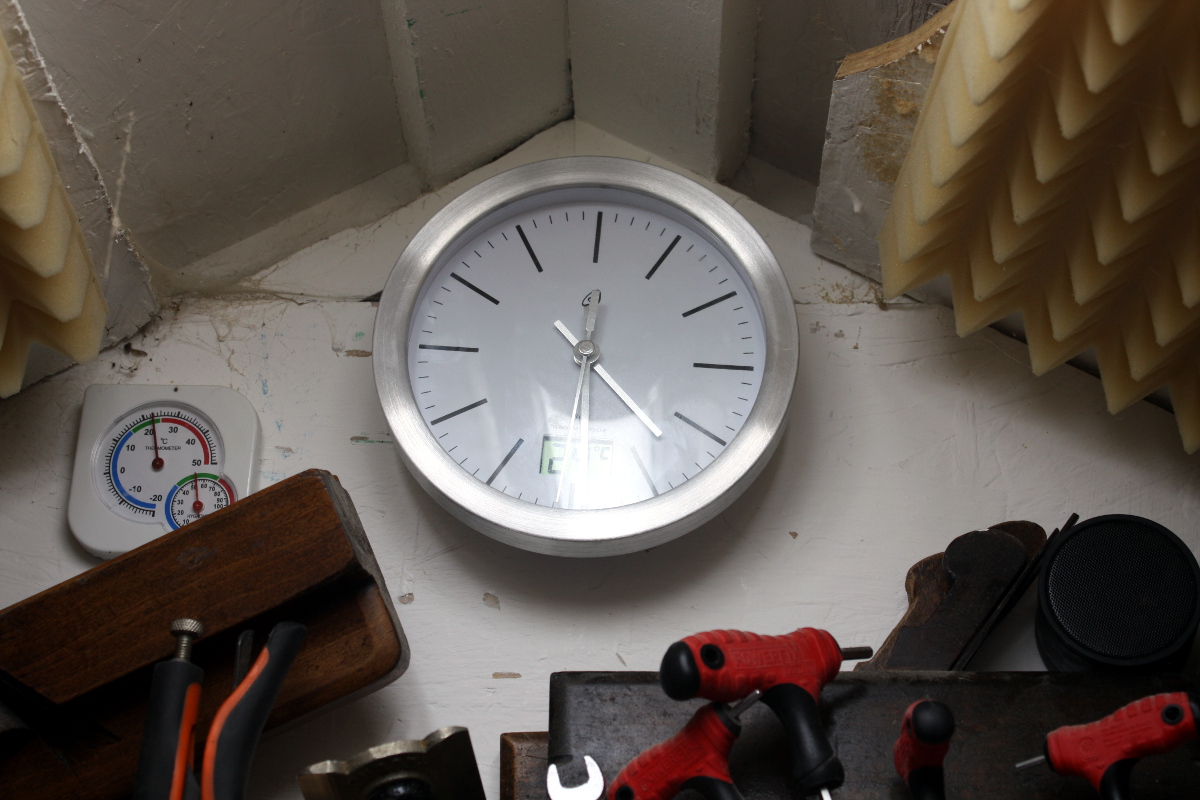
Lidl were selling radio clocks (as in, synced to the german VLF atomic clock transmitter so you never have to adjust the time even if the batteries run out and you don’t replace them for a while) so out with the older larger clock and in with the newer quieter one with the built-in temperature and humidity sensor. Atomic-level accurate clocks with digital thermometers and humidity sensors sold for a tenner as a loss leader to sell you vegetables and own-brand staples. Mass production does have some advantages…

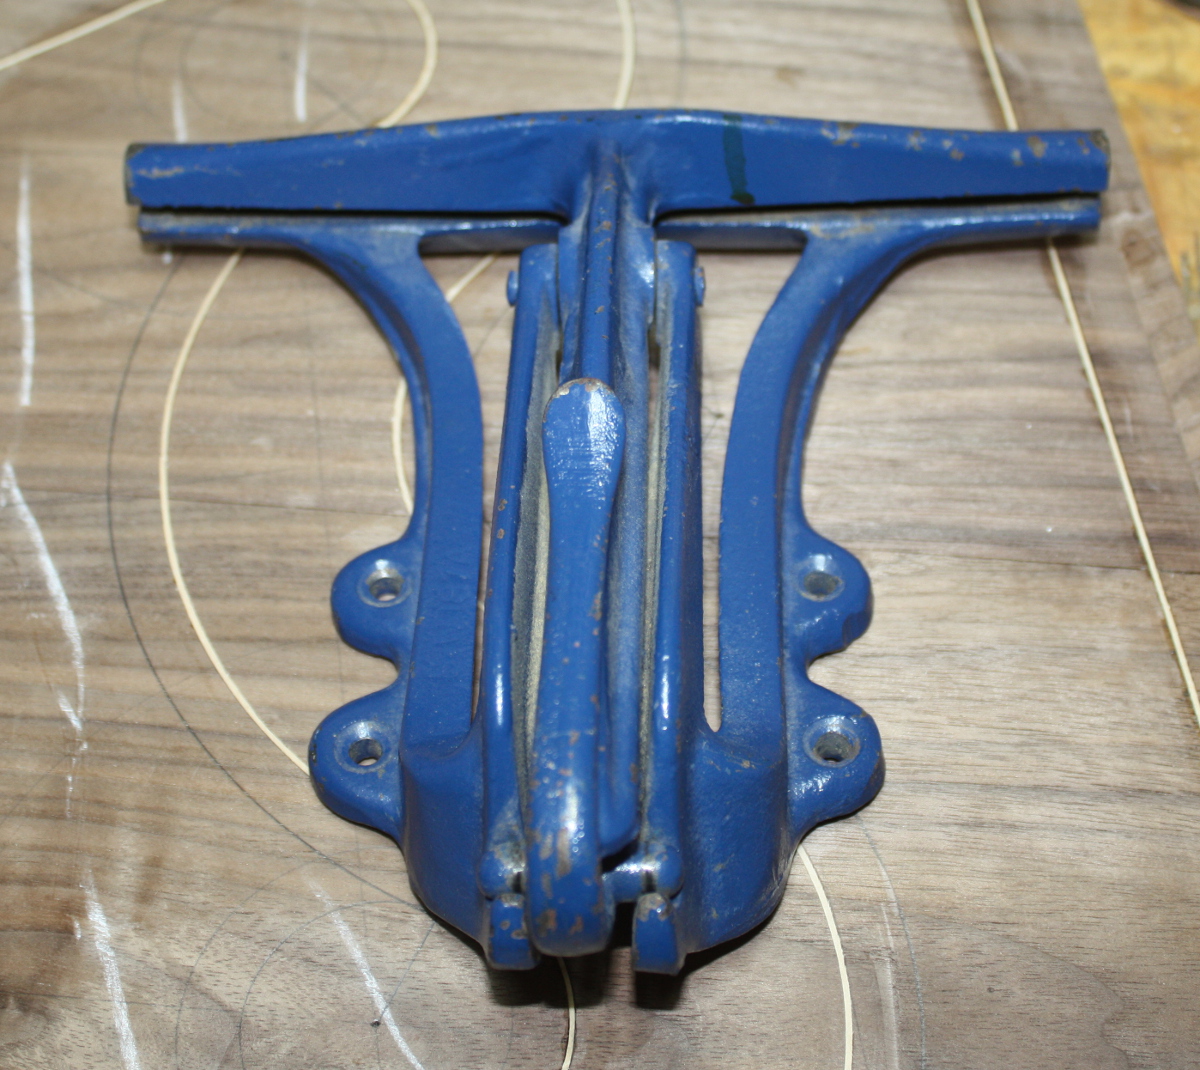
And a new vice. I keep putting off sharpening my saws because they’re a pain to clamp in that small pine stick with the saw kerf that gets clamped into the bench’s face vice, and then when it is clamped properly the teeth are down at bench level and it hurts my back to be bent over the work like that but I need to see what I’m doing to do it and it’s fiddly. So I’ve left the western saws I have on the wall for over a year now and they’re not bad tools and I keep wanting to learn to use them right but I keep coming back to the japanese saws because the western ones aren’t sharp. So, a dedicated saw sharpening vice, found on ebay for €25 including P&P:

It’ll get bolted to a small plank, then the plank goes in the face vice on the bench, so the top of the vice will be much closer to my face and I can see what I’m doing. Fingers crossed it’ll work.

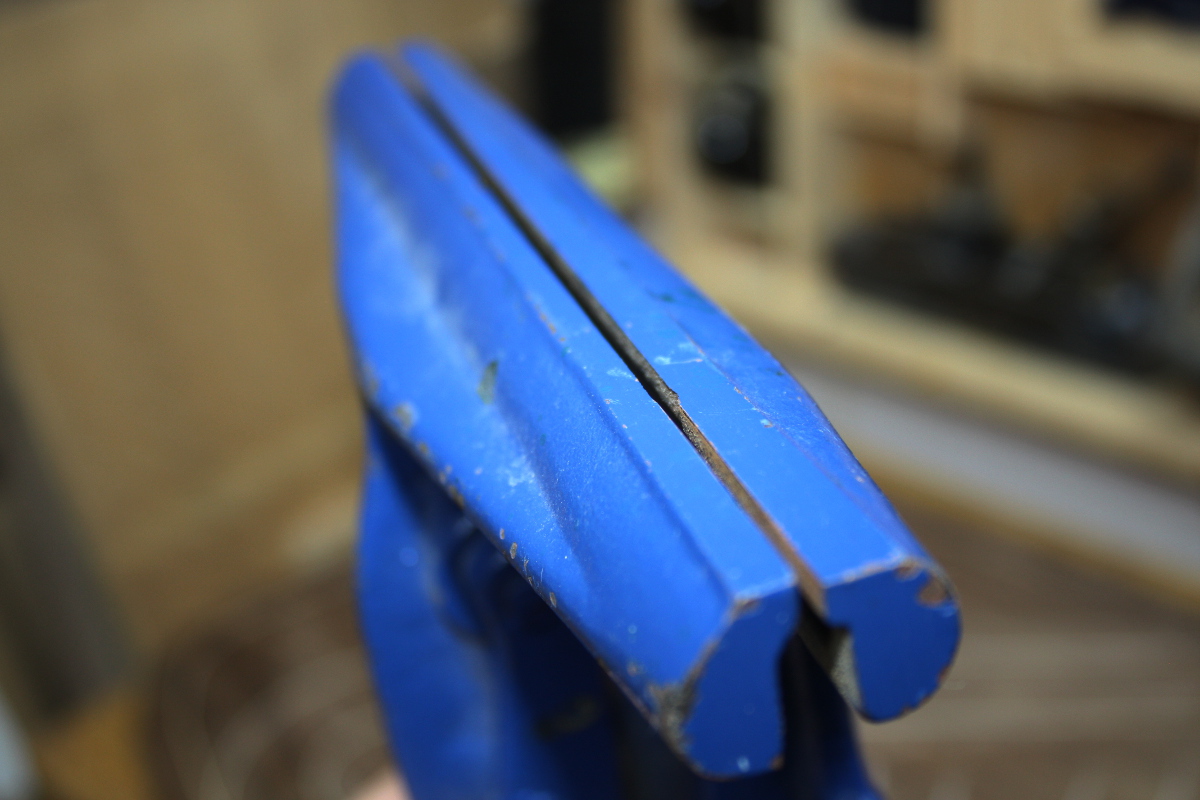
That’s it fully open btw; just enough for a saw plate and then you clamp it shut with a sprung cam. Has a lot more in common with a luthier clamp than it does with a screw vice. 

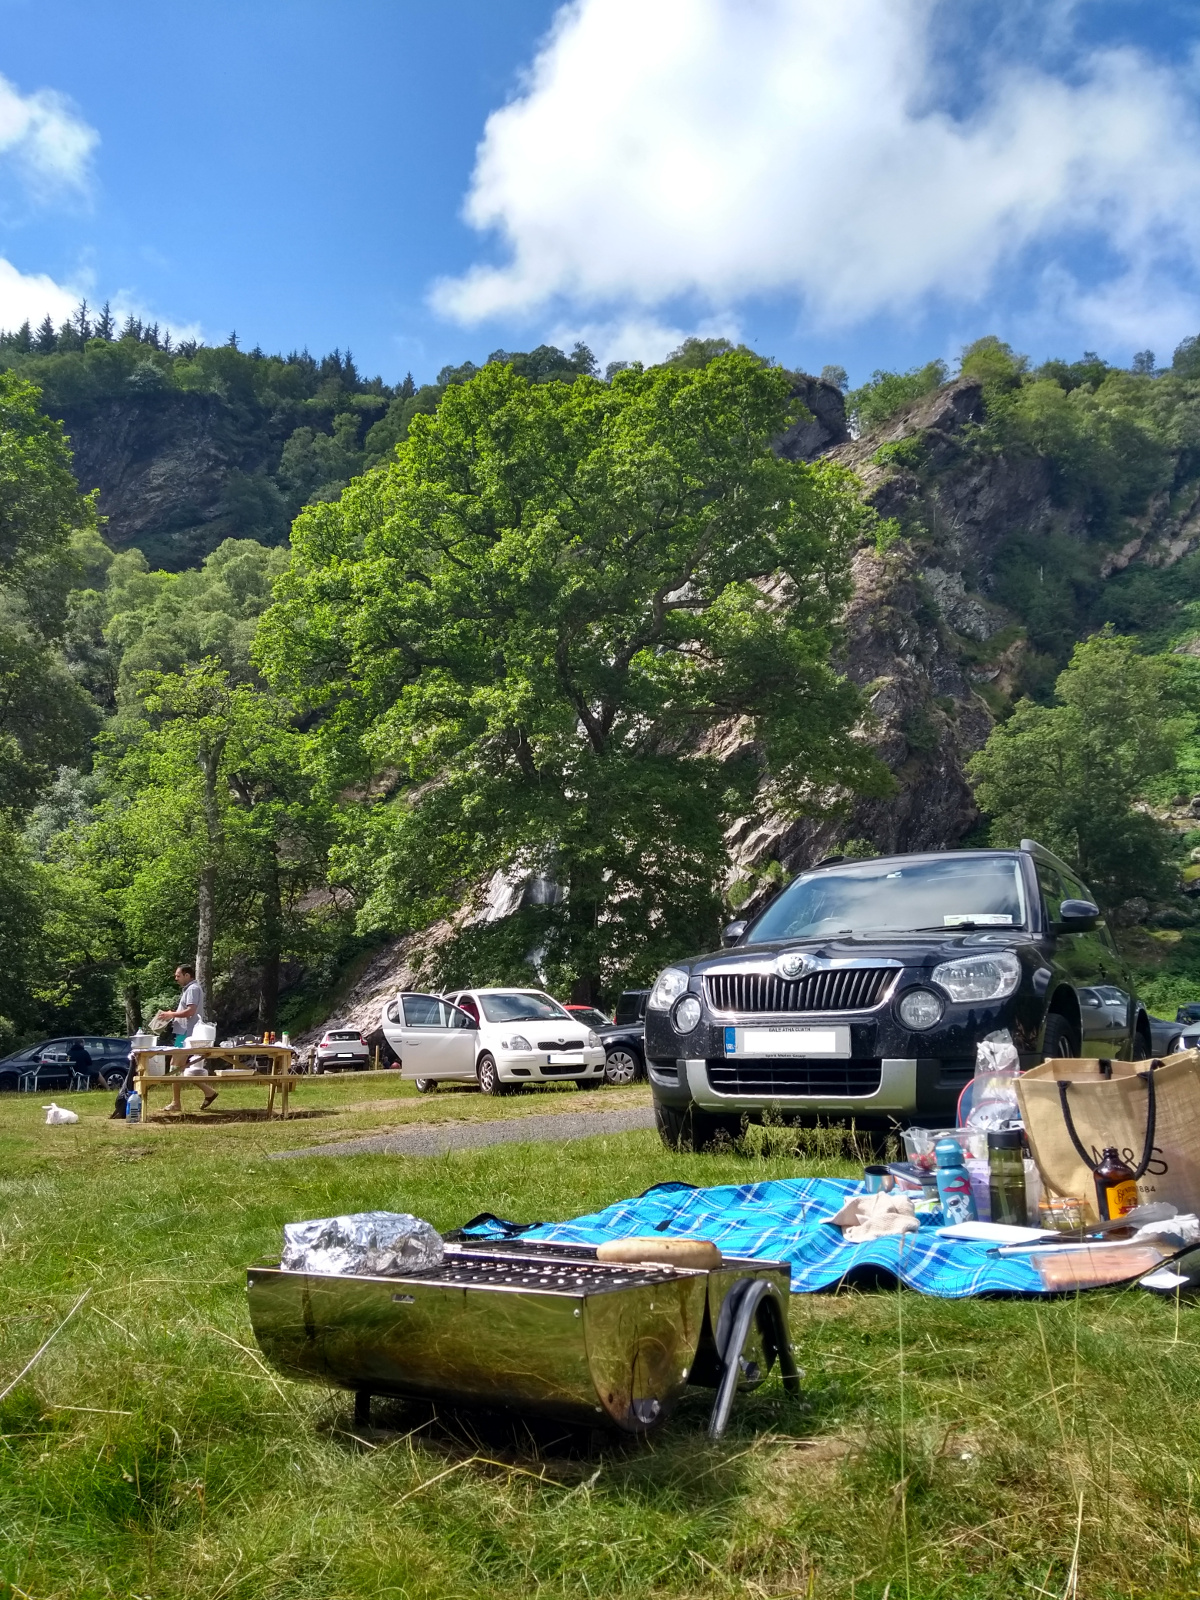
Not a lot other than that little bit done today. Today was too sunny and it was a weekend so we took the little BBQ on a field trip to Powerscourt waterfall…

Not allowed chop ’em down and make furniture from them though, oh well 😀