12
Apr 17

Thermomorph

So I came across this goop watching Crimson Guitars recently (I don’t want to build guitars, I just find the woodworking part fascinating while finding the music part kinda meh).

Basically, take this plastic (which comes in little balls like styrofoam packaging), put a few tablespoons into hot water (60C/140F is where the magic happens) and it goes from hard white solid to transparent goop. Fish it out of the water with a spoon, give it a second or two to cool down so you can hold it without third-degree burns to your fingertips, and now you have something similar to mala (or plasticine or playdough or silly putty or whatever you grew up with); only when it cools down, whatever shape it’s in it sets up hard in.

When it’s back to being hard again, it’s a hard white plastic that you can saw, drill, file, tap (no idea how much load it’ll take though) or otherwise work. And when you’re done with it, put it back into hot water and it goes back to transparent goop again and you can reuse it. No idea how many cycles you’ll get from it, but I’m up to three or four so far with no sign of degradation.

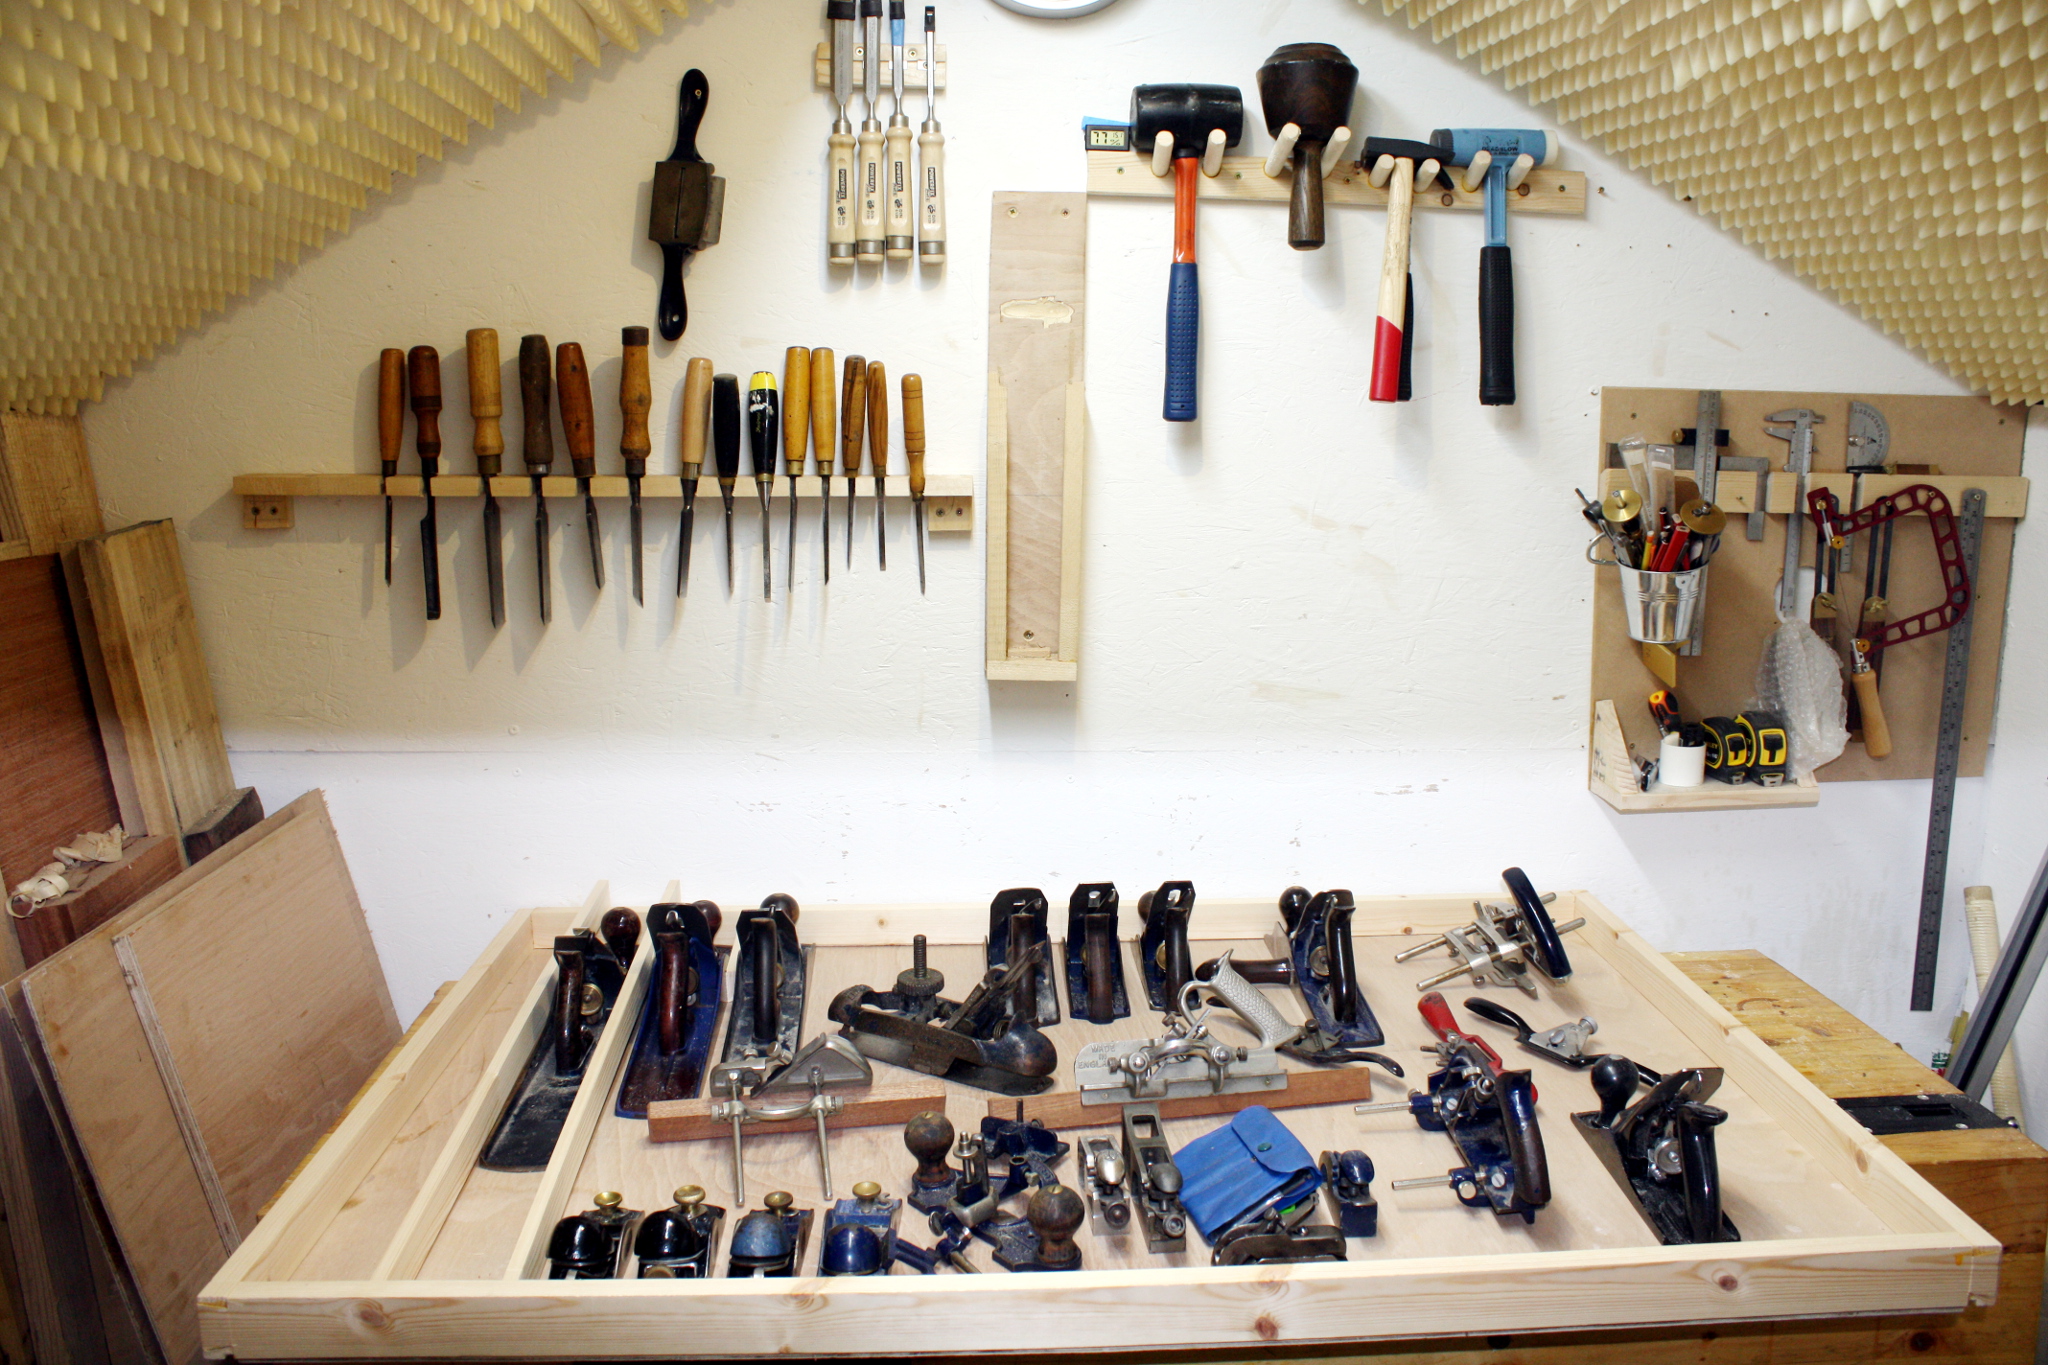
So how’s it useful in the shed? Well, I use LED T8s to light the shed. Or more accurately, until last weekend I used one. Then the second one arrived last weekend and now I use two.

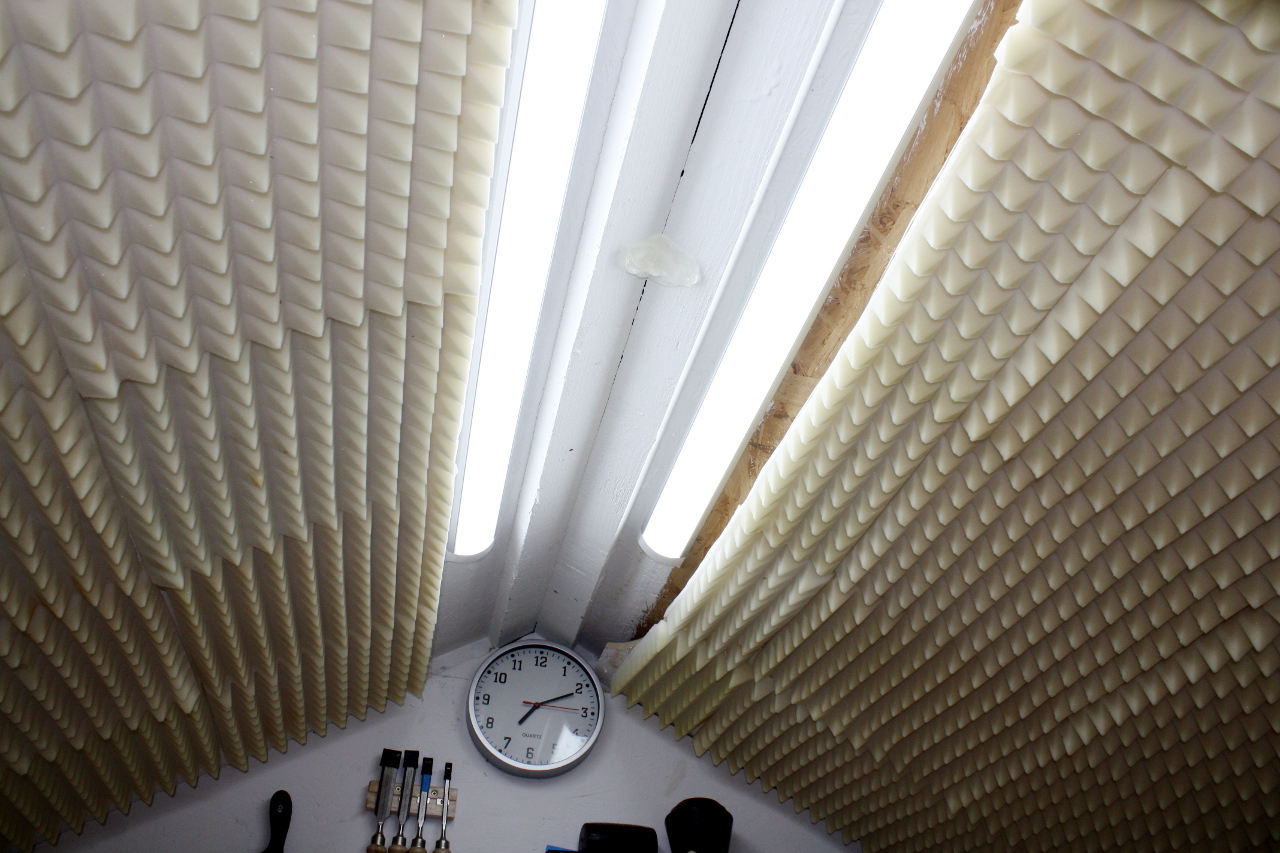
Thing is, when I ordered that second one, I accidentally ordered two of them. So I wanted to fit the third T8 and in between the other two is the only viable place left. But the roof has no handy single flat surface there (if I picked either of the two flats I’d get uneven light distribution and I’d go spare). So I need some blocks cut to the angle of the roof and attached so that I have a horizontal surface to mount the light to.

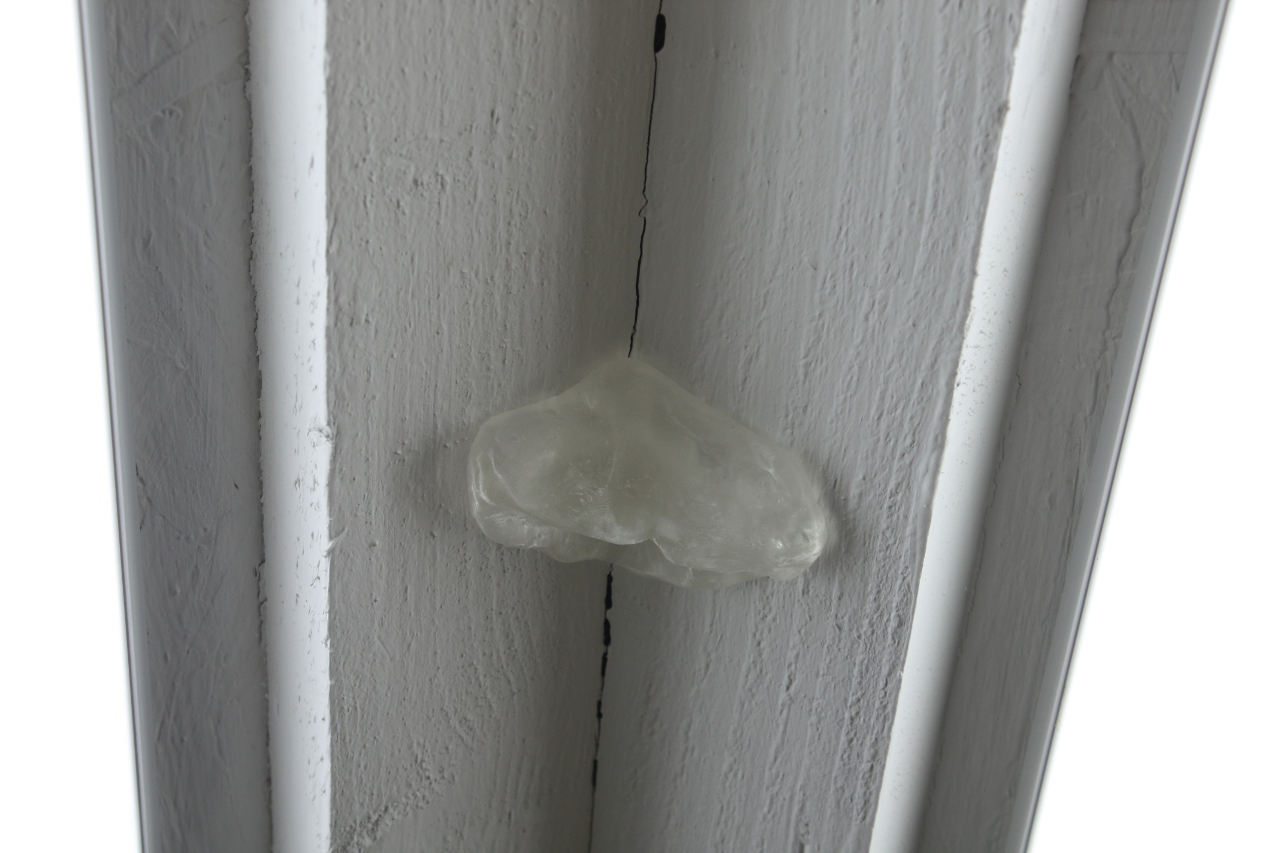
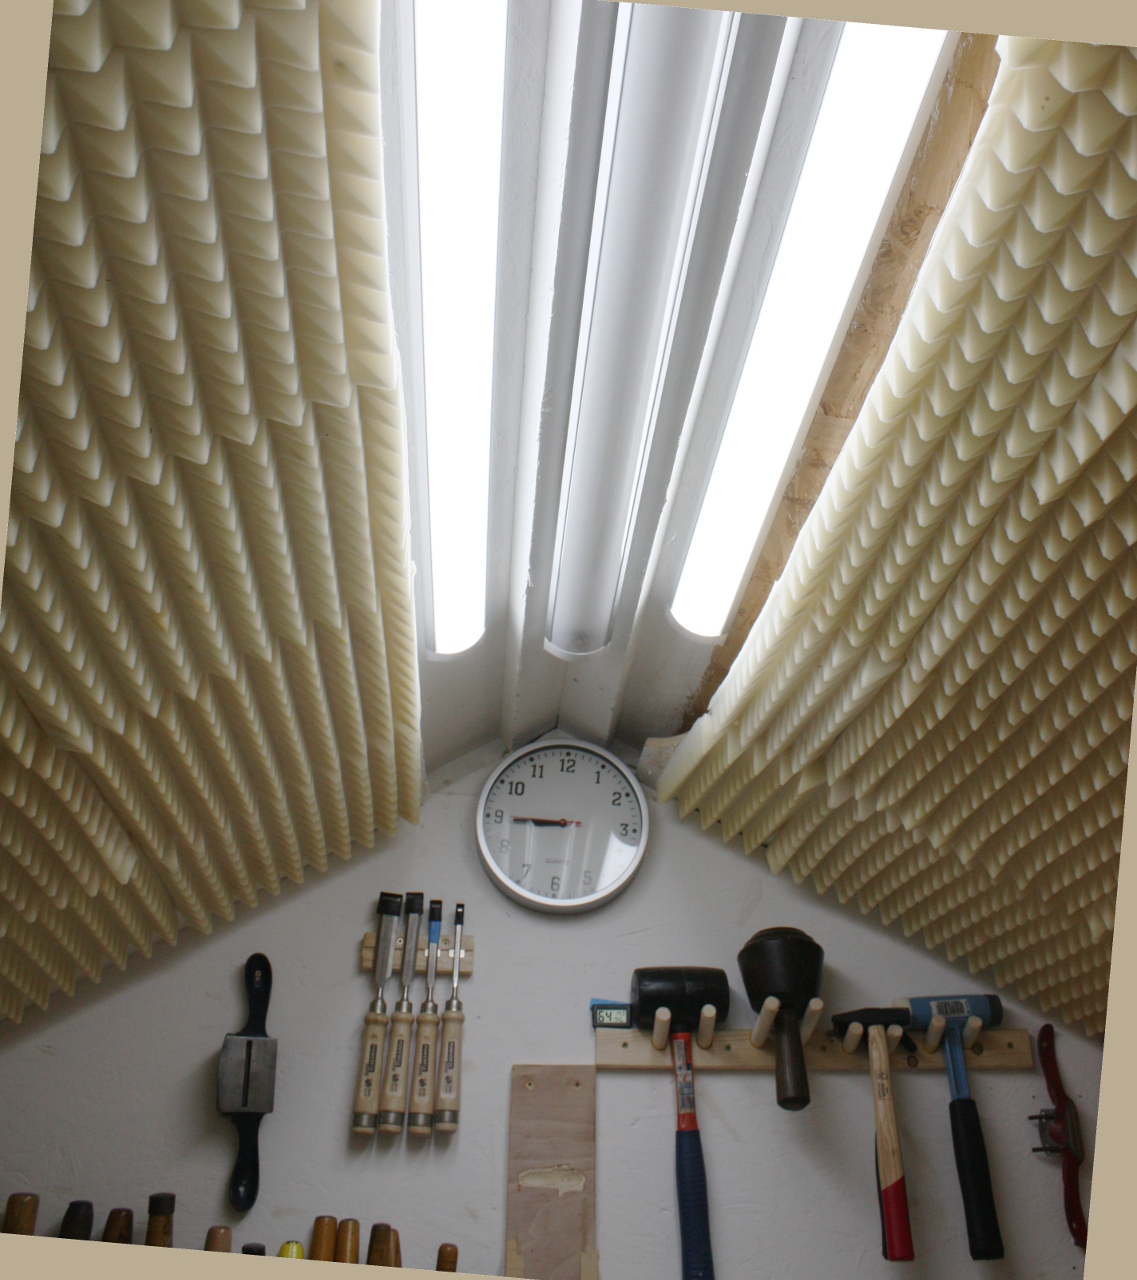
But I don’t know that angle, it definitely isn’t something nice like 30, 45, 60 or 90. It’ll be 57.423 degrees or whatever hastily-nailed-together-8-by-6 sheds use. So out with a few tablespoons of thermomorph, let it go transparent, cool back to translucent, and then shove a wodge of it into the roof angle (you can see it above in that picture).

And then when it cools, take it down and let it cool fully to harden fully.

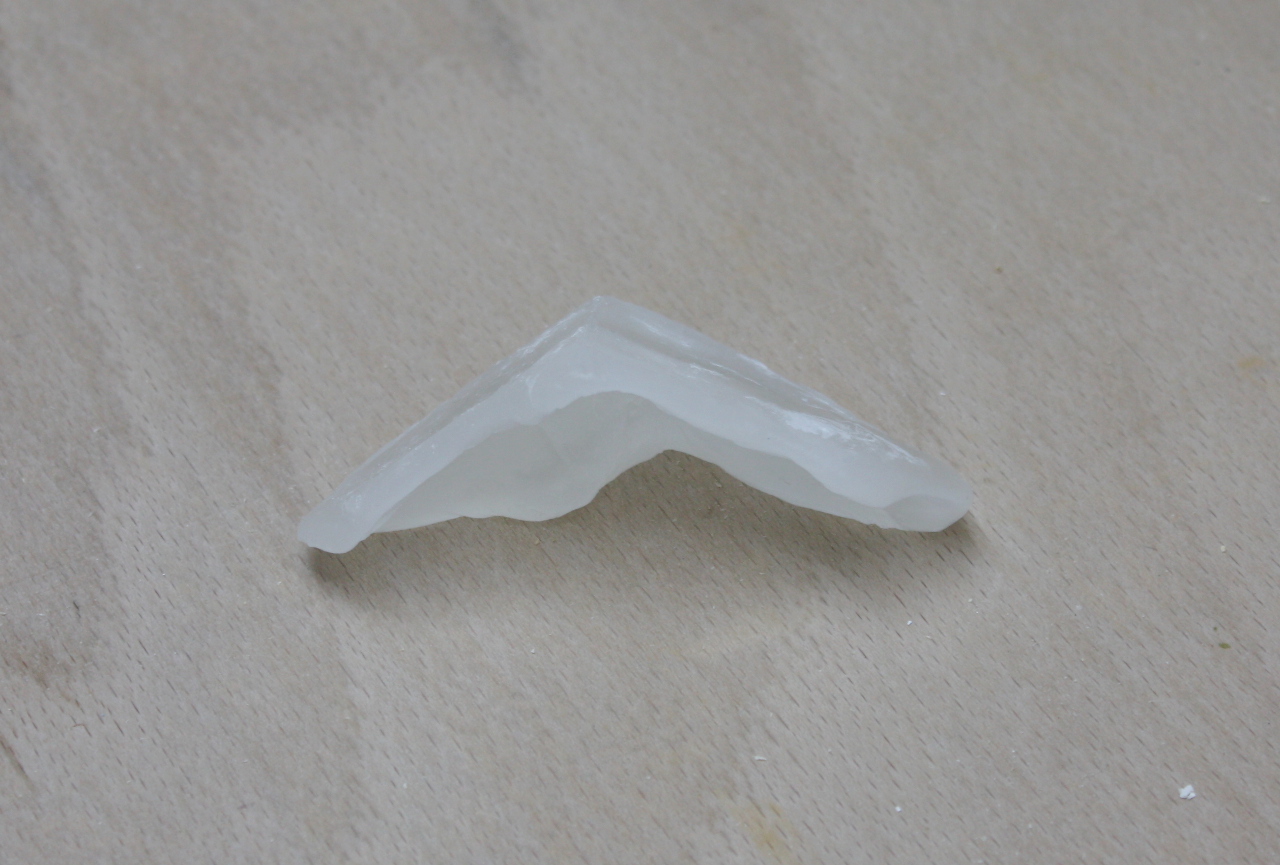
And there’s your angle. Now take your saw and cut it in half so you have a flat face to present to the wood, and mark off the angles.

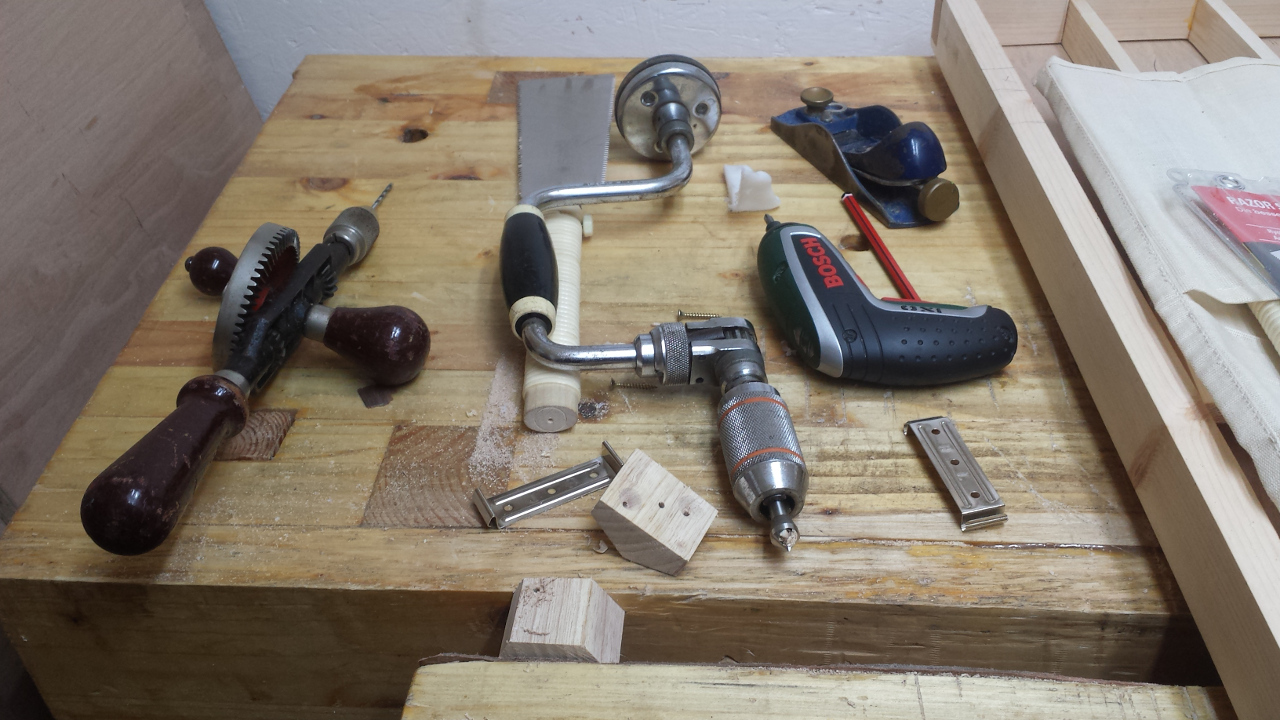
And now you just saw down the lines, then crosscut into two blocks, and start drilling pilot holes for screws and countersinks.

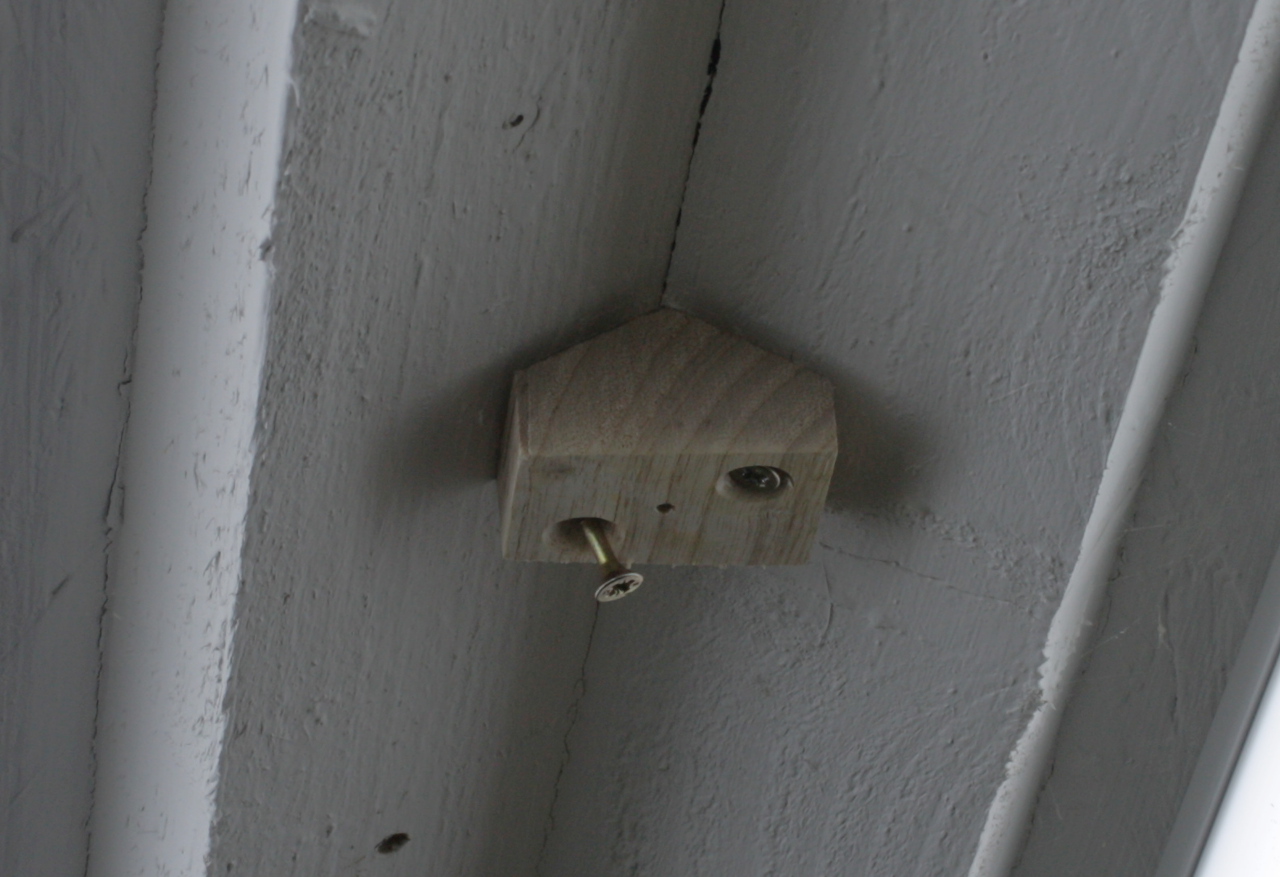
Then screw the blocks to the roof…

…and the mounting clips to the blocks…

…and then clip the T8 into the clips.

And done. No faffing about with cut-and-test-and-cut-and-test-and-plane-and-test-and-plane-too-much-and-test-and-curse-and-start-over-again.

Yeah, you could probably do this with a bevel as well, if you had a small 2-3 inch size one, but the thermomorph can get into small awkward spots a bit better than most bevels. Plus, as Ben Crowe was showing in that video above, you can replicate curves and other odd profiles just as readily as straight line angles.

And you can get different brand names as well (Multimorph, Polymorph and so on) as well as dyes in case you don’t like white, or even food grade versions of the stuff. And near-infinite shelf life too. So definitely some stuff to have handy in the shed from now on.


03
Apr 17

Tooltris

So, don’t get me wrong, I know this is a nice problem to have, but still…

Dovetailed and rebated border all glued up and fitted to the plywood panel, grand but now I have to figure out how to get all those planes on there and the chisels as well (the hammers will move to the side wall I think).
Also, leaving space for a Record #08 on the left, a Record #02 on the right and a Record #05 which I was absolutely certain I had bought but apparently I’d decided I didn’t need one because I had a #05½ and a #04½ already. Stupid sensible idea, that one.
Mounting might be interesting. I don’t think french cleats will help here, so I guess we’re down to a few dozen countersunk screws through the plywood and into the studs in the shed wall. But that’s an awful lot of cast iron…
BTW, I don’t expect much from knotty pine whitewood bought from woodies, but dammit, was I asking too much to expect that a 1.8m length of 43x12mm whitewood would be 1.8m of whitewood and not several 30cm lengths scarfed together? Good grief.

25
Mar 17

Hey Presto-n…

Another new toy today. While building the crib, my favorite tool very quickly became my Record 151 spokeshave.

It’s a really simple little tool and works brilliantly one you follow Richard Maguire’s tip and take off the adjustment knobs because you can’t ever get them both to agree well enough to keep the blade properly adjusted, so instead you just clamp the blade with the cap and set it with a hammer (which is a much finer adjustment than it sounds). It’s brilliant for anything with curves, or for rounding over sharp corners quickly for that matter.

But.

While it’s a lovely tool to work with, and far beyond cheapo Drapers and the like (I don’t care what Paul Sellars says on that one, I’ve seen the Draper spokeshave and it’s just manky), it does have faults. The casting of the body does not match the cap perfectly, for example – there are lugs on the sides of the lever cap that should fit into the body, but there’s a good 3-4mm of a gap because the tolerances weren’t finer. And you can set the blade further forward very readily and surprisingly delicately with a hammer, but you can’t retract it with the hammer, you have to undo the cap and reseat the blade back at the start and advance it again with the hammer, which can be annoying at times. It does the job, but I keep thinking there are things that can do the job better.

Well, probably the best out there right now according to everyone with a few hundred euro to drop on a spokeshave, is this:
That’s a Lee Nielson Boggs Spokeshave (Boggs being the rather accomplished chairmaker who designed it). And if you have approximately twenty times the price I paid for my 151, you can test it to find out 😀

Me, I went a different way and chased after a Preston. Edward Preston & Sons were the Lee Nielson of their day, arguably at the very top of the toolmaking world from around 1825 to somewhere between 1911 (when Edward Preston died) and 1932 (when the company was bought by Rabone). Unlike most of the other manufacturers who seem to have mostly copied stanley designs, the preston tools were markedly different. And their spokeshaves were neat, elegant, and clever. They had a well-known design (the 1391) that had very decorative casting:

But as good as it’s supposed to have been, I just didn’t like the look of it, so I went after their plainer version and finally managed to get a good example of one for, okay, just shy of forty euro including postage, but that’s still a third the price of the Lee Nielson. And just look at how pretty it is!

It’s been restored and it looks absolutely magnificent. And note that there’s only one adjustment knob so you don’t have to worry about misaligning the blade by not being in sync with both knobs, so you don’t need to adjust it with a hammer.

And the blade looks almost unused:

I’ll have to make a new sharpening holder for it, but it’s got enough steel there for a while longer yet, and Ray Iles makes replacement blades today for about 15 euro-ish.

Now, I just need to think of a new project to use it on 😀