It’s been one of those weeks where you don’t get a huge amount of time in the shed, but the chisel rack is finally done. And I have new toys…
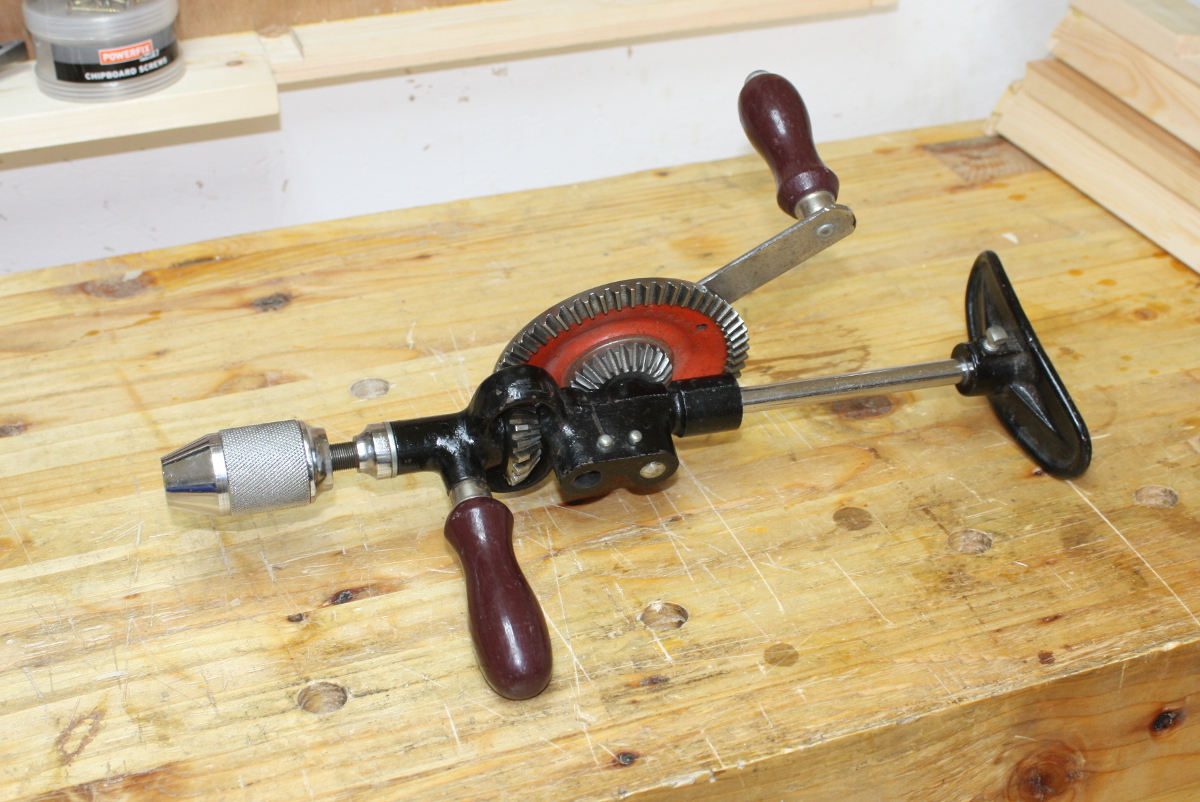
The breast drill was in spectacularly good condition for something made somewhere in the 1950s. And used too, there are small marks here and there on it that say this thing wasn’t living in its original packaging until now. And with it, that’s almost all the hand drills I want (I wouldn’t mind a small push-drill for very small holes, 2mm and below, but I don’t need that for anything in the immediate short-term future; but for some tasks, like alignment pins for glueups, a 2mm drill and toothpicks are useful). But for now, I have two eggbeaters, a full set of braces and the breast drill in between the two (there’s a progression through the drills depending on how big the hole diameter is and how hard it will be to drill – you start with the eggbeaters up to about 5mm, then the breast drill from 5mm up to about 10mm, then the braces from then on, using larger braces as you need more torque. There’s some overlap rather than hard dividing lines, but it’s a decent rule of thumb).
And I can have drills dedicated to countersink bits as well, which speeds things up.
And I bought some slightly more specialist gauges as well.
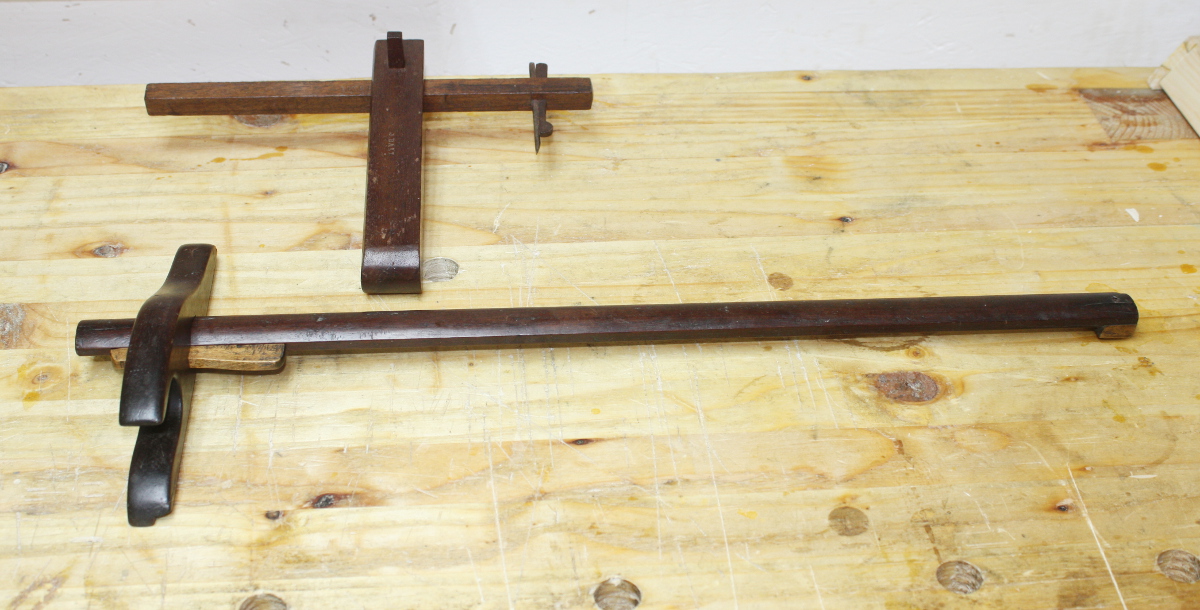
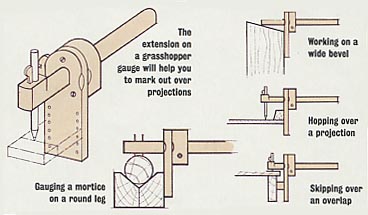
Up top, a grasshopper gauge, which gets used to mark things when the reference face is a bit awkward to get to, and on the bottom is a panel gauge for glued-up panels (made from mahogany so it’s fairly old as well).
But about that chisel rack. The idea was to try to get all the chisels I use up on the wall, along with the gouges, and the usual design, the one I used until now, has disadvantages.
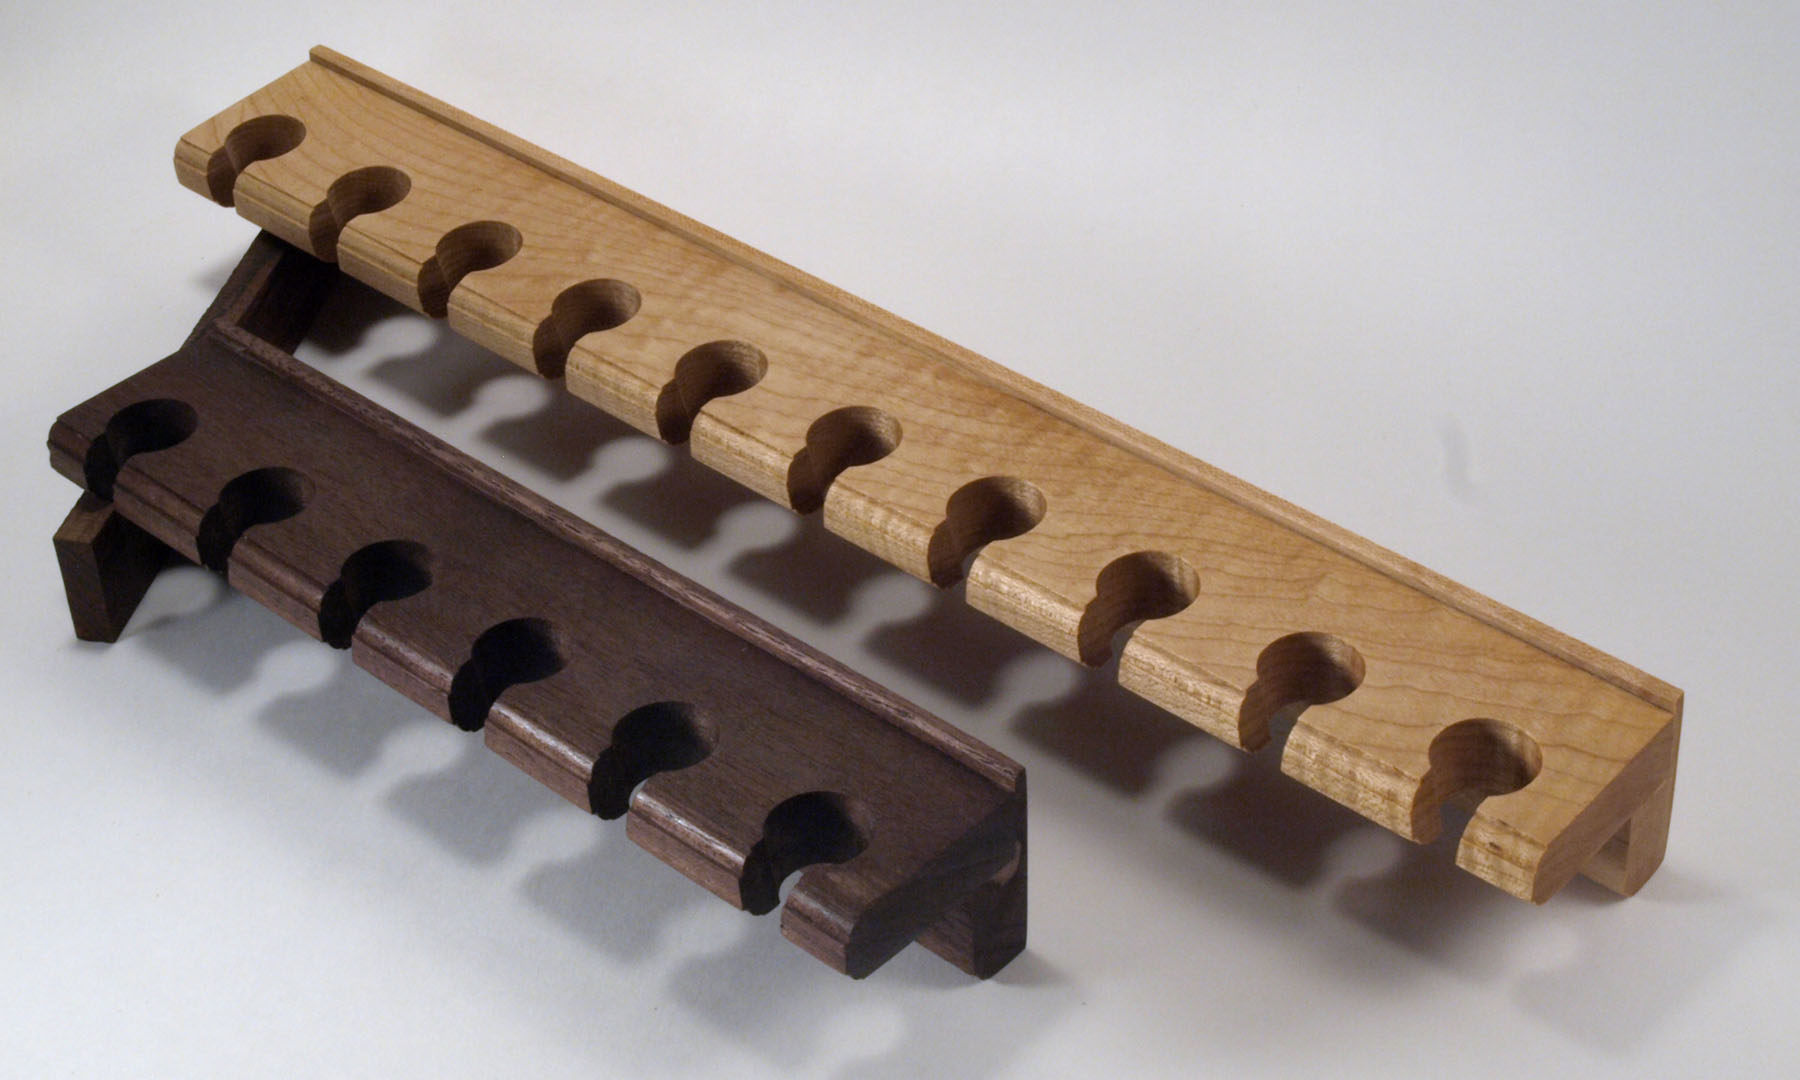
So this is grand if you have space, but if you are limited to 18″ or so of width for the chisels, you can’t get quite so many in and while you can stack them as shown here, you have to stagger them out away from the wall, and there’s not much room for that in my shed. And they have a weakness in that there’s short grain between the holes, so unless you make them from plywood or a more durable hardwood, you can snap out the between-holes chunks pretty readily (either while making them or while using them). And most of my shed stuff is made from fairly cheap pine bought from wherever was handiest (so usually Woodies, and their pine is terrible). So I wanted a design that let me stagger racks without having to come out more than three or four inches from the wall and which avoided the short grain problem.
So here’s the idea:
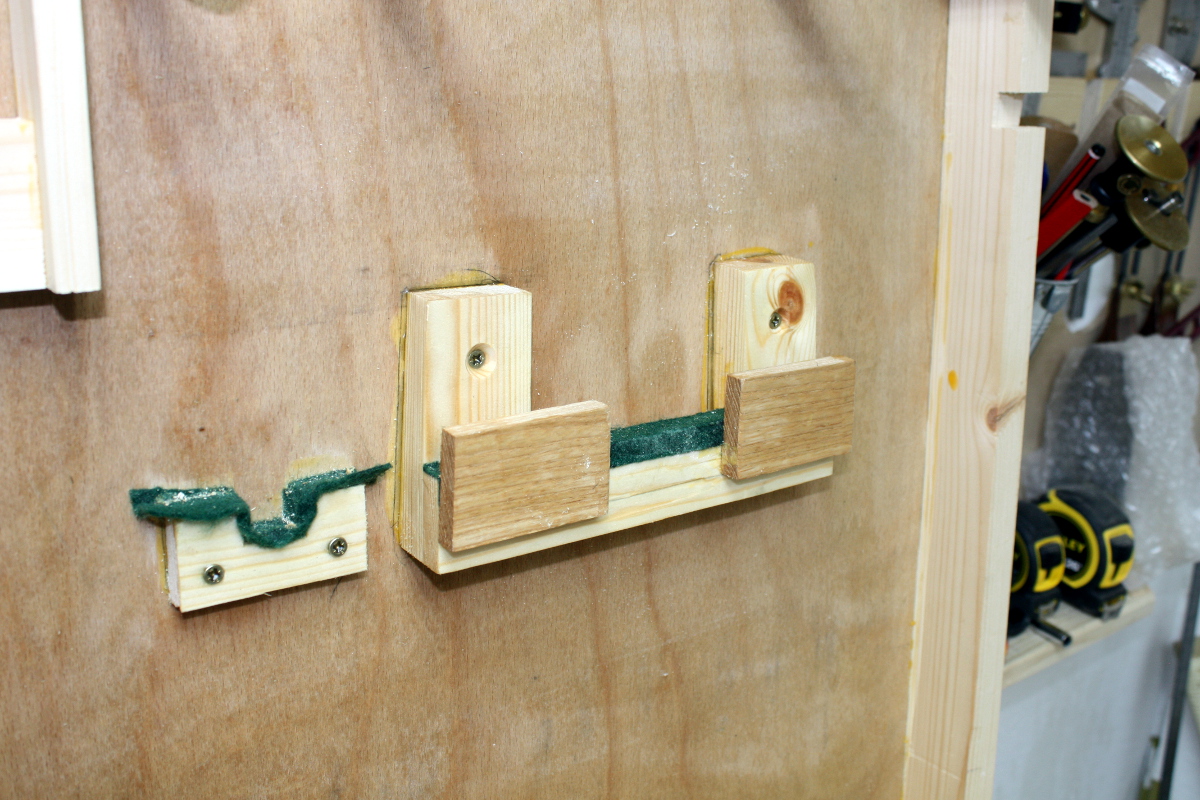
You have a short length at an angle, you put small cut-blocks behind it to keep the chisels sliding to the left or right, and you have something on the wall that the edge rests on.
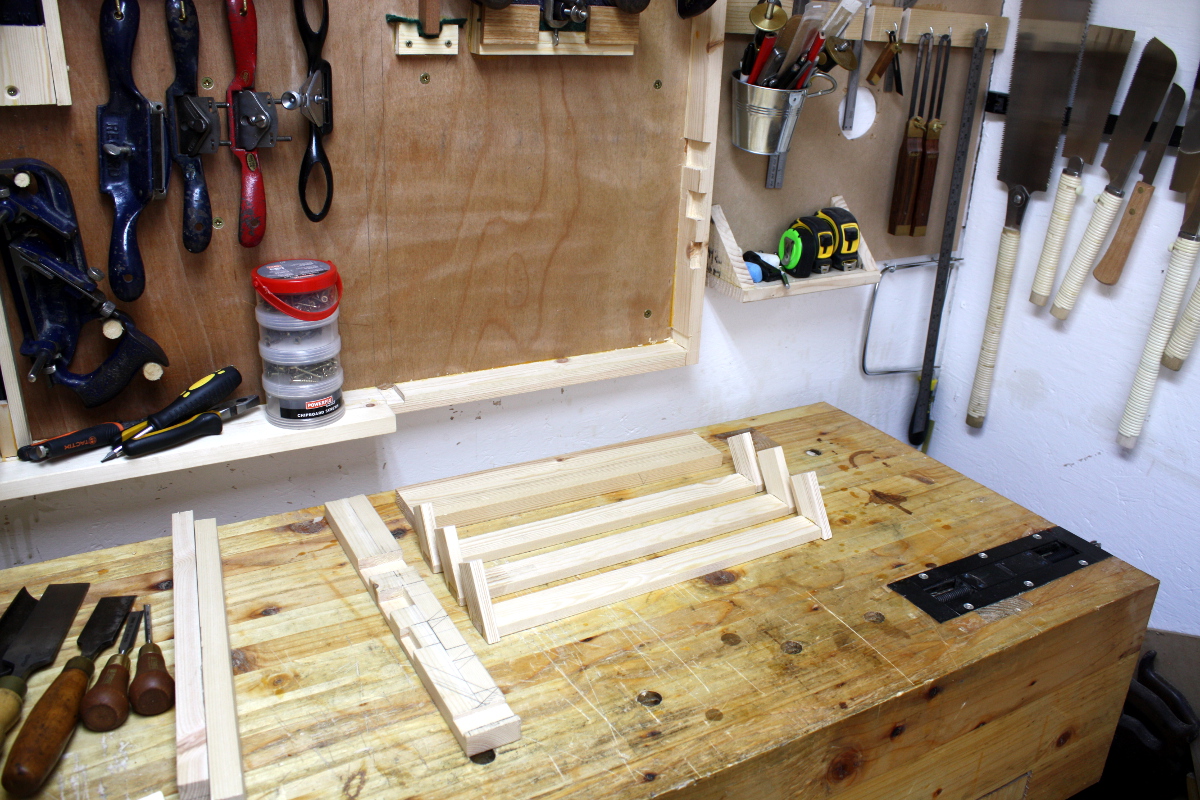
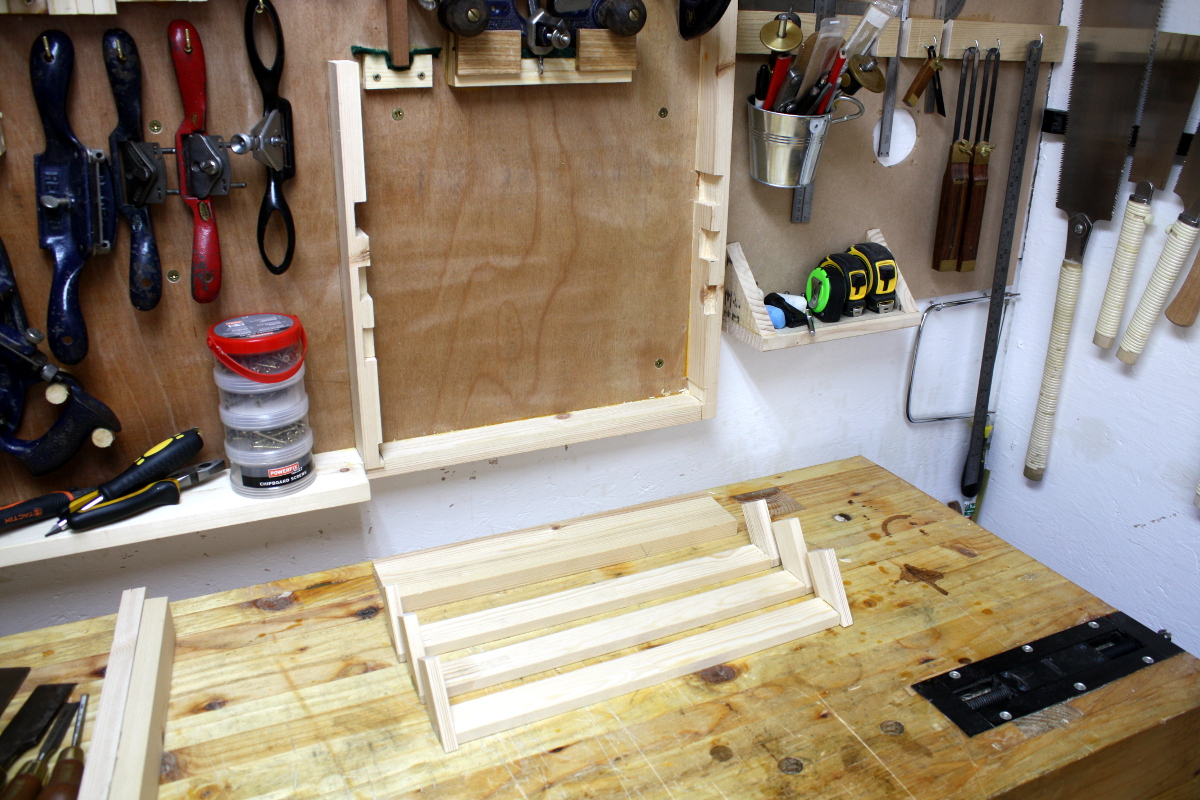
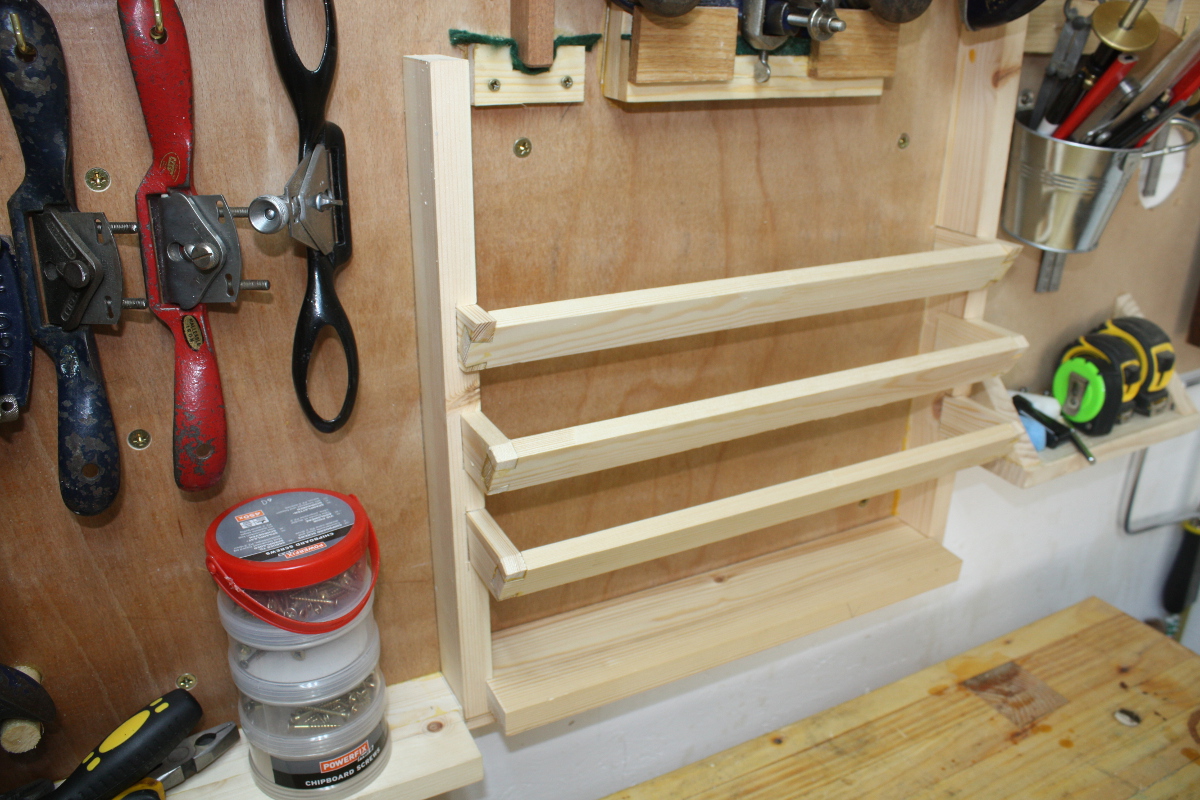
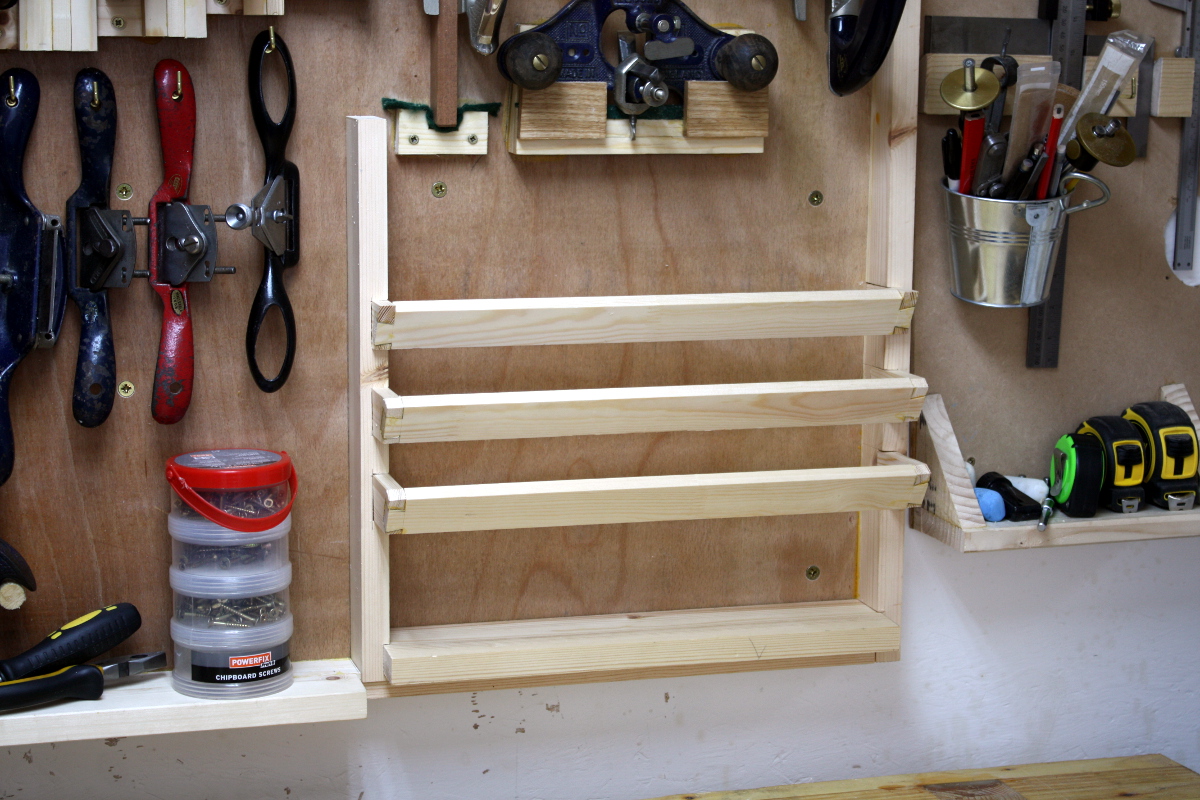
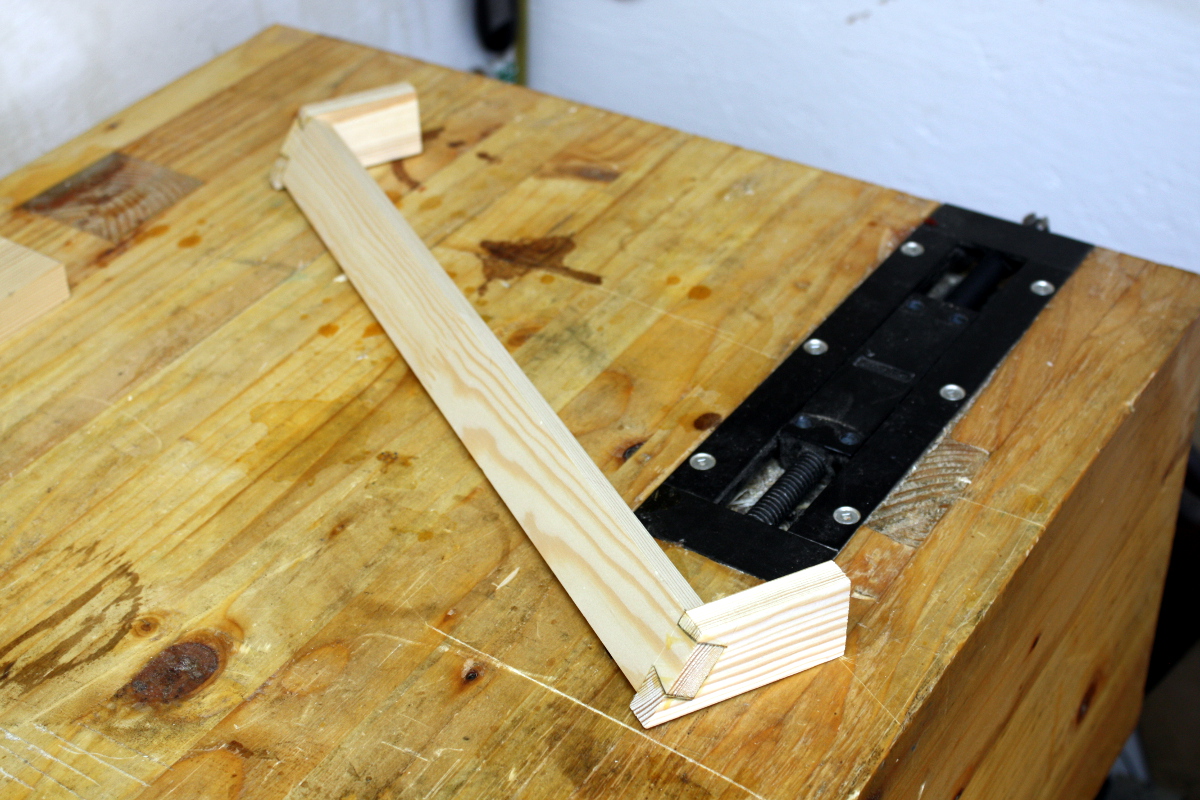
And now we just need the shelf-like things on the wall for the edges to rest against. 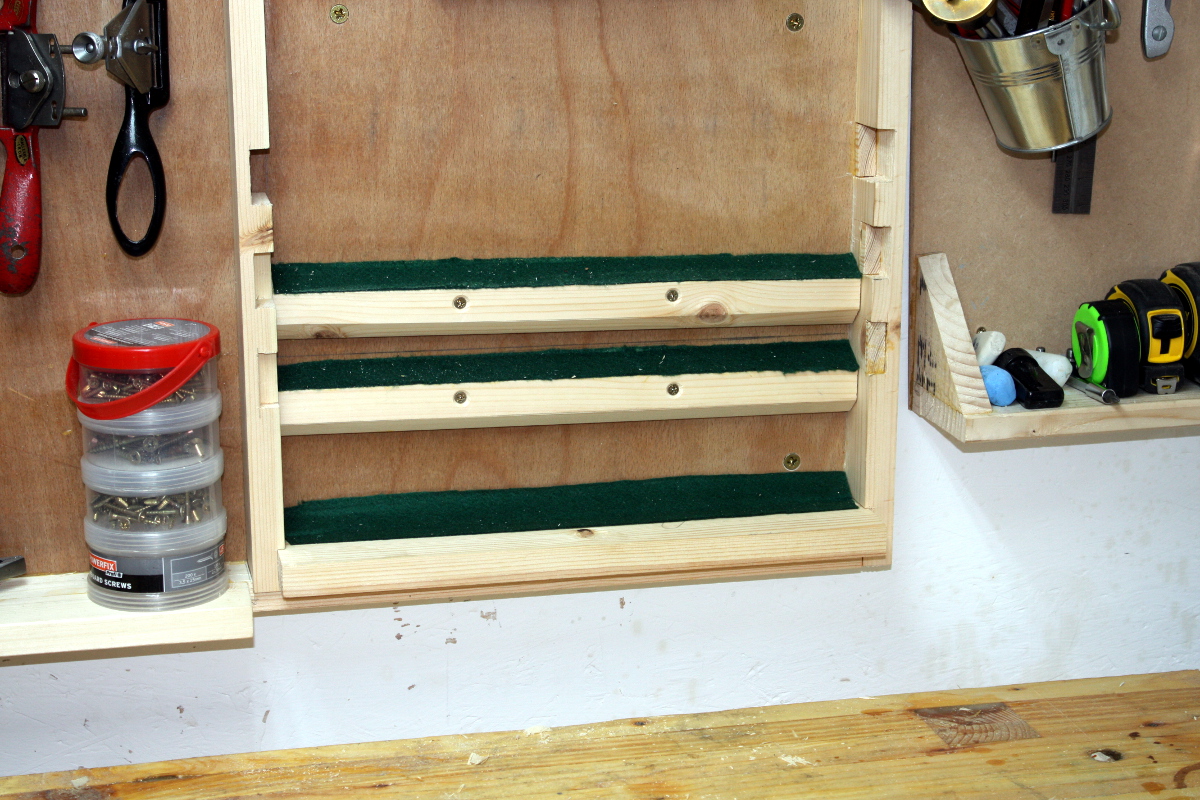
The edges are angled and covered with felt so that the edges hit them at around 90° and don’t destroy the edge too much. I also put some perspex in front of the chisel racks so I couldn’t accidentally shove my hand into five or six chisel edges if I wasn’t thinking and reached for a measuring tape while facing the vice or some similar whoopsie.
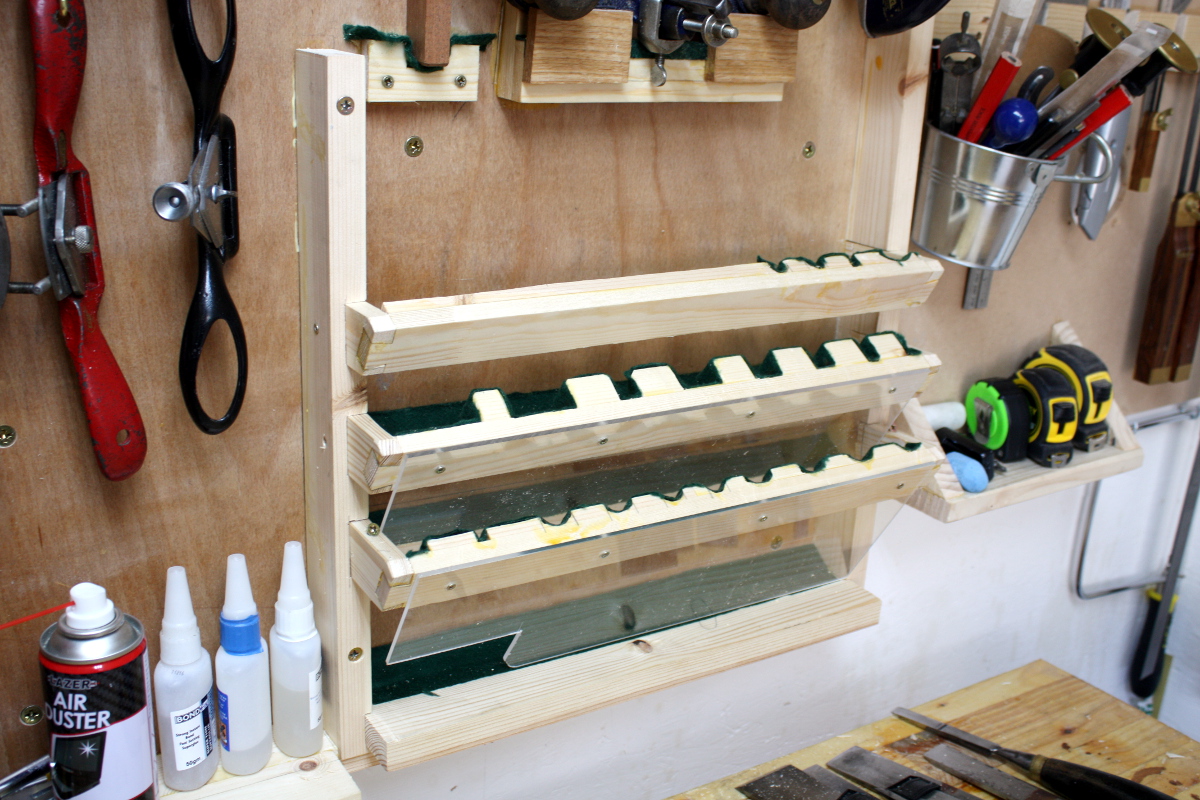
Now, time to load the chisels up.
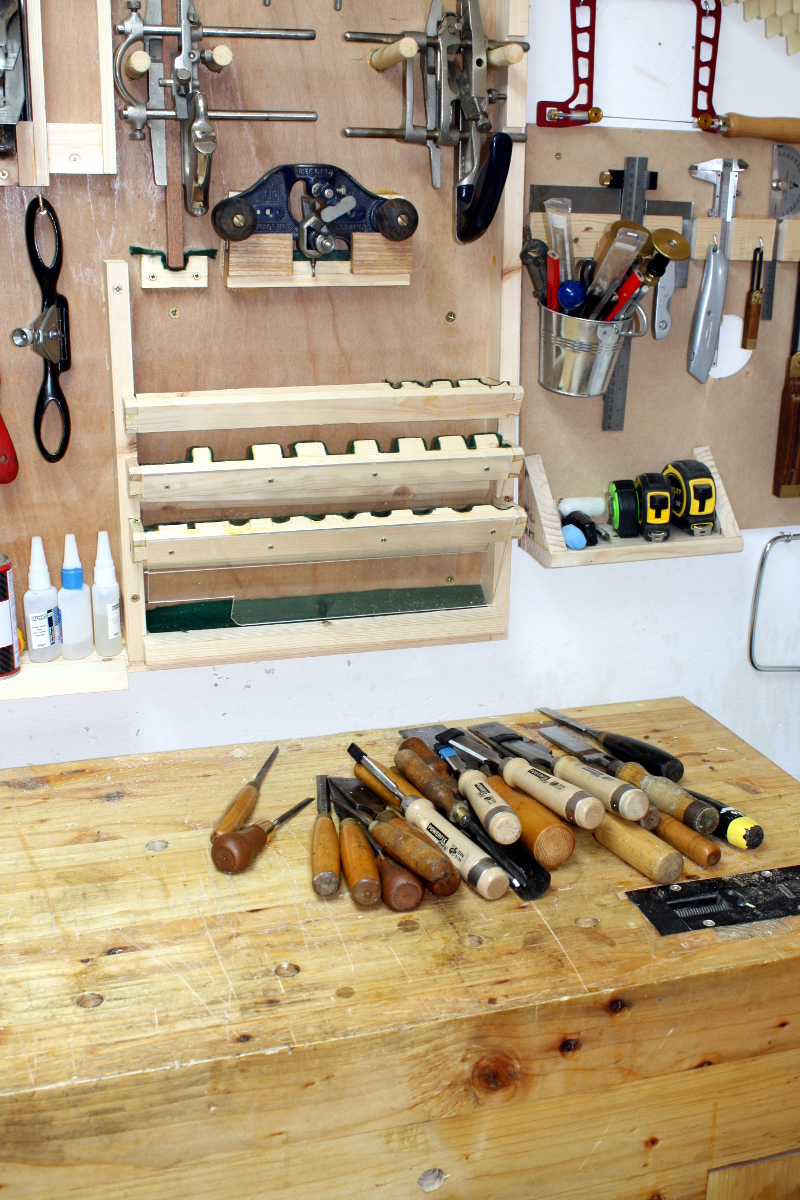
(And yes, take the time to sharpen and strop each as they go in, because why not?). Bevel-edged chisels first.
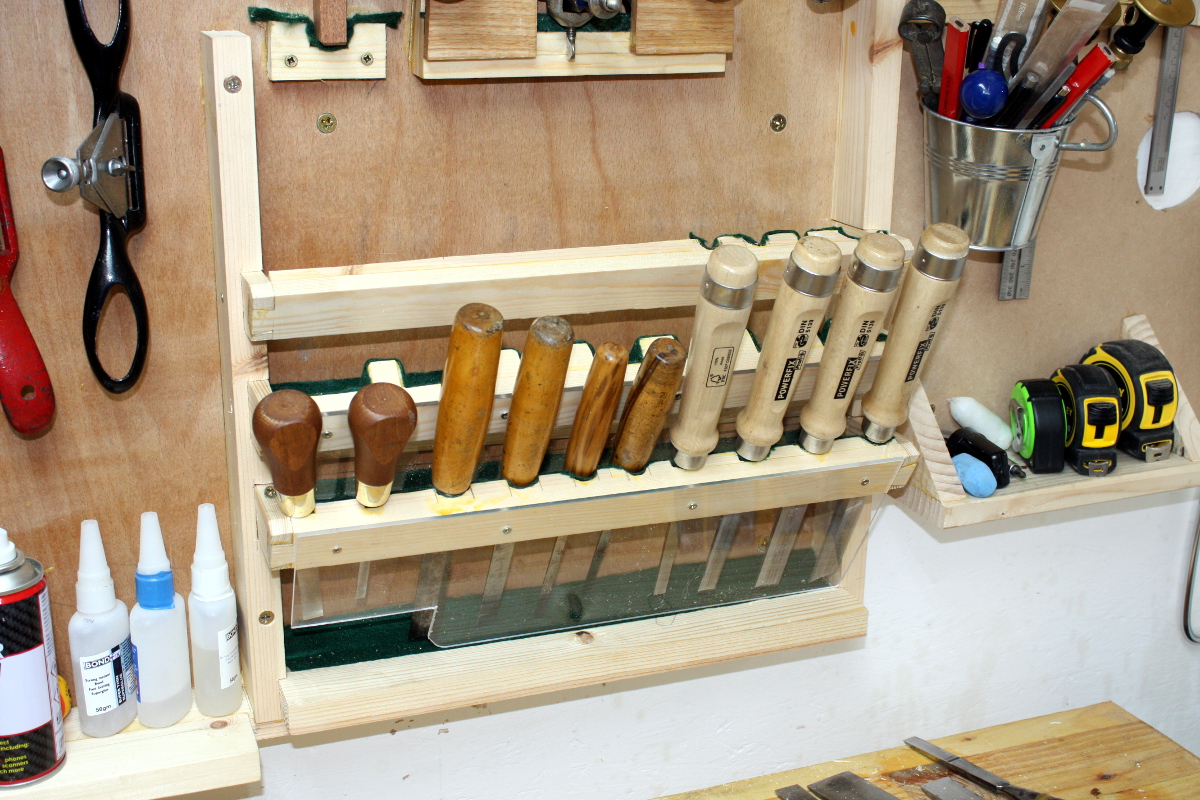
Then the firmer chisels, including my new 2″ wide cast steel monster, which is very nearly a slick.
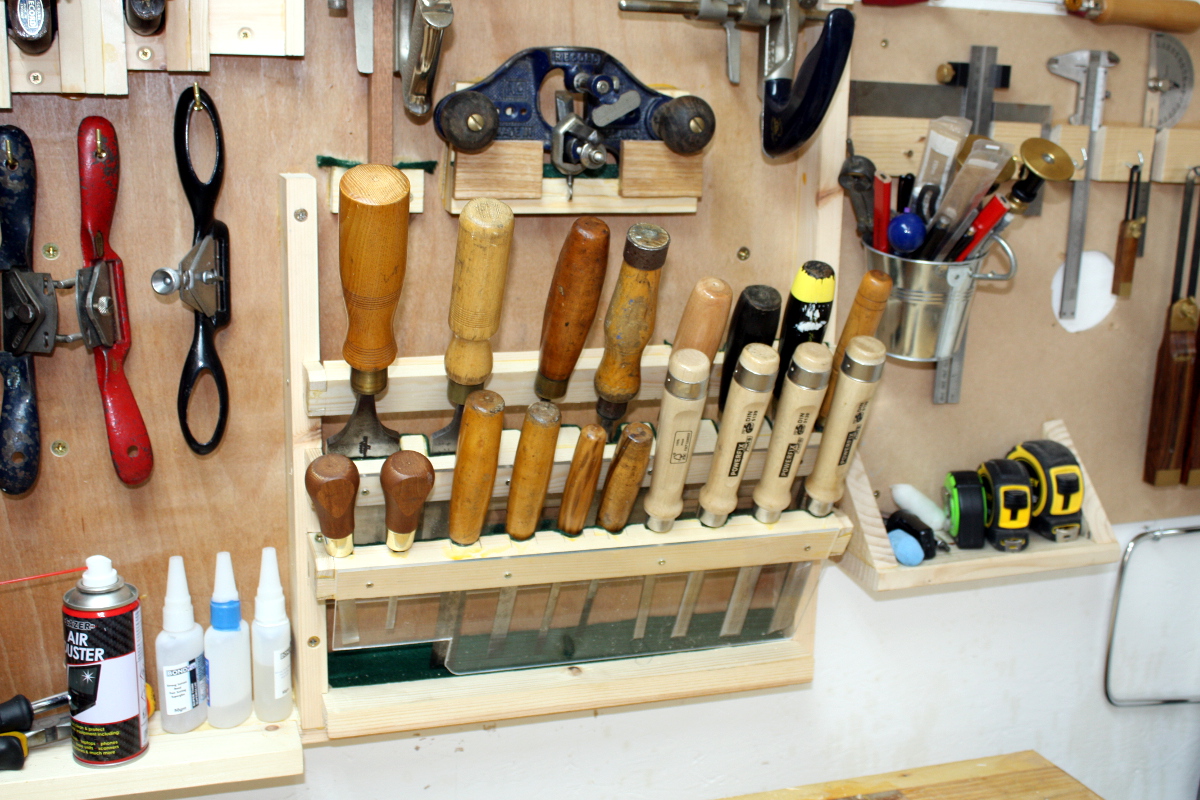
And then the four gouges (there’s room on that rack for a few more chisels yet).
And that’s that done. The racks are held in with screws and the frame they screw into is screwed and glued in place, so if I need to tweak the racks or add new chisels, that should be reasonably easy.
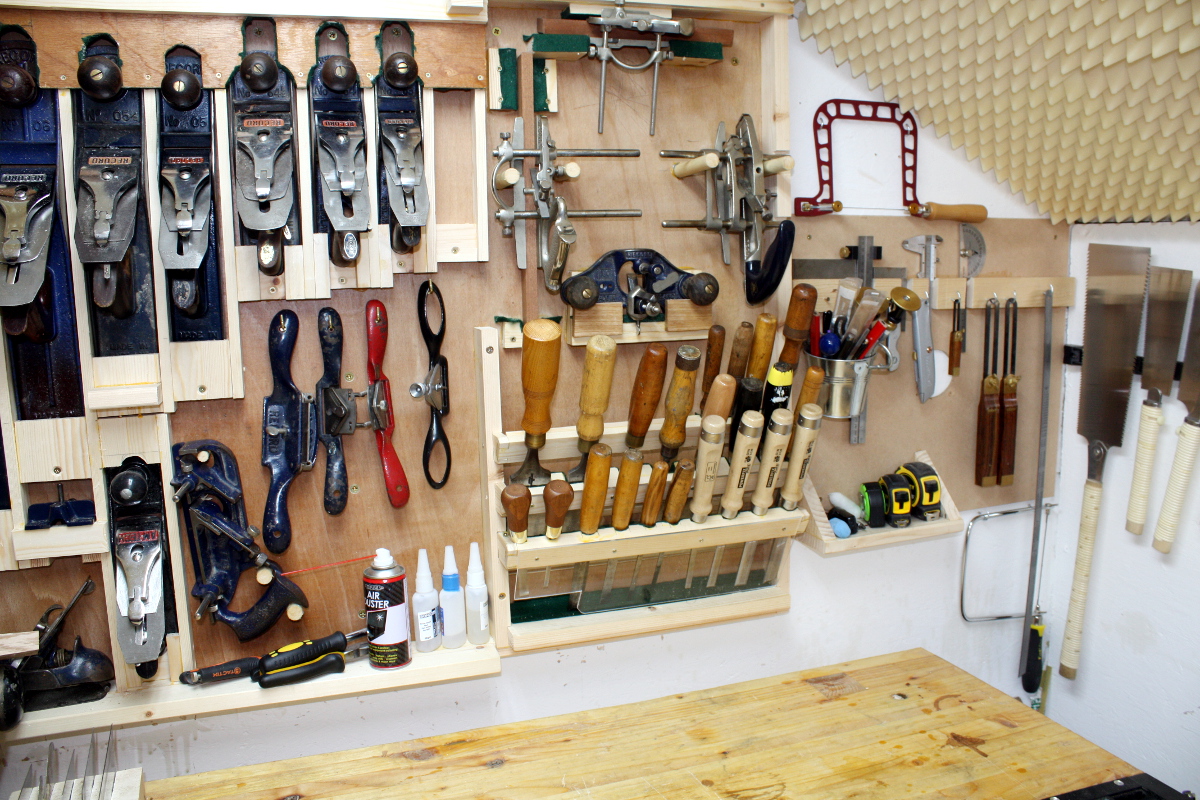
(Note the fretsaw and coping saw got moved on the wall and lidl were selling magnetic tool racks so I cheated and got the japanese saws all up on the wall beside the hammers – the western saws will go below them with the blades pointed down so there’s a “safe reaching zone” in the middle to stick your hand into to grab any of the saws).
And that’s almost all that now. Need to get the scrapers a new holder on the wall somewhere, the old one has gotten loose (well, it was five saw cuts in an offcut from a 2×4). And the drills all need to go up on the wall as well. I have an idea in mind for that, but where exactly on the walls it’ll go I don’t know yet.
But I also have a project I’ve been wanting to do (and gotten a little done on already) and part of me just wants to get the shed furniture bit out of the way as fast as possible and get on with that, but with all the tools in the way, that’s going to be a tad difficult 😀
Plus, having the saws and hammers literally at my fingertips has sped things up at the bench far more than I thought it would. So having the drills to hand would be worth the effort.
I just need to figure out where the hell they’re going to go, I’m running out of wall…
Like this:
Like Loading...


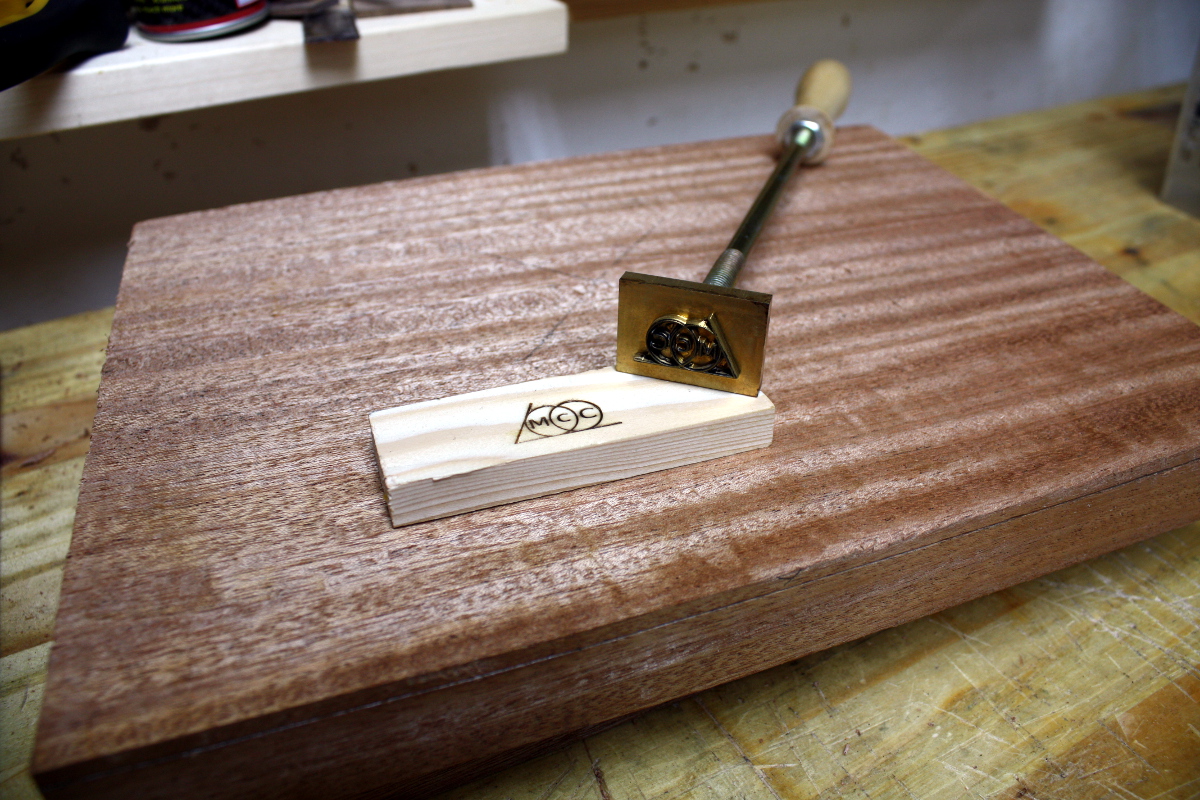

 And nice and clean lines too. Have to admit, wasn’t sure it’d come out that well, didn’t know how good the brass CNC milling machines had gotten. But no, it came out fine.


