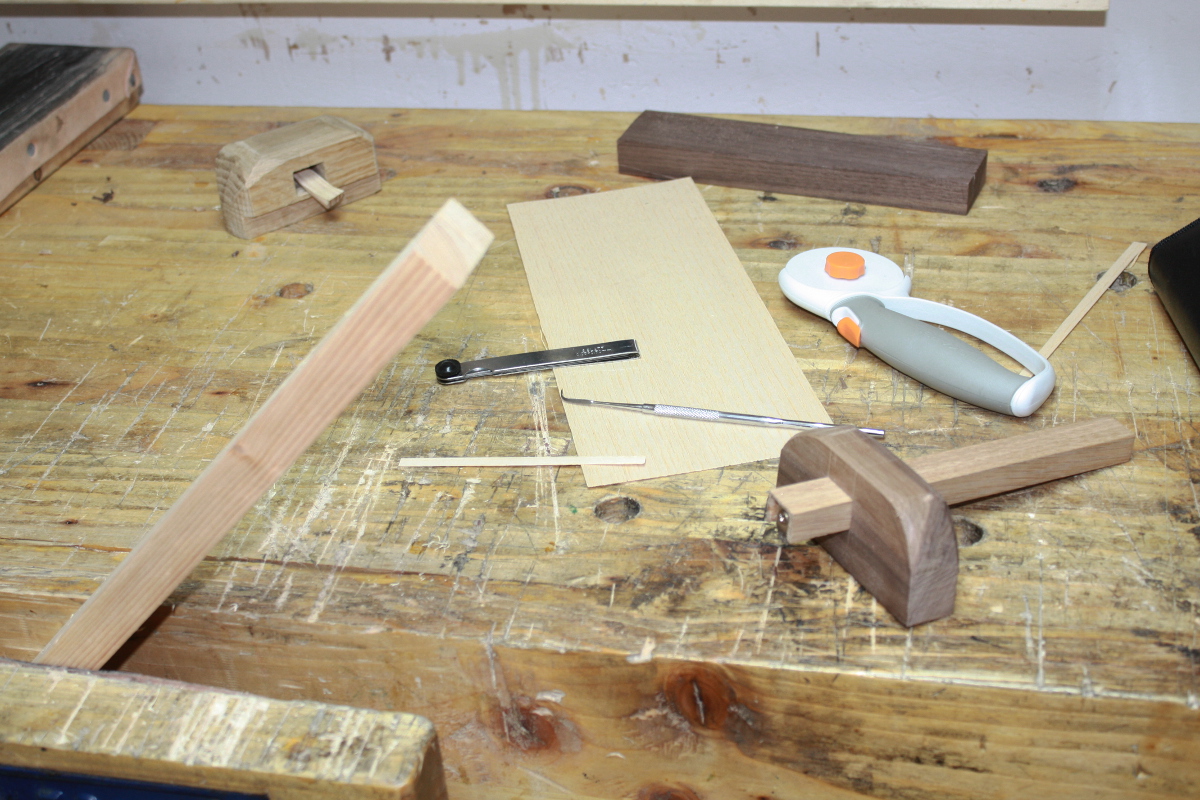
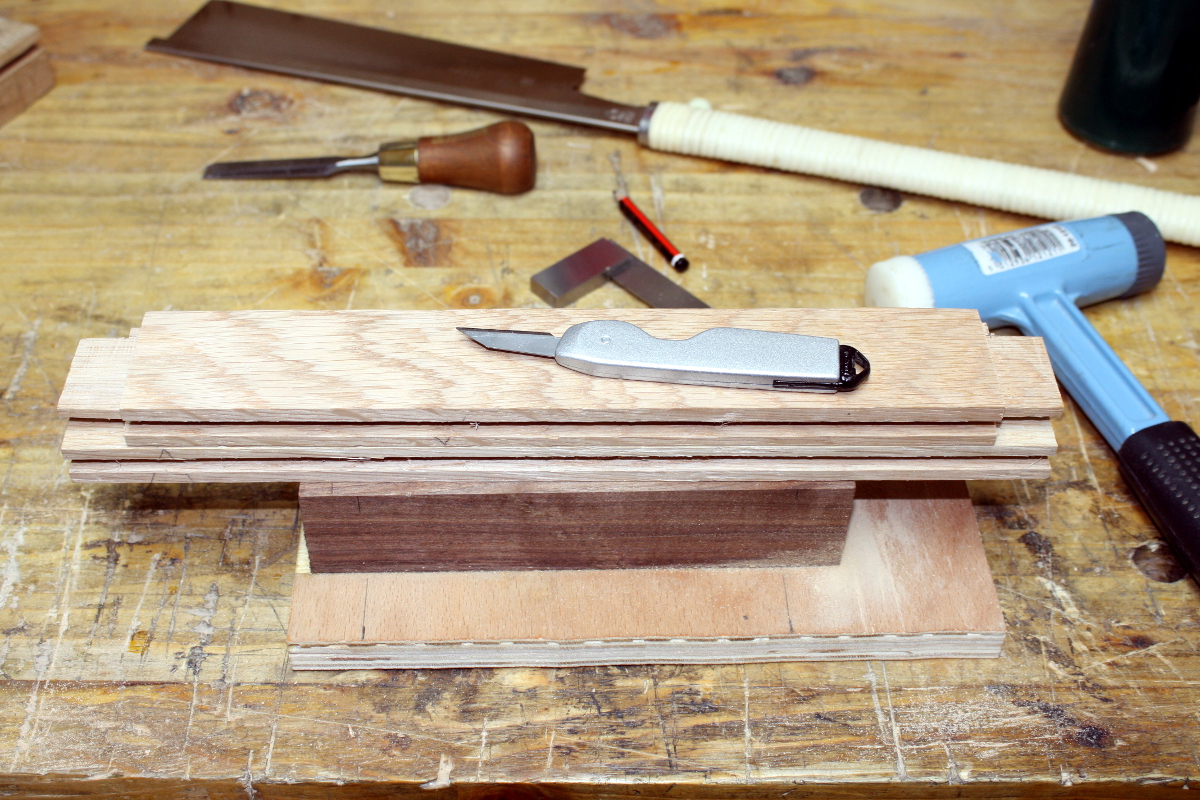
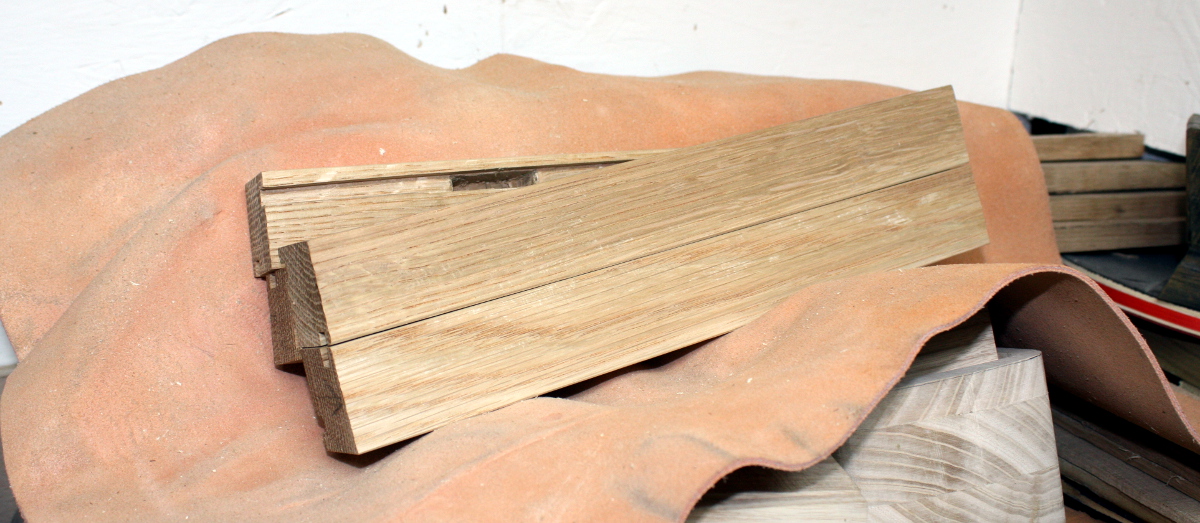
Quite a bit of time in the shed today, so made some progress (there being a nearby deadline, this is a good thing). Started by cutting a side rail’s tenons, then marking off the other side rails from it (same as for the long rails).
I wanted to keep using the offset shoulder idea, but rather than gauging it by eye, which I can’t do yet, or sawing on one or the other side of the line, which I also have trouble doing, I decided to just mark out the shoulders and cut to the line. So I marked off the show face shoulder, ran the line round with the square to the back side, and then marked out 5mm or so of the line on the back side, then put a ruler on the line and butted the square up against that.
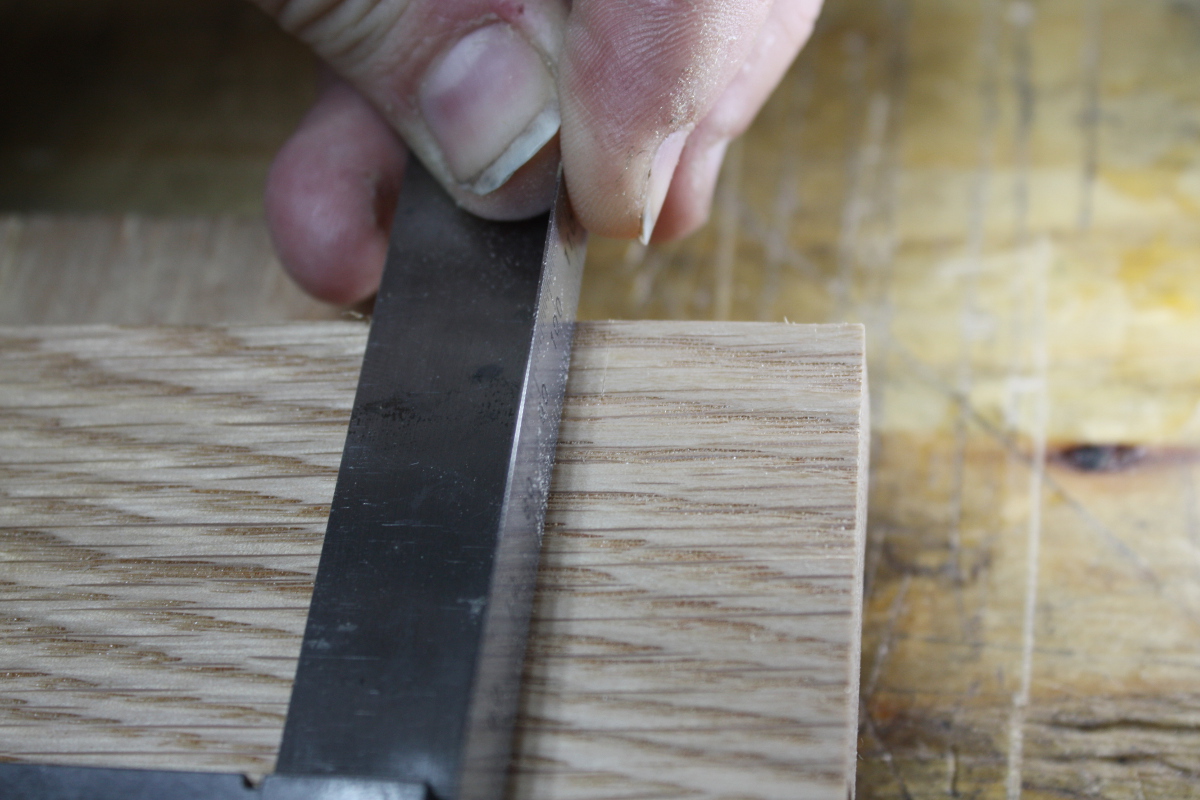
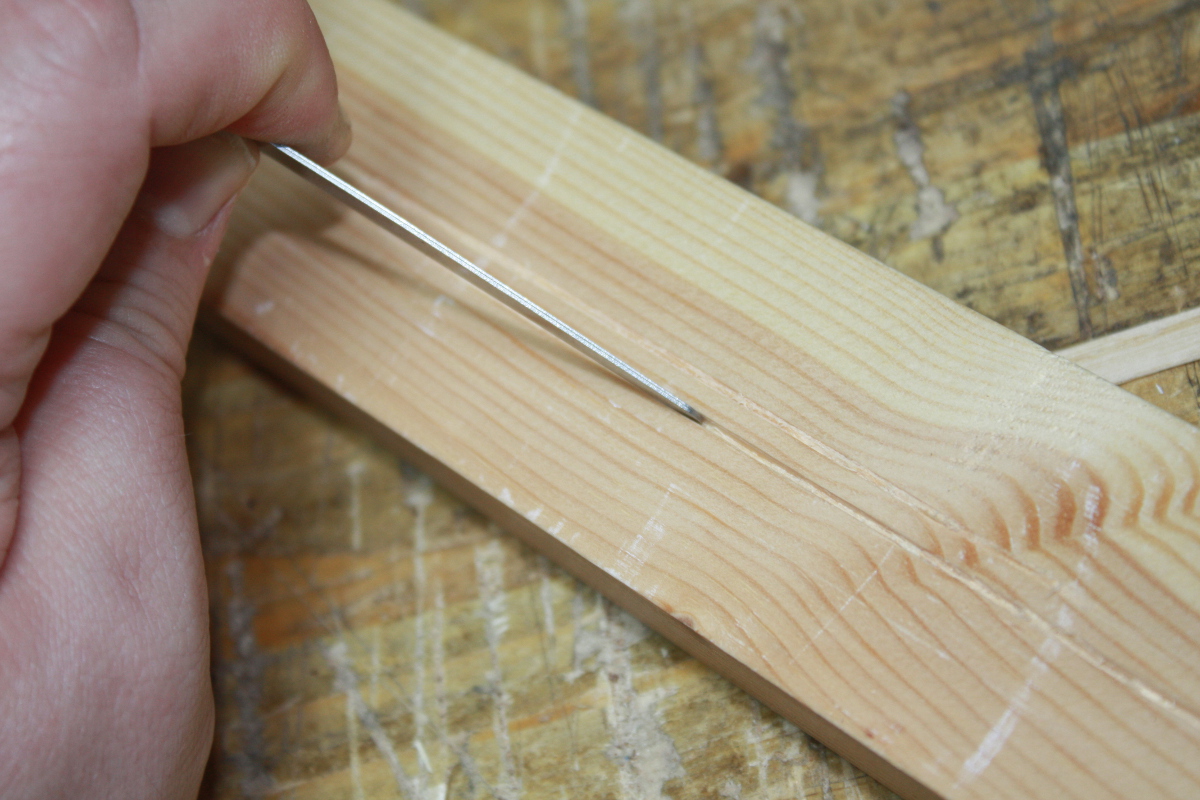
Problem is my ruler’s too thin. And it’s fiddly. And then I had an idea – I’m already holding a thin bit of metal, why not use it?
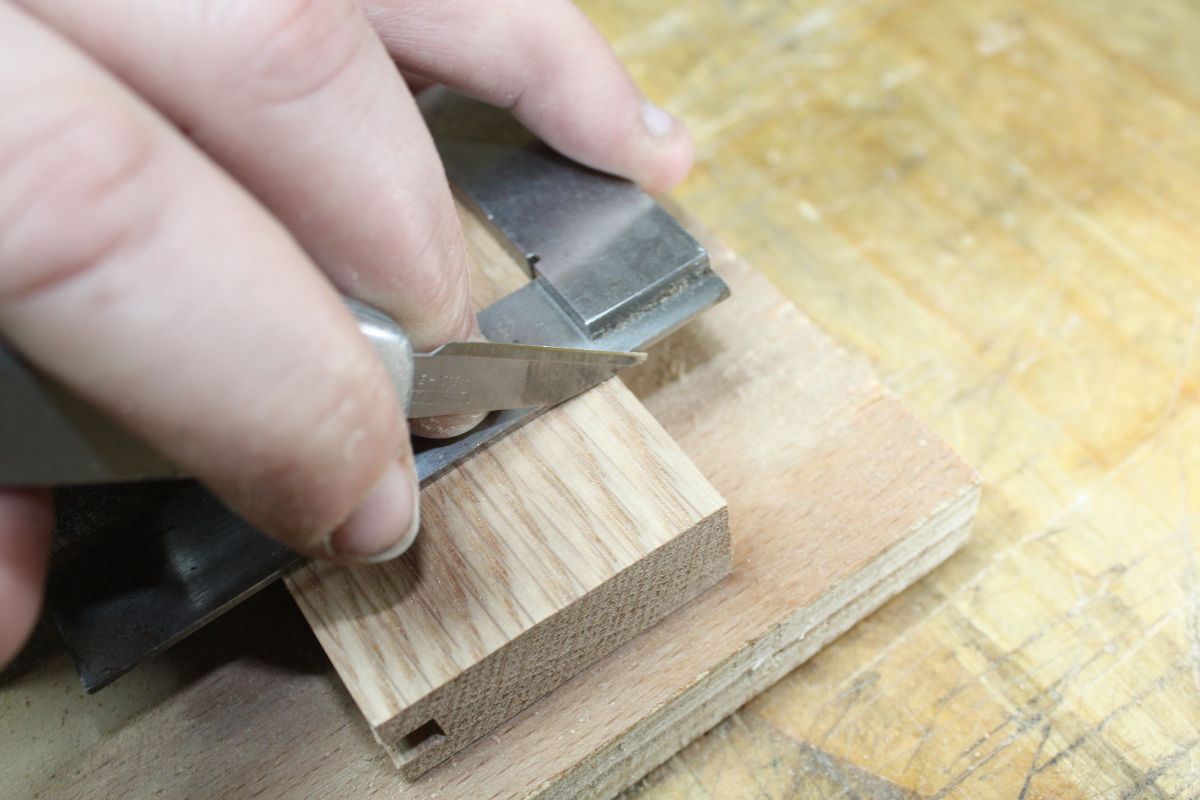
Put the knife upside down, butt the edge up to the line at that point on the back where the back of the knife starts sloping down to the point so I had a consistent thickness (the whole blade narrows down to the bevel slightly like a saw plate), butt the square up against the other side of the knife, then flip the knife over and cut the back shoulder line.
Works quite well. And that’s about as much of an offset as you need really, at least for something of this scale.
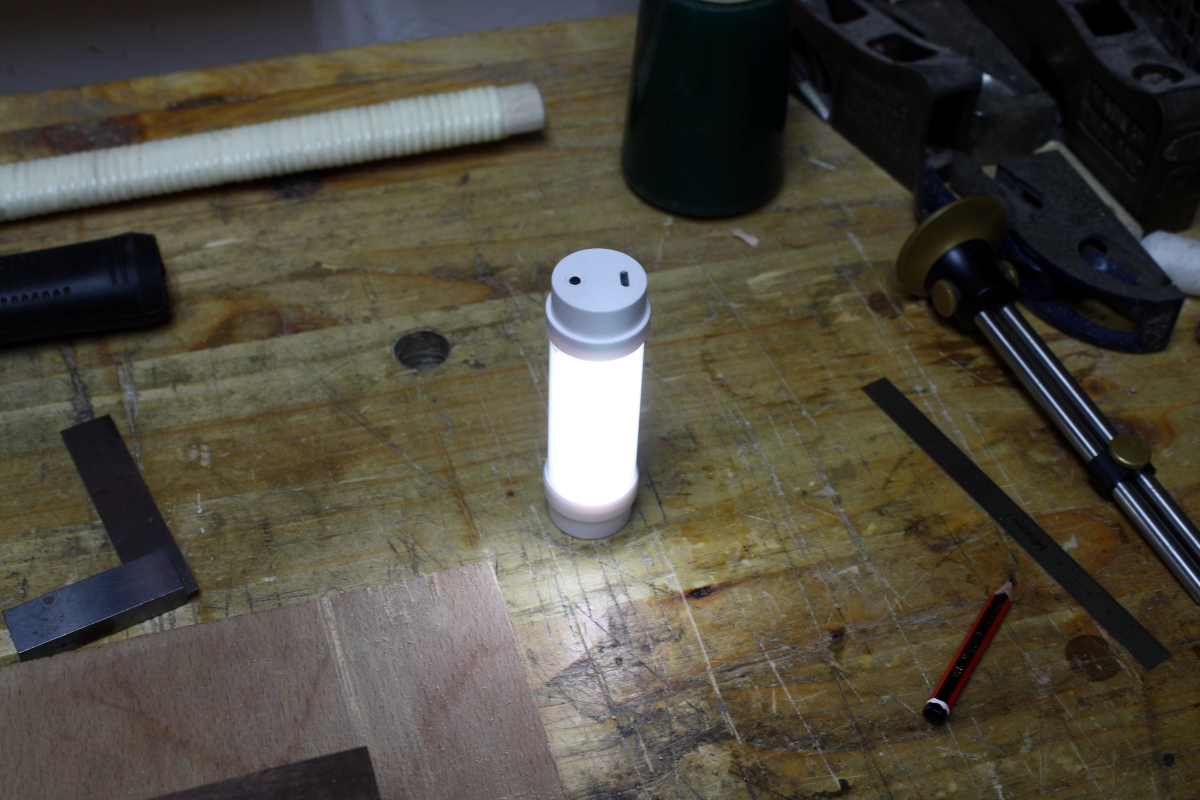
By the way, one of these makes it a lot easier to see the lines. It’s a little rechargeable camping light off ebay. Big Clive did a video on them and the internals were quite solid so I bought one.
It cranks up to quite a high brightness and if you just put it on the bench near the work you get a nice horizontal light thrown across the piece so cut lines stand out clearly. Plus, has a nice magnet in the base so I can just put it on a plane on the wall and it acts as a quick light on those short runs to the shed to grab something when I don’t want to plug in the whole shed but need light. Or it can grab onto the bandsaw frame and act as a work light when I’m using that.
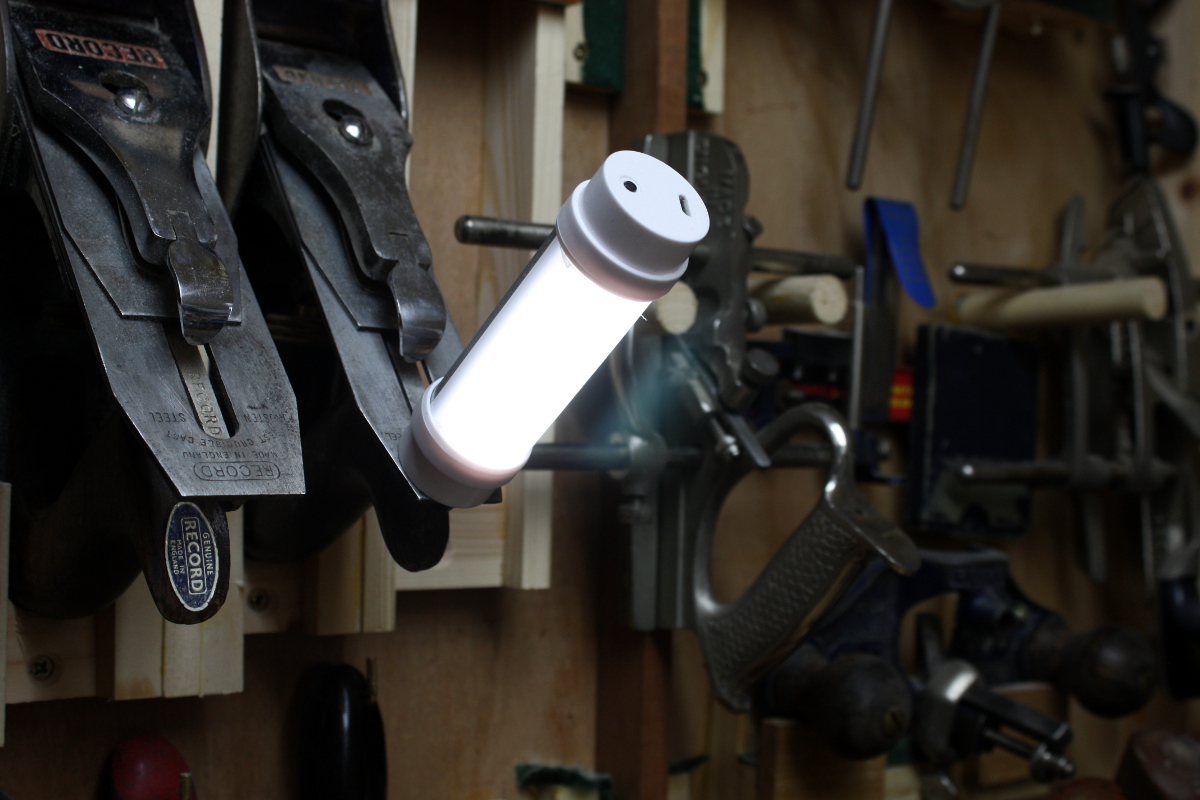
Not bad for €6.40 delivered. Big Clive had a link to a generic ebay search if you want to grab one.
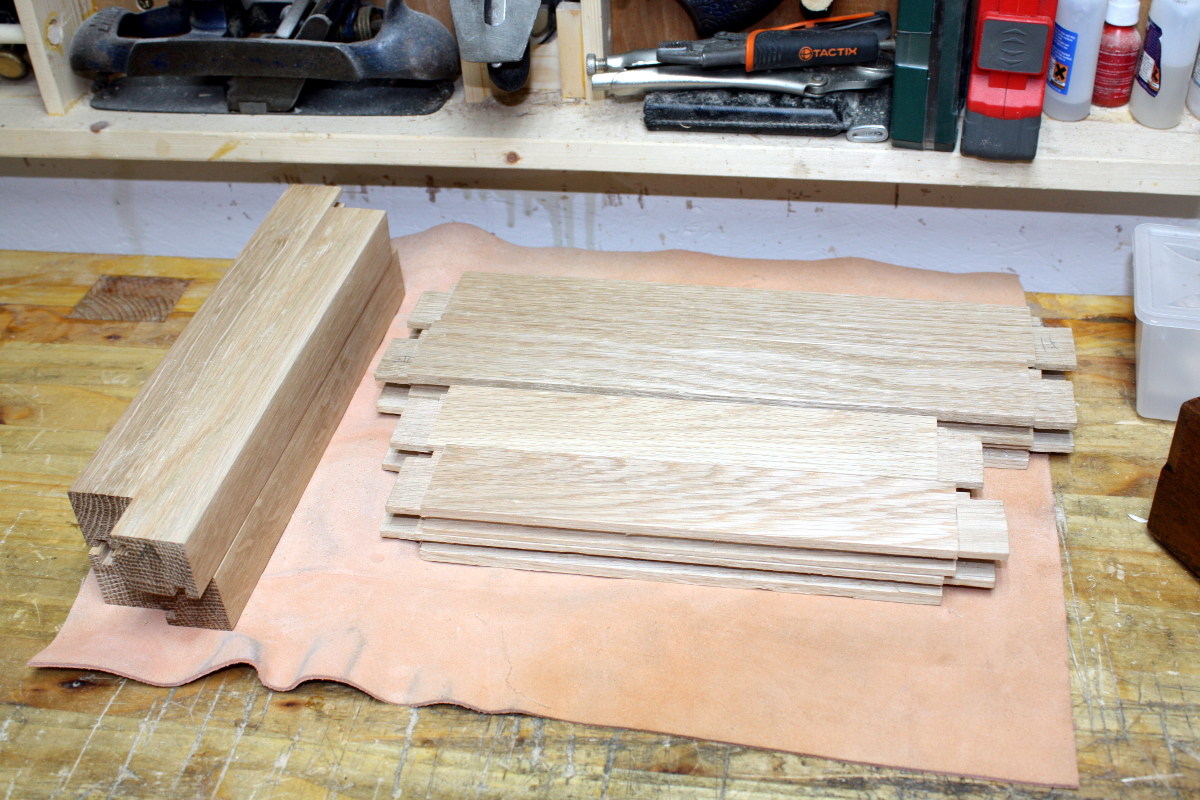
Anyway, got the side rails done.
That offset shoulder method is even faster when you don’t have to faff about cutting to one side of a line when you don’t have the skill for that 😀 And all the joints bar one fitted off the saw, which I was happy with.
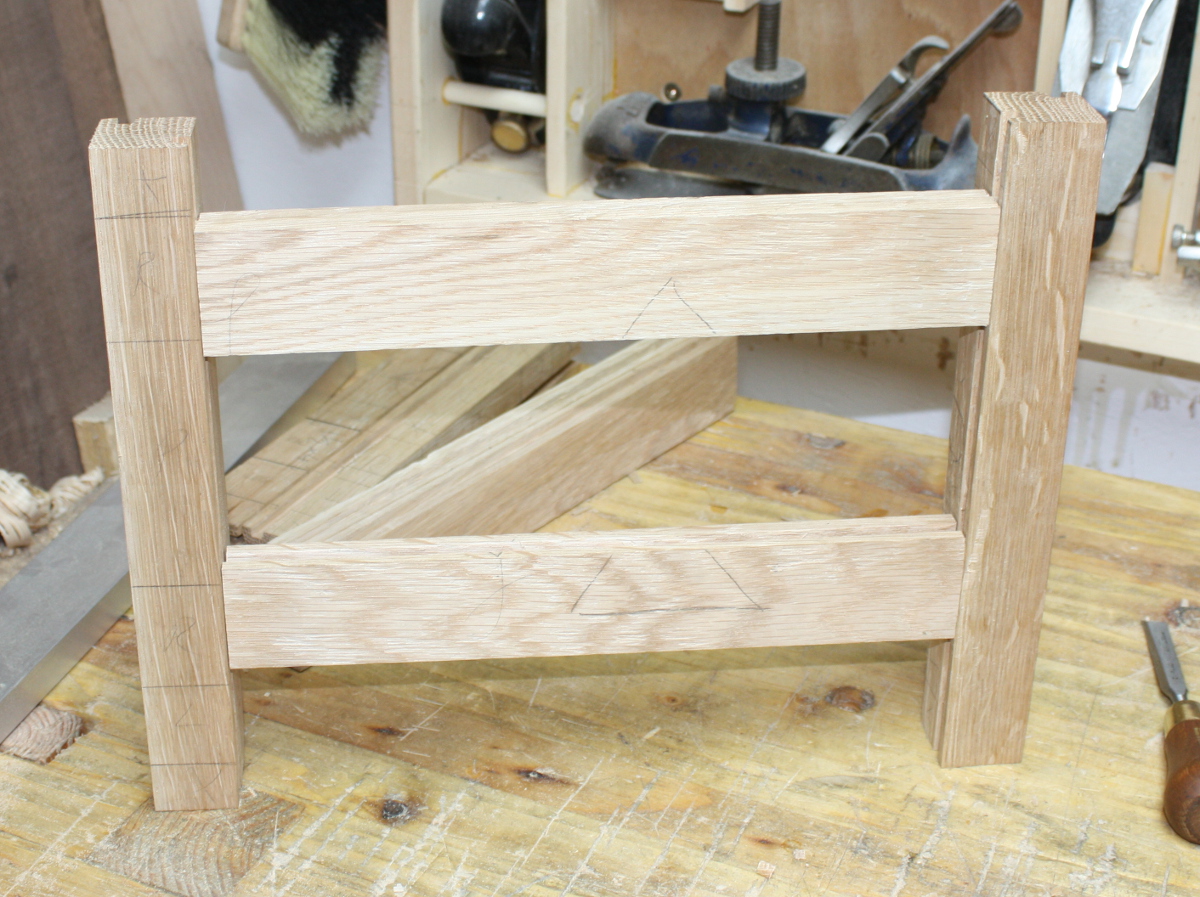
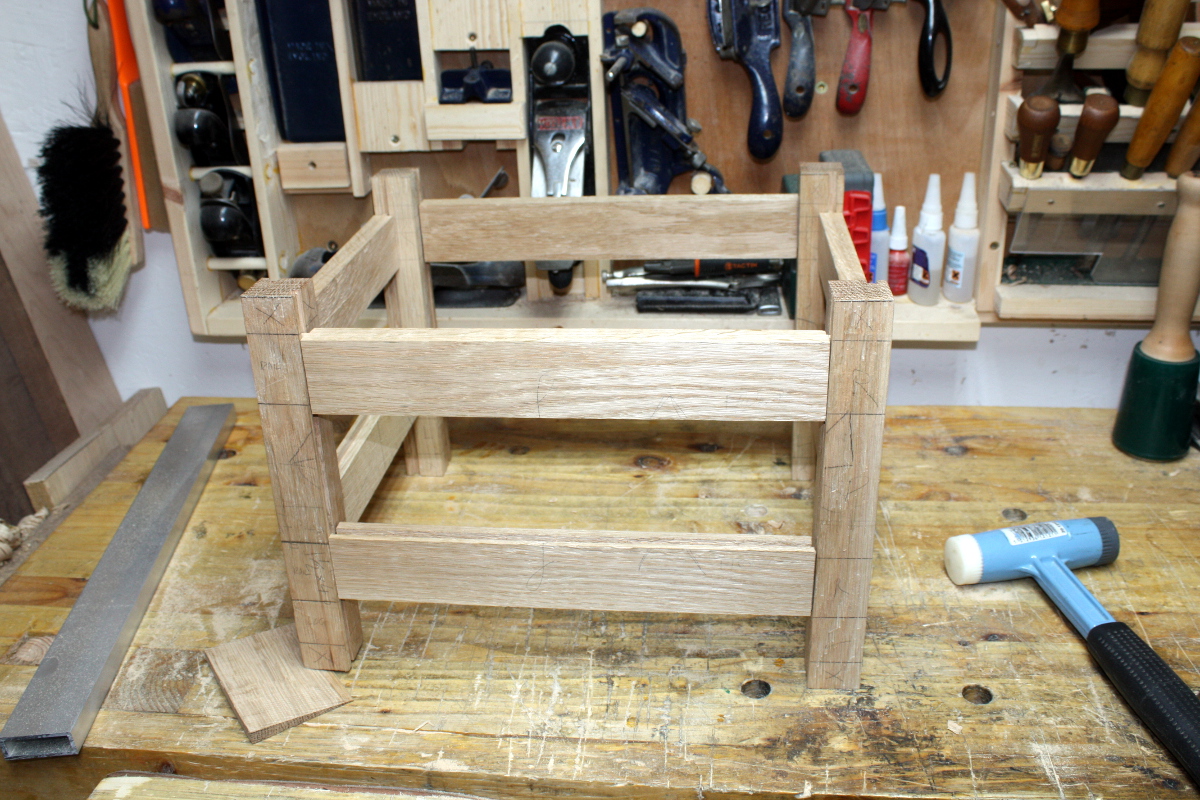
What I was not happy with was the overall look of the piece when I put all the rails into the stiles to get a look at the final size.


That’s… it’s just not right. It’s square. I don’t understand that. First off, it looks clunky. Secondly, the design was not square, it was rectangular because it’s designed to hold something specific which is very rectangular.
Measuring tape time.
Width is fine, a quarter inch under but no biggie.
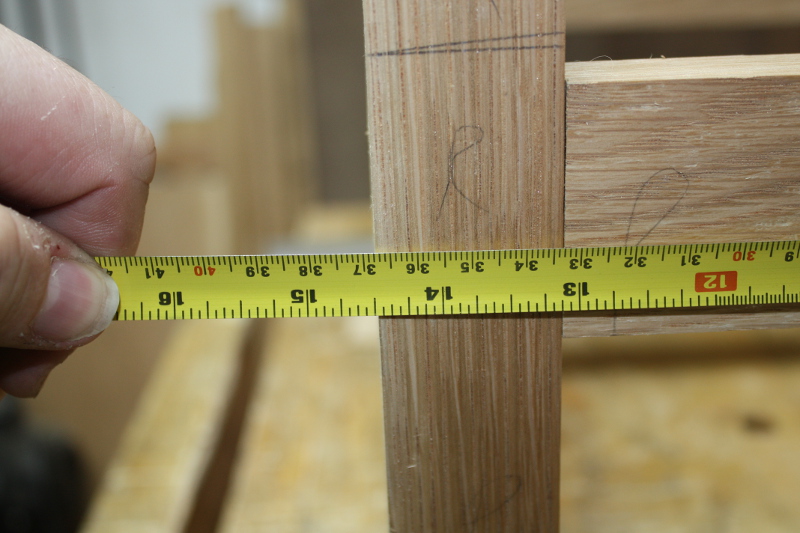
Depth is about what I estimated (well, a half-inch over). Still not seeing it. What are the internals?

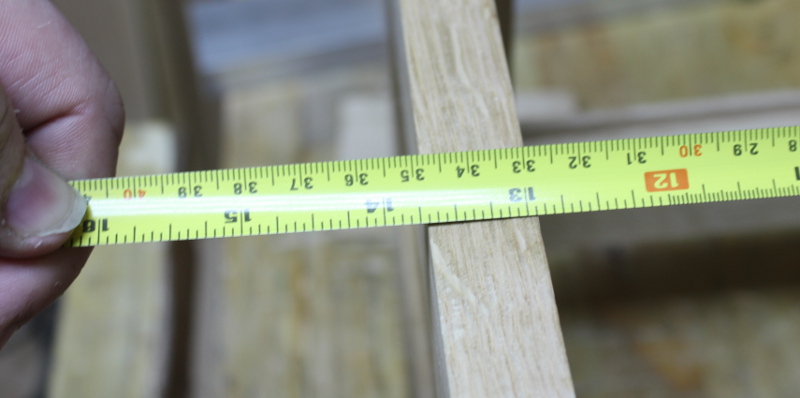
Internal width is perfect…
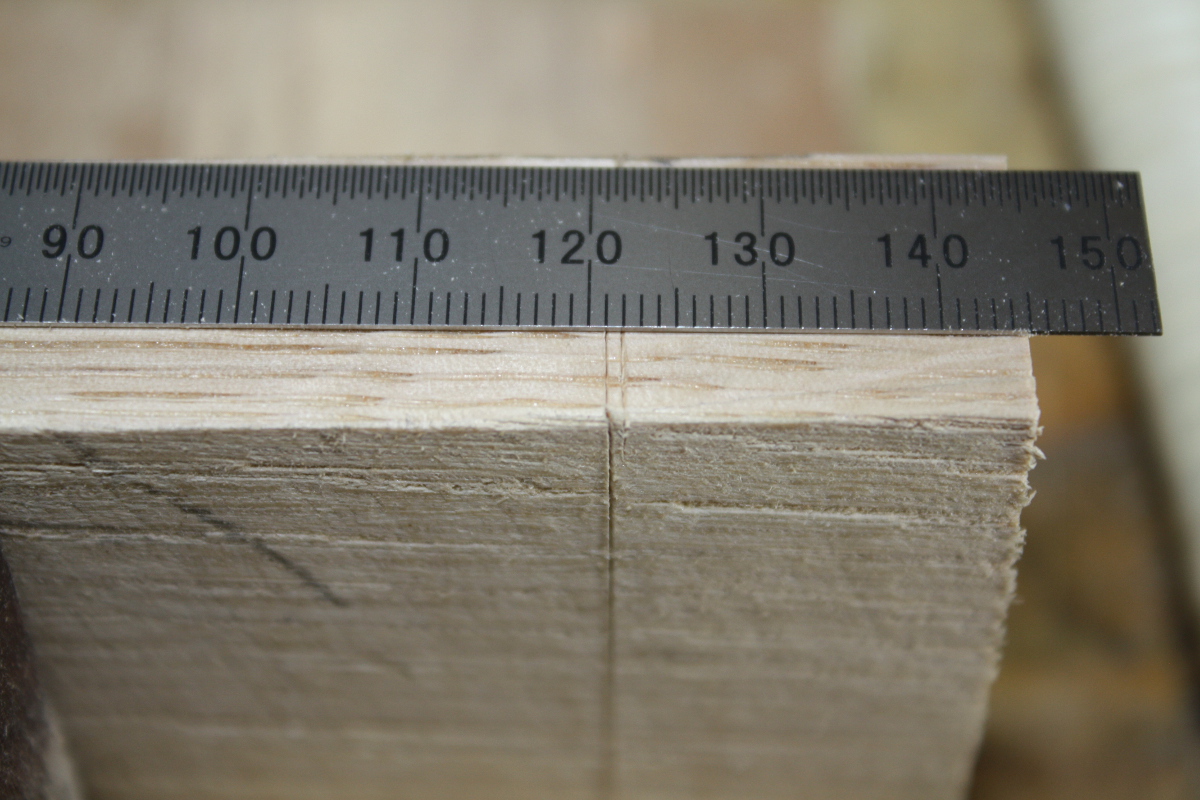
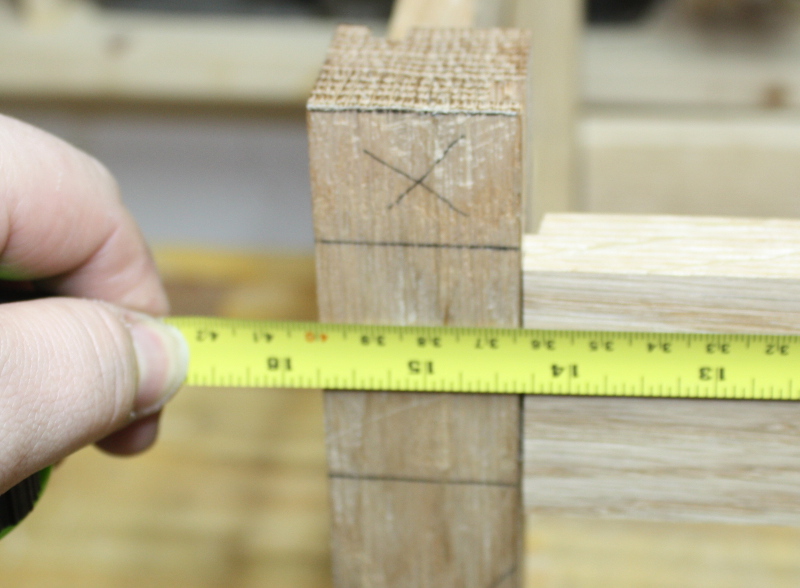
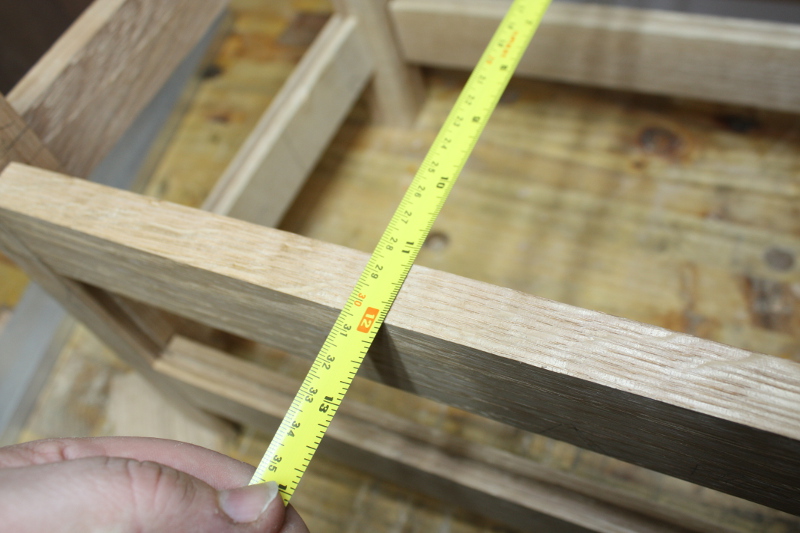
And internal depth is… wait, what? 13 inches? That’s supposed to be 11, what the…
Ah. Shite.
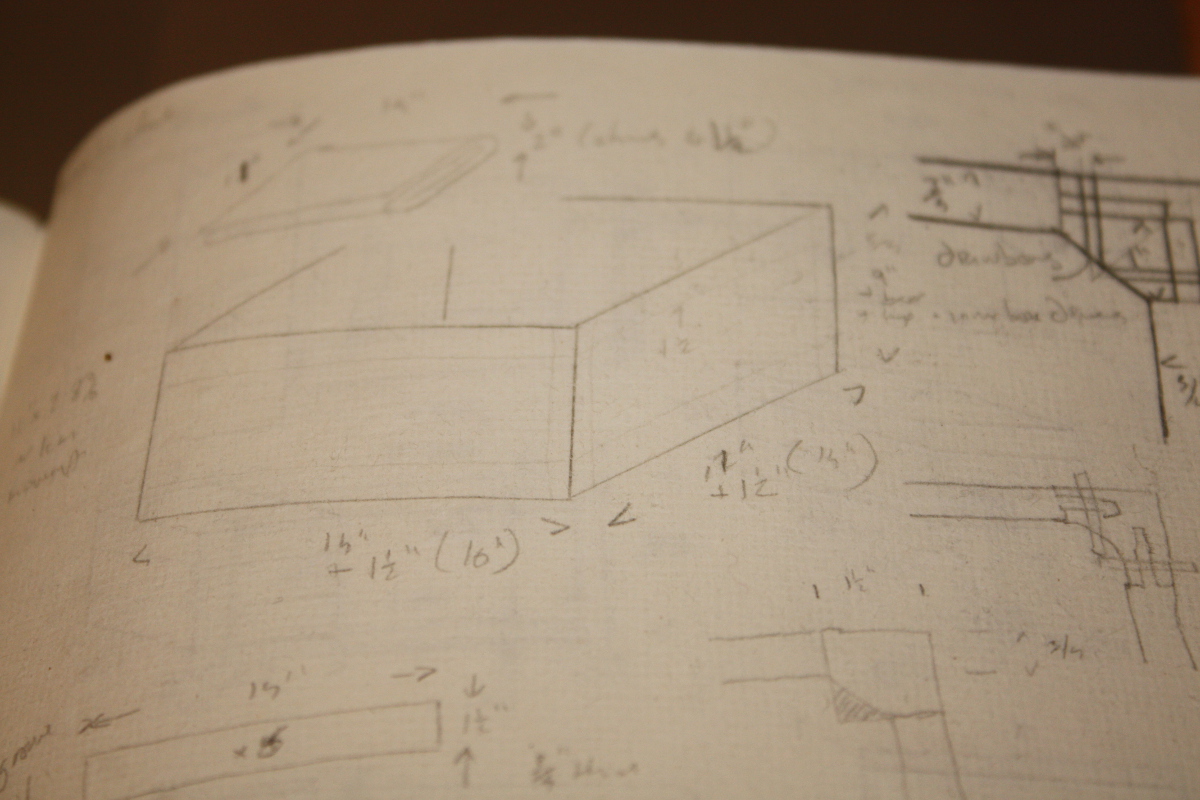
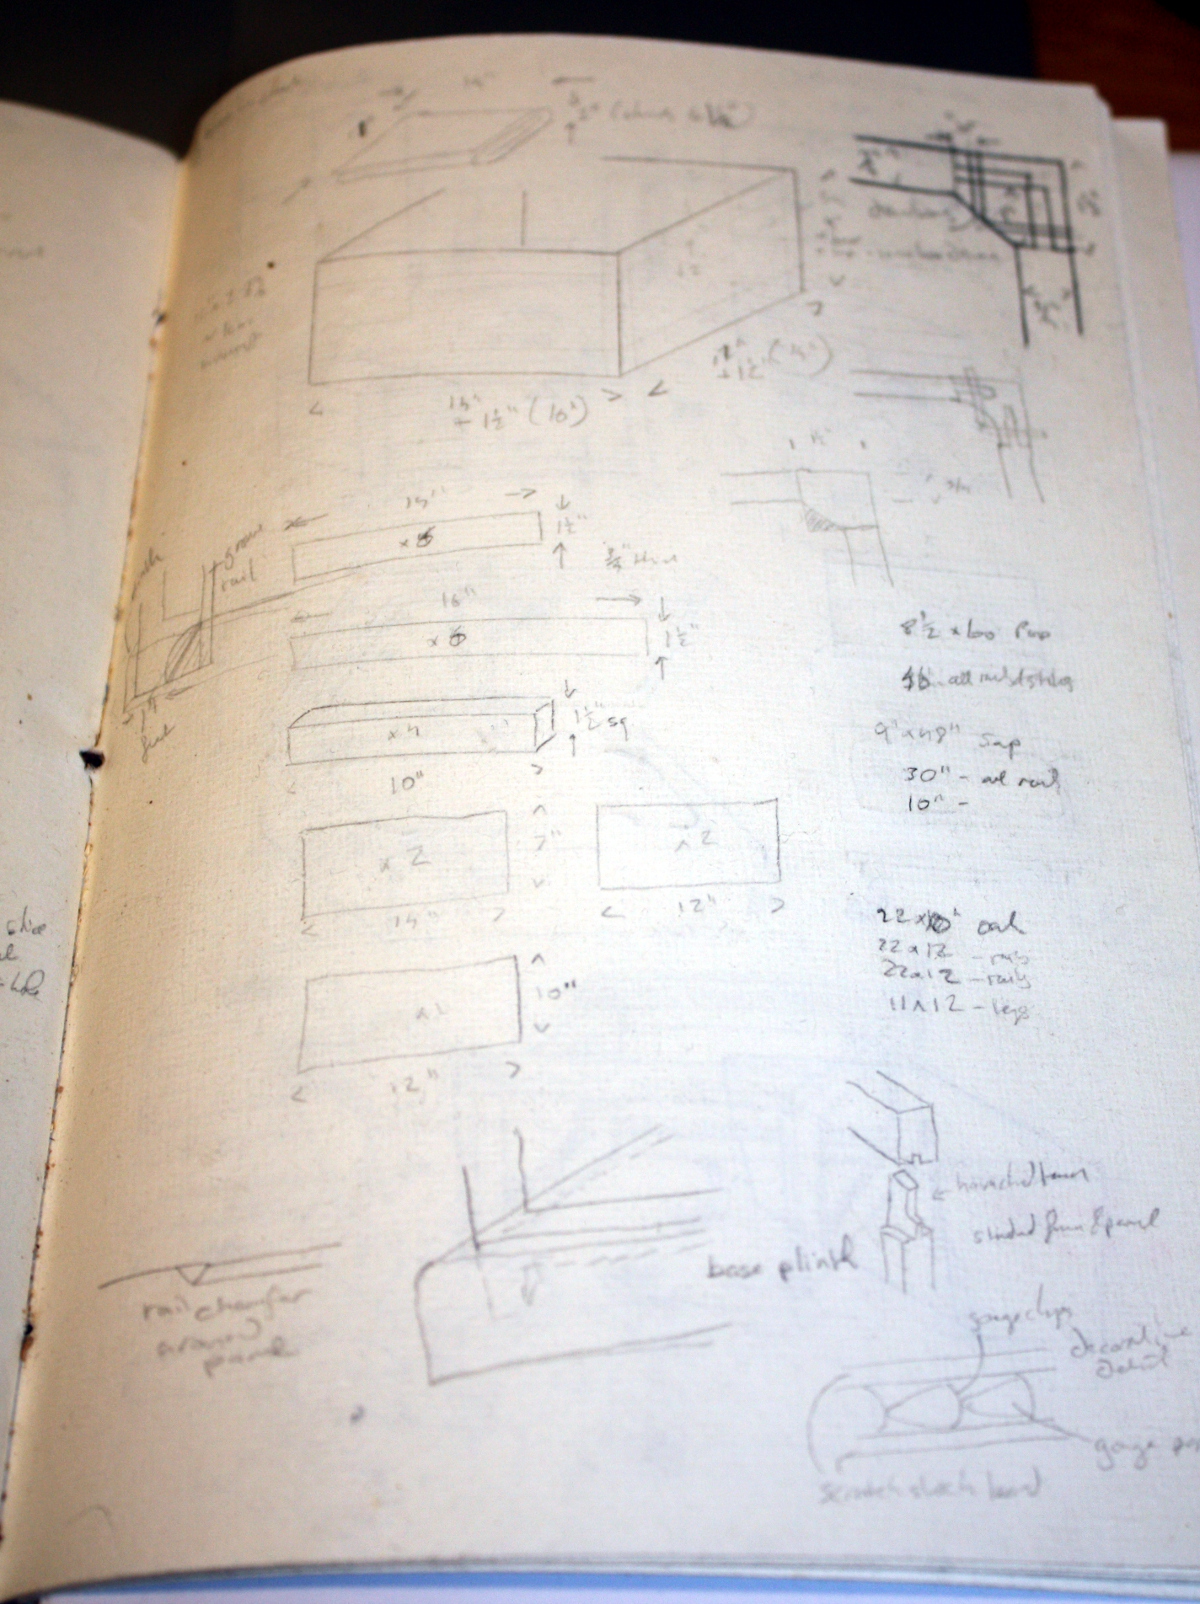
If you change your initial sizes in your design, and you’re adding on a margin for the thickness of the material, you need to run the sums again and change the final size too. Feck. Well, at least this is an easy fix (too short would have been a bit more work). I want 11-and-a-quarter inches in internal depth, so if I move the shoulder on the side rails back by one-and-three-quarter inches, that should give me the size I want. So, out with the marking and measuring gear and the saw…
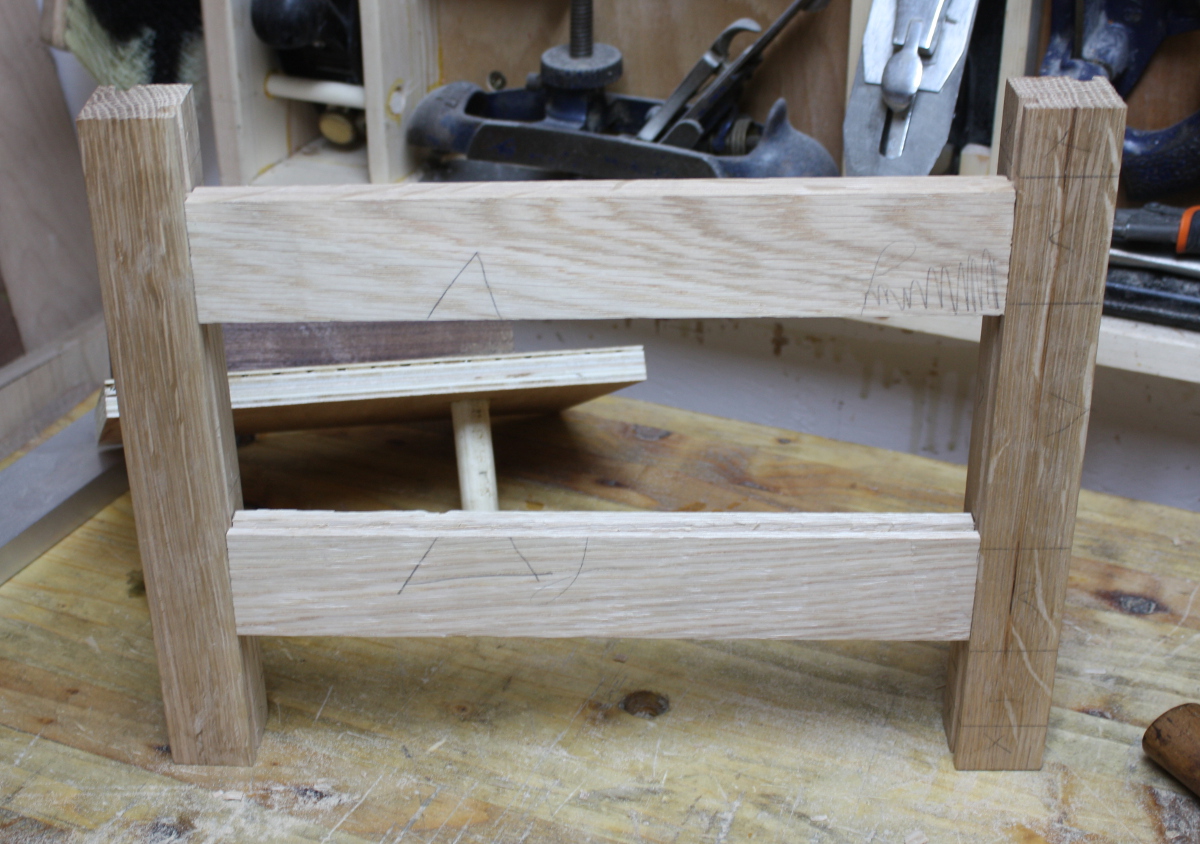
And I recut all of those tenons on the rails (and everything fitted off the saw this time, yay), and reassembled the chest.
I don’t know if the photo gets it across, but it looks a lot more right this time. Weird how your brain reacts to proportions.
That’ll do nicely.
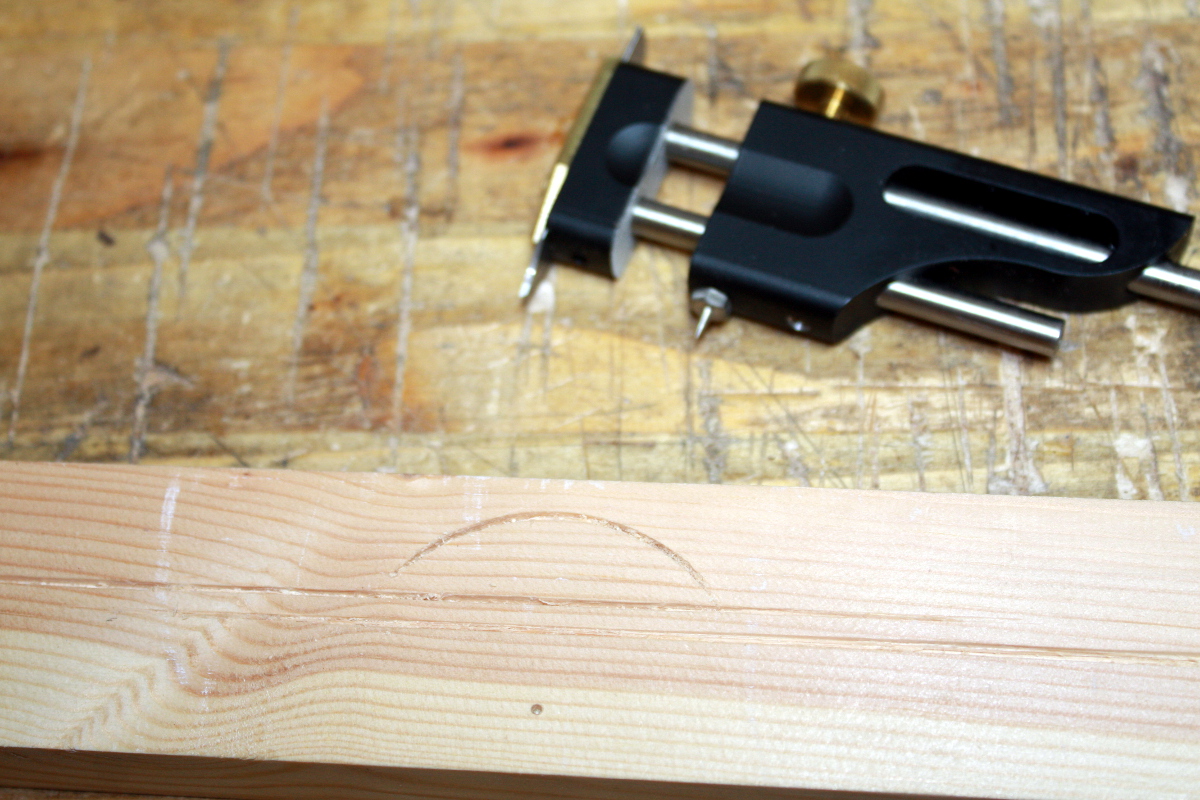
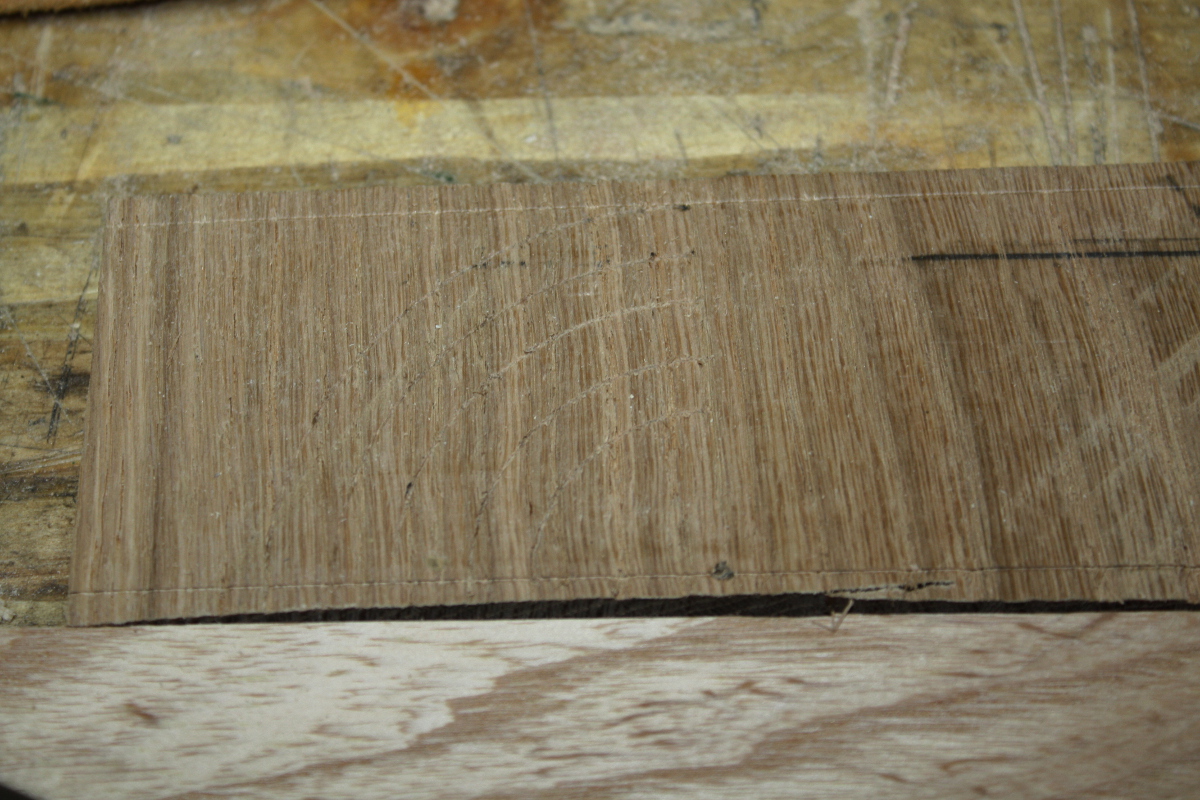
At this point I took some time to practice carving…
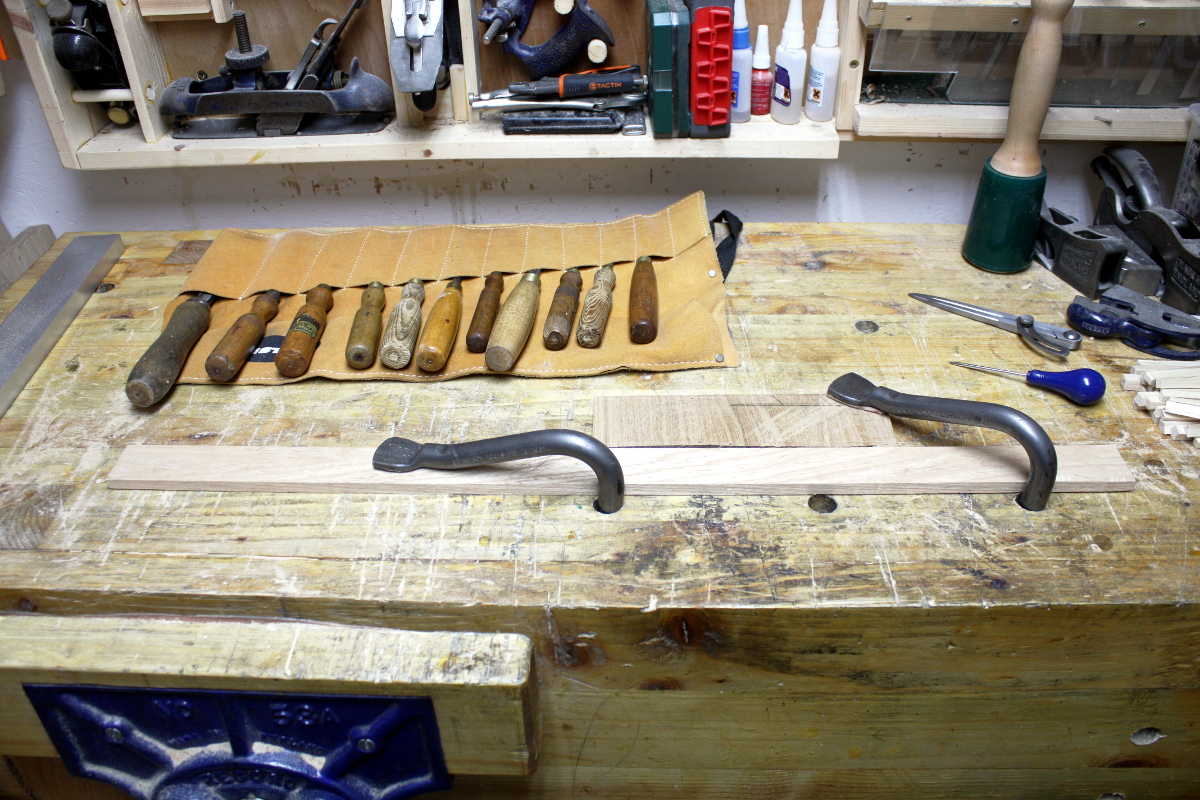
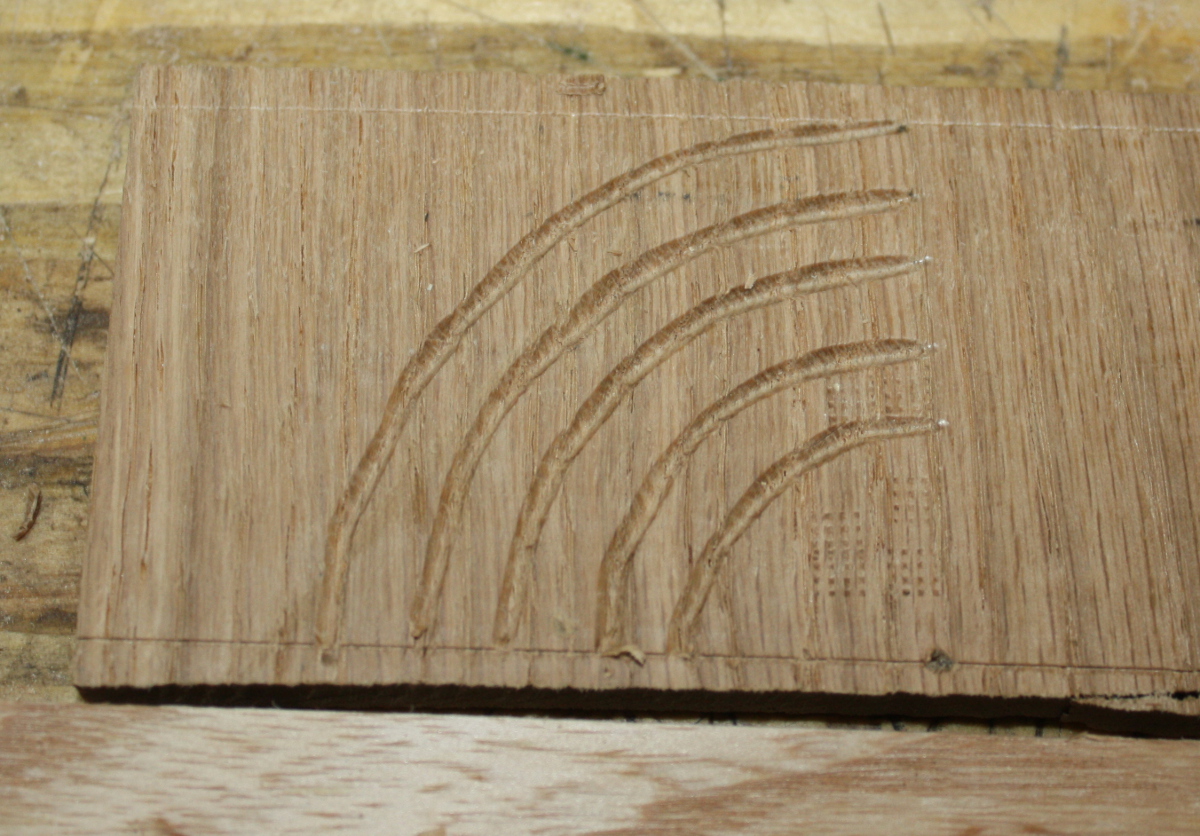
Simple practice pattern, just some concentric circle segments to cut out with the v-tool.
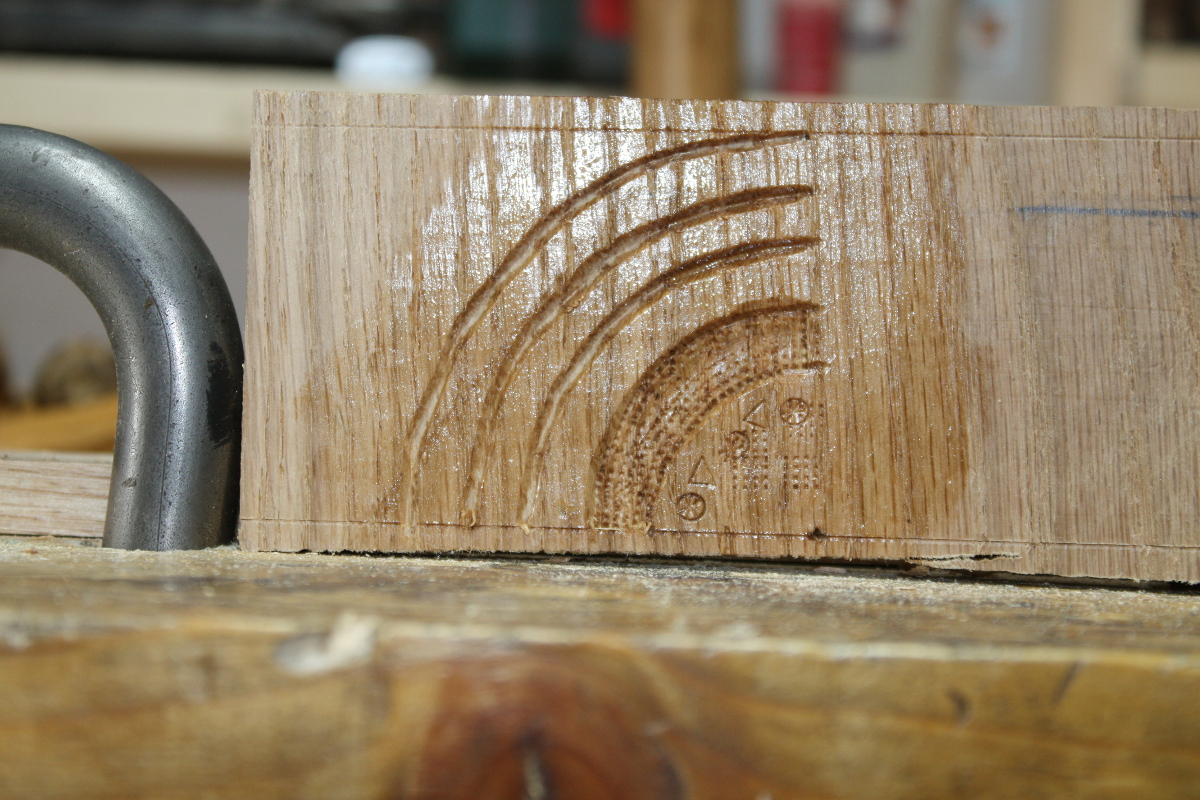
It’s a physical skill, so you just need to practice. I’m getting slowly better.
Not sure if I’m at the stage where I’m comfortable carving the panels for this chest or not. I will be for the next one whenever that is, but this one… not sure. Might leave it.
Or not. Really not sure – if the design is simple enough, it might look acceptable…
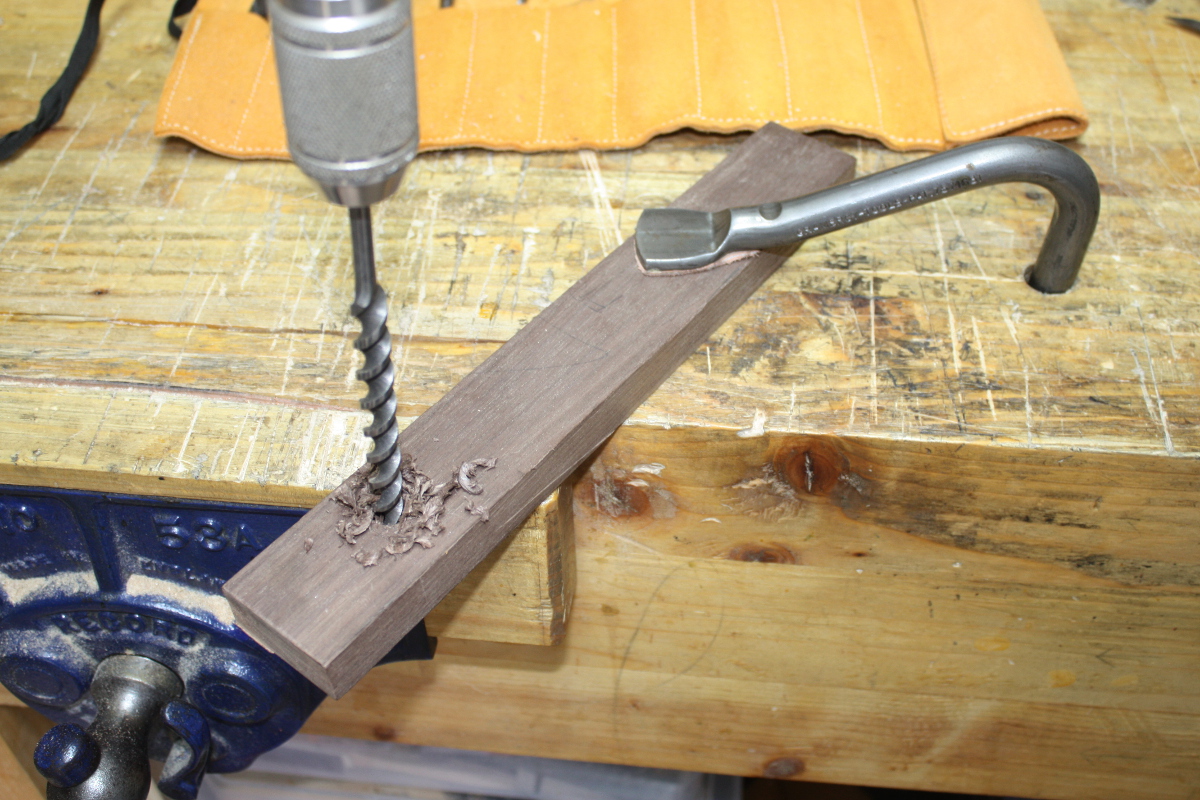
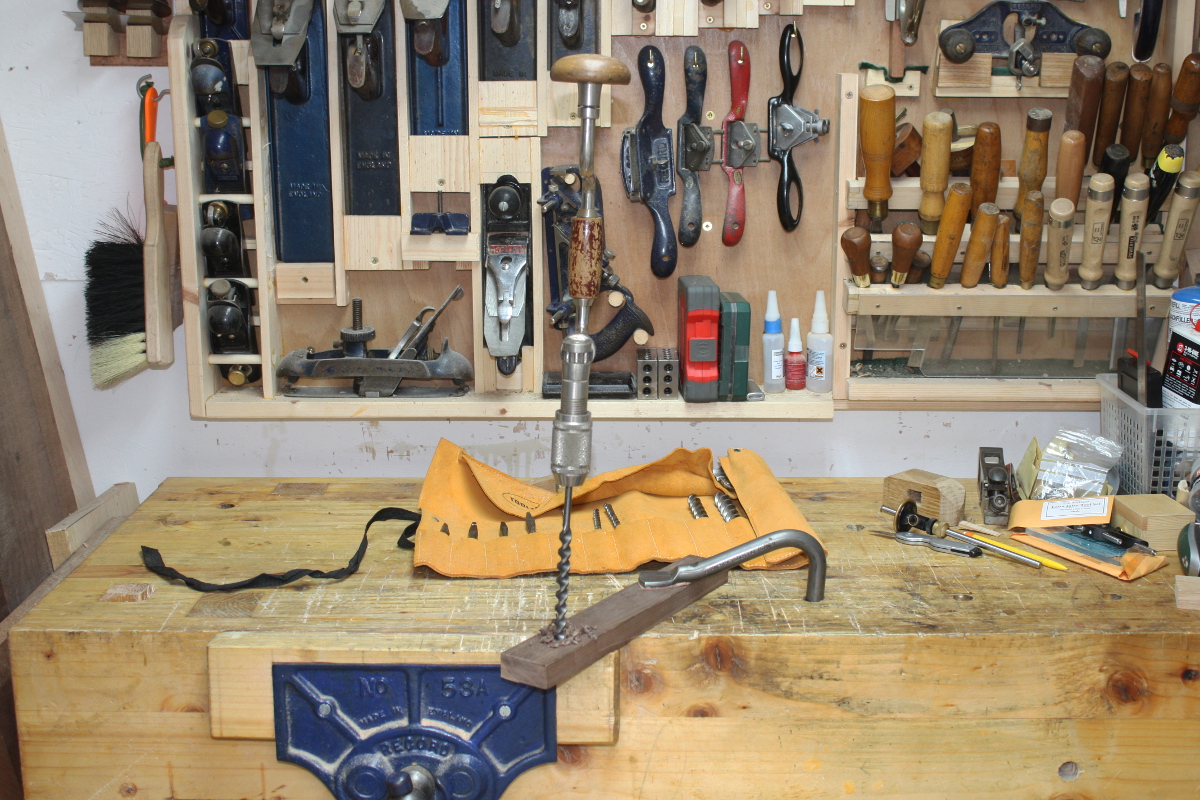
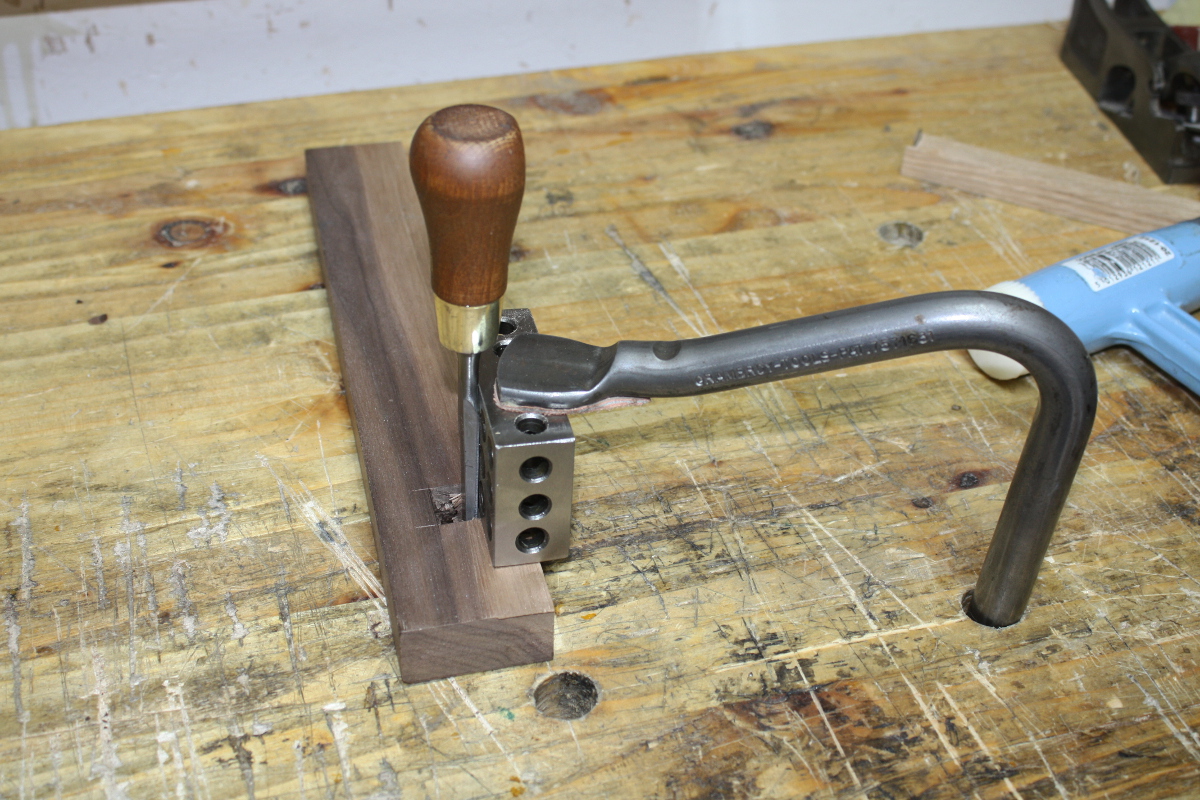
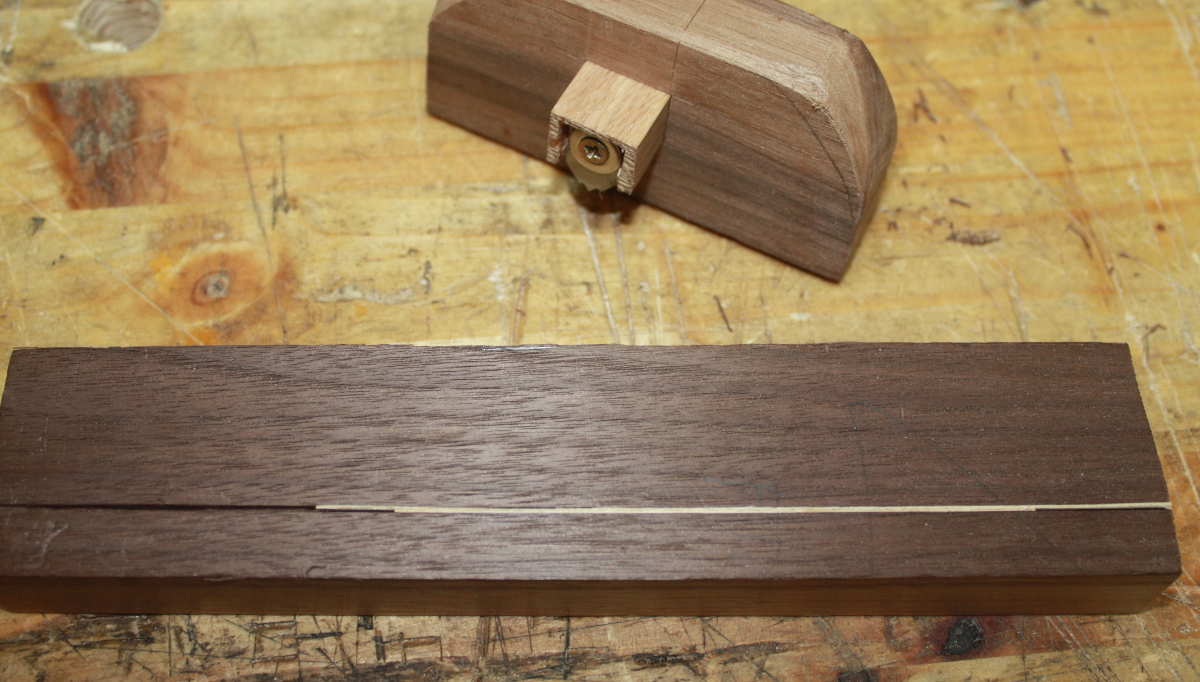
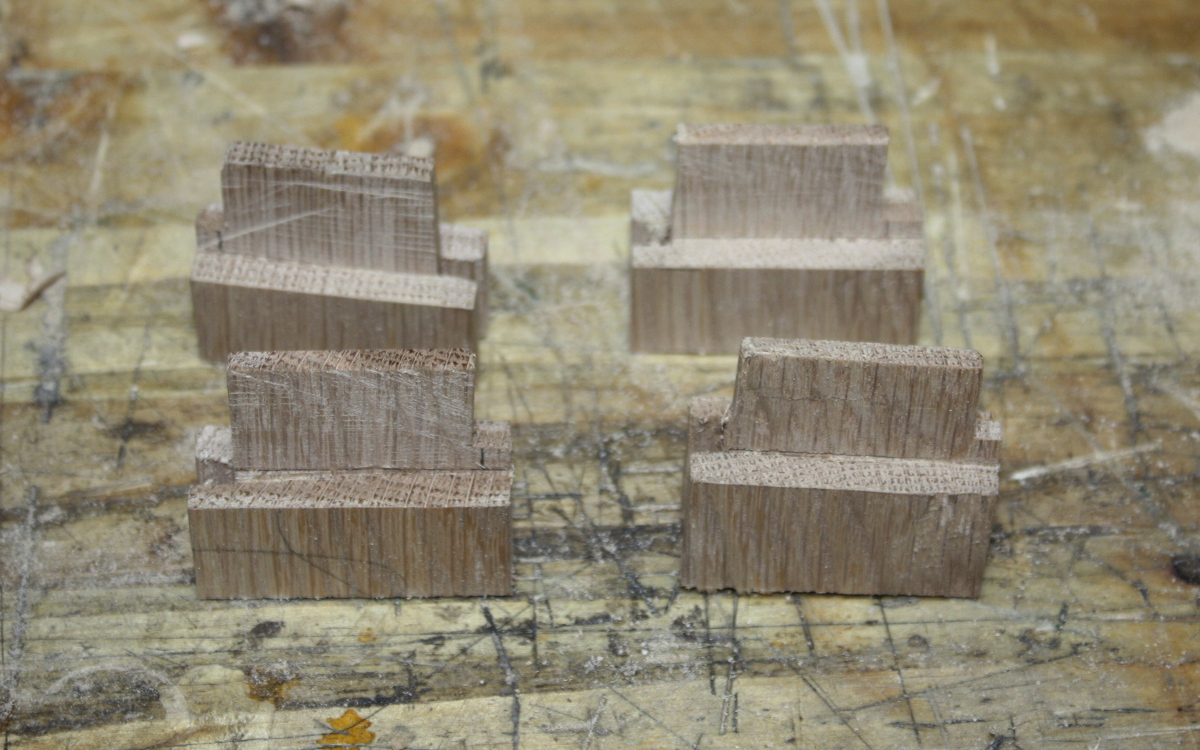
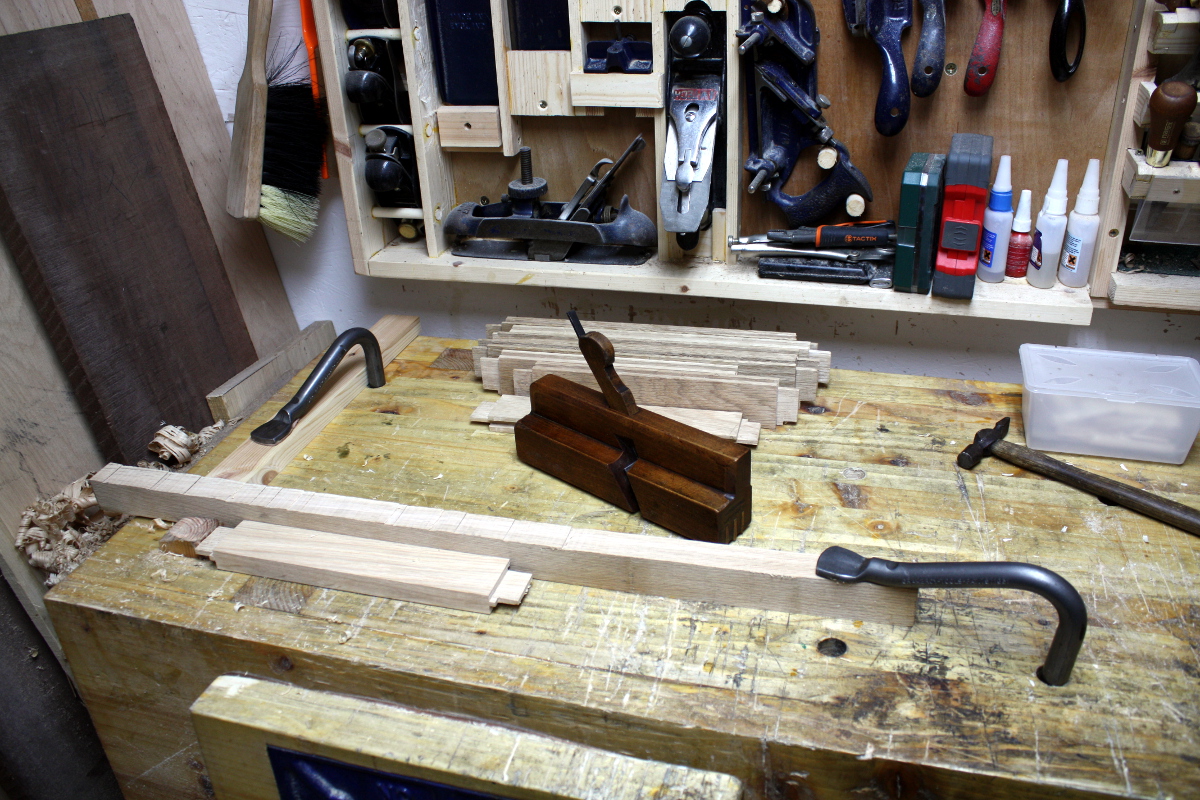
But enough diversion. Quick side job now, splitting out blanks for drawbore pegs.
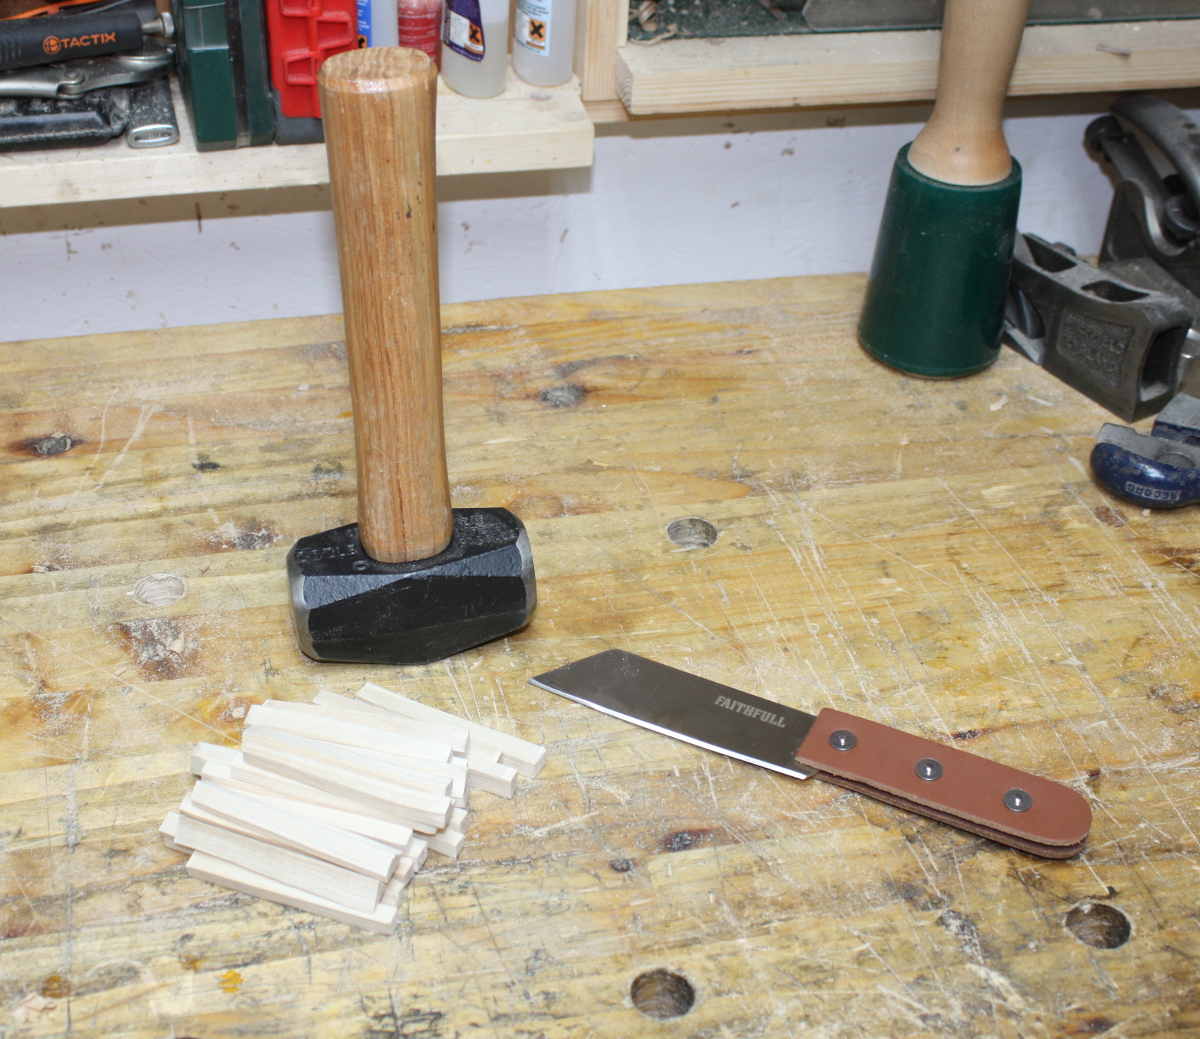
I can’t tell you how much better this job is thanks to that hacking knife. Compared to a chisel, it’s faster, more controllable, safer, and just all-round better. I tested one of the peg blanks by hammering it through the dowel plate down to the quarter-inch size, but just one (it’s a noisy job, better suited to earlier in the day even with the sound dampening in the shed so I’ll do it tomorrow).
Meantime, I rough-cut the floorboards to size.
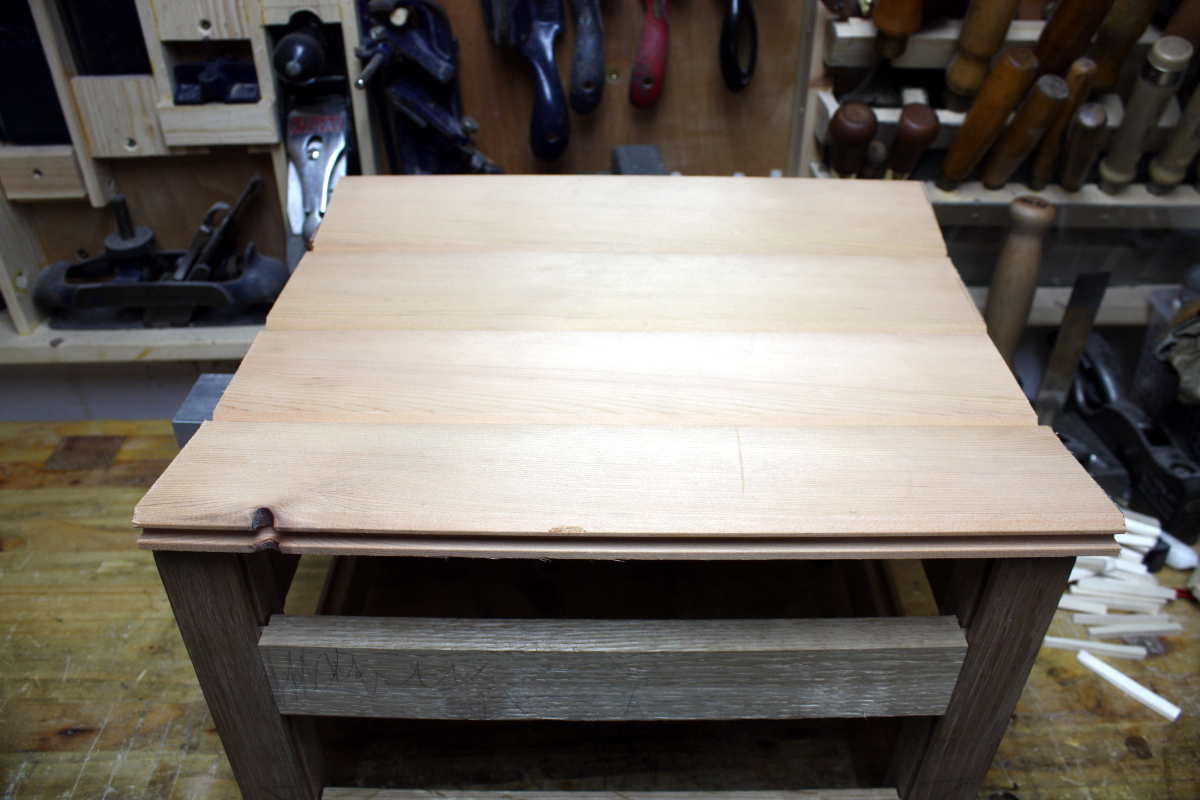
They’re cedar, already tongue-and-grooved which is a nice timesaver. I haven’t decided yet whether I should just rebate them into the base or whether I should groove three rails and nail them to the fourth (which is cut narrower). Need to figure that out tomorrow.
At this point, I got out my #04 and stropped the blade and reset the cap iron and started cleaning up the rails and stiles.
And then I set up to do some of the decorative features I had in mind for the rails. First, some fences to hold the bottom rails in place.
This wasn’t great, the piece kept spinning out, so I added another fence clamped to the front as well:
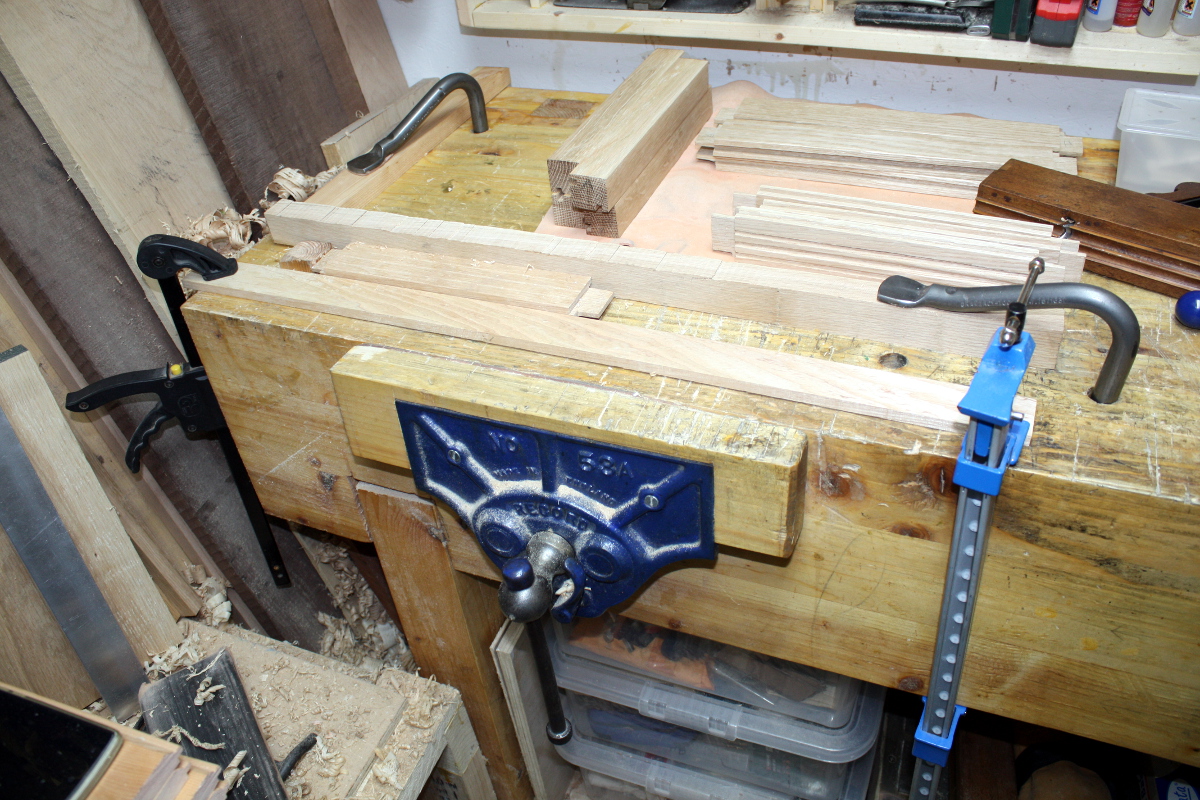
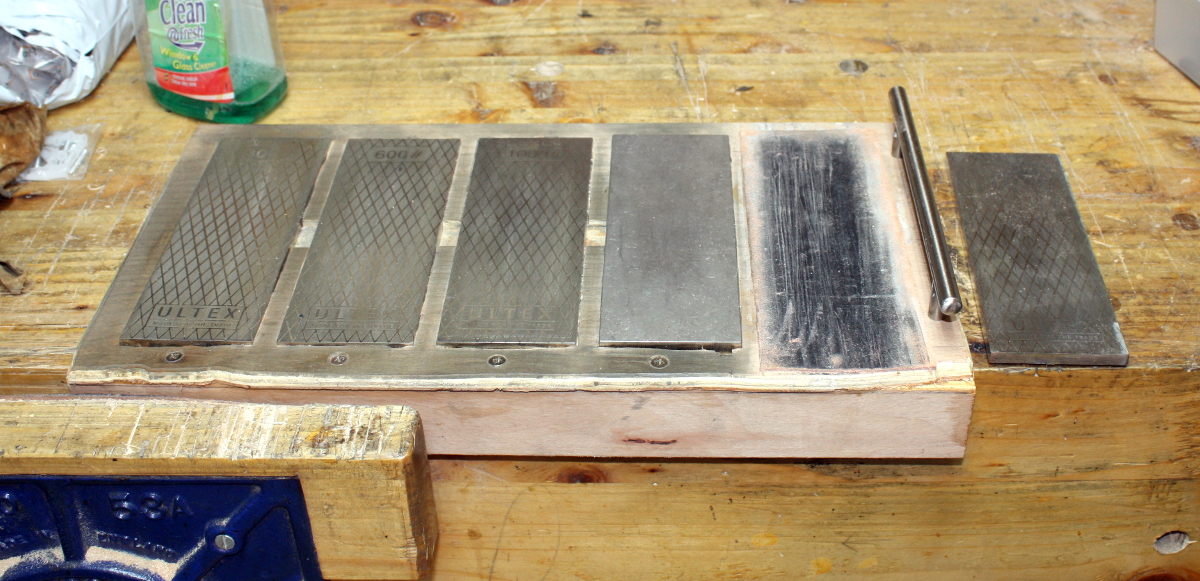
This worked nicely. It’s effectively an ad-hoc sticking board, and I’m going to use my new 167-year-old reeding plane on the bottom rails. This was the point of buying it, after all. And I’ve learned I’m not that good at using the thing, though I’m starting to get the knack of it. I think I need to get some slipstones to sharpen it a bit more (the strop only sortof works) and I’m starting to think I need to go buy and read “Mouldings in Practice” because even when I finally get the iron set to take a fine cut so it doesn’t chatter, it still digs in in the last half-inch or so of the groove and I’m sure it’s something I’m doing wrong. But I got it working well enough to do the bottom four rails. Not before I discovered that I need to do some repairs though…
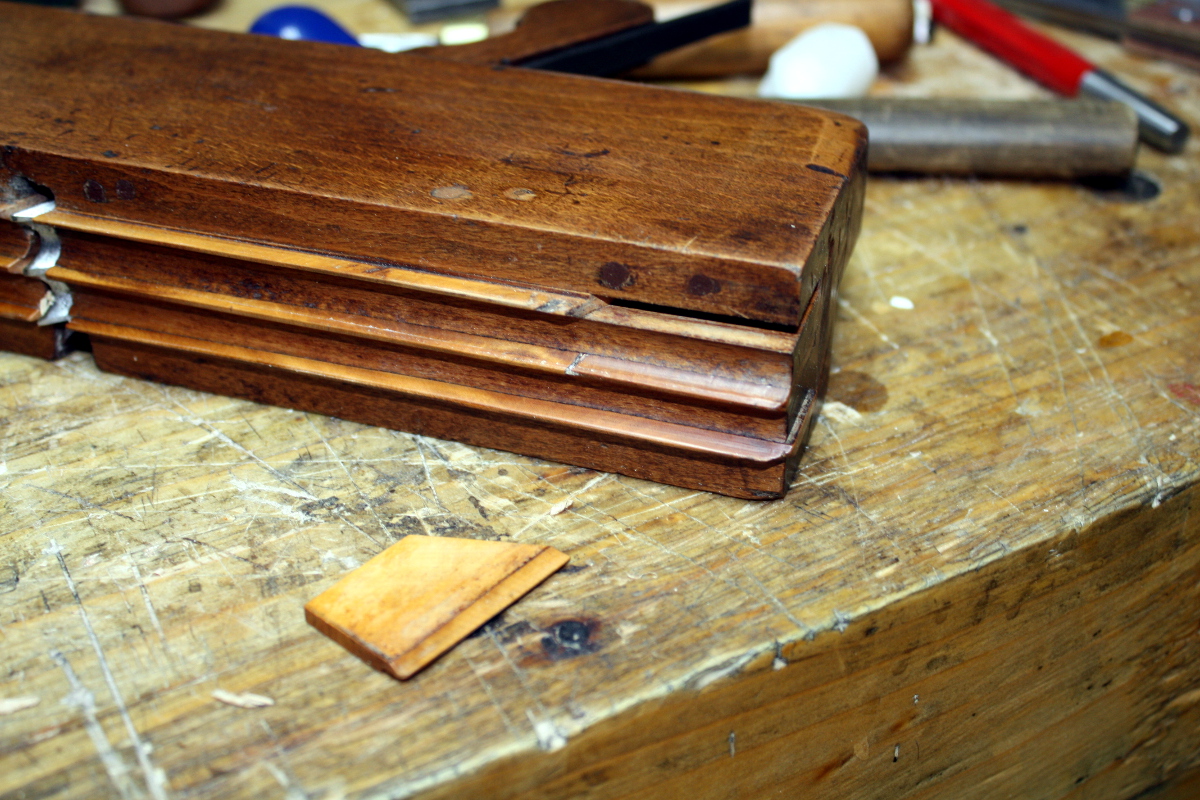
It is somewhat disconcerting to hit your moulding plane with your plane hammer where you’re supposed to hit it to retract the iron and have bits fall out. It’s even more fun when you go to advance the iron and don’t realise the wedge is loose. That iron can really get some distance on it when you give it a belt with a hammer when the wedge isn’t holding it in the plane. But I was able to get it back from behind the bench without any damage, so that’s allright.
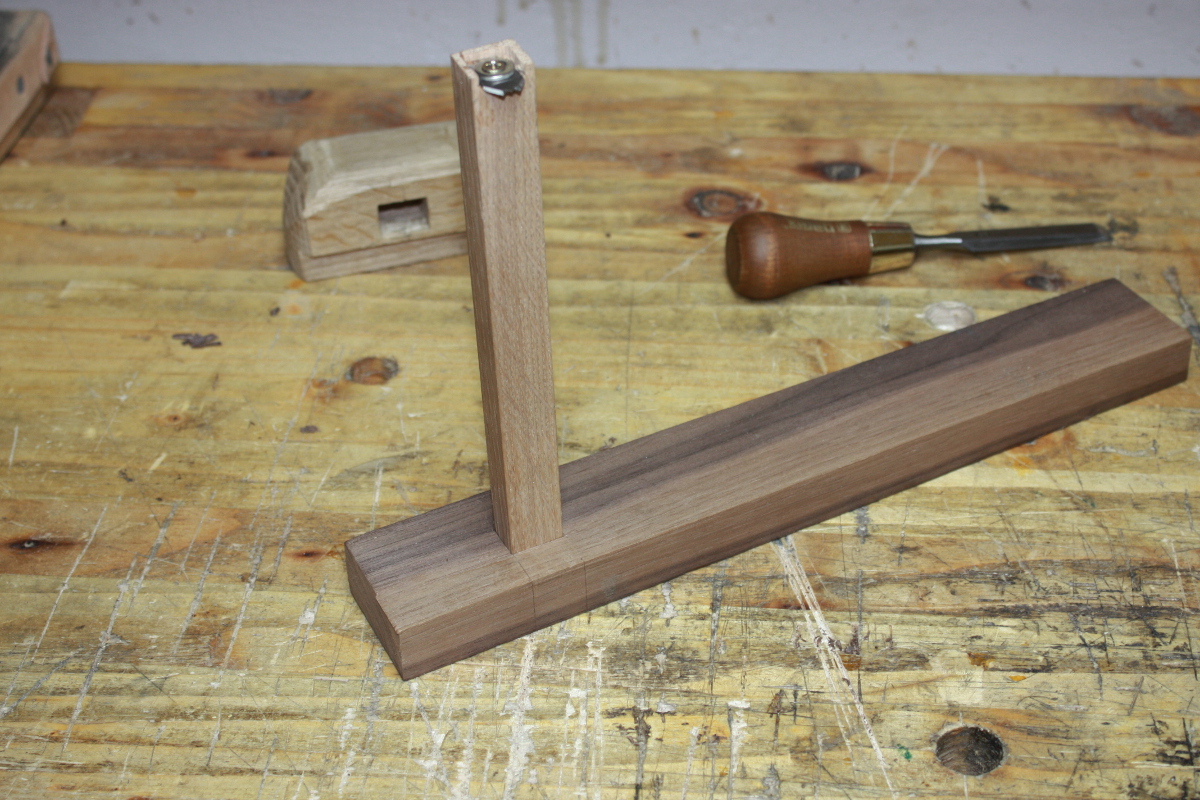
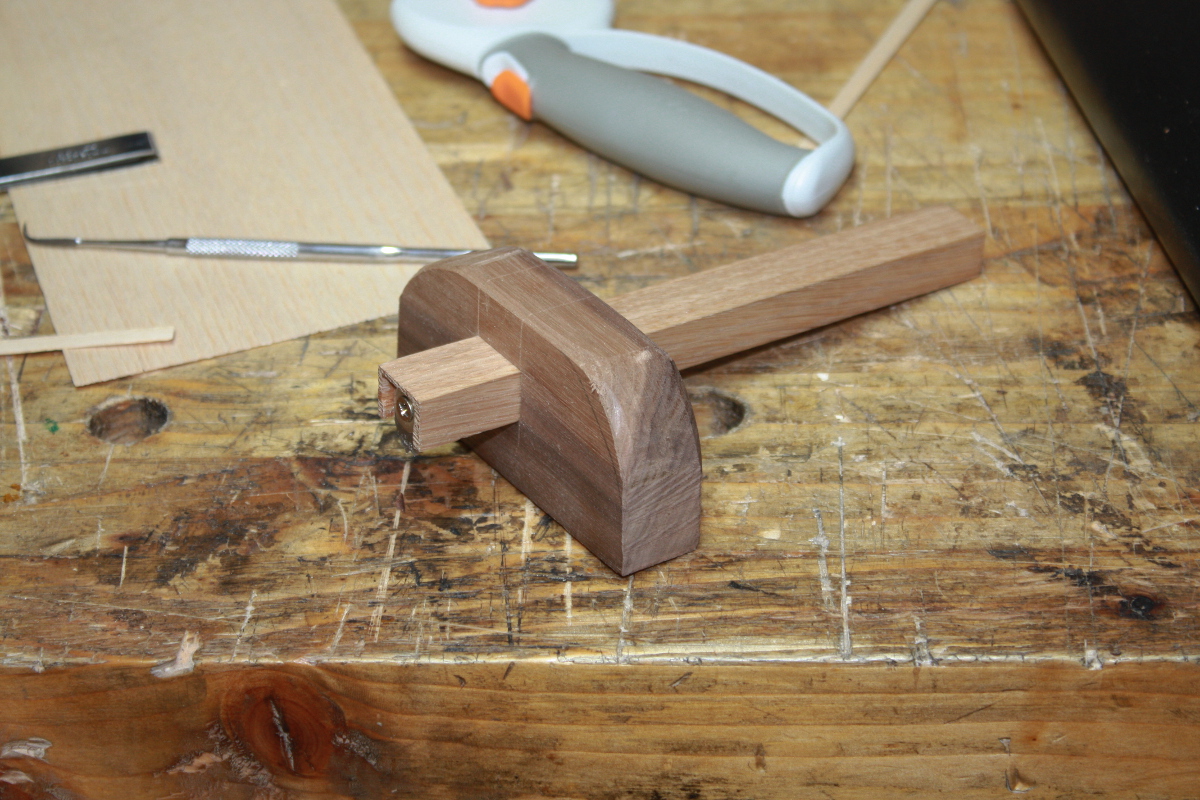
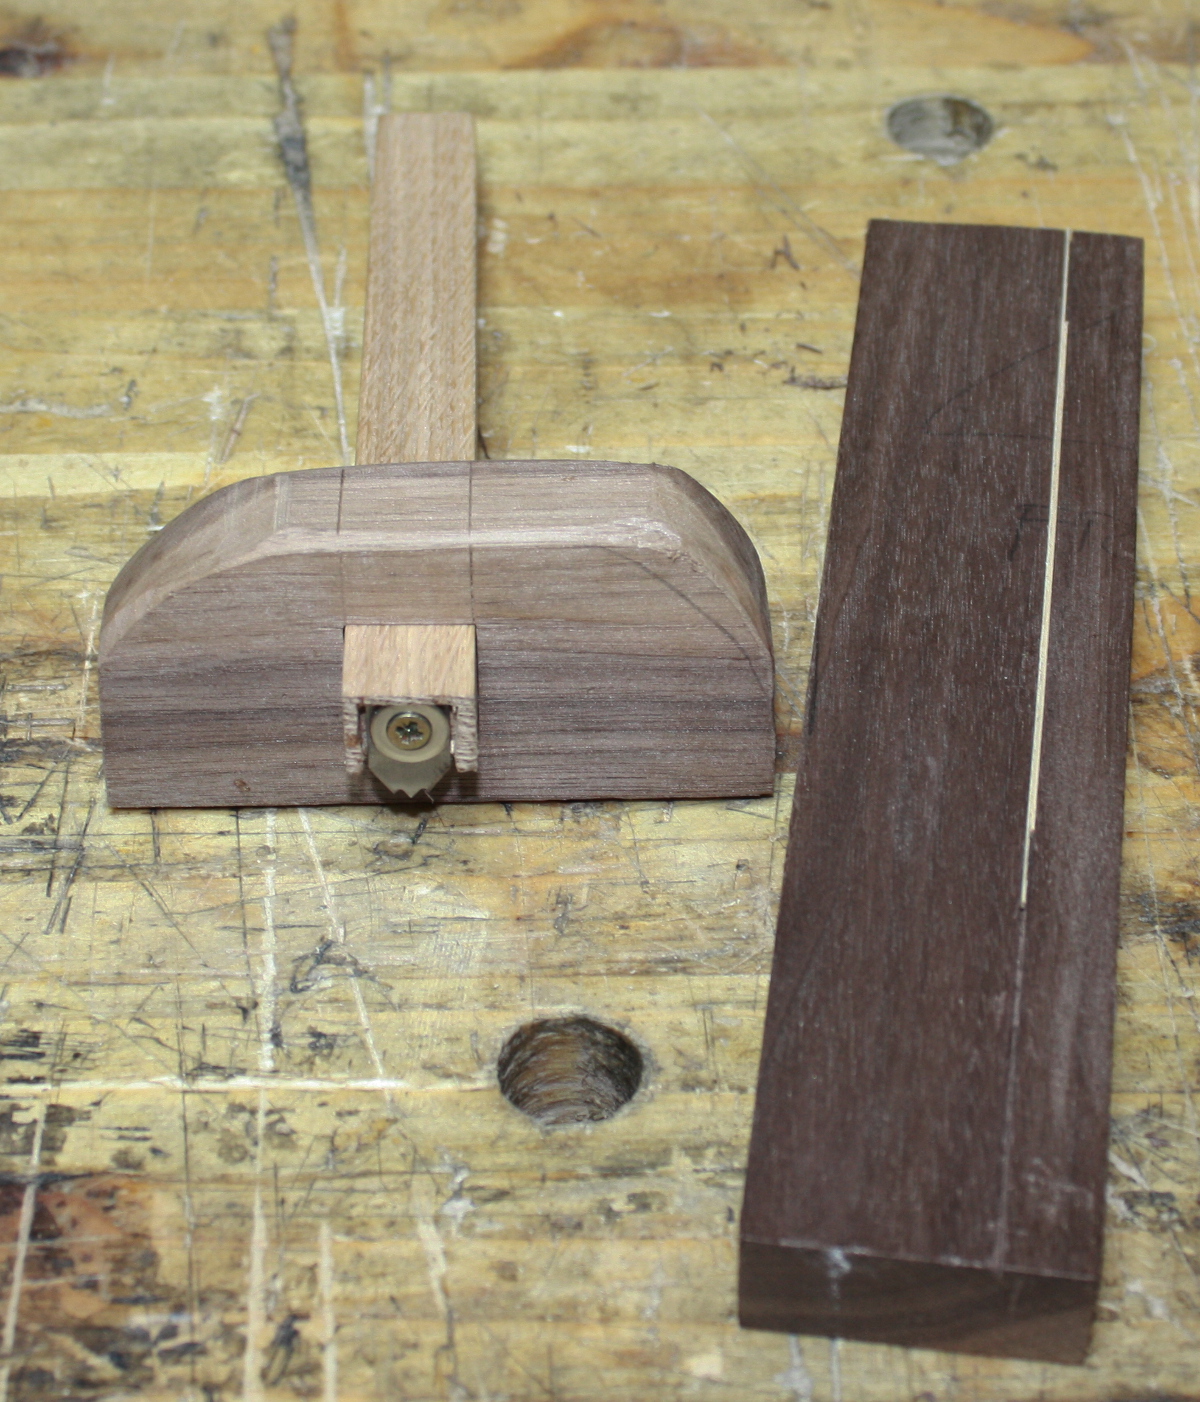
Anyway, the top four rails get a different treatment, for which I needed my scratch stock.
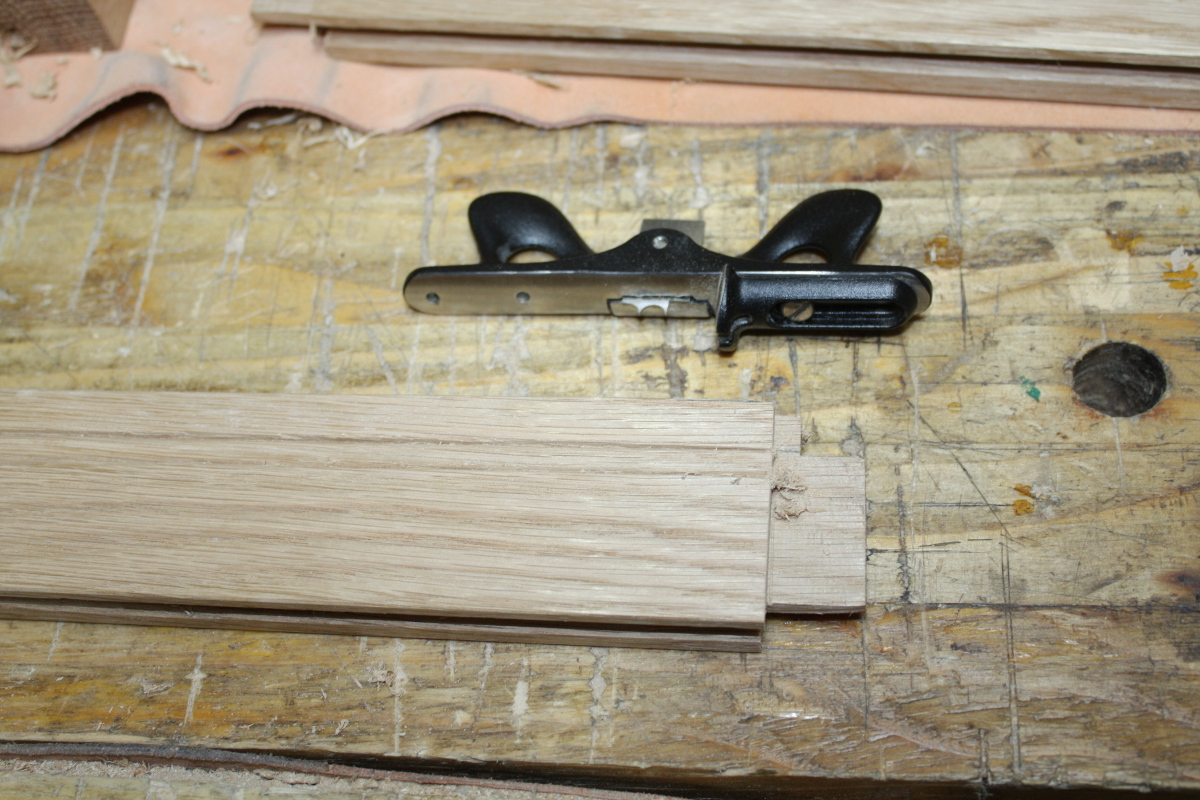
Lee Valley. It’s a luxury I know, but it wasn’t that expensive (it was about $50 plus P&P for the stock and all of its scratch cutters) and it works very nicely once you get the hang of it and only try to do short strokes instead of long runs (you do a few of those but only at the very end when the moulding is well established, and you have to be careful even then that it doesn’t dig into the grain and dive off to one side or the other). I used it to cut a pair of beads separated by a gouge’s width on the top rails, and called it a night there. I have some work still to do on the decoration, but it requires belting a gouge with a mallet so it’ll be loud so again, I’ll wait till tomorrow for that.
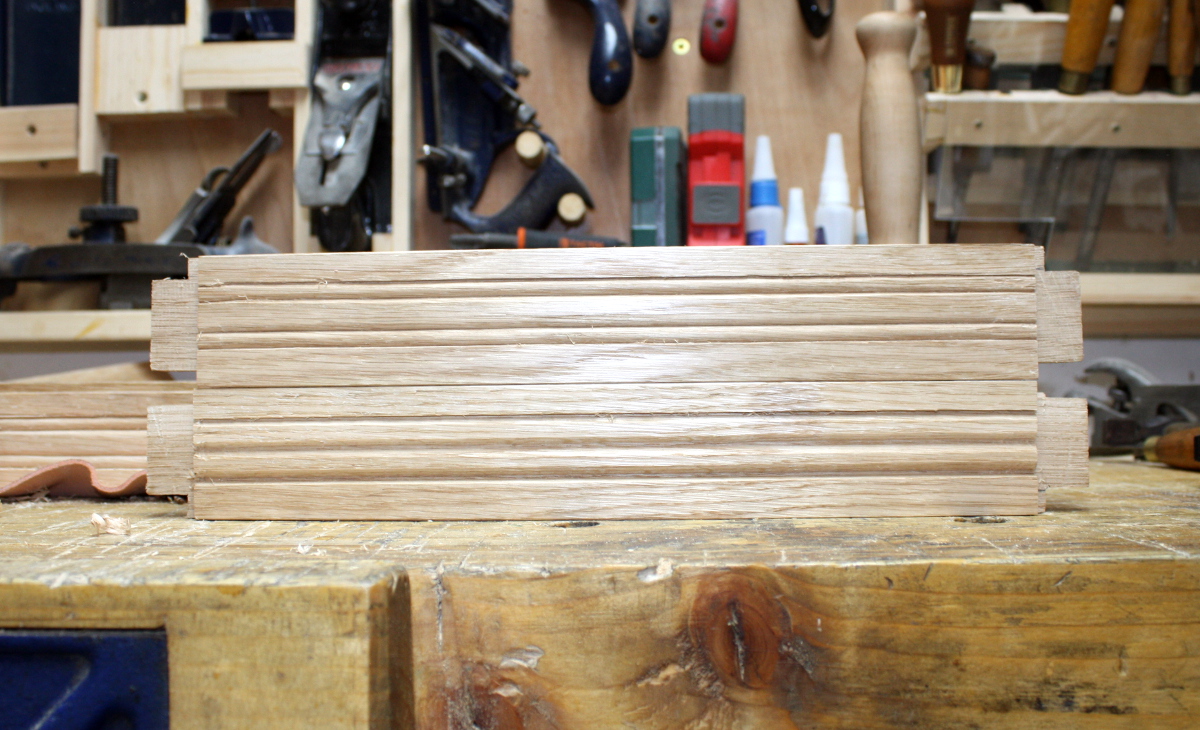
Not too bad, though a little more ragged than I’d like in places even after burnishing with a handful of shavings. But it’s not done yet…
Like this:
Like Loading...