So yeah, a whole month went by without posting here. Work was a little crazy. But there was time to turn a few more bowls…
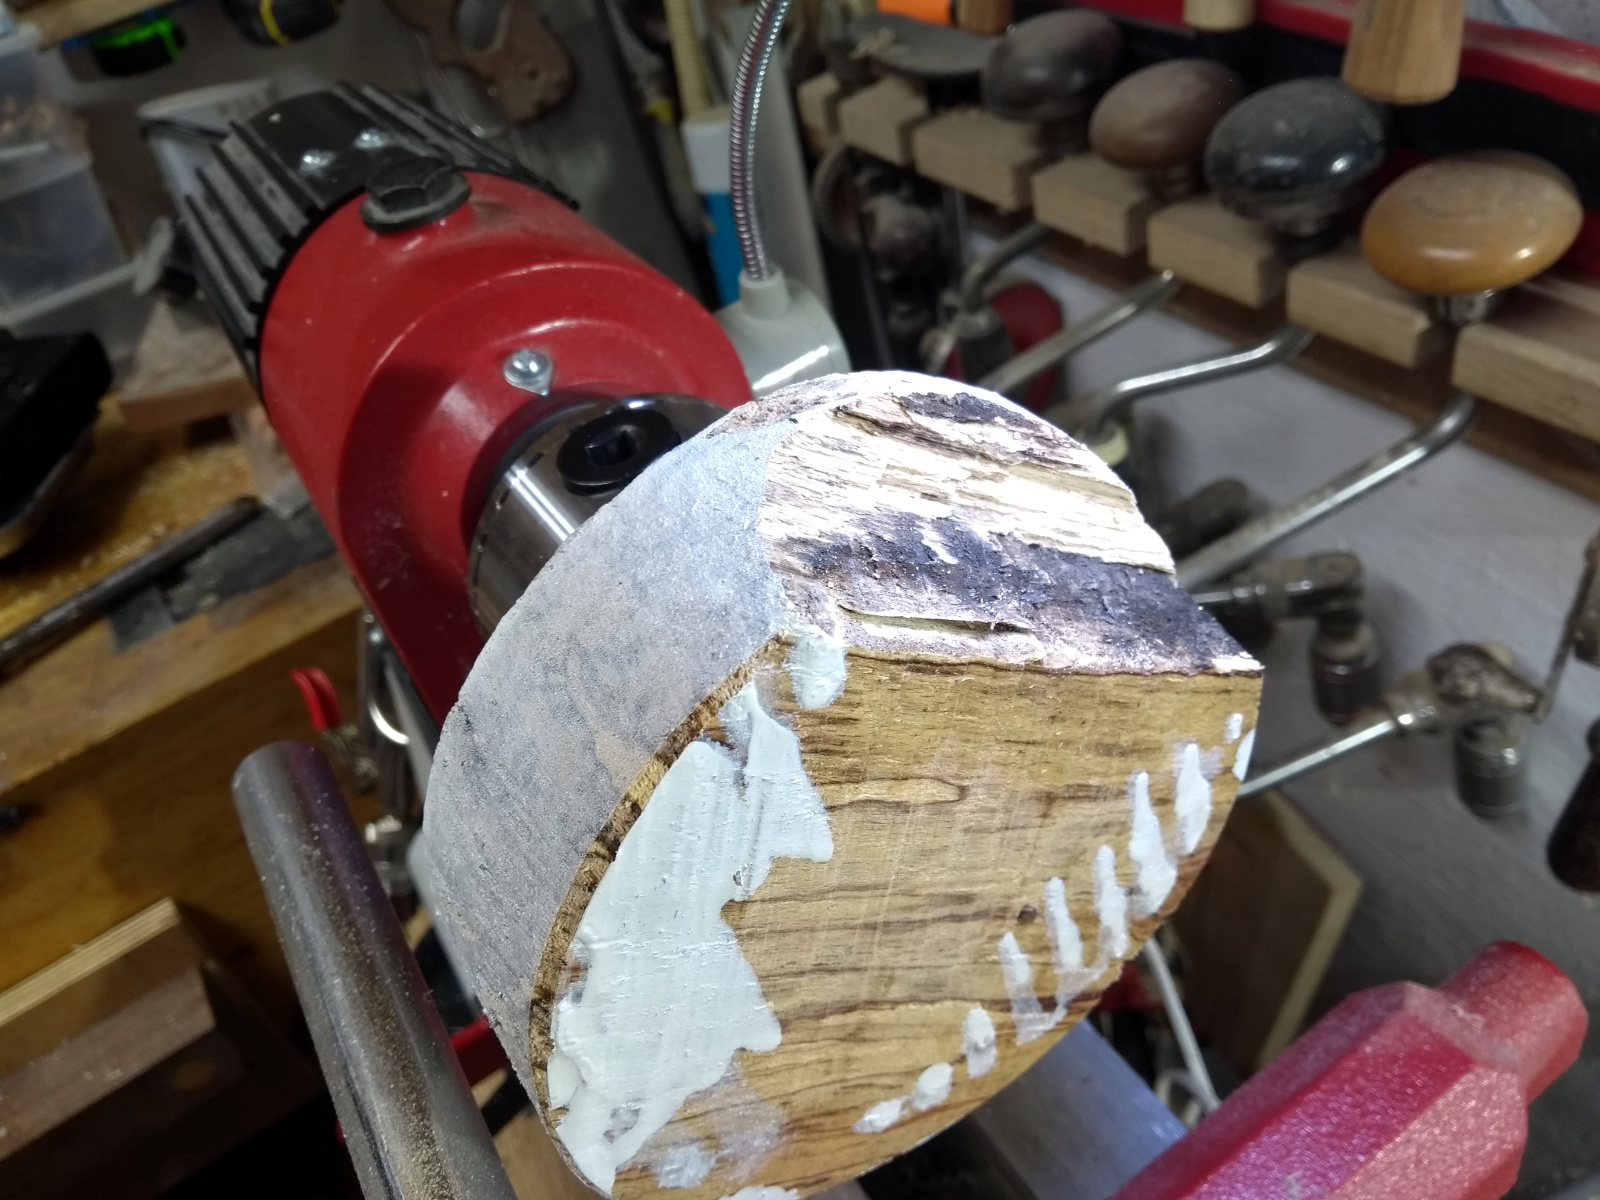
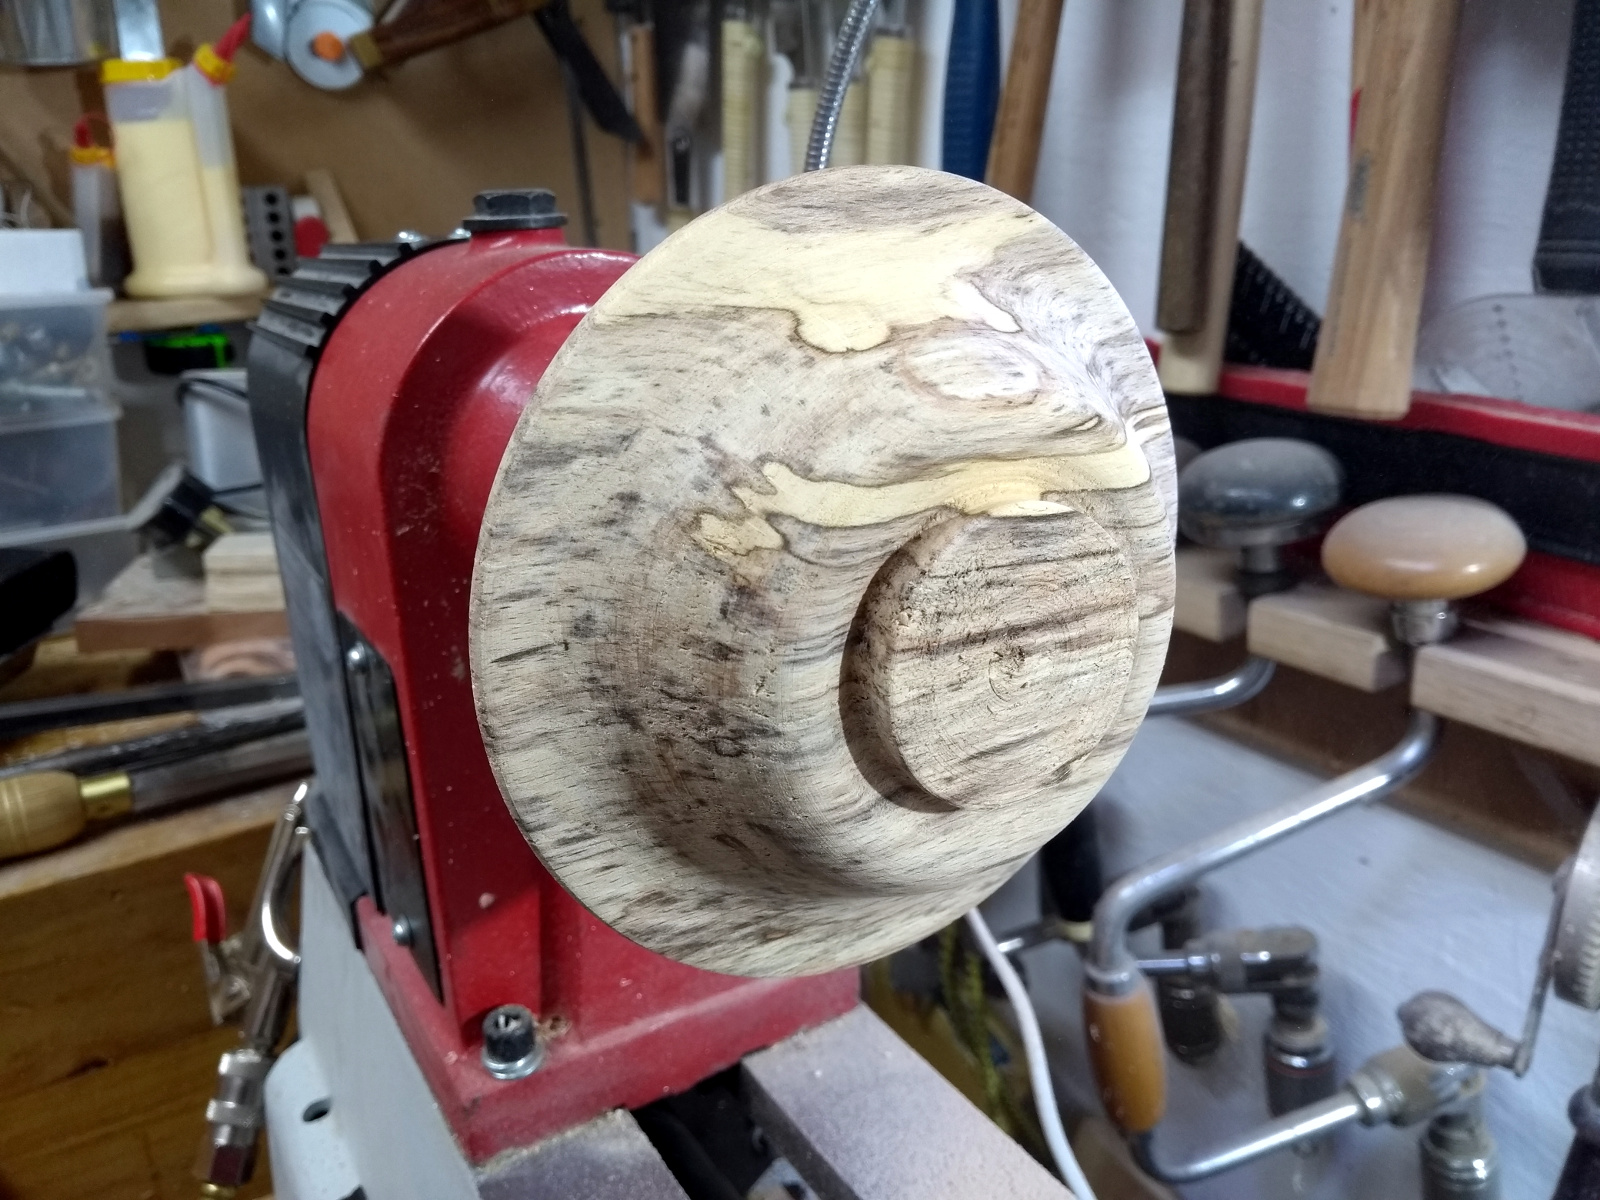
Spalting had gone just a touch far on this beech blank, and a check had formed along one of the spalting planes, so I knocked it off with the chisel and that sortof defined what the final shape would be.
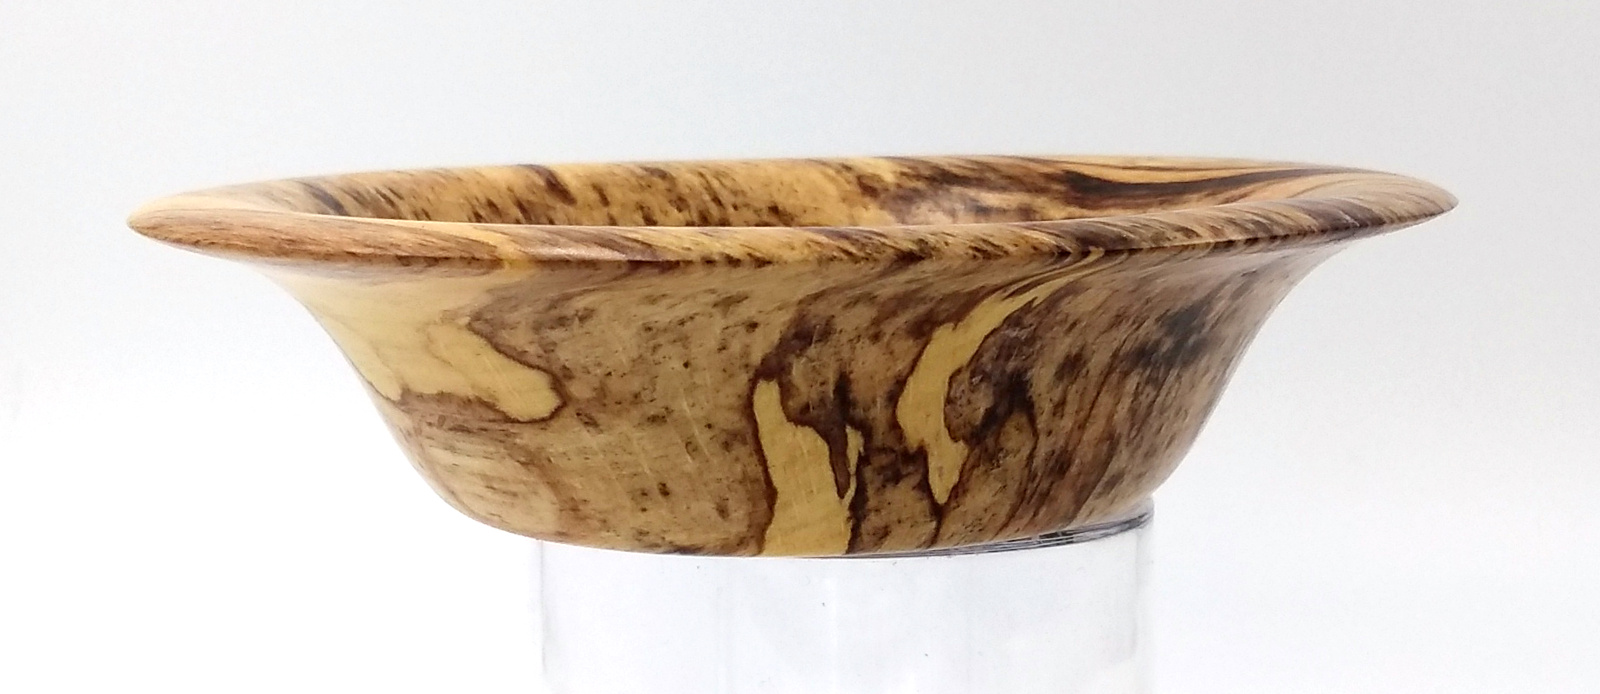
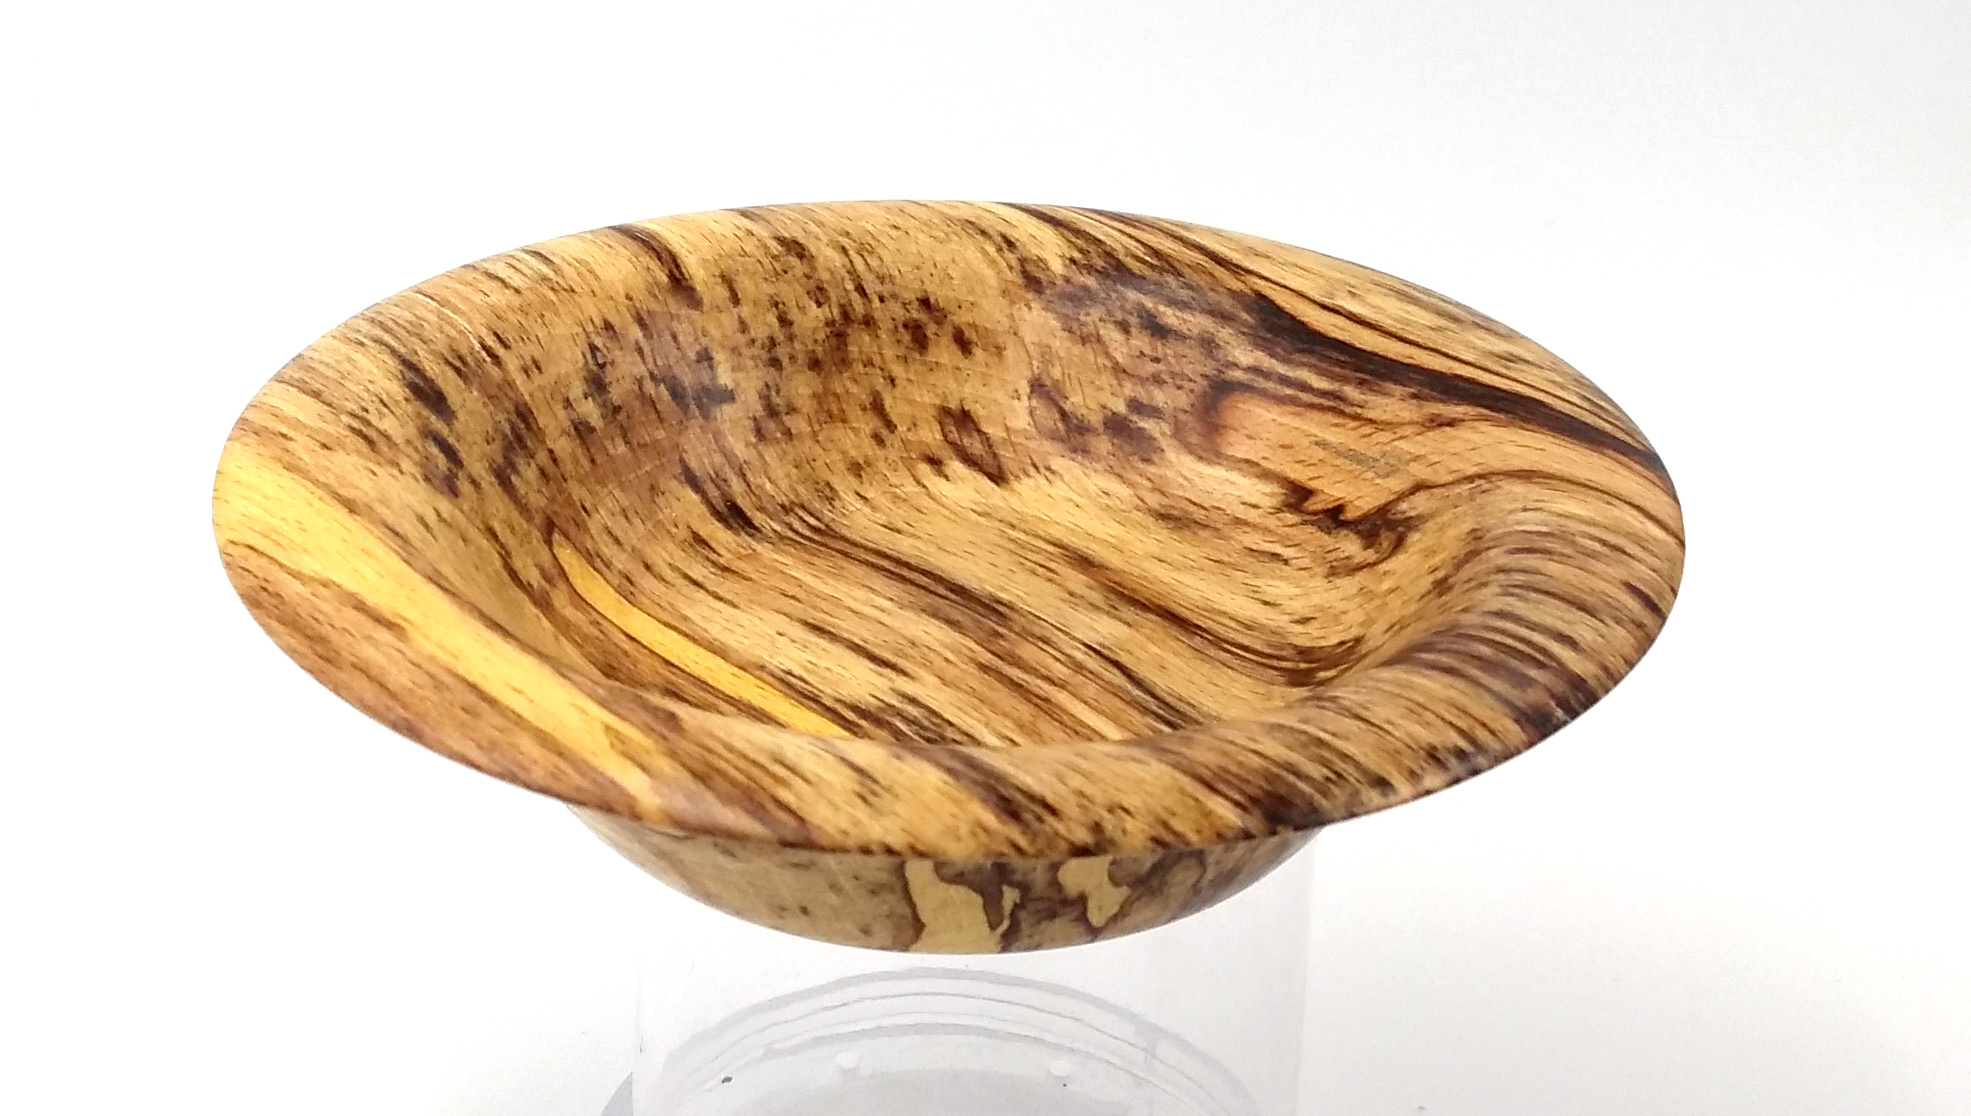
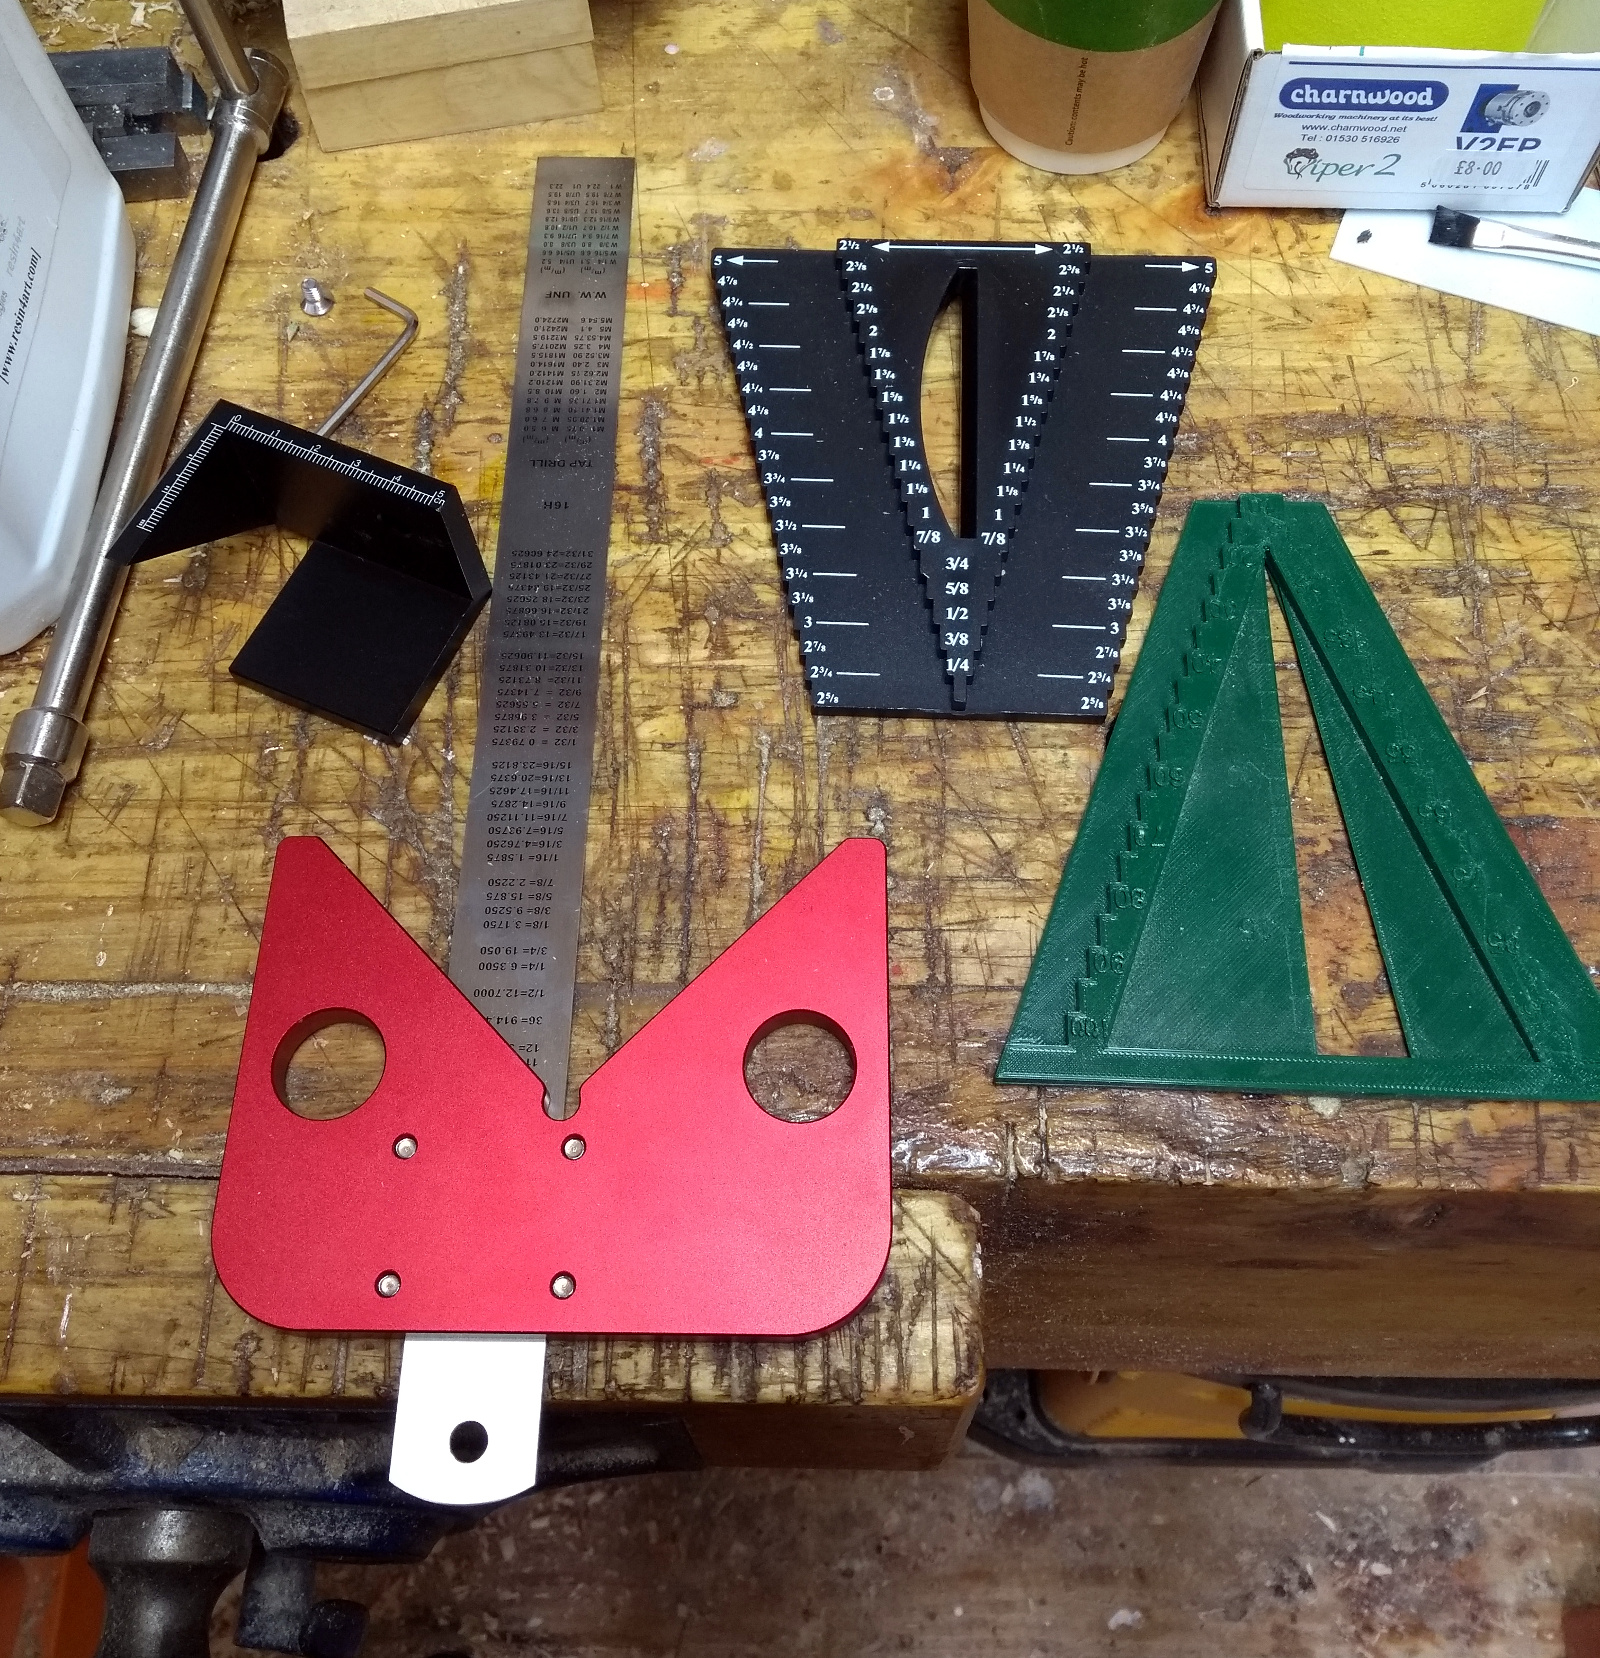
Rather pretty in the end. And there were a few new toys that finally arrived three months after ordering them (they’d come from China all the way to my office… which was in lockdown. But they cleared out the mail room a few months in and dropped everything out to us – thanks for that Robbie, if you’re reading this):
The centerfinder in black also has these raised steps that are set distances apart so it’s both a centerfinder and a gauge to set your calipers against. Useful enought that I’d printed off my own copy of one on the 3D printer a few months ago – that’s the one in green on the far right. The black centerfinder on the far left is a handily sized one for small spindles no more than a few inches in cross-section, and the red one is for larger blanks – very handy for the bowl stuff.
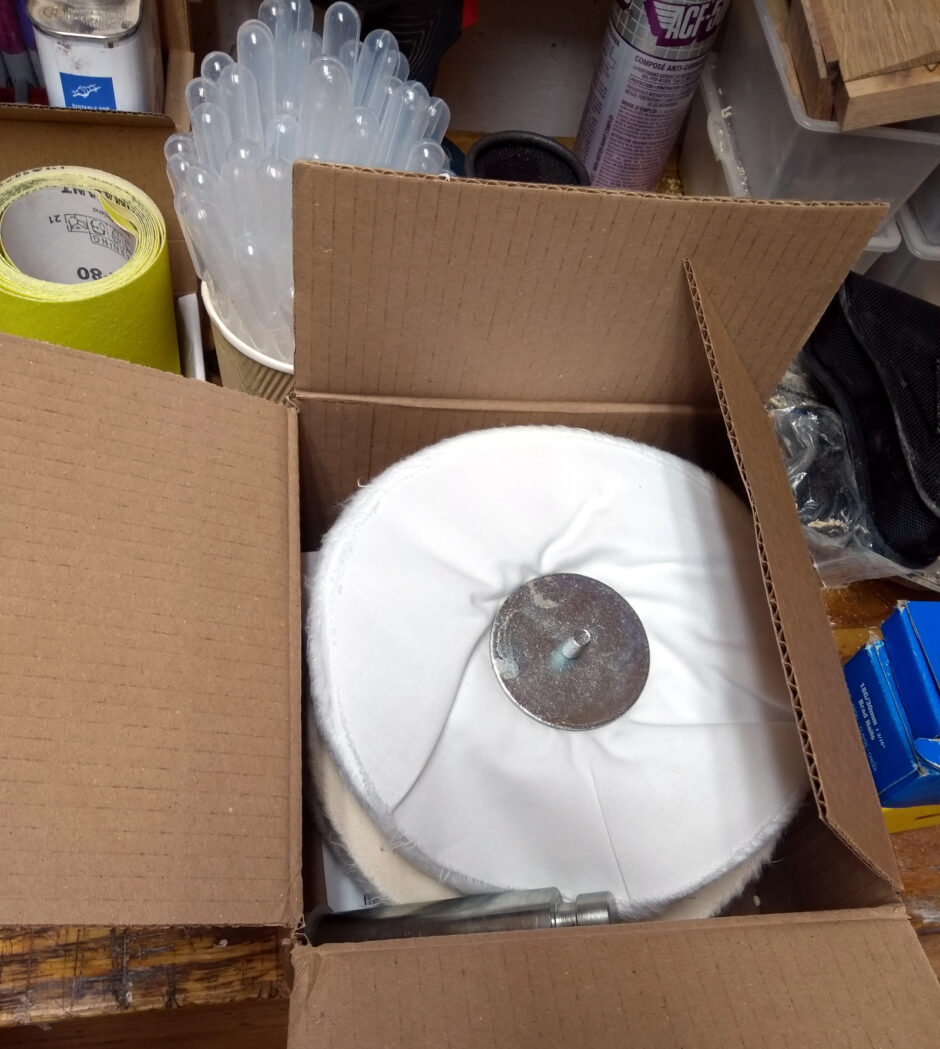
There’s also a longer T-bar for the chuck but despite it being sold for this chuck, it has the wrong size of square bit on the end so I’ll have to grind that down a bit to make it fit right, which is annoying. Less delayed was a buffing wheel setup which will prove handy for finishing. It’s nothing special, just the chestnut products one:
More than good enough for my level though. Oh and a box of pipettes, a small handful of which are in the cup in that photo and which have so far fallen all over the place three times in the shed. There’s about a kilo more and if you think a kilo of 3ml pipettes sounds like a silly number, you’d be right. Turns out some things you can only buy in bulk before you’re paying a euro or two for one pippette – but order a kilo and you get 2000 of the things for the price you’d have paid for ten of them in a sensibly-sized box. They’re very handy for getting resin into exactly the right spot when filling knots and the like.
There’s been a few other projects since, and I have photos and things already taken on the cameraphone of them, I must spend an hour posting them up here later on. Especially since I just finished a long bout of shed-tidying-up with some nice results.
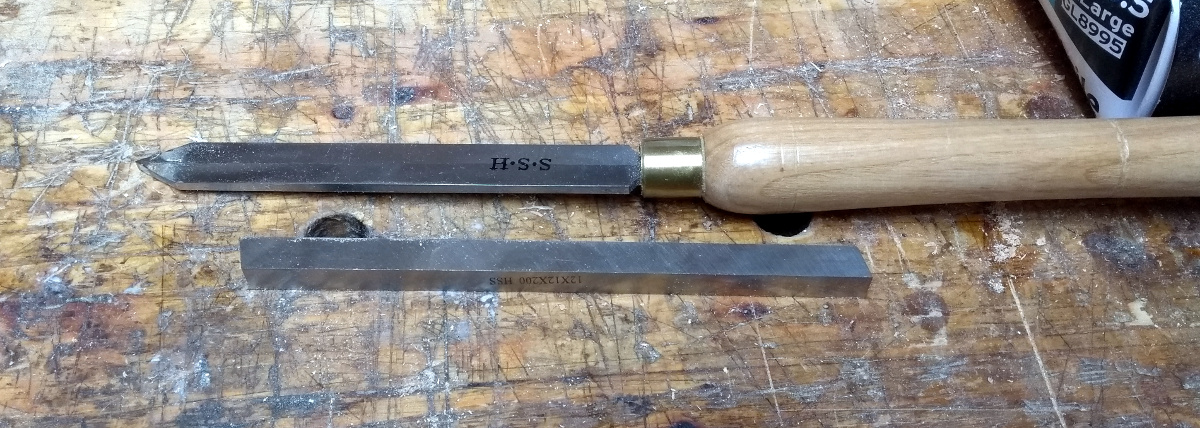
So one of the tools we used in the woodturning class before lockdown, was a wide parting tool – about a centimeter or so wide. I don’t have one. And I figured, it’s just a HSS blank ground to shape and fitted to a handle. Machinists make their own lathe tooling as a basic skill, and woodturners as well for some tools (not seen any make their own bowl gouges yet though). So. To ebay, and yes, you can order metal through the post it turns out. One 12x12x200mm lathe tool blank in HSS isn’t even very expensive (though I couldn’t find anything longer than 200mm in HSS, it seems that’s the upper limit for off-the-shelf square bar sections unless you’re ordering metres and metres of the stuff).
The metal detectors says that there’s only 2-3 inches of tang in the parting tool I do have, so that much in the handle gives that length of tool, which is more than enough in a small shed.
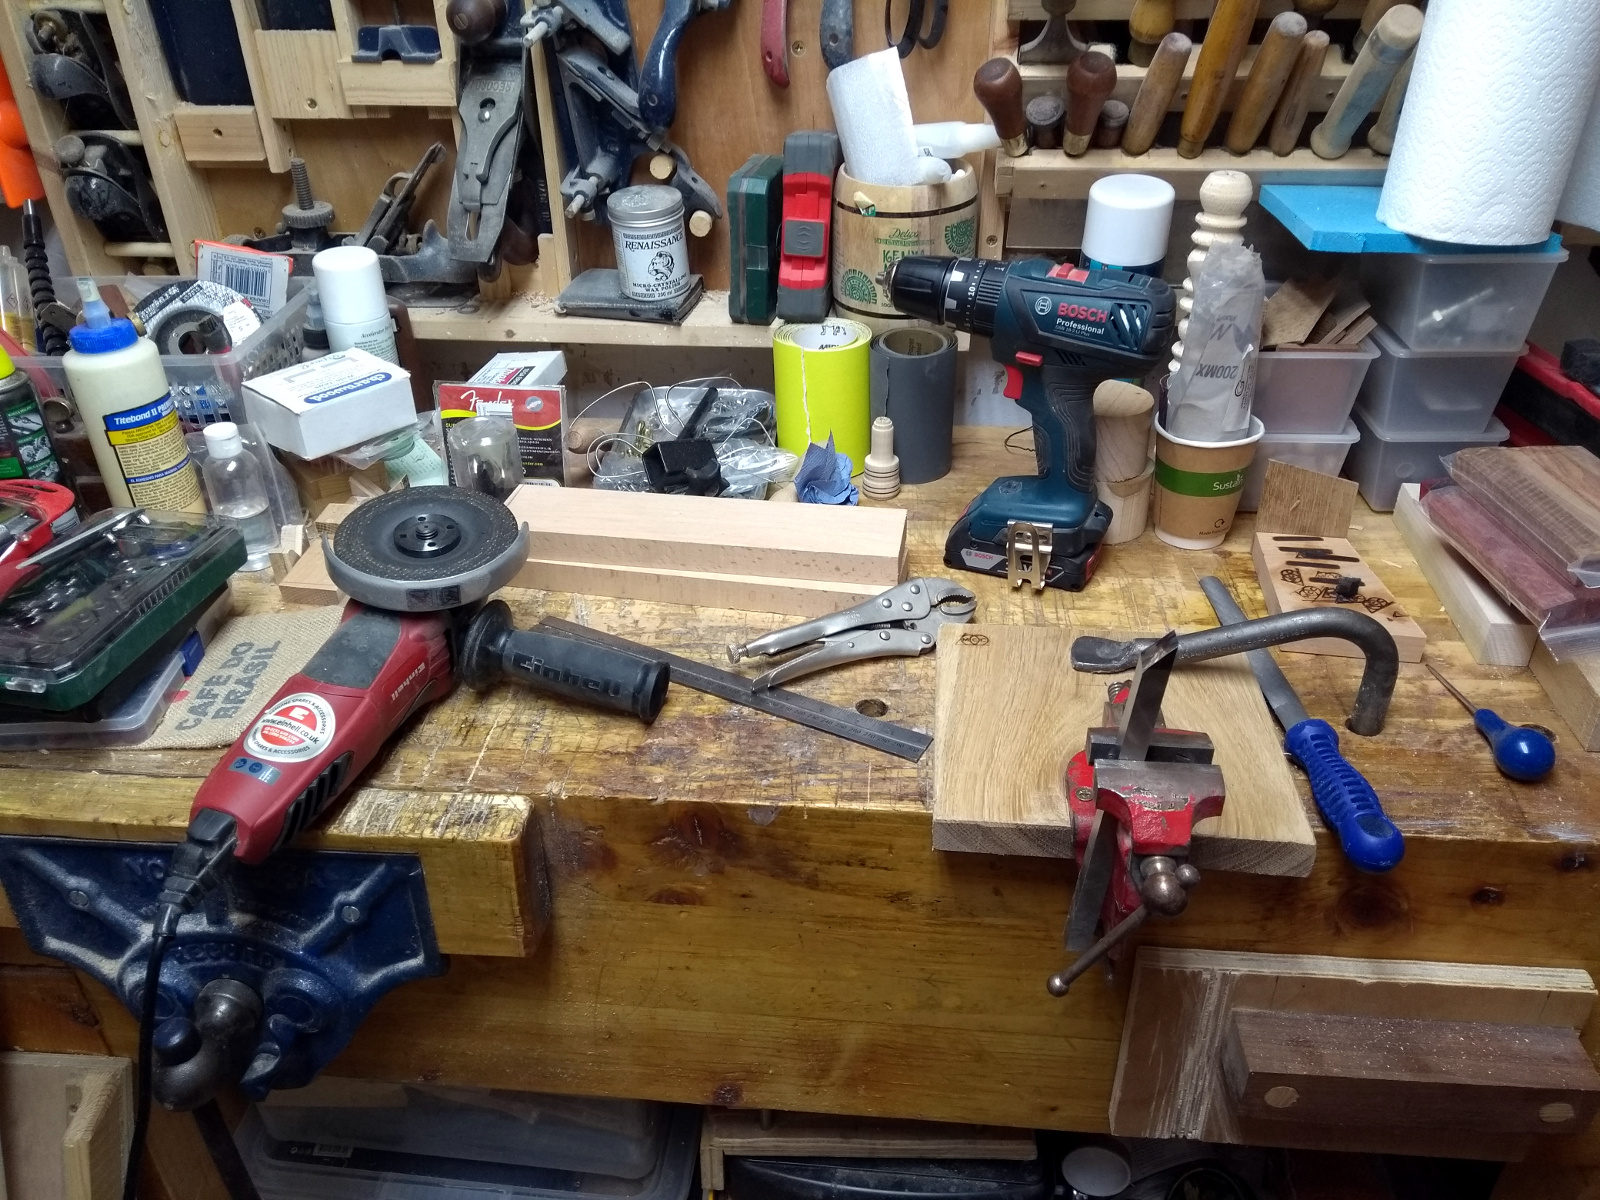
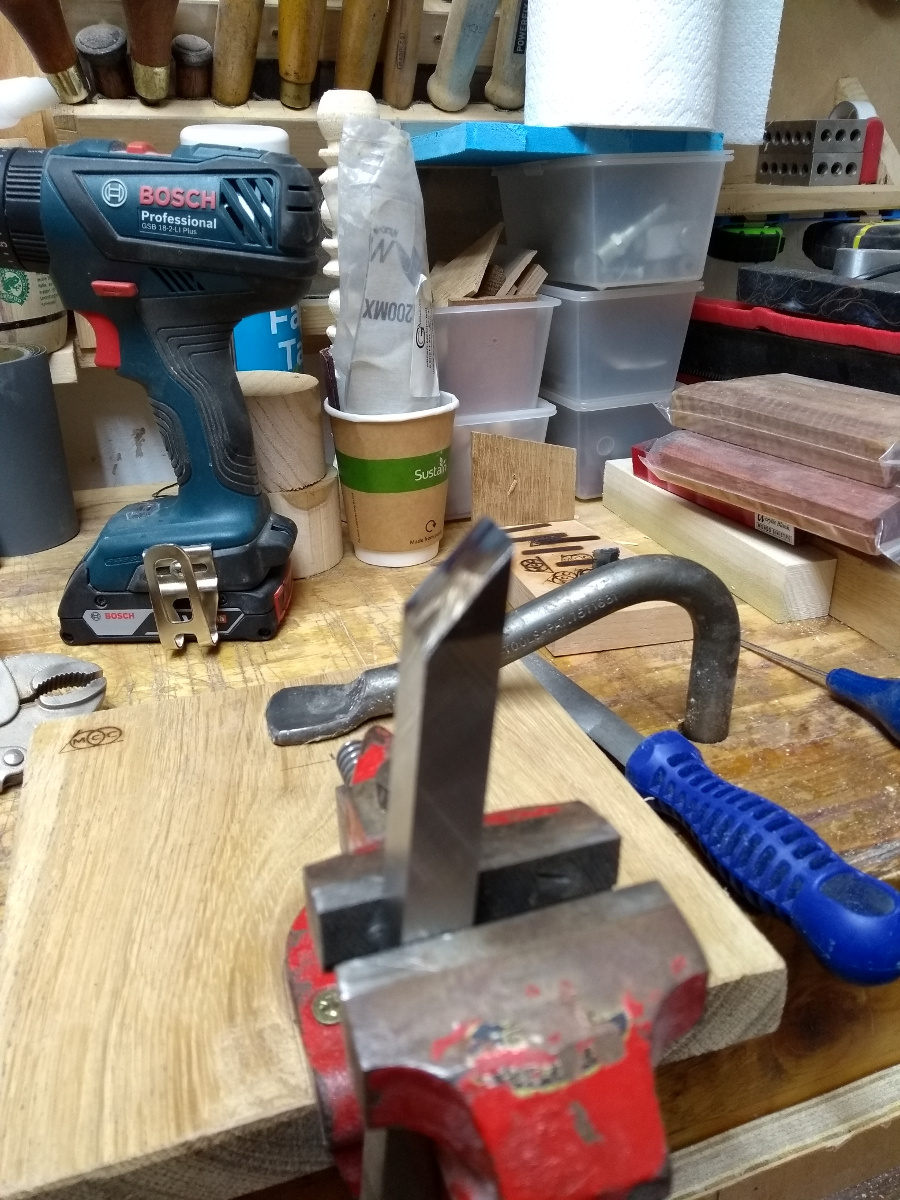
Out with the Imp and the angle grinder and the ridiculously small set of metalworking tools I have, and a bit of beech to laminate for a handle.
Not the cleanest cut in the world. But I never said I was any good at metalworking 😀 I can fine-tune the actual tip over successive sharpenings on the grinder. One more cut on the back side of that bevel, then spindle turning a handle from laminated beech and using a pipe fitting as a ferrule and grinding the tang section of the blank to round for the handle and then lots of epoxy and….
One beading and parting tool. I’ve used it a fair bit in the last few days. It’s not bad at all, the handle is definitely more comfortable than the others I have, and the tool itself is rock-solid in the hand. The tip isn’t quite right yet though. The bevels need to make a sharper angle, somewhere down between 40 and 30 degrees at the tip. But that’s something I can do over successive sharpenings and sneak up on it.
I’m quite pleased with that now.
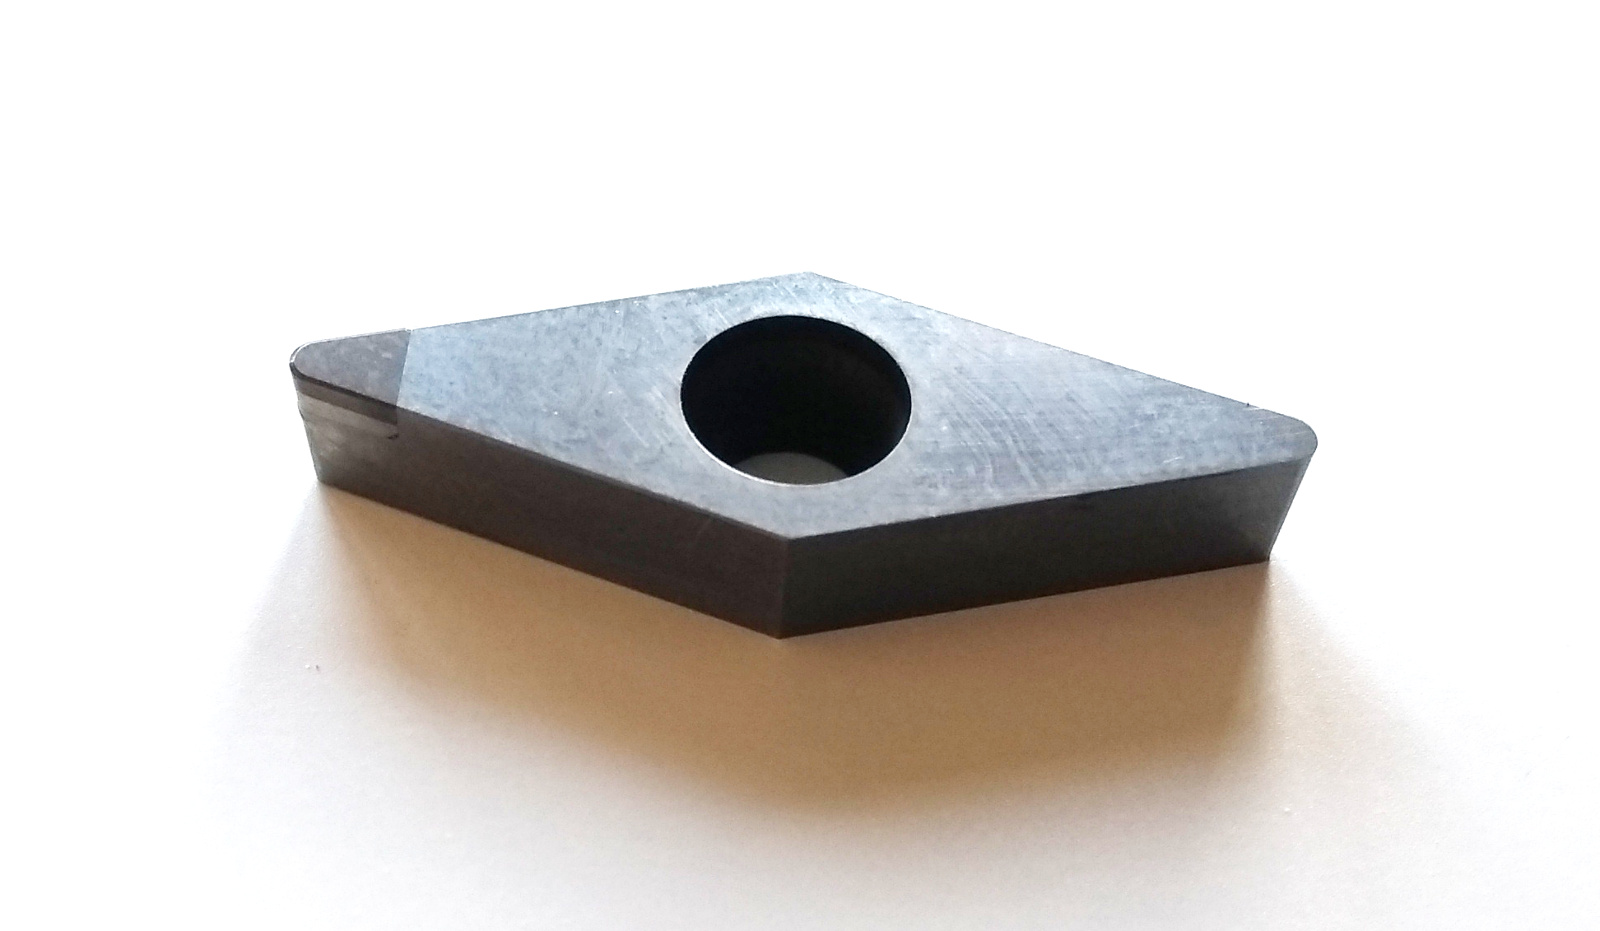
So I also ordered a few 300mm lengths of bright mild steel (cold rolled if you’re speaking American) and I have a bit more beech and ash for handles and I’ll make some more, but this time I’ll use some of these…
There are actually a few carbide inserts on the way for this, but that’s not one of them – that’s a CBN insert, you can see it there on the tip on the left hand side. I’m not sure if it’ll work any better, but I was curious 😀 Give me a few days and I’ll know for sure.
And there are some more, if much thinner, HSS bars also in the post for things like point tools and beading tools and the like. It’s rather satisfying, is toolmaking…
Cold wet Sunday so time to tackle a few bits and pieces in the shed that have been hanging about a while. Like mounting two magnetic strips on the inside of the door because I’ve run out of wall space for things, and epoxying some handles I turned onto the saw files.
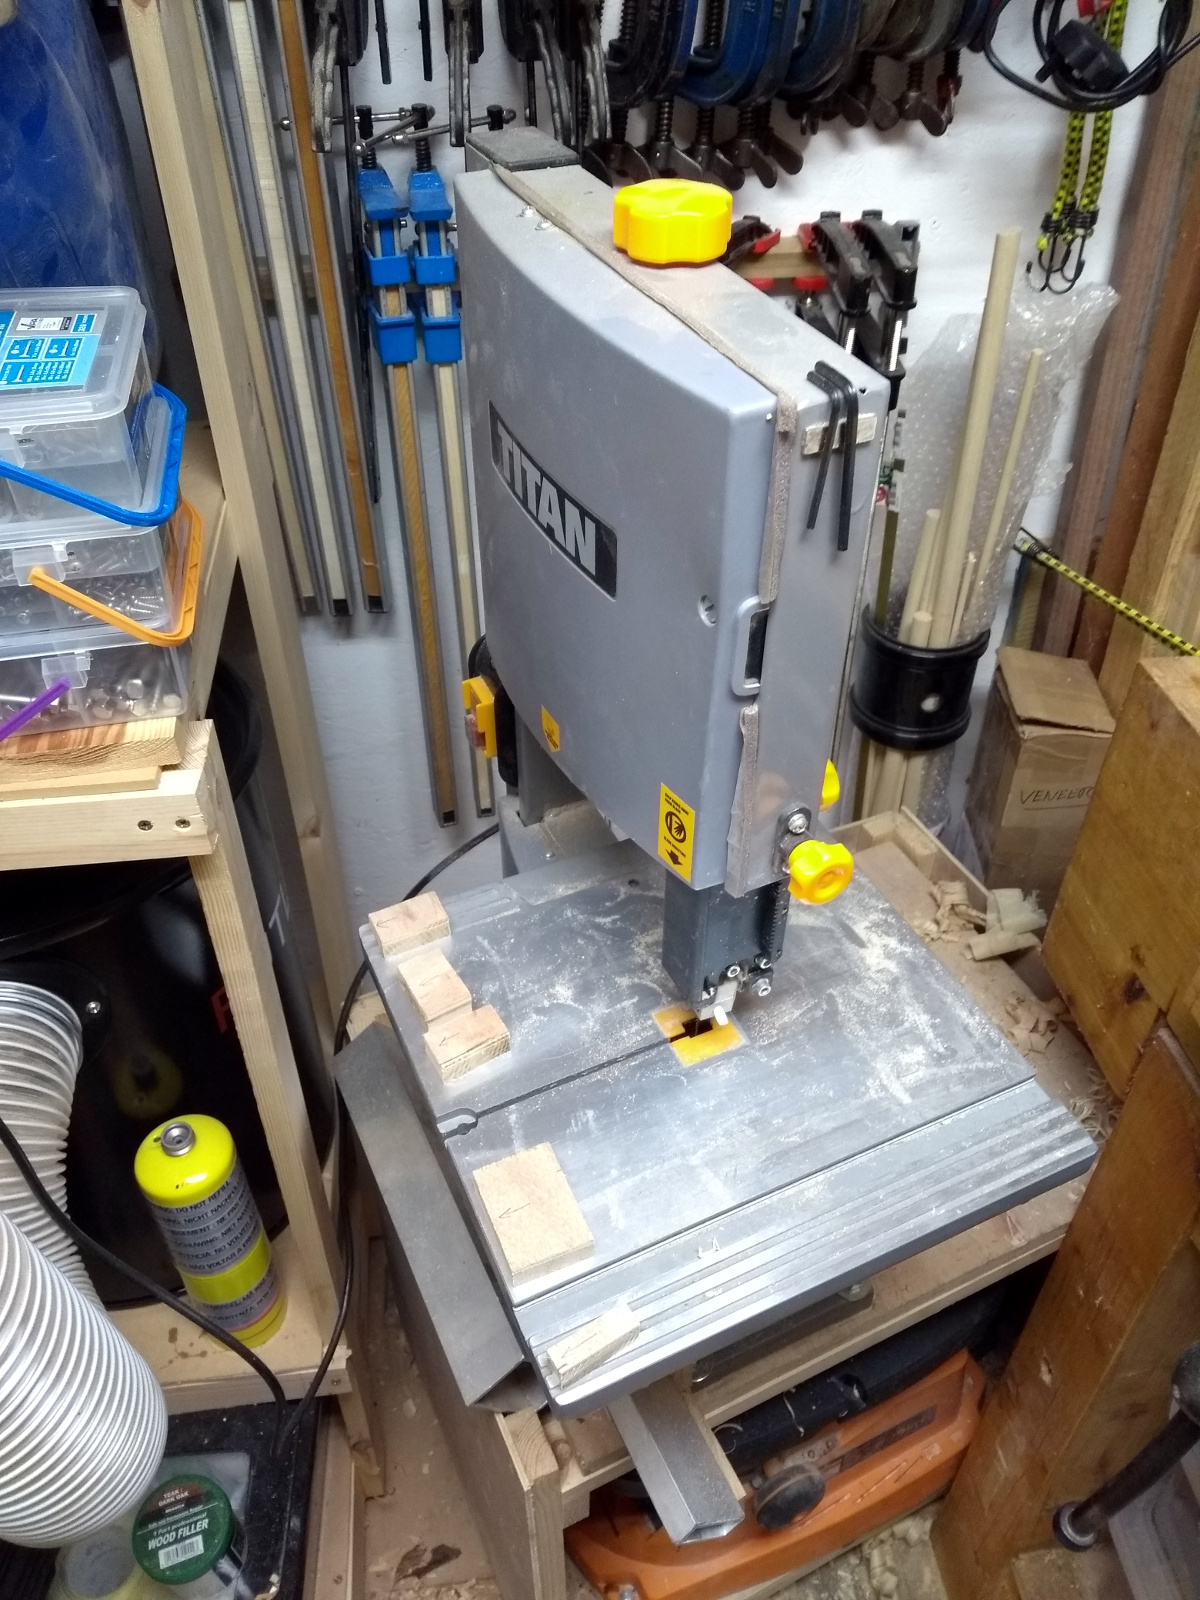
Larger tasks though involved a cardboard box that’s been eating bench space for the last few weeks. The little bandsaw that’s earned its spot in the shed over the last year or two came with a “fence”. Said “fence” followed the adage of doing one thing and doing it well, but unfortunately that one thing was weighing down a bin bag. It definitely was too cool to be square, daddy-o. But there are after-market fences (meaning we couldn’t make it well for the money, so give us more money and we can do it right). Peter Millard did a video on fitting one to his Titan bandsaw a while ago:
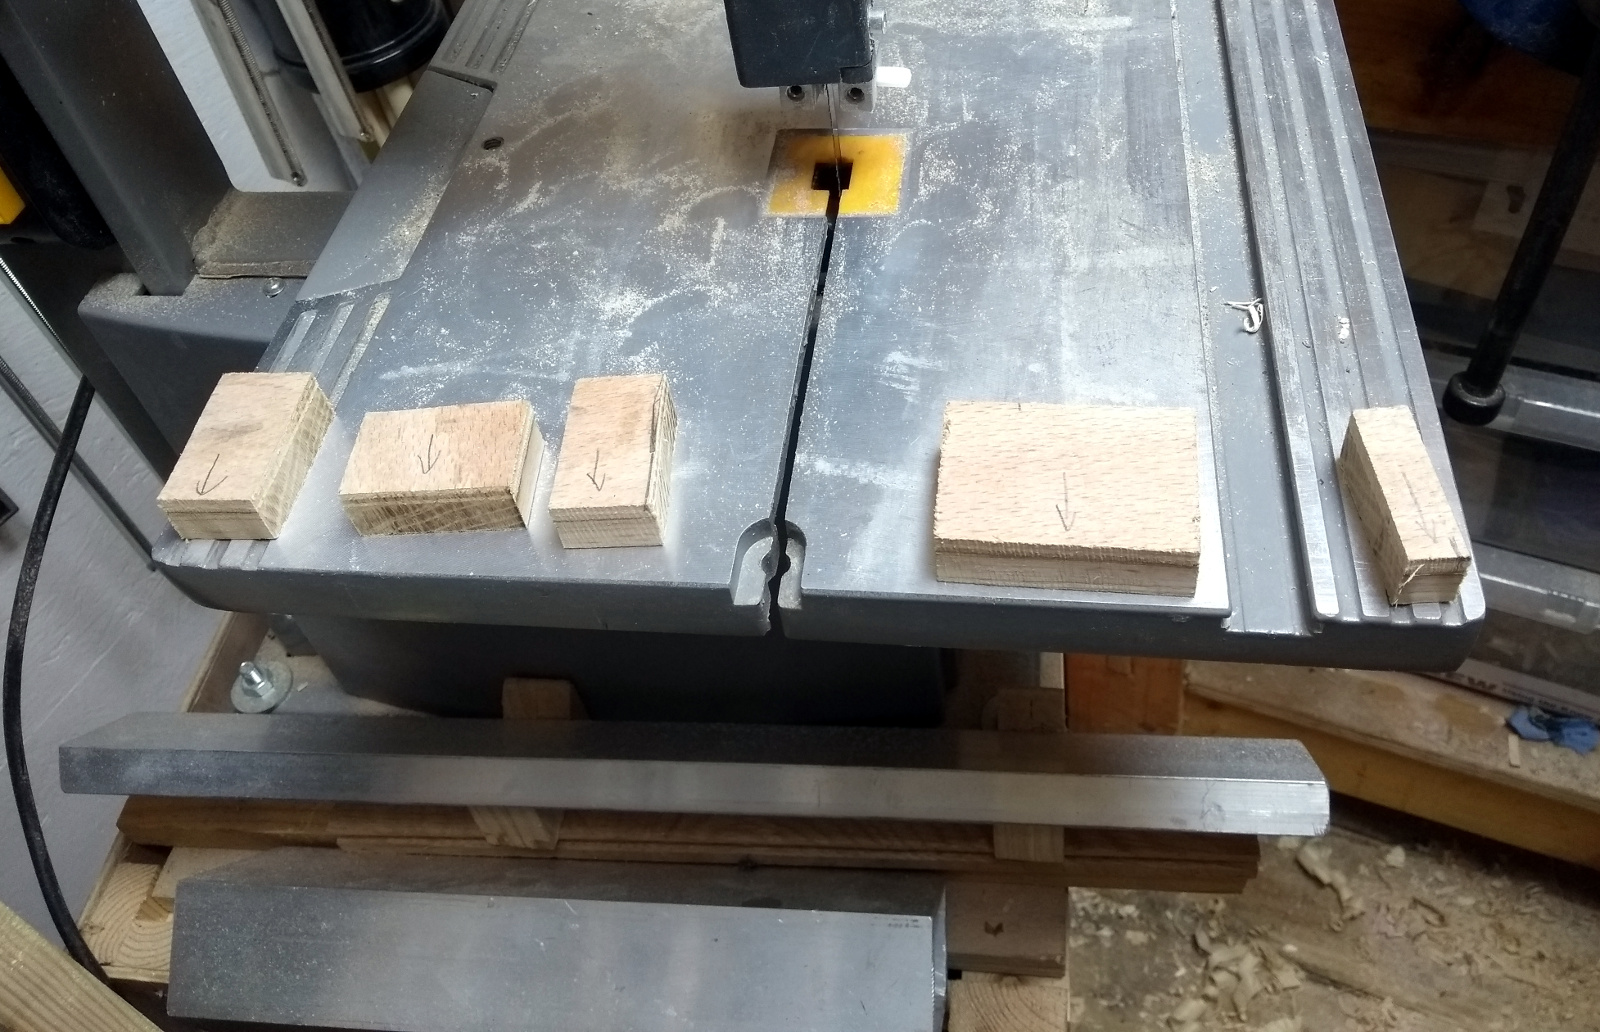
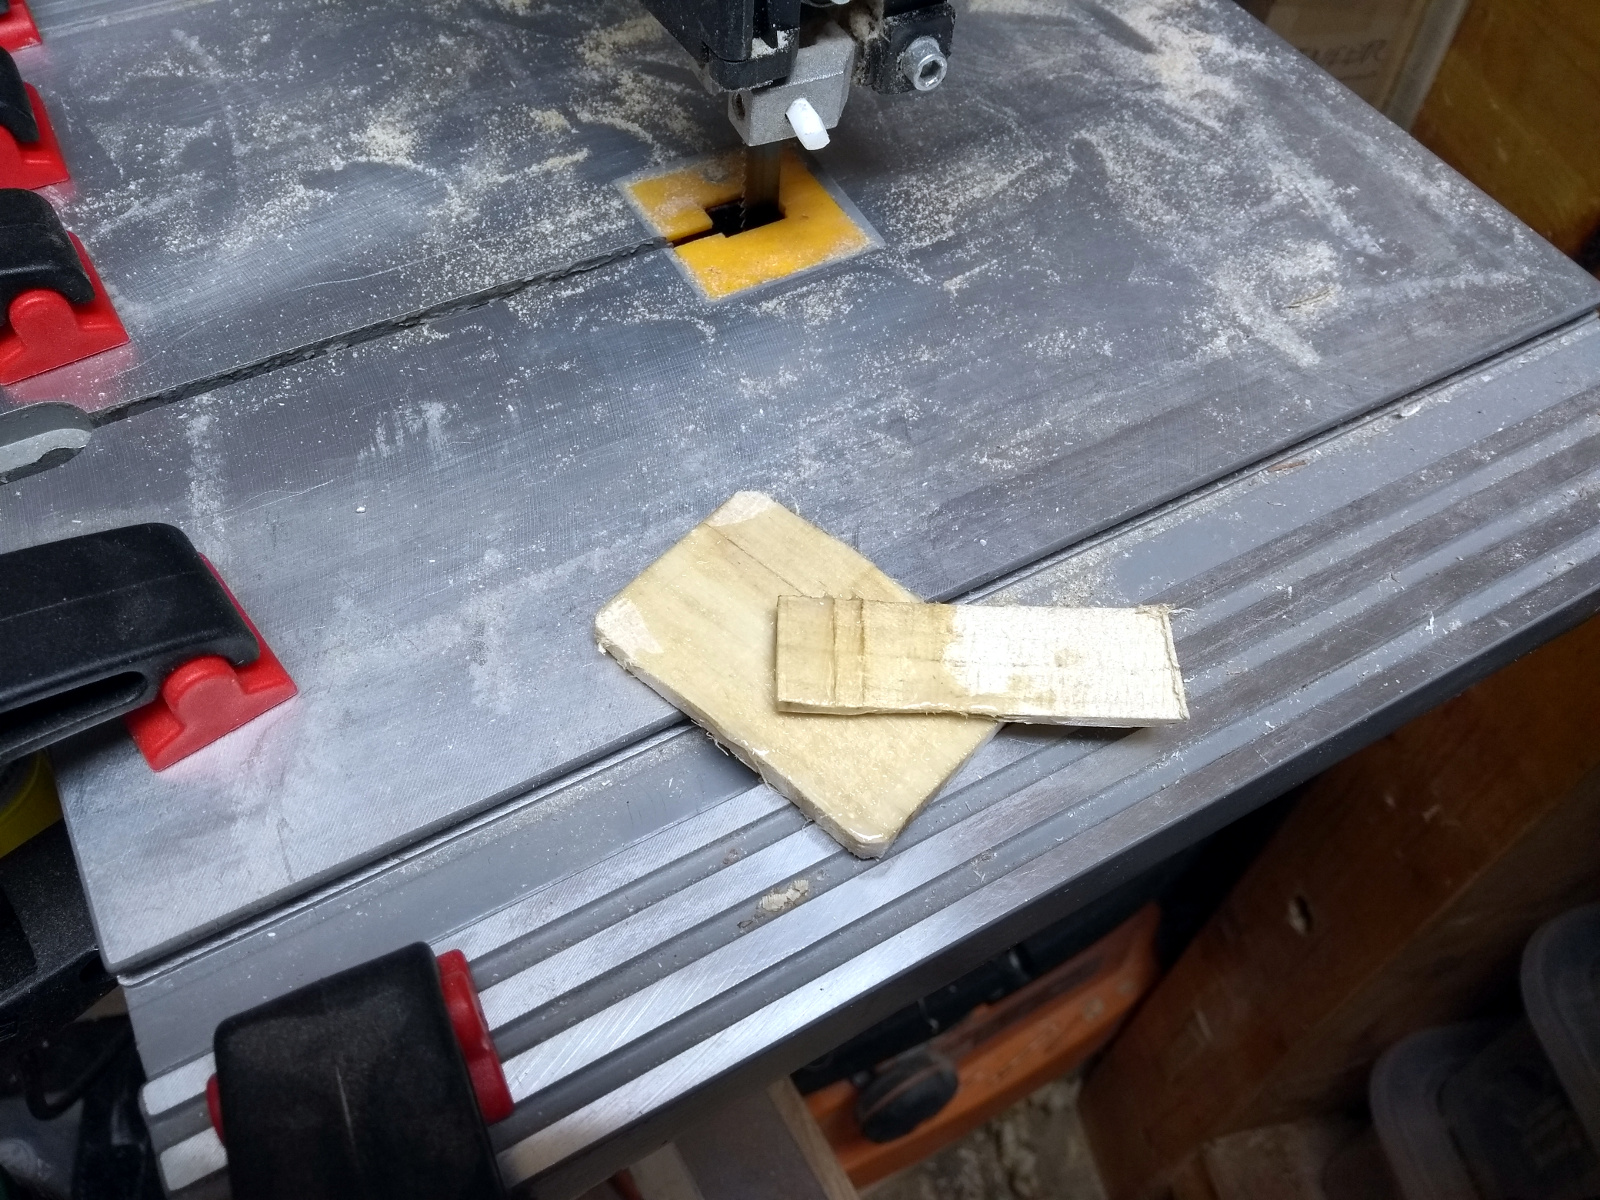
So I bought one… six months ago… so it’s aged enough to do something with it now. I’d made some spacers already.
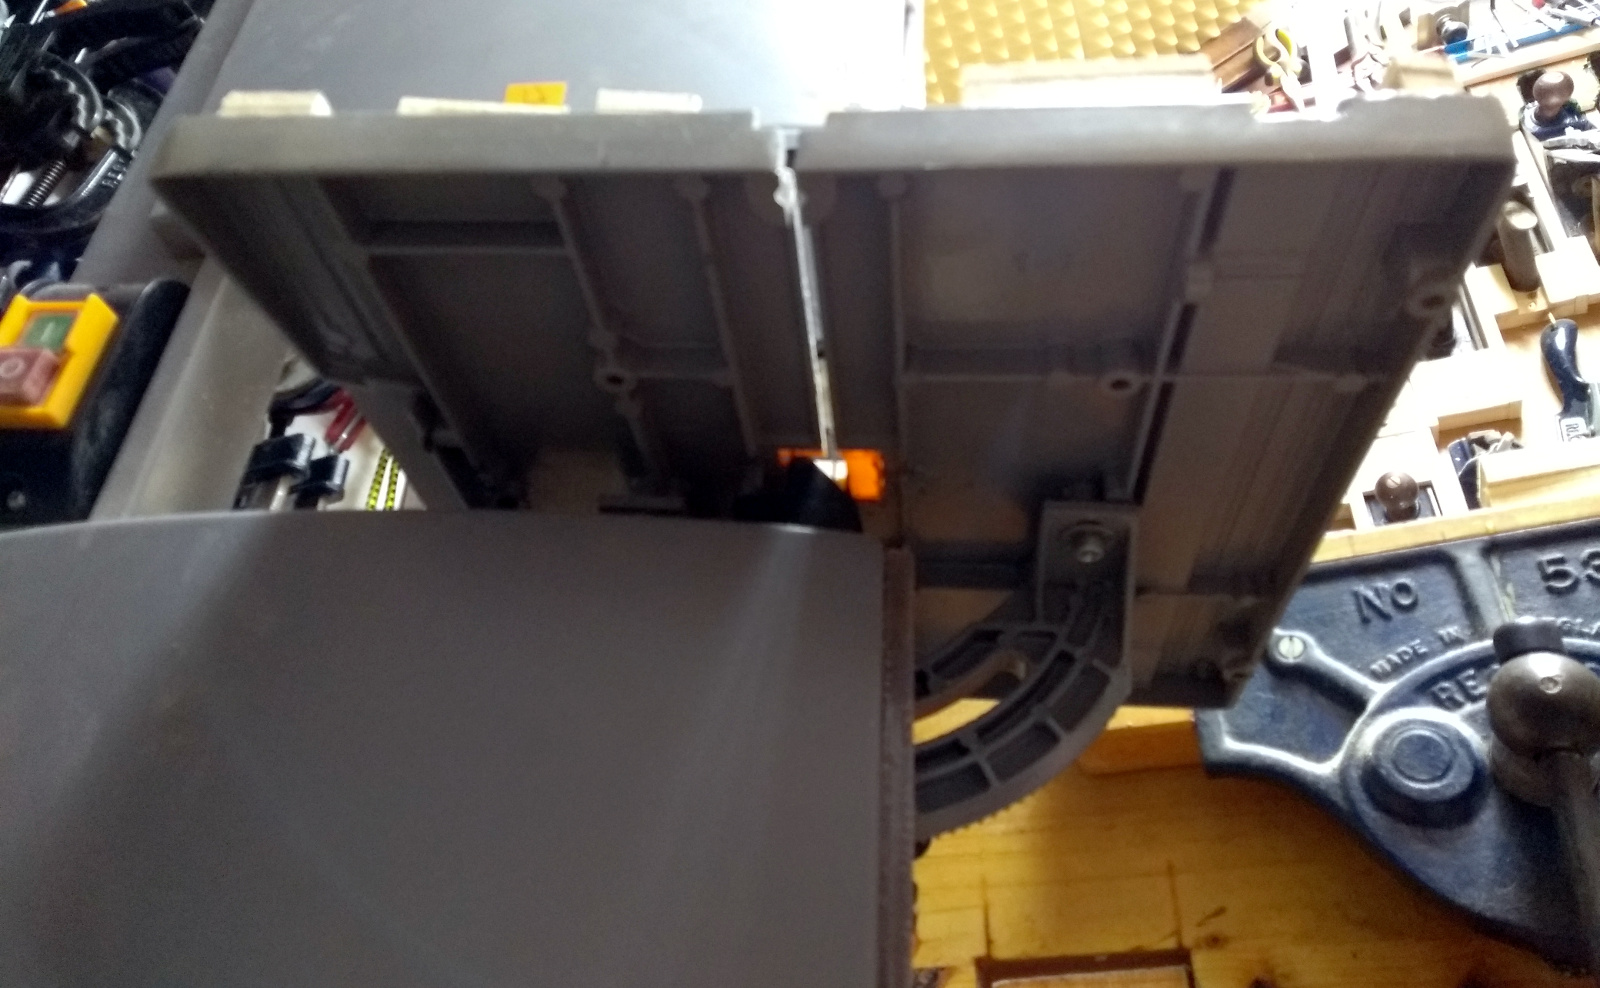
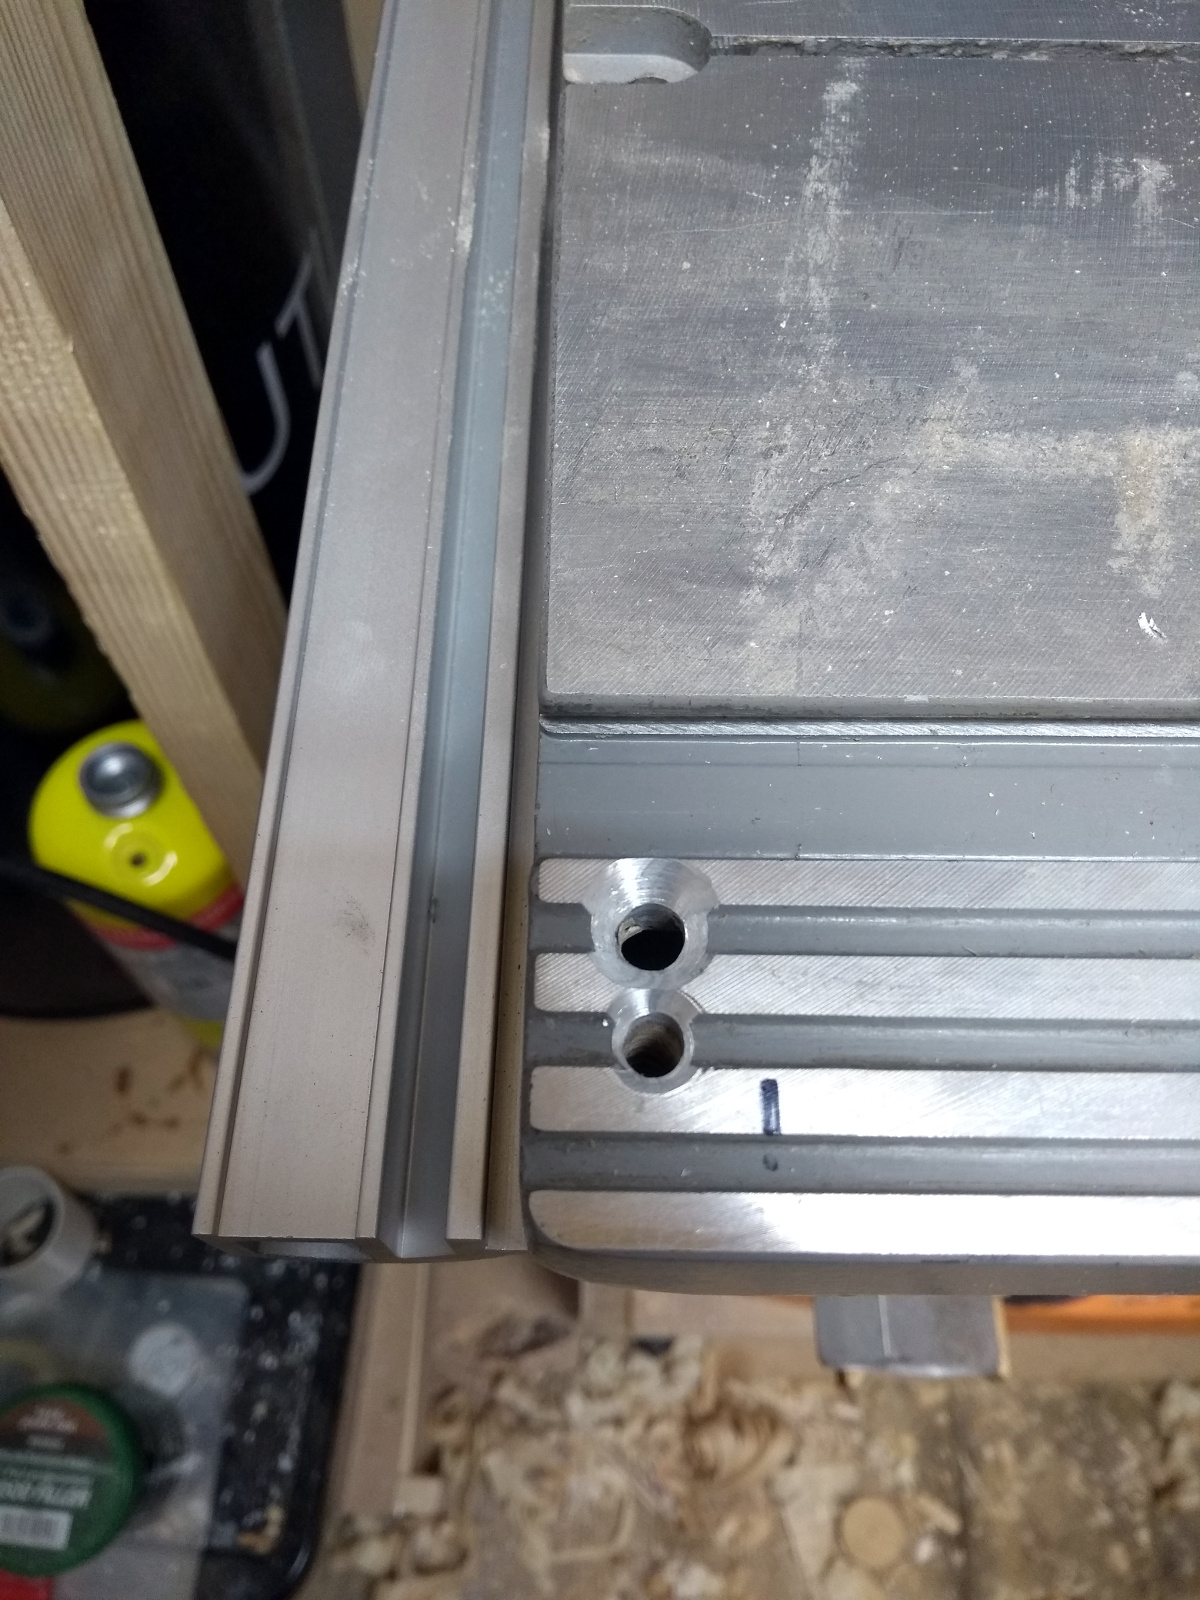
They’re cut to odd sizes because I need to epoxy them under the table so that the fence’s rail has something flat across the base to be clamped to, and the underside of this table is very irregular.
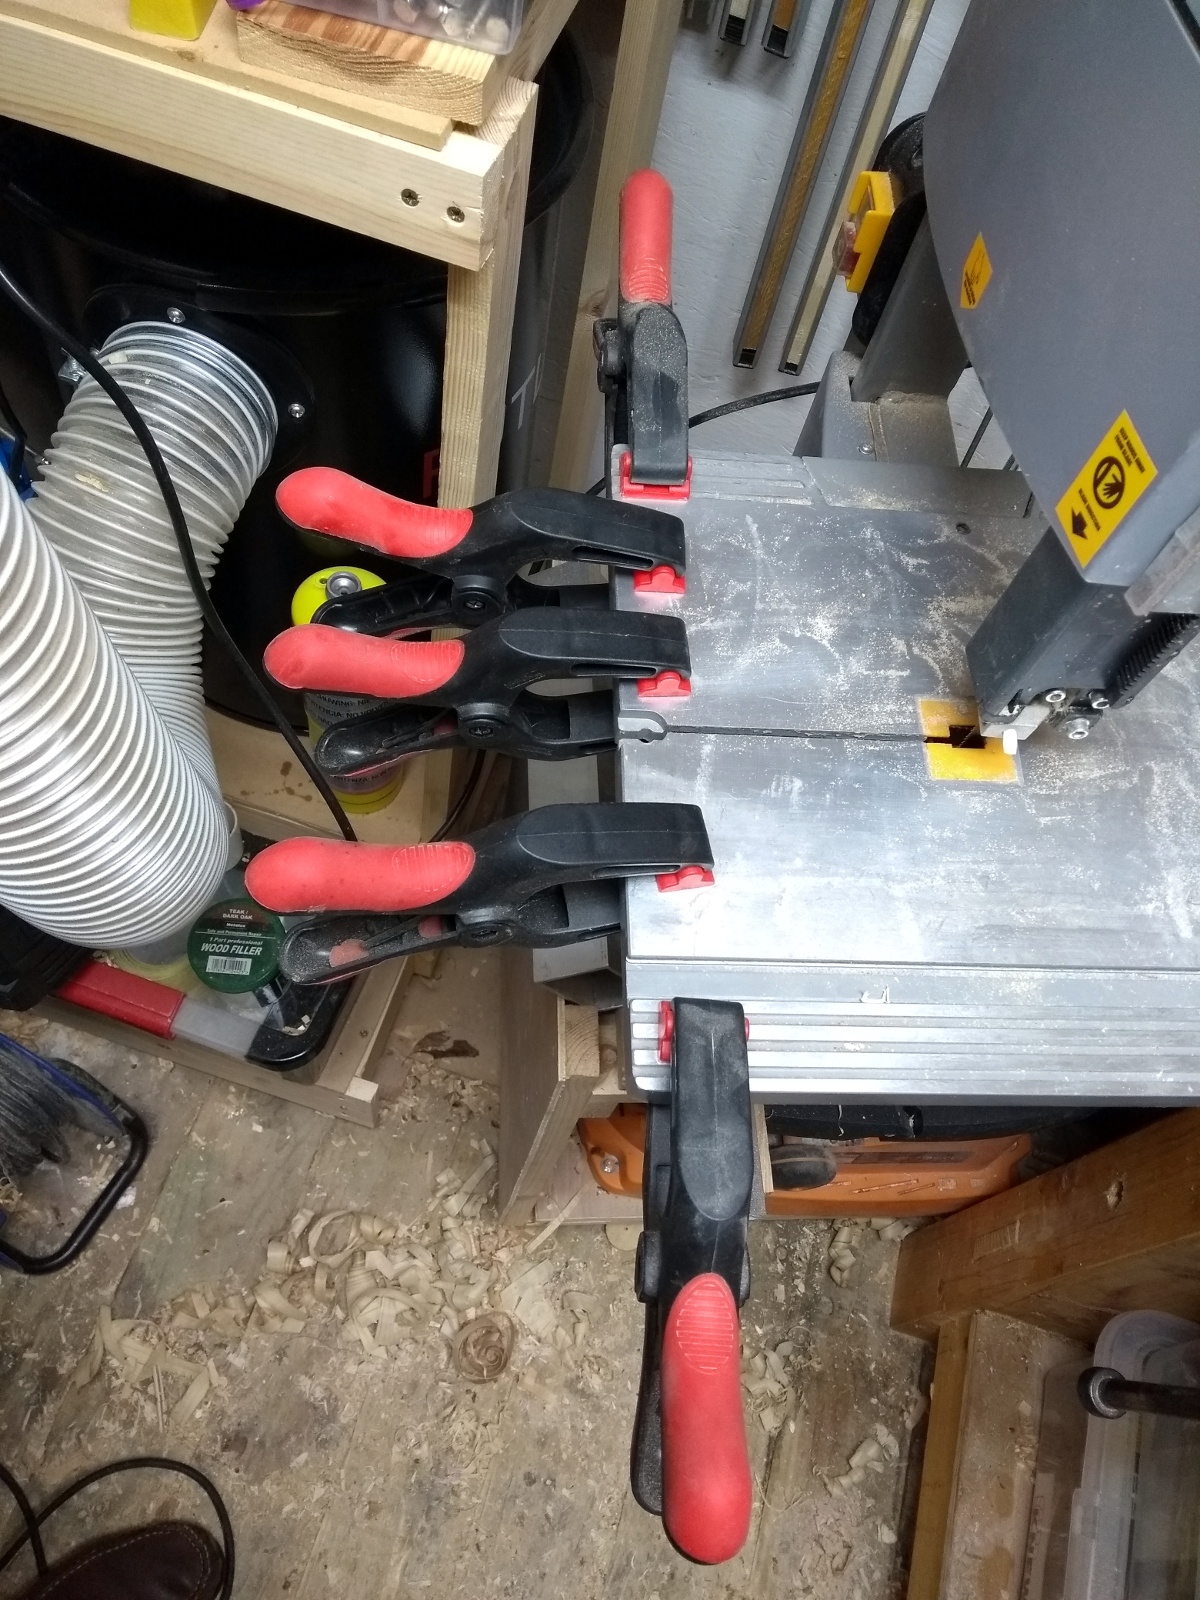
Some five-minute epoxy and a few clamps and it’s time for a cup of coffee.
And I’m stealing Peter’s trick of leaving the mixing stick to be glued to the mixing board so I can check on the epoxy bond without testing the real bonds.
A half-hour of coffee and searching for various bits in the house unsuccessfully (I know I bought an LED floodlight for use in the shed only four years ago, it has to be here somewhere) later, I marked out the depth of the bit of the fence you’re to drill through on the table and then drilled three holes for mounting bolts, two in the right place and one spare in case I need another hole later on.
Deburred them as well obviously. I had originally intended to use M5 bolts, but it turns out I don’t have any M5 countersink-head bolts, but I do have M6 ones which is why my spare hole is a bit small.
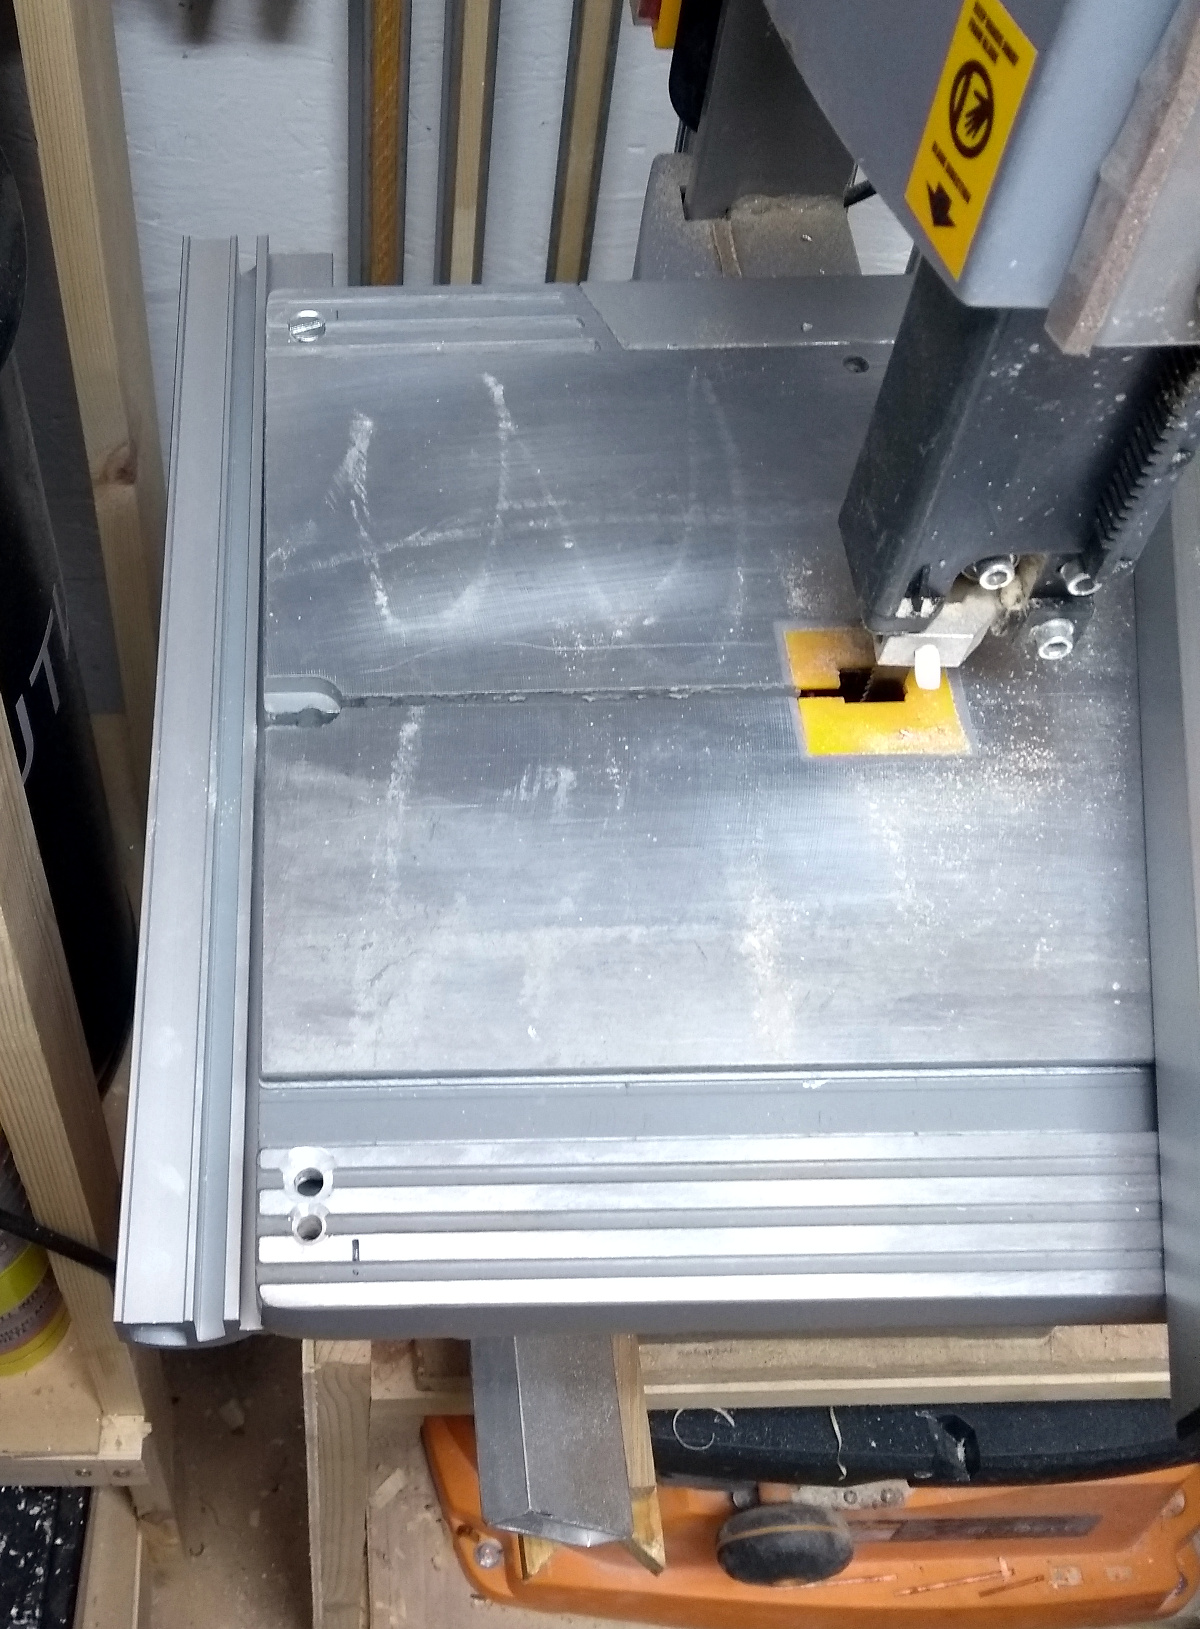
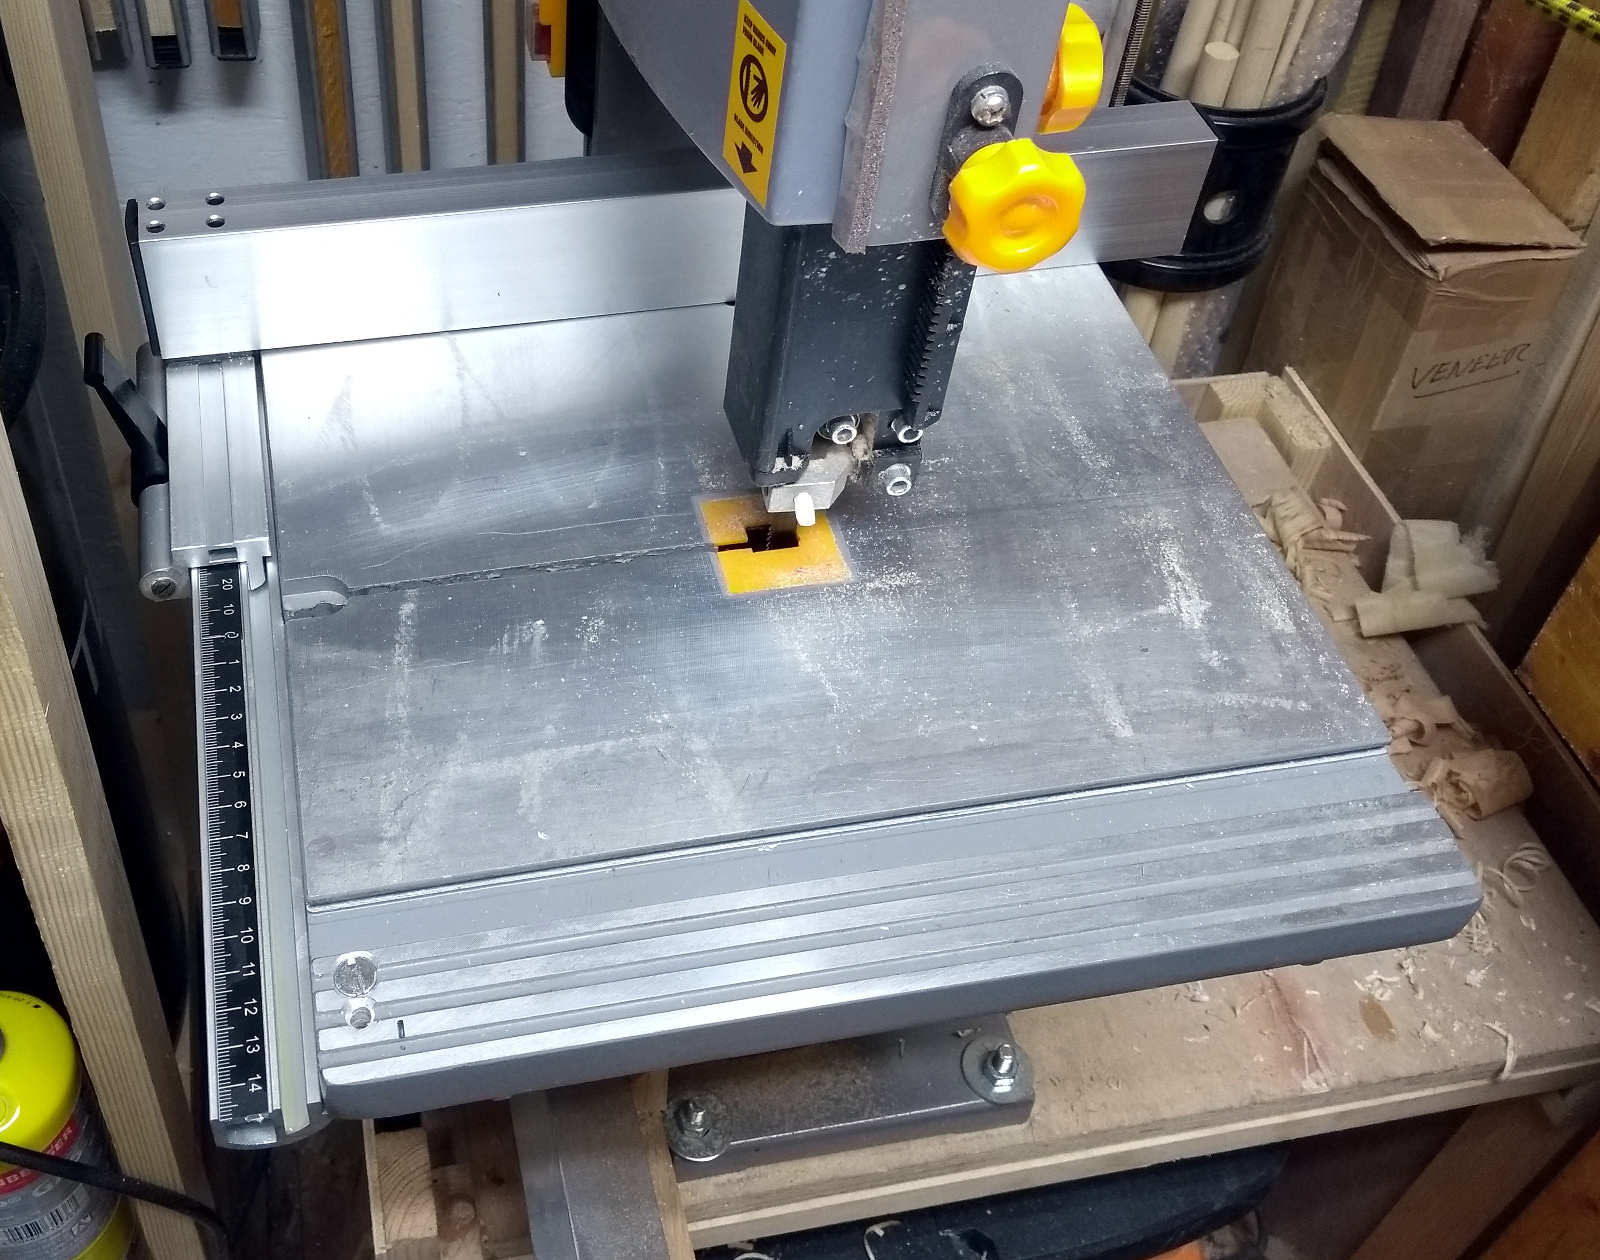
Then I stuck the measuring tape sticker into the track where I’m sure it’ll last for at least four days, and bolted the rail to the table. I need M6 wing nuts for this really because you have to take the rail off to change the bandsaw blade (and I also need an M6 wingbolt for the table stabilising screw that normally goes in where the slot in the table meets the edge of the table). I’ve ordered some from ebay so they should get here in a month, and until then I’ll make do with normal nuts and not changing the bandsaw blade.
And now that that’s done, have to square the fence to the table using the adjustment screws under those four holes in the top of the fence.
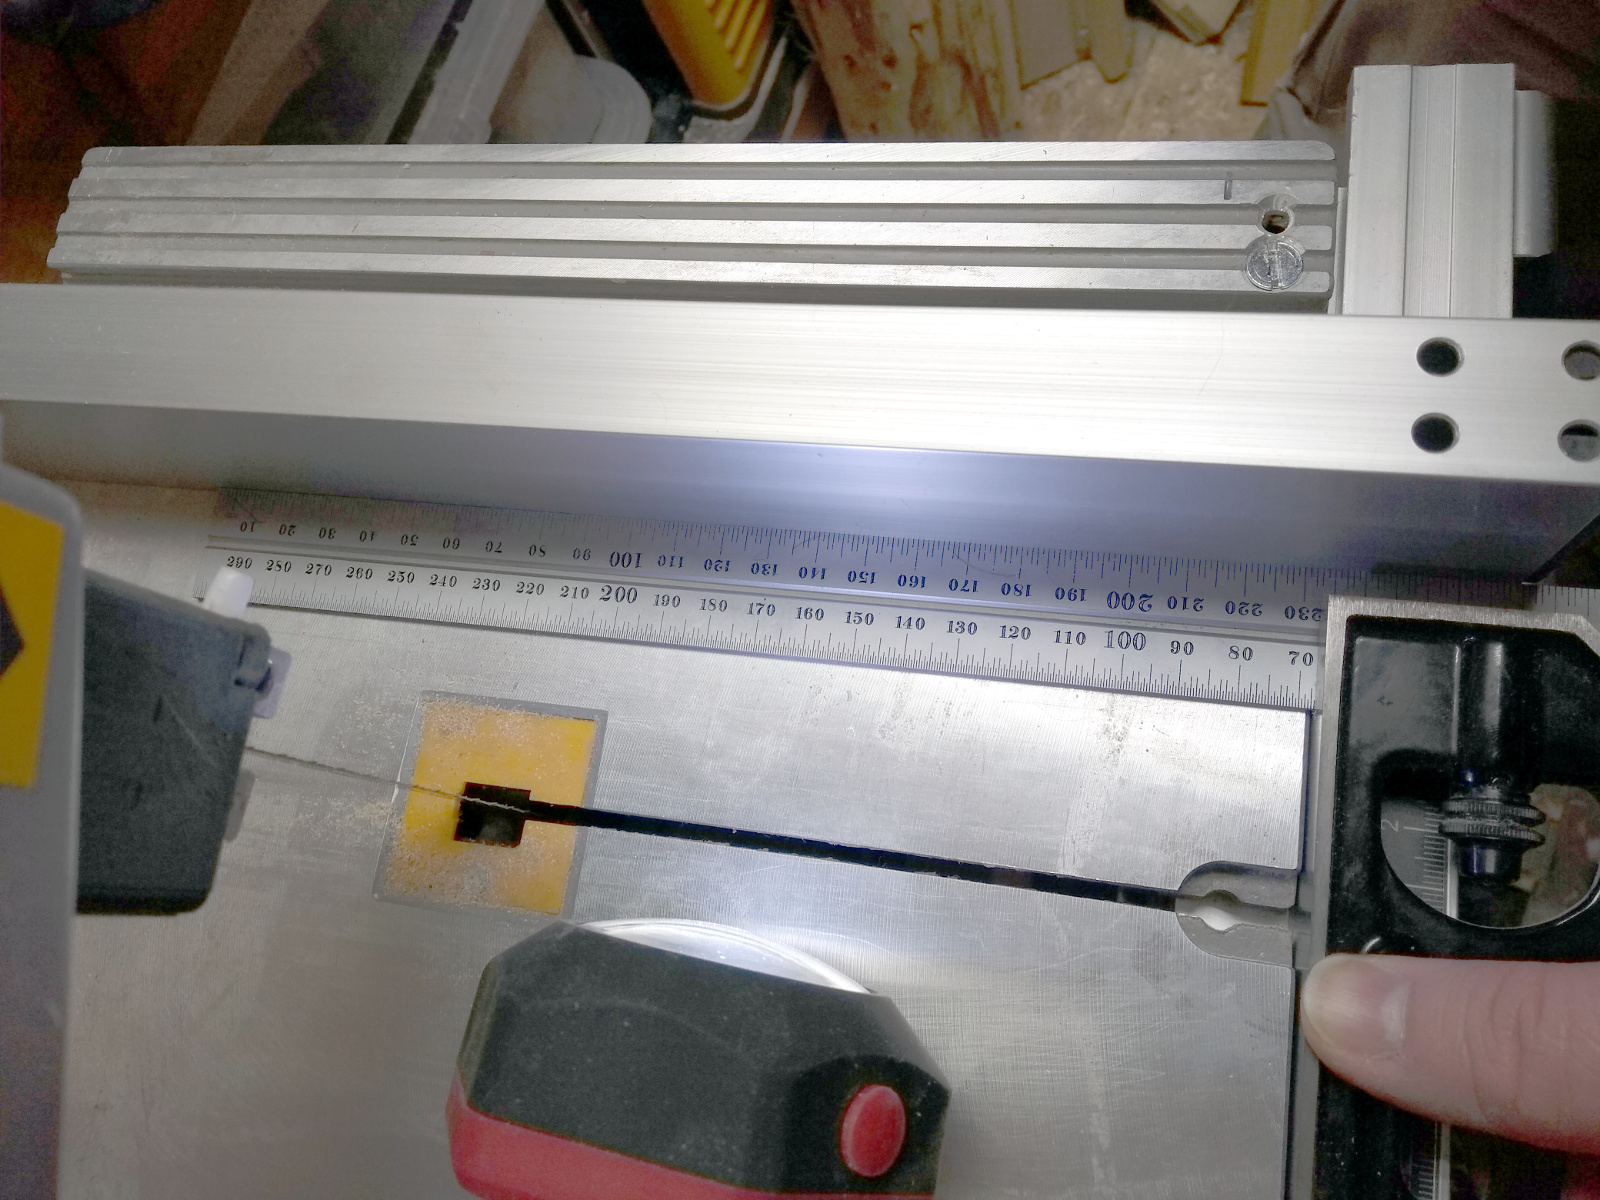
Or not. I didn’t believe it either so I triple-checked it with two squares, but yup, that fence is square to the edge of the table according to my most accurate Starrett square. I’m not sure what sort of necromancy was used to achieve this, but I’m sure it involved at least one plague of locusts.
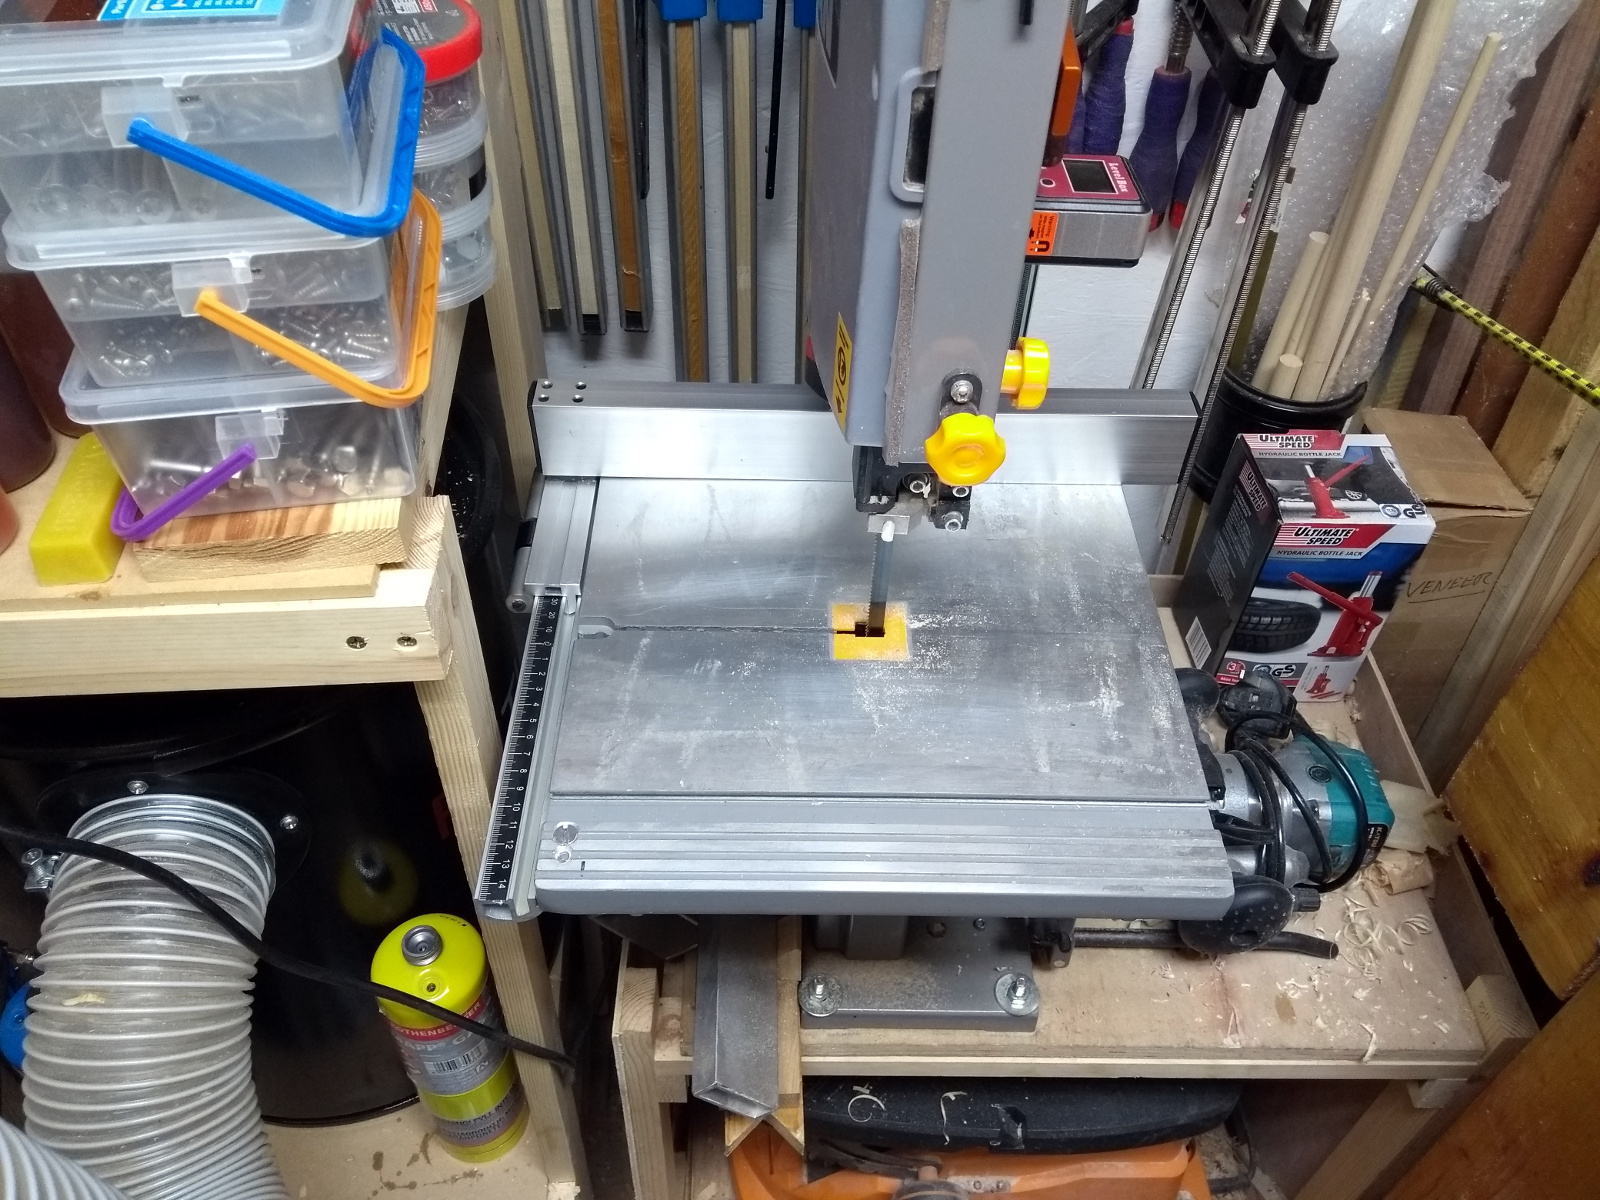
And that’s off my bench at last. I look forward to using it once or even twice a year if I’m feeling frisky.
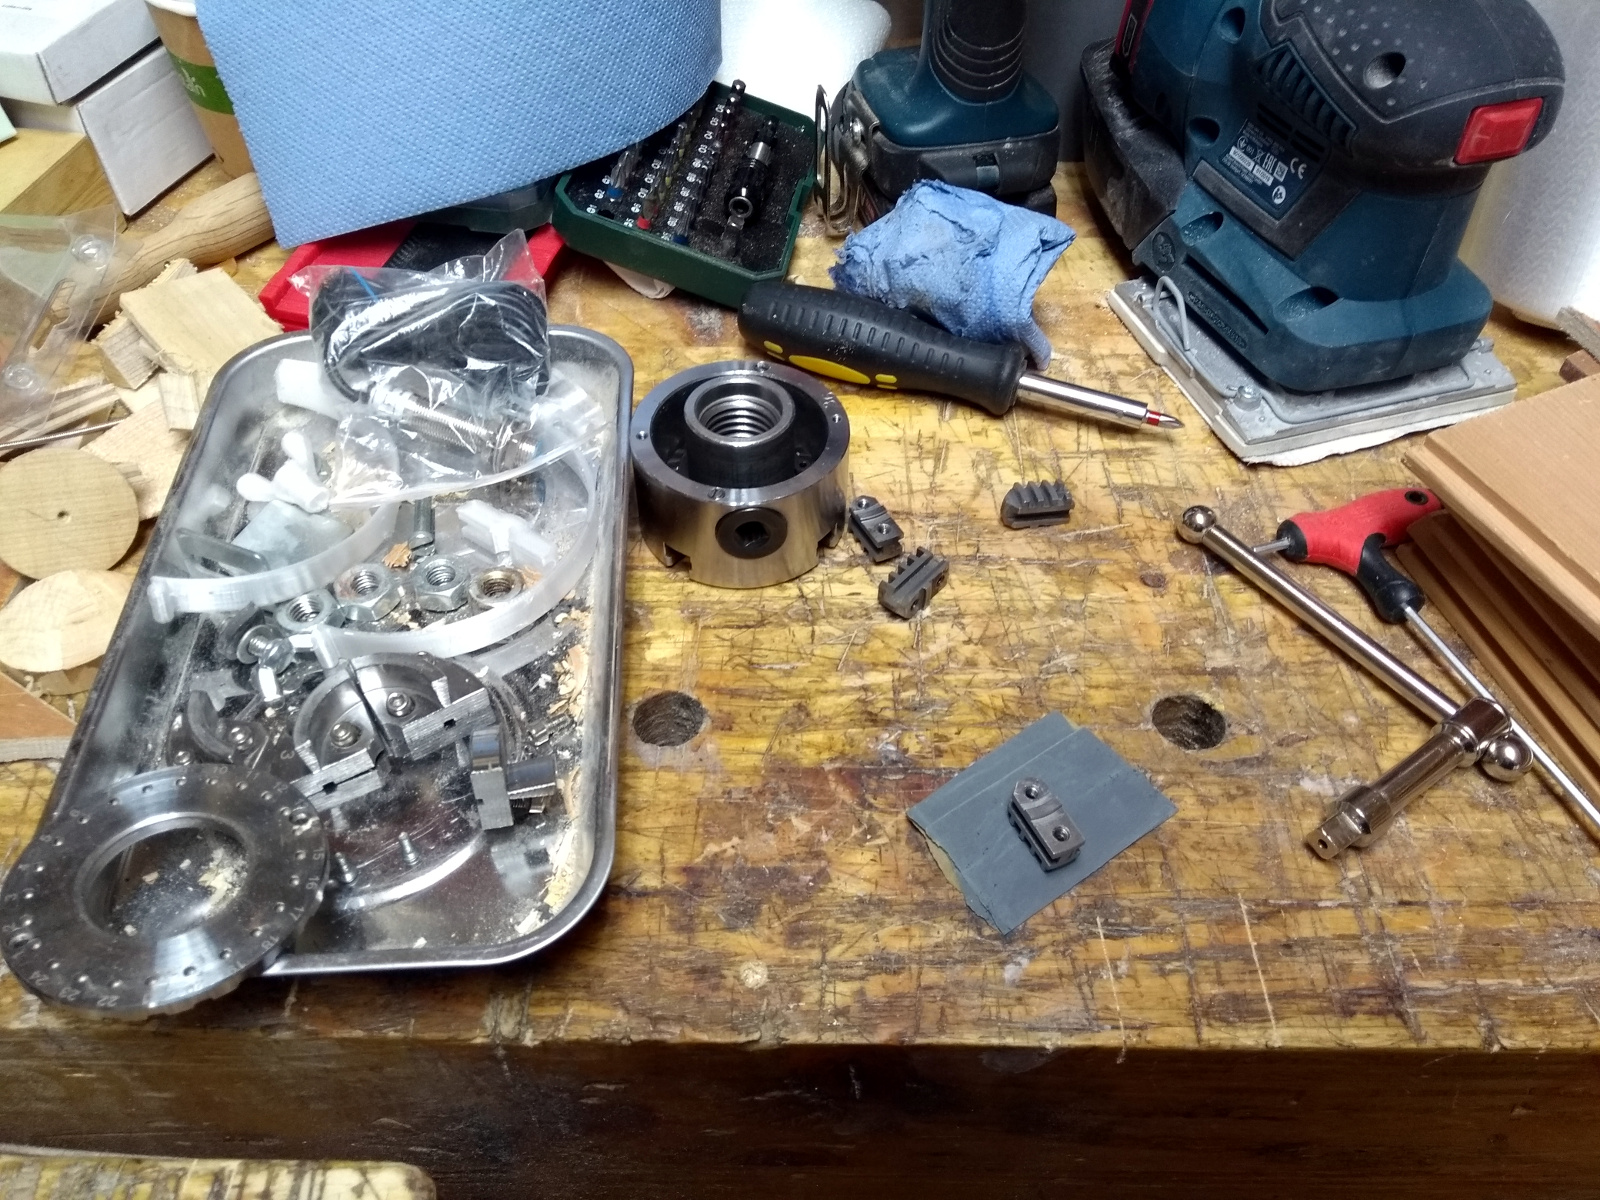
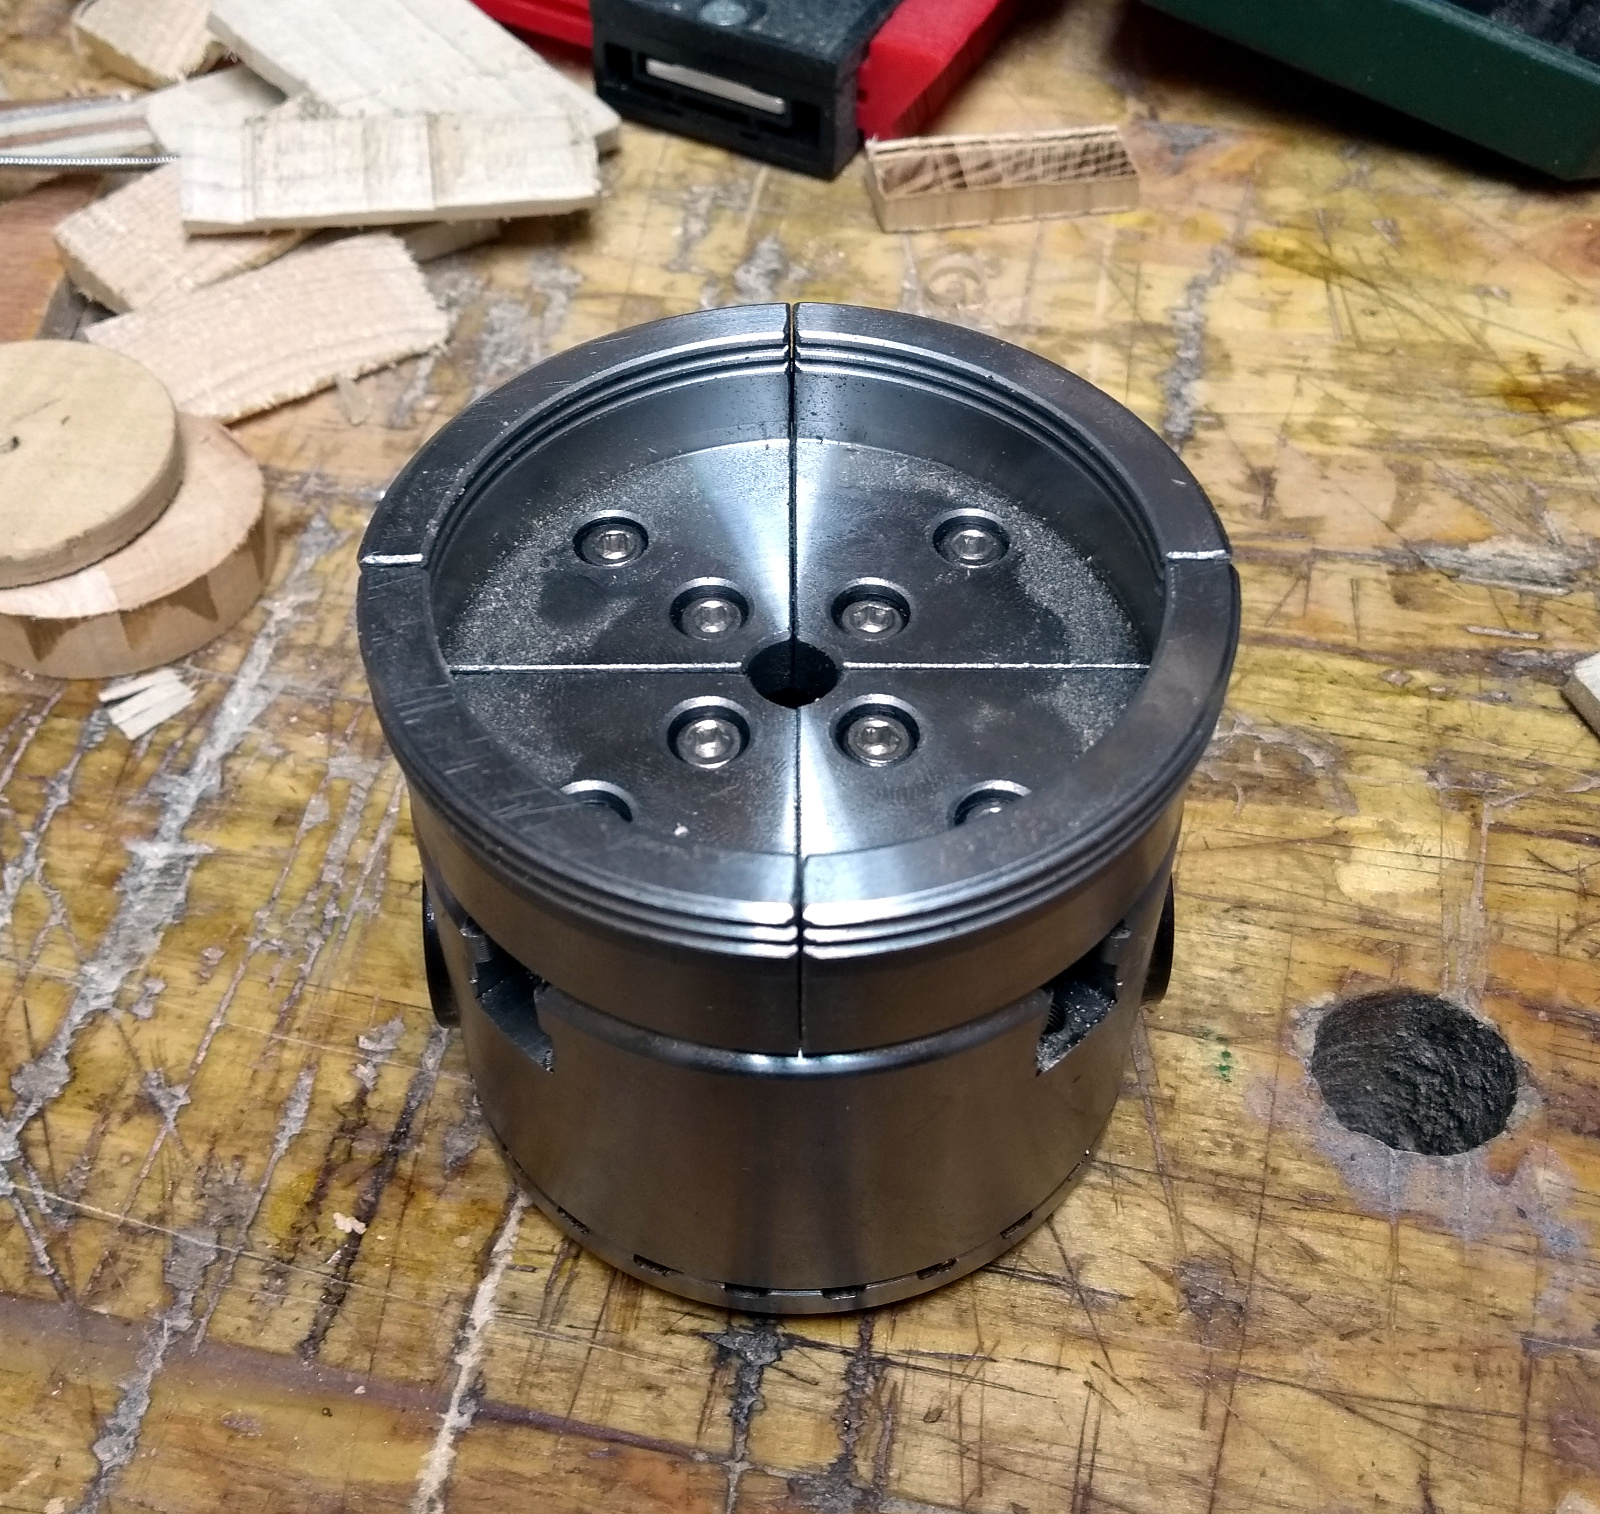
Next up, the chuck I bought for the lathe was a cheap one even normally but I bought a shop demo one that was on sale. And it’s been grand, but it does bind every five or six turns of the key, so I thought I’d take it to pieces and check it and see if it was something simple that I could fix.
Turns out that a lot of the parts were not very well deburred, so I got out some 1200 grit wet-n-dry paper and deburred them as best I could.
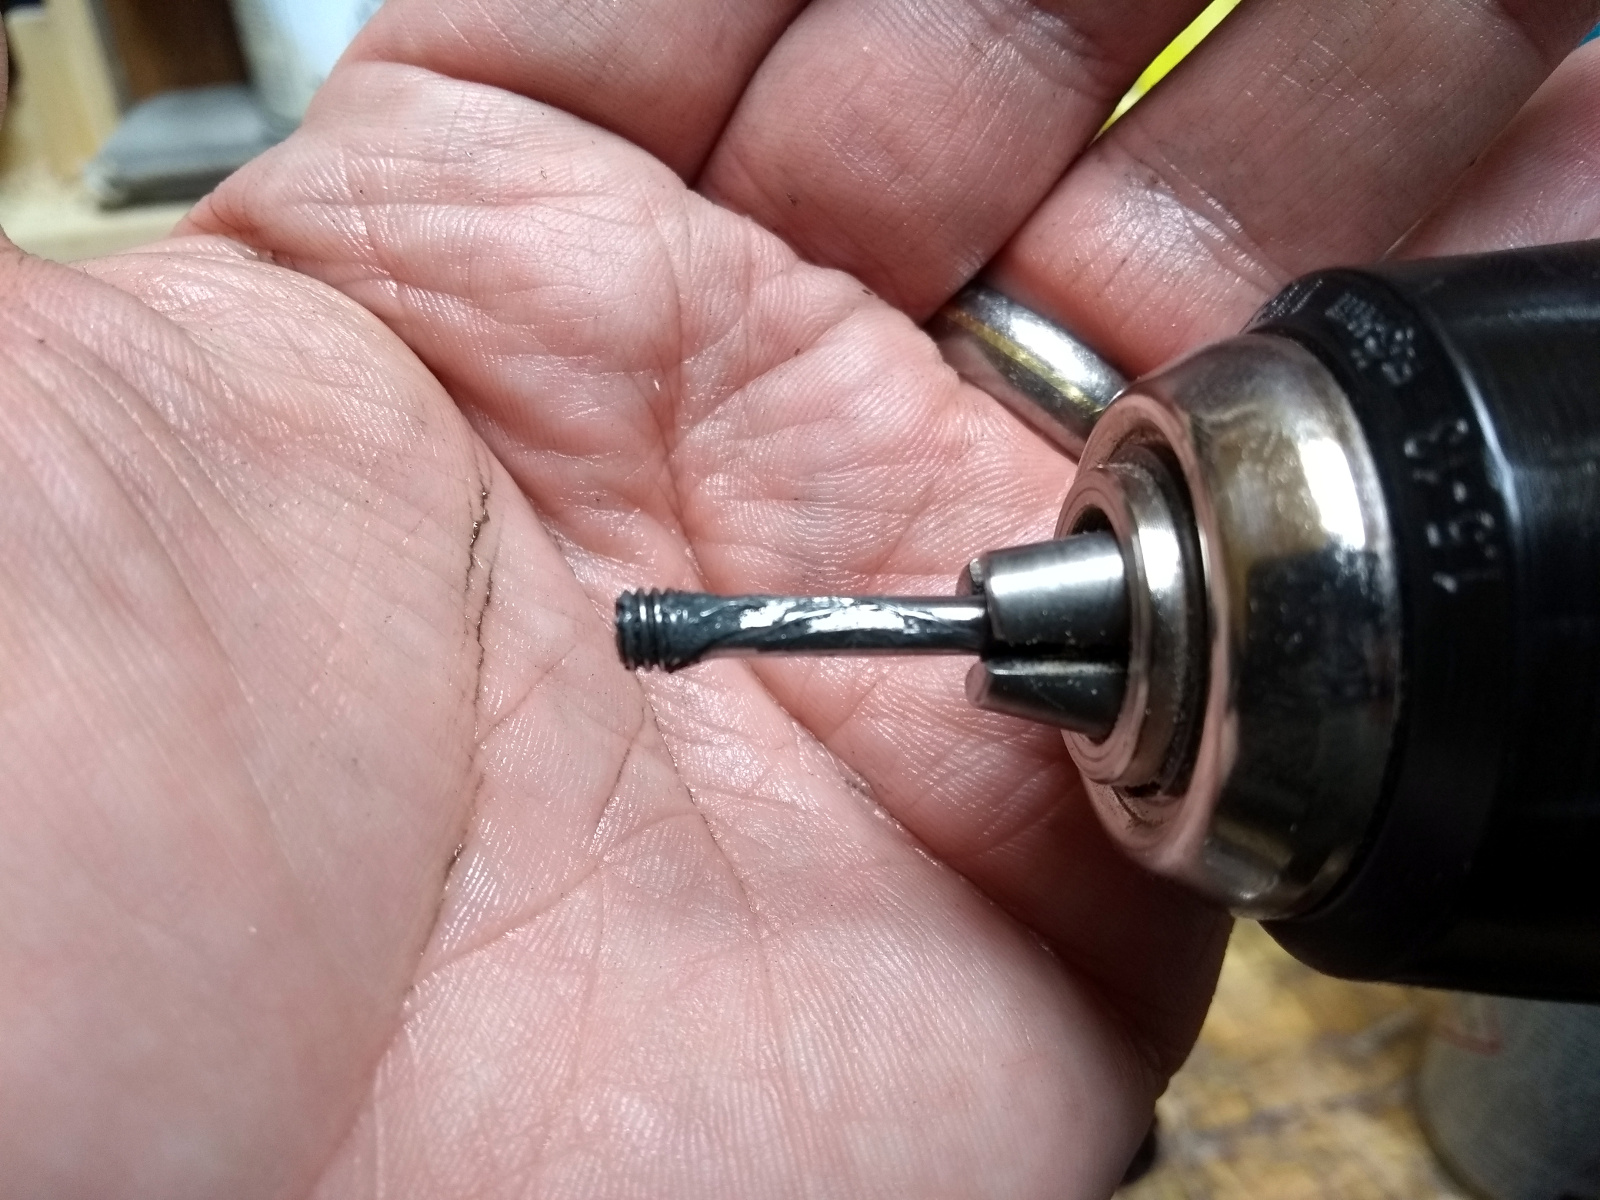
There wasn’t a single burr-free edge on some of those parts. As to the pins that held the pinion gears in (the bits you put the key into), they looked like someone had attacked them with a dull beaver.
That’s the after photo. There wasn’t much I could do with that much damage so I chucked them into the drill and ran it at high speed while holding the wet-n-dry paper against it to smooth off the worst of it.
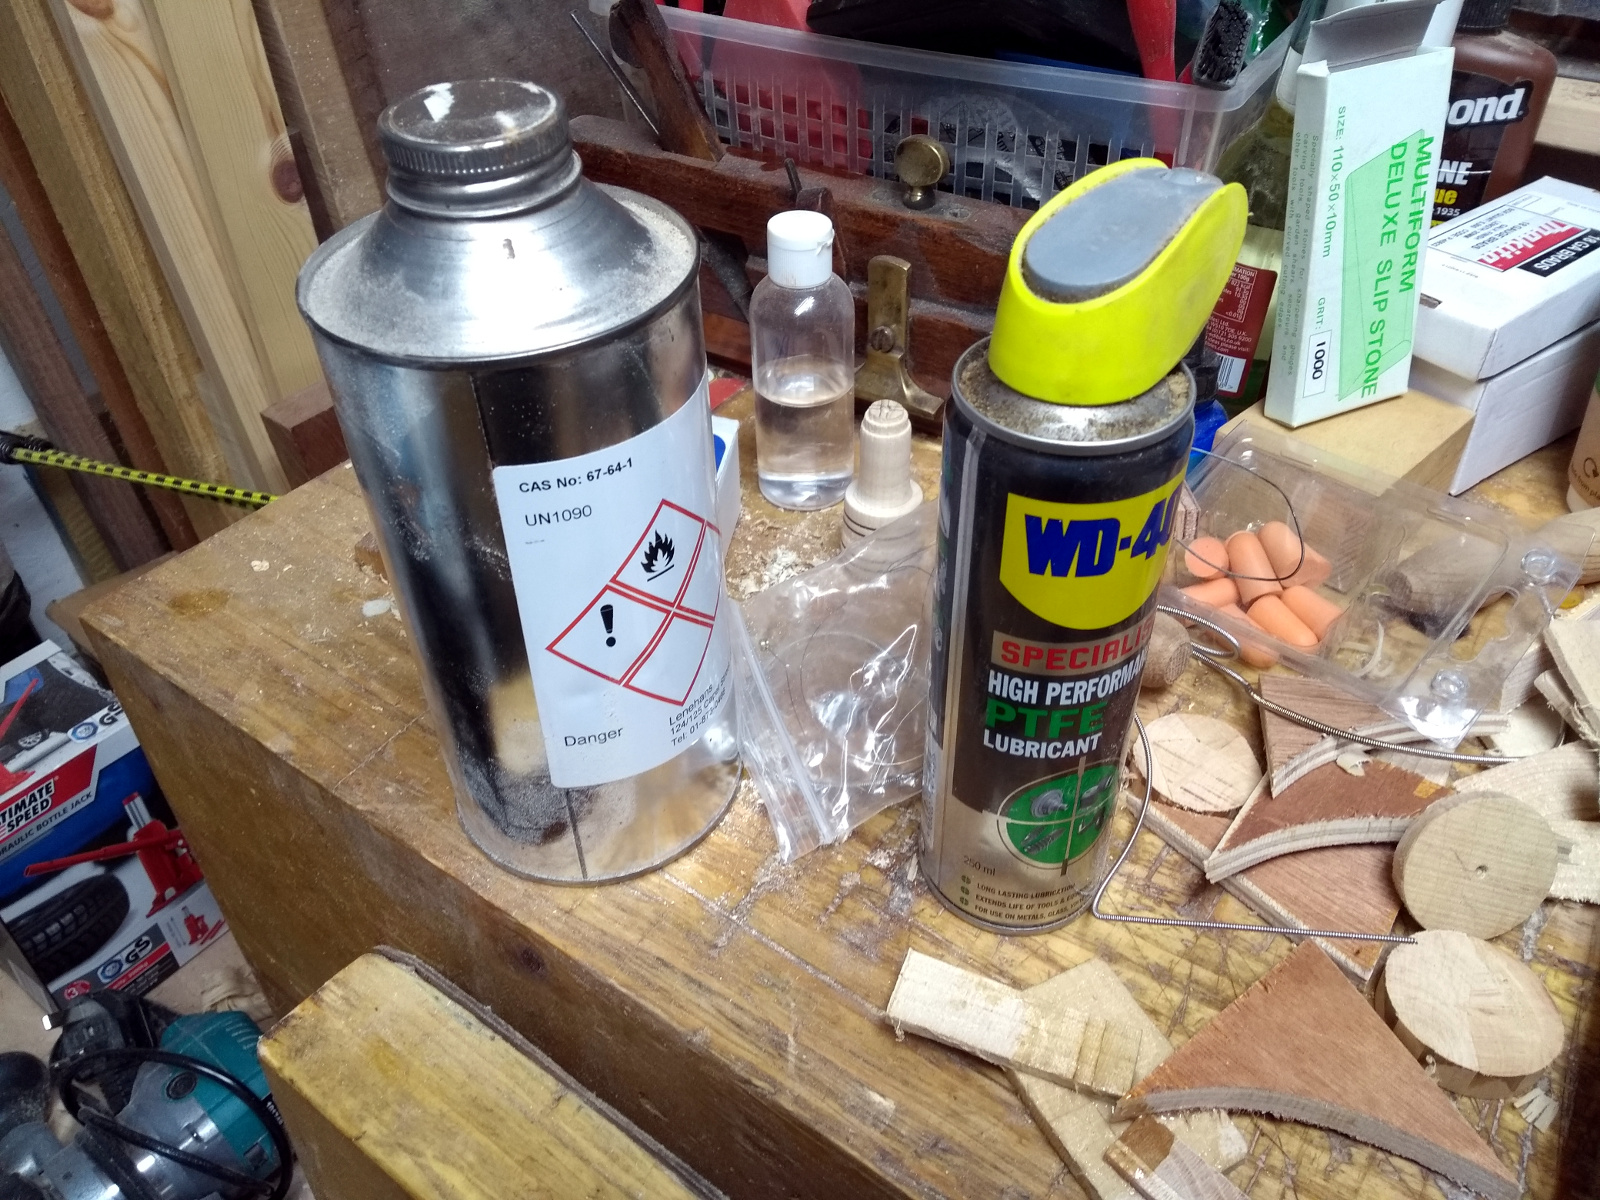
Then blowing out all the dust and grit with compressed air, degreasing with the really nasty stuff (remember the song kids – “acetone, it stays in your liver”) and liberal amounts of PTFE lubricant on the moving parts, And reassembly.
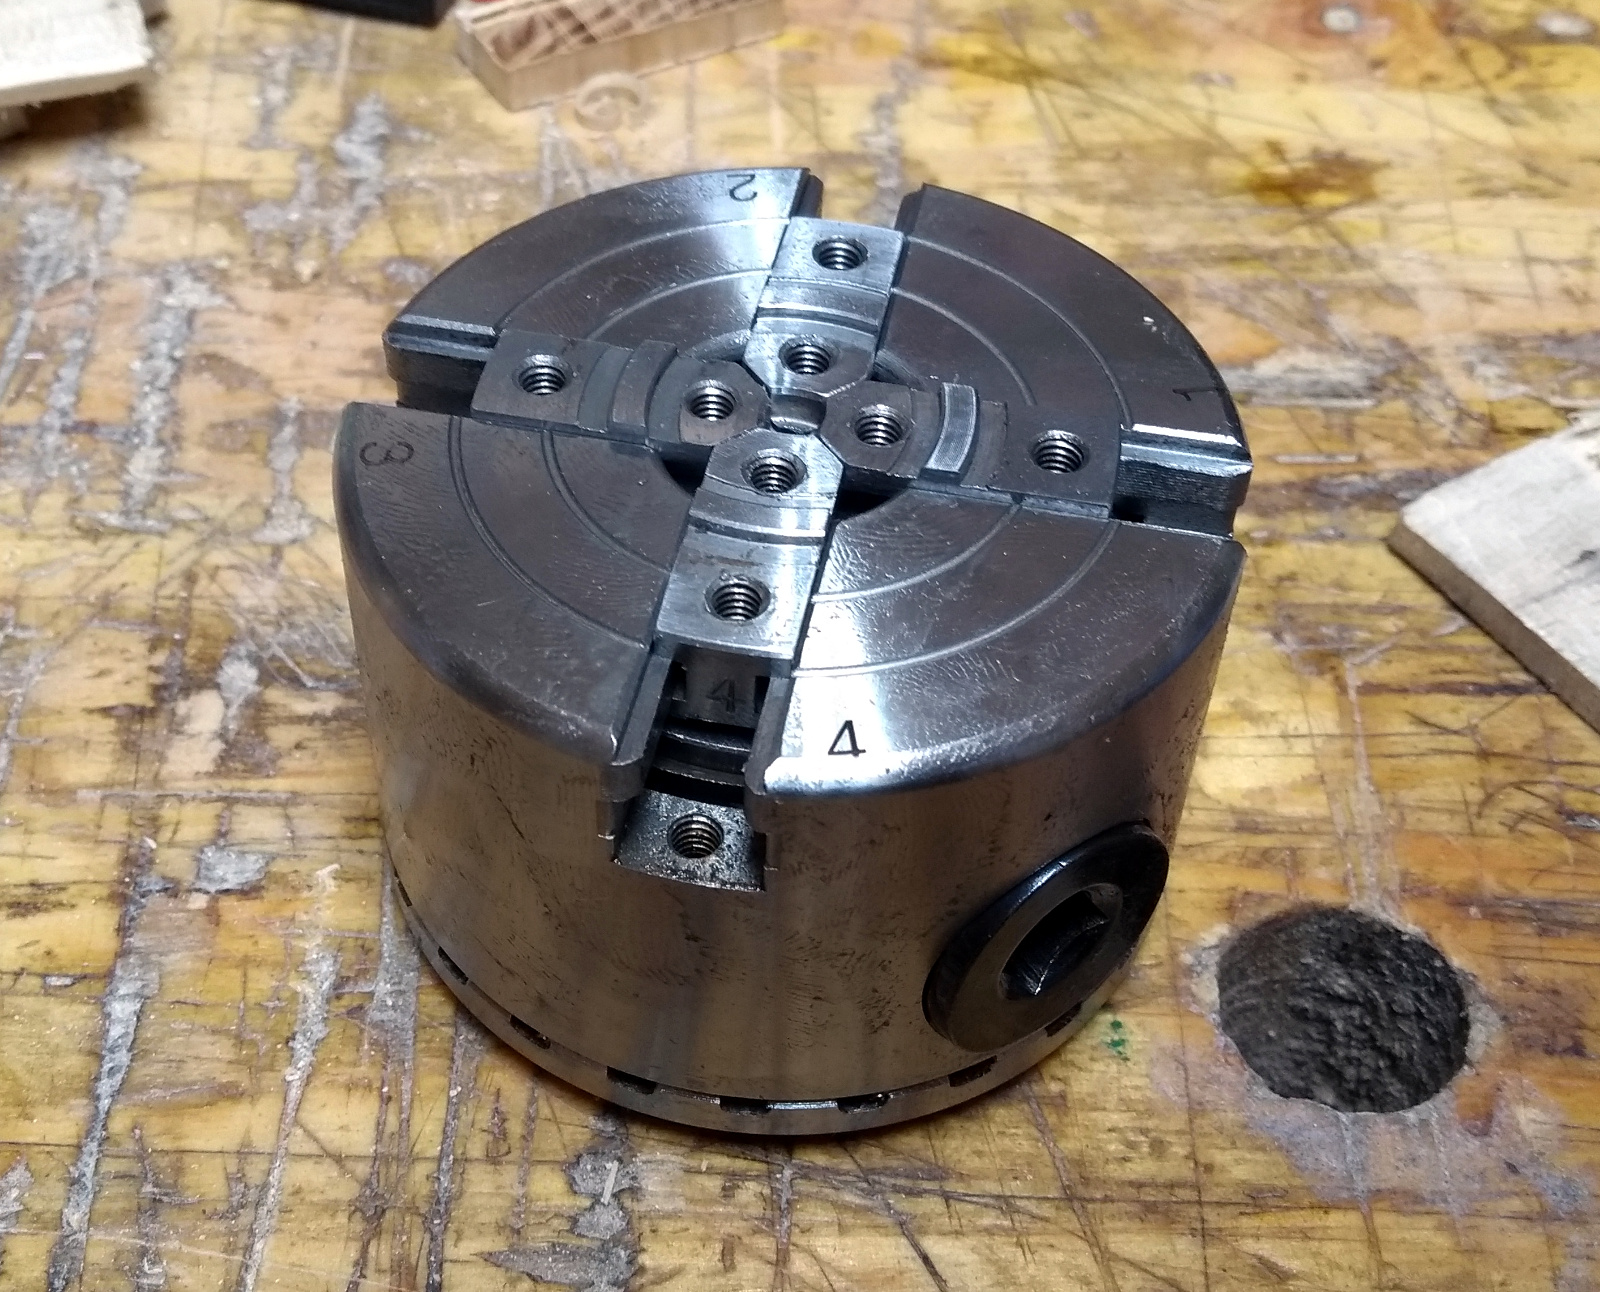
Didn’t think I’d get it back together, did you?
BTW, I haven’t put the regular jaws back on because I want to try the new ones I got. Thing about this chuck is that when you buy it you can either buy it with just the one set of regular jaws or you can buy the entire set of six different jaws, but since I got a demo model, I couldn’t get the entire set. And they will sell individual jaws (or a pack of jaws) for this make and model of chuck, but they don’t sell the flat bowl reversing jaws for it separately so I was looking to find compatible jaws from somewhere else.
So, quick PSA, if you bought the 3″ Xact chuck from Rutlands, and want spare jaws, the Viper2 jaws will fit it. I got these from here, but there are many other places where you can find Viper2 chuck jaws, the Viper2 being a reasonably popular model.
I’ll be trying these out on another miniature bowl in a while I think. They’re really for larger than that, but I want to try them on a 3″ blank rather than finding out they don’t hold well when there’s an 8″ blank in them…
This is not even a little surprising, but it's getting exhausting.
A party running on the platform of "we won't do the right thing when it matters, but we promise that we will later, if you just hand us completely unearned power once again."