So, new years are all about lists and I figured I’d go through the last one…
Rip the top panel to width.
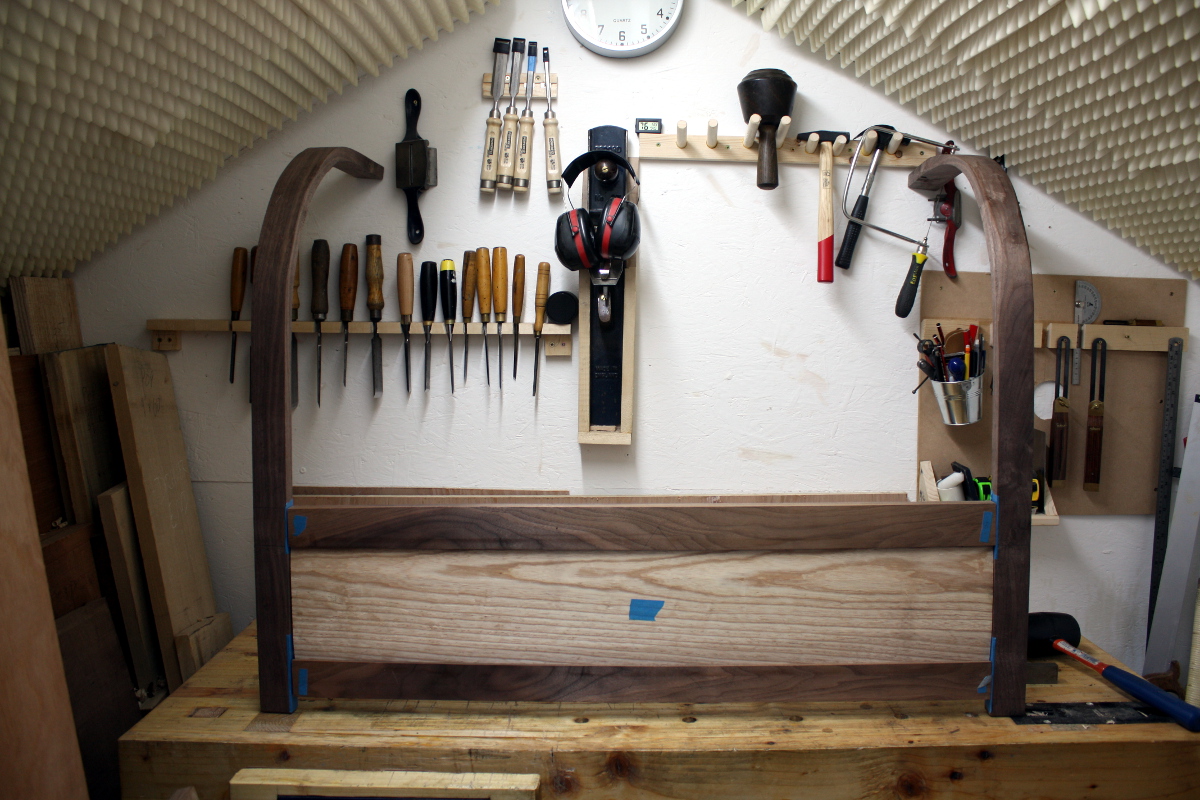
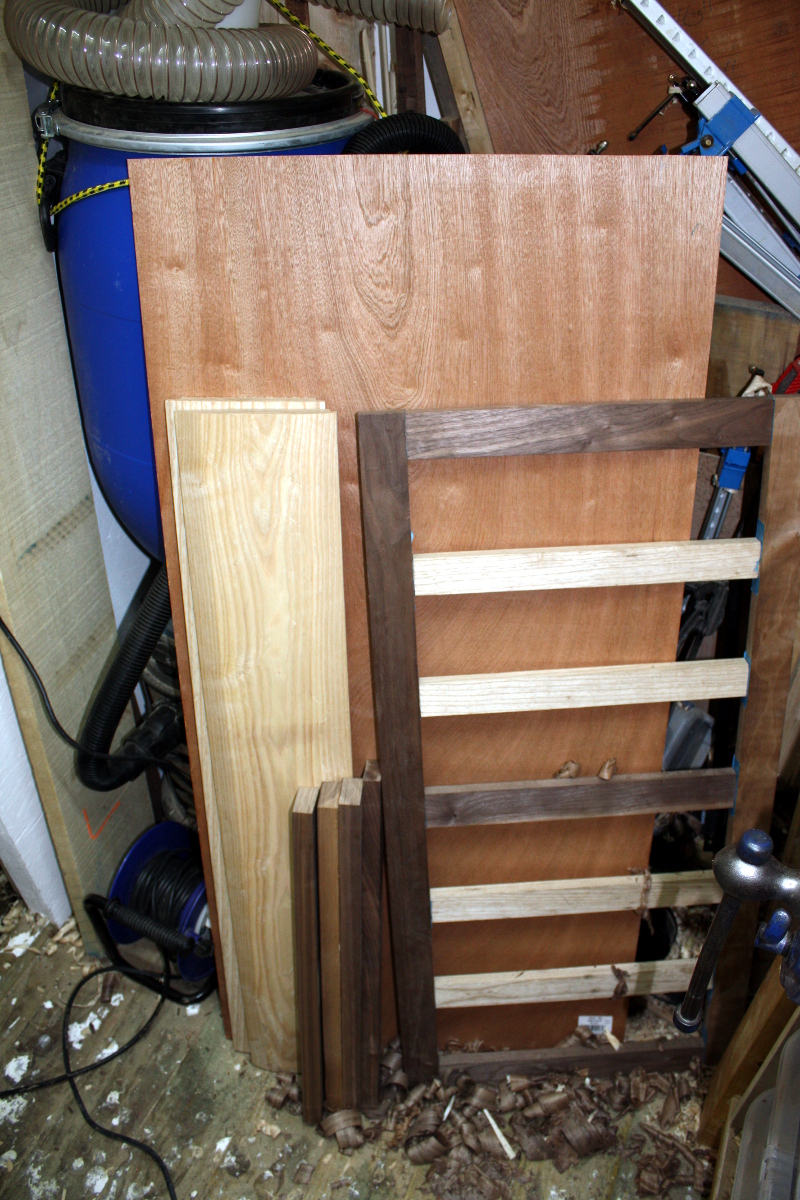
Yeah, that’s done. What I missed was that when I cut that top panel down to length, I cut it to the shoulder-to-shoulder length, not the overall length, so it was now too short. The single biggest part in the entire piece and it didn’t fit. It turns out that in the shed, they can hear you scream.
So, new item:
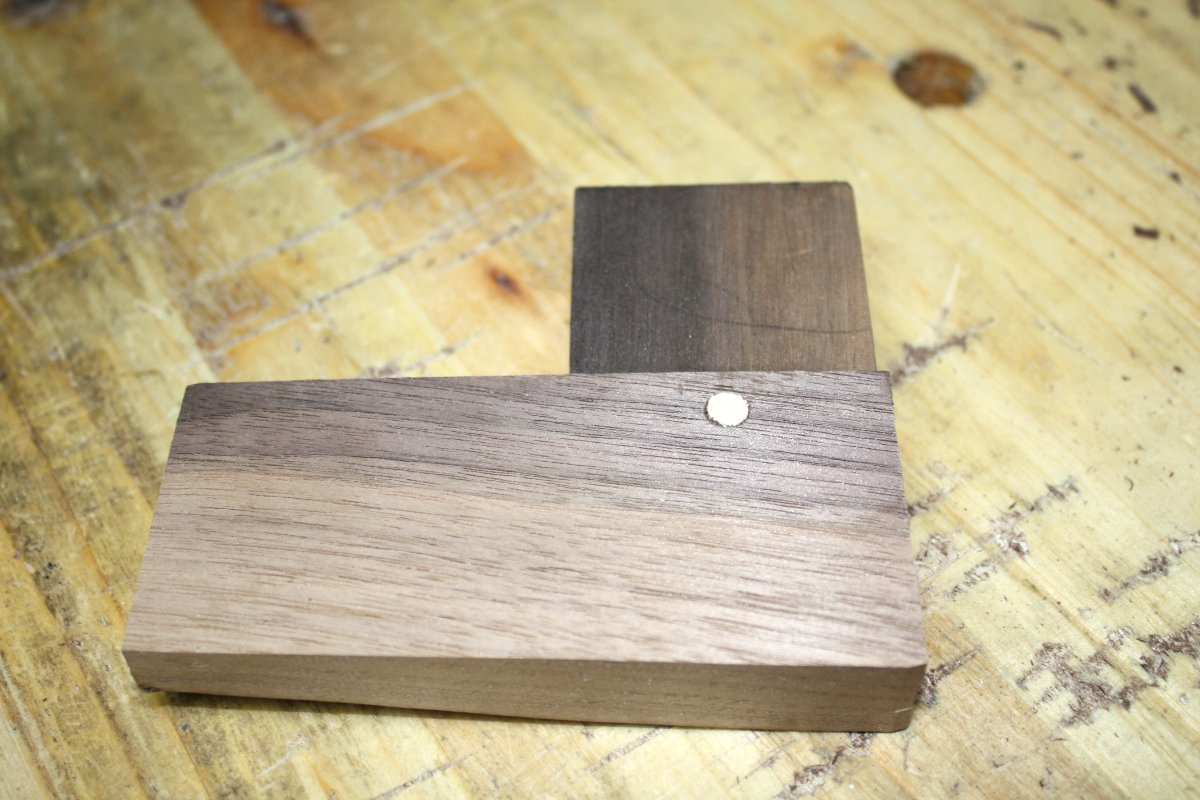
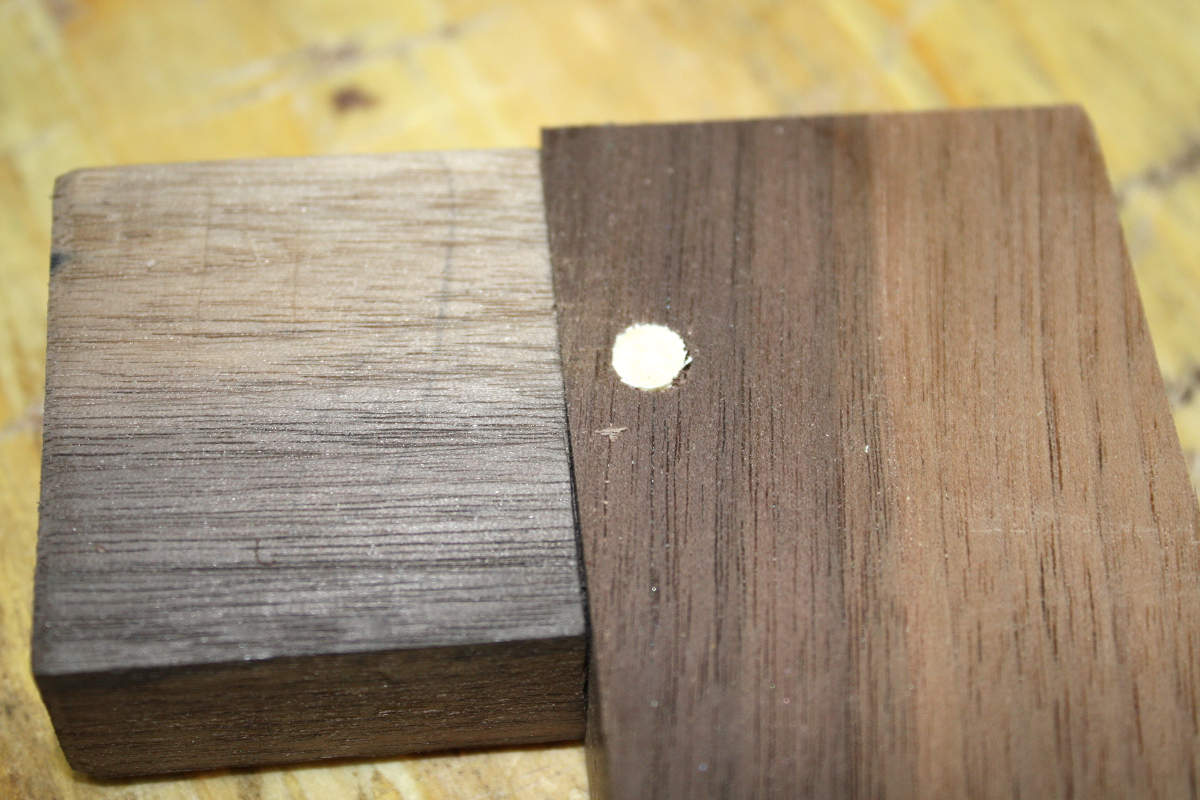
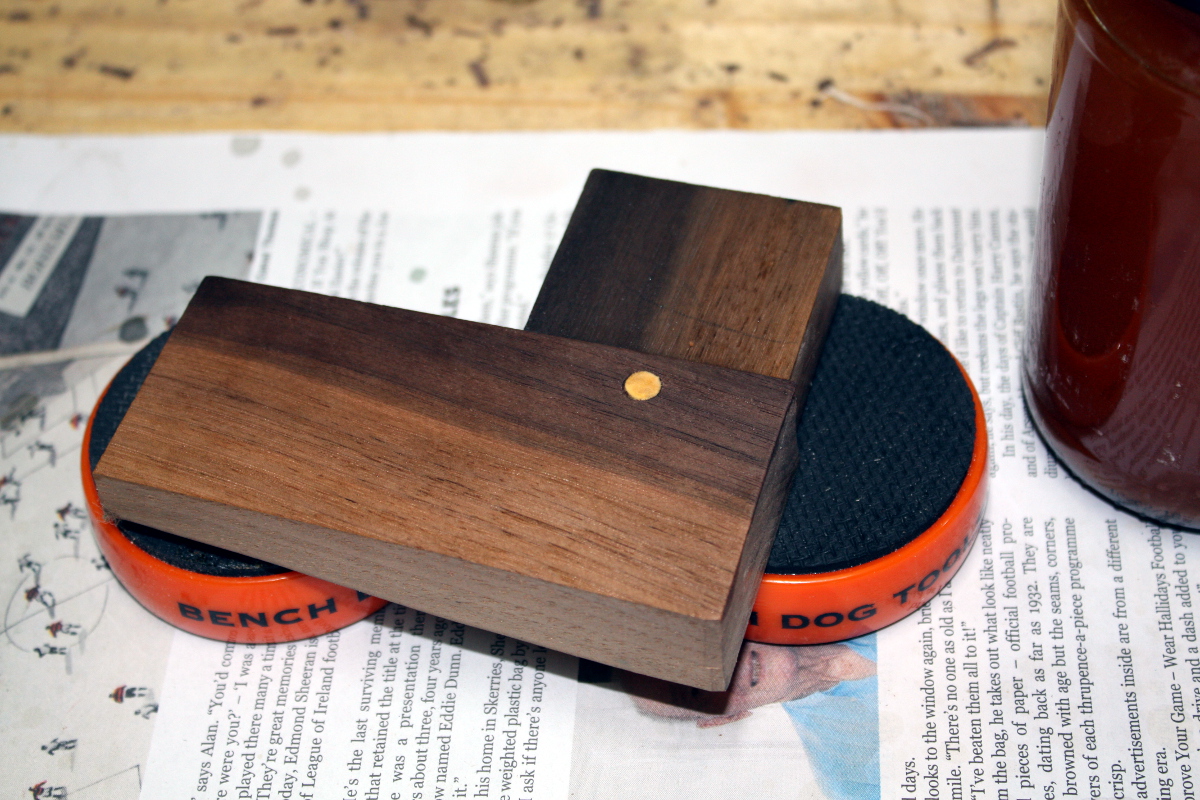
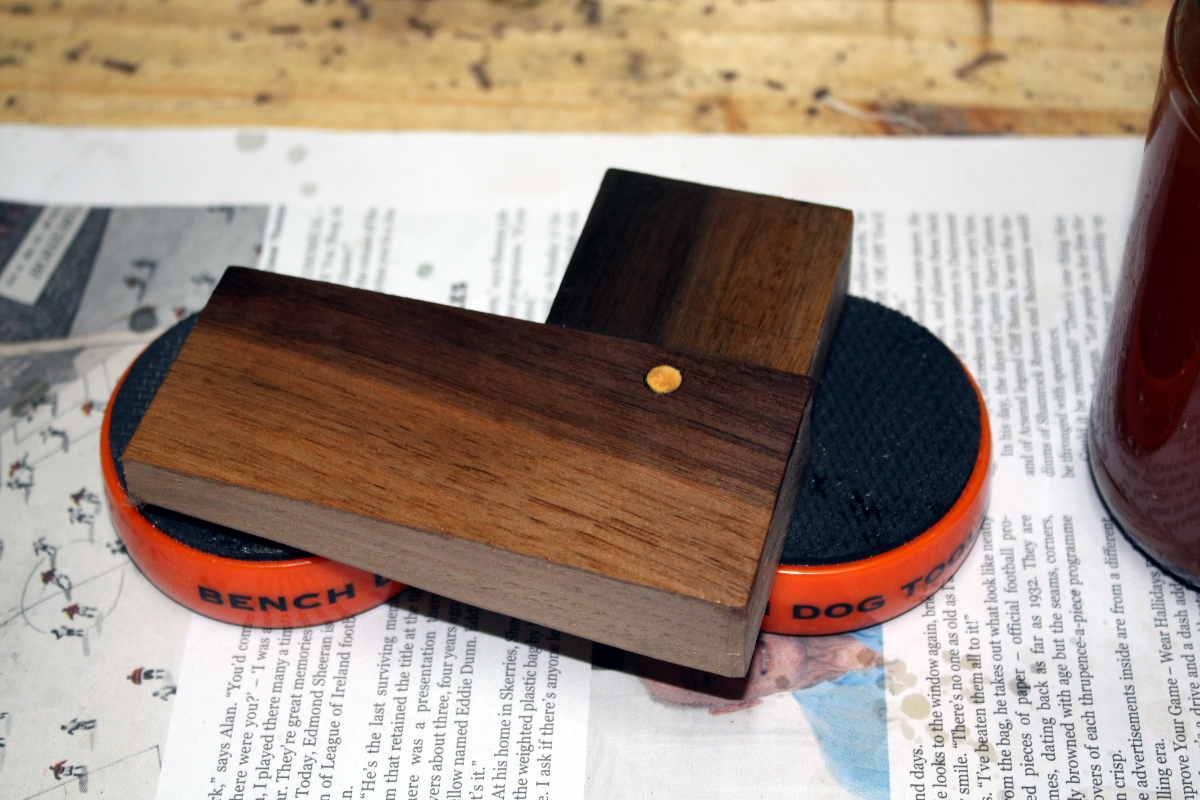
Add spare piece of walnut to top stretcher on drawer end, matching grain, to fill the gap left by the top panel being too short.
And that’s now done as well.
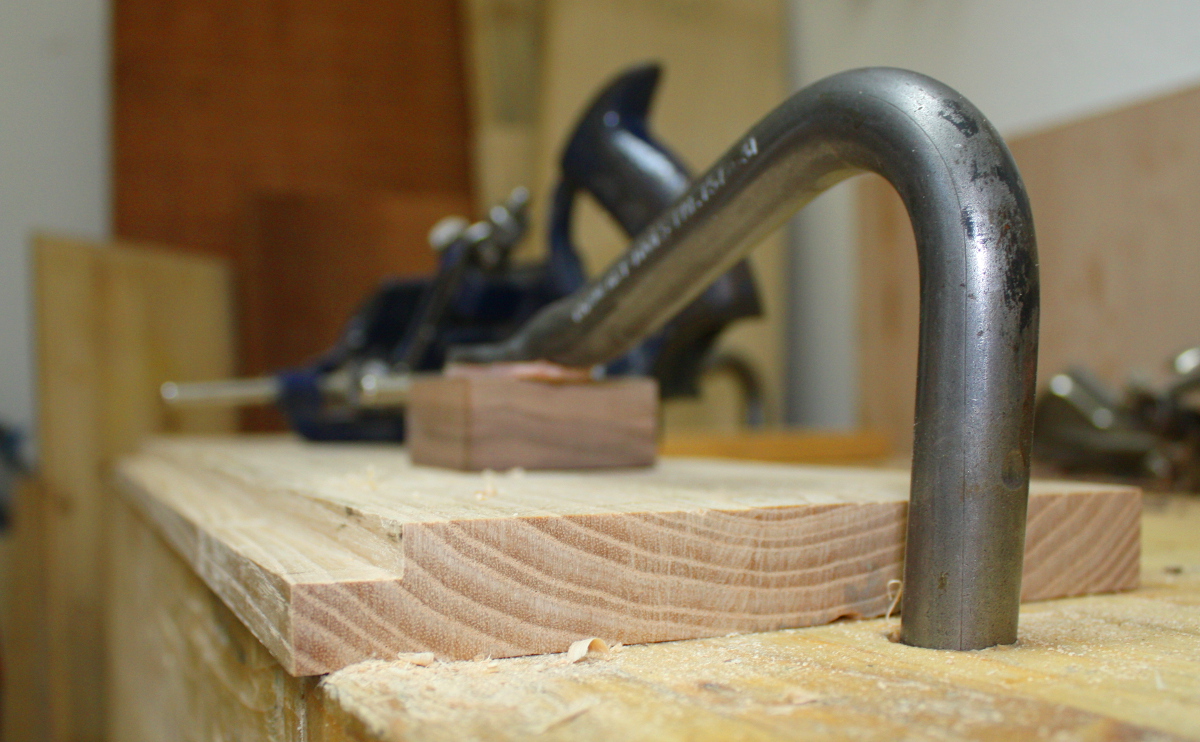
Add the rebate and bevel to the top panel.
Done, and I’ve had to make small cut-outs at the corners to allow for the vertical posts as well.
- Cut grooves for top panel in long stretchers.
Not doing that yet; I’ll do it after the mortices for the slats are cut because the groove will weaken the back top stretcher somewhat so I’d rather cut the groove after the bit that involves me belting the thing with a hammer is done.
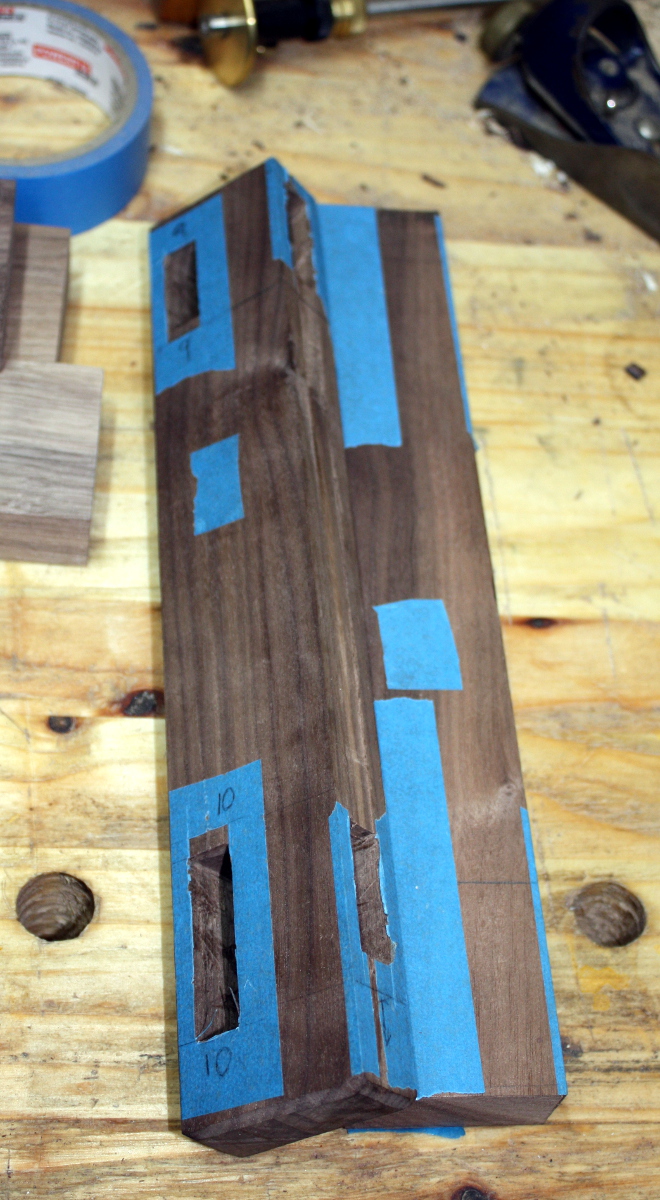
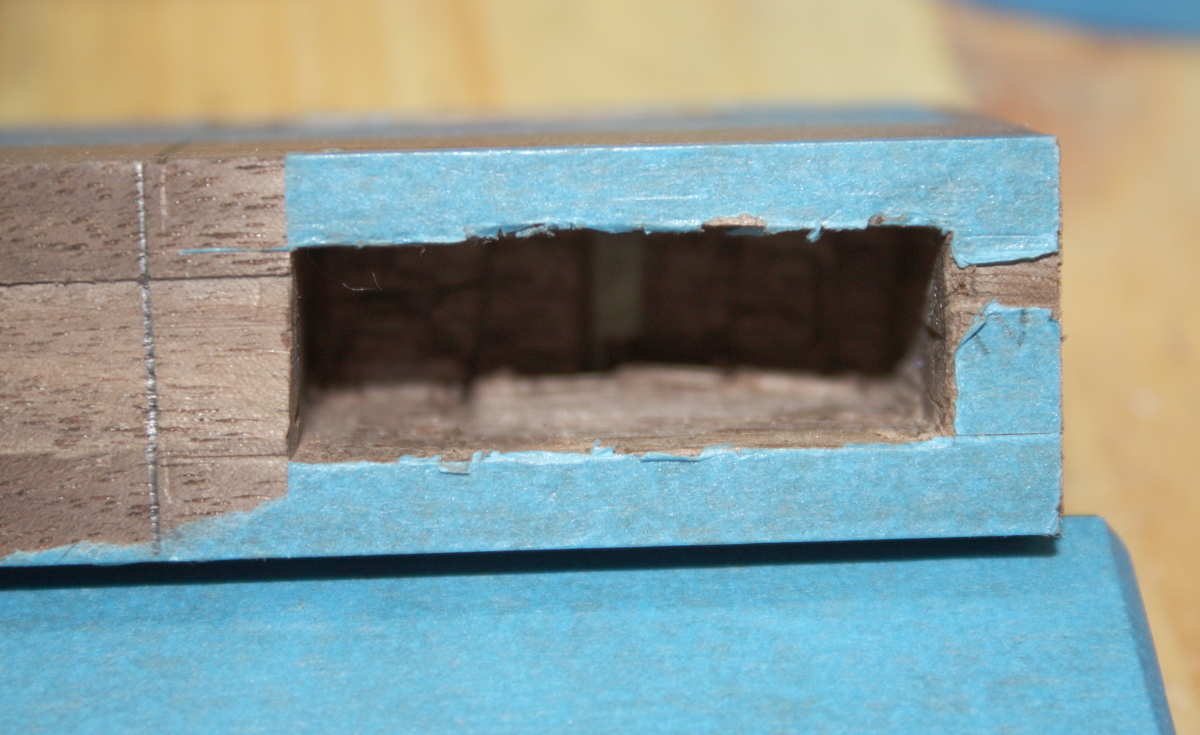
- Cut mortice for back support.
- Cut back support to length and cut tenon on bottom end.
Not done yet…
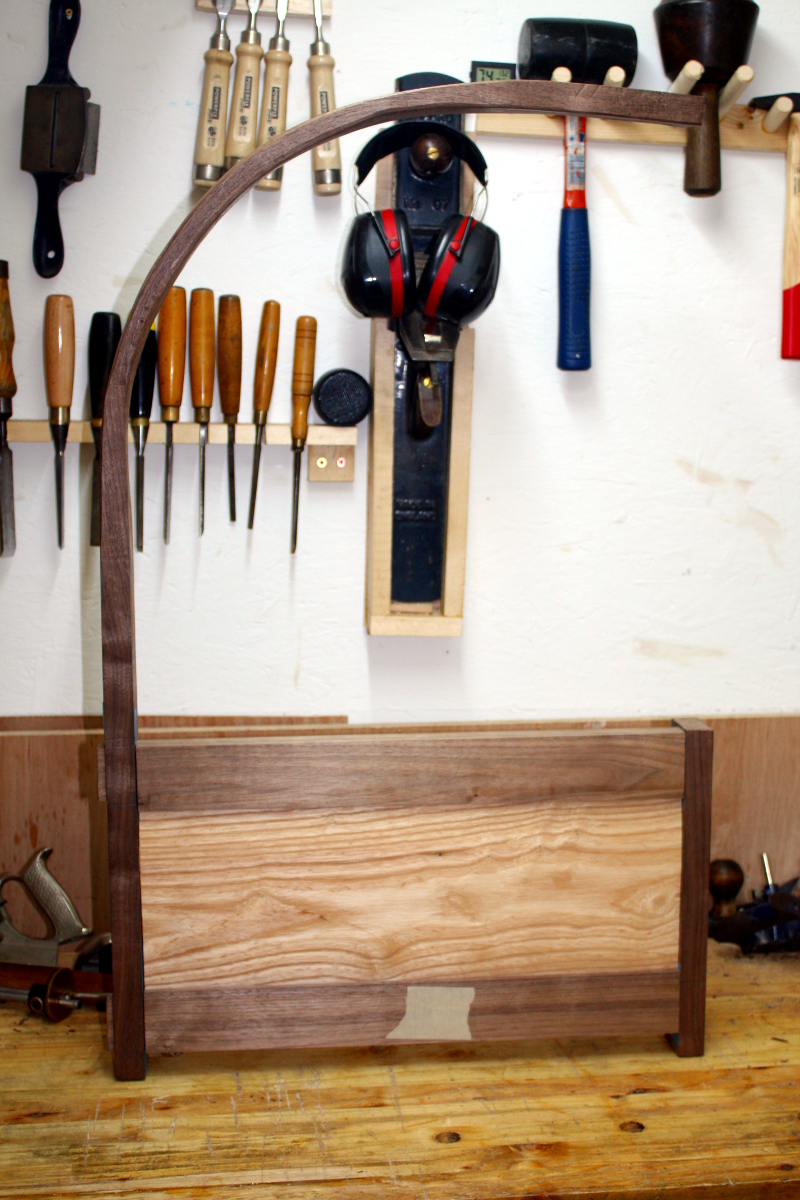
Figure out joint at the top of the back support for the top crossrail.Figure out joints at the tops of the two steambent uprights.
Both of these are done; the steambent uprights will end in tenons with the mortices in the crossrail, which will help with that small deviation in one of them. The joint at the top of the back support will be a dovetail (I have a David Barron dovetail guide in the post to help with that because freehand I suck at these).
And now another new item, after I gave up on using the existing crossrail (it would have been too short):
Rip new crossrail from last long walnut board in my stash, and plane to S4S and twist-free.
That was relatively painless but my ripping with the ryoba was not very good. Still, was able to clean it up with the plane with the aid of a benchtop four-year-old.
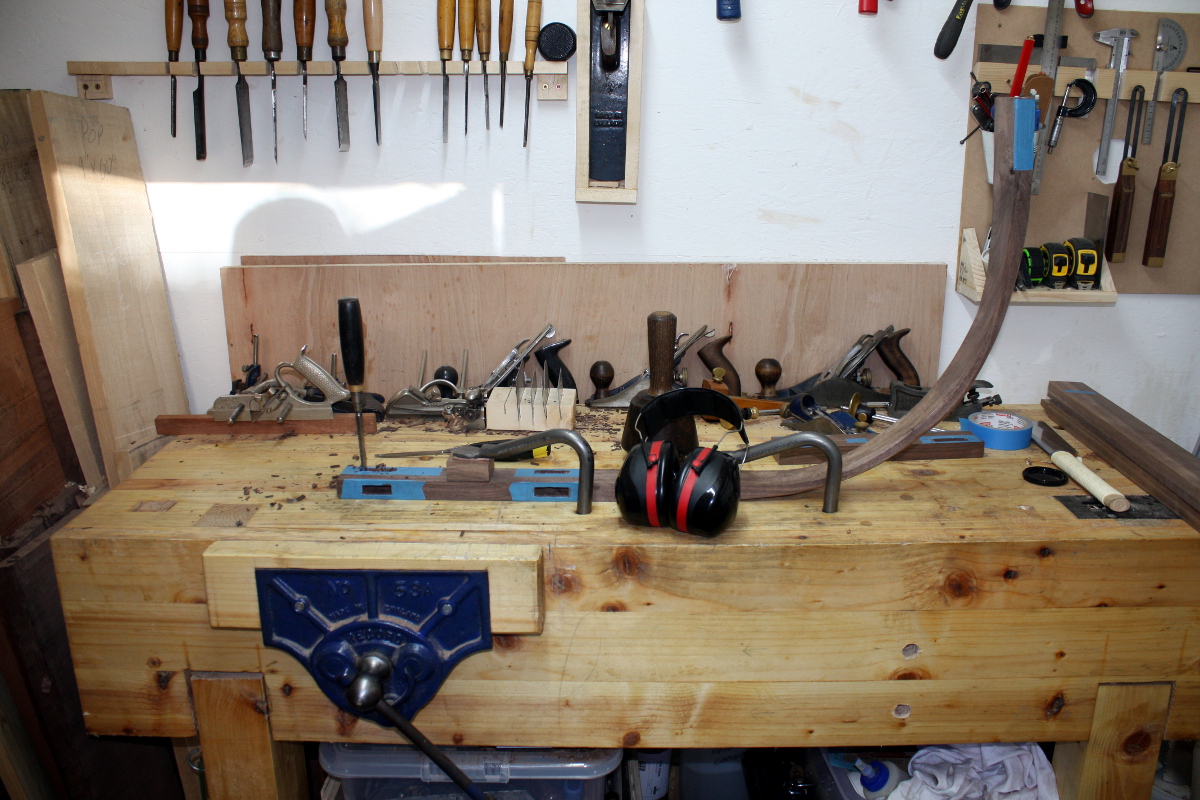
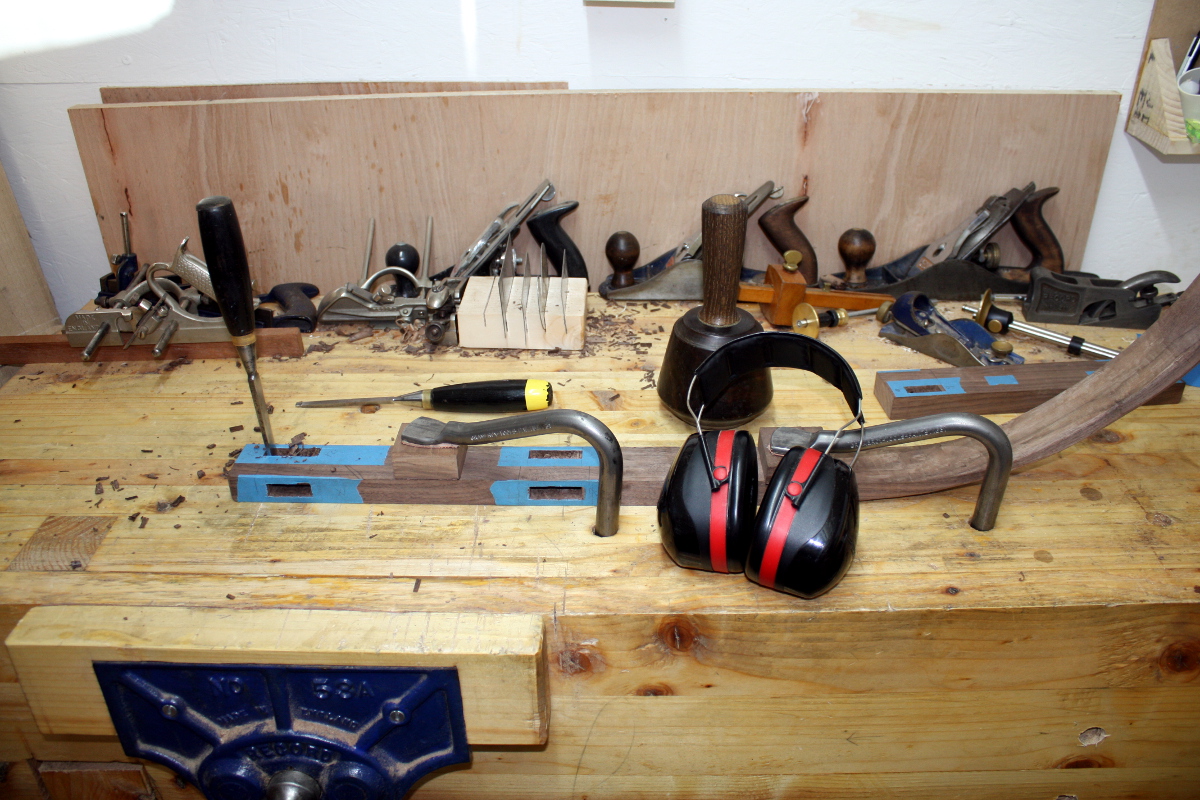
That’s all that’s been done so far. I lost two days to making a new shooting board and fixing the T5’s blade; the end results from the test pieces have been much, much better than the last one. And I’ve been too tired to hit the shed a few nights in a row; I’m about ready for a holiday after that xmas break…
To-Do List (now in new order):
- Fit top crossrail to back support and steambent uprights.
- Cut mortice for back support.
- Cut back support to length and cut tenon on bottom end.
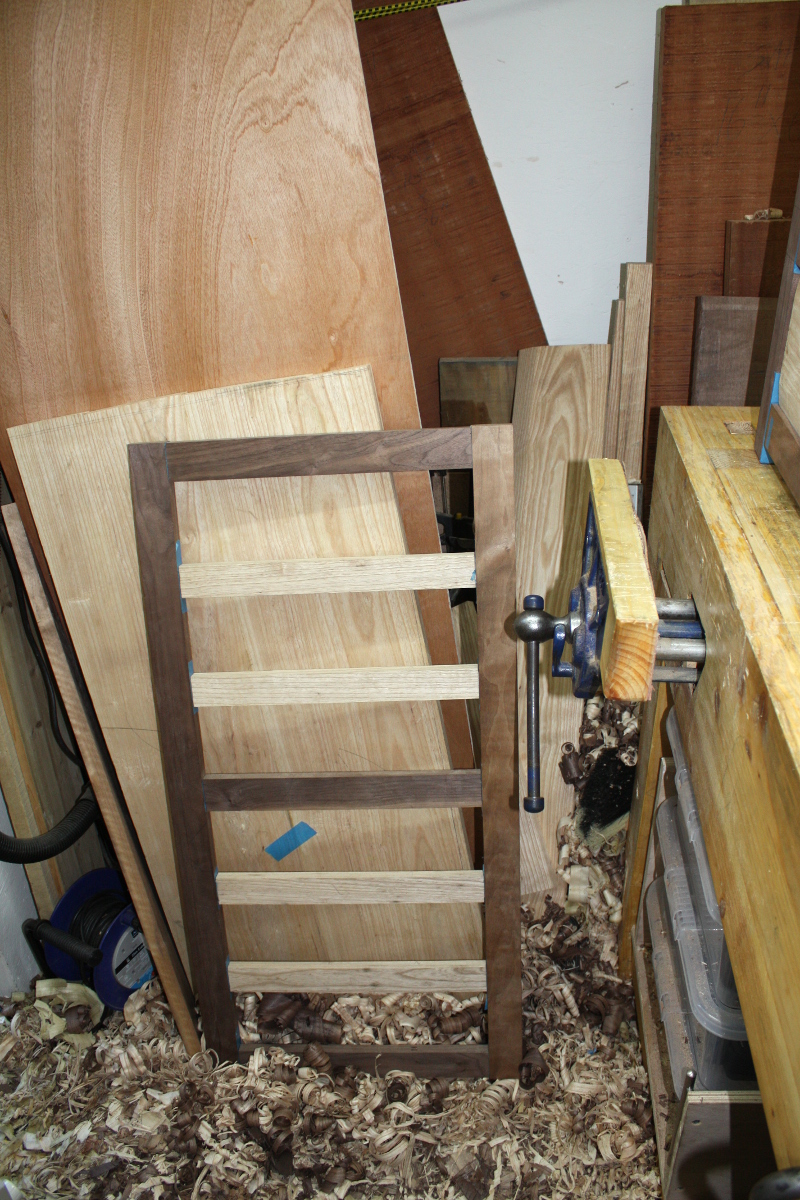
- Cut back slats to length and cut tenons.
- Measure off side slats (because they’re going into a curve, this is going to be fiddly) and cut tenons.
- Cut mortices for slats.
- Cut grooves for top panel in long stretchers.
- Joint drawer runners into the bottom end crosspieces.
- Thickness the boards for the drawer.
- Cut the drawer front to size.
- Cut the drawer back and sides to size.
- Cut dovetails for drawer.
- Groove drawer with #43 for plywood base.
- Assemble drawer.
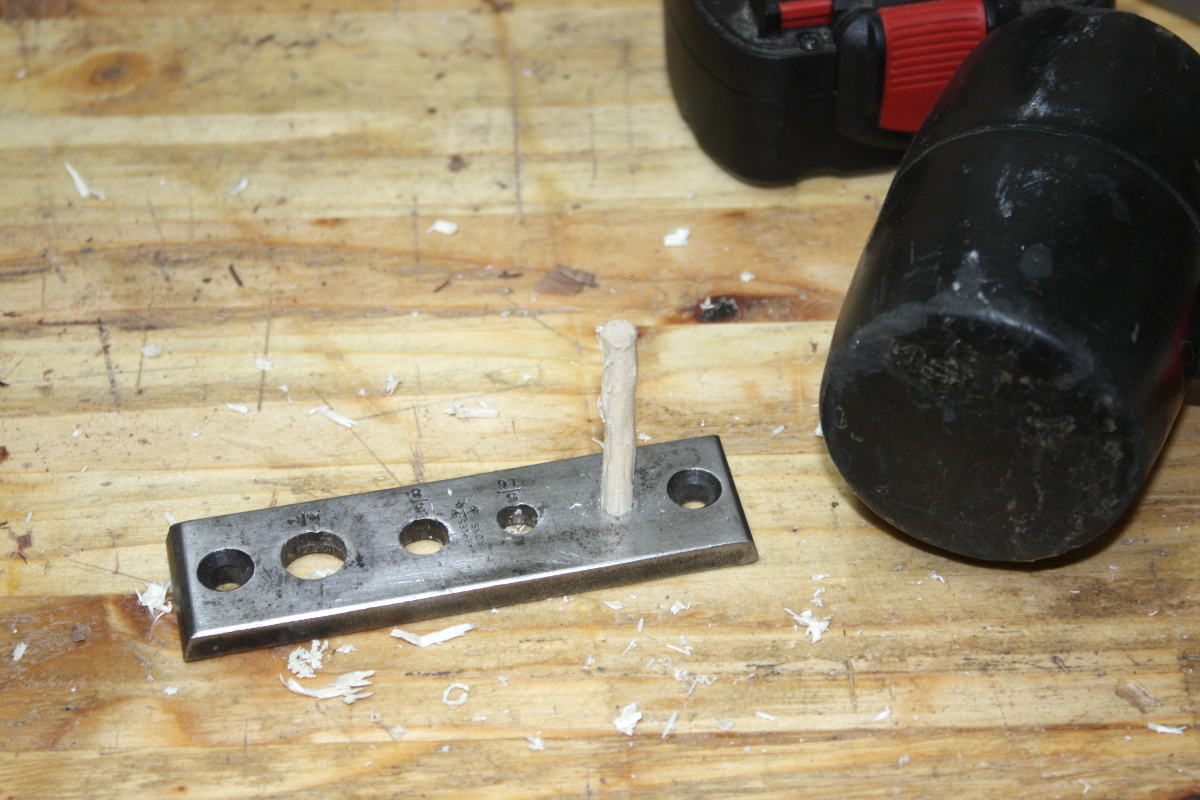
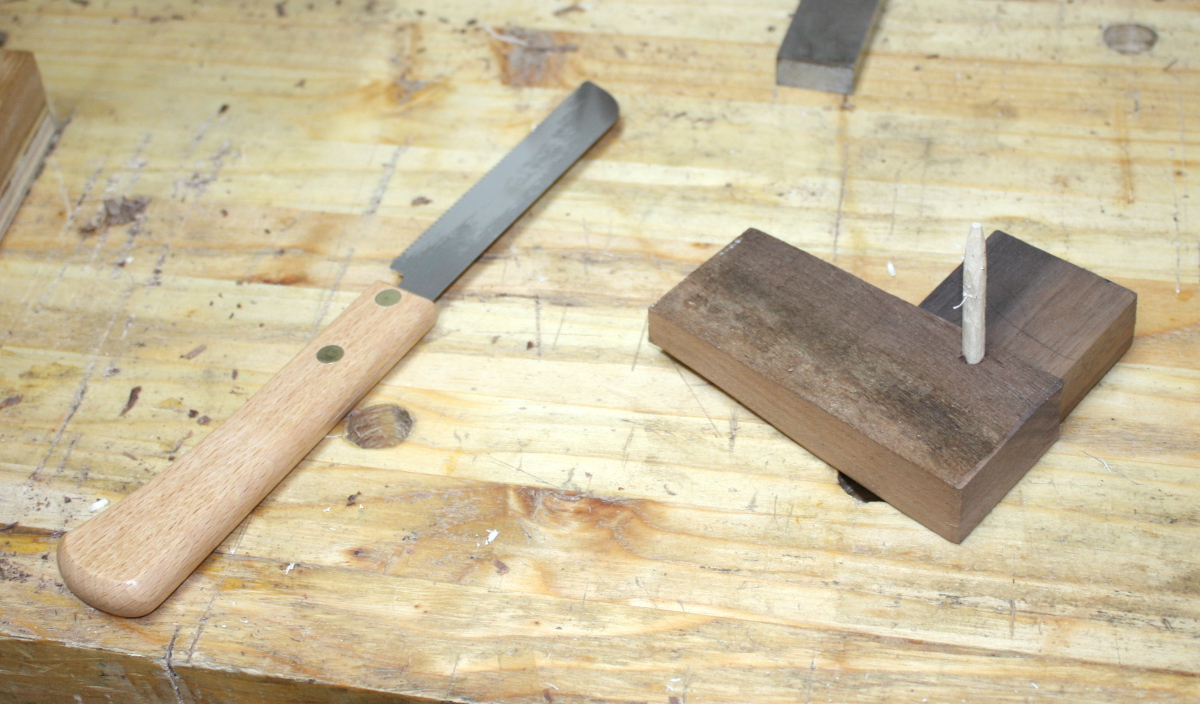
- Drill for drawboring on the M&T joints that I’ll be drawboring (the long rail to upright ones and probably the back support and top crossbar joints).
- Make drawbore pegs.
- Finish plane all parts.
- Finish walnut pieces with a few coats of shellac.
- Paint drawer with milk paint.
- Assemble and glue-up and drawboring of everything.
- Finish entire assembly with several coats of Osmo wood wax.
- Close door of shed, lock it, walk away and never do another project with a deadline ever again.