04
Dec 17

Not progress…

Hm. Well, I guess not every day is going to be a great shed day. Stupid “job” and stupid “mortgage payments”…

At least the walnut blank for the bandsaw box came out allright.(That white glue streak is from where the bad saw cut was. The design will have to cut around that).

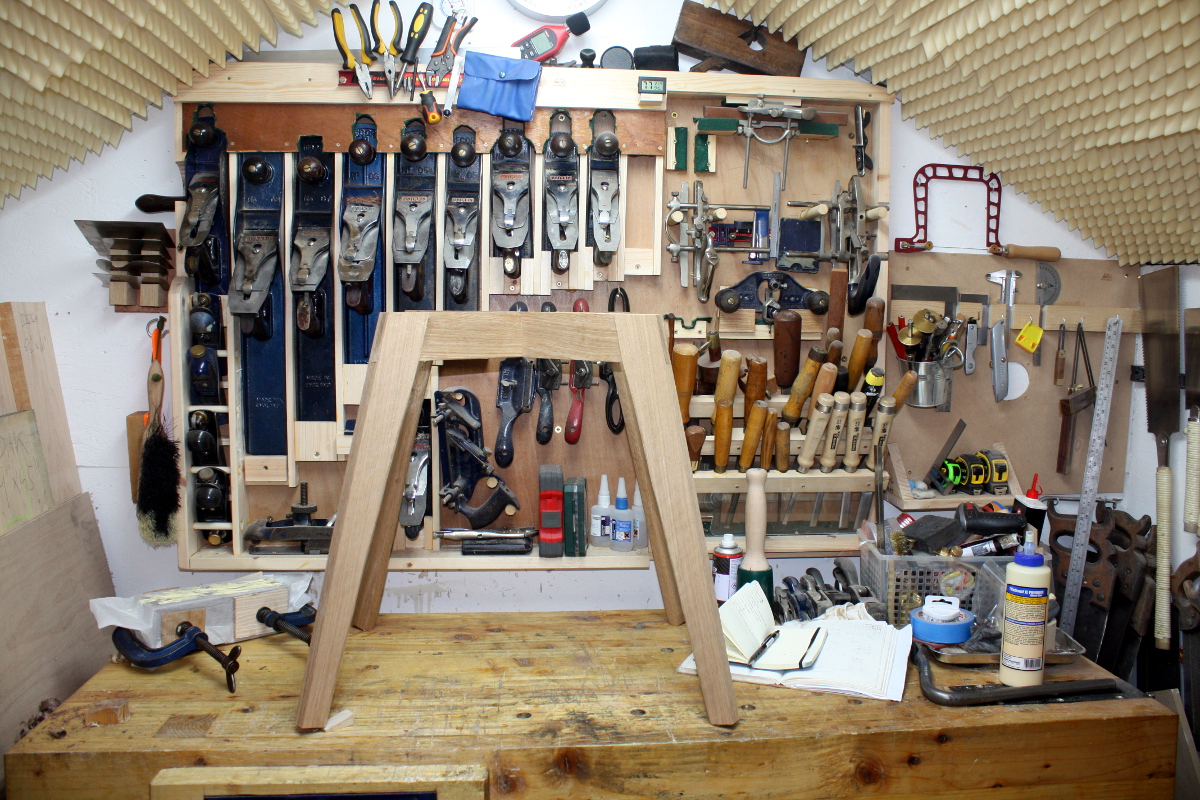
But I couldn’t drill the tabletop for the threaded inserts because they’re not here yet, so I just cleaned up the glue squeezeout from the table legs.

The new plastic razor blades were actually really useful here.
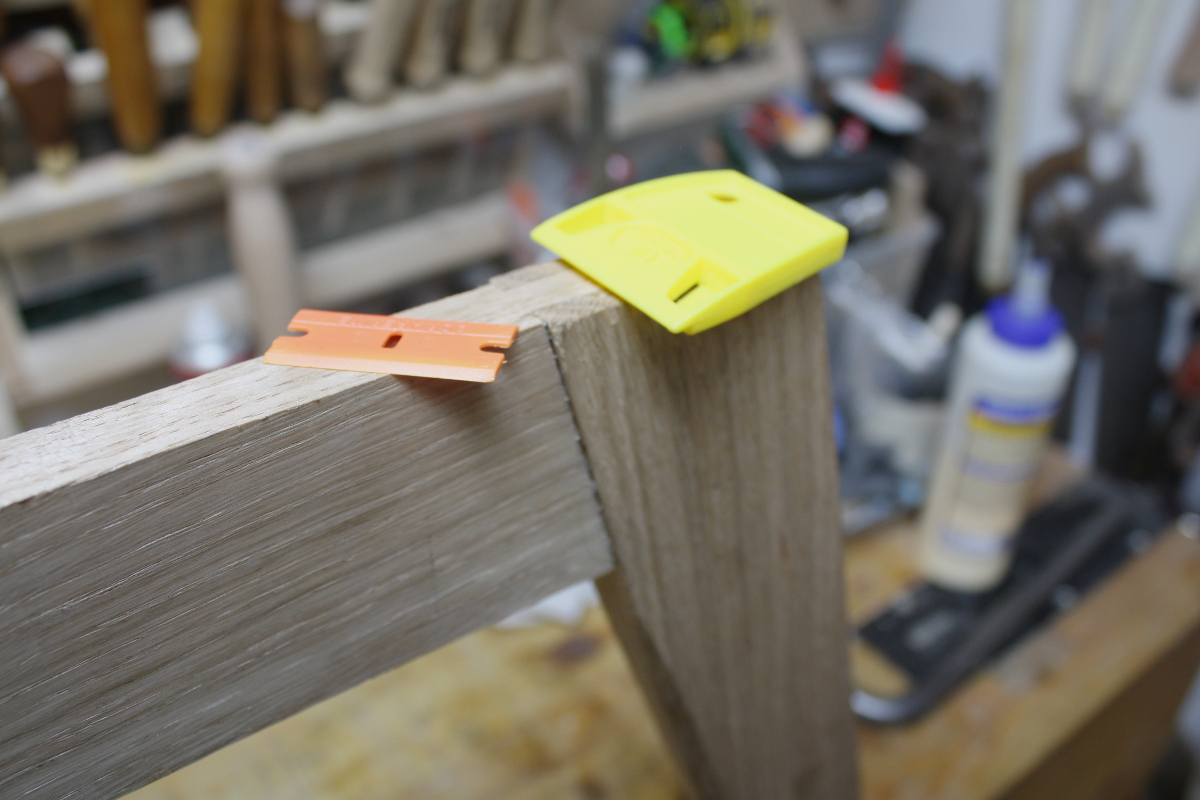
I guess you could just have a thin plastic knife for this (or a scraper if you didn’t mind then scraping out any scratches from the surface finish). But they were on sale and try anything once.

I got out the feeler gauge as well. There were places here and there where I could get a 0.2mm gauge in, but only on one shoulder was that consistent. And the ends didn’t look too bad.
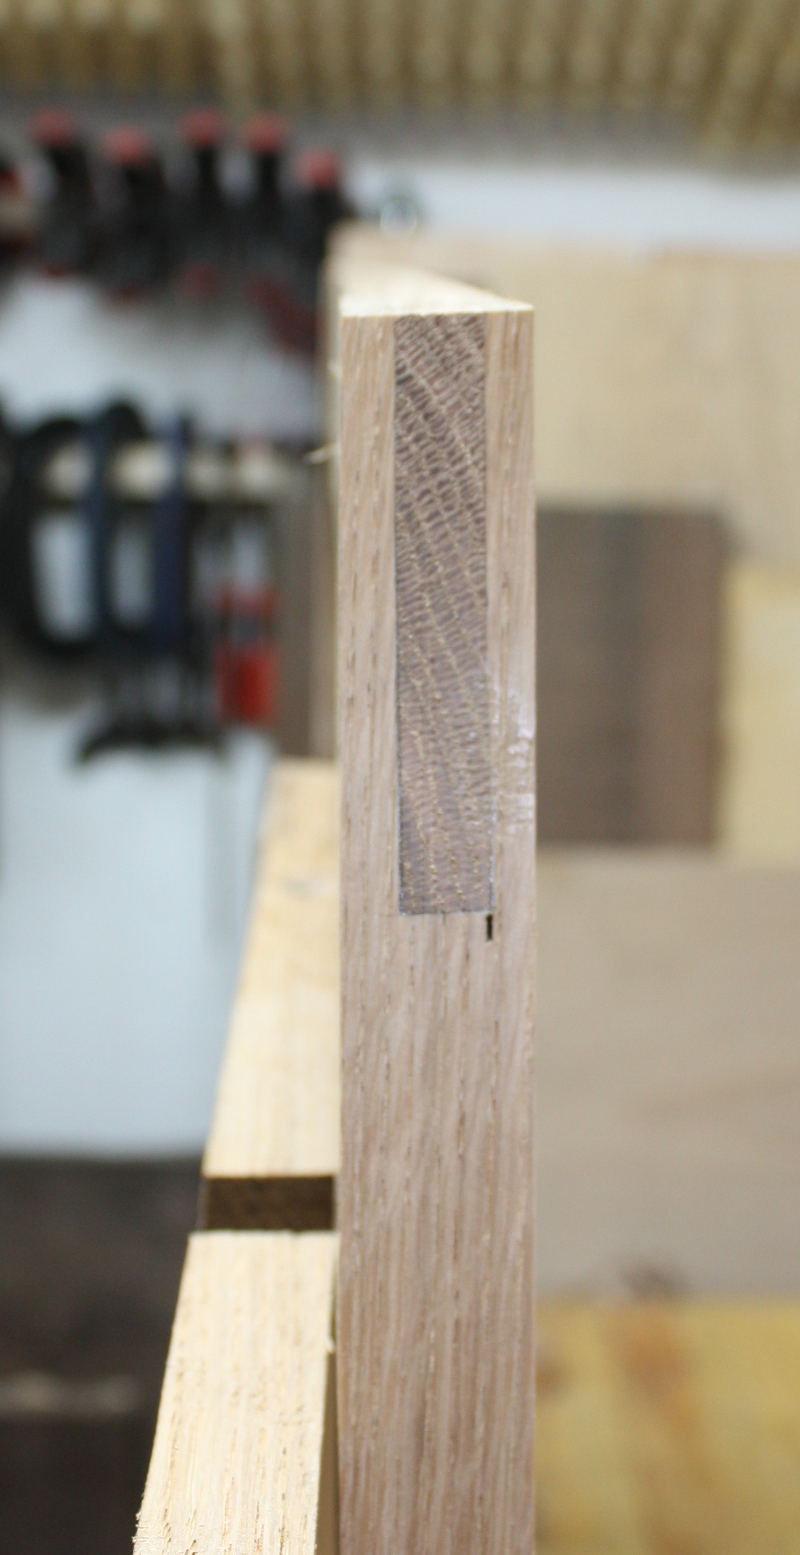
Mind you, the bolts that are to hold the tabletop on… they were 70mm. They really should have been 75mm (but I couldn’t find those. Time to go hunt round the pick-n-mix hardware section in Lenehans and Woodies I suppose).

I mean… they’re nice and all but… I don’t think 5mm of thread is going to have much strength, y’know?

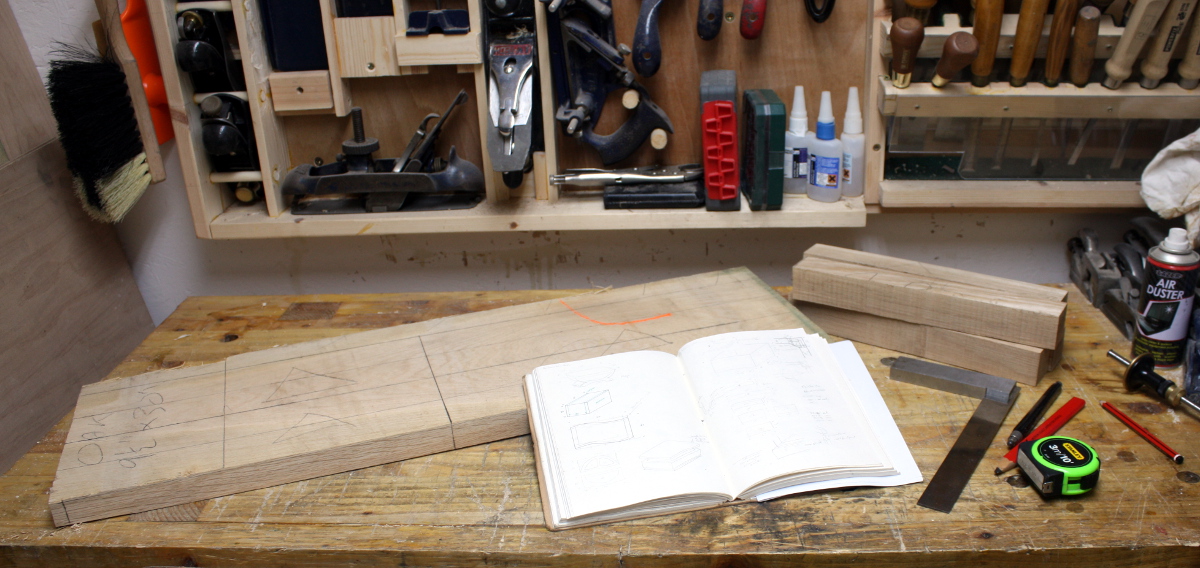
So, suitably annoyed I turned to the new project. Now it was 2100h by this point, so anything noisy was right out, but there was still some marking up to do. And I had to hunt up some timber for panels.

This should do it, but there’s a catch… that has to get resawn.
I’ll rip it down the centerline (well, not the centerline but the center line of the grain pattern, for symmetry) and trim off the edge waste with the bandsaw, but the resawing has to be done by hand because the panels are too wide (they’ll be 4 and five-eighths wide and who invented this stupid system of measurement and I’ll be converting this to mm as soon as I finish converting the rules-of-thumb on panel sizes and groove depths).

I remember the resawing from the cot. I’m not looking forward to this. I’m just hoping that it’s easier to resaw a 4 and 5/8″ board than an 8″ one. And maybe I’ve gotten better at this in the last year. Maybe.

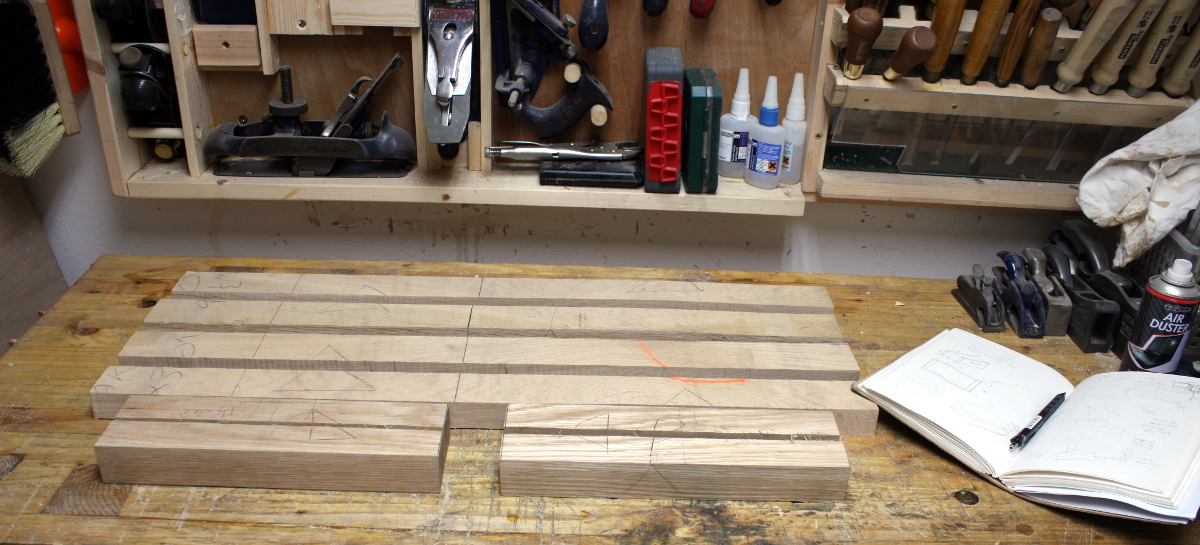
So the posts are cut long to leave horns (yes, that’s the term) above and below the mortices (and leave space for legs as well). Once the mortices are chopped and the tenons fitted those horns can get trimmed off but during the mortice chopping they give some extra strength to the piece. I forgot this when making the front legs in the sidecar cot and chopping those out was a bit of a faff as a result to avoid accidentally splitting them out.

Then looking at the rails and stiles. The rails are straight enough, so I have face and edges nominated, and I marked them off for a 3/4″ thickness.

The stiles on the other hand, all have a kink that I’ll have to cut out.
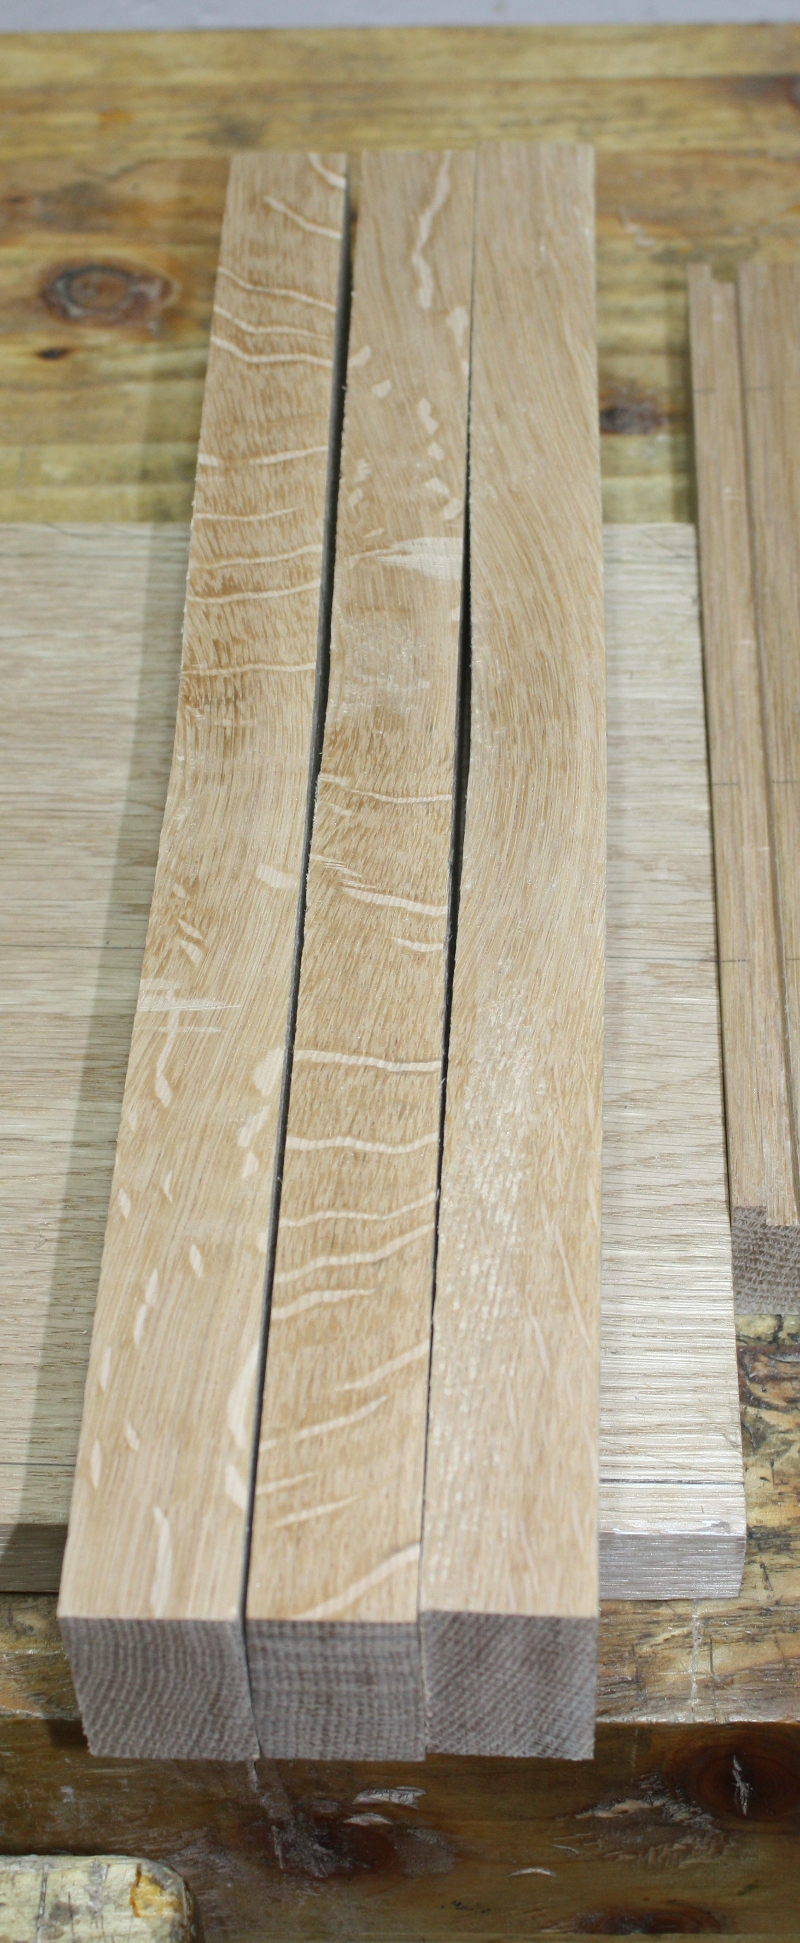
Lovely rays though.

I’ll just mark off the straight portion and roughcut that on the bandsaw and then plane the faces (I’ll do something similar on the rails – roughcut outside the line and plane the faces – I’d like to save a chunk of the waste though, quarter-inch stock is handy for boxes).
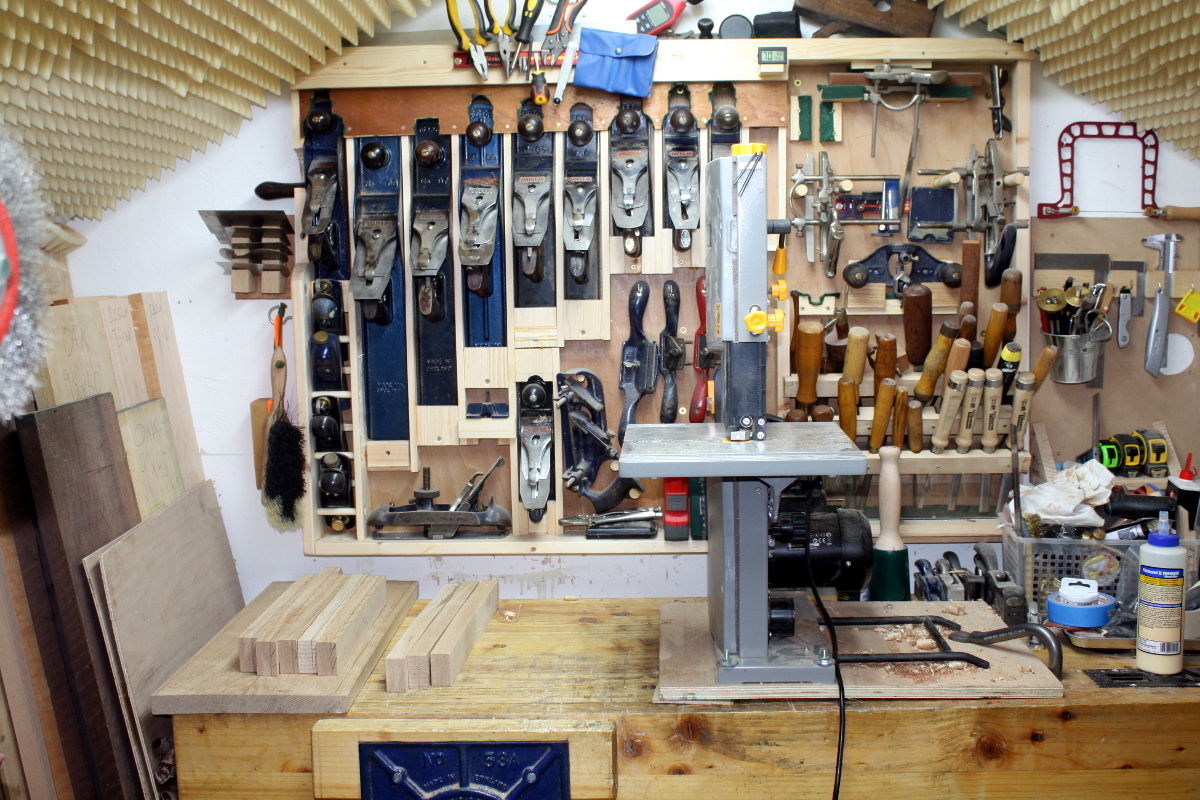
Prepped for tomorrow. I’ll run a scrap through it to see if those guides are behaving themselves first, but I may need to swap them out and maybe the blade as well.

03
Dec 17

Progress…

I actually managed to tick off almost every line on the to-do list for the week by Sunday night for a change. Before doing any “real” work though, I had to get the new interlopers off the bench. It’s been a while since I did framing-level work with 2x4s, but it’s like riding a bicycle…

…downhill on a wet slope towards a brick wall while blindfolded.
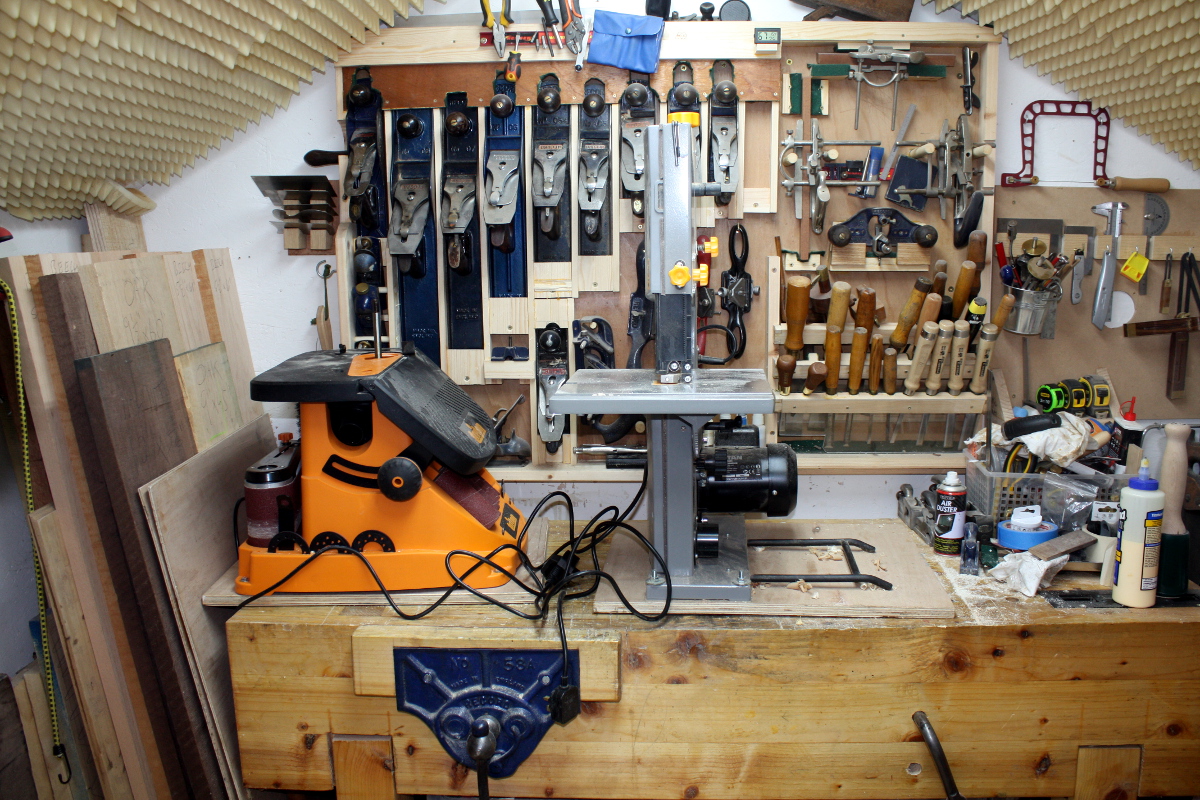
But since I didn’t care what the end product looked like, it was fast enough work…

Rough as 10-grit sandpaper, but it got them off the bench and me back to it. I might make something less… industrial at some point, but for now…

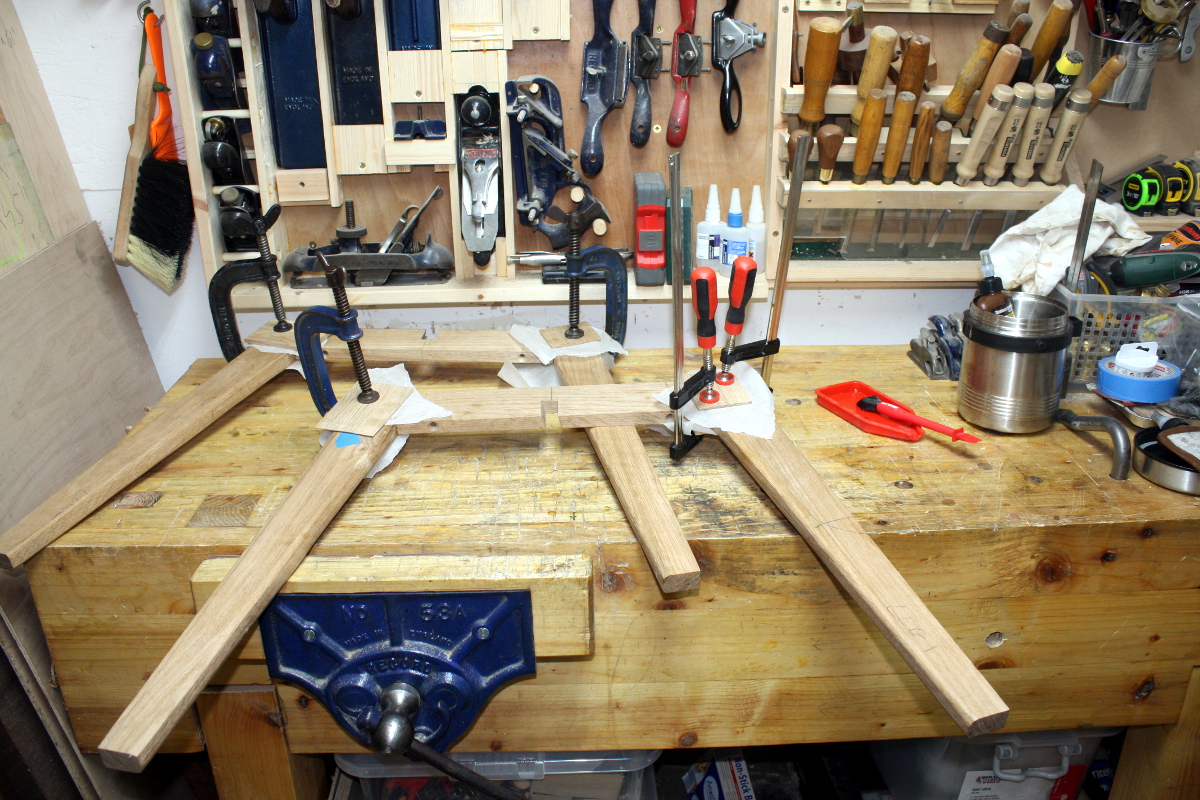
That’s the table legs profiled and rounded on the back (the front has to wait until the frames are glued up). Next to drill the holes for the tabletop attachment screws and that needed my big cordless drill…

I quite like that drill, it’s in magnificent condition for something that’s getting on for 70.

It is, by the way, a nice luxury to have a brace that’s dedicated to countersinking holes. You wouldn’t think it, but you tend to use it a lot…

And glueup. Hide glue again, hence the hot water bucket (hide glue and Irish winters don’t mix well). And that’s where I left it on Saturday evening.

On Sunday morning, I took off the clamps and things looked okay, so I got the tabletop up onto the bench and marked off the final sizes. Not much trimming needed in width, really just straightening up the edge there, but a good three inches came off the length because otherwise the table would be tippy.

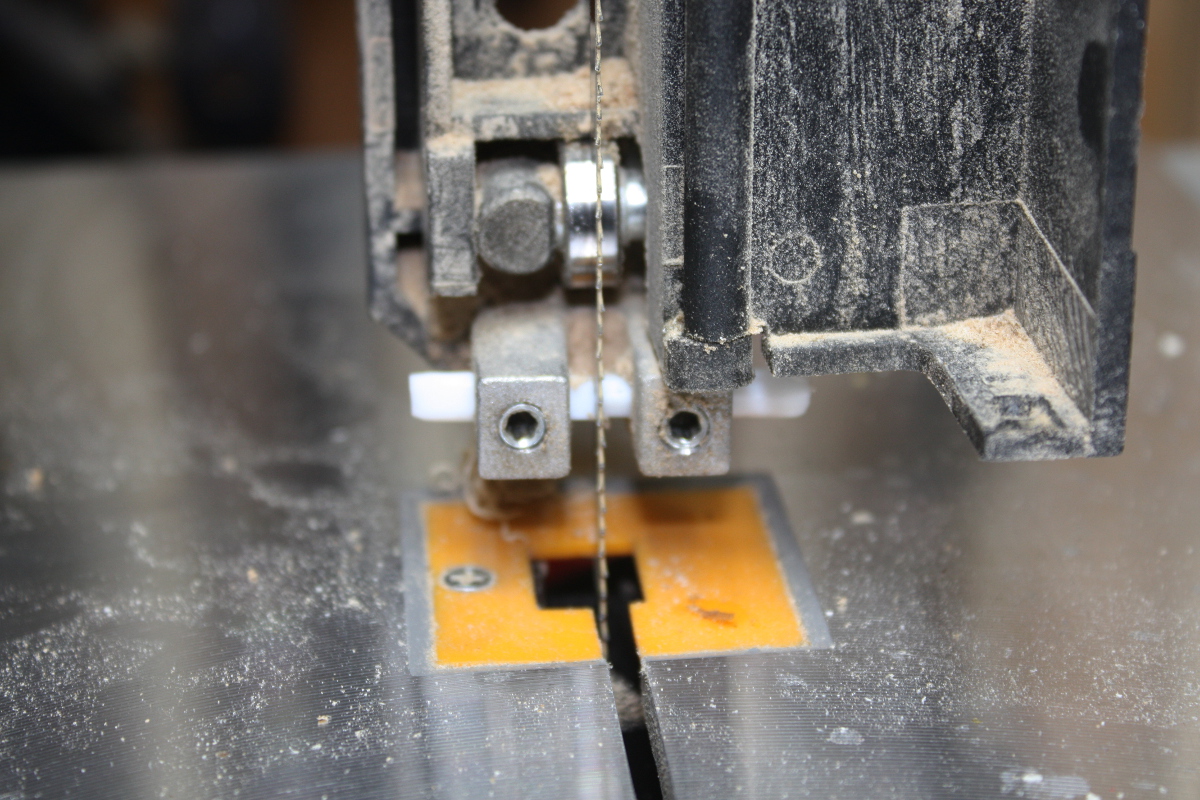
I did try using the bandsaw to do the rough-cut there but it *really* didn’t like my new experimental bandsaw guides…

Teflon rod instead of the steel rod that had been there. Oh well. I might just have been overloading it with torque in the piece because it was so large it was almost unmanageable, so I’ll test it on some smaller pieces later and either leave or replace the teflon guides with the originals.

With it trimmed to size (at least roughly, the end grain is going to need a final session on the shooting board), it was on to smoothing the tabletop. Oddly the #4½ wasn’t getting it done even after touching up the blade on the diamond stones; I had it set to a really high cutting angle last time I was working with it, on some sapele; I guess it’s just not biting on the oak as a result, though I’m not sure why not. Oh well, out with the #4 instead and that got it done quite nicely. It’s not fully done; I want to use the #5 to smooth the underneath a bit, and attach the top and then I’ll come back and finish up the smoothing work on the top.

Then on to the next project and picking out the wood from the board to match the plans. This will be a blanket chest – if you know what that is, the scale might seem strange, but there’s a reason for it (just run with it being a very small chest for now). I had a 9×30″ oak board that I could get all the rails and stiles from, even if it has a nasty bow a few inches from one end; but I want a final thickness of three-quarters of an inch and it’s just over an inch now so I can get that bow out. The posts I already had gotten from some 8/4 oak at the end of last week.

The bandsaw might be fussy but it does let you get rips done fast… even if you then have to spend a while with the #5 to get the edges back to being clean again.

Just trying to get a feel for the overall size there (it will be smaller than this – the joints aren’t cut and the oak’s not thicknessed yet). There will also have to be panels, this is just the frame, but one thing at a time. And I have an idea for the floorboards as well.

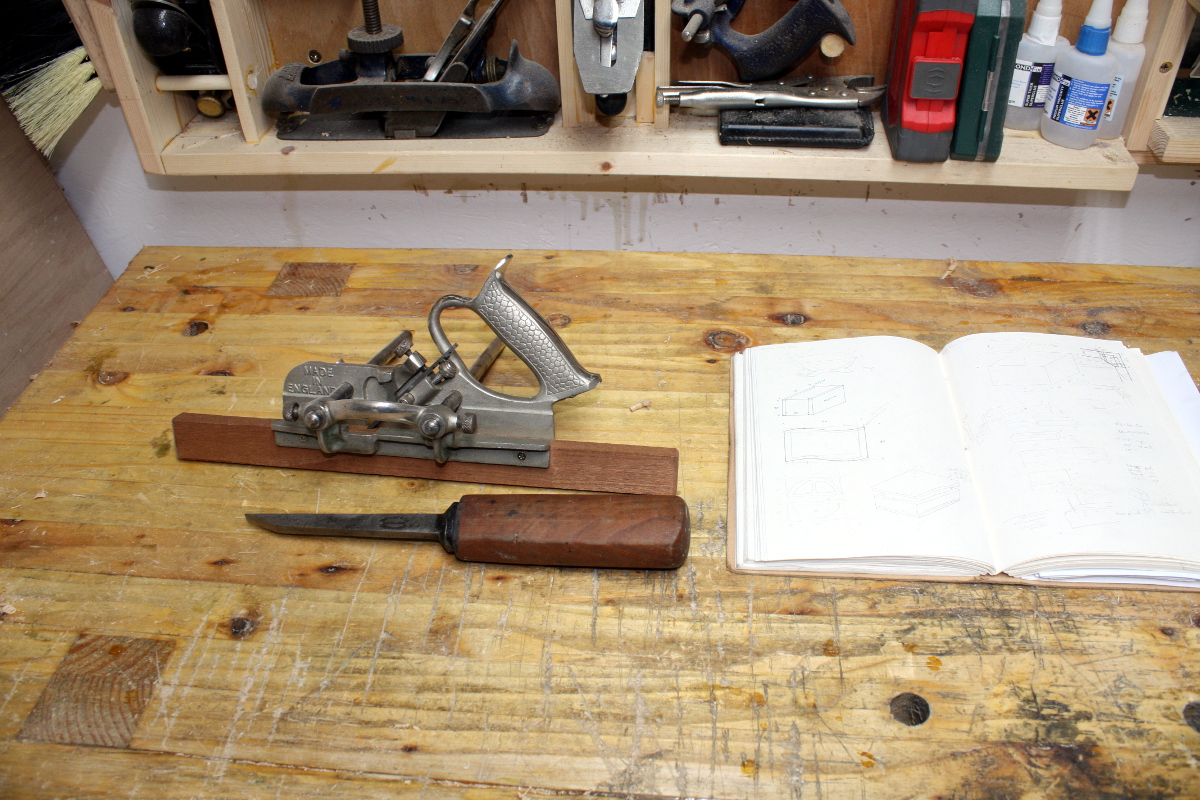
Finally going to get to use the pigsticker on this one 🙂

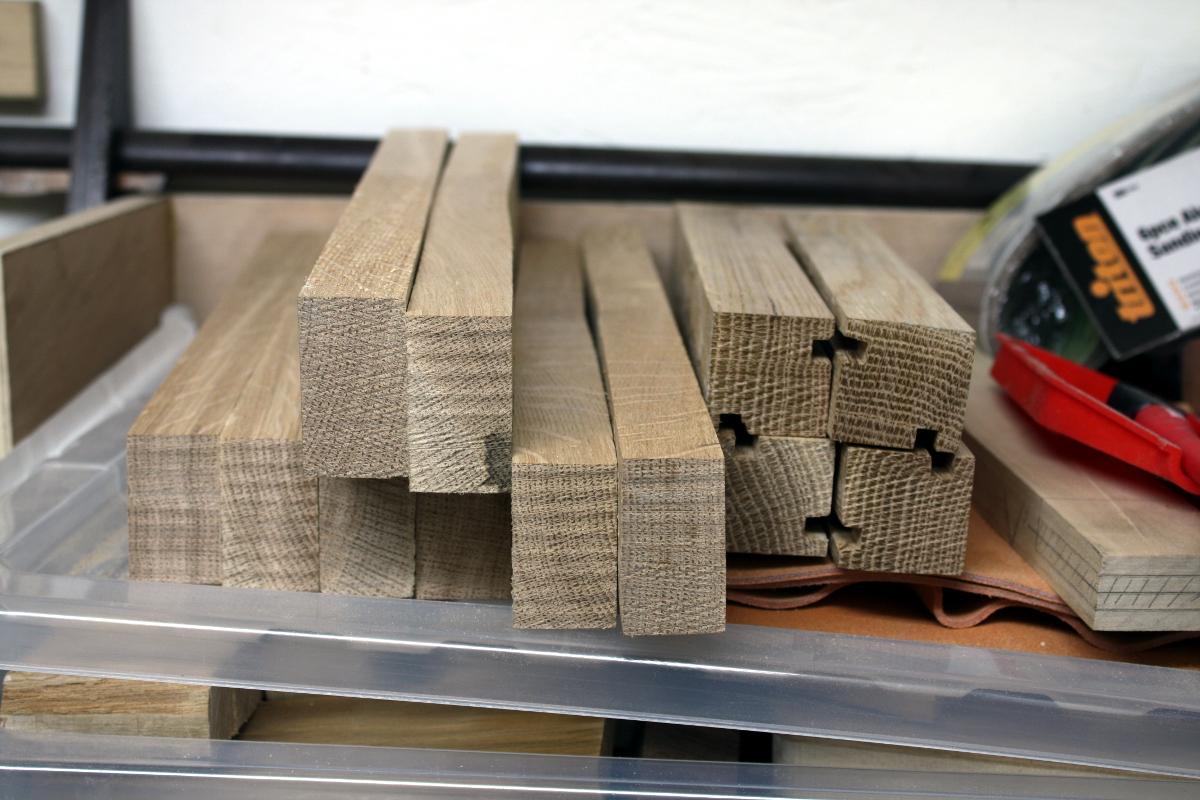
All the grooves cut in the posts. I’m wondering whether to thickness the rails and stiles before or after grooving. I’m leaning towards after. I didn’t dive into the morticing either, it’s too late in the day at this point for that, I’d wind up morticing the wrong groove somehow.

So, last job of the day, glueing up a blank for another bandsaw box.

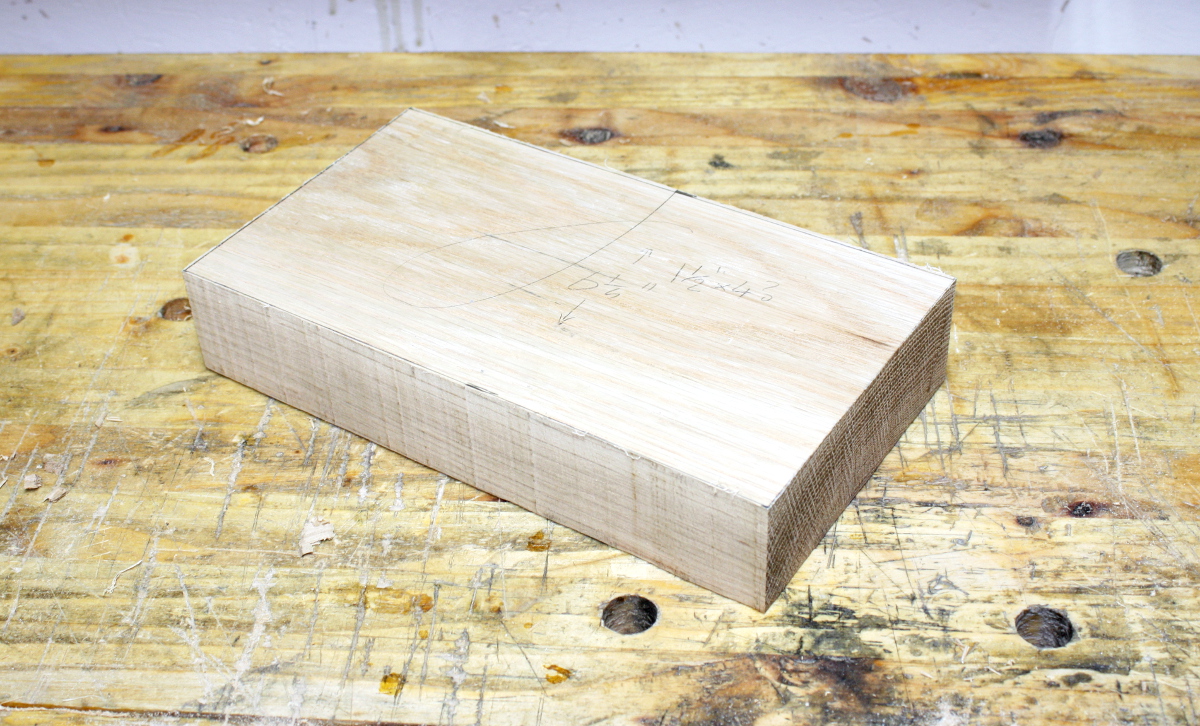
An offcut of walnut from a long rip that went badly (you can just see where the saw wandered there). It’s a bit small for anything else really, but for a bandsaw box it’s grand. Also, walnut. It’s basically cheating using this stuff (and at nearly €90 per cubic foot, it’s definitely pay-to-win cheating).

And I’ll leave things there for the evening. The last piece of hardware I need for the table should arrive on Monday, and I might be into the finishing before the end of the week if I’m lucky, as well as making progress on the chest and the bandsaw box.


27
Nov 17

Sounds okay

Couple of bits and bobs arrived in the post today:

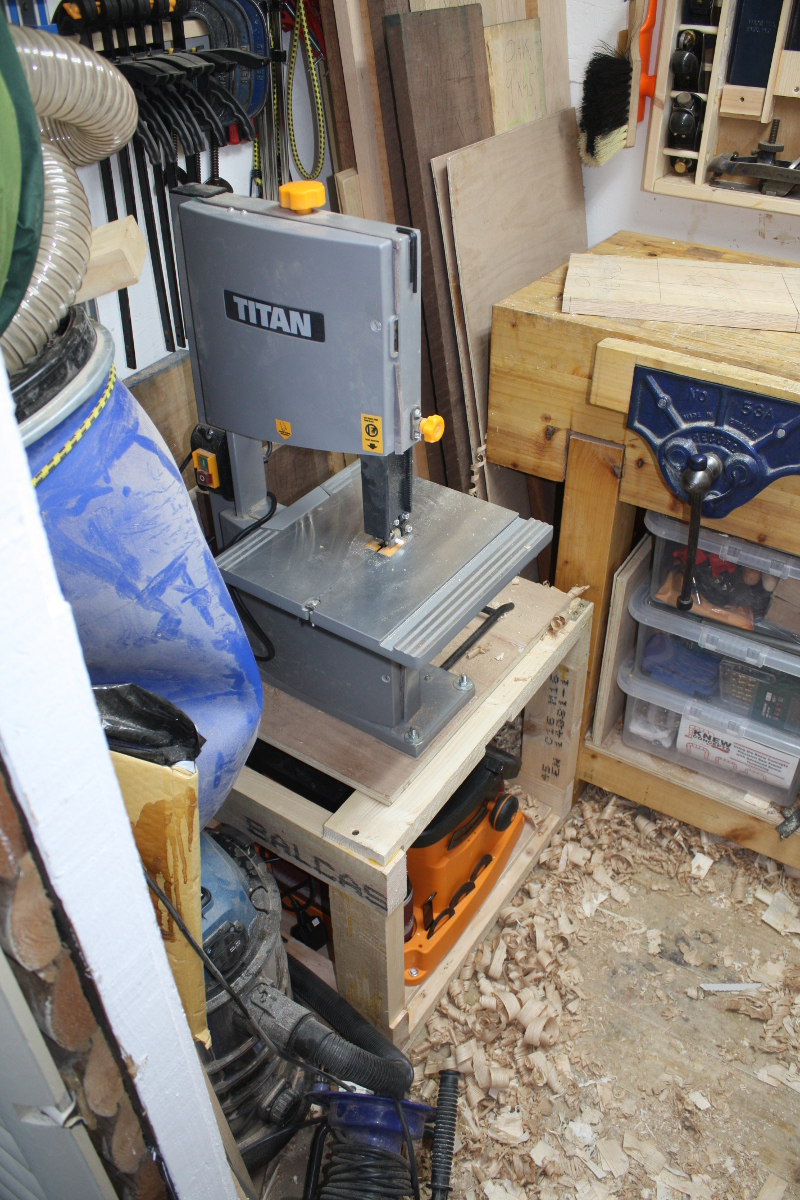
Some brass-plated hinges for the next project, a silicone hose adapter to try to improve dust extraction from the bandsaw:
Beats a spring clamp and a bungee cord.
And this little doodad as well:

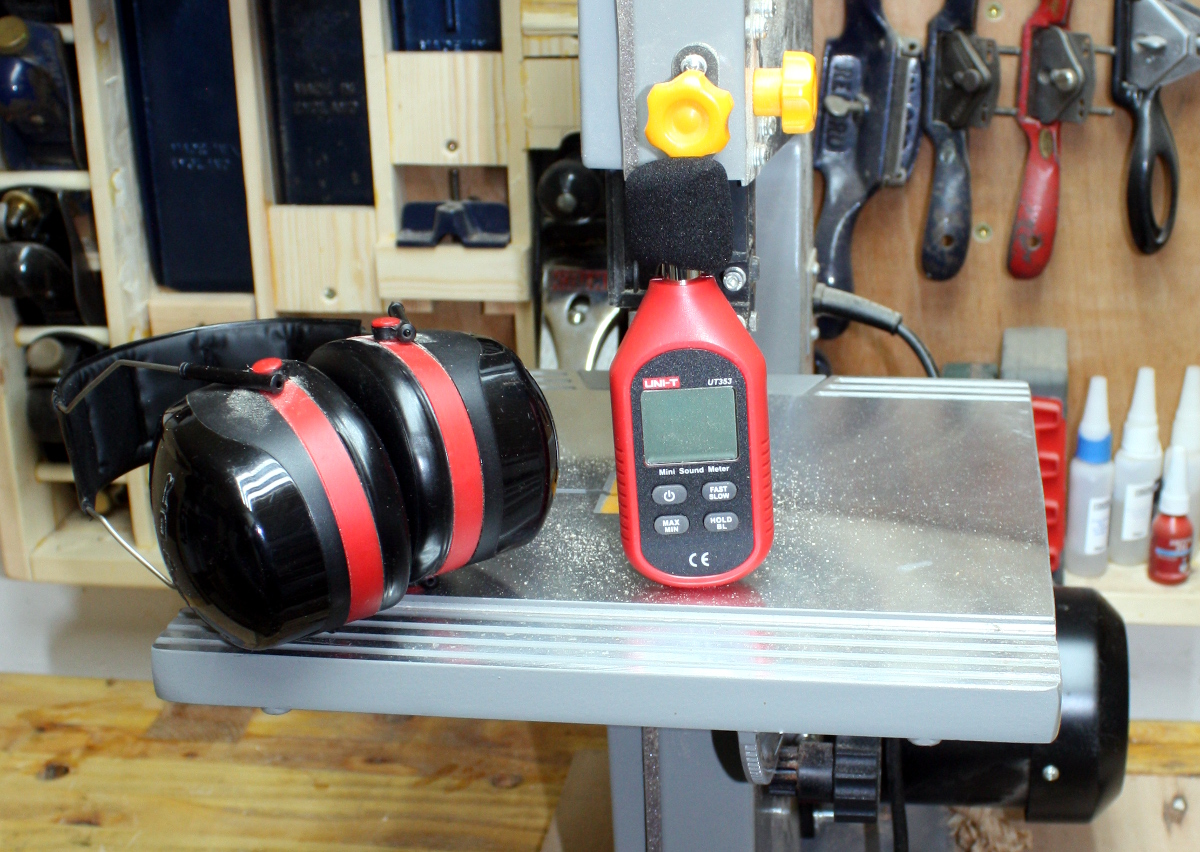
I’ve been wondering how bad the noise from the shed actually is for the neighbours you see. Enter the Uni-T UT353, a cheap little noise meter from Shenzen. And after a wee bit of experimentation, some pleasant results – the loudest thing with the bandsaw running is the vacuum cleaner that does dust extraction. It’s 87dbA in the shed itself with the door shut; 65dbA just outside on the decking; and it’s 55dbA back on the patio by the back door (for reference, it’s 65dbA inside the kitchen with junior watching Rescue Bots and the other usual sounds of life).

Now, start cutting wood and that does change a bit – 102dbA inside the shed, 83dbA on the decking and 74dbA back by the house. But that’s still only up there with a car driving past, not the you-definitely-need-hearing-protection levels that were my only experience of it so far (because I’m in the shed you see).

So that’s nice to know. I don’t think I’ll be getting anything noisier (the sander is rated at 76dBA) and frankly I don’t want to; and I limit the hours I use the bandsaw to anyway because people have to work (and anyway, apart from the boxes, I don’t use it for much beyond rough cuts).

Tonight for example, I took some of that 8/4 oak which I’d rough-sawn (by hand because it wouldn’t fit in the bandsaw) to about 1′ lengths, and I trimmed off the damaged edges (pack straps tend to mangle those) using the bandsaw.

I should get the four pieces I need from that for the next project without much trouble. I just planed the sides flat and marked a centerline; I’ll cut that in half tomorrow and then in halves again, and then trim the depth on the bandsaw (because thicknessing from 8/4 to 6/4 is a bit much even for a scrub plane like Sid). I’m taking this slow in the (probably vain) hope that’ll minimise the wood suddenly jumping into twist or warp or cup or bow…

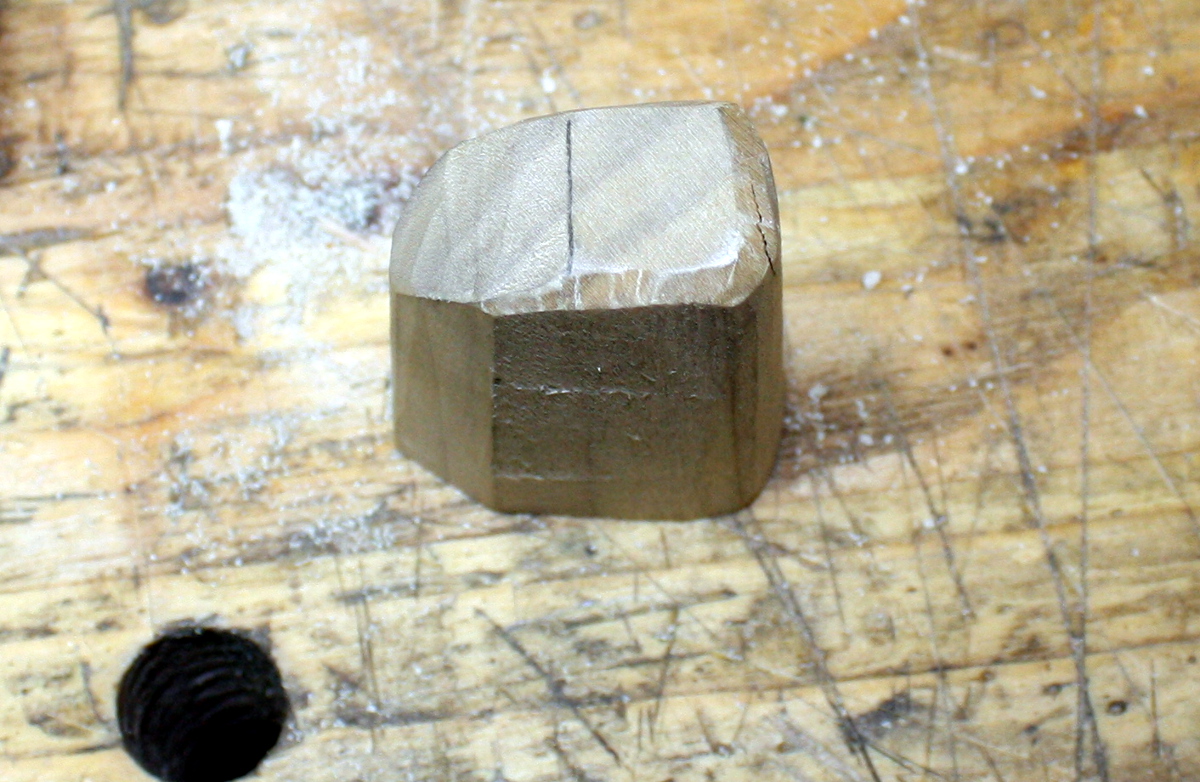
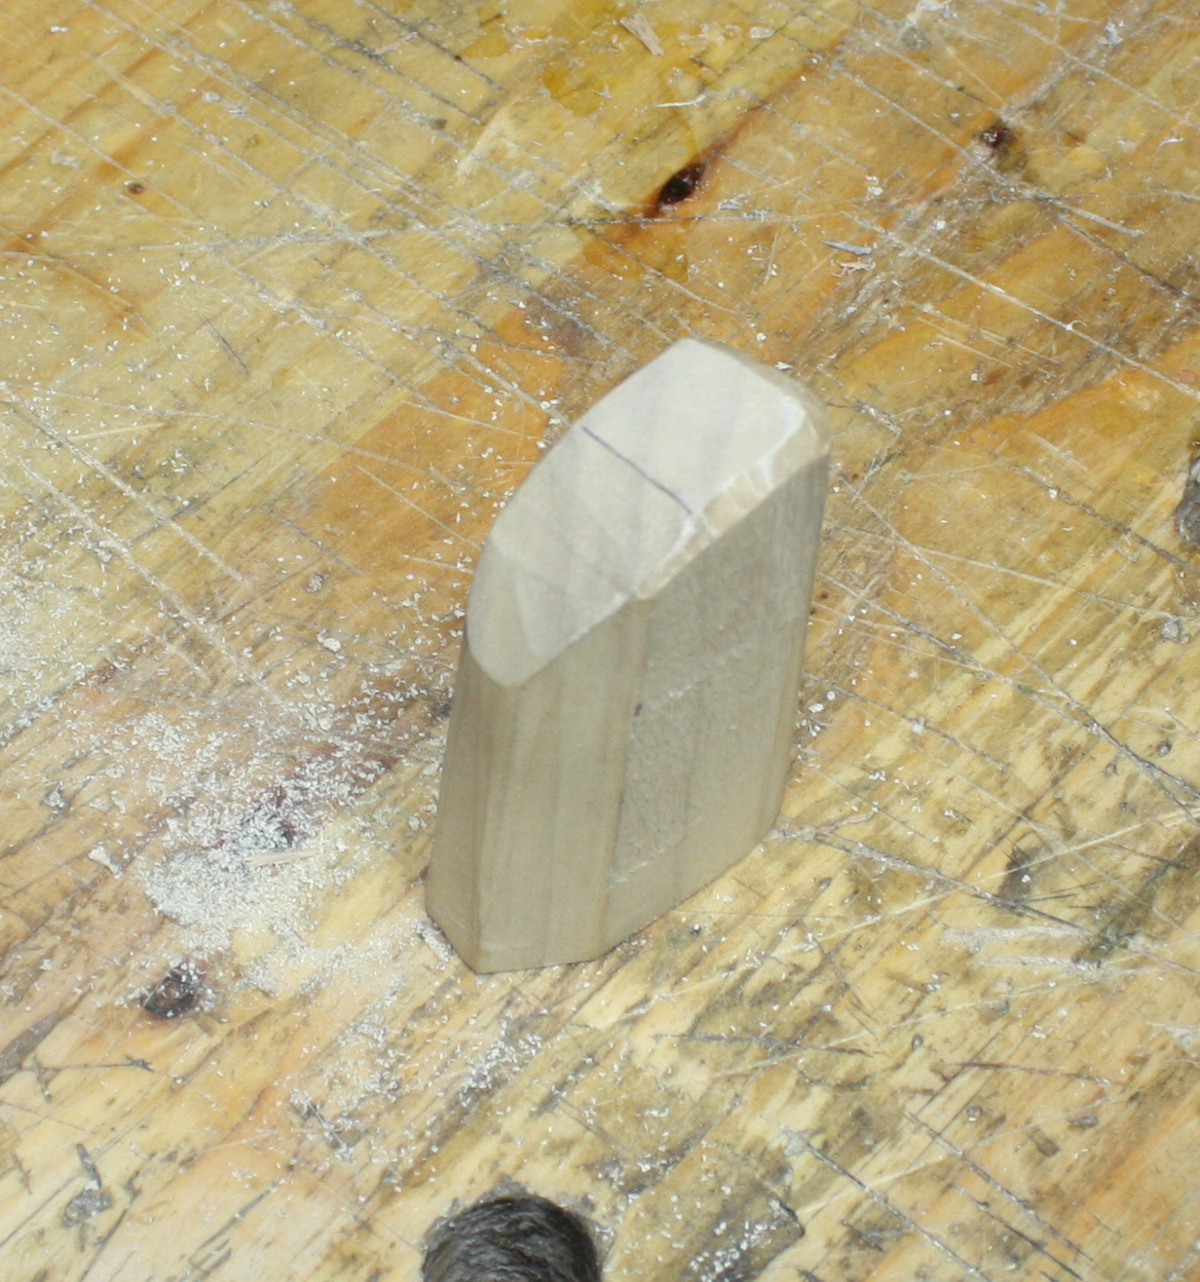
Then some mucking about with the legs and checking faces&edges and planning the profiling of the legs and whipping up a quick check-piece from a poplar scrap to see if the thing in my head looked the way I thought it would when I see it in real life:

I like the tapering off towards the back of the leg, not quite like an aerofoil shape but the same kind of idea. I think it’ll give it an interesting look (it won’t be quite so asymmetrical, but the size of that piece made it hard to hold which made it more awkward than it will be for a full-size leg).

And then I just laid out the tools for tomorrow and closed up the shed.

Quiet night tonight, I guess I’m just tired from the sudden arrival of winter…