16
Dec 17

Post partum prepping

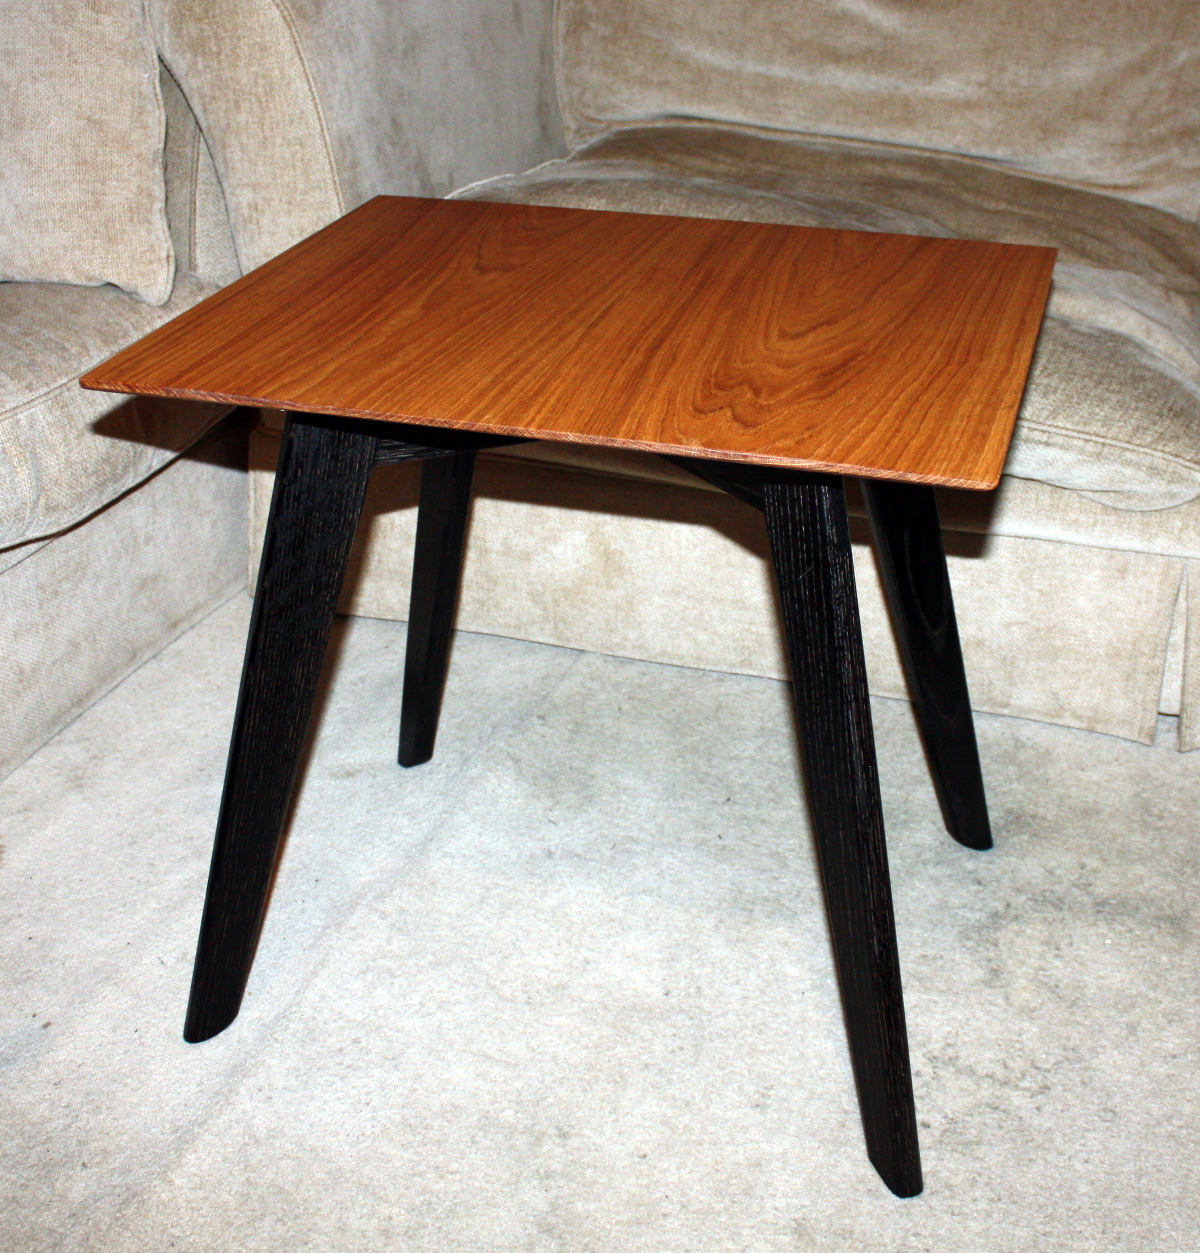
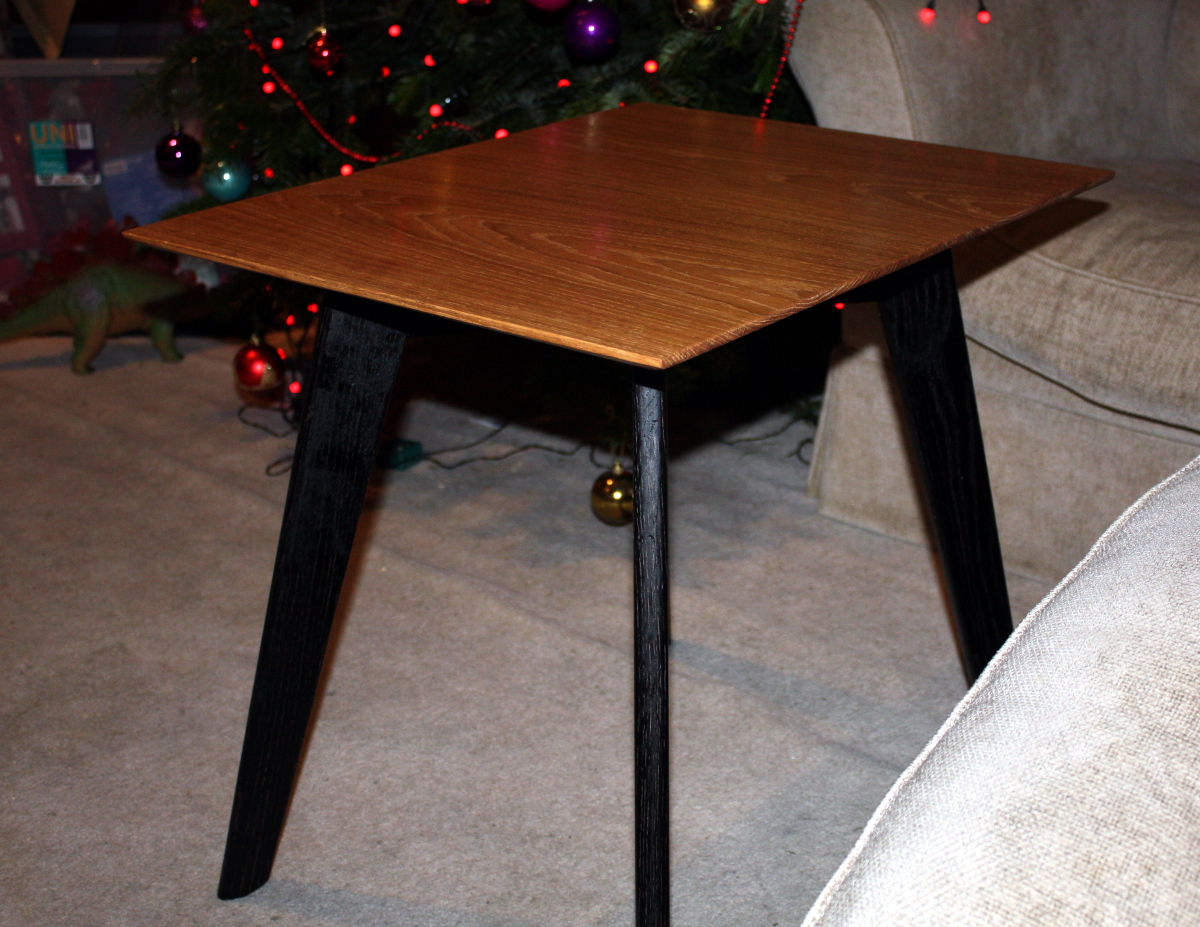
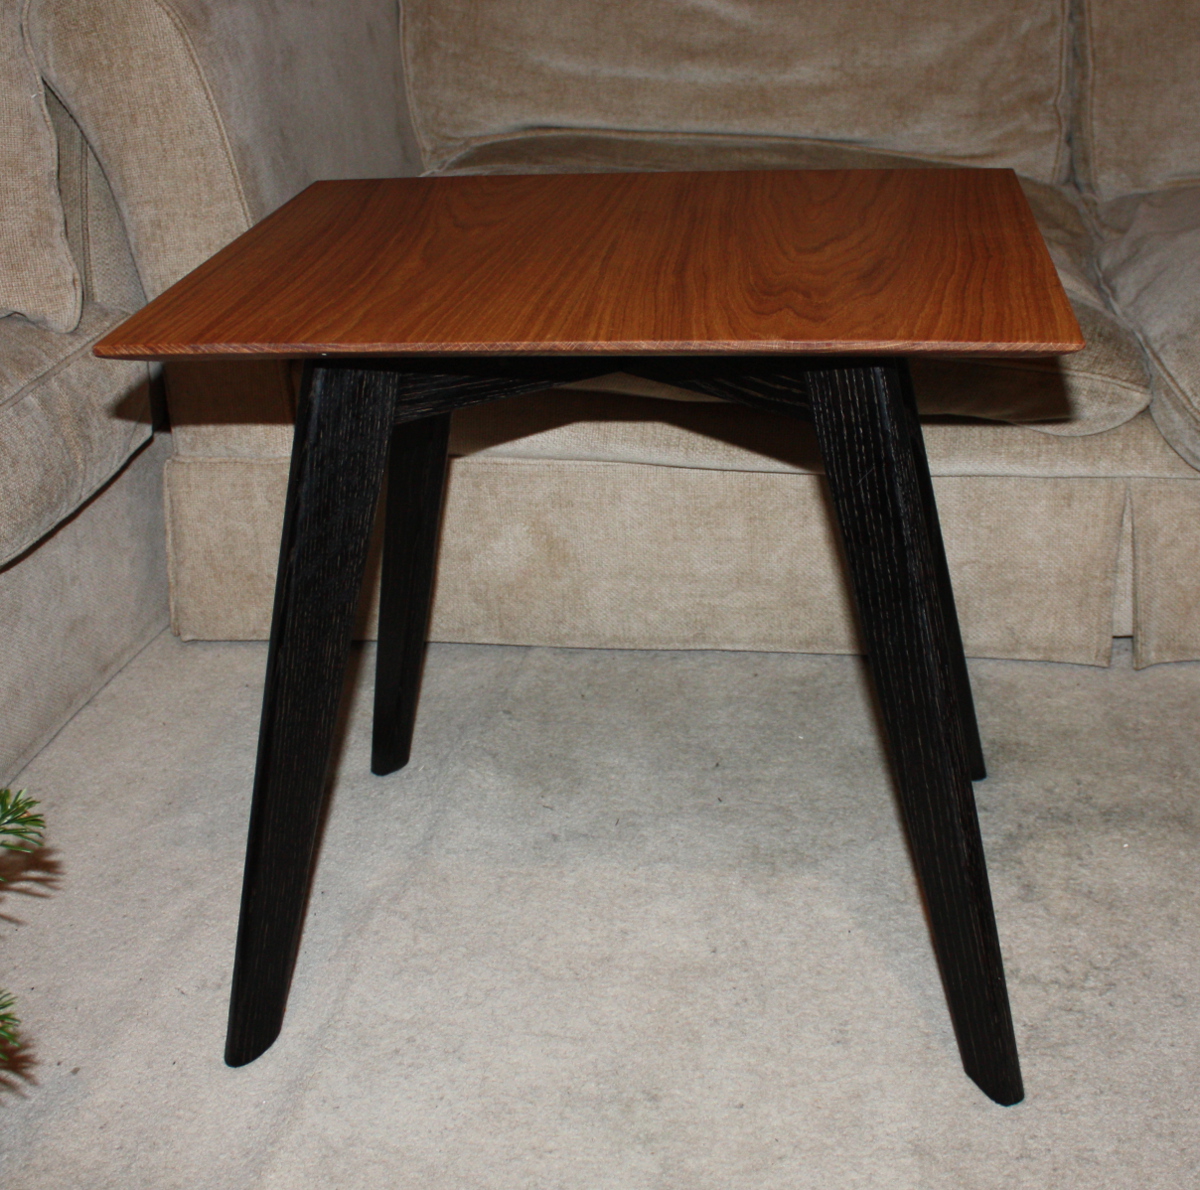
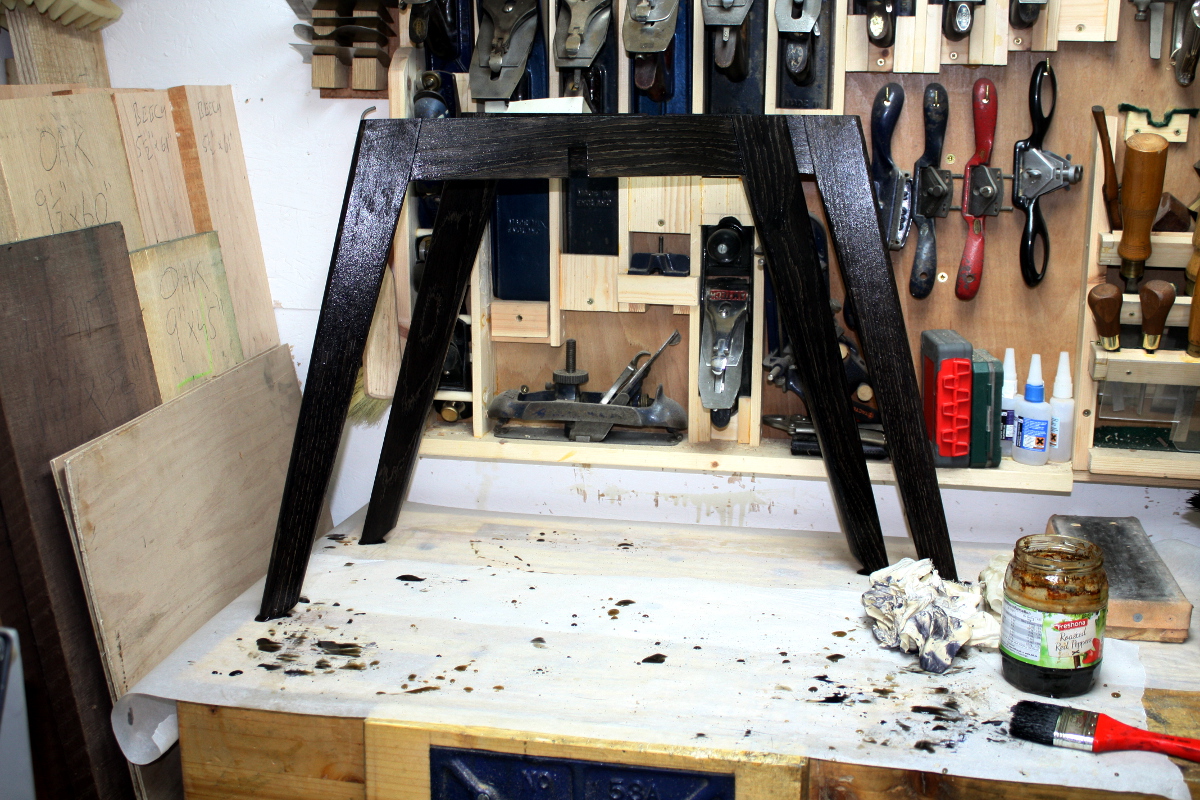
So, table delivered (yes, the recipient liked it). BTW, if you were wondering, it was a build-along to Richard Maguire’s video series:
In case you were thinking of buying that series, it’s well worth the money.

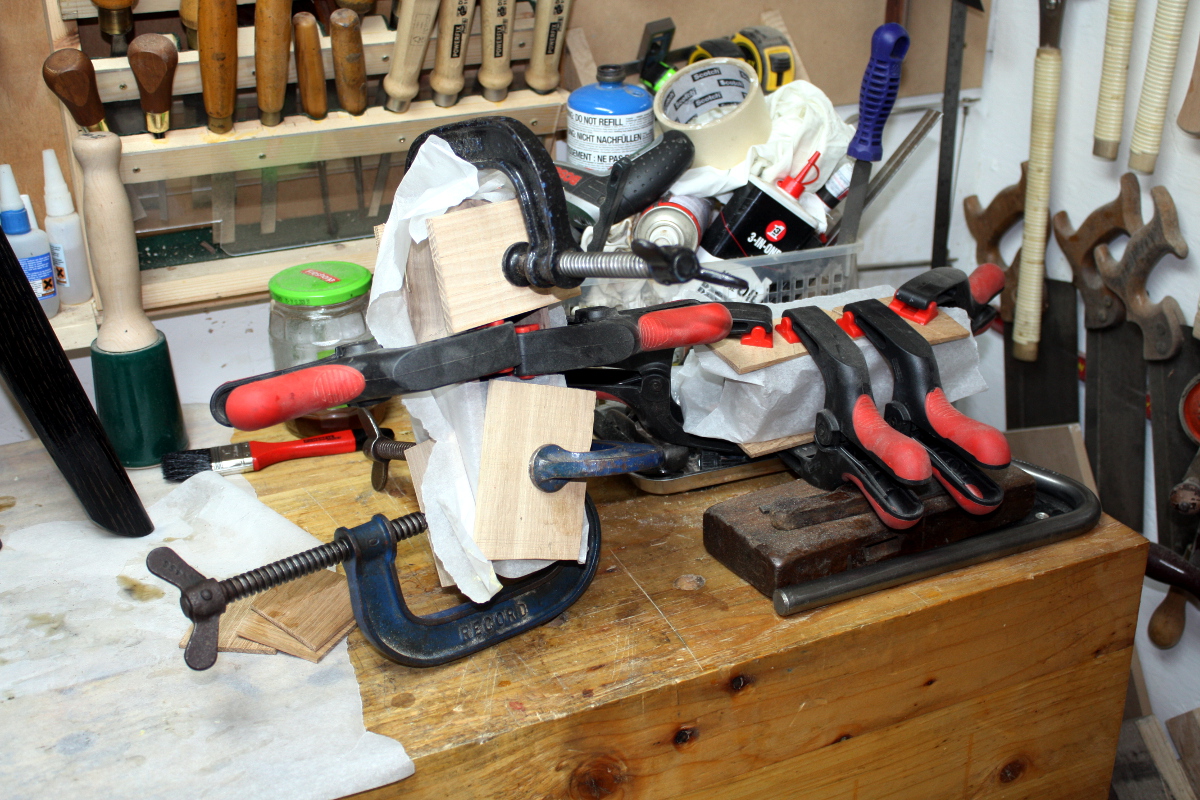
Today though (and yesterday) was all about cleaning down from the build (and carting away two rubbish bags full of shavings – not being able to burn wood here is a pain) and doing the dozen little jobs that needed doing like sharpening the wooden skew rebate plane I have here; going to use that in a build soon. And every plane had to get a light sanding with fine paper on the tops of the cheeks of their sides for surface rust (the -3C nights came with water vapour condensing on the cast iron) and then a fresh coat of wax. And other small jobs like that which had been backing up. I still have one more of those – building a japanese saw bench hook. I’m using a normal bench hook at the moment but for pull work, it can be a tad awkward because you have to hold the work to the fence. You can use a normal european bench hook if you hook it to the far side of the bench; but I think it’s a bit nicer if you attach the fence to the baseboard and drill through both and glue a dowel through both and down a few inches below the baseboard. The dowels then go in the bench dog holes and that’s your bench hook. Parts are set for that (I’m not sure I have enough dowel stock though) and I’ll get to it probably tomorrow.

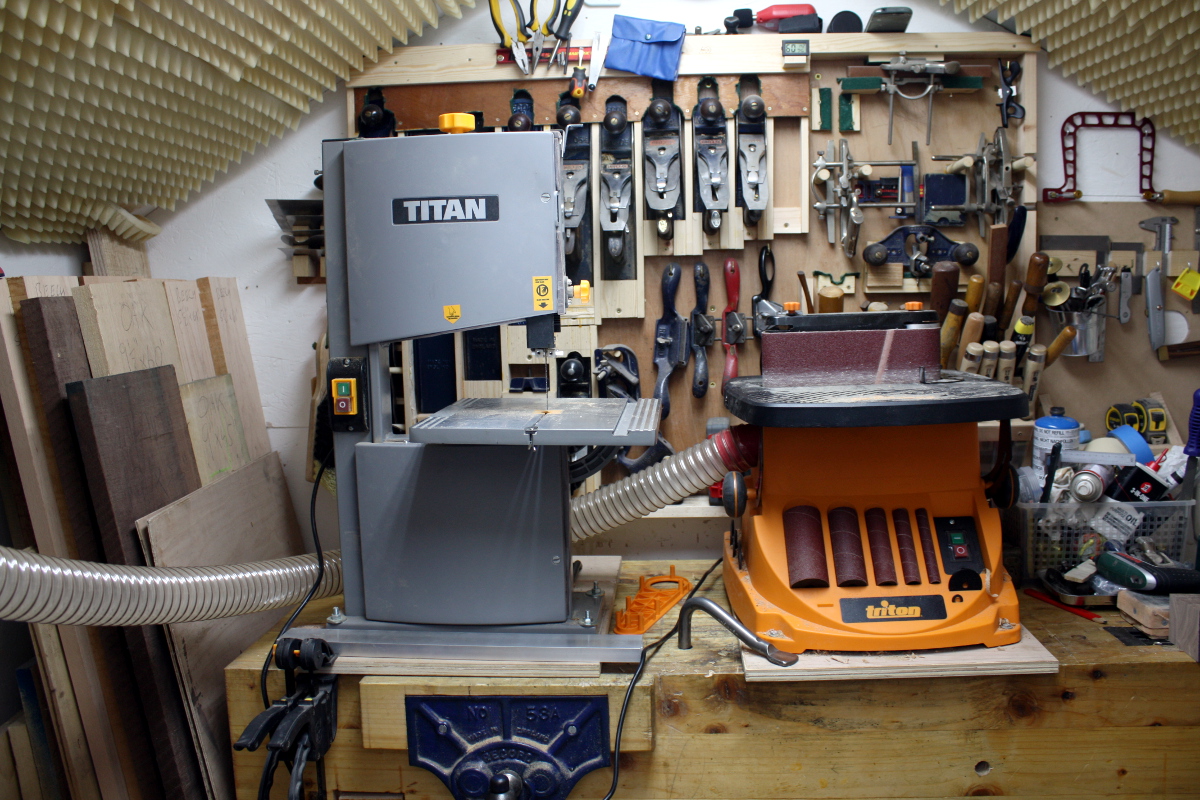
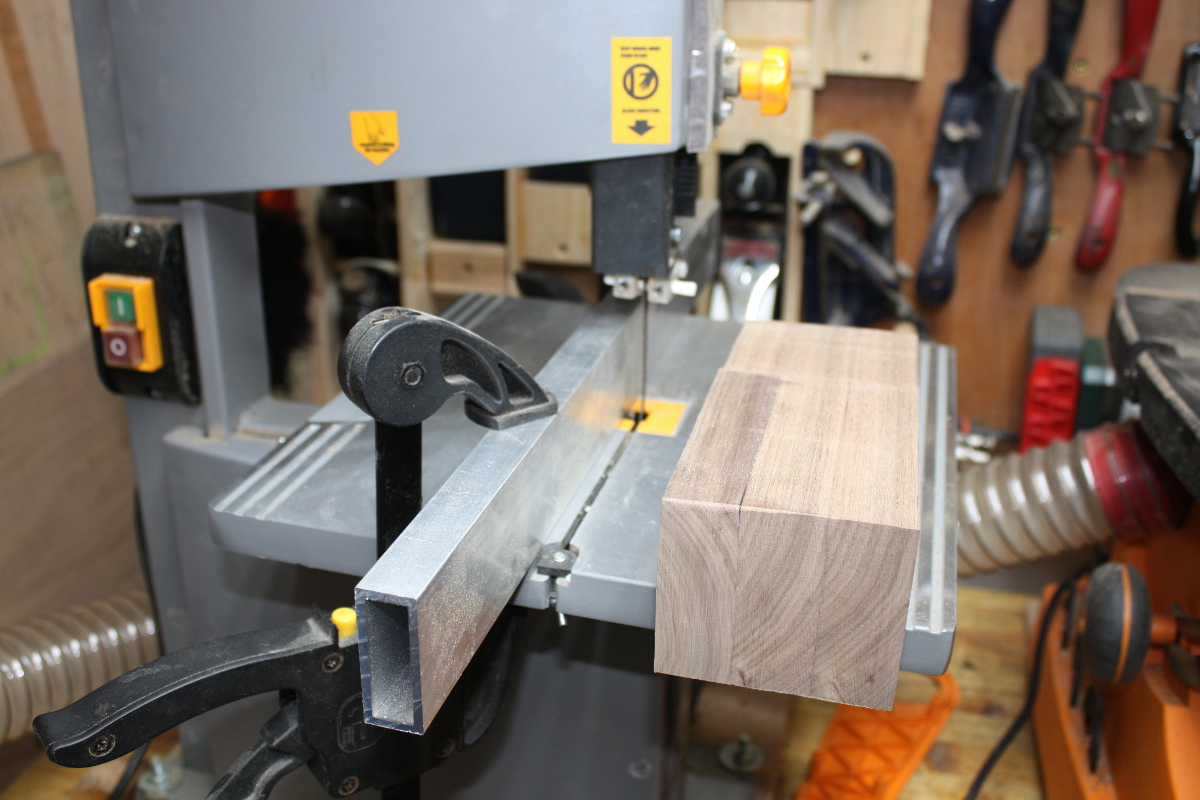
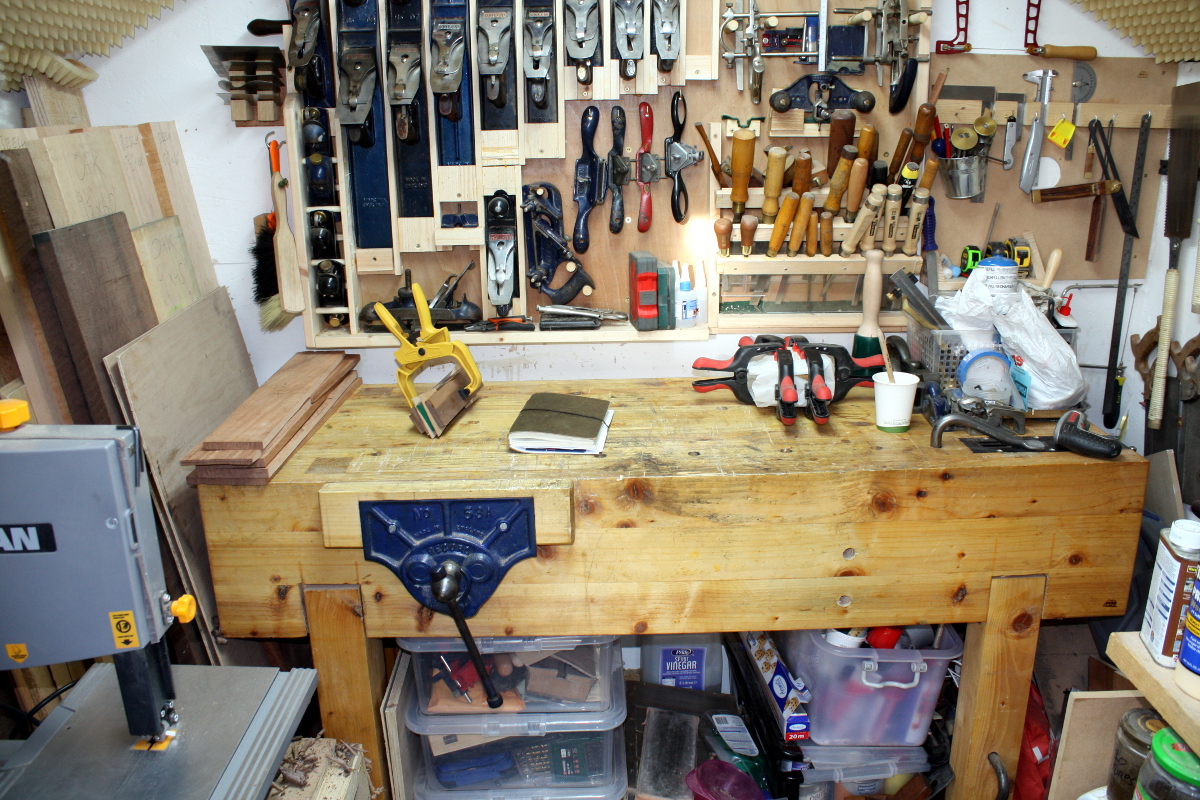
The rest of my time has been spent on stock prep. Bit of resawing and flattening and ripping yesterday and prepping some blanks for bandsaw boxes. So walking into the shed today it all looks fine…

…and then you turn to the right to look at the staging area…

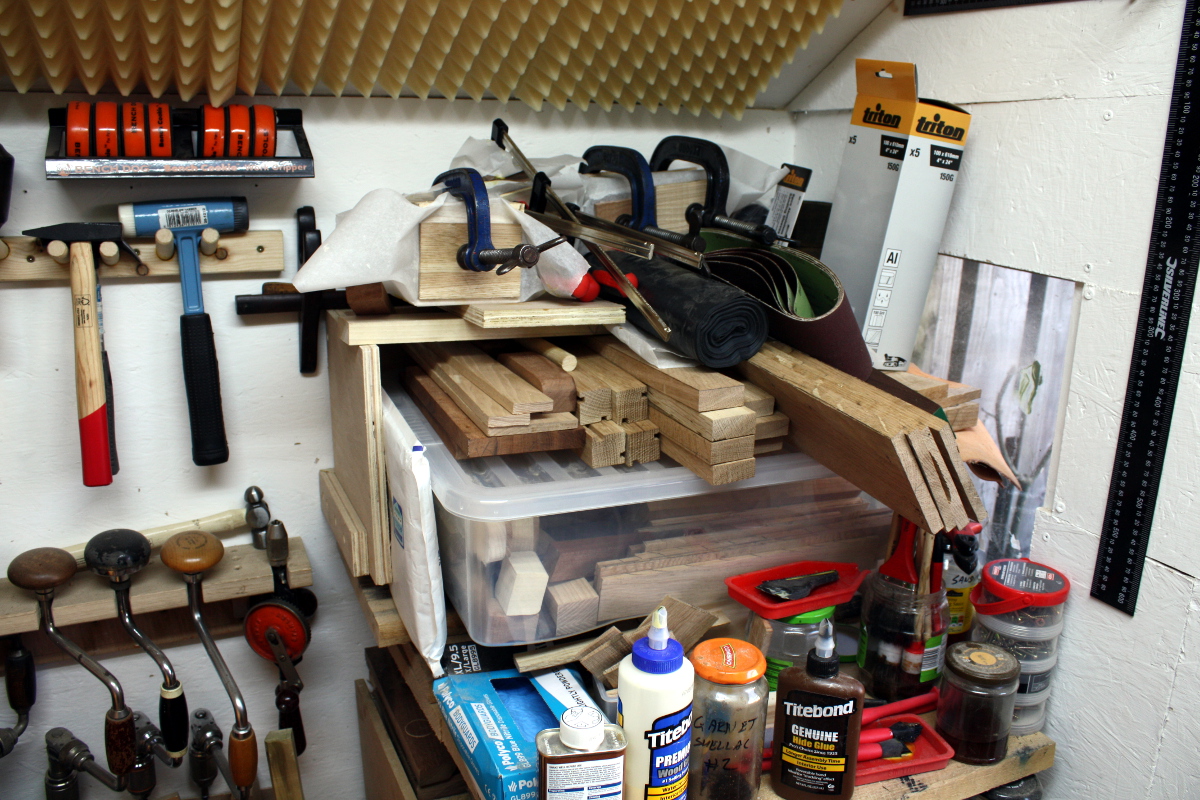
Ah. Right. So that’s four more side tables (or at least the raw material rough-cut for them) and then on top of that all the finishing jars and glues and screws and my plastic box of off-cuts. Those are only the bits I could use for things by the way (I’m resisting the packrat urge to keep every scrap of wood I cut off a larger piece on the grounds that There. Is. No. Room. In. Here), so resawn pieces that could be used to make small boxes or chunks that could become bandsaw blanks (not many of those left, I picked through the box on Friday to make up some blanks), or the cores from bandsaw boxes (which can get used for things like feet or drawer pulls or whatever).

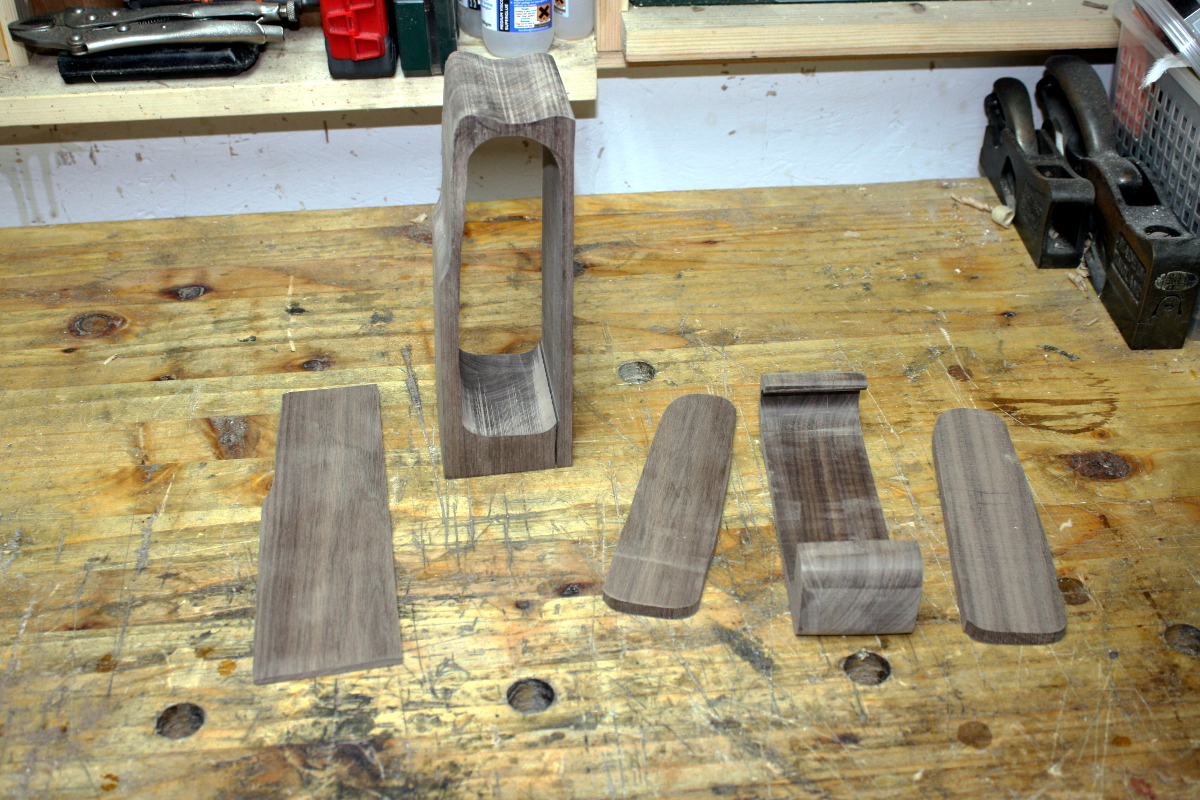
Tucked behind the plastic box are the panel gauge and the dovetail alignment board, and on top of the box is where I stash all the component parts of builds in progress (and a lot of sandpaper at the moment because I haven’t found a place for it). So there’s five glued-up blanks, and the component parts for six other projects in the pre-joinery stage.

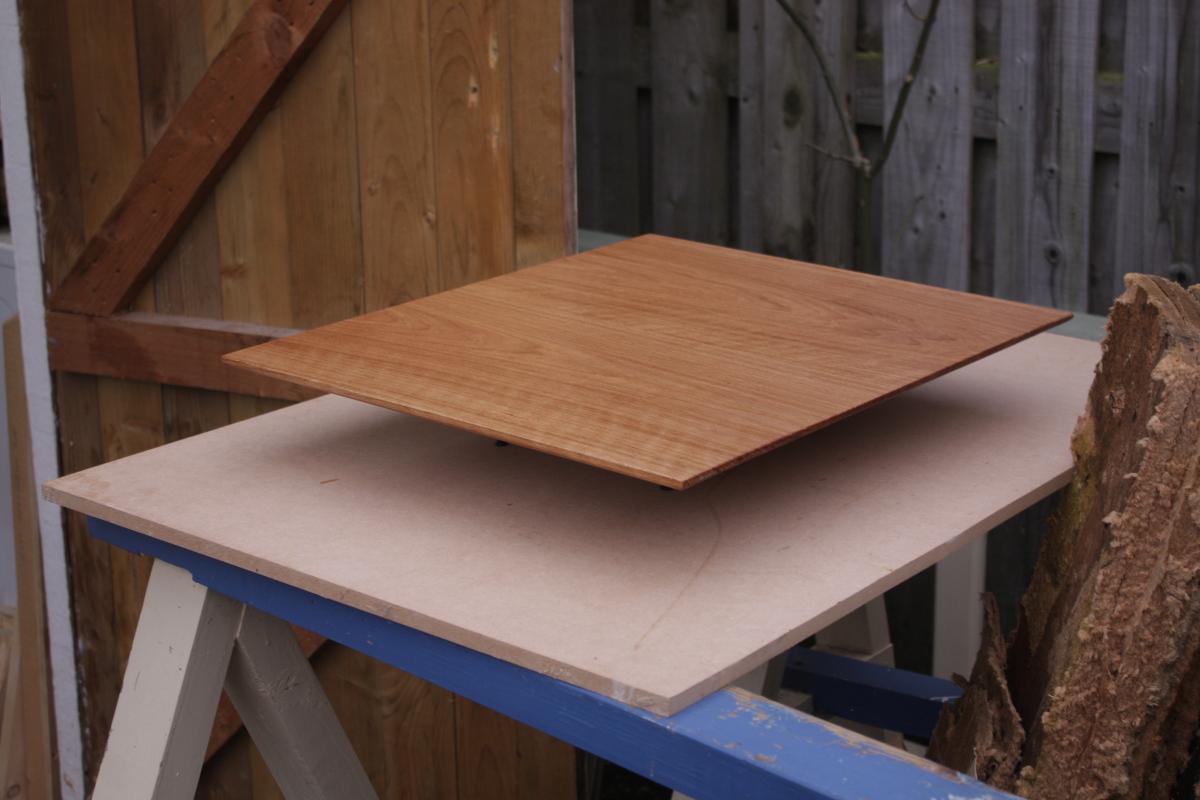
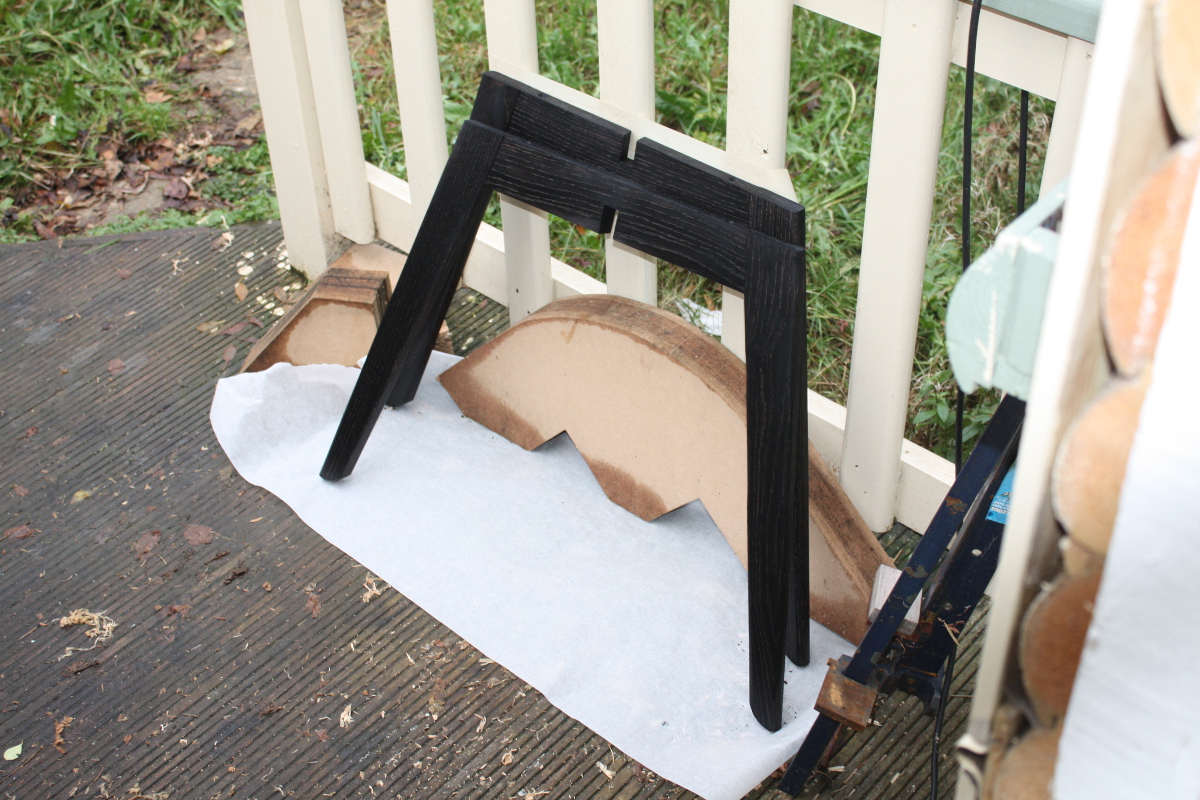
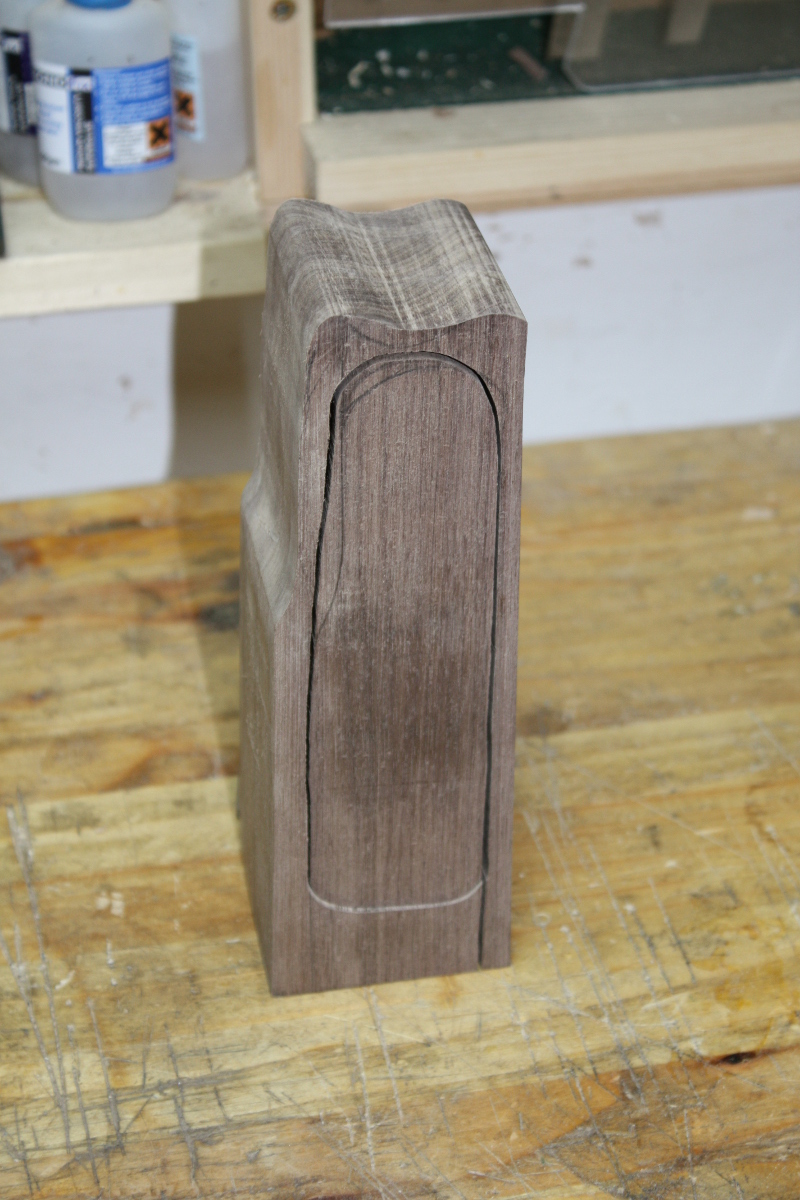
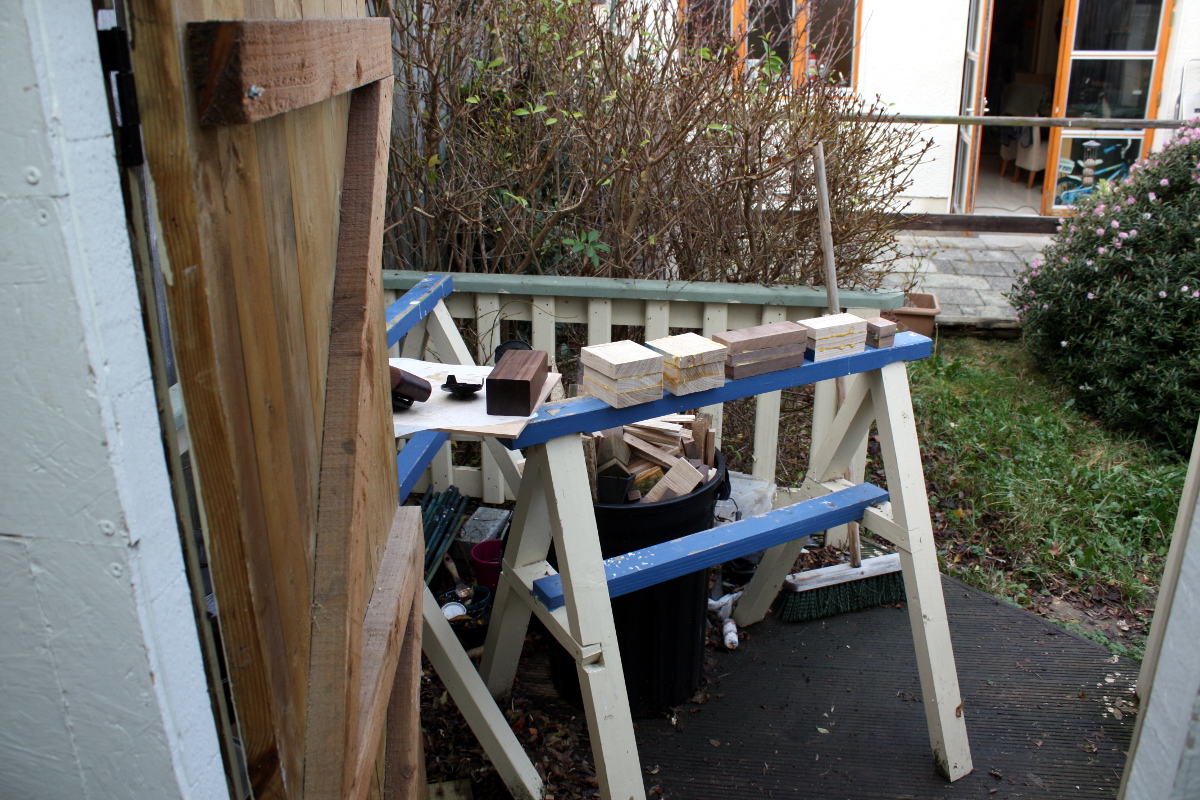
Blanks drying outside along with a bandsaw box that’s almost ready.

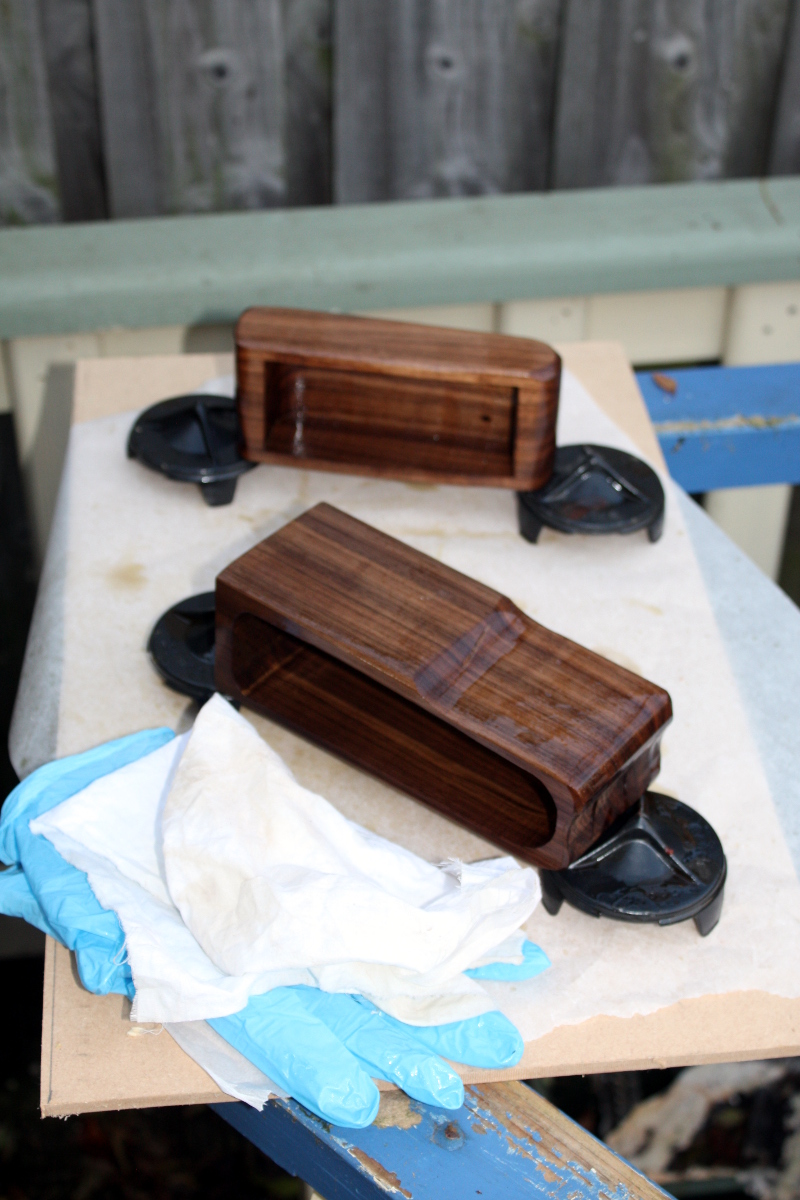
Two coats of danish oil in; going to do a coat or two of shellac yet and attach the hardware (it stands vertically and you use it to hang necklaces) and some felt in various spots. First box made using the new sander. It’s not that it makes it better so much as it makes it easier to do some things because you’re not worried that trying them will immediately remove a finger. More photos later.

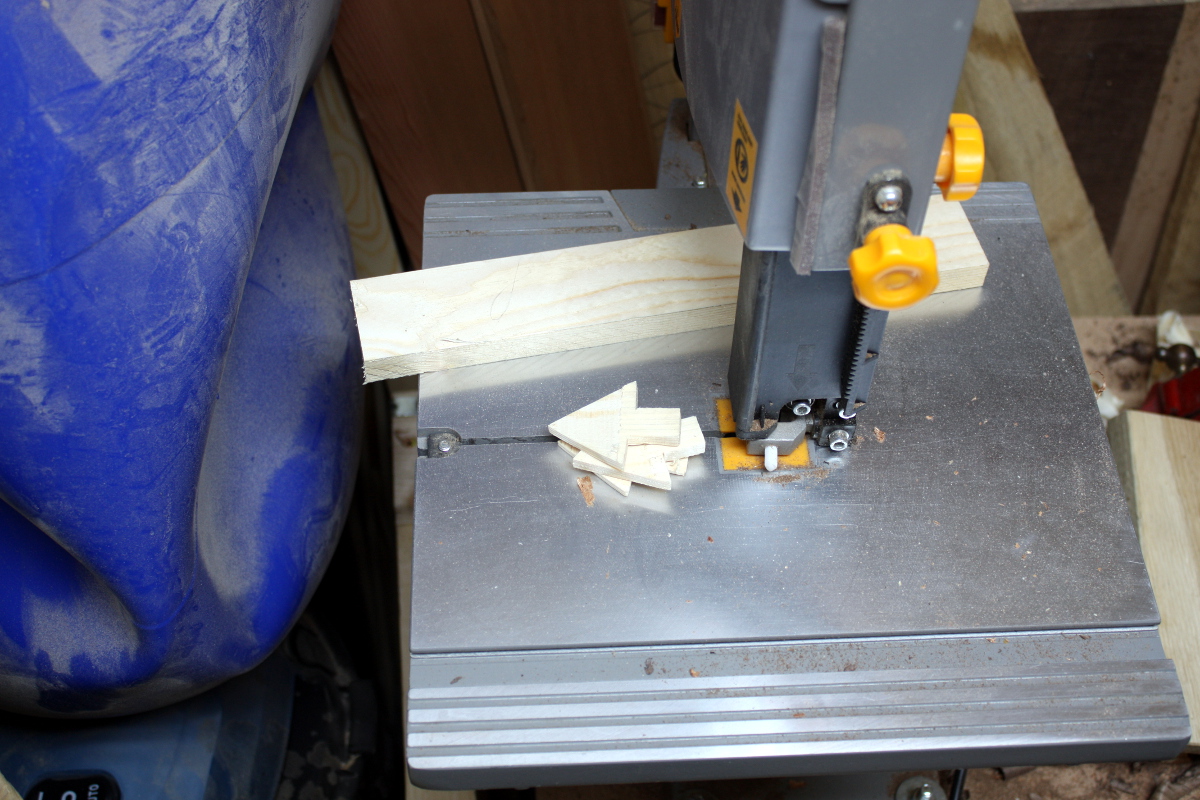
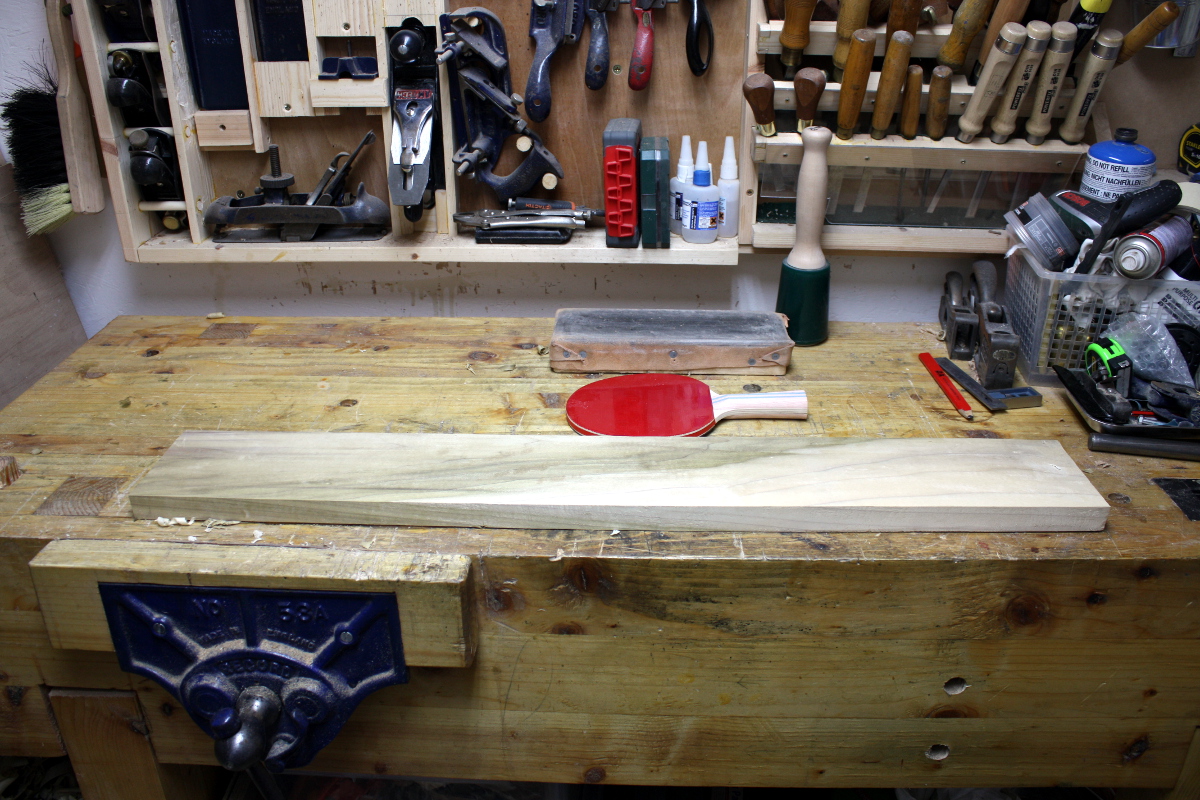
And this is a quick test of a Paul Sellers idea for a project to do with the kids:

He made his using a razor-sharp chisel; I won’t be doing that with Calum 😀 The project works just fine with saw and bench plane 😀 With a bit of luck, that’ll keep him occupied for the guts of an hour and he can make one for his teacher.

And then I have two more projects to prep for, one in beech and one in poplar. This phase always seems to make me long for a powered planer thicknesser, can’t think why…

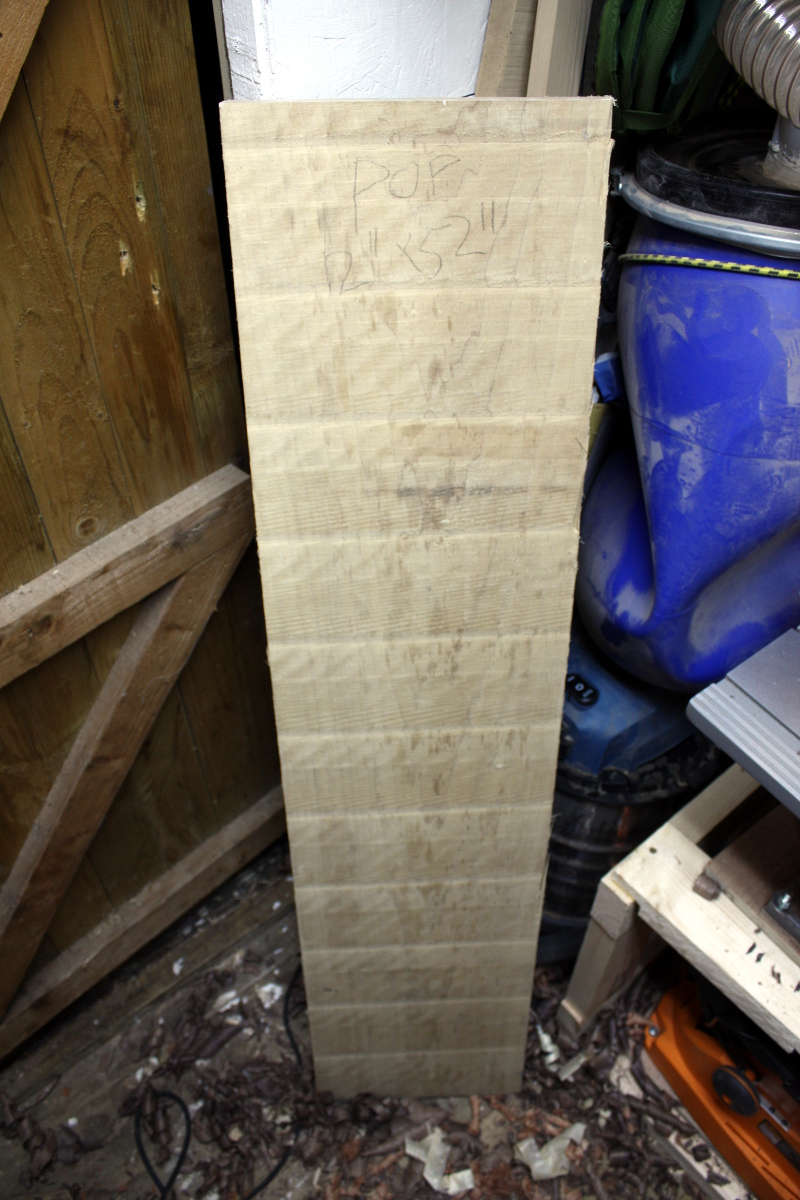
Can you tell what it is yet?


13
Dec 17

Finished.

Well, I don’t have a professional studio backdrop for photos, but…

Didn’t come out too badly. I’ve cheated slightly here – the final coat of osmo on the legs is still tacky because the shed never got above 5C today, so it’ll finish curing overnight in the unheated kitchen. But the top has its renaissance wax and it’s been buffed. Tomorrow I’ll wrap it in some spare cloth I have and deliver it.


12
Dec 17

A day in the shed

So because I spent 2300 to 0400 on Friday night and 0900 to 1830 on Saturday working, I get a TOIL (Time Off In Lieu) day. Which I took today for reasons like waiting on The Plumber Who Never Showed Up. The plan was to spend all day in the shed. But since it hit -3C overnight, first things first.

Earl Gray, hot. With milk just to tick off the purists. And aren’t cast iron Japanese teapots nice? It’s the little things…

So with the shed at a balmy 3.5C, time to get to work, First, put the last coat of osmo on the tabletop and now I have to make some room and get the tabletop off the bench so I can get to it.

It’s not ideal, but needs must. And yes, I do need to clear away that rubbish in the wood bin, but this isn’t the countryside and neighbours wouldn’t take well to a small bonfire. Or for that matter, any fire involving wet MDF. I can’t blame them for that, I’d be miffed at needing a respirator in my own back yard as well. But I digress.

So the legs have been sanded down, given a last coat of the oak tea, let dry for five minutes so that right now the surface is damp to the touch but not actually wet. Time to apply the vinegar&iron solution…

That never gets old. It’s so dark it’s messing a bit with the camera’s auto-white-balance thingy, but it does that to the Mk1 eyeball too.

It’s a little… grubby looking close up. No worries. This is just the first stage, and I’m a bit oddball in that I like that pin-stripe-trousers thing the grain’s doing there. Dunno why, it just looks nice to me. However; now we give it about ten minutes to keep reacting (those were taken about 4-5 minutes in).

And after that time, we paint it in more oak tea, let it dry for five minutes, then more vinegar and iron solution, dry for five minutes, and then a last coat of the oak tea. At this point, it’s about as dark as it’s going to get in the time I have available (it will continue to react for the next 10-12 hours anyway and get darker as it does).

Wake up, time to dry.

They’ll go a kind of dusty purple in the next hour or three; that’s expected.

And now I have some time and a shed with a free bench….

I have an idea here. Trust me.

…or maybe not. I gave up on this idea here; I’ll come back to it over the holidays, but I can’t get it done today and I’ll just mess up the other things I’m working on. I guess recognising this kind of thing and giving up early is a good skill, but it still irks me.

Anyway, I do have something else on my to-do list for today:

Ug. Machines. And they’re ganging up on me now. Yes, it’s bandsaw box time. First though, I have a plan for that bandsaw…

Remember these? Going to fit the smaller ones.

Remove the older, larger thrust bearing.

Gunky! Now replace with the new smaller bearing.

The washer makes it look off-center, but it’s fine. The whole lego-part thing is great with these. Now for the lower thrust bearing, which is more awkward because of course it is. It’s not like being underneath the table would make it awkward enough, you also have to remove the entire assembly to replace the bearing.

Why is the lower post adjustable when you can’t reach it but the upper one isn’t? Le sigh.

Well. That explains a few noises. So much for sealed bearings.

And done. Modified thrust bearings, replacement teflon blade guides. And why go to all this effort? Three-eighths inch blades. Stronger than the normal quarter-inch blade, so you get better straight cuts on long rips (the main reason for having this bandsaw in the first place). But you can’t install them on this bandsaw properly with the normal thrust bearing – the normal bearing shoves the blade forward if you put the teeth gullets in the middle of the bandsaw wheel like you’re supposed to:

Put the leading edge of the bandsaw on the crown of the wheel like that and it has the most tension and thus is the most resistant to buckling when you shove wood into it; but you don’t want the thrust bearing rubbing on the back of the blade when you’re set up like this or the blade will behave oddly. With the new bearings, there’s just enough clearance (maybe 0.2mm but that’s sufficient).

And yes indeed, it does now cut much better than before with this blade, tracking straight down the pencil line instead of doing a drunken walk from one side of the line to the other and leaving you jockeying around the piece to try to minimise the amount of planing you’ll need to get it set afterwards.

And so, on with installing my redneck fence and starting into the bandsaw box by cutting off the back.

BTW, sanding with the triton sander is waaaaay less scary than sanding with a belt sander under a holdfast on the bench, so +1 for that, but they are out and out liars of the most bare-arsed kind when it comes to noise level ratings. If I turn this thing on and shove my fingers into the spinning belt, sanding off all my fingernails, nobody outside the shed would know because they’d never hear me over the noise of the sander. Hrmph.

Still, works. Going for a vertical format box here.

Glue-up tonight, more sanding tomorrow, some oil and a coat of shellac and done.

One box, all the clamps. How many clamps should I bring to the glueup?

And I’ll leave it there. I’ll try to get another coat of osmo on the legs tomorrow morning before work and another in the evening and if I can, that should be the table complete. I’ll assemble it, take a few photos, and then pass it on to its intended recipient.

Honestly, I’m not screwing around with the photo here, it actually is black enough that it’s confusing the camera’s not-so-clever white-balancing.