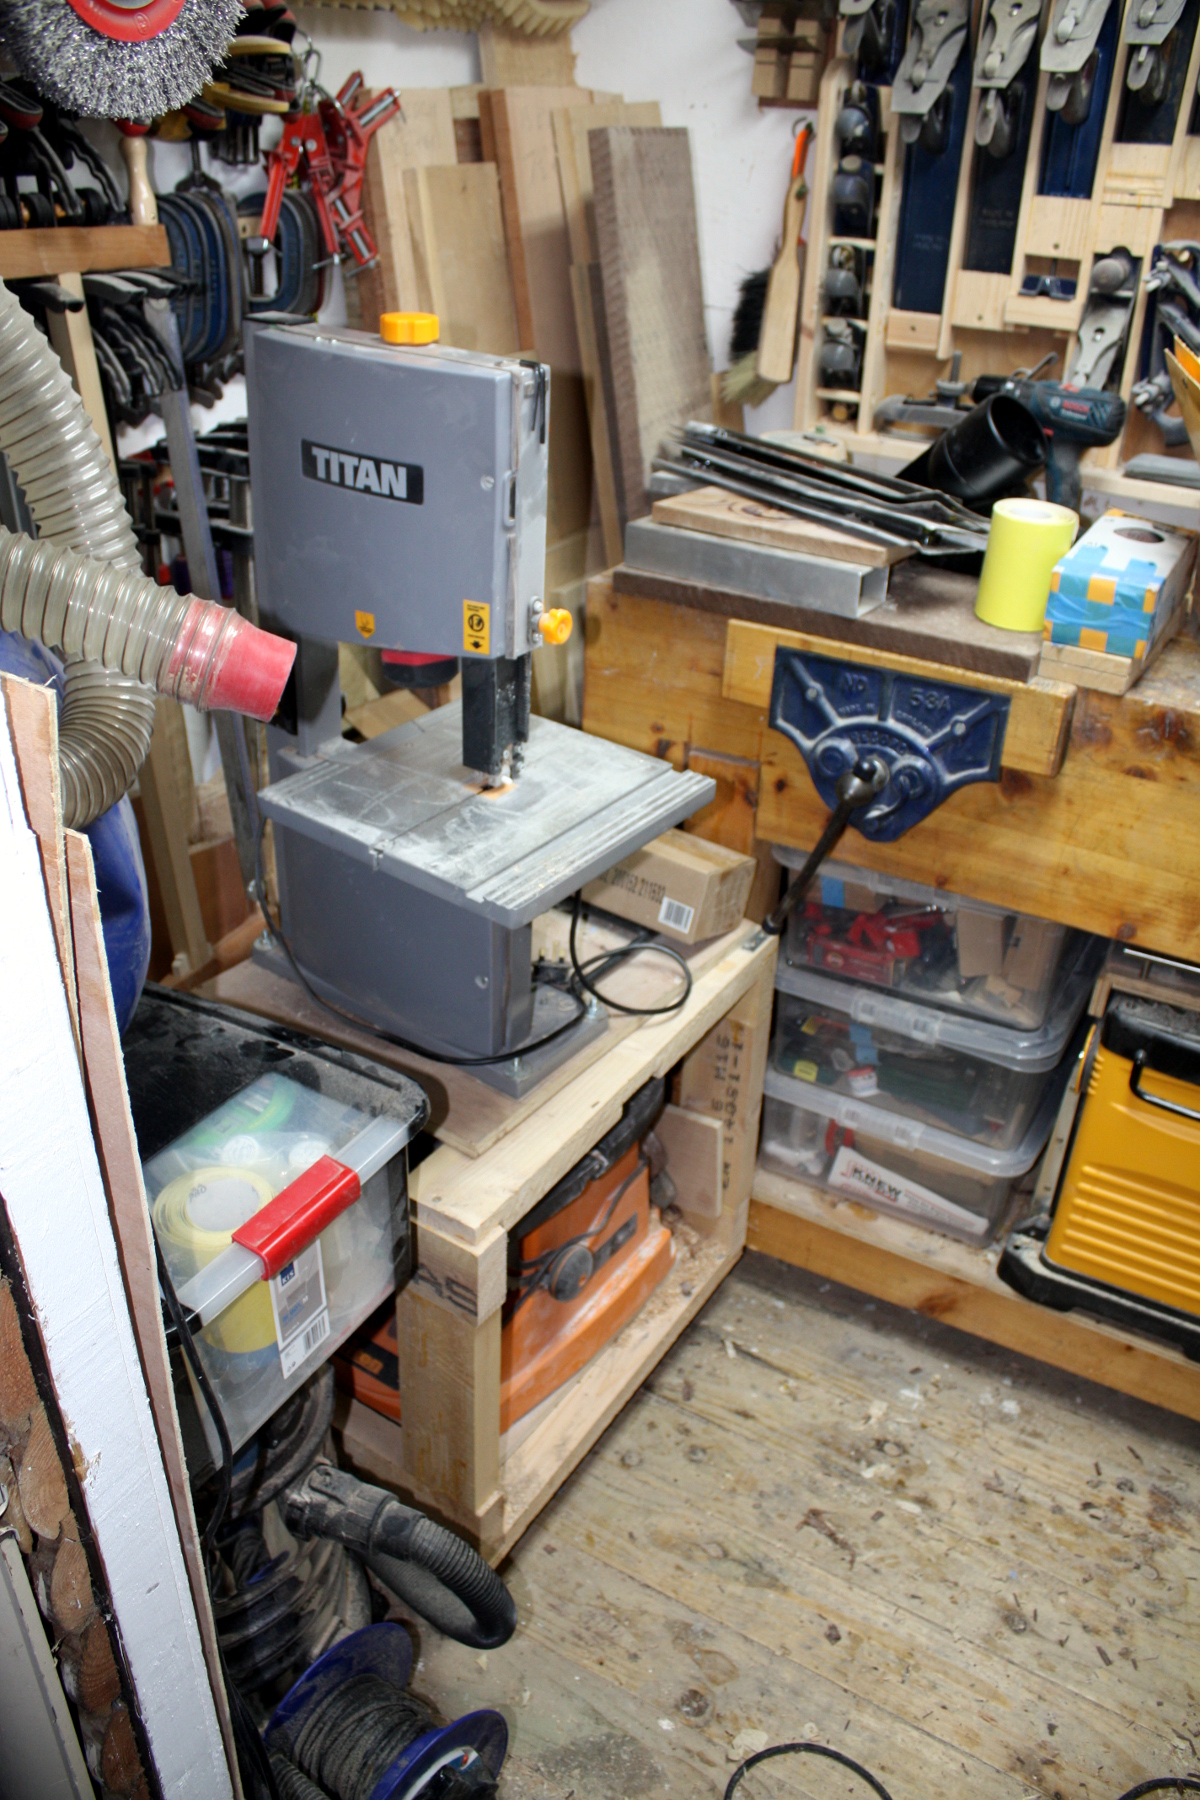
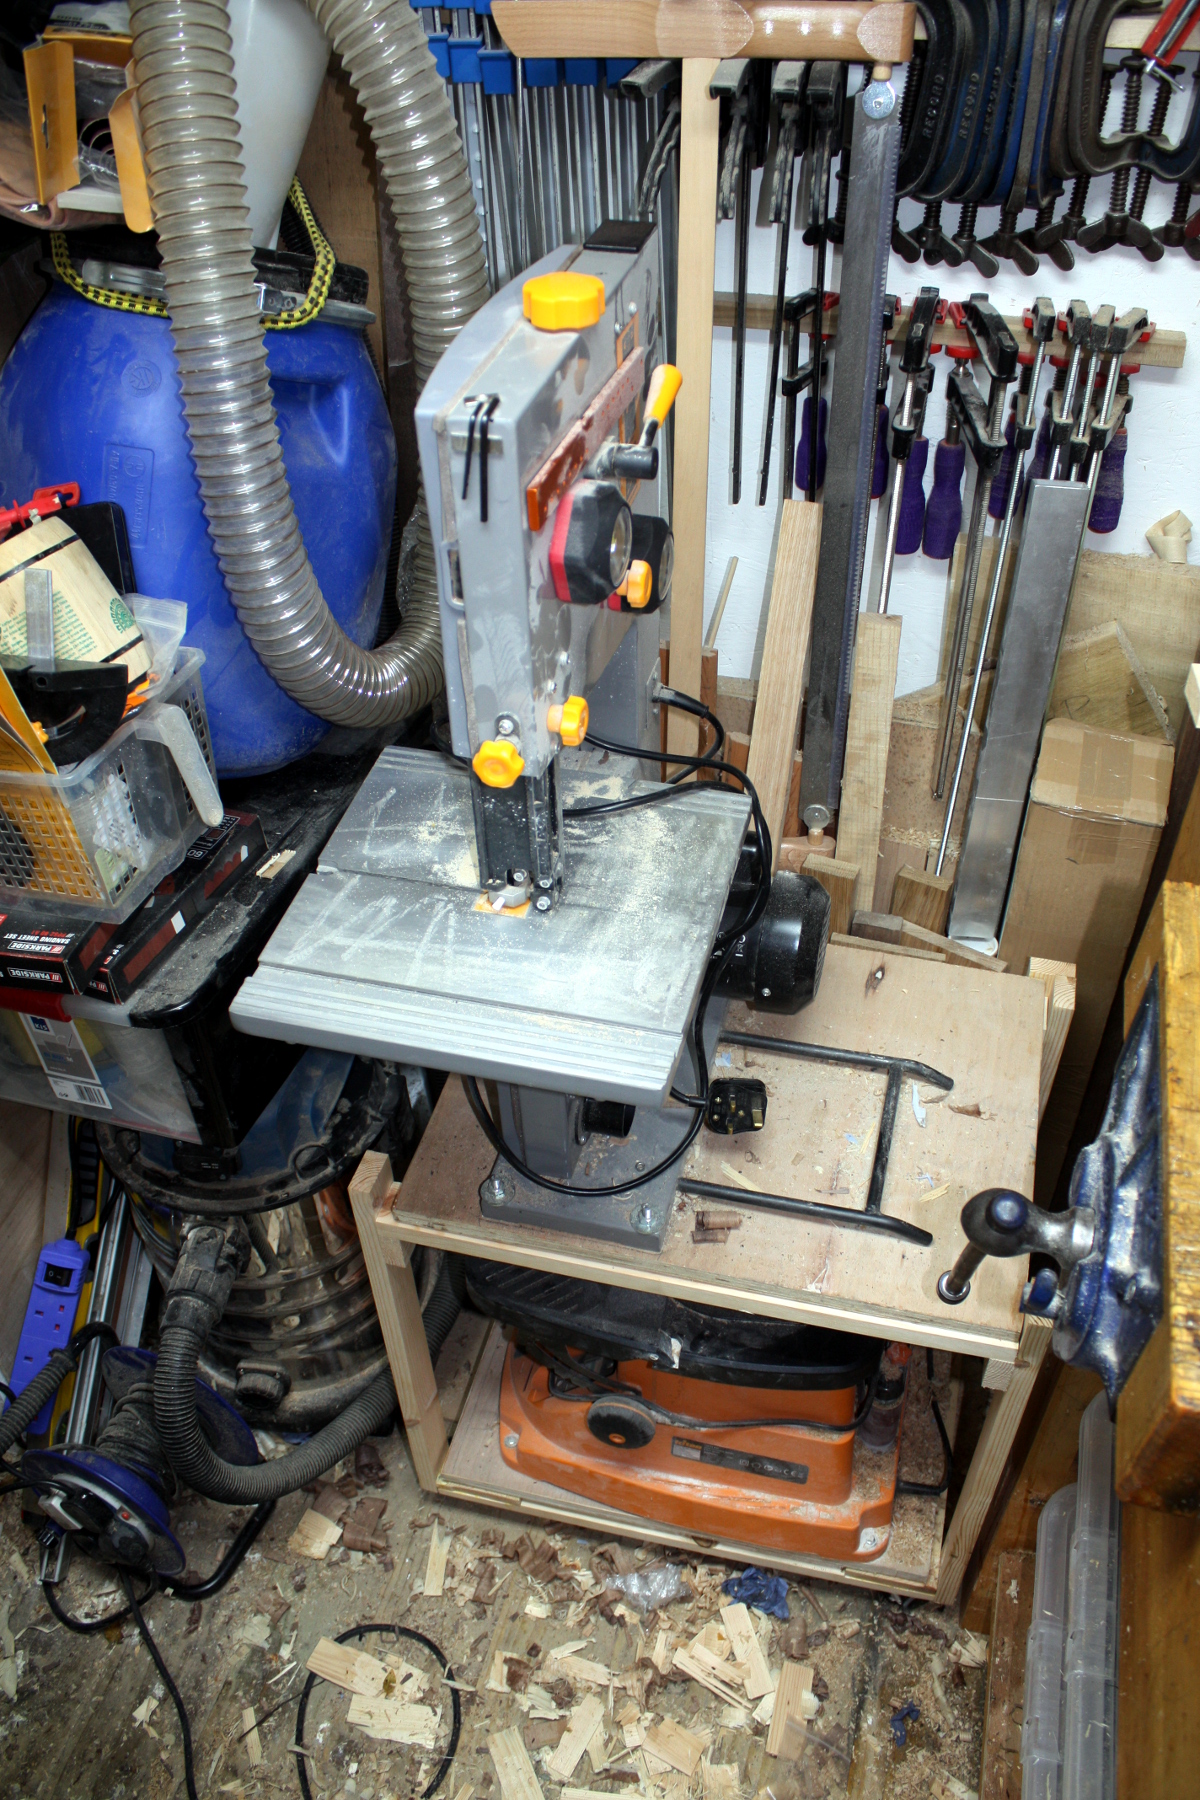
And even the support machines for the machines take up too much room.
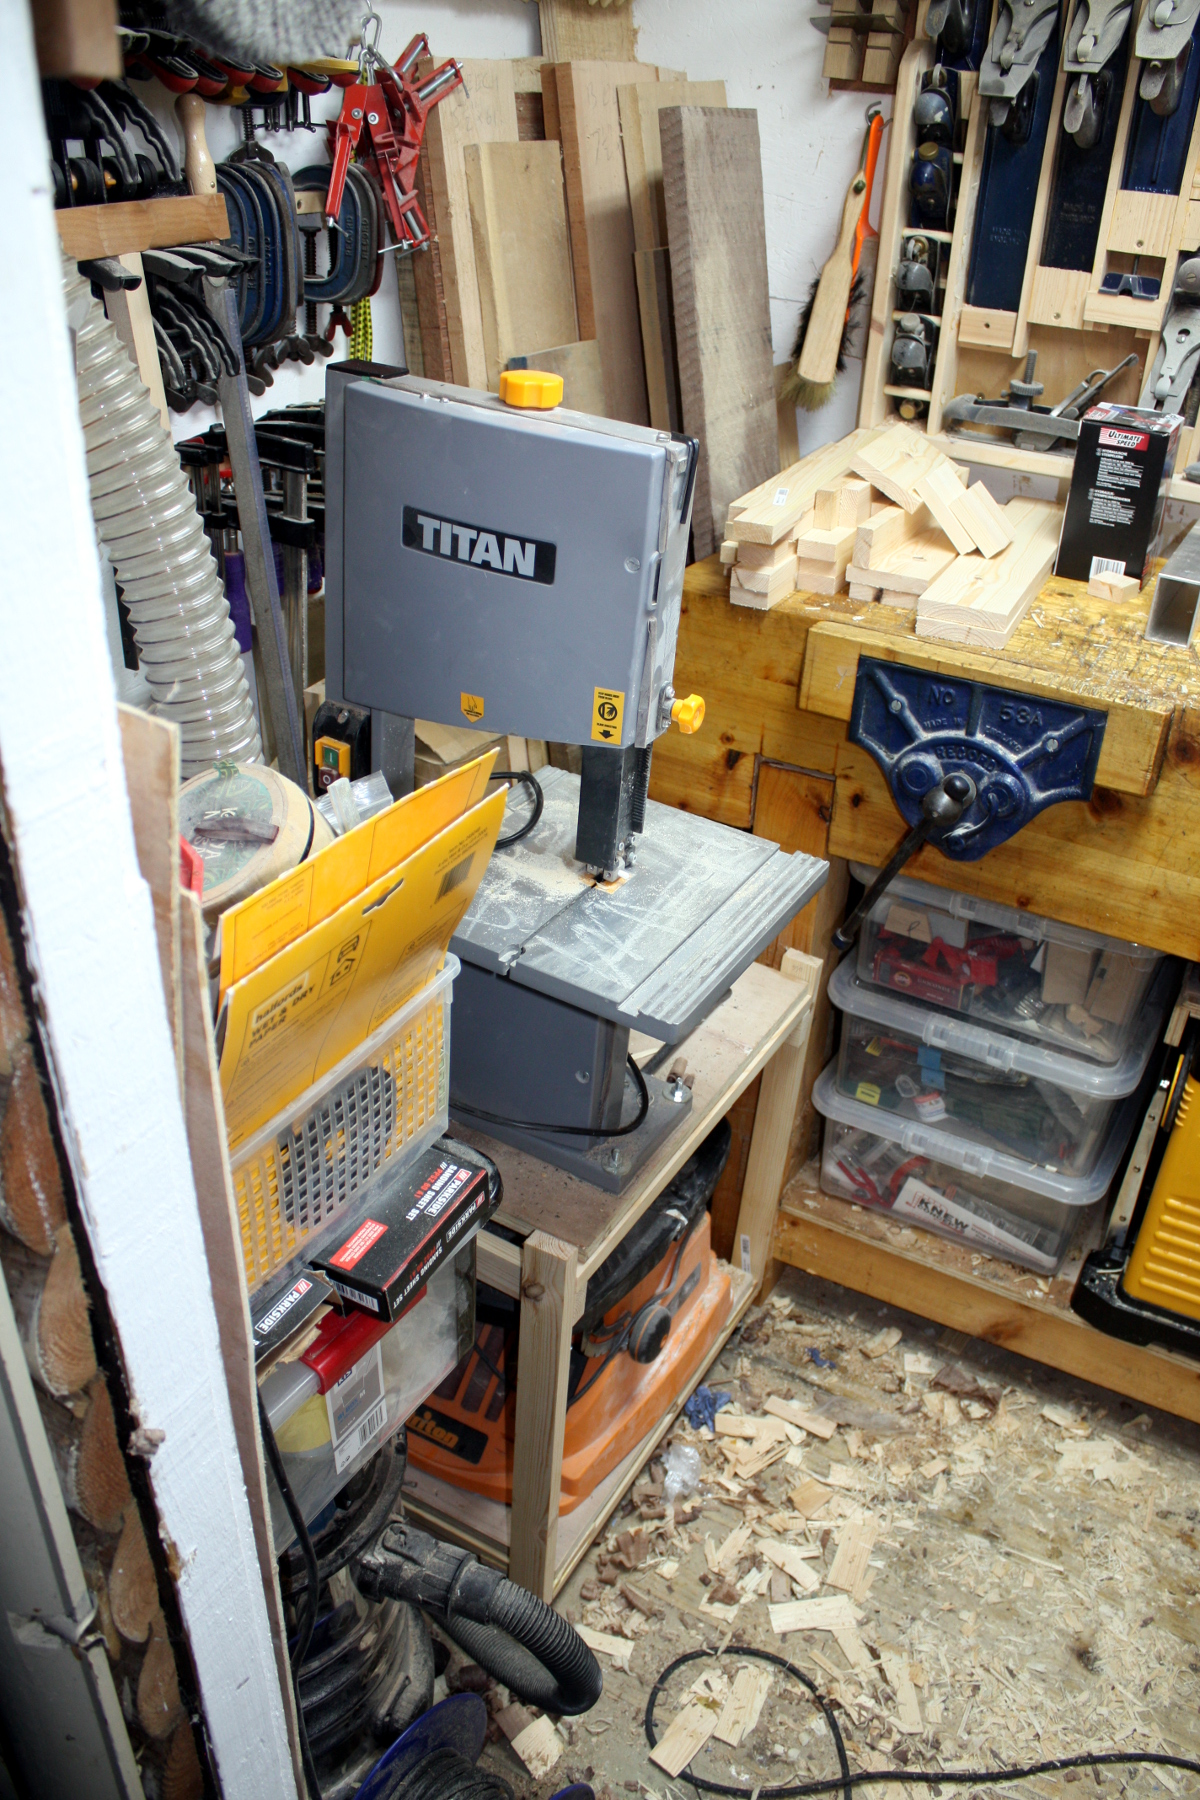
But the bandsaw does earn its keep and you can’t do bandsaw boxes without the sander and the thicknesser just removes the worst of the donkey work (and face it, in the 17th and 18th centuries, you had thicknessers too, you just called them apprentices) and you can’t use any of them without dust collection (well, you can, but the cleanup takes longer than doing the job by hand would have most of the time). Hence the shop vac and the cyclone. But they’re all just piled on top of each other and the bandsaw and sander are in a huge clunky cart that I threw together as fast as possible rather than making properly. So I need a cart for the dust extraction (with a shelf for that box of supplies that has wound up in that space) and I want to remake the one for the bandsaw and sander so it takes up less room because in the shed literally every centimetre counts (it’s a metric shed 😛 ).
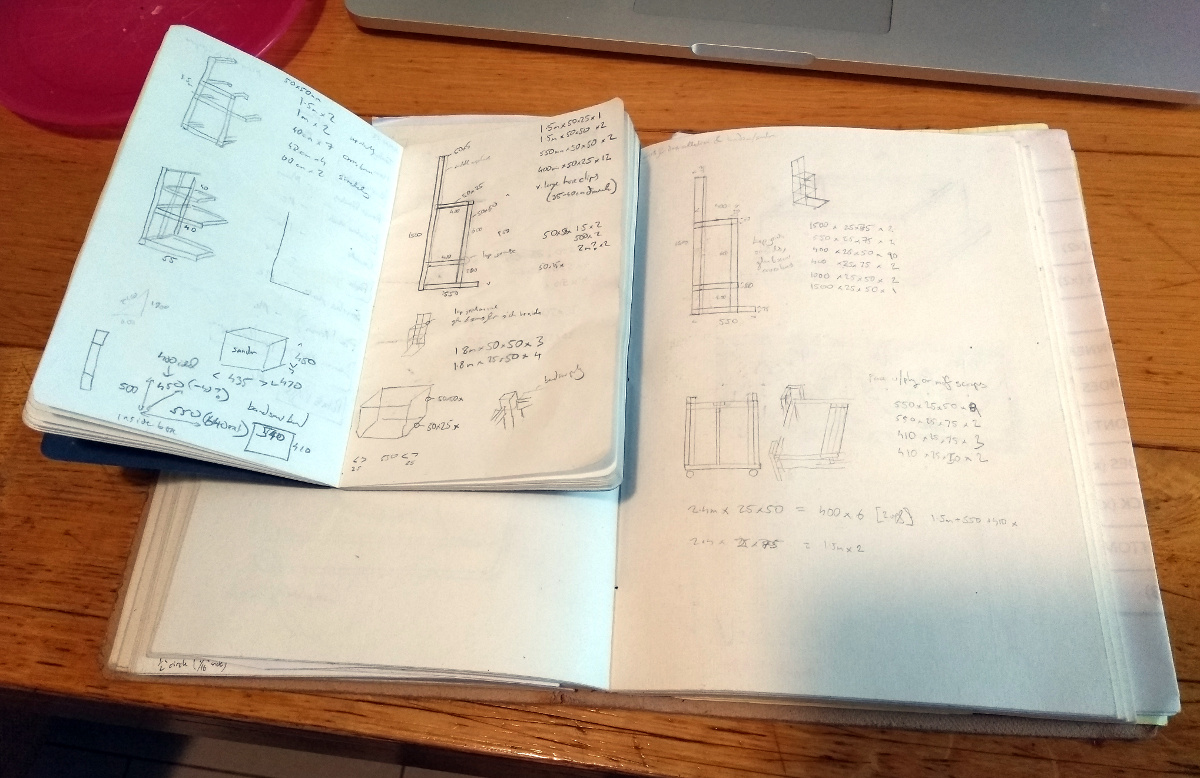
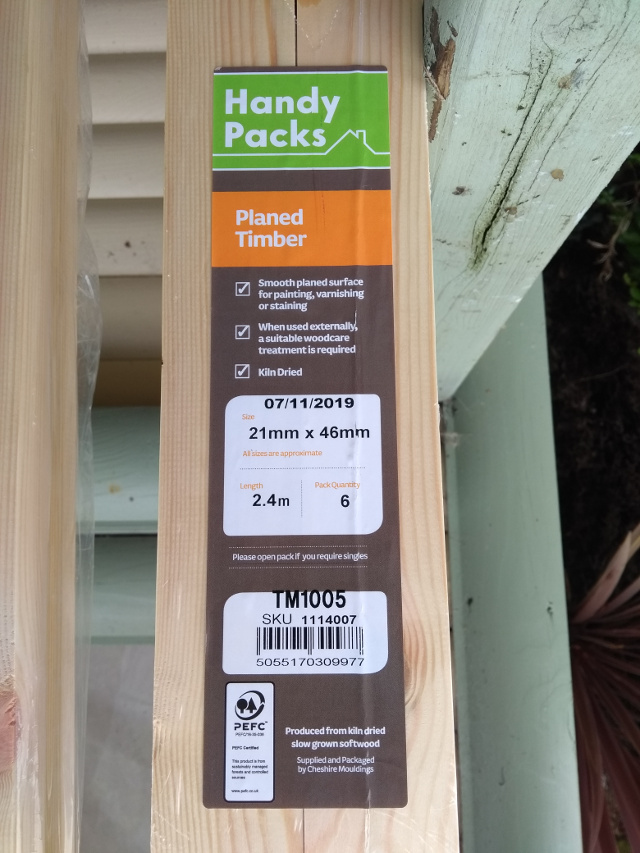
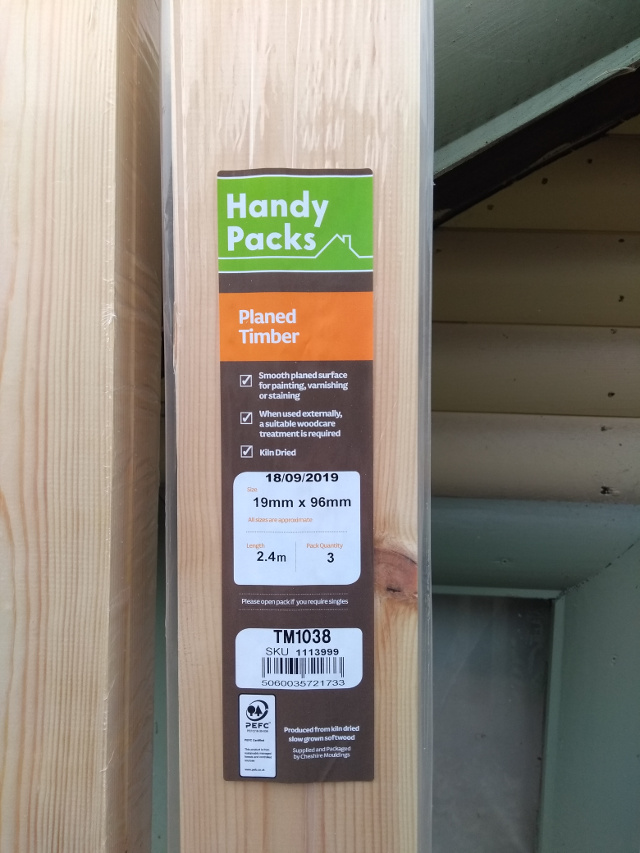
So, watch a few youtube videos, browse a few google image searches, doodle in the nearest notebook with blank pages for a while, then work up a plan and a cutlist. This is still a shed cart, which means that it’s going to be made on the cheap, from whitewood, and is expected to have a life expectancy of only a year or two. I do want to leave enough room to upgrade the shop vac to a proper extractor, but happily there’s a proper extractor design sold by a few companies that is almost the same size as the shop vac. Then off to woodies on saturday evening because Brooks closes at lunchtime on Saturday. Bit more expensive, bit worse quality, but workable.
Hooray for the yeti, it can take 2.4m lengths of small cross-section timber without any folding of seats.
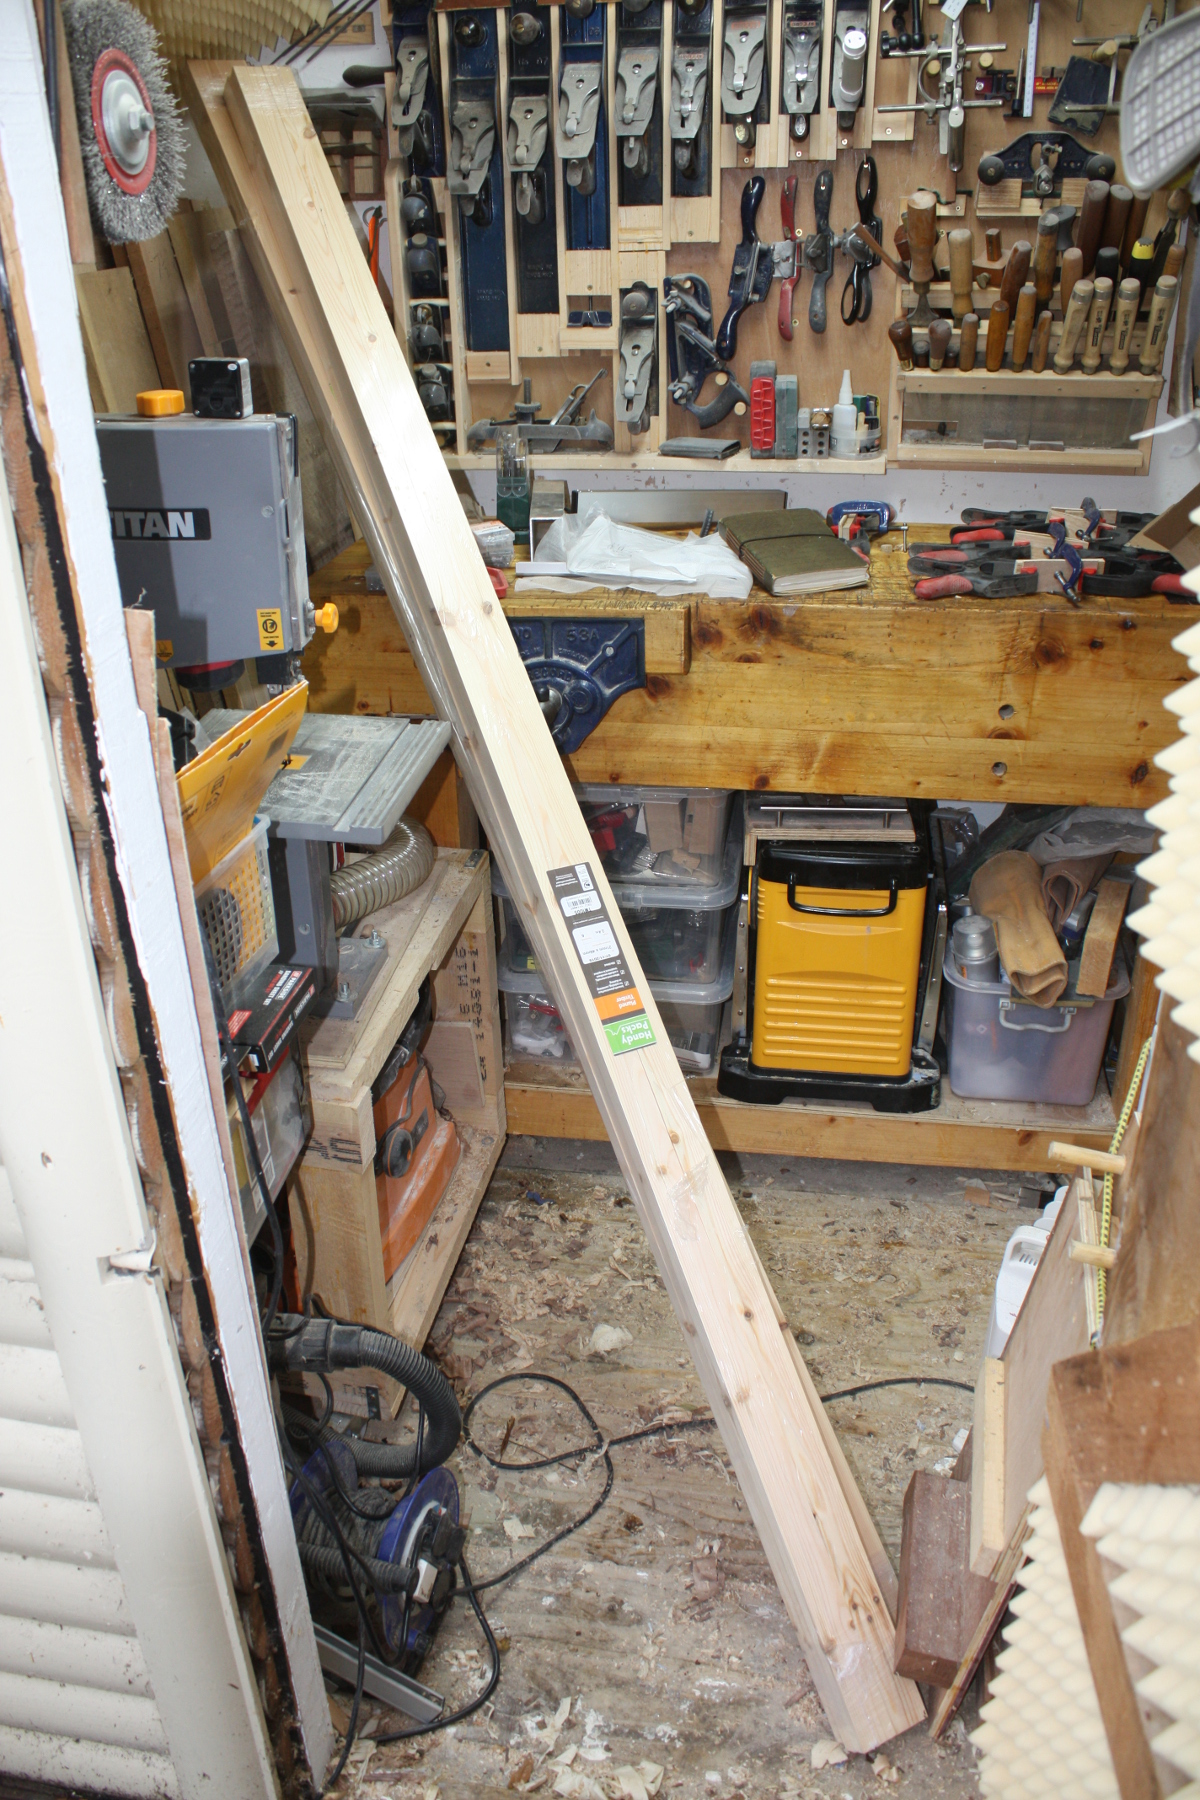
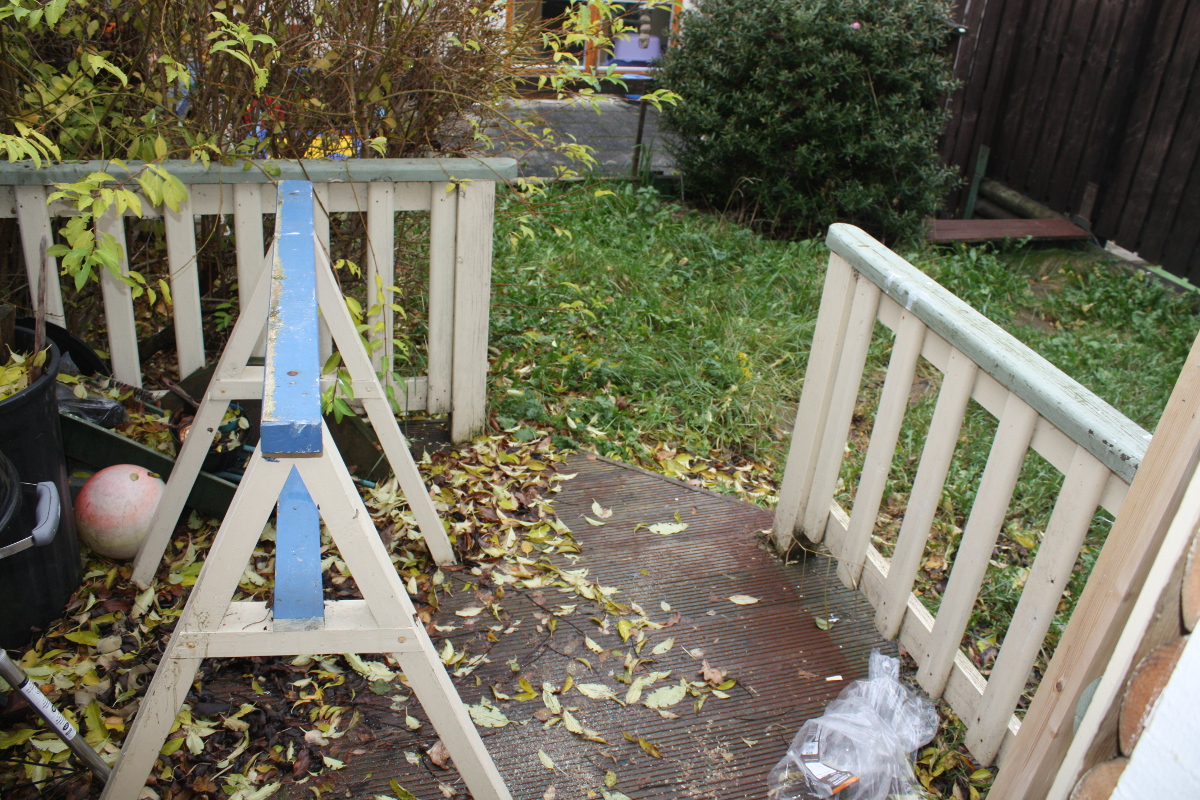
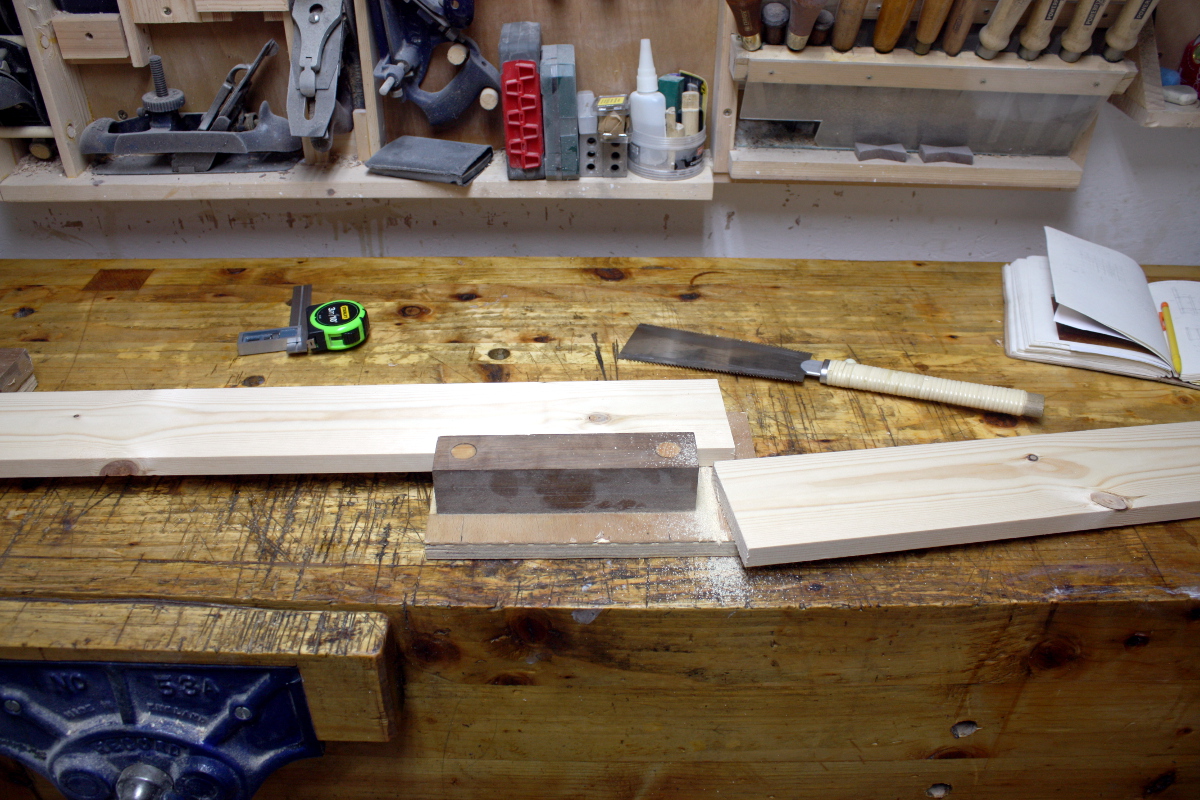
And stashed overnight (those are packers drying on the bench which are to let me bolt the new fence to the bandsaw, more on that later). The next day, out with the sawhorse (because I can just about stash a 2.4m length in the shed but I can’t work on it there – yes, that does mean there’s more room in my car than in my shed). And lots of cutting to length.
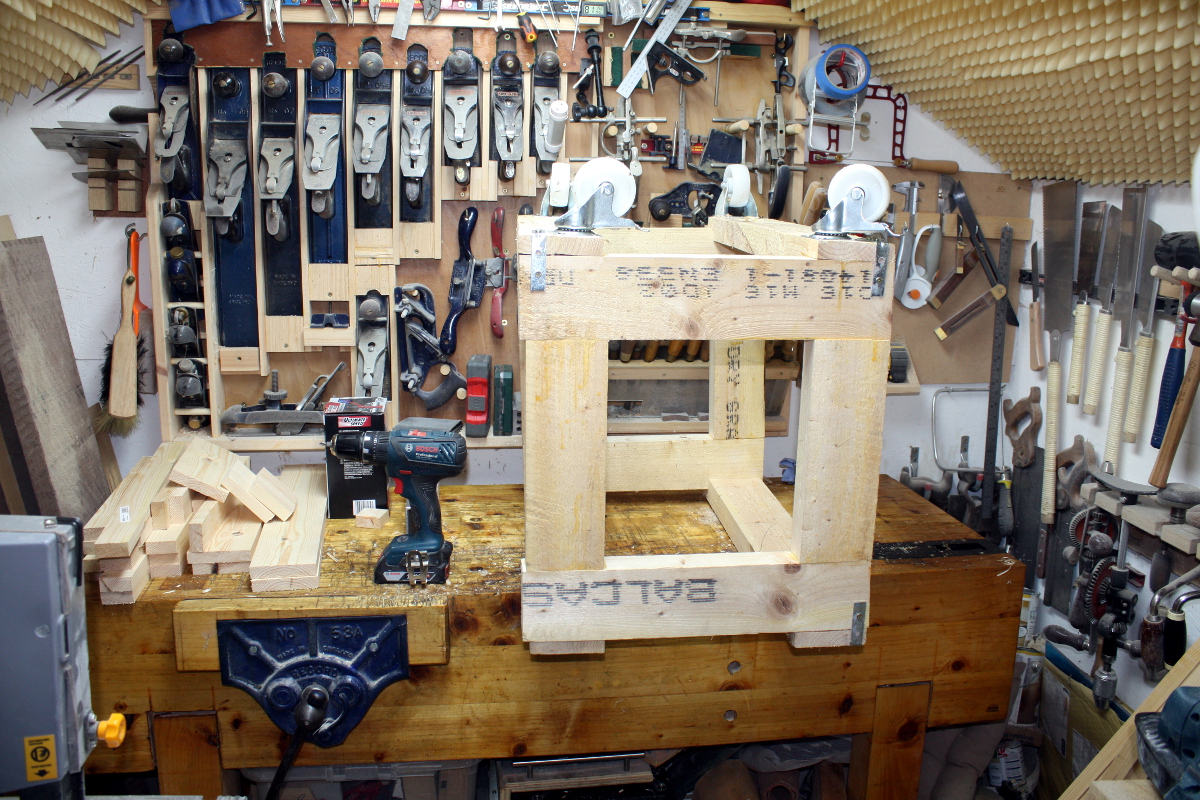
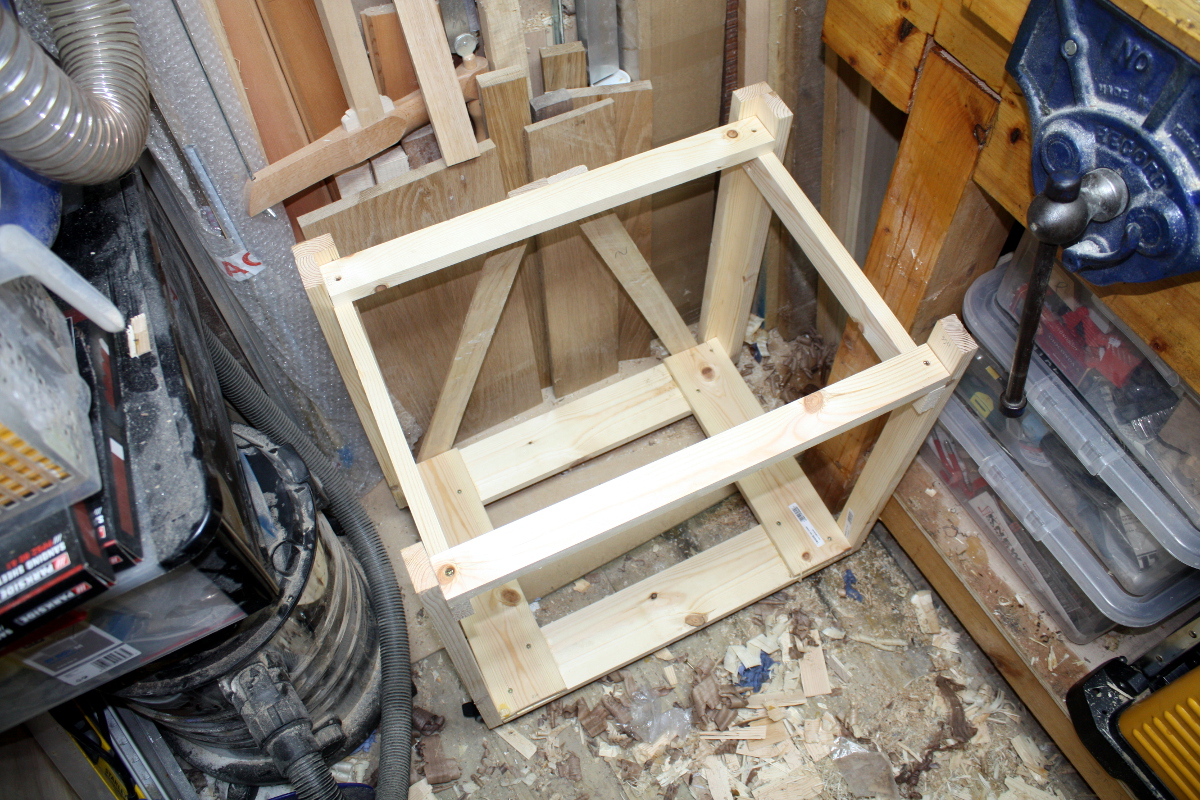
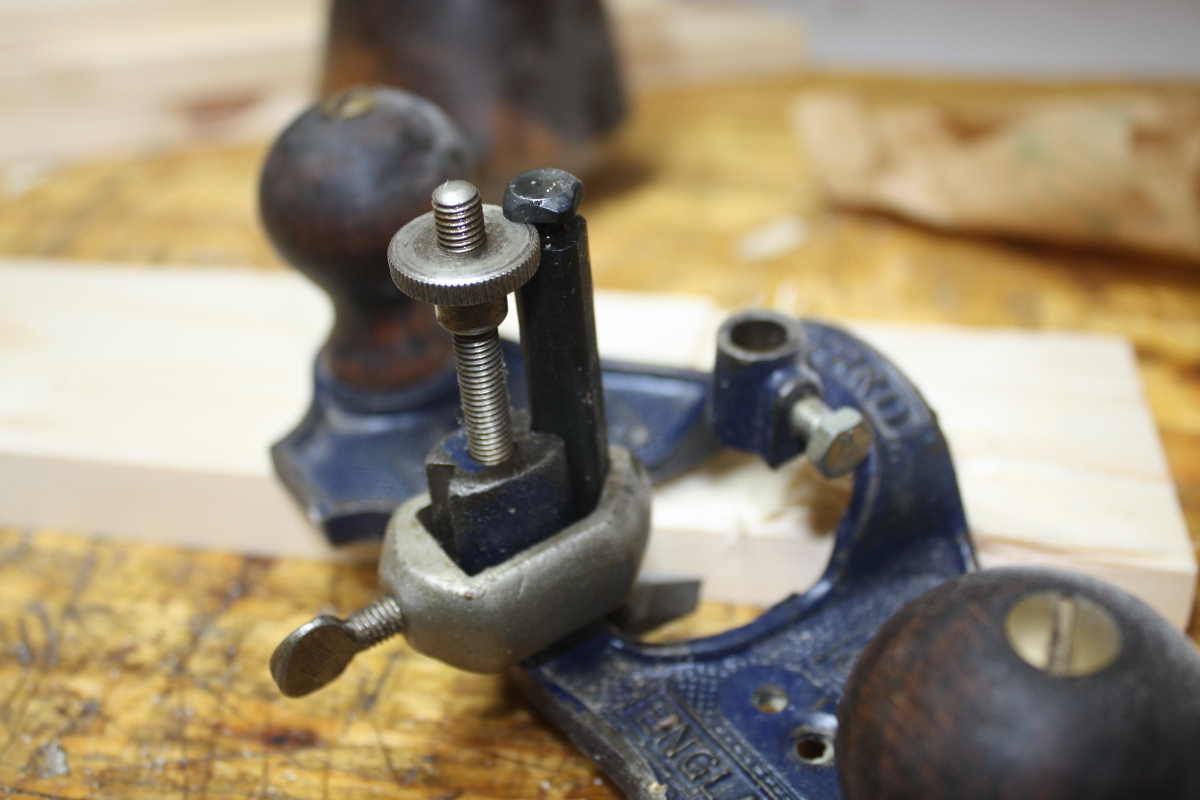
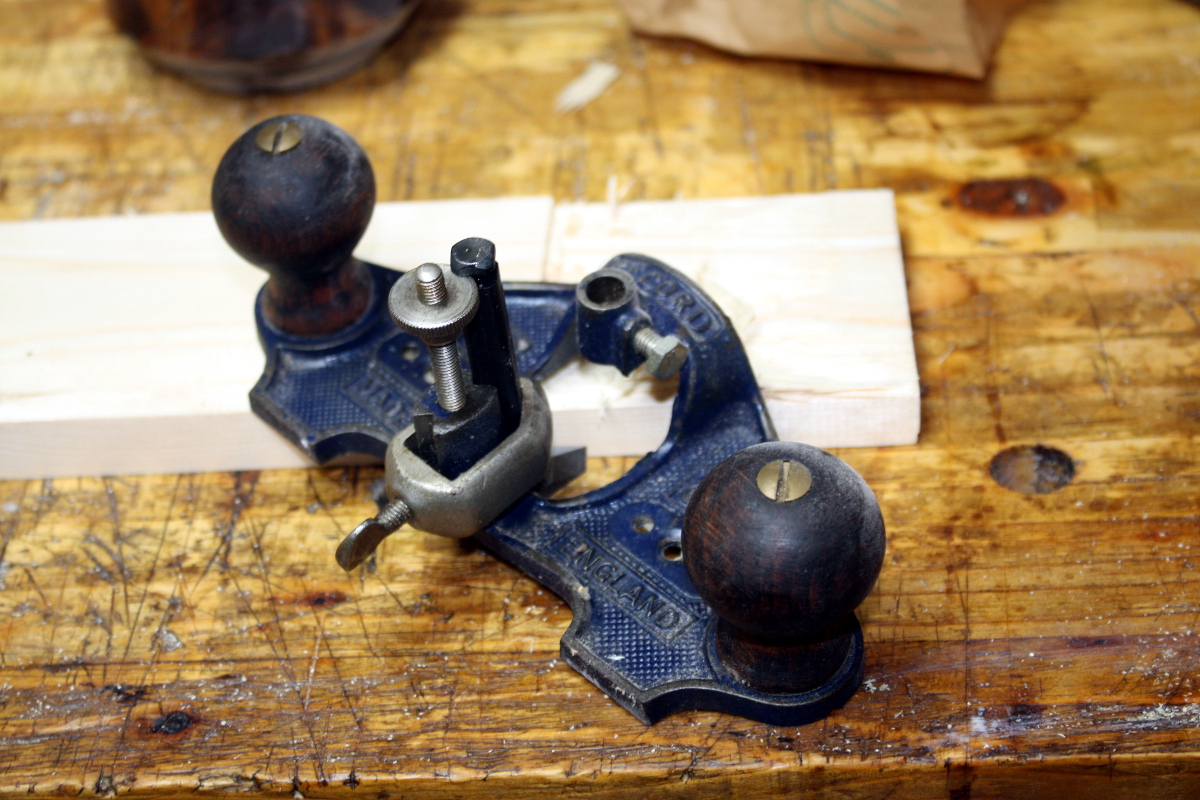
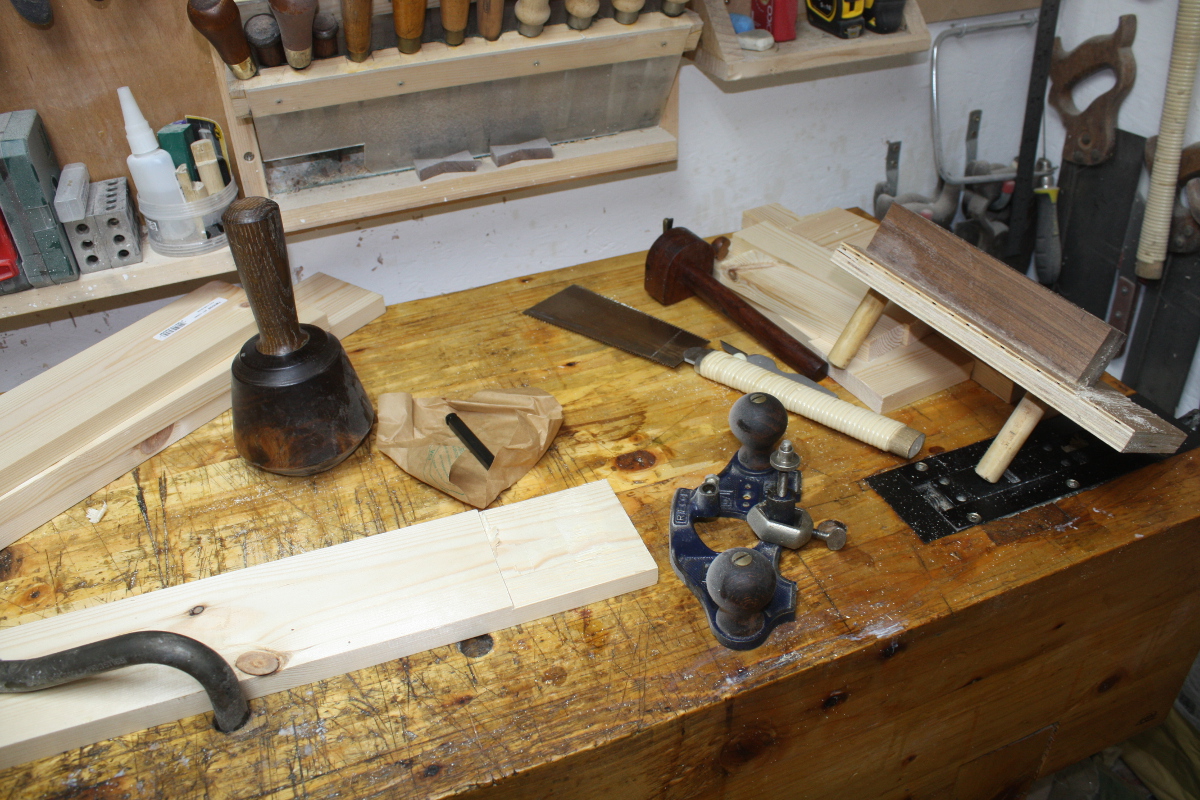
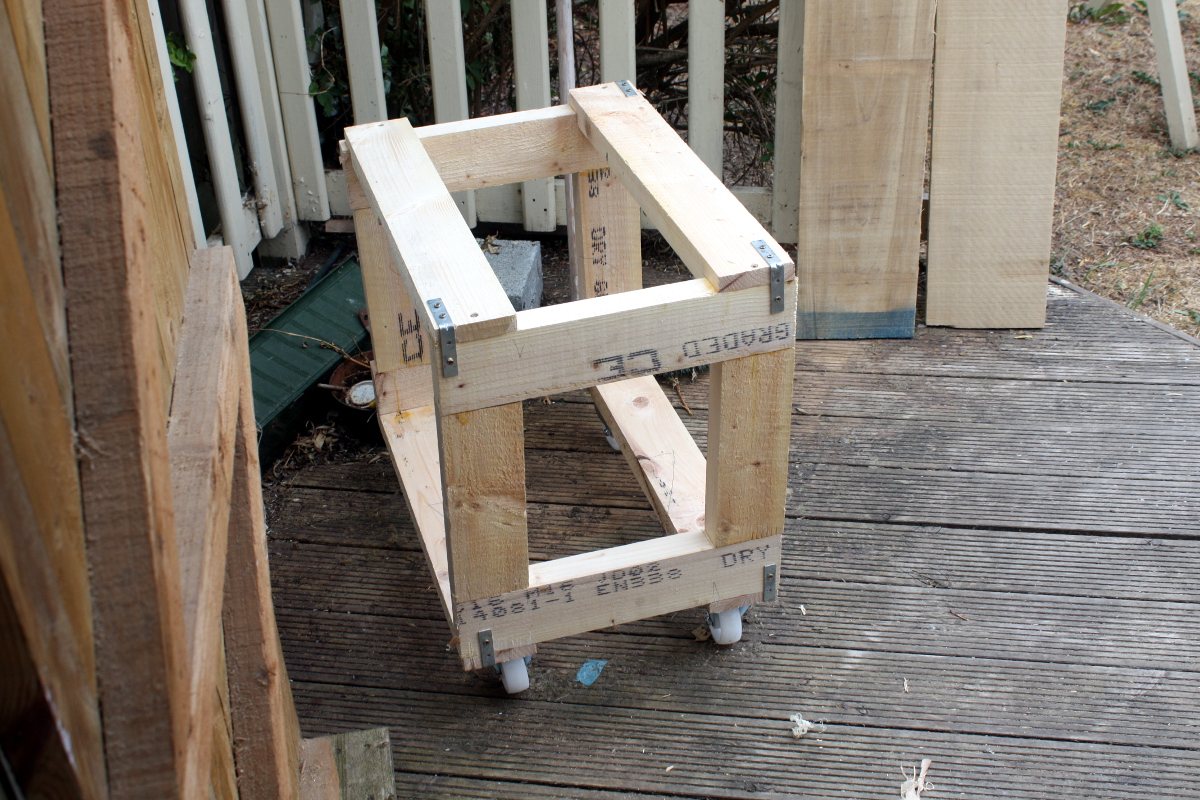
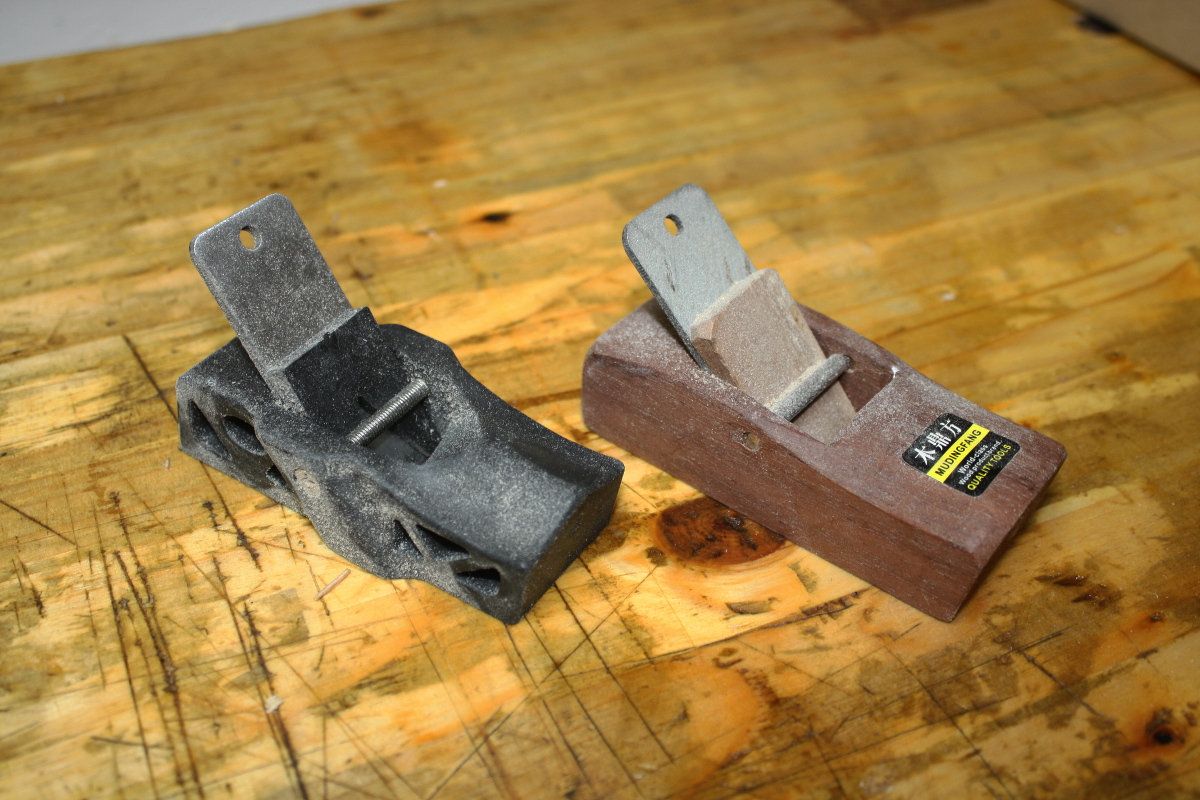
With the parts cut, I started on the bandsaw cart – I figure it’s smaller, it’ll be easier to do and get more room to do the larger one. The base is built with lap joints more because I’ve not cut joinery in ages and I wanted to than for any good reason, if anything it would have been better not to have cut them at all. But, I got a new cutter for my #071 (it’s one of the veritas ones and if you turn the height adjust nut on the #071 upside down, the veritas cutters fit) so I wanted to use it.
Mark off the width of one board against the other with the knife, saw the tenon shoulder, split the cheeks off with a chisel in the vice, clean up with #071 and the #062½ block plane, repeat seven more times.
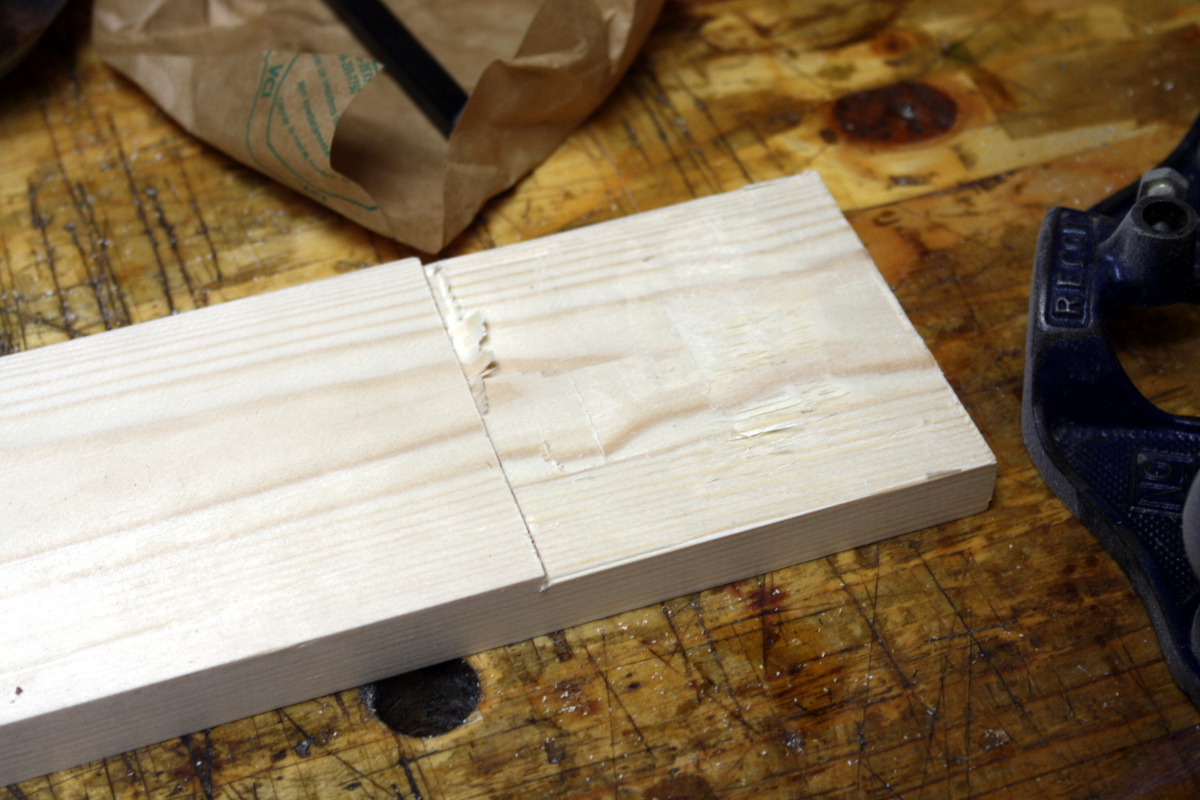
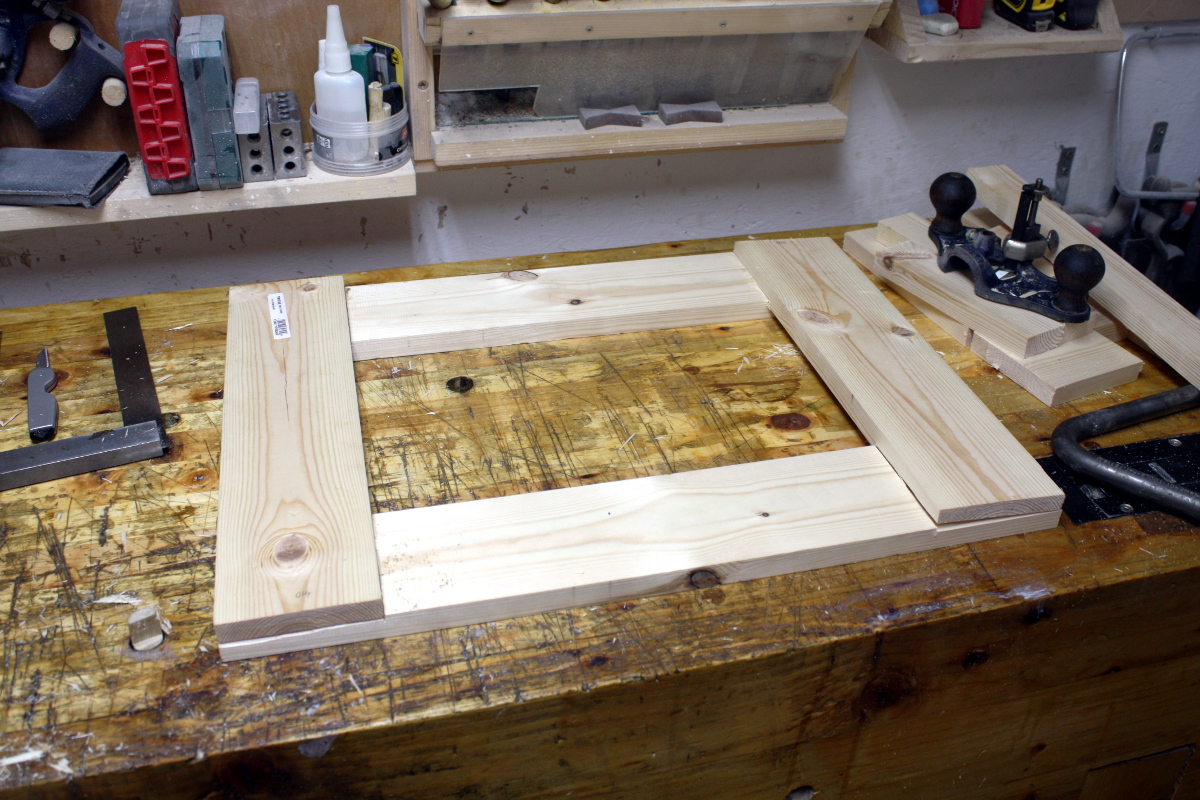
Notice that one board is canted, curse a bit, fettle with the block plane, douse in glue and clamp with screws. The rest of the frame is butt joints and pre-drilling to limit splitting and screws and has more in common with framing than with furniture really.
But hey, it works.
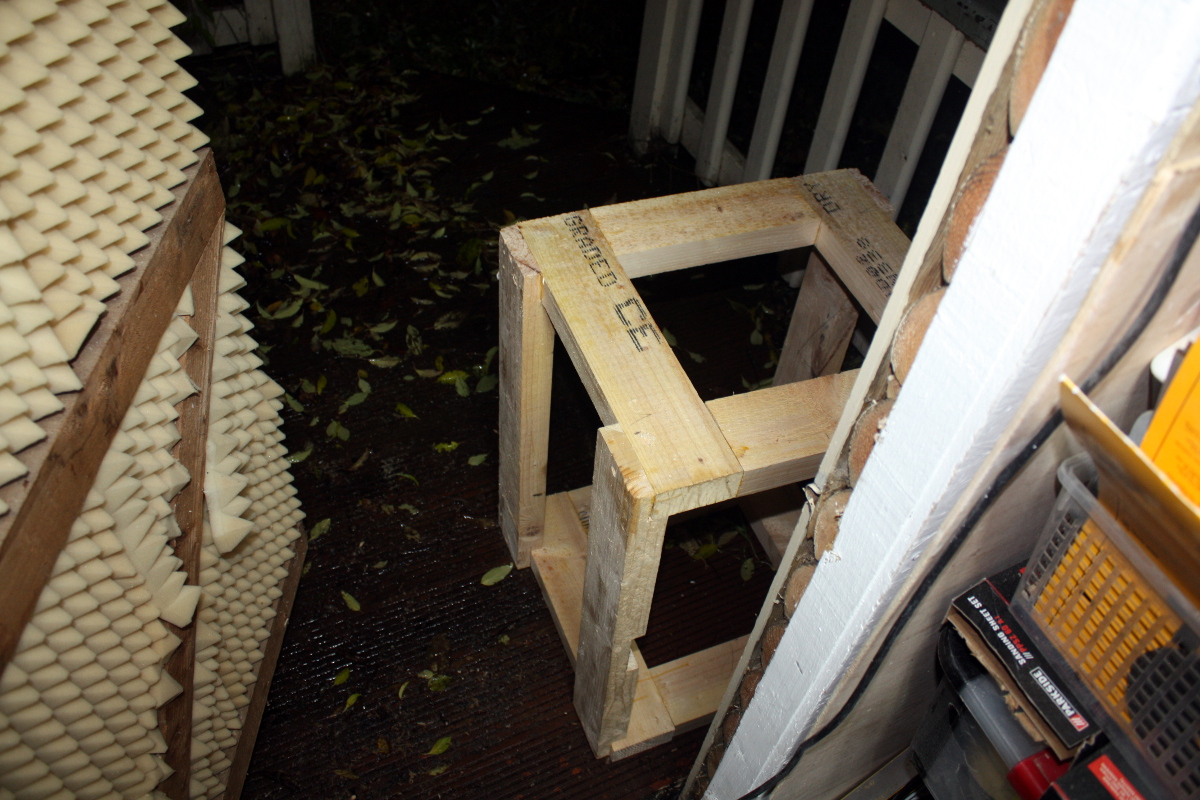
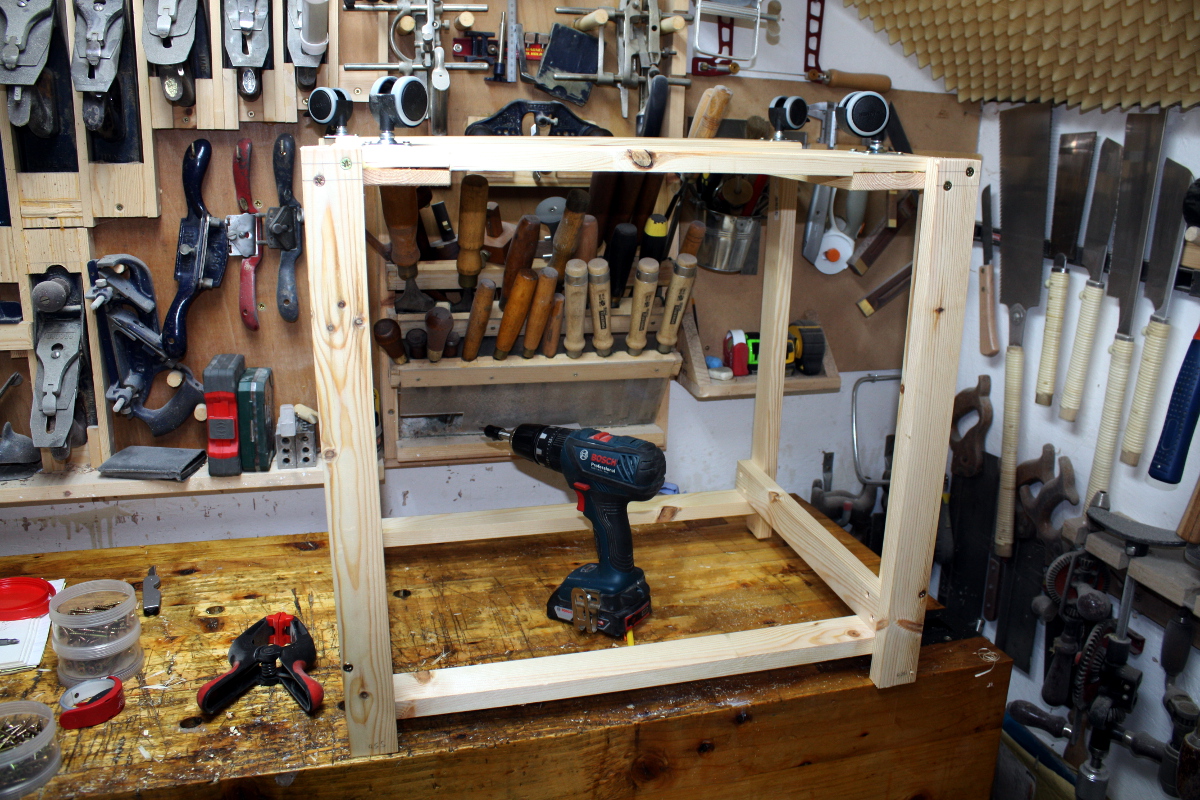
See? Not falling down and everything fits (actually better than before because there’s more clearance for the sander’s spindle). It does rack too much for my tastes, so I’ll screw on plywood panes to act as shear supports (and limit the ingress of errant shavings and dust), but that’ll be tomorrow.
BeforeAfter
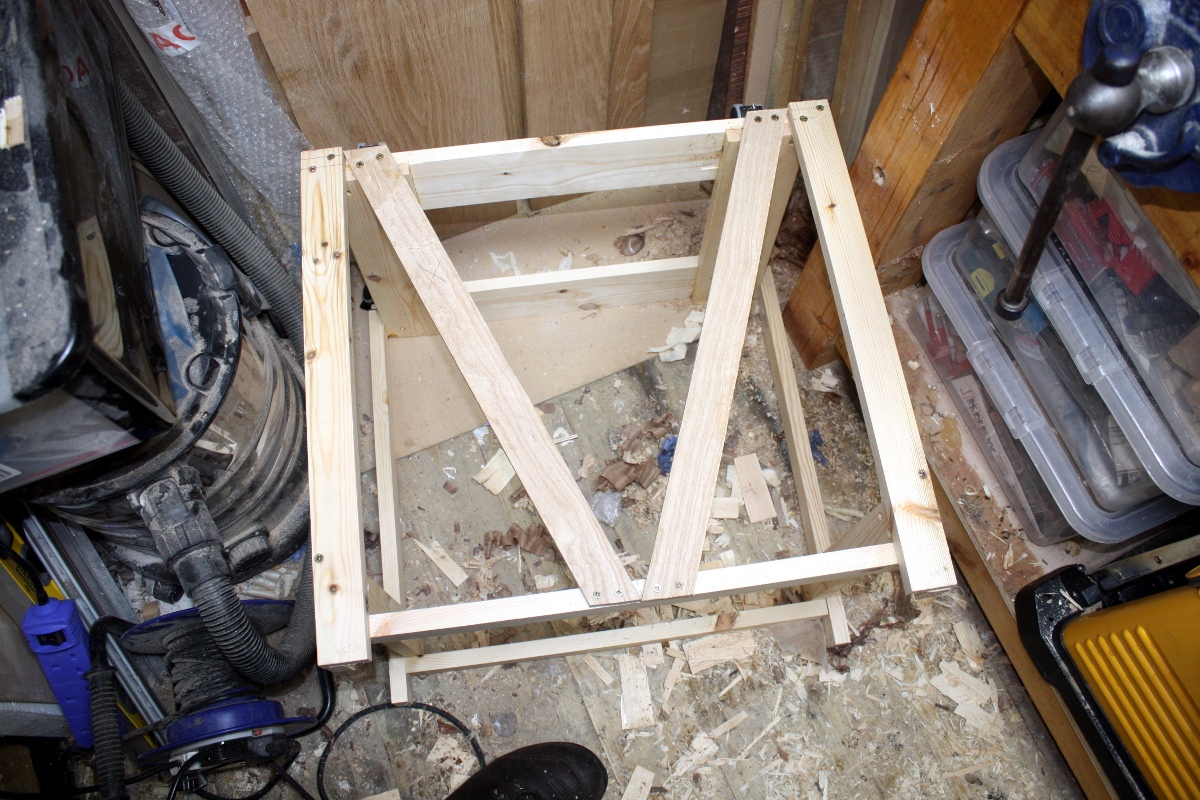
I might add in a few glueblocks to give more compressive strength on those legs as well, but I think it’s a success so far – there’s a noticable increase in room where before there was an annoying 2×4 in my leg. I might even break down the 2×4 cart (no might, I will, I have nowhere to park it) and reuse its metal reinforcement straps because why not.
Farewell little cart, you’re about to be torn to pieces and recycled.
Took a few days to get back into the shed after dousing the bench in BLO. I thought it’d be dry by now. Nope, still had a small film of oil on top. Not gummy, it’s just that it’s been so cold (-4C last night I think) that the BLO hadn’t started to cure yet. So I wiped off the excess again (whatever’s penetrated into the wood will cure in its own time, and that should be the majority of it) and got on with the small shop jobs that have been piling up.
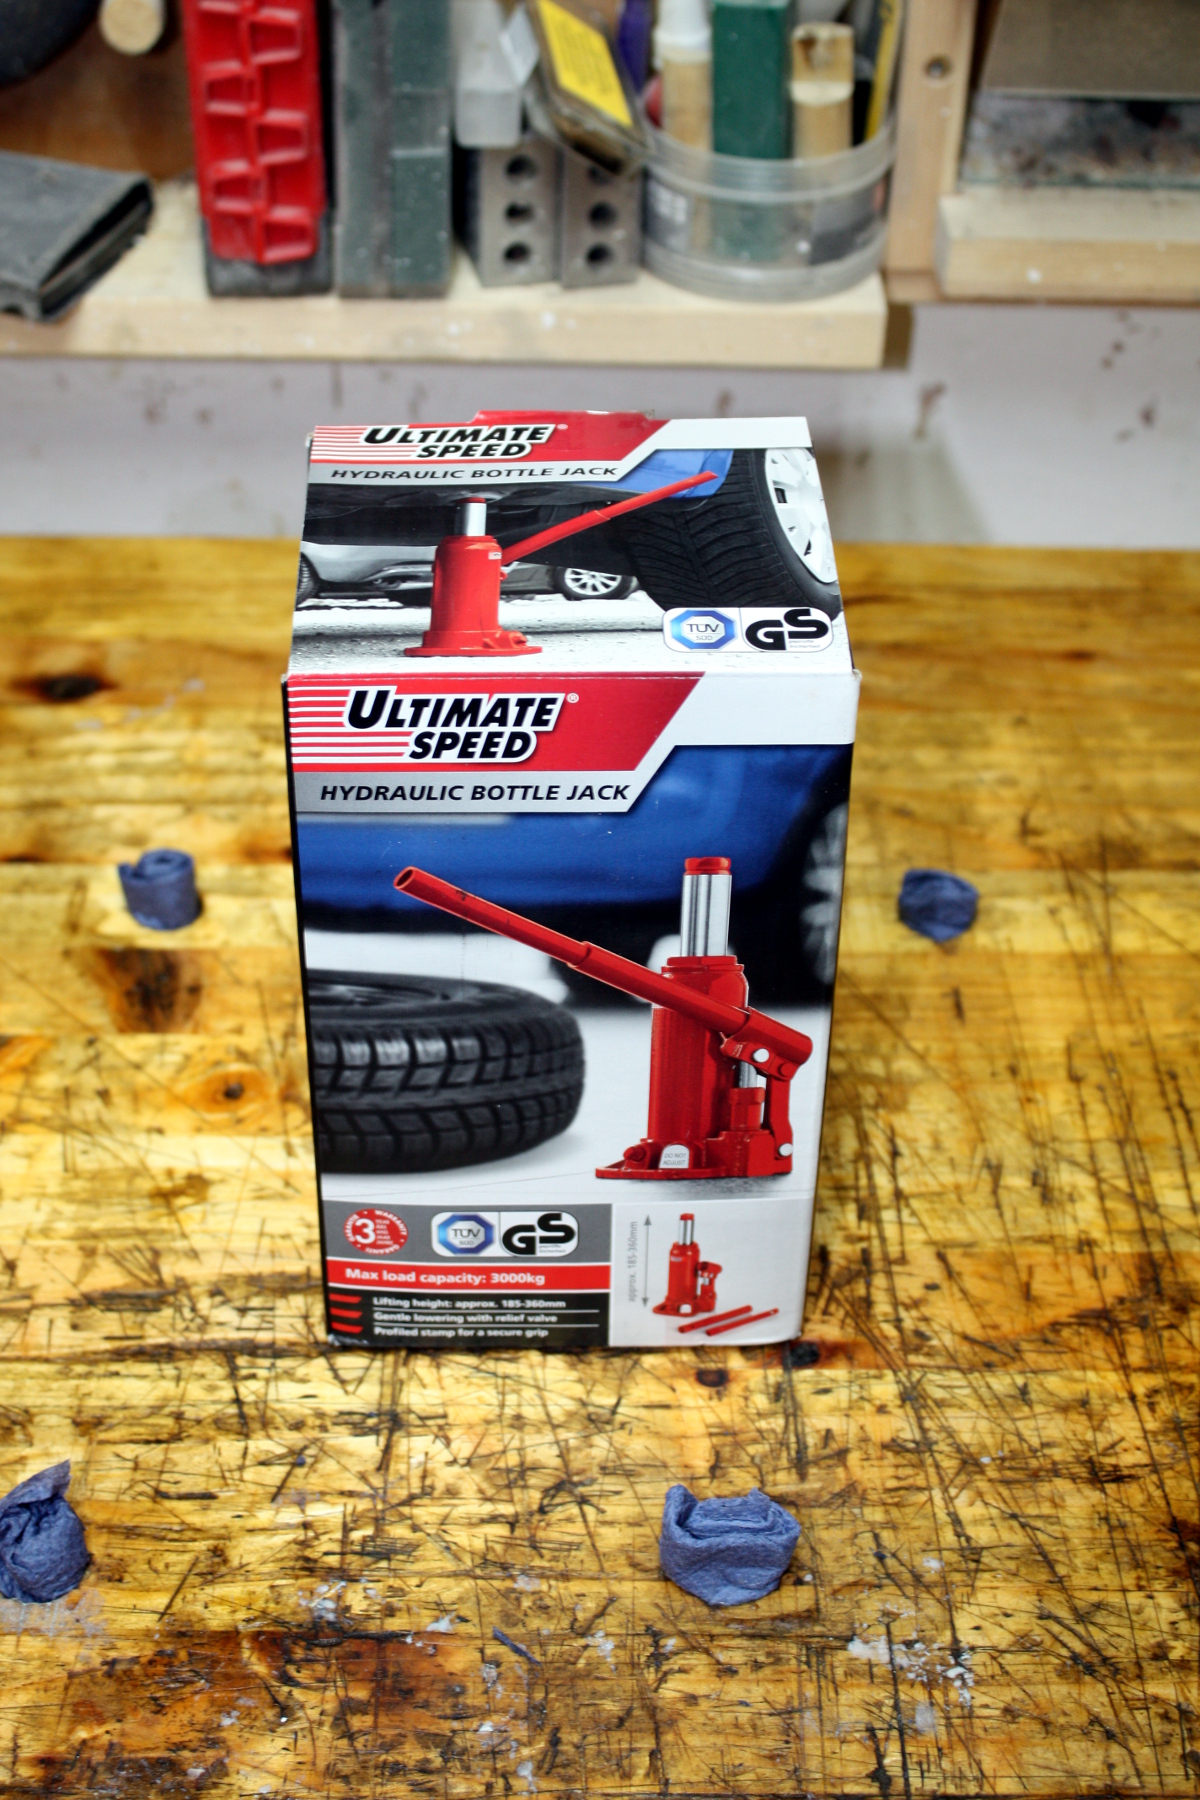
First though, new toy…
I have no idea what I’ll use it for, but it’s a bottle jack. Thousand and one uses. €13 in lidl at the moment and 3000kg load and just over seven inches tall. Dinky little thing. Anyway, set that aside and onwards…
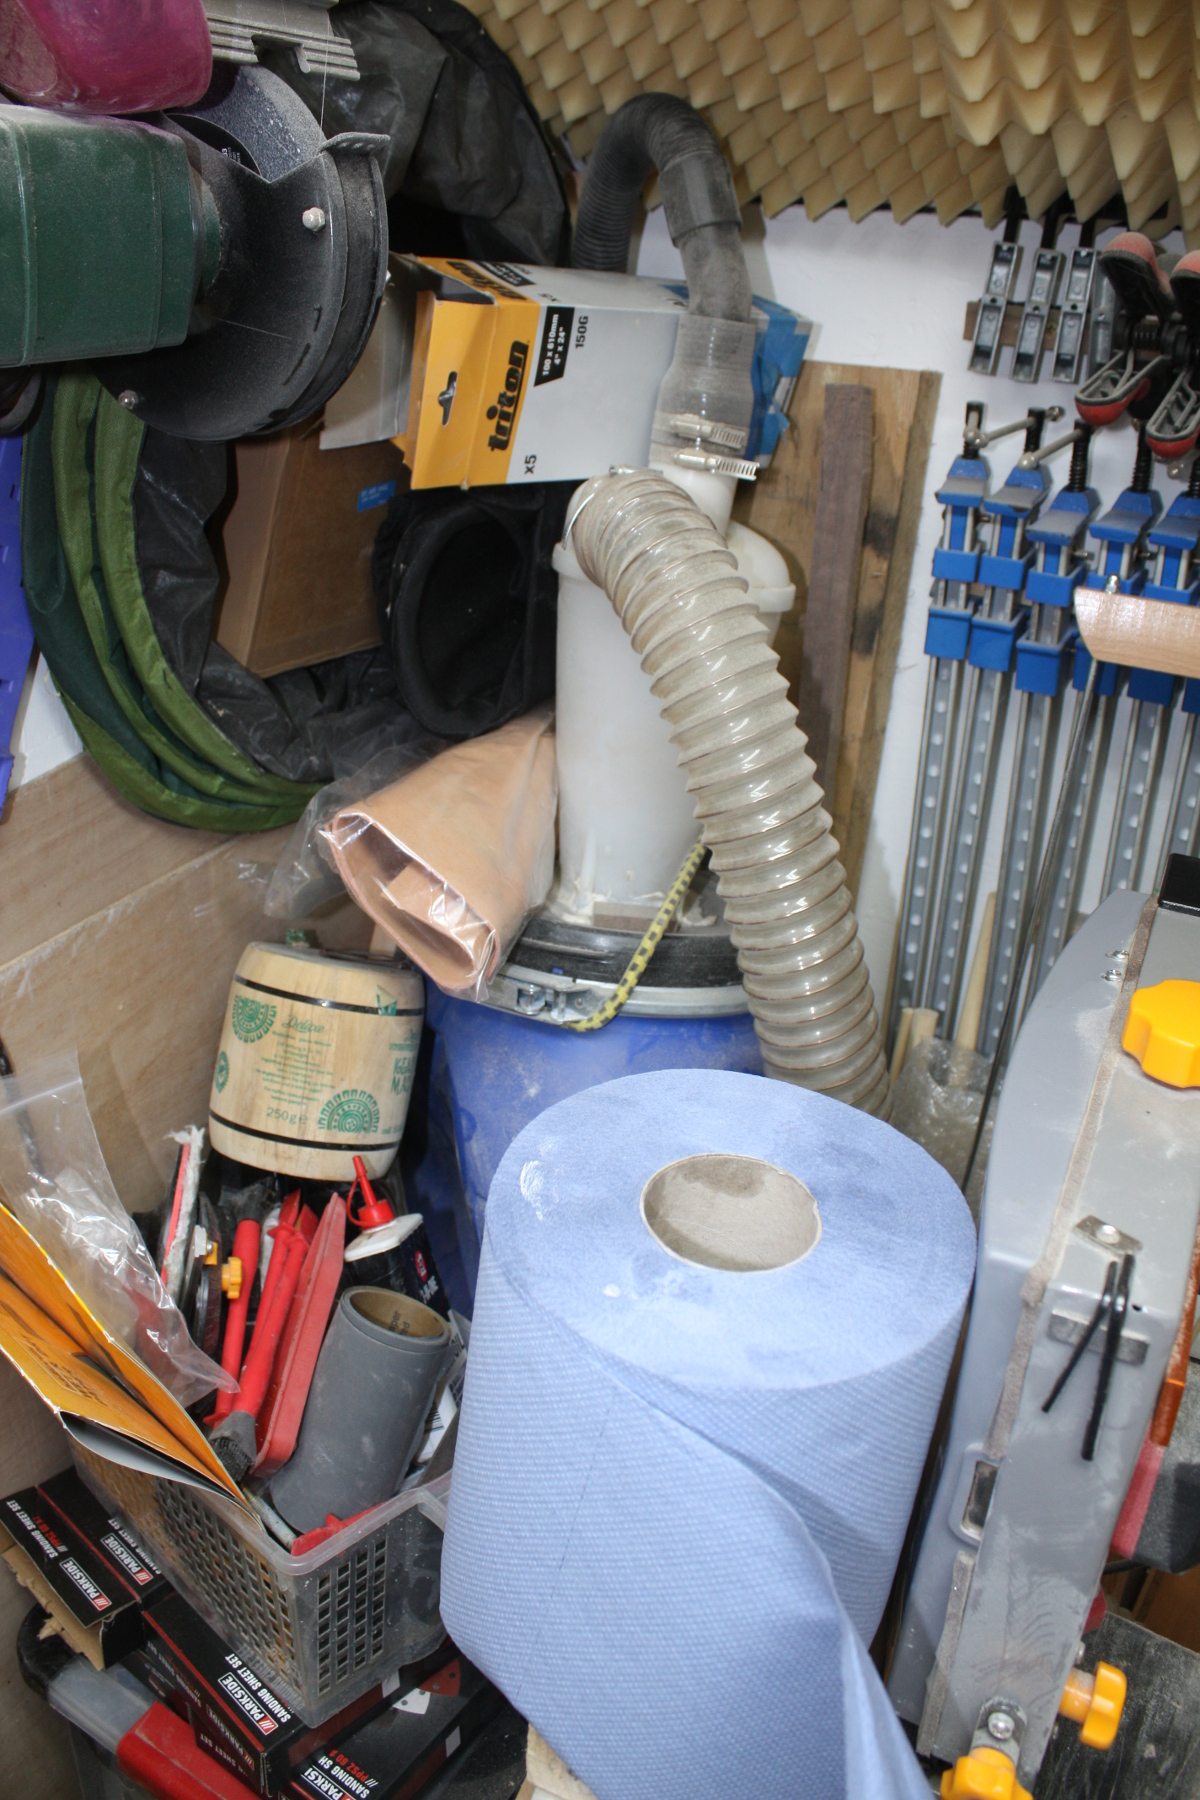
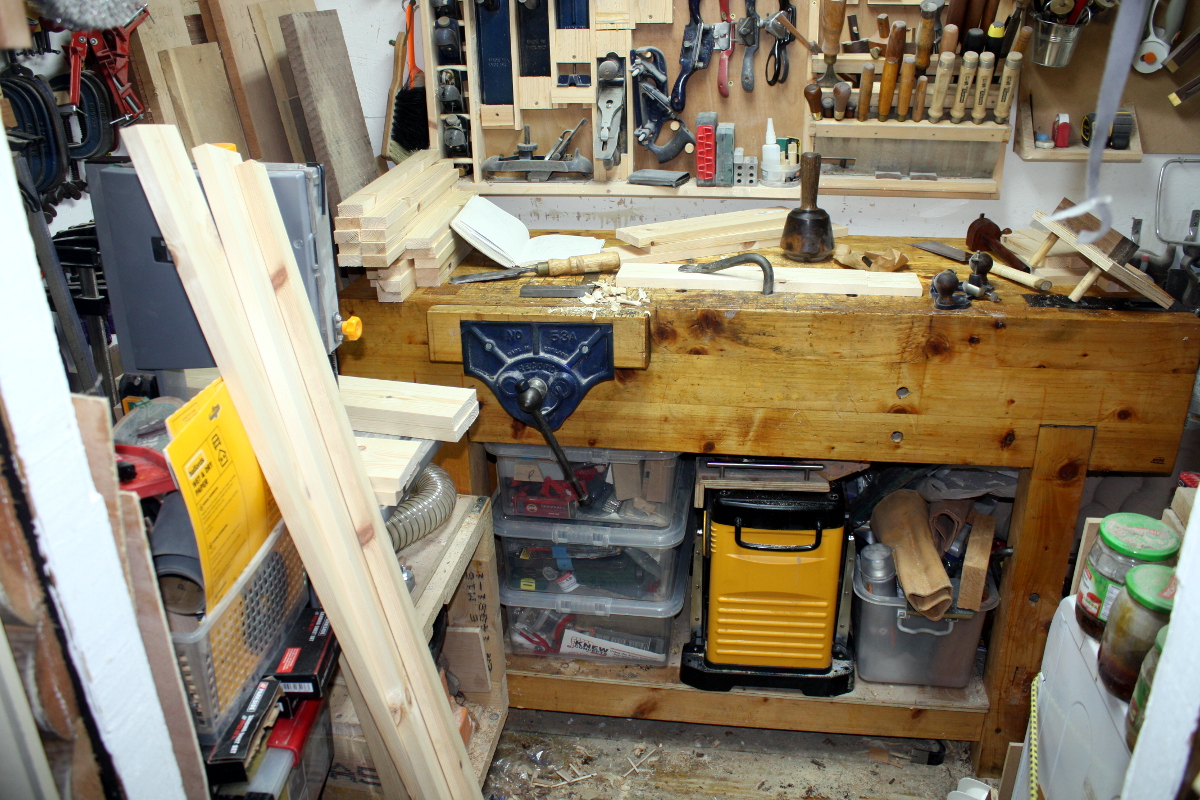
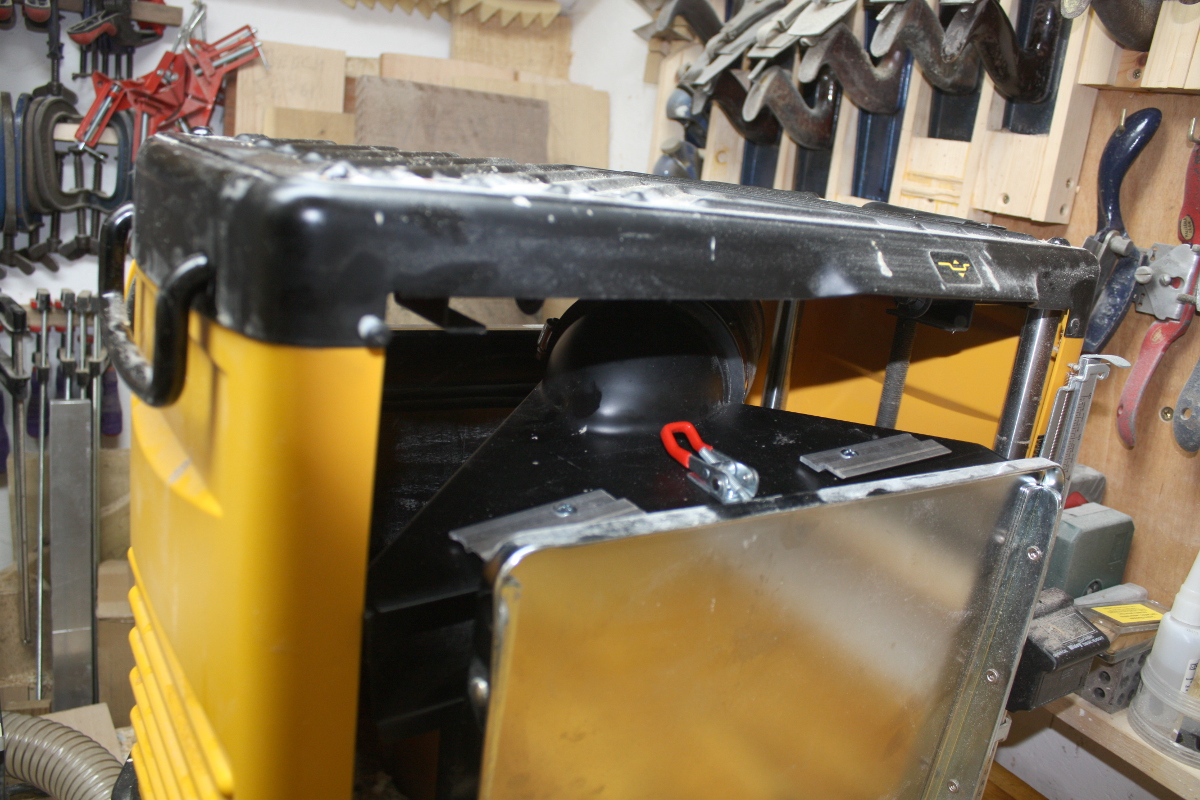
Some serious tidying up needed here. I won’t get to it tonight, but I did manage to open the cyclone and check its levels (about 20% full) and pop the sides back out and put in a brace to stop them being pulled in again. And took measurements of the space available and the size of the cyclone, the shop vac powering it and the box of finishing supplies that needs to go into a drawer of sorts (I’ll have to do drawers for the stuff under the bench as well, the plastic tubs were only ever a temporary solution and they’re starting to crack and break under the strain). Some sketching to do in my head and then I’ll get to it shortly.
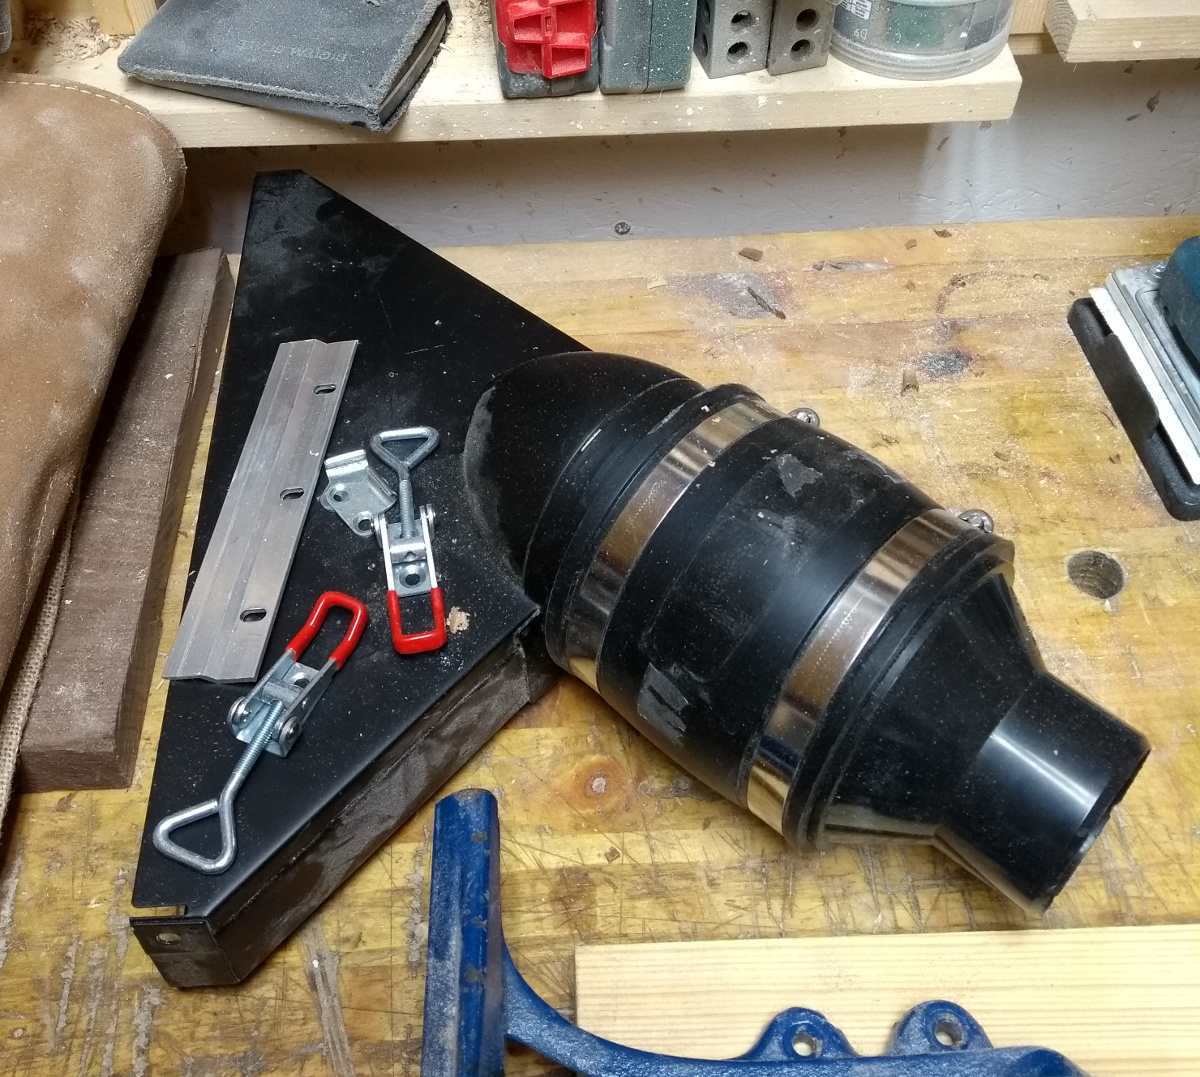
First, this is on the bench and has been for about two years now….
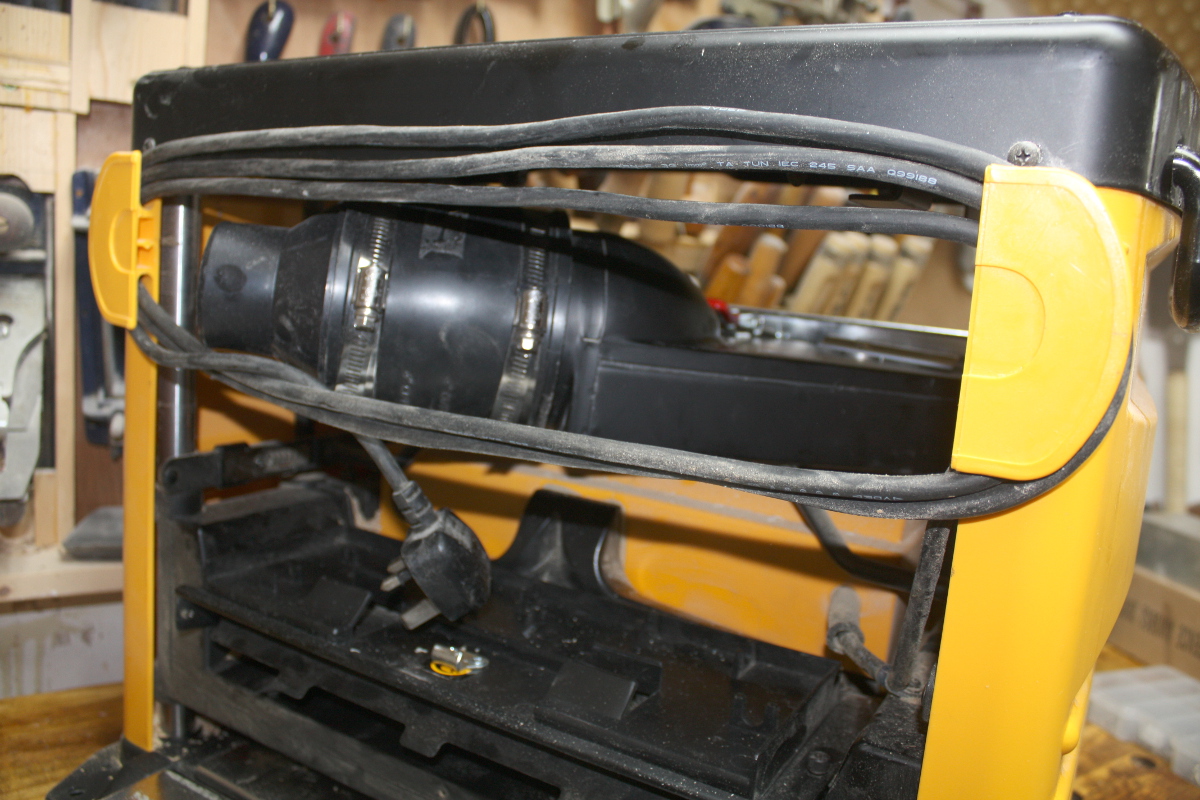
So out with the metal drill bits for the first time in a long time, and I cut the z-clip in half with the bandsaw and deburred it with a handfile, then screwed the dust hood into place by the really awkward three screws on the sides and underneath that are DeWalt’s idea of how it should work; and arranged clips and centerpunched for bolt holes. Had to take out a plate from the planer to attach the actual latch rather than disk drilling into something you shouldn’t drill into…
Bit of faffing about with taking the hood off and on a few times to figure out placements and finally had the hardware installed.
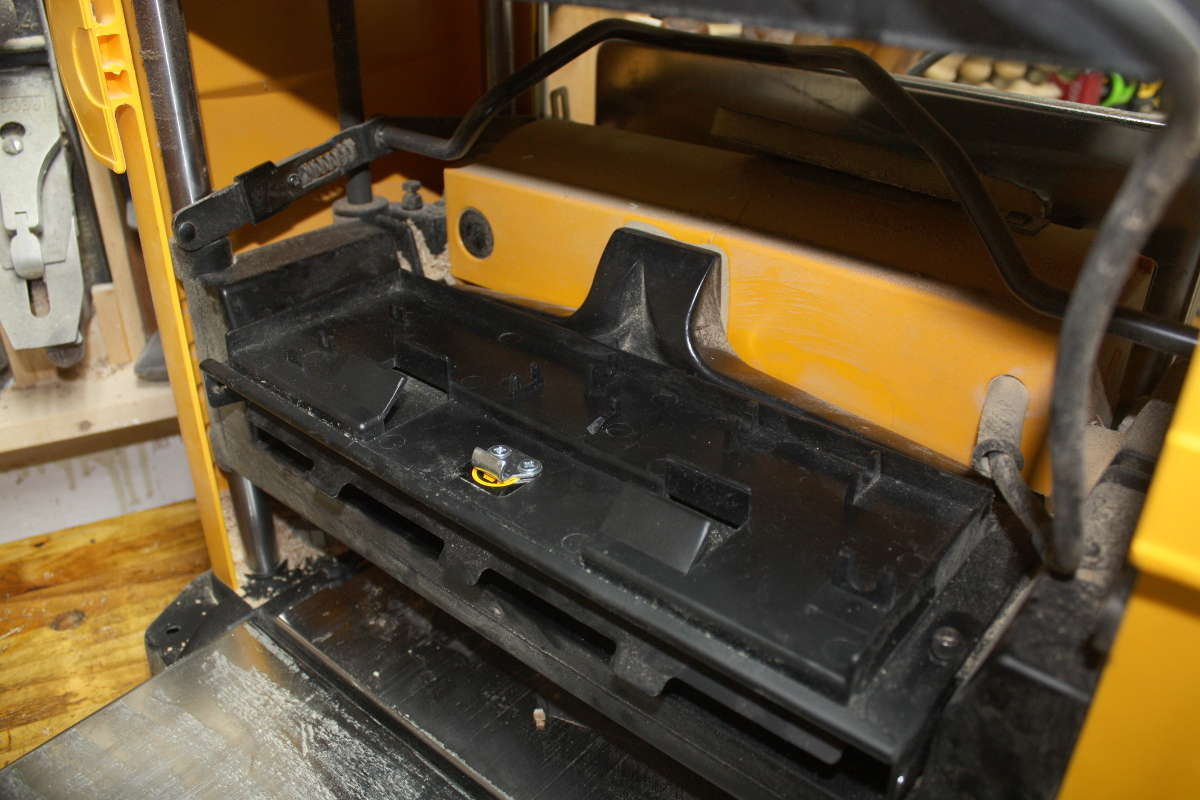
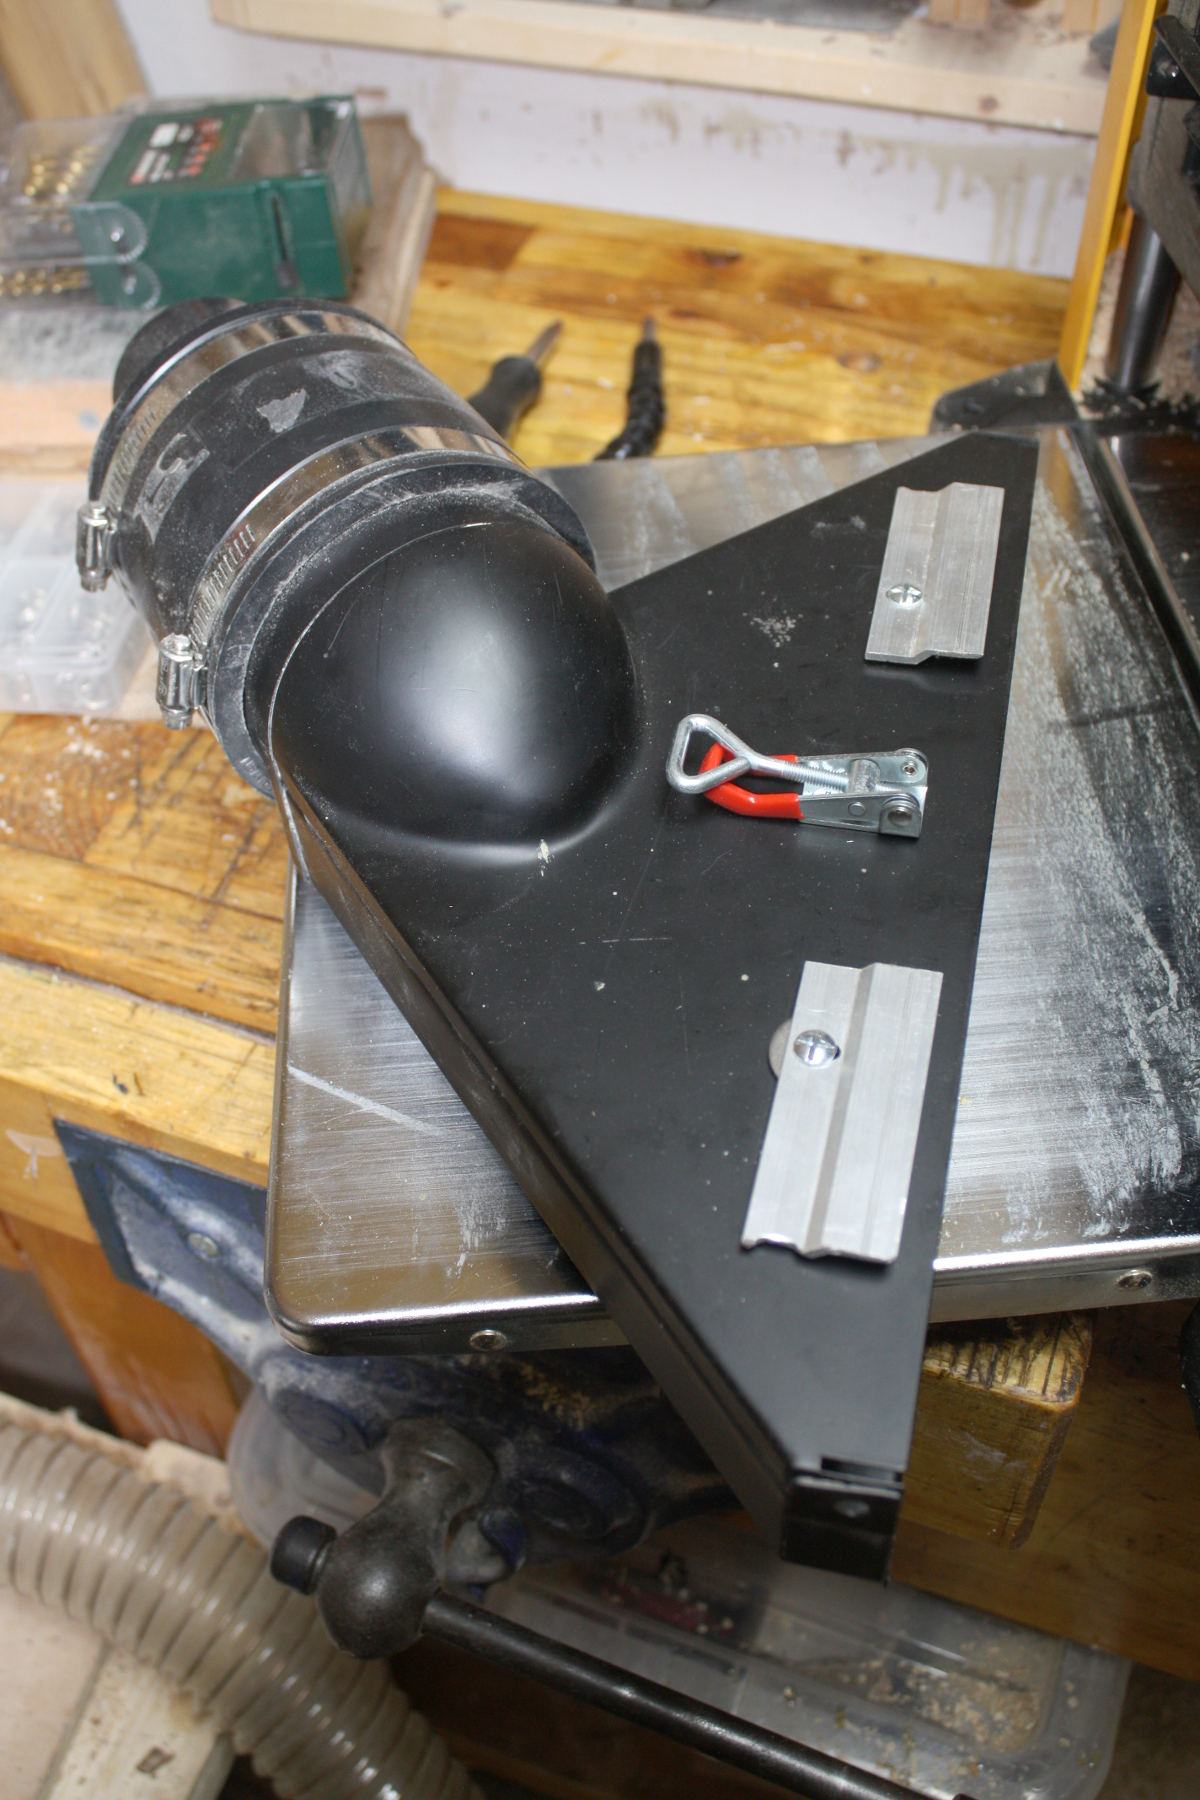
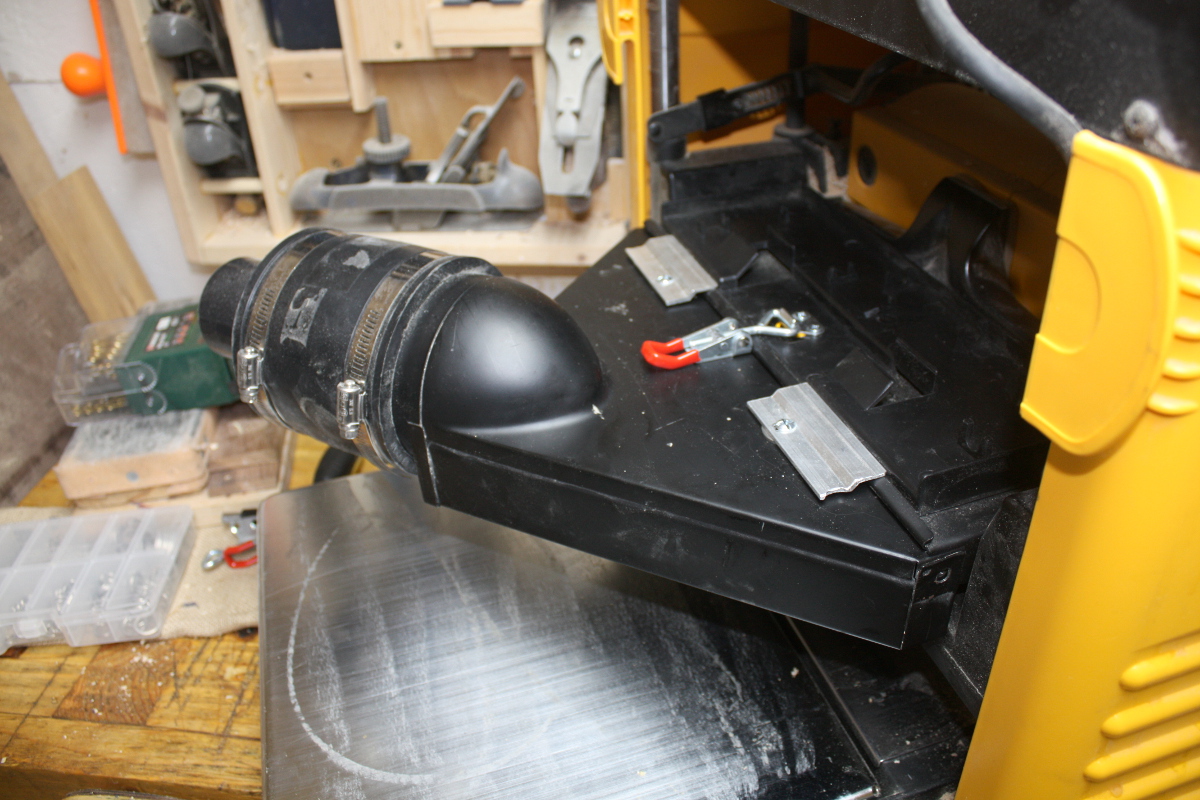
Now when I want to attach the dust collection hood, I can just push it into place and the latch holds it there:
I have less than a huge amount of faith in my show vac and cyclone to keep up with this thing’s production of shavings mind you, but at least this beats the fiddly screw arrangements. At some point I’ll get a 100mm extractor from Rutlands or somewhere I think. But I might as well try this for now. Compared to the mess when I don’t do this, it has to be worth trying at least.
Also, now it stores away somewere convenientish. Sortof. I mean, if it doesn’t work, it won’t be much good at all and I’ll stash it in the attic until I get a 100mm extractor I suppose, though your guess is as good as mine about where that would go. At least it’s done; I’ve been meaning to get to this for something like two years now.
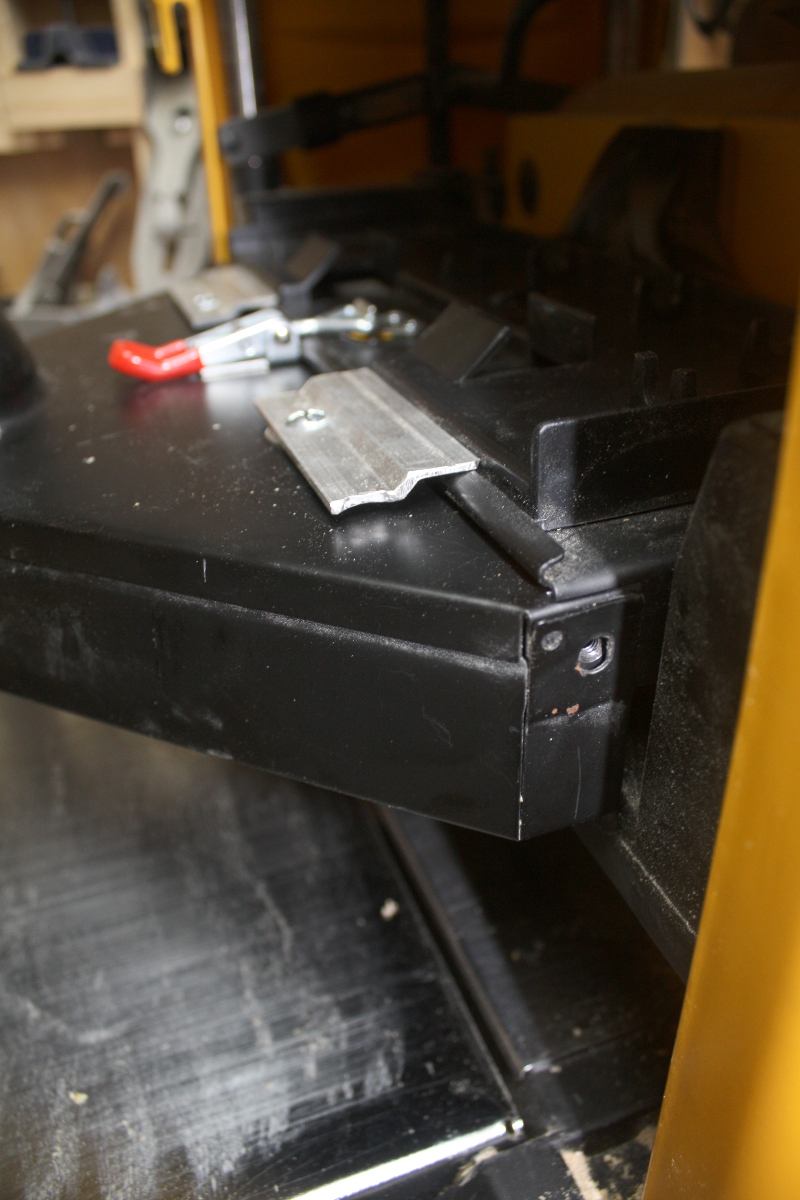
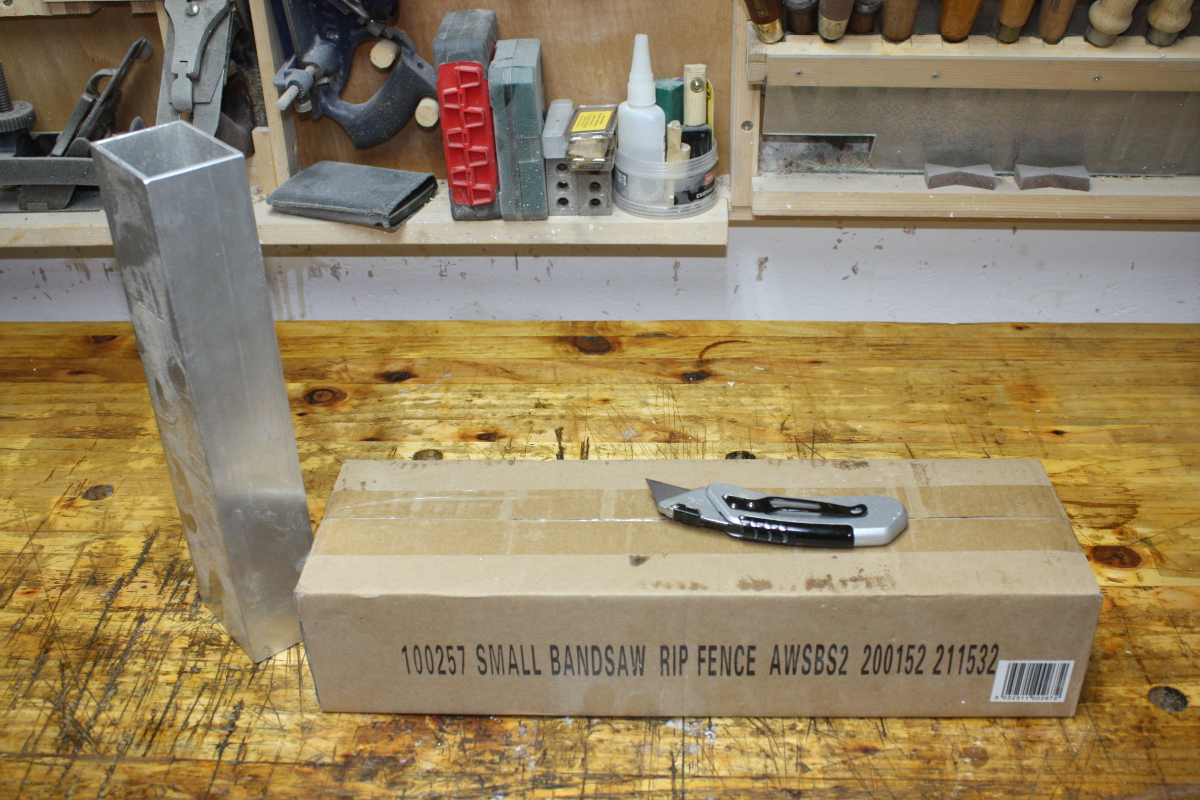
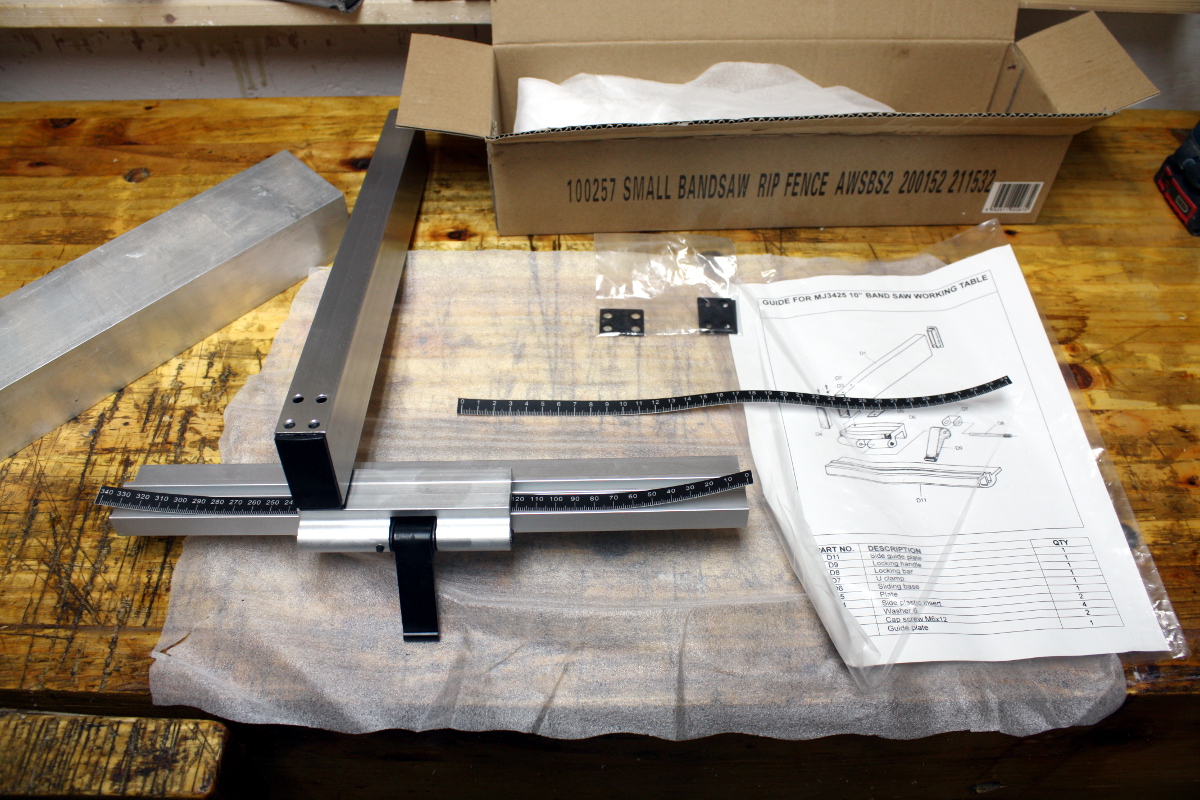
Next up, I got a new fence for the bandsaw. The aluminum extrusion I’ve been using is fine, but fiddly to set up. Peter Millard installed this fence on this bandsaw and seemed to have good luck with it, so I figured it was worth a try…
But it’s after nine by now so not a time to drill metal. I’ll rewatch Peter’s video and figure out what I’ll use to duplicate the install. And I’d rather get this done sooner than later, I have more toys to play with that have been hanging around for a while…
This is not even a little surprising, but it's getting exhausting.
A party running on the platform of "we won't do the right thing when it matters, but we promise that we will later, if you just hand us completely unearned power once again."