30
Oct 16

Tidying up and small jobs

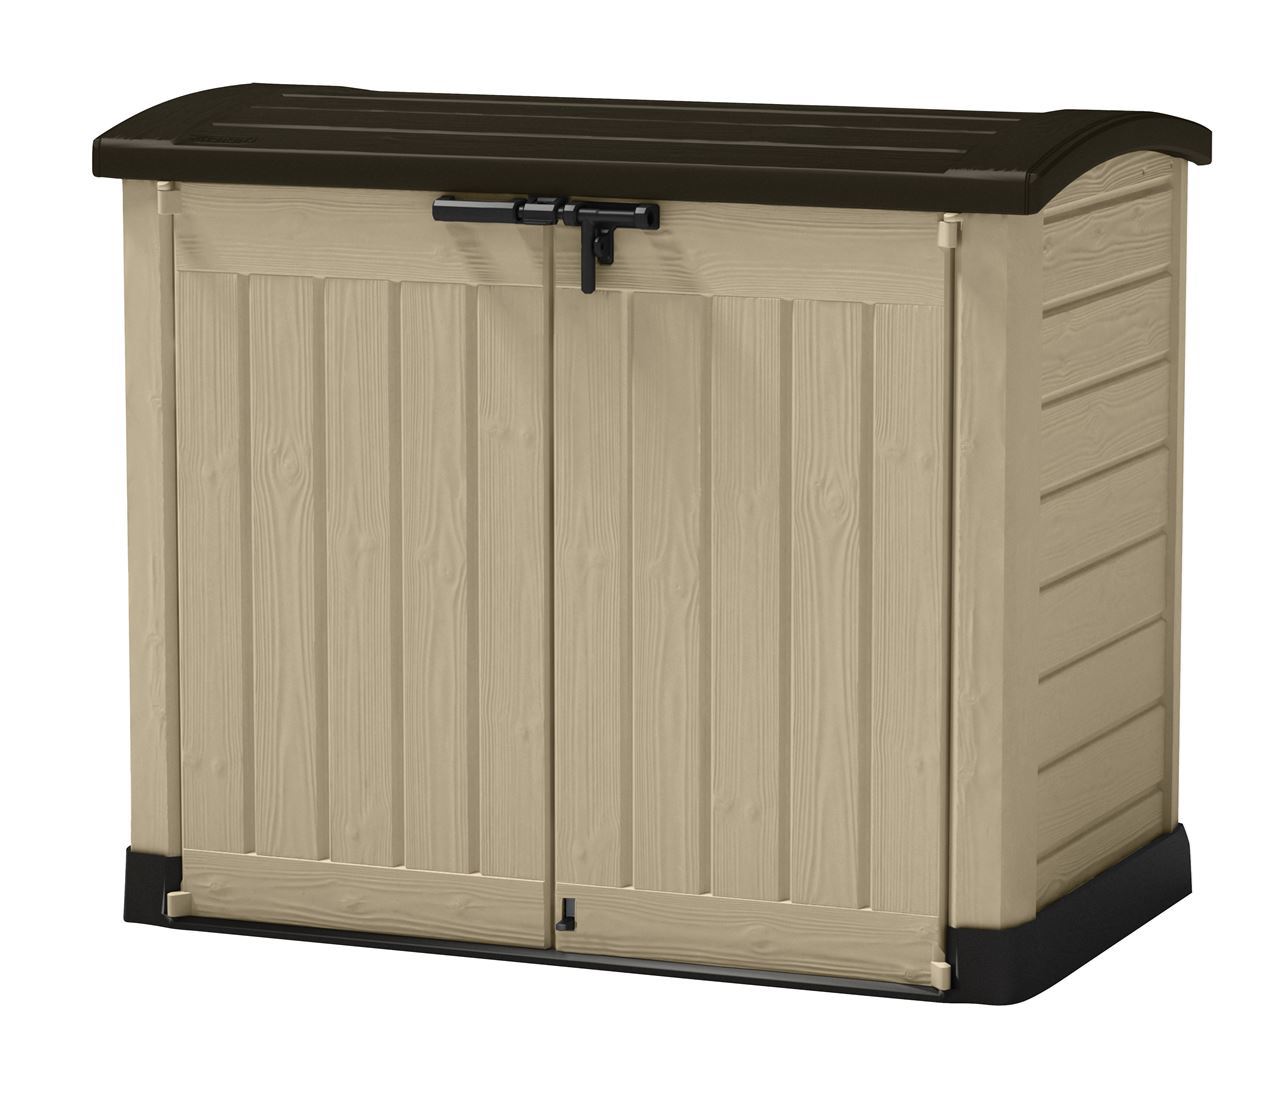
Didn’t get the jig built. But did get the lawnmower and a lot of other annoying floorspace eaters cleared out to the garden storage box, so I’ve now gone from this:

img_9759a

being under my feet to this:

2016-10-30-12-42-54a

It’s a remarkable change 😀

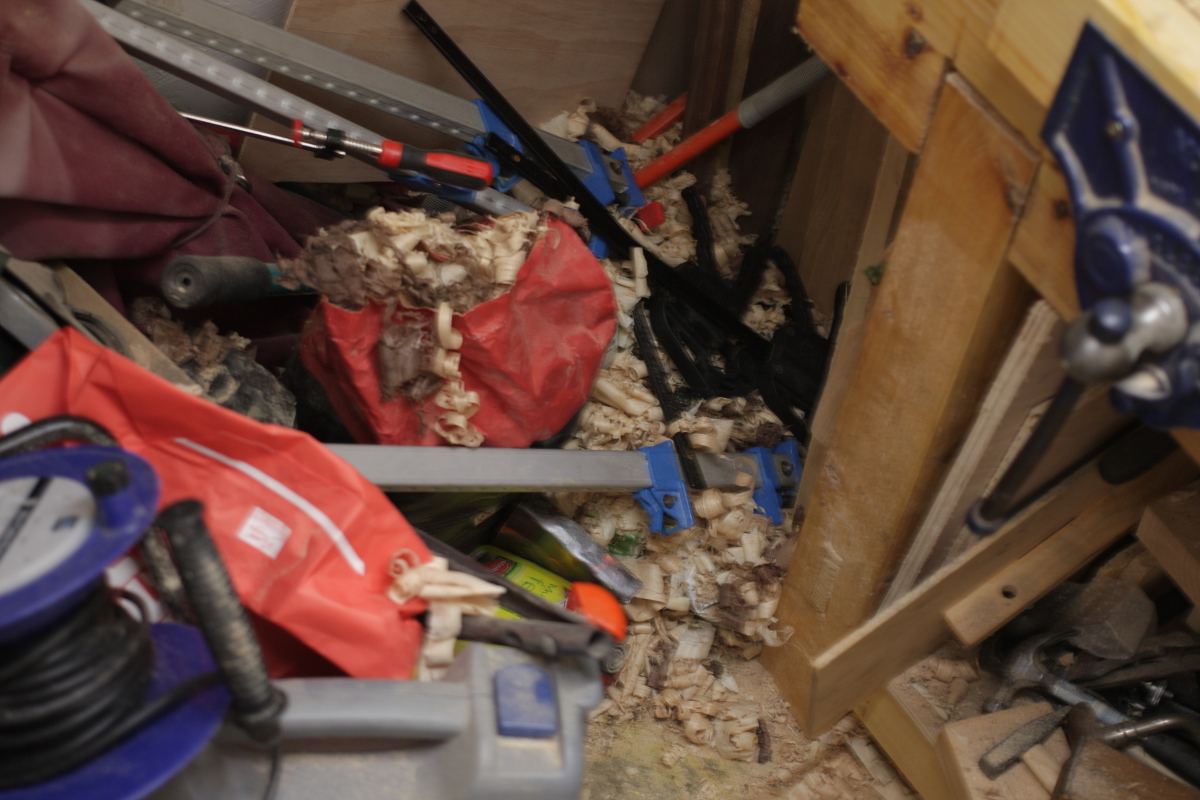
Mind you, while getting that done other stuff had to be moved about so for a while, this was my bench…

2016-10-30-12-43-44a

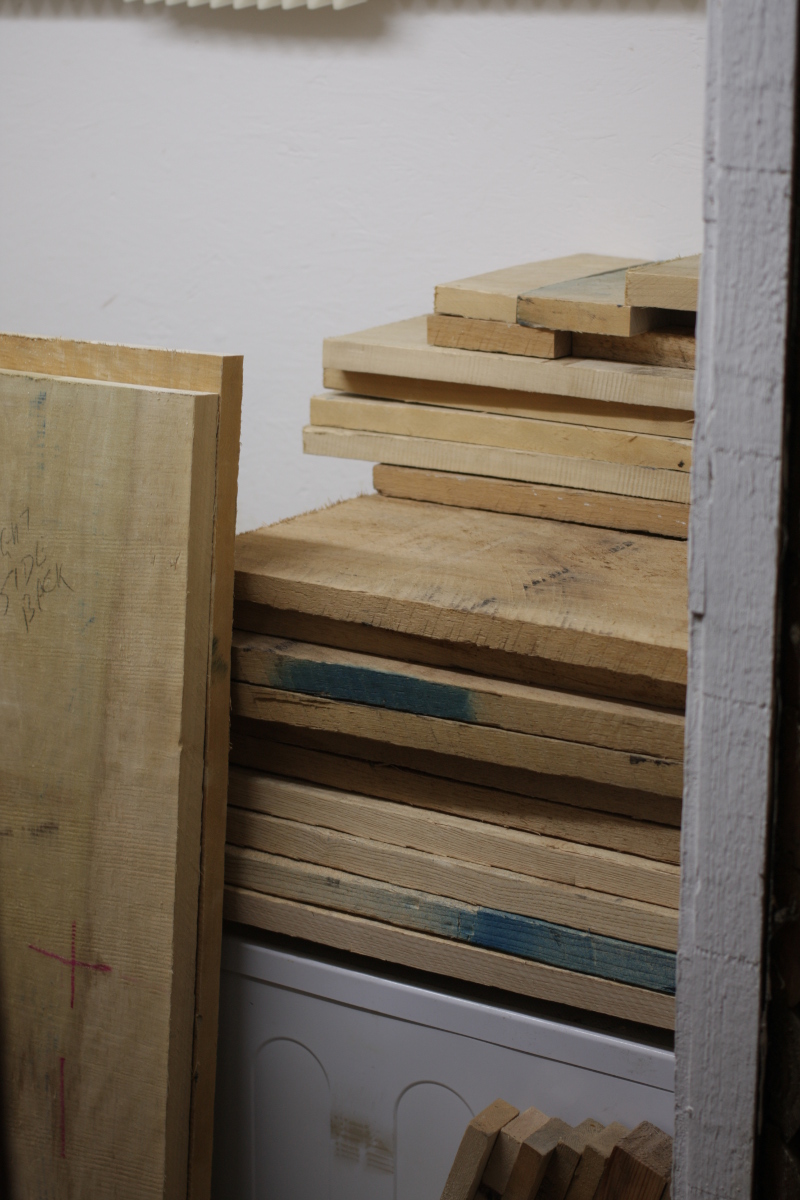
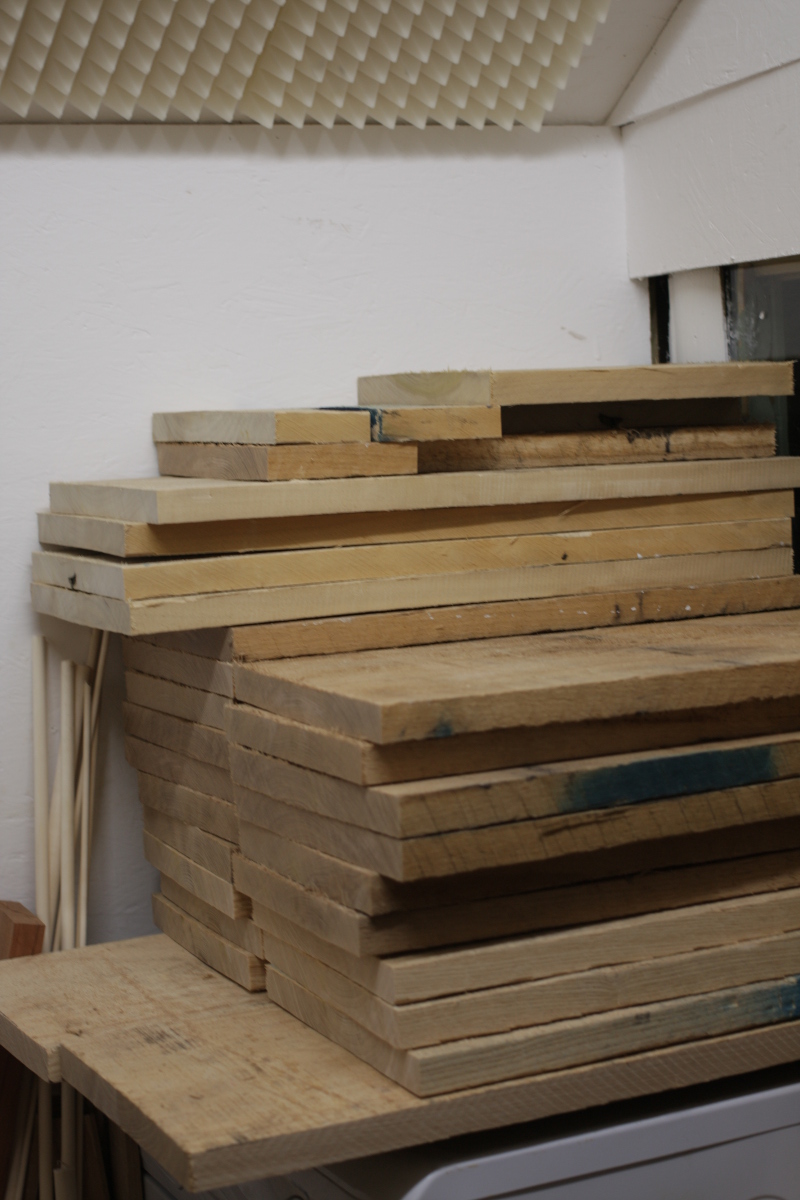
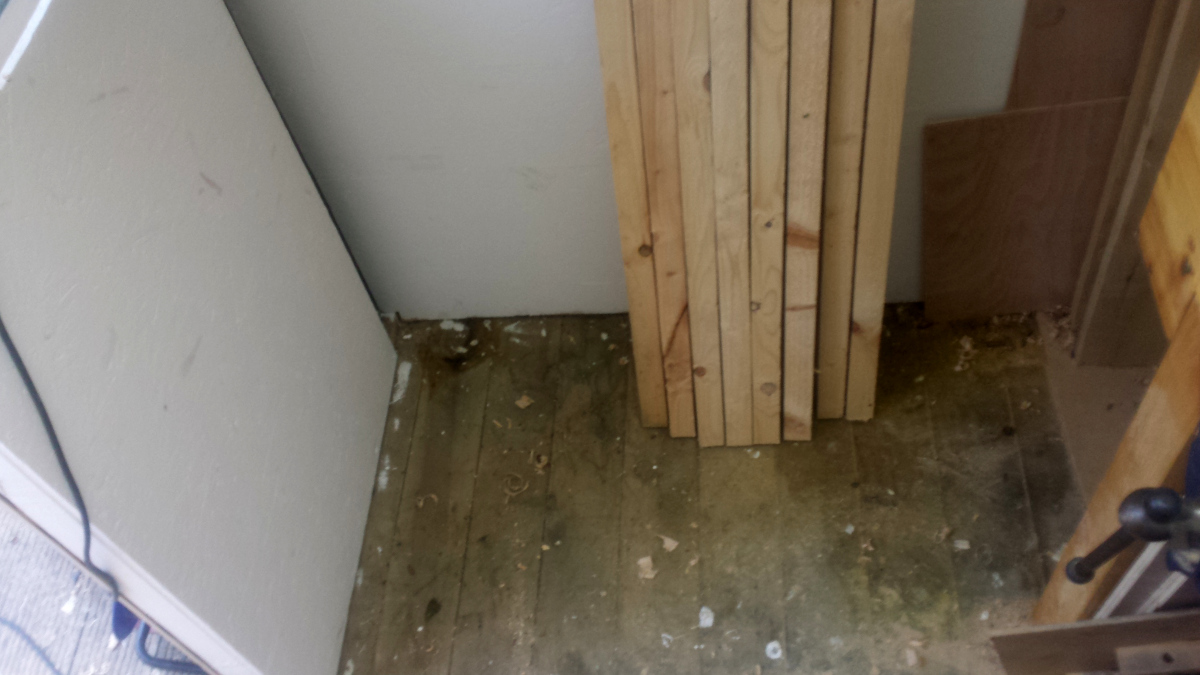
So not ideal. I finished breaking down almost all of the boards from friday (there’s still one 6’x6″ walnut board I haven’t cut yet) and stacking them and generally doing small bits of tidying away (like putting some mdf on the floor under the timber because that floor looks manky):

2016-10-30-21-17-19a

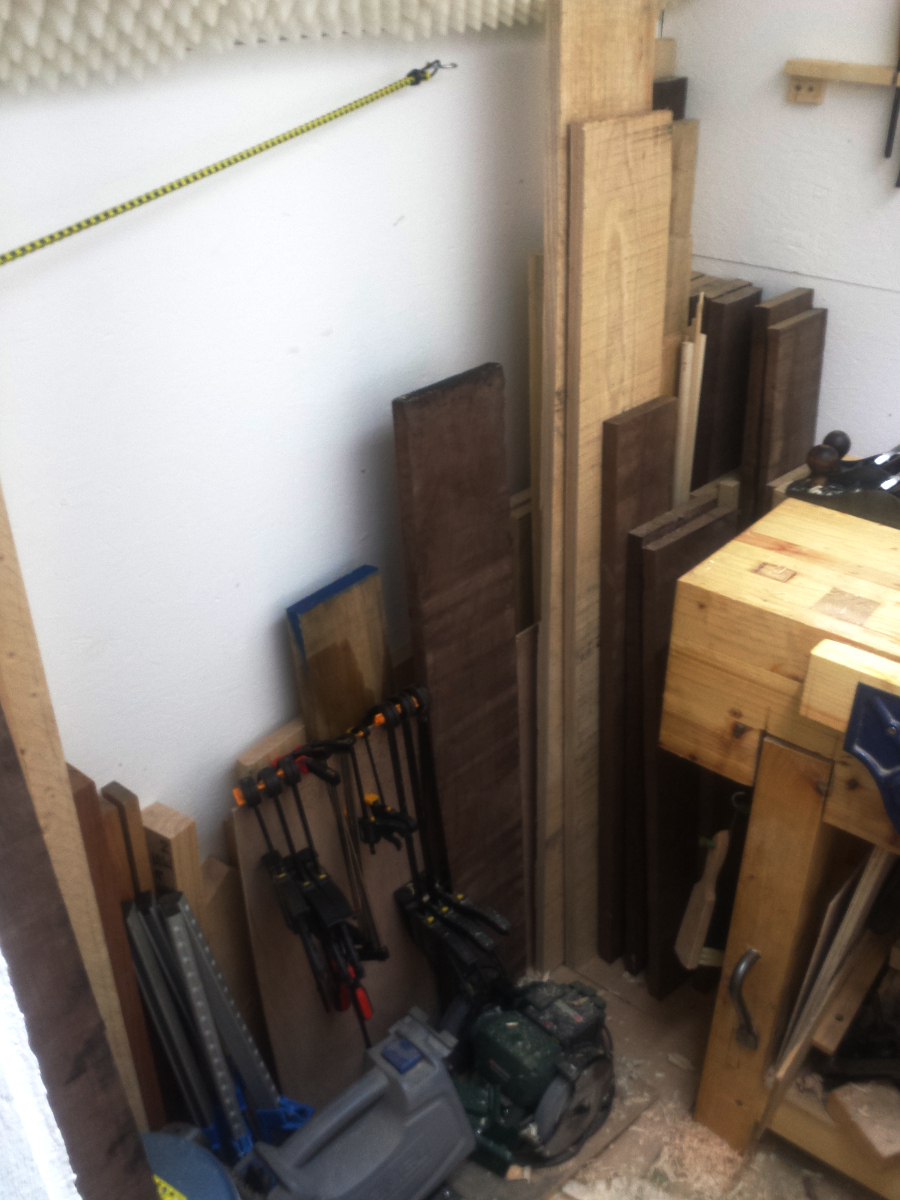
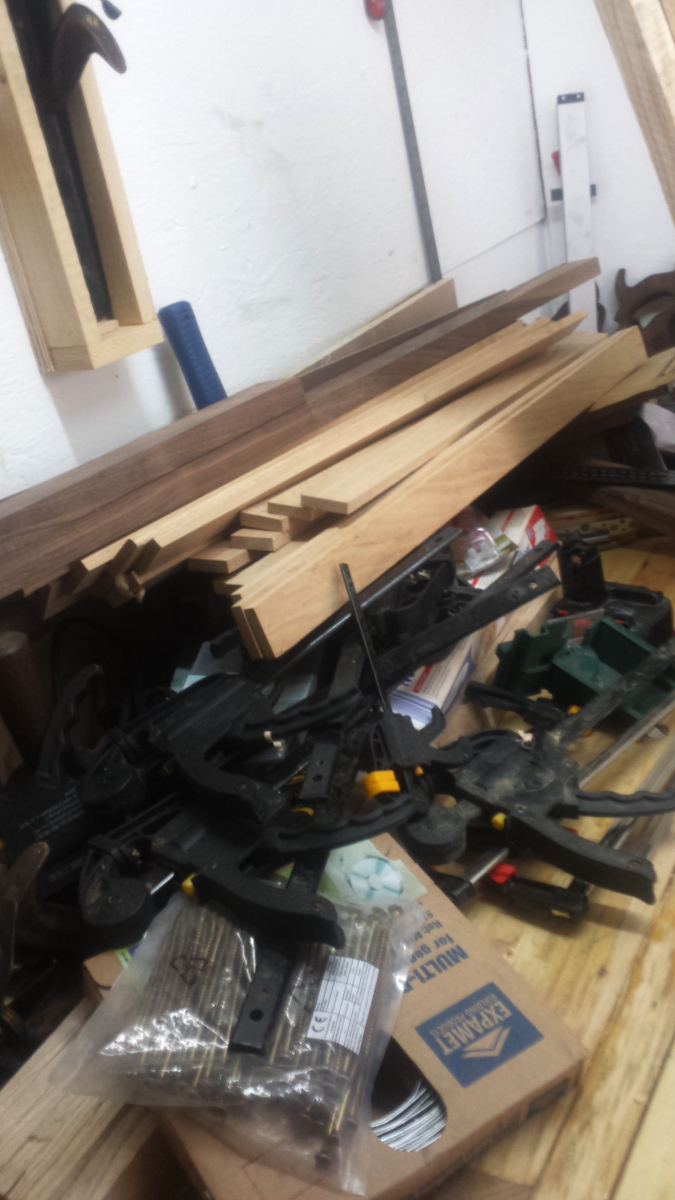
So a little crowded again, but the dremel, the bench grinder and air compressor are all going up on french cleats on the wall or elsewhere in the shed, along with those clamps; and as to the wood, well, that’s three or four projects on the go so it’s not just sitting around taking up space, it’s raw materials. I can live with that.

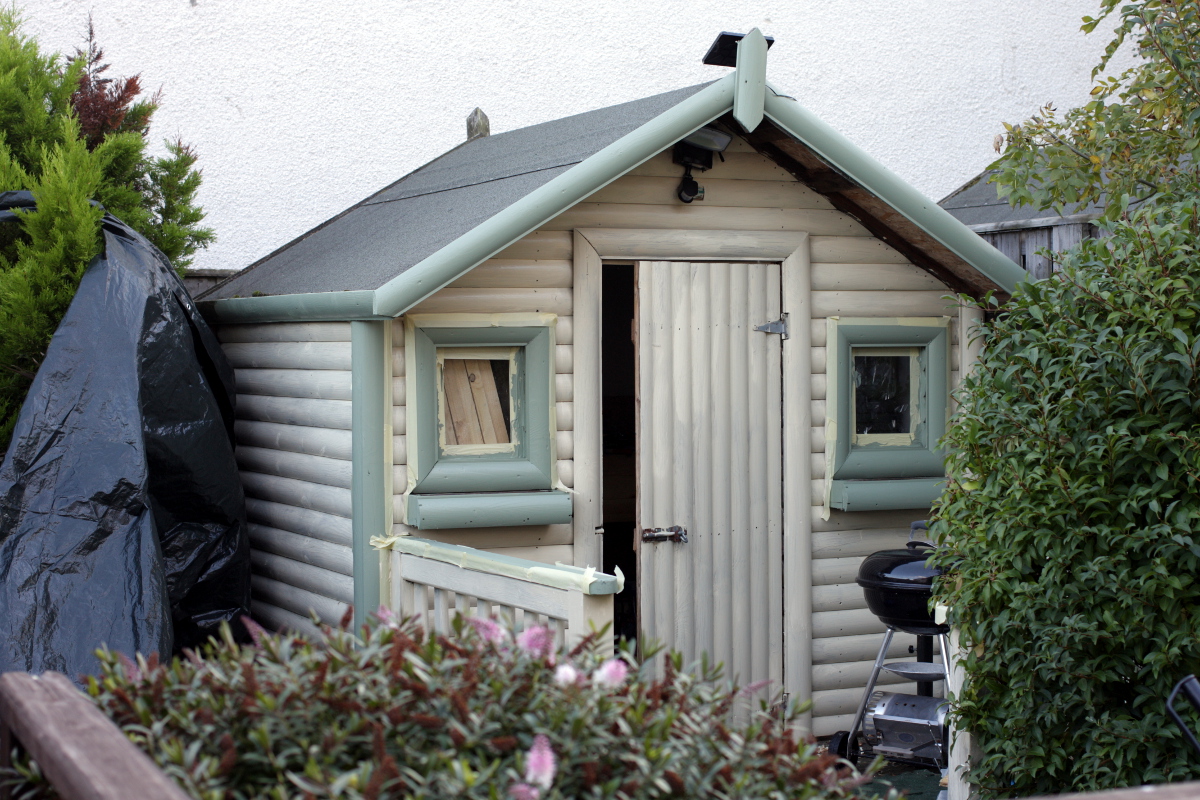
Still way too small a shed though.

And then I started trying to get some more things off the bench to free up more space. So the holdfasts finally got storage holes in the legs…

img_9769a img_9770a

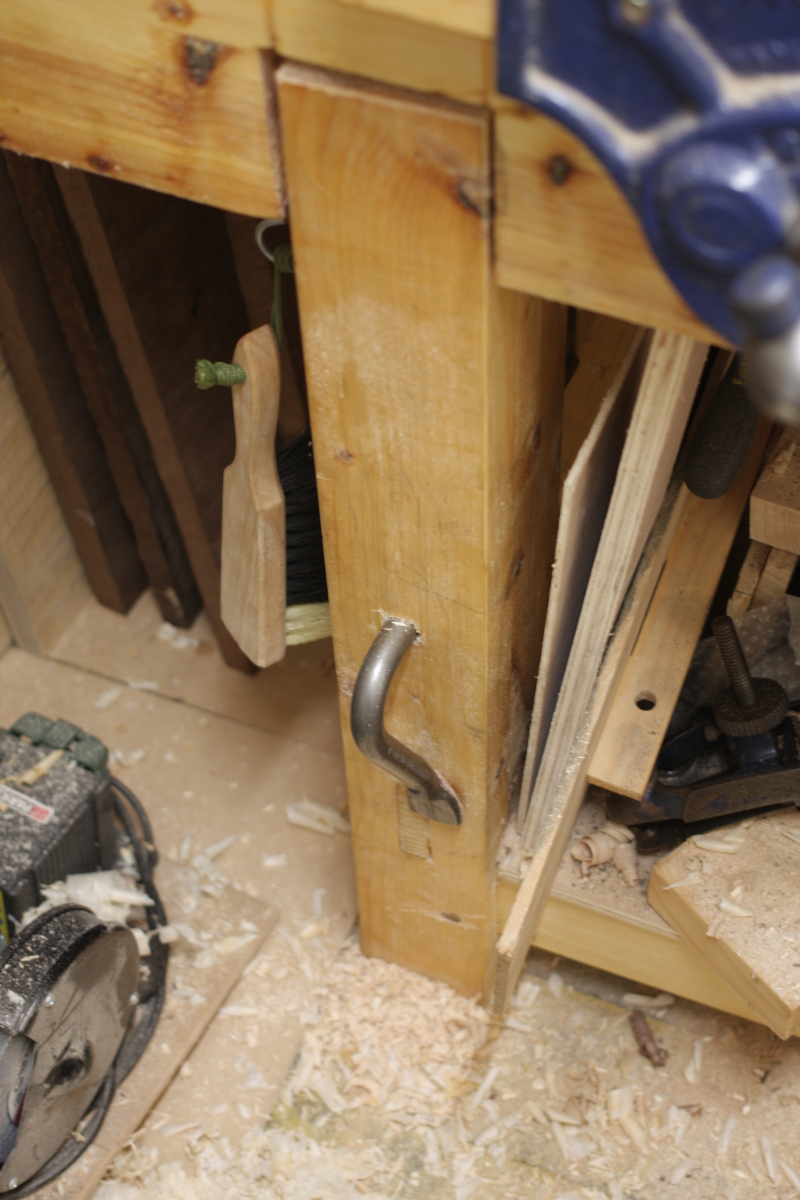
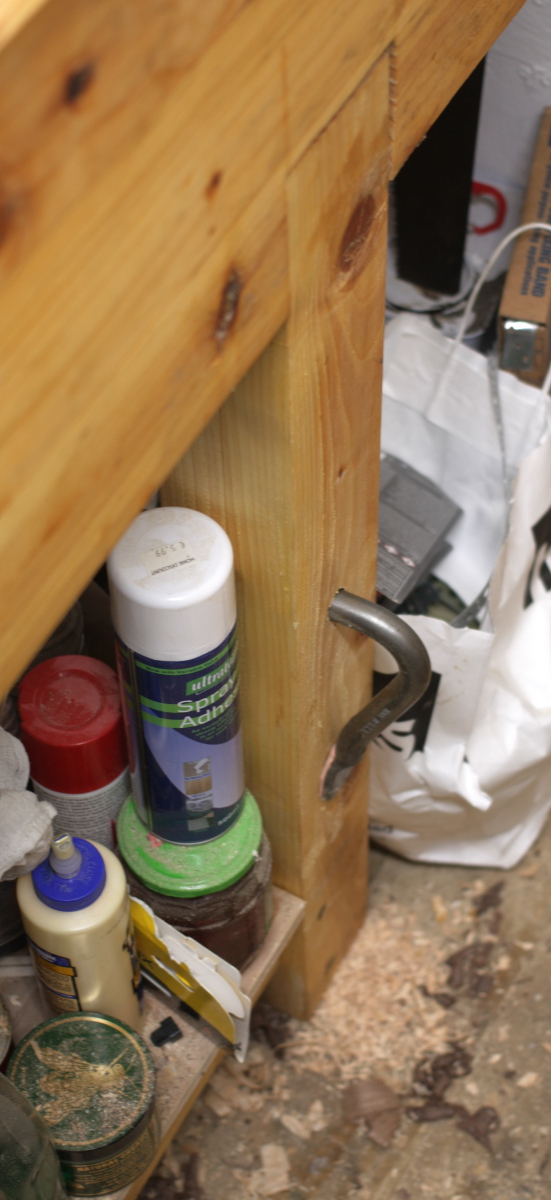
(I couldn’t drill a second in the right leg because there’s a tumbledrier in the way. Don’t ask).

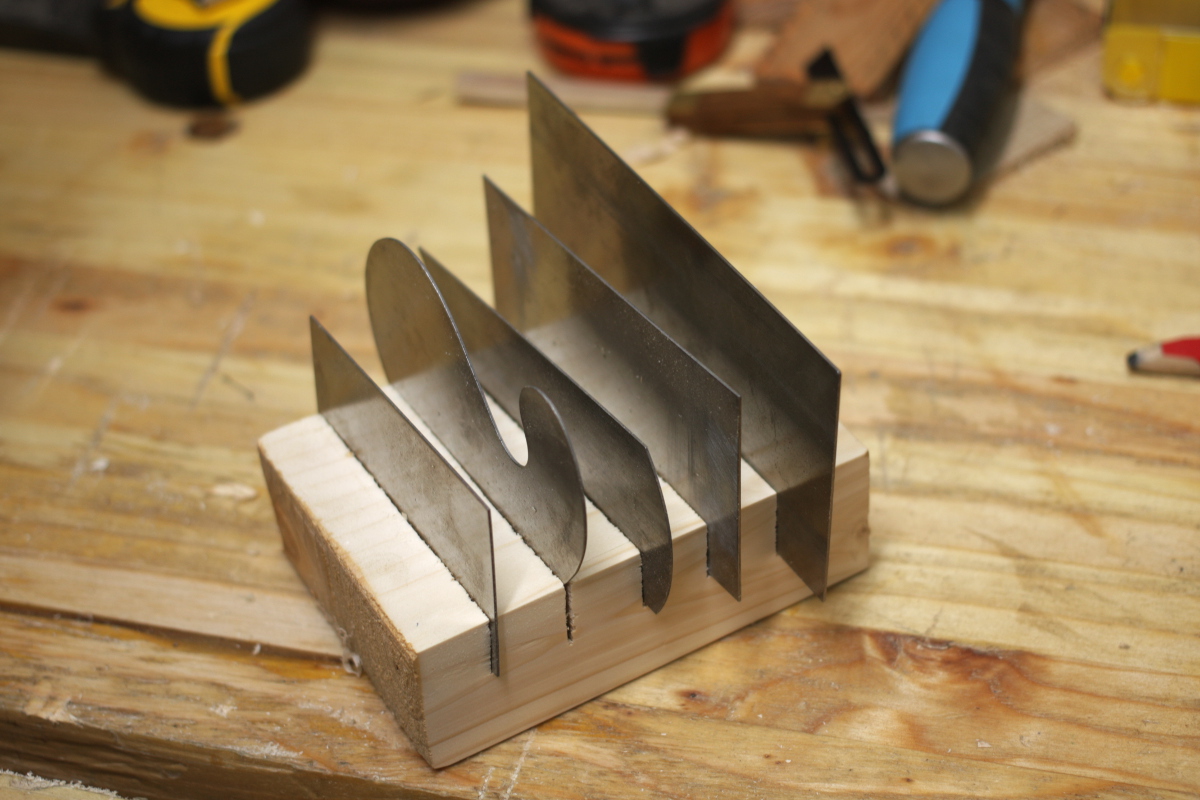
And the scrapers finally get a small holder to get them out of the way and kept together.

img_9767a

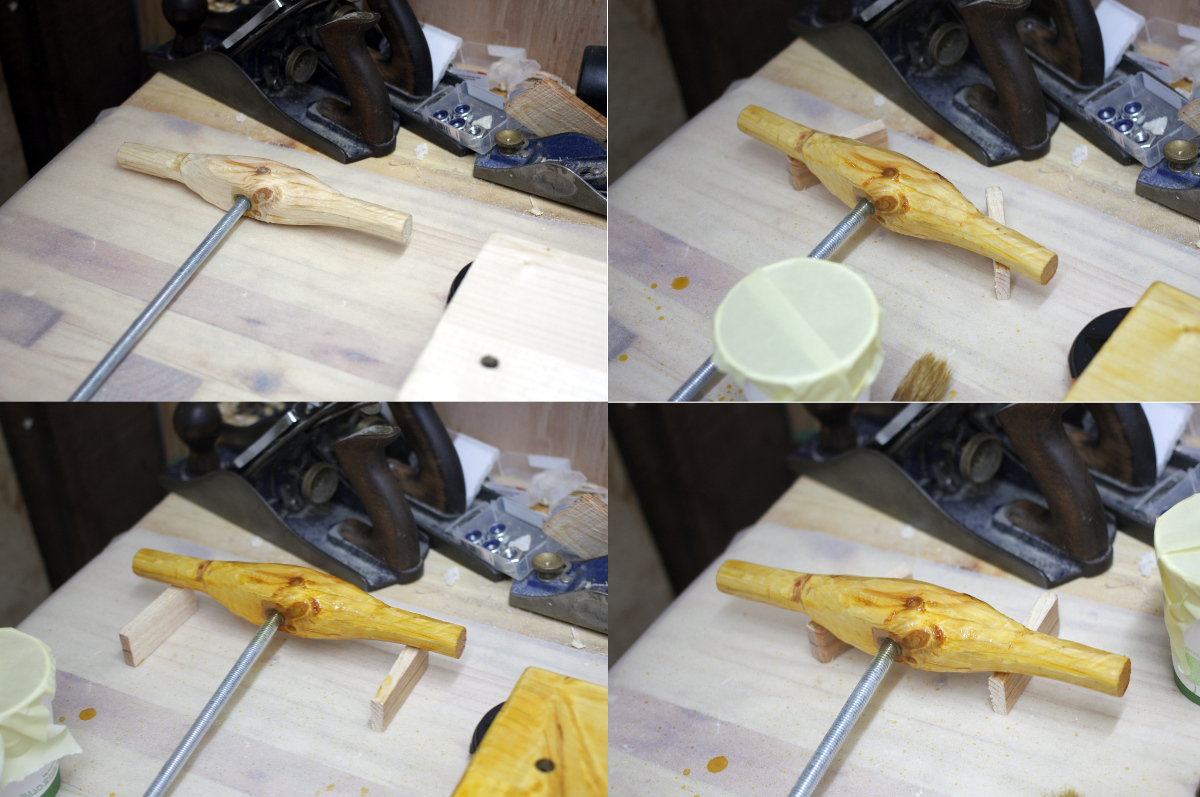
And last small job was to get the hammers off the bench and onto the wall. So a small lath of 2×1 and some holes drilled at a 15° angle and some 18mm dowel and glue gives this work in progress:

img_9775a

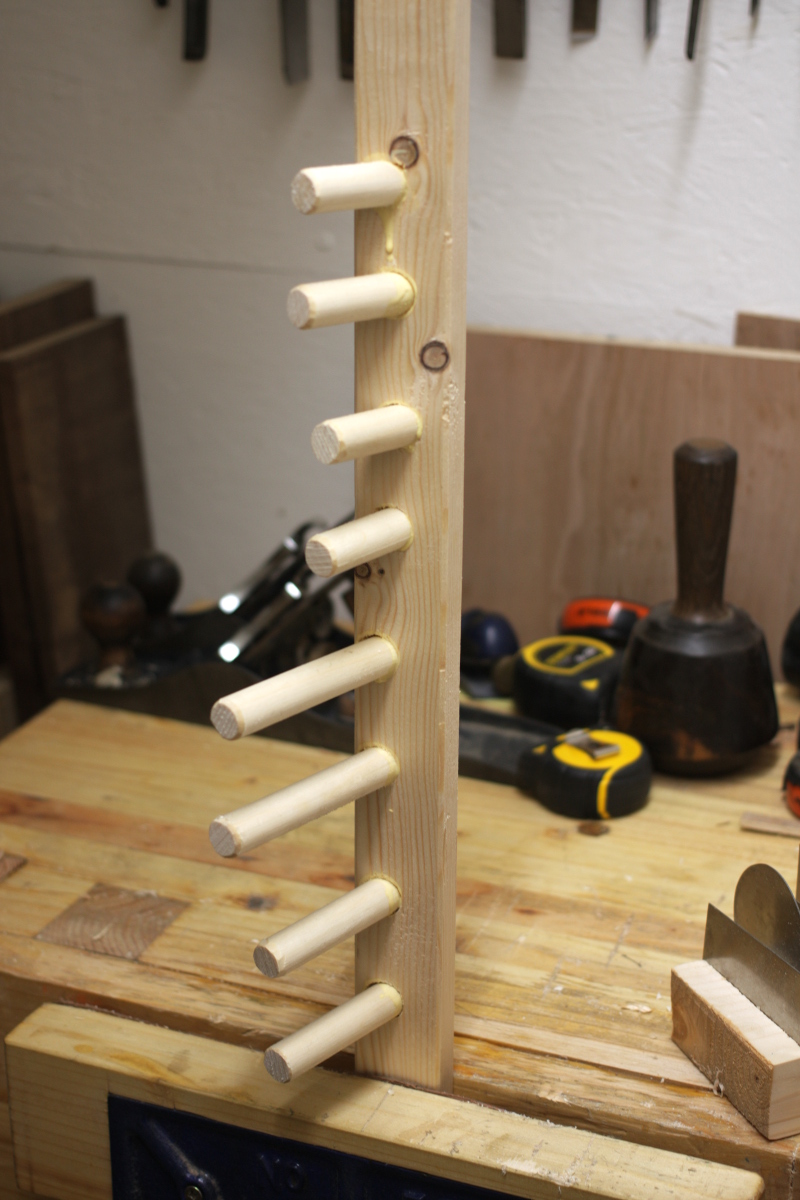
I’ll let that cure overnight, then drill some pilot holes down from the top of the lath through the dowel centers, and drop a screw down the middle to add some strength, then chisel and plane the back flat and screw it to the wall. Then I’ll hang the hammers on it and hold my breath…


29
Oct 16

Shop till you drop

It’s been one of those consumer weekends so far. Friday was the trip to the timber yard (and would have been another trip to go buy a plastic drum for dust collection, but they weren’t open); and today was a trip to B&Q to buy one of these:

0010795_store-it-out-arc

Yeah, I know, it’s plastic, but it’s cheaper than you could build one for. Tomorrow the lawnmower and garden tools and a lot of this muck are going in there:

img_9759a

After that, I might be able to actually stand in front of the vice for rip cuts…

And then there was the testing of the mattress for the cot, for which we roped in a volunteer…

2016-10-14-19-16-16a

It was deemed to have passed inspection.

And lastly, I solved yesterday’s storage problem with the vigorous application of a circular saw (yeah, yeah, power tools, I’m unclean), and now I have a stack of rough-cut parts for two or three projects.

img_9740a img_9745a

There are still a few 5′ and 6′ boards to stack, but I can manage those, just about.

And with any luck, I might get back to project work tomorrow sometime, and get the steaming jig rebuilt, a drying jig built, and if I’m fast, get one of the walnut frame pieces steamed and bent.


09
Oct 16

Magic trick

That point where the first coat of paint or finish goes on is such a dramatic change in the thing being finished, it really does seem like a magic trick of some sort. Even if it’s a cack-handed sort of affair. Today was two of those moments. First off, with the shed, which took quite a bit longer than your average david copperfield affair, eating two hours to get it done. Mostly because all of the funny things people tell you about painting while you’re stuck in a bush are pretty close to the truth. Still, it doesn’t look horrible:

img_9468a

Okay, the tarp on the bush to the left looks horrible, but that’s how I’m keeping it from being a pine needle finish. Plus, it makes painting from within the bush a bit easier. Second coat in the next day or two, and then off comes the masking tape and the spiders can move back in to cover the whole thing in webs again…

Second up was the cheese press. I’m not hugely happy with the main nut on the crossbar for this, I think there will be more epoxy and a few small wedges employed, but at least it’s in an out-of-sight area; but I wanted to get the shellac on first today as all that’s left is bitwork after that really. I removed the metalwork and took the #4½ with its new 40° angle bevel and the cap iron crowded right up on the cutting edge, and smoothed the planks off. There’s something terribly gratifying about getting wispy-thin shavings after trying a slightly new way of setting up a plane. I think this one counts as a success. I did some last bits of whittling as well on the handle just taking off the absolute worst bits. I’m not happy with it at all really, but at least I learned how not to use a spokeshave.

Then on to the shellac. I’ve had some button shellac sitting in isopropyl alcohol for a few weeks now as another experiment, so I used that. One coat, wait 30 minutes, sand back with old beat-up 120 grit sandpaper (I didn’t have any 400 grit sandpaper. Something to sort out for when I finish the crib). Four coats in total.

shellac1

shellac2

Clockwise from top left for each of those for each successive coat.

Tomorrow once it’s fully cured, I’ll hit the surface with 000 steel wool, then use the same wool to apply some briwax and then I’ll buff that out and that’ll be the finish done. I’ll drive the wedges to secure the center nut at the same time, add the metal hardware back in and assemble it and that’ll be that.

No work on the crib today, but the planing begins in earnest after the last bits of the cheese press are completed…