Holidays started, and a couple of new tools showed up in the post (well, rutlands was having a black friday sale and some nice things popped up on ebay for decent prices).
A few fairly cheap rasps. Machine-made, no hand-stitched french rasps in my budget for a while (these cost about twenty euro for the set, a single hand-stitched one would cost a little over a hundred euro more than that). Might be useful for the curved parts of the crib when I’m finishing them.
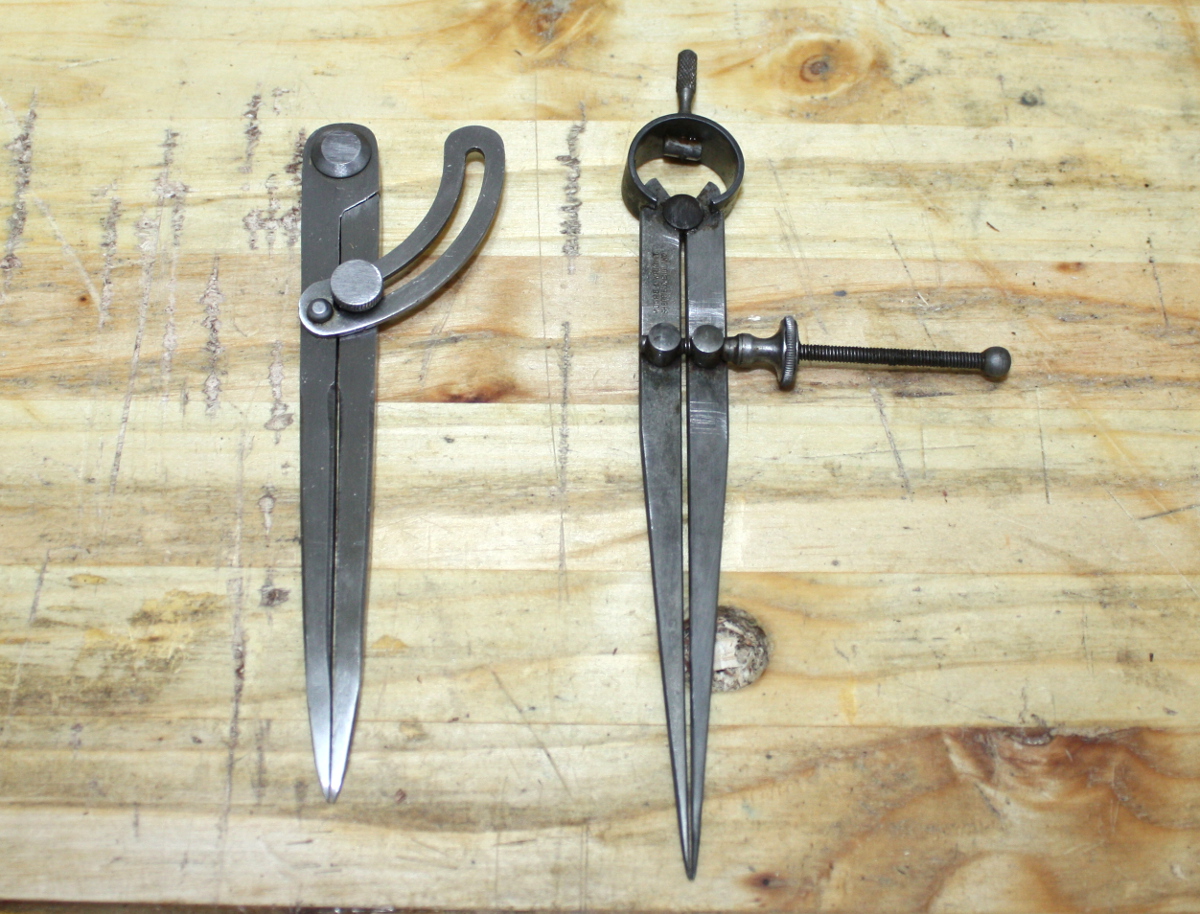
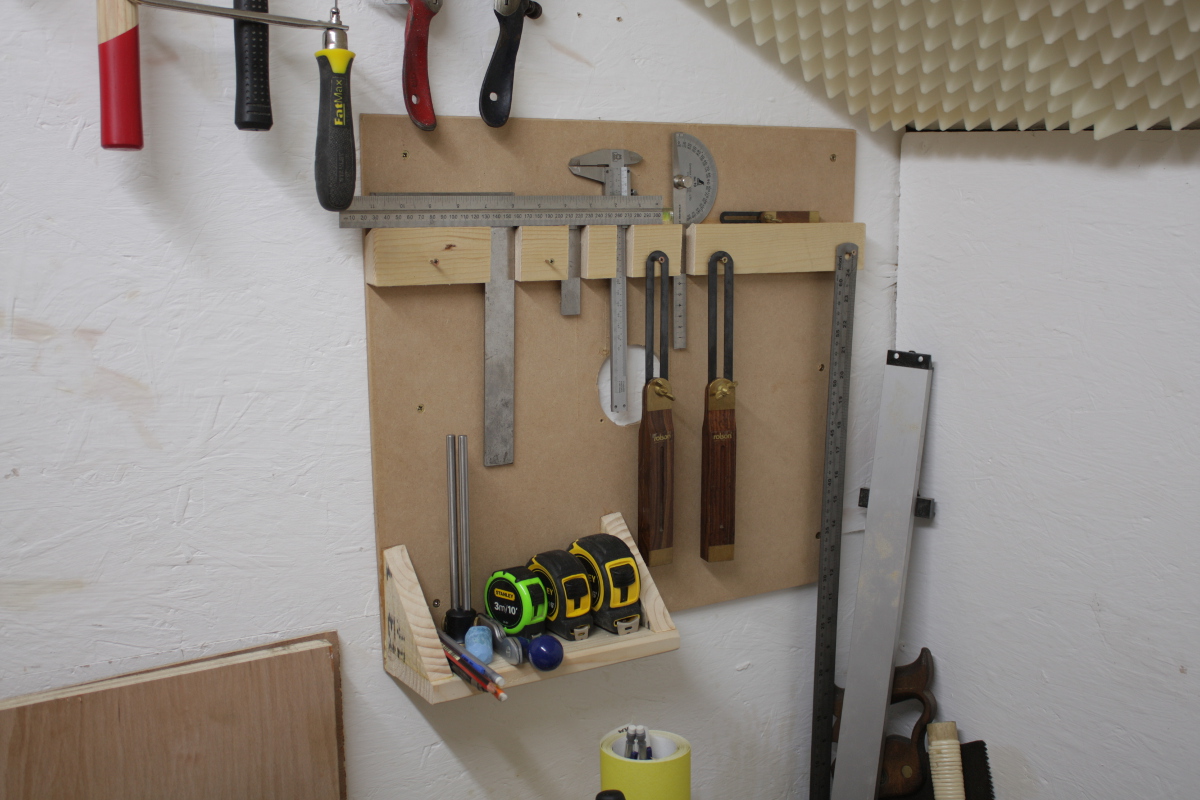
One of these dividers is new; one of these is older than the modern state of Ireland. And they both work pretty damn well. (They’re for laying out the dovetails in the drawer of the crib).
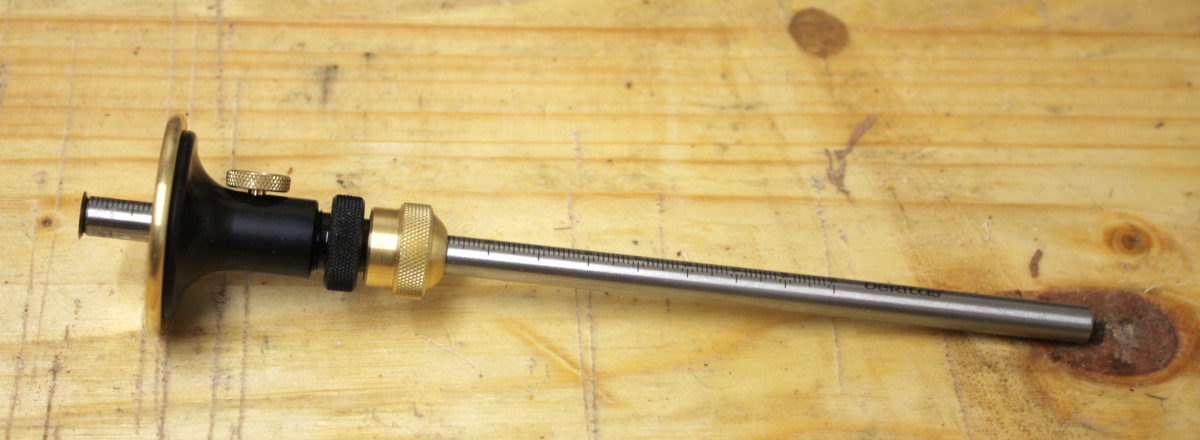
I kept having to set and reset my existing veritas gauge using scraps of wood with the gauge lines in them (which works great until you drop the scrap down behind the workbench where it’s bloody awkward to get to), then I noticed that other people got round this by having a small army of the things and using different ones for different measurements during a project (no you can’t set them off a ruler, you’ll inevitably get parallax error setting it and make a mistake that shows up glaringly later on). I might be getting a few more of these over the next while. The built-in ruler is kindof nice, as is the microadjustment feature.
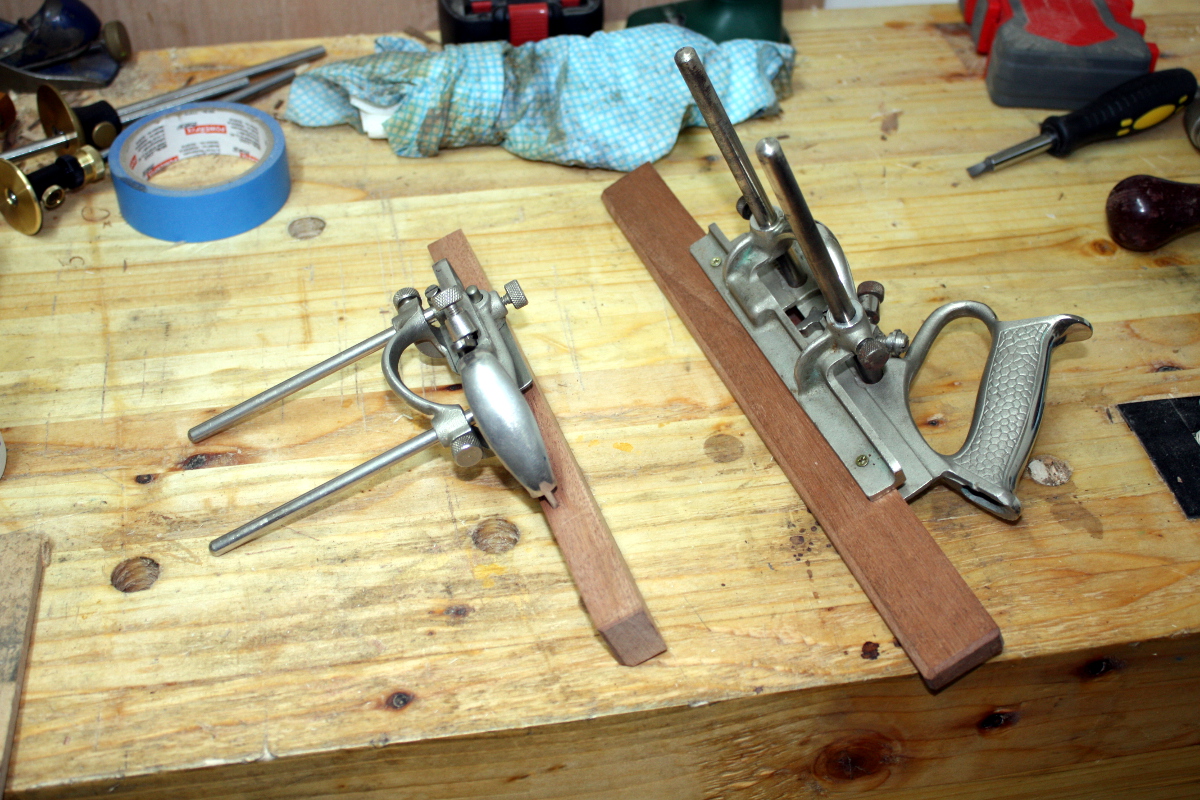
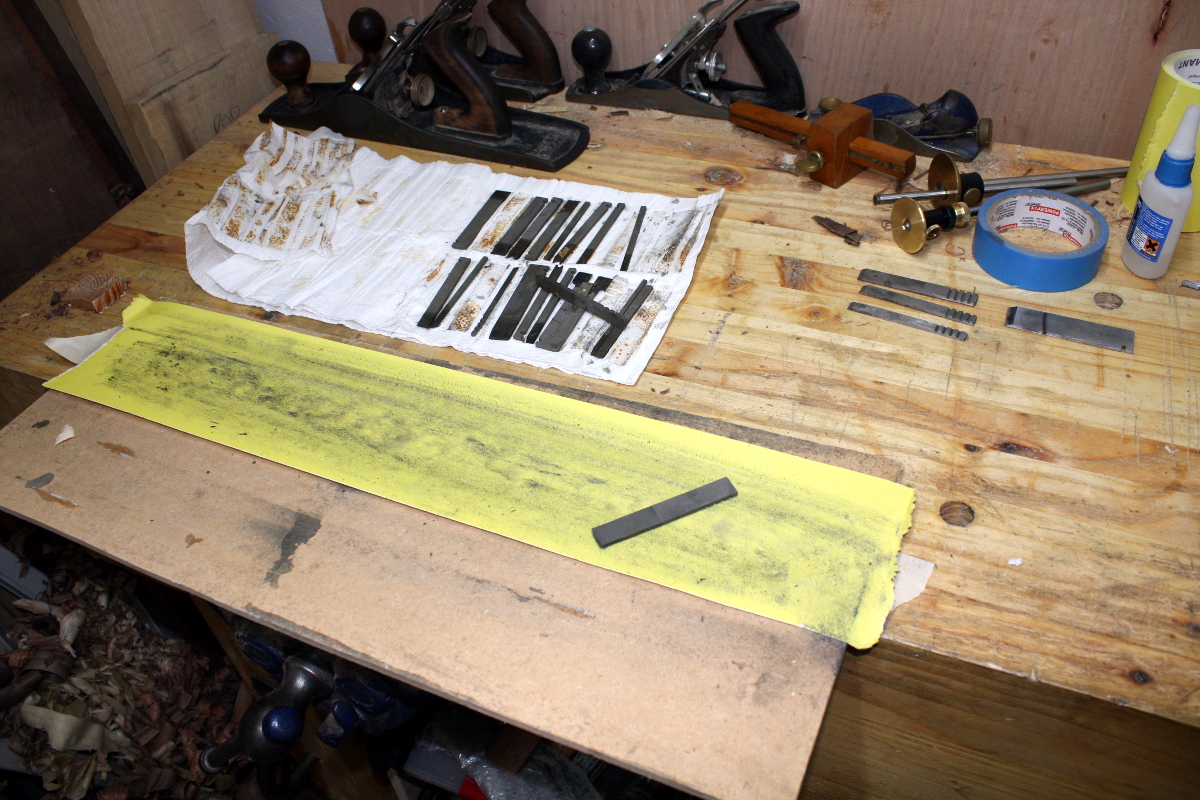
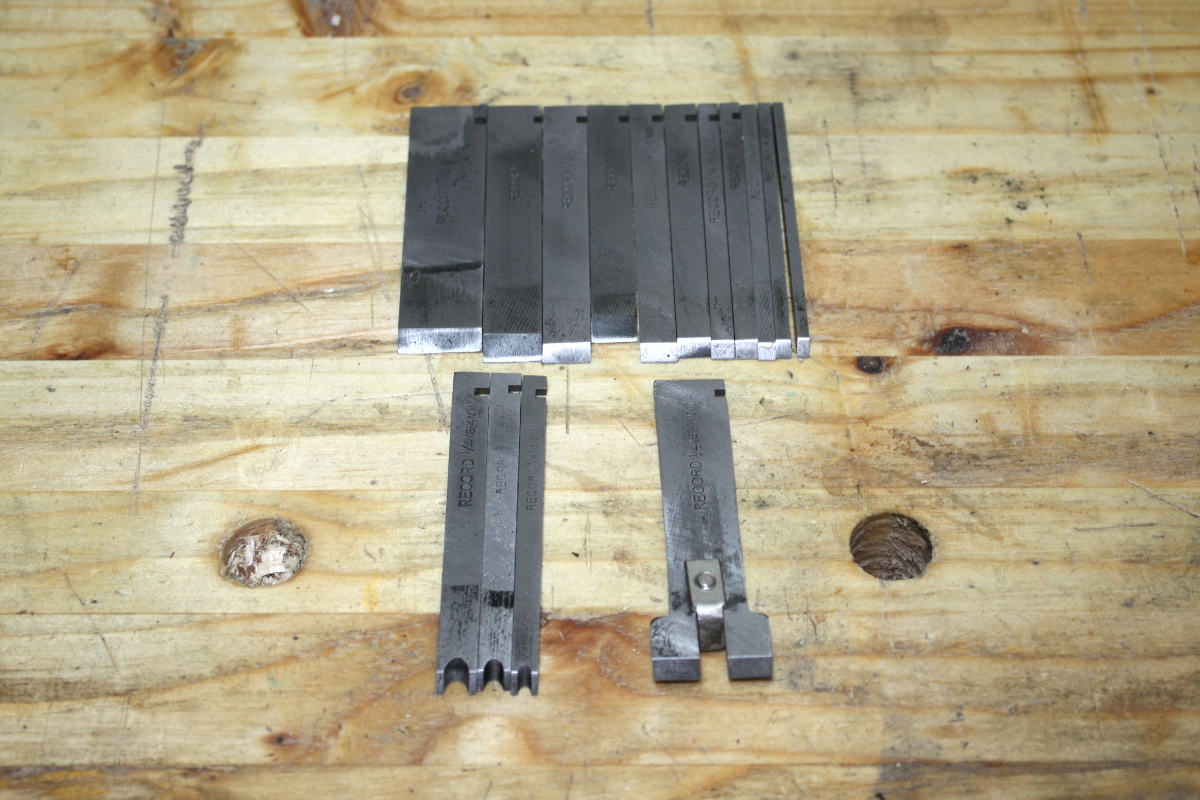
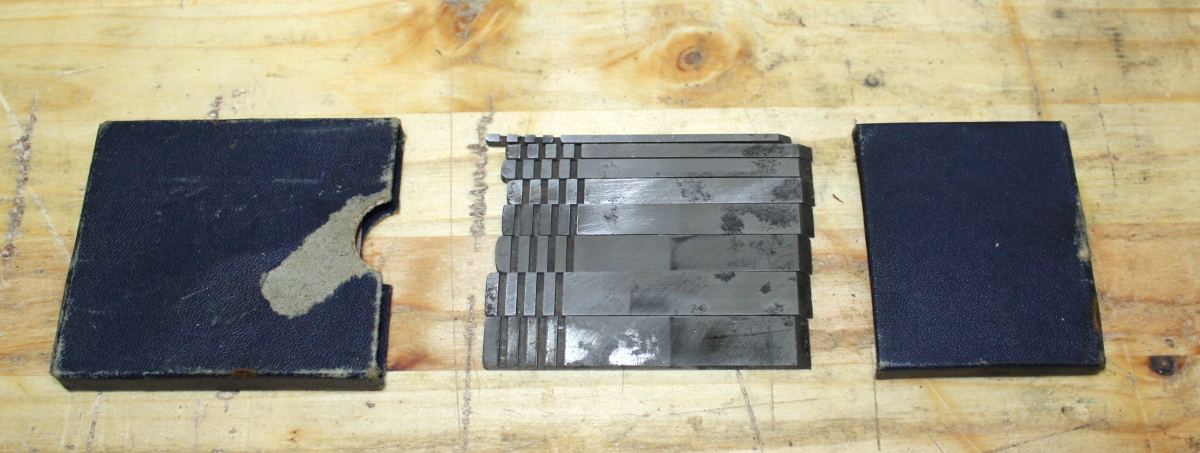
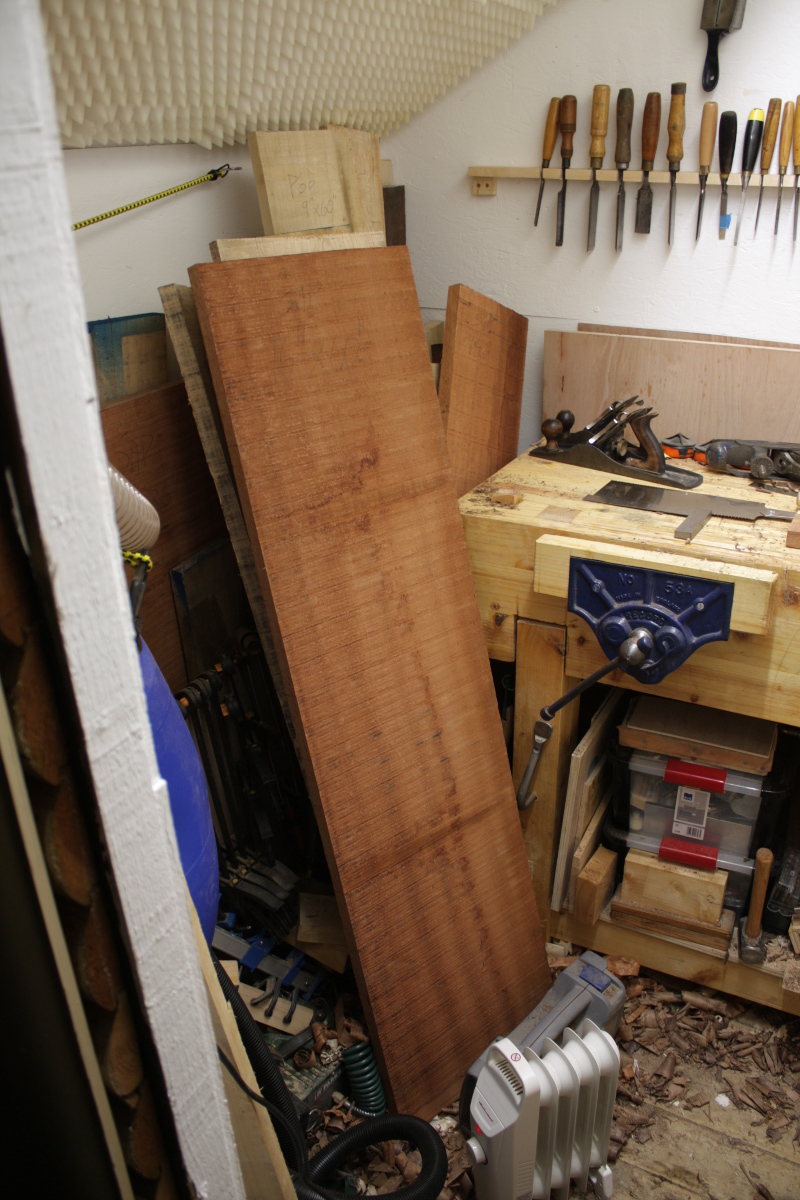
Already had both of these (and a #50 that I need to add a fence to as well at some point), but had to add the wooden fences to them, finally got round to doing that this evening. And then there was the blades, which were horribly manky. They went into white vinegar for a few days, then they were rinsed off and soaked in water and baking soda for a half-hour to neutralise the acid, and then wrapped in kitchen paper and a cloth to dry off (that’s them on the workbench in front of the planes above).
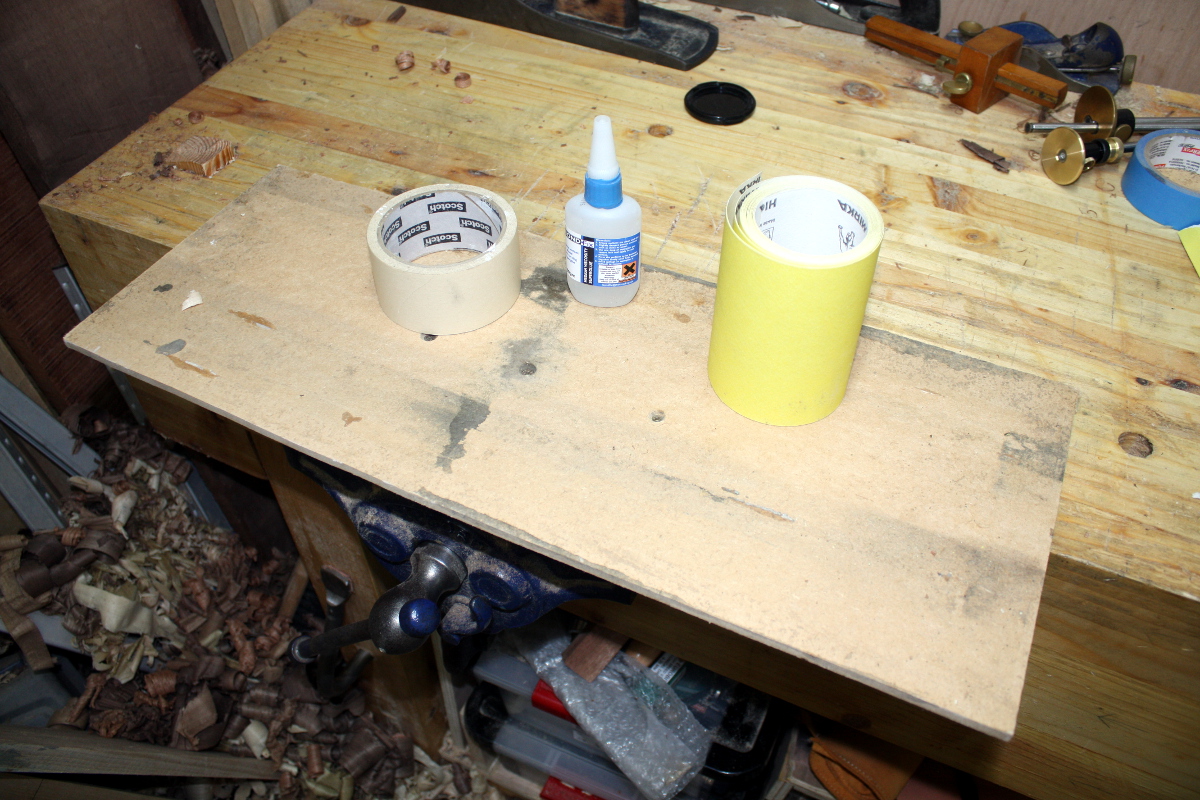
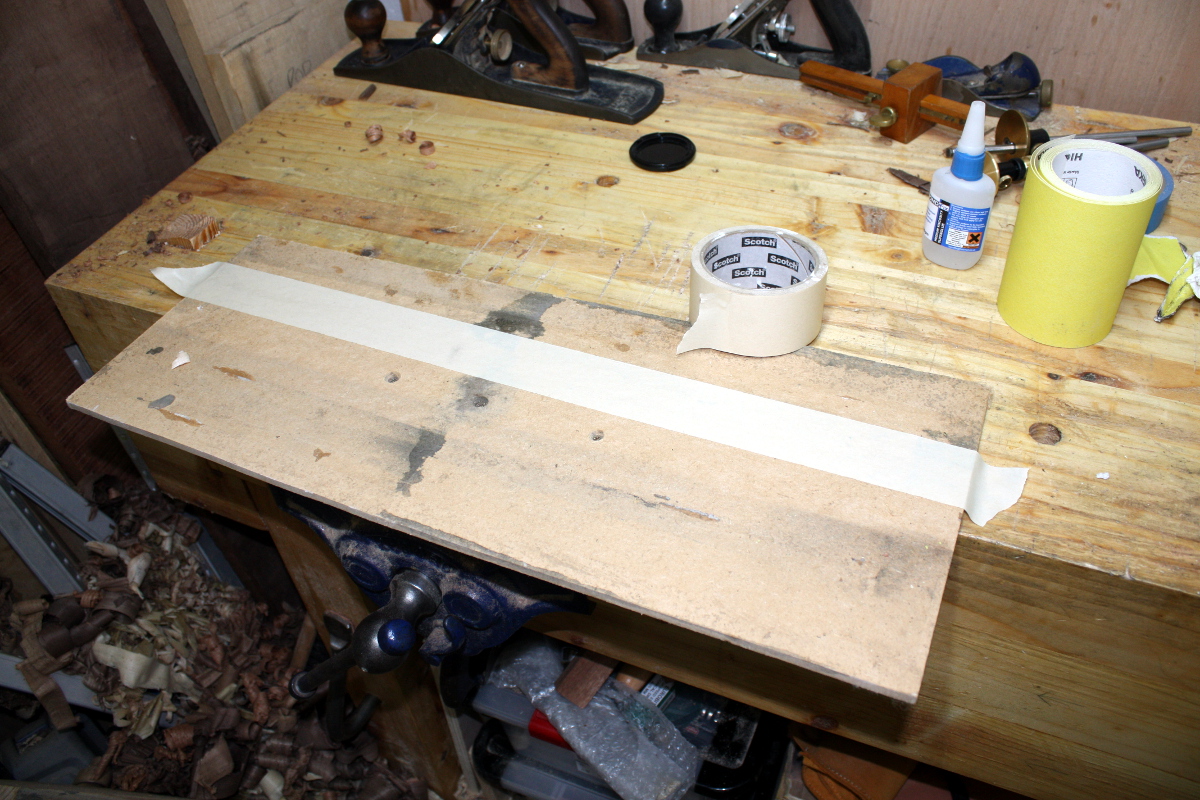
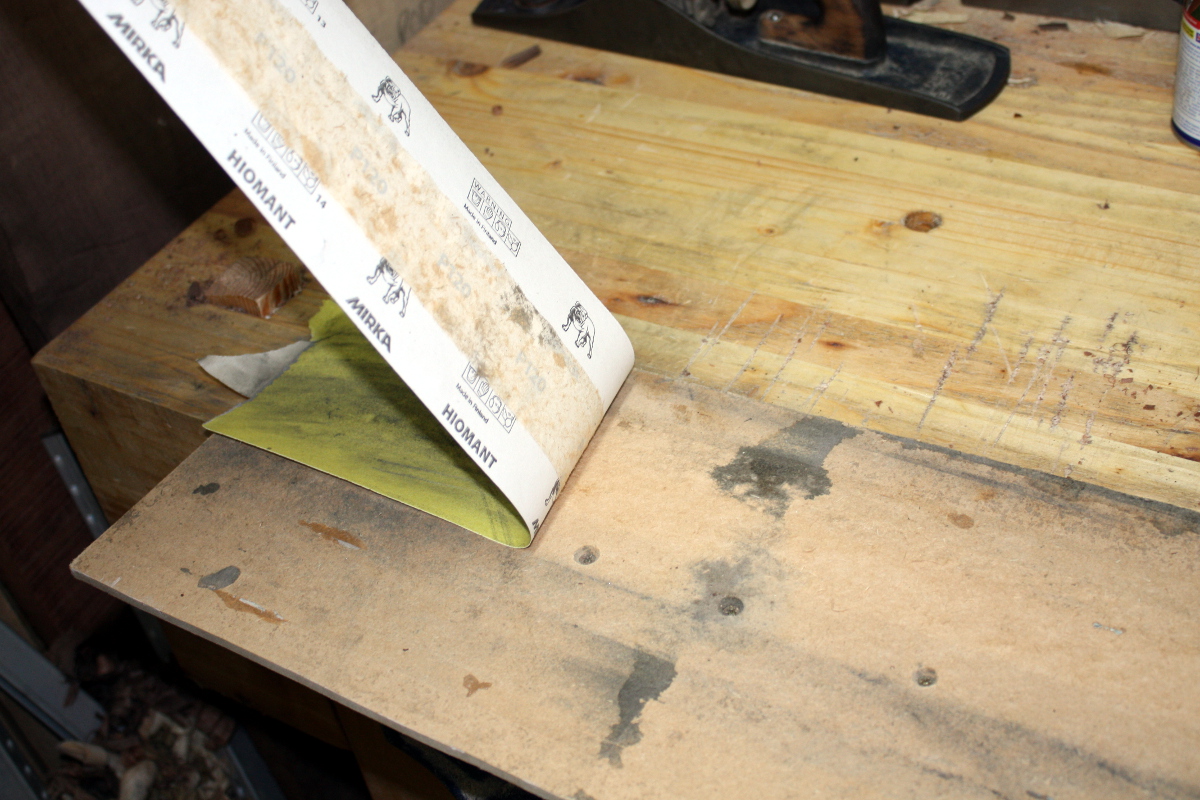
Then it was time for the luthier’s trick. Out with my MDF board that I use for this (it has a small cleat underneath that goes into the vice, and it just keeps the worst of the muck off my bench.
Down with the masking tape.
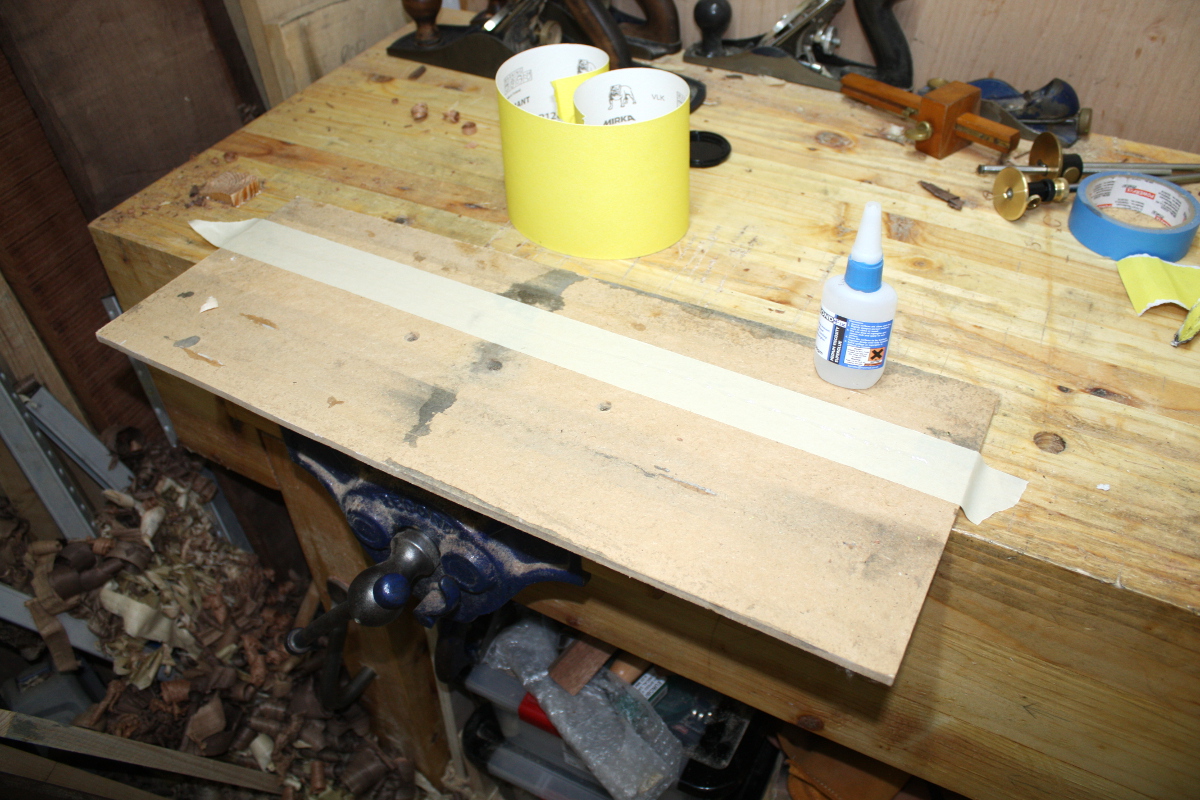
Tear off a bit of 120 grit sandpaper from the roll and dribble some superglue on the masking tape.
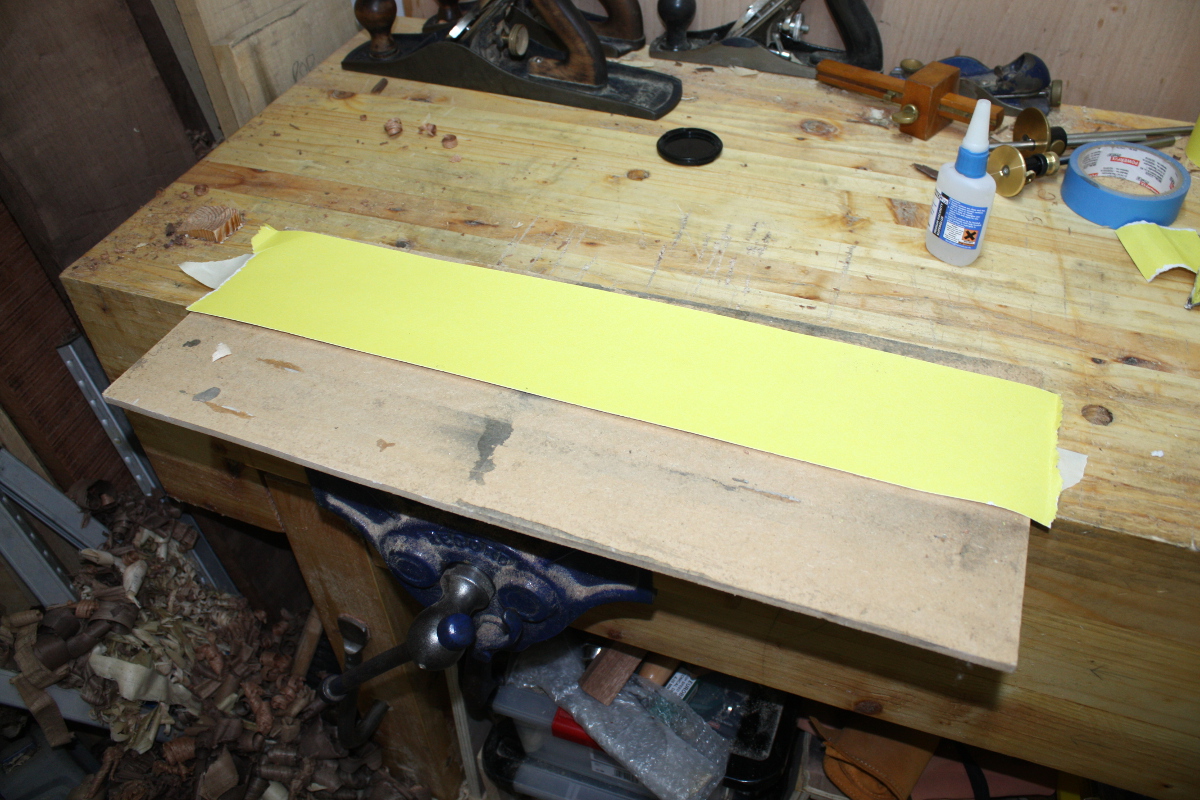
Then flatten the sandpaper down on the masking tape, give a little wiggle to spread the superglue, and hold down for 10-15 seconds while it sets.
And now I can apply as much shear force to that sandpaper as I like, it’s not going anywhere. And I take the set of blades for the #50 and the #40 and get going. Drag both edges along the sandpaper twice, then both faces, then pull back on the bevel once or twice, then rub the bevel back and forth a few times to get the first stage of the sharpening process done (I’ll do the stones later) and flatten the back of the blade for a few seconds as well. Then on to the next blade.
Once done, just lift the masking tape (that’s why I left an inch or so over on the ends, to be able to grab it. Lift vertically and only the masking tape’s adhesive is acting against you and that’s very weak and the whole thing lifts off easily and without damaging the surface.
And the #50 blades are clean again and ready to be properly sharpened (but I won’t be using them for this project I think, unless the groove size I need isn’t in the set of the #40).
I can see that T&G blade being damn useful in the future though. And the #40 blades come up nicely as well.
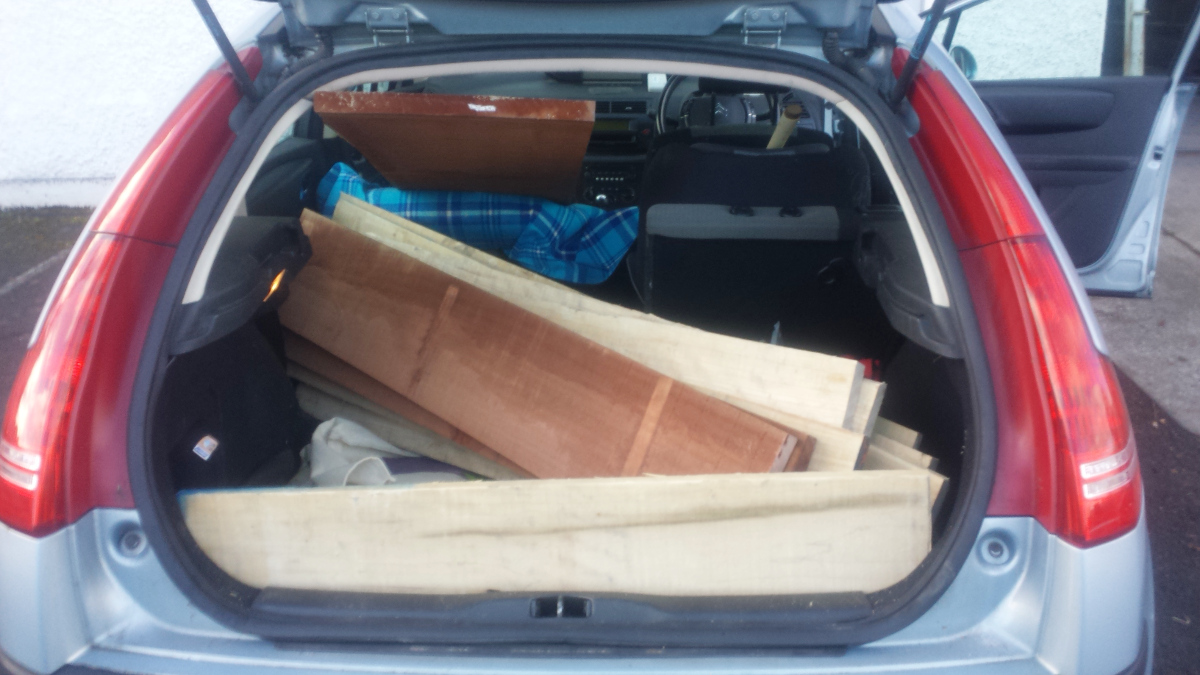
I also found and dropped the semi-scrub blade into the #5½ plane; the next job on the list is planing the last ash panel from rough to smooth. And I am learning that Richard Maguire was right about kiln-dried ash. It looks nice, but it’s a pain in the arse to work, it’s like trying to plane a Jacobs cream cracker. I’ll be glad when that last bit is done. I still have more boards to plane, but they’re walnut and poplar and those are so much easier, I can probably get them all done in a day, and then I’ll have all the component’s stock prepped and it’s on to cutting joints.
I am having to contemplate the mortices for the slats though. Given the timetable, I may need to use the router for them instead of cutting them by hand with the chisel. I’ll give it a try, but the clock is going to be the final decider on that one.

