18
Mar 17

New toys…

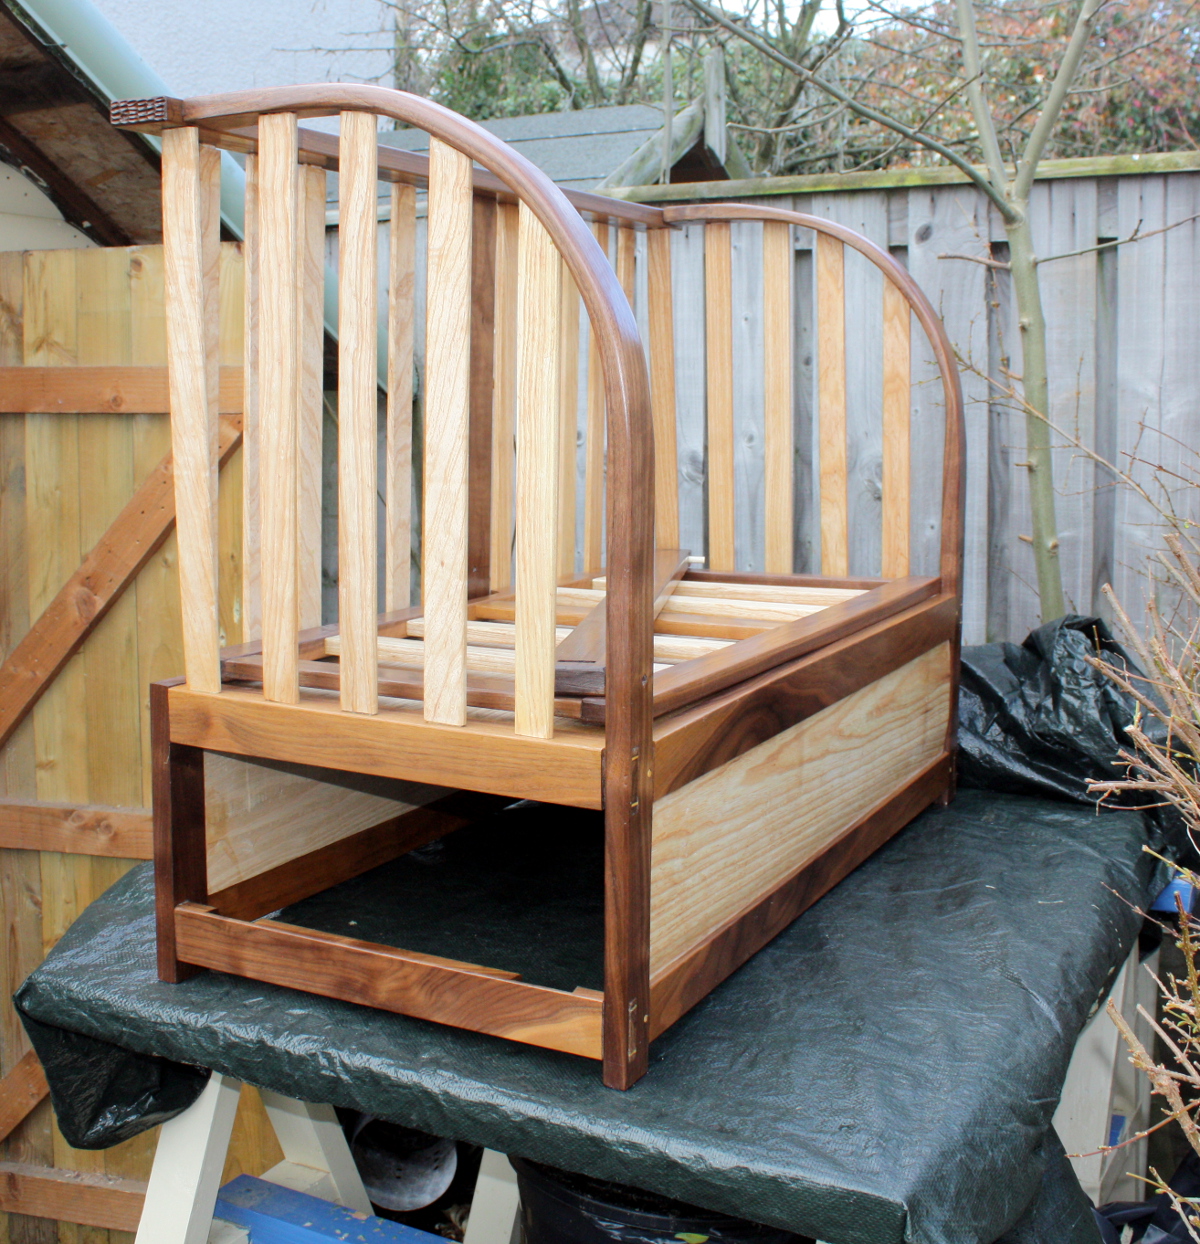
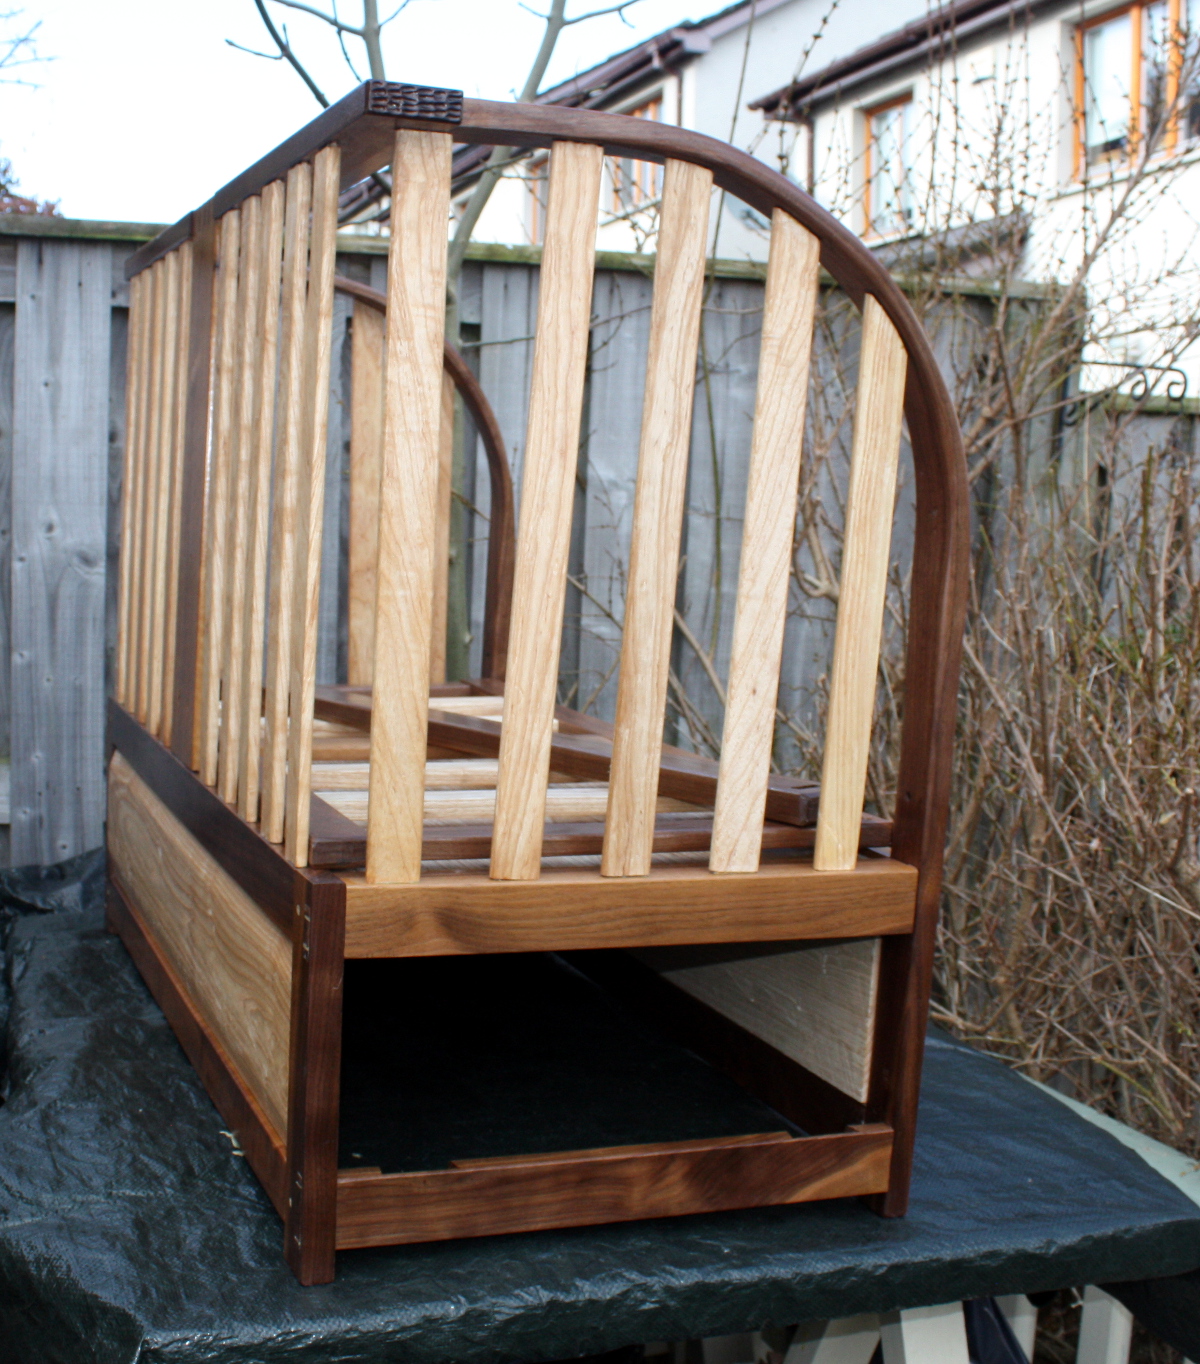
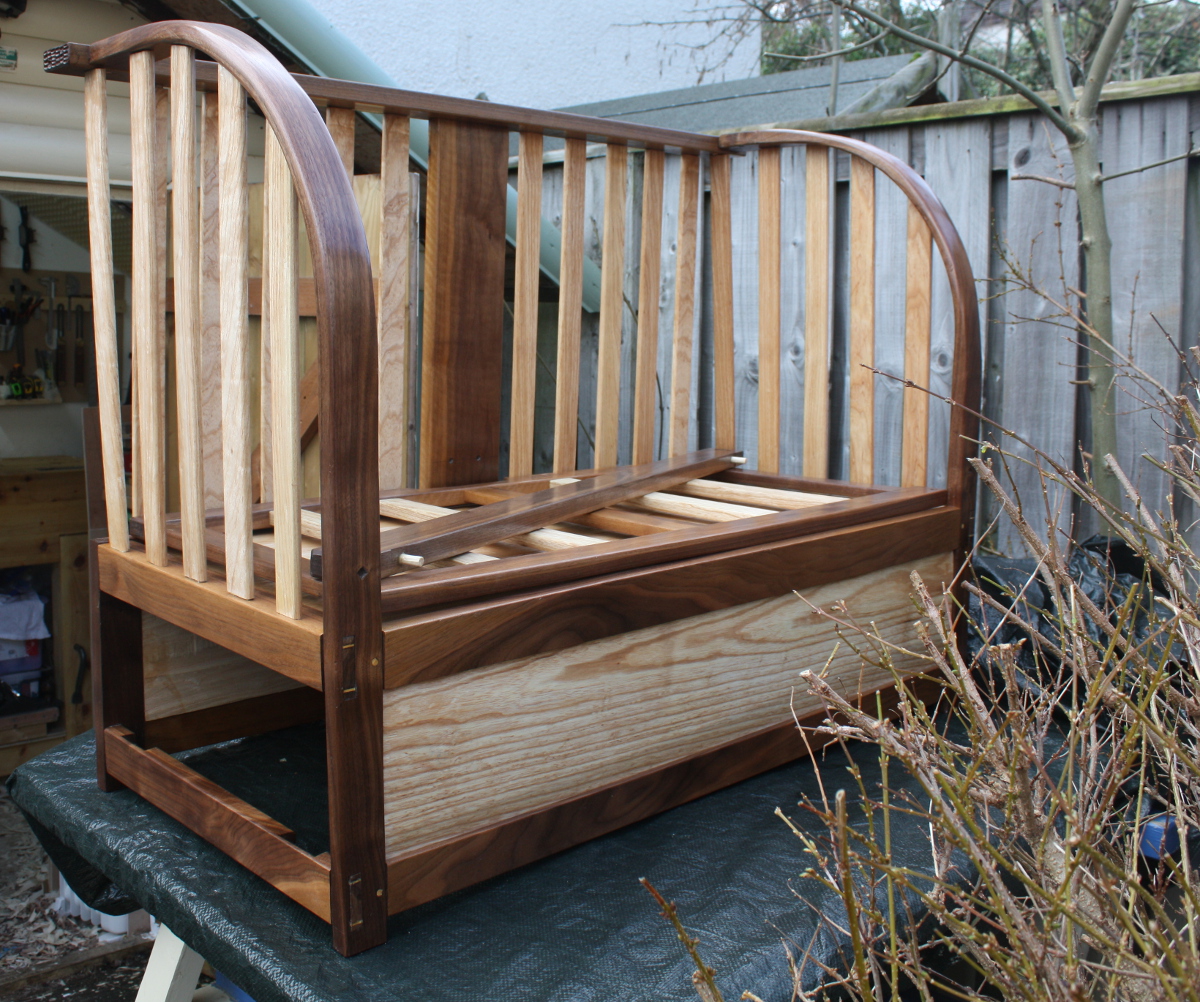
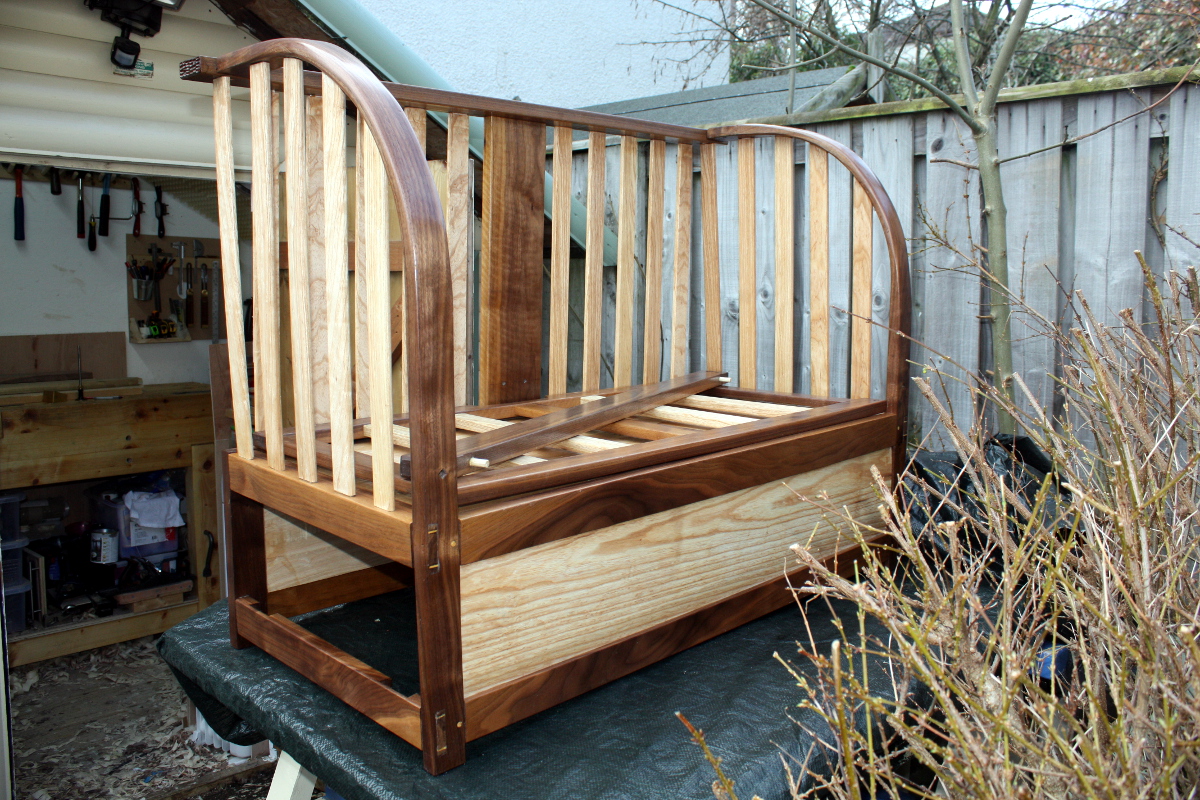
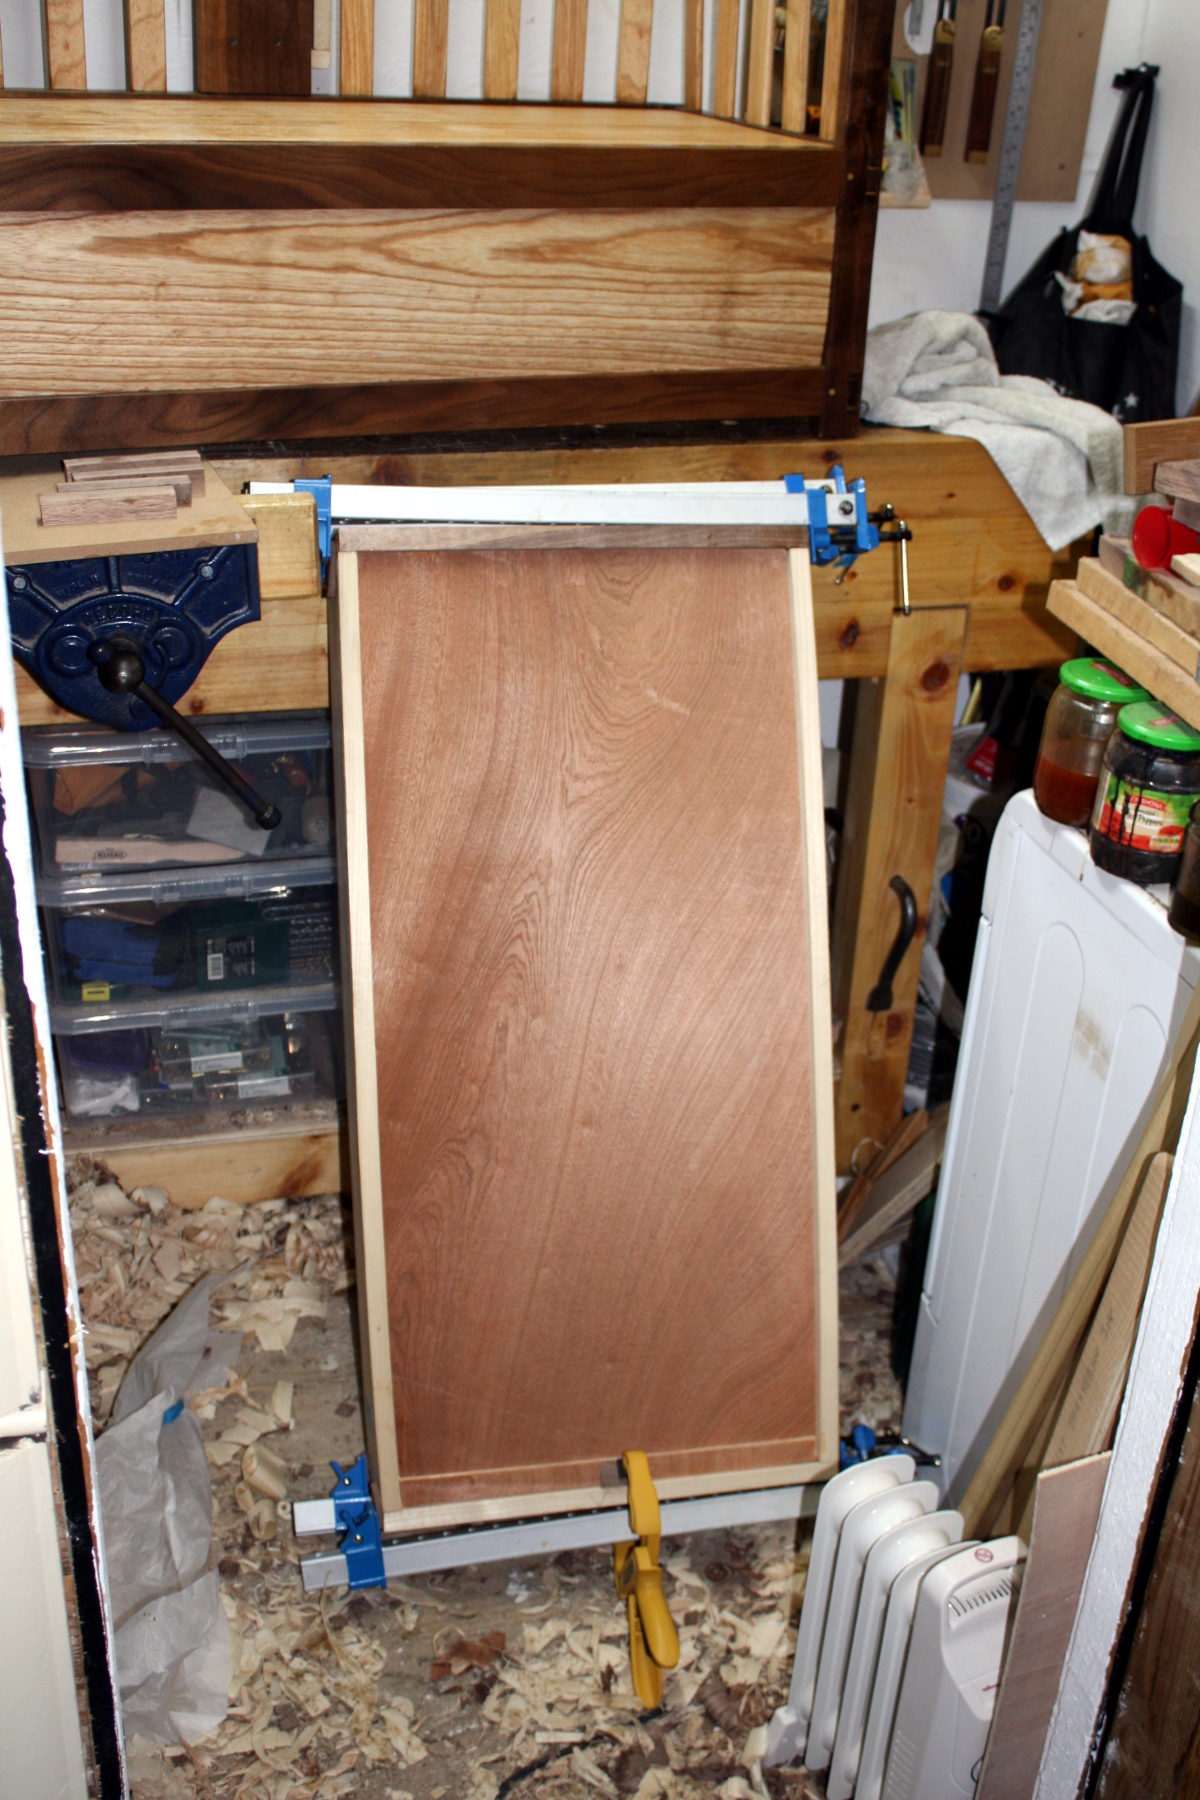
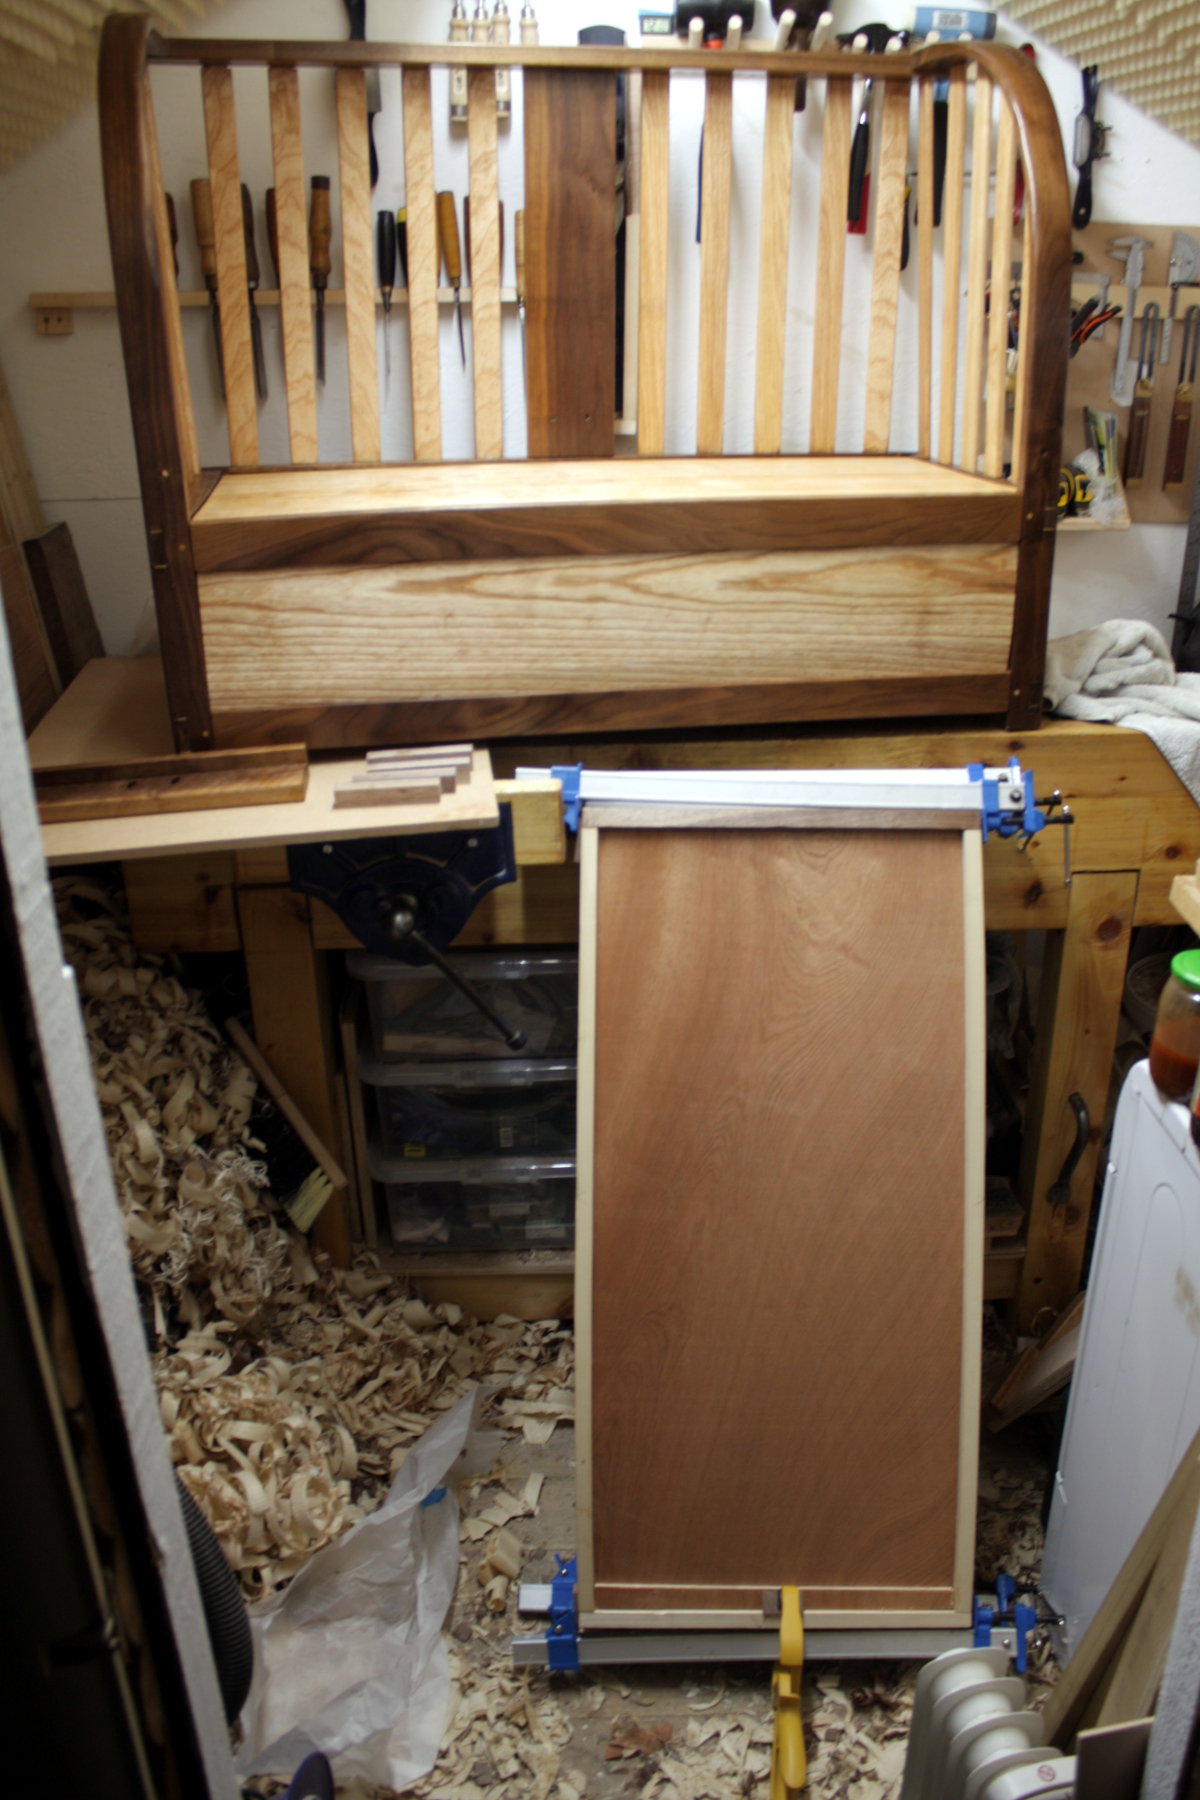
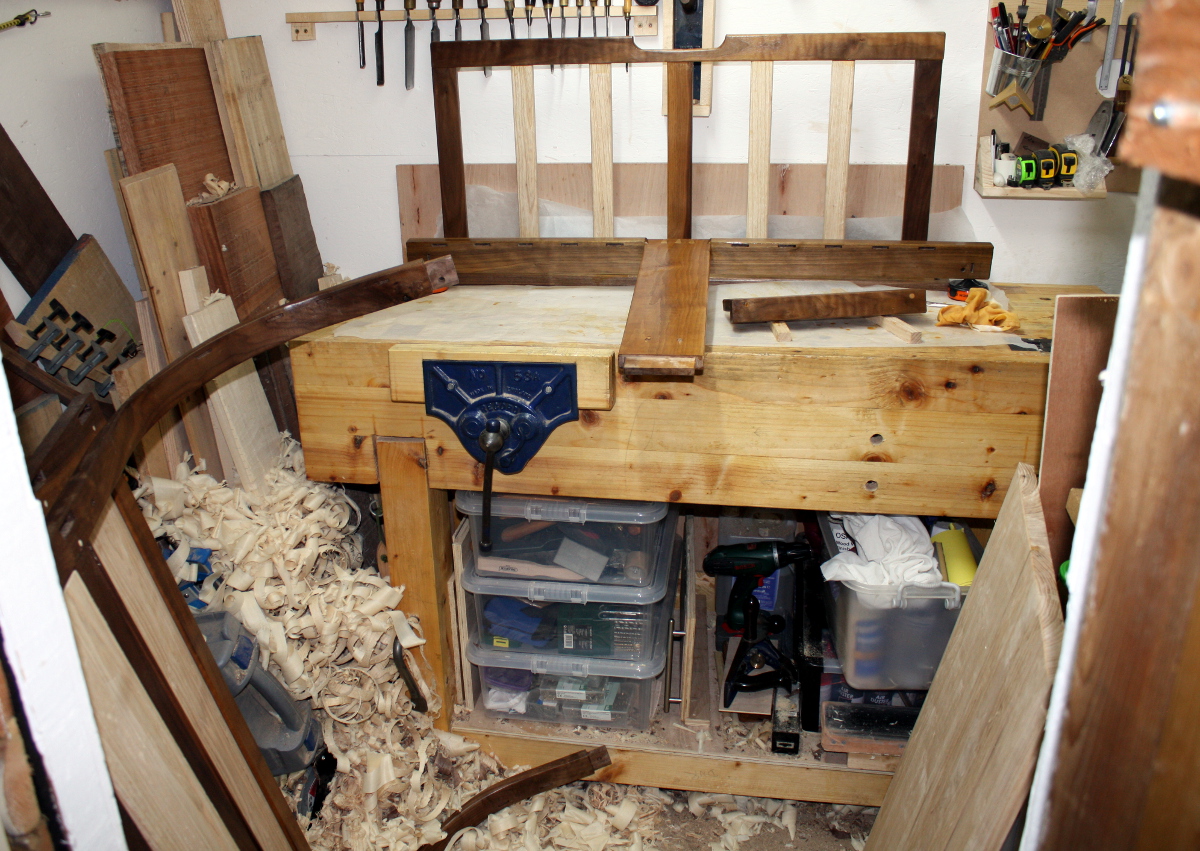
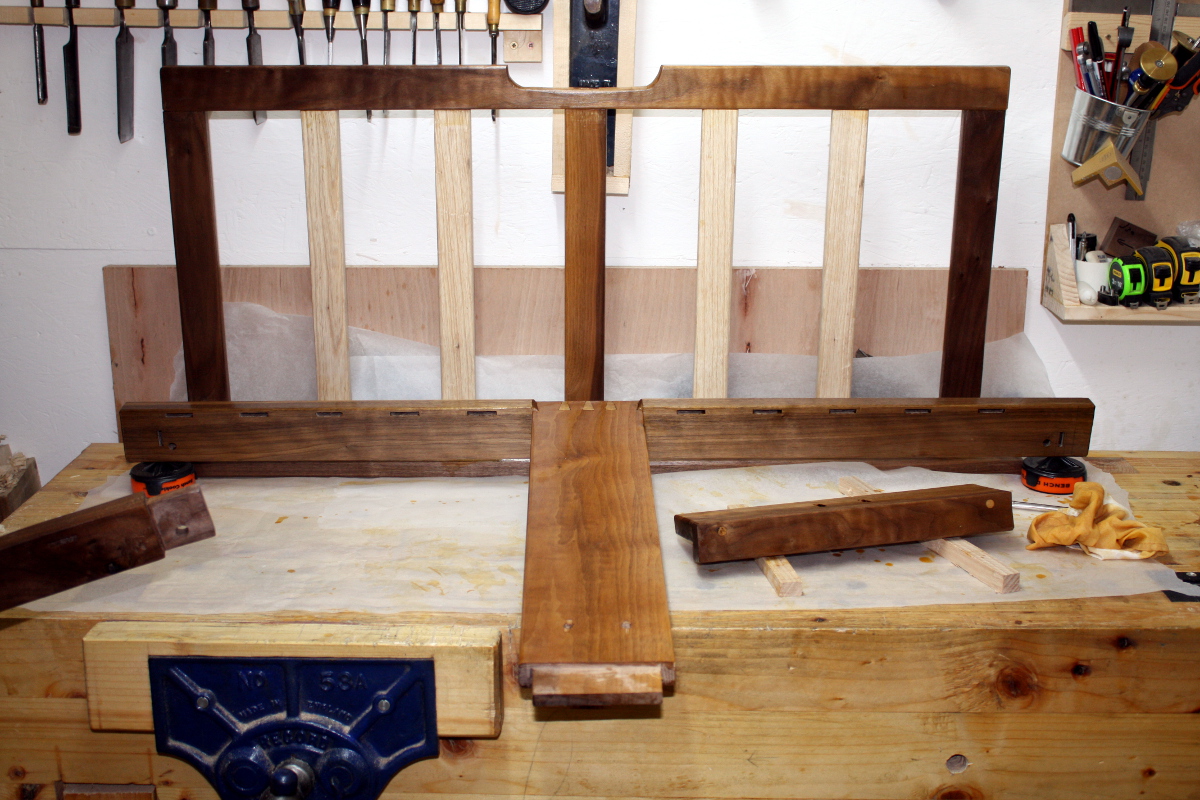
Not been spending much time in the shed since the cot was delivered (and it fits, and Niece fits into it as well so yay!), but I have spent a few minutes on ebay. Or a few more than a few 🙂 There are still a few more things I want based on the fun of making the cot, but I have most of them now and I’m content to wait for decent prices&conditions on ebay. Especially since Brexit is about to take the price of tools on ebay.co.uk and throw them off a cliff…

Butt first…

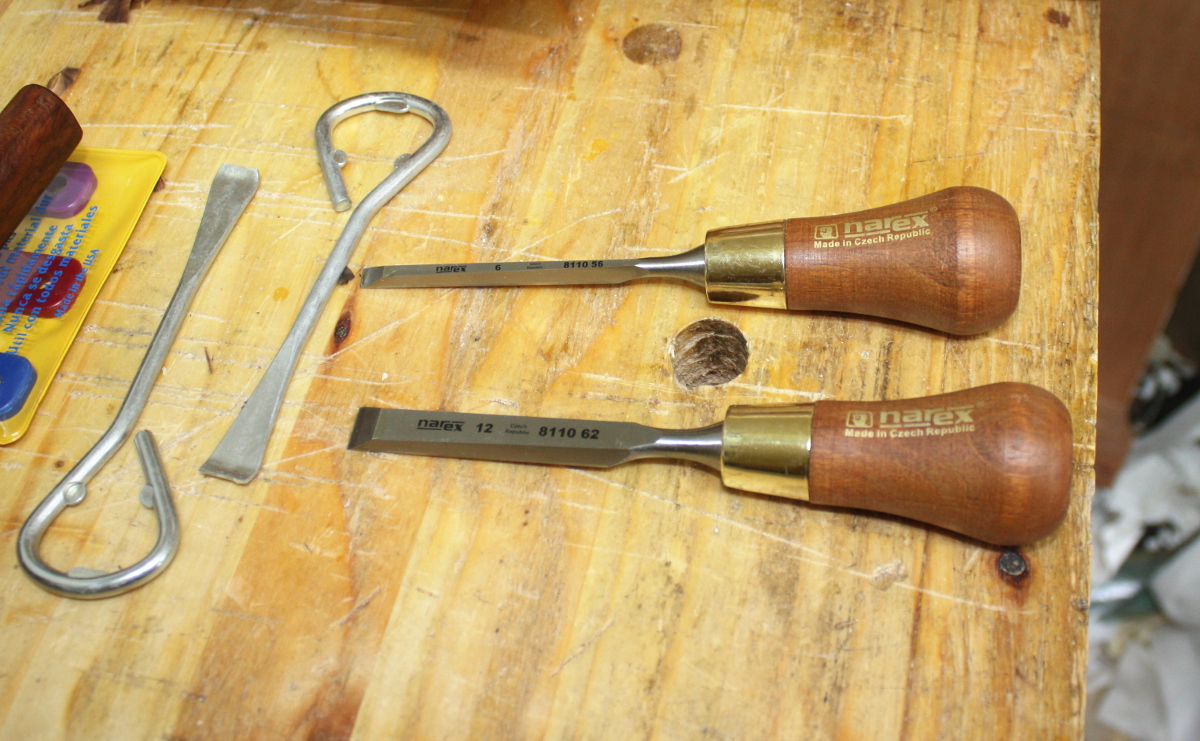
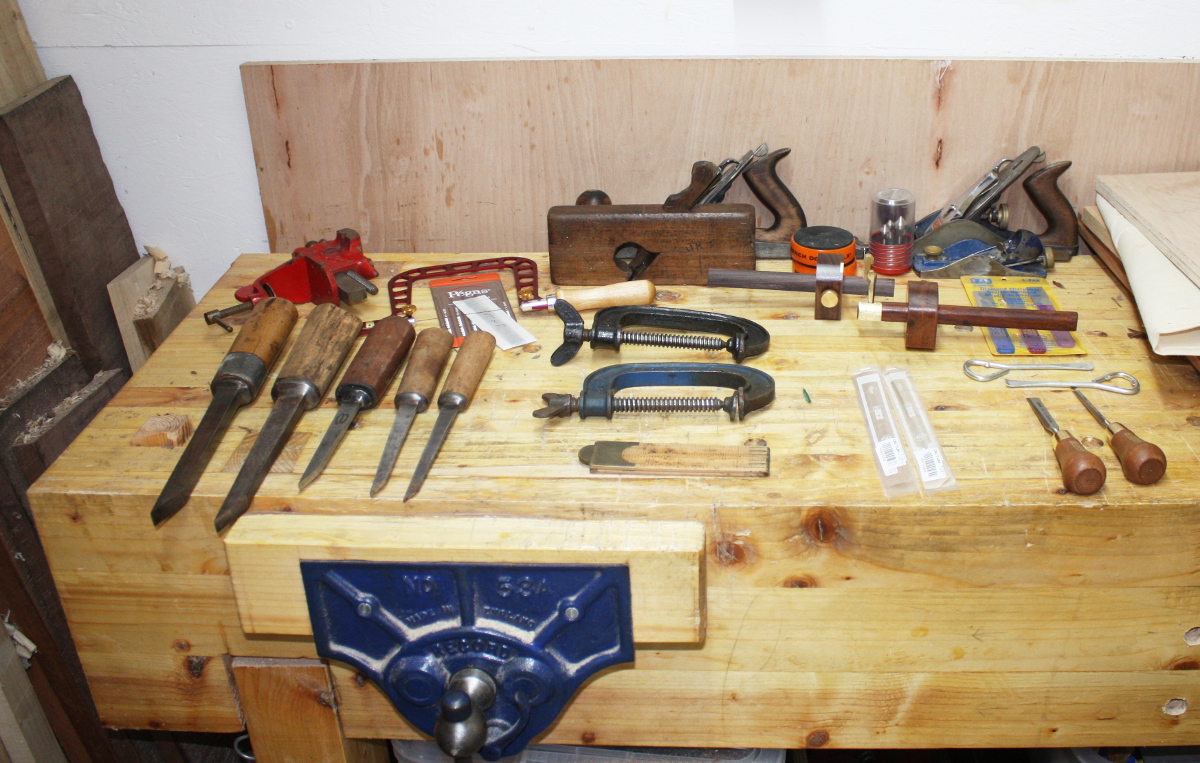
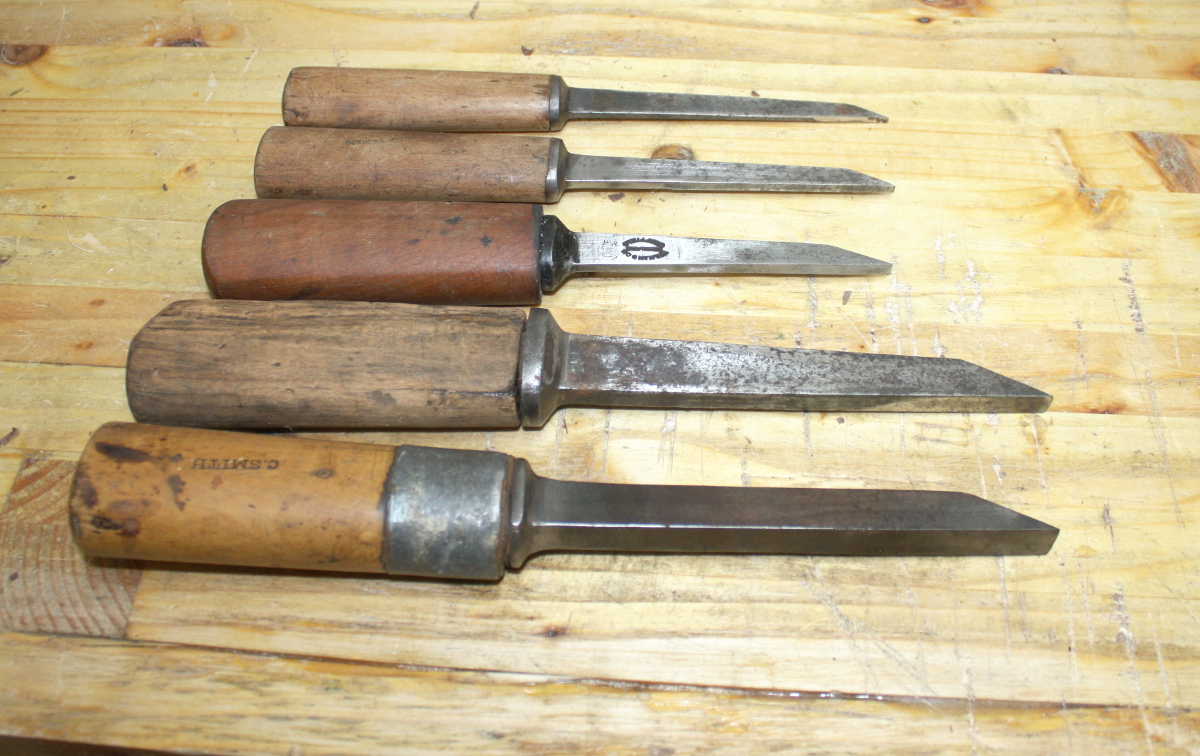
Narex butt chisels. Or “American Pattern Chisels” if you’re (very) British. Basically, shorter blades and handles than the normal bench chisel:

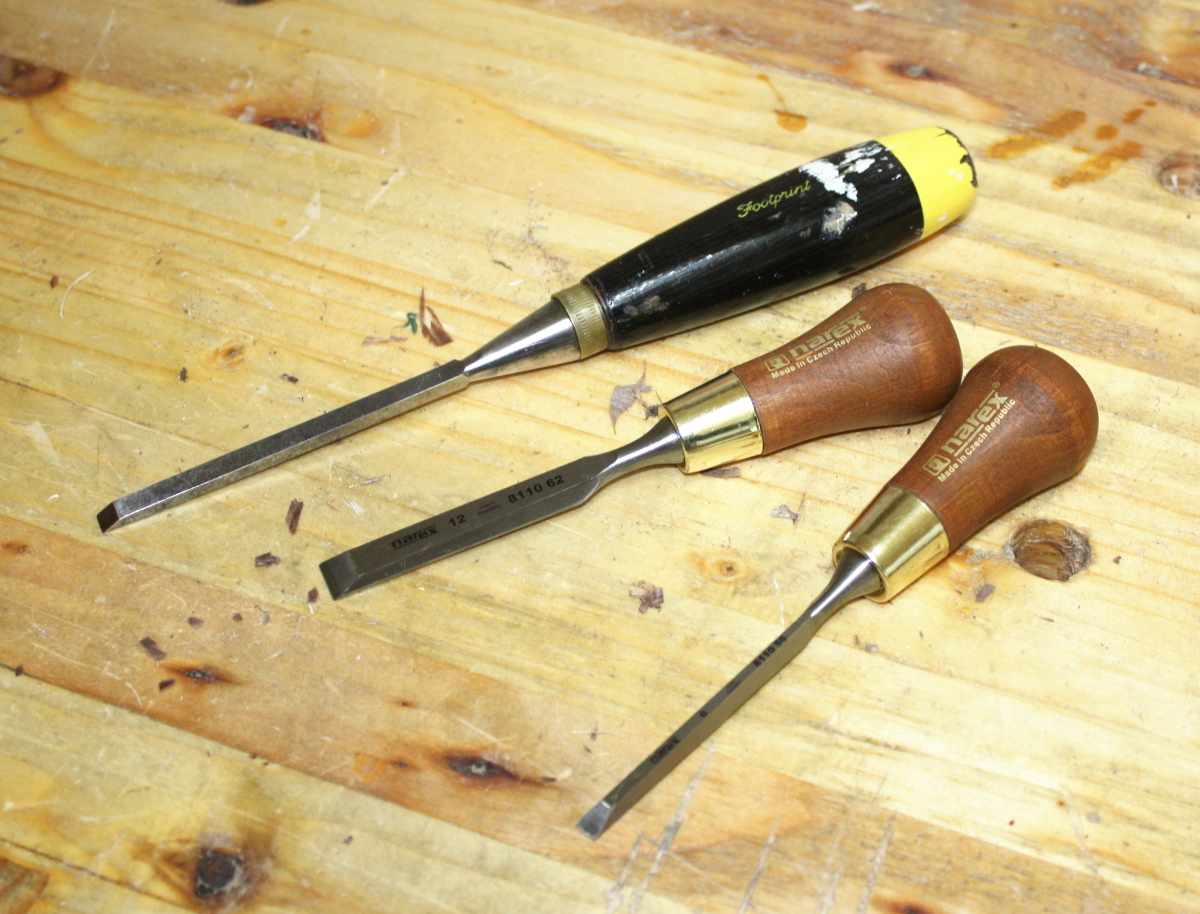
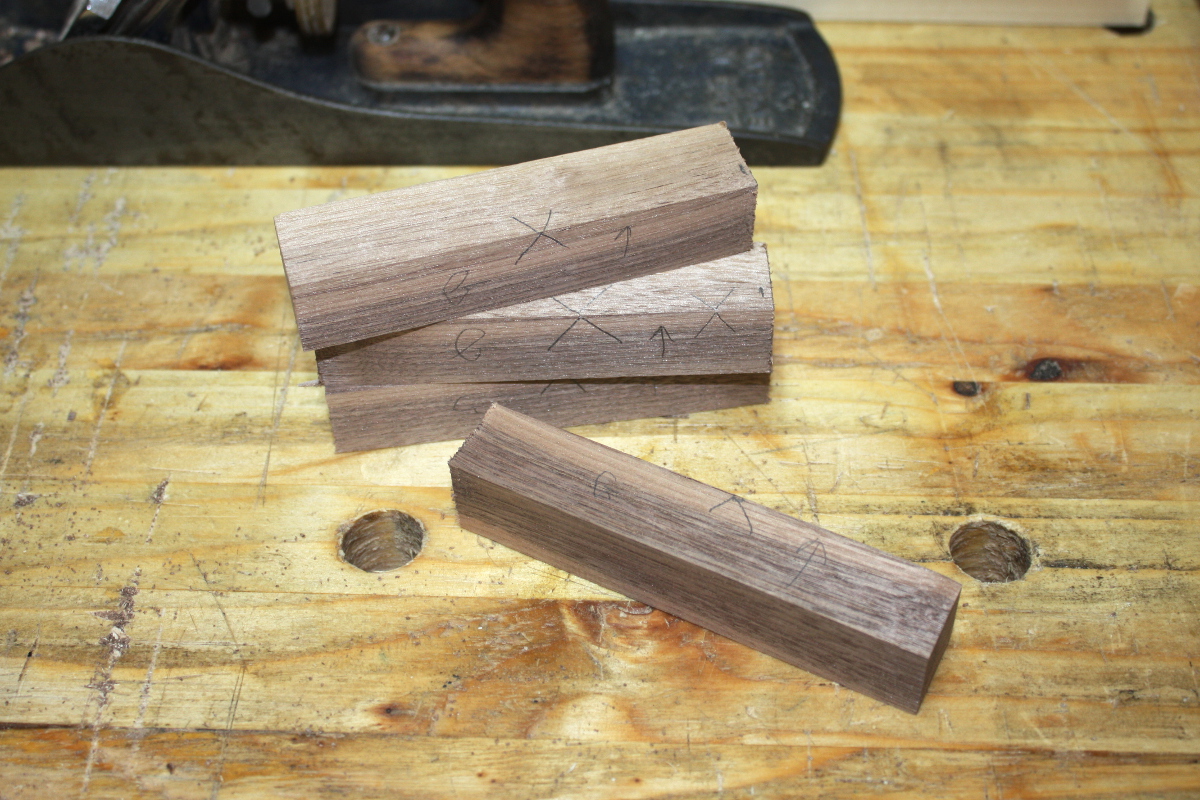
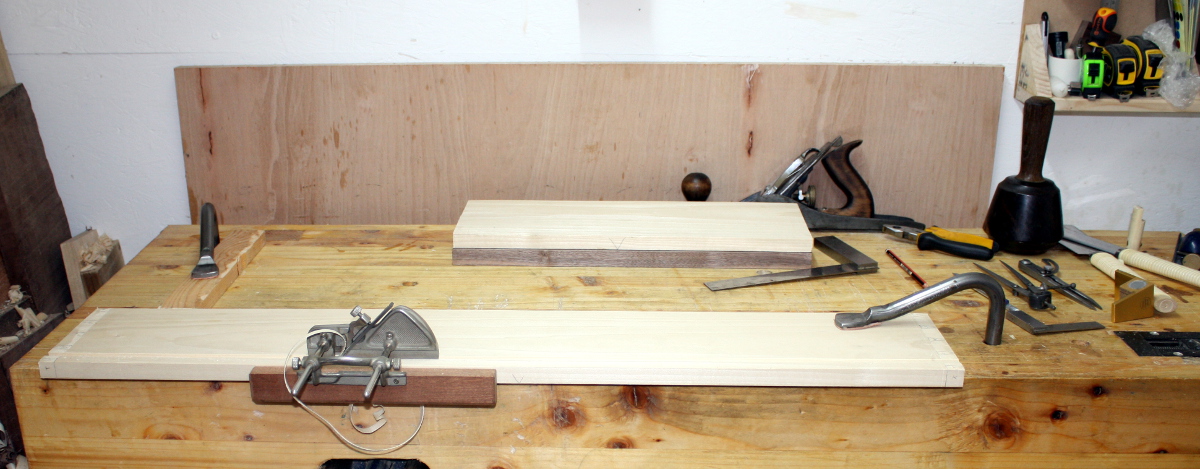
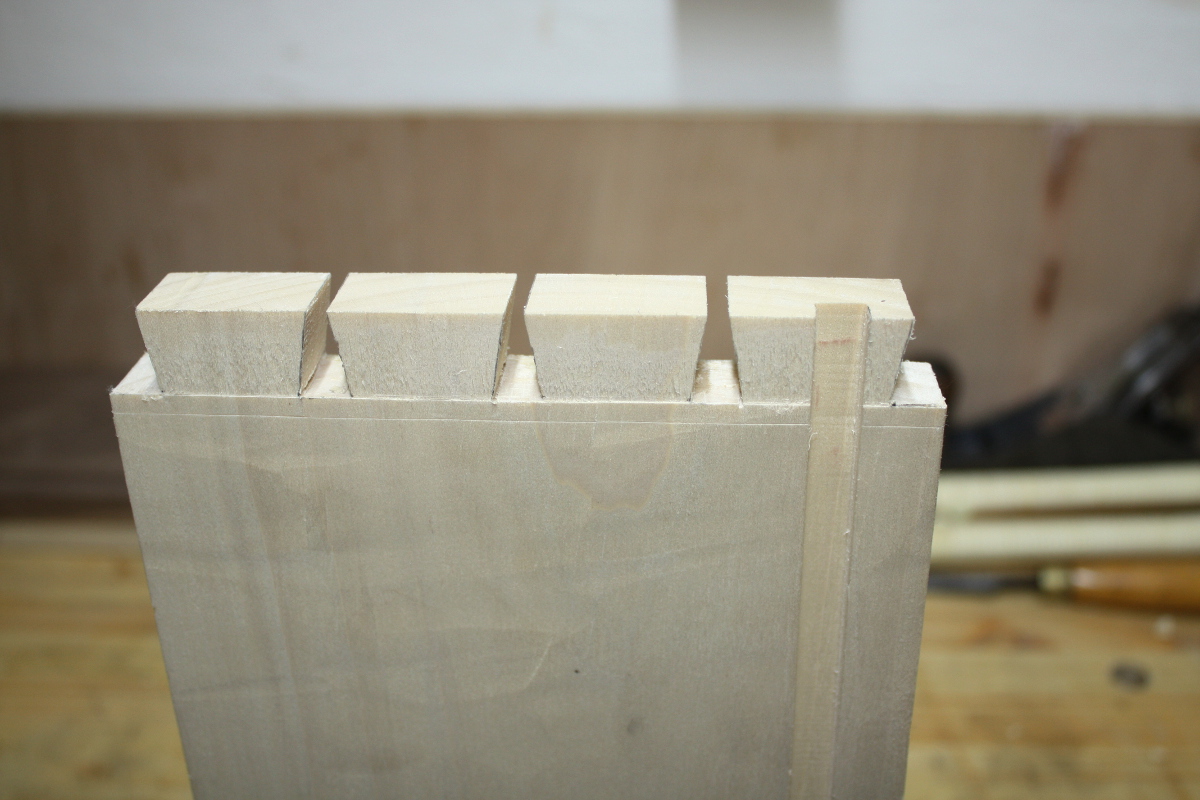
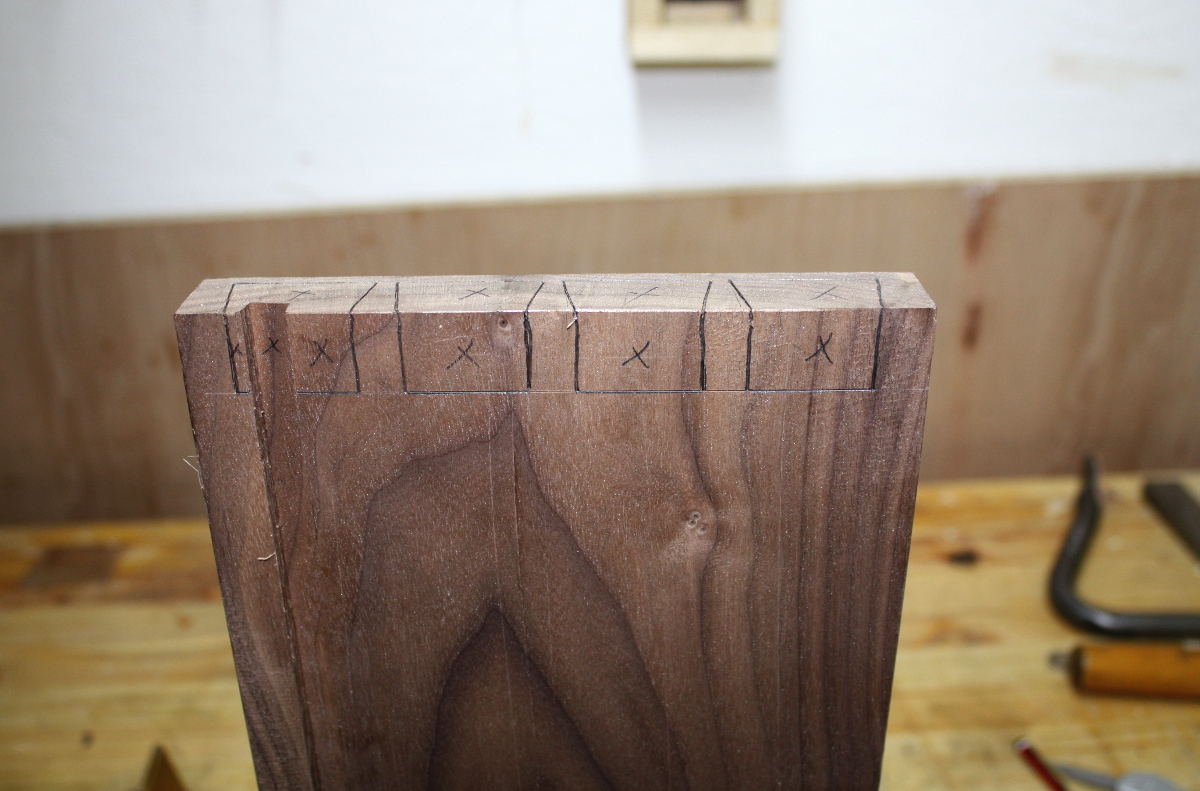
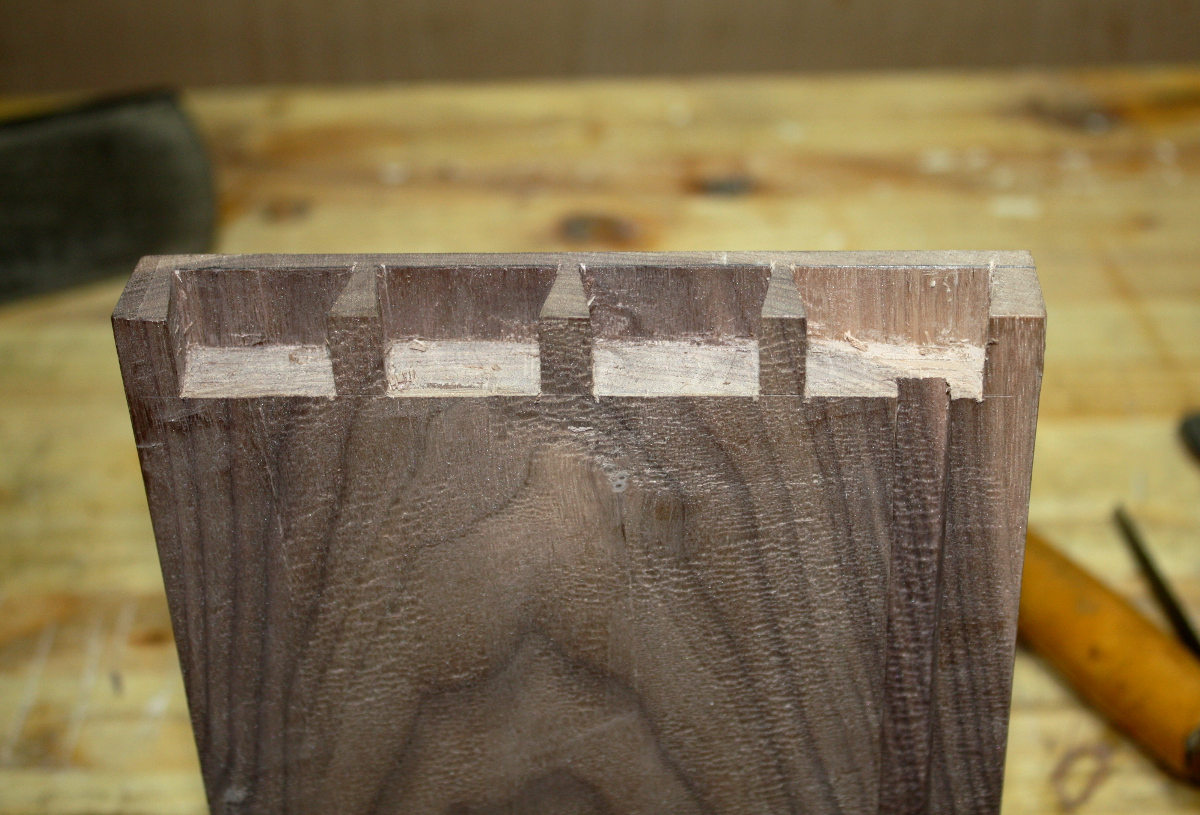
When I was doing the dovetailing of the drawer in the cot, the chisels I had weren’t bad — but they definitely had some room for improvement and I’ve been looking at some Ashley Iles chisels for a while but they’re a wee bit expensive (over a hundred sterling or so for a set of six and there’s a bit of a back order wait because they’re handmade). So before buying those I wanted to try using a few different styles of chisel to get a better idea of what worked best for me; and Richard McGuire’s been an advocate of the smaller butt chisels for this kind of work so I thought I’d try them and there were two Narex chisels on ebay one day for about ten euro each. Narex aren’t the best in the world by a long shot, but they’re kindof the modern equivalent to Footprint I guess; decent working tools. So we’ll see if the style of chisel lives up to expectations over the next few months and then I can decide about whether or not to drop ten times that much on a set of “luxury” dovetail chisels. And I might buy a japanese chisel and an elliptical profile chisel as well if they show up cheaply, just to see if they suit me or if they just annoy me.

(Oh, and those things to the left on the top photo there are combination bottle openers/paint can openers. One will remain a paint can opener to save screwdrivers, and the other will get sharpened at the blade to use to clean the bottom of mortices, as a suggestion from Paul Sellars).

And from chisels for fine paring work to chisels for nailing pigs to walls…

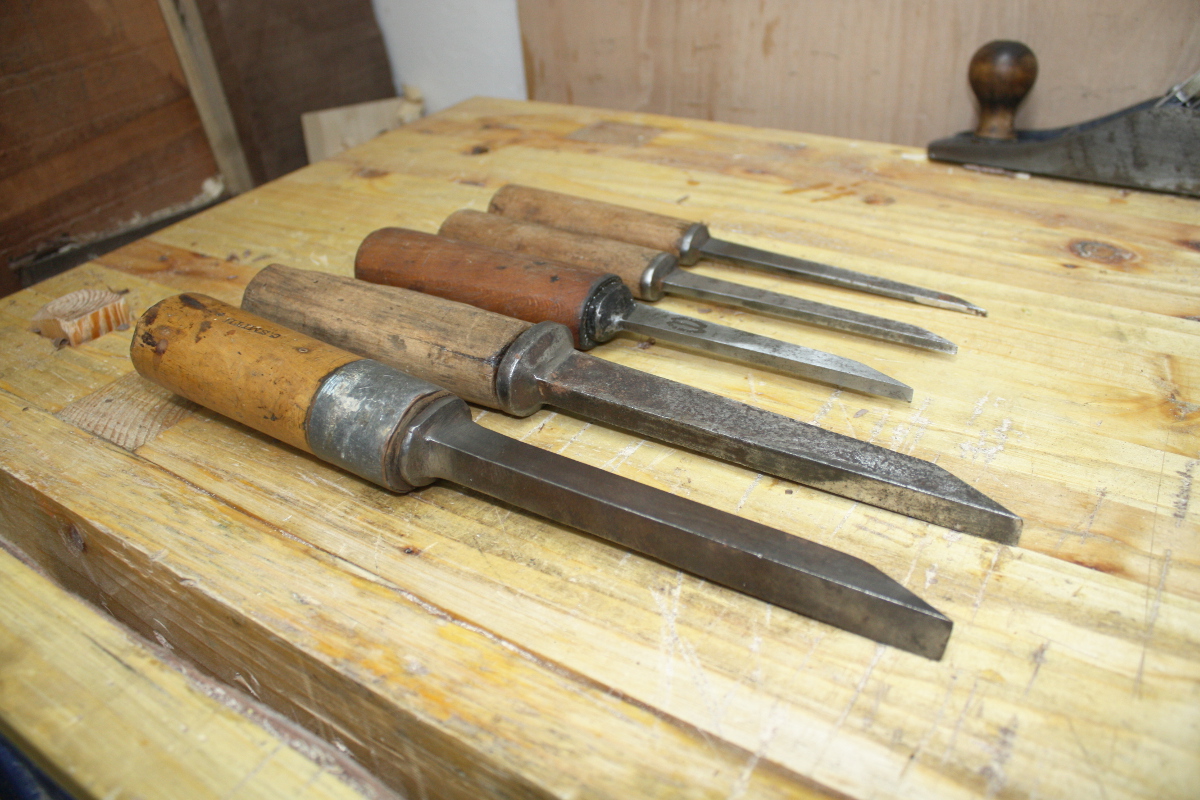
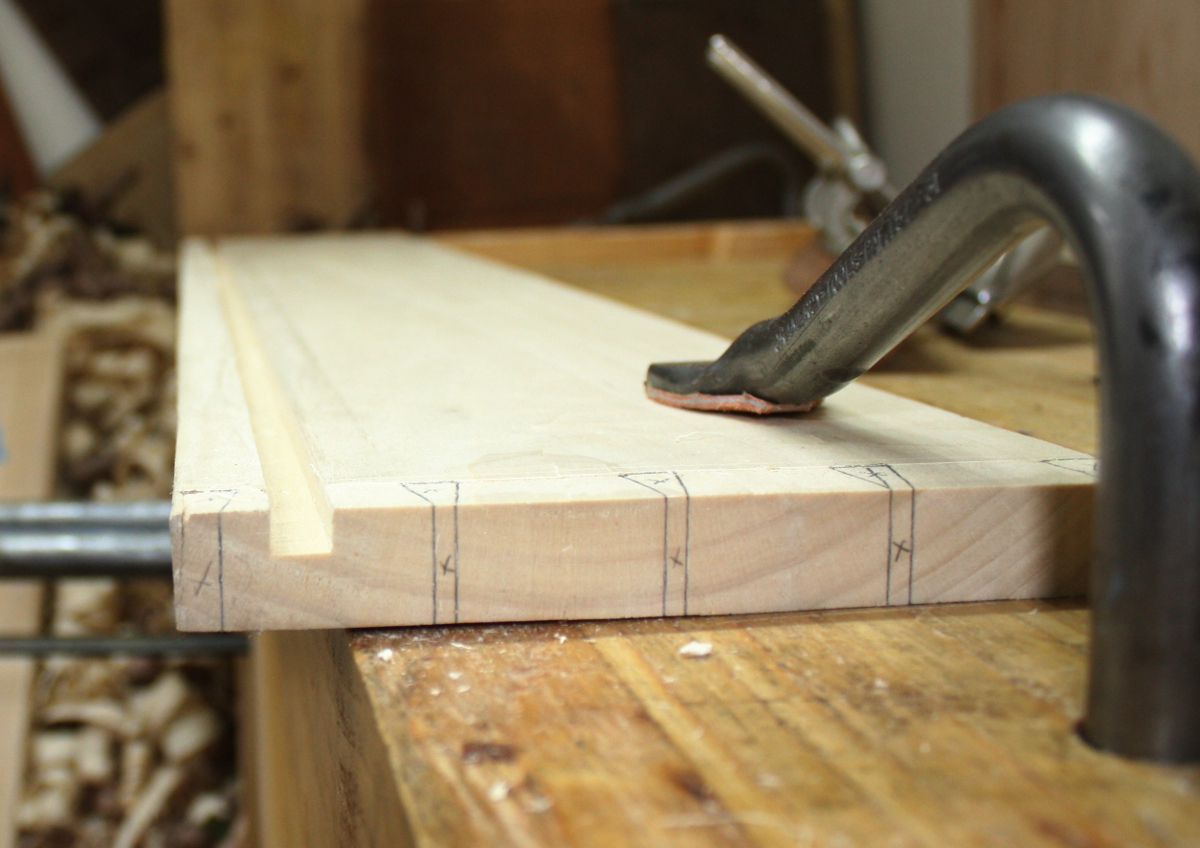
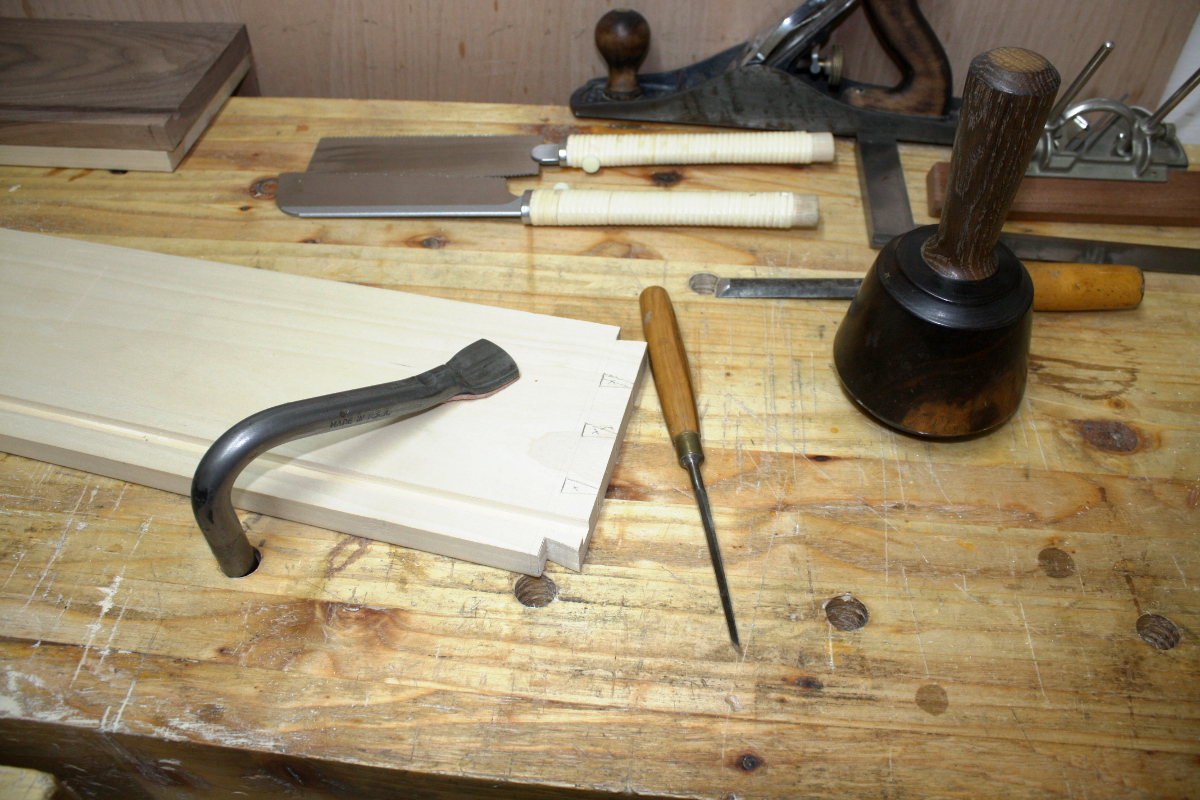
Okay, so here I think I bought a bit more than I could chew. There were fifty-seven hand-cut mortices in the cot and while the ones for the slats were well suited to the firmer chisels I had, I got to thinking a proper morticing chisel would come in handy for anything much larger than a quarter inch or so. And then a few came up in a set on ebay for about twenty euro in total, split between two lots, so I grabbed them. And they’re terrifying. The scale doesn’t come across in the photos, these things are basically sharpened chunks of rebar. I can’t wrap my hand around the three larger ones fully. And the three-eights one has an overly loose (falling off really) handle with some woodworm attack and a split so I need to replace it. But these I think will be living in a box rather than on the wall. Especially the half-inch one. The thing weighs more than my hammer…

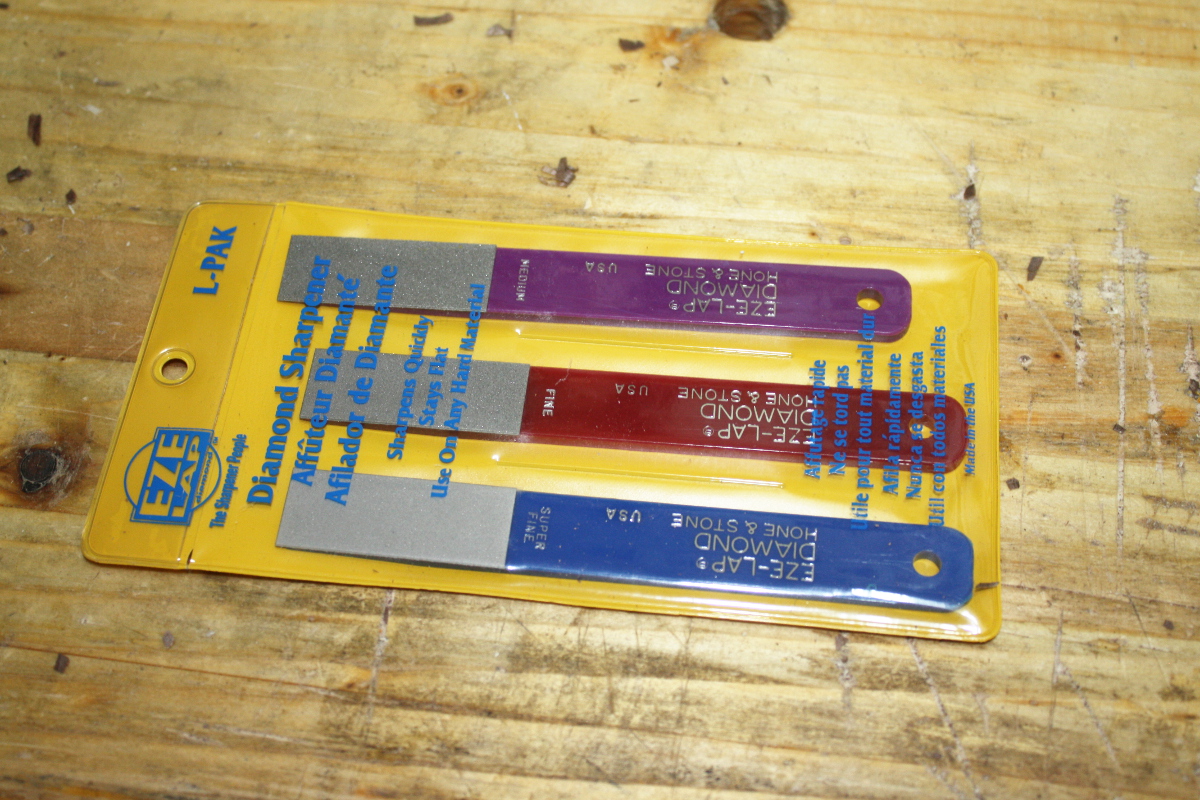
And finally got something to help sharpen my #071 router’s iron…

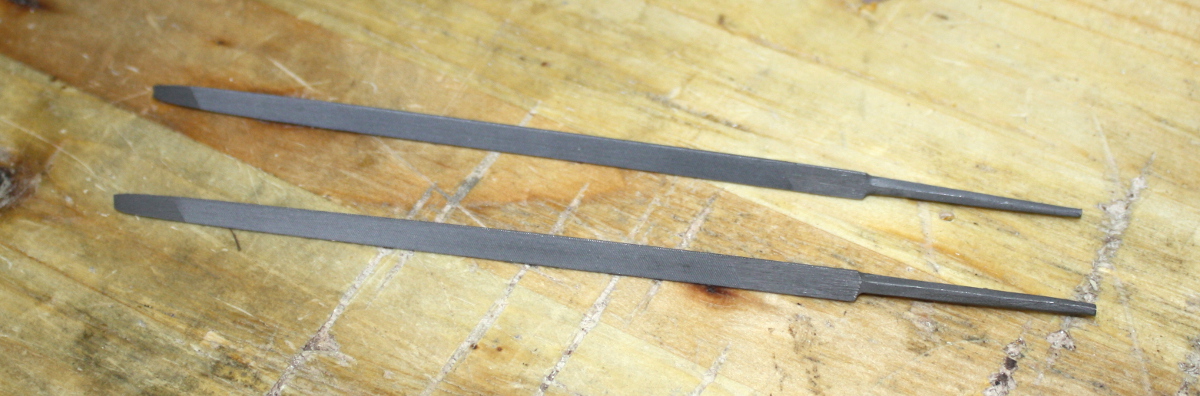
And something to help sharpen my western pattern saws…

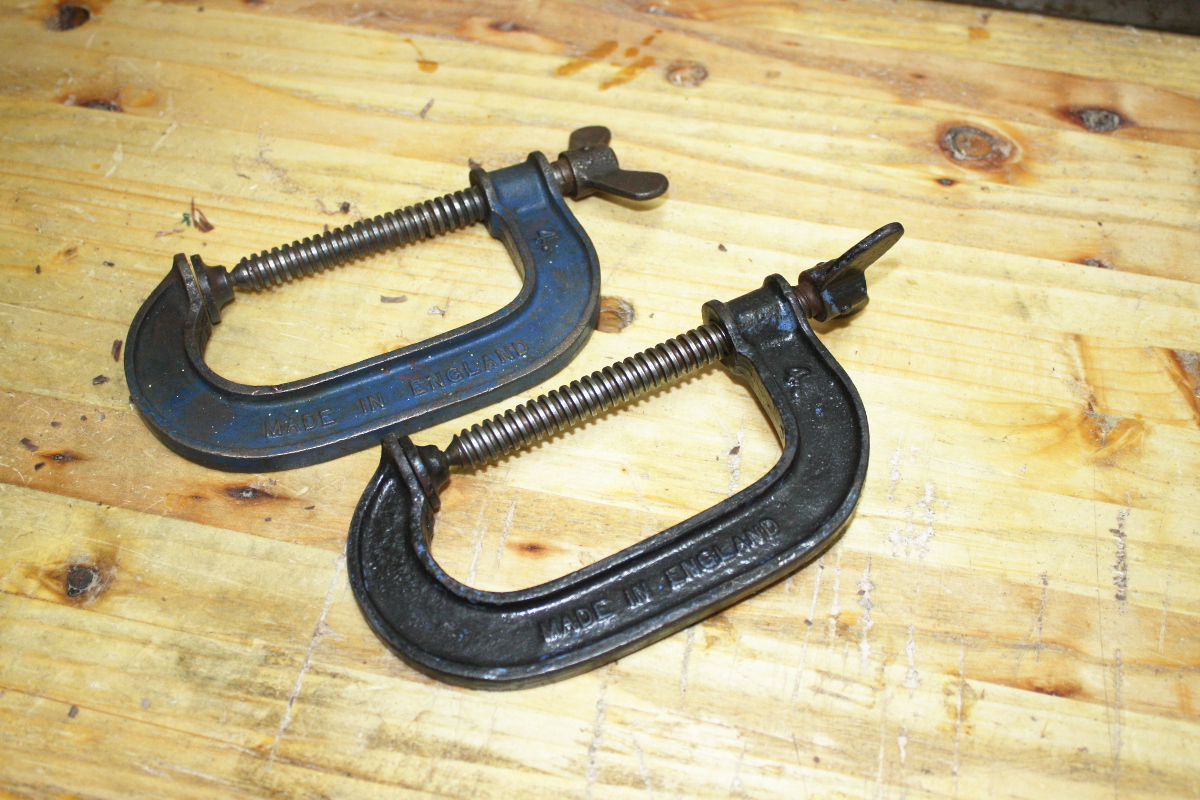
And you can never have enough clamps of course…

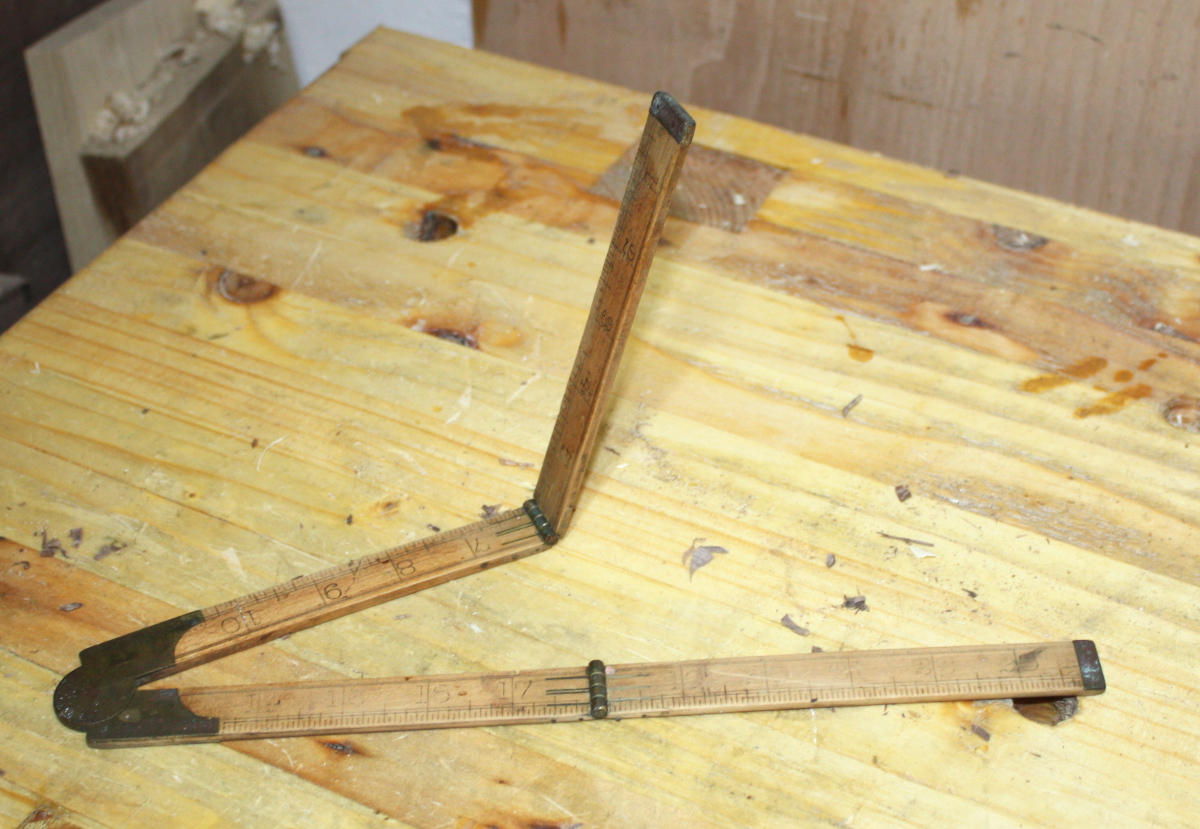
Every schoolkid in Ireland probably remembers these, I know that’s where I first saw them. But the idea here isn’t to use this as a ruler, but as a sector. I’ll sand the markings off it and clean it up a bit, then remark it as a sector, following Christopher Schwarz’s suggestion. When I was marking out the dovetails for the cot, it took an age to get the sizes laid out and it was mainly done through trial and error with dividers; but a sector (which is in effect an analog computer, a bit like an old precursor to slide rules) would let me divide out the board correctly in a few seconds. Allegedly. We’ll see…

(And if it works, I might spend more than two euro including postage for a crappy old ruler and make one that’s less floppy)

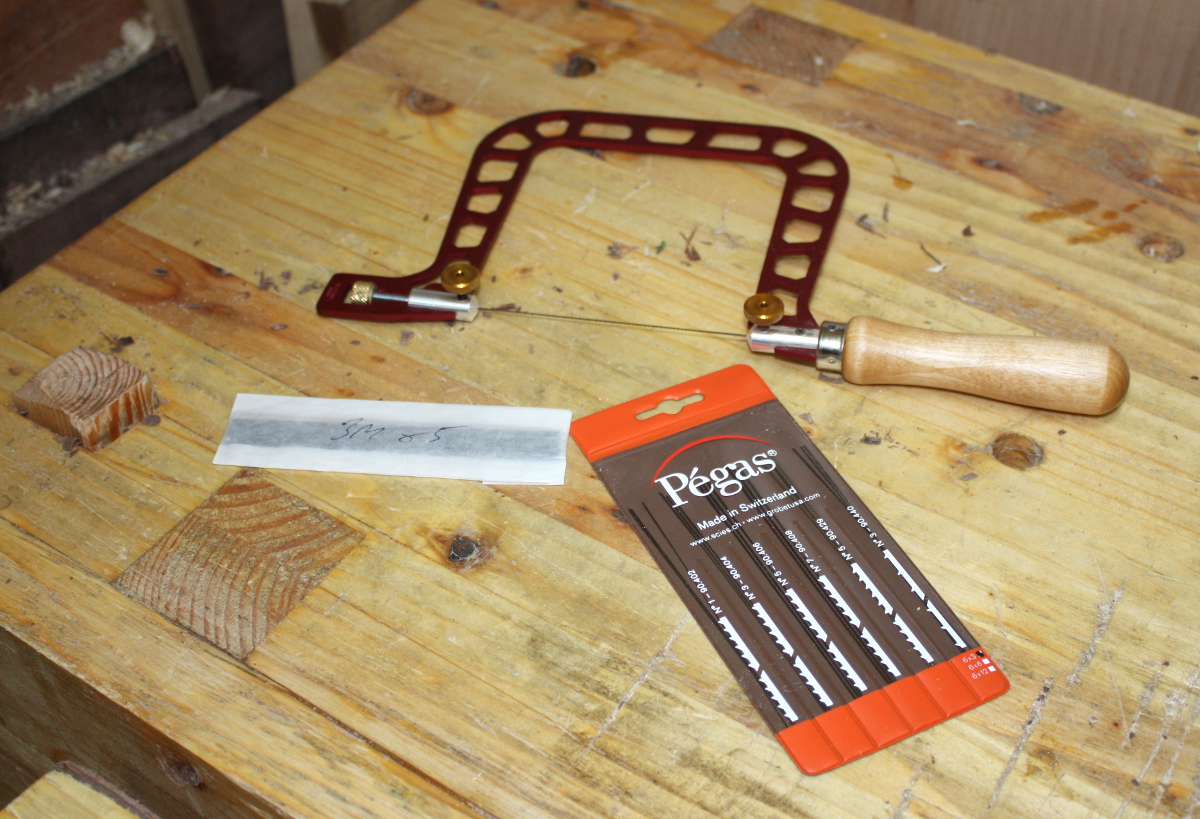
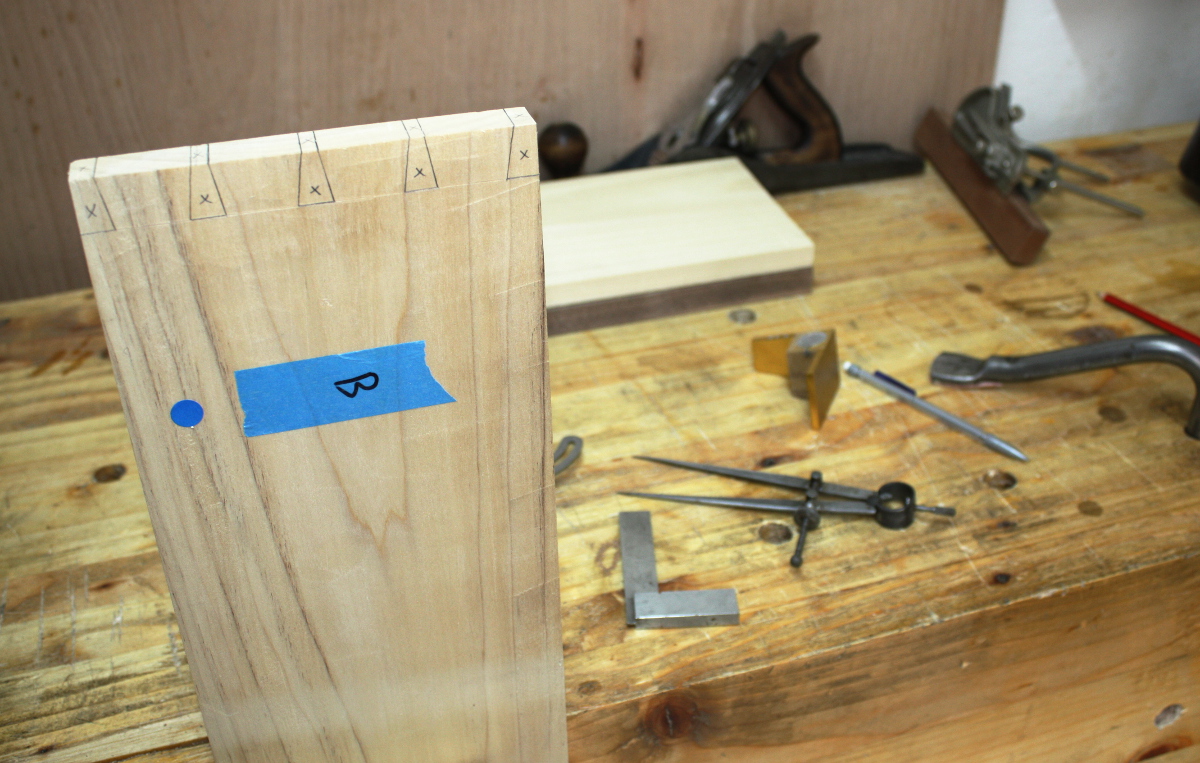
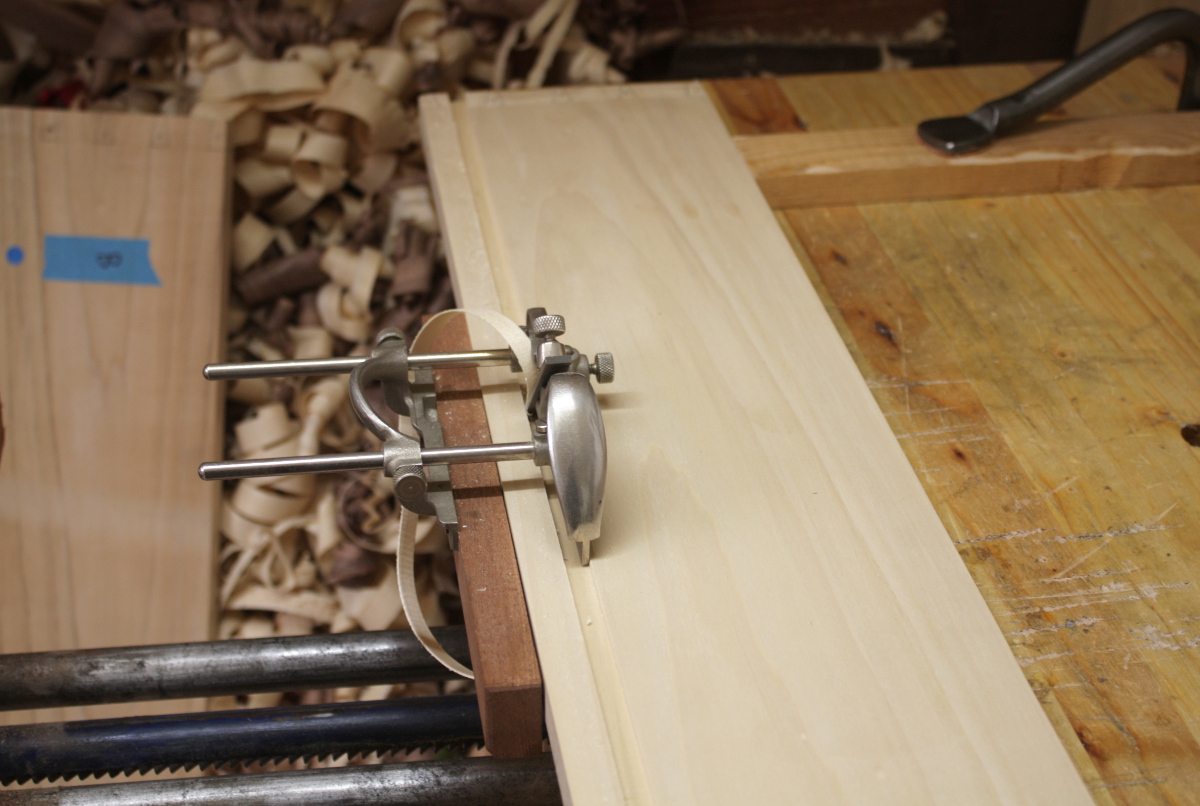
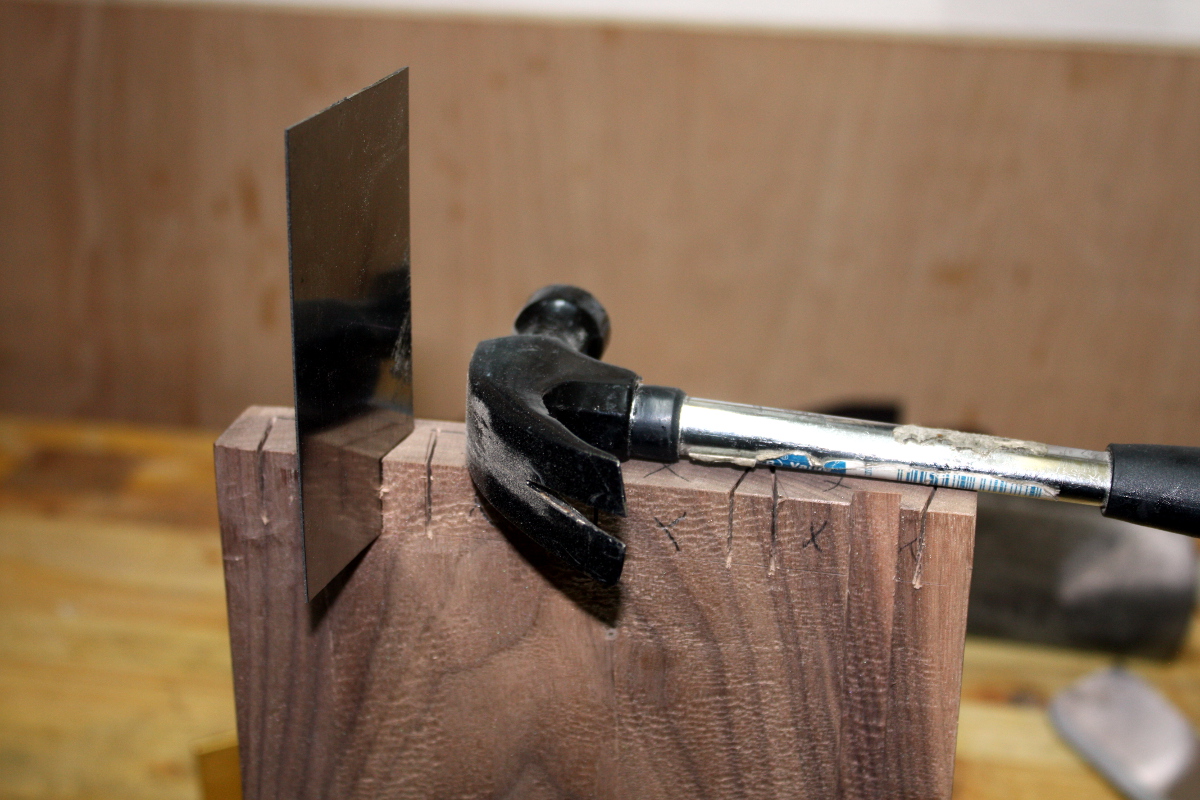
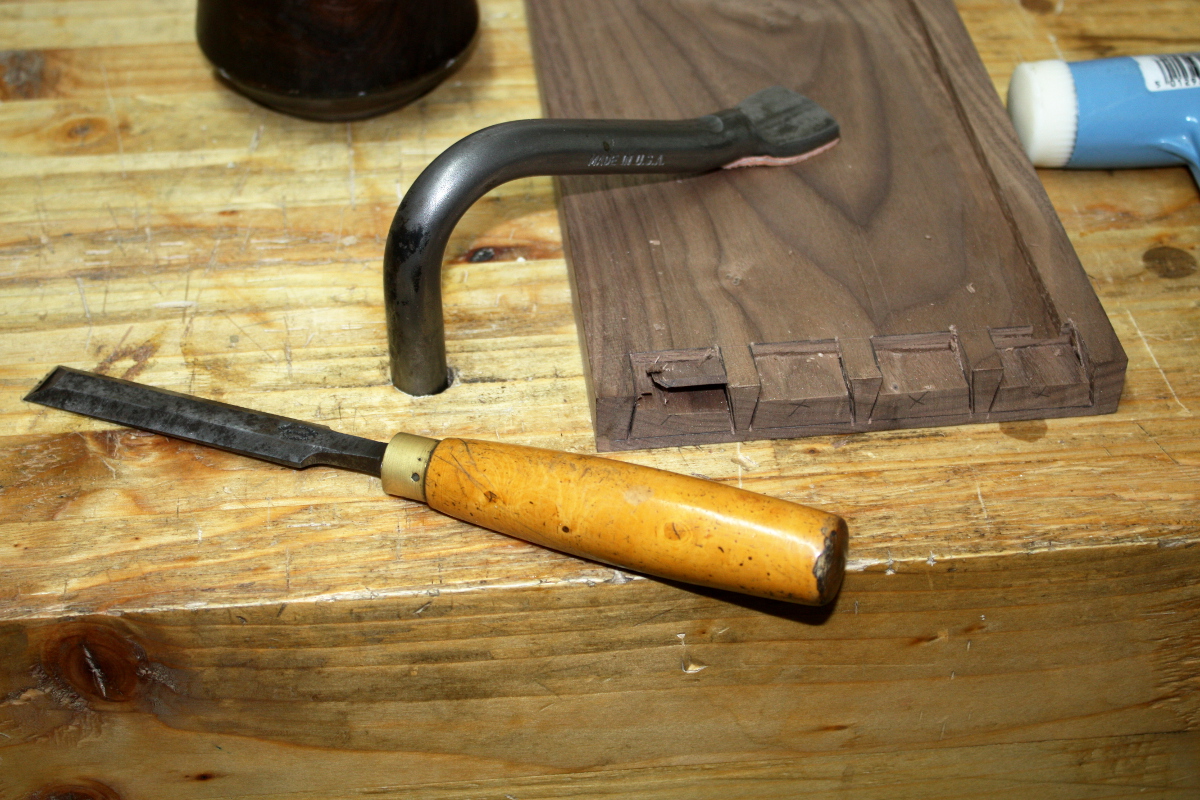
You’ve seen this already, but since we’re mentioning dovetails, and since some new blades arrived today as well…

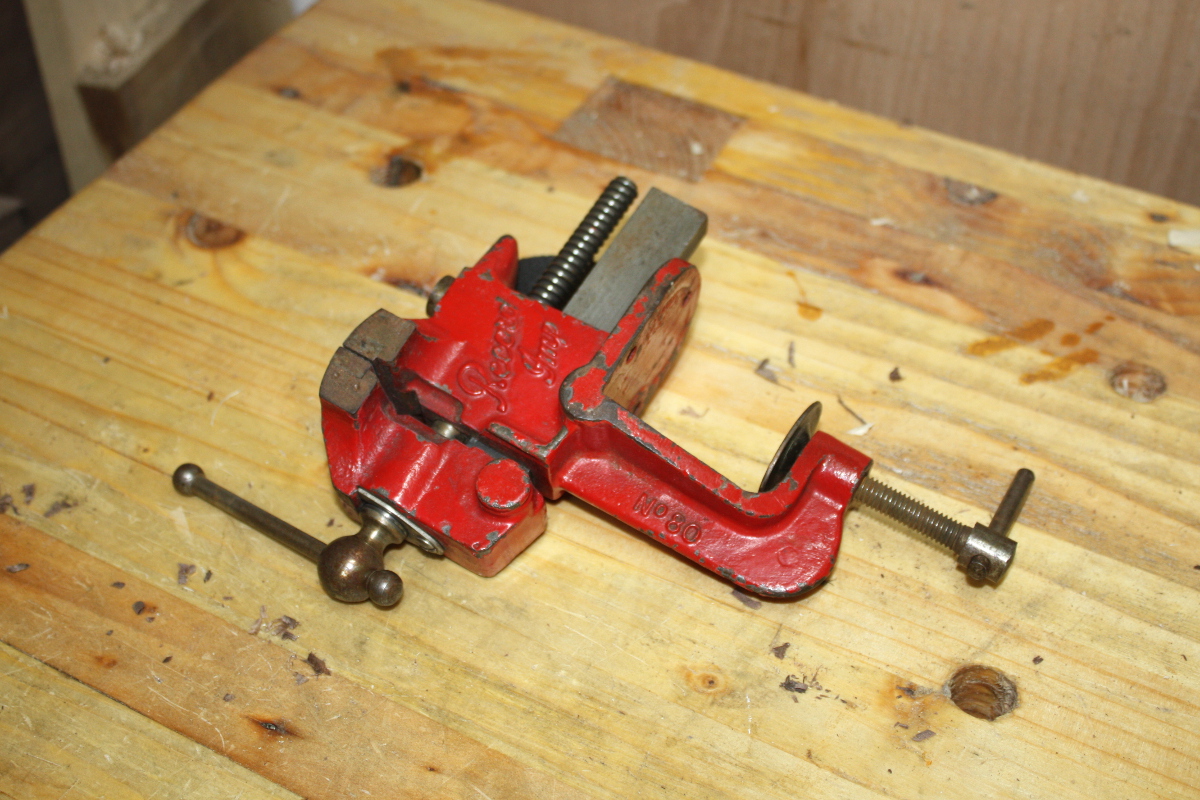
And this one’s a bit out of left field, and more to do with making the cheese press than the cot, specifically repairing it after Calum managed to break it. The Record 53A is a spectacularly good wood vice, but you can’t use it for metalwork really, it’s not designed for it. The Record Imp is a kindof  light duty tabletop vice, designed for use for small jobs. Think “Auxilary vice”, something you’d need before you start getting to the larger Record 4 and T5 mechanics and engineers vices, which are enormous behemoths of things. Maybe in a larger shed, but in my one, this is a better fit, especially as it costed €35 instead of €150 😀

Speaking of fit, it doesn’t – the bench top is too thick. So I need to make a board with a batten that it’ll fit and which I can clamp in the 53A or secure with holdfasts, and I can clamp the Imp to that (and bolt it to it as well probably).

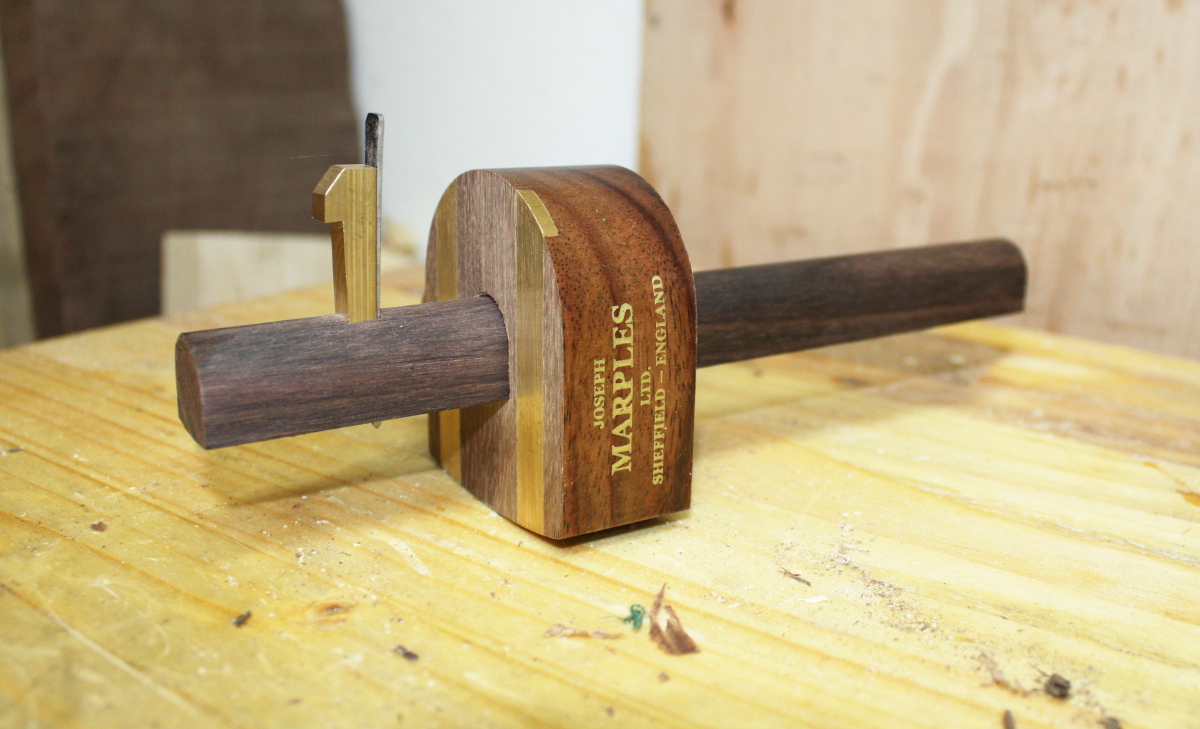
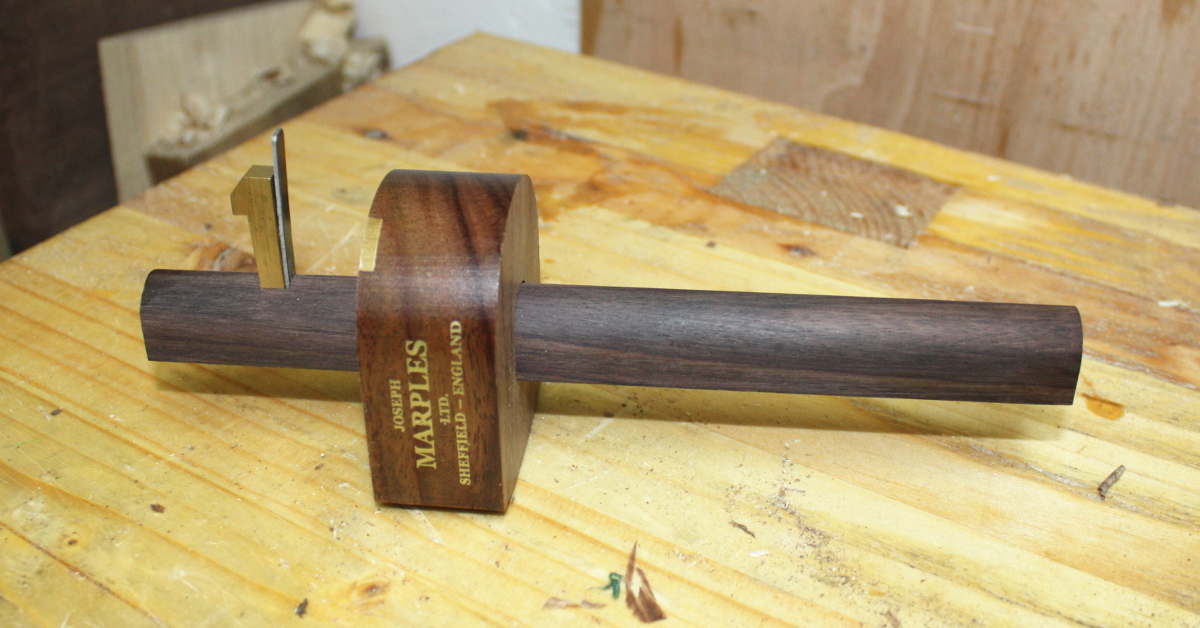
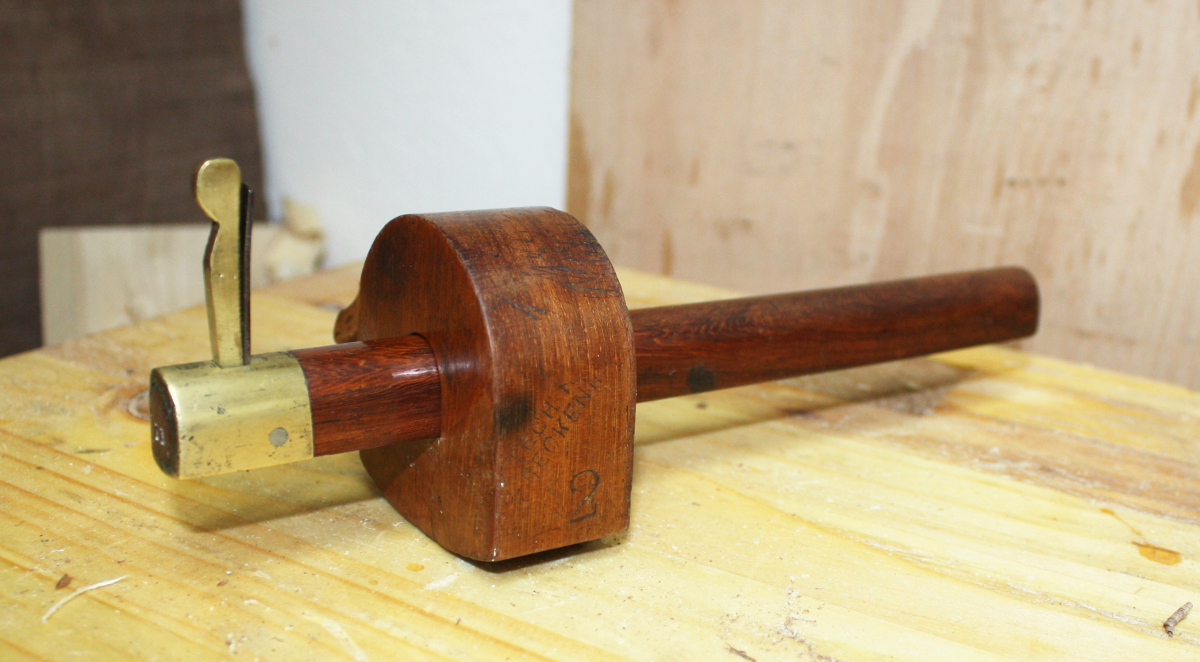
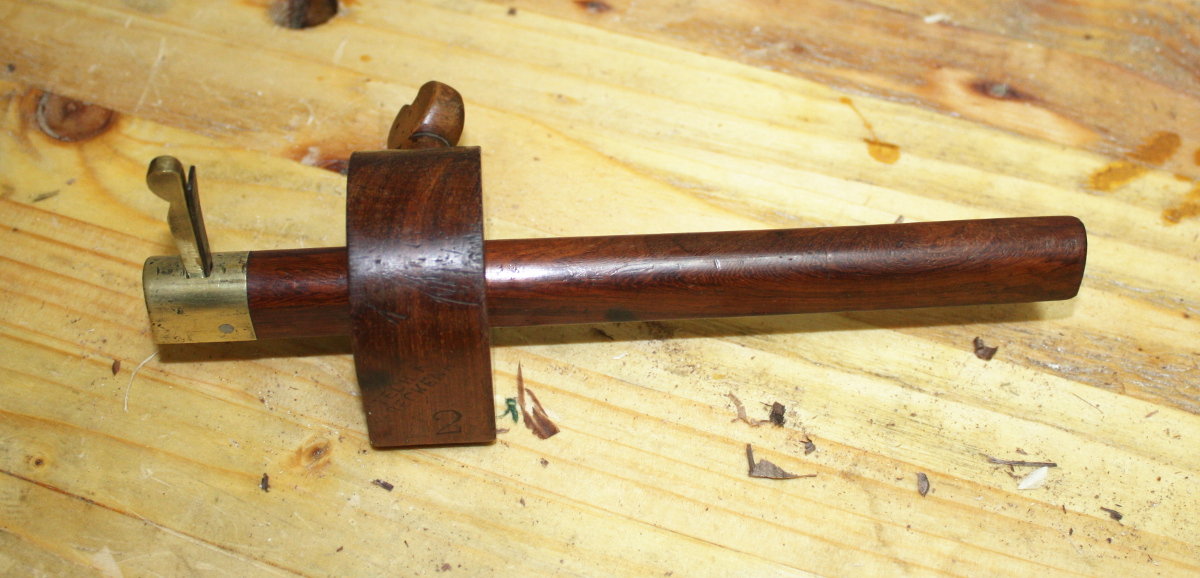
And lastly, two new slitting gauges because I’m sick of having no option but to keep a piece of scrap about to note the settings for my wheel gauge; as a solution it works but you’re always going to get some small errors creeping in. The real solution is to have more gauges, and they’re not hugely expensive (usually you’ll get this kind for somewhere in the €25-35 range and you’ll find them for less if you’re willing to wait – both of these cost me €20). The top one is a new Marples model and it feels just lovely in the hand. I’m wondering if the rosewood will shrink away from the brass in the face; we’ll see. The lower one is an I.Sorby model from somewhere before the 1960s which looks better in the hand than it does in the photos, it’s really in lovely condition. Both are slitting gauges (or cutting gauges? Unless you only think of the lovely japanese versions of these as slitting gauges) with knife blades rather than pins because I’ve used pin style marking gauges and I just don’t like them that much, I much prefer the edges on the wheel gauges. Maybe if I refiled the pin’s heads to a more knife-like profile… but then, I’d have made a slitting gauge then, wouldn’t I? This way I just get what I want from the start 😀

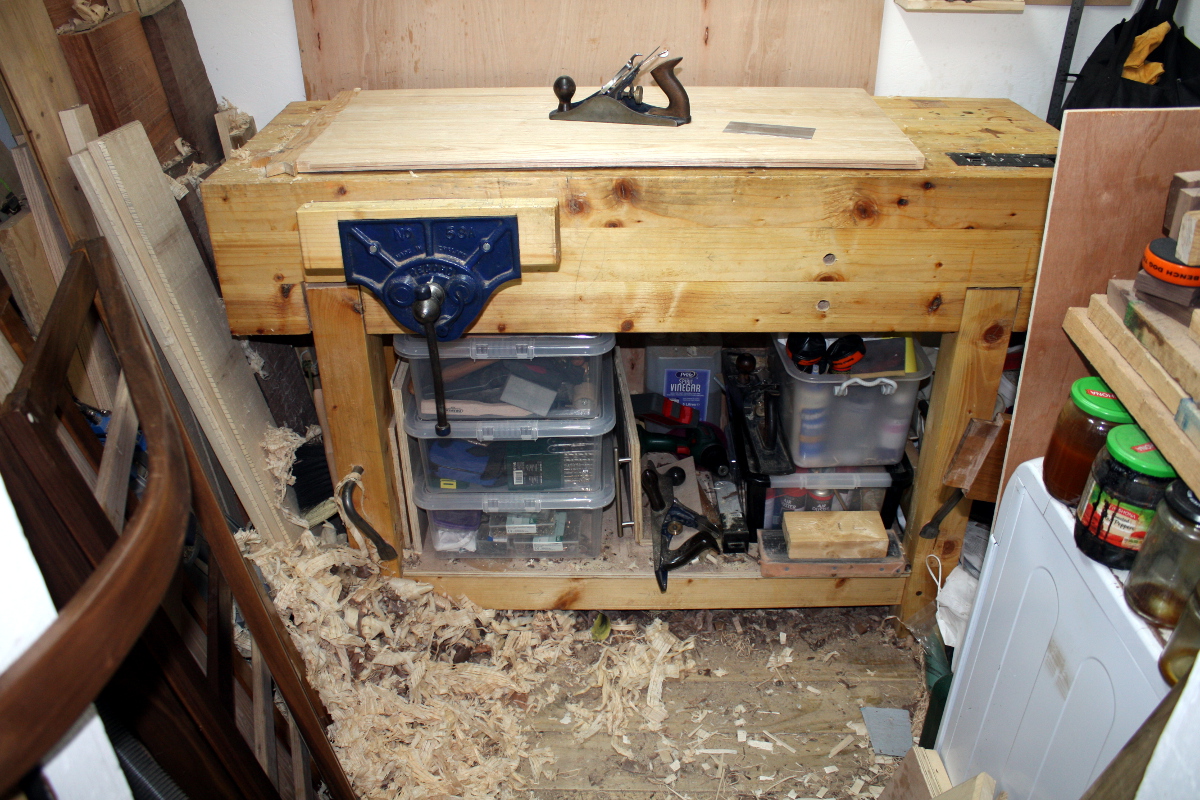
Next up, I have to start getting these things stored. There are a few things to do in the shed over the next while, getting tools up on the wall and doing general shed maintenance stuff and the like, and then I have an idea for the next building project, but I’m waiting on some bits that I’ve ordered (without a lathe, there are some things I can’t make myself).


26
Feb 17

Drawering to a close…

The idea was to get the last bits done today. Didn’t quite make it, but came close.

Got the cot out of the shed first so I could do some work. Looks nice in the sunshine…

Then made up the glue blocks I was thinking about yesterday to support the top panel.

And then gathered all the tools up…

The #778 is there to cut a small alignment rebate on the inside of the tails for the dovetails, in what Rob Cosman refers to as the “140 trick”. I don’t have a Stanley #140 (it’s a rather expensive skew-blade block plane) and the #778 is a little finicky for this, but it works if you’re careful. The idea is that you cut a tiny little ledge in the tailboard and after the tails are cut you sit the pinboard up against the tails and on that ledge to align it and let you mark the pins more easily (and it works quite well).

That’s the four boards laid out to check for any obvious weird whoopsies. The coloured dots are a David Barron trick to keep track of the pin and tail boards for each corners so I don’t accidentally cut the tails for one corner and mark off for the pins of a different corner and bugger everything up.

Laid out using dividers (I use one dividers for the shoulder pins and then the other dividers to lay out the tails) and the David Barron dovetail guide.

Cut out the groove for the plywood base with a #043 plough, which is pretty much what happens when you take the unix philosophy of making tools that do just one thing but do it very well and then apply it to woodworking tools. It’s not much use for anything other than cutting this one groove, for drawer bottoms, but it’s probably the best tool out there to do the job.

Haven’t cut the tails yet here (but did lay them out) in order to put the groove in the middle of the bottom tail.

See what I mean? For any other groove, it’s not a great tool (which is why you have plough planes like the #044), but for this one, it’s just fantastic.

Sawed out the tails with the ryoba and the David Barron guide, then chopped out the waste with a ¼” chisel.

Not horrific. Cutting out the pins though, did convince me that I really need to get one of those Knew Concepts fretsaws. Chopping out the waste between the tails is one thing; chopping out the waste between pins is a whole other ball game and the fretsaw would be a lot faster (plus, cutting curves with a saw, what’s not to love? My coping saw, that’s what not to love. That thing is terrible…)

On to the half-blind dovetails for the drawer front. Marked it off against the tailboard, reinforced the knife marks, highlighted with pencil, marked the waste and sawed down the diagonal with the Barron guide and the ryoba.

Then took another trick I heard from Cosman’s youtube channel and smashed down the fibres on the remainder of the diagonal using a piece of metal with the same width as the saw kerf (in this case, a spare card scraper). This means I now have both sides of the cavity cut out fully and that makes it easier to chop out the waste.

For the last few mm I put the board upright in the vice and pare, rather than chopping.

By the way, Walnut. Wow, is this so much easier in this wood than in pine. If you want to learn to do this, don’t try it in pine. I mean, don’t learn in walnut either, it’s way too expensive for that, but try it in a hardwood like poplar. It’s so much easier than in softwoods.

I’ve left out the amusing bit where I fit the plywood base, trim it to size by carefully measuring it and double checking the measurements and then somehow managing to cut it a full inch too short anyway and having to bodge up a fix. And the fun part where during the glue-up I found that the plywood base was still too wide by a few mm and I had to disassemble it, plane down the base to width, and complete the glue-up. Thank goodness for hide glue’s long open time, that’s all I’m saying…

Also, I NEED A BIGGER SHED. Holy carp…

To-Do List:

  • Make a drawer
    • Cut dovetails for drawer.
    • Groove drawer with #43 for plywood base.
    • Maybe add runners underneath the drawer?
    • Finish drawer with shellac.
    • Assemble drawer.
  • Glue the drawer supports into the frame.
  • Even more last minute fettling and foostering (panel support blocks, drawer stop blocks)
  • Close door of shed, lock it, walk away and never do another project with a deadline ever again.

16
Feb 17

Complaning

Y’see this happy chap? It’s from startwoodworking.com btw, it’s surprisingly hard to find a good side-on photo of how you use a hand plane. You’ll notice that he’s pushing the hand plane along the wood using his leg muscles more than his arm muscles, by leaning into the plane as he pushes it. This is normal, natural movement that you do any time you push an object that isn’t sliding round like a greased pig in a swimming pool.

Do you see what else he’s go there?

FECKING ROOM TO MOVE.

This is the shed at the moment.

Lean into the plane? I’m doing well if I can reach the shagging thing at the moment.

*sigh*. And I have to thickness drawer sides, which means taking off wood, half a millimetre at a time in a 2cm-wide strip. Over a whole board. Evenly. By about eight millimetres. Gah. See this thing?

This is a dewalt 735 planer thicknesser. It costs nearly €700 if you’re silly enough to buy it in a shop in Dublin where the prices are usually 50% too high. And if I had the room to store it, I would have bought two of them by now. I mean, finish planing, that’s one thing. It’s awkward, but even on the largest panel in the crib it was doable.

Granted, you need the card scraper in places and it’s a pain having nowhere to stand at times.

But thicknessing, that’s a whole other story. There’s no finesse in that, it’s just lots of pushing through wood and hoping it ends soon. Christopher Schwartz was right, the first power tool you should get is a planer thicknesser. It’s just that they’re also bloody loud. This is not a machine that endears you to the neighbours if you use it at 2200h on a worknight. It’s about as loud as your wife finding you feeding the neighbourhood cat. To the blender.

I mean, ideally, I’d resaw the boards to thickness, but honestly, I’ve had enough of that. The ryoba is just not up to the job if the plank is more than two or three inches wide, and I’m still waiting for saw files to sharpen the western saws I have but so far they’ve just not made the task any easier. A bandsaw might, but (a) where the hell would I put it, and (b) bandsaws that can resaw an eight-inch-wide board are not like bandsaws that are just used for cutting curves; they are not small things. You have to use wider blades for reasons that involve clearing a kerf, physics and metallurgy, and those wider blades need larger wheels in the bandsaw to cope with bending radii, and that leads to a big freestanding monster of a machine.

So basically, I’m stuck inside the limits of the 8’x6′ shed. At least for now. But every so often, it’s helpful to complane (see what I did there?) about it.

At least the top panel is finish planed and one of the drawer sides is now thicknessed.

And the final coat of shellac is on the mattress platform and on the rear upright.


So not a totally wasted hour or two in the shed.

To-Do List (stuff in progress in blue:

  • Finish plane top panel
  • Make a drawer
    • Thickness the boards for the drawer.
    • Cut the drawer front to size.
    • Cut the drawer back and sides to size.
    • Cut dovetails for drawer.
    • Groove drawer with #43 for plywood base.
    • Maybe add runners underneath the drawer?
    • Finish plane drawer front
    • Finish drawer front with shellac.
    • Paint drawer sides with milk paint.
    • Assemble drawer.
  • Assemble and glue-up and drawboring of everything.
  • Finish entire assembly with several coats of Osmo wood wax.
  • Close door of shed, lock it, walk away and never do another project with a deadline ever again.