30
May 20

ex-Xmas Tree Xmas Tree Decorations

So a few years ago, some woodworkers on a podcast made an April Fool’s joke about how they always picked the same species of xmas tree so that they could mill it up for lumber after the holidays and make a chest of drawers out of them. Which was funny, until another woodworker went and actually did it (with small boxes not a chest of drawers, because there’s a lot of timber in a chest of drawers):

And this was important because until this point, the several xmas tree trunks in the back yard were just there because I had been too lazy to make a second trip to the recycling yard with them. See, after the holidays I take our now-long-dead-and-drying tree into the back garden and hack off all the branches with a hatchet and bag up the branches and the two kilograms of needles that have fallen off them on the ten-yard trip from living room to back garden. Those bags go to the recycling center because if you tried to just shove the tree into the car to bring the whole thing there, you’d be cleaning pine needles out of the car ten years later.

But now, there was a reason I was keeping those trunks 😀

And what better time than during a pandemic lockdown to do something with them? So, first up, take a glazier’s hacking knife and debark them and lop off the top foot or three until we get past the really bad shakes and checks on the surface (these things have just been drying outdoors untended for up to five years now).
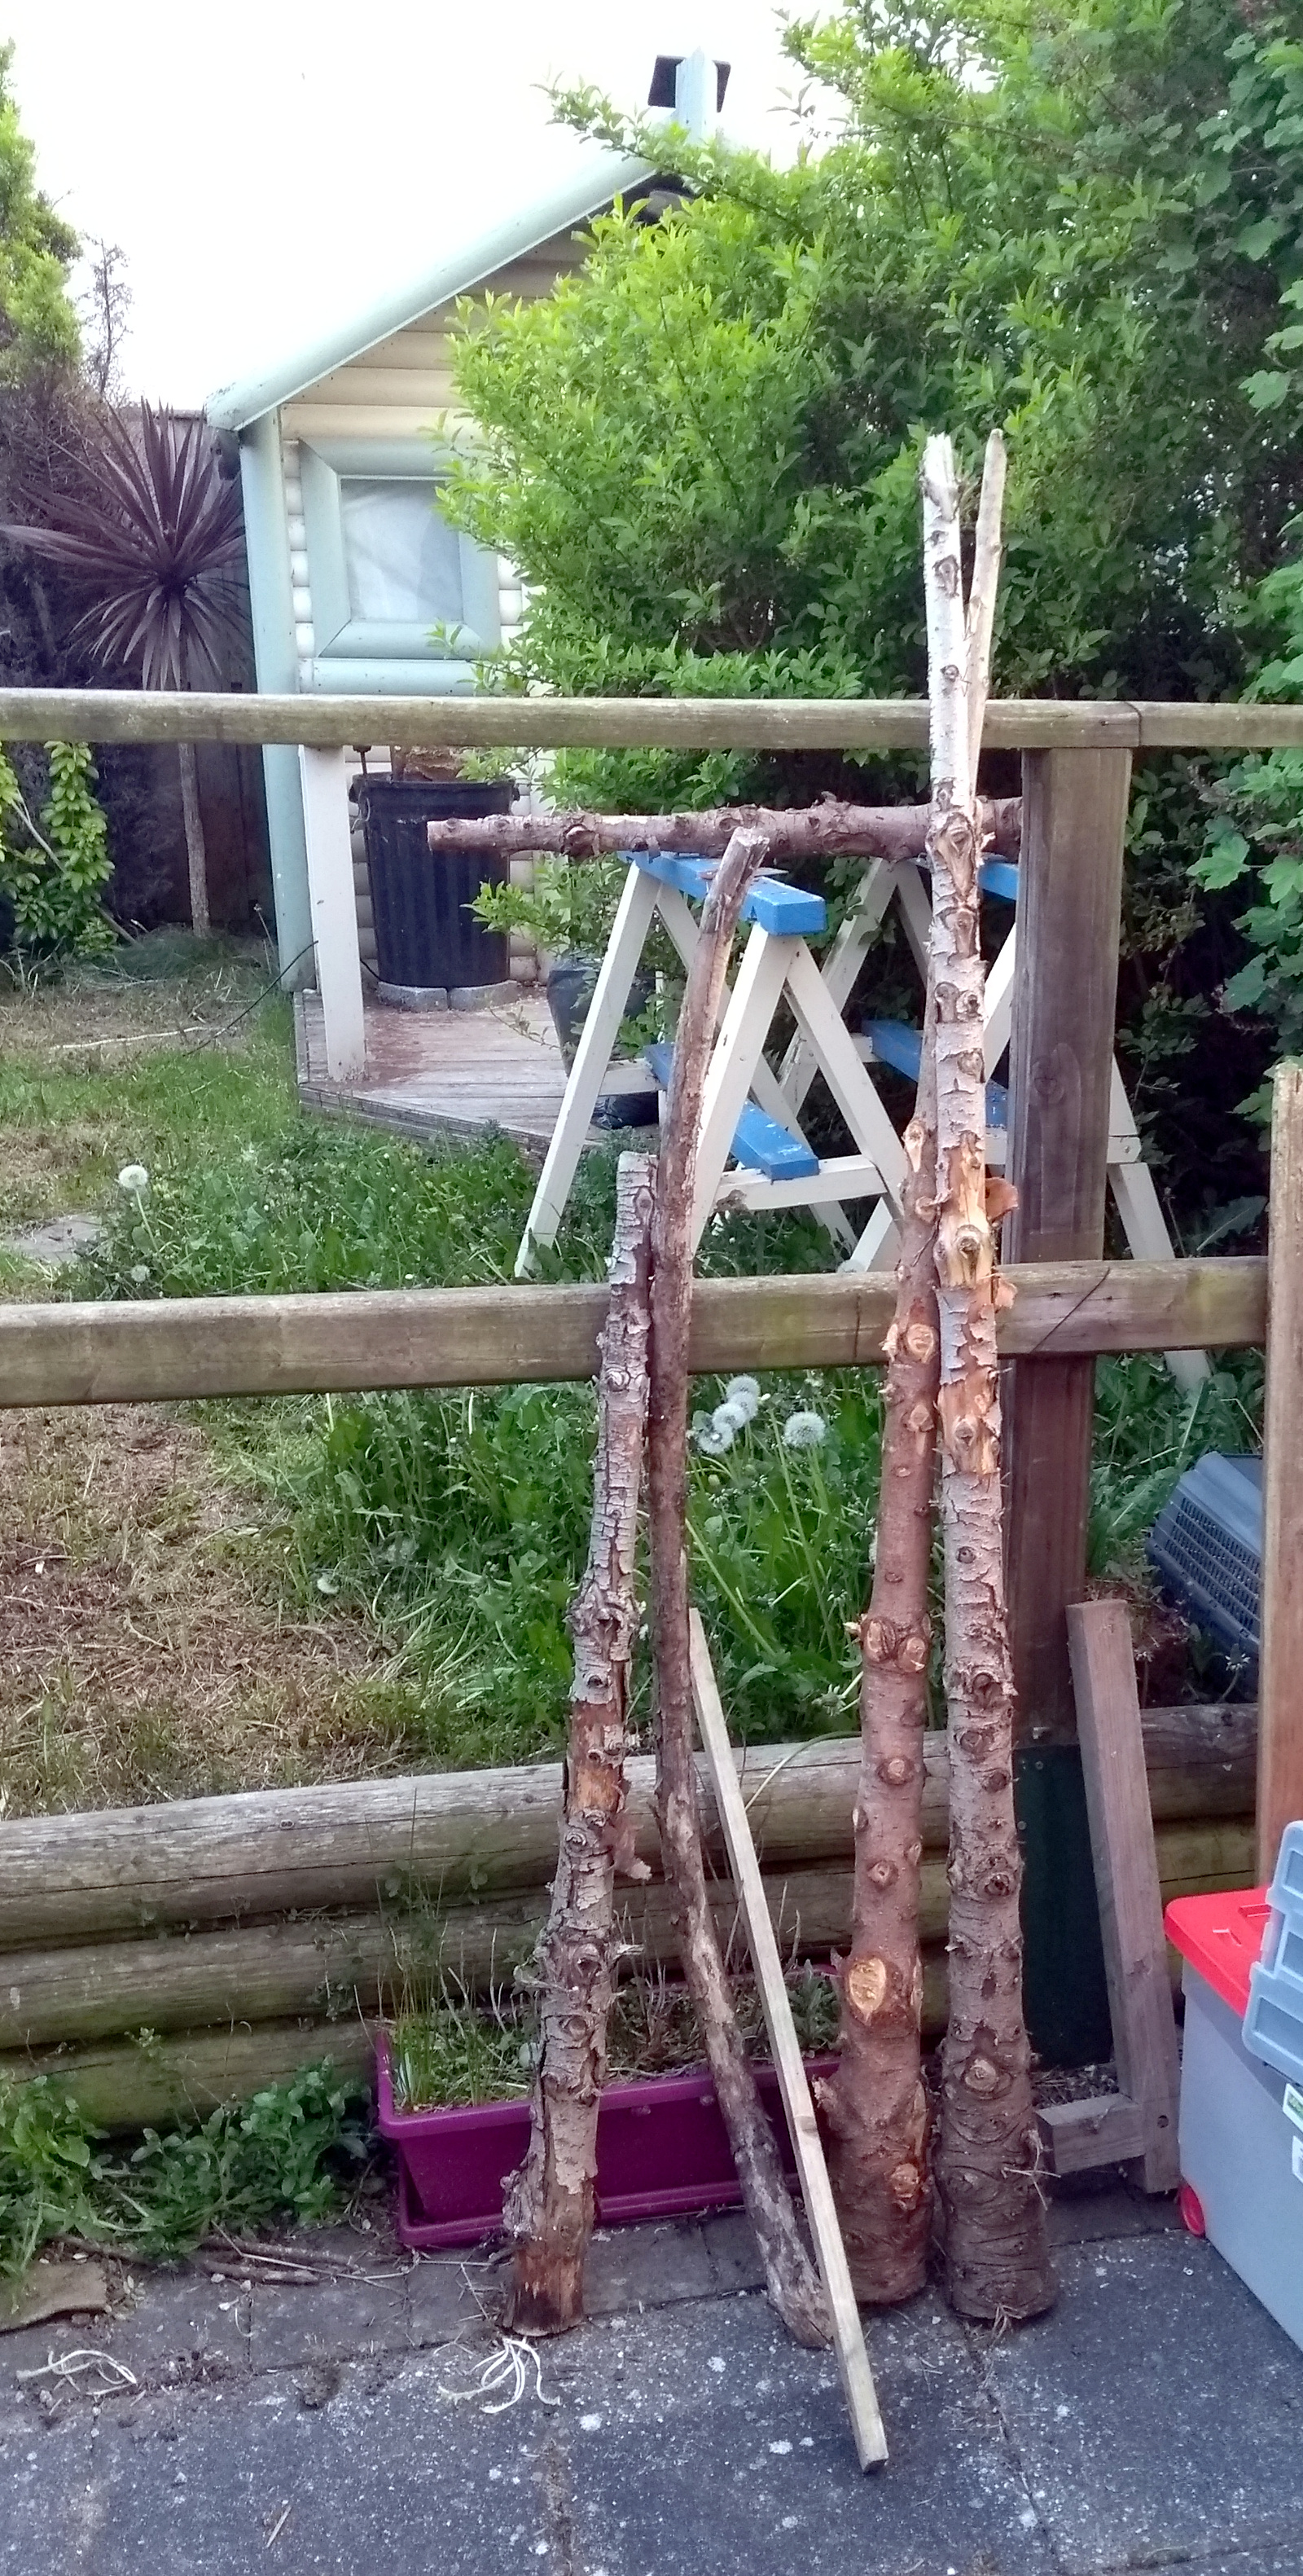
Then I took the more manageable-in-my-shed lengths into the shed and cut out all the pieces that looked salvagable, trying to get at least one chunk from every trunk so we’d have every year represented. The bandsaw rendered the rest into firewood.
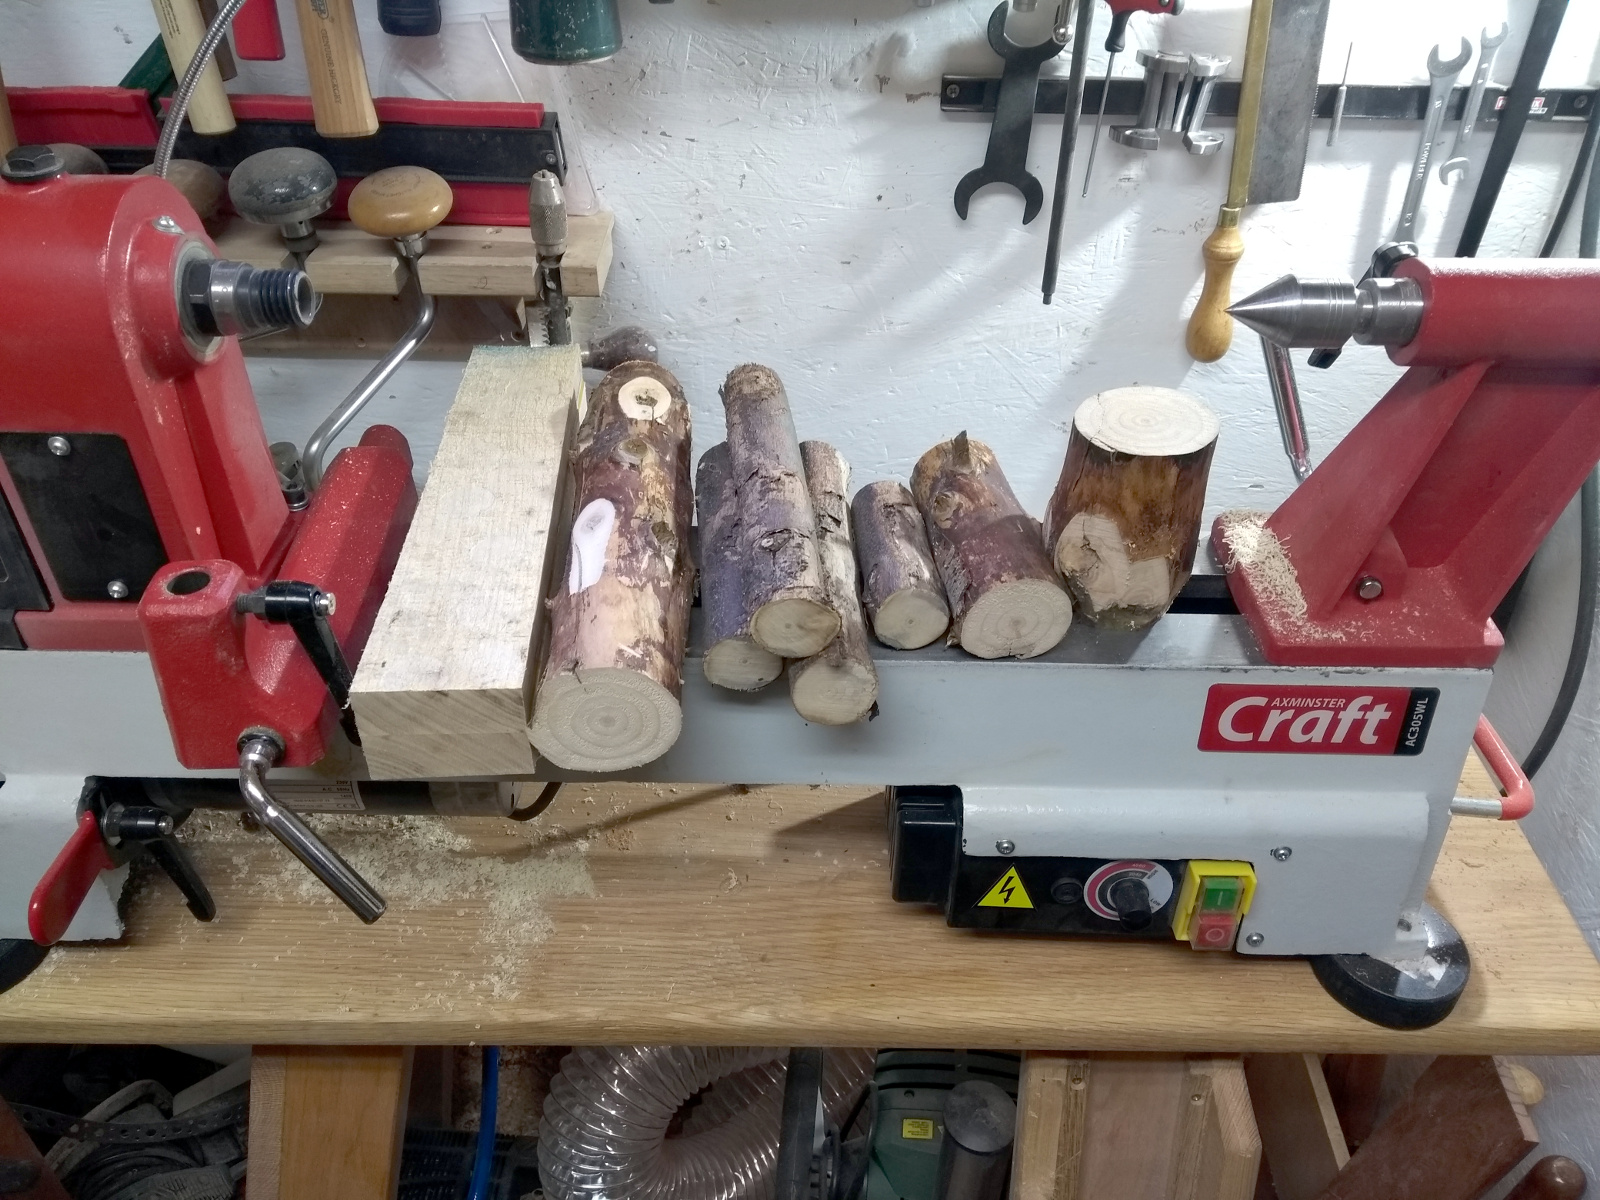
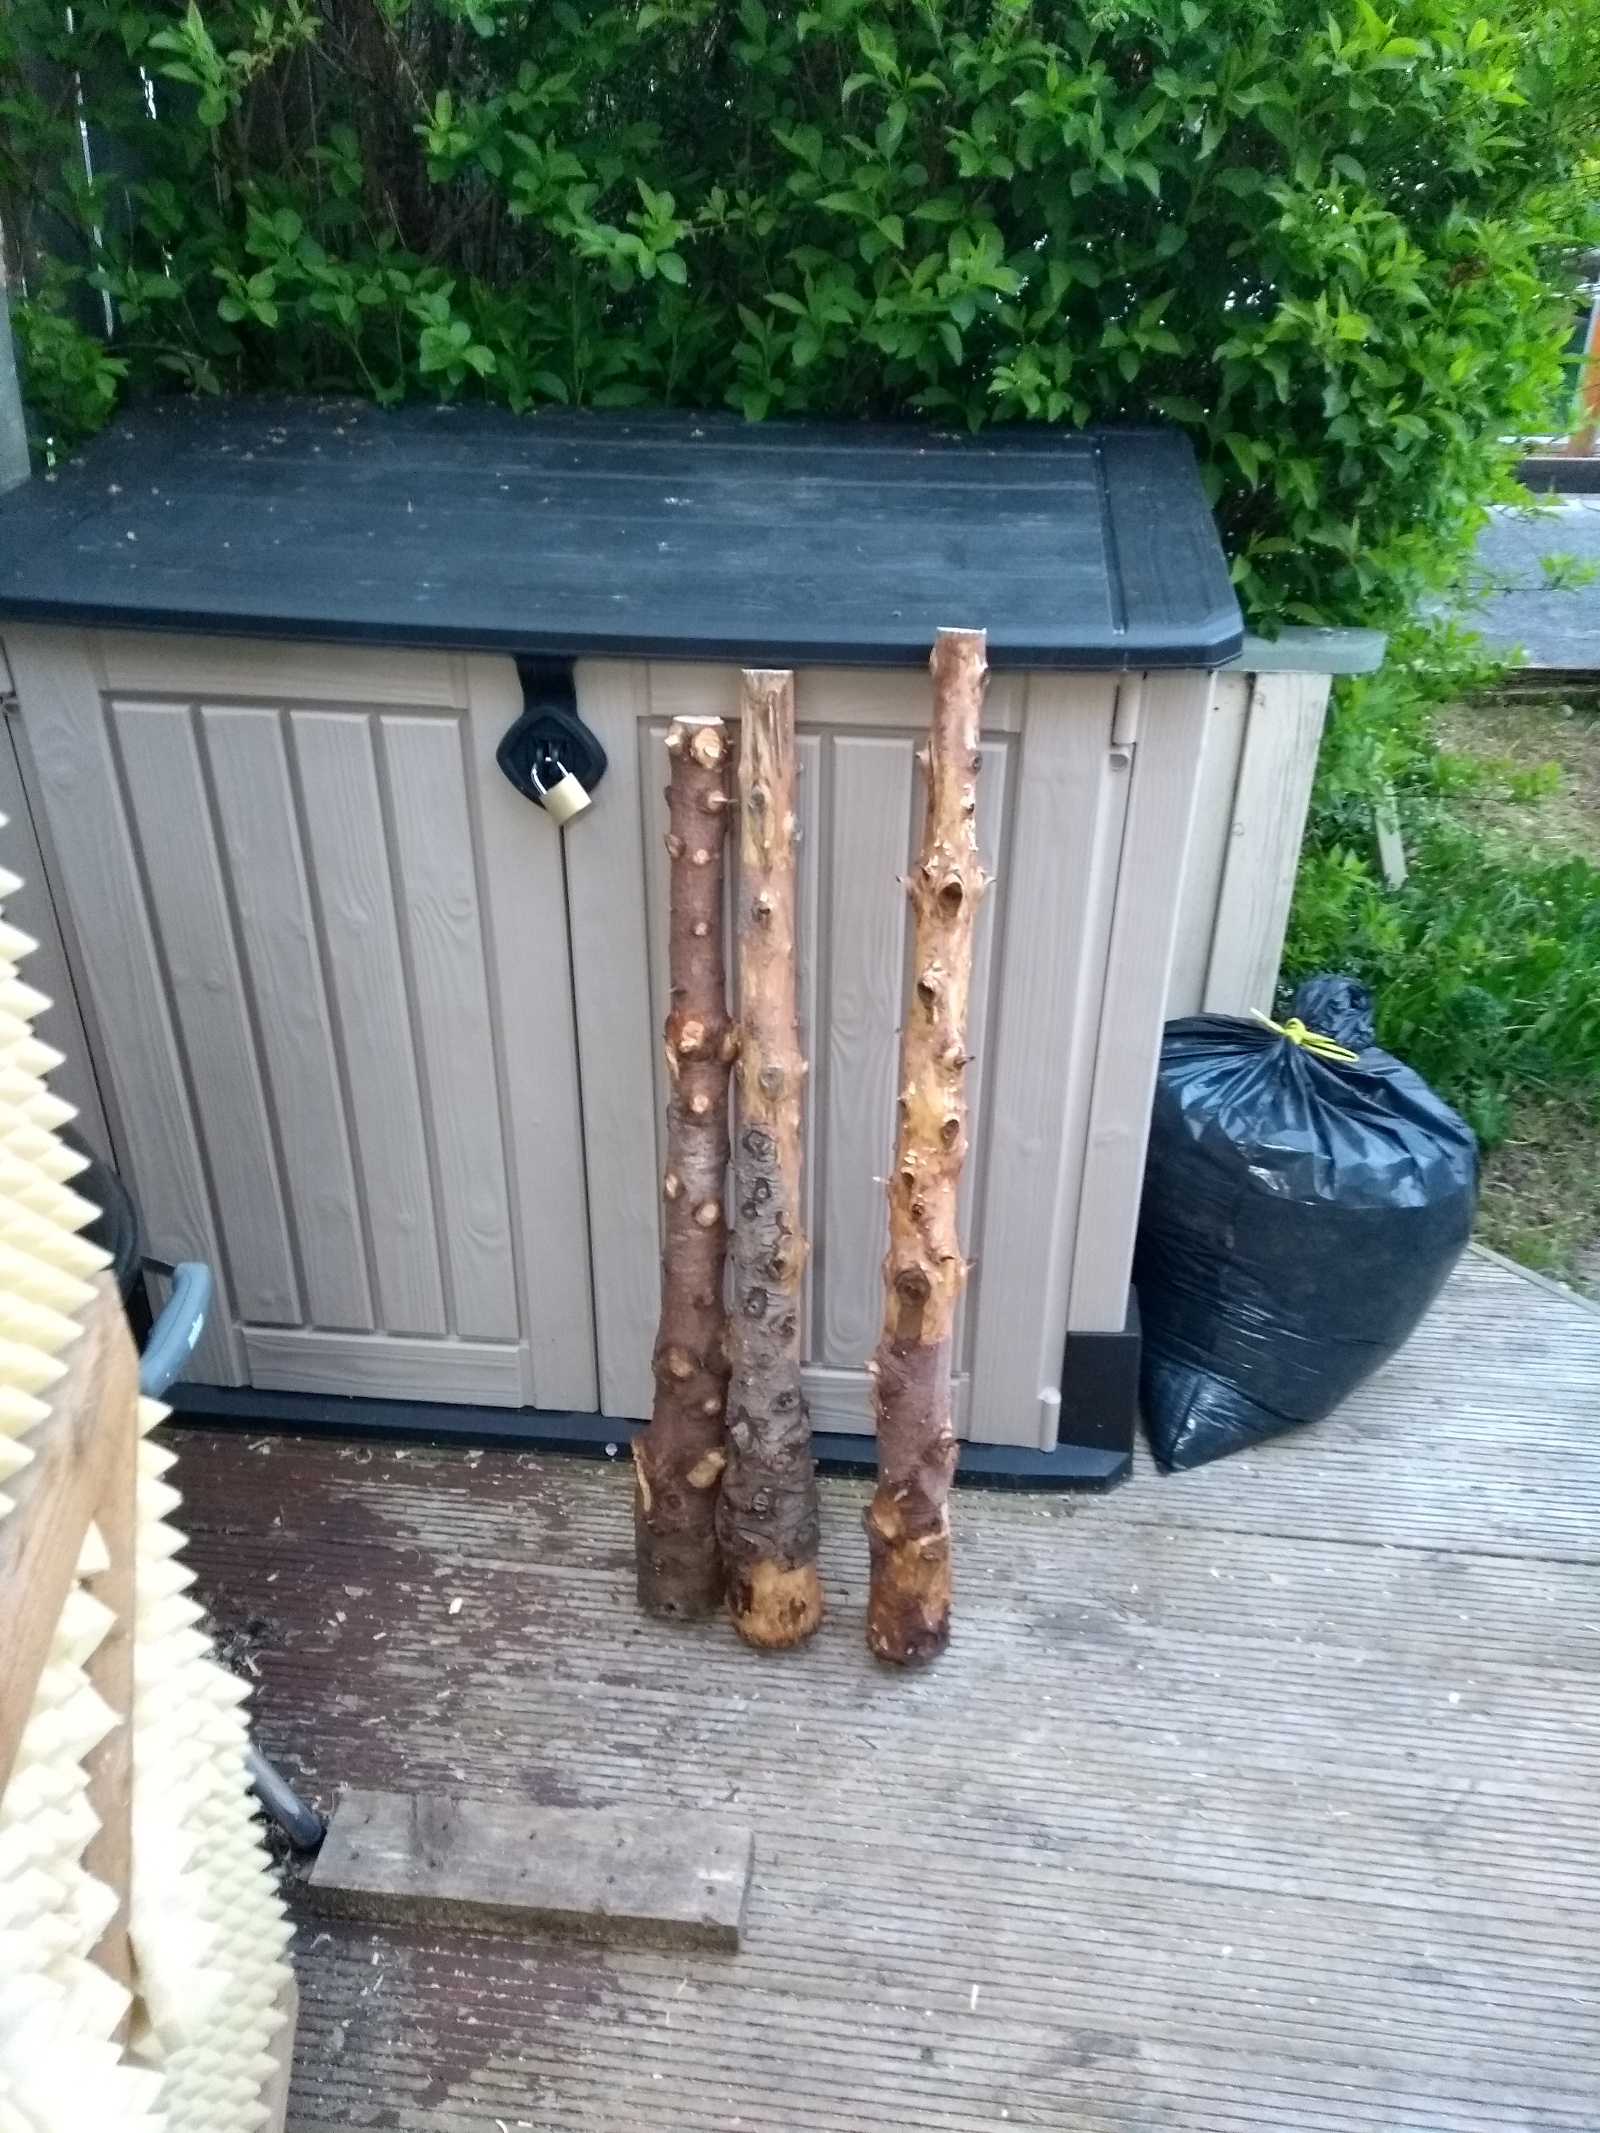
The oldest two trees just resulted in a handful of chunks but the most recent trees yielded a lot more material (that binbag is shavings btw, I had to empty the extractor that day)
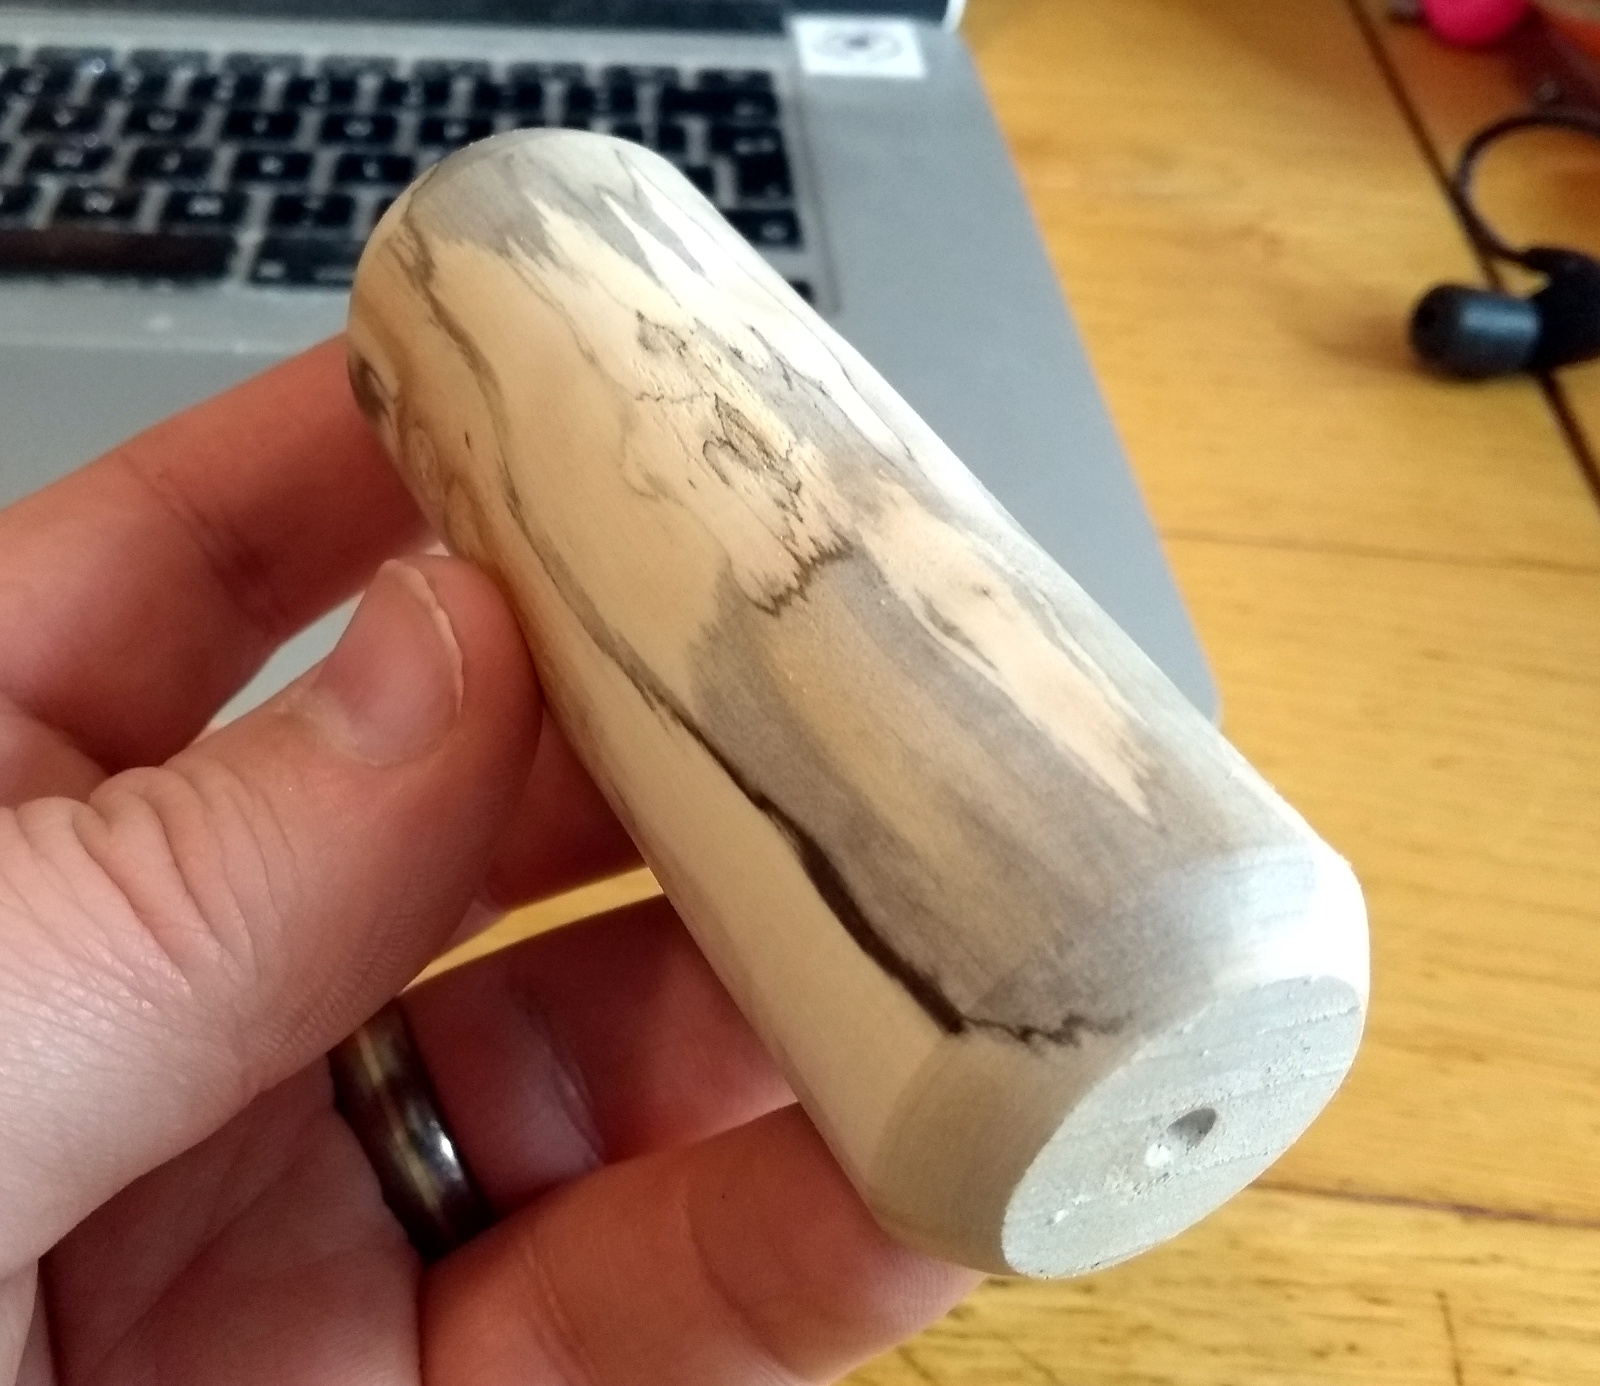
Some of the smaller pieces turned out to be spalted when rough-turned, which is kindof pretty in a monochrome sort of way.
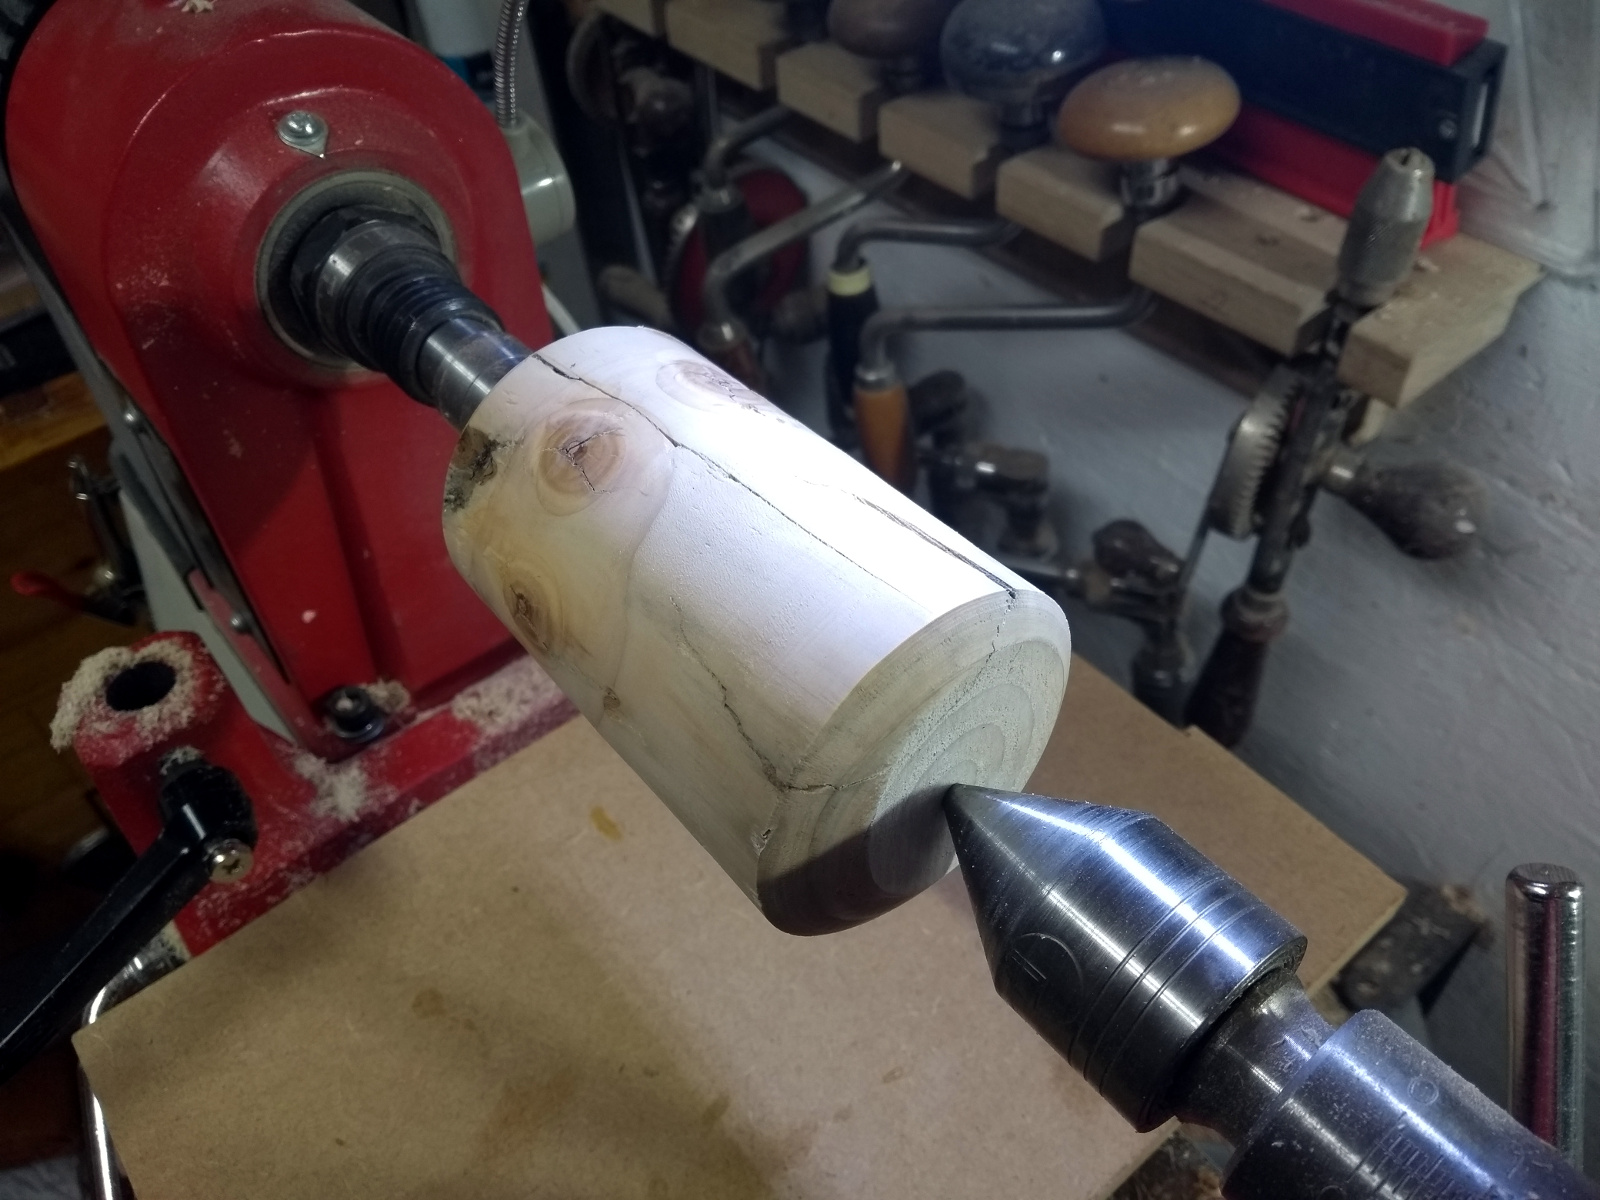
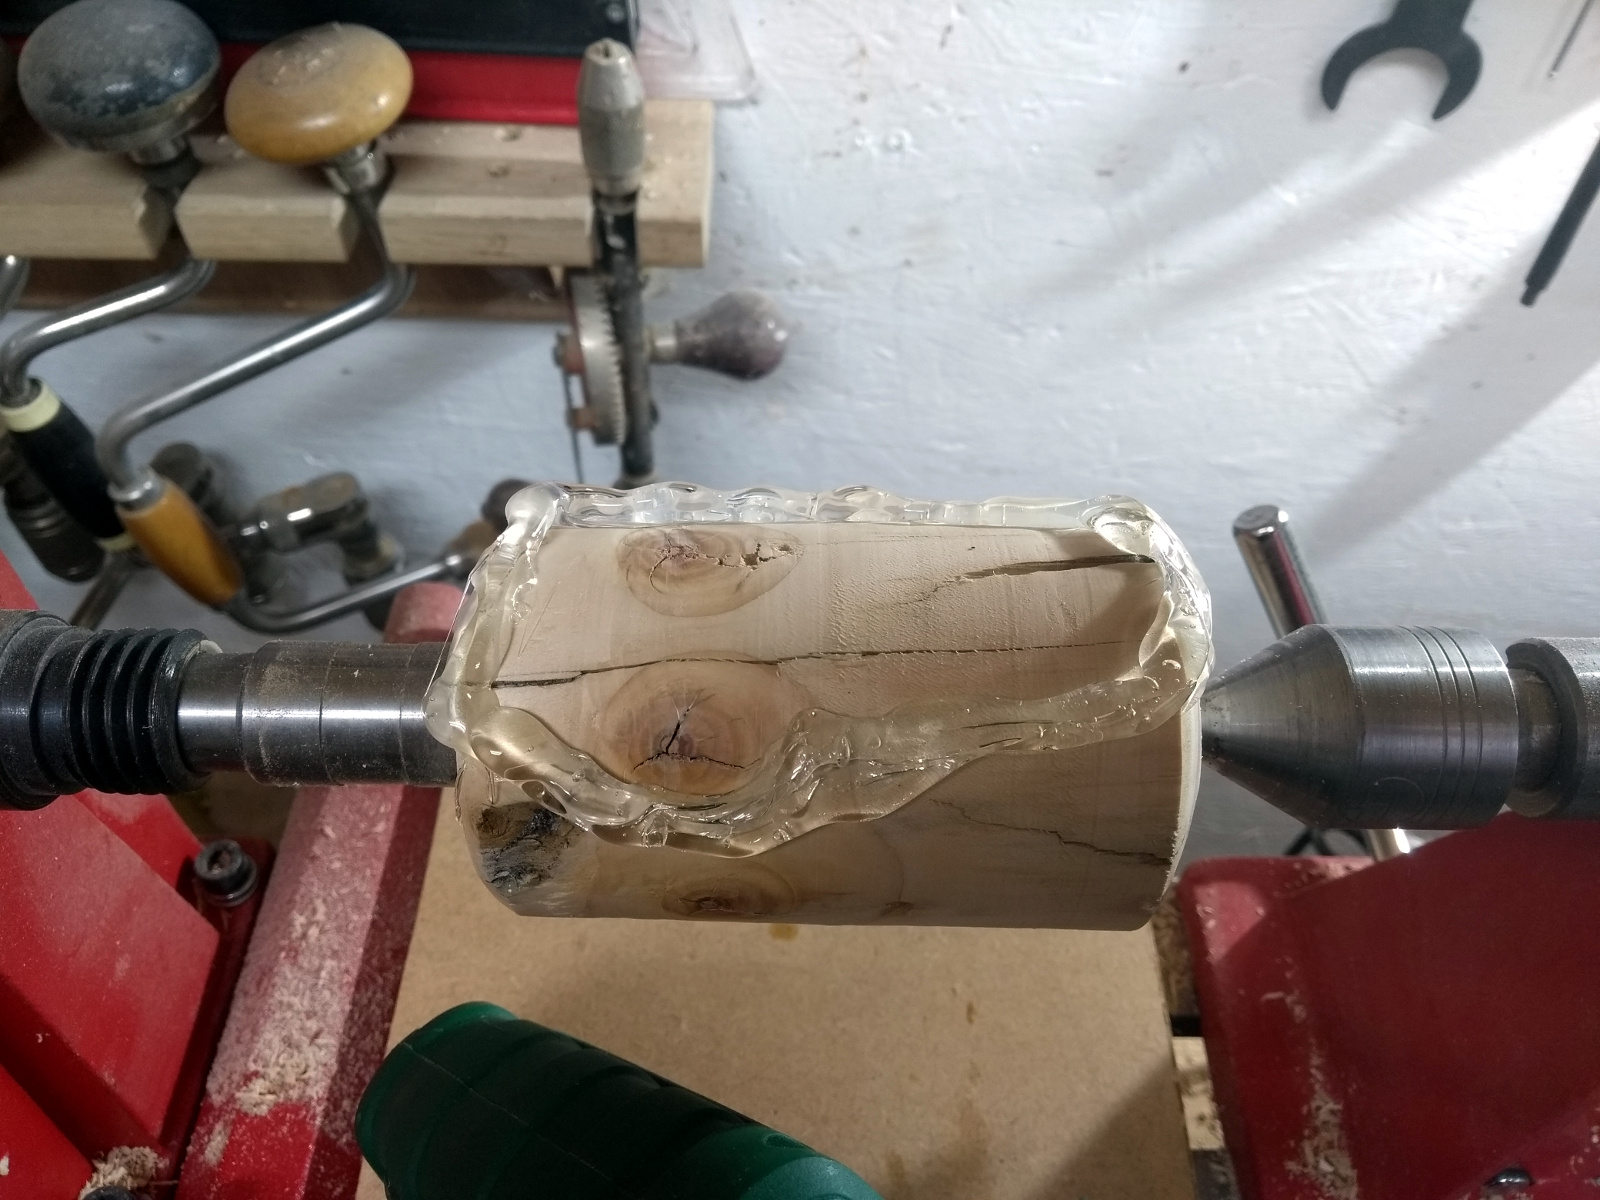
The shakes in this piece were just too large to ignore though, so out with the hot glue gun to make a dam and it’s resin time!
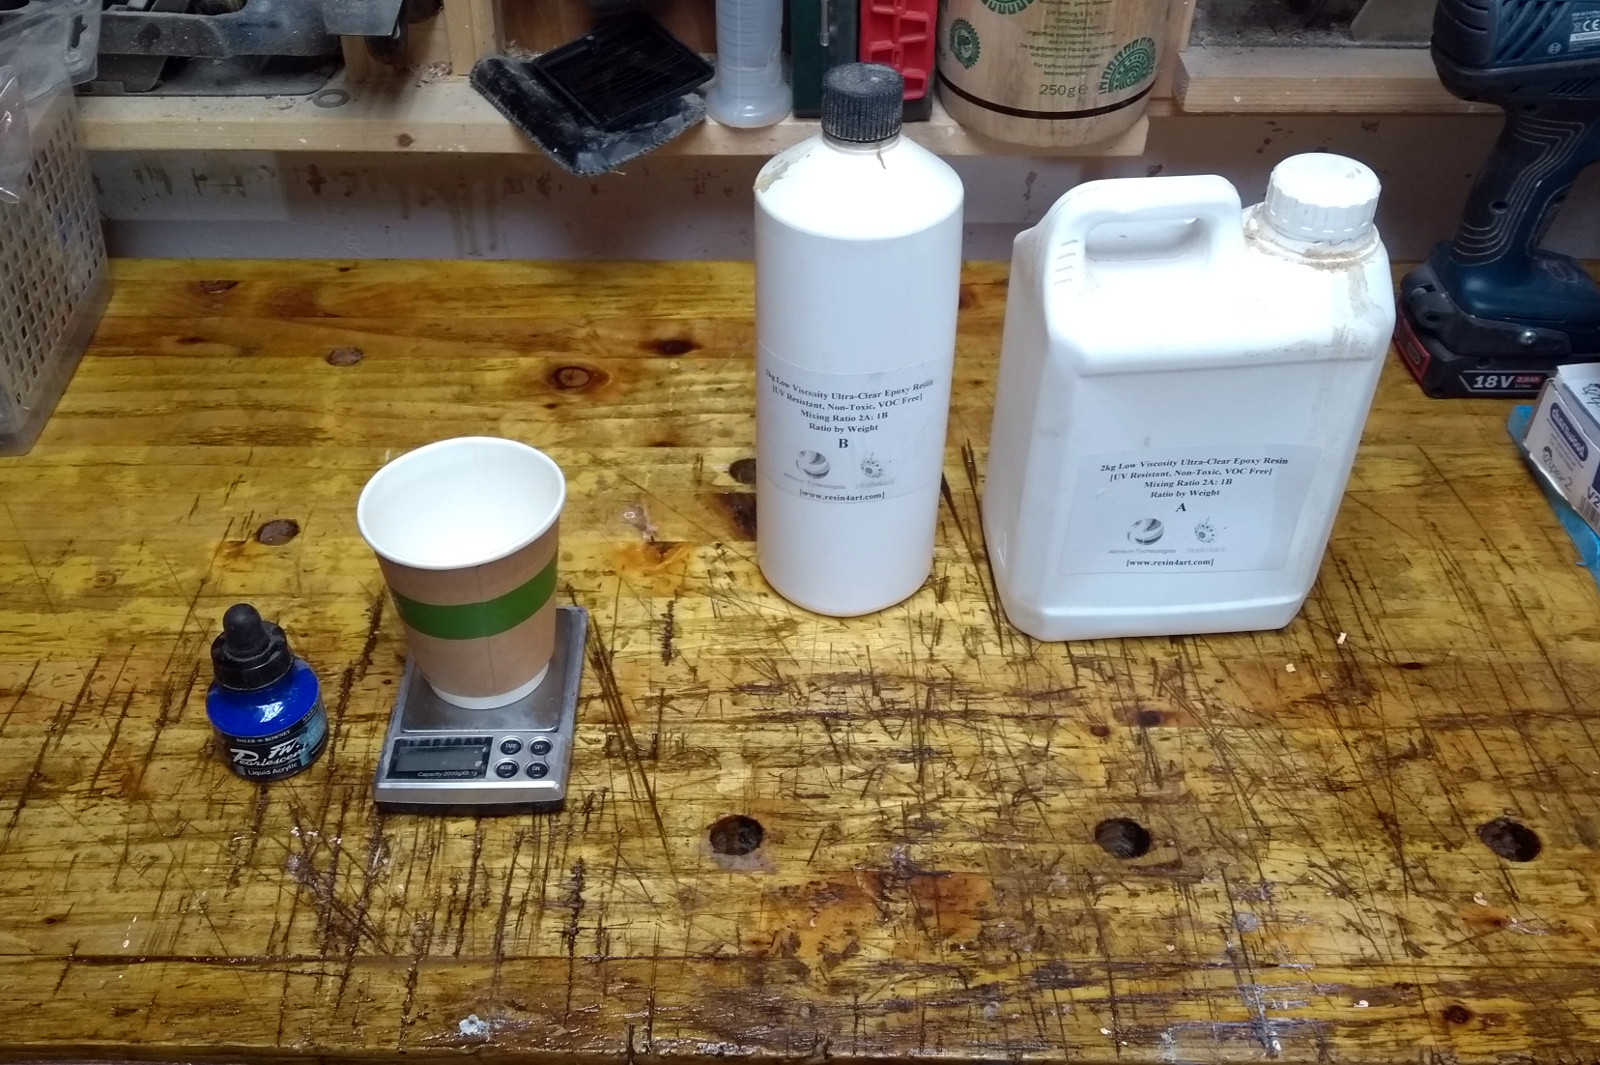
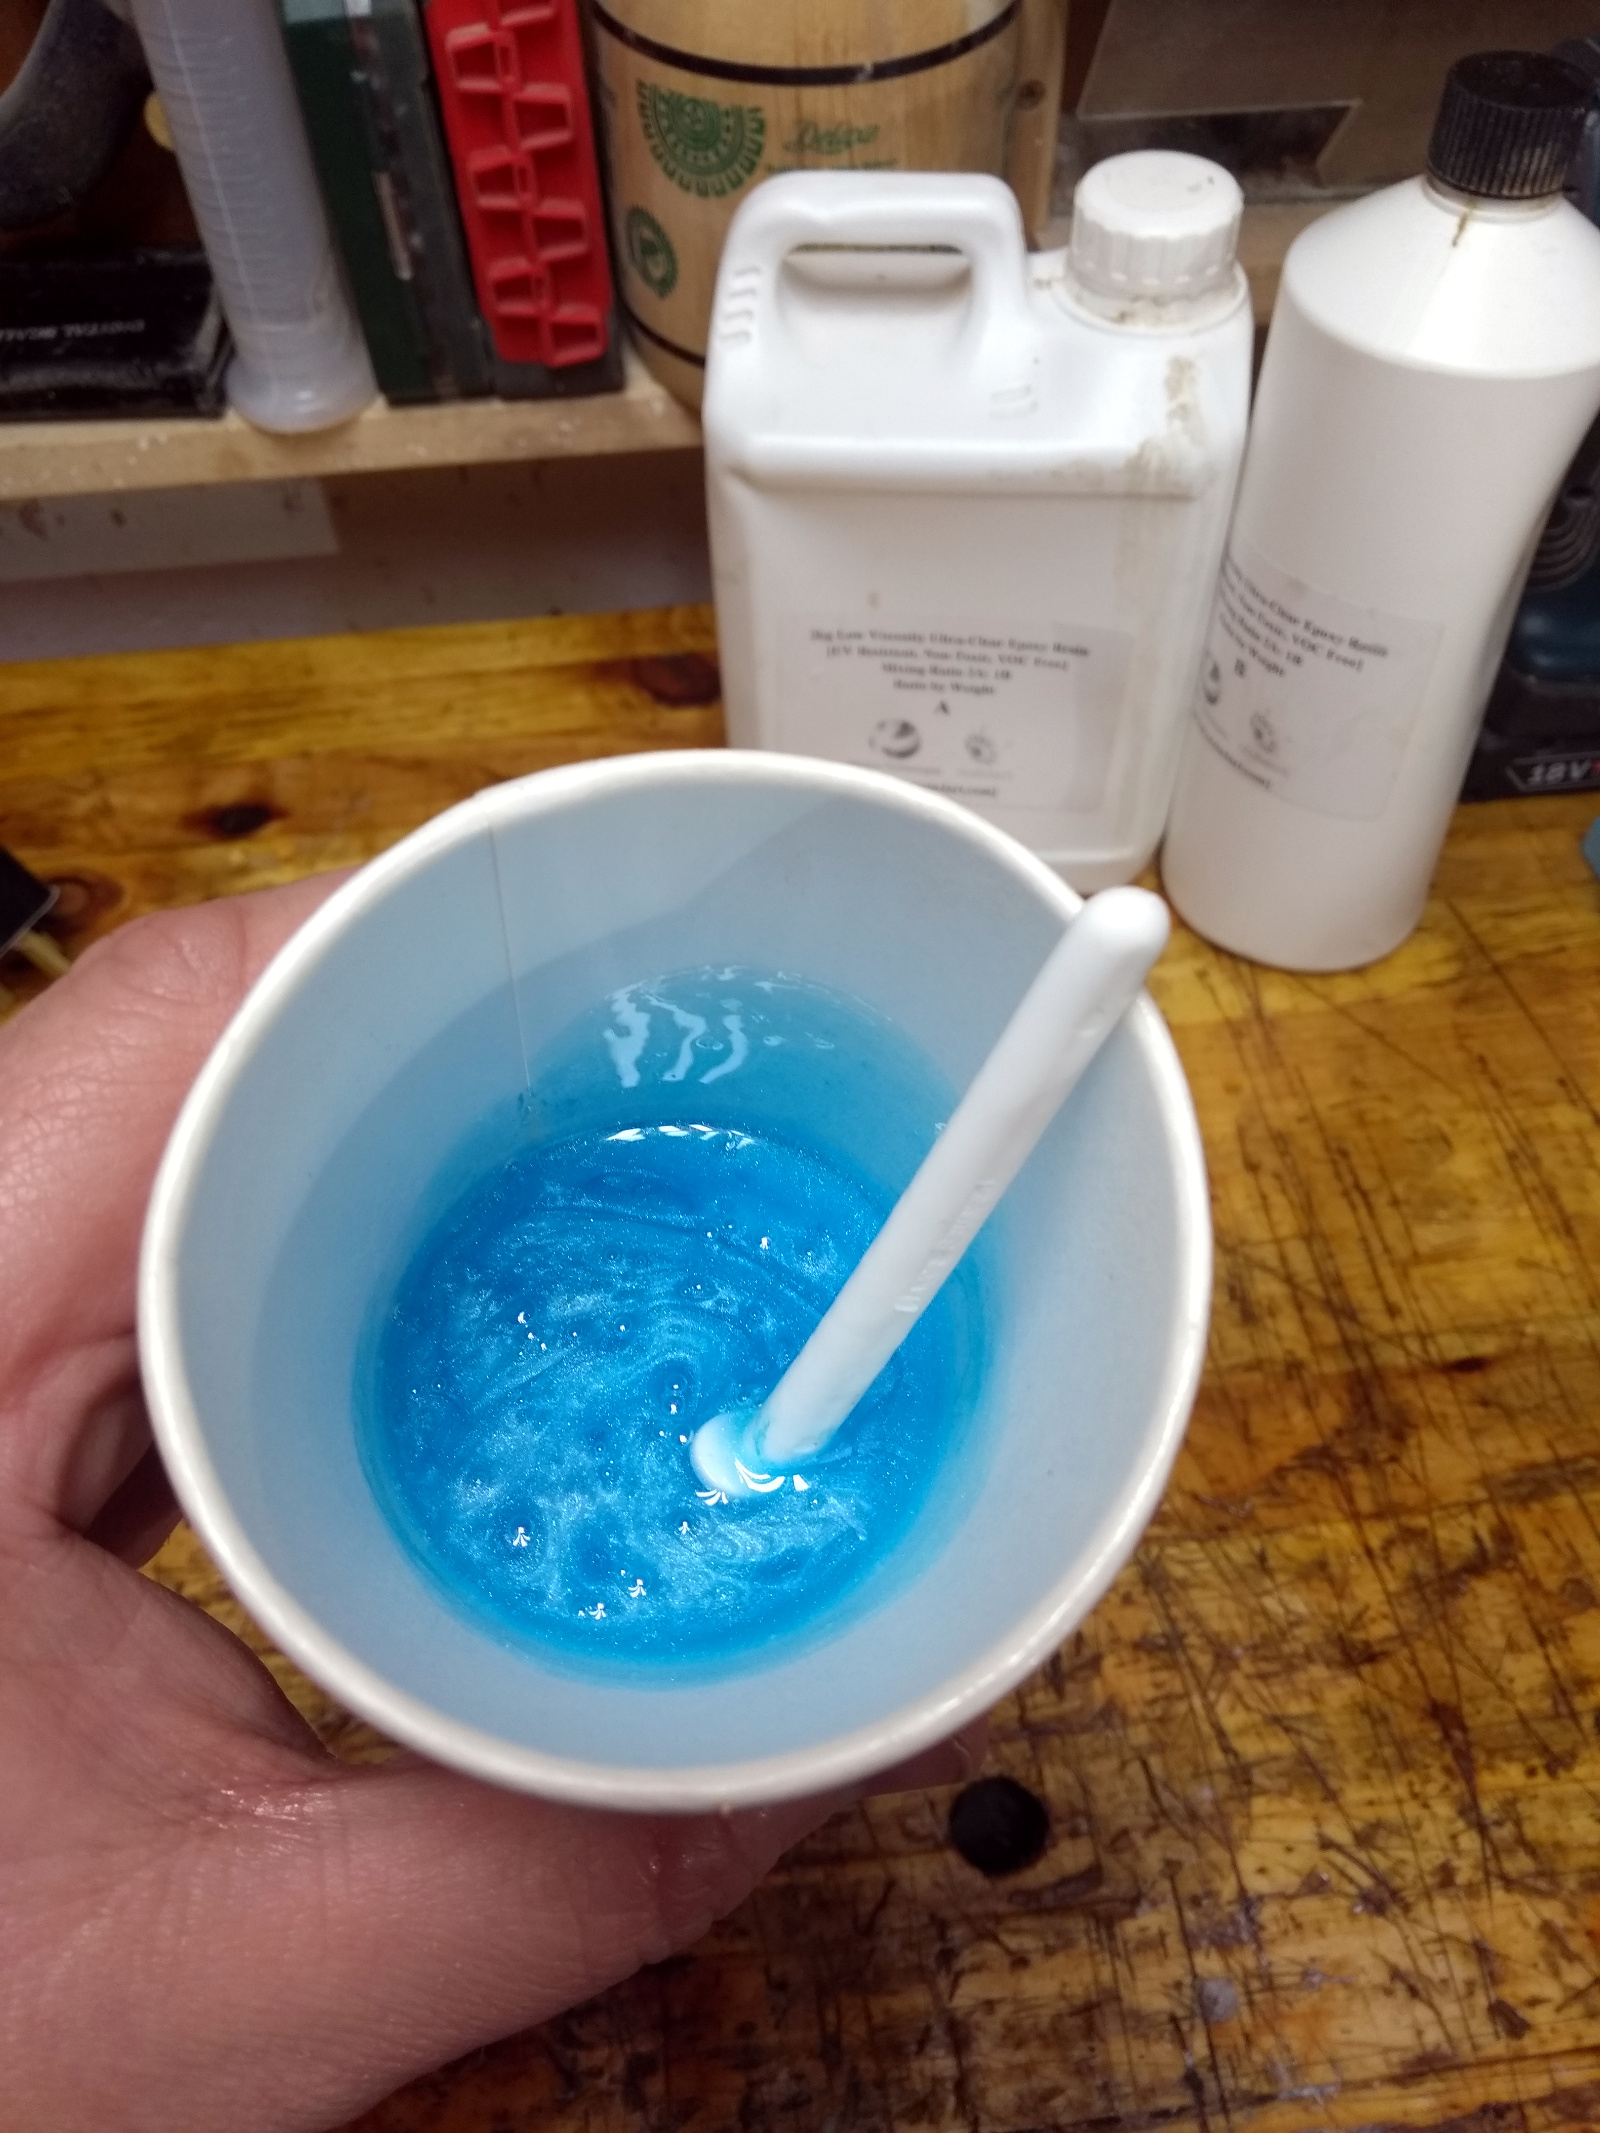
Daler-Romney pearlescent acrylic ink in sun-up blue, in case you’re interested.
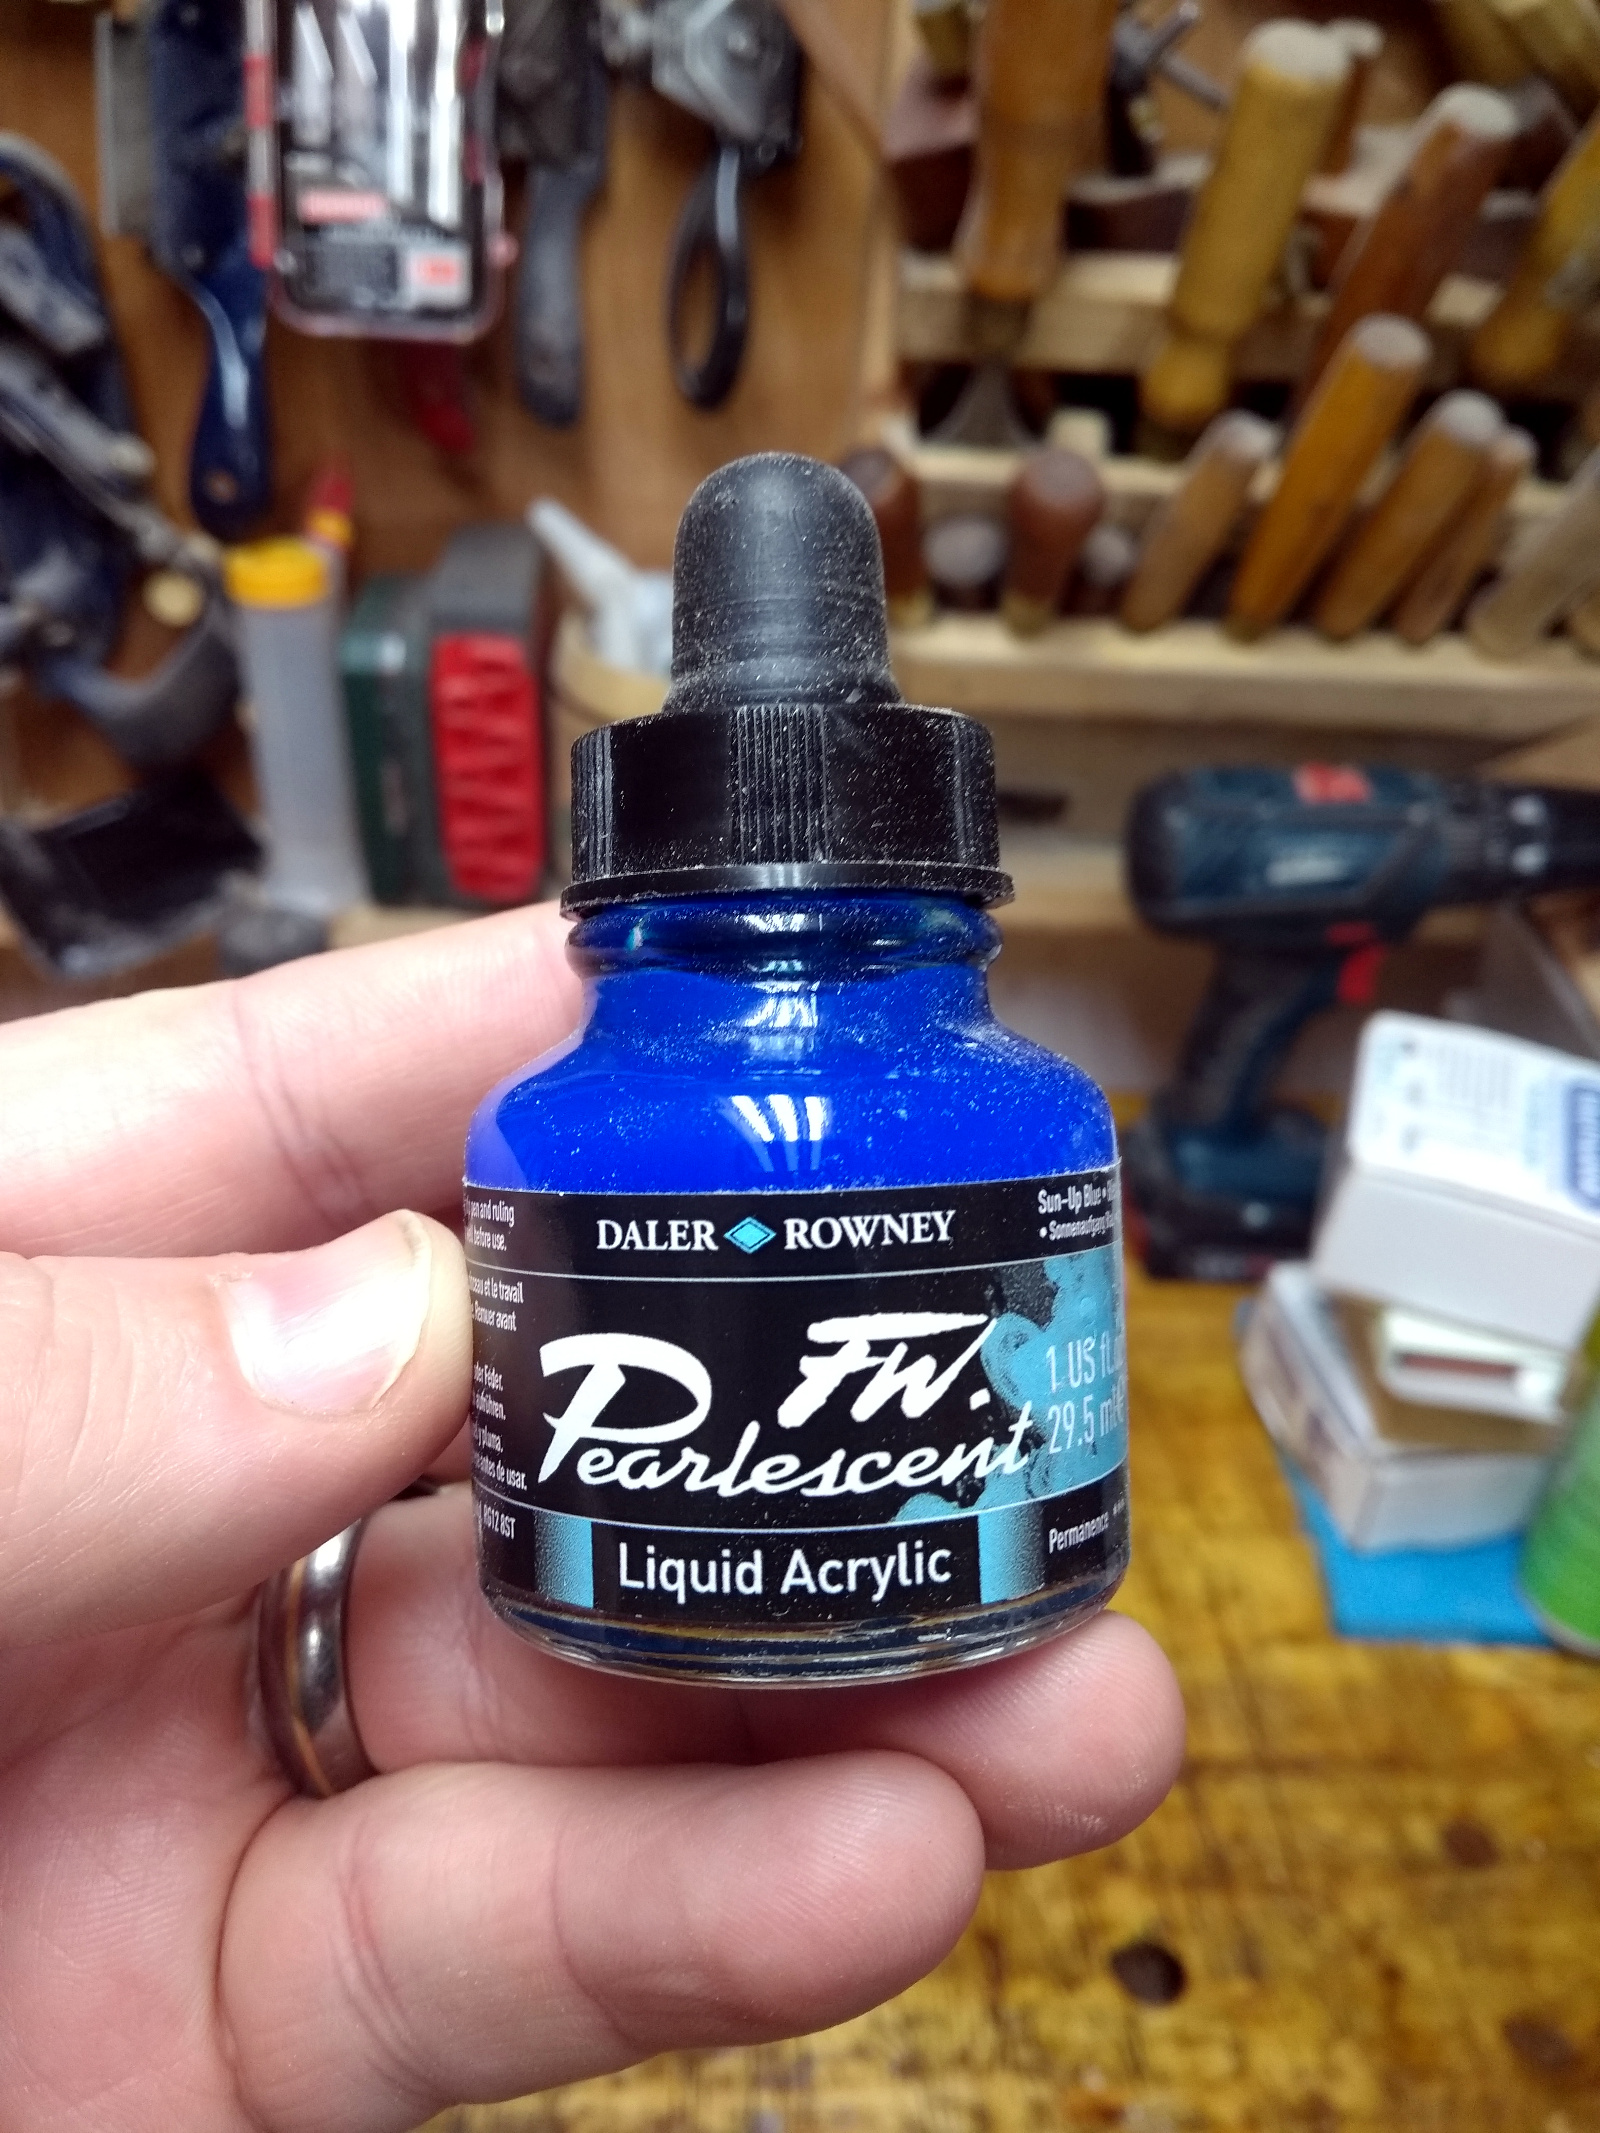
It’s pretty nice stuff, and handles very well. I may need to get a few more of these. The resin pour proved messier than expected though…
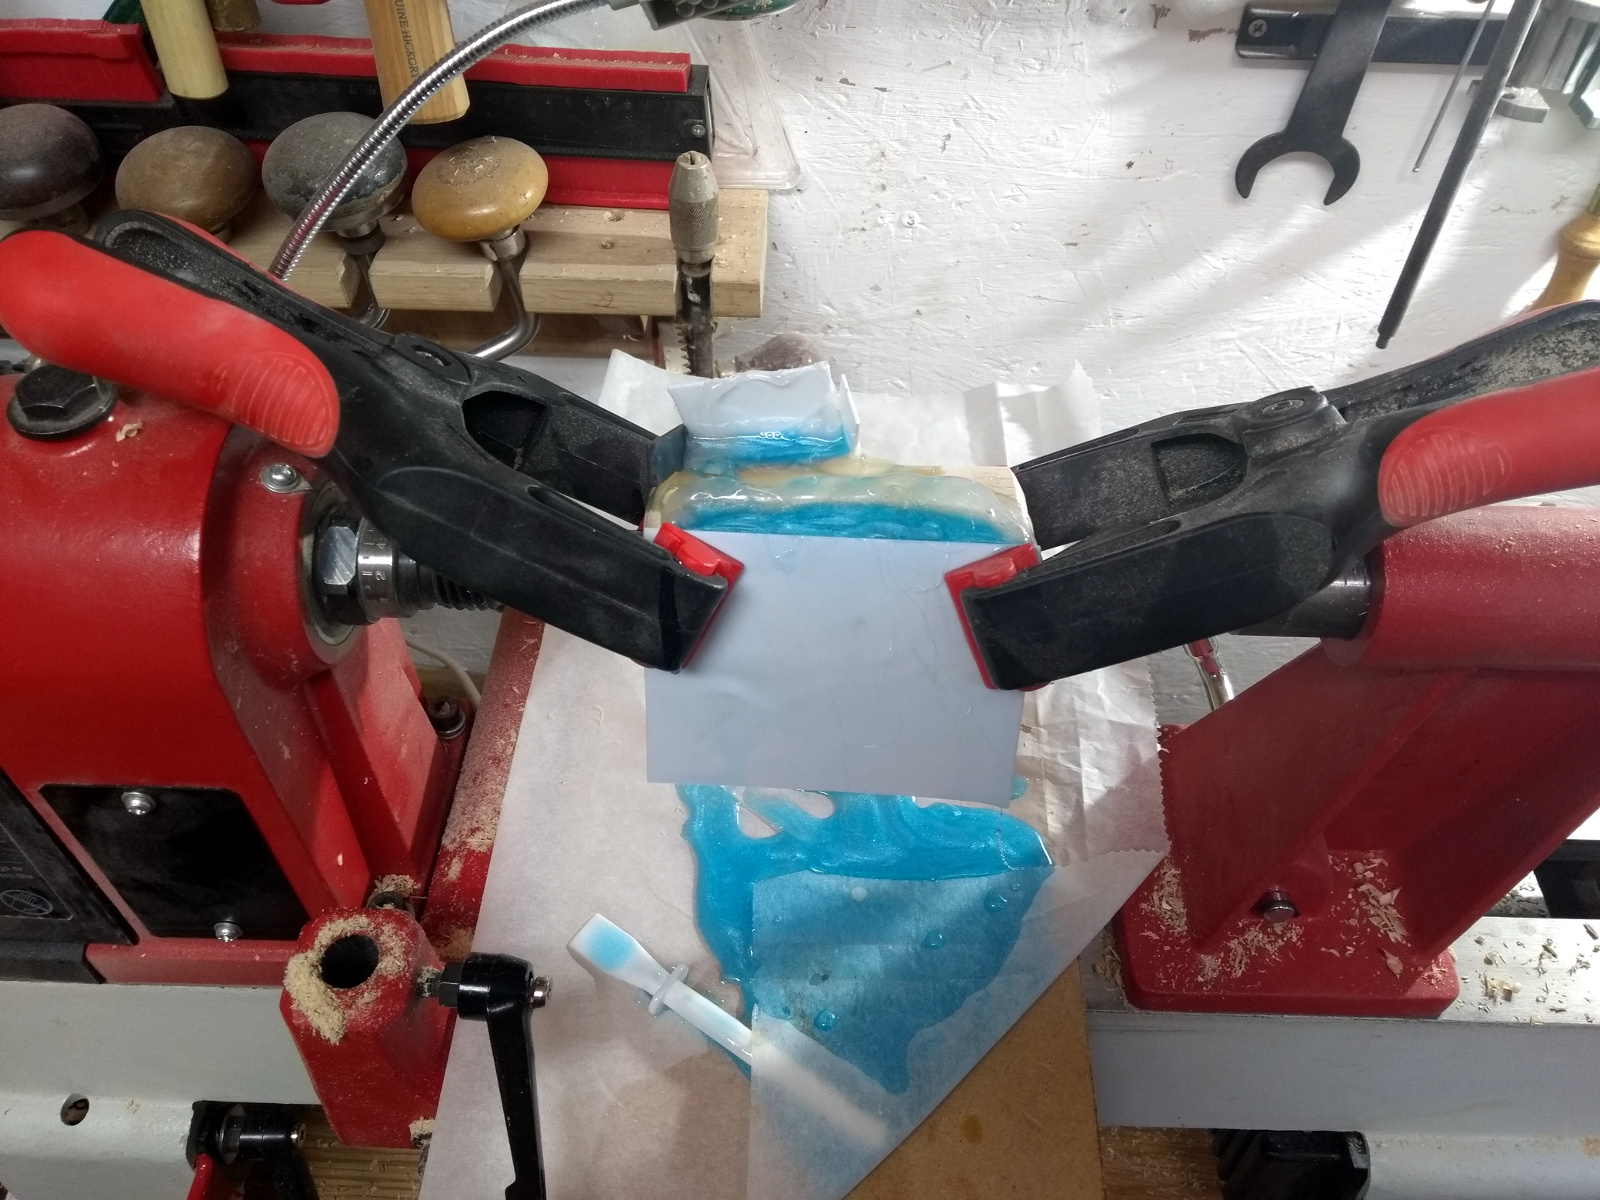
And yes, the whole damn thing did in fact leak all over the live center, lathe bed and drive center and why yes, that was so much fun to clean up, how did you guess?

You couldn’t even really see the resin and its colour in the end. But it held the piece together while I chucked it up then put a jacobs chuck and 7mm drill bit into the tailstock and drilled out the center for an insert from a kit (bought mine from The Carpentry Store). I turned a small test shape to see how the wood handled, sanded it, sealed it, thought “no, that needs colour” and stained it then thought “wait, sanding sealer and stain should have gone on in the opposite order, oh bother”, and then promptly bent the ferrule learning how to get the head and ferrule into the tube running through the center.
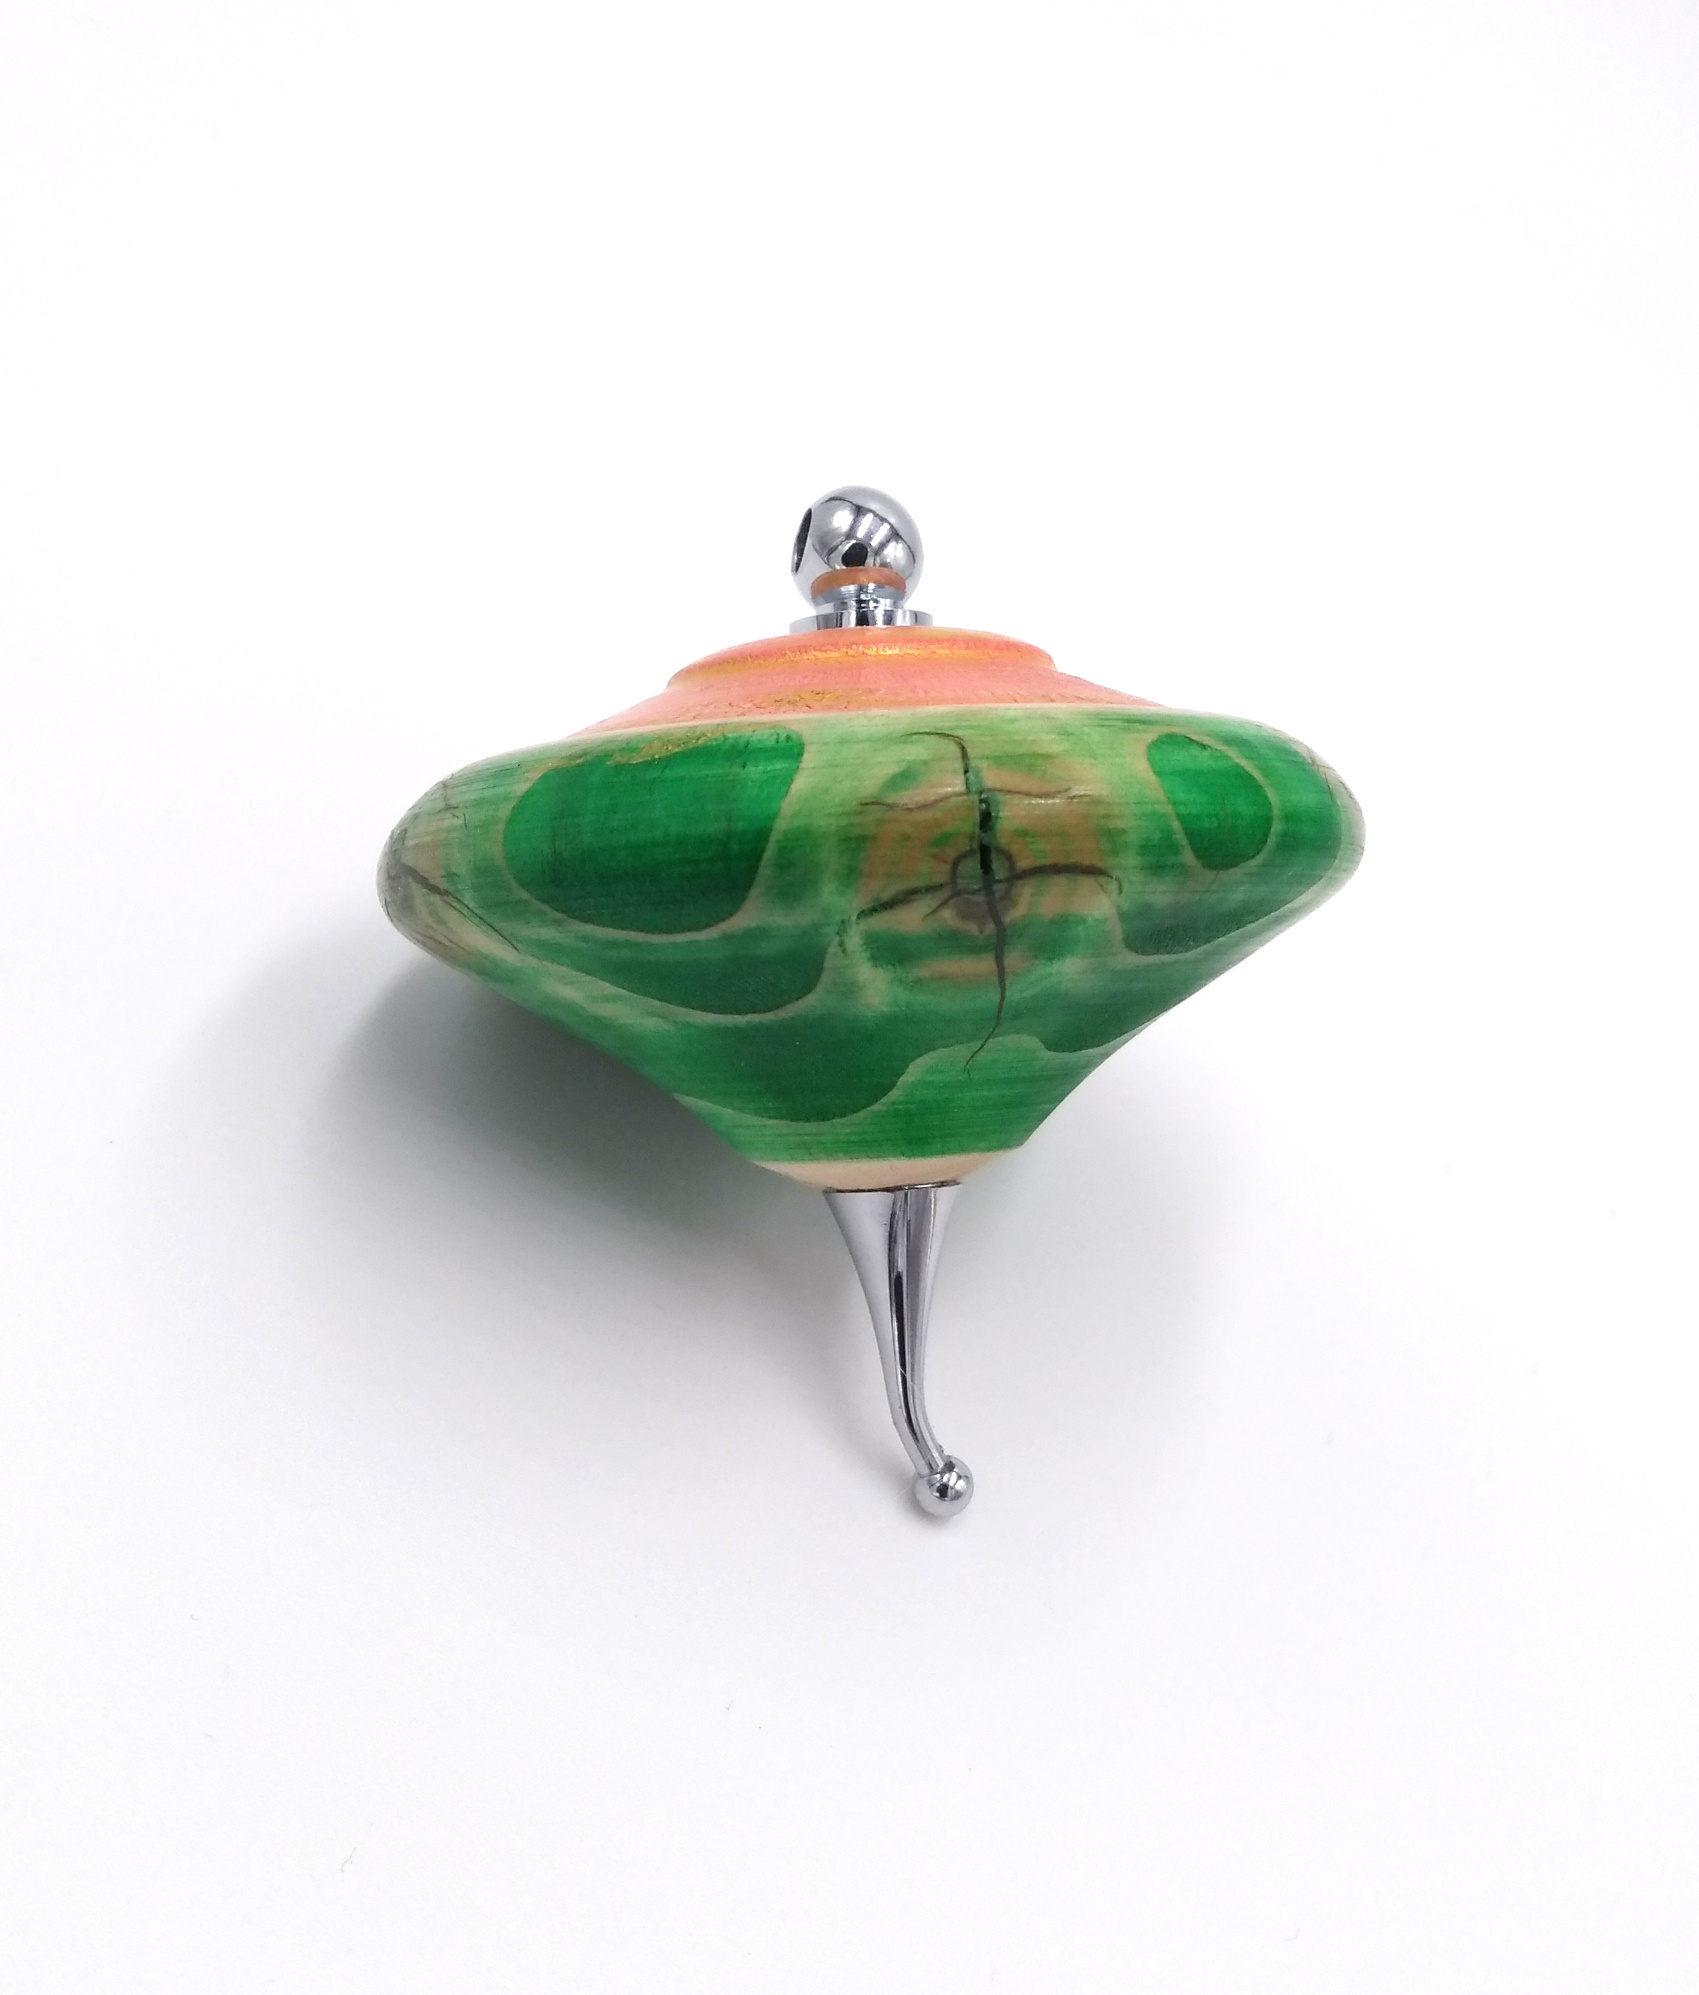
Still. It’s only a test piece, I have three-and-a-bit trunks to play with still. And the stains don’t react too badly to pine (and it’s interesting to see how they react when you seal the surface first), and the buff-it gold compound I used as embelleshing wax works nicely (gold because, you know, xmas colours). So I learned a few things (like don’t try to pour resin into a crack in a piece while it’s still on the sodding lathe). Worth doing.

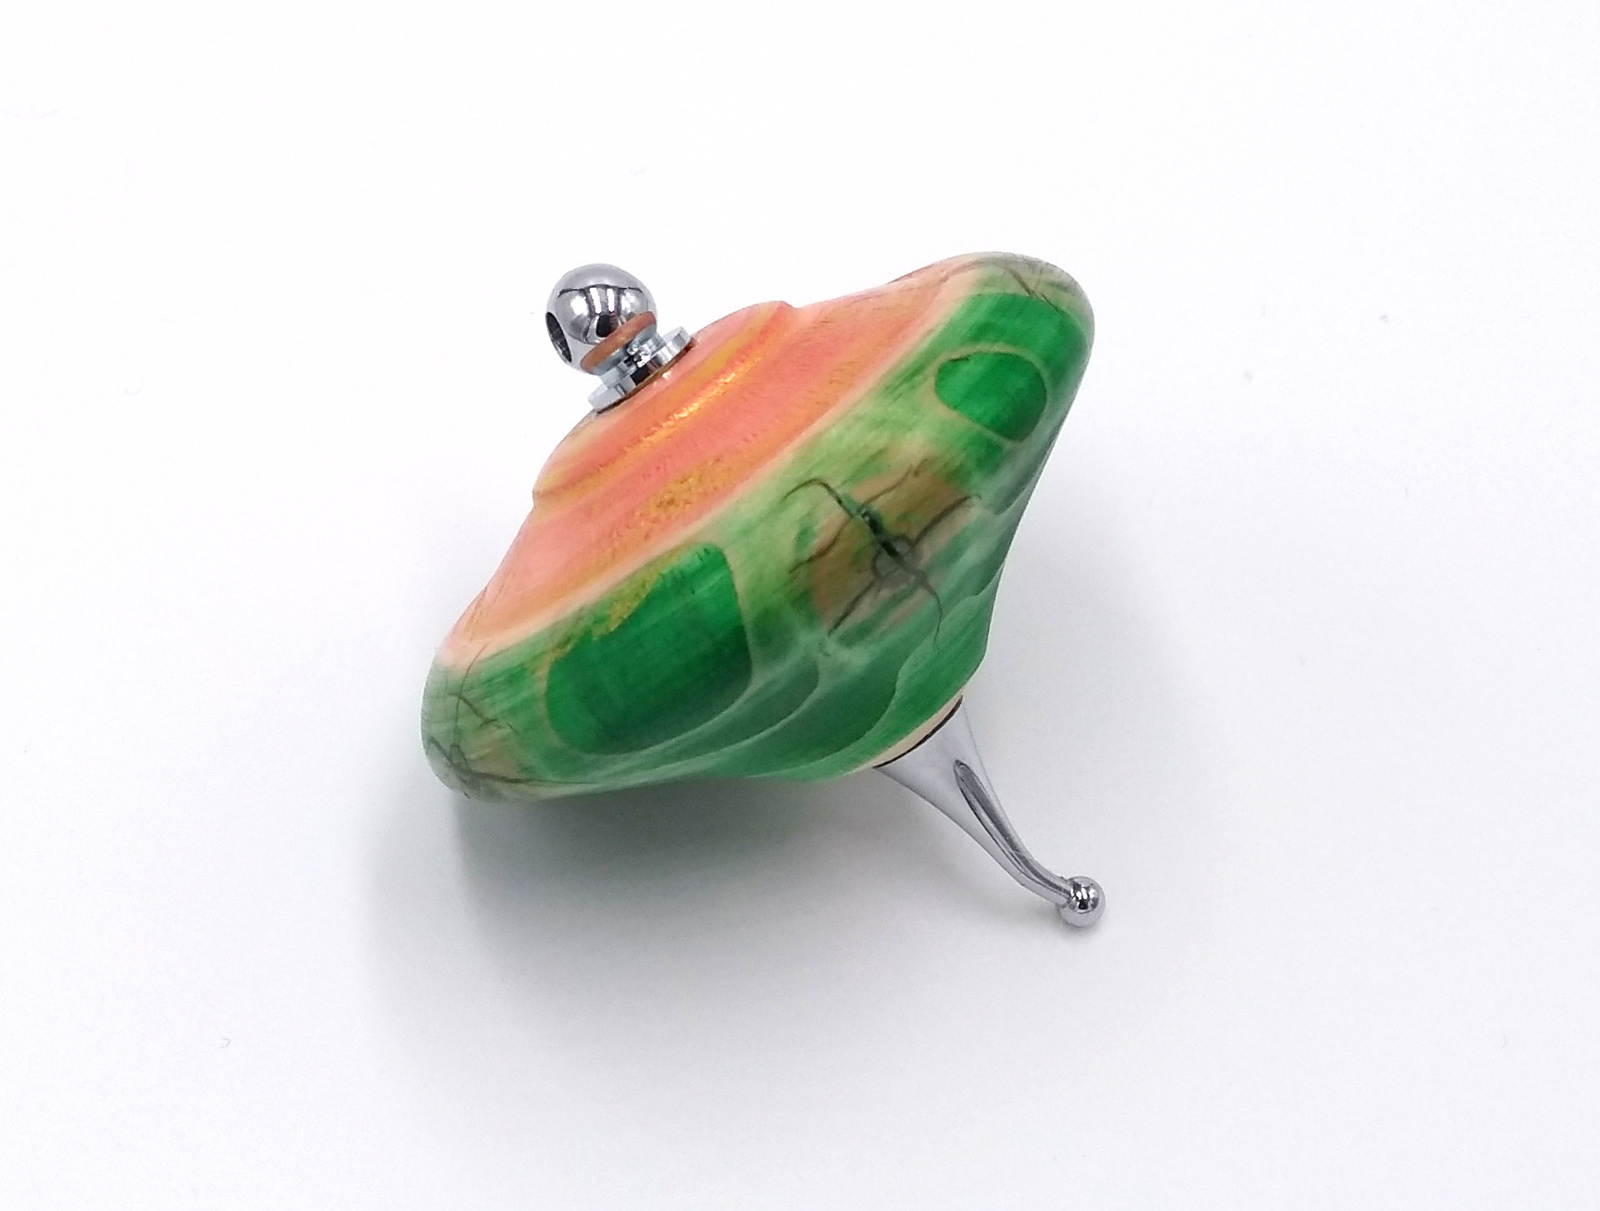
So there you go, an ex-xmas tree xmas tree decoration 😀

29
Sep 19

Scraping resin

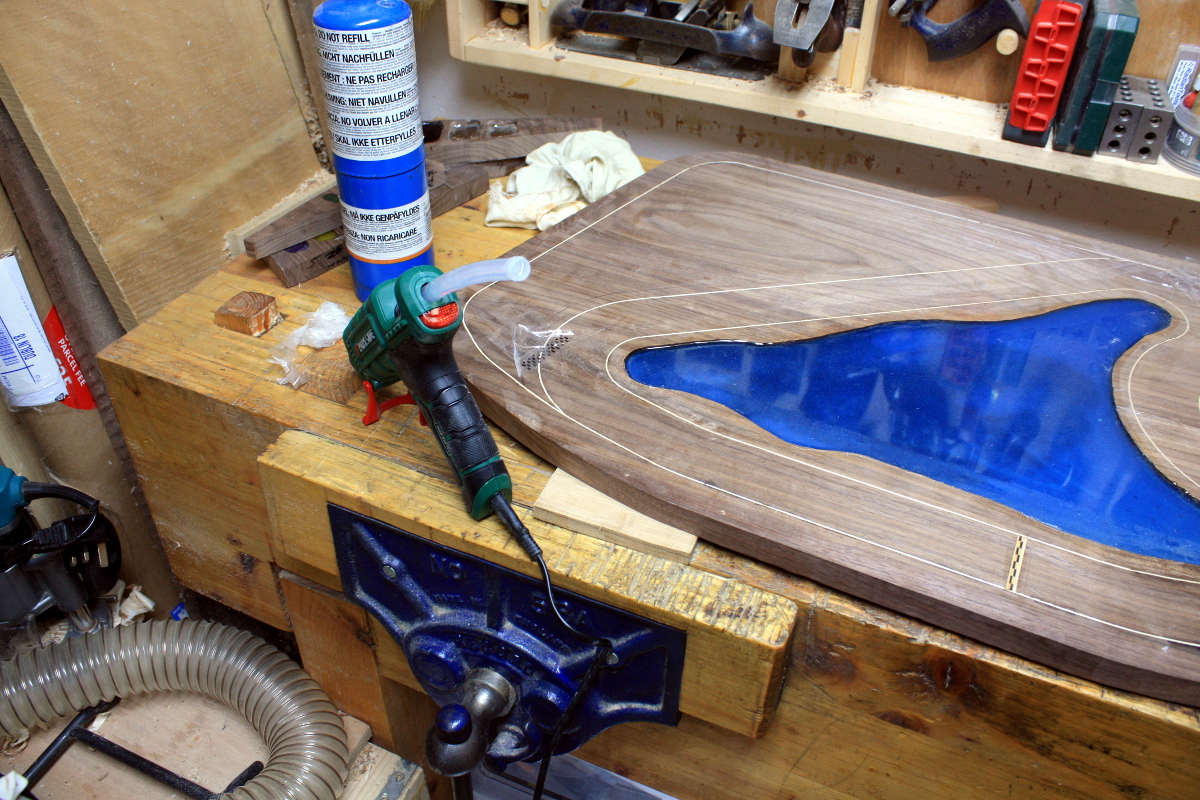
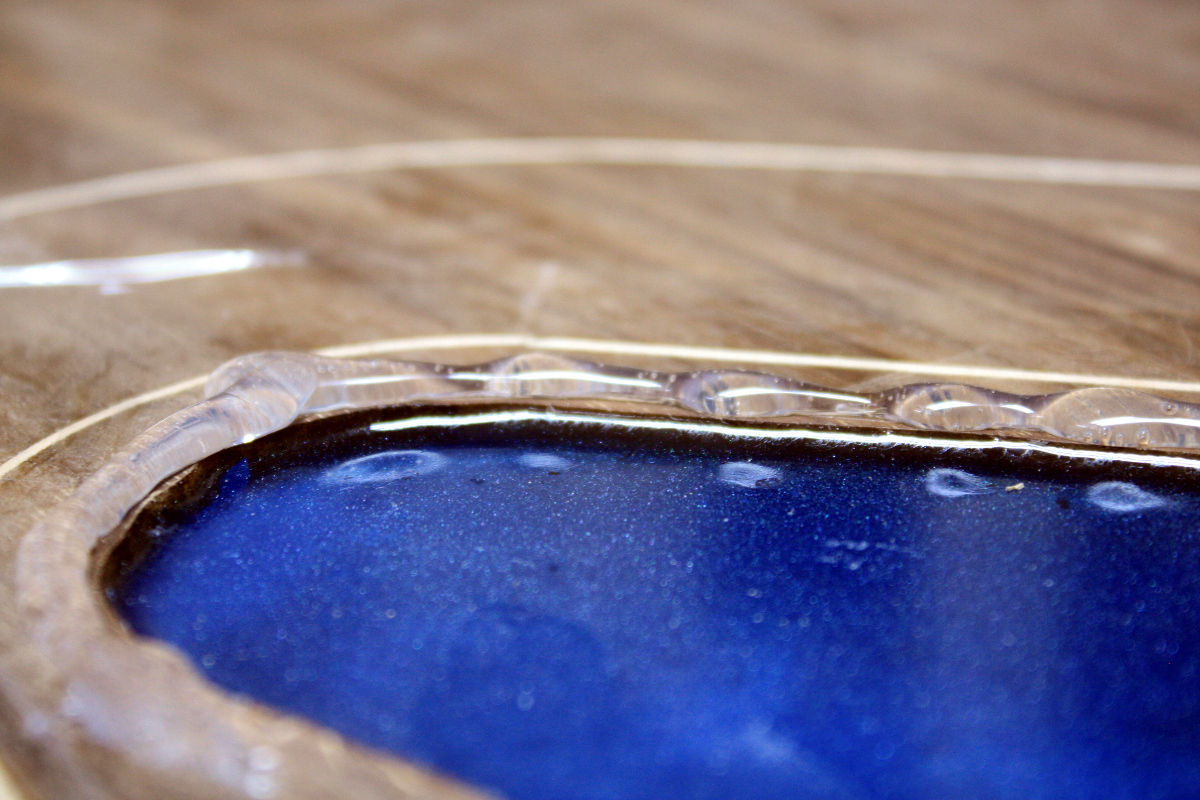
I don’t know why I had it in my head that you couldn’t scrape resin and you had to sand it, but I did. And it’s not a great approach. I poured a little extra over the last day’s resin pour to get it proud of the surface, and ran both packing tape and a hot glue dam around the edge to let it get proud without spilling all over the place.  

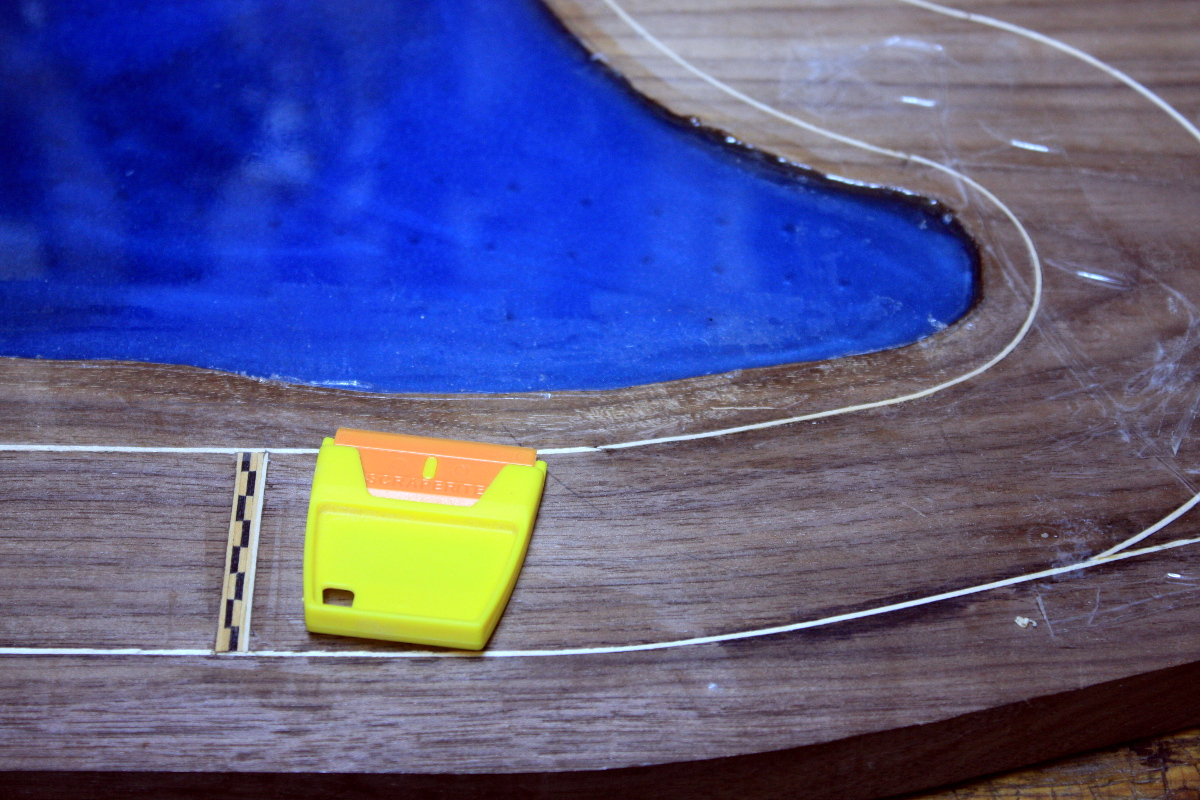
Pour, let it cure, remove hot glue with ease, curse and swear for half an hour or more while removing the packing tape because it doesn’t want to remove cleanly. Scrape with the plastic razor blades to get the last of it up. 

Total pain. Worse yet, you get a perfect surface when you pour it but you know you’ll have to destroy that to get a single flat plane for the tabletop 🙁

Oh well. 
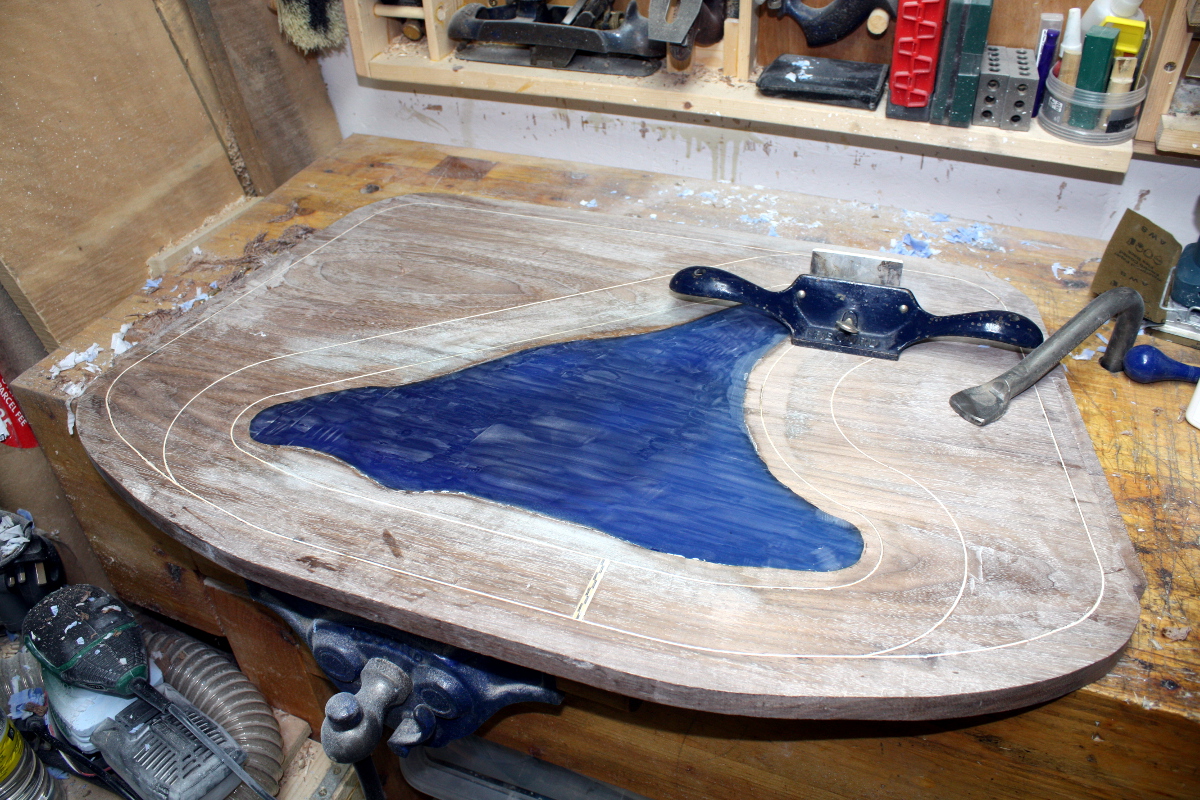
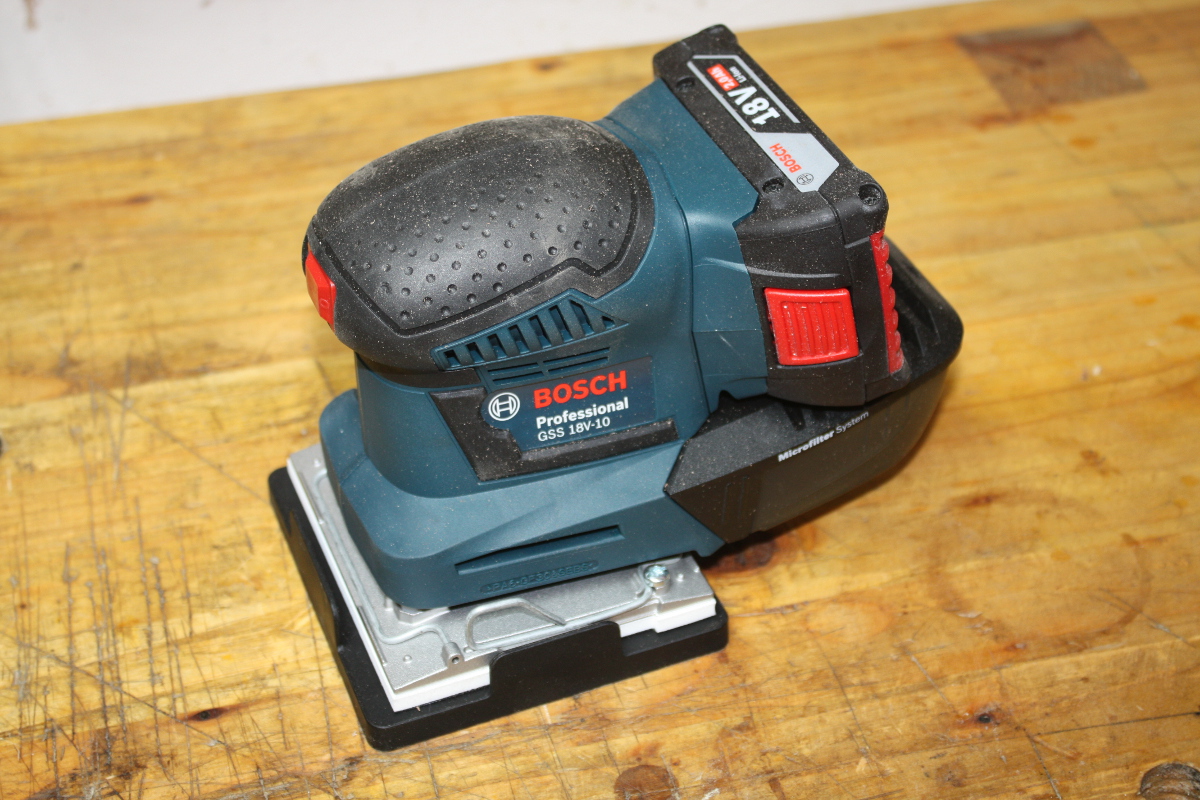
I don’t have many photos of the next step which was to take my new sander and try sanding all of that down to flush with the surface starting at 180 grit and progressing up to 500, 2000 and 2500 wet&dry, which took forever, only to misalign a sheet of paper near the end and not cover the velcro hooks on the bottom of the sander and grinding these small circular paths into the surface that I couldn’t polish out. I resorted to pouring even more resin to fill them in, and then trying to sand that back down again and finally just losing patience completely and taking a card scraper and a #080 to the thing.

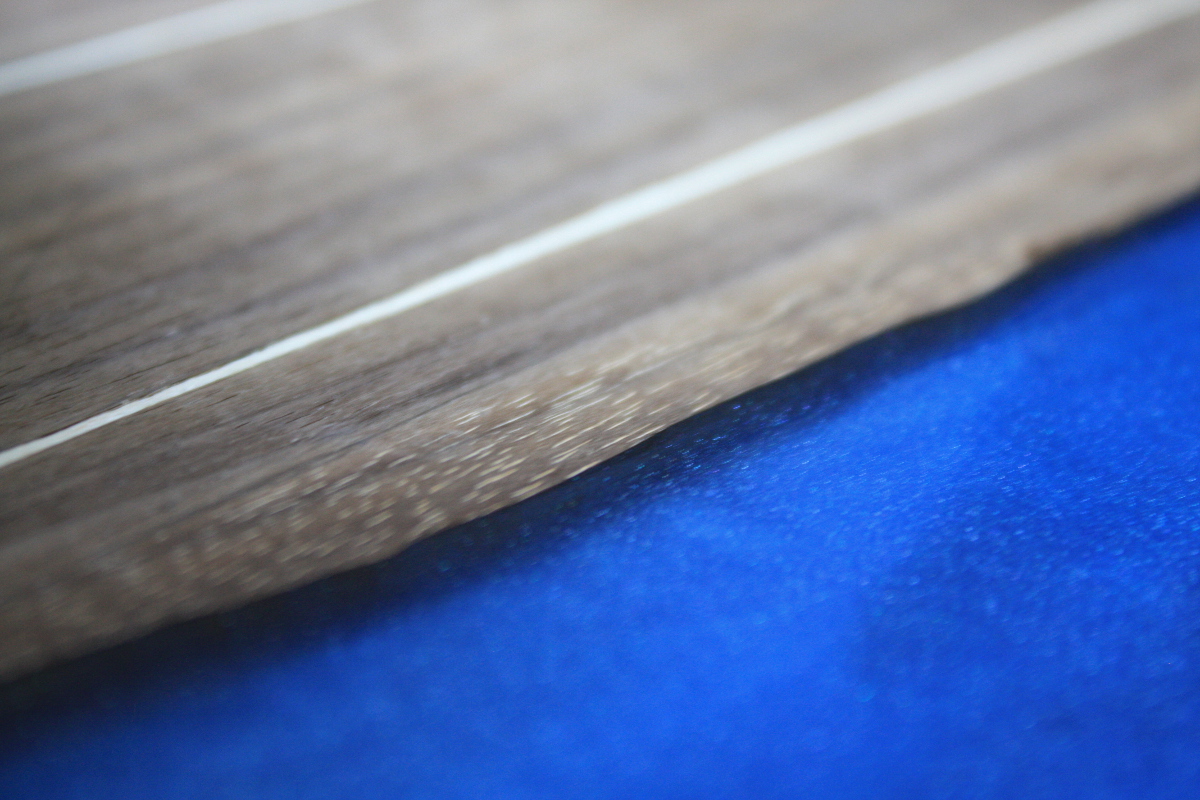
I don’t know why I didn’t do the scraper first. It was far more effective than sanding. I mean, I still have to sand after scraping because that surface isn’t great, but the problem with sanding is that resin dust is white. That’s why the walnut looks like someone spilled talc over it there. I tried flushing it out with white spirits, pulling it out with tack cloths, nothing worked. Rather depressing. What I’m hoping is that the finish will “wet” the dust and keep it that way. When it’s wet from white spirits, it looks fine. 

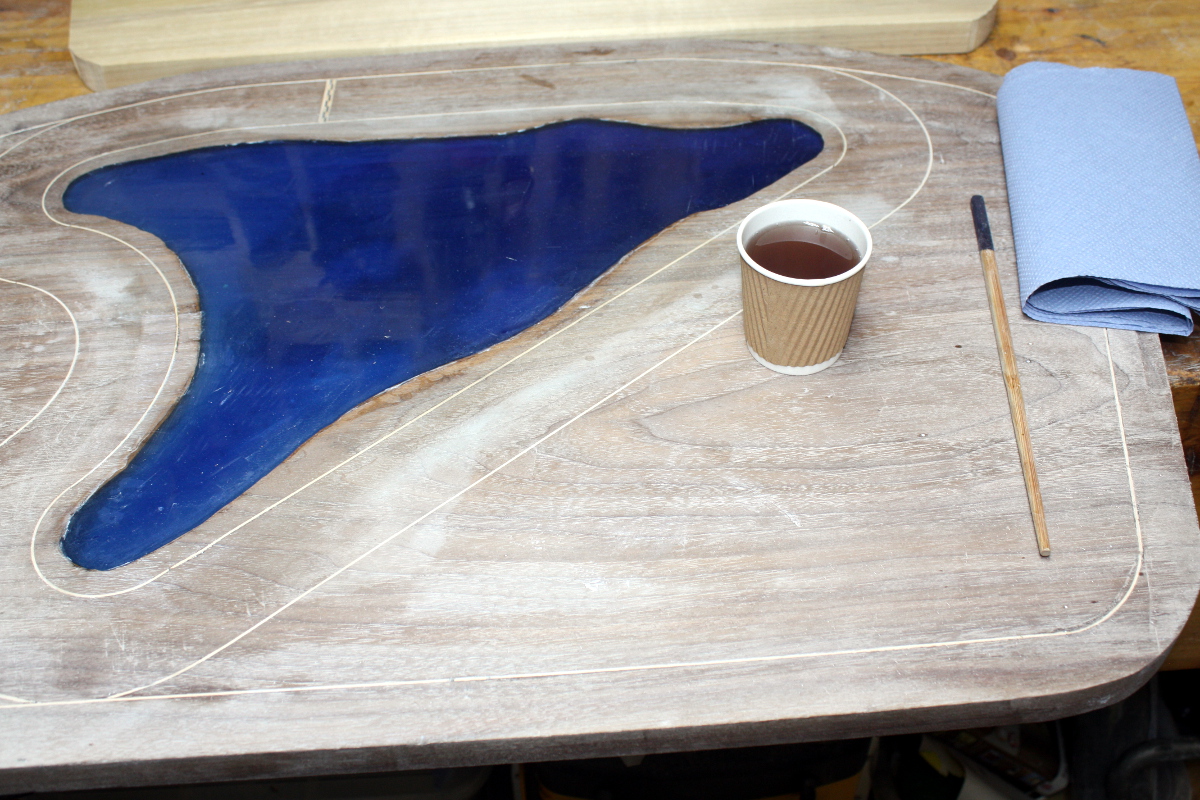
So while I’m going to put a poly surface on as the final coat, I grabbed some danish oil and thinned it with white spirits and hopefully that will penetrate down into the pores and cover up the mess.

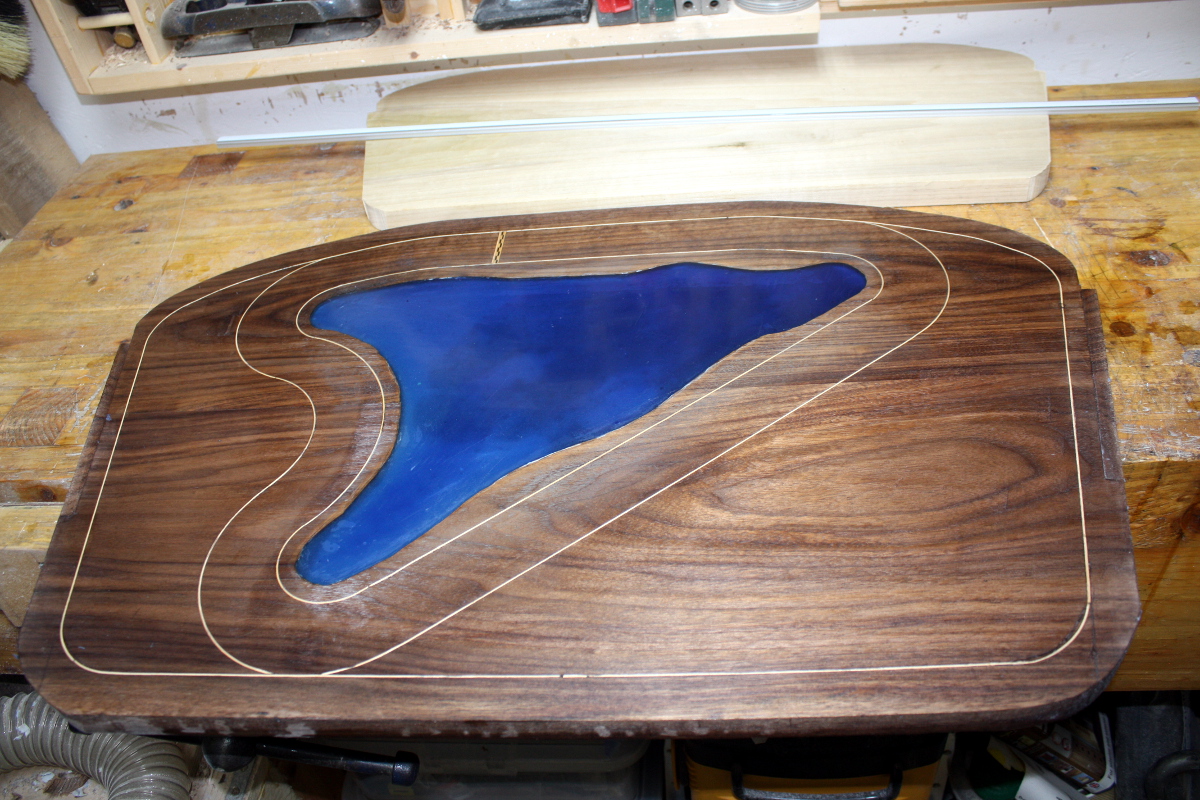
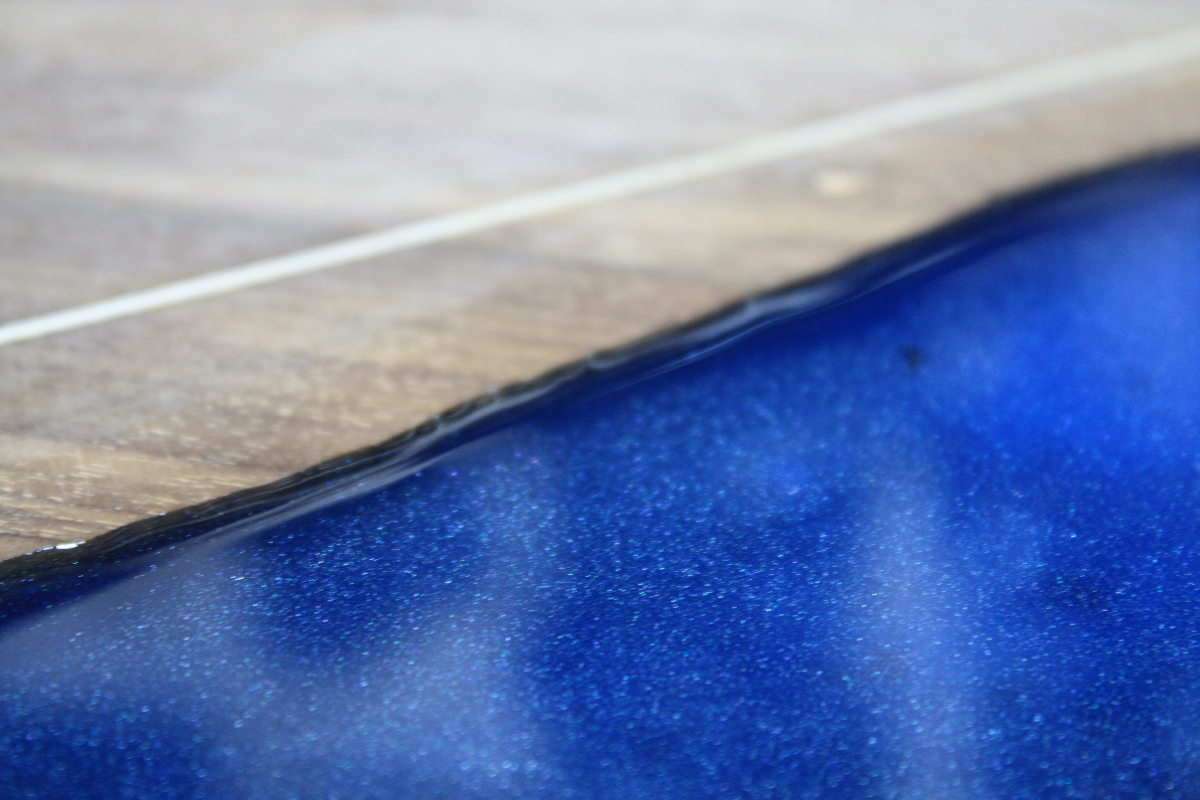
Not bad. It cured slightly lighter, so I put another coat on it but it looks pretty okay. I mean, I’m not done with this yet, I need to either sand or scrape the entire top again to clear up some small defects and I still haven’t shaped the edges – those sharp edges can’t stay, they’re only there so I could manage it better while doing joinery and inlay and so on. But that’ll be one of the last steps. I’m done with this board for now, I’ll put a towel on it to protect it and set it aside.

The next job is going to be routing the next shelf up so I can have an LED light recessed into the underneath of it to light the desk. I’ll have to order an extra-long drill bit to get the cable to the recess from the rear, and then I can use the router to chase the cable through the back of the shelf and the uprights so there aren’t any dangling cables.

And I’ll think about putting some inlay on those boards and the sides as well. And I’ll have to take the sharp edges off too. And then I can assemble and finish. 


11
Aug 19

Pouring the sea

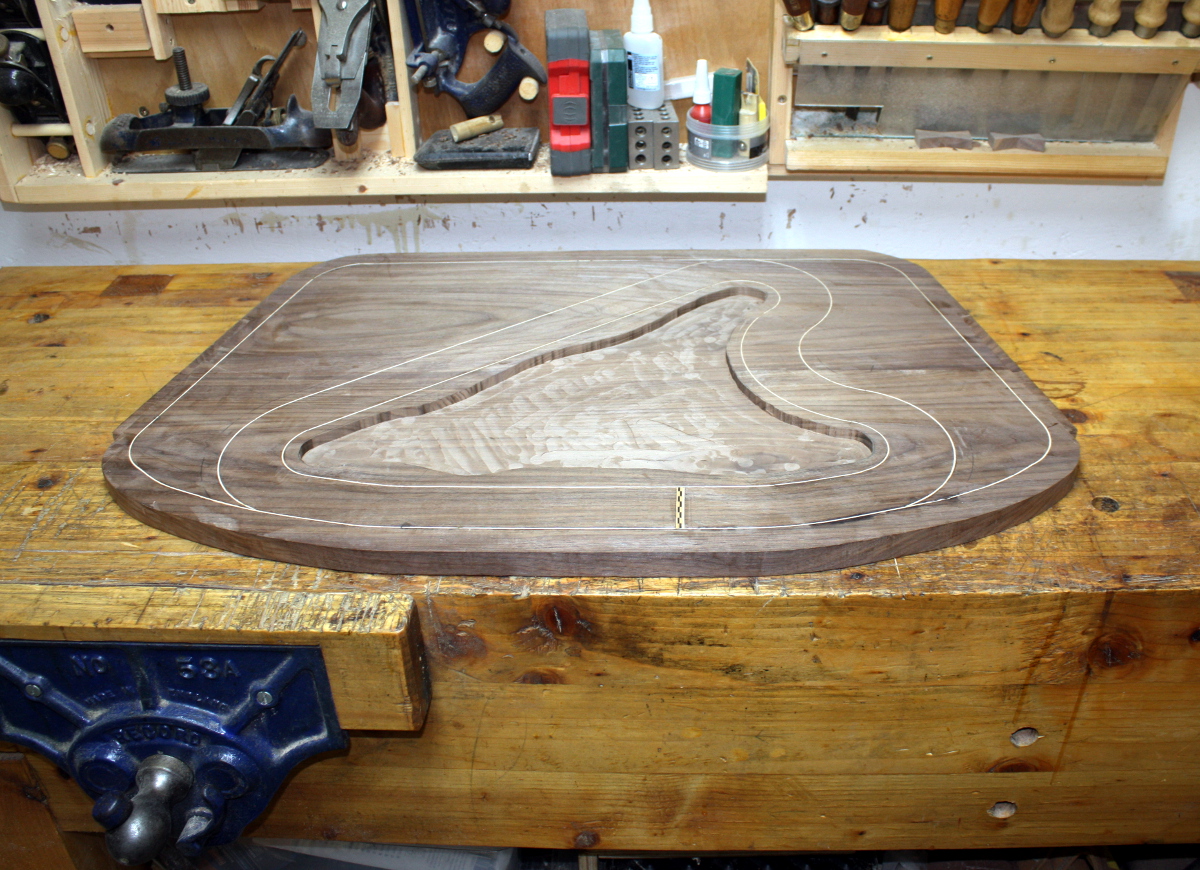
So the next step was to even out the bottom of the sea a bit with the router. That took about five minutes and was mostly making light cuts here and there rather than any systematic grid pattern thing. 

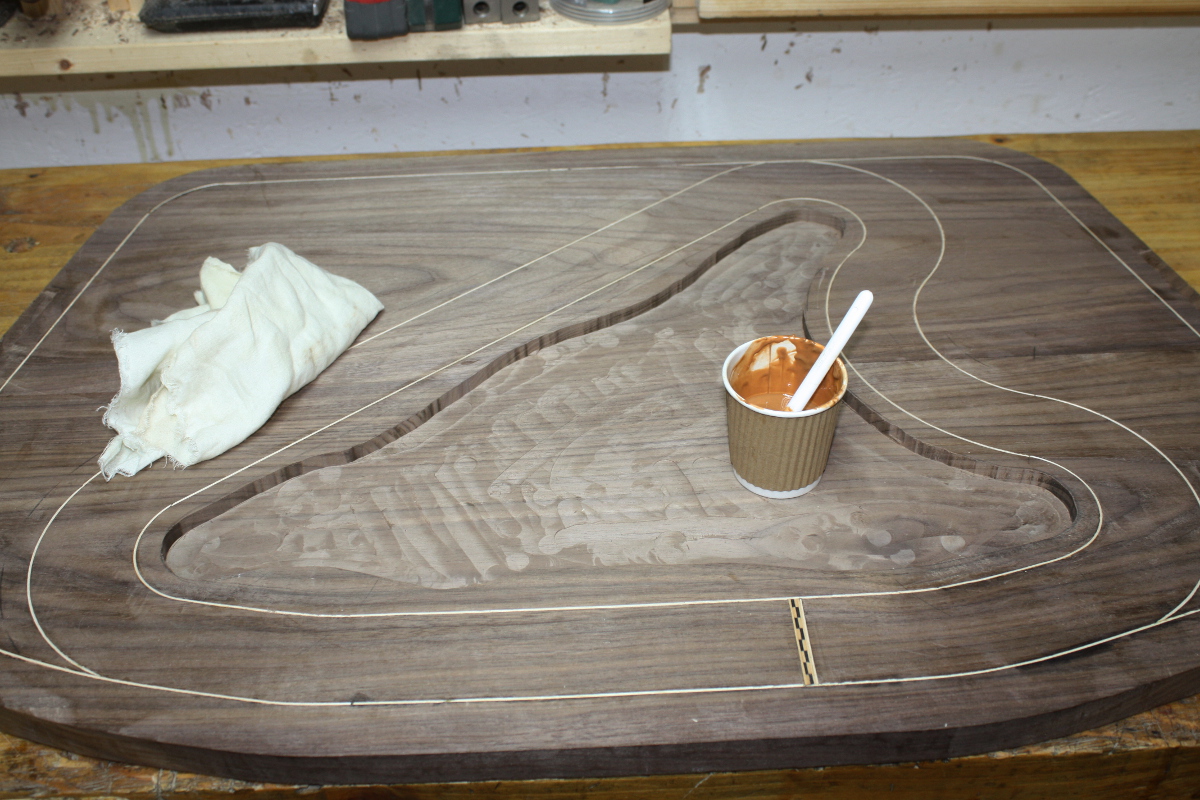
Then time to seal the grain; I don’t really want the resin leeching out through the grain. I mean, it’s walnut, it’s not very porous but still. 

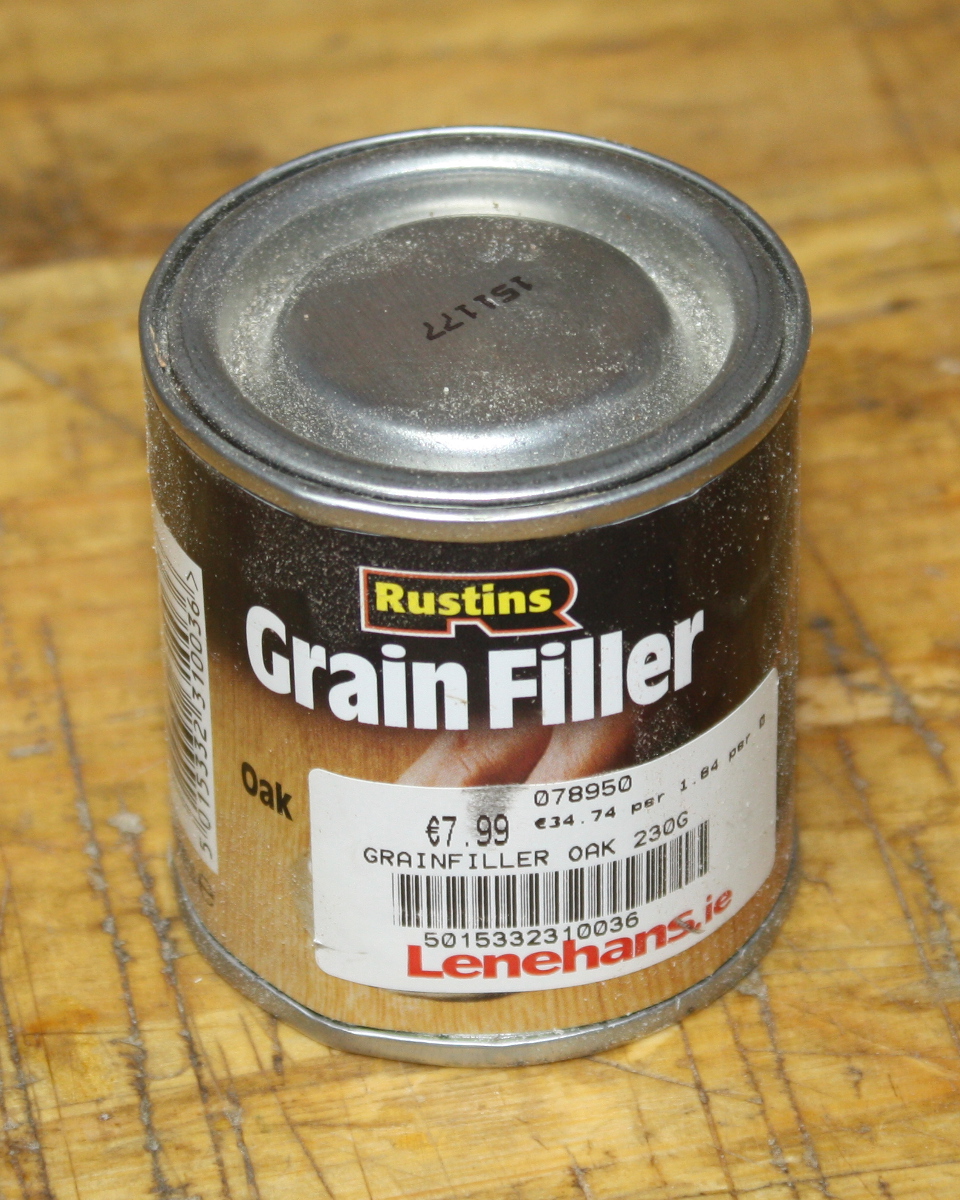
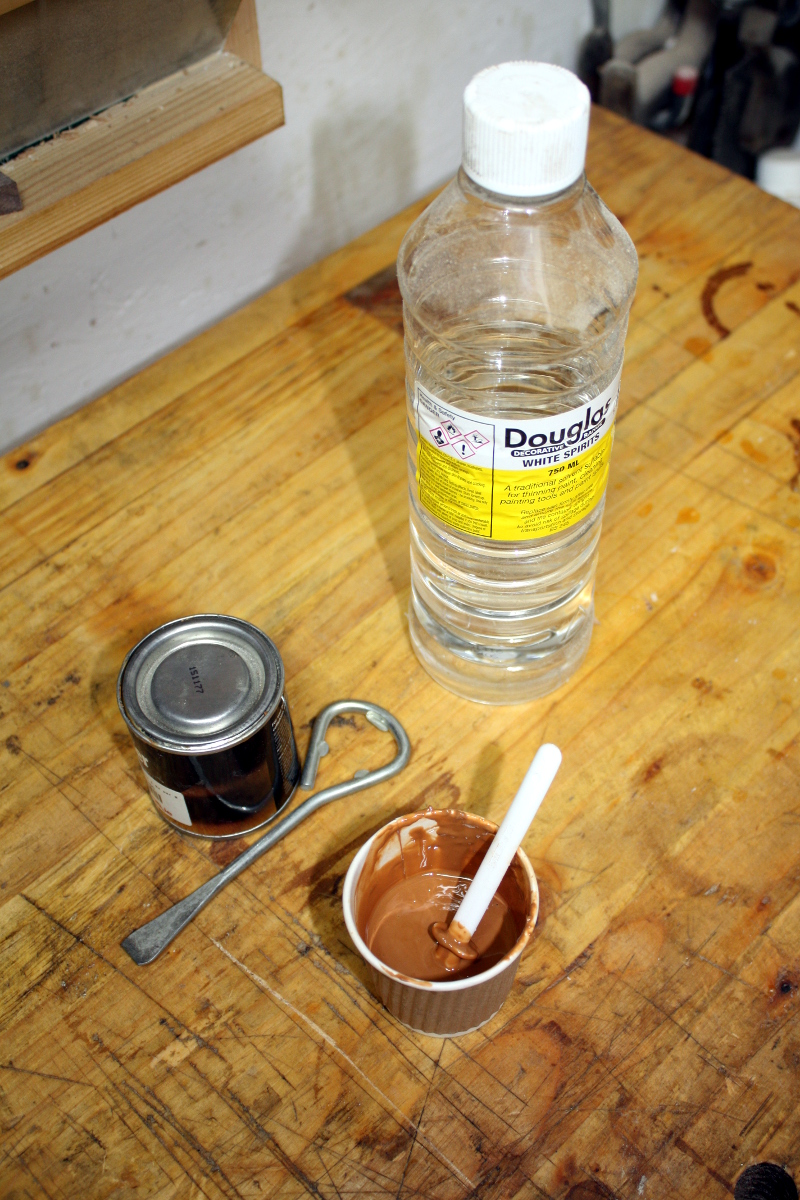
This stuff isn’t wood filler, that kind of putty I use to cover my mistakes, this is much much finer grain material that is supposed to get into the pores and block them up. It’s a pretty thick mix in the tin, almost at a putty consistency, but you dilute it to a thin slurry with white spirit and then rub that into the wood with a rag, and clean it off when you’ve gotten as much in as will go.

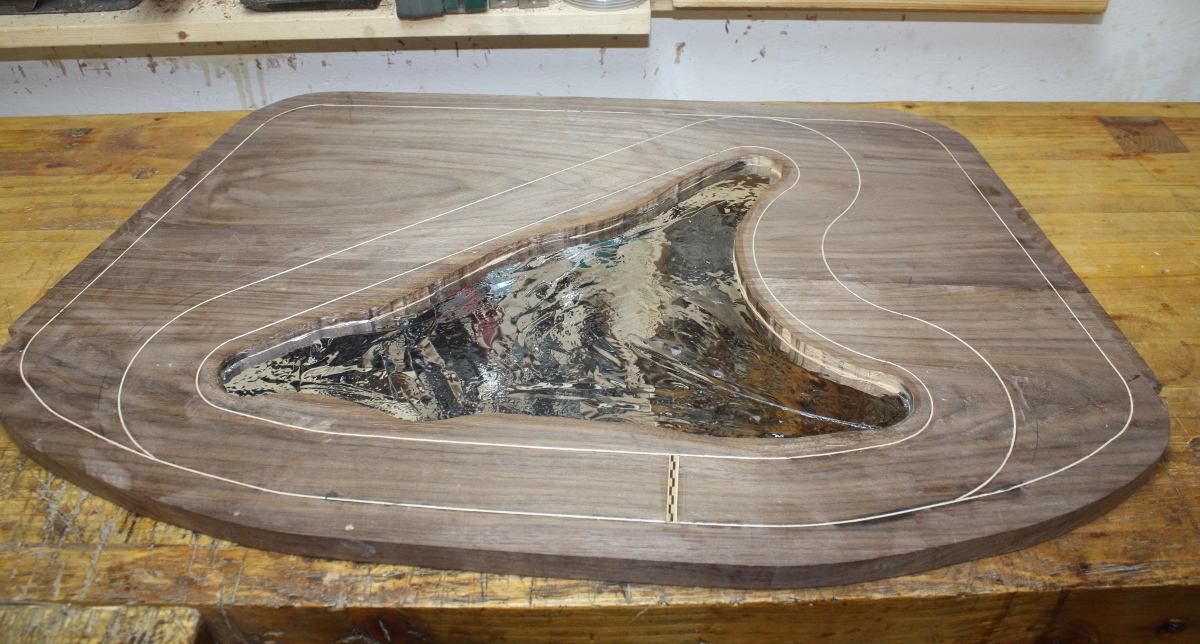
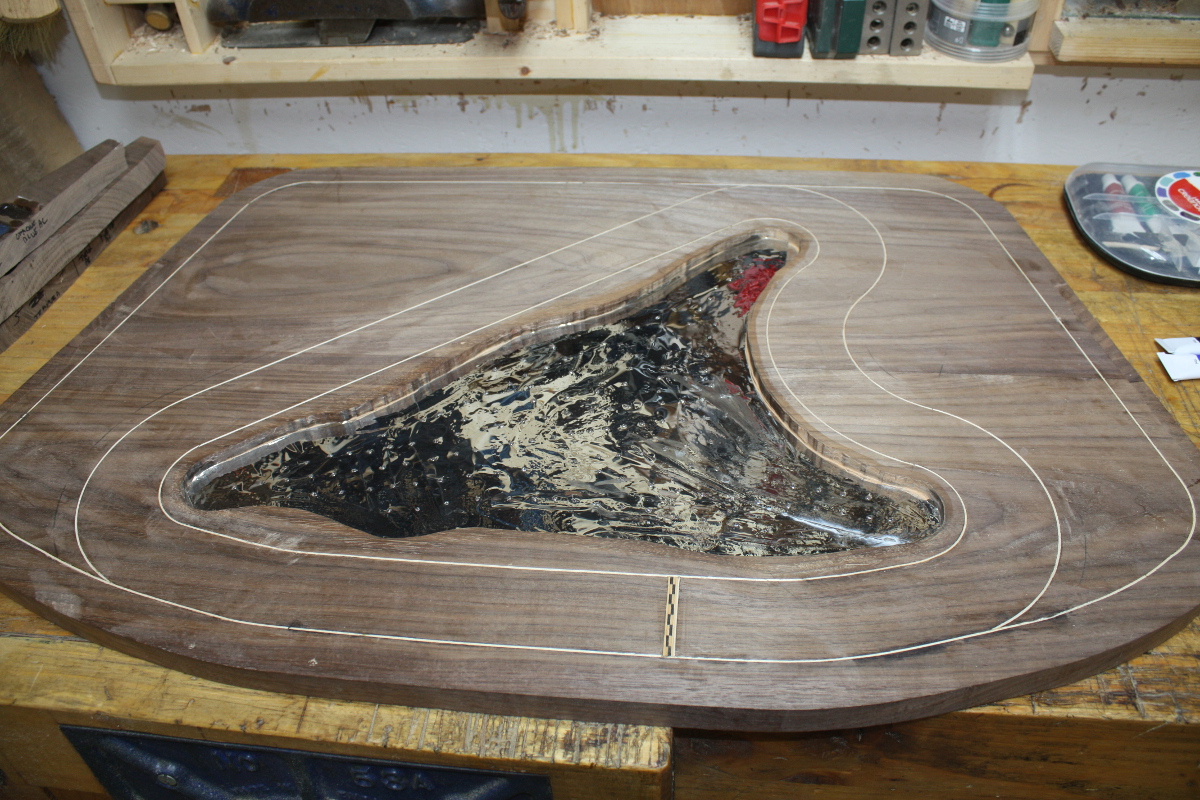
With that done, it has to dry overnight. Oh well. Next morning, out with the reflective window film, and a fiddly job getting it to sit into a very irregular shape…

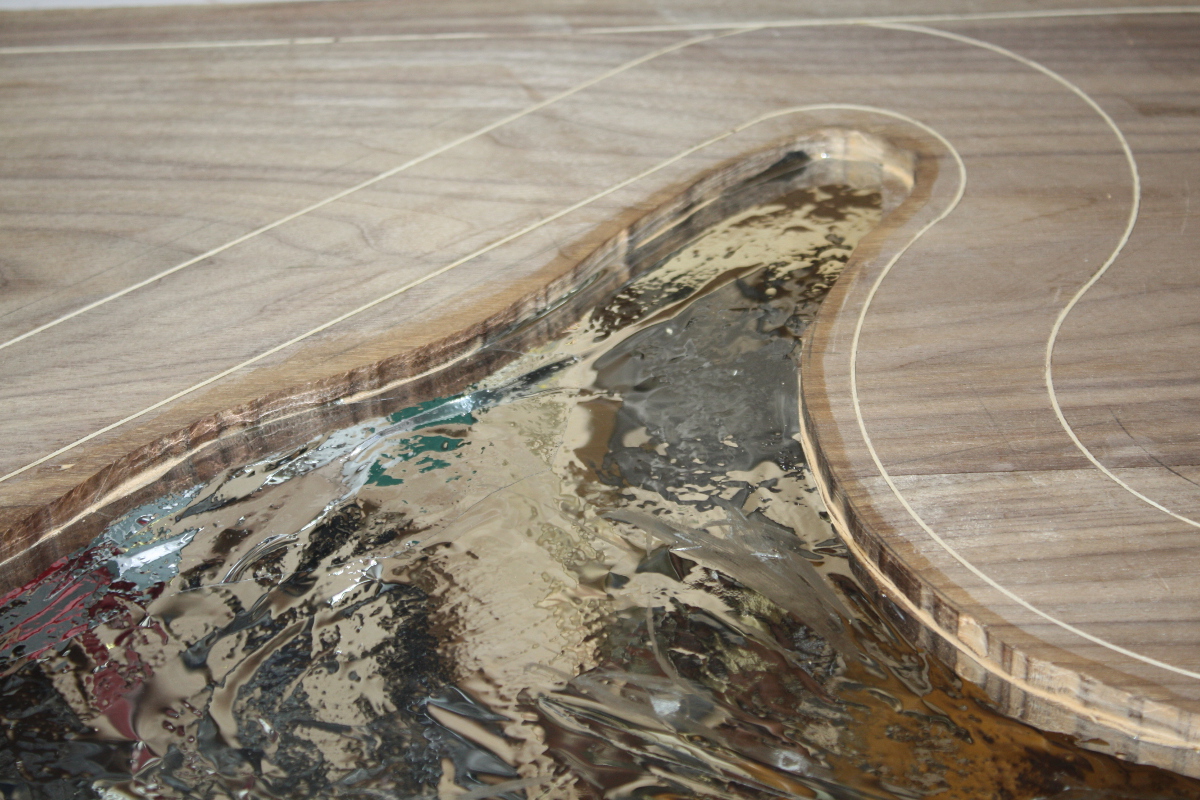
Looks fine so long as you don’t look too close…

But who’d ever do that? 😀 
Also, that film is self-adhesive on clean surfaces like glass, but forget about it being adhesive enough to stick to wood, especially if there are any irregularities. It’s being held here with a judicious application of CA glue. 
Then I started worrying about the resin adhering to the film and the film not adhering to very much at all…

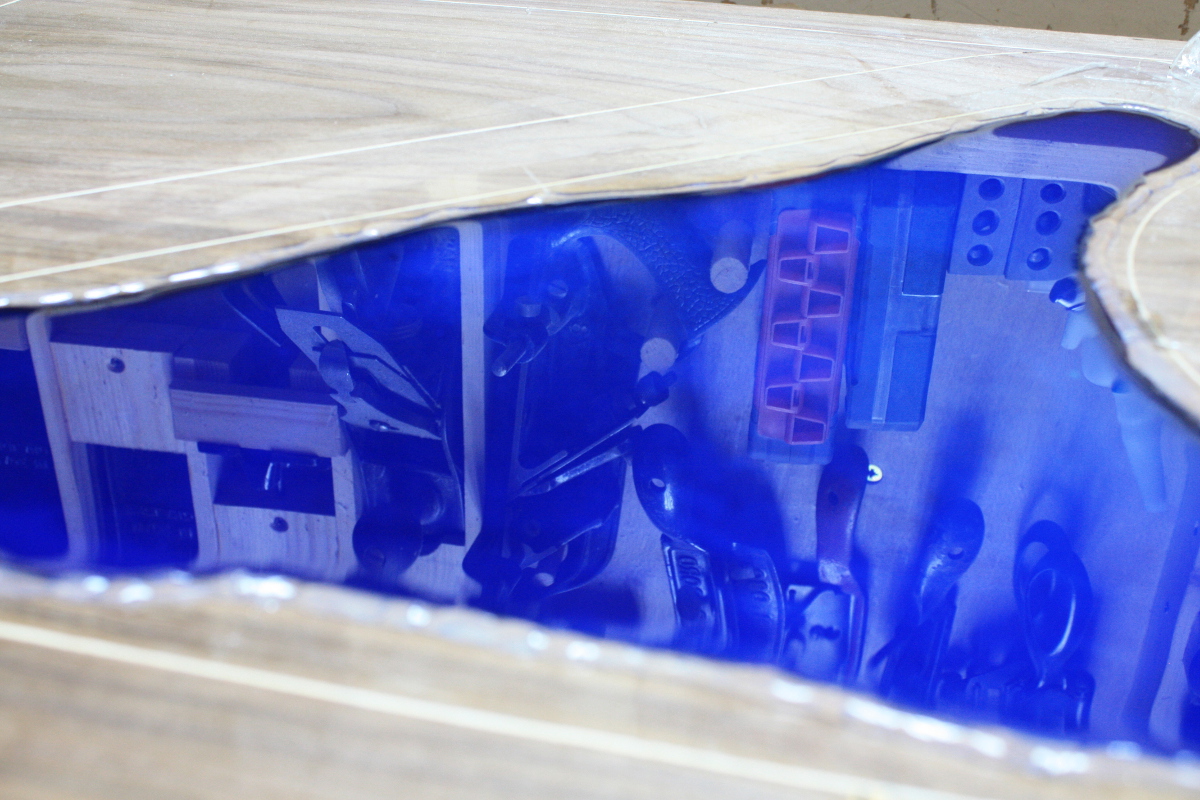
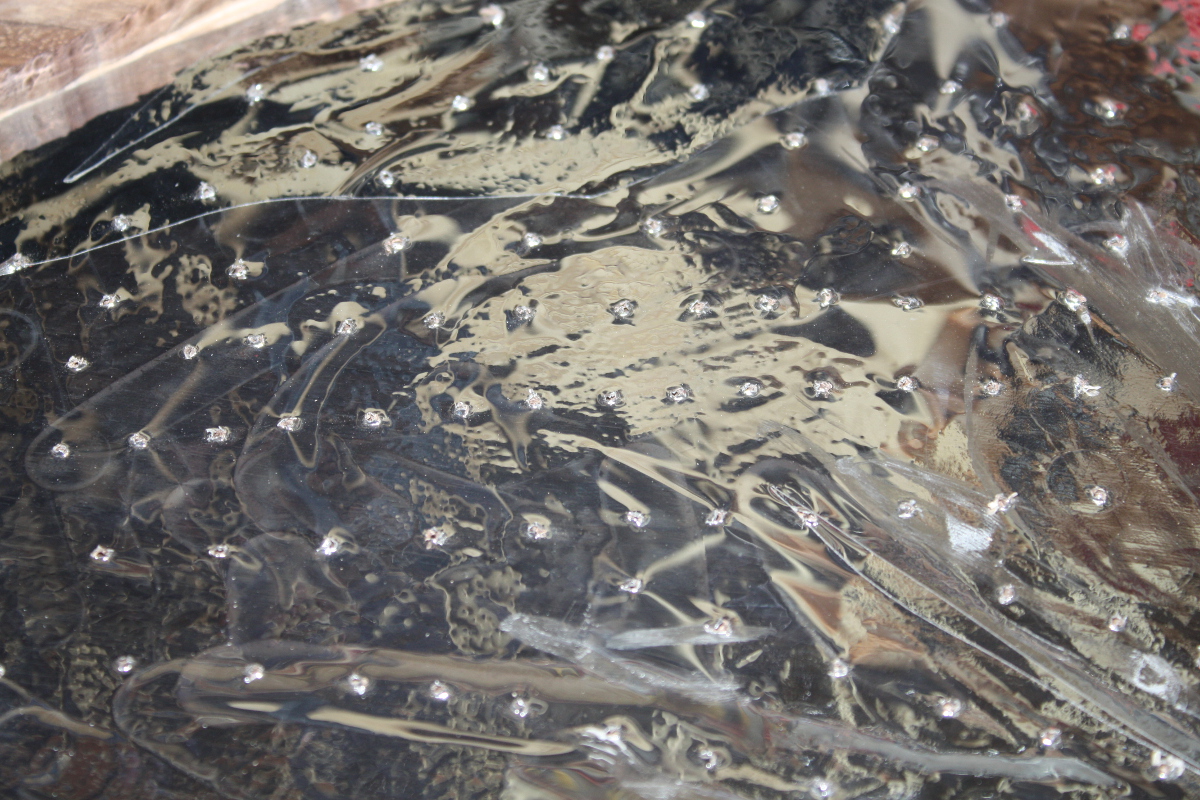
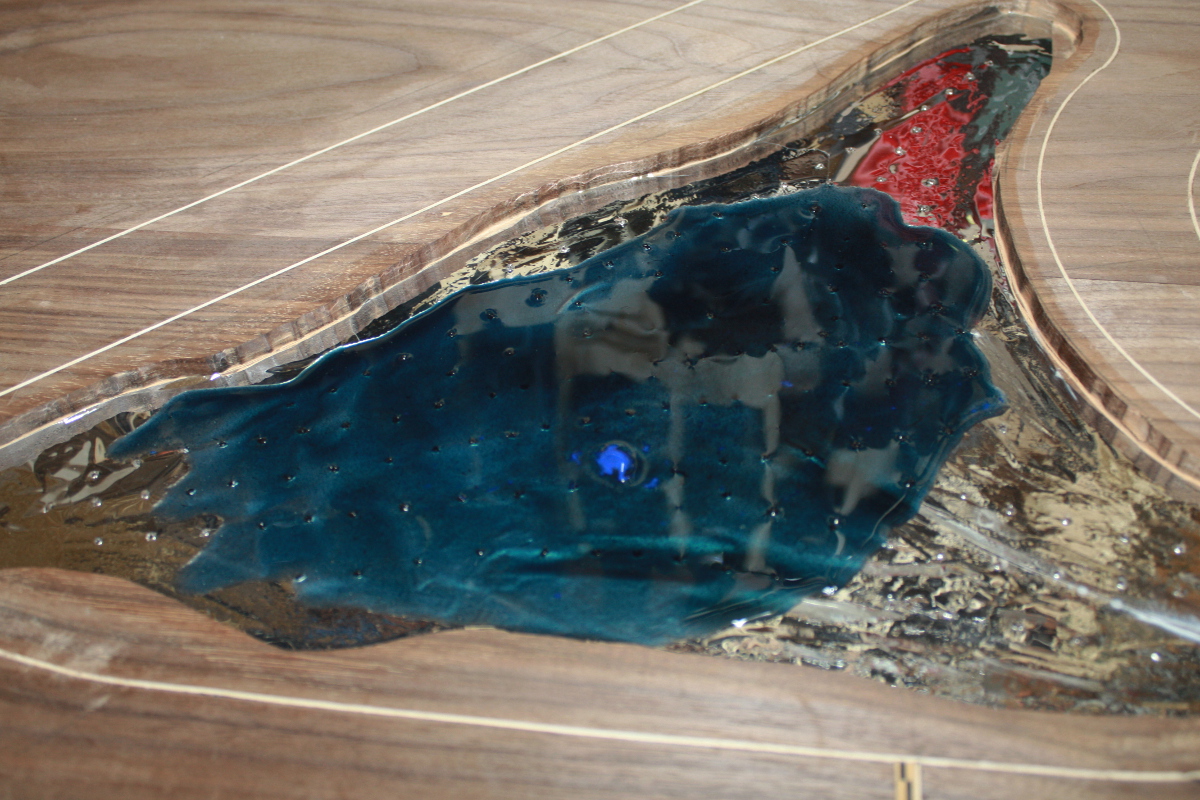
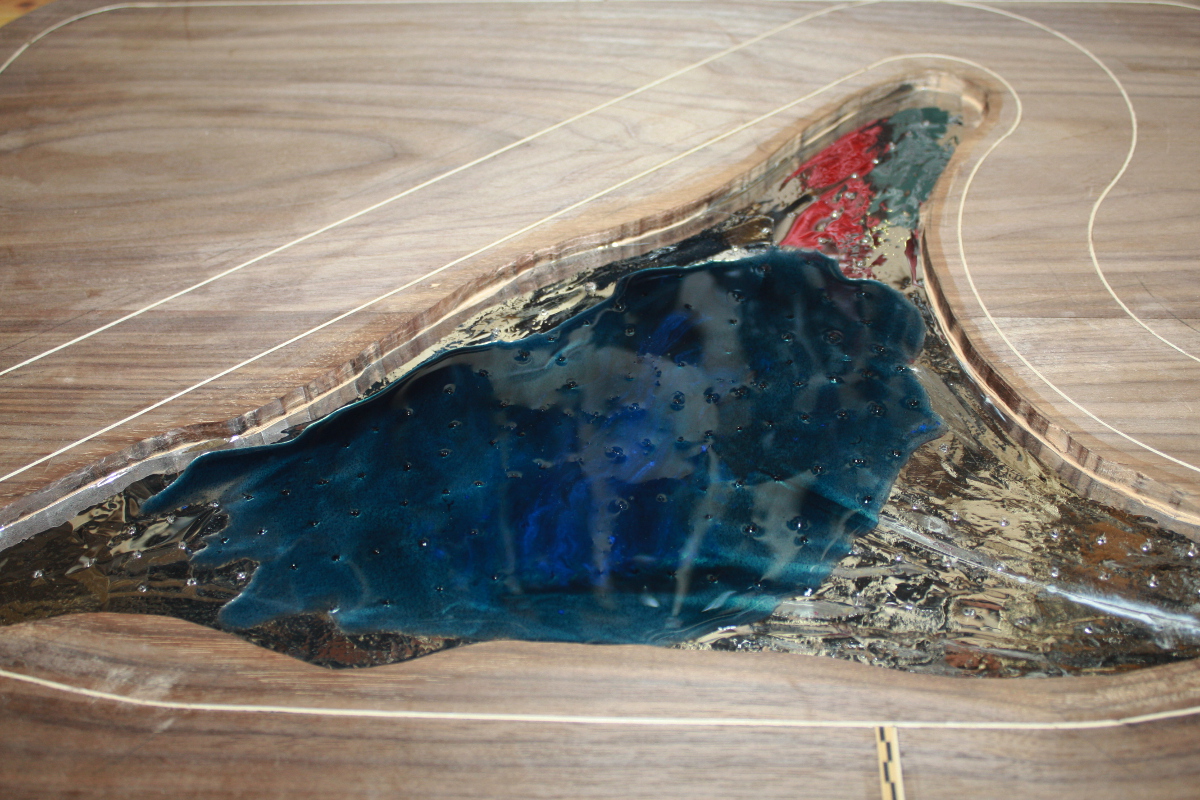
So to let the resin seep into the walnut enough to get a grip, I drilled through the film with a 1.5mm drill bit all across the sea bed.

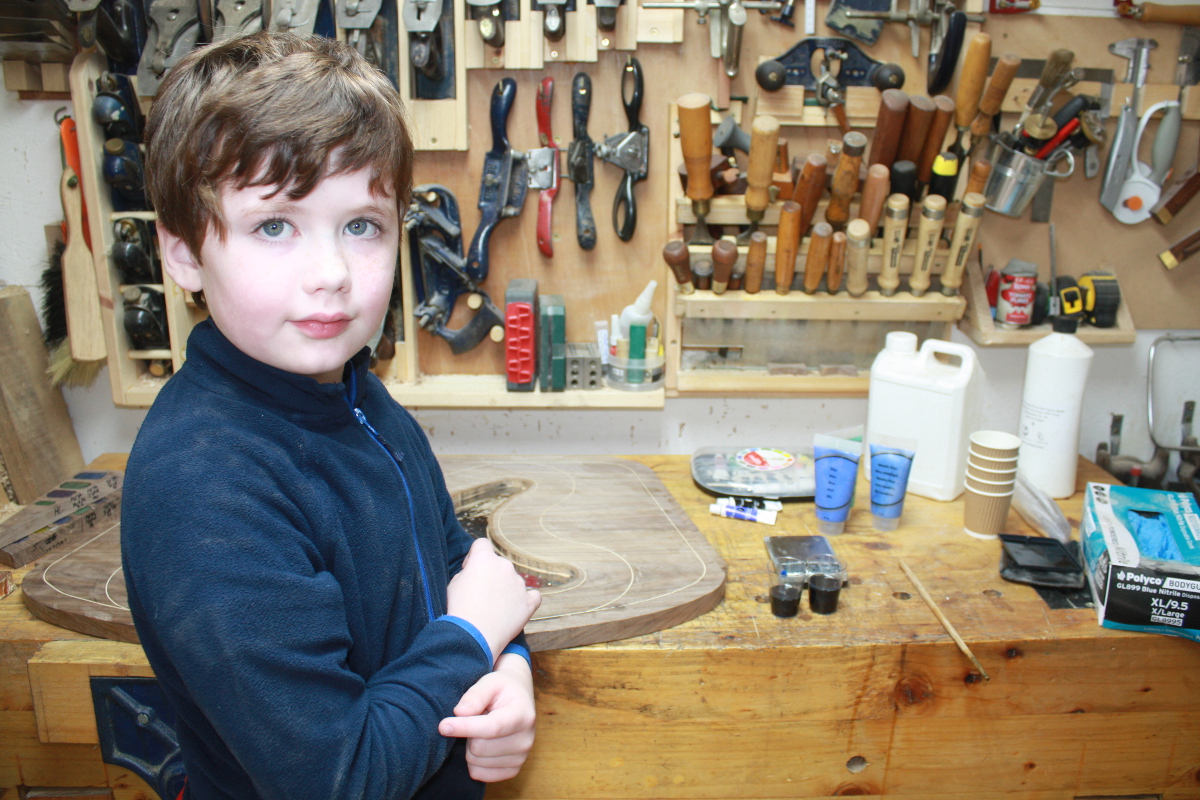
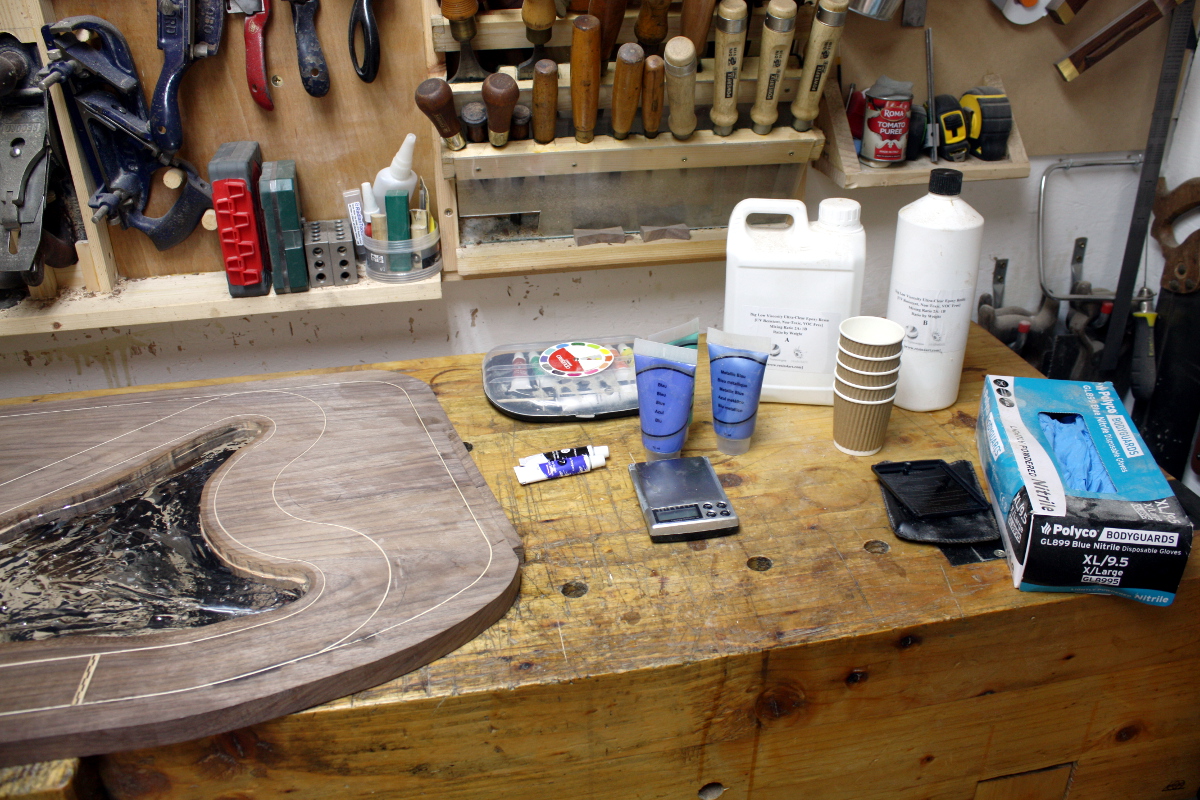
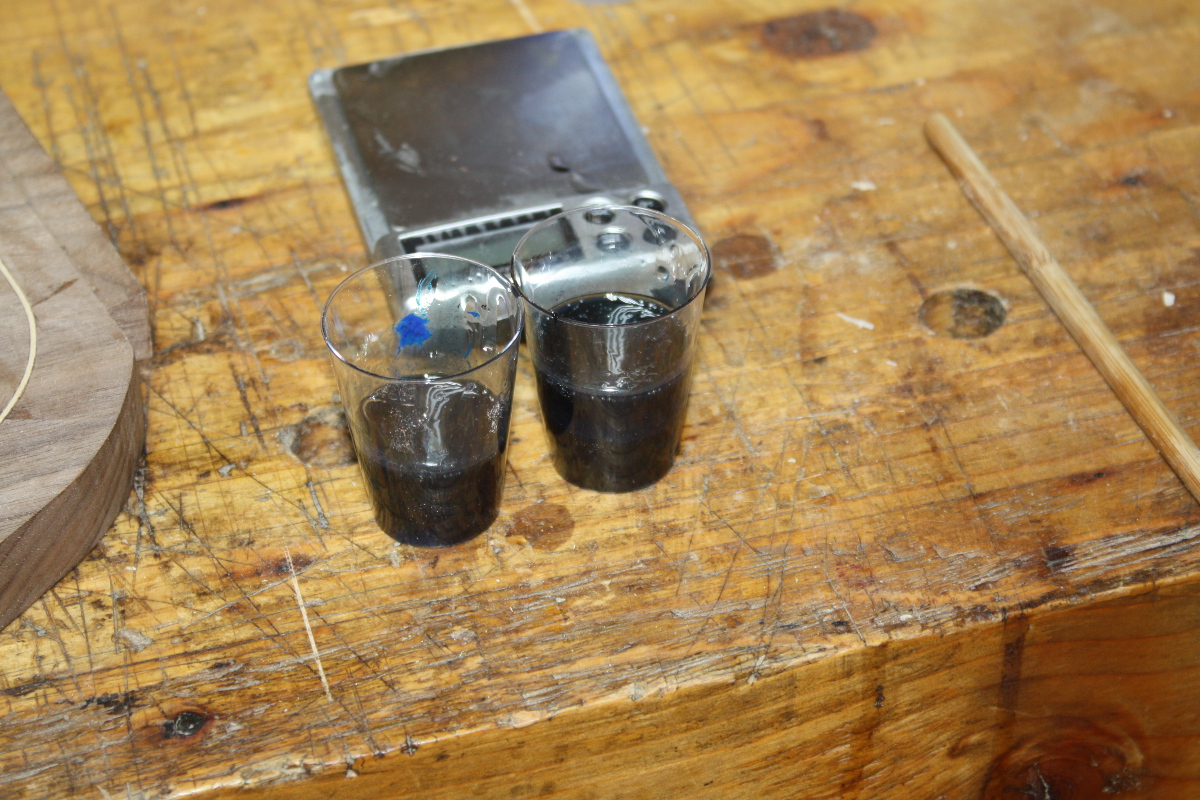
And I figured that was the ready-to-pour state. So I fetched a helper and we mixed up the first layer. Like we’ve been learning in Octonauts, the sea has three layers, starting with the midnight layer which is not only very dark but also hides the holes and gives a nice appearance of depth…

A bit of paint managed to not get mixed in the container so it got mixed on site…

Not too shabby. Left it for an hour, then came back to pour the Twilight Zone…

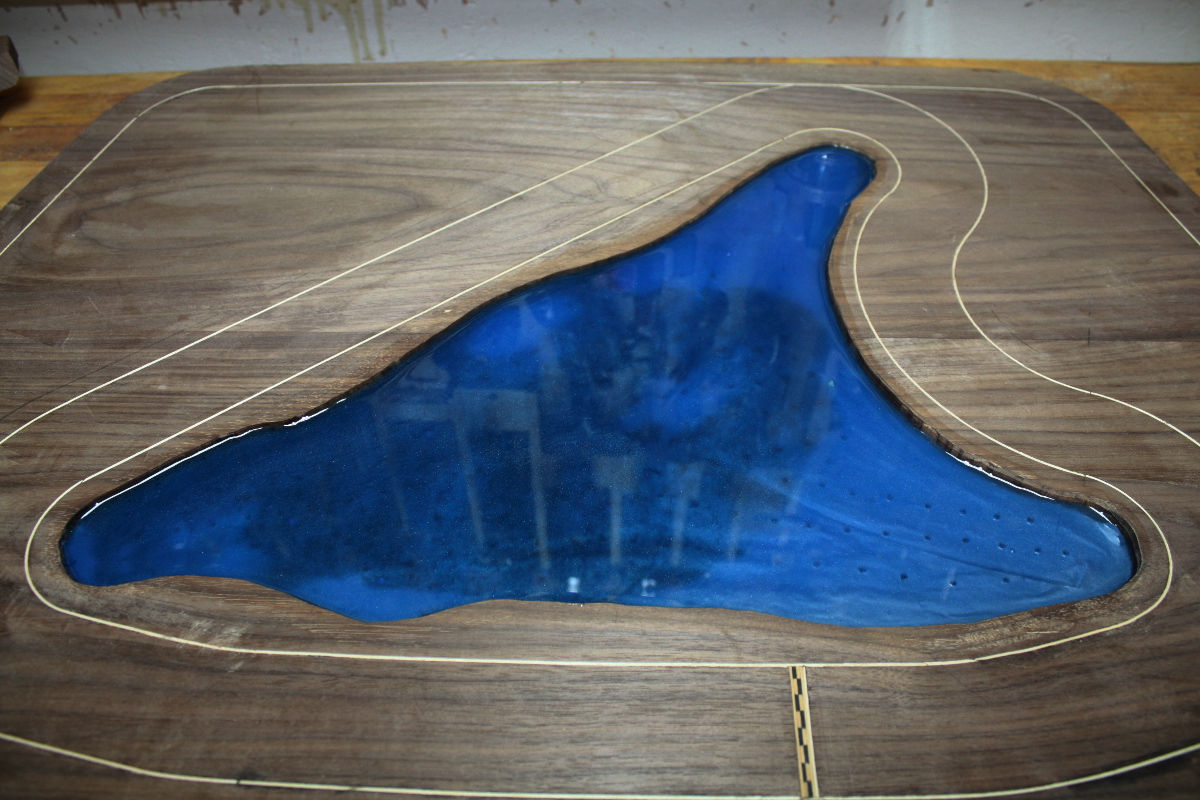
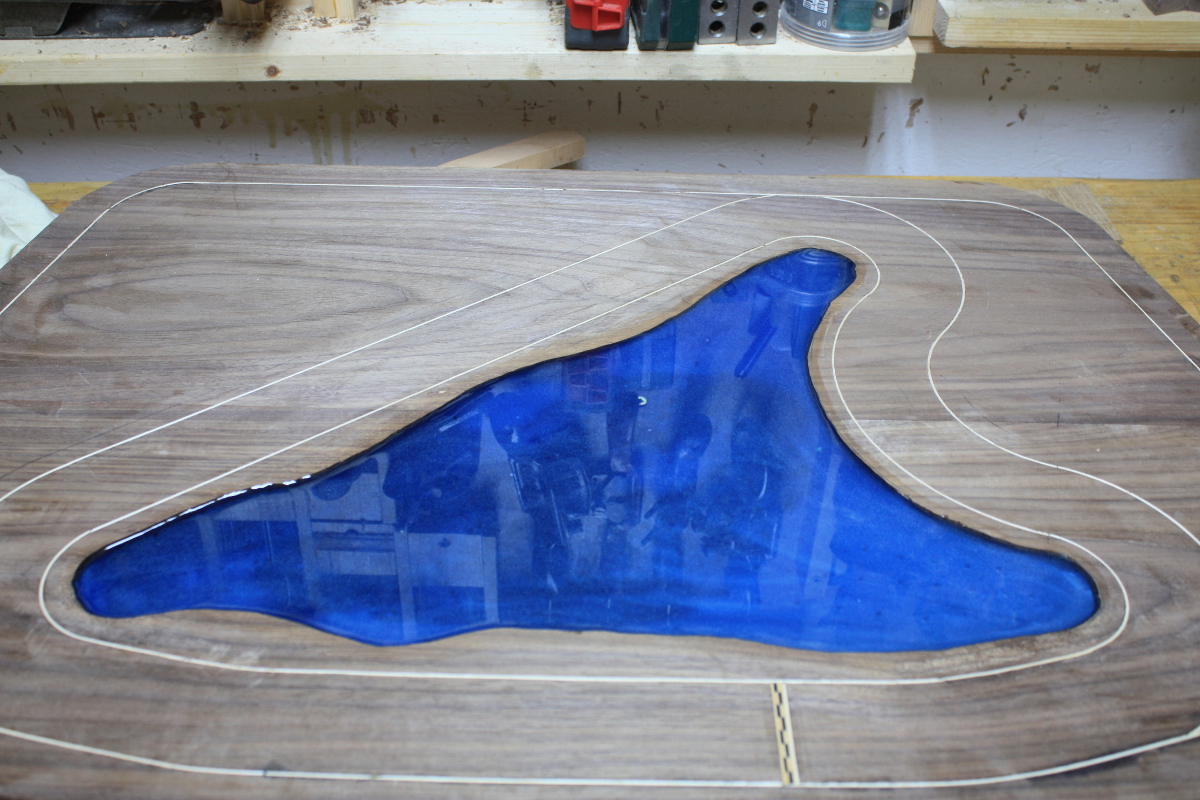
Not too bad, I’m liking how the layering is giving that differing depths look. The last layer was the Sunlight zone but that was after my helper’s bedtime so I had to pour it solo (I want the layers to bind as they set).

It’s almost deep enough here. One side was flush…

But one side was slightly shallow.

There followed fifteen minutes of tilting the board back and forth as the resin started to cure, to get a more even depth. Final result is even but still not proud of the surface and I want the resin to be slightly proud of the surface so I can use my new toy to take the whole surface to one contiguous plane…

I think the last bit will go down tomorrow evening, and then sanding can happen over the next few days. Once that’s done, that’s the walnut part of the desk done I think. I’ll think about how to decorate the poplar bits or even if they need to be decorated, or if I should just do the final shaping (the edges are all square right now to allow for easier handling but the final shaping will take off all the sharp corners and round everything over). Thinking about stuff. That’s the easiest bit of this hobby 😀