15
Nov 16

Bucket list

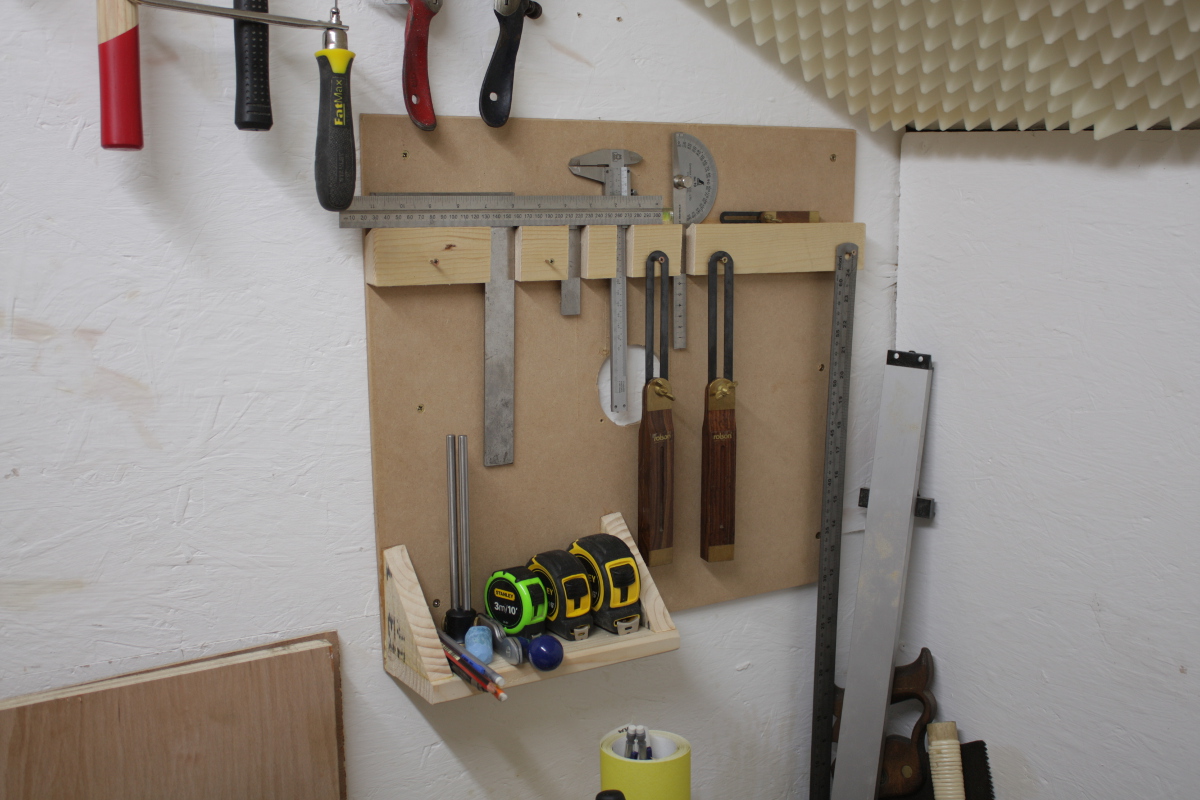
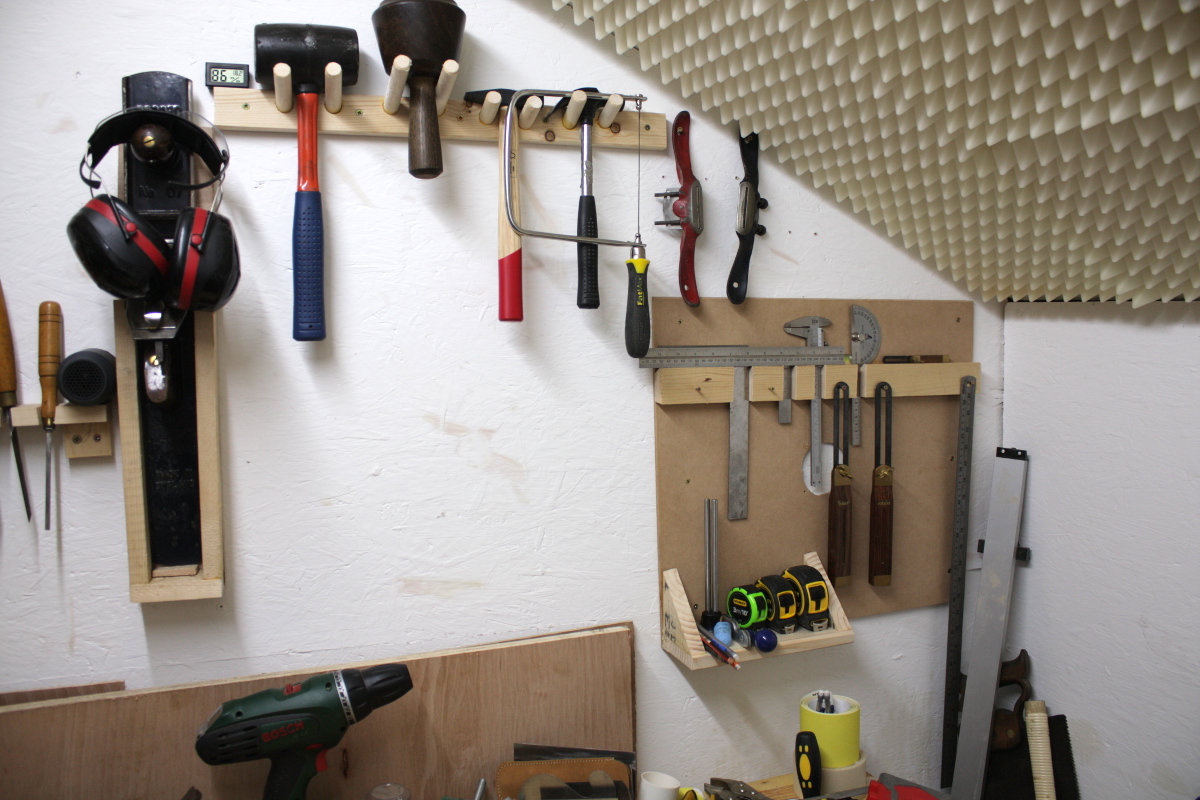
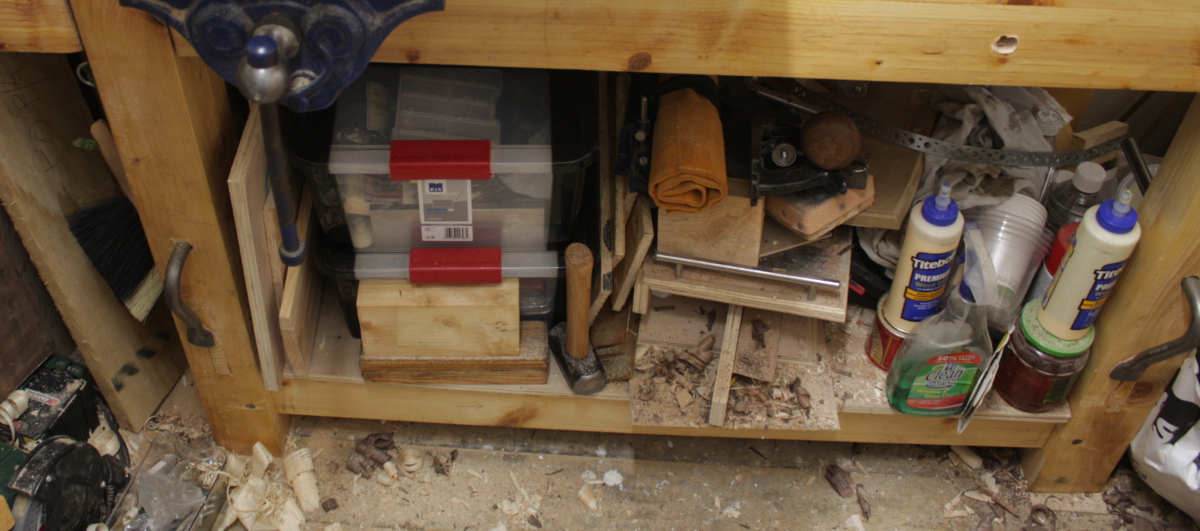
Well, *I* think it’s listing a bit to the side. Might need another screw.

img_9875a

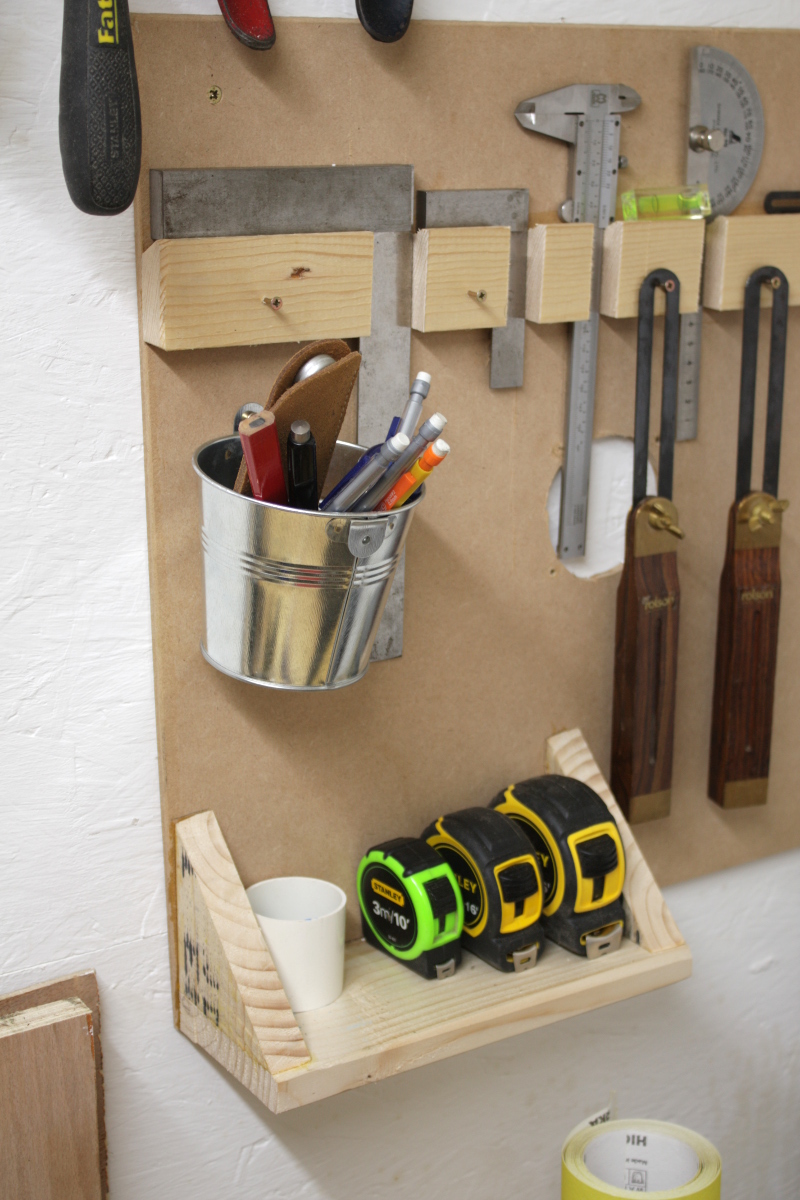
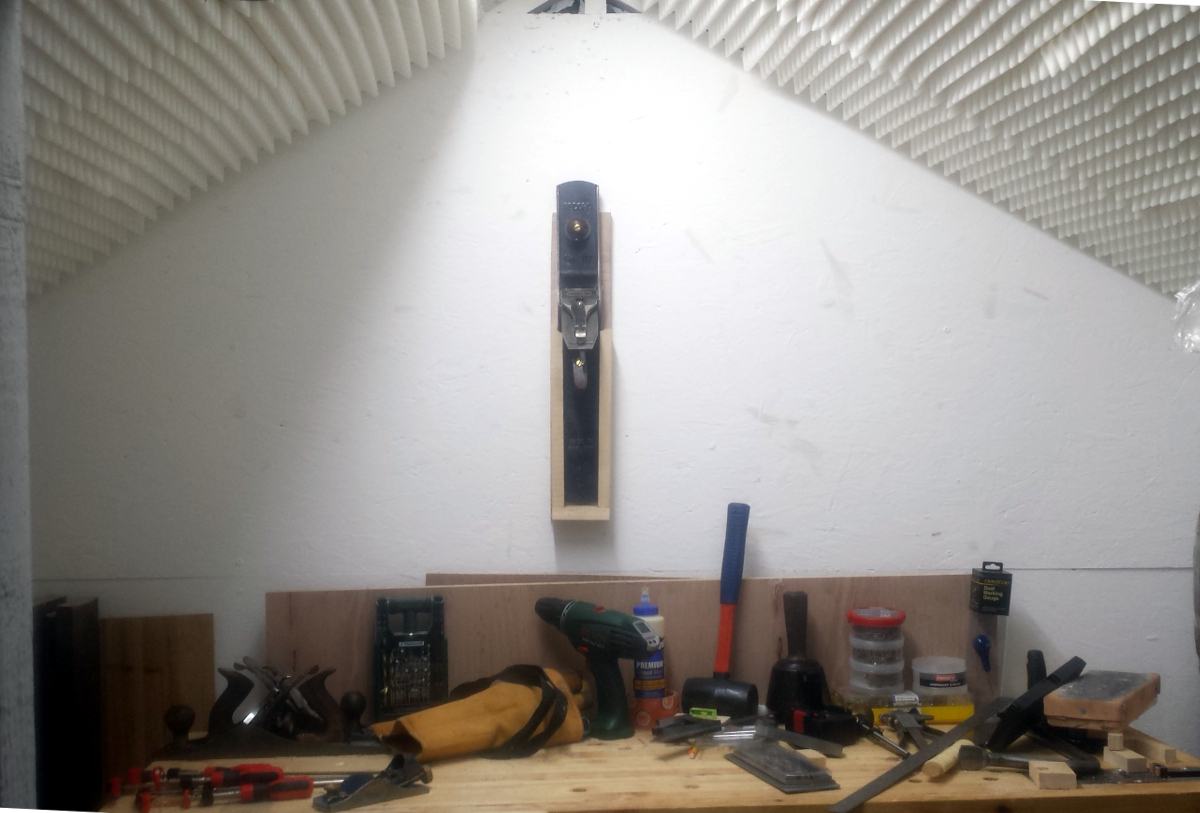
Still, it gets the pencils and marking knife and some smaller things up off the bench.

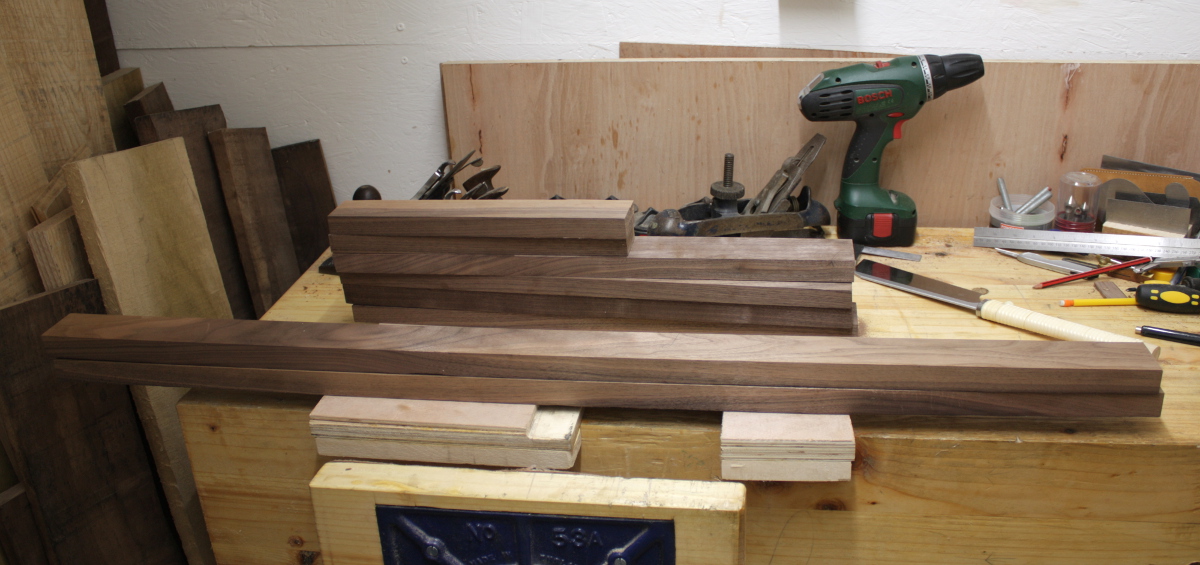
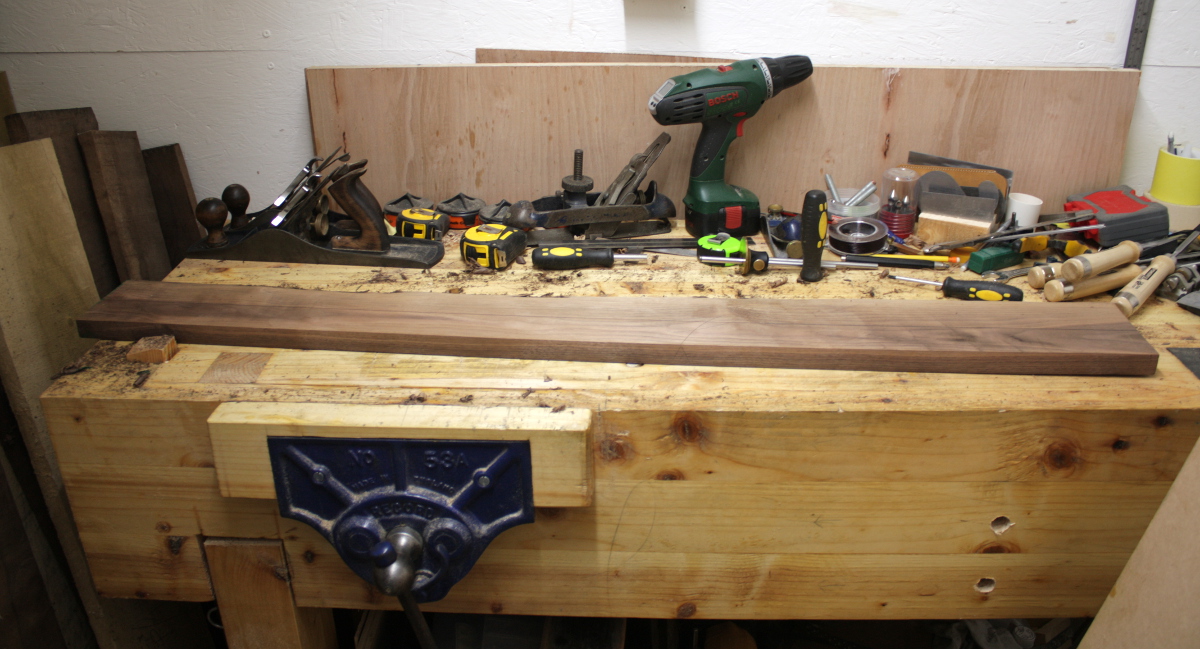
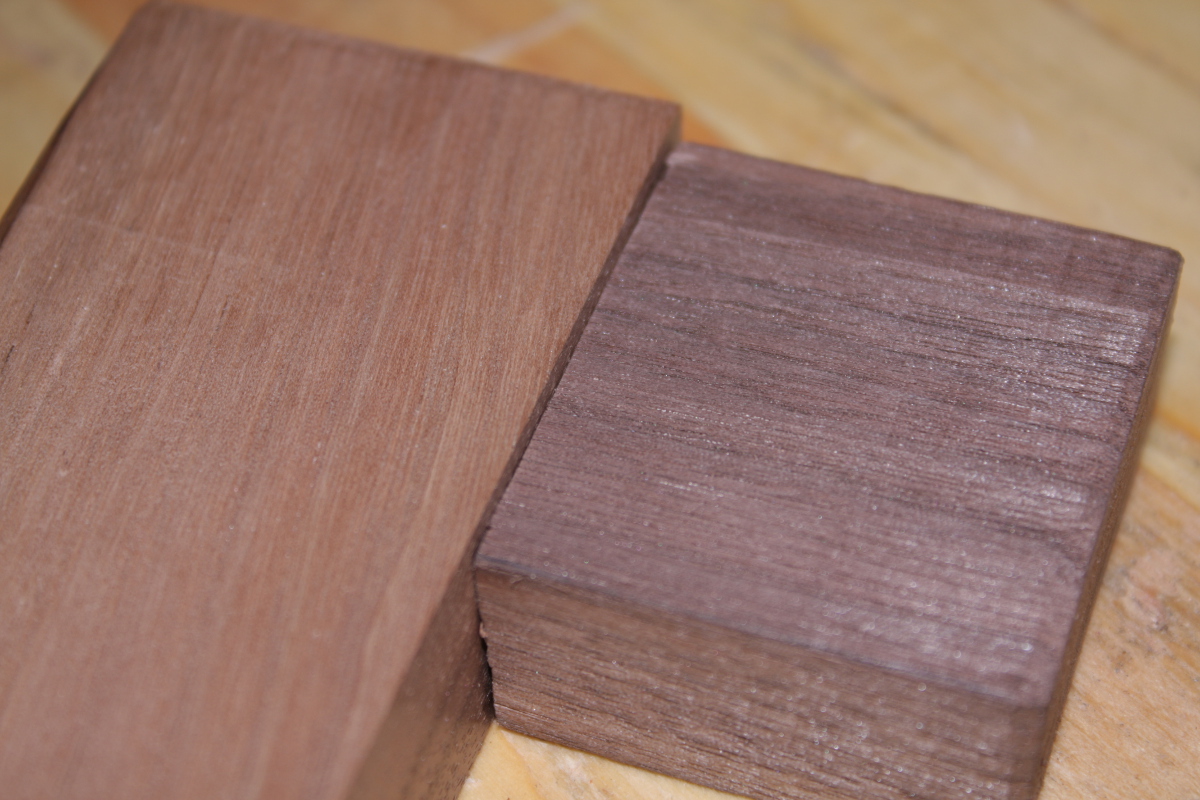
Finished prepping another 48″ length of walnut for the frame, but the waney edge on it meant it wasn’t useful as a 48″ length. So I guess it’s going to be one of the front legs and two feet of spare walnut. Oh well.

Then I figured it was high time to get some practice in for the joinery on account of having only cut joints in pine before now and having new tools to try.

img_9880a
img_9886a

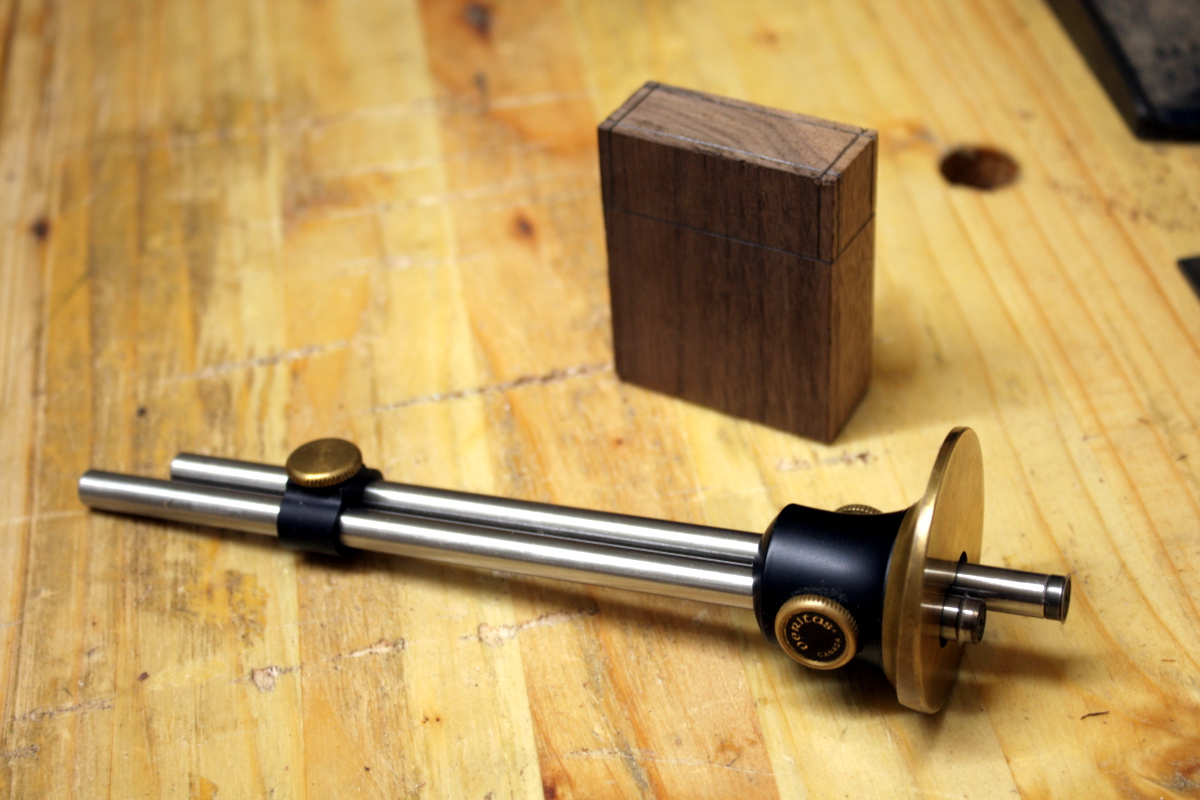
Okay, all marked up for a half-inch tenon. This is the kind of joint we’ll have in the box section at the base of the frame, so large tenons would be a good thing and the shoulders don’t have to take very much strain at all, they’re mostly for alignment. An ash pin (as opposed to a drawbore) might be a pretty addition to it, just for contrast. Might test that later on. For now, sawing with the new japanese saw…

img_9890a

My sawing needs some work. Hmmm. But that saw’s lovely to use.

img_9893a img_9894a

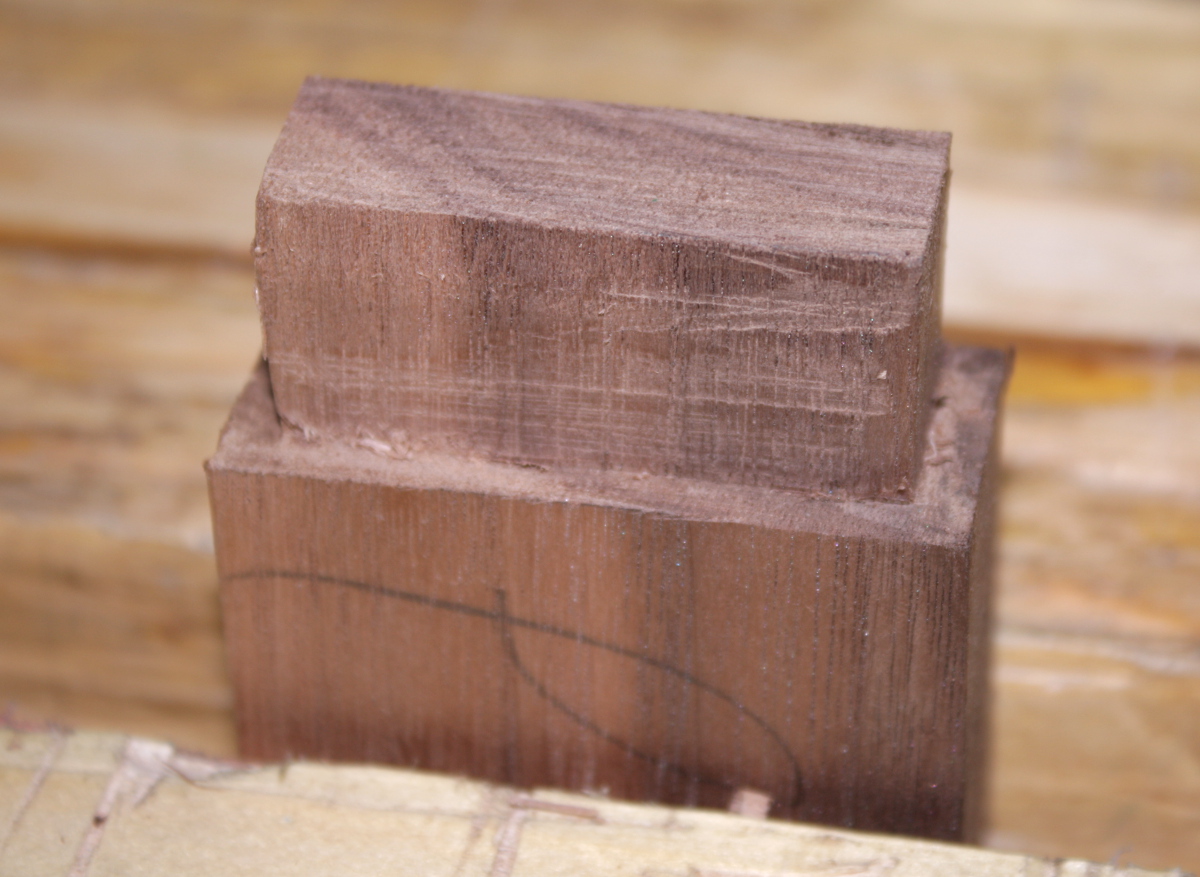
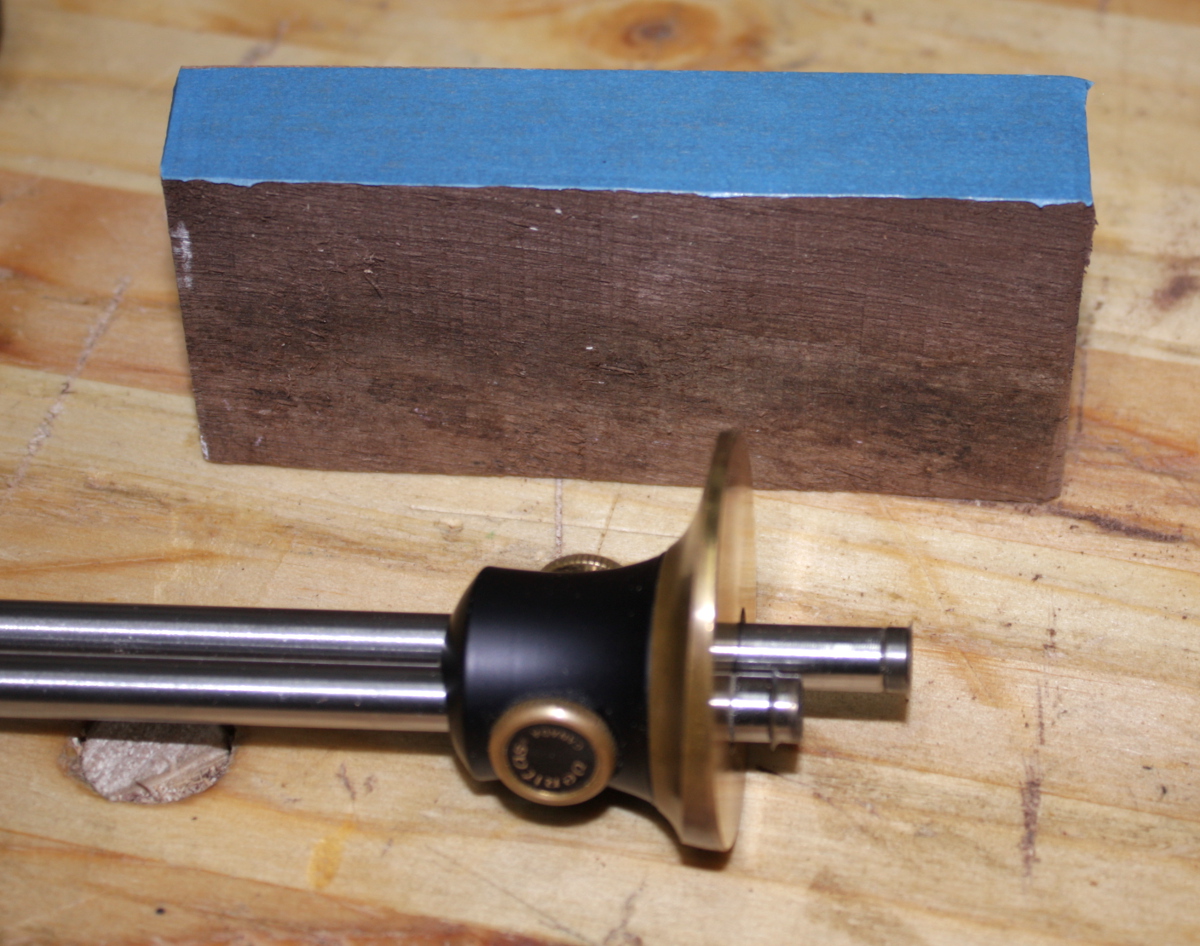
Fair bit of cleanup needed here with a chisel or a shoulder plane (a lot of which is down to markup errors, some of which were linked to the offcut being an odd off-square shape). But it’s better than it was in pine when building the bench. Now, time for the mortice. I’ll use the blue tape trick…

img_9895a img_9896a

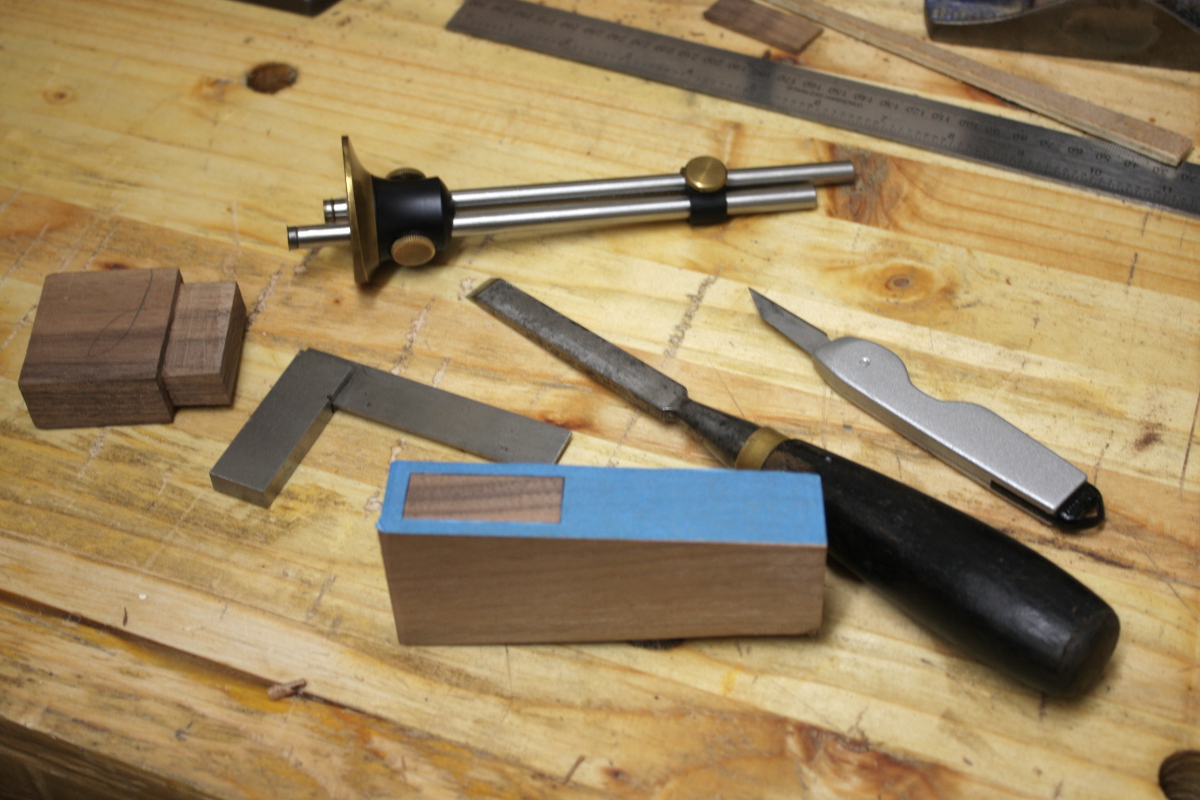
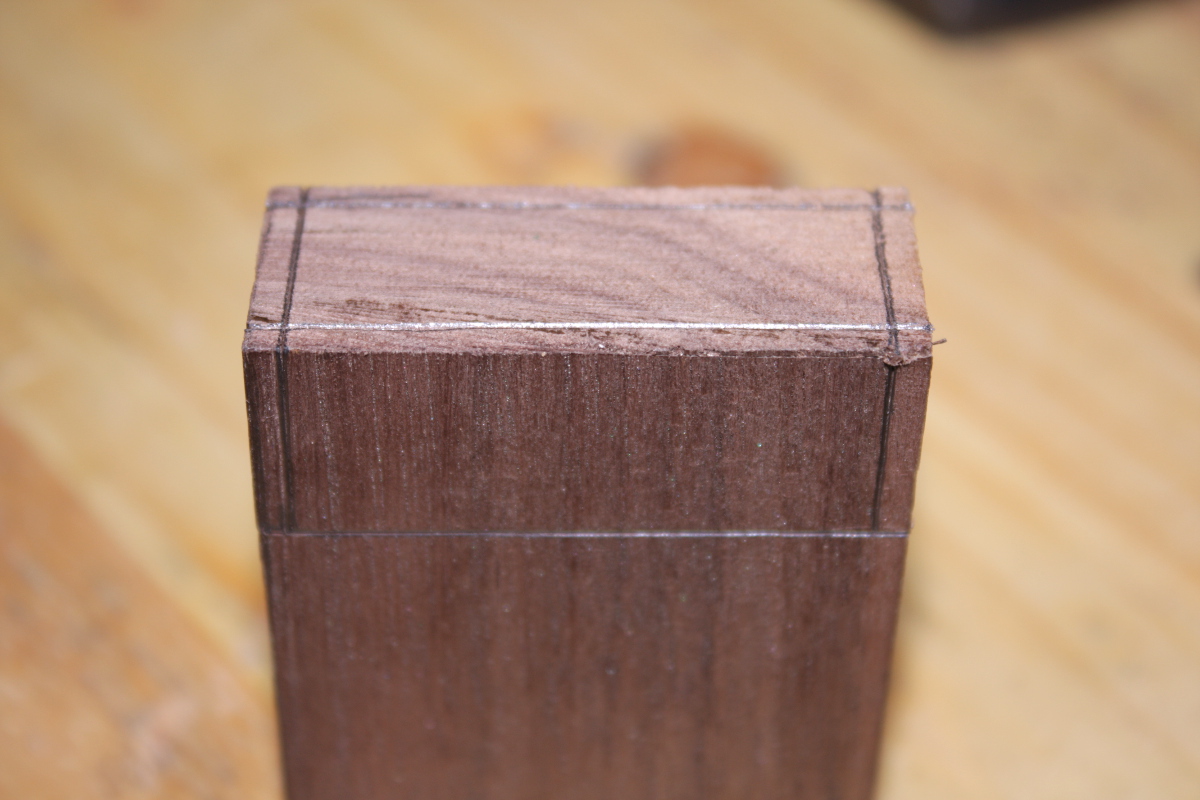
All marked up. This is the point where I realised that somehow, despite setting the gauge off the width of the chisel, the tenon is not a half-inch wide, but just over. I think pencilling in the lines might have distorted things slightly. That or the offcuts weren’t quite square 😀

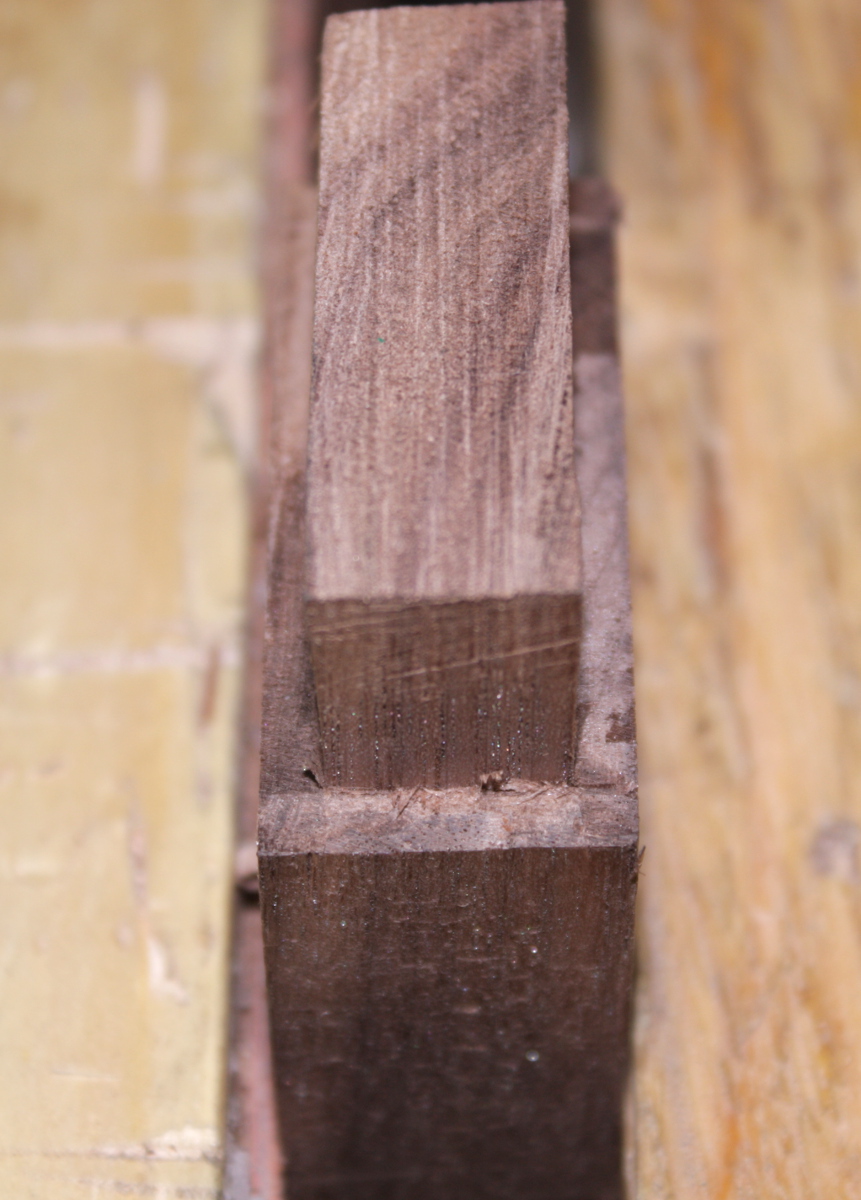
Cut the mortice out with the firmer chisel using the Paul Sellers method.

img_9899a img_9900a

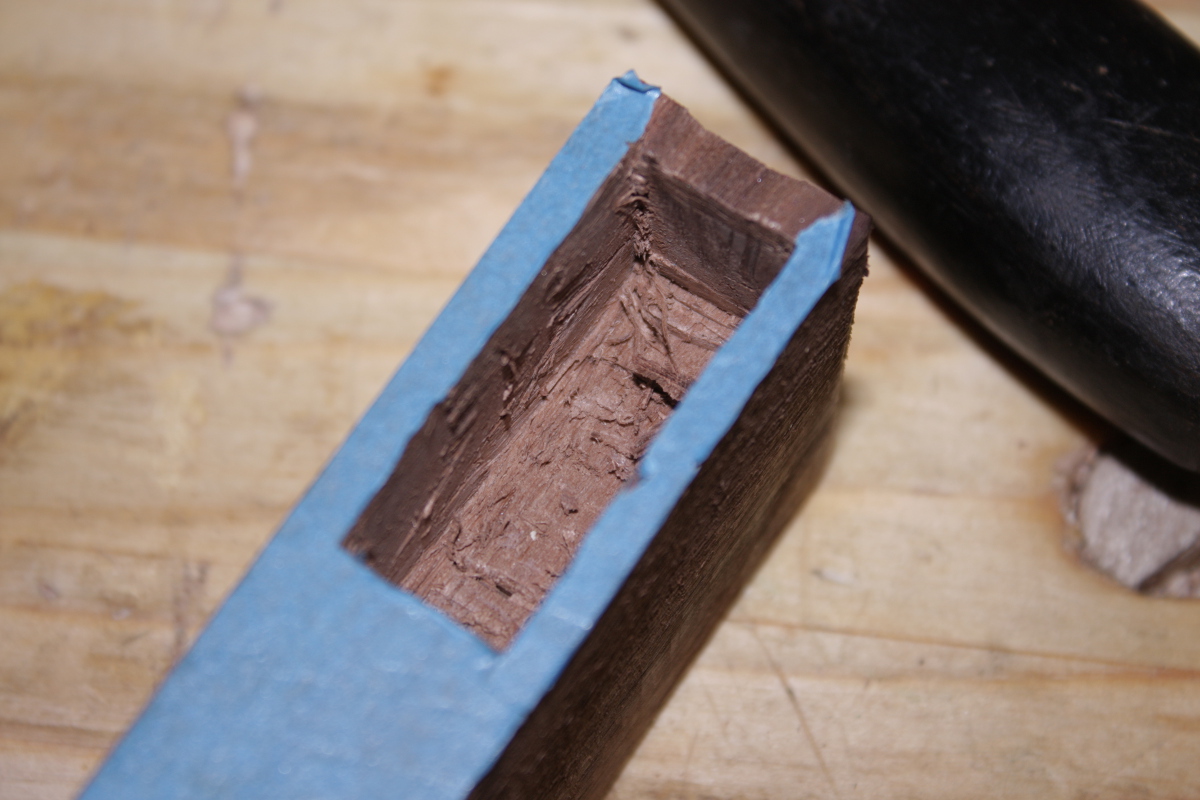
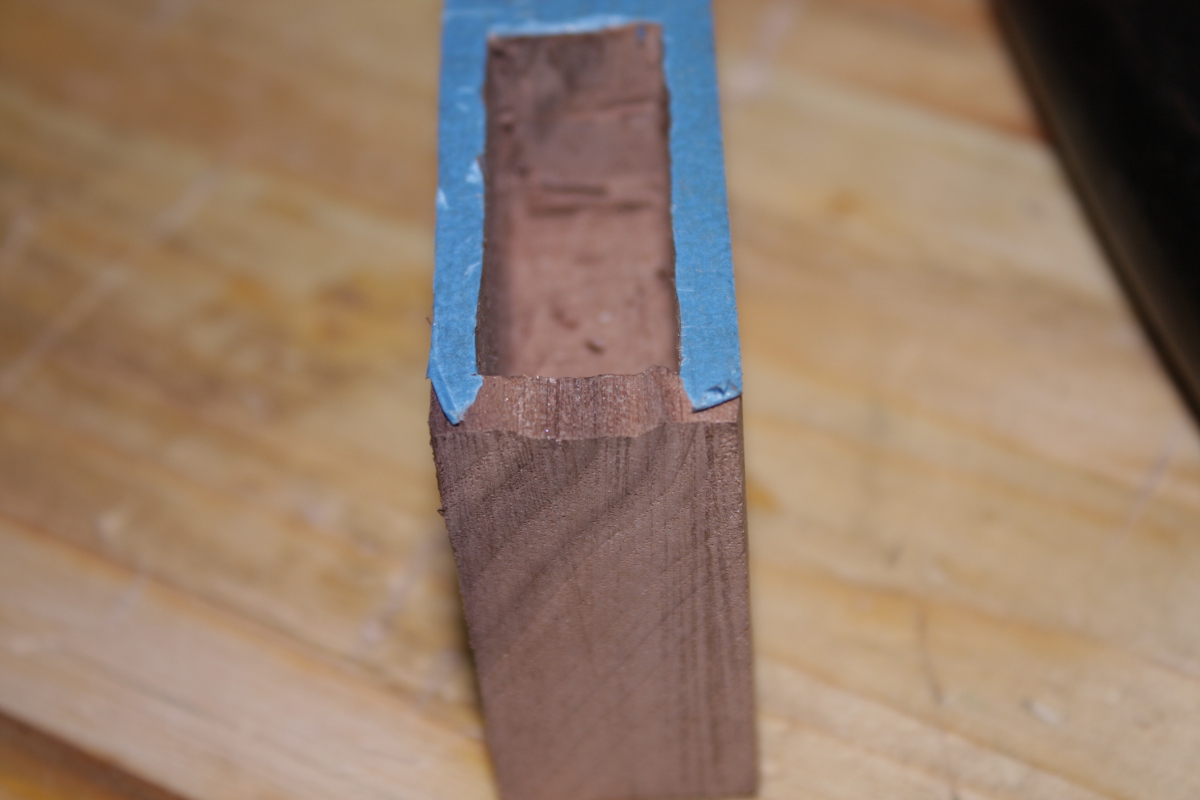
Holy crap, but walnut is fun to work in compared to pine. I was dreading doing twenty or so of these, but this was genuinely satisfying fun. And, one slip while cleaning out the bottom of the mortice aside, it was a pretty clean job.
img_9901a

img_9902a

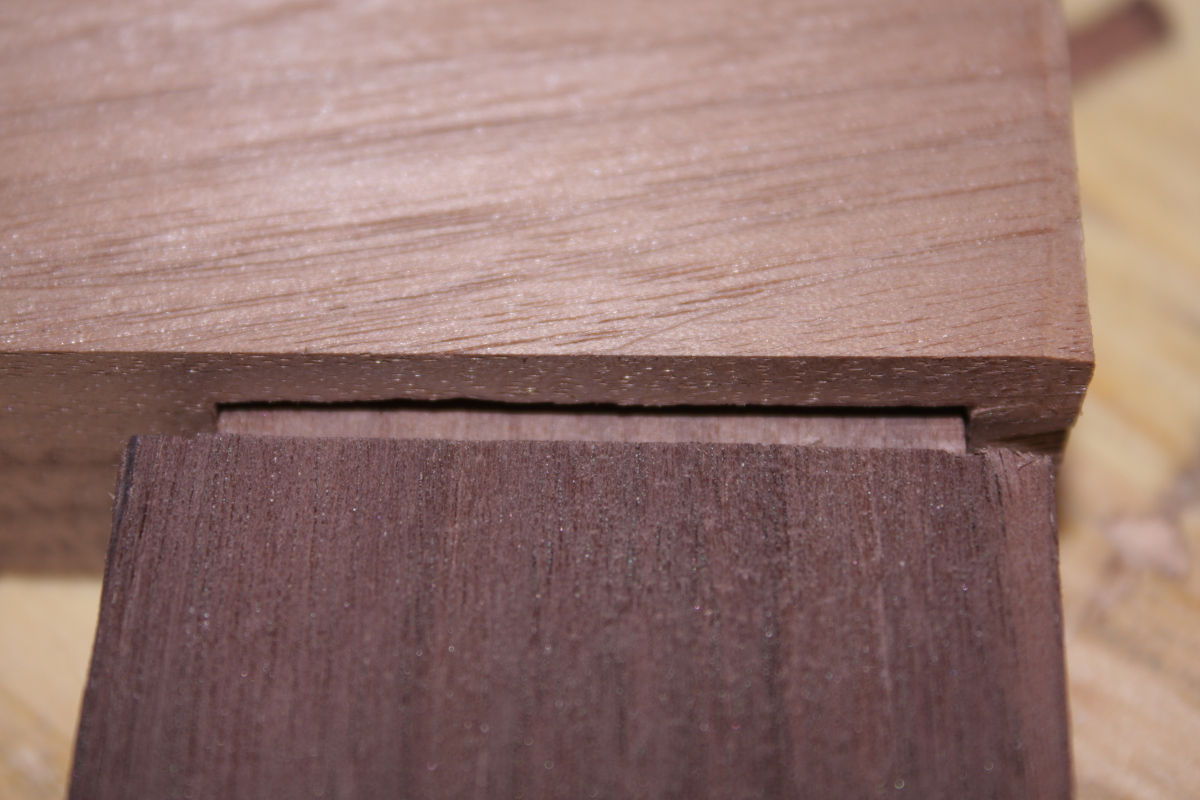
And it fits nice and tightly, exactly as it’s supposed to. Granted, the pieces weren’t square so the shoulder line is a bit off on the other face, but nonetheless I’m happy with that.


14
Nov 16

The marking on the wall

Finished the assembly of the marking tools holder and got it up on the wall.

img_9868a

Well. Almost finished it. I need to attach a pencilholder type of tube for pencils and a shorter one for marking knives and awls and so on, and I’d like a seperate shelf with a large hole in it to hold the morticing gauge. But I want there to be space in there for any future gauges as well, so that’s okay. It gets the bench a bit cleaner and makes life a bit easier. Progress. Small steps.

img_9869a img_9870a img_9871a

It’s a bit of a step forward from only a few weeks back.

2016-09-27-20-47-06a

And after that, ripped down another 48″x2″ length of walnut and marked up for the next 48″ length, which I’ll finish ripping tomorrow, and try to get some crosscuts done to get more components ready, and maybe practice cutting an M&T joint in walnut.


13
Nov 16

Cleaning up and first pieces

So first thing this weekend was to clean up the shed. So obviously that meant building the cyclone dust collector 😀 I had tried this earlier:

img_9629a

And obviously it didn’t work well because it leaked vacuum all over the place. Maybe with some sealant around the lip of the bin it would have worked, but meh, it was a trial run anyway, the plan was always to get a barrel instead. That proved a little awkward, nowhere around here sells them, so ebay it was and the thing got shipped from Germany of all places. Cut the hole in the top, fitted the cyclone to that, cut down the hose a bit because it proved to be too long to maintain vacuum, and then fired it up and it worked! So I started hoovering up the shavings….

….and the hose clogged. And then the vacuum kept building and, well…

img_9854a

Yikes.

Popped it back out, resorted to dustpan and brush for the bulk of the shavings, then got the last few and all the dust with the new dust collection system.

img_9865a

Going to have to build a frame to hold those two in one cart type thing. But that can be later.

Then, moved some offcuts around and cleared a little under-bench space and finally got the toolboxes out from under the stairs and in under the bench.

img_9860a

Need to get those glues and finishes into another crate as well. Progress though, one step at a time…

And it left me with a 20″x20″ piece of MDF with nothing to do, so I figured I might as well start on the next shed fix, which is to get the marking and measuring tools up on the wall.

img_9863a

Need to let the glue dry and do some cutting later on. Before that…

img_9845a

Assembling the bending jig (this is the reverse side, there are 2×3 laminated blocks on the far side glued and screwed into place. That’s a 10.3″ bending radius, and after the bend is done and it’s had a little while to cool on the bending jig, it gets transferred to a 12″ radius drying form for a week. And that took the next hour or two…

img_9848a

Who’s Diana?

I need to drill a hole or three still, but this is mostly done. Now I just need that 2″ wide bending strap that’s in the post to get here and I can do some steambending next weekend.

In the meantime though, it’s past time to be cutting out components for the frame. So a bit of thought on what should go where, some staring at the mattress for the cot and holding sticks and measuring tape and so on and then finally got the marking knife out and started crosscutting stuff to within a few mm of final dimensions and working with the shooting board.

img_9858a

That’s the four crossbars for the ends, two of the long stretchers, two more to come, and the two back legs (one *might* get replaced later, it wound up thinner than I wanted by the time it was free of twist). The rest of the week is going to see more of this until I have all the components. Then I’m practicing the joinery on some walnut offcuts to get used to the wood, and then after the steambending I’ll get on with cutting the actual joinery.

After that, we have panels to do, a drawer to assemble, and then it’s final assembly and finishing. Inside of five weeks. Time to get a move on, and get the next board marked up for prep on monday…

img_9867a