17
Dec 16

Tool night

Holidays started, and a couple of new tools showed up in the post (well, rutlands was having a black friday sale and some nice things popped up on ebay for decent prices).

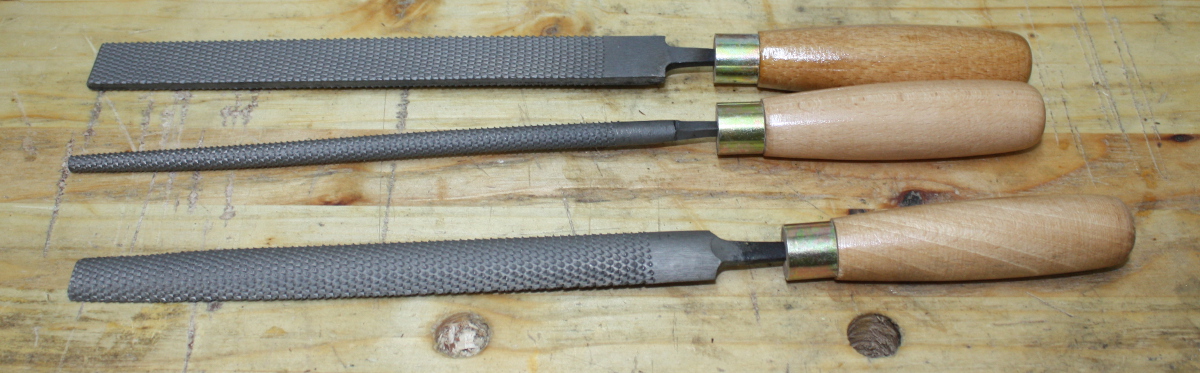
A few fairly cheap rasps. Machine-made, no hand-stitched french rasps in my budget for a while (these cost about twenty euro for the set, a single hand-stitched one would cost a little over a hundred euro more than that). Might be useful for the curved parts of the crib when I’m finishing them.

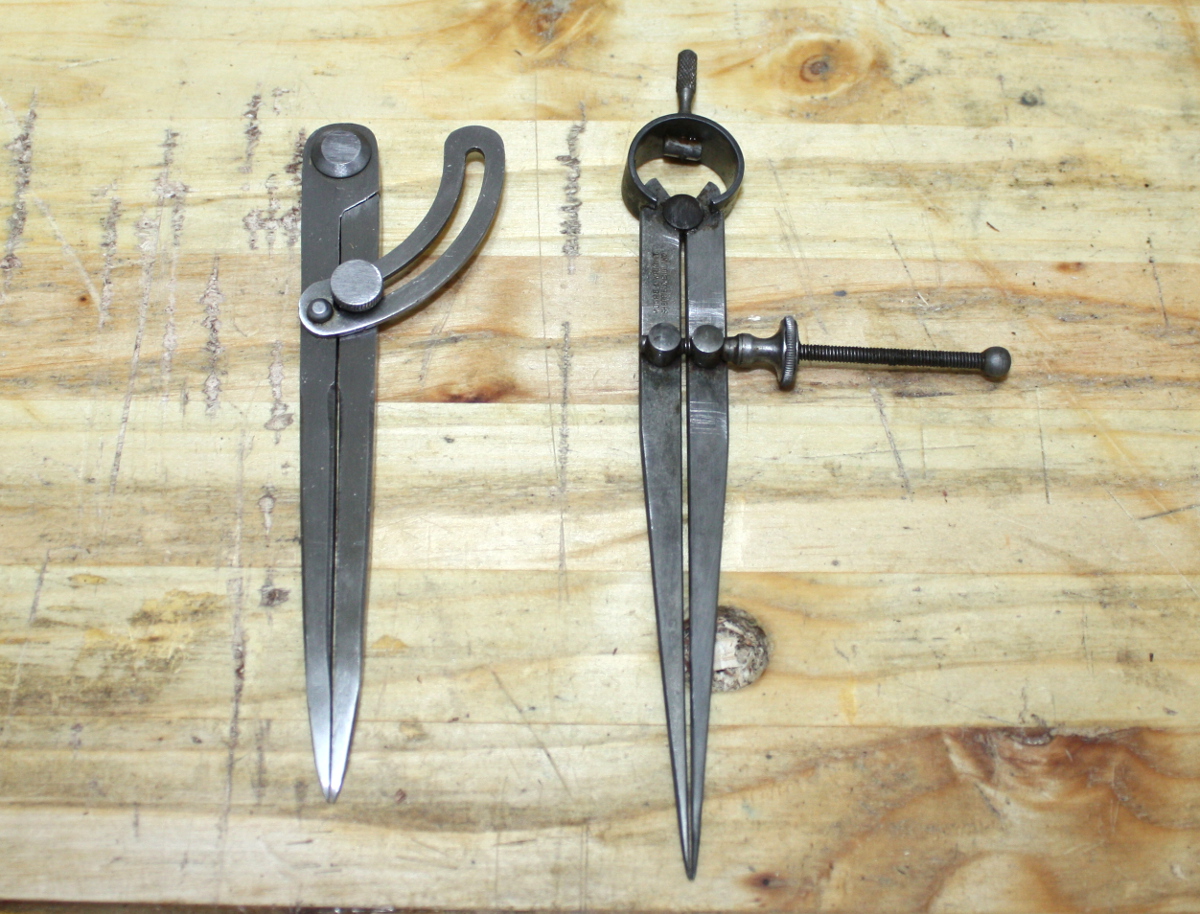
One of these dividers is new; one of these is older than the modern state of Ireland. And they both work pretty damn well. (They’re for laying out the dovetails in the drawer of the crib).

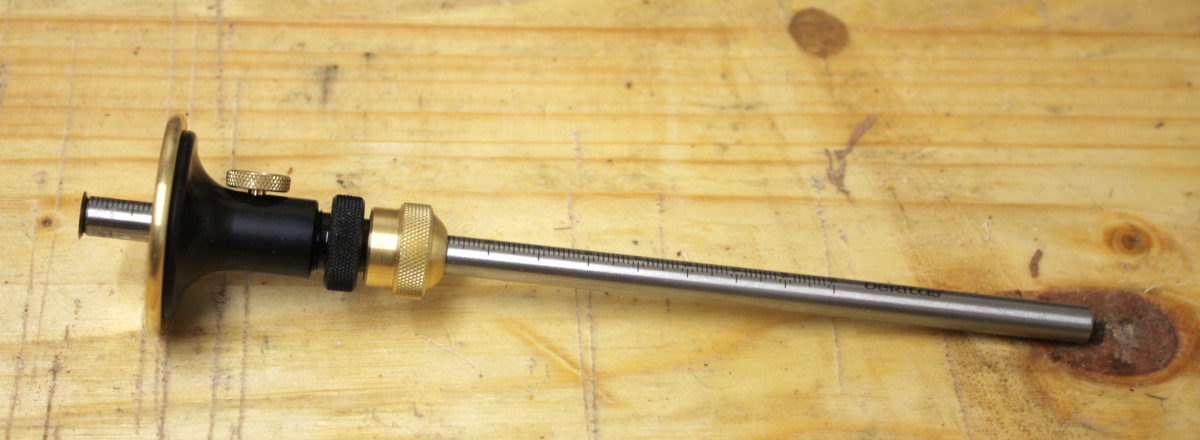
I kept having to set and reset my existing veritas gauge using scraps of wood with the gauge lines in them (which works great until you drop the scrap down behind the workbench where it’s bloody awkward to get to), then I noticed that other people got round this by having a small army of the things and using different ones for different measurements during a project (no you can’t set them off a ruler, you’ll inevitably get parallax error setting it and make a mistake that shows up glaringly later on). I might be getting a few more of these over the next while. The built-in ruler is kindof nice, as is the microadjustment feature.

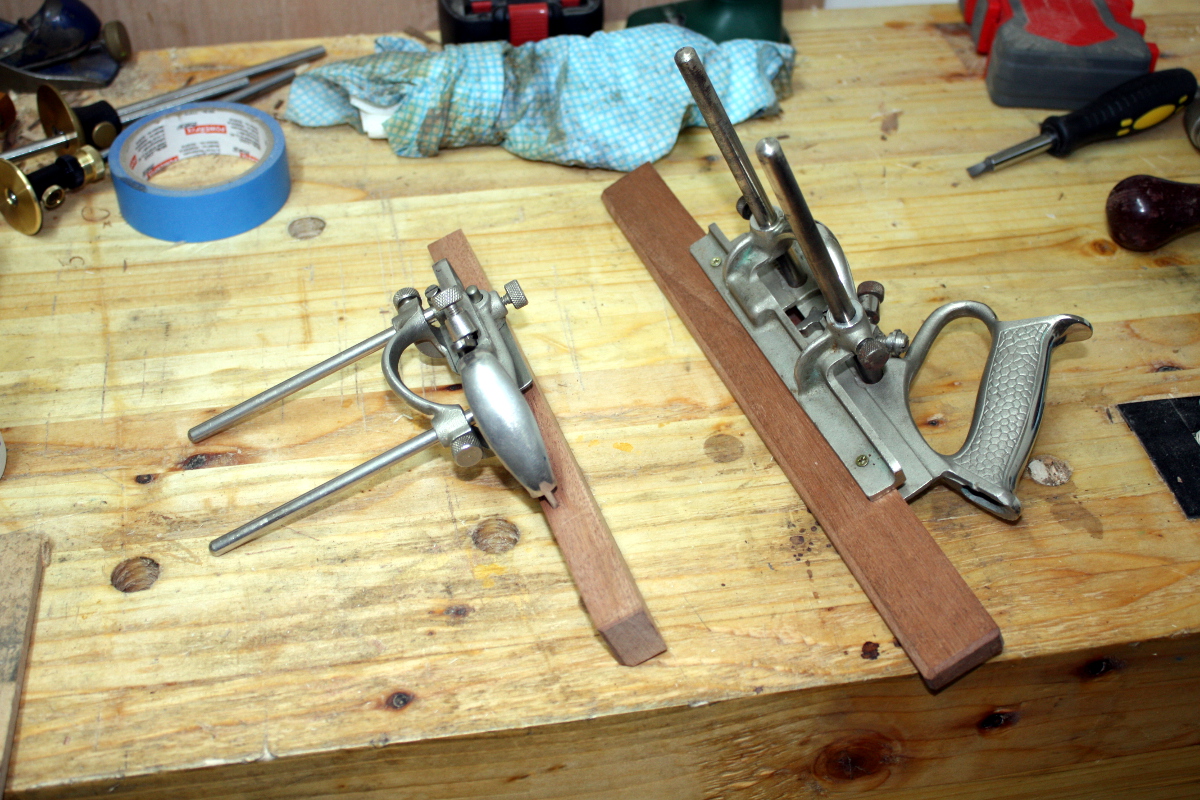
Already had both of these (and a #50 that I need to add a fence to as well at some point), but had to add the wooden fences to them, finally got round to doing that this evening. And then there was the blades, which were horribly manky. They went into white vinegar for a few days, then they were rinsed off and soaked in water and baking soda for a half-hour to neutralise the acid, and then wrapped in kitchen paper and a cloth to dry off (that’s them on the workbench in front of the planes above).

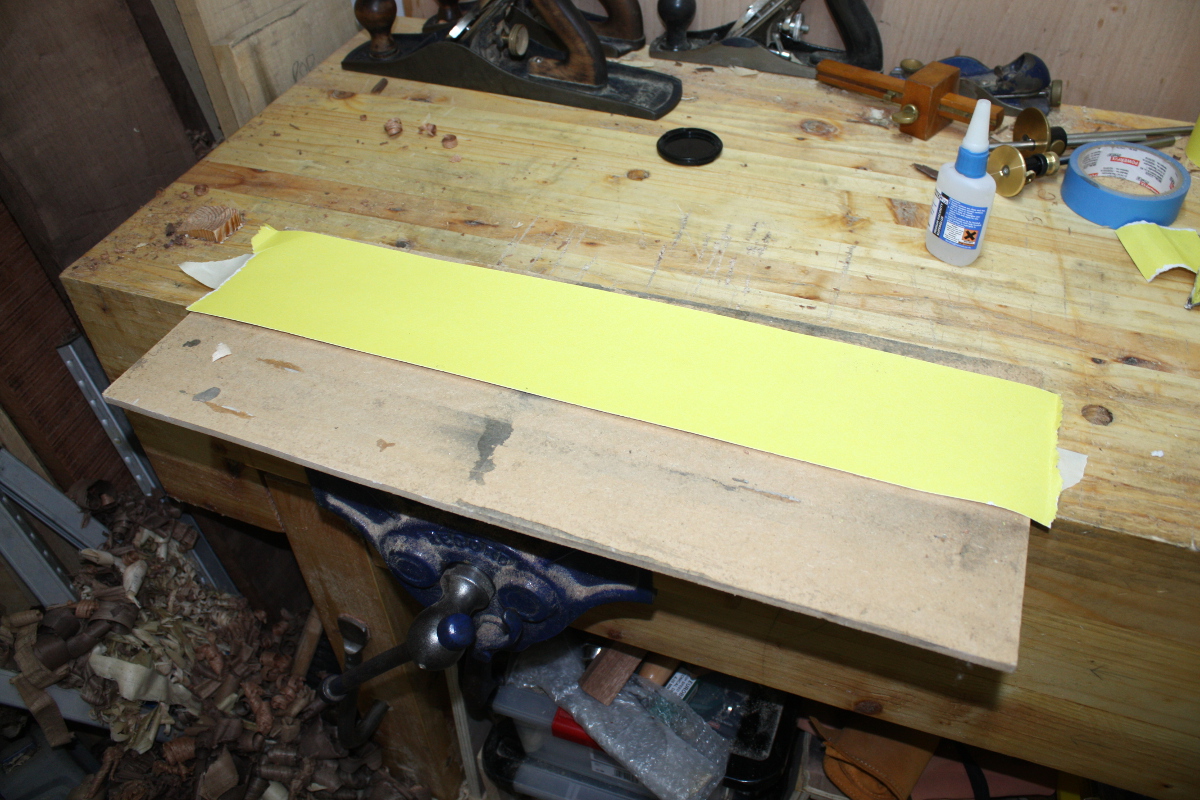
Then it was time for the luthier’s trick. Out with my MDF board that I use for this (it has a small cleat underneath that goes into the vice, and it just keeps the worst of the muck off my bench.

Down with the masking tape.

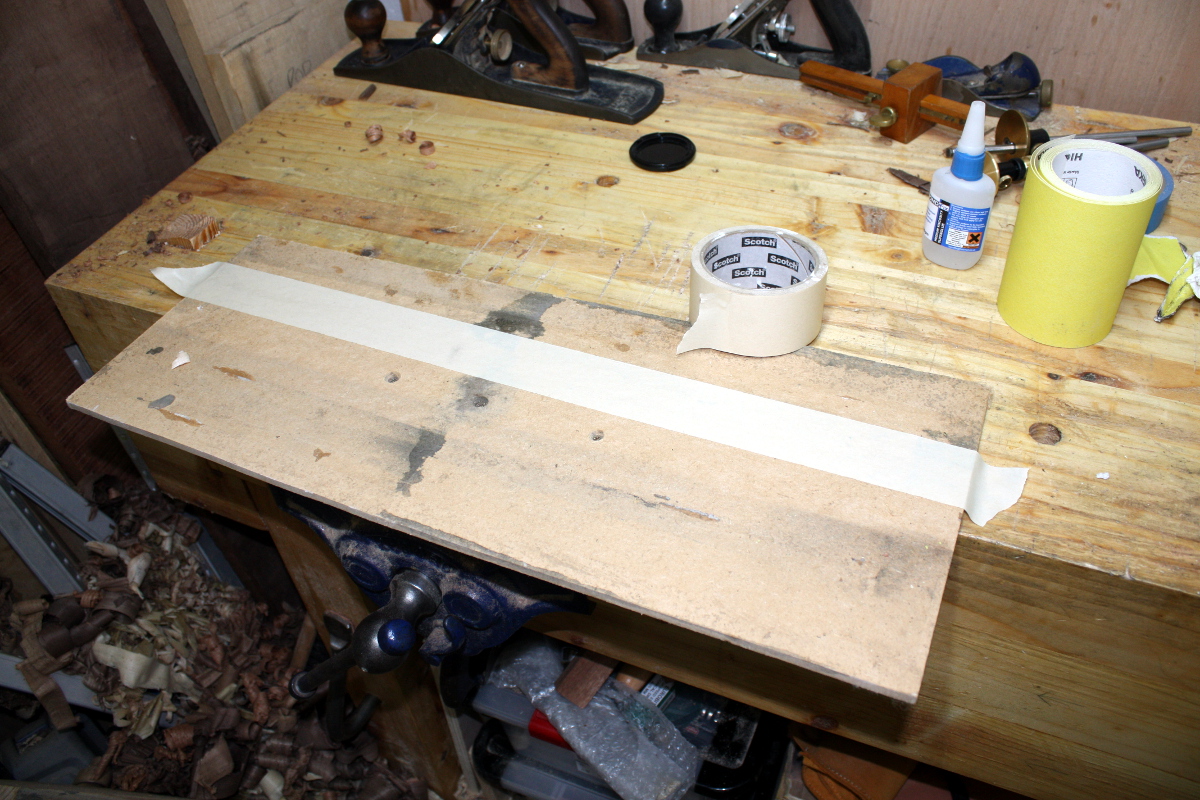
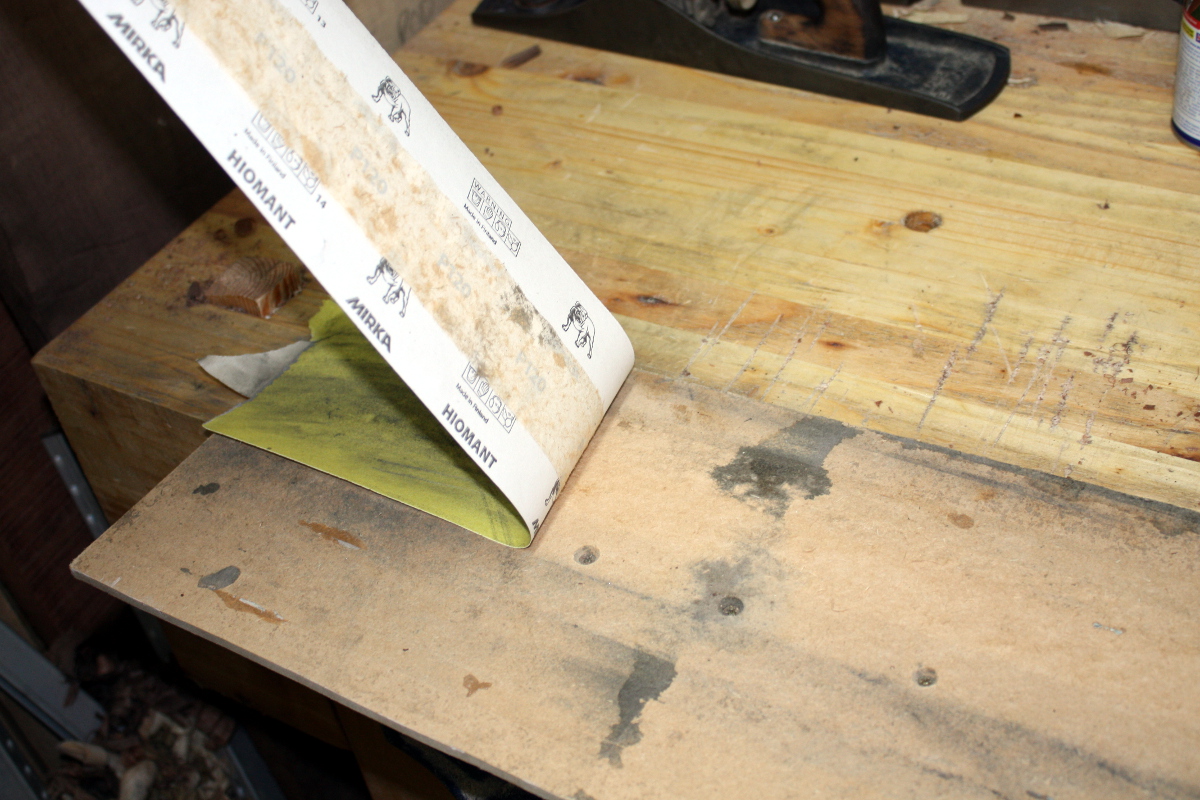
Tear off a bit of 120 grit sandpaper from the roll and dribble some superglue on the masking tape.

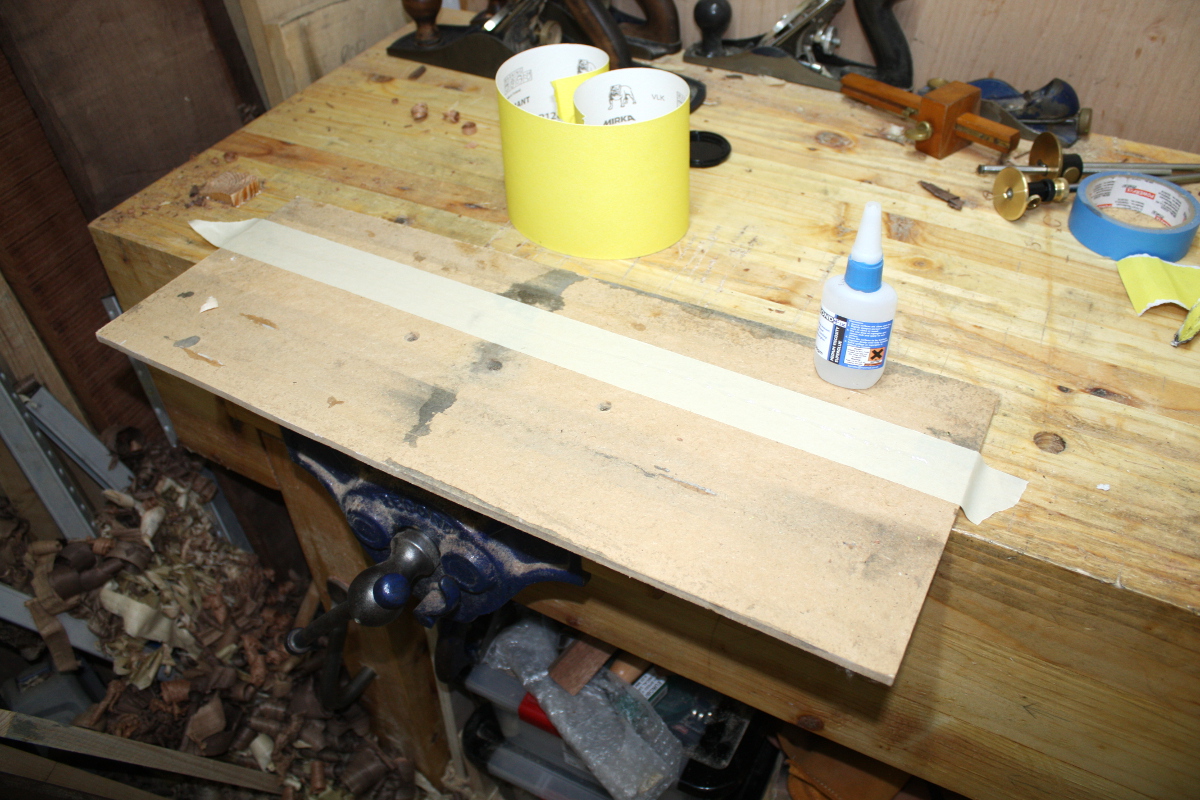
Then flatten the sandpaper down on the masking tape, give a little wiggle to spread the superglue, and hold down for 10-15 seconds while it sets.

And now I can apply as much shear force to that sandpaper as I like, it’s not going anywhere. And I take the set of blades for the #50 and the #40 and get going. Drag both edges along the sandpaper twice, then both faces, then pull back on the bevel once or twice, then rub the bevel back and forth a few times to get the first stage of the sharpening process done (I’ll do the stones later) and flatten the back of the blade for a few seconds as well. Then on to the next blade.

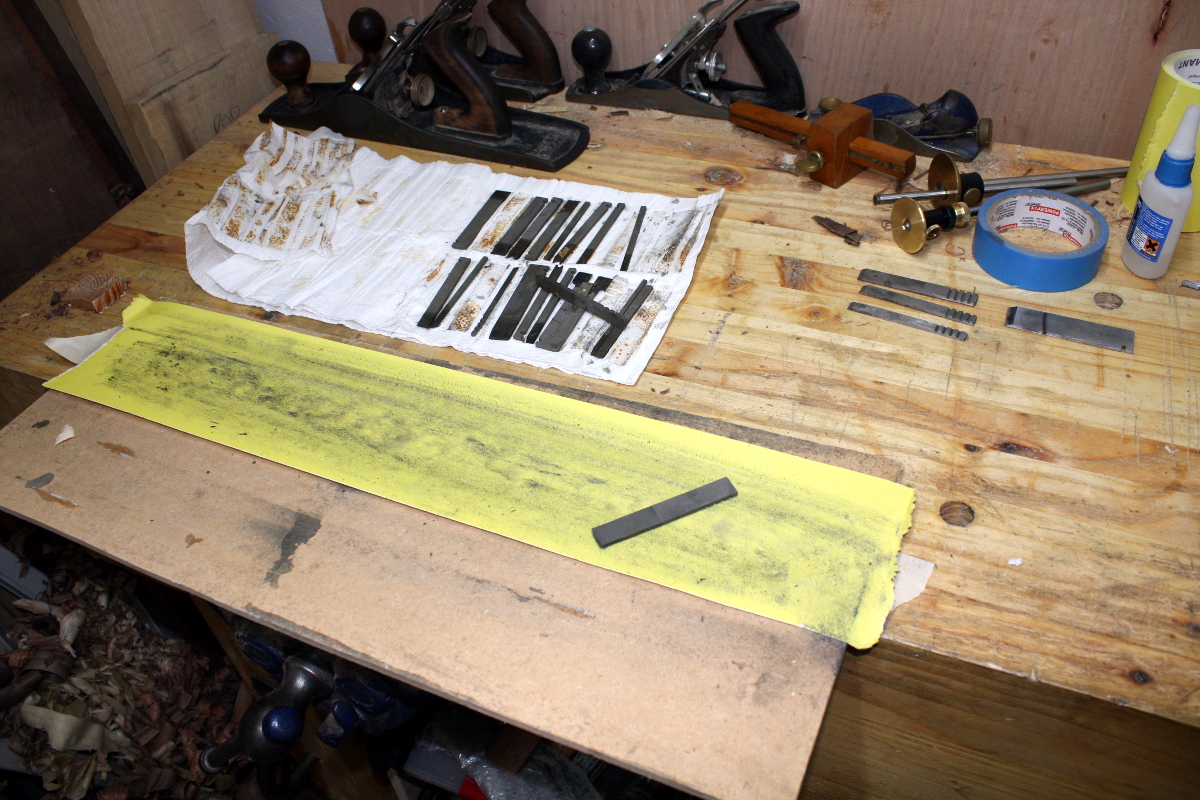
Once done, just lift the masking tape (that’s why I left an inch or so over on the ends, to be able to grab it. Lift vertically and only the masking tape’s adhesive is acting against you and that’s very weak and the whole thing lifts off easily and without damaging the surface.

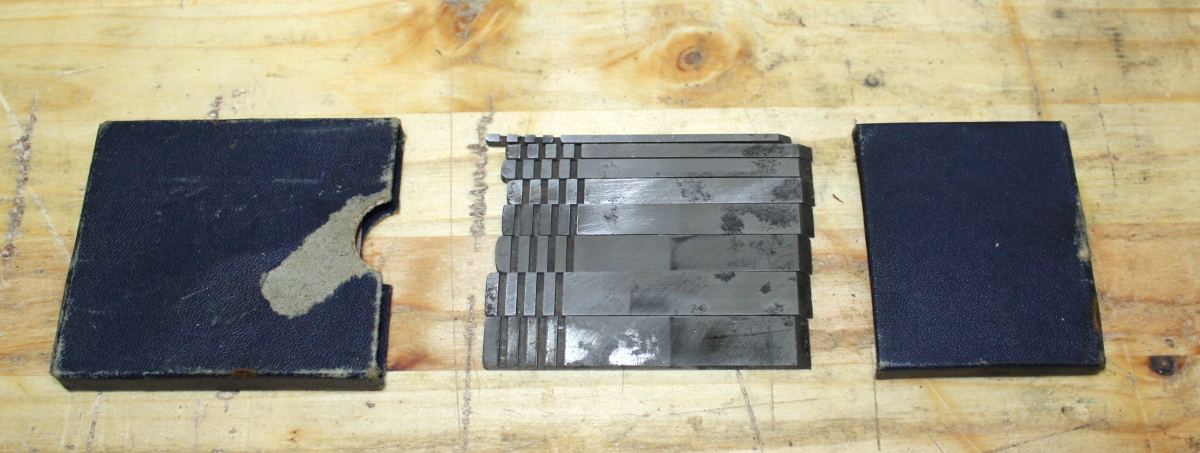
And the #50 blades are clean again and ready to be properly sharpened (but I won’t be using them for this project I think, unless the groove size I need isn’t in the set of the #40).

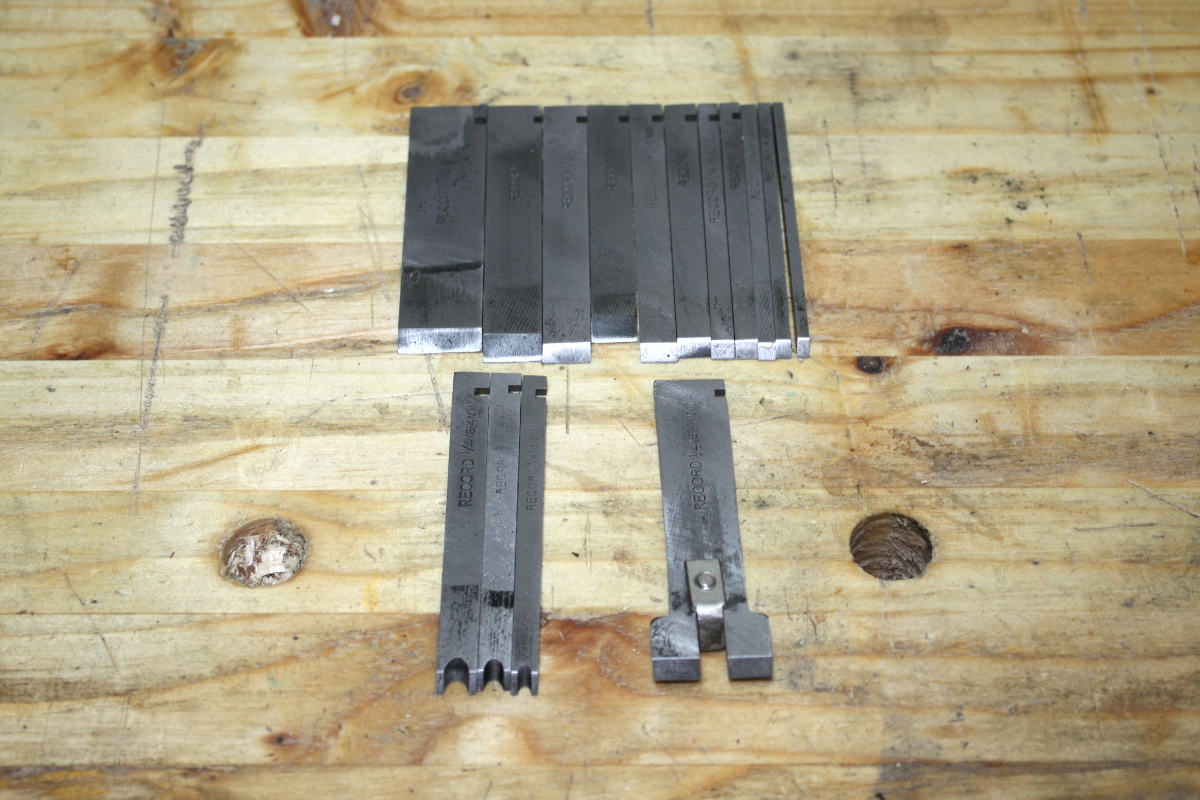
I can see that T&G blade being damn useful in the future though. And the #40 blades come up nicely as well.

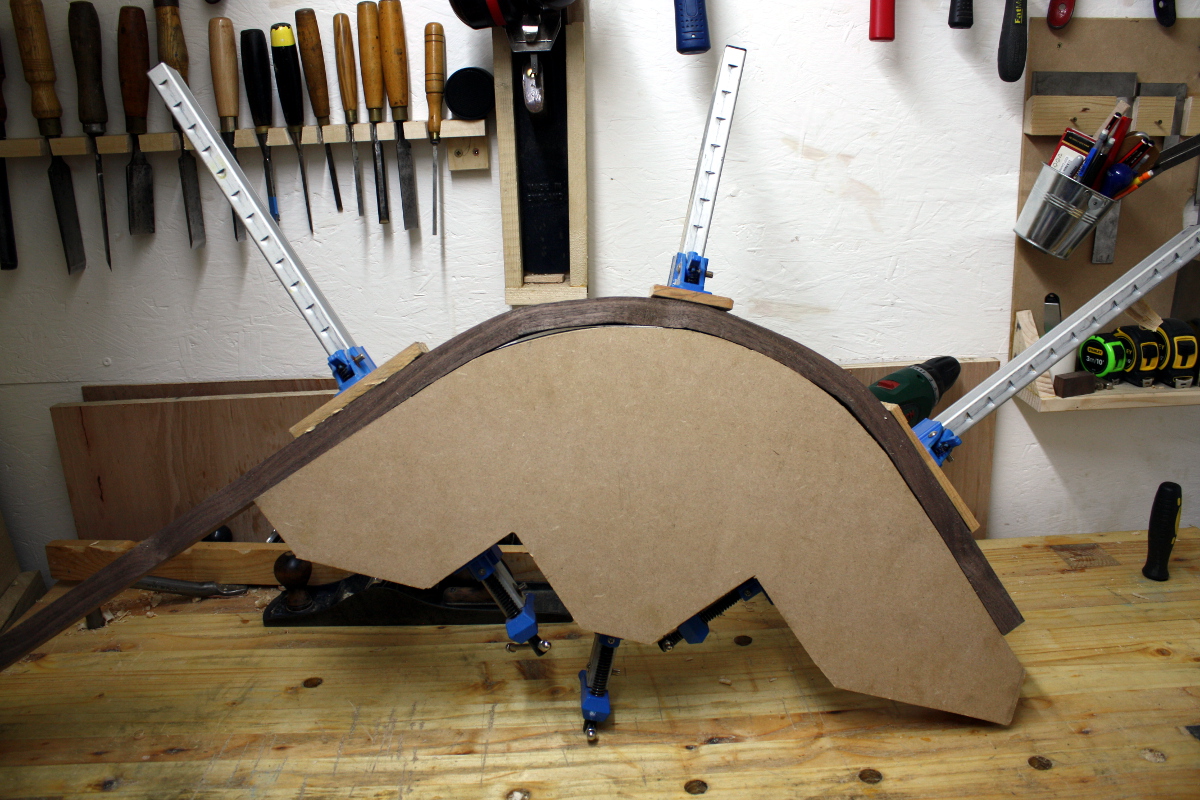
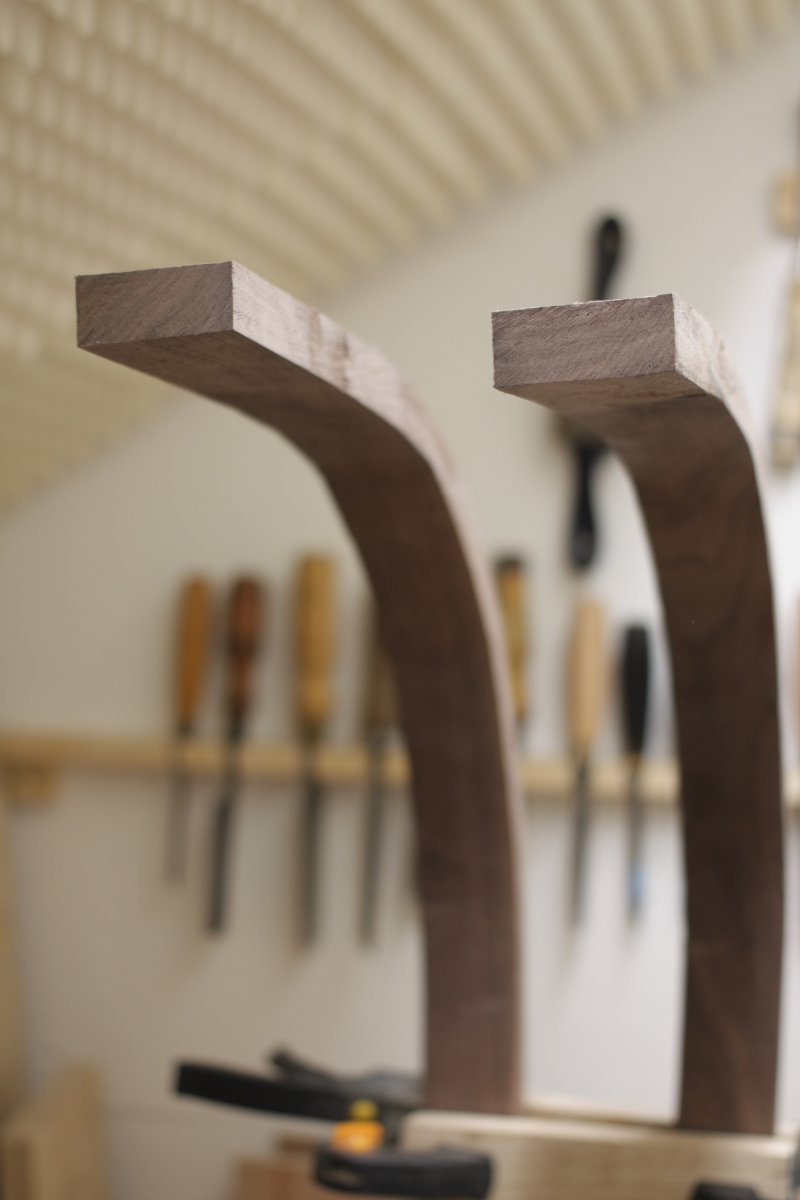
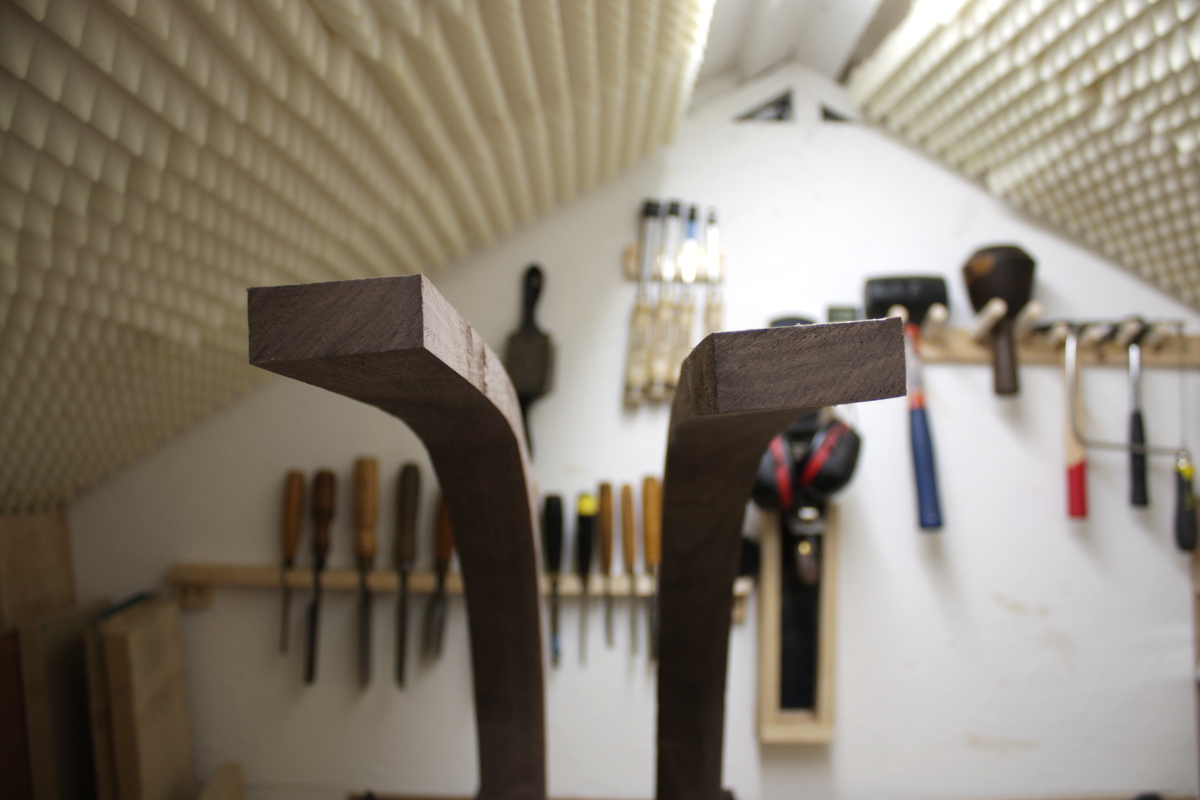
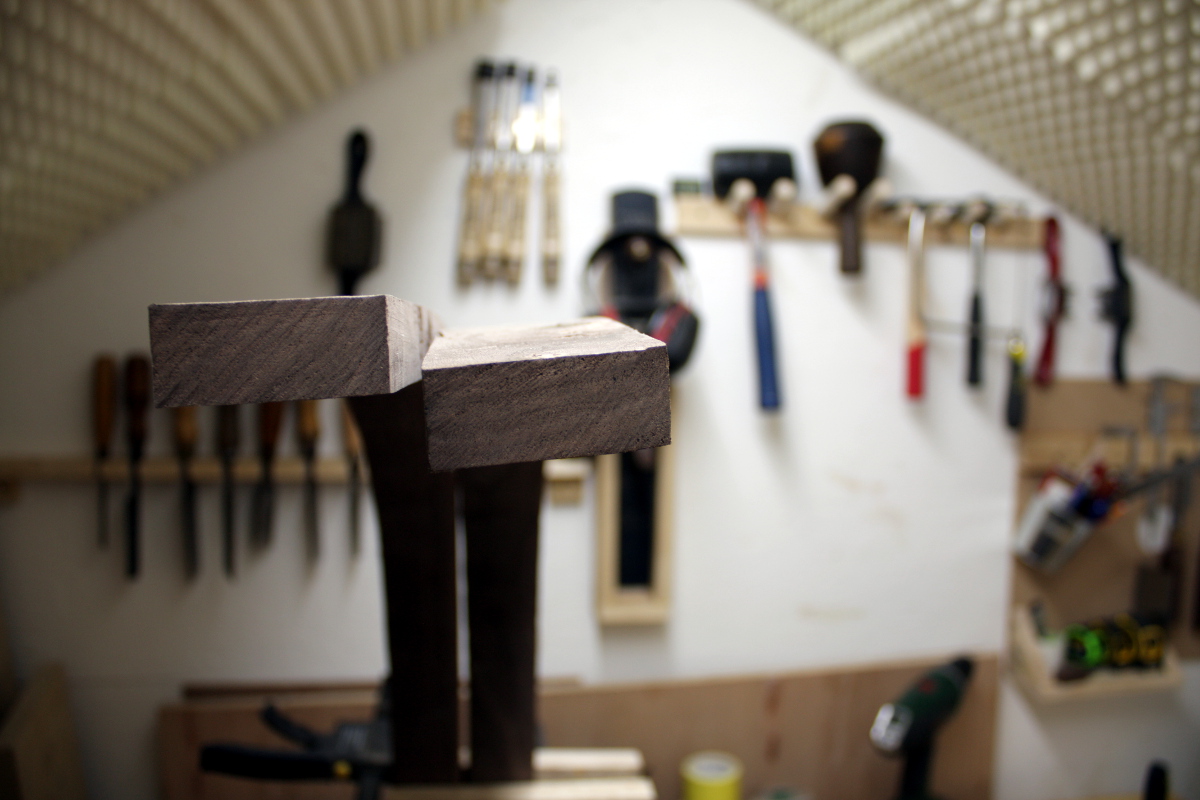
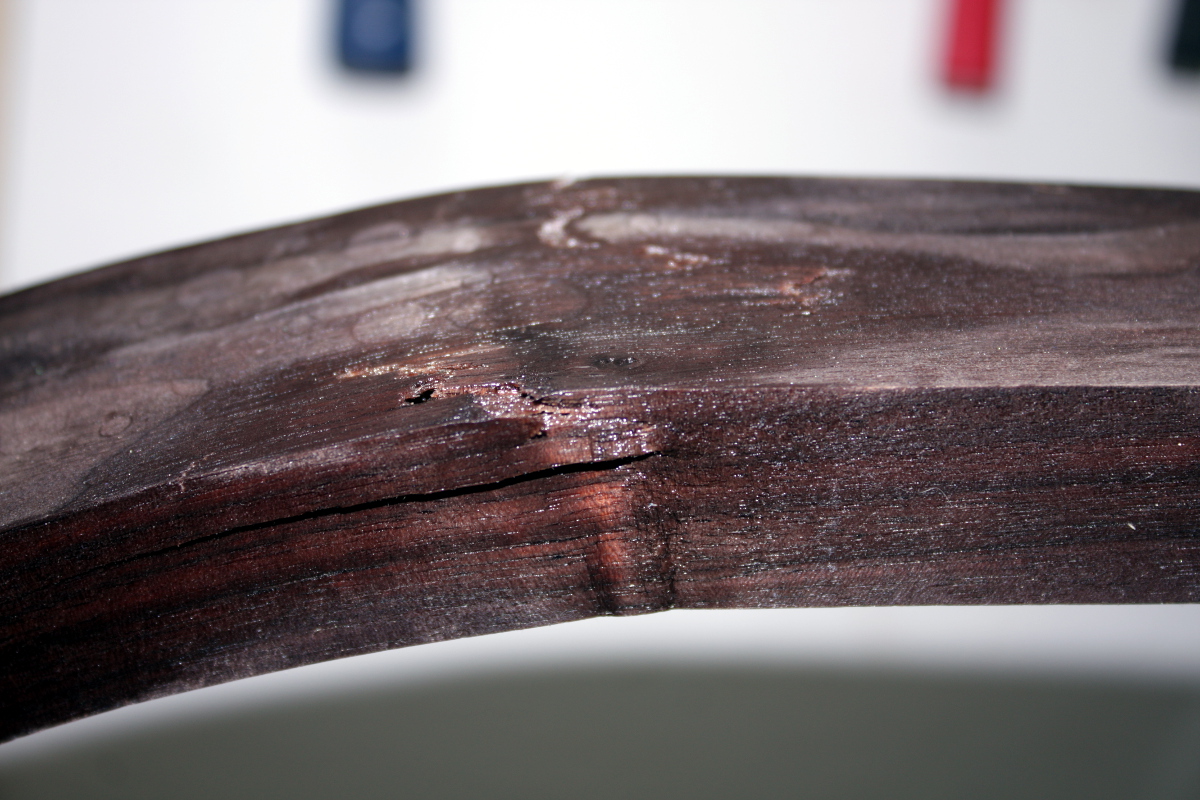
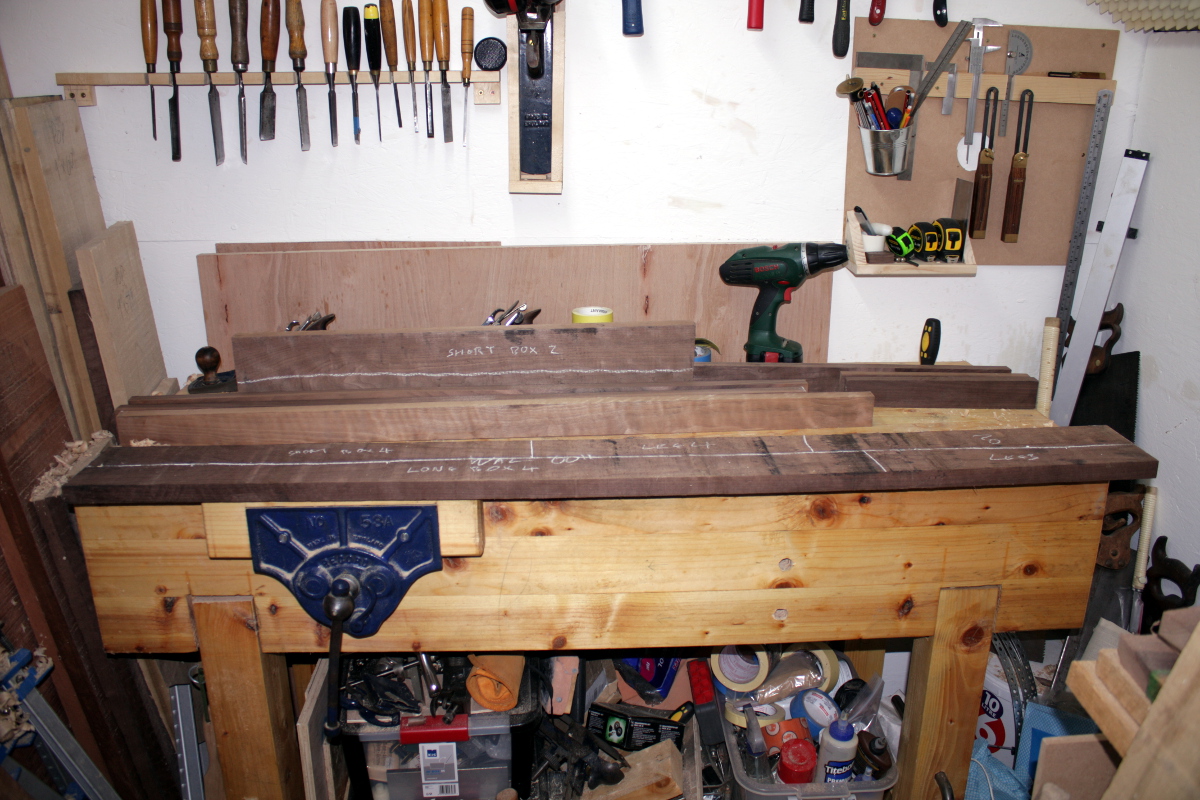
I also found and dropped the semi-scrub blade into the #5½ plane; the next job on the list is planing the last ash panel from rough to smooth. And I am learning that Richard Maguire was right about kiln-dried ash. It looks nice, but it’s a pain in the arse to work, it’s like trying to plane a Jacobs cream cracker. I’ll be glad when that last bit is done. I still have more boards to plane, but they’re walnut and poplar and those are so much easier, I can probably get them all done in a day, and then I’ll have all the component’s stock prepped and it’s on to cutting joints.

I am having to contemplate the mortices for the slats though. Given the timetable, I may need to use the router for them instead of cutting them by hand with the chisel. I’ll give it a try, but the clock is going to be the final decider on that one.


12
Dec 16

Depressing weekend results…

So the weekend started off well. Popped the steambent upright from last weekend out of the drying form:

And the results were very good, the only crack I could find is barely there at all:

And there’s some marks from the compression strap:

And a small defect in one spot on one edge: But those are a swipe from the spokeshave to remove and apart from them it was nearly a perfect bend.
The problem is that the first upright isn’t a perfect match…

The twist I could take care of with planing, I don’t need the full thickness on those sections, but the difference in curvature could introduce stresses I don’t need in the piece, so the idea was to steambend another upright this weekend using the last of the plastic tubing I had and pick the best two of the three.

But the compression strap slipped mid-bend and it ended badly 🙁

Utterly unusable scrap, and I didn’t even bother putting it on the drying frame.
My solstice holidays start at 1700h on Wednesday evening so I might have time to try one more time, if I could get the polythene tubing fast enough, but for now I have to assume I have to make what I have work. It’s not the worst job in the world, it’s just that if you have a 100% and a 90%, the 90% is always going to look bad by comparison 😀

But it was a pretty crummy result for a weekend, so I just marked out the last of the boards to cut and plane and left it at that, and spent the rest of the time sharpening tools in prep for stock prep come Monday evening…

One short rip, one long rip, a few crosscuts and some planing on walnut – that’ll be pretty easy, walnut is lovely to work with.

The panels need their final crosscutting to length and then I need to figure out how to do the grooving for the frame-and-panel construction (my #40 got the cleanup-from-ebay purchase treatment finally this weekend with the wire wheel for the worst of the corrosion and the blades are still in the vinegar awaiting their cleaning and sharpening).

And then there’s the poplar for the drawer and runners, and another short walnut board for the back support. Not expecting much trouble here either, though there might be a long rip cut on the poplar depending on how things work out. There is also another side panel and an end panel of ash however, and that kiln-dried ash is proving a bit of a bugger to plane. Sid got a workout getting the larger panel to just be free from twist, I’m just glad there’s no major cupping or bowing going on there.

And then there’s the drawer front. I was thinking ash initially, but a while working with the kiln-dried stuff is giving me second thoughts about doing it in that because carving blind dovetails in that strikes me as being challenging. I could do it in walnut, but I’m not sure which board I’d use; and then there’s a sapele board of the perfect width sitting right there. But it’d be the only piece of sapele in the whole thing and I’m not sure how it’d look. Decisions, decisions. Meanwhile, tick-tock, the delivery date looms…


edit: At least I’m not the only one having bending issues


03
Dec 16

Properly bent

Right, Saturday morning so on with steambending the second upright.

img_0034a

Mise en place all done. Now, on with the polythene tube…

img_0039a

And now put the compression strap in place, clamp it at one end and get the “start bend here” line matched up with the initial straight part of the jig.

img_0040a

I’ve just clamped the end block here temporarily, I’ll remove those before steaming and reclamp them before bending (I want the excess water to be able to drain out of the tube readily, and it can’t do that when the end is pinched by the clamps).

img_0041a

The idea here is to prevent that end block from twisting out and away from the piece because if it does, the compression strap won’t be in compression and the outside of the piece will splinter.

img_0044a

And steam on!

img_0047aUnder covers, though, because it’s bloody cold out and that’ll suck the heat right out of the piece which is not going to help things.

Now, while that steams for two hours, on to the next job, the large top panel in the bottom box part of the crib.

img_0049a img_0050a

Four feet by one foot of rough-sawn ash with a bit of twist in the second board. That’s rather a good lesson in “why we invented powered planer/thicknessers”

Two hours (and some tea) later, it’s time to bend…

img_0052a

The handy thing (well, amongst several things) about this method is that the bend doesn’t have to be done in under 20 seconds. This took nearly 20 minutes in total. First off, ensure the two end blocks are all clamped firmly in place.

img_0057a

And then it’s just musclepower to grab the piece and pull it to the form, adding the clamps as they fit (and towards the end, you pull the piece in using the clamps, just slowly turning the handle to crank the piece in). img_0055a

And make sure the interim points are pulled in as well.img_0059a

And note that the steam’s still going during all of this. And you leave it going for a while longer (and you put the covers back over it when it’s bent fully too). In this case, it got another half hour or so before the water ran out and then everything stayed on the jig cooling off (under covers so that it didn’t cool too fast) for another two hours, and then all the clamps come off and the piece comes out of the poly tube.

img_0060a

This is annoyingly good. Annoying because there were no splinters or cracking, which means I now have one upright that was perfectly bent and another that was imperfectly bent. Do I match the two or do I bend a third and use #2 and #3? It’d cost another week…
img_0062a

No splintering but some deformation of the surface because I forgot to put the leather between the compression strap and the piece. There’s always something. Well, we’ll let it dry for a week and do some spokeshave work and decide then I guess. Meanwhile, time to take it from the overbent 105 degrees to the final 90 degrees on the drying form.

img_0064a

One clamp to start, crank it in a bit and let the two ends slide as needed, then add more clamps to tighten everything up.

img_0065a

It’s a pretty good fit to the curve so far. Only minor gaps.

img_0070a

And the form isn’t 100% perfect itself, so this is good enough. And the measurements of the piece match within a few mm to the earlier piece.

img_0076a

Now I guess we just wait for the new piece to finish drying and then do proper comparisons and see if we can get these two to match and use them. They’re both tall enough at least. Now, back to finishing off the top panel…

img_0077a

Okay, that’s way too large and too much work to do for planing. Time to rough-cut it down to closer to the final size.

img_0081a

img_0086a

And that’s a bit more manageable. I’ll finish this off tomorrow. And then there’ll just be another three ash panels and one drawer front to do. Yeesh.
And then there’s the frames to put them into as well, but I can’t really tackle those until I have the uprights as they form two of the four vertical frame pieces (there’s a fifth but it’s not involved in the panel layout).

I was reading through Schwartz’s The Anarchist’s Toolchest over the last few weeks, there’s a neat trick he does for frames and panels in the toolchest that I might steal for here, which is to cut two grooves in the frame and the panel pieces instead of one groove and one tongue – then you offset the panel towards the outside of the box and the side wall of the panel’s groove acts as the tongue to the frame’s groove; and the other side wall of the panel stands proud of the frame. And in this case, I’d plane a bevel around the edges of the panels to give a 3-D effect. Have to get the #40 plane up and running for that though, and it’s currently got some corrosion issues…