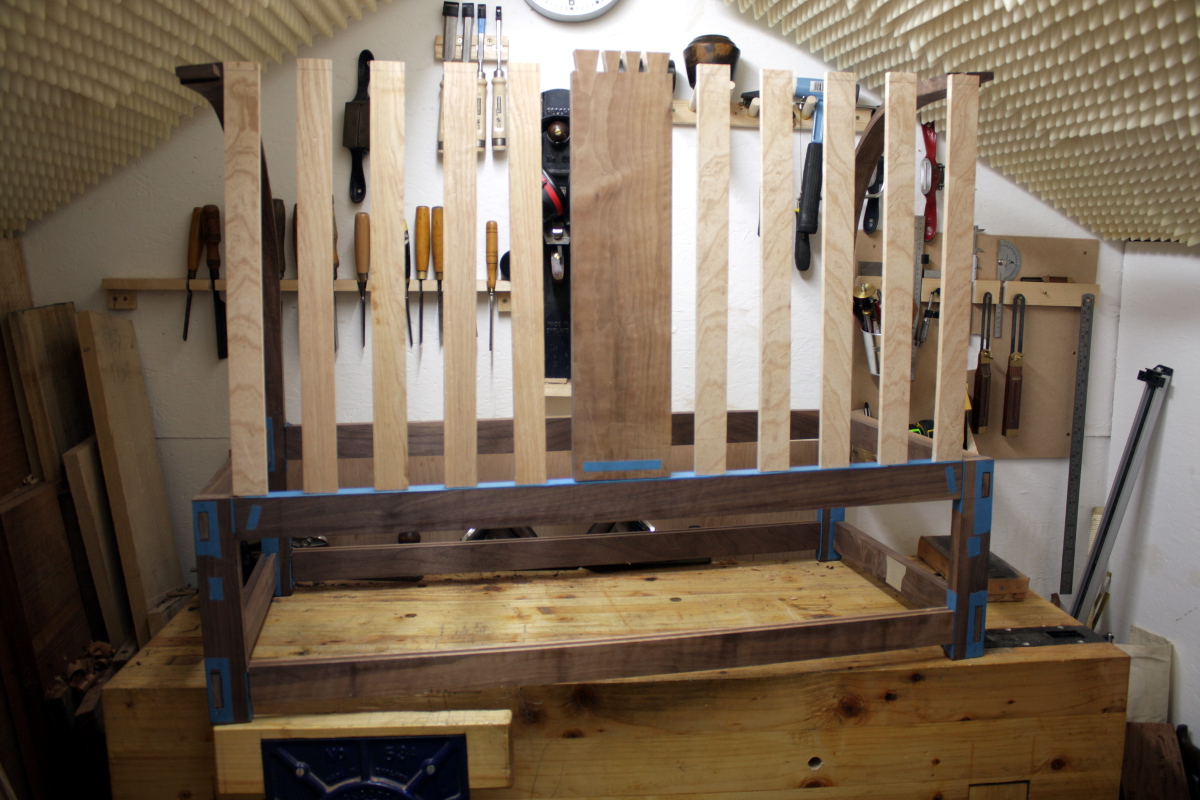
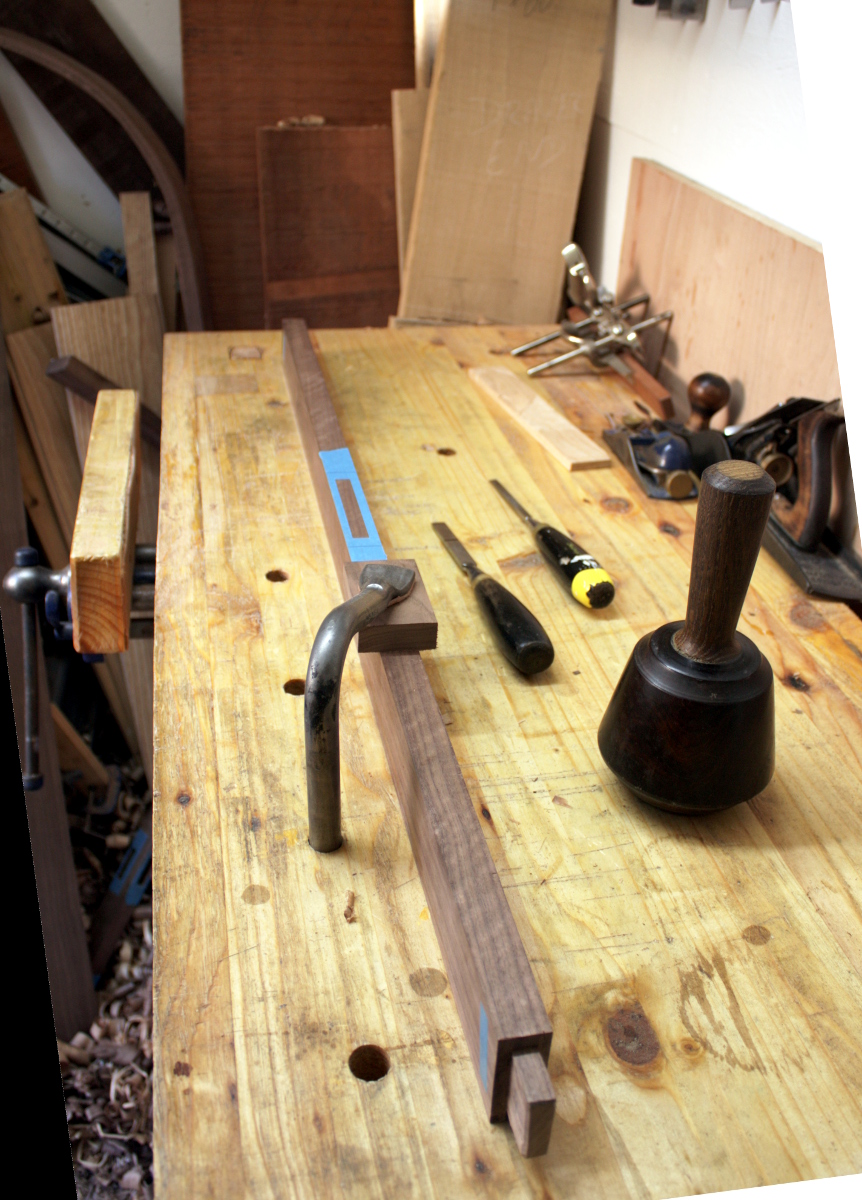
Full day in the shed today, trying to get the cot finished. Needed to get one final assembly in order to mark off the curved tenons on the side slats.

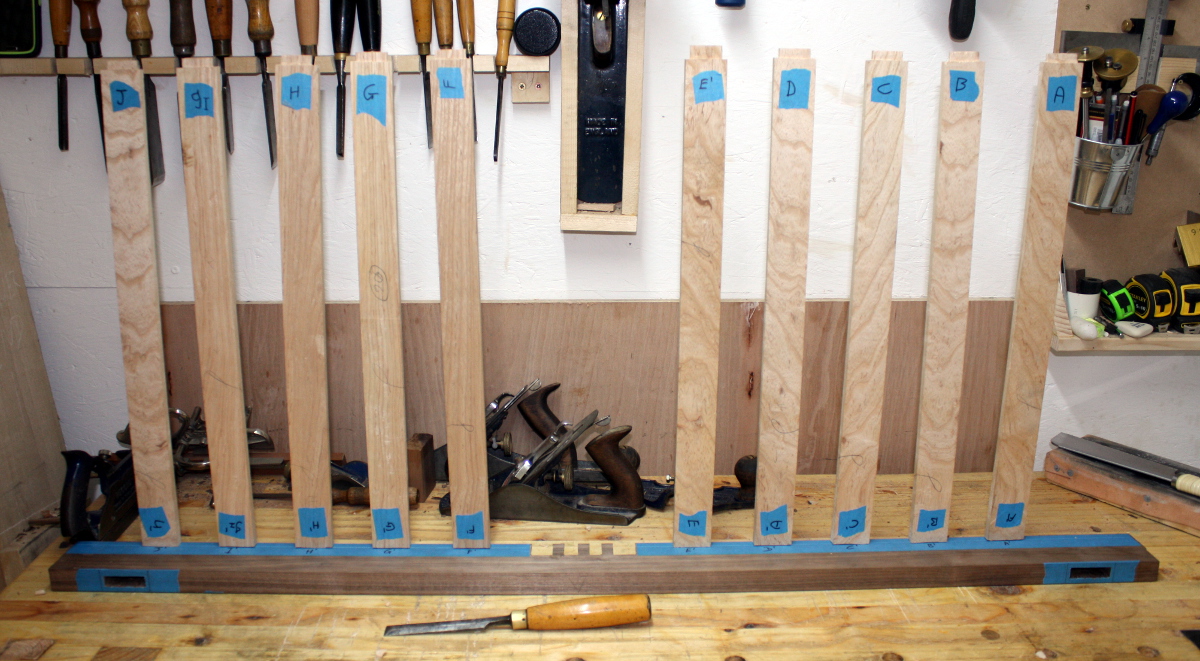
Mental note – never build something larger than this in the shed. The amount of time lost because of having to assemble it outside (meaning needing to wait for a dry weekend because it’s dark by the time I get home during the week) has been a complete pain in the timetable for this. But most of the work on the frame is now done; the drawer runners are jointed at one end and the layout is marked up on the other end, the side slats are marked up on the curved end and have the tenons and mortices cut on the other end. The groove for the top panel needs to be cut in the long stretchers, that’s a half-hour job at most. After that, everything is finishing and fiddling.
Well, and the drawer. But that’s not exactly going to be tough, the longest part will be thicknessing the material from an inch down to three-quarters of an inch; it’s poplar and with Sid, that should take less than a half-hour. A sweaty half-hour, yes, but you can’t have everything…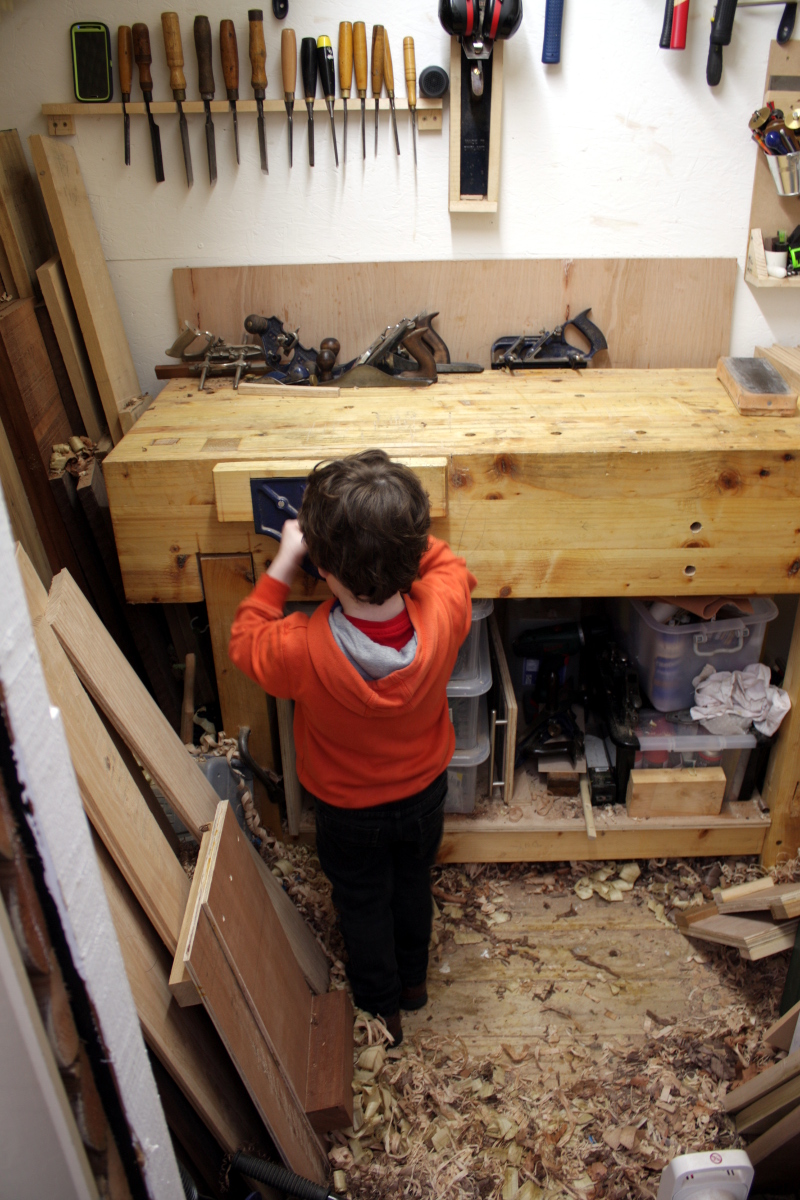
Surprise inspections keeping me on my toes…
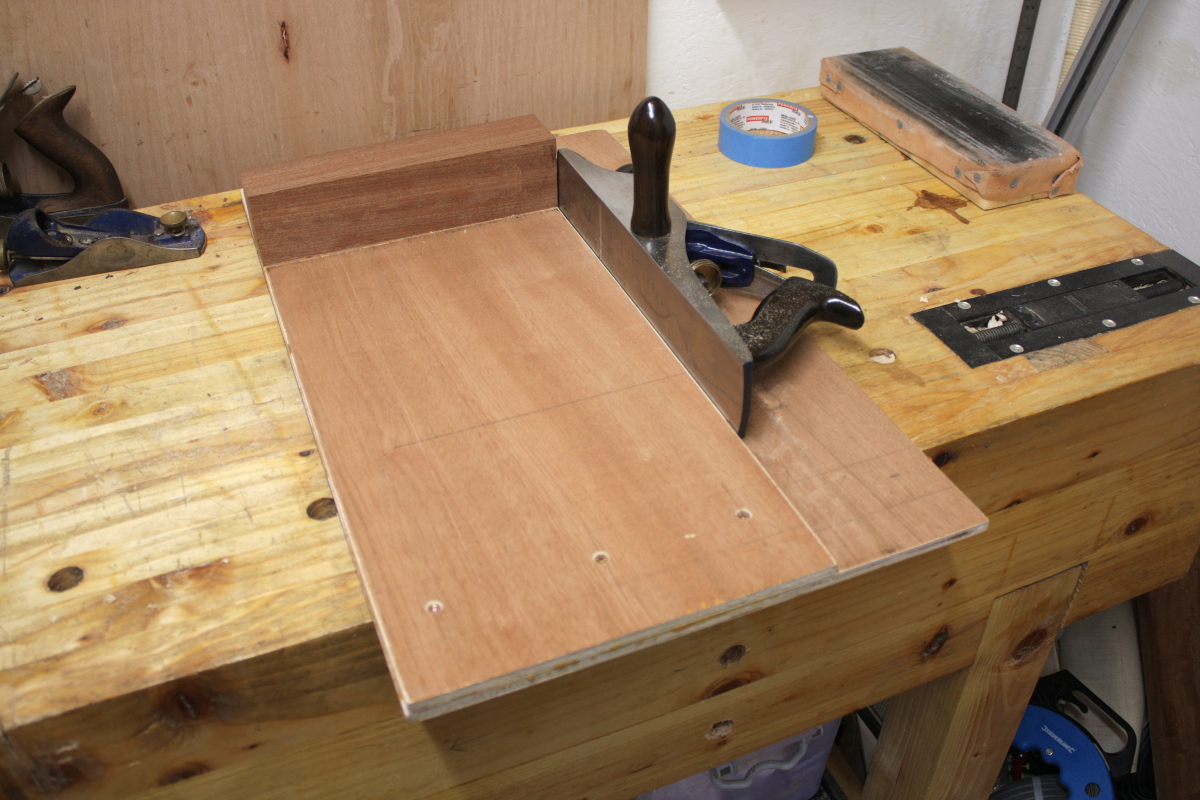
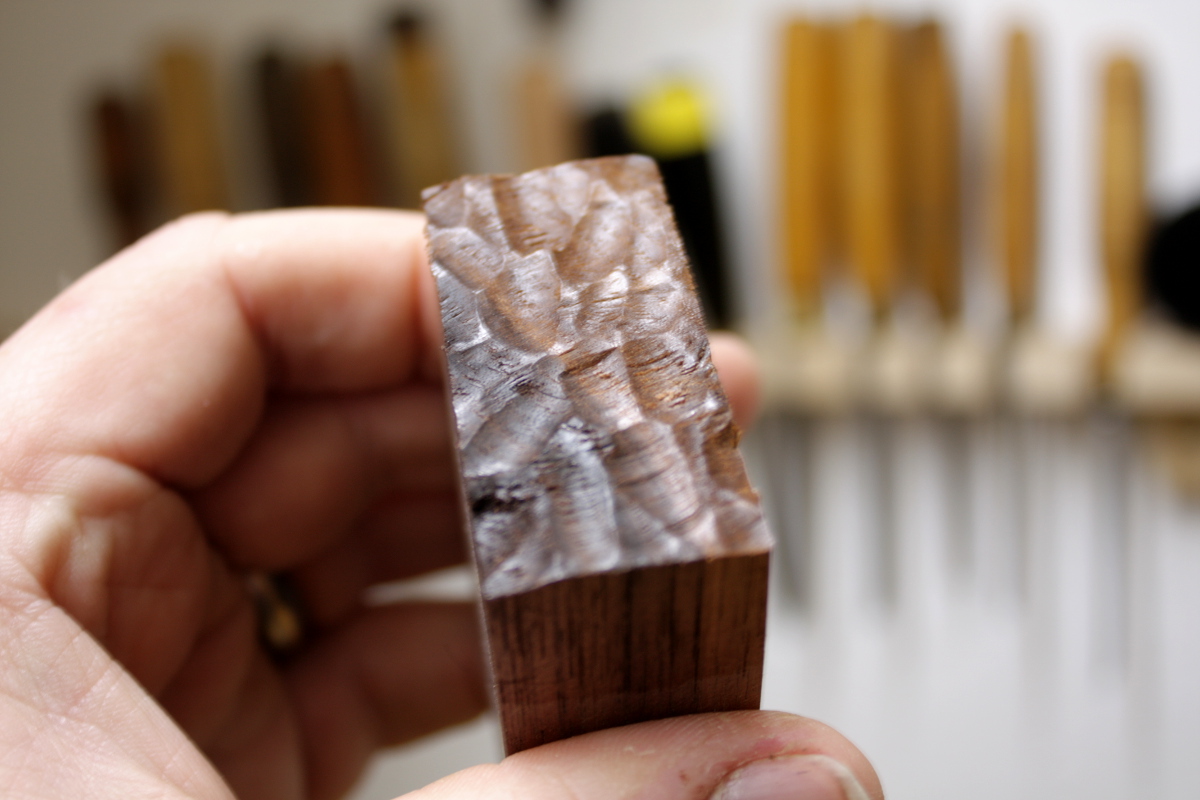
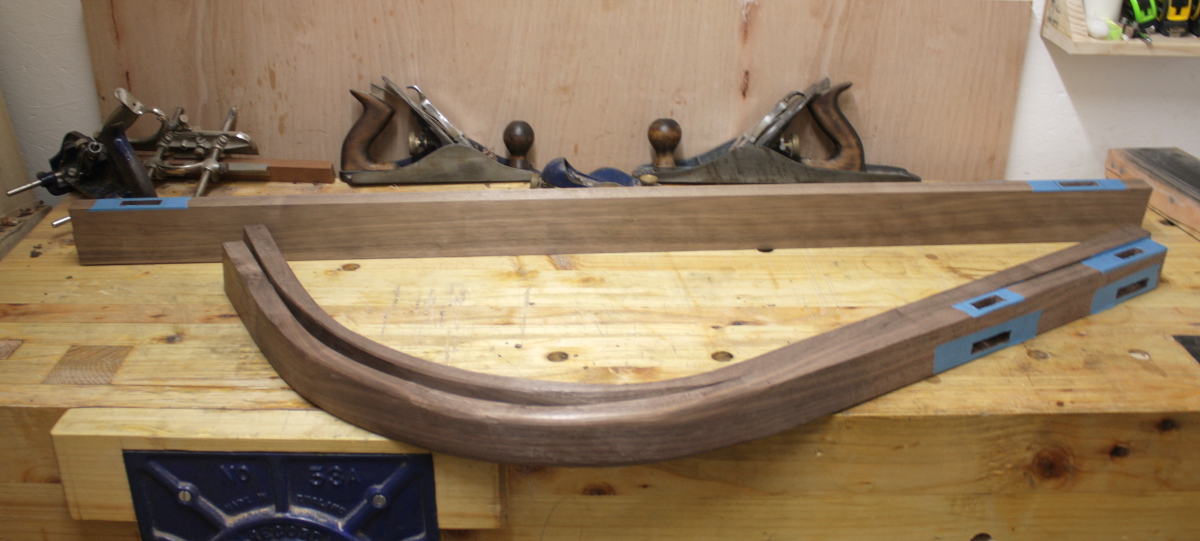
The curved bits were probably the most demanding of this whole build – steambending is nifty, but get details wrong and you spend an absolute age fiddling to correct the flaws. And trying to get a smooth surface on the curved pieces has been a pain.
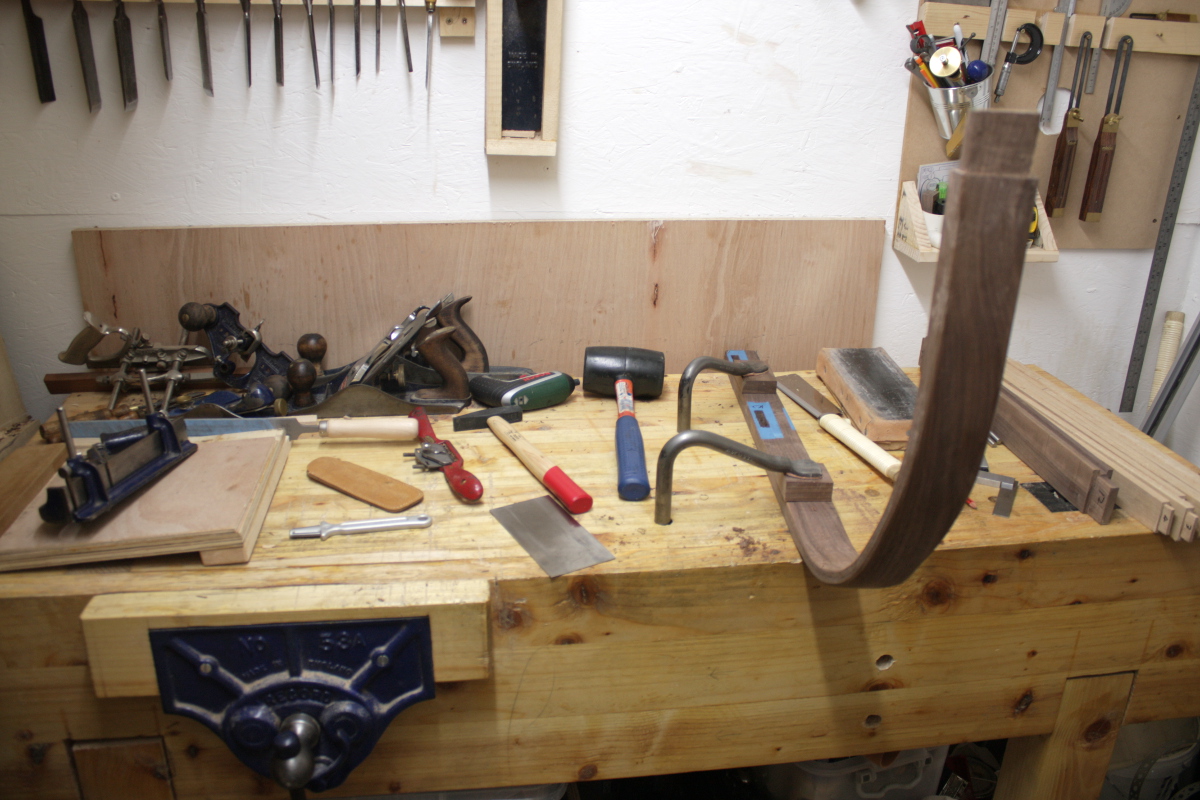
It’s spokeshave and scraper all the way with these things, I can’t get a bench plane onto them at all really. It’s interesting to learn new tools, but it’s not exactly a fast method. But there’s not much work left to do there at least.
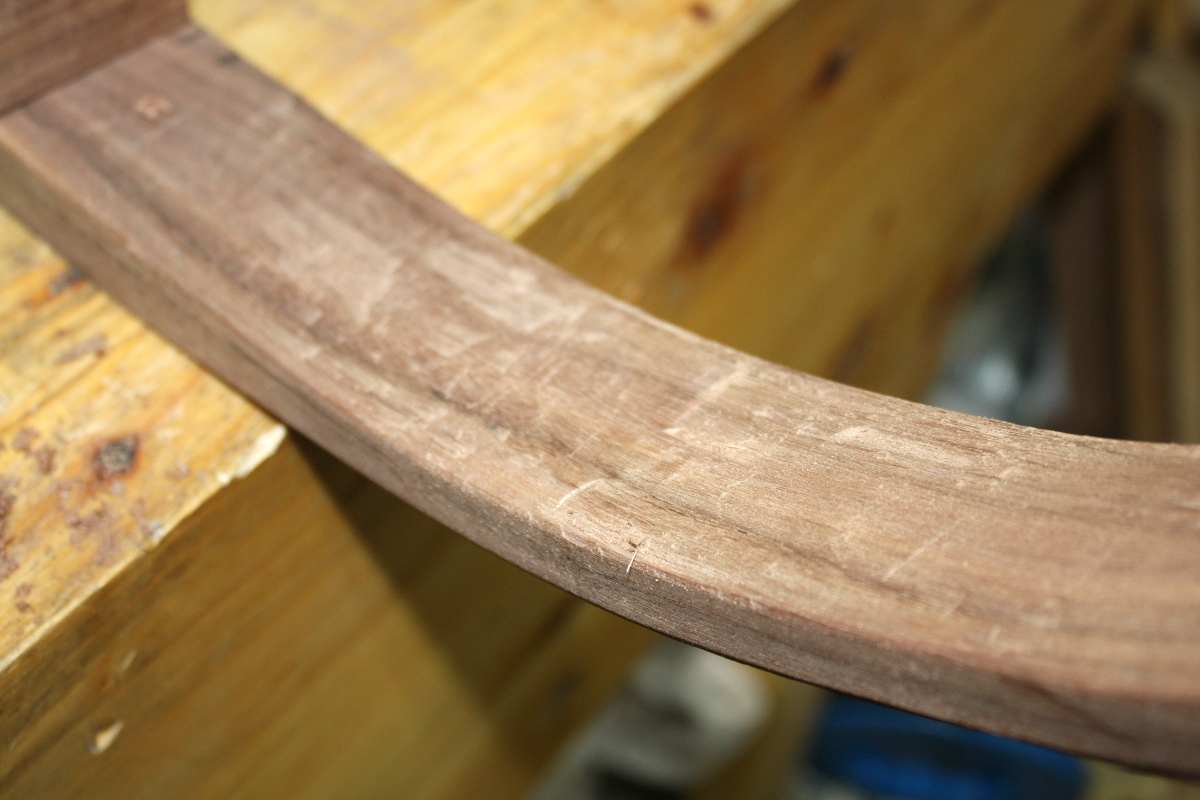
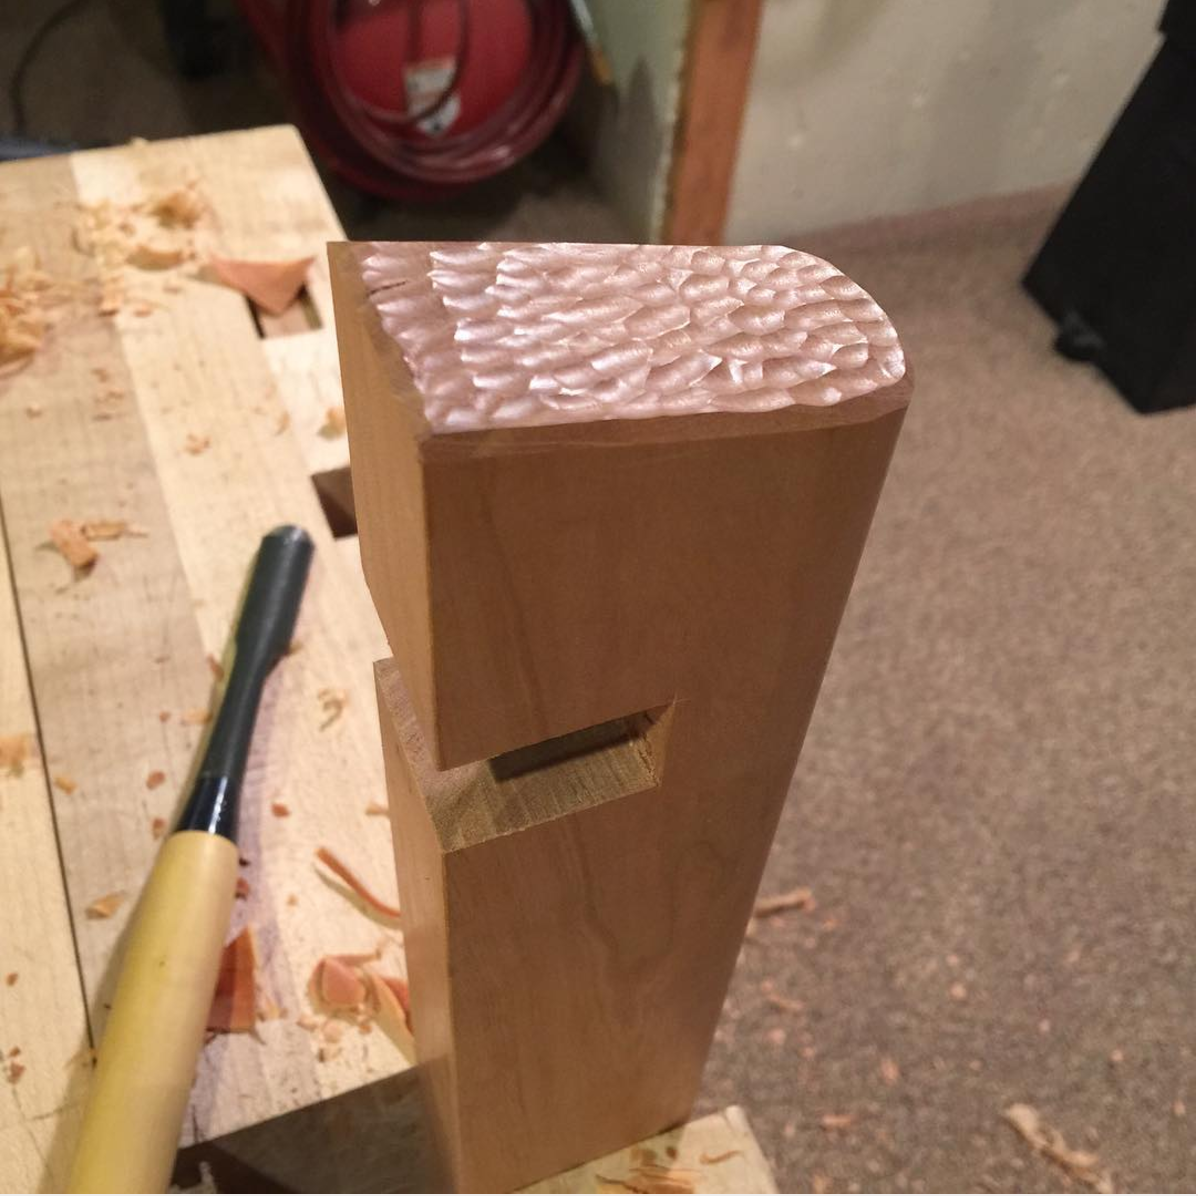
It doesn’t photograph well, but it’s smooth to the touch. And with rounded corners – that’s something else I need to do to every exposed corner, ensure it’s rounded over. It’s done for all the slats at the back and for about a third of the frame, but it has to be done for everything. Happily, it’s a fairly fast process, it takes the longest on the slats because the rounding is quite pronounced, but on the frame it’s a lot faster because on most of the frame, you just want to break the sharp edge rather than round it all over.
To-Do List :
Measure off side slats (because they’re going into a curve, this is going to be fiddly) andcut tenons.Cut mortices for side slats.- Cut grooves for top panel in long stretchers.
Joint drawer runners into the bottom end crosspieces.- Thickness the boards for the drawer.
- Cut the drawer front to size.
- Cut the drawer back and sides to size.
- Cut dovetails for drawer.
- Groove drawer with #43 for plywood base.
- Assemble drawer.
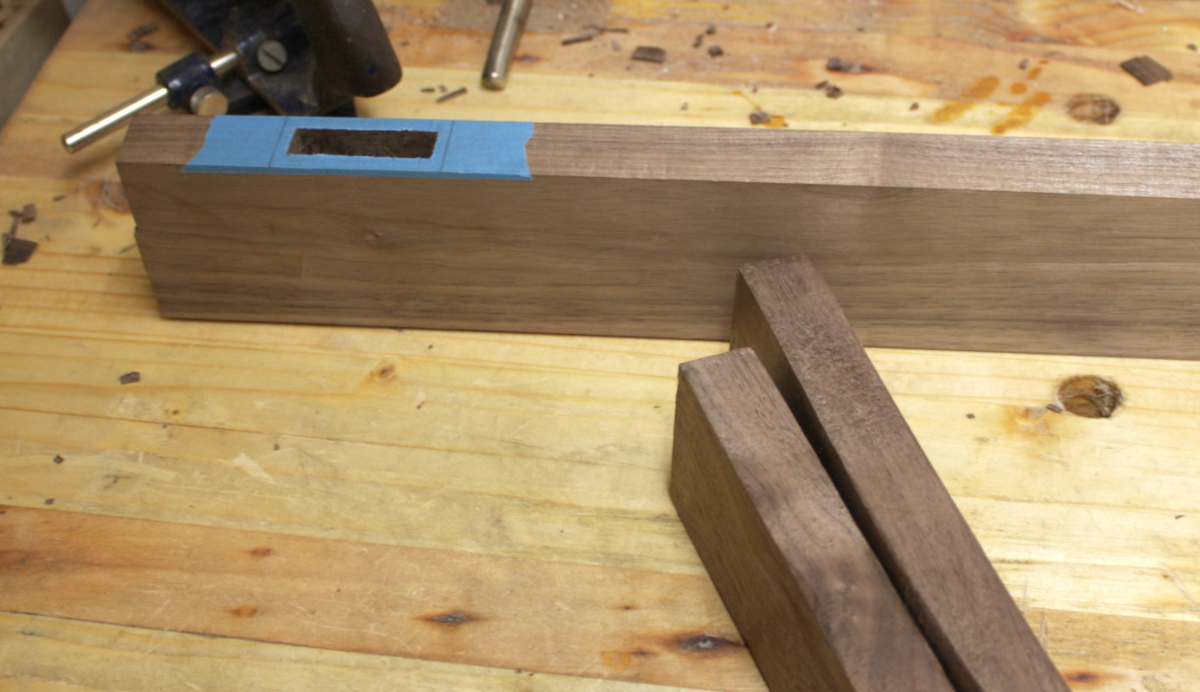
- Drill for drawboring on the M&T joints that I’ll be drawboring (the long rail to upright ones and probably the back support and top crossbar joints).
- Make drawbore pegs.
- Finish plane all parts.
- Finish walnut pieces with a few coats of shellac.
- Paint drawer with milk paint.
- Assemble and glue-up and drawboring of everything.
- Finish entire assembly with several coats of Osmo wood wax.
- Close door of shed, lock it, walk away and never do another project with a deadline ever again.


