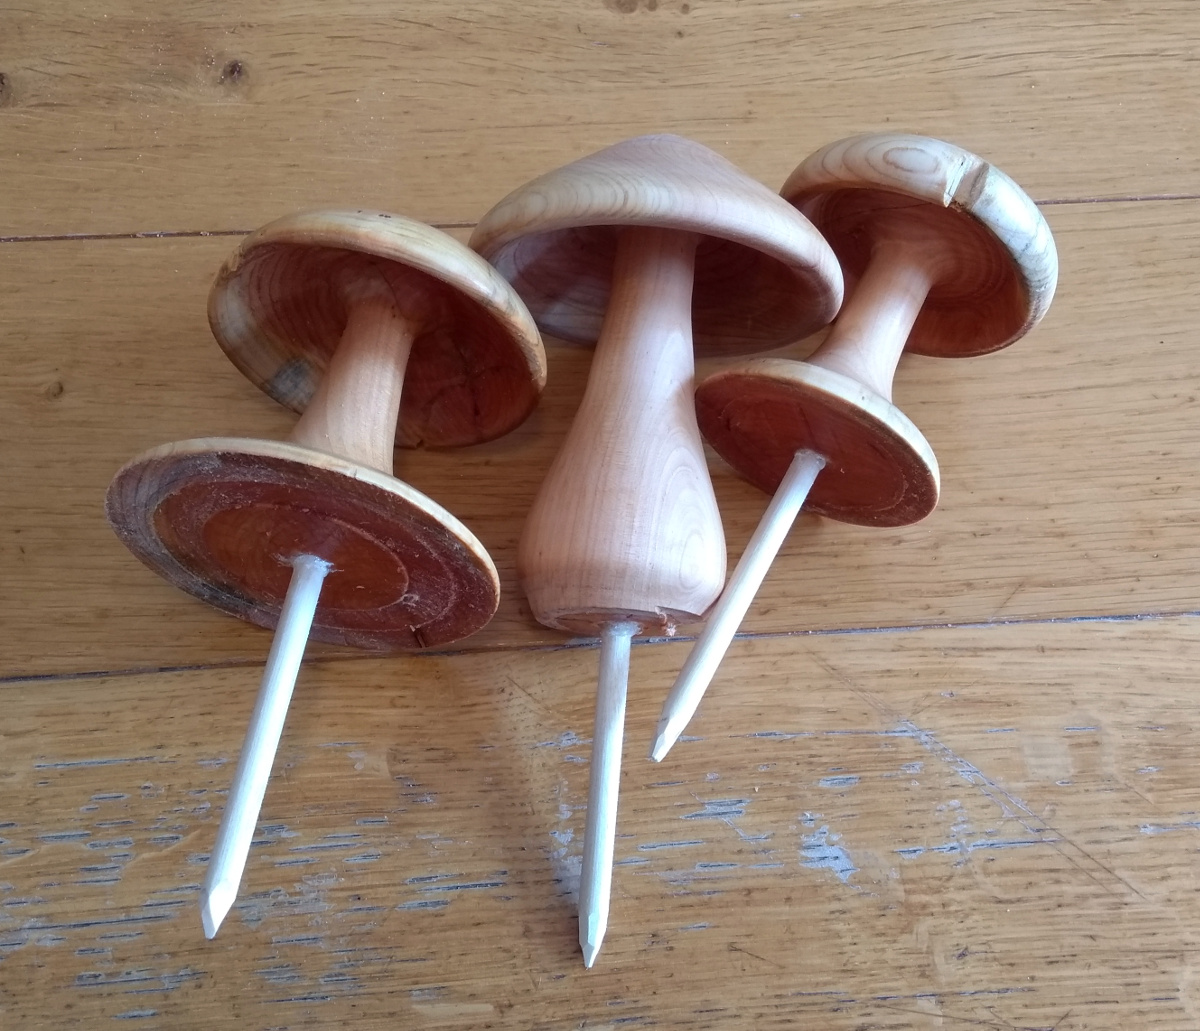
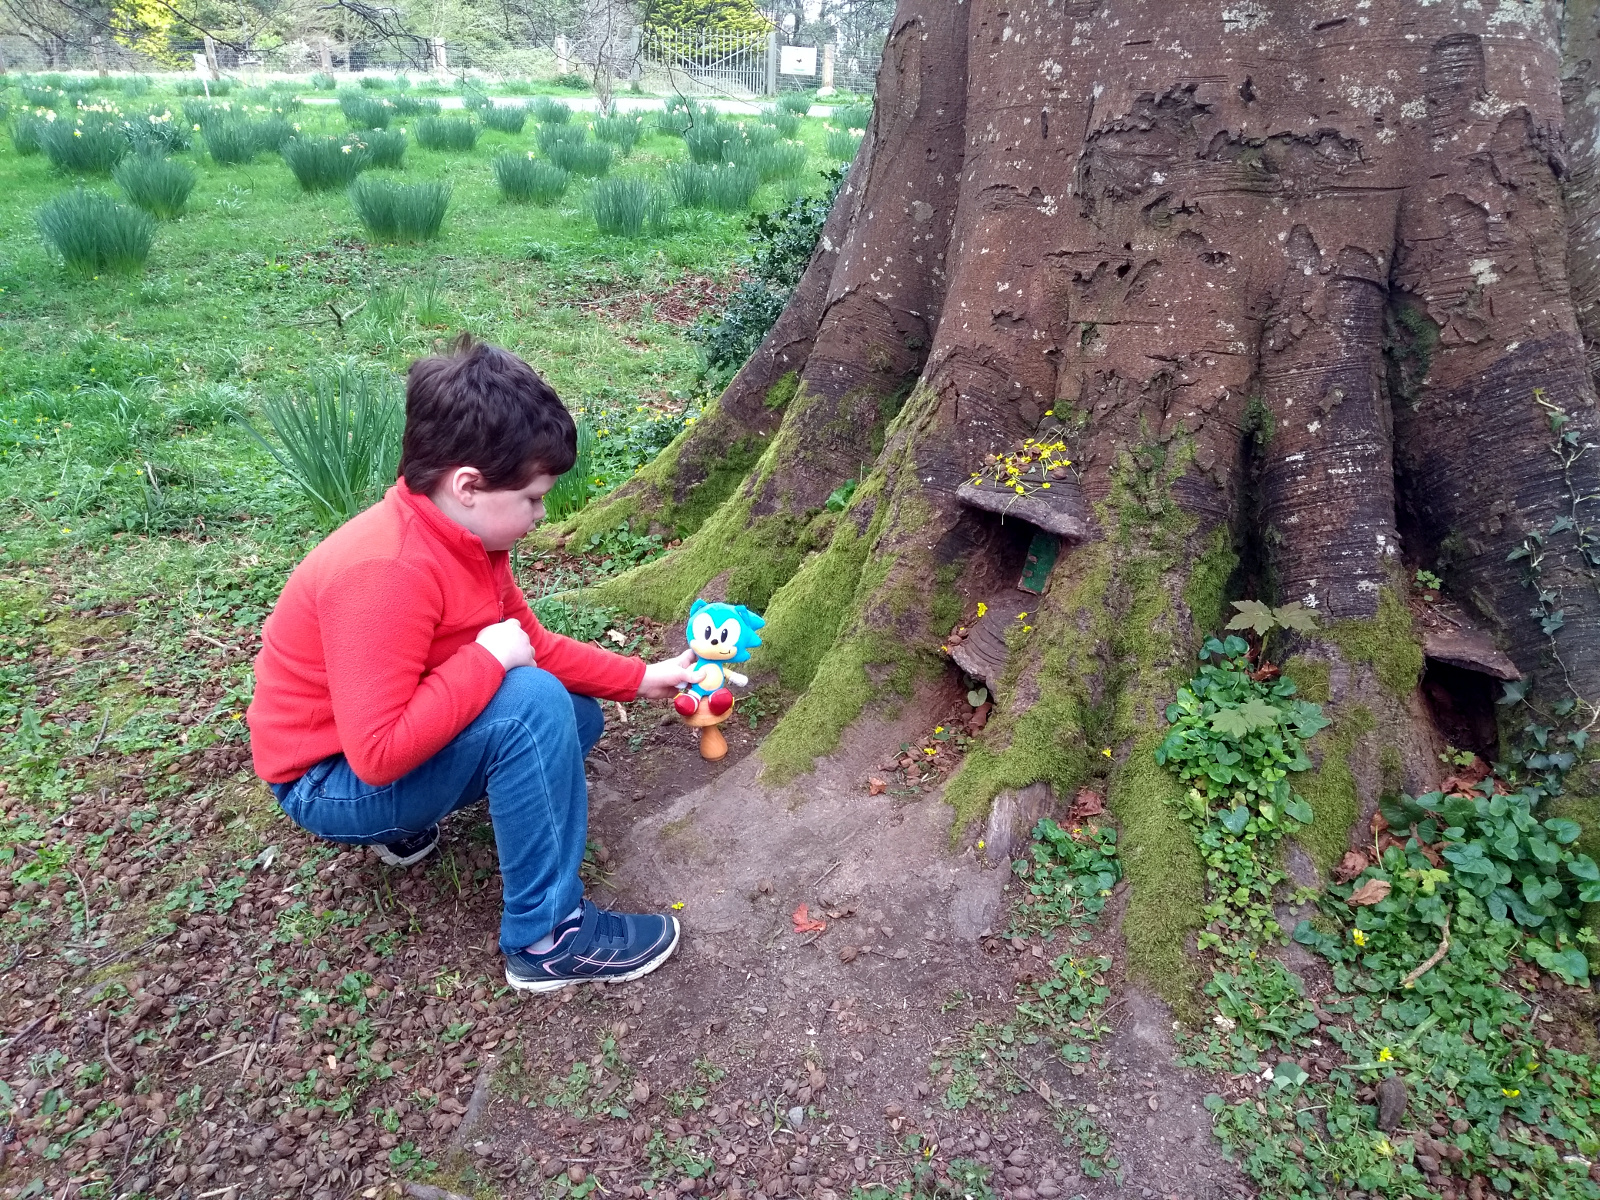
So the mushrooms turned from that branch from Fernhill were finished off; I cut the tenons off the two I turned in the chuck, drilled a mortice and glued in a piece of dowel:
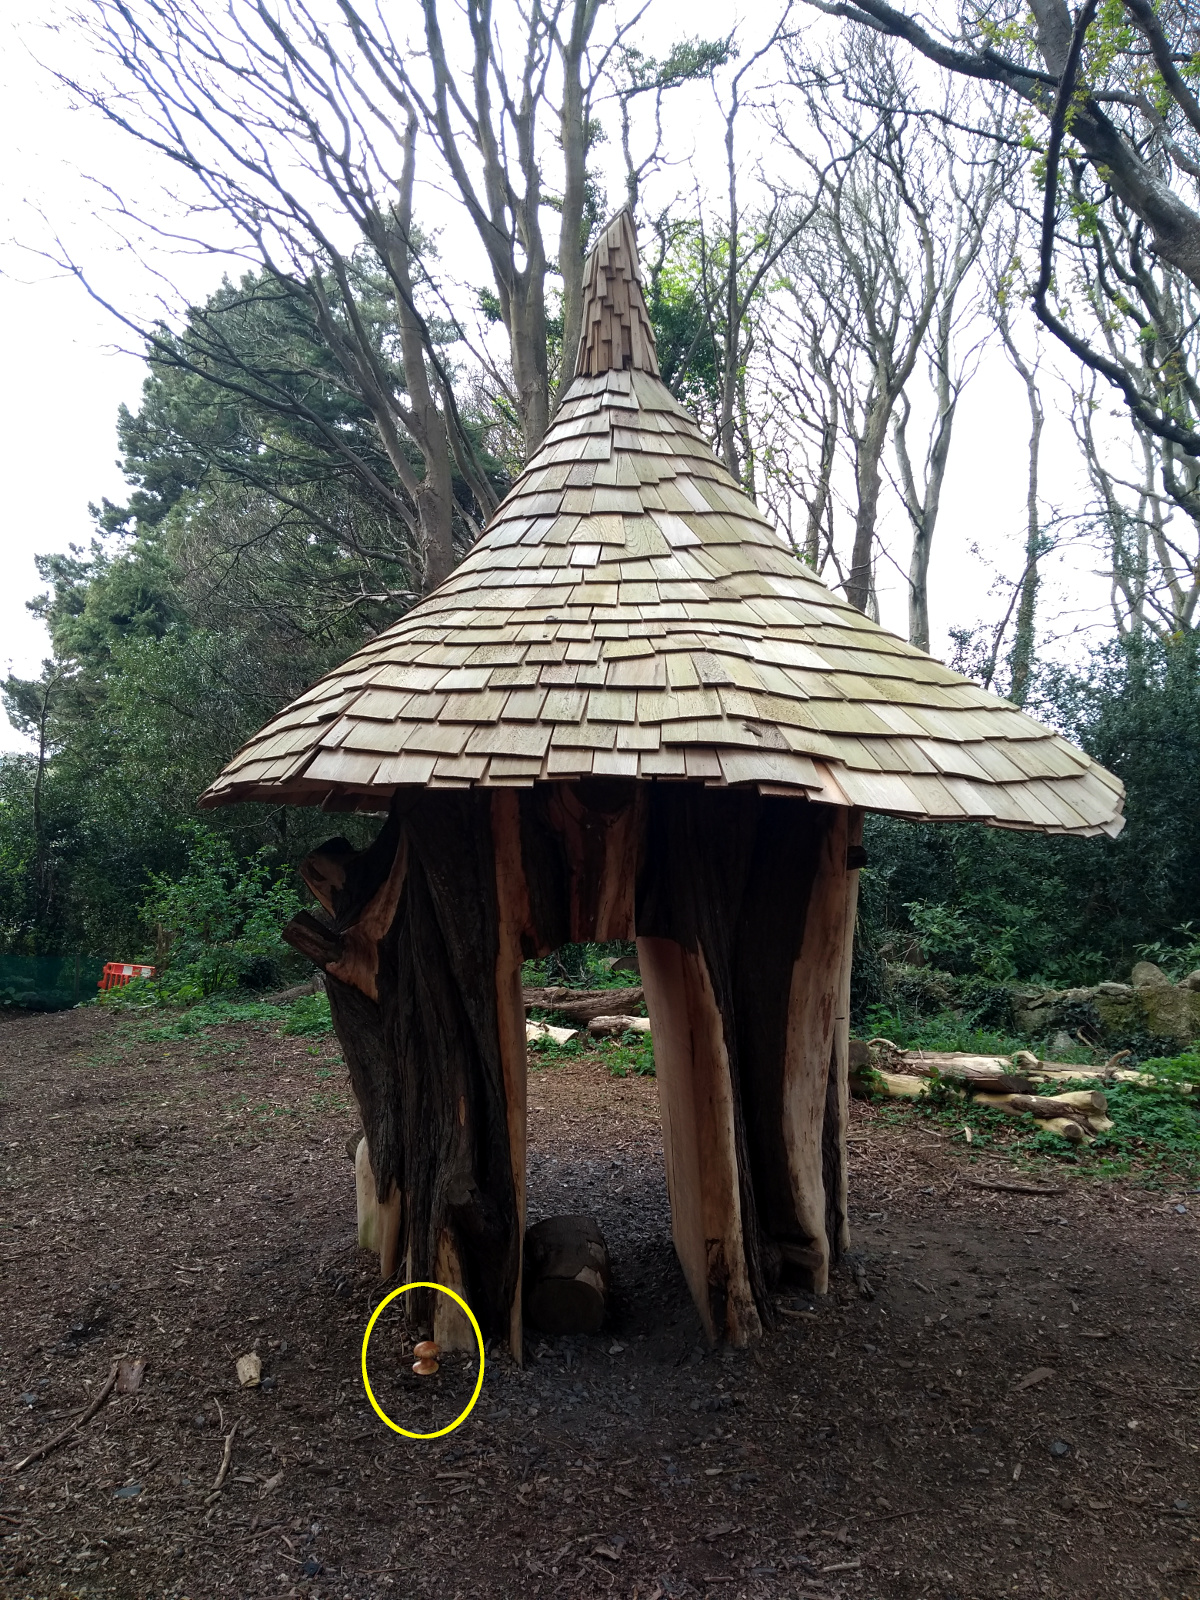
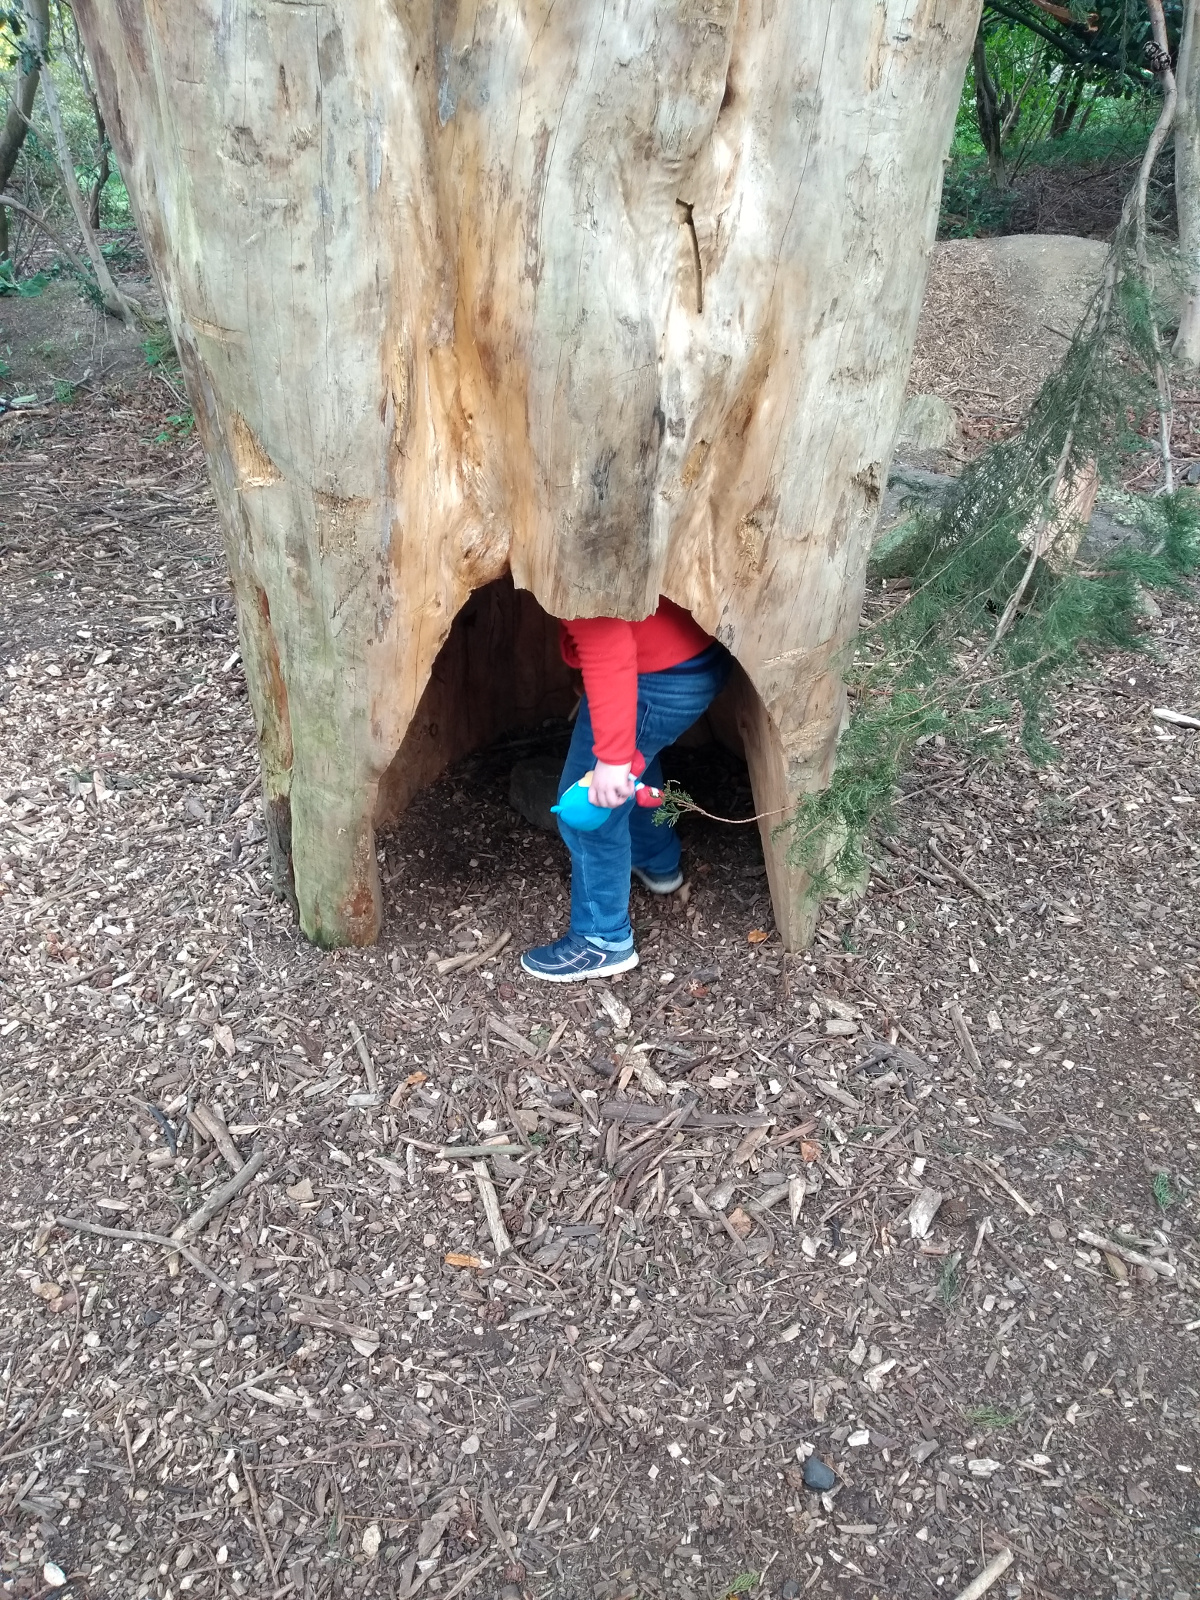
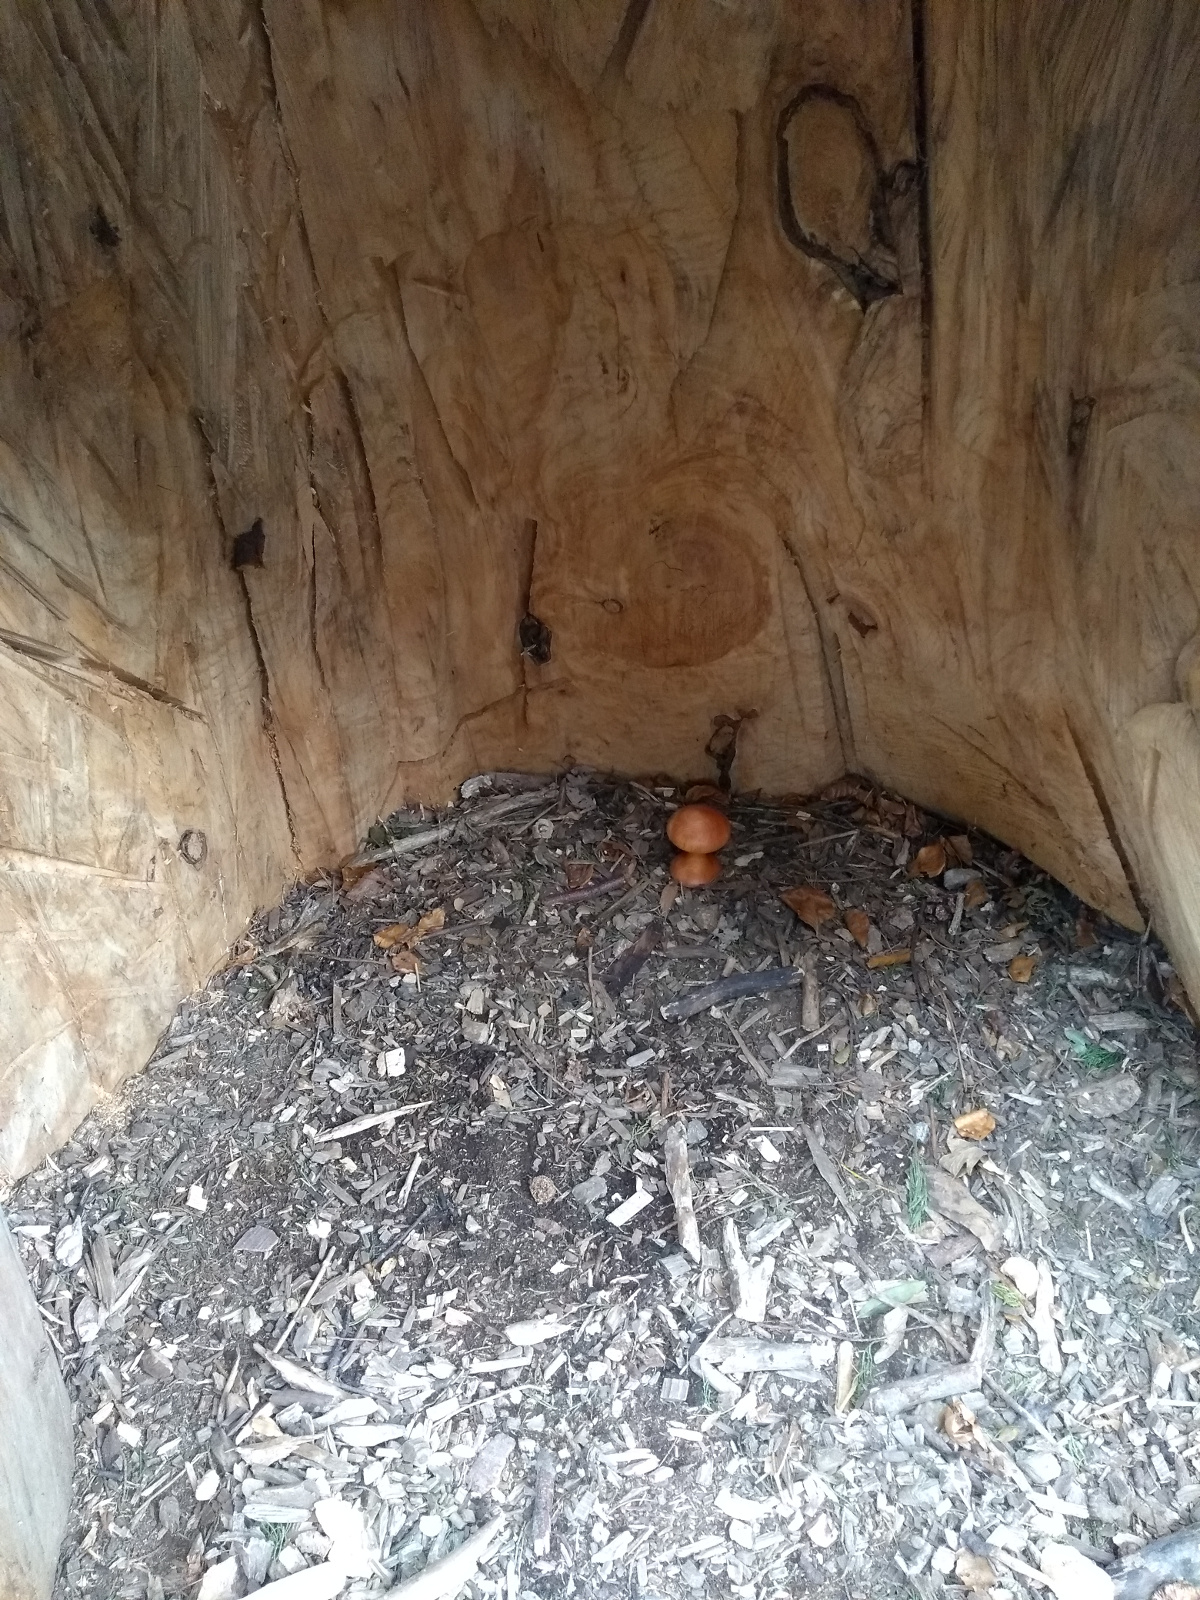
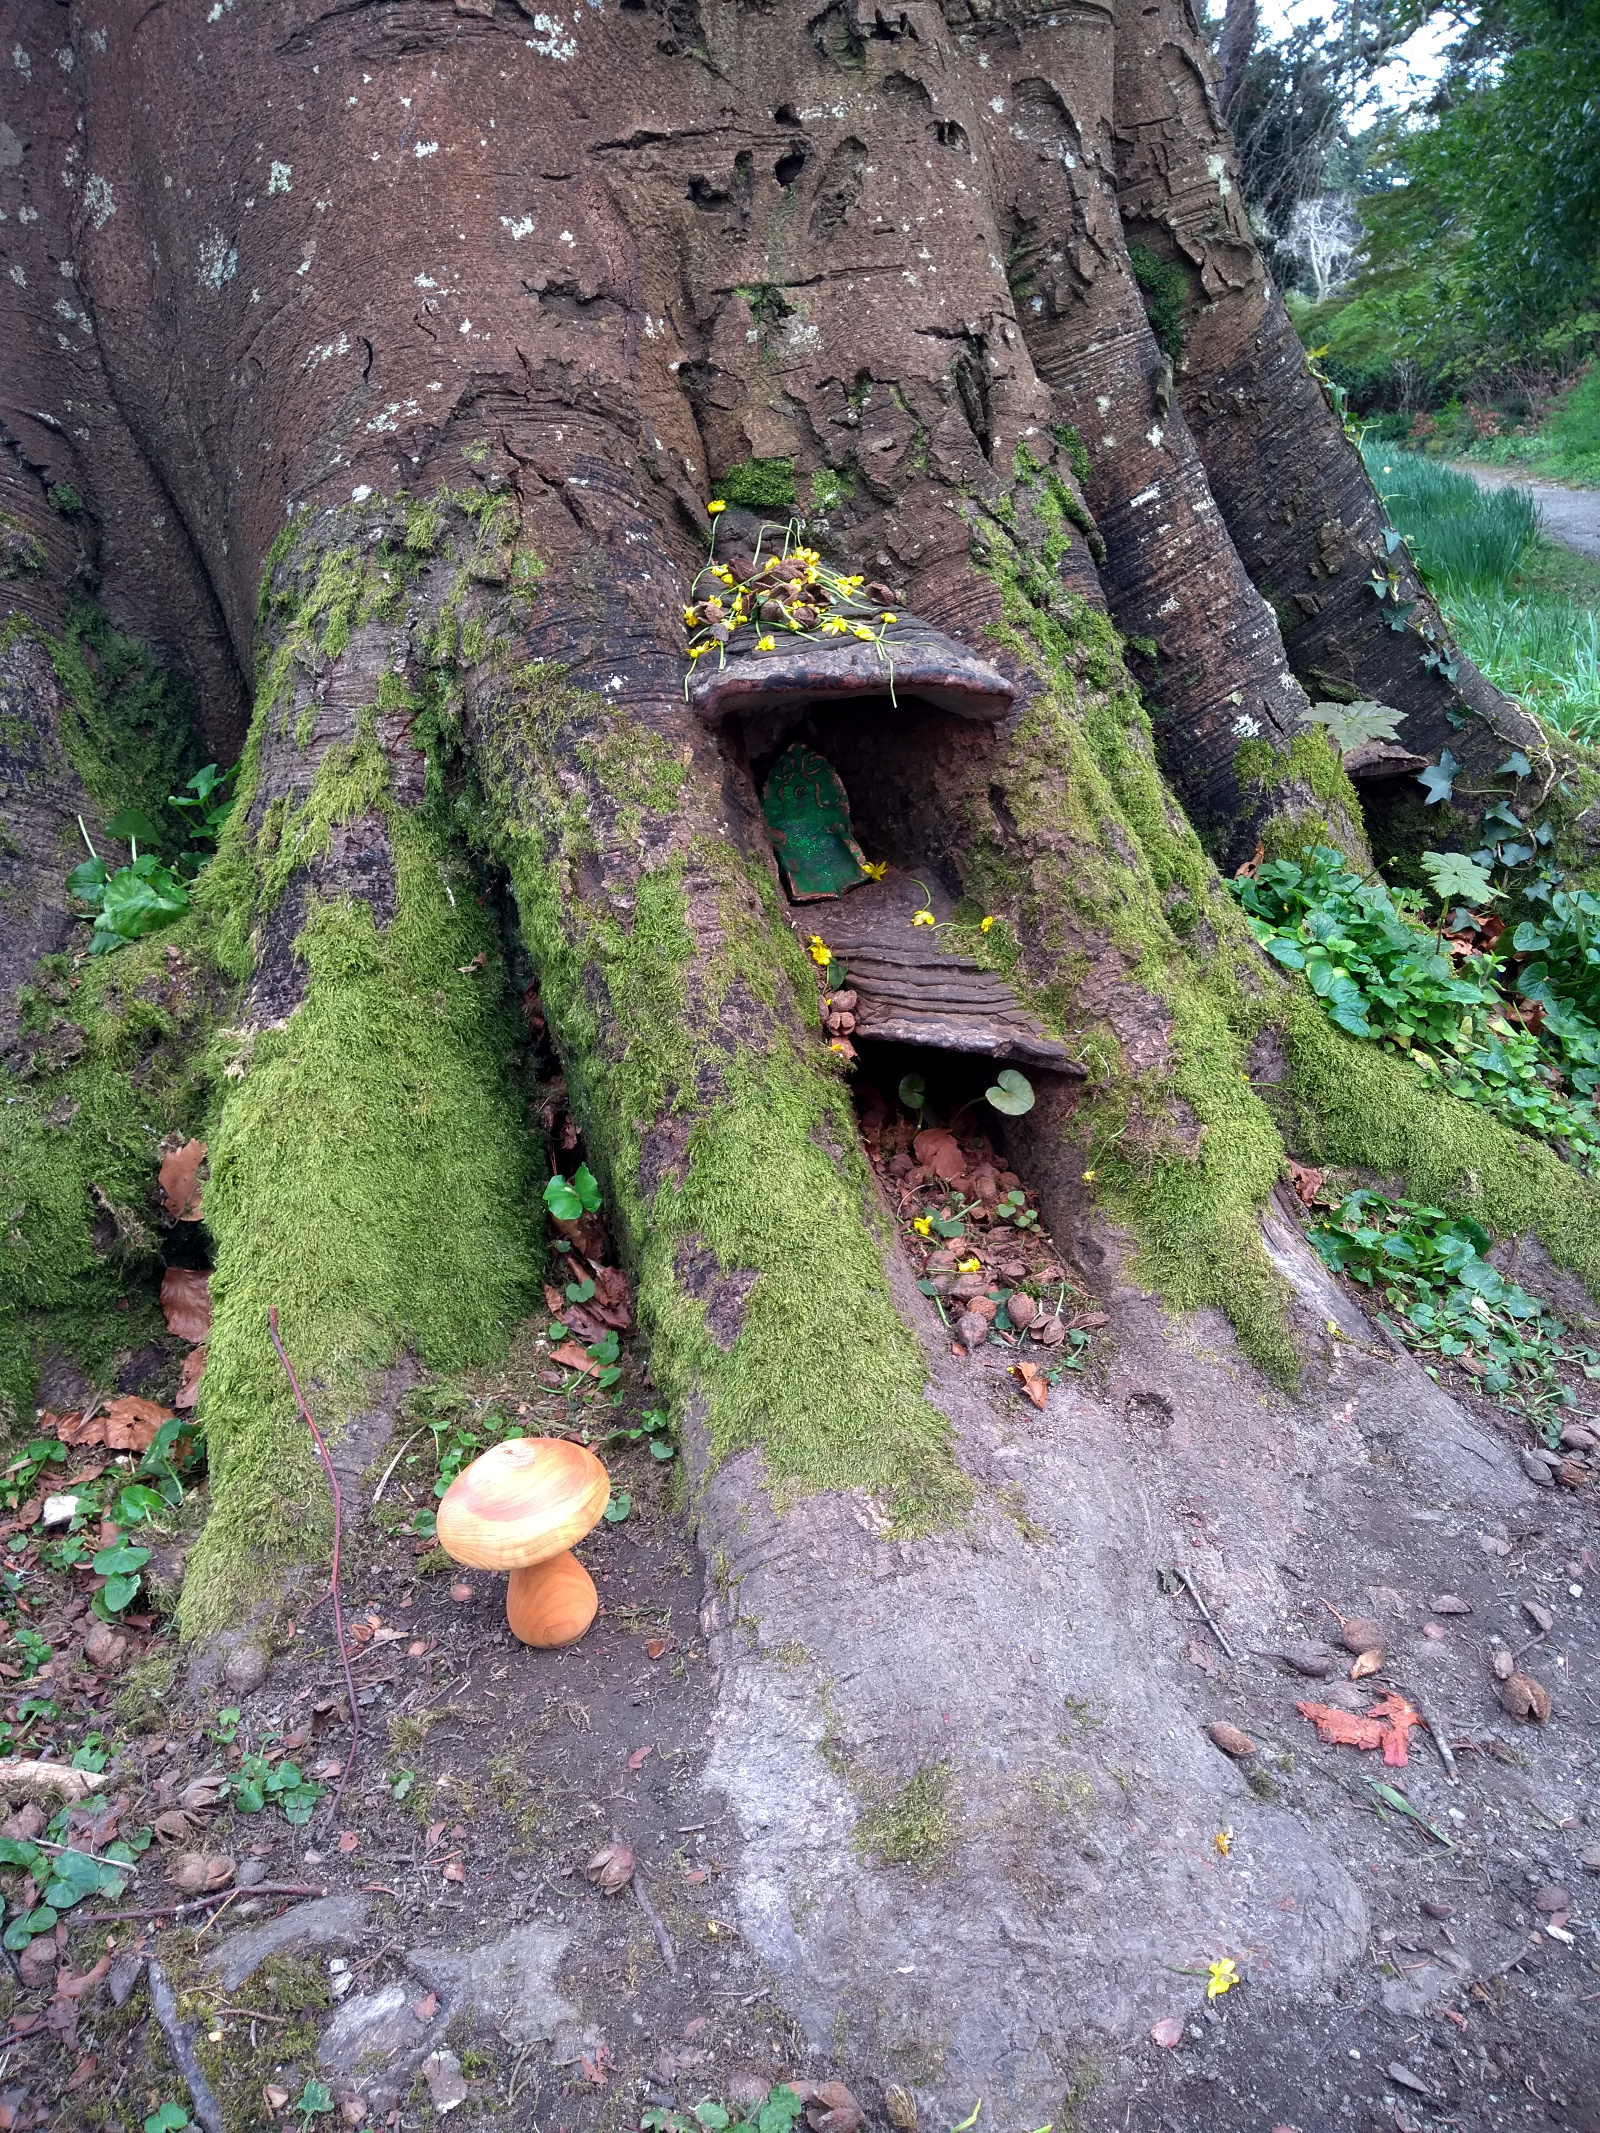
And then Claire, Calum, Sonic and myself wandered up to Fernhill to plant them.
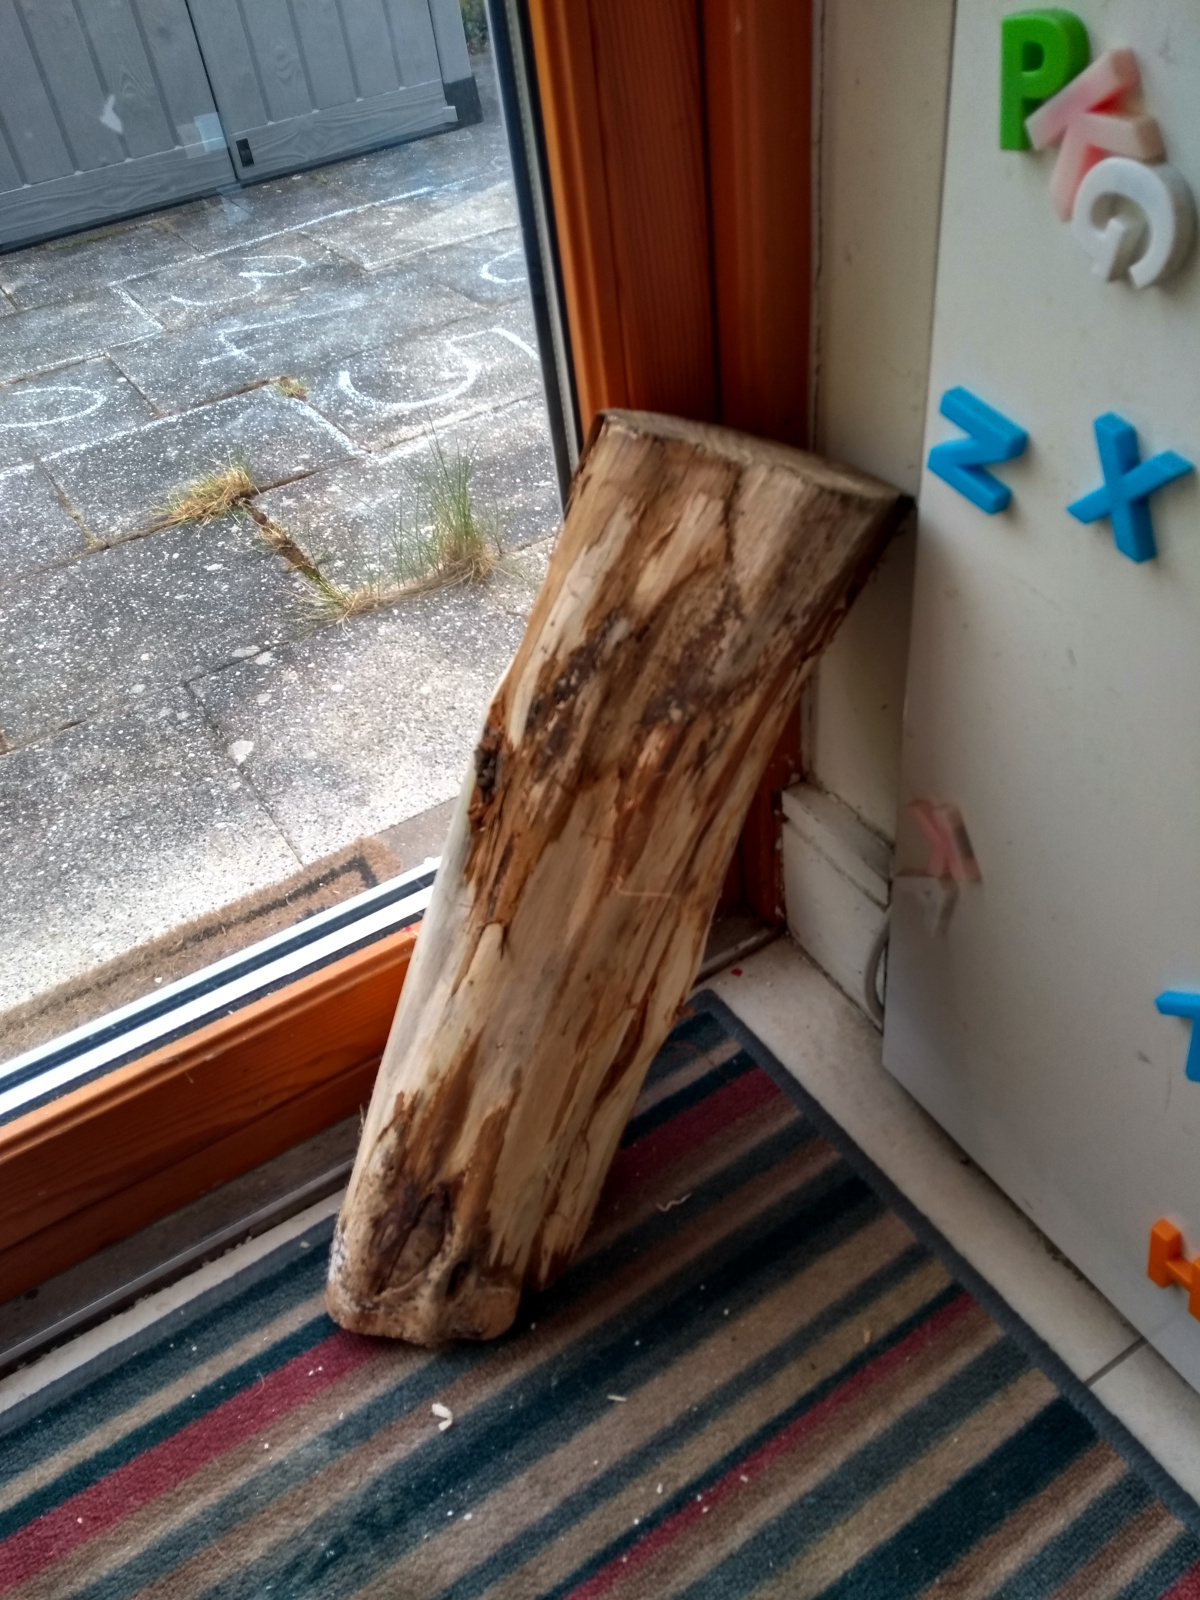
…and then I looted more wood.
Slightly larger this, but less circular. Not sure what I’ll make from it. More mushrooms I think, and maybe I can do a little birdbath…
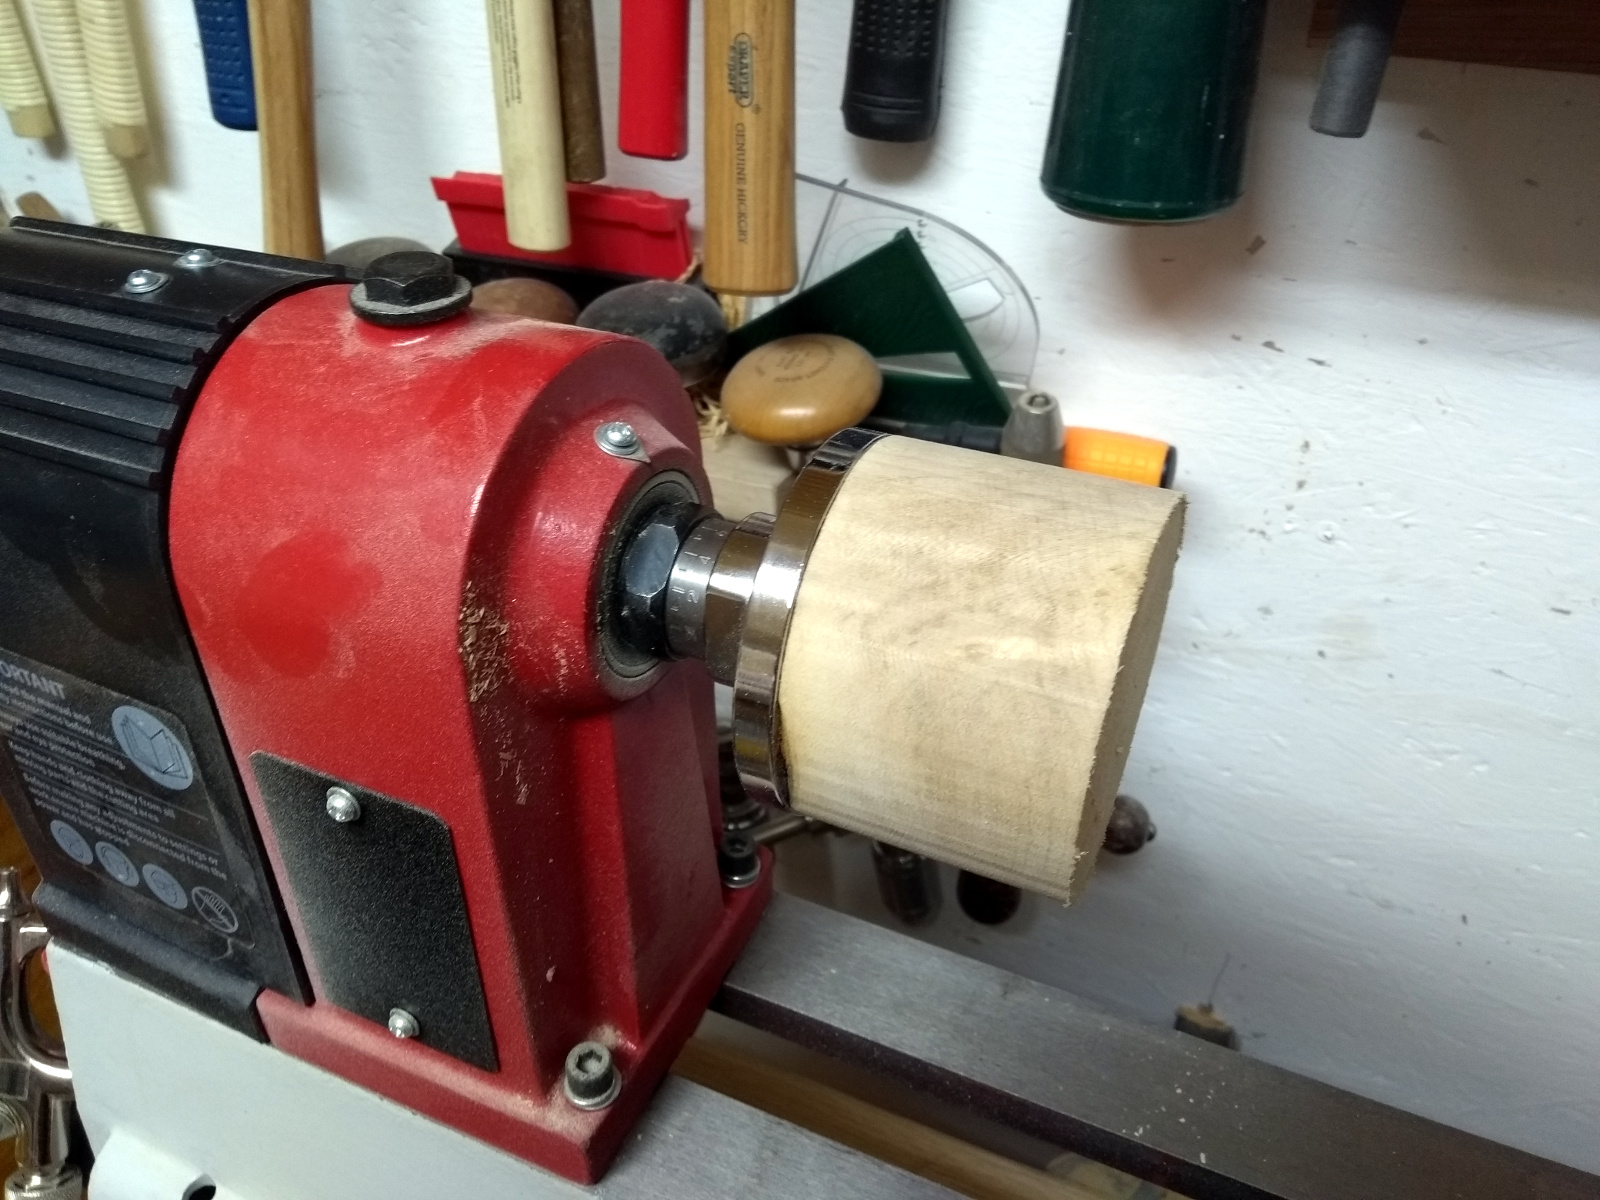
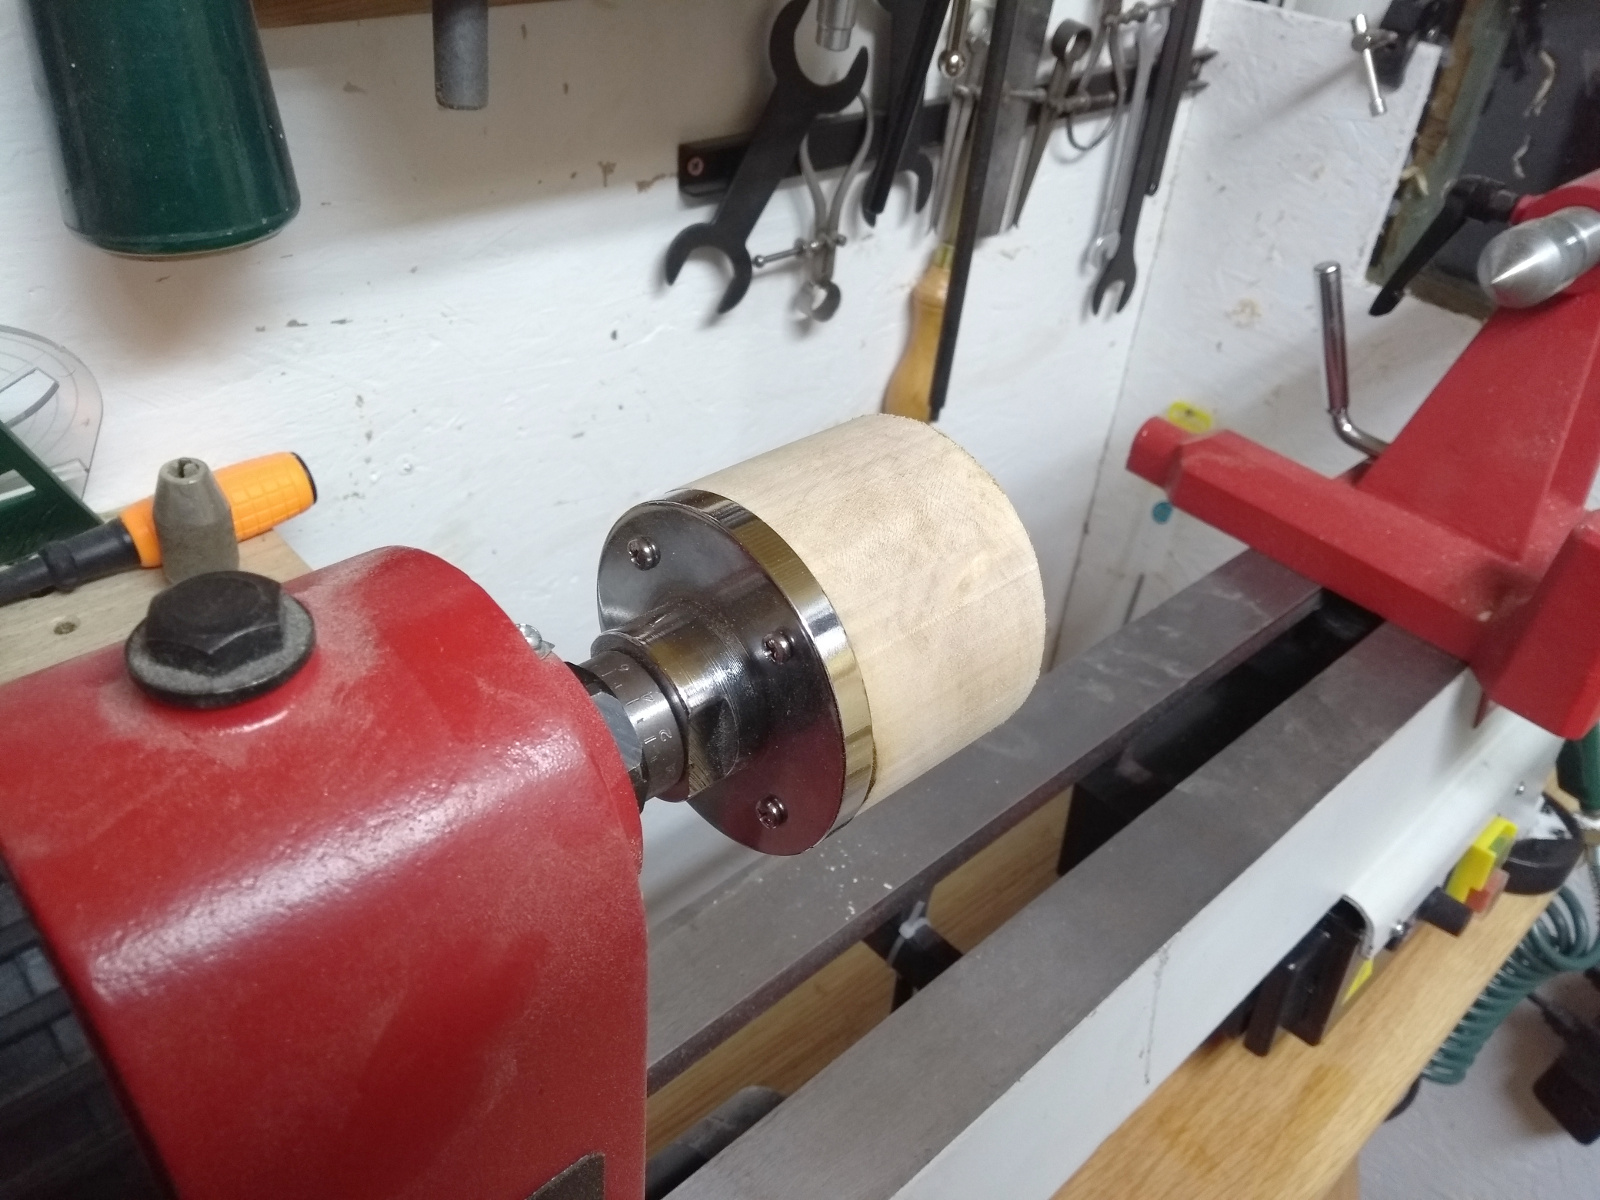
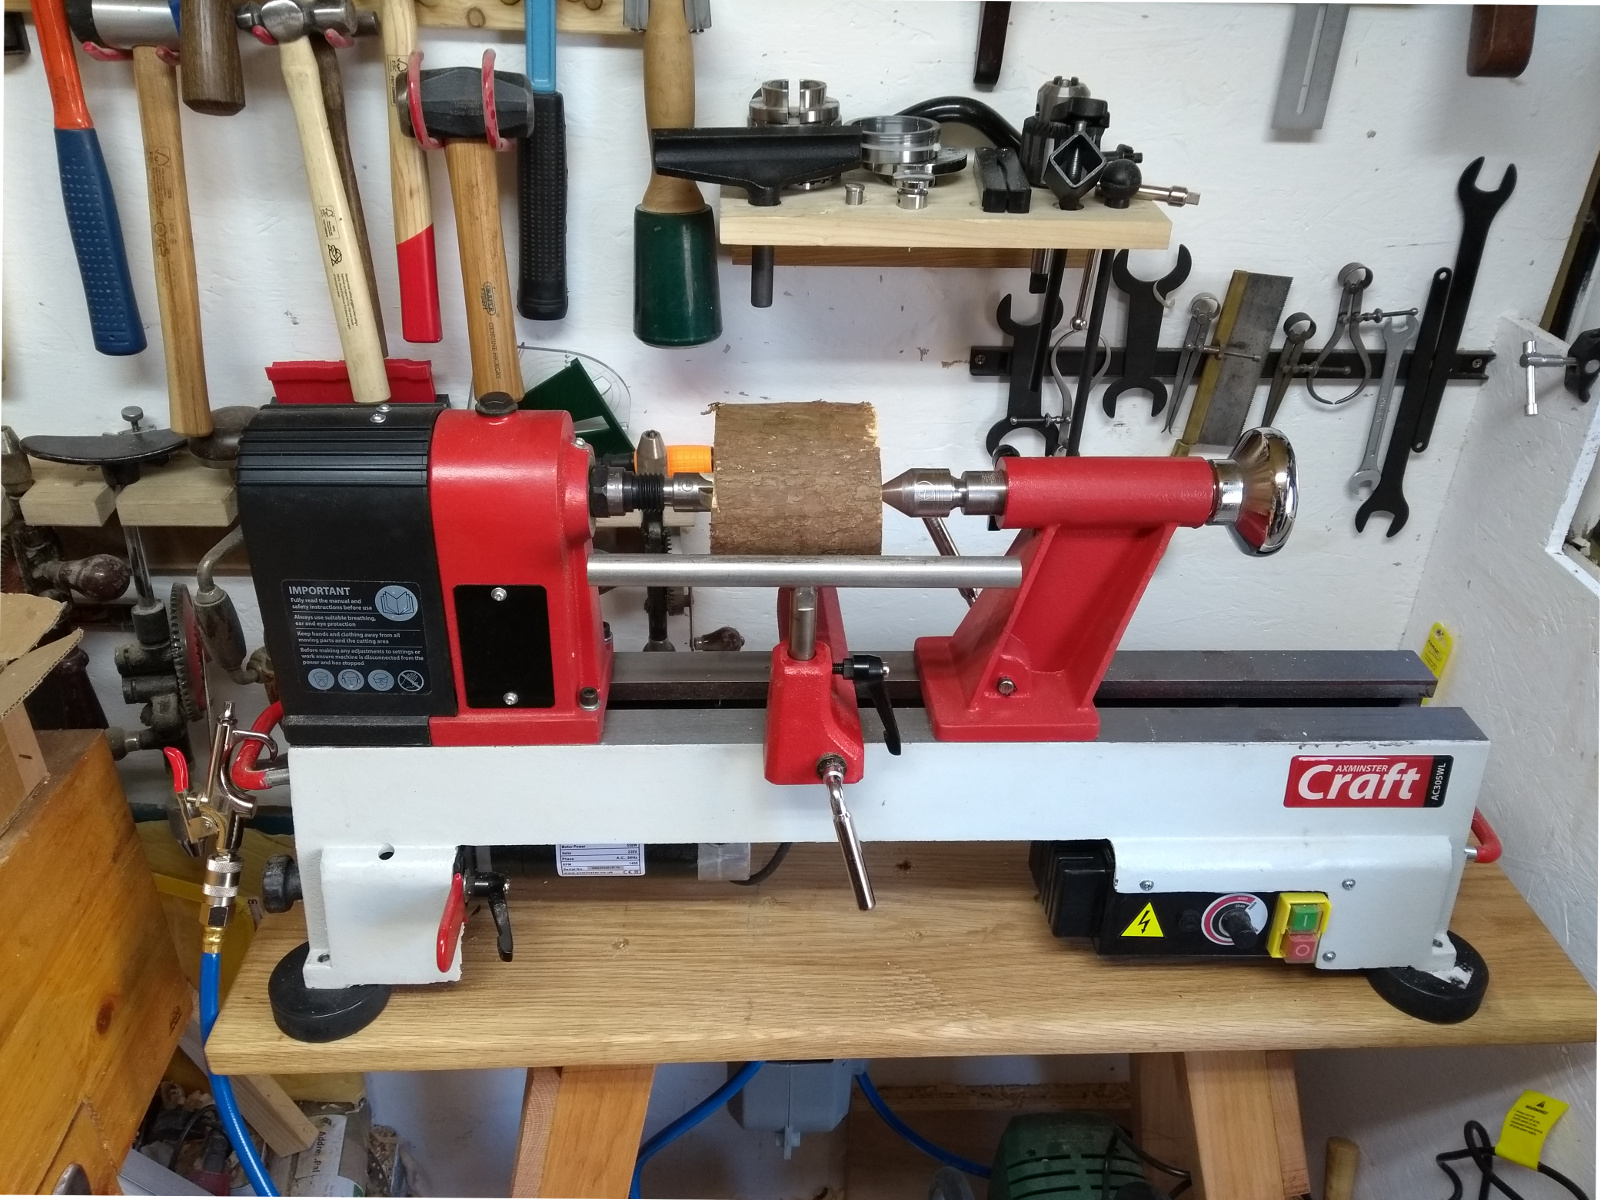
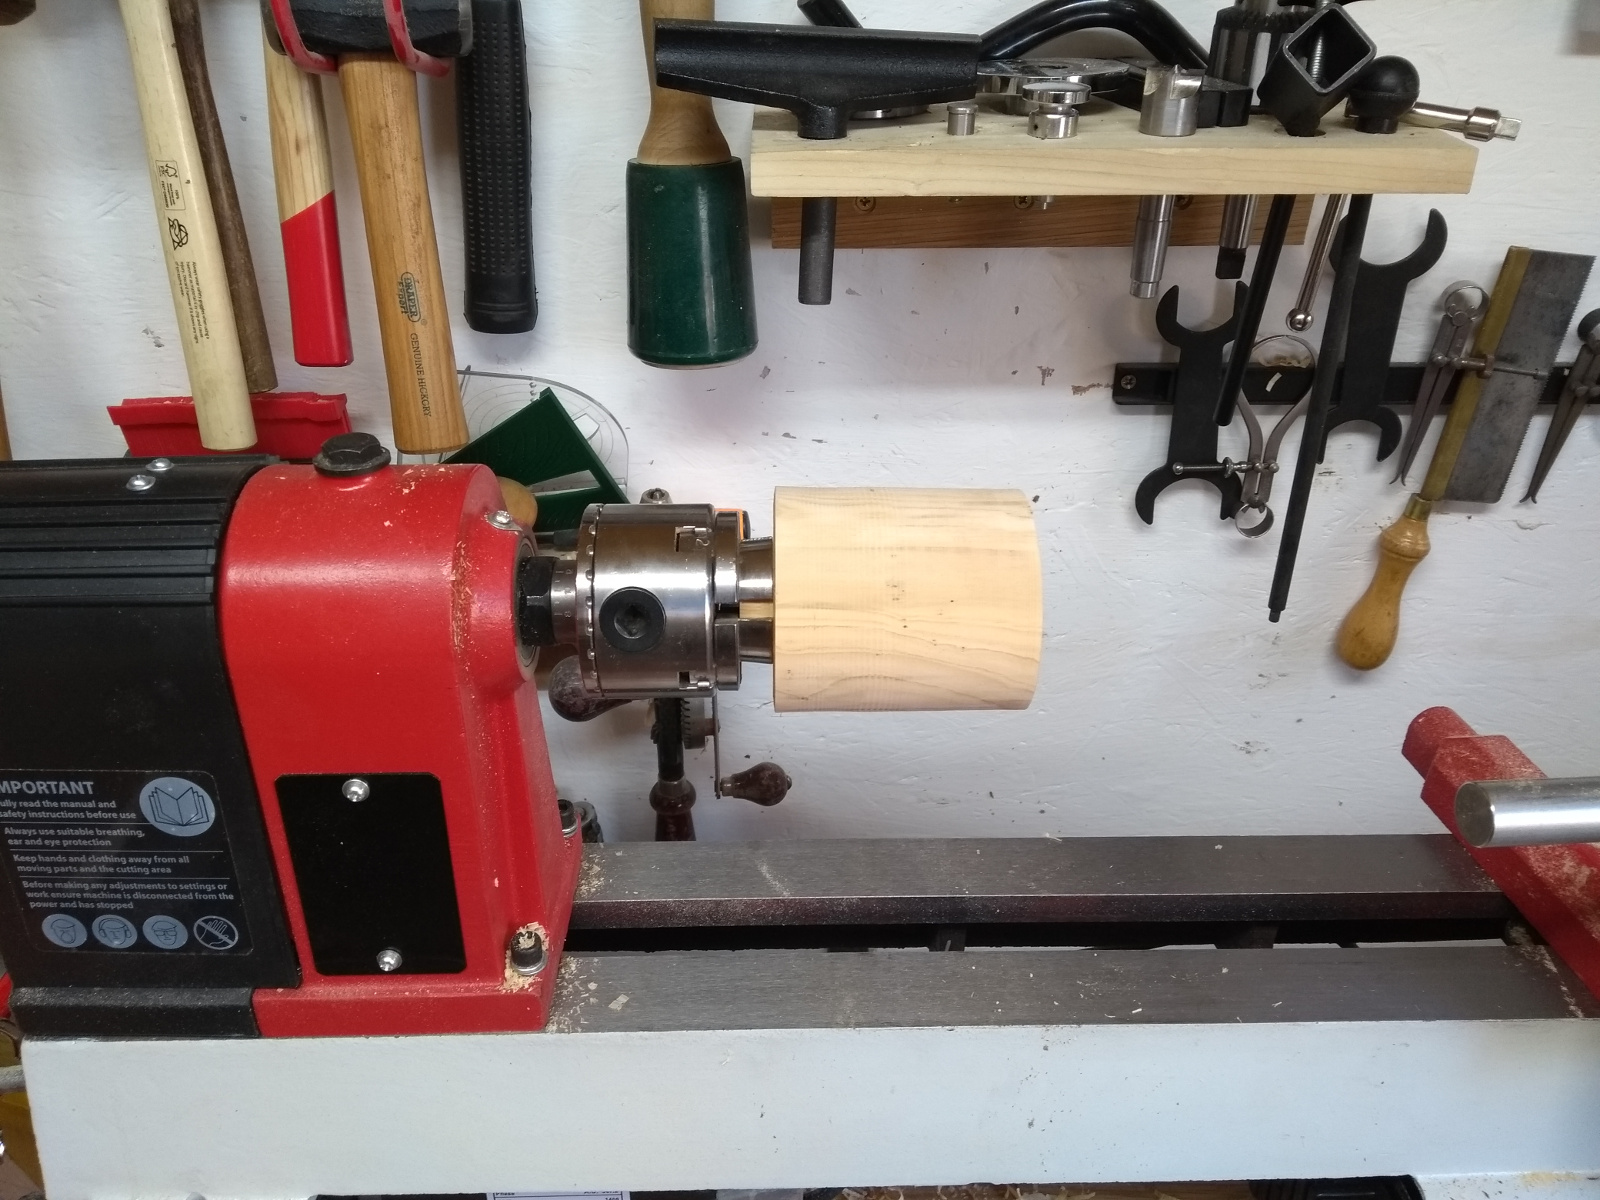
So the woodturning course I was taking was cancelled because of Covid19 before we got to the bowl turning part of the course. But I had a large variety sack of bowl blanks arrive from homeofwood.co.uk at the start of lockdown, and I’ve been wanting to try bowl turning for a while, so I read about a dozen books on bowlturning (like The Practical Woodturner and others), bingewatched about thirty hours of youtube intruction from a dozen different turners, set the pucker factor to maximum and picked out the smallest minature blank I had…
That’s a three-inch blank on a three-inch faceplate 😀 But we can still do more overkill…
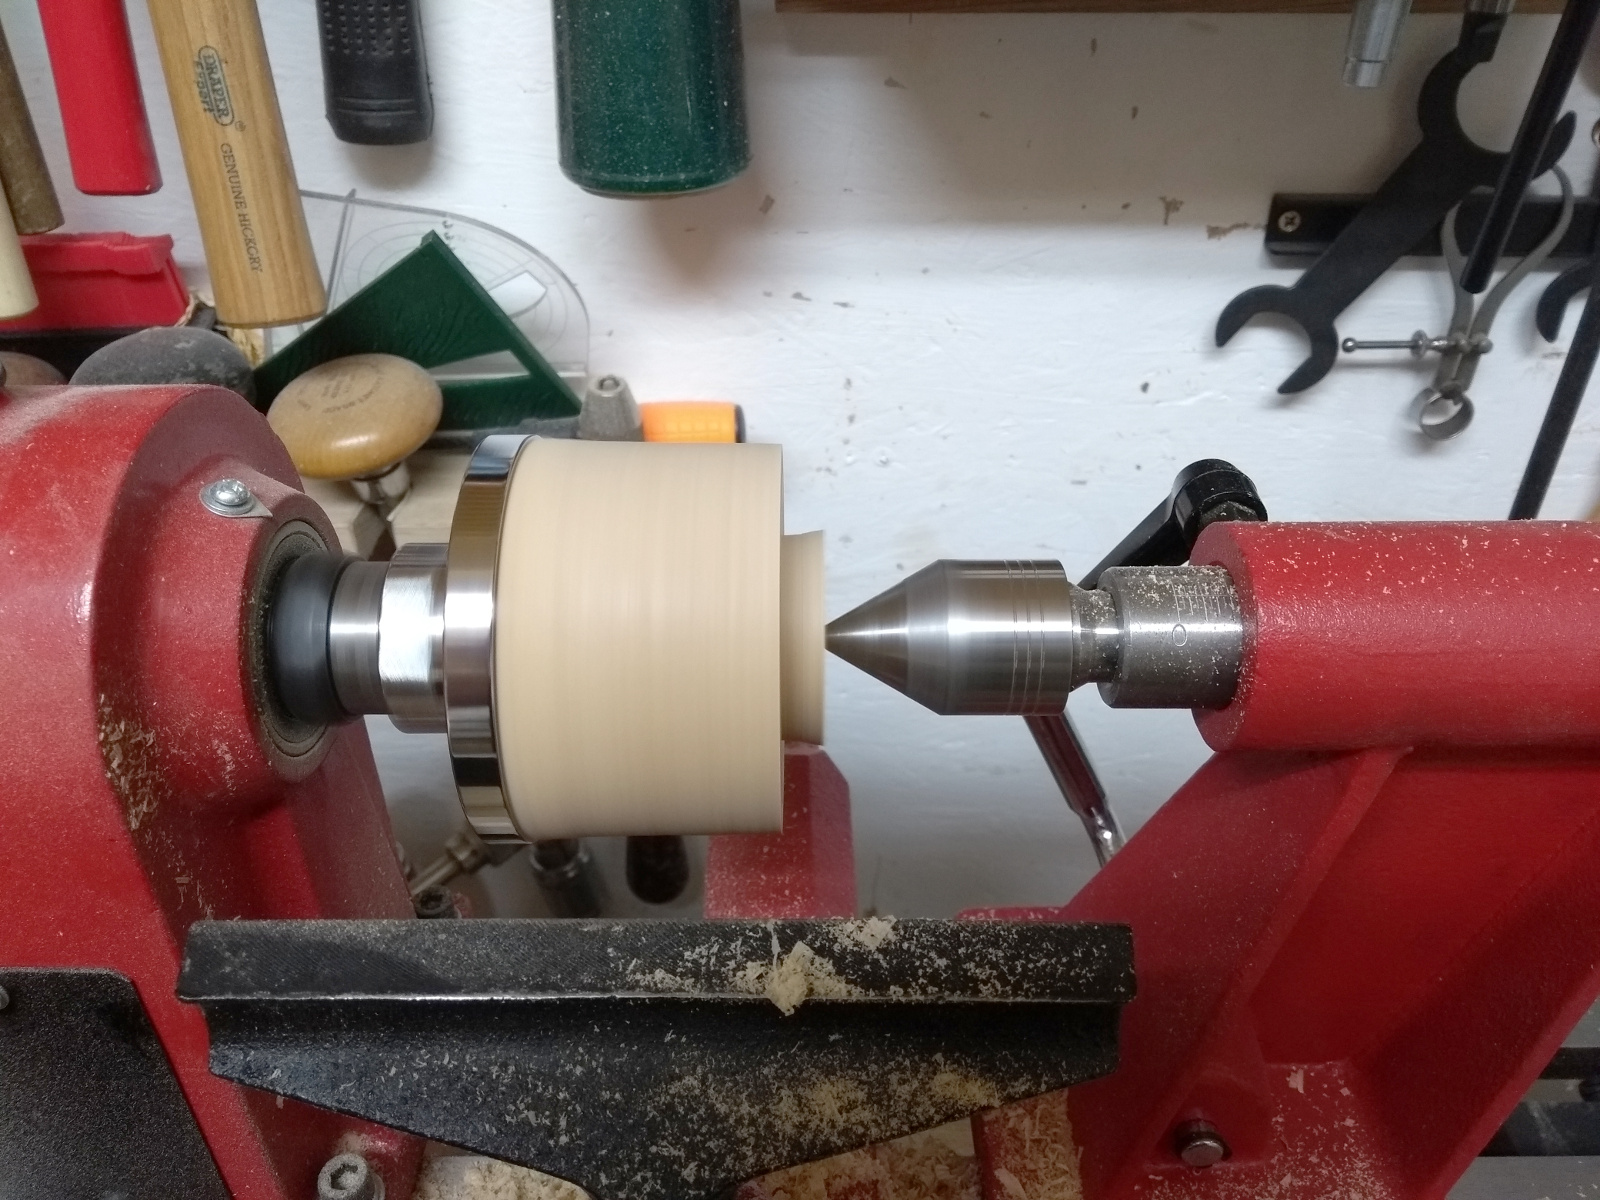
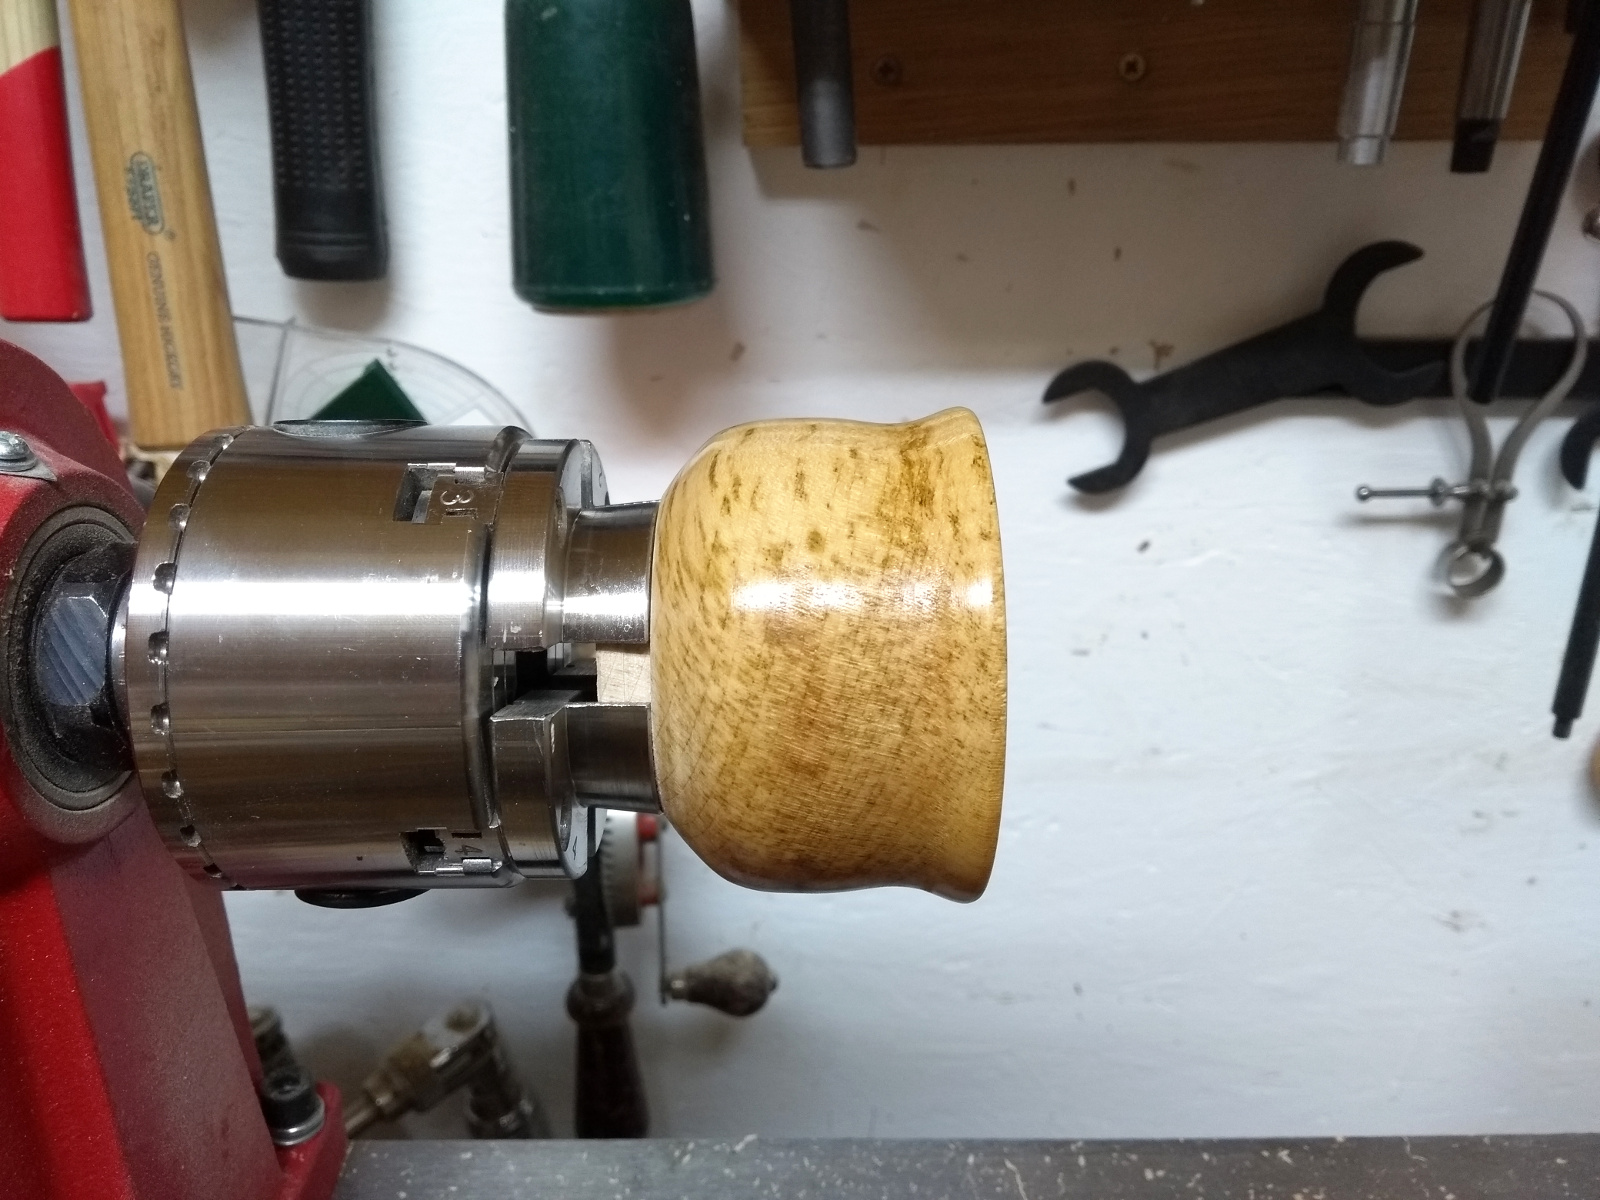
Tailstock support on a three inch blank 😀 Well, first bowl, might as well do belt and braces. So I turned the tenon (and it didn’t look too bad I thought), then I took off the faceplate, chucked the blank up, realised I’d skipped a step, put the faceplate back on and turned the outside of the bowl.
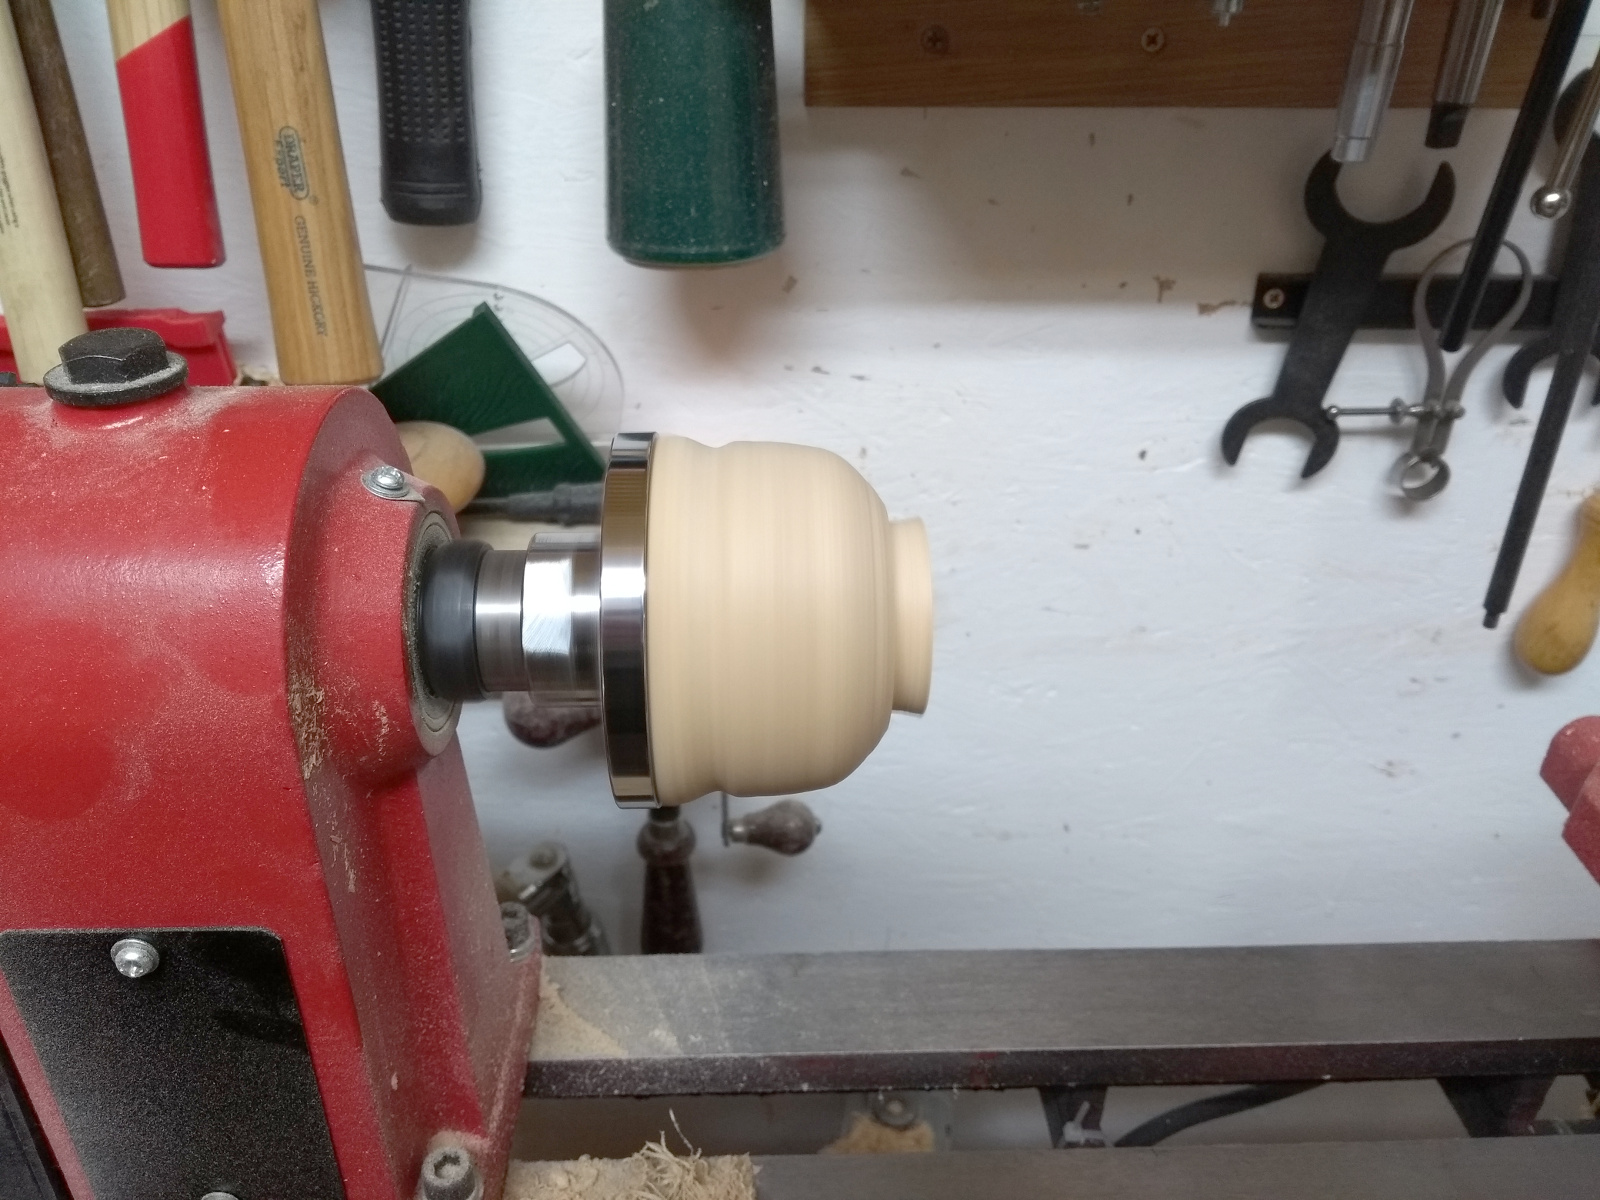
I didn’t have any plan for the shape by the way, that was just something that felt right as I was doing it. Then I took off the faceplate and chucked it up and immediately found that the chuck itself was vibrating because the tenon wasn’t exactly central. A quick pass or two with the spindle gouge cured that, and then I started hollowing out the bowl with the bowl gouge and quickly discovered a few things:
I need a lamp in the corner of the shed pointed at the headstock. I had to jury-rig a torch to be able to see inside the bowl to see what I was doing. Daylight might help, but this was after dark here.
I really need to remove the tailstock to do this, it’s way too scary having your hands near a live center when worrying about catches in a bowl.
Being able to rotate the lathe stand in the shed would be a major bonus on any larger bowls. Happily it’s not bolted to the floor; less happily, the compressor and pillar drill would have to be moved which is awkward. Maybe I could put a shelf down at the feet of the lathe stand when I can get more plywood after the lockdown ends.
Bowl turning is a bit scary.
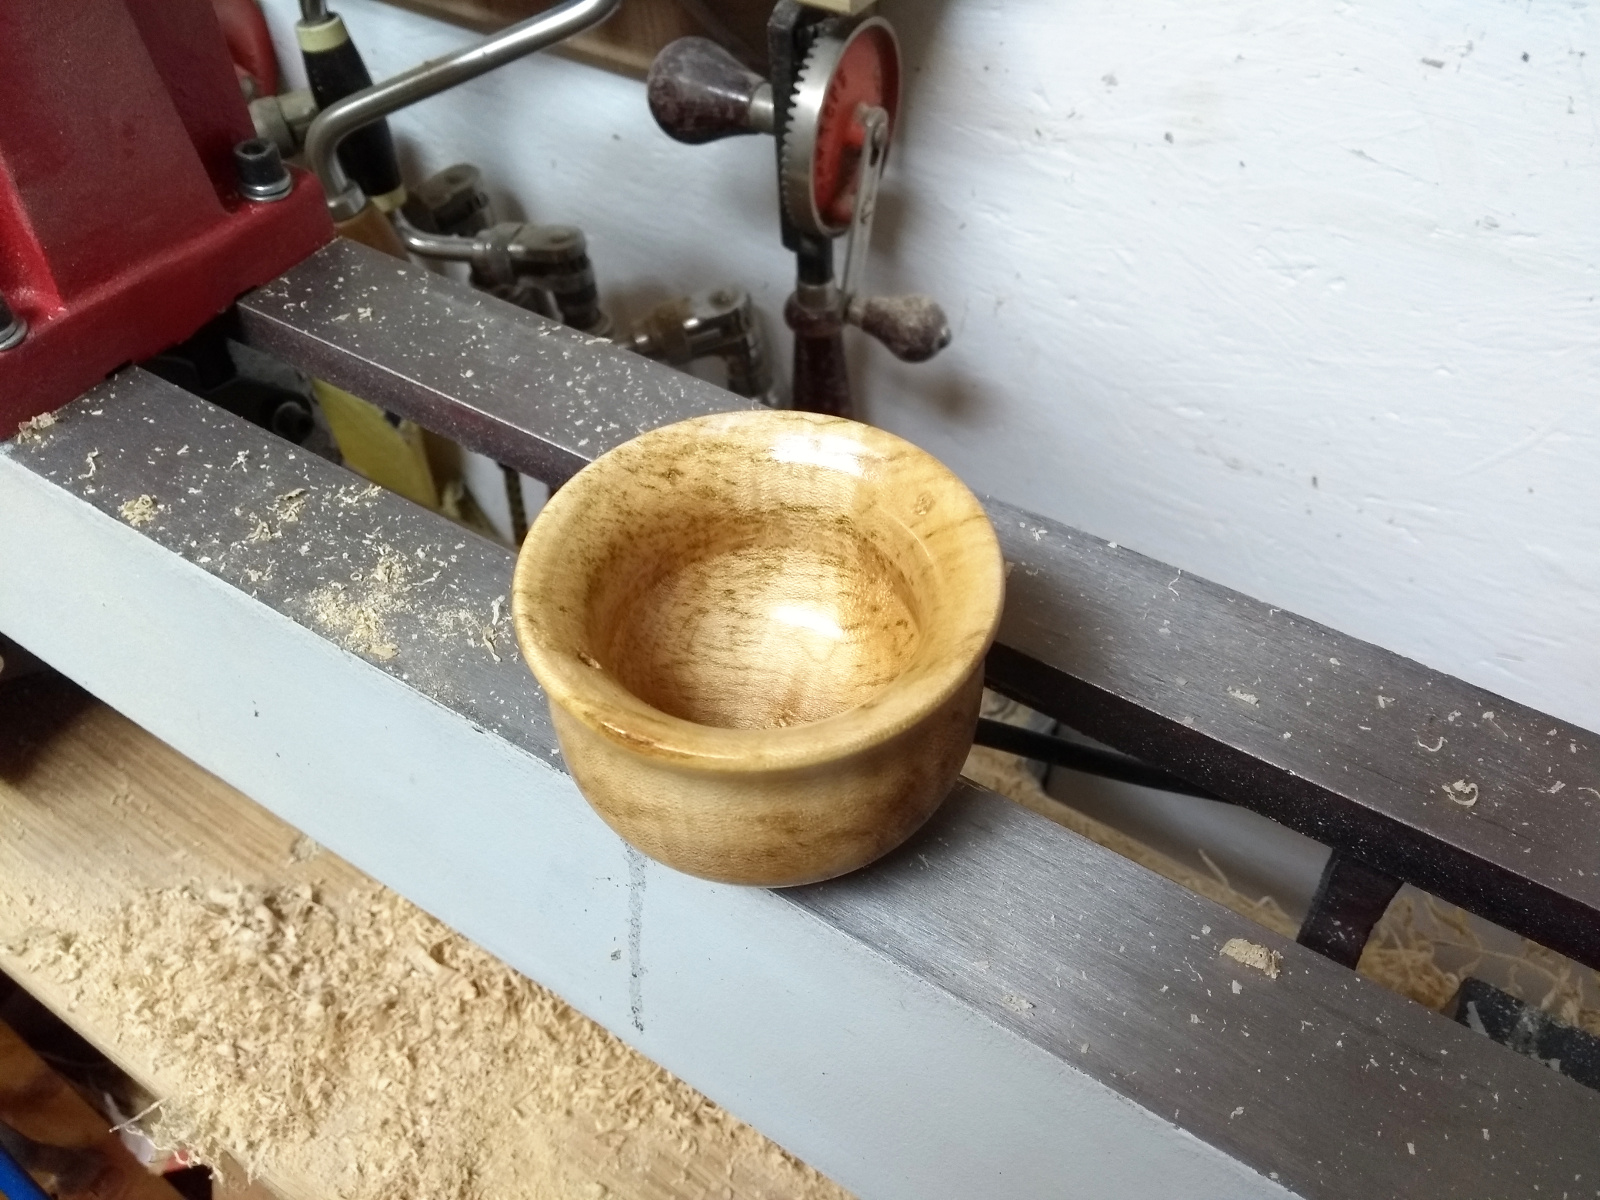
But after a while of taking small bites with the bowl gouge and then a final scraper pass, I was able to move on to sanding. Up from 120 to 400 grit, and then burnishing with a handfull of shavings – and doing that inside a bowl with just two fingers at high rpms is hilariously scary. I wanted to keep the colour light so I gave the bowl a coat of poppy seed oil (also food-safe, which is nice because I think this would make a good salt bowl).
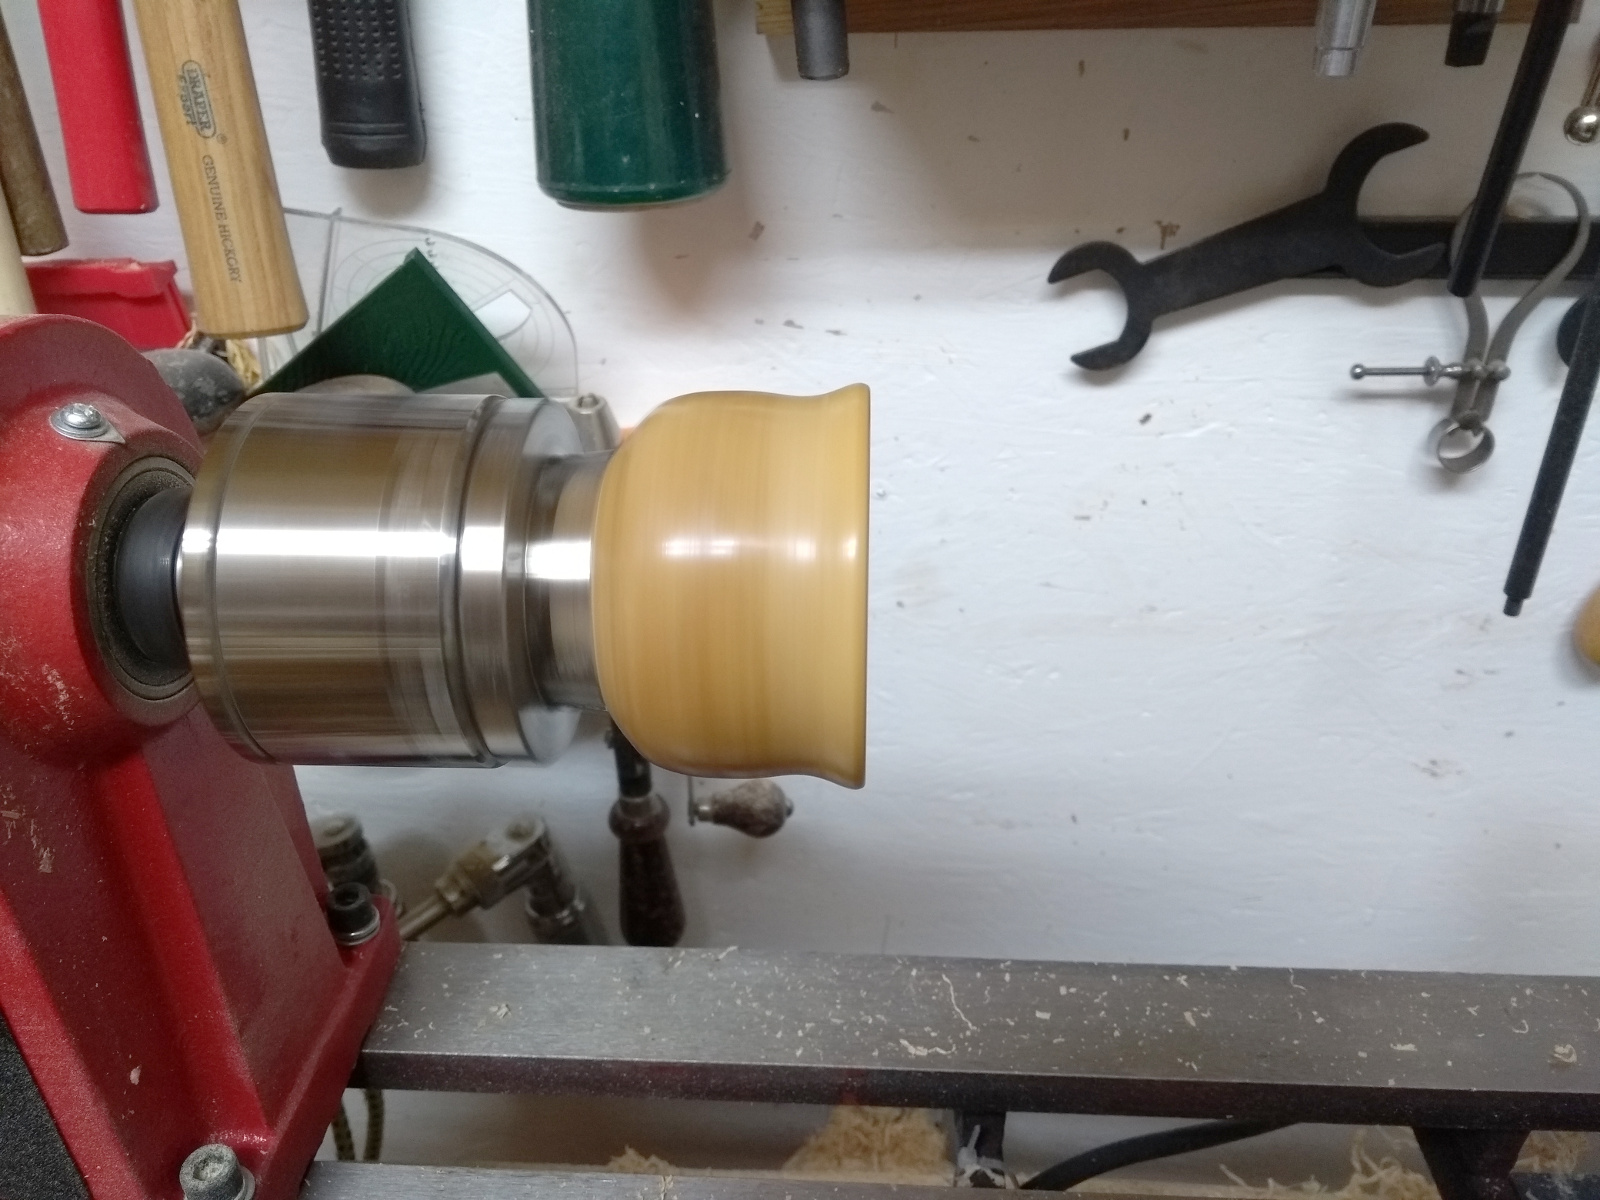
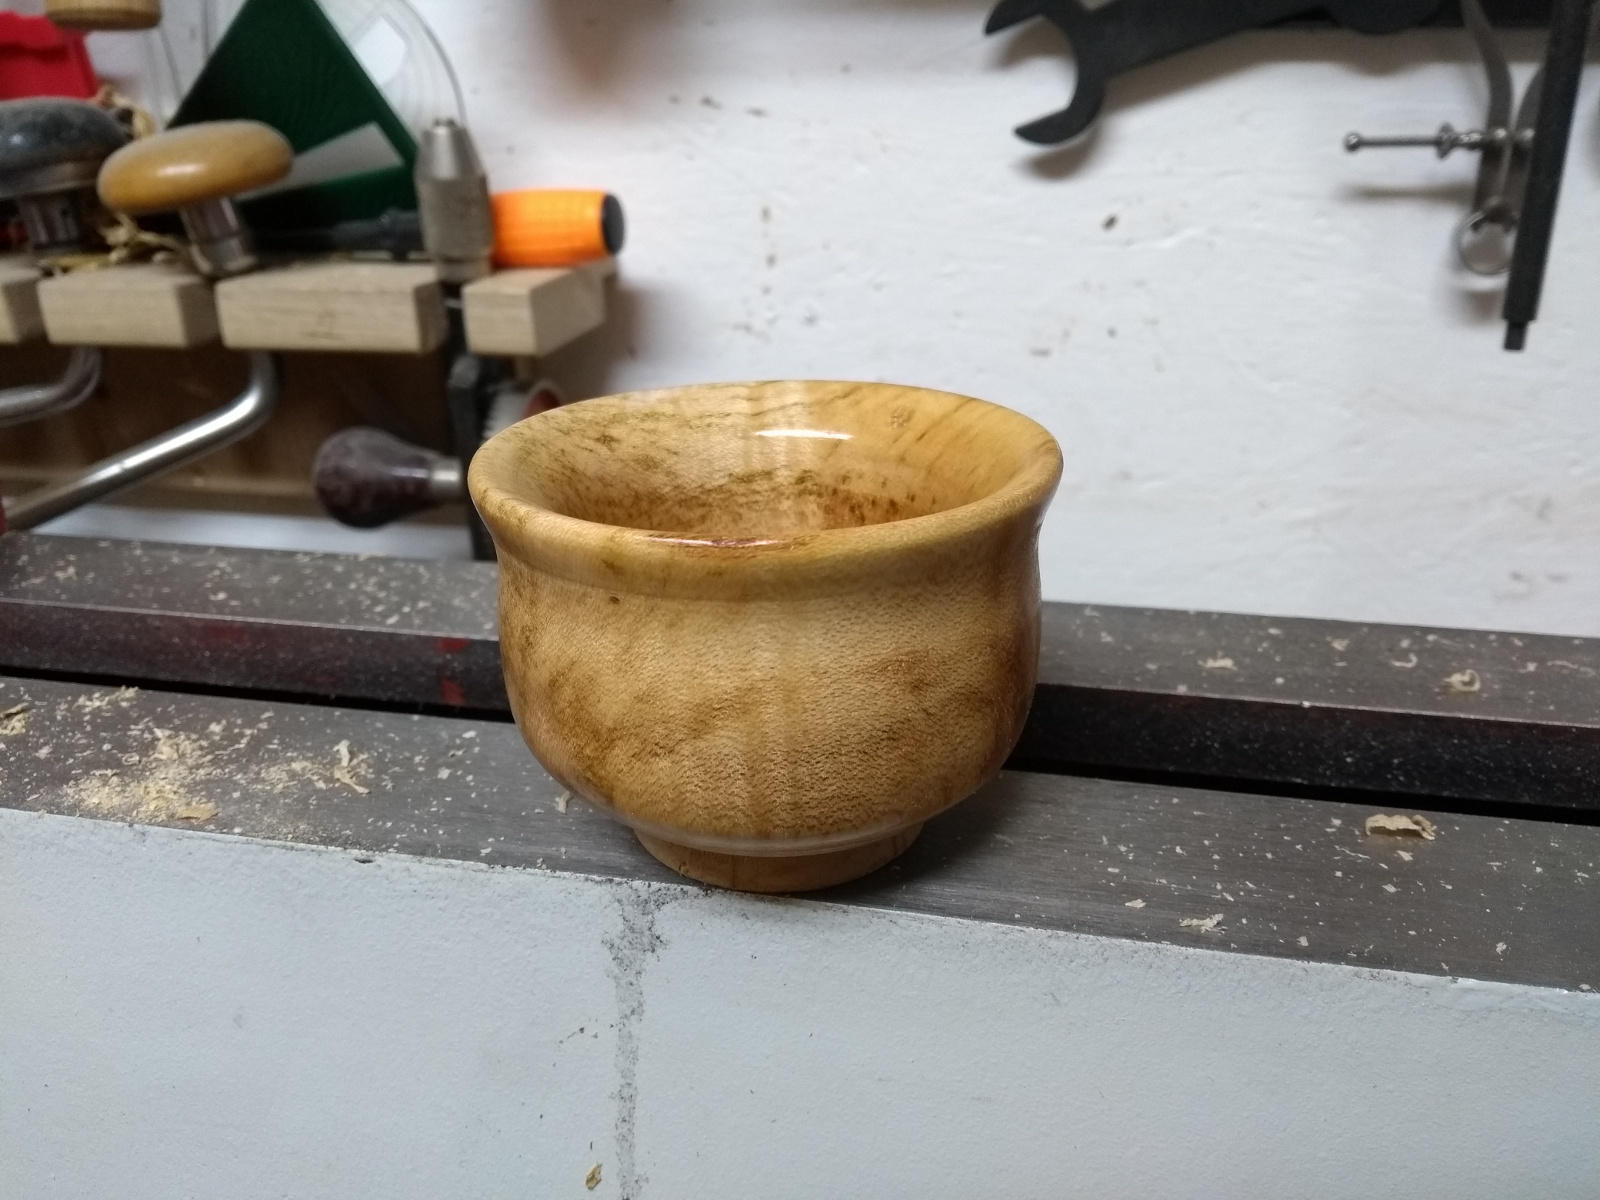
And then a single coat of blonde shellac and I called it finished.
I’m rather pleased with that 🙂 I mean, the walls are too thick to be elegant and too uneven in thickness to be able to call the thickness a design choice, and I didn’t even get the bottom of the screw holes from the faceplate out of the rim, but for a first bowl, I’m happy with that 🙂
Now for that 11 inch by 4 inch blank in the timber storage box…
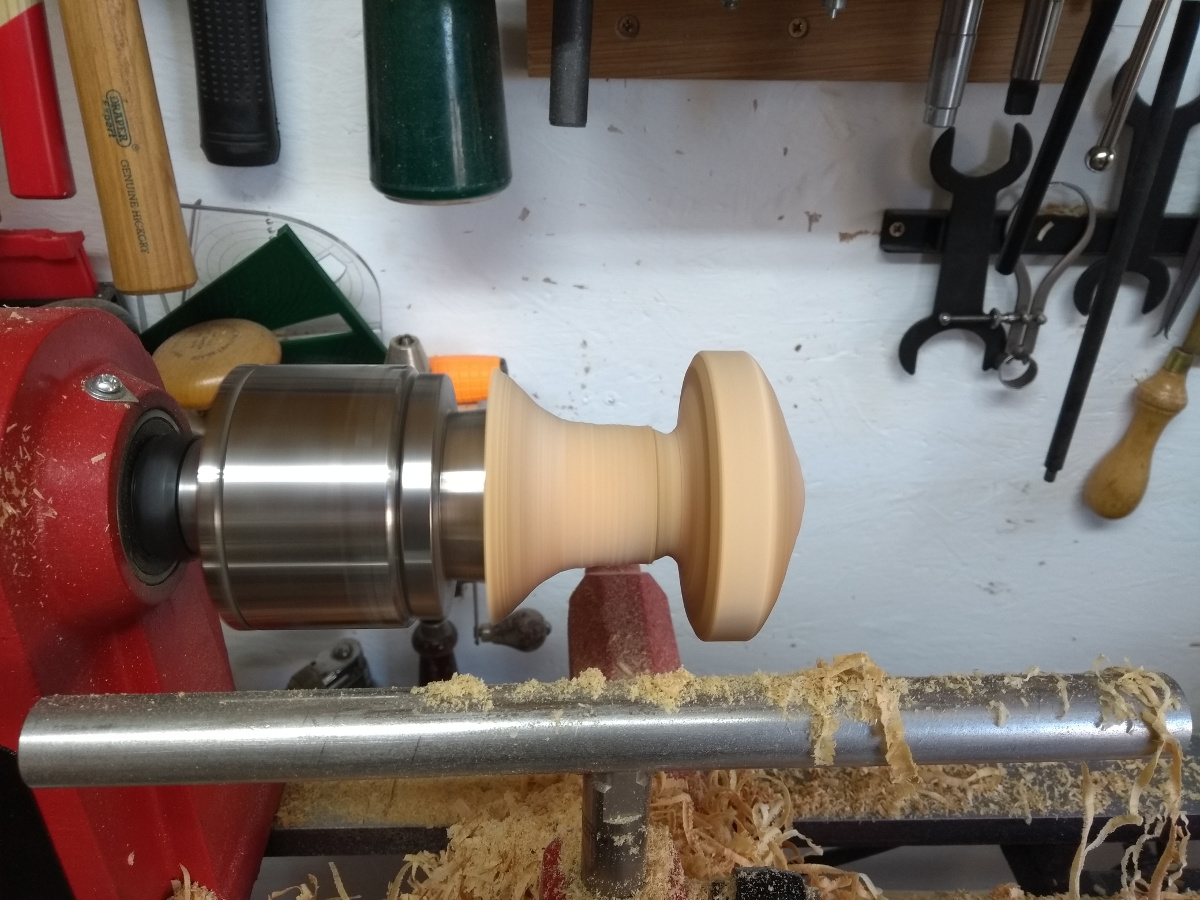
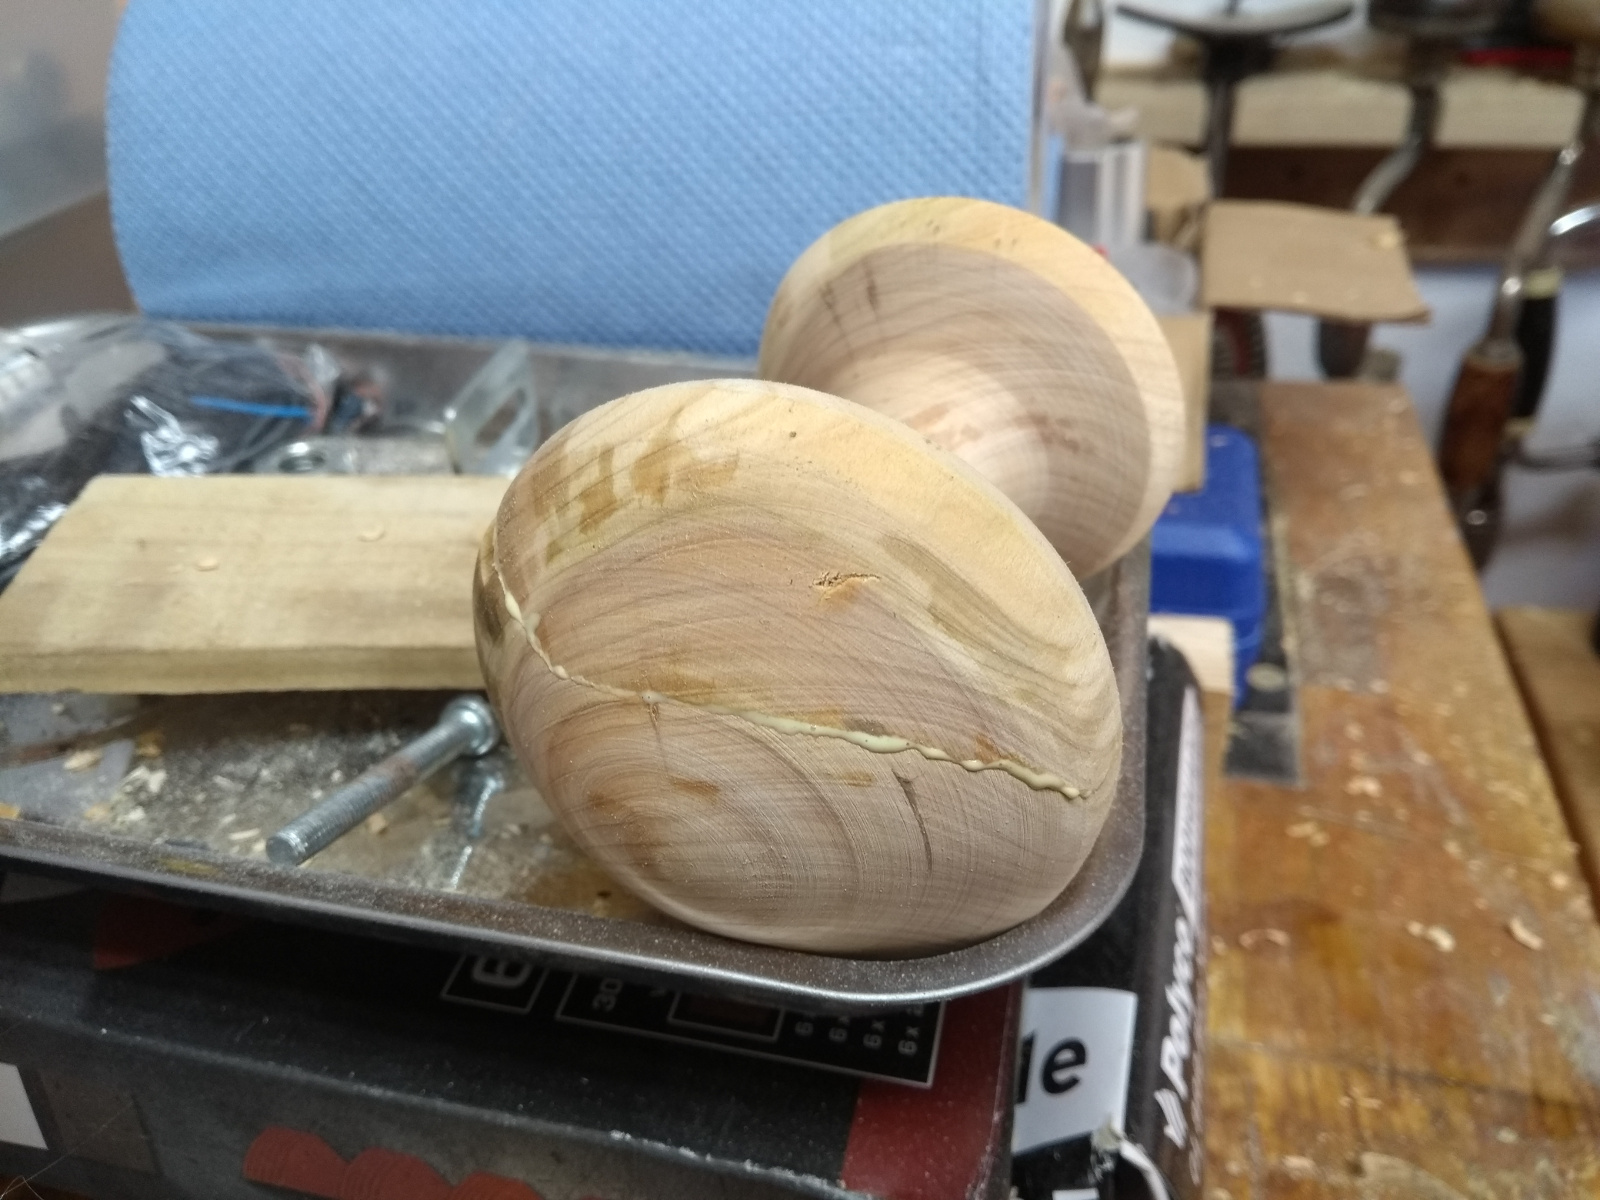
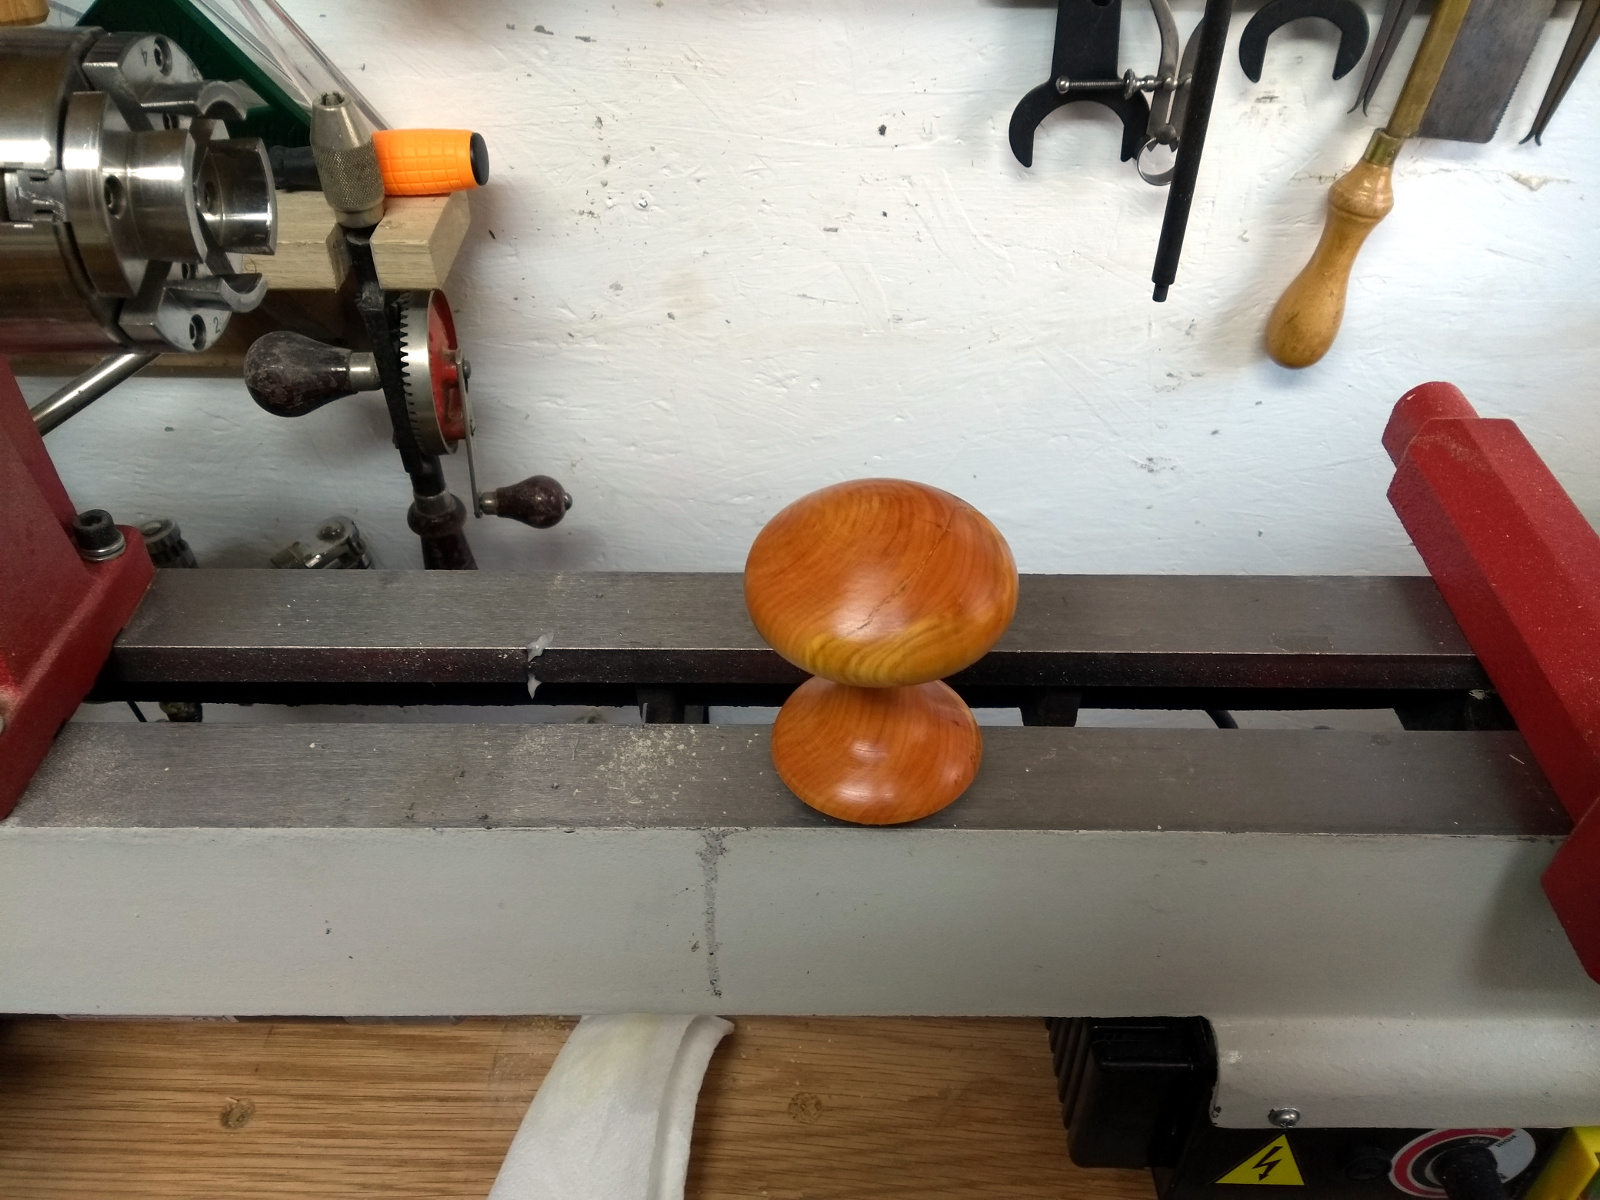
So after the last exploding mushroom, I tried turning the last two chunks of log into their mushrooms. And both times, it was looking soooo nice…
And then on almost the last finishing cut with the spindle or bowl gouge on the underneath of the cap, it caught and half the cap snapped right off, hitting me in the faceshield.
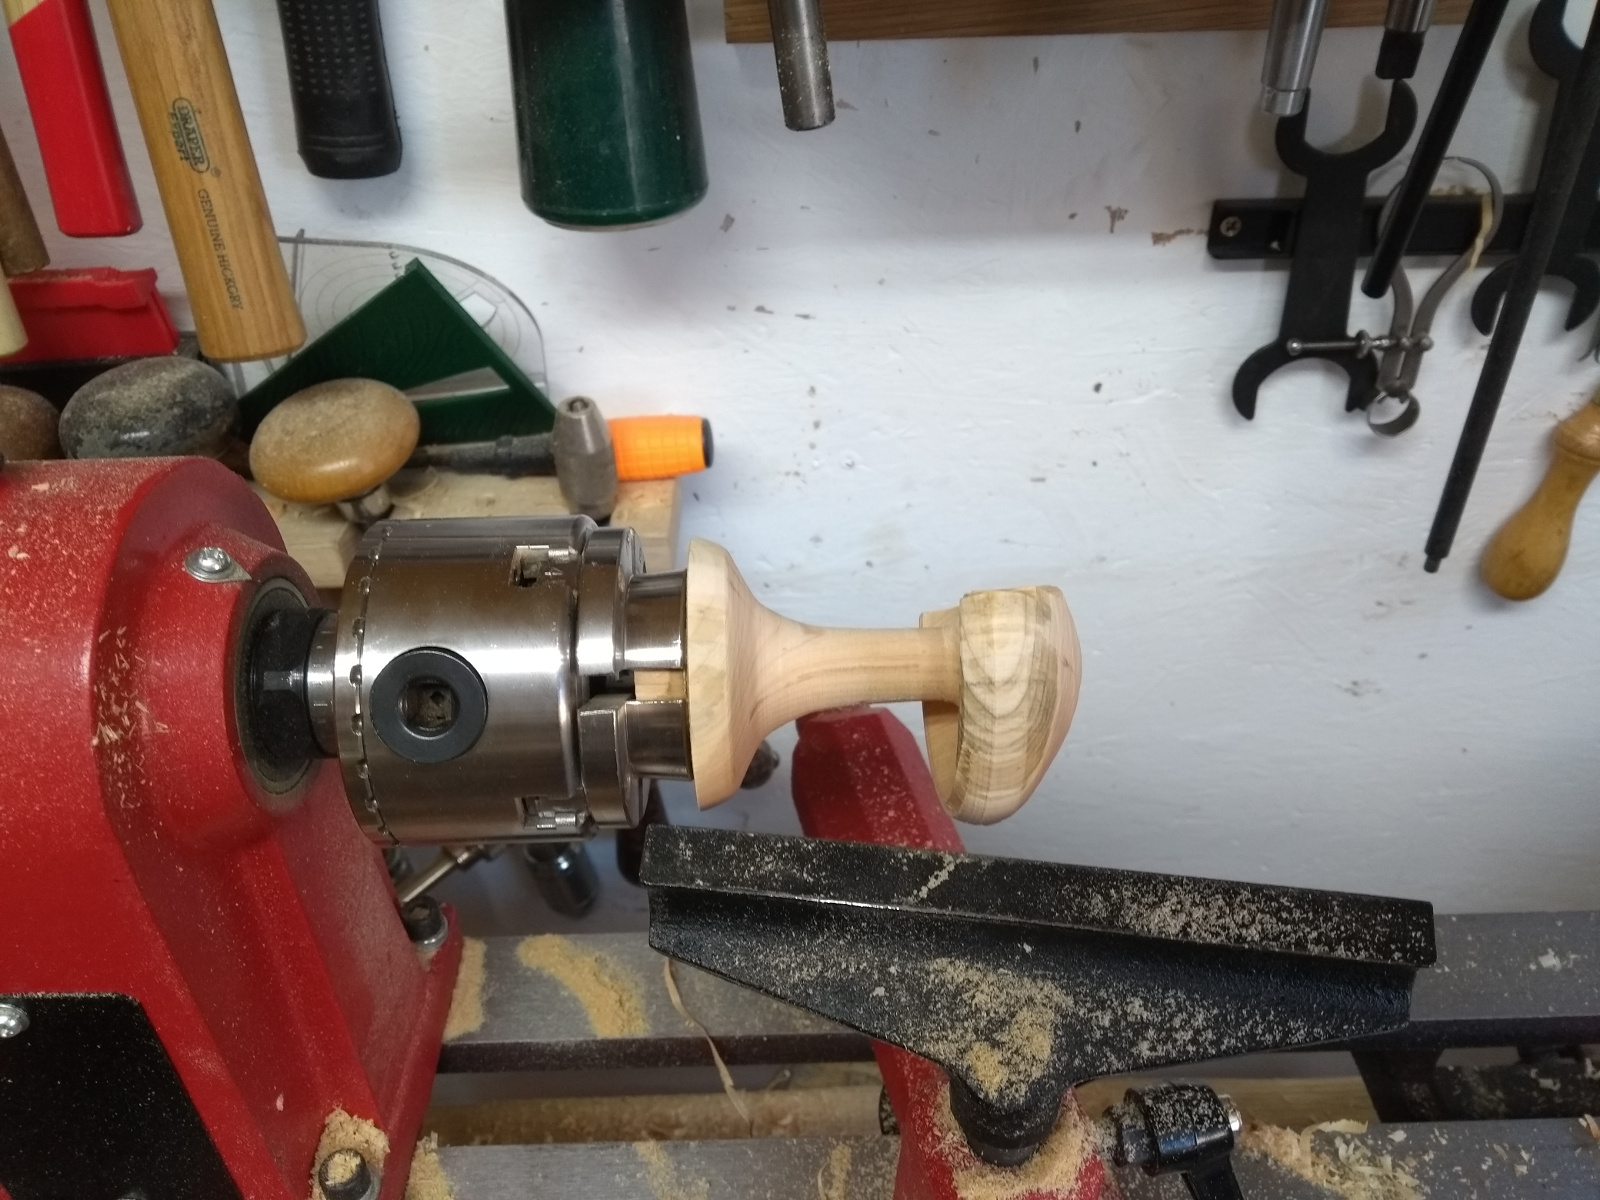
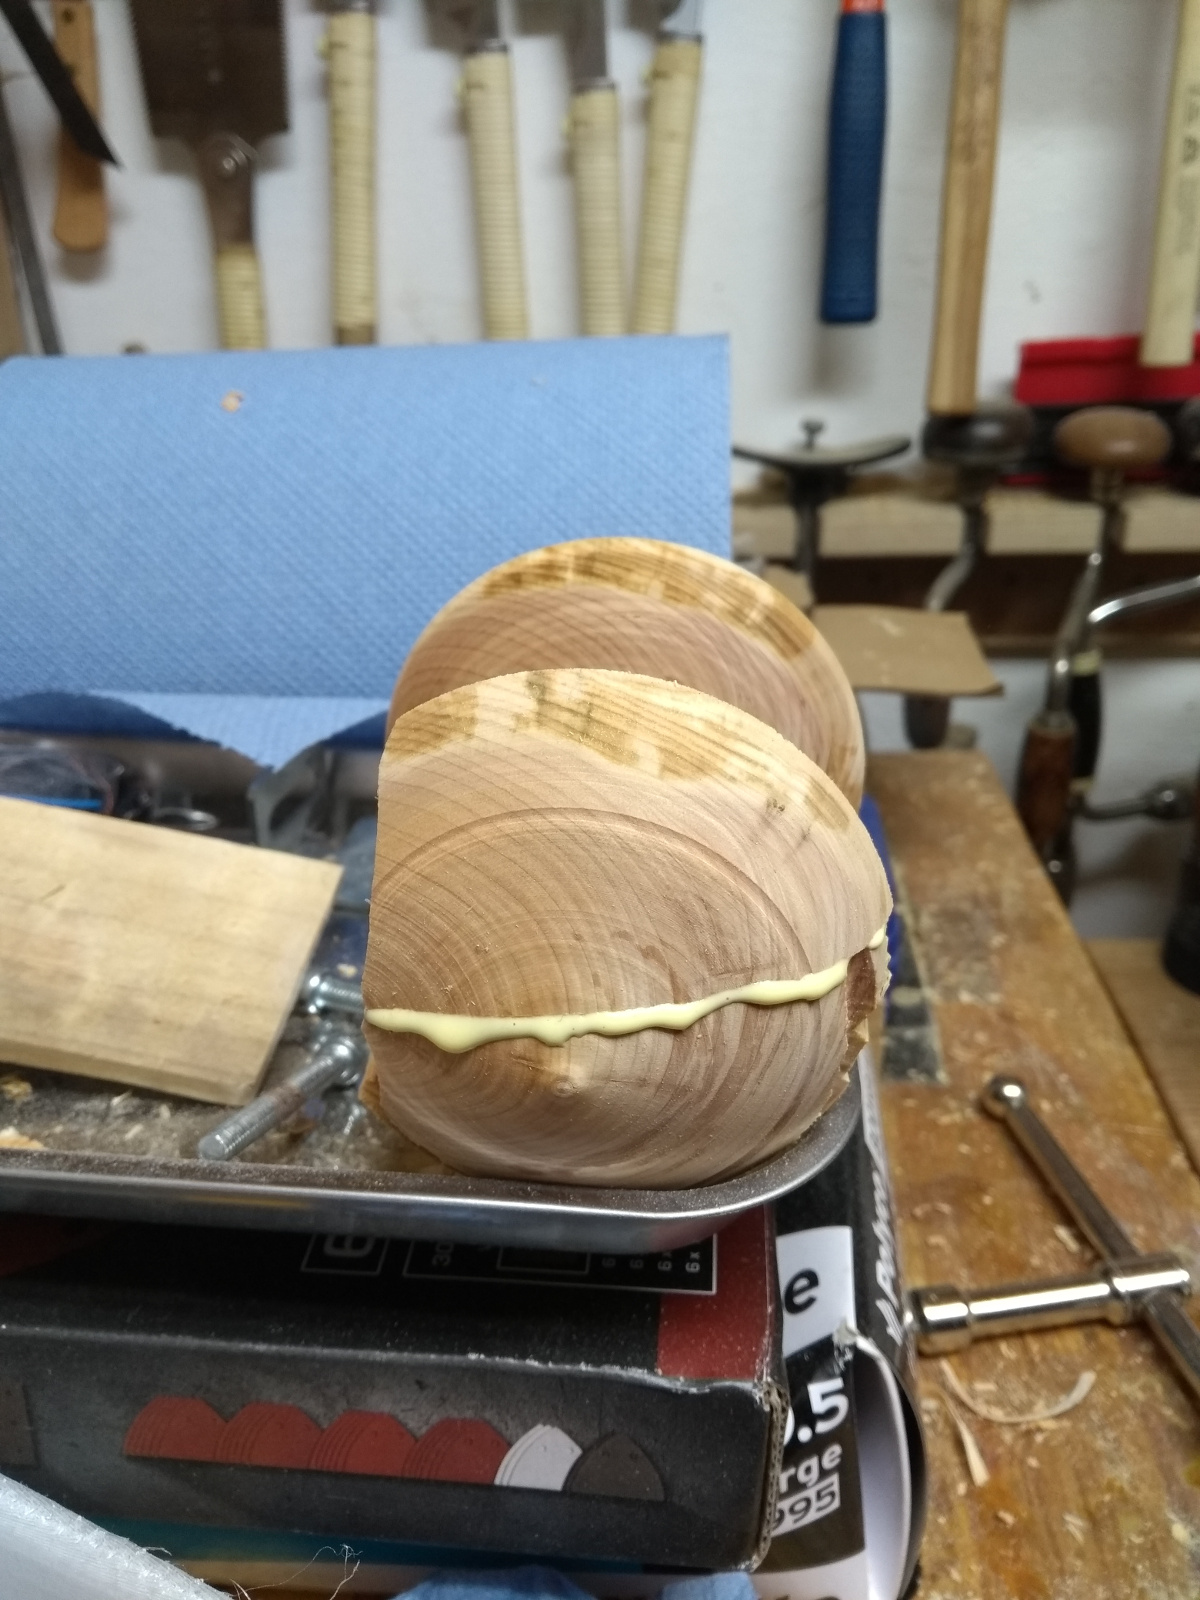
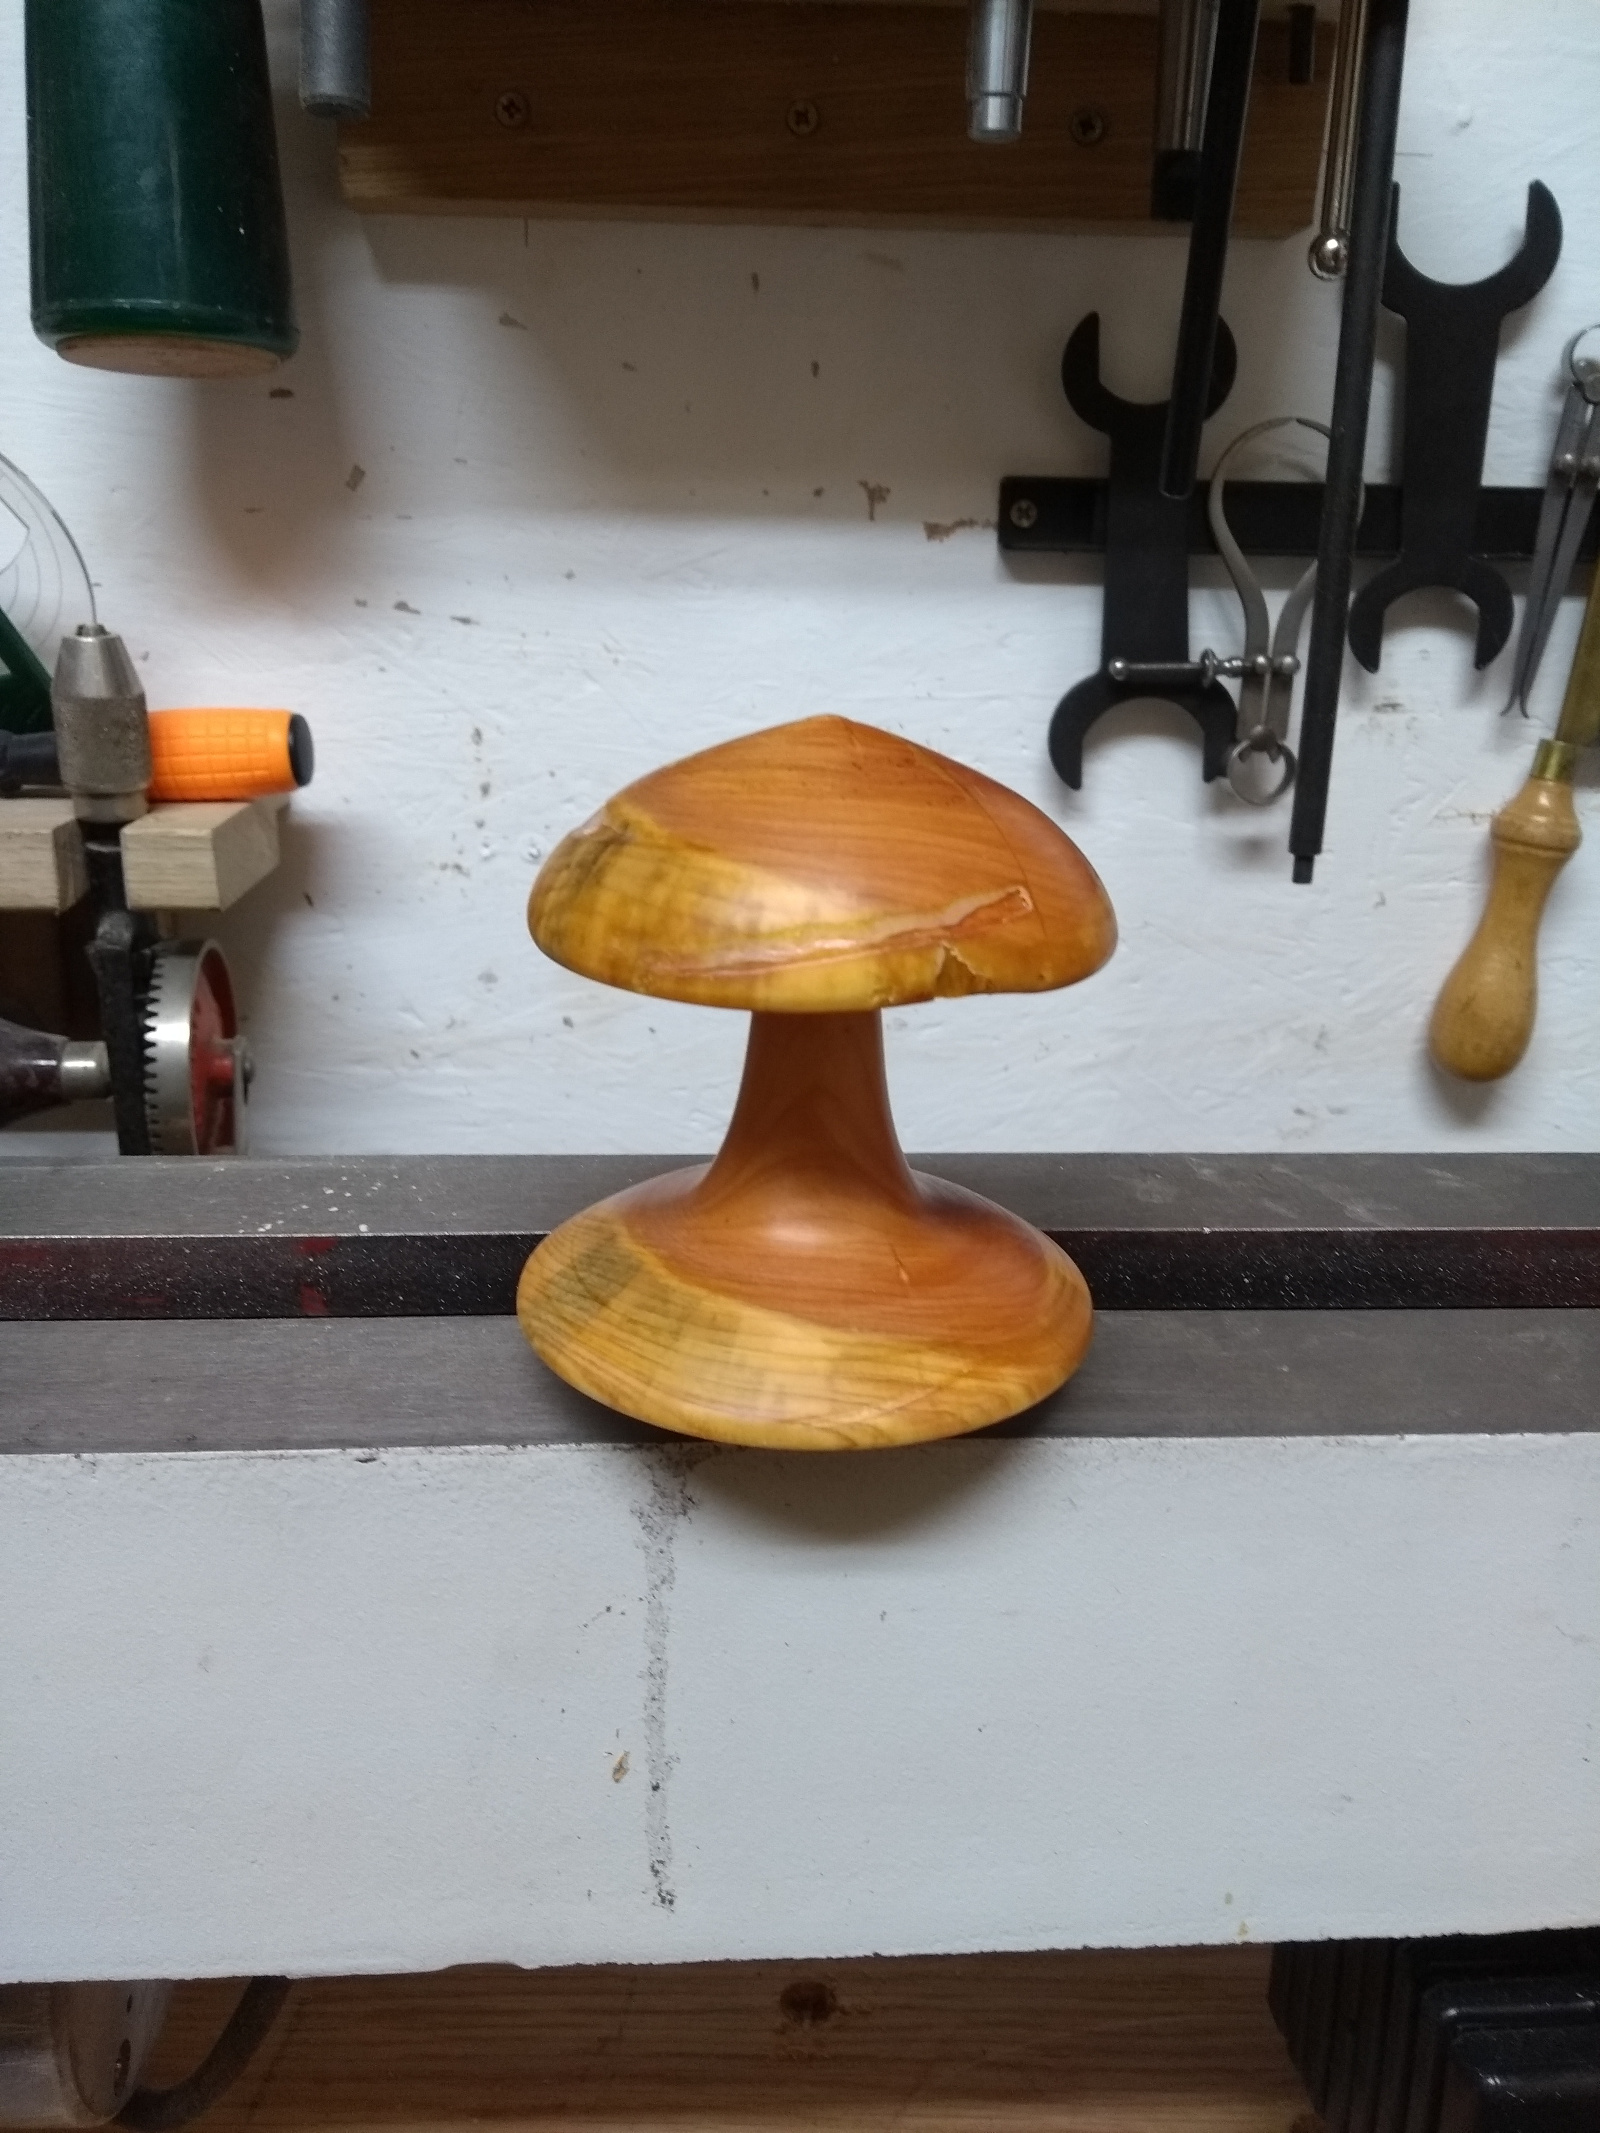
Well, maybe I had more hollowing out to do 😀 But I figured since these are going outdoors in the woods for the hedgehogs, maybe I can live with a rustic look, so I experimented by using some titebond to glue the pieces back together…
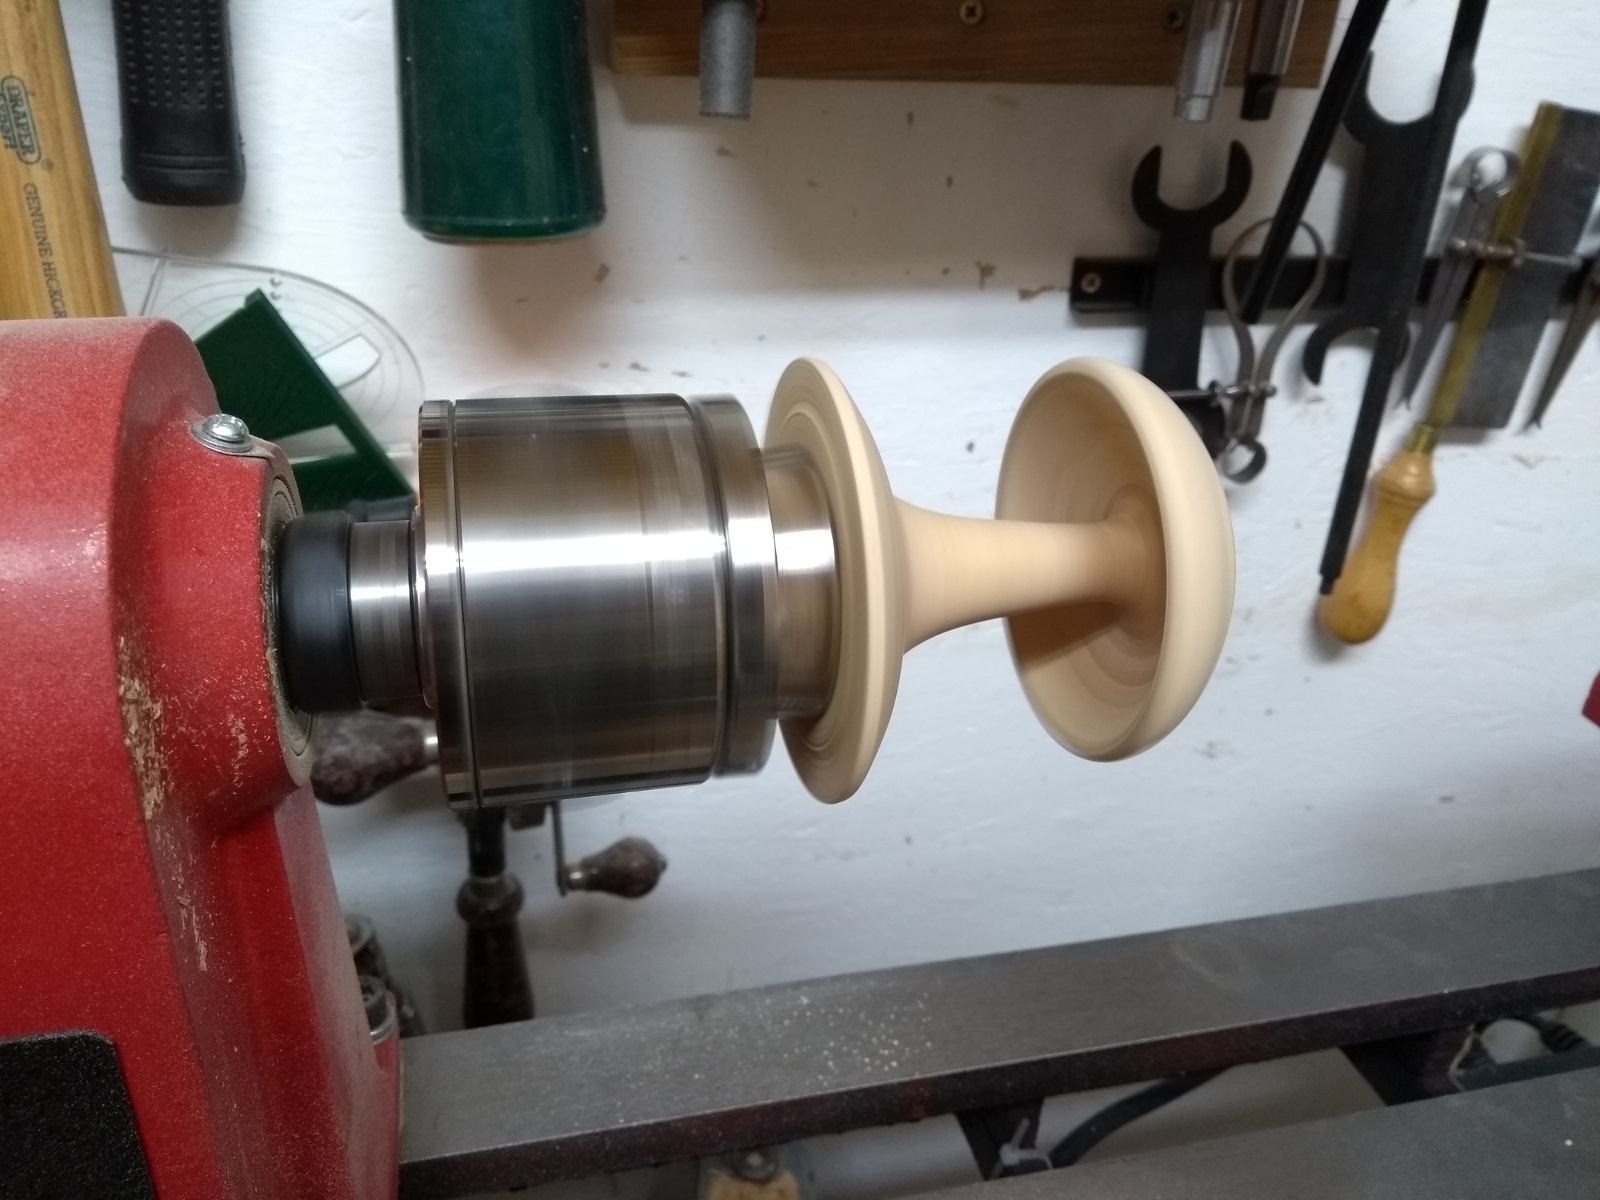
And after a day to let the glue cure (and no, I couldn’t get clamping so these were just rub joints), I put them back on the lathe at the lowest setting just for sanding and finishing.
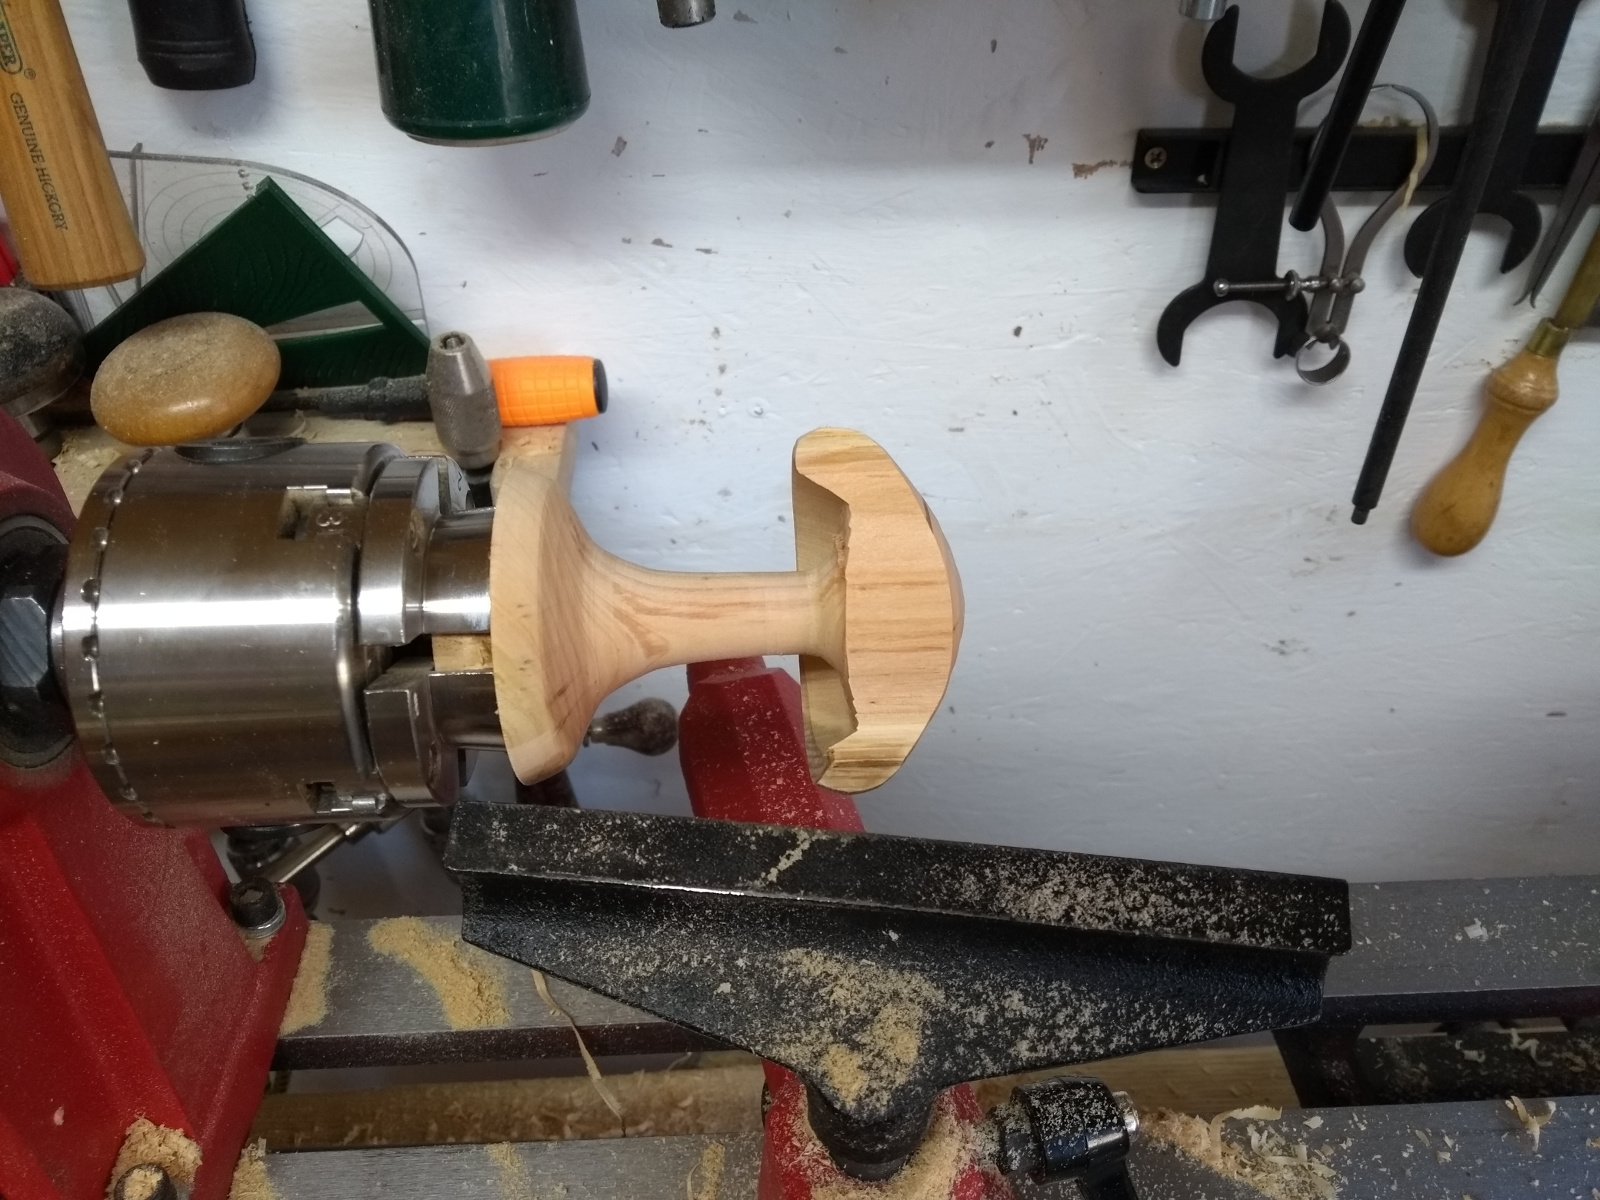
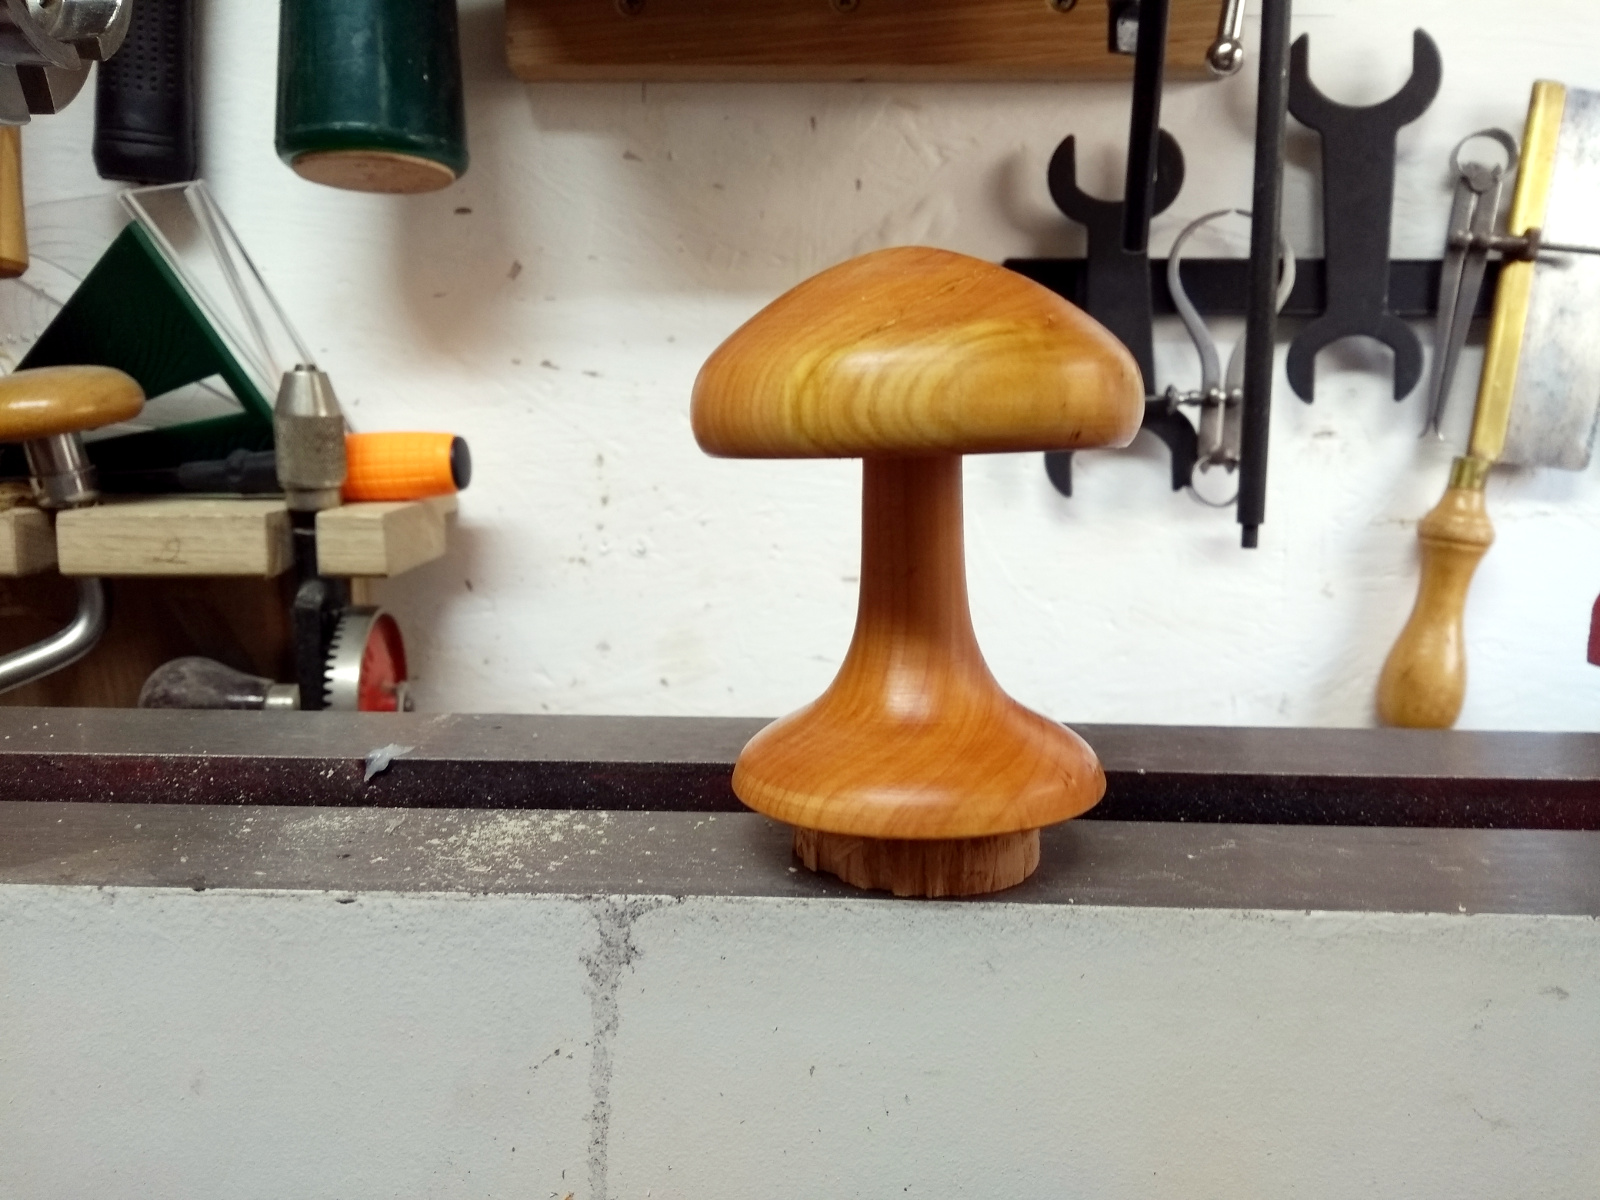
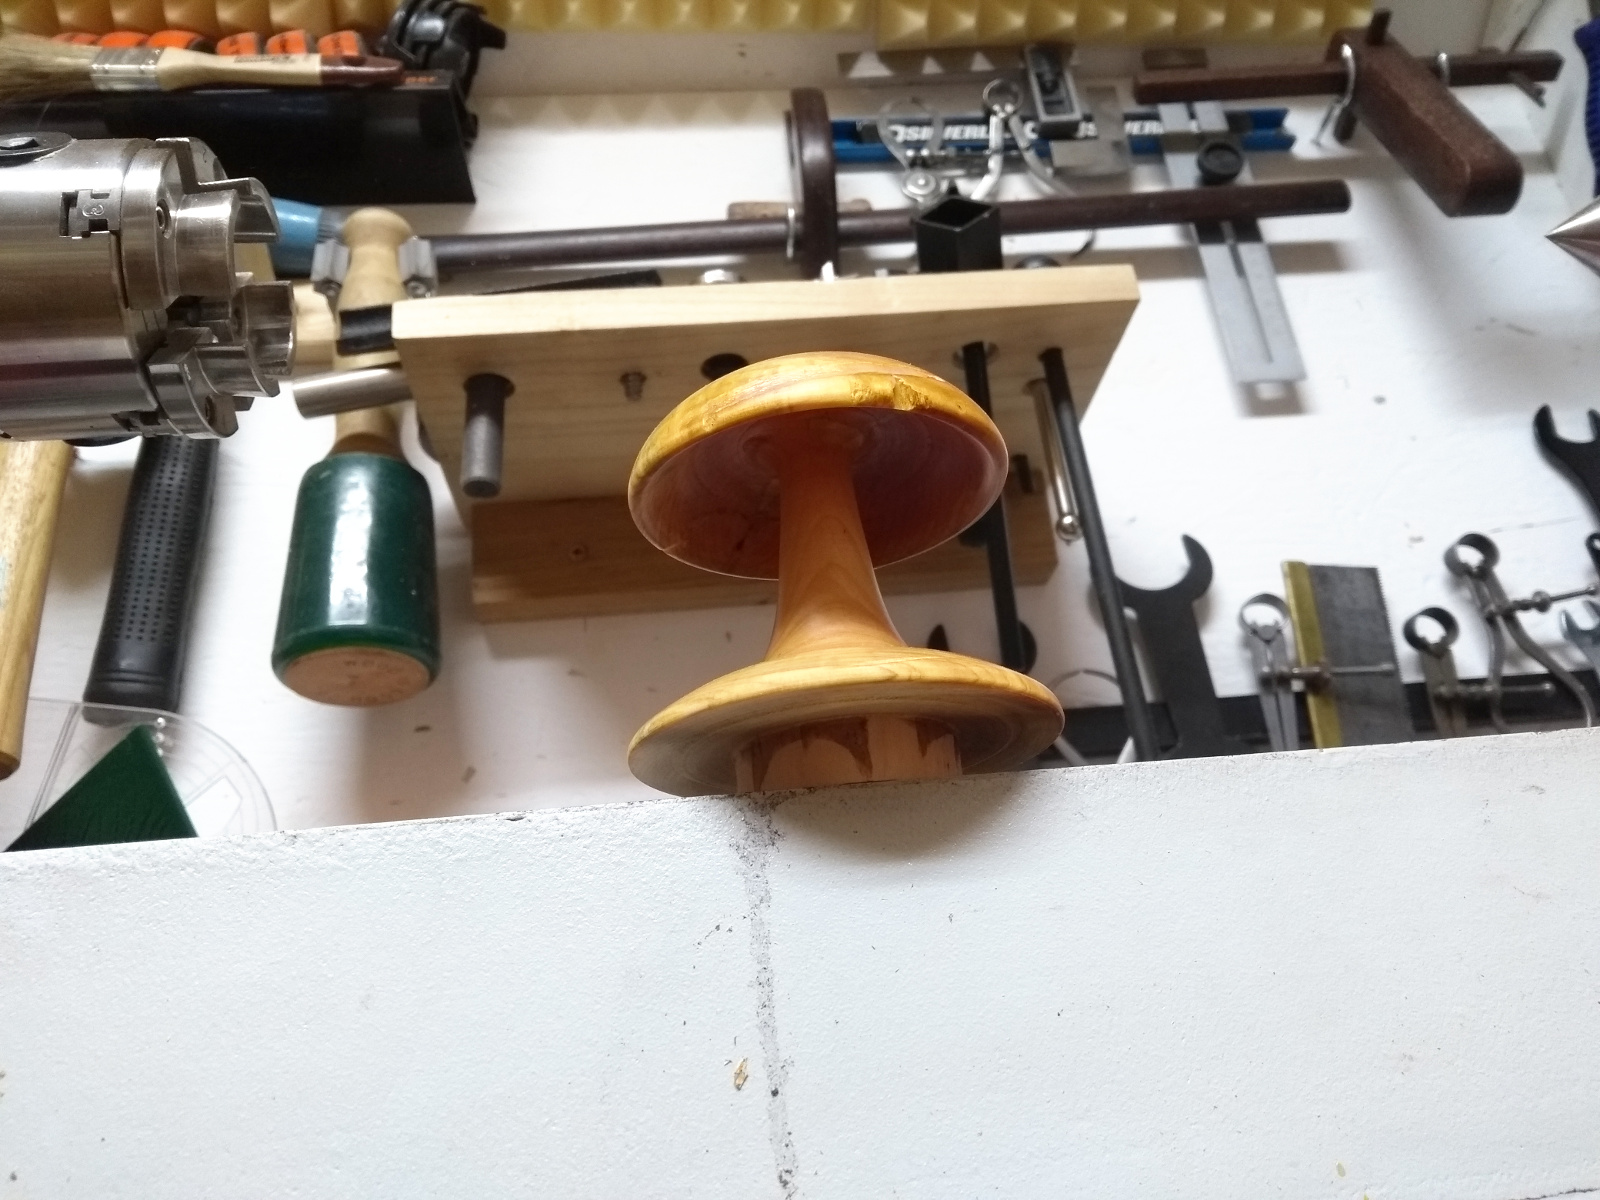
And they held! I was rather surprised to be honest… So up the grits from 120 to 320, then a coat of BLO, a topcoat of button shellac and then a polish with some beeswax under a heat gun, and…
So tomorrow I’ll cut off the tenons, drill a short mortice and glue a few inches of dowel into it and we can go plant these up in Fernhill.
...and maybe grab another log. I was thinking if we made a small bowl that it could be a natural birdbath or hedgehog drinking trough…
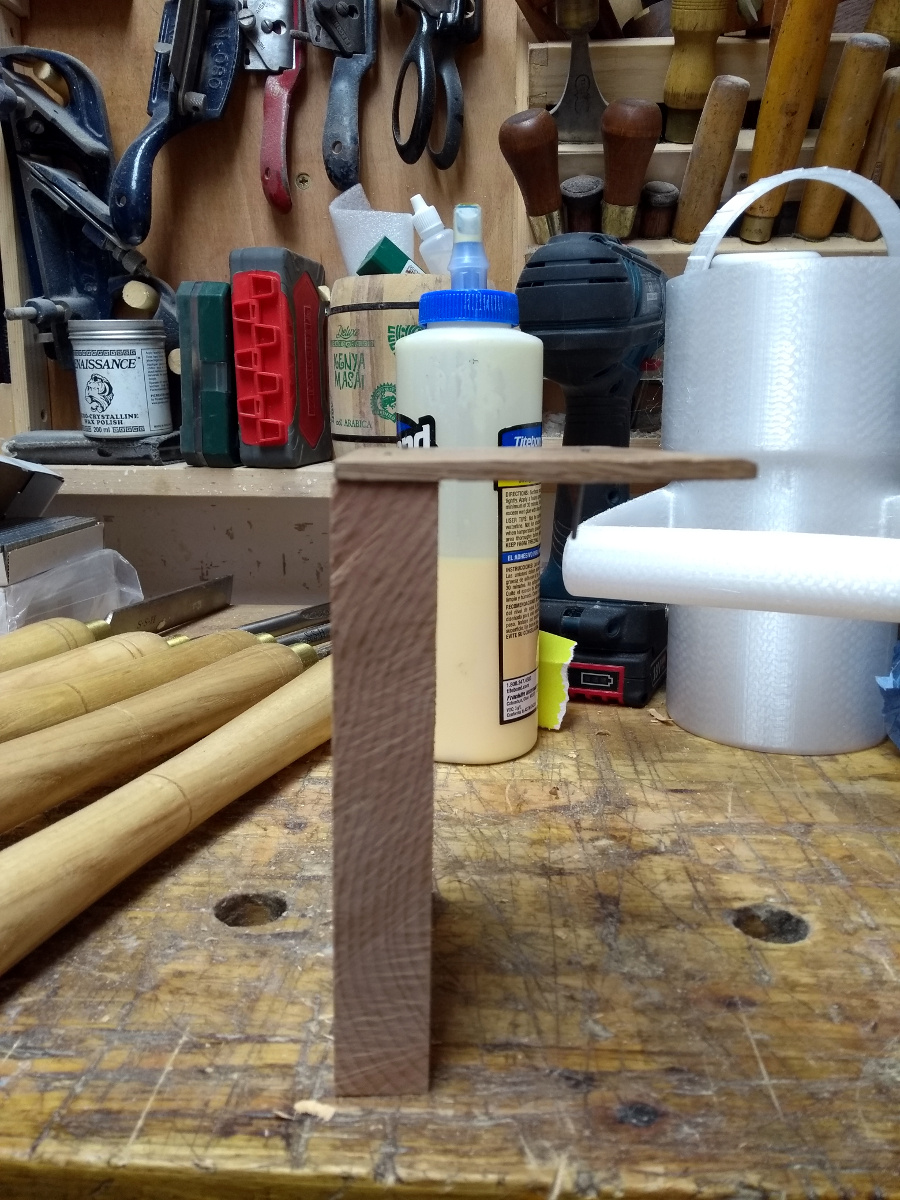
Oh, and my new nailgun arrived in the post as well 🙂 It even fits the air line connectors so I don’t have to go chasing round ebay looking for an adapter.
It works! Remind me never to glue my fingers together with this thing. I can’t quite see it being used for much in the way of fine furniture (not that I make much that you could call fine without squinting till you went blind) but I can see it being useful for making quick things like jigs or very small simple things like small boxes for herb plants and the like.
I mean, being able to do a butt joint like that without trying to hold the two boards together and the nail in position and swinging a hammer – that’s kinda neat. And I do need to knock up a quick jig for my woodturning sharpening setup…
This is not even a little surprising, but it's getting exhausting.
A party running on the platform of "we won't do the right thing when it matters, but we promise that we will later, if you just hand us completely unearned power once again."