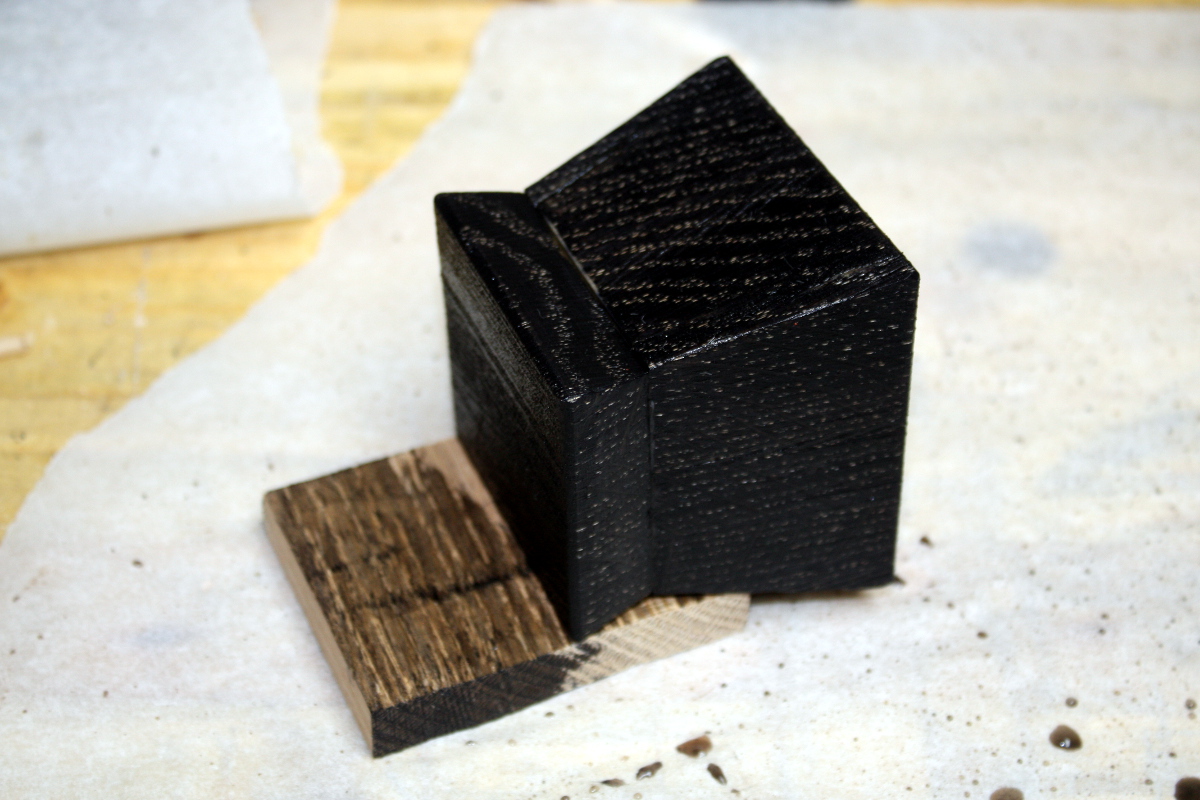
Well, made a dog’s breakfast of the bandsaw boxes I was playing at. Couldn’t make the turn needed and the blade came out the side of the blank. Oh well. Now I have two paperweights (and one successful box, out of four blanks). I’ve ordered a one-eighth inch blade off Tuffsaws, that should get here next week and I can try again. I’ll prep new blanks tomorrow for that.

Bit of a waste, those 🙁
Meanwhile the older replacement y-lever for the #5½ arrived and I replaced the existing y-lever with it and it’s been a lot nicer to work with since. And no surprise. This is what the more modern y-lever looks like, two pressed steel parts riveted together:

Unfortunately, the rivet on mine isn’t as tight as it should be and even glue didn’t stop the inevitable end result (and if you’re thinking this would interfere with setting the plane you’d be right):

Meanwhile, back on the main project…
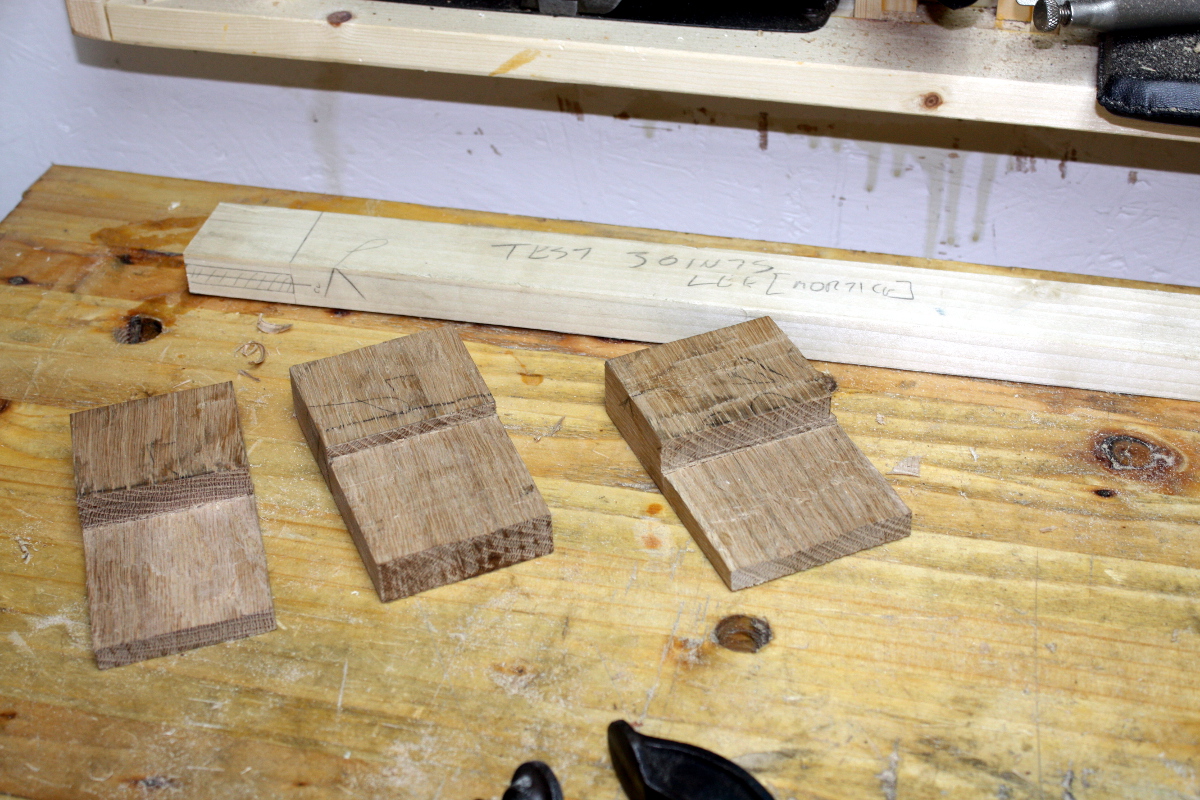
The bridle joints involved are a bit of an oddity; nobody really cuts them often enough to get good at them, at least not off the saw, so these are Richard McGuire’s basic jigs for helping to cut them (and the test sticks in the backgrounds, just a spare bit of poplar that I’m using up).

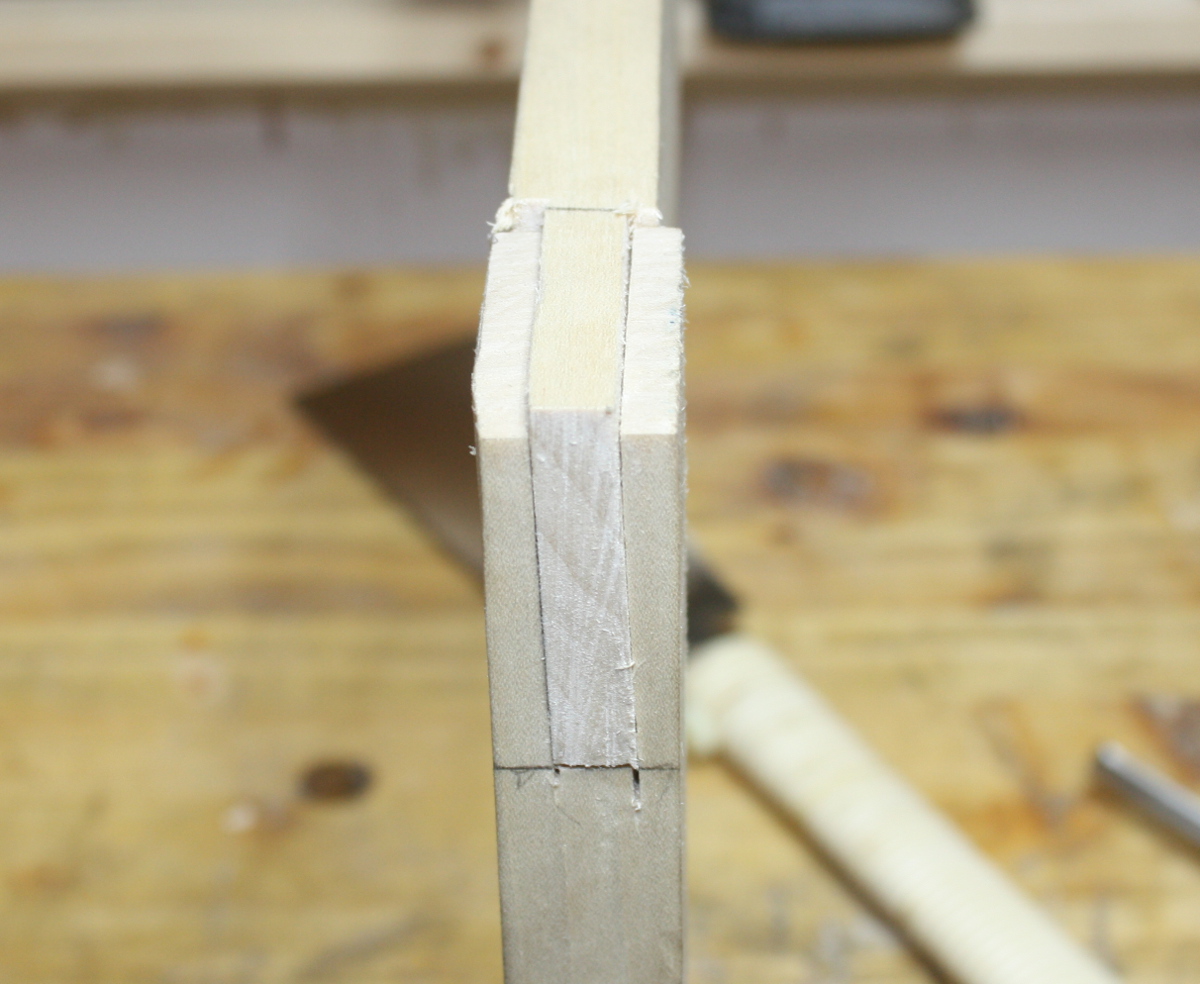
Four cuts, four jigs and the japanese saw reappears.

Okay, doesn’t look too awful…
Ah. Right. Hm. Odd. No gaps but also torqued right the way over. So check the guides again and yup, the shoulder of the cut was just not tidy enough so out with the chisel and a bit of tweaking and another test joint gets cut…

Ah. Bother. Okay, one guide still needs a wee bit of tweaking and we cut another test joint…


and…

Right. That’ll do I think.
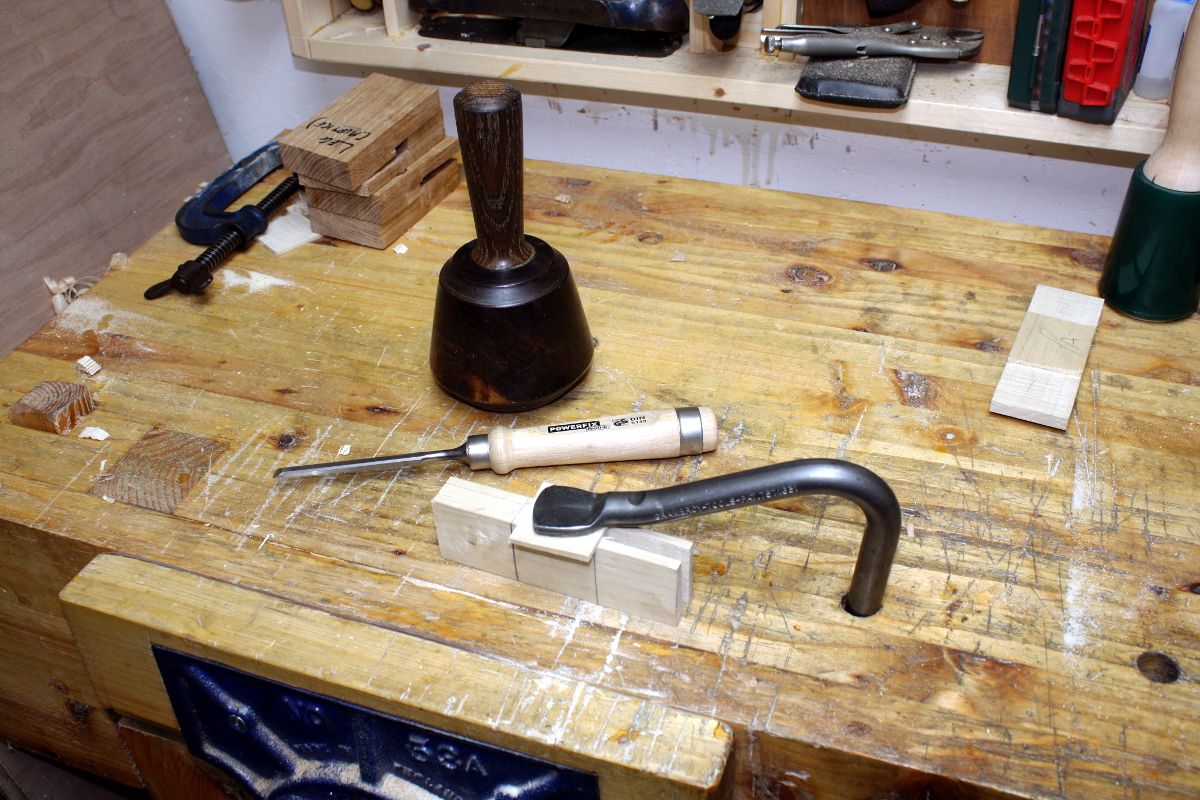
Next step, a 12 degree guide and then on to cut the actual leg&apron joints.
Like this:
Like Loading...
 After:
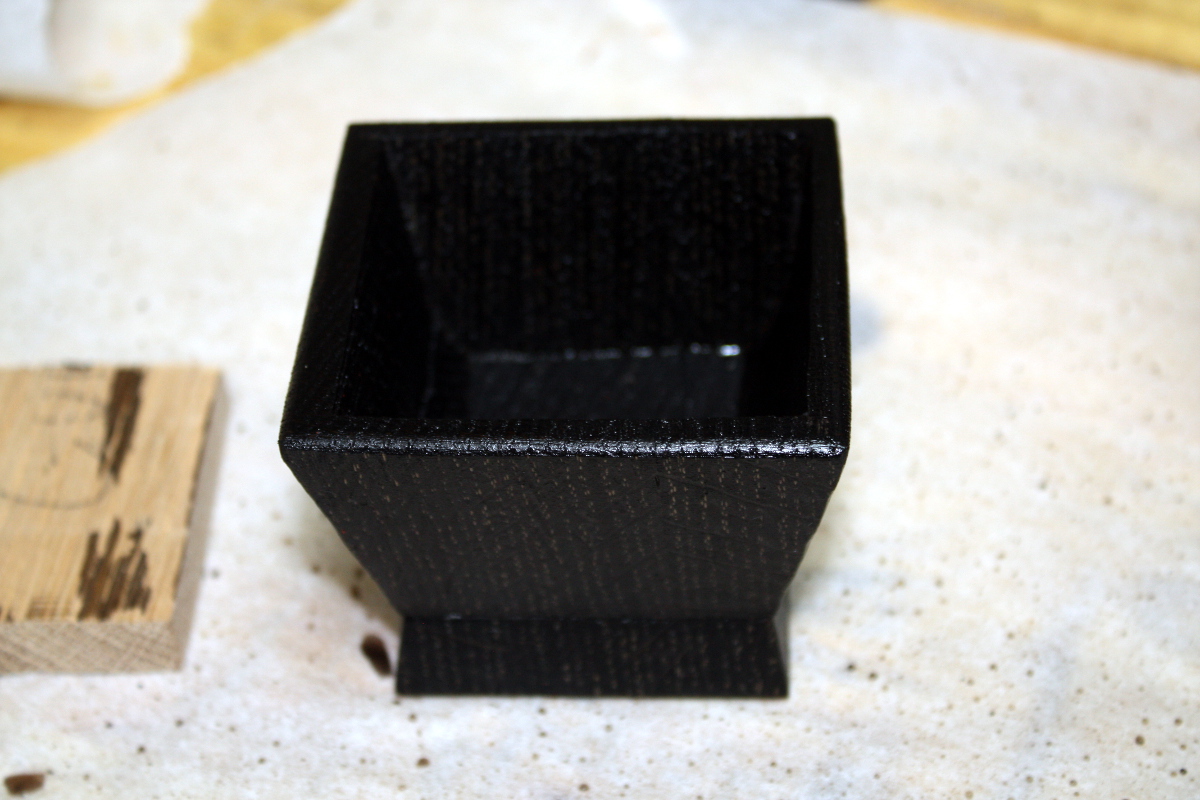
 No paint, no stains, no inks or dyes.
