21
May 18

Pottering about

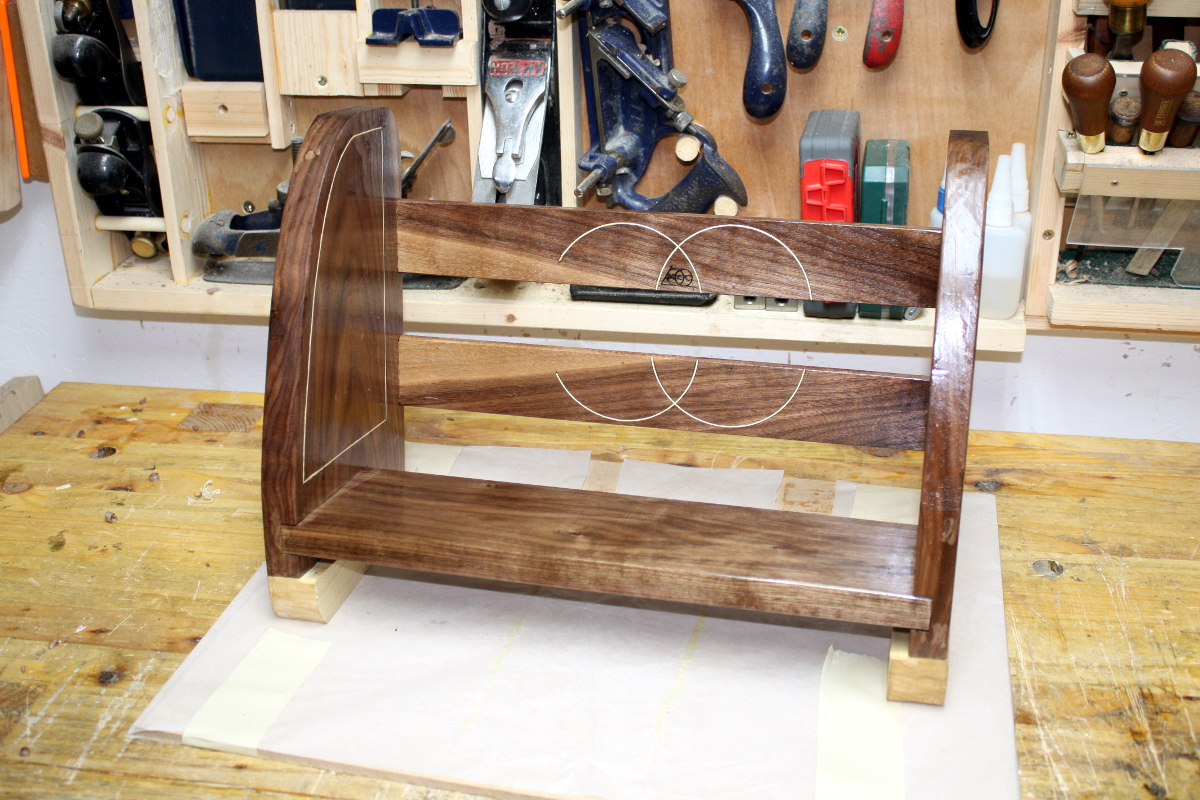
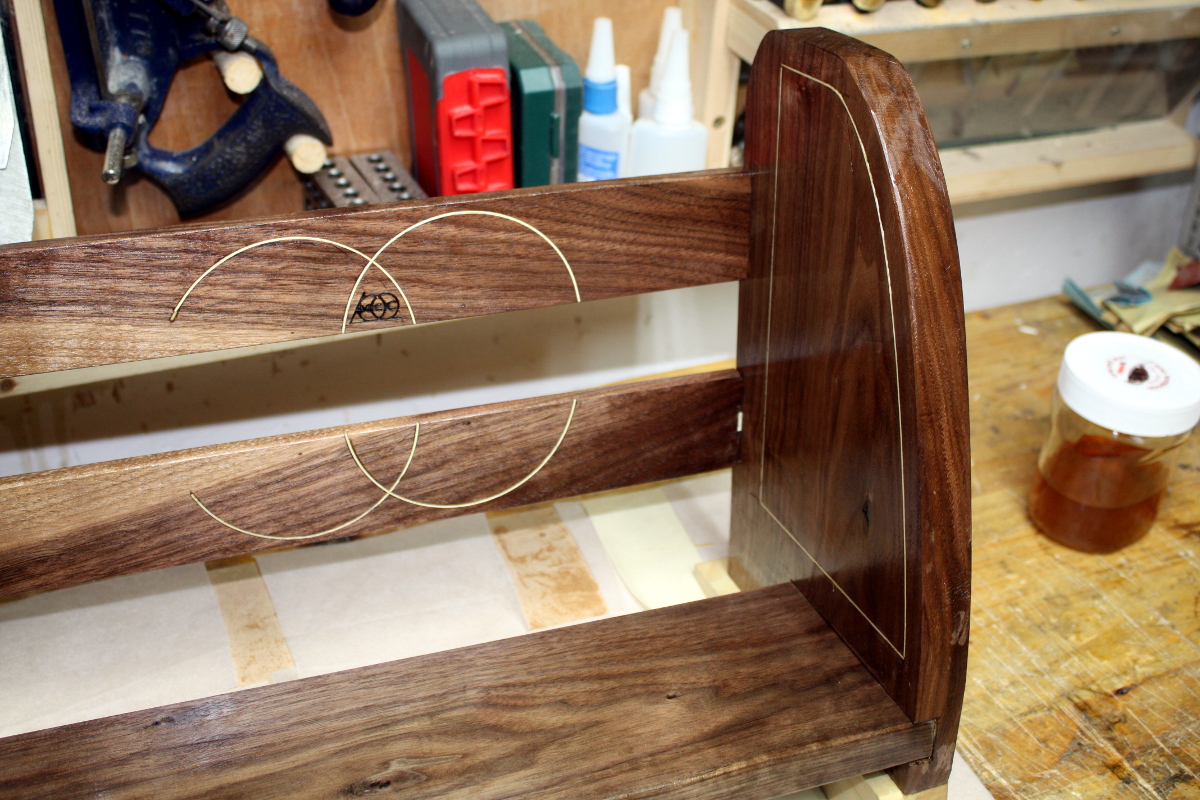
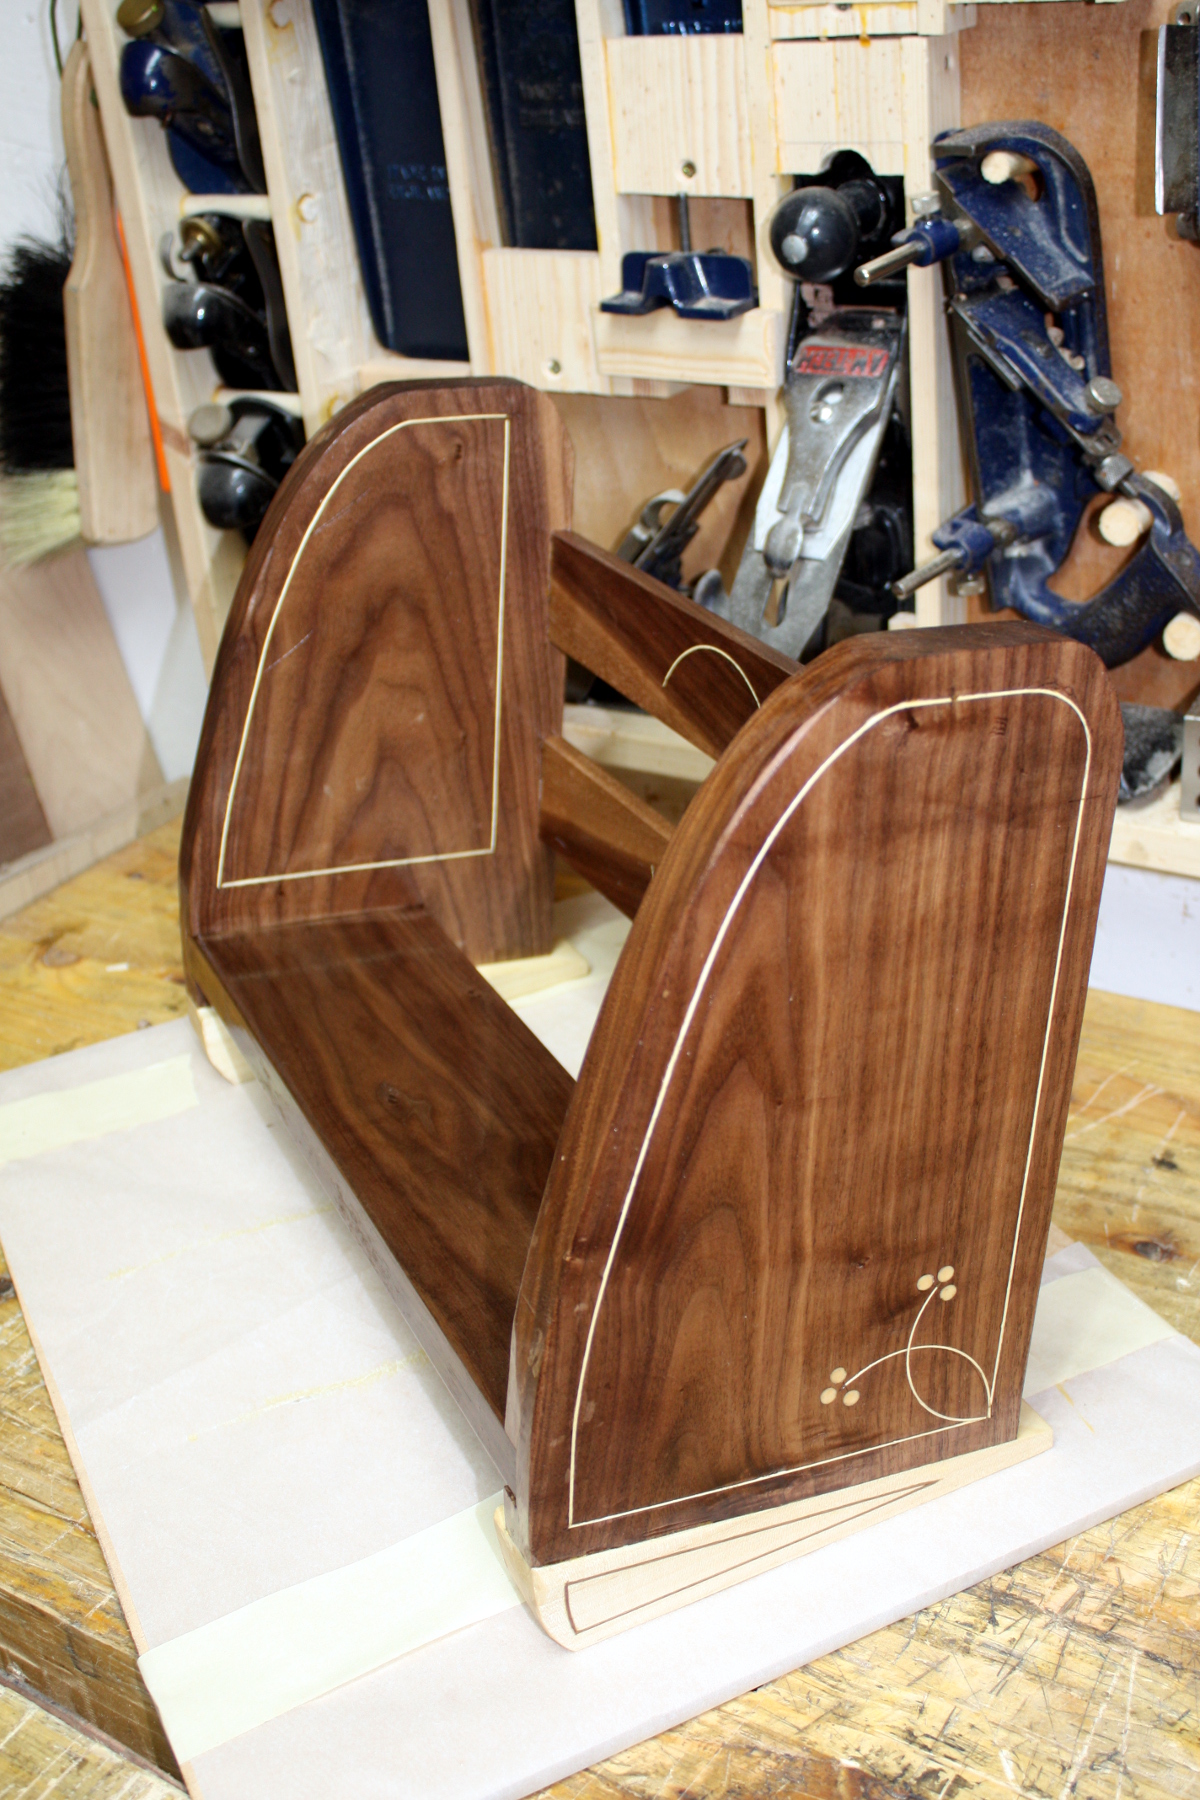
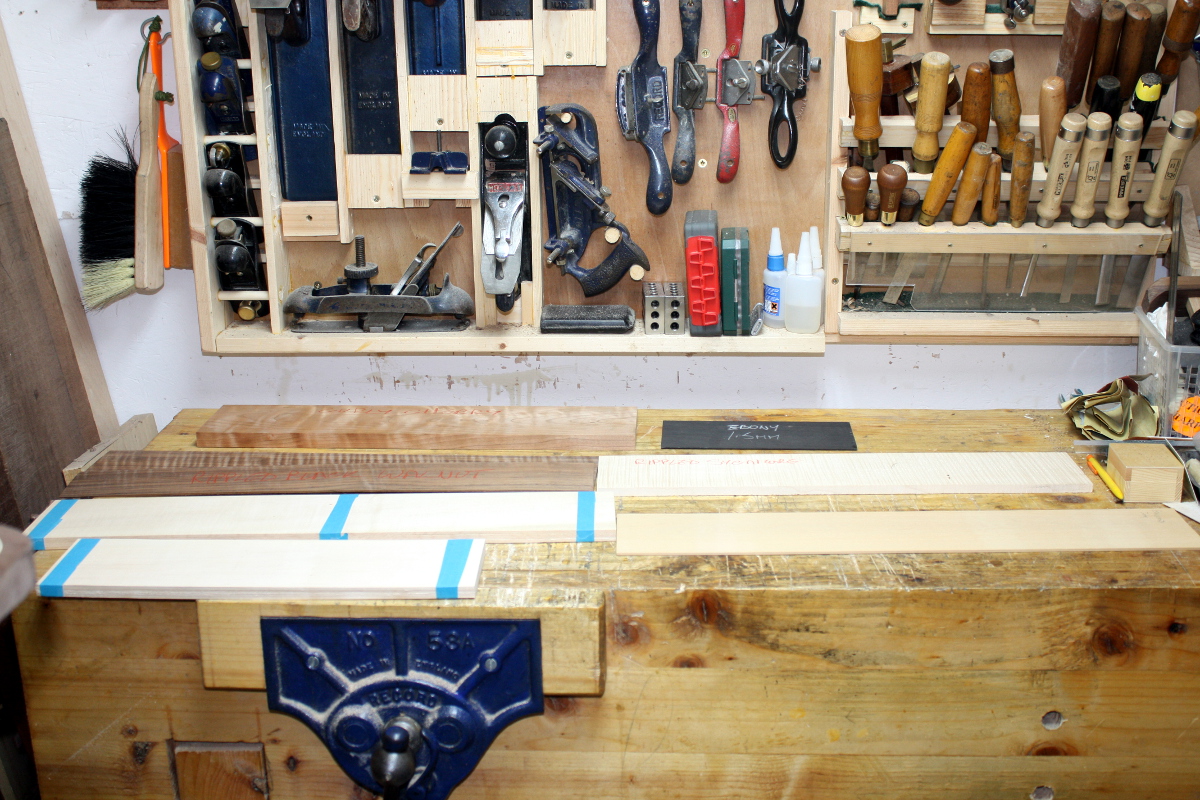
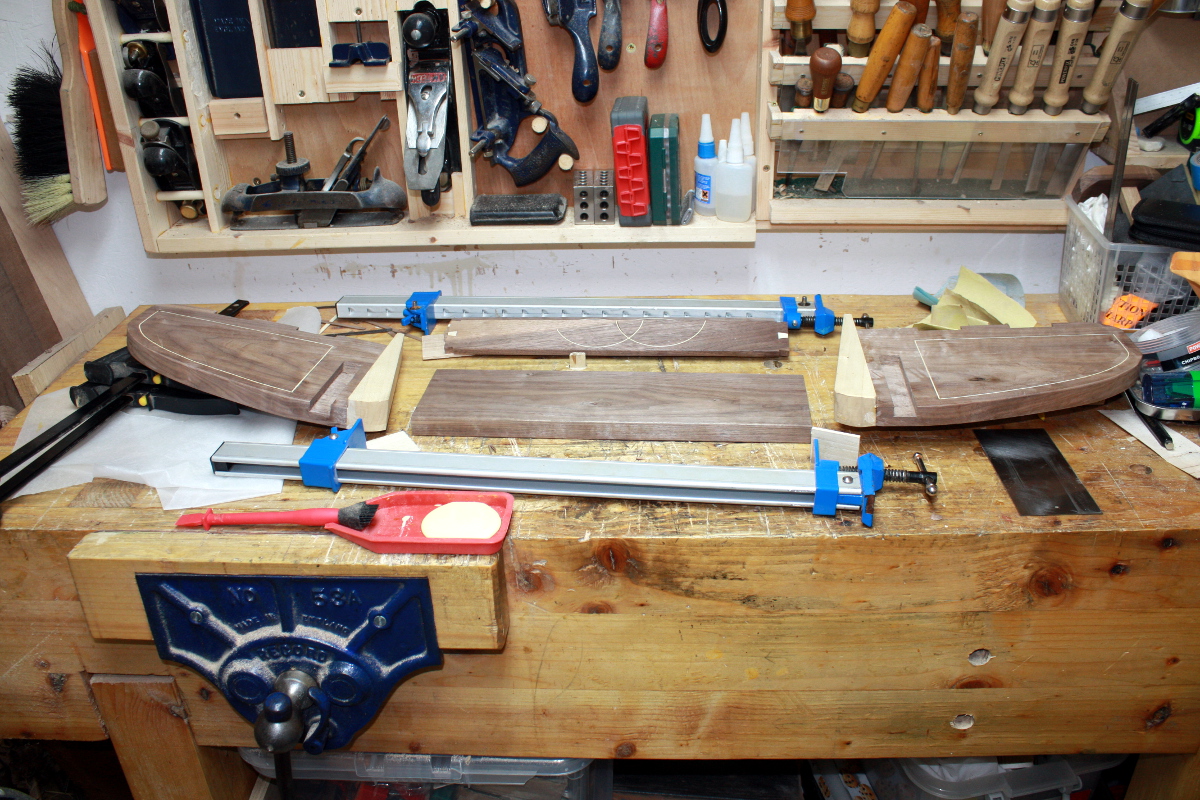
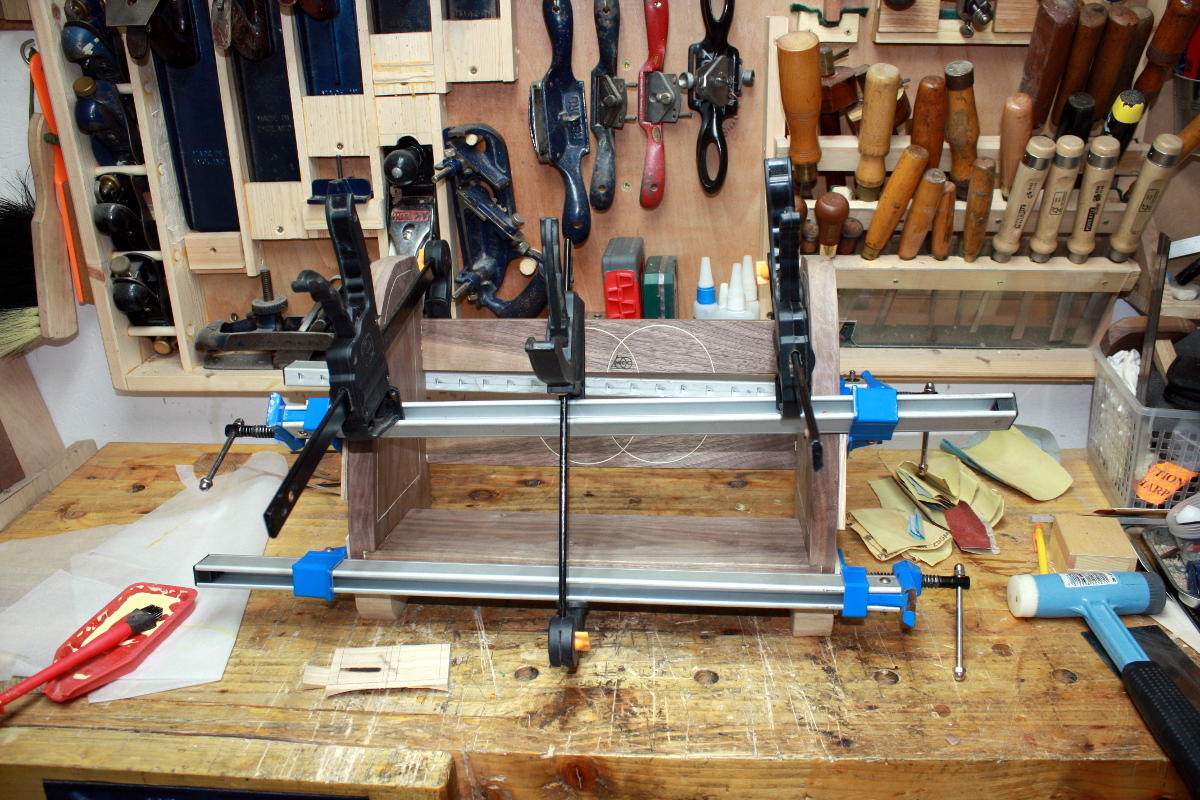
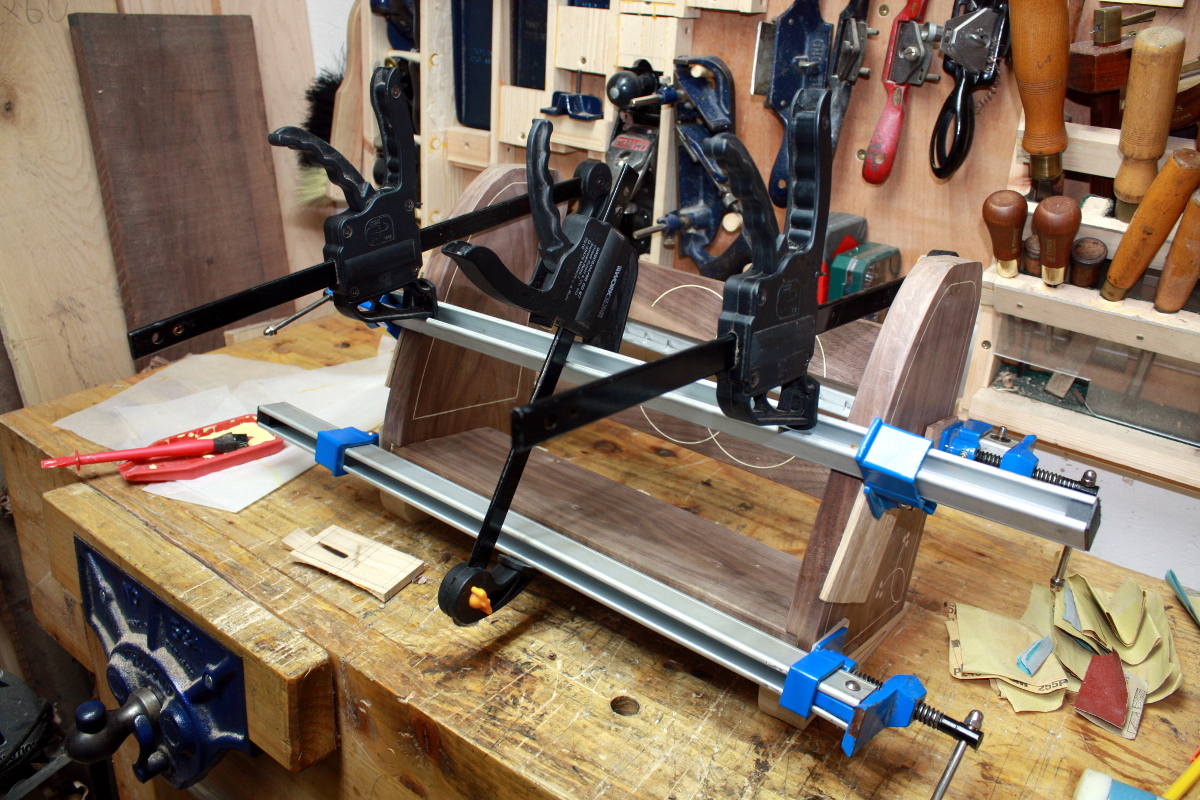
Last project finished, next one not properly started yet (just have the rough cuts done) and another in mind but not off the notepad yet. So now’s the time to work on the shed itself…

That’s the dust collection for the shed (it’s collapsed because the vacuum hose got clogged with shavings and the shop vac managed to pull enough air out of the barrel for atmospheric pressure to crush it). It’s a bit… big. For the shed at least. So a while back, I got a smaller drum.

And it’s been sitting there since I bought it, getting in the way, because I was trying to get other stuff done. So…
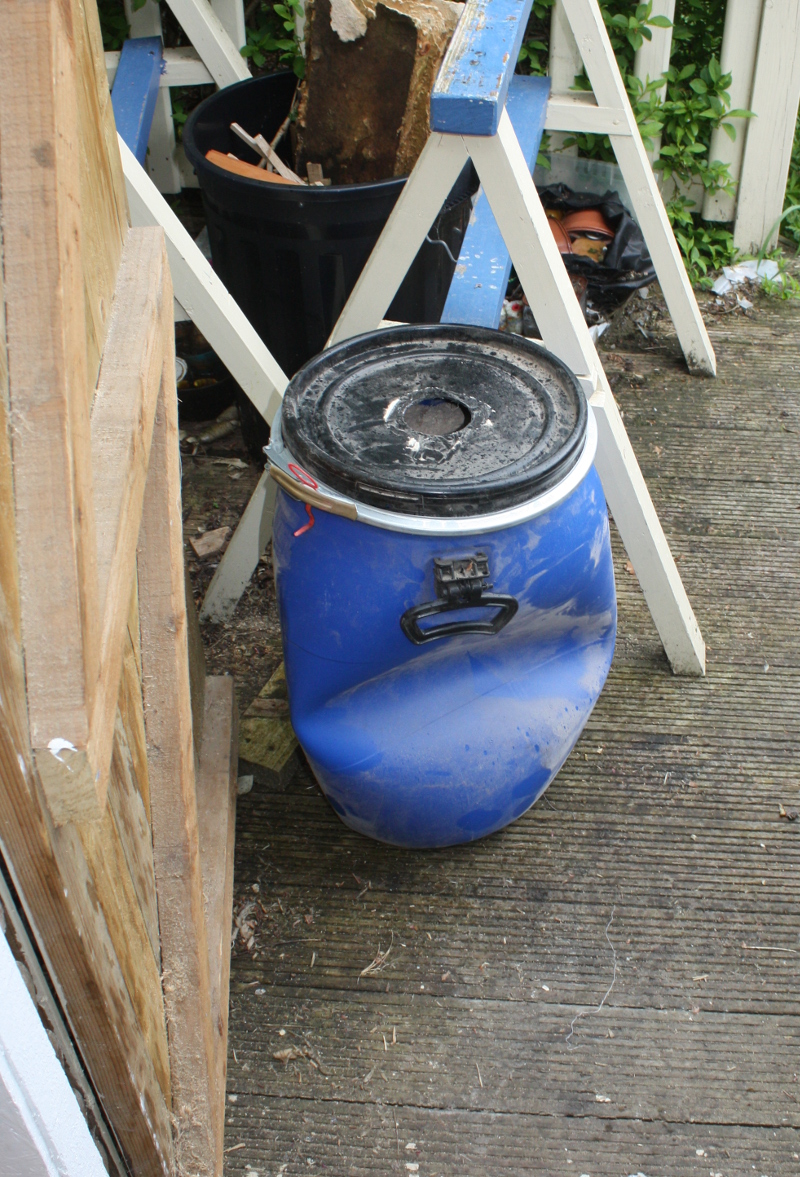
Out with the old…

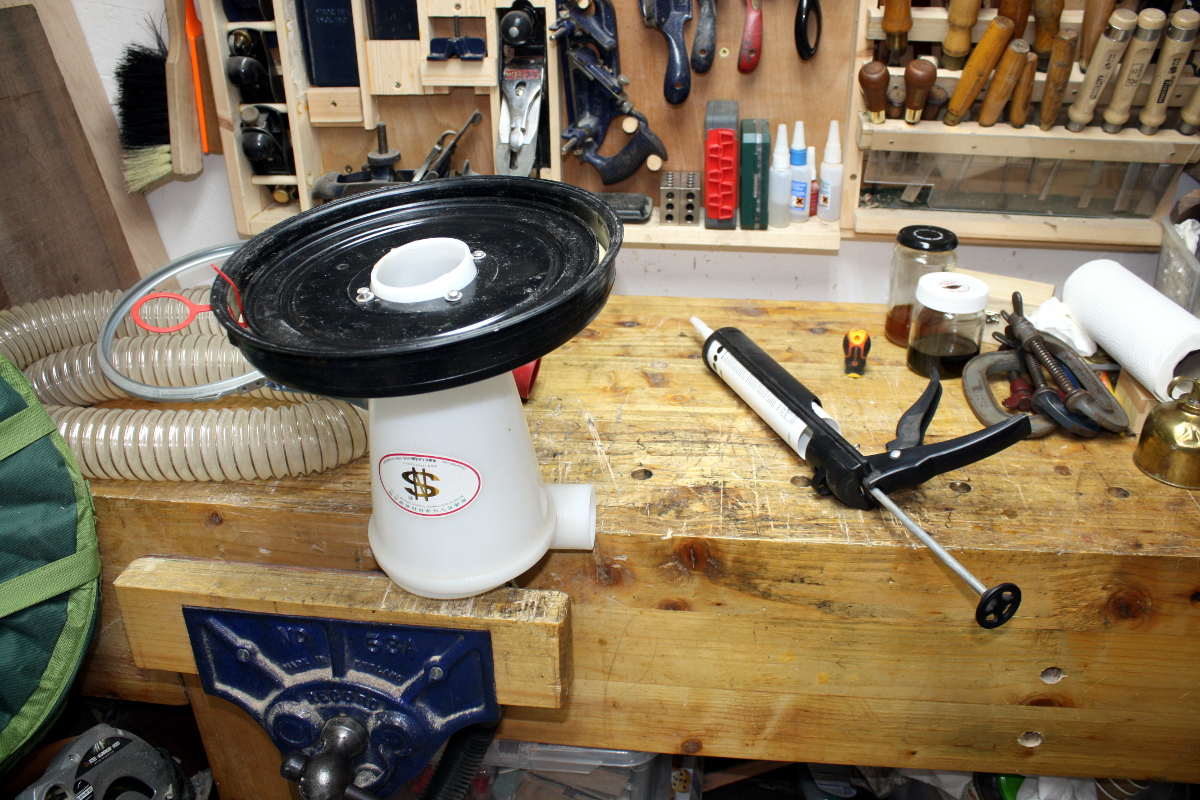
And mark out and measure for the minicyclone seperator in the lid of the new drum, cut out the large hole with, of all things, the lie-nielsen radius cutter I was using for stringing on the last project, and then drill the holes for the attachment screw and fit it. In the end I didn’t use the sealer though, I’m not sure if it’s needed just yet.

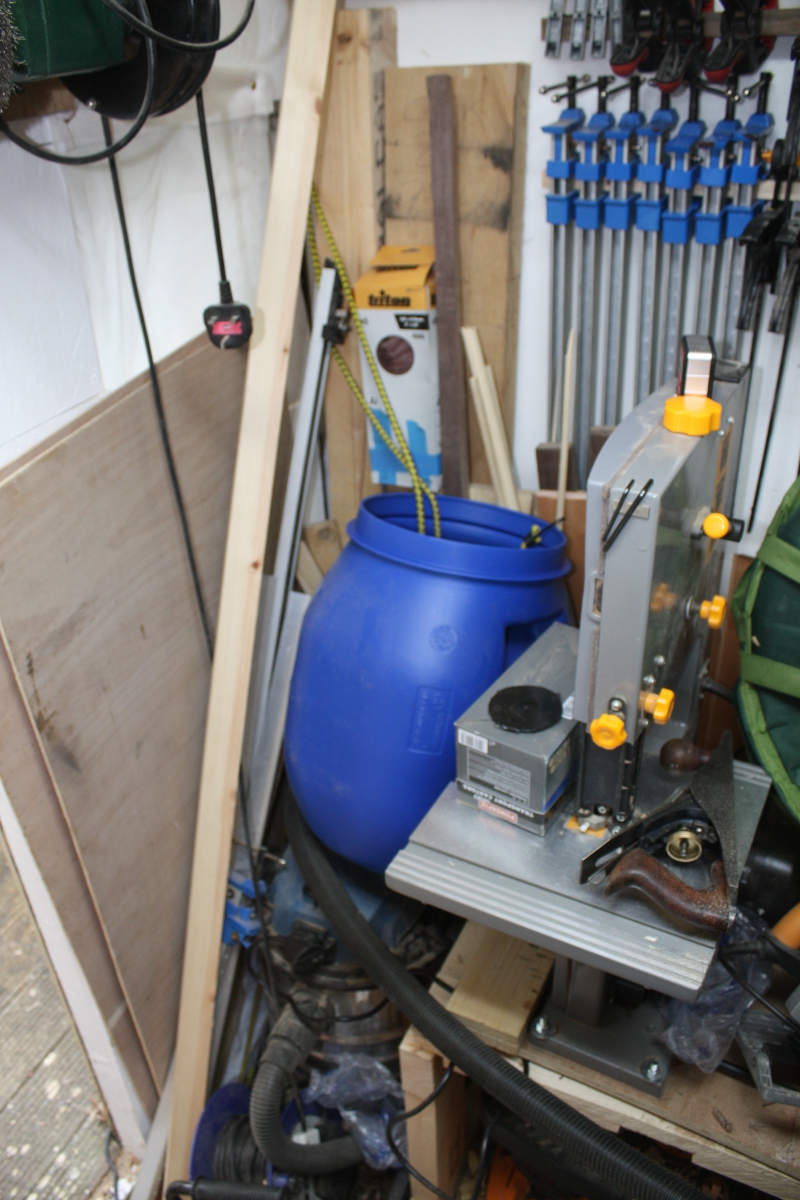
It’s a wee bit smaller 😀
May need to re-jig how it’s held upright because unlike the older drum, this one has no side handles to thread with bungees.

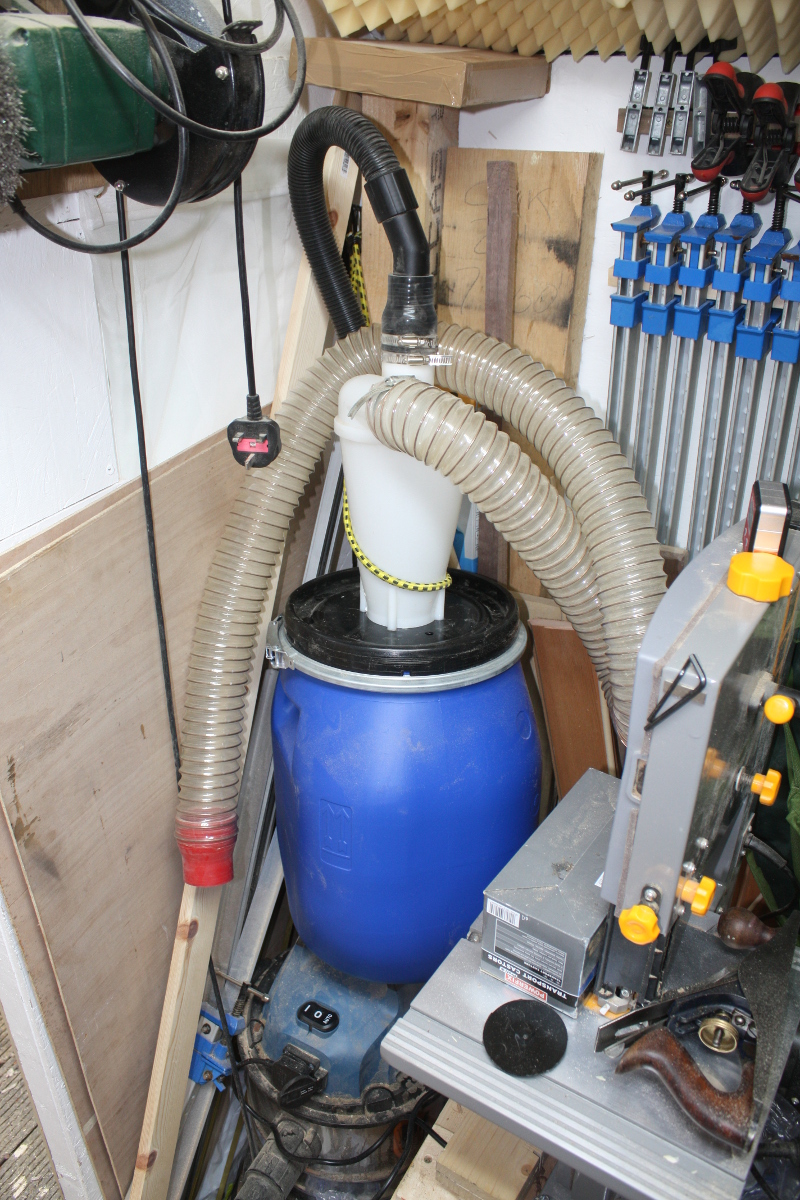
Much smaller and neater. I didn’t use the sealer yet – I was mucking about with a safety valve to stop it getting crushed like its predecessor, but discovered that even with the 10mm hole in the lid wide open I was still getting suction on the main hose, and if I blocked that main hose, the 10mm hole wasn’t enough to stop the vacuum trying to collapse the drum. May need to rethink that a bit – it could just be that the smaller size results in far more rigidity and I don’t need it. Or I may need it later due to wear and tear. We’ll see.

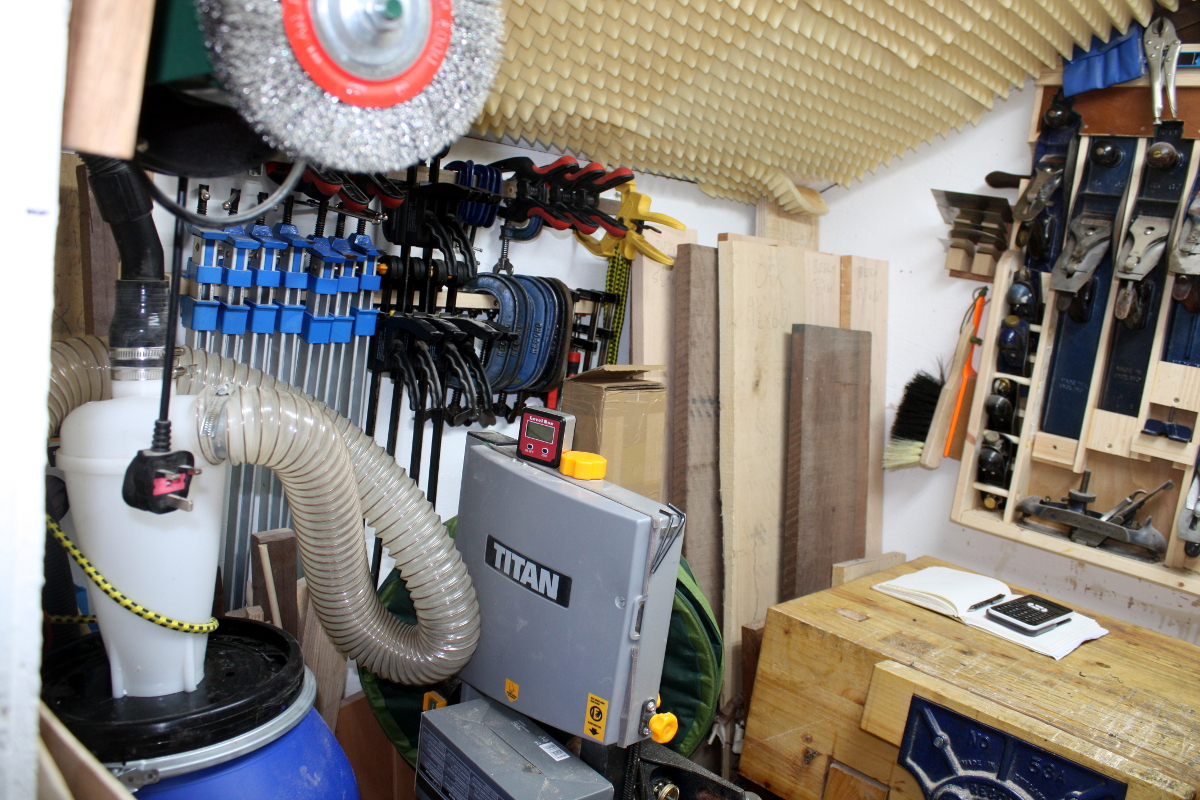
Either way, more room!

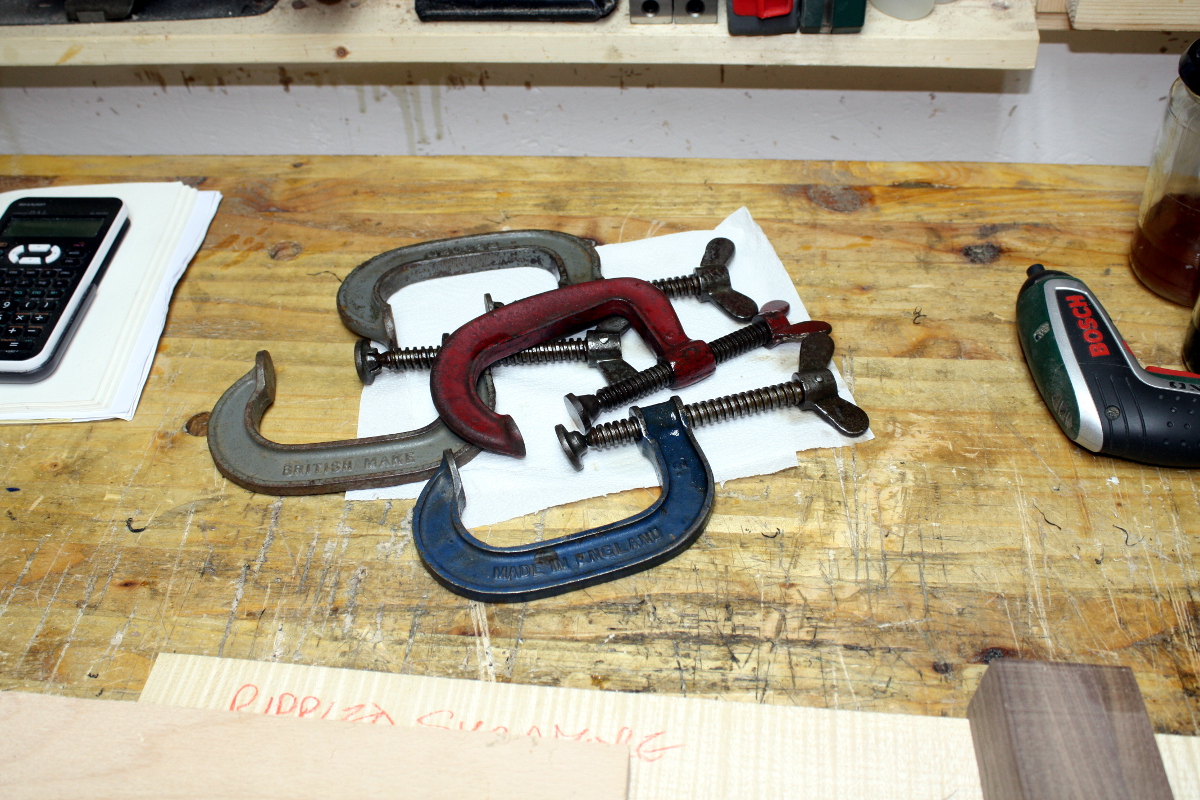
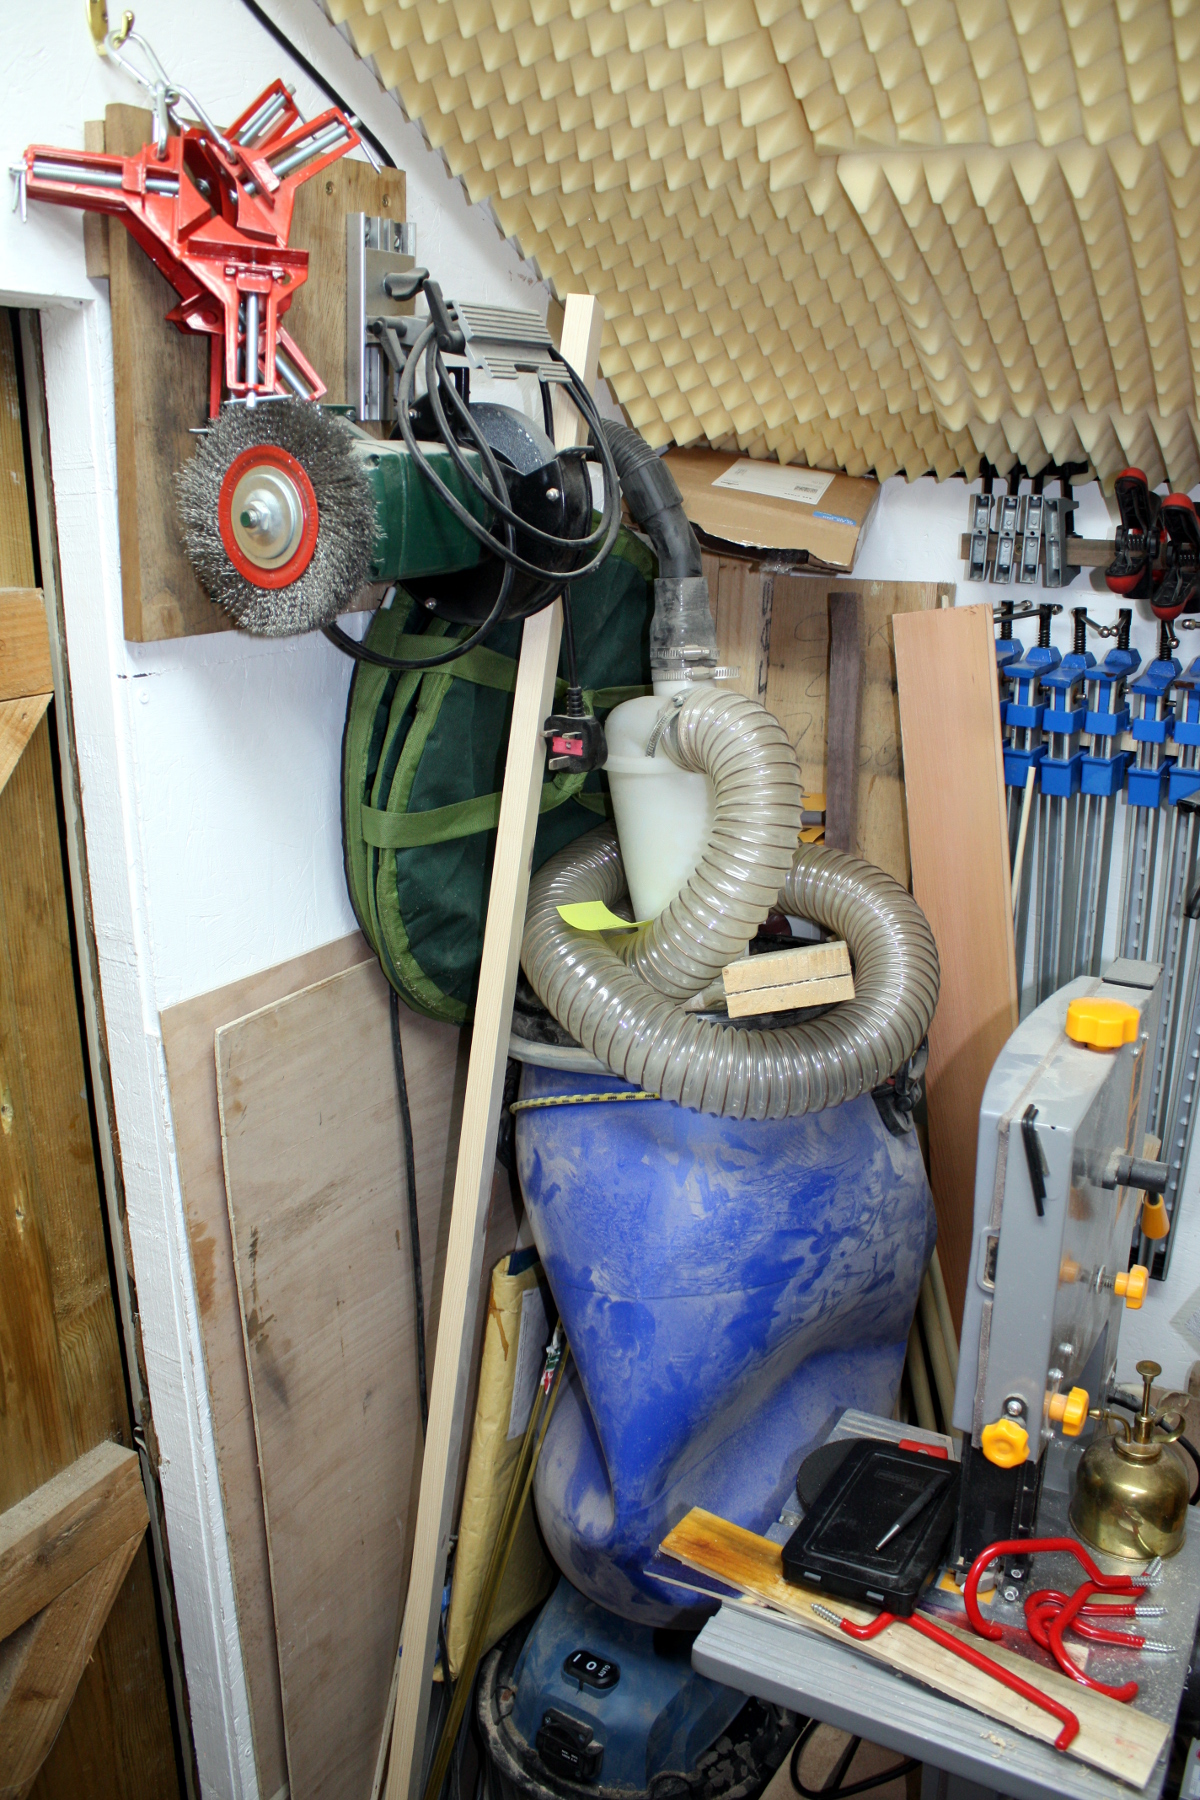
And more clamps! There were a few 3″ clamps going for a fiver per pair on ebay so I grabbed them. They’re getting some PTFE lubricant here. At some point I really ought to take off the old paint and repaint all of these but I like the old record blue and I’m not sure I want to go into learning how to stove enamel stuff in the same oven we cook dinner in…

(Oh and the calculator is because I can’t multiply by 1.618 in my head)

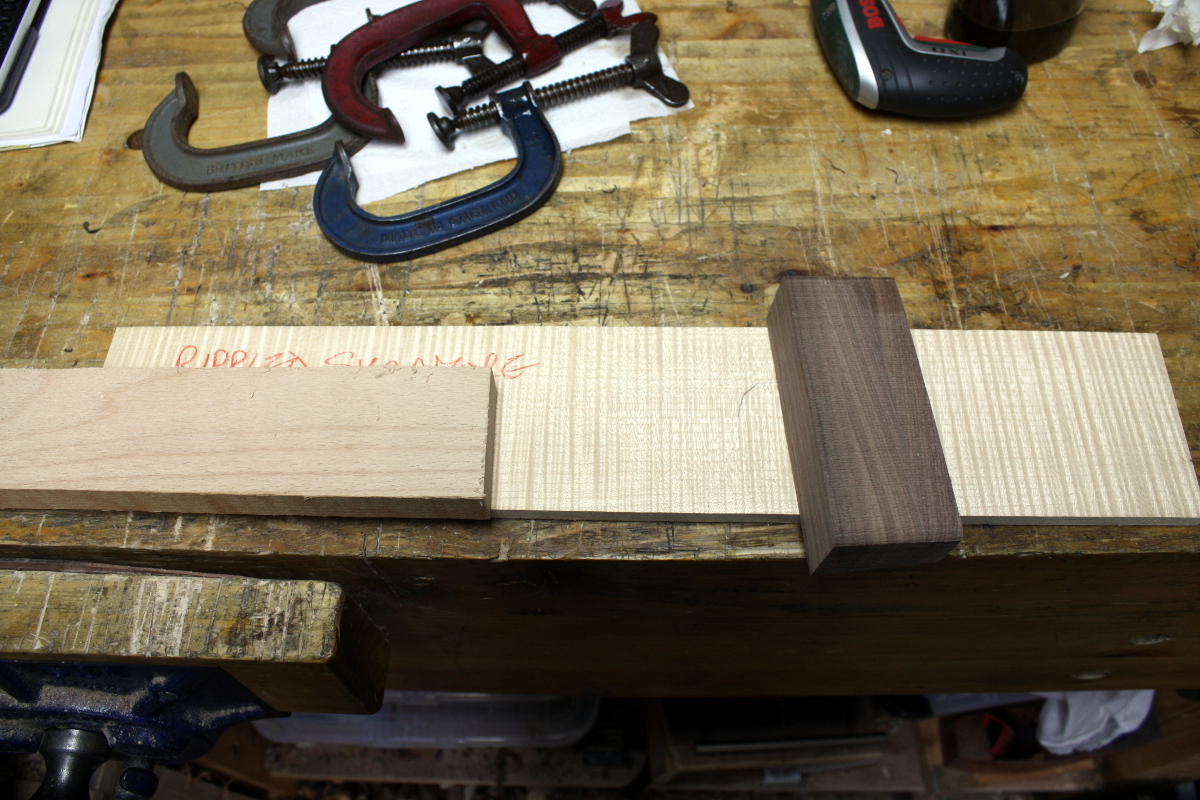
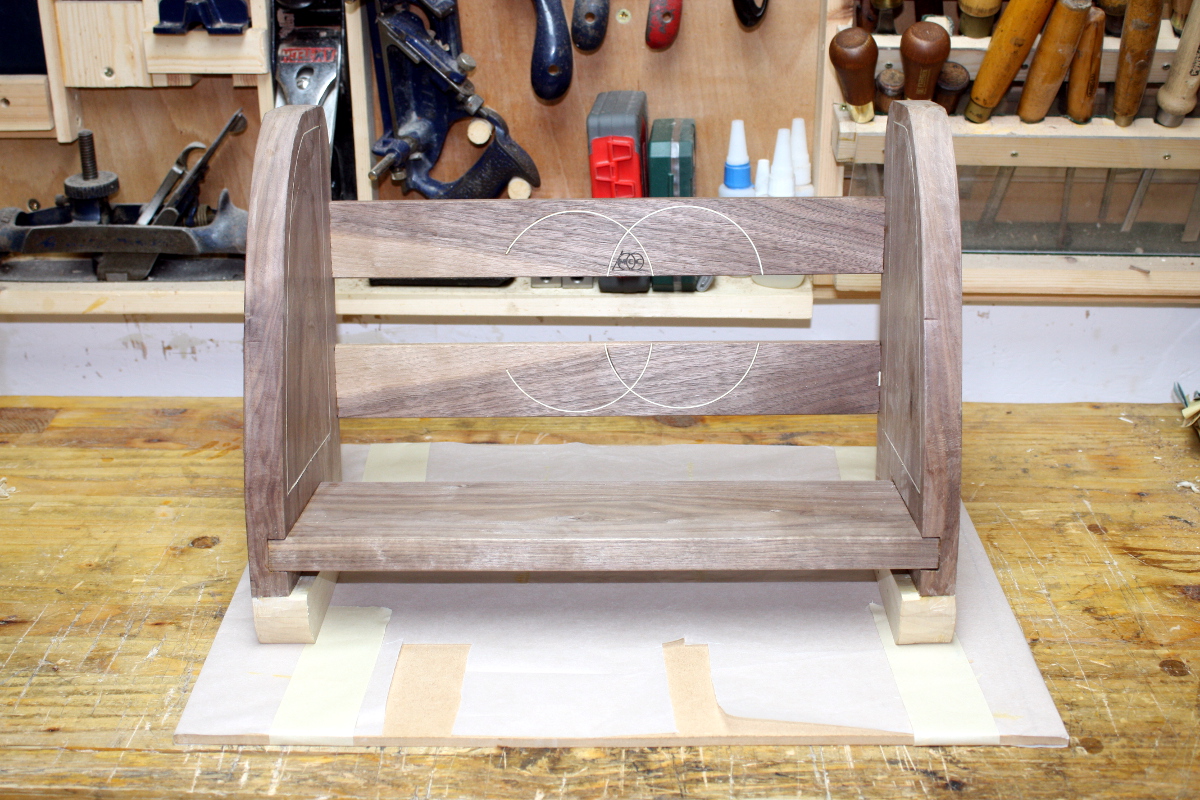
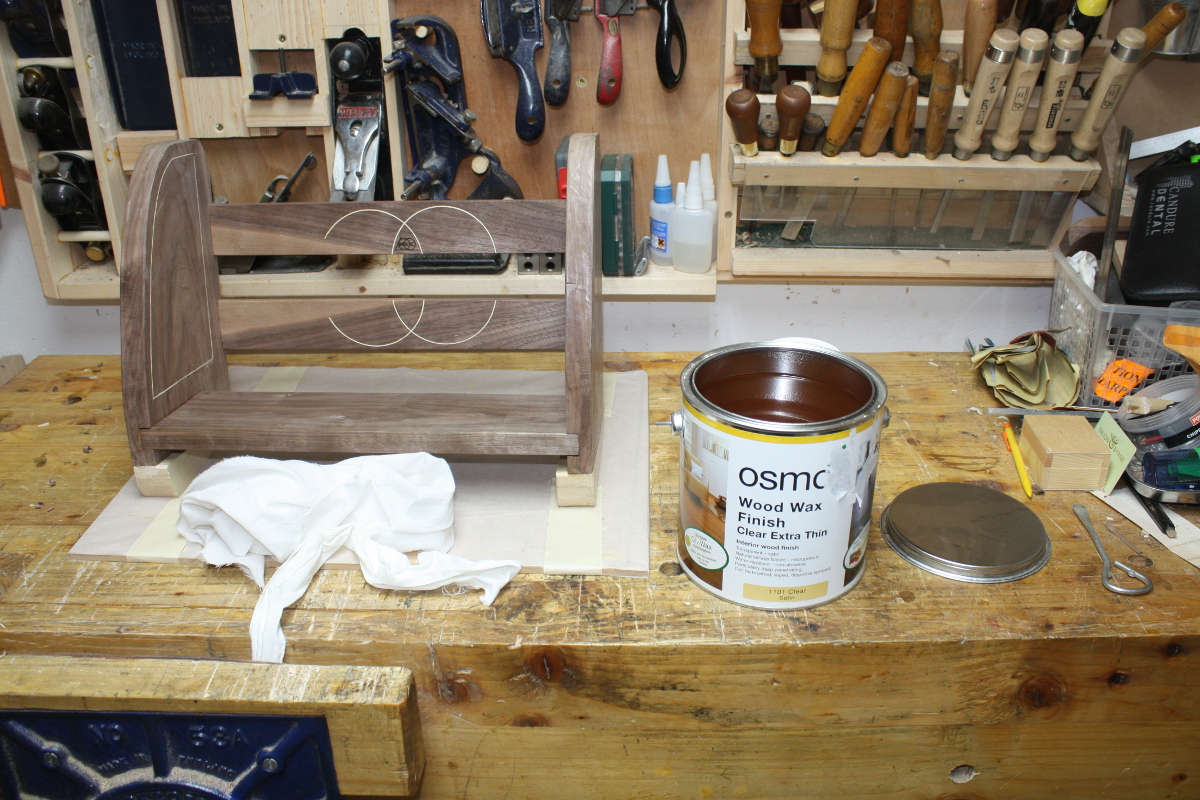
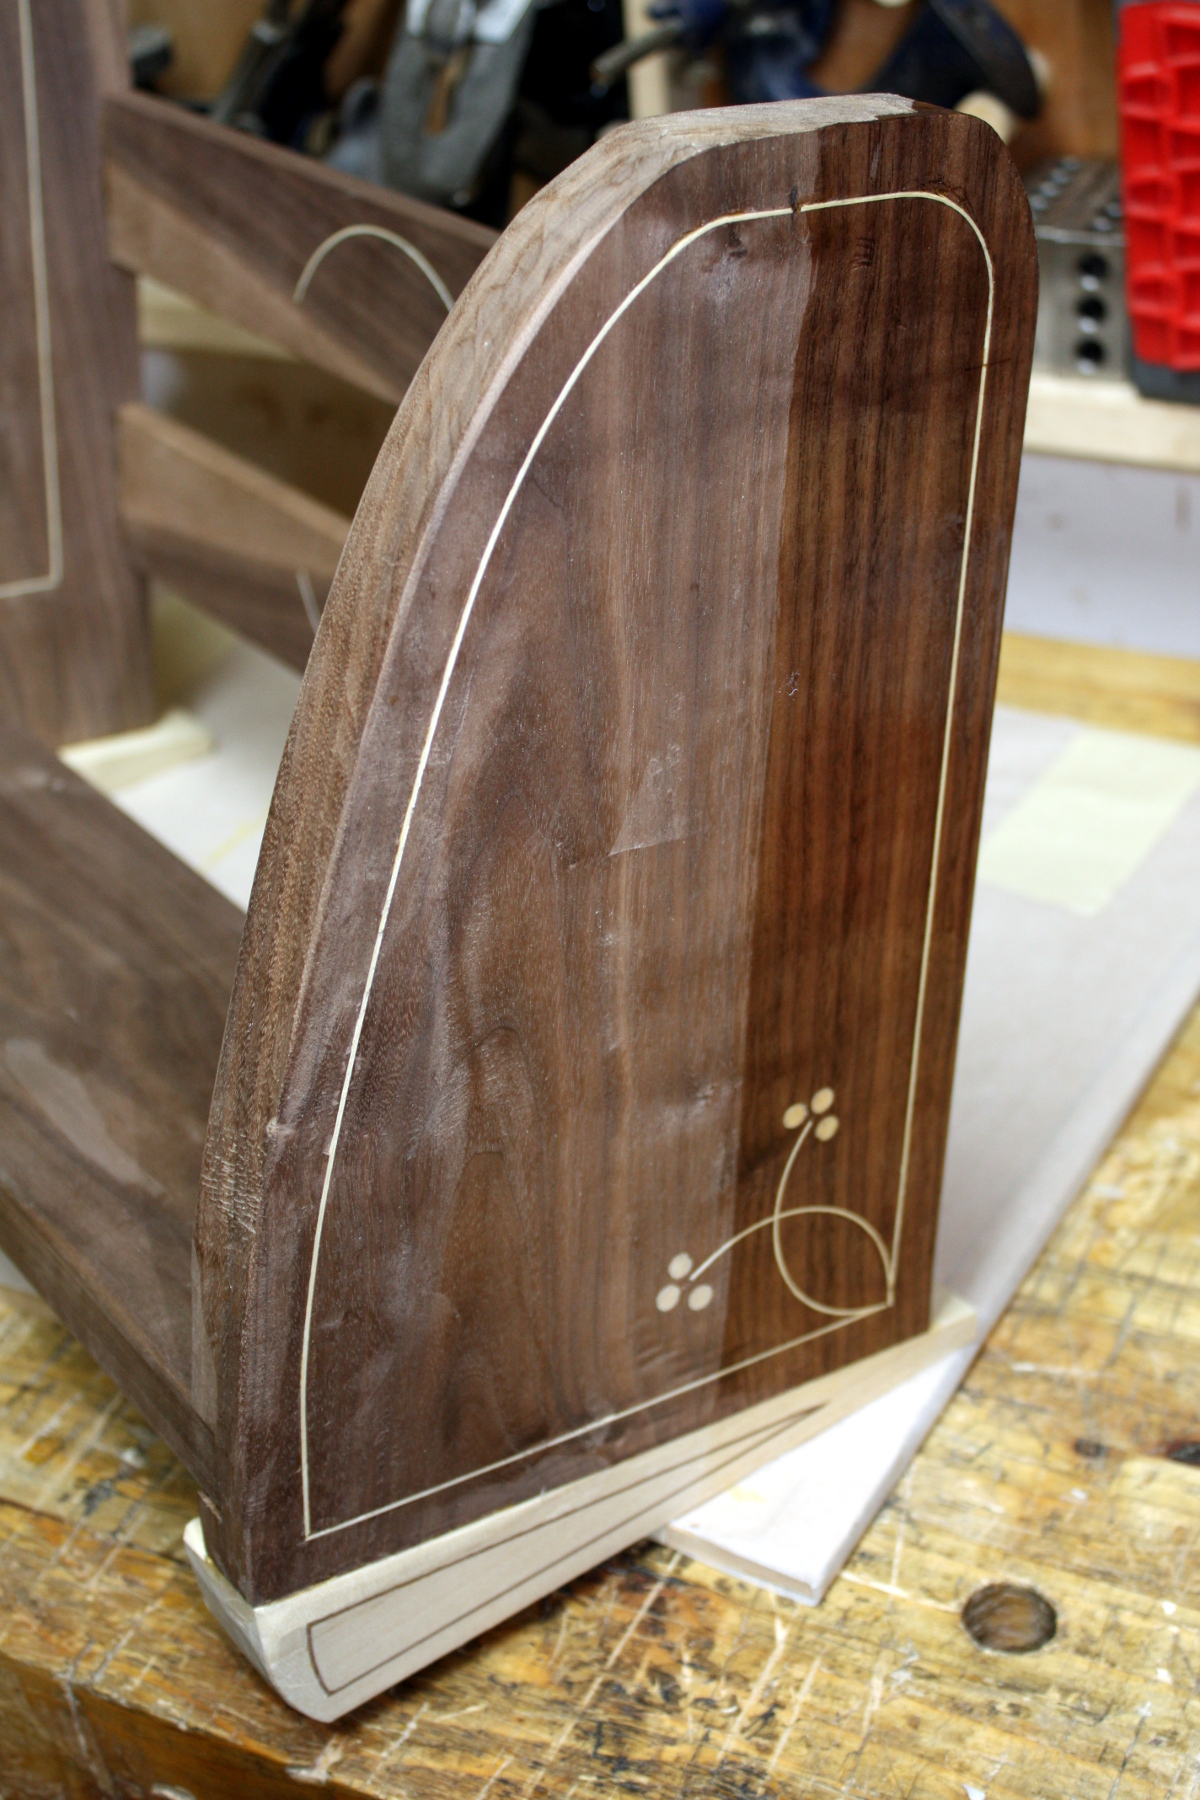
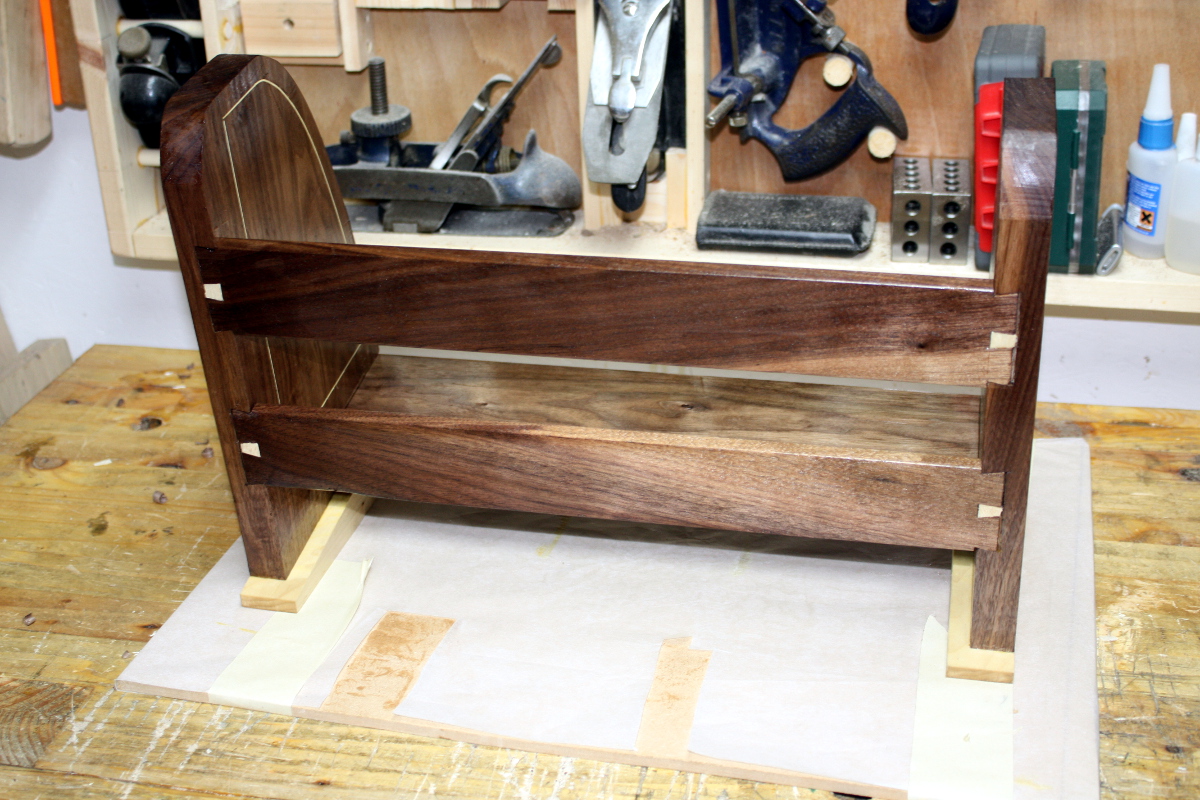
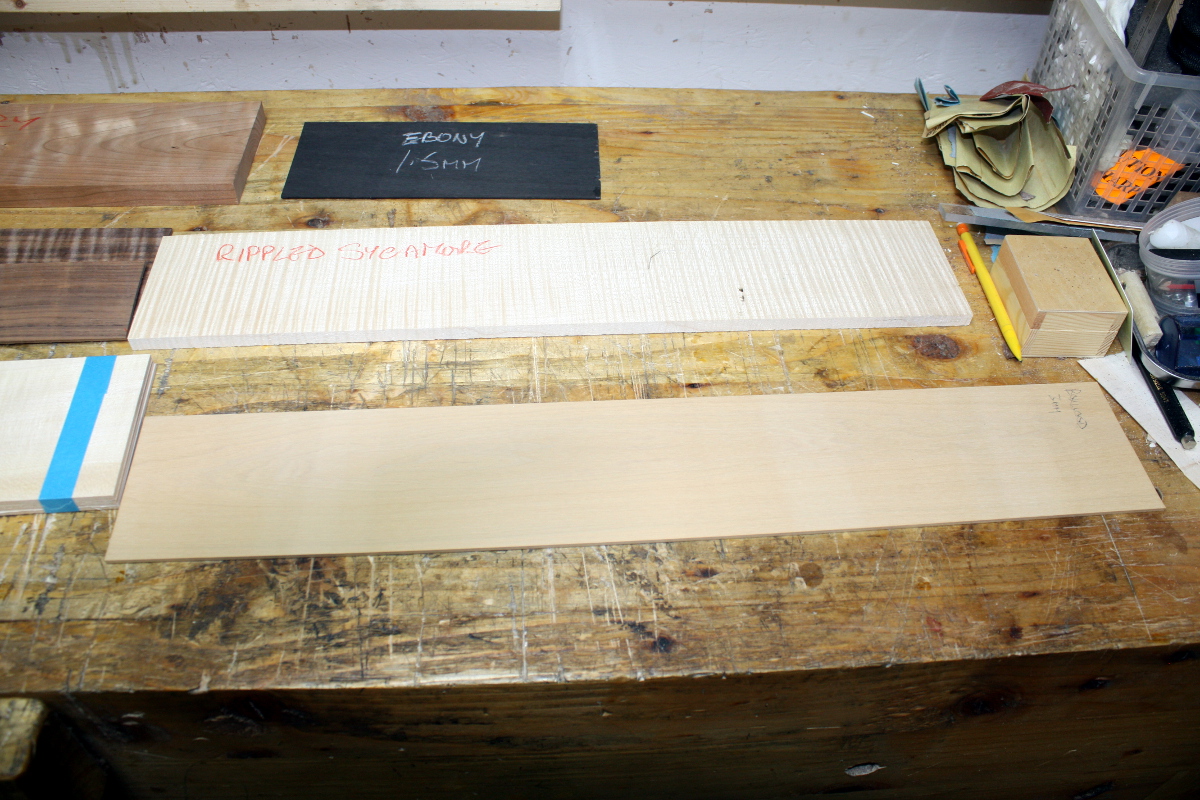
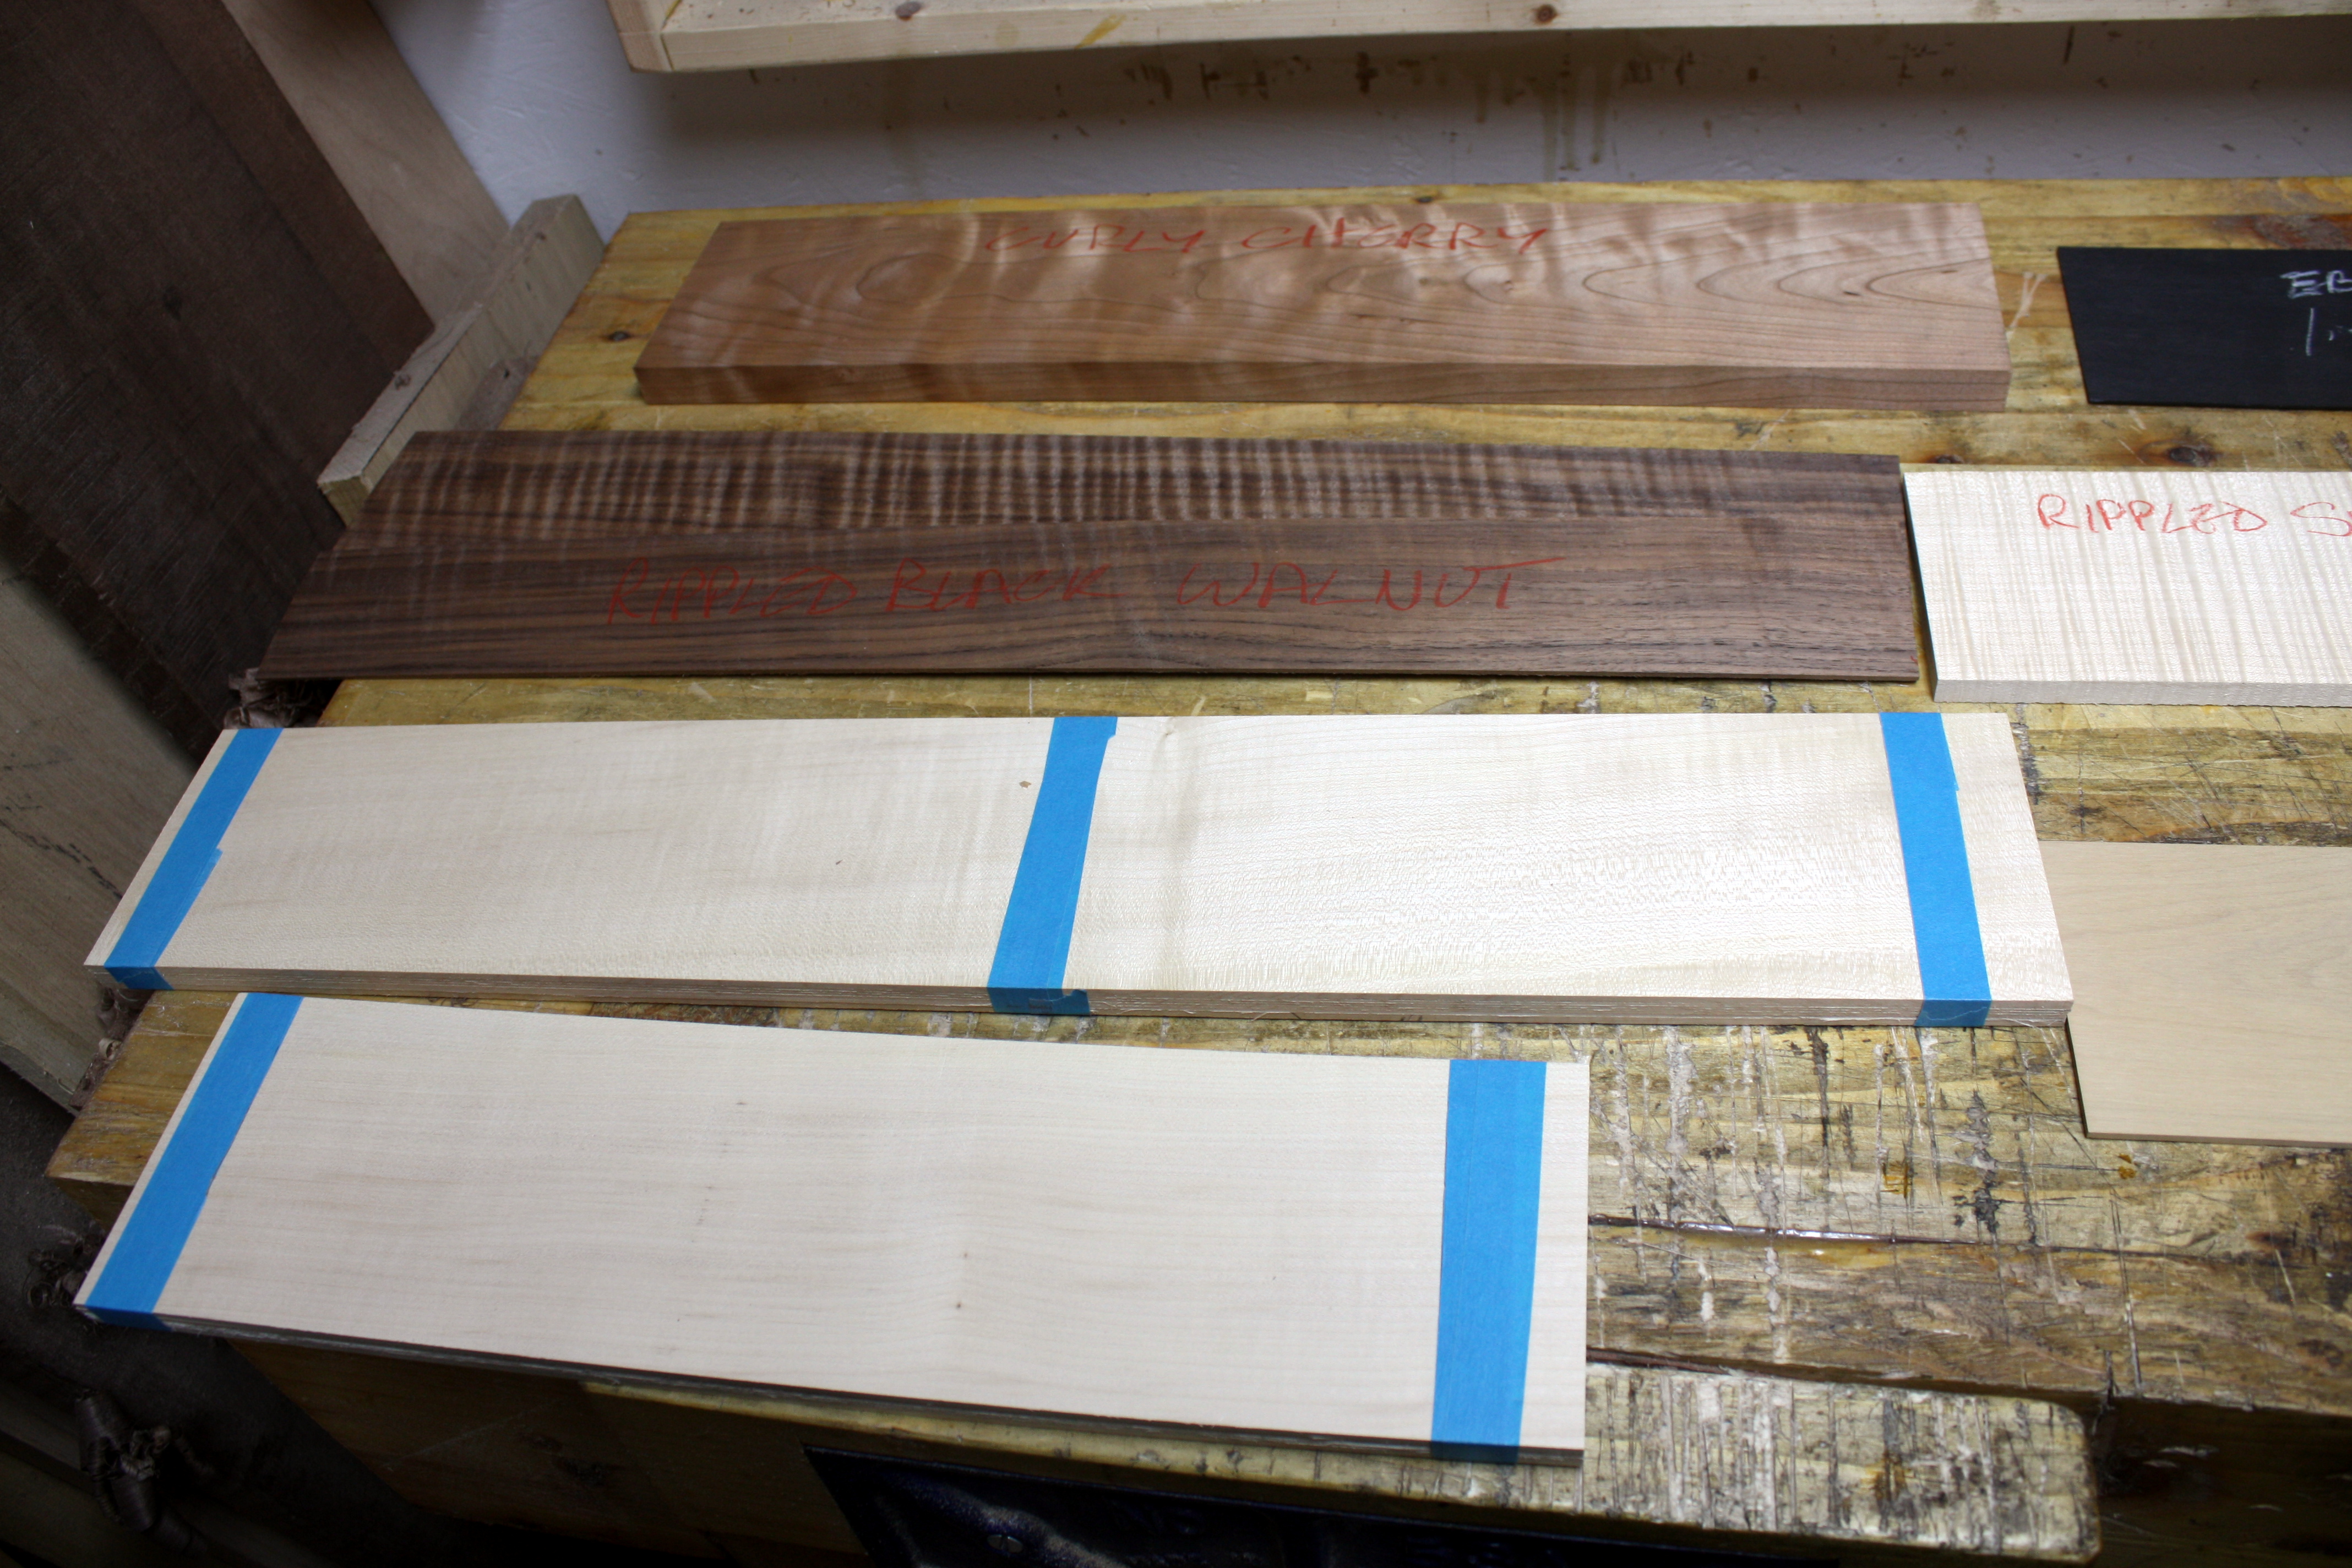
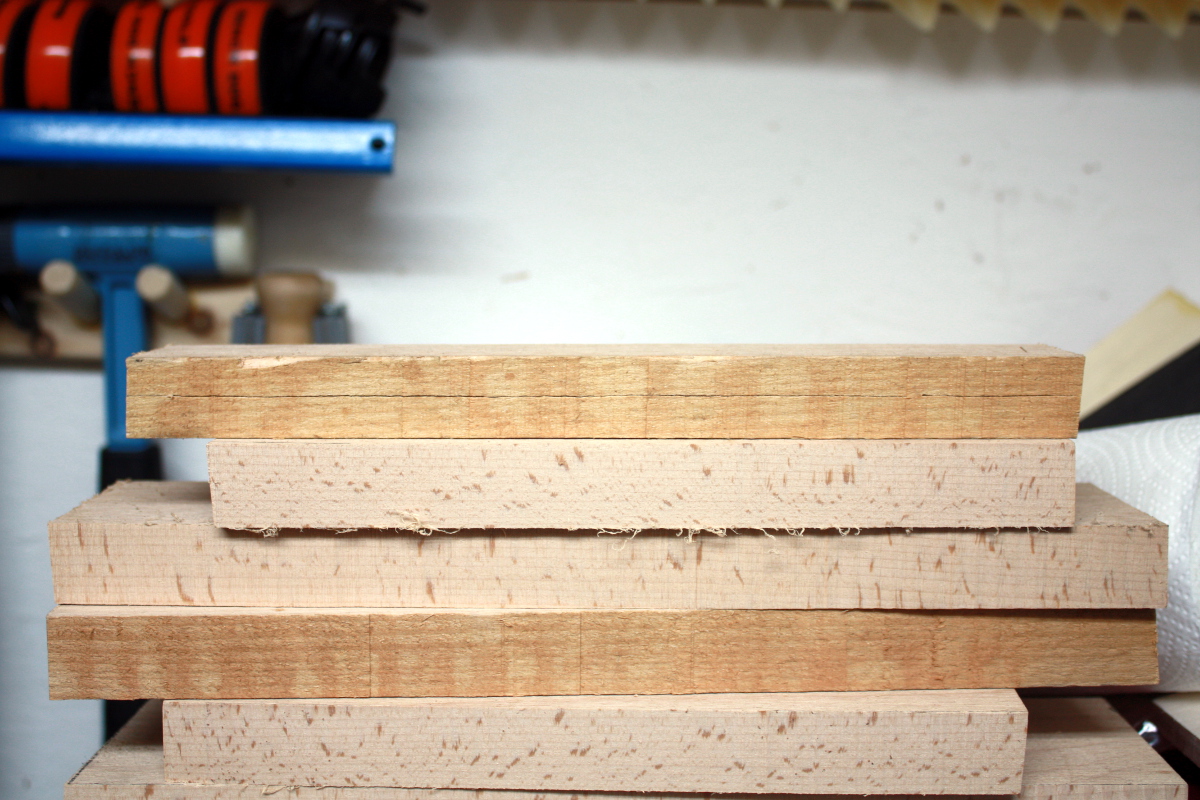
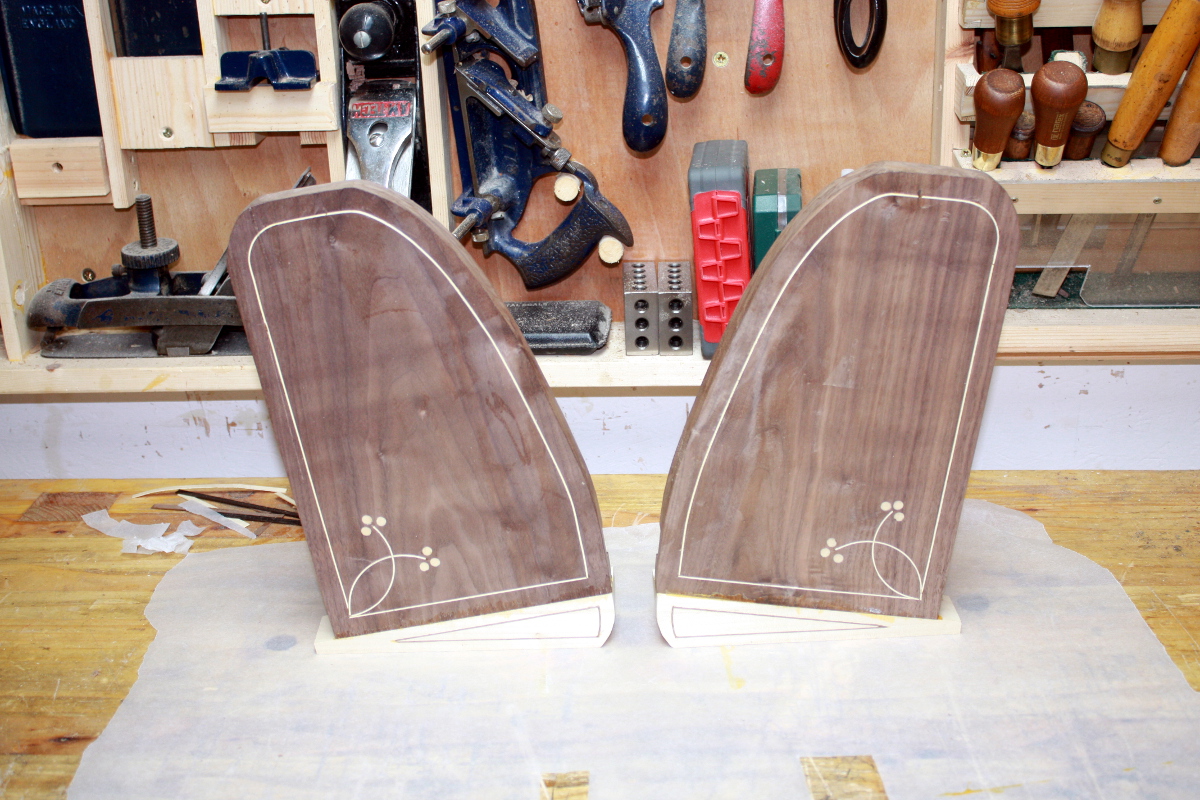
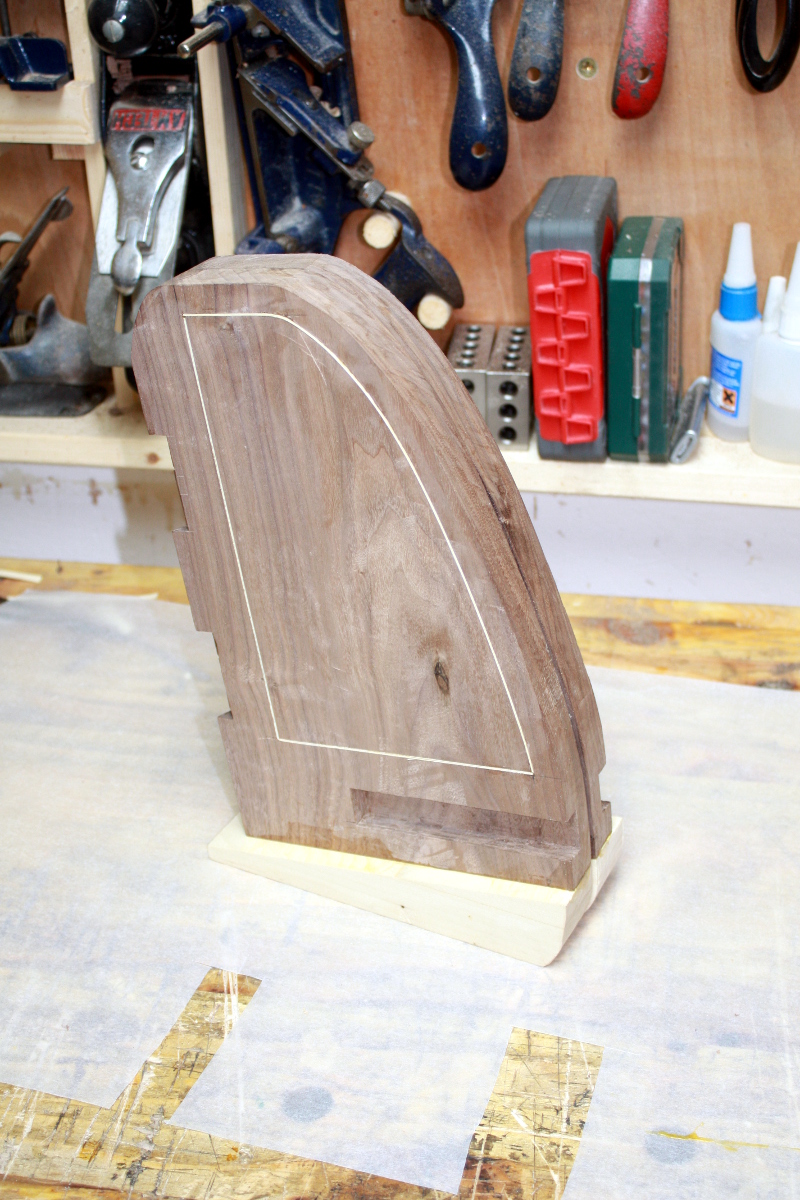
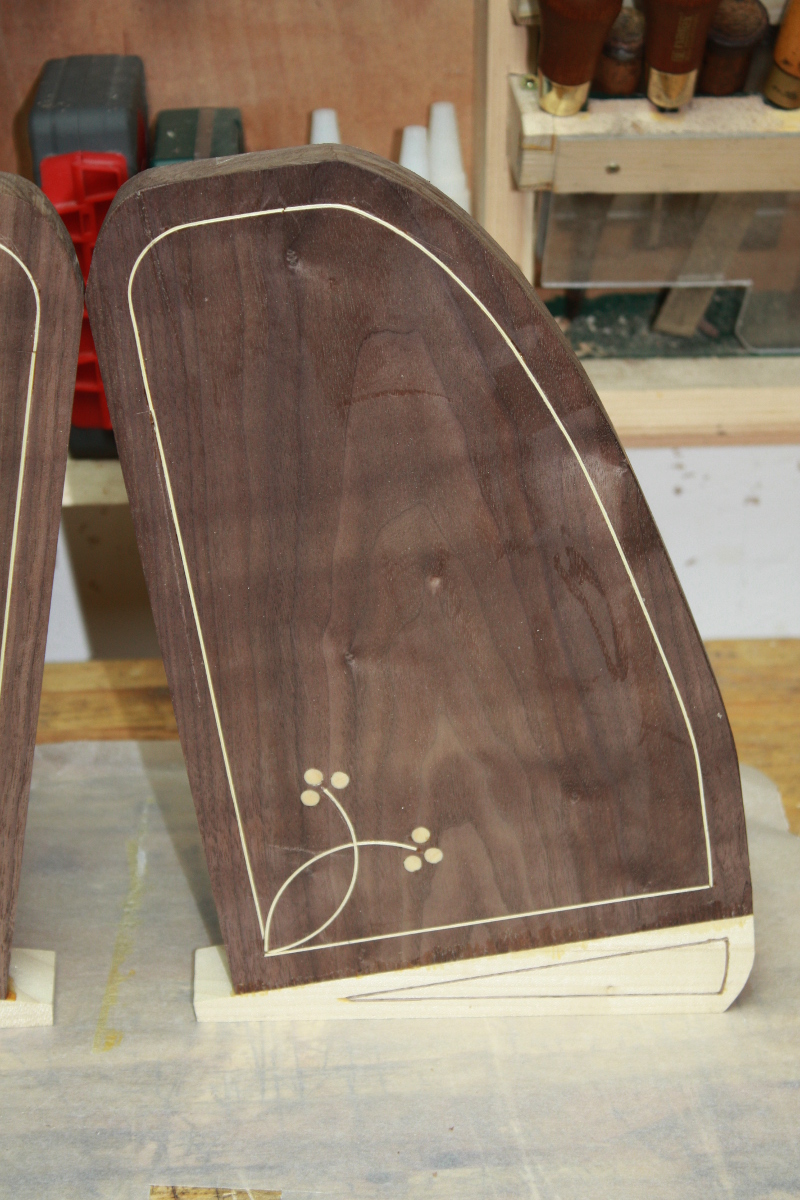
And this is the next project after the next one; it’s not off the notepad yet but I was looking at how beech and walnut look beside the rippled sycamore that I want to use in it, trying to figure out colour contrasts so things look matched rather than looking garish, but also letting me keep mucking about with stringing.

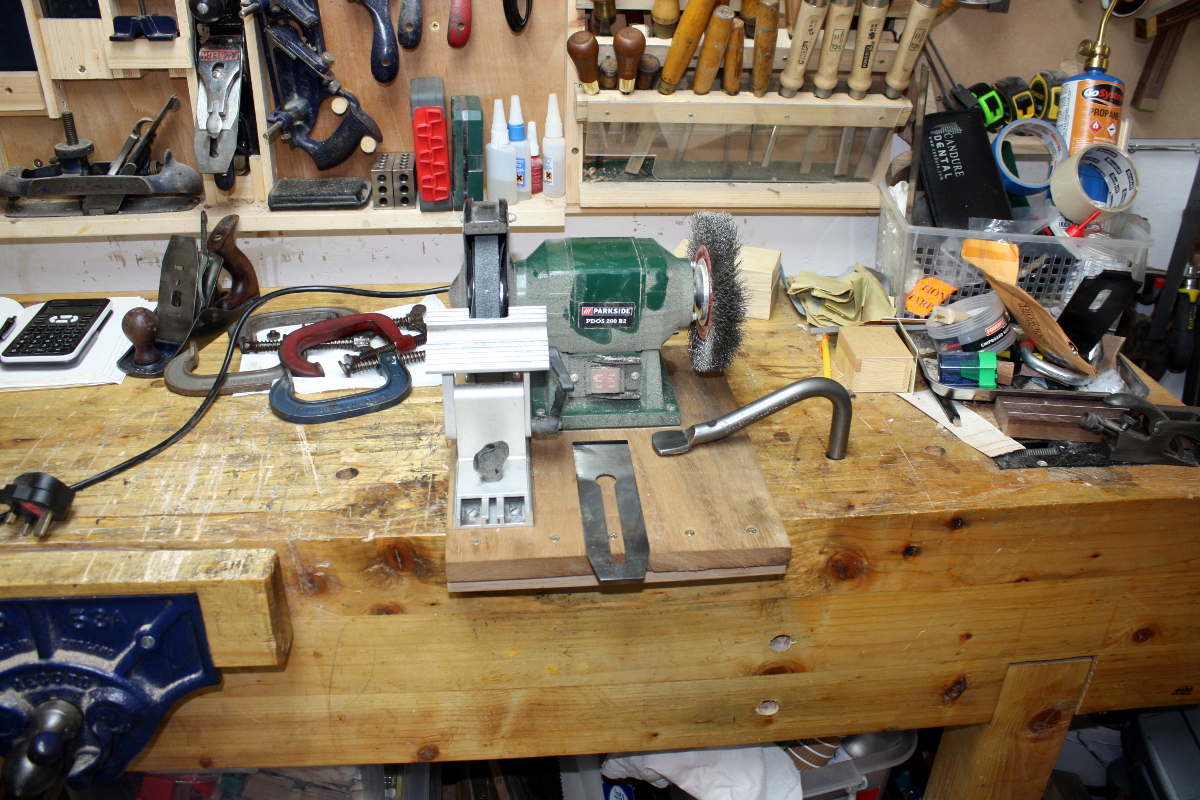
I do have one shed task left though, and that’s to grind a camber in the new scrub plane blade. It won’t be anywhere near as severe as Sid’s camber, that was something like a 4″ camber, this will be about 7″ or so. I’ll get to that next, and then I’ll get back to the locker.


09
May 18

Starting to finish

So time to take the shelf out of the clamps and see if it’s okay…

holds breath…

That’s not too bad from the front 🙂
Different story from the back mind…

Urgh those dovetails. There will have to be some remediation work there. At least the white inlay bits worked reasonably well (you just can’t do dovetails from end to edge like that if there’s more than one tail, the short grain on the pin means it always breaks off, so I deliberately broke off the pins and replaced them with some sycamore chunks).

Okay. Time to start finishing. I could keep trying to touch this up for ages and never finish 🙁

Going for a simple finish this time, just some thin coats of osmo and buffing it out.

Magic time 🙂

Little better at the back after some touching up.

That might be nice once the rest of the coats go on…


And then the surprise for the day – Custard over at the UK workshop forums offered to send me some thick sycamore veneer while I was trying to sort out a commercial vendor here for the stuff (the laminated 0.6mm stuff is workable but fiddly as feck and occasionally bits delaminate and you don’t know it till you expose the delamination while trimming off the excess and you now have a double thin white line instead of one slightly thicker line; and it’s hard to thickness properly as well). And the box arrived today. “I’ve thrown in one or two other bits” he said…

2.6kg. In veneer. What the hell is in that box?

Holy shit.

So that small sheaf at the front left over the vice? That’s all I was hoping for. Look at the rest!

Thick ebony and boxwood veneers – boxwood is bloody lovely stuff and with an interesting history and source. And rippled sycamore. Wow. That stuff is stunningly pretty. (If you’ve not seen it before, that plank is perfectly smooth – the lines are figuring, cellular anomalies in that particular part of that particular tree, we don’t quite know what causes it and it’s become very fashionable these days (in the 17th to 18th century it wasn’t so much because it’s not as strong as straight-grained wood, but when veneering was invented you could use stronger wood for the substrate and let the veneer of a figured wood be the final decorative layer).

And the walnut is even prettier when it’s figured like that. And the cherry is figured as well – I’ve not even seen cherry in the flesh before now, I can understand now why it’s so popular for furniture making. It doesn’t come across well in photos (well, in mine anyway) but it’s very very pretty up close.

Custard, the stuff is incredible, you’re a maniac. Thank you!


Oh, and the resawn beech still hasn’t pretzel’d on me…


08
May 18

Glue-up part two

The resawn beech from yesterday is holding up well…

But never mind that, time to focus on the glueup from yesterday. It went reasonably well despite the fiddliness of the clamping.

They don’t look even from that angle, but they are:

There’s some squeeze-out and the join needed some fettling to get it properly smooth, and I suspect I’ll be running round the piece with a chisel checking arises before finishing, but it’s not too bad.

It’ll be interesting to see it with finish on. But today’s task is the final glue-up so I did a dry-fit and some inevitable tweaking and then did a dry rehearsal and then prepped to glue up:

The final glue-up was almost calm right up until the end when I realised I needed to clamp the dovetails as well and I had nothing on the front to clamp against and had to rig something using a third sash clamp and some heath robinson nonsense…

We’ll see how that went tomorrow…