24
Jun 18

Done

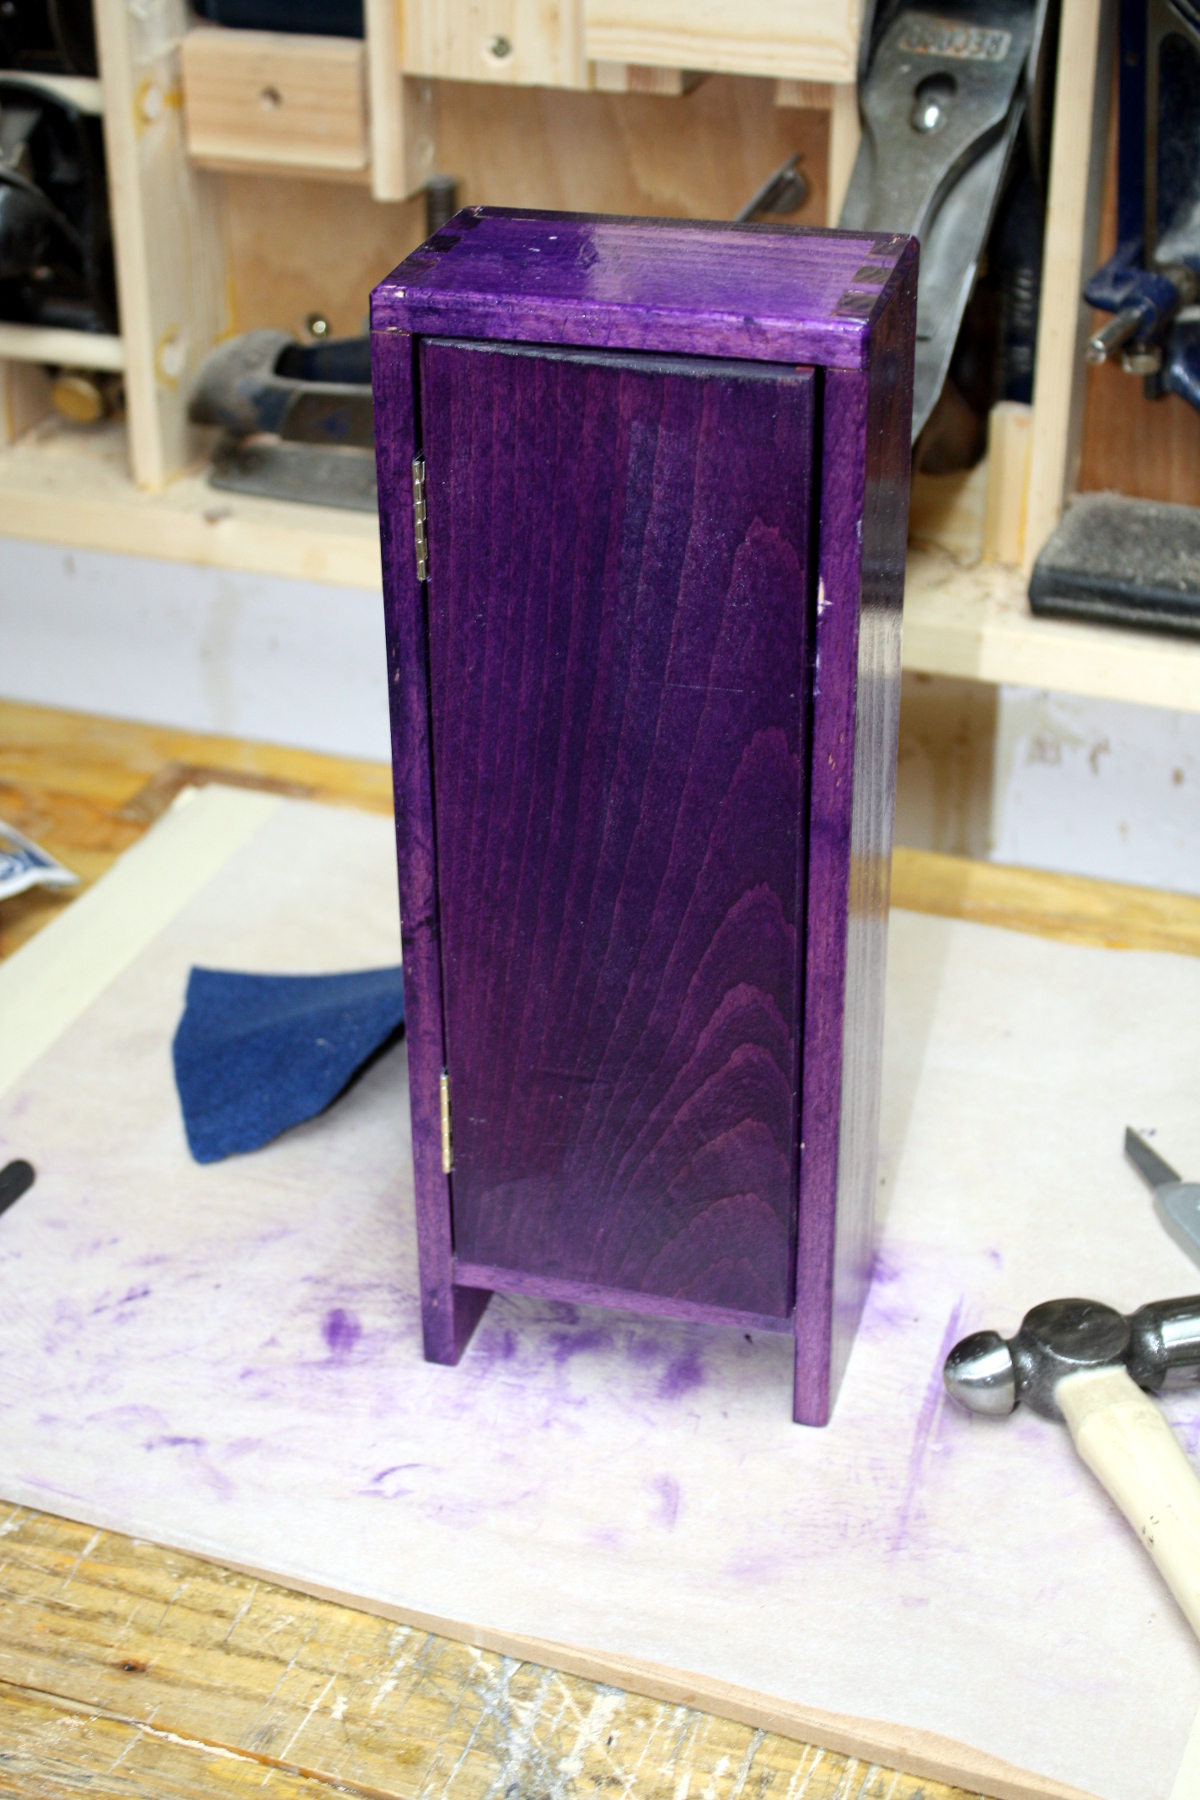
Time to complete the locker. The door got resawn down from 1″ to about 3/8″ thick using the bowsaw and the large ryoba when I got too annoyed at banging the bowsaw off the wall on every stroke, and resawing remains the most boring annoying thing ever, but you while you can thickness plane 3/4″ off a 1″ board with a scrub plane, it’s a pain in the fundament to do so. Roll on bigger bandsaw.
Once the door was then planed down and fitted, which was mainly just faffing about planing until the edges of the doors matched the doorframe, it was time for the worst part of every project.
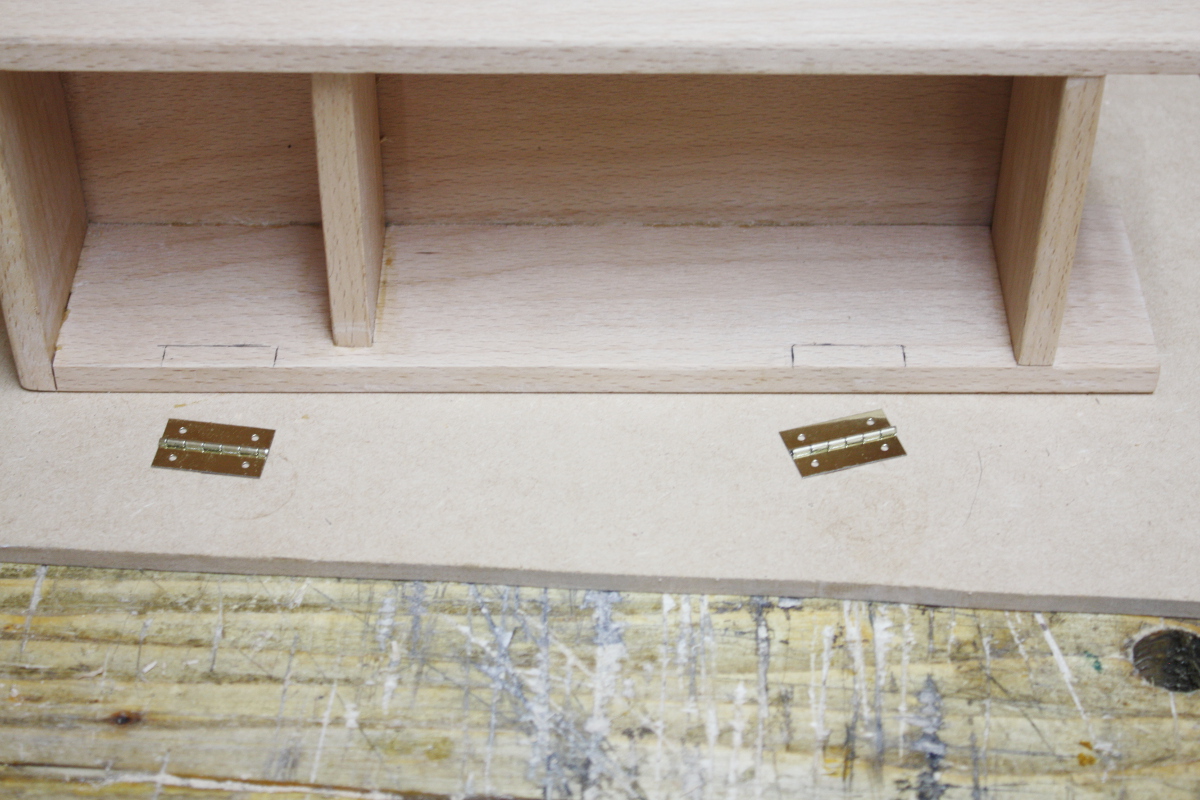
I hate hinges. They’re a pain in the backside to get aligned and fitted. Maybe I’m just fitting them at the wrong time, maybe I’m doing something wrong, maybe there’s a trick to it, I don’t know. I’ve read and watched everything on them that I can find and still they’re a pain. And the ones where you have to hammer in tacks instead of using screws are the worst because everything’s tiny and fiddly and you never have the access you need.
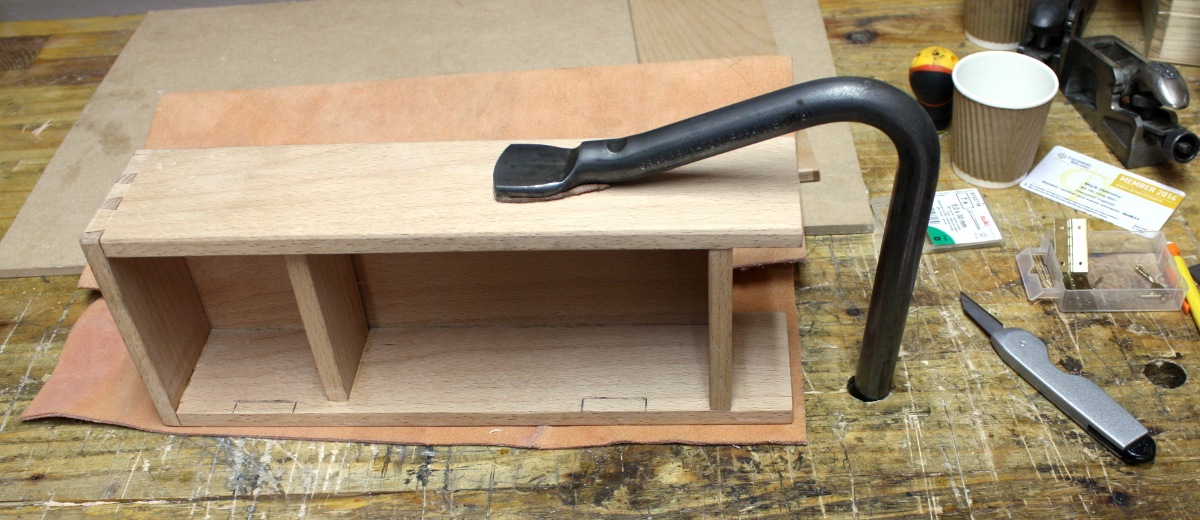
So, we cut the mortices. Very shallow ones at least, so much so that the cuts can get done using the marking knife this time. And the #722 router helps to actually cut out the waste.
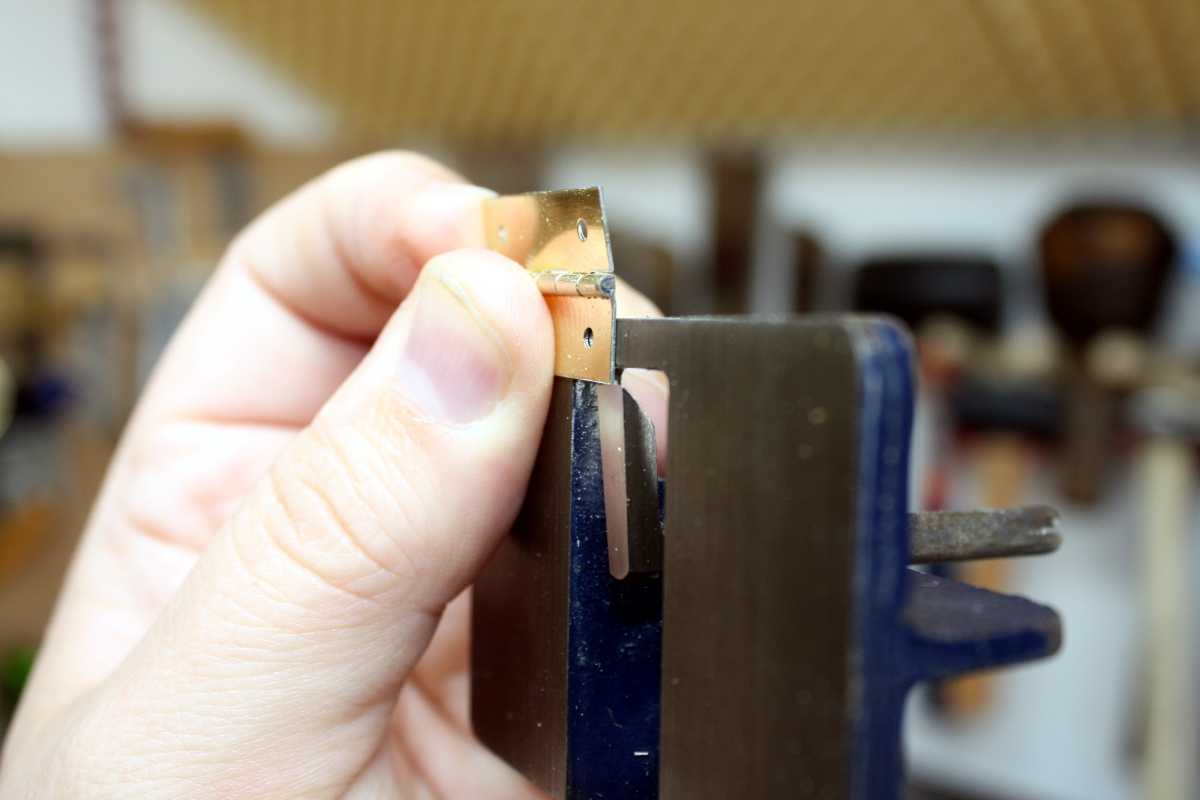
Really thin material…
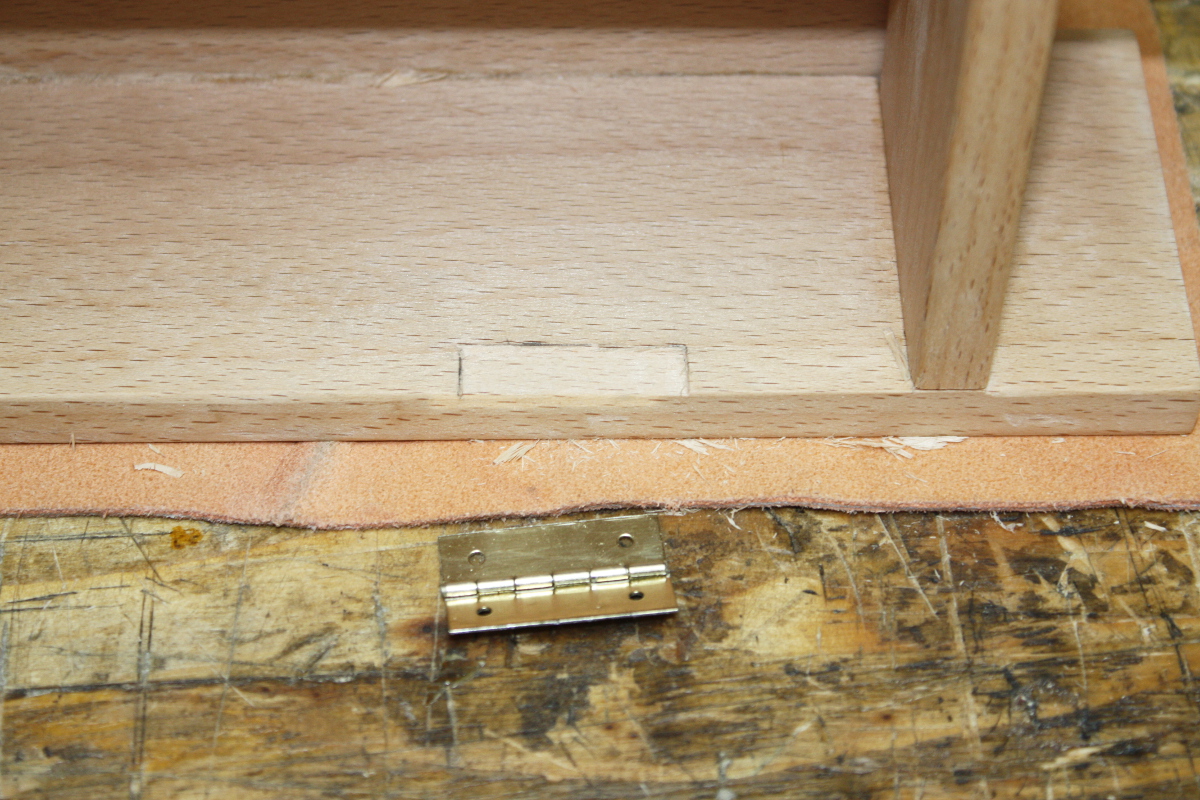
It barely looks like anything’s been taken off, but no, that’s cut…
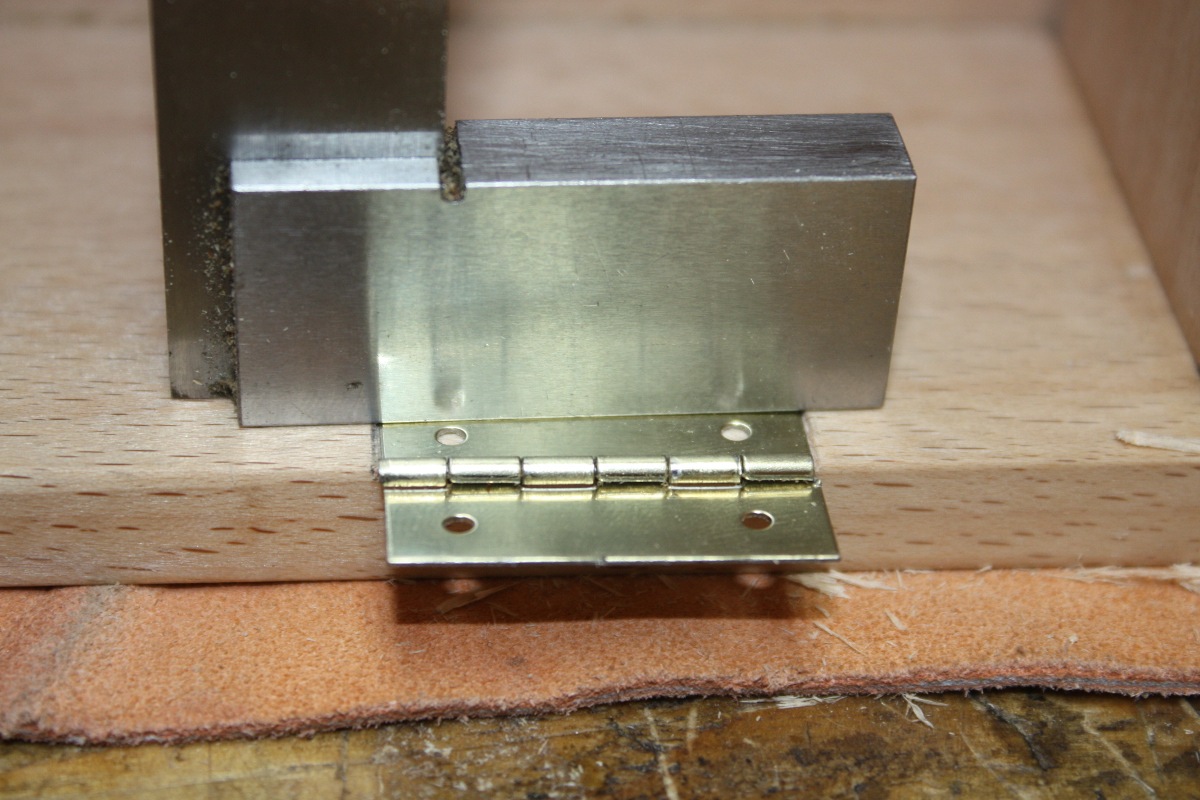
It’s even flush properly.
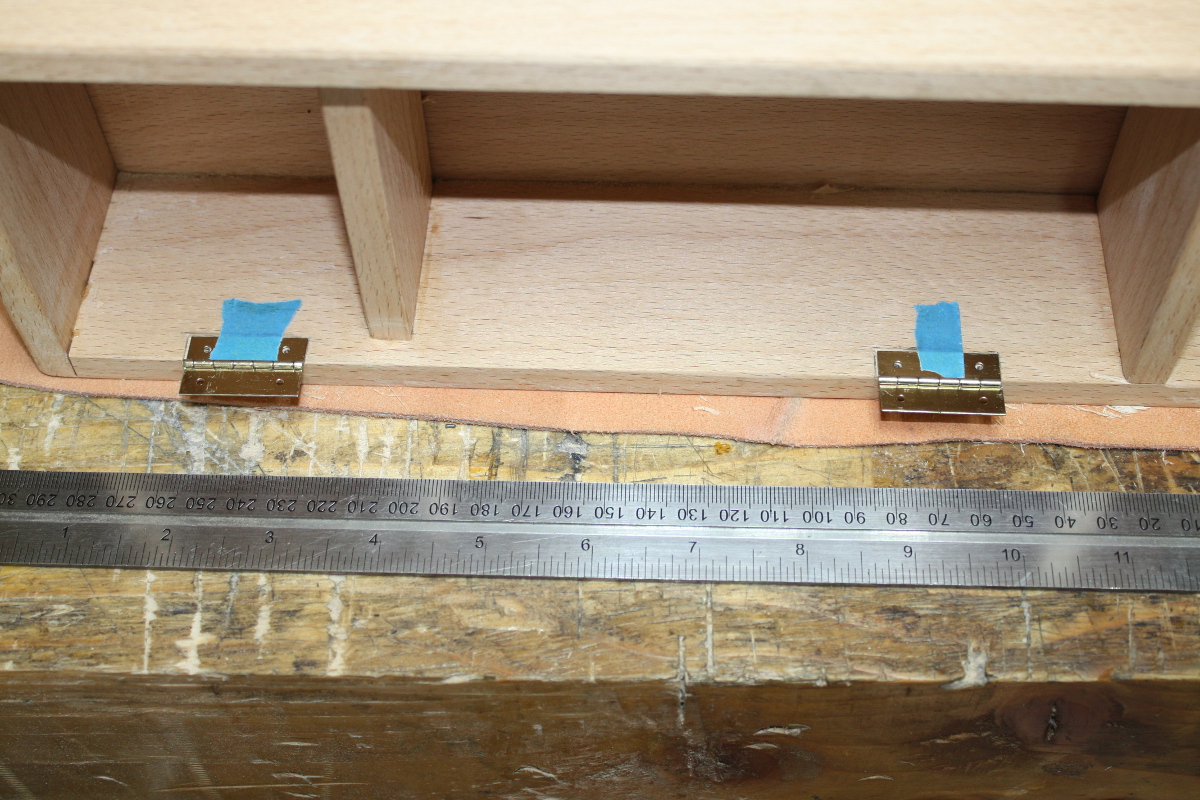
Making sure the barrels of the hinges are aligned with a straight-edge is fiddly unless you have six hands.
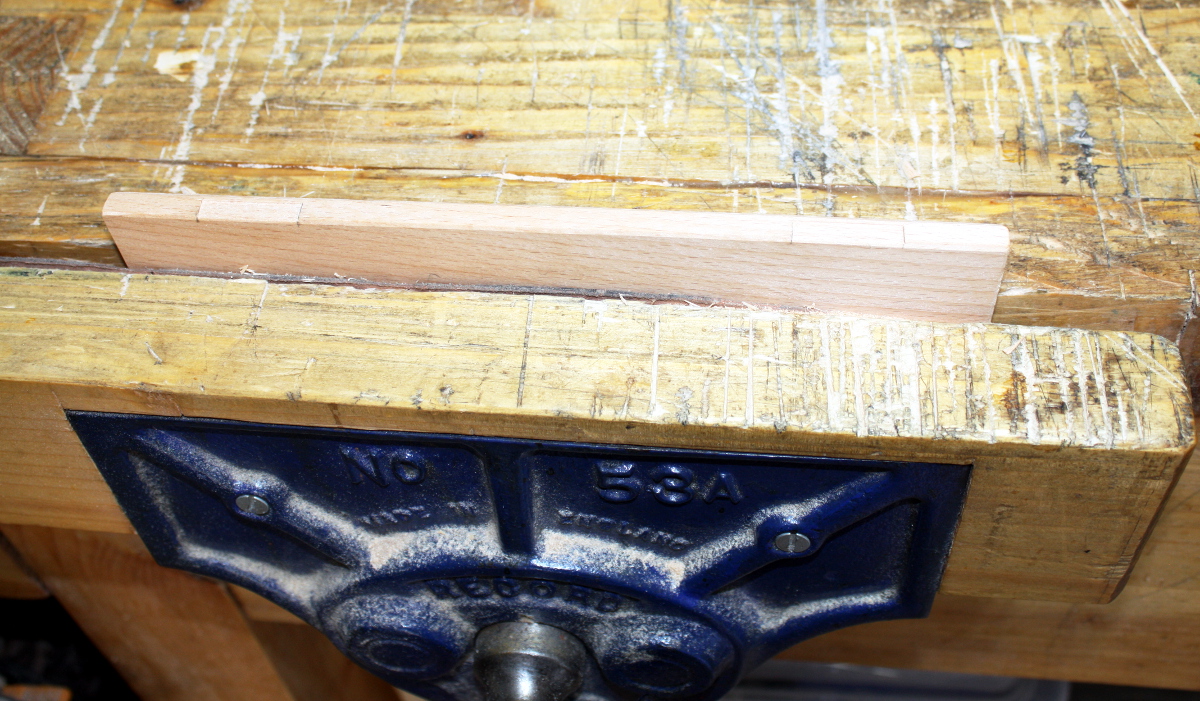
And then cut out the mortices for the door hinge mounts.
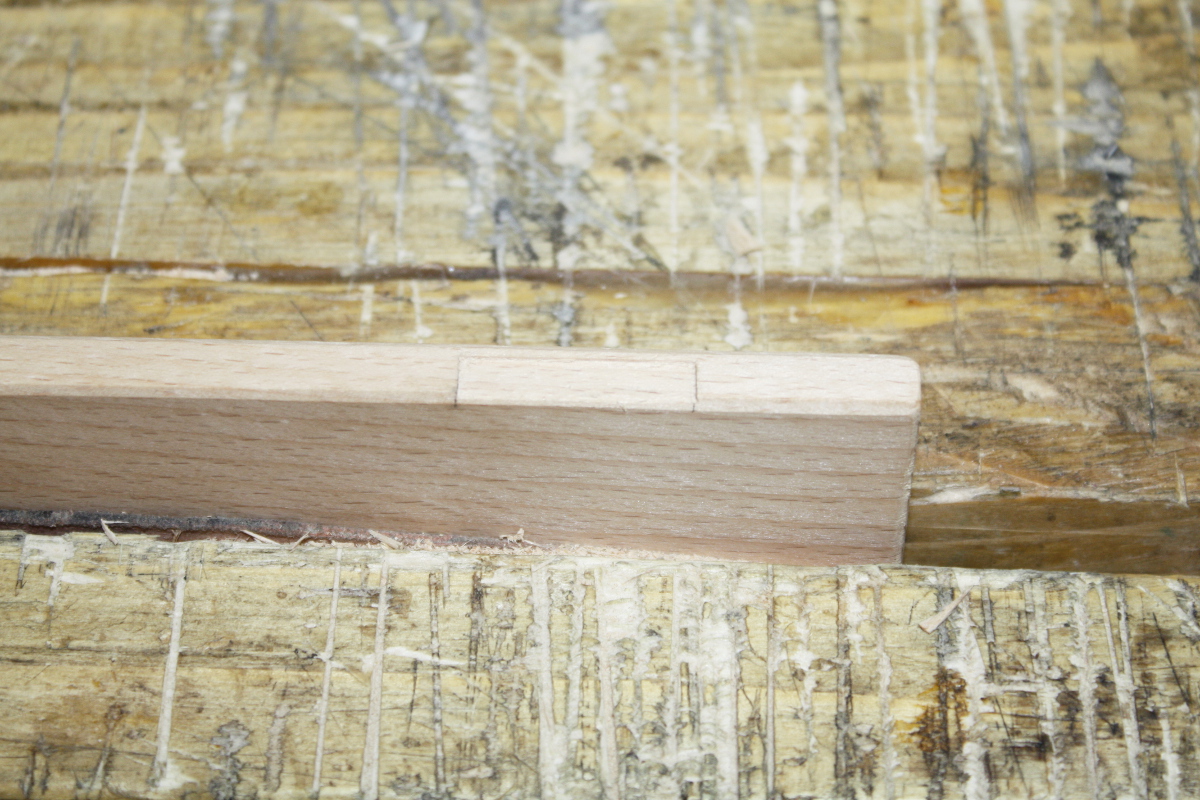
Okay, that’s fine. And that’s the last of the work, I don’t want to do the finishing when the door’s attached.

So next…
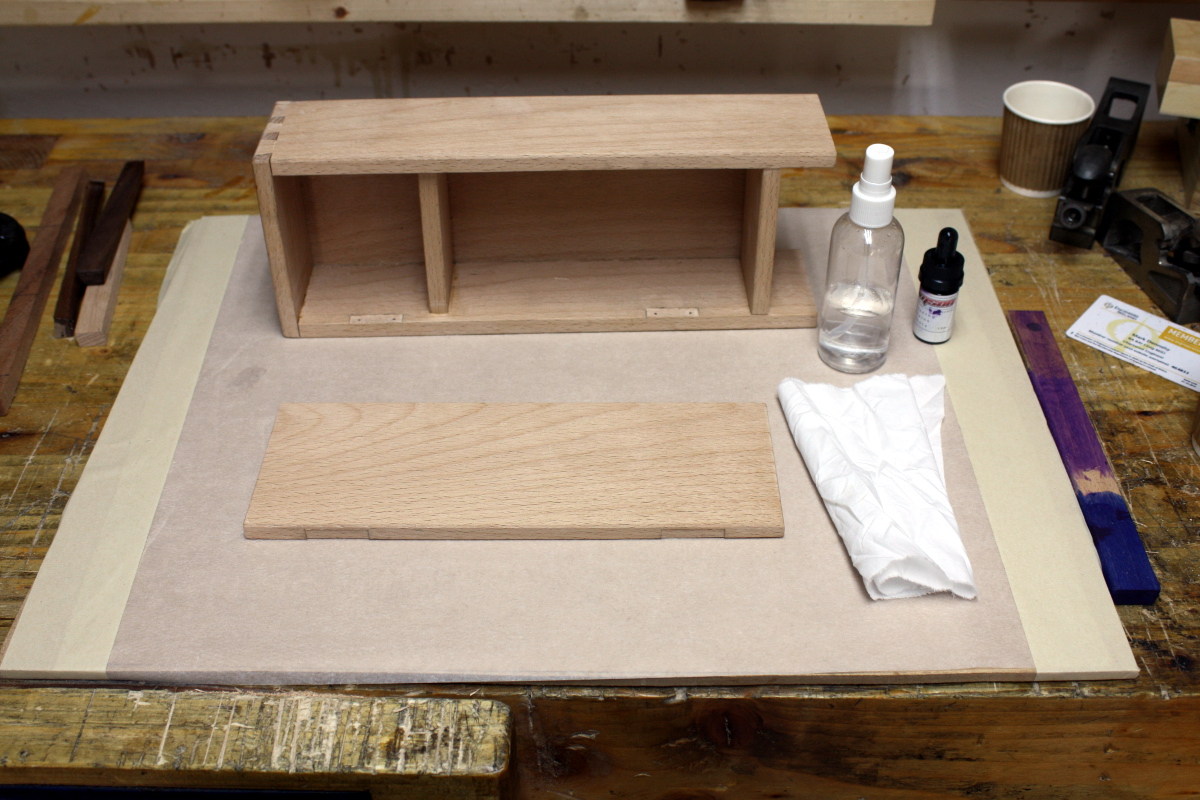
The lady wants purple, so out with the crimson guitar’s stains, a cloth and some water in a spritz bottle…
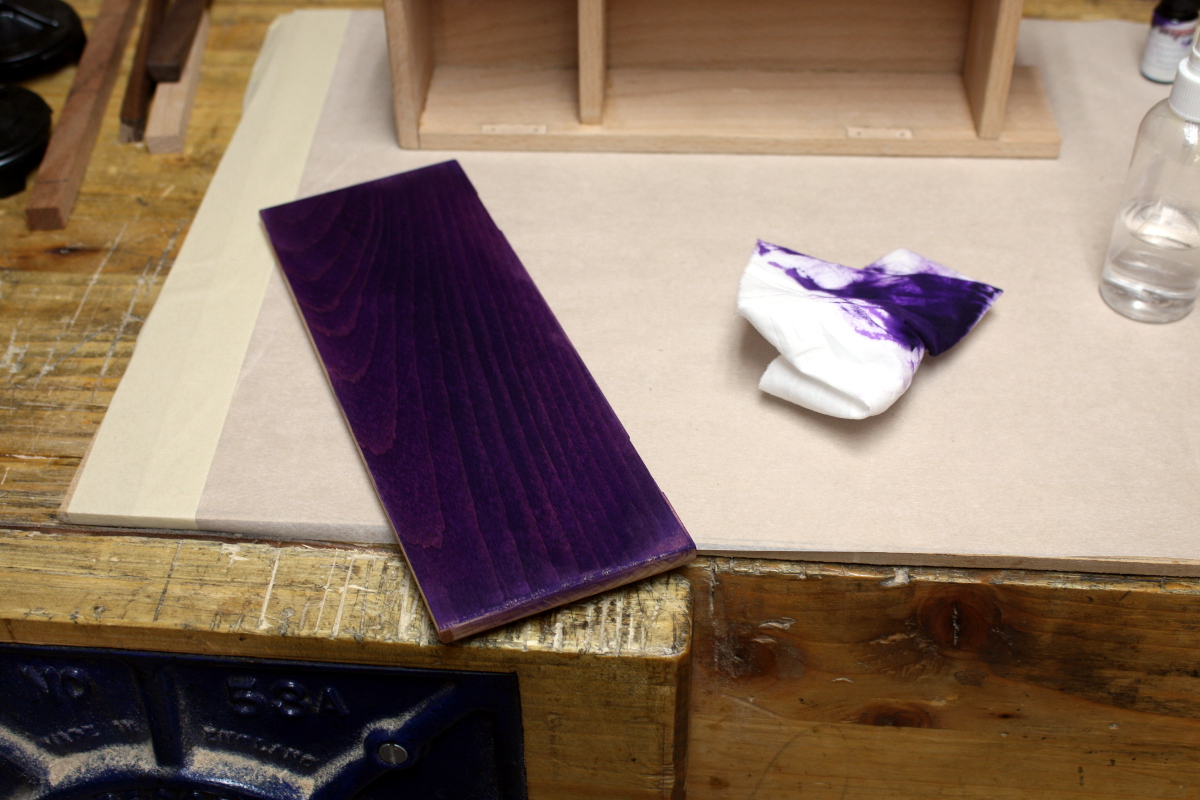
Not bad. Trick seems to be to ignore being economical with the stuff, put a drop or two on the cloth directly from the dropper, spritz that a few times with the water, then spritz the wood once, rub it in, then spritz the cloth again and rub again and repeat until the colour is reasonably even.

And maybe I should have sanded the surface back instead of the usual planed finish I have.
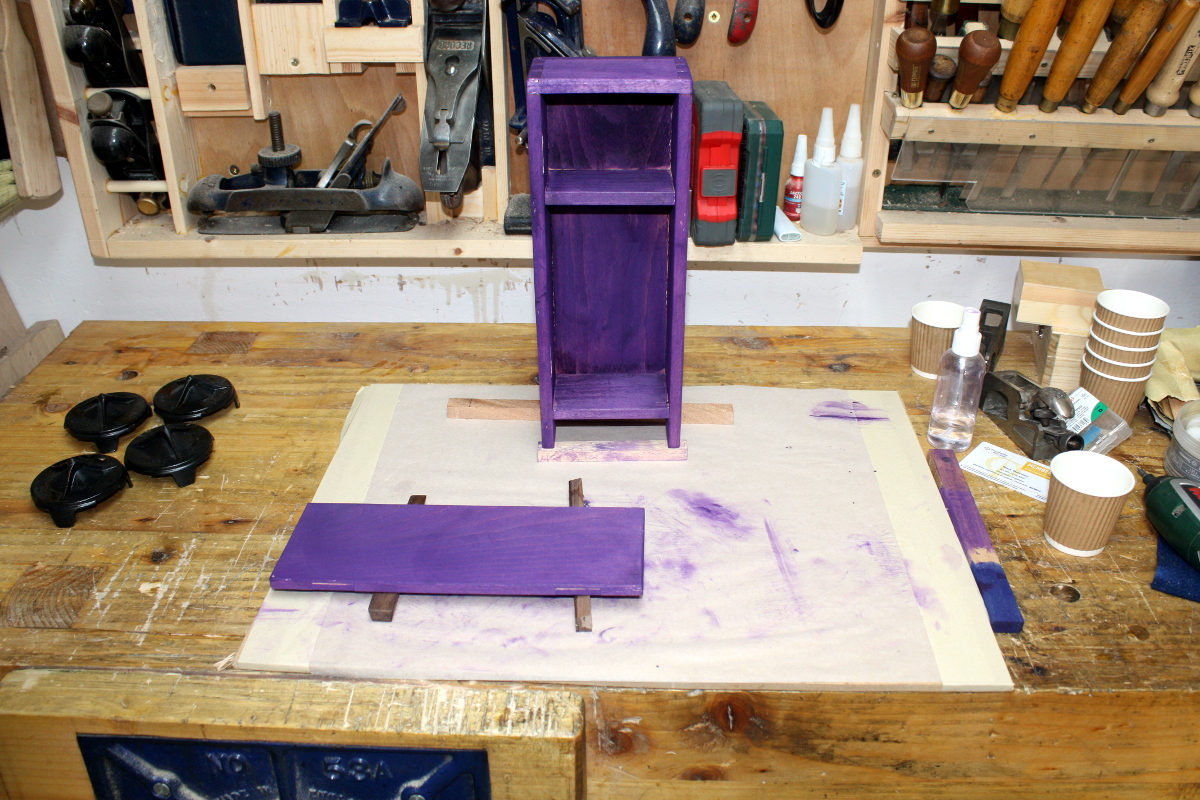
It dries much, much lighter than you’d think, but even a spriz with water darkens it back up again. So a top coat is needed (is it really a top coat?) and it’s a toy so it’ll take a few knocks. But I’m out of wipe-on poly, so out with the high gloss lacquer and I happen to have a half-can of this stuff left…
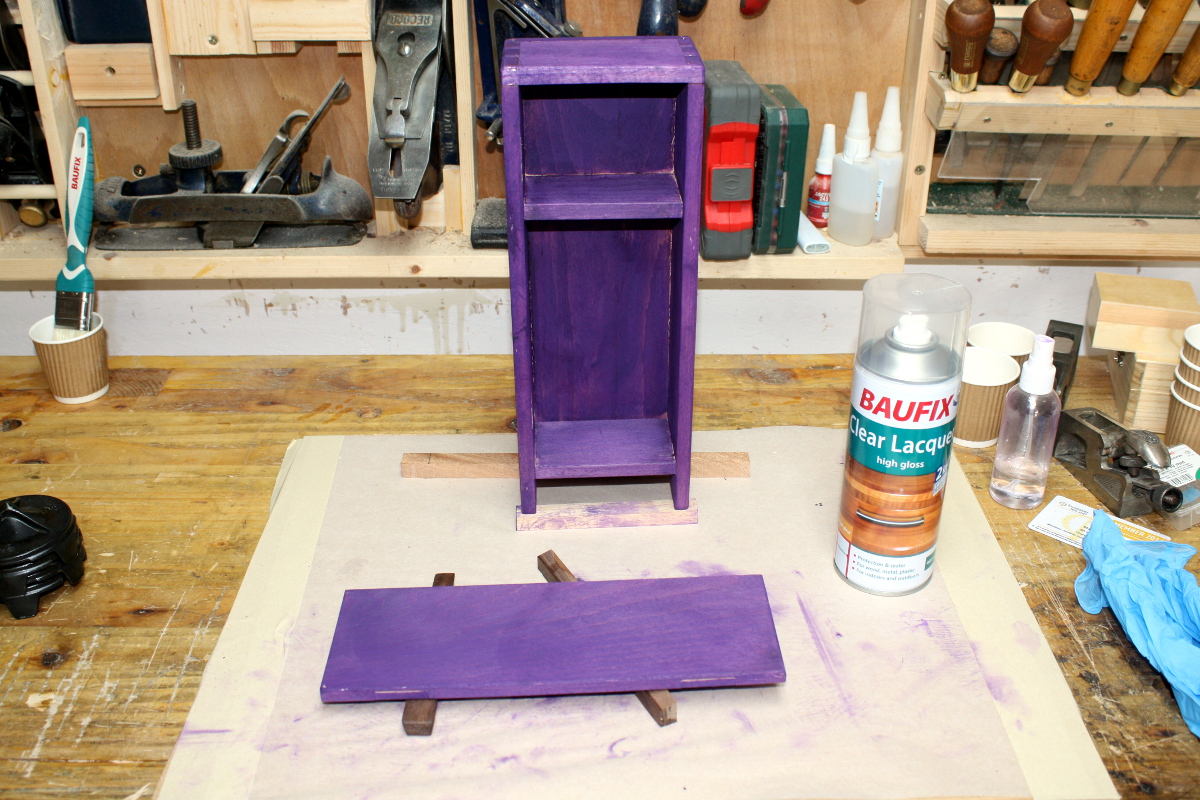
Mind you, the shed is little. Which means not much air. Ever inhaled spray-on lacquer in a confined space? Don’t.
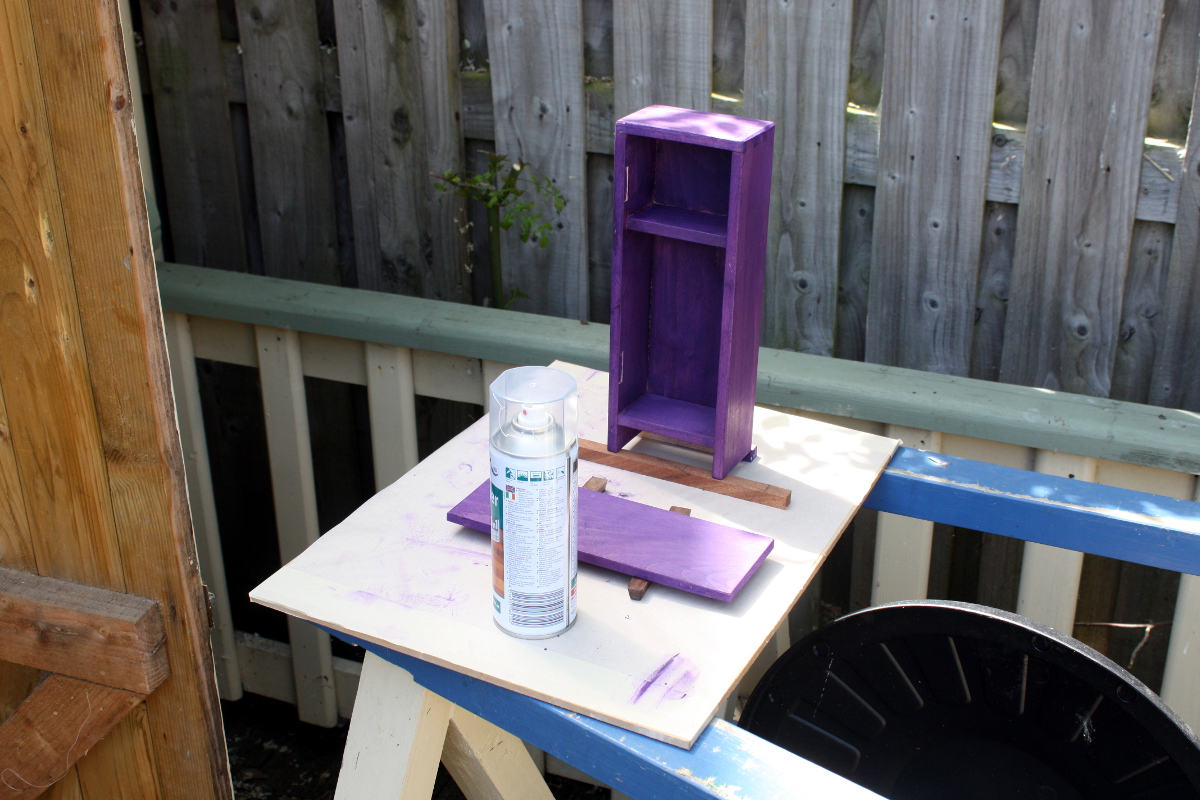
So outdoors we go, and on goes the first coat while I’m wearing a respirator. I wonder what the neighbours think sometimes, but if the choice is looking funny in my back yard or looking funny while being treated for lung cancer or respiratory distress in A&E…
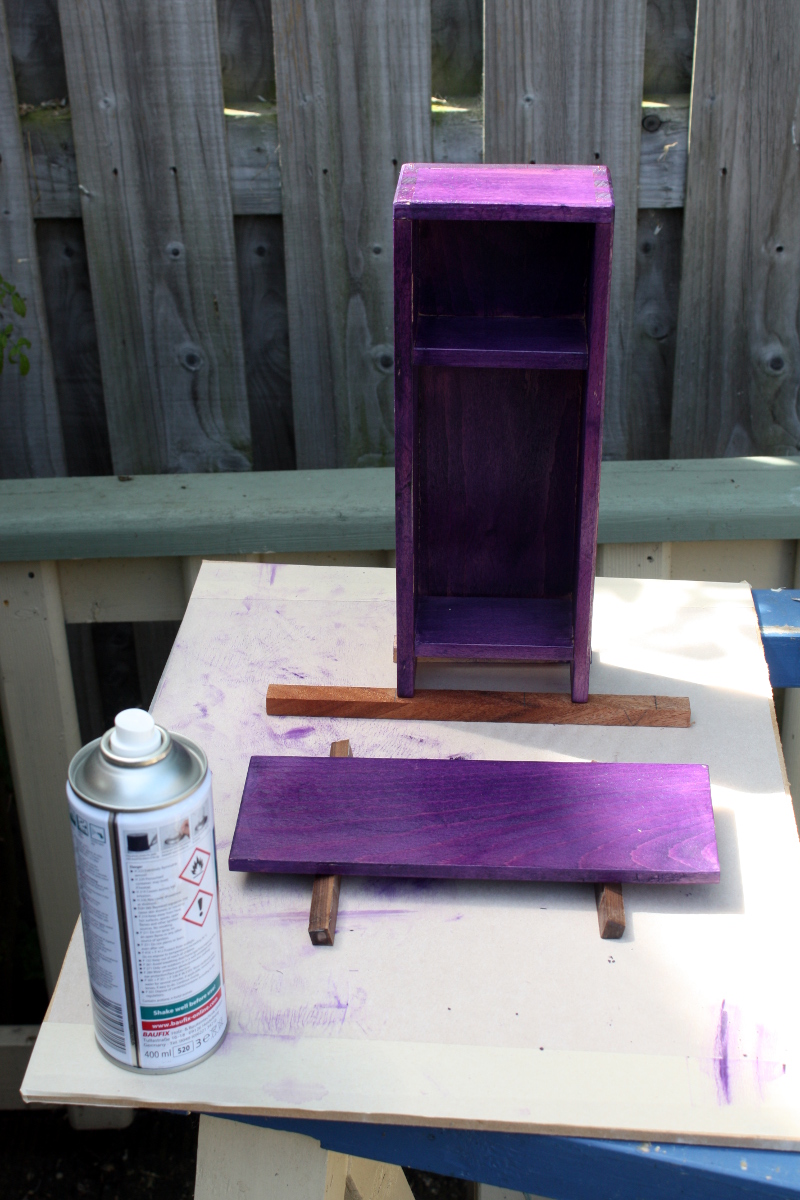
First coat is a bit subtle but I put on three coats (ten minutes drying between each) and brought it back into the shed to dry so leaves wouldn’t fall on it or something…
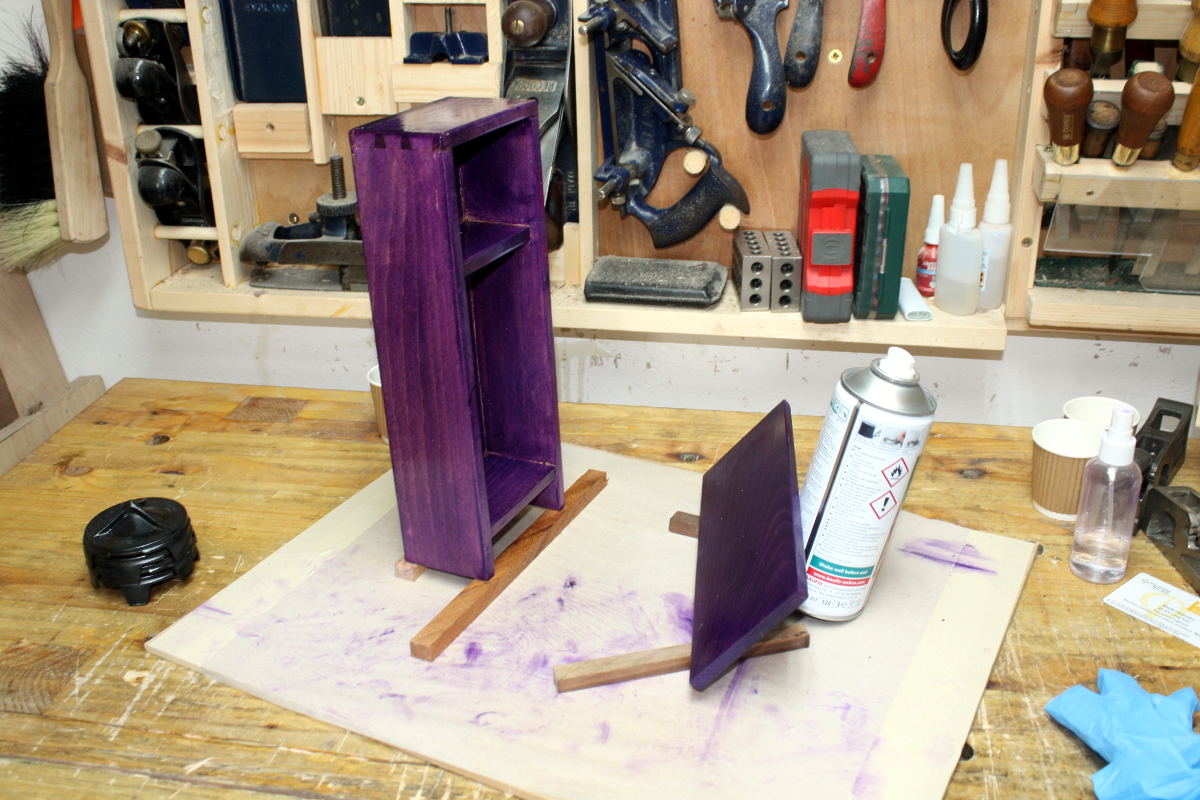
It’s not too bad with the lacquer on, it darkens the purple nicely.
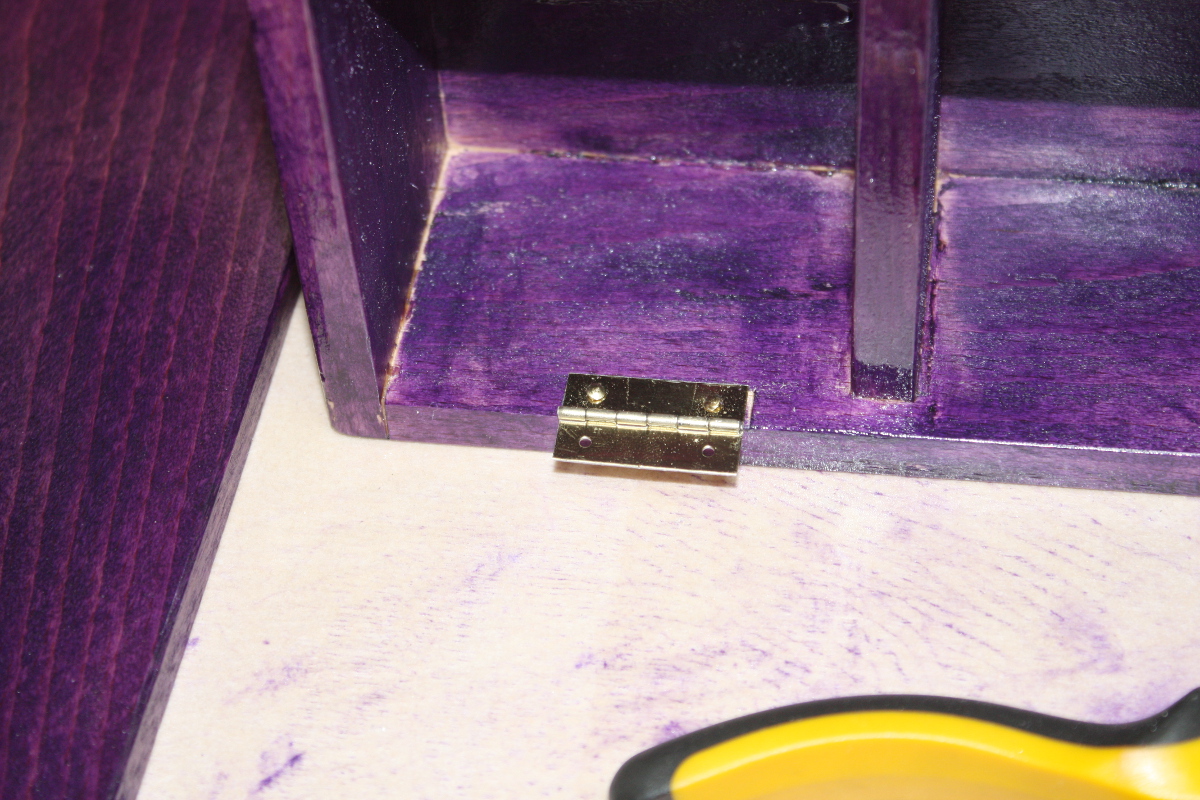
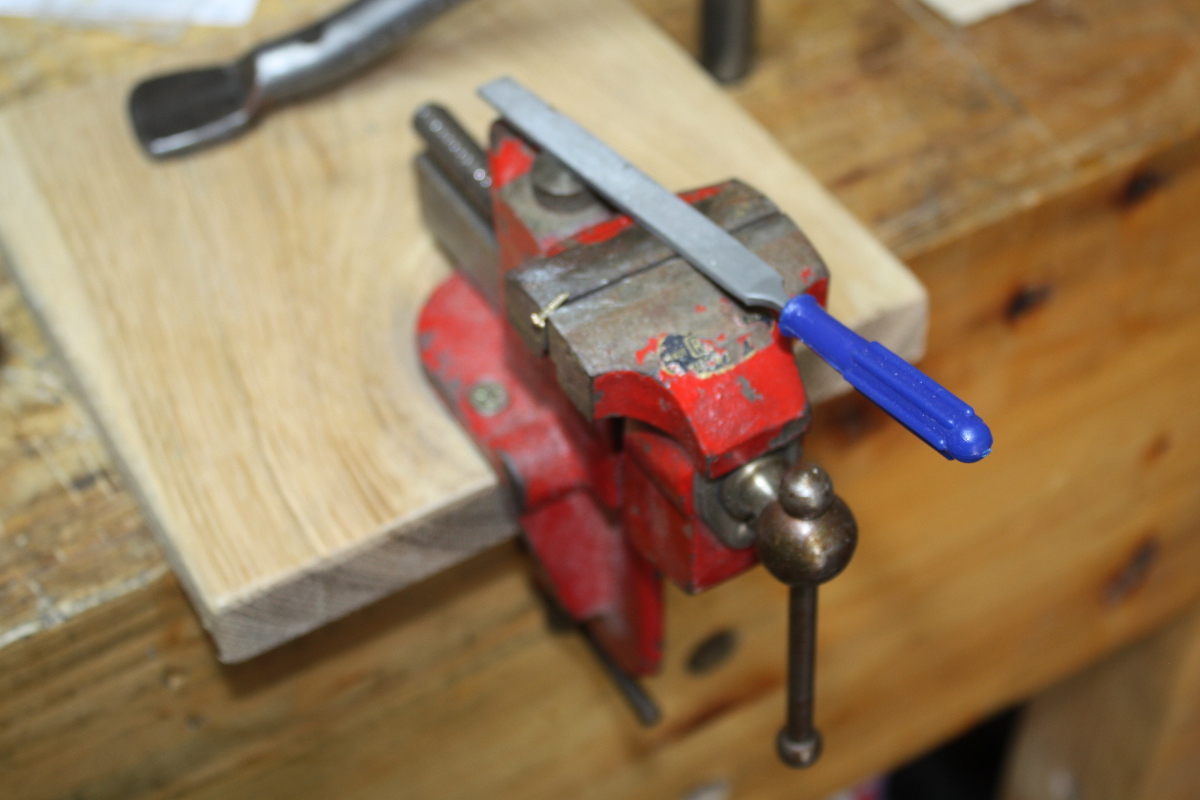
Next morning, time for hinges to get attached. Been dreading this. That photo took a half hour of fiddling about with hammers, needlenose pliers, nailsets and best yet, cutting nails down in size – the nails that came with the hinges were a good mm or so longer than the wood was thick, and since the spikey look isn’t on for toys, I cut 3mm off the overall length with a snips and then filed a new point on the nail with a diamond file (because the normal files were waaay too big to bite in properly)
And then, after getting them all fitted, the door wouldn’t close. Couldn’t close. The hinges were too deep-set and the door didn’t have clearance on the shelf. So either I carved off a few mm from the shelf edge, exposing the end of the housing joint they were in and then trying to restain the edge to match the rest and re-lacquering it but I’m out of lacquer now so it’d be matt instead of gloss… or I redo the hinges.

I hate hinges.
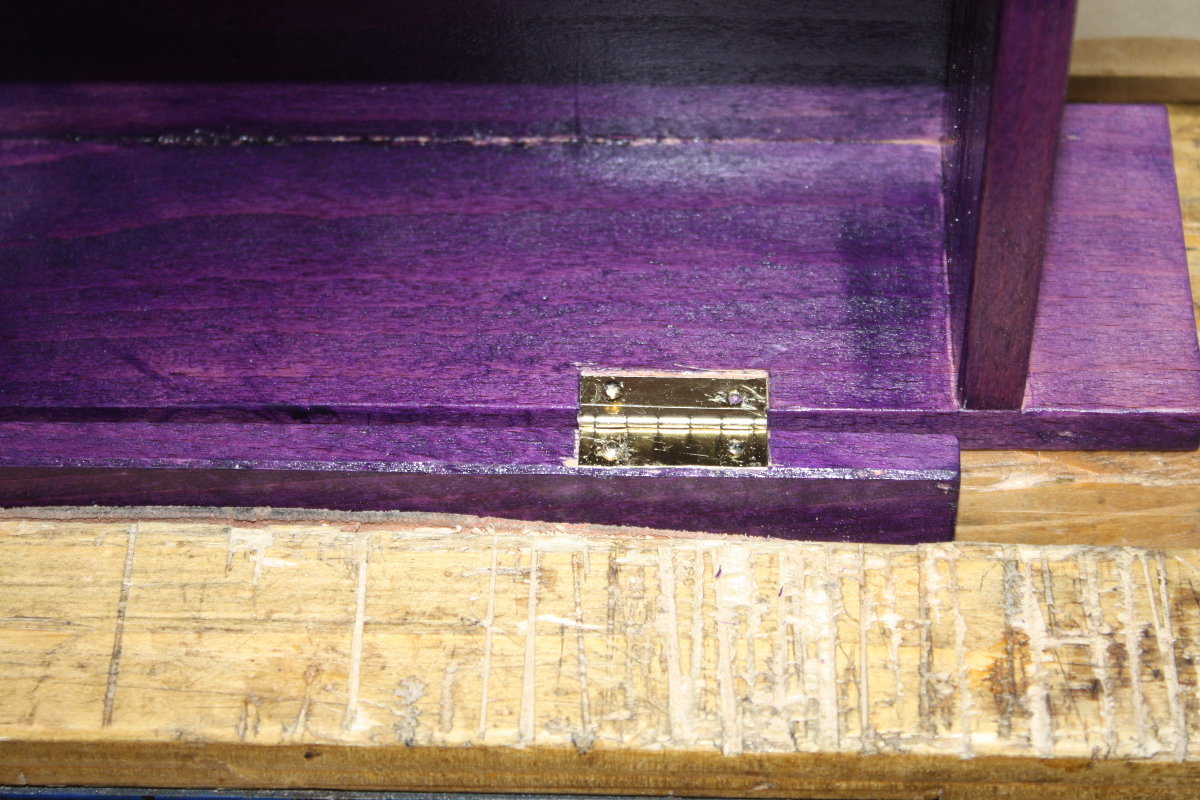
Take two. Now uncomfortably close to the front edge of the carcass. Note the alignment scratch on the hinge – something I forgot to do during take one. And the vice marred the door’s finish slightly. But…
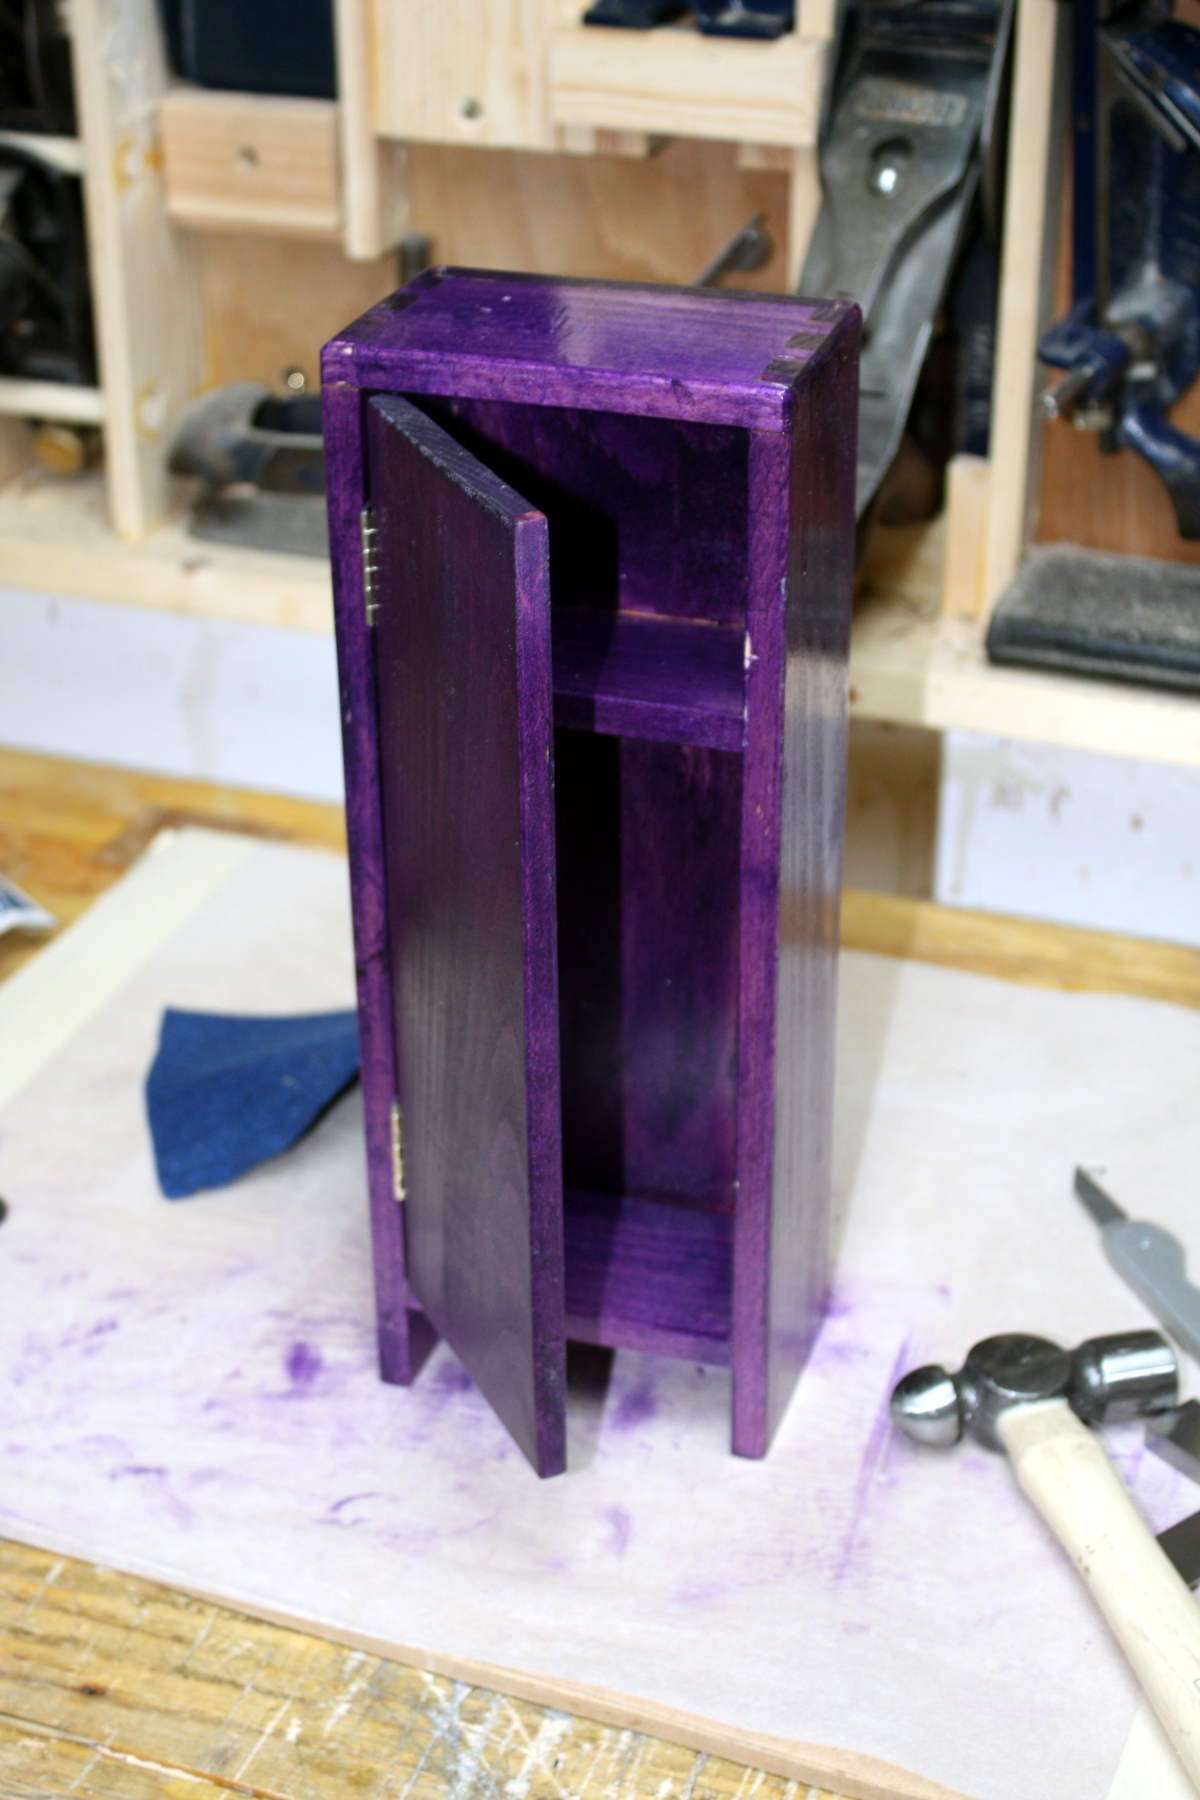
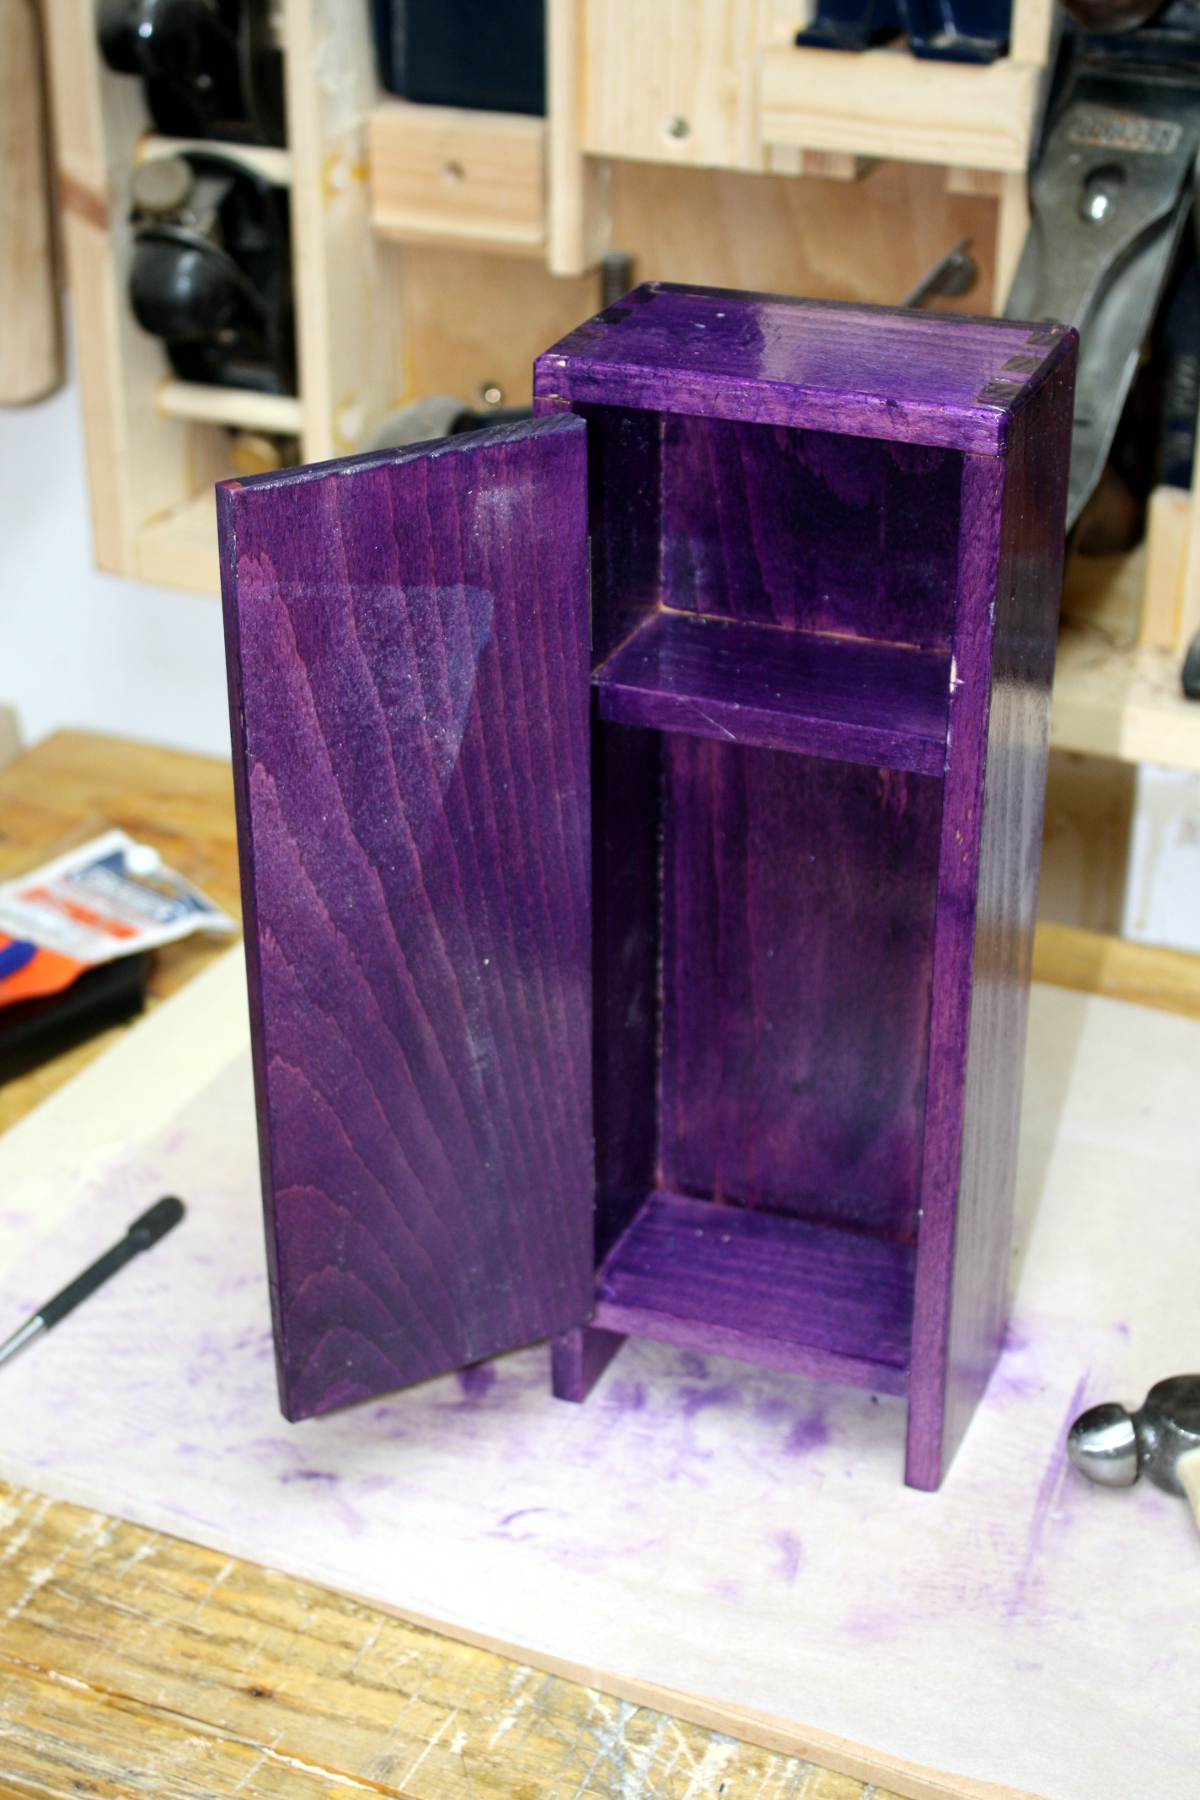
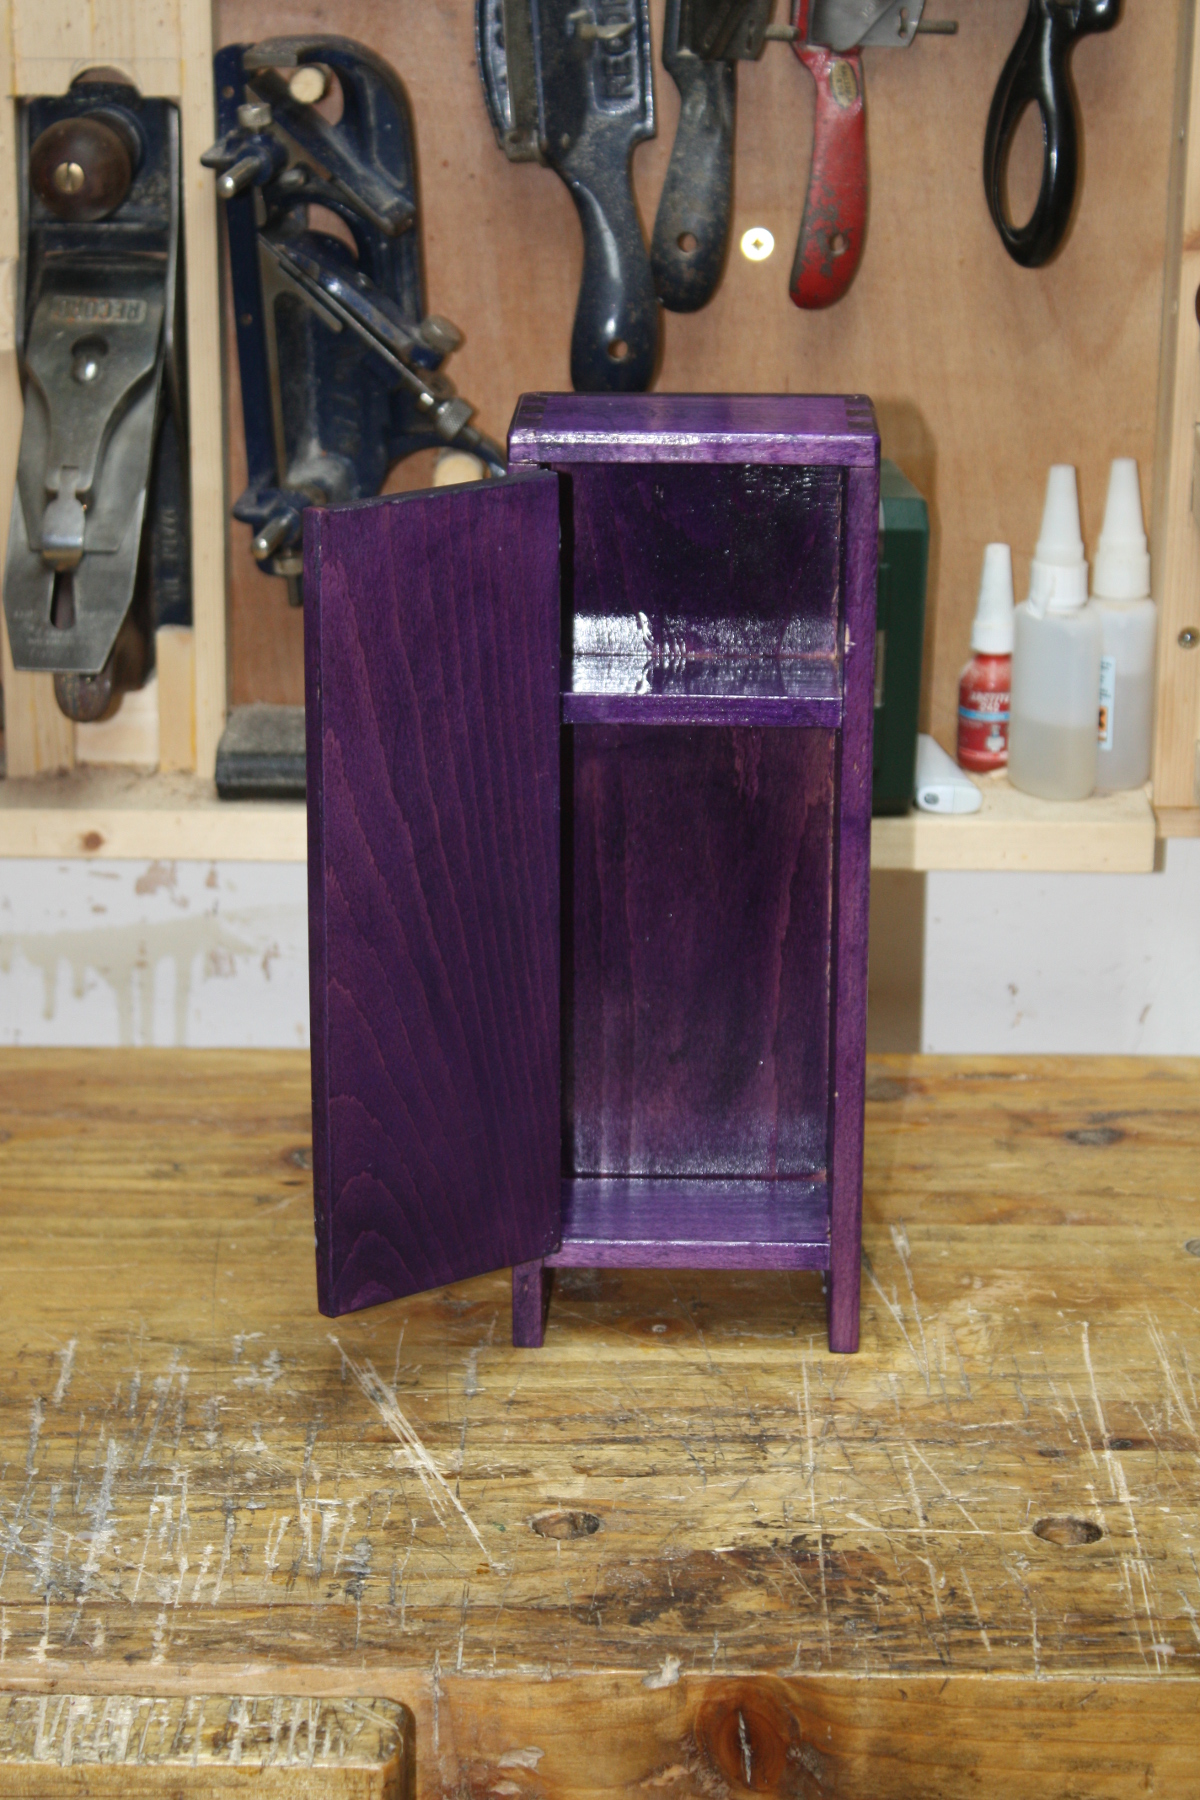
It opens and closes.

I hate hinges.

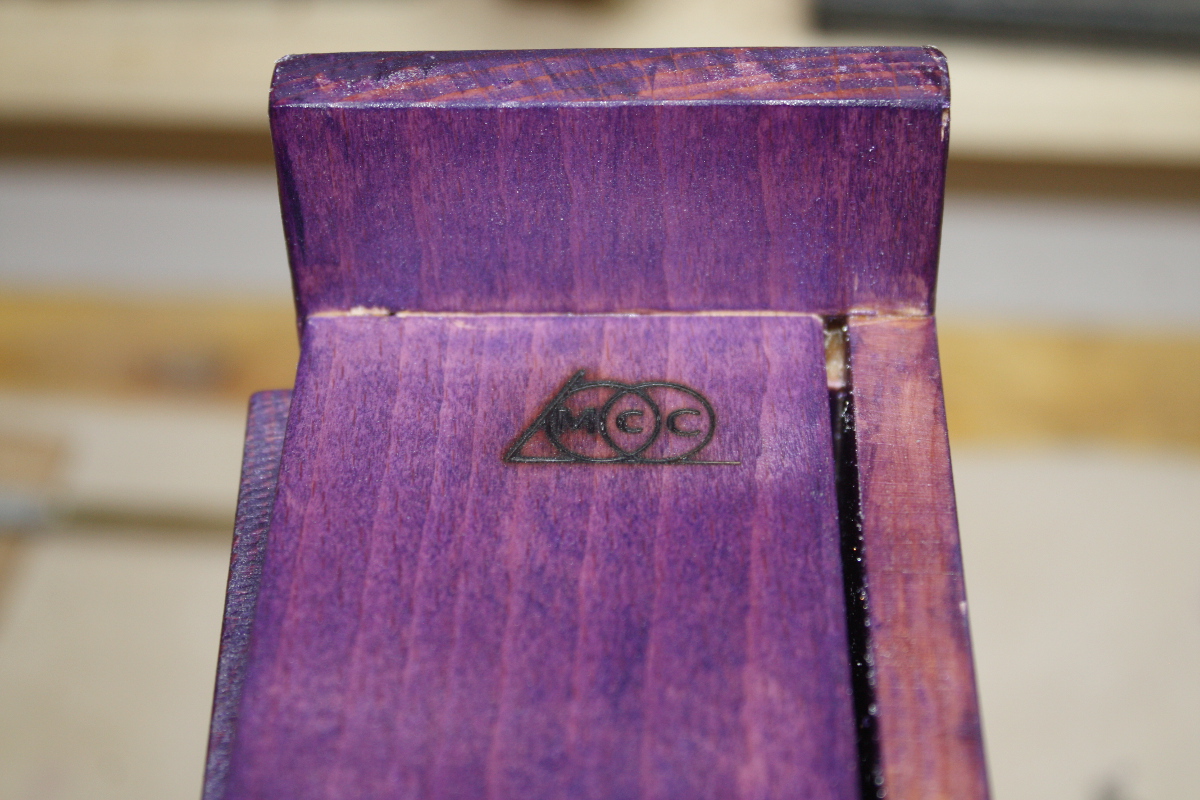
Anyway, it’s done, so fire up the branding iron…
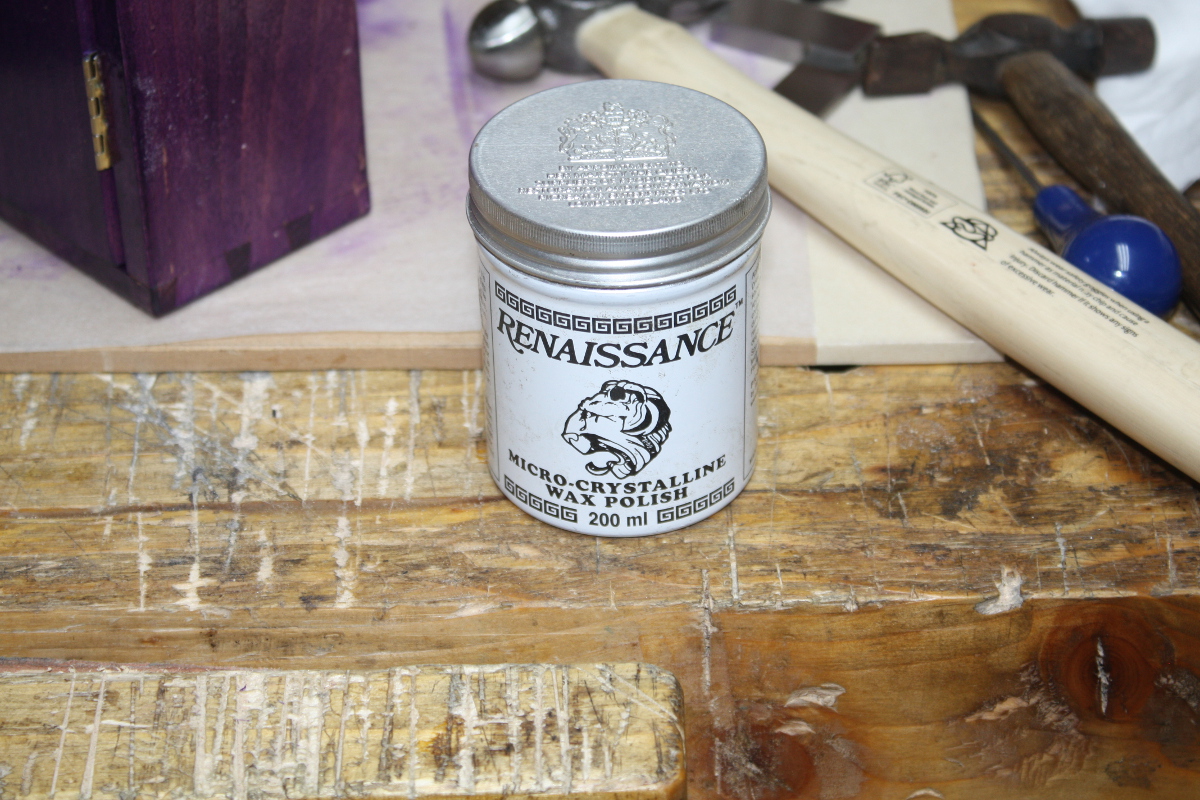
And out with some wax for a final polish…
And that’s it, all done. Time for the glamour shots…
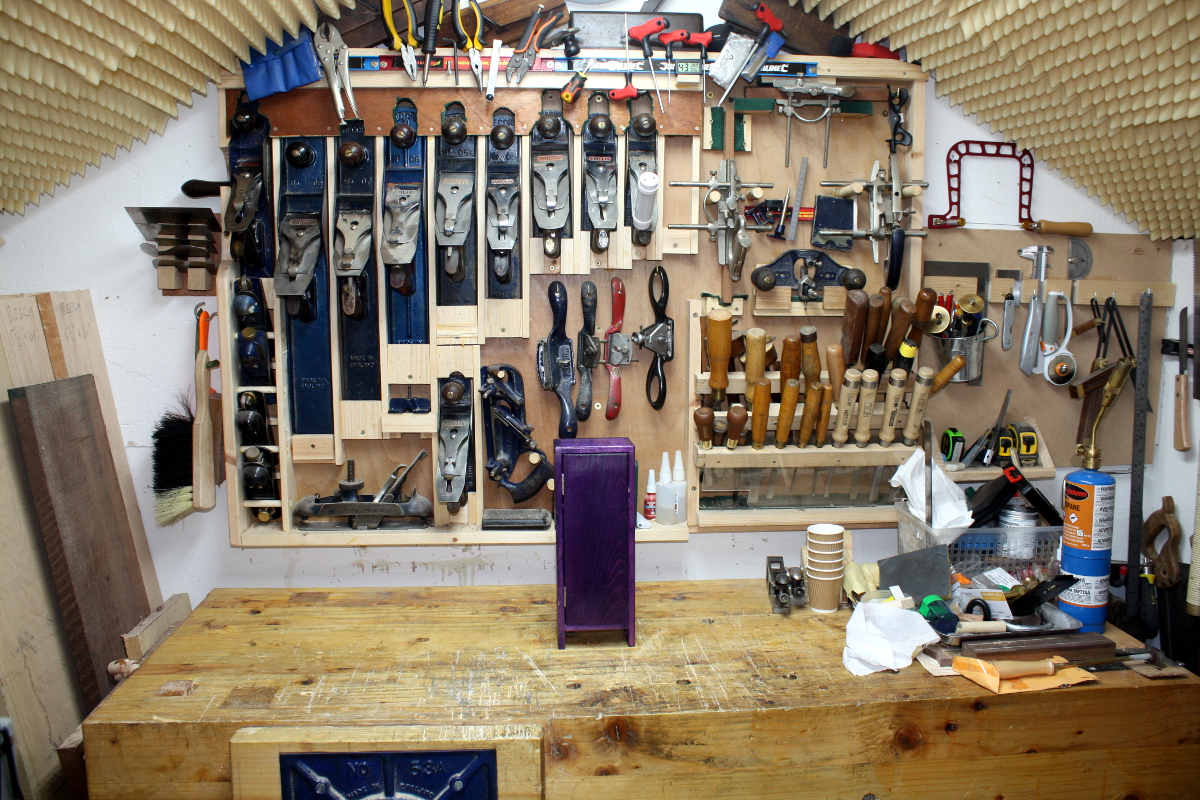
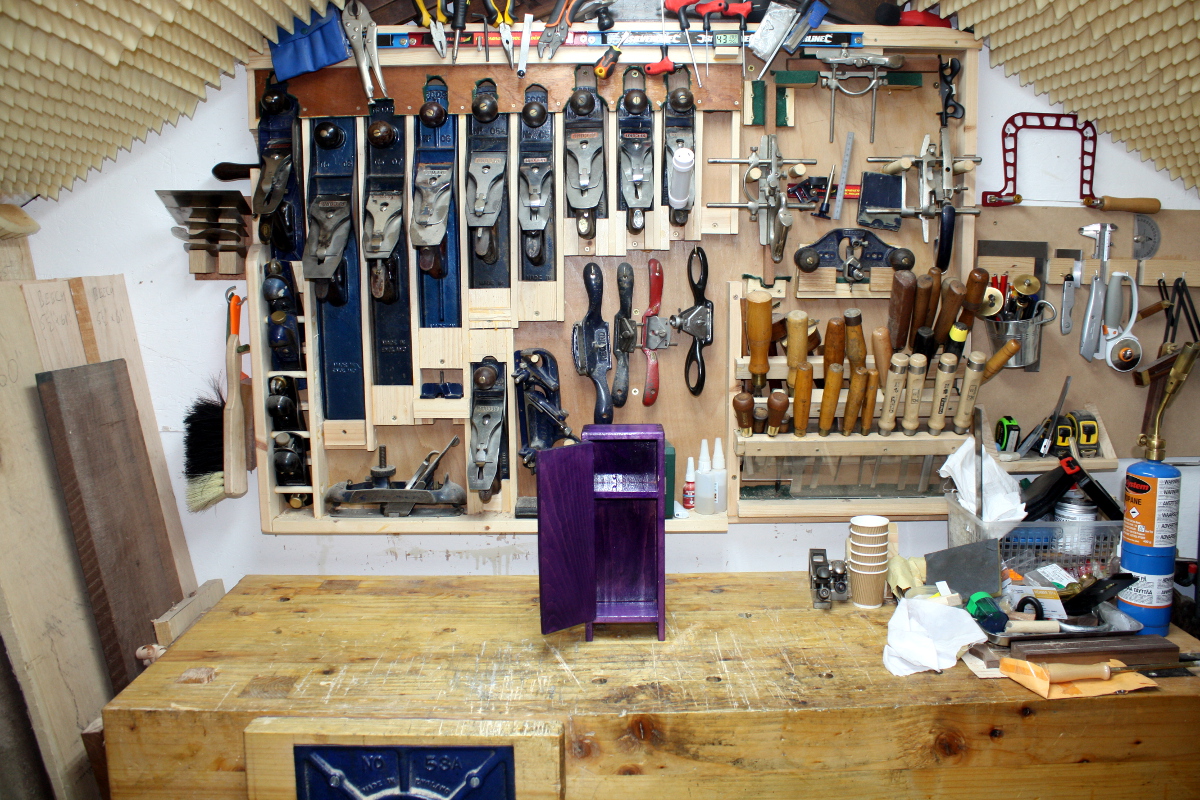
Time for some close-ups…
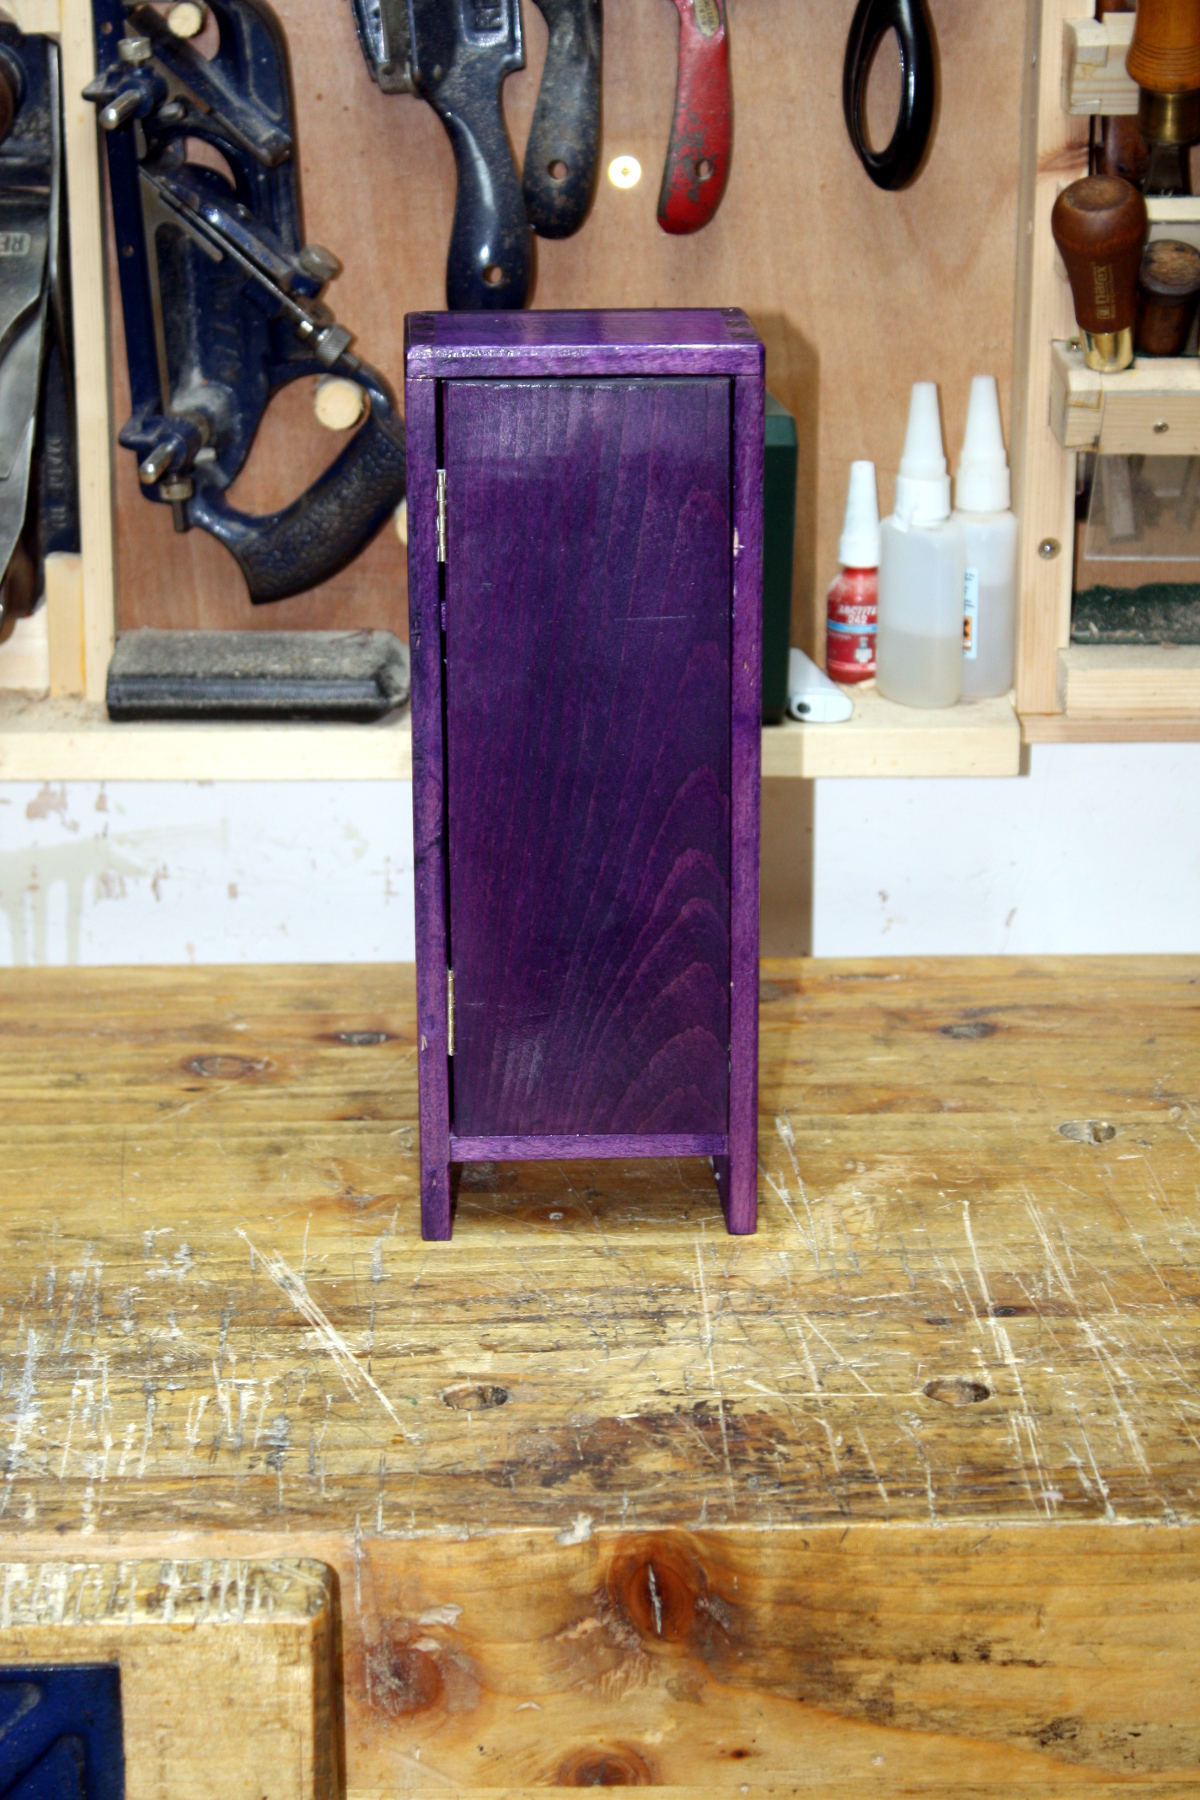
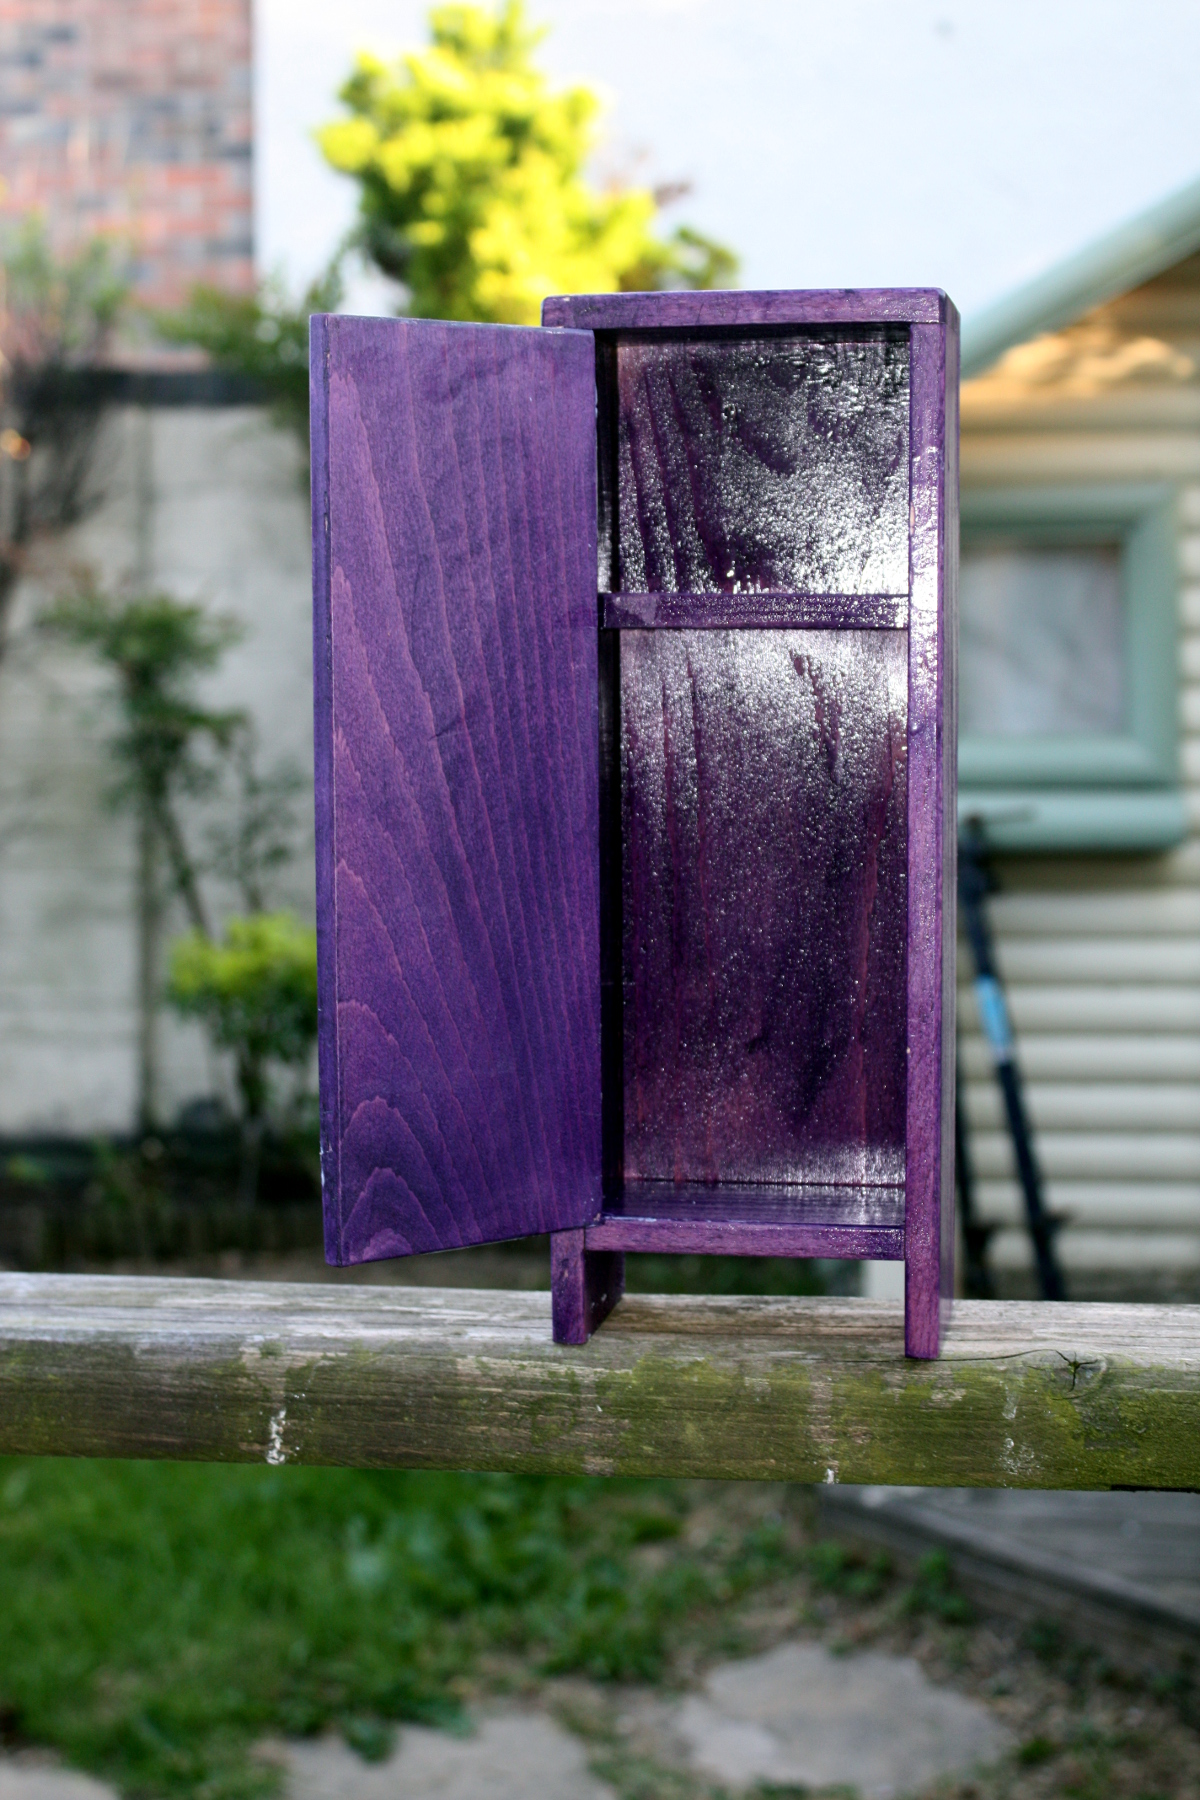
And some outdoors because it’s sunny…
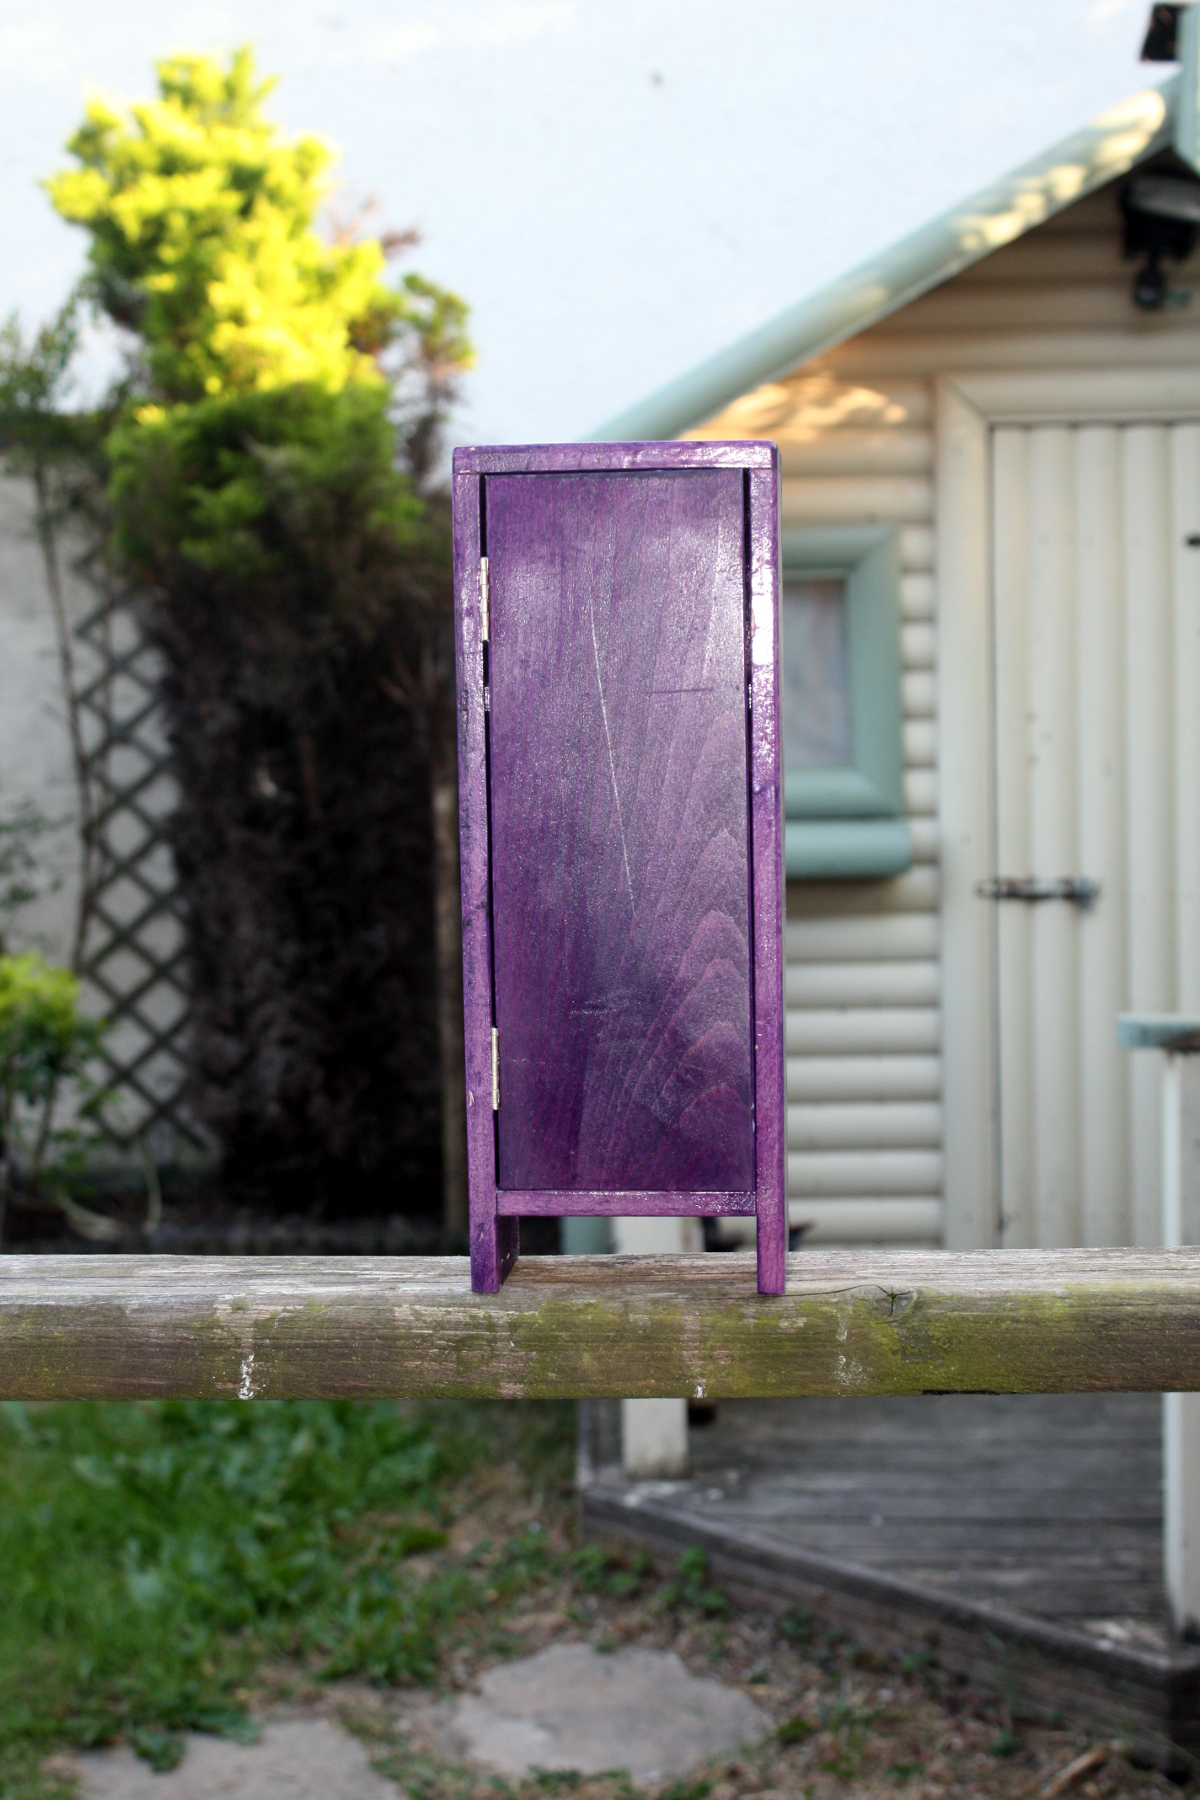
 

Right. And for the first time in a long time now, I don’t have a project actually underway.

I do have about six in the notebook mind, so that may not last…


17
Jun 18

Balls

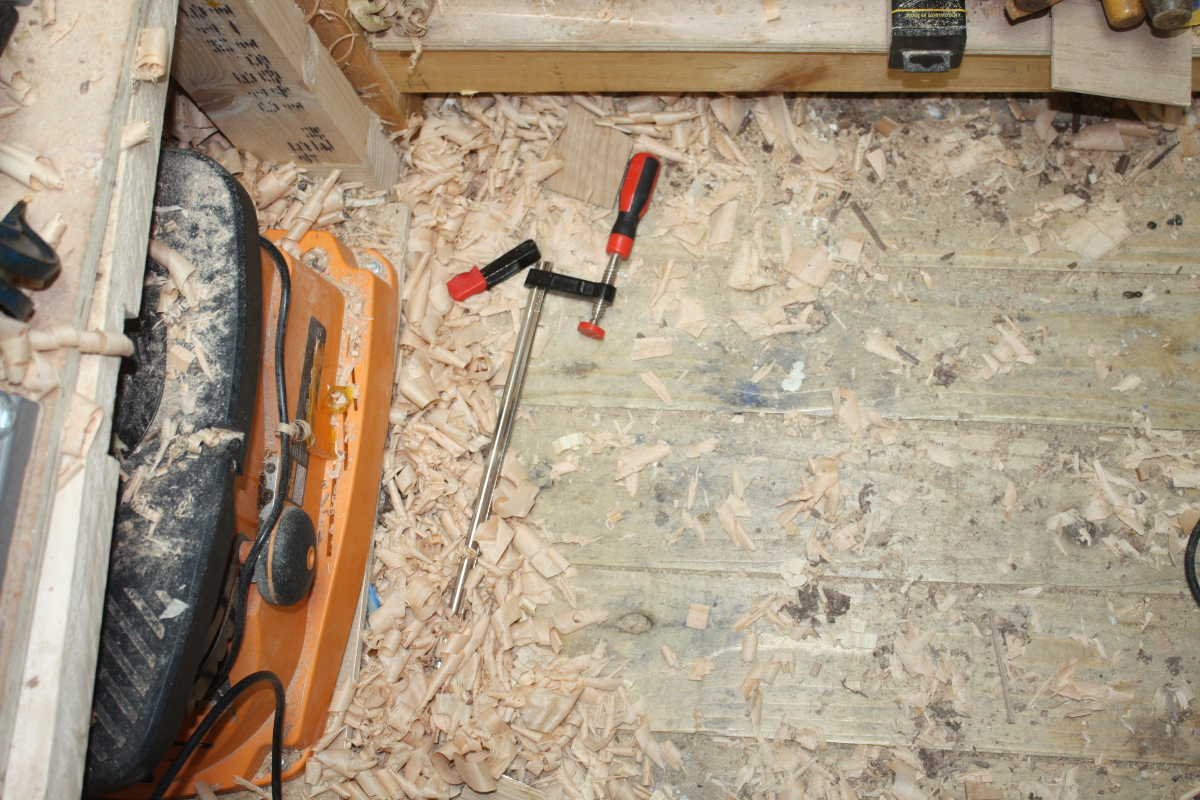
We had to run off to a graduation on Friday, but when we got back I spent a rather rushed half-hour in the shed. Thing about that sort of thing is that it gets… messy…

So first things first on Saturday, clean up a bit…

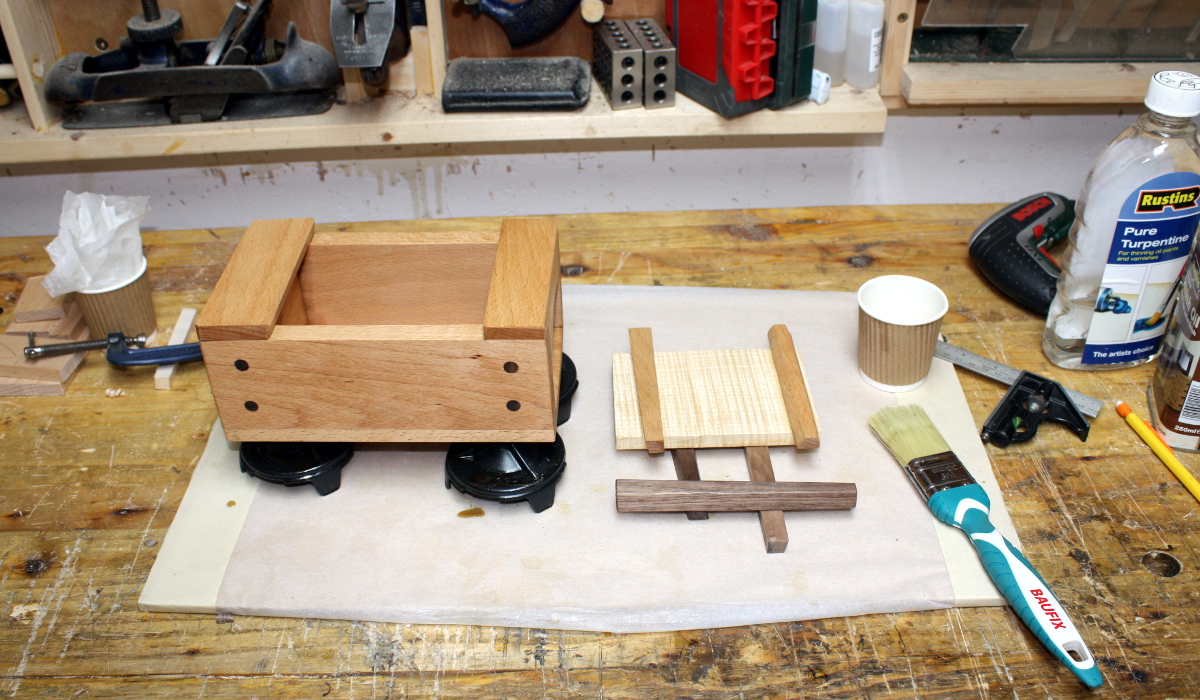
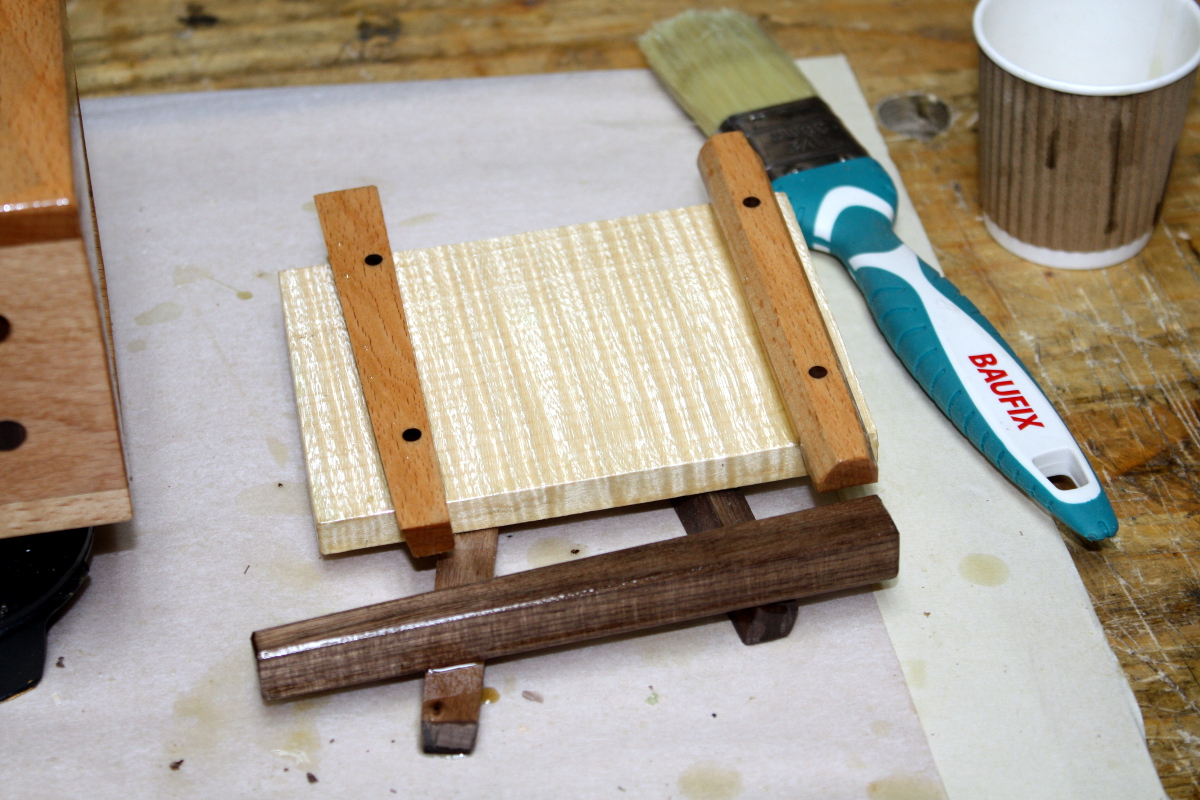
Right. Next, trim up the other end cap, and set the locking wedge position and glue it in place…

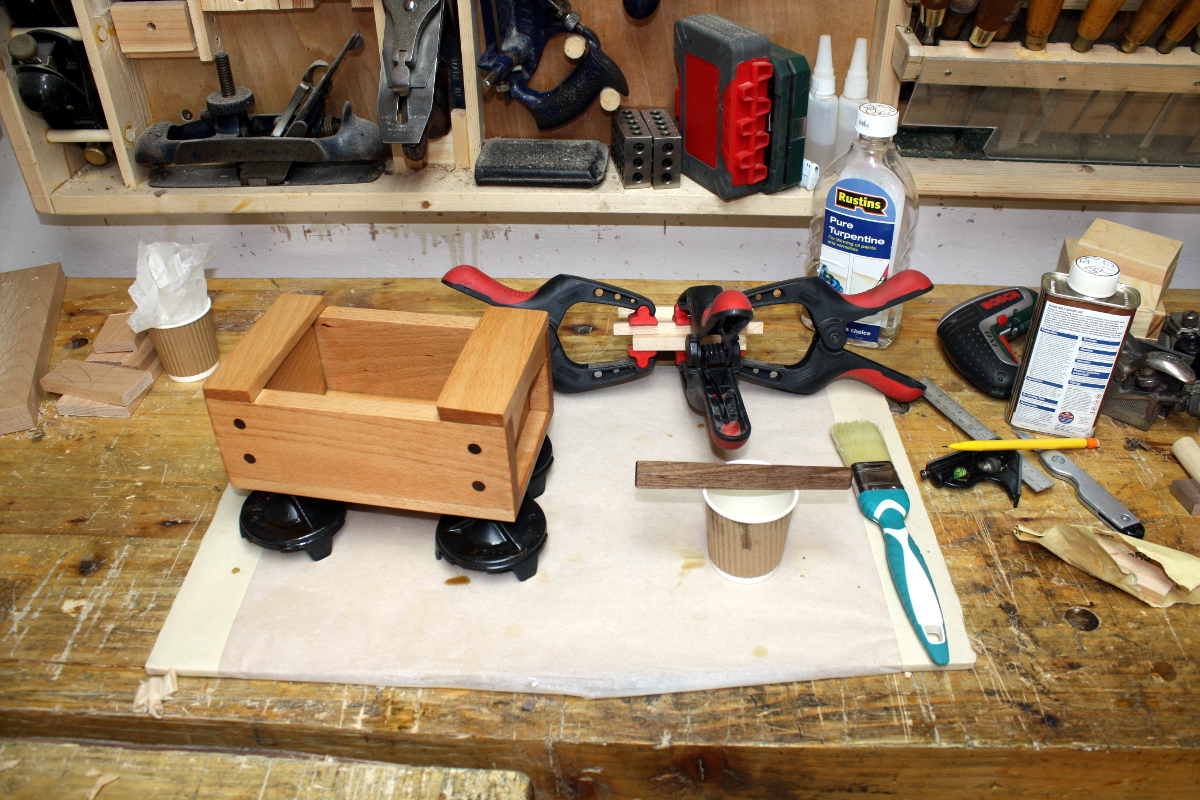
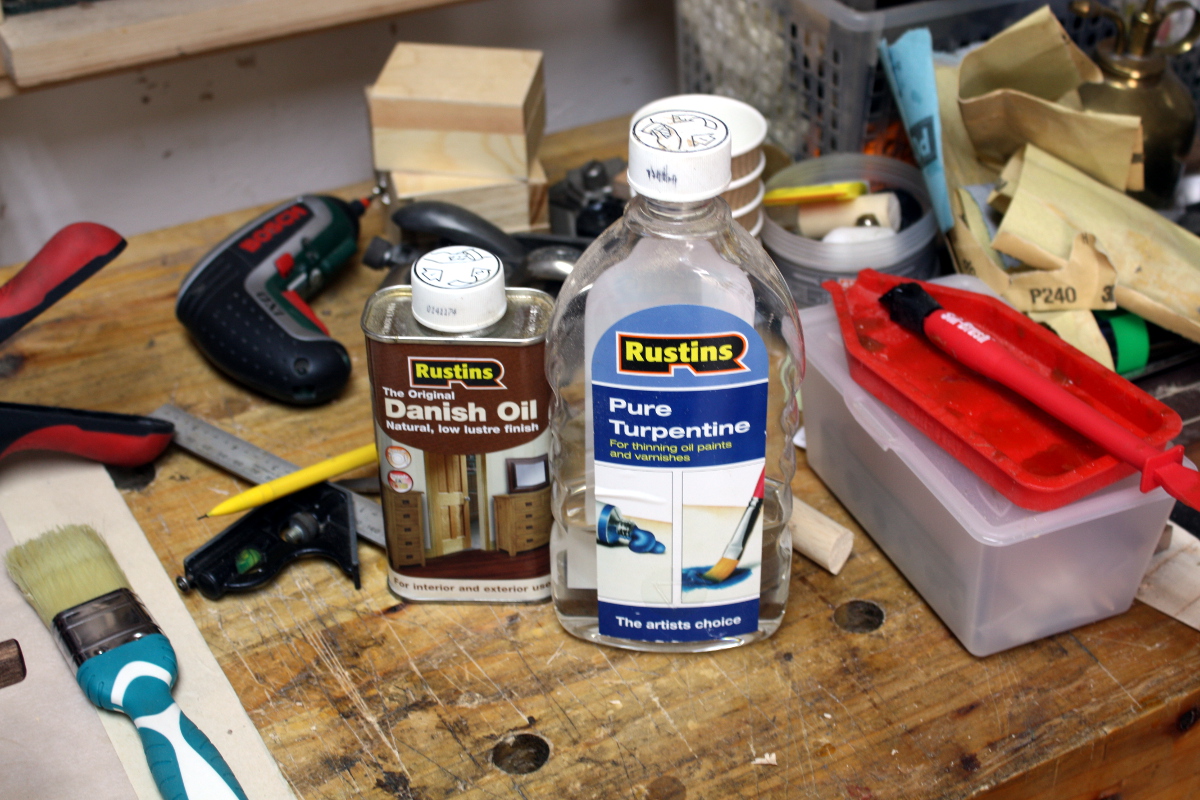
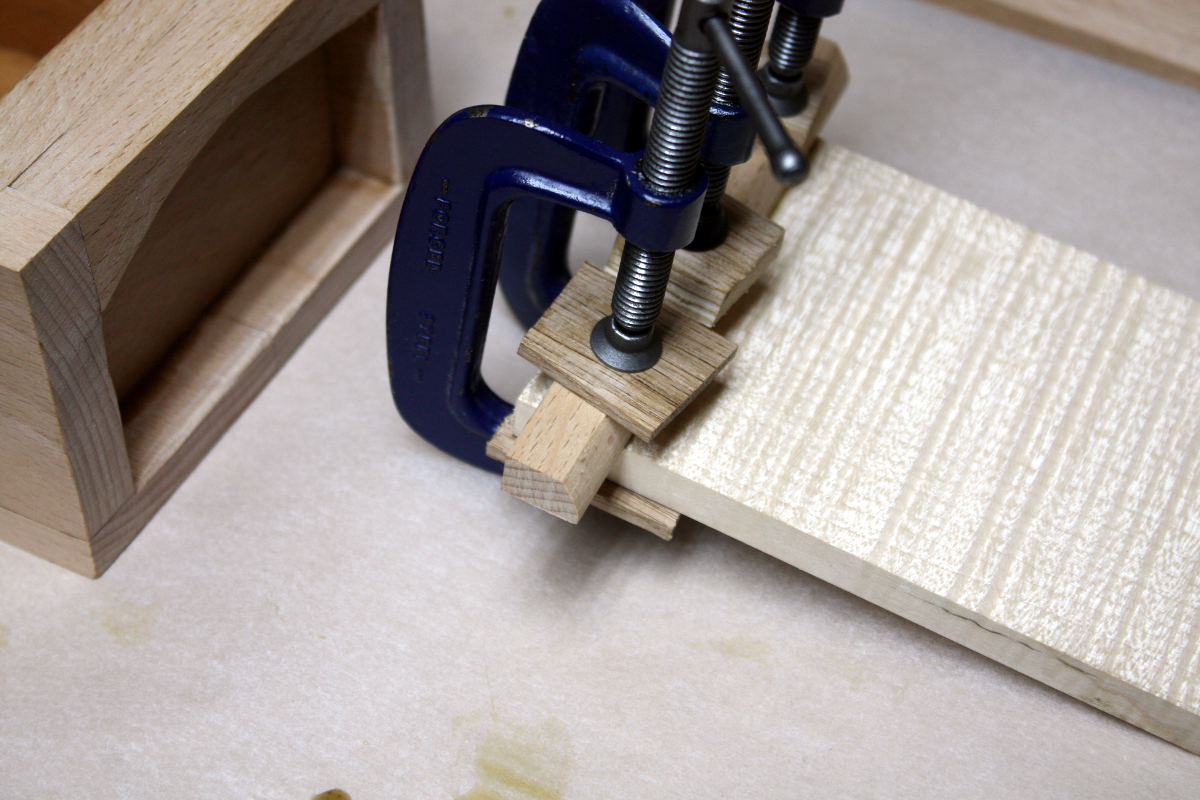
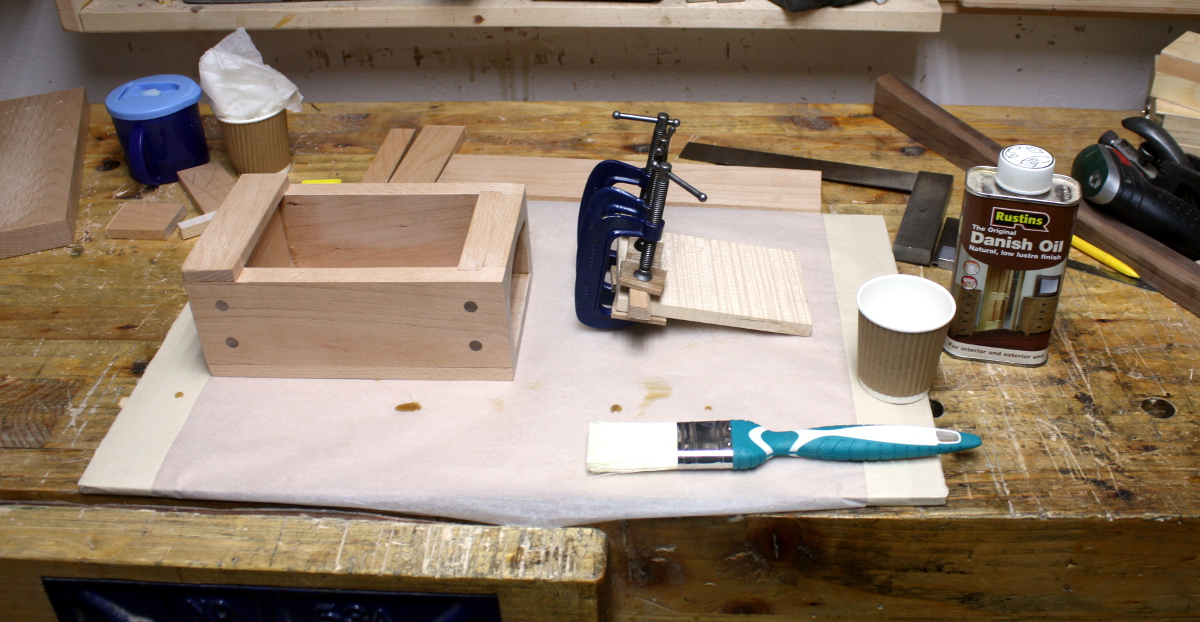
And yes, that is the finish starting to go on the box and the key; and I have jumped the gun there a bit and I pay for it later. The finish by the way, is half danish oil and half turps, mixed in the cup (the office has a snacks thing they do where you can get free peanuts and we use those little paper cups to serve them in; I just hang on to mine and they come in useful in the shed later).

I don’t use Rustins for any particular reason; it just happens to be the brand I could find in the shop. I don’t use danish oil all that much really, but the consensus was that it works well for beech when I asked around. And I have to admit, it works quite well, though it’s a strong-smelling finish for the first day or two.

All glued up and finished with the first coat of oil&turps…

And then after it had had a few hours to dry, a test fitting…

BTW, that’s the third walnut key I made. The first one I cut looked fine but by the time I’d pushed it in far enough to lock the lid, it was half-way out already. I re-cut it and somehow mixed dimensions up and had to redo the redo…

It was at this point that I realised I’d forgotten a step…

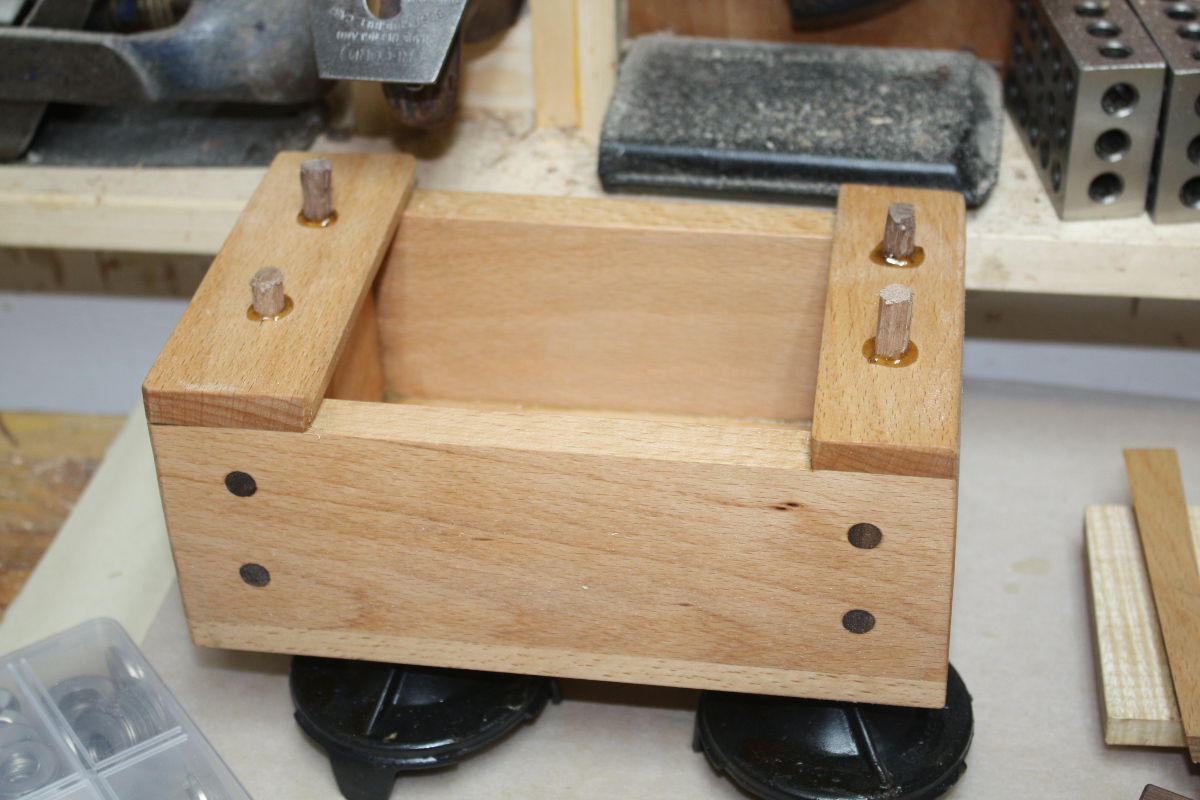
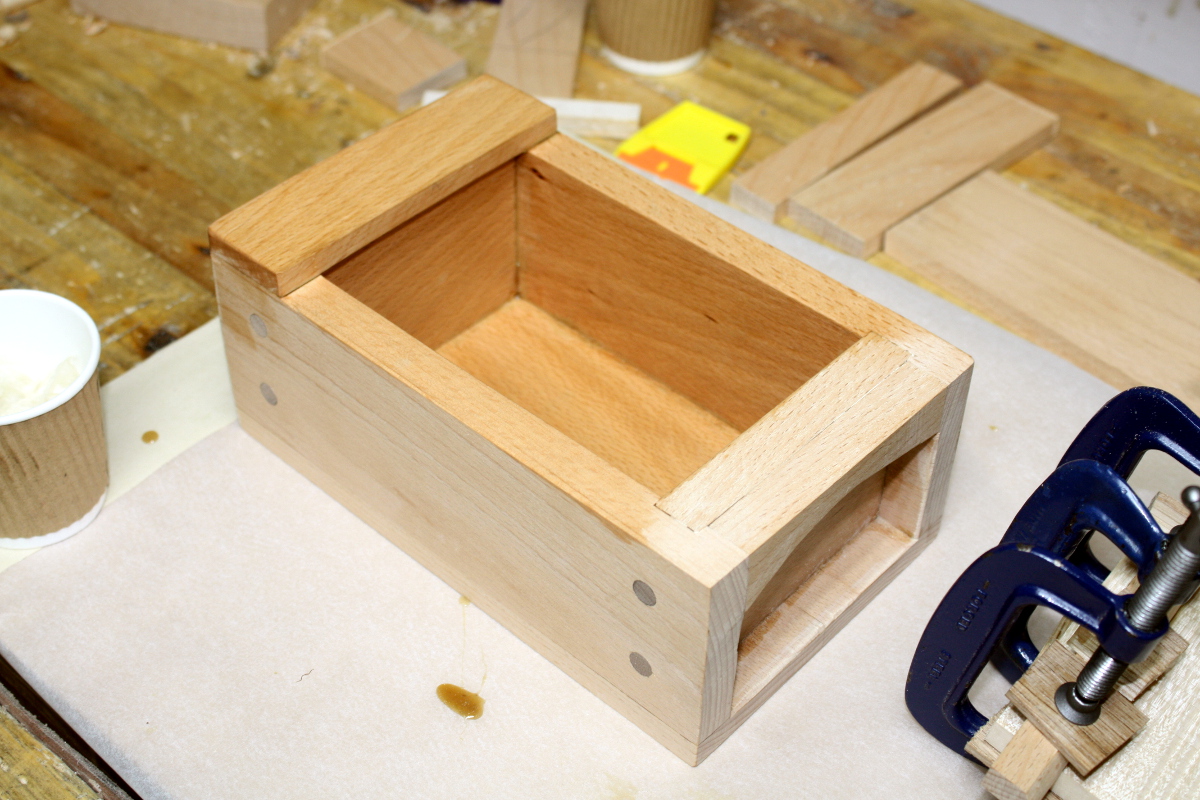
No pegs in the top. I mean, the glue would probably hold but the forces on the top pieces are all shearing forces acting across the lid so the only thing holding the pieces in place if you really shoved on the wedge would be the glue, and along what is probably its weakest axis. And I get paranoid about such things so…

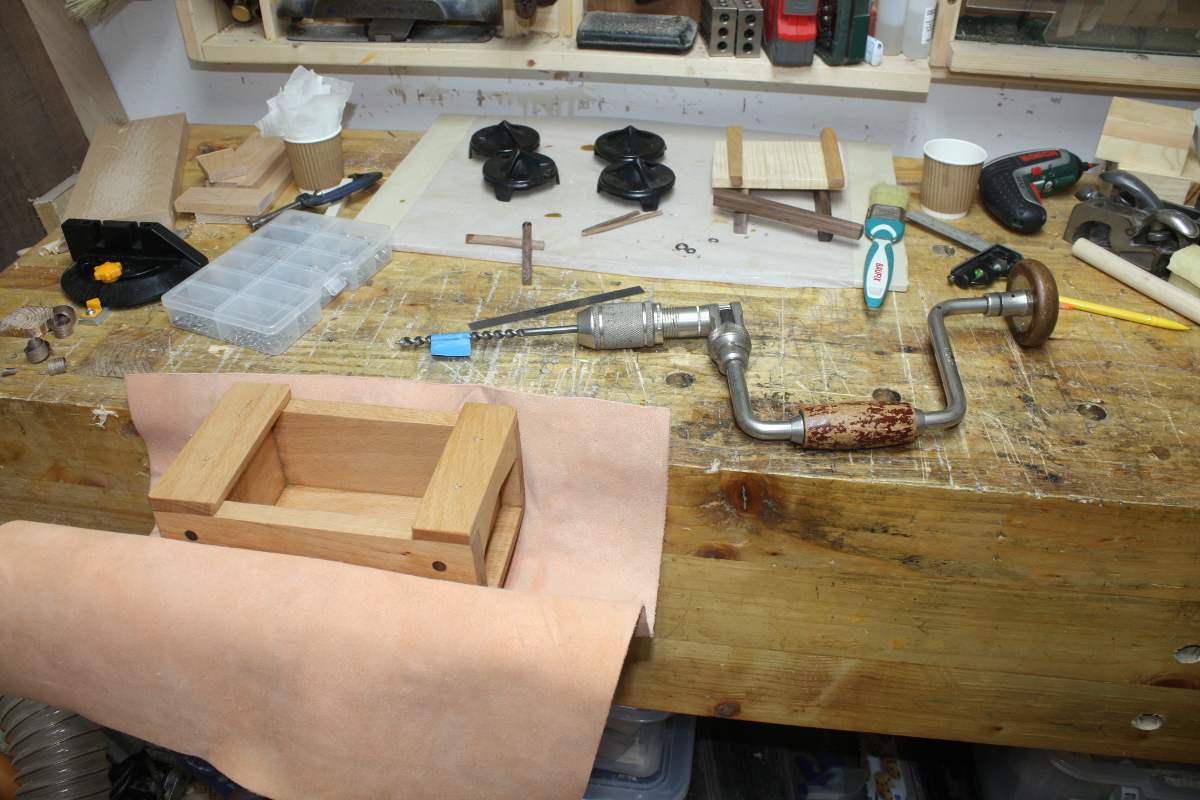
Yeah, I know, drilled right through the finish too. Oh well. Now the end caps are fine, the five-sixteenths size pegs there don’t come close to blowing out the five-eighths material, but the stops on the lid themselves are far thinner, so I needed a smaller peg, somewhere around an eighth of an inch or just over. And my dowel plate only goes down as far as 1/4 inch and worse yet, with small pegs like that, matching the peg to the hole gets more critical and all my drill bits are metric (the auger bits are all imperial but don’t drop down that far). I was going to use the Bosch drill for the lid because for small thin stock and small holes, you really do want some speed with the lidl-standard drillbits I have; which means the eggbeaters can’t really cut clean holes in small stock. Which means the pegs have to be metric for two reasons.

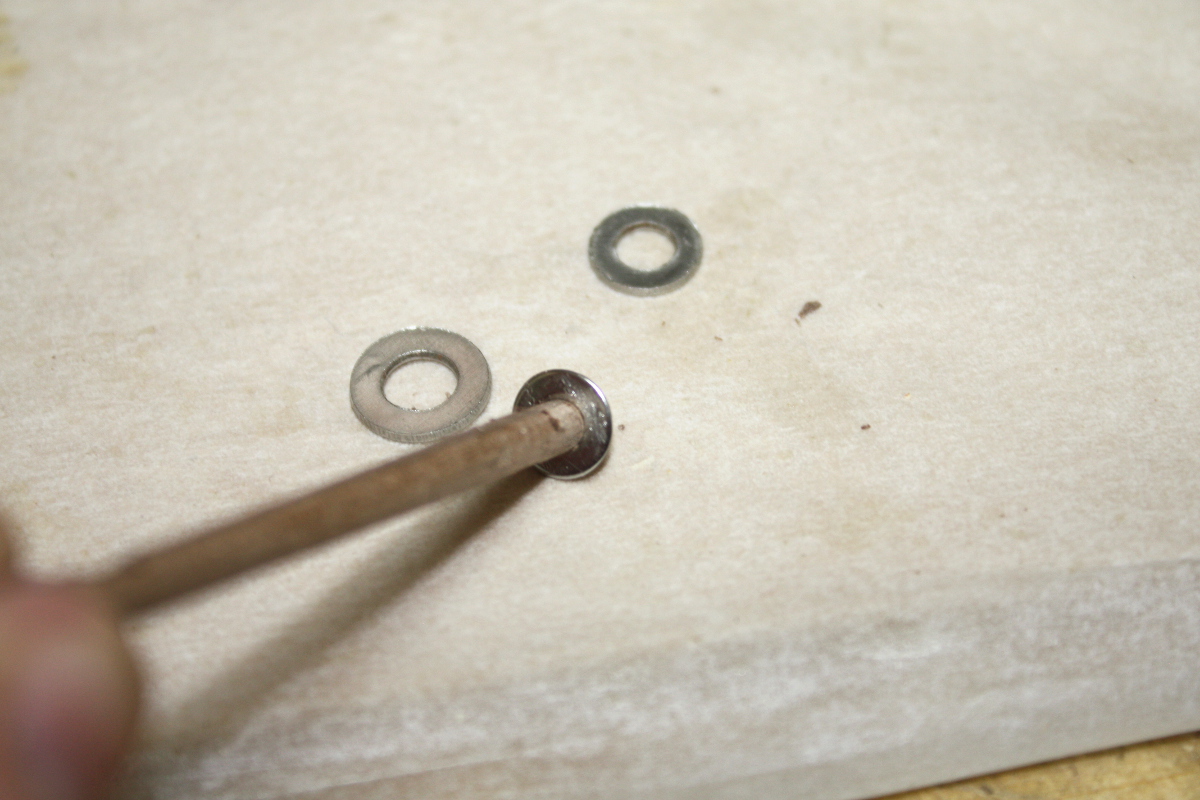
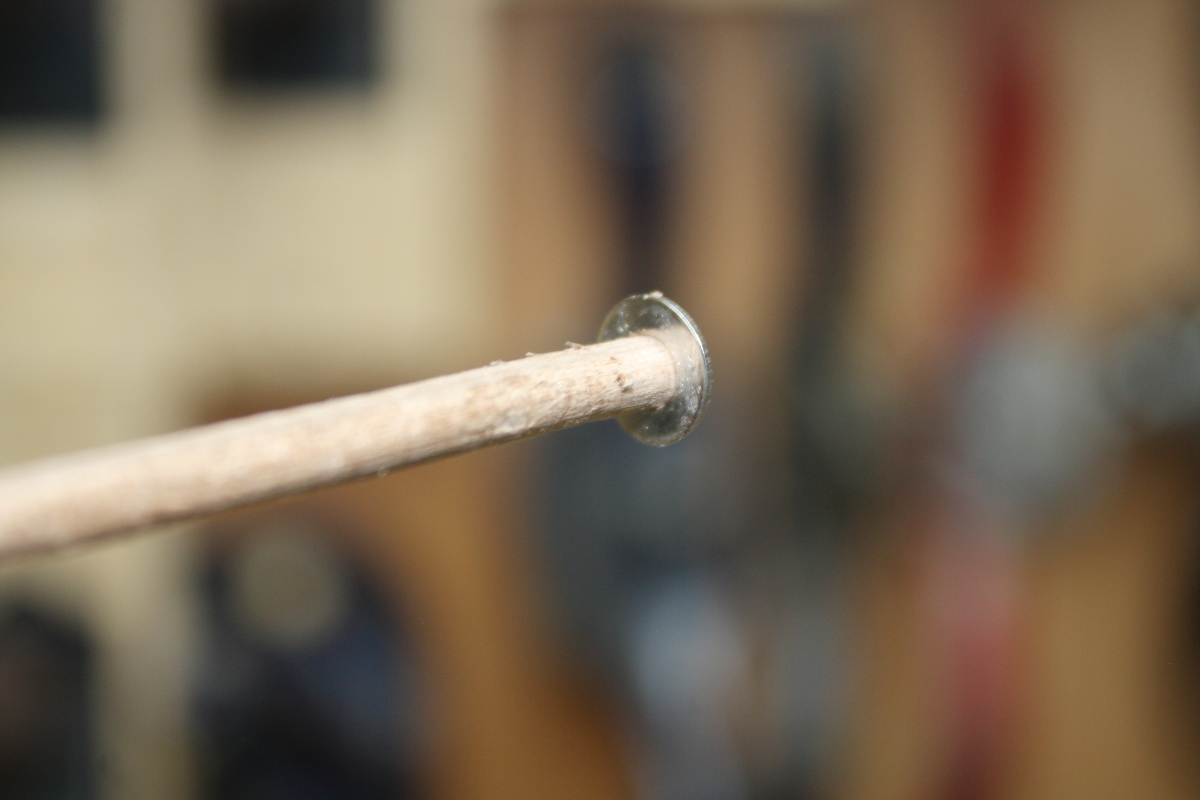
So… steal another Paul Sellers idea. Knock a few pegs down to 1/4 inch size, then whittle an end to a point and use washers as little metric dowel plates…

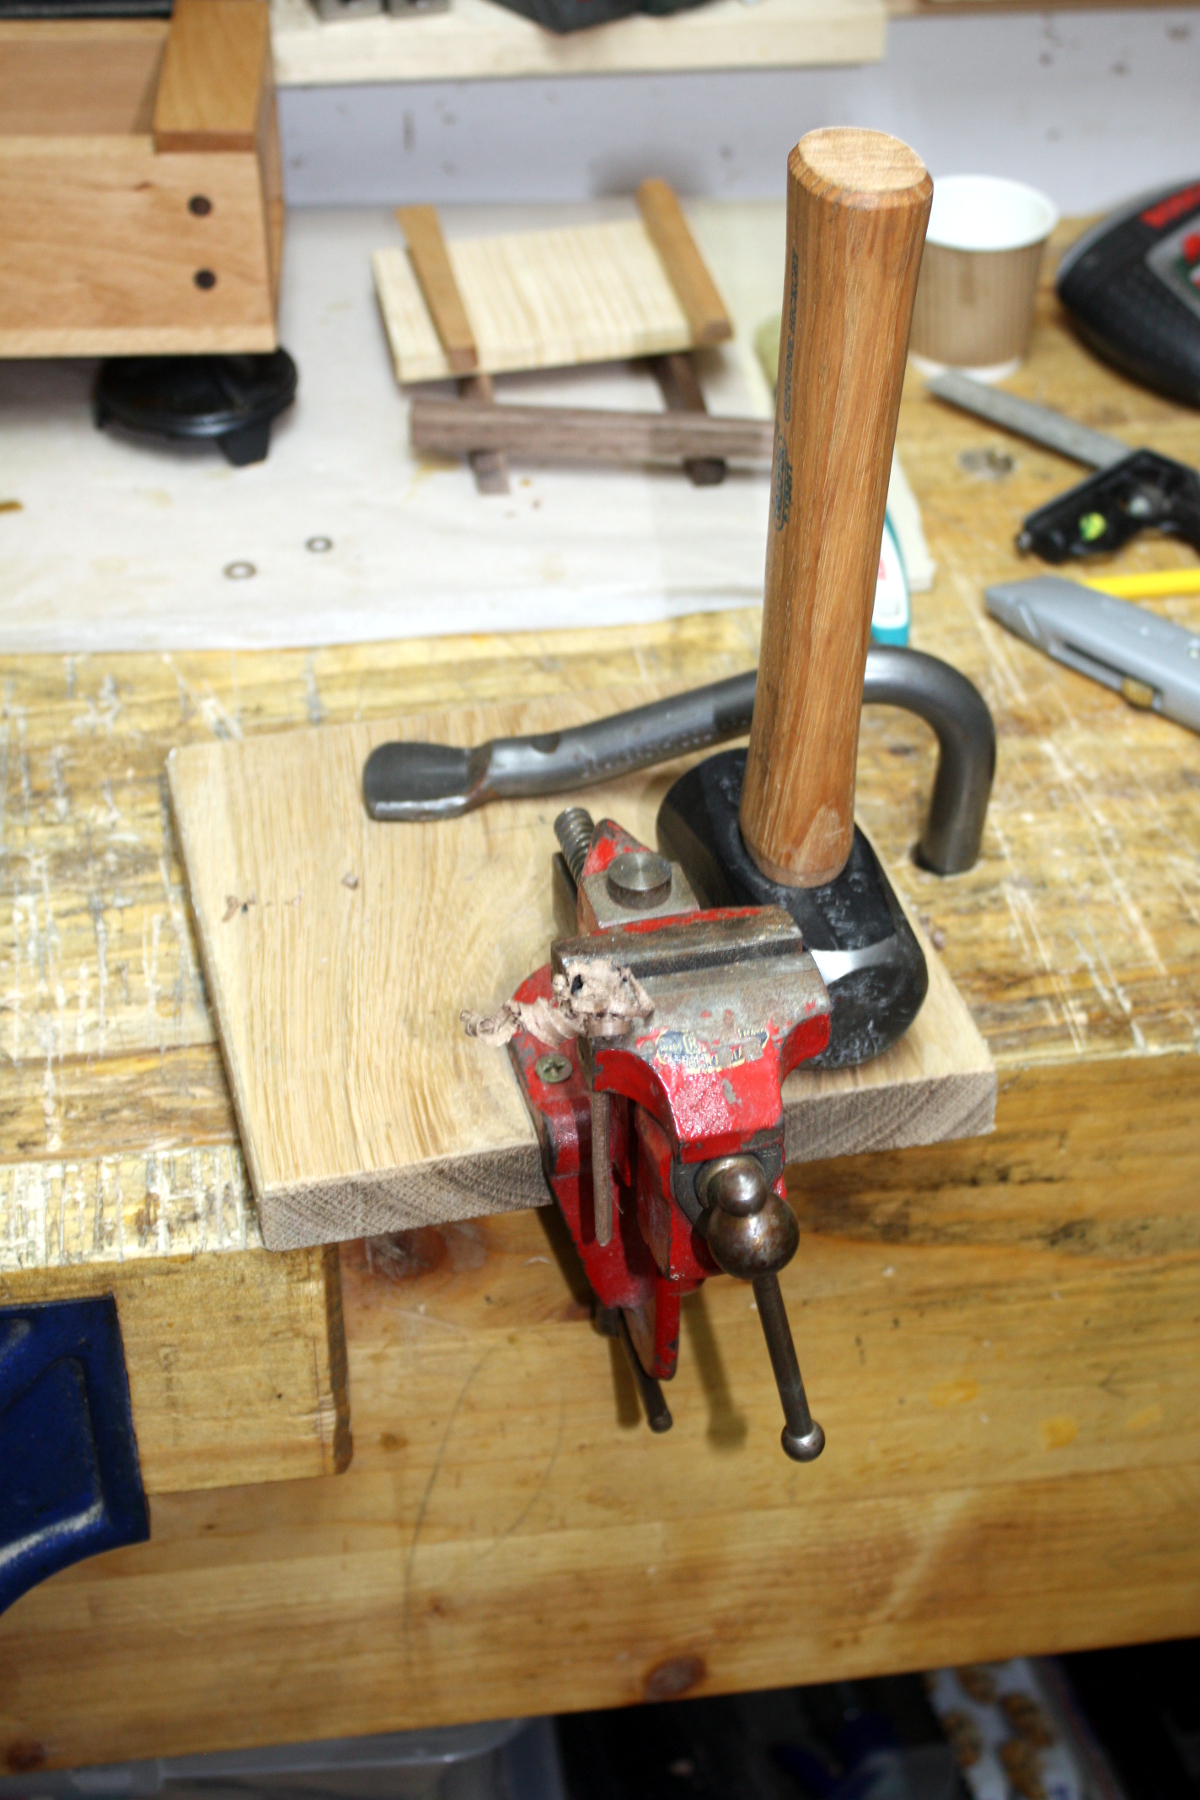
Tappy-tap-tap…

Also, the Record Imp earns its pay again! I had no other way to hold those washers well. Trying to use the dowel plate would have been awkward at best. Now just work down through the sizes, running through the washers a few times to get a reasonable surface finish before dropping down a size.

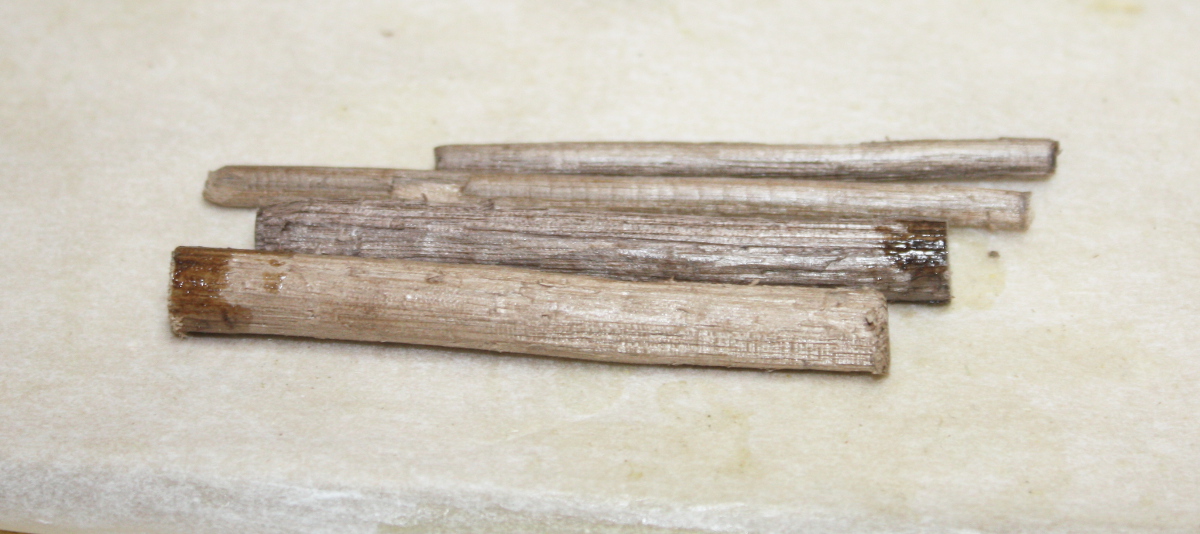
End result; not too bad. Mind you I broke three getting those two made – belting something that size through a too-small opening with a lump hammer is kindof a delicate task. If your alignment is off, the peg shatters.

Worked though.

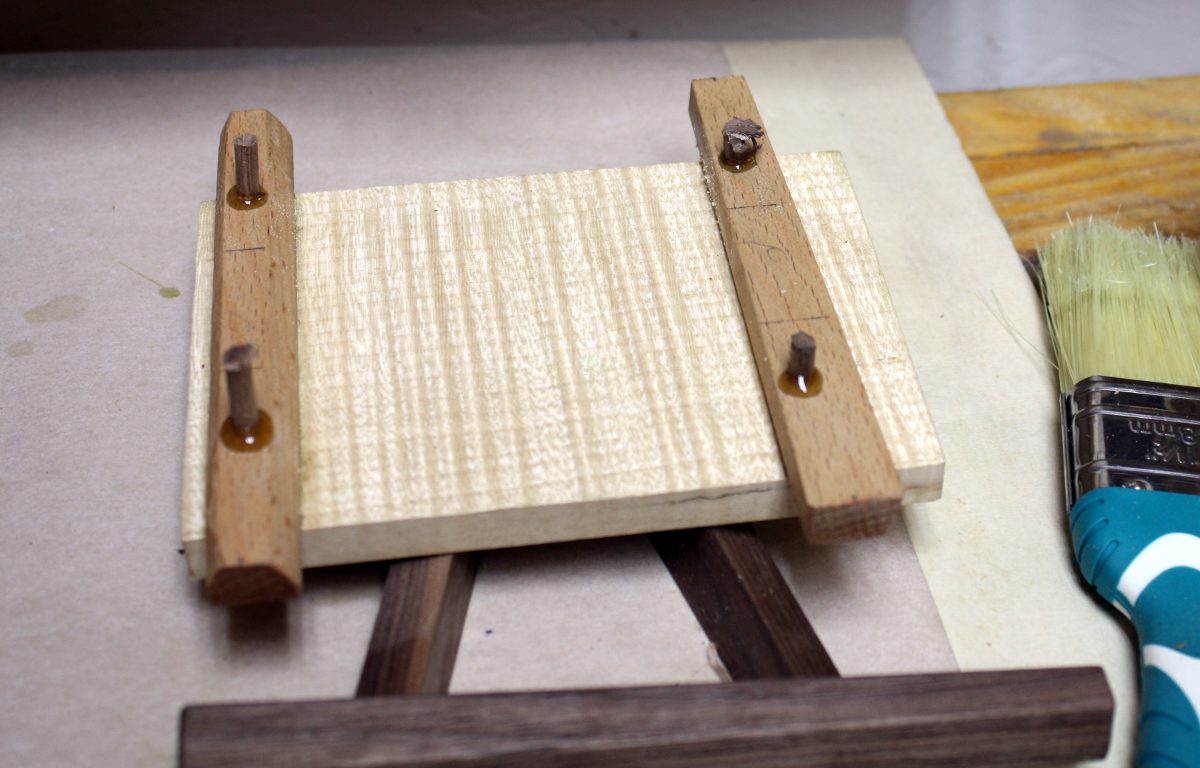
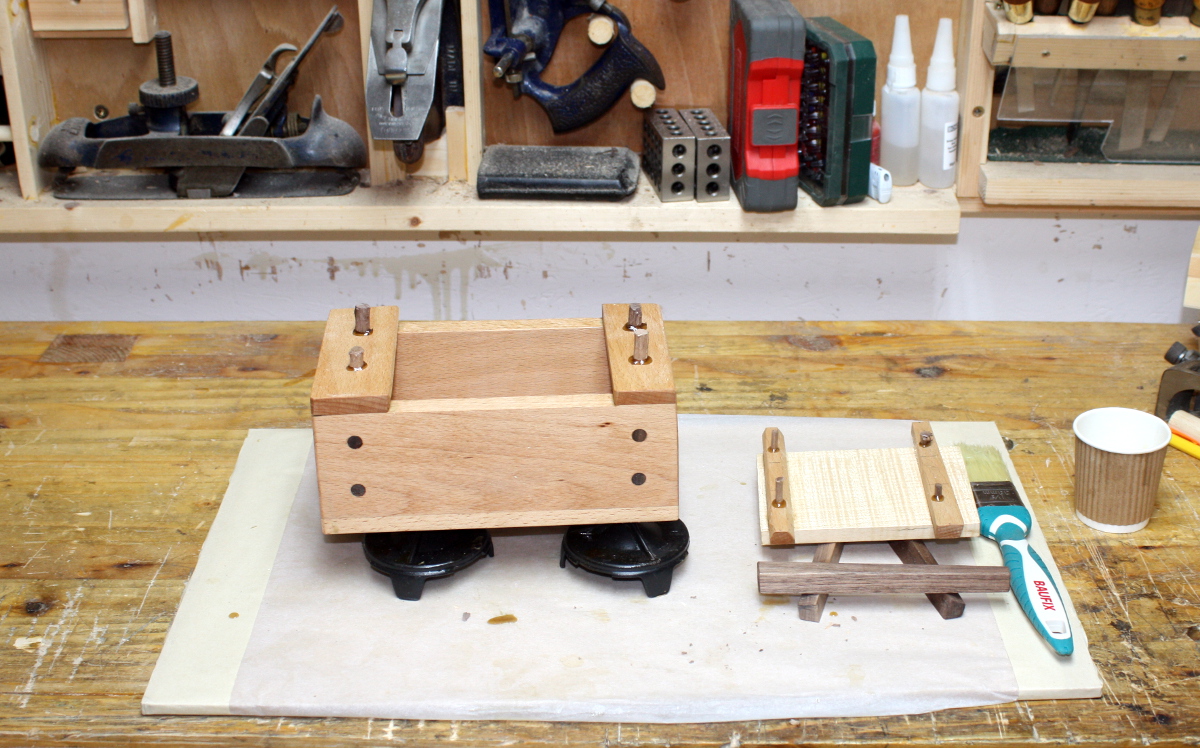
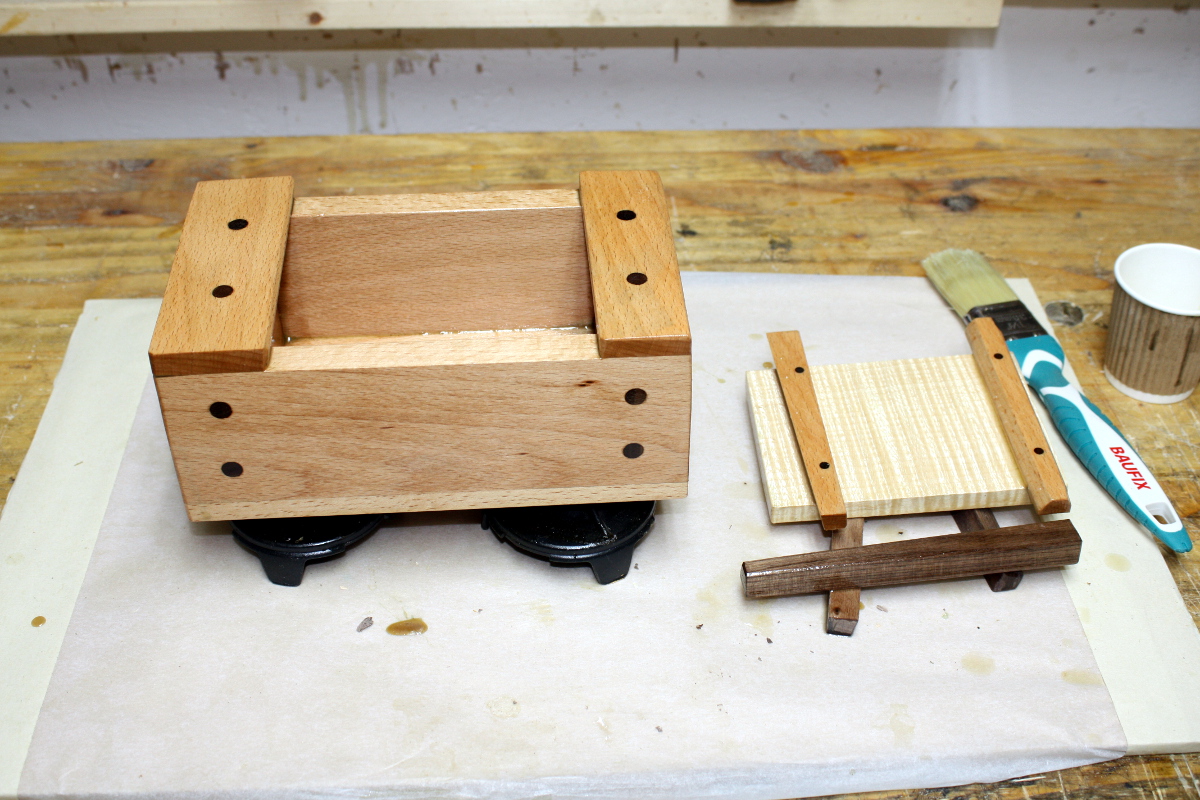
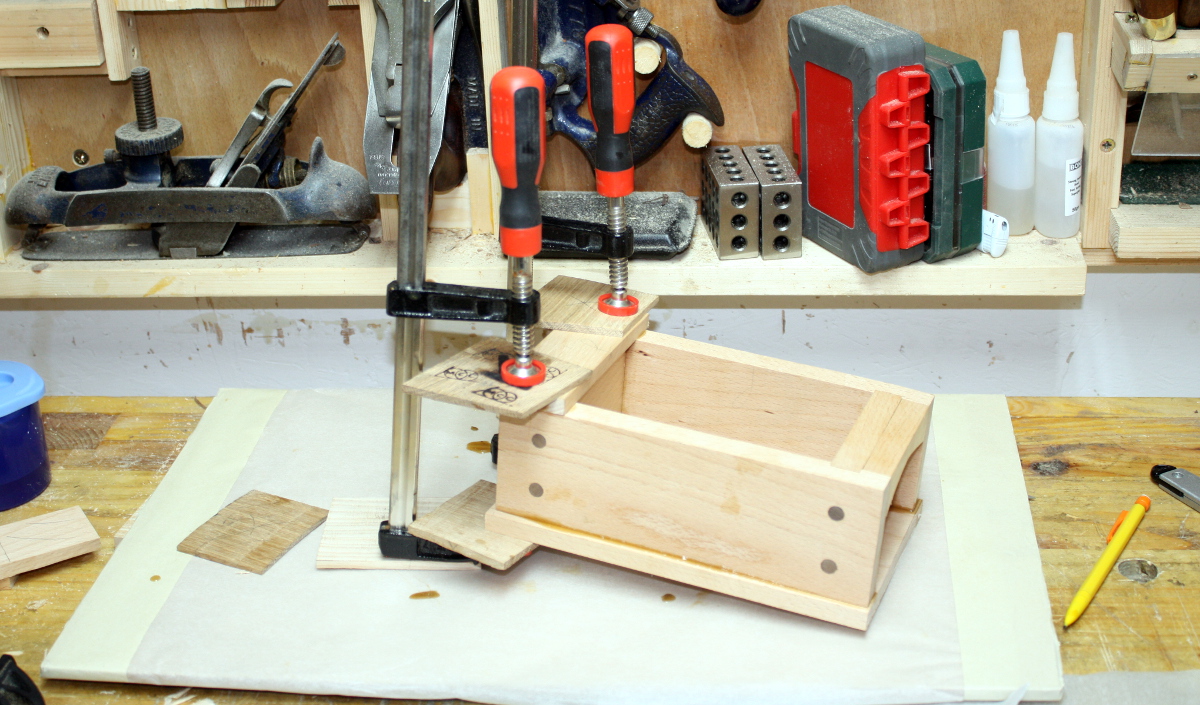
Now, wipe off the excess glue with a damp rag and wait for an hour for it to set up enough and then…

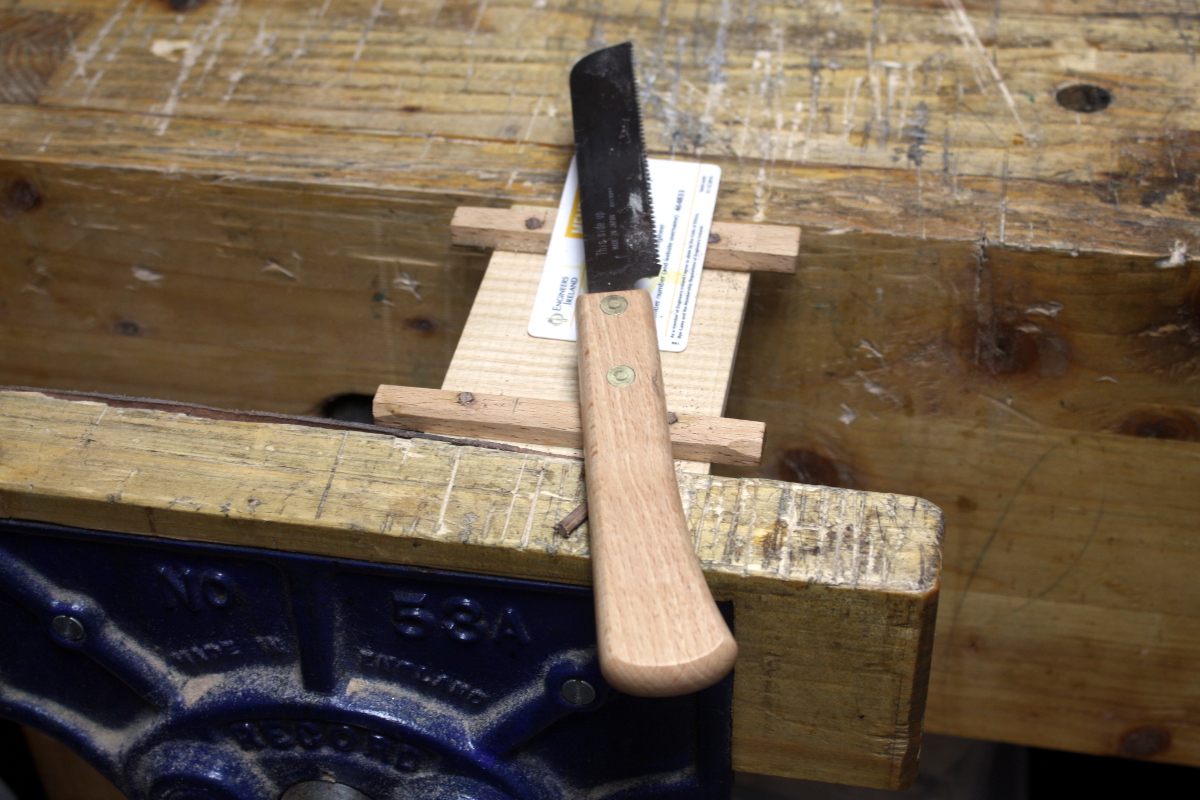
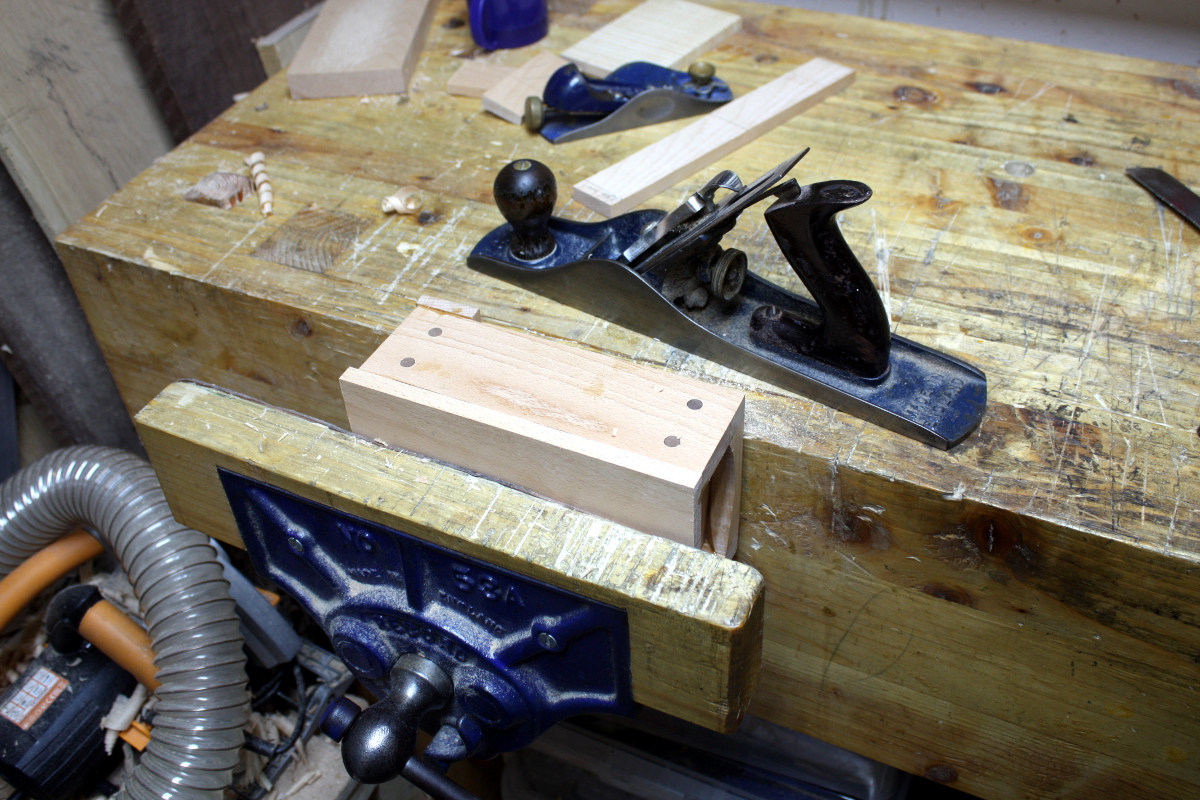
Flush-cut saw, chisel, and then a pass with the #04 to get a smooth surface on both sides of the lid and on the end caps. The lid is a tad more delicate, but…

Not too bad. And repainted that first coat of finish over the reworked parts.

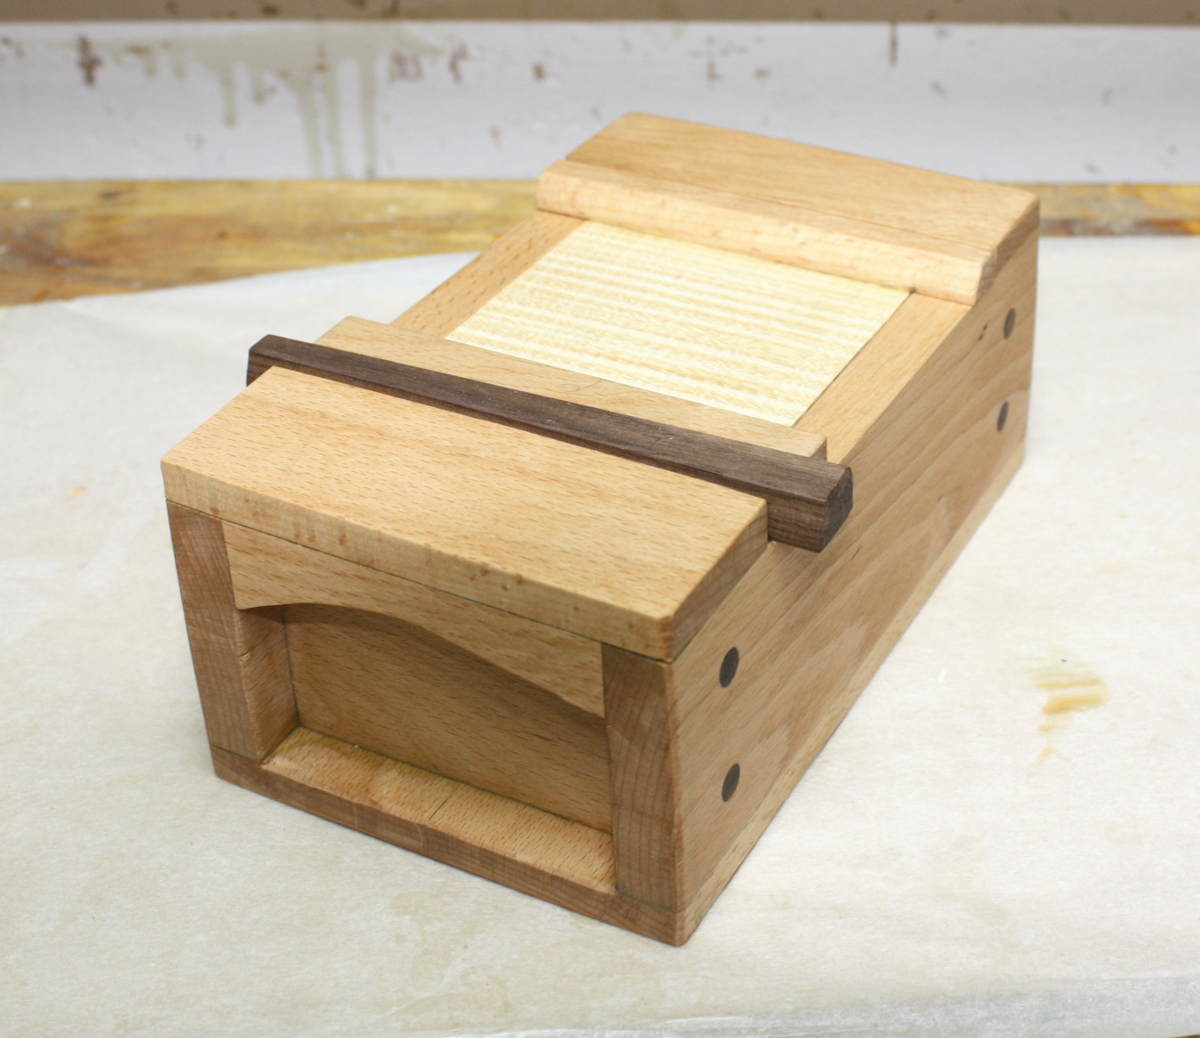
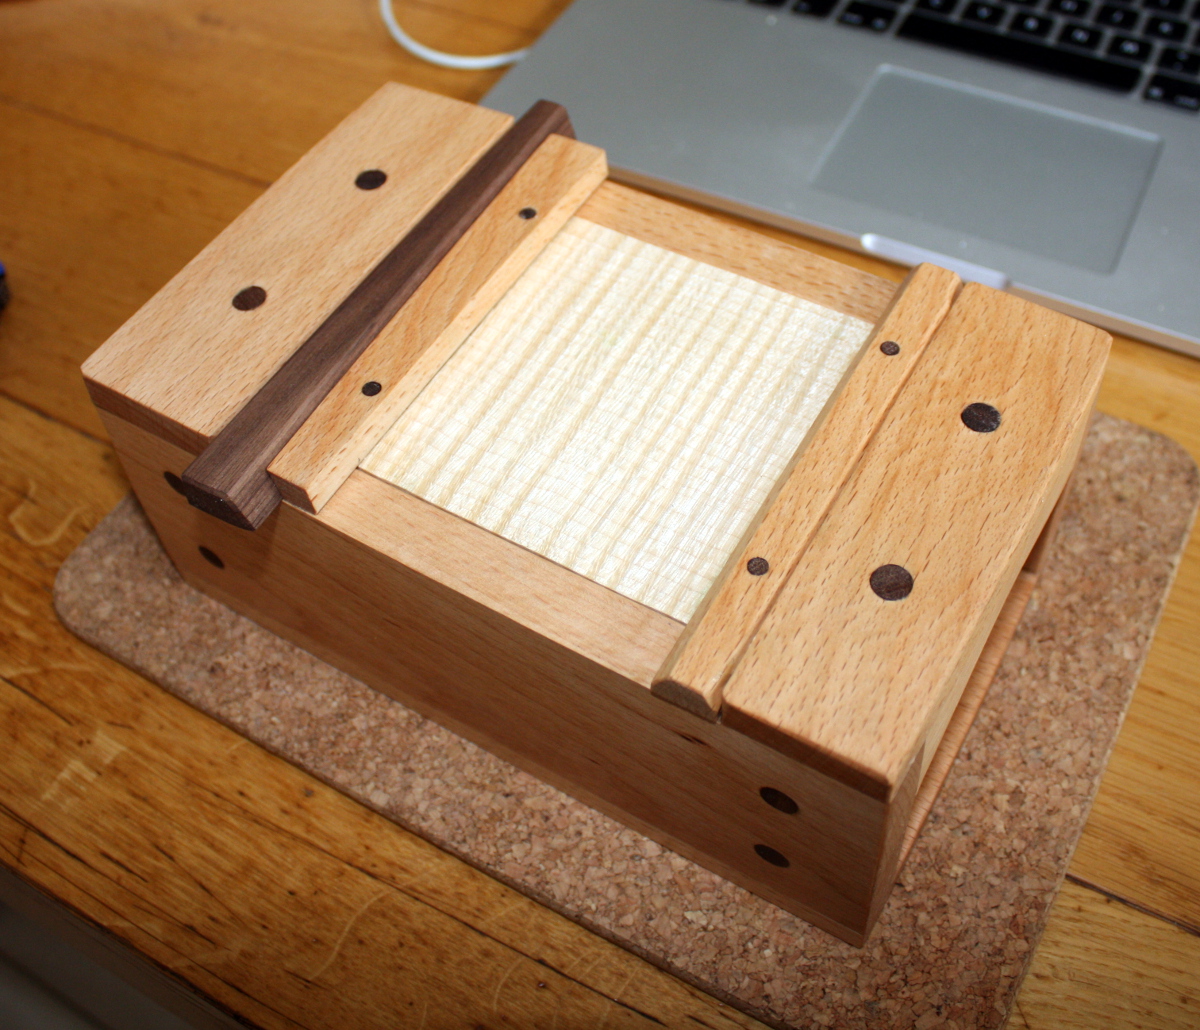
I rather think that the danish oil works well on that rippled sycamore. It dulls the whiteness, but the figure really does pop.

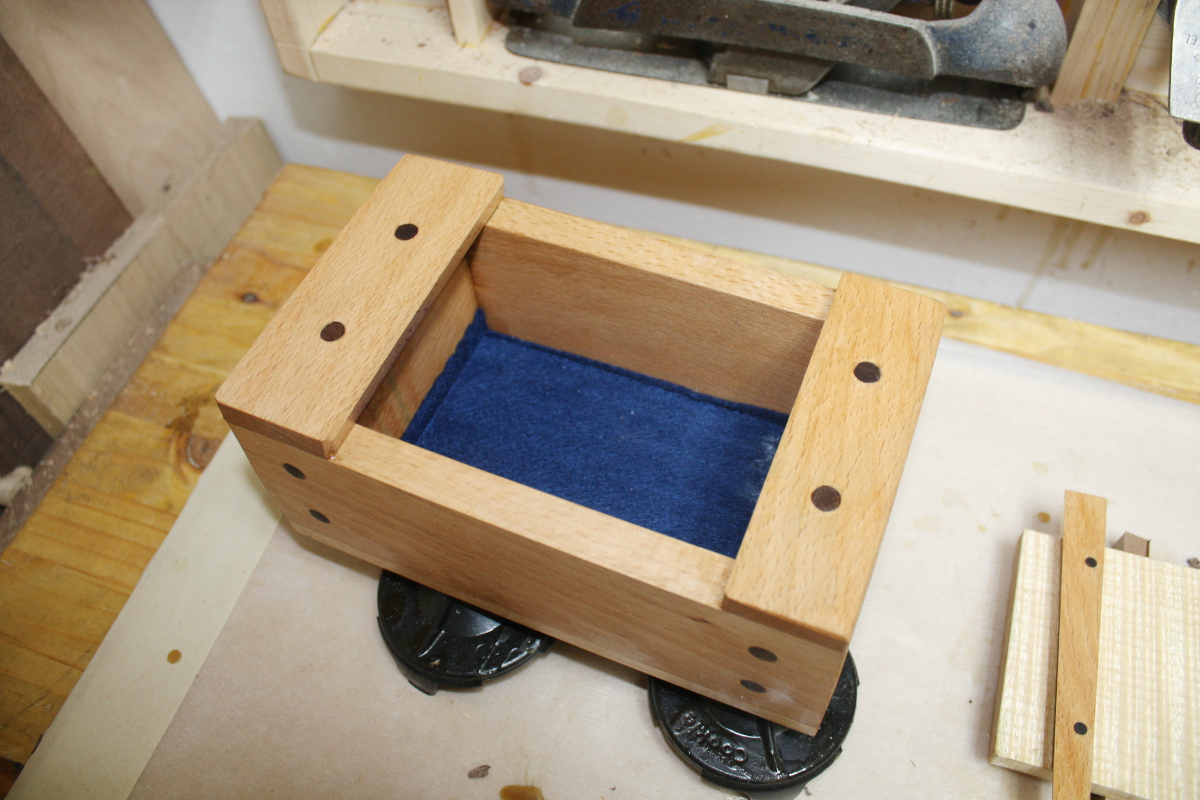
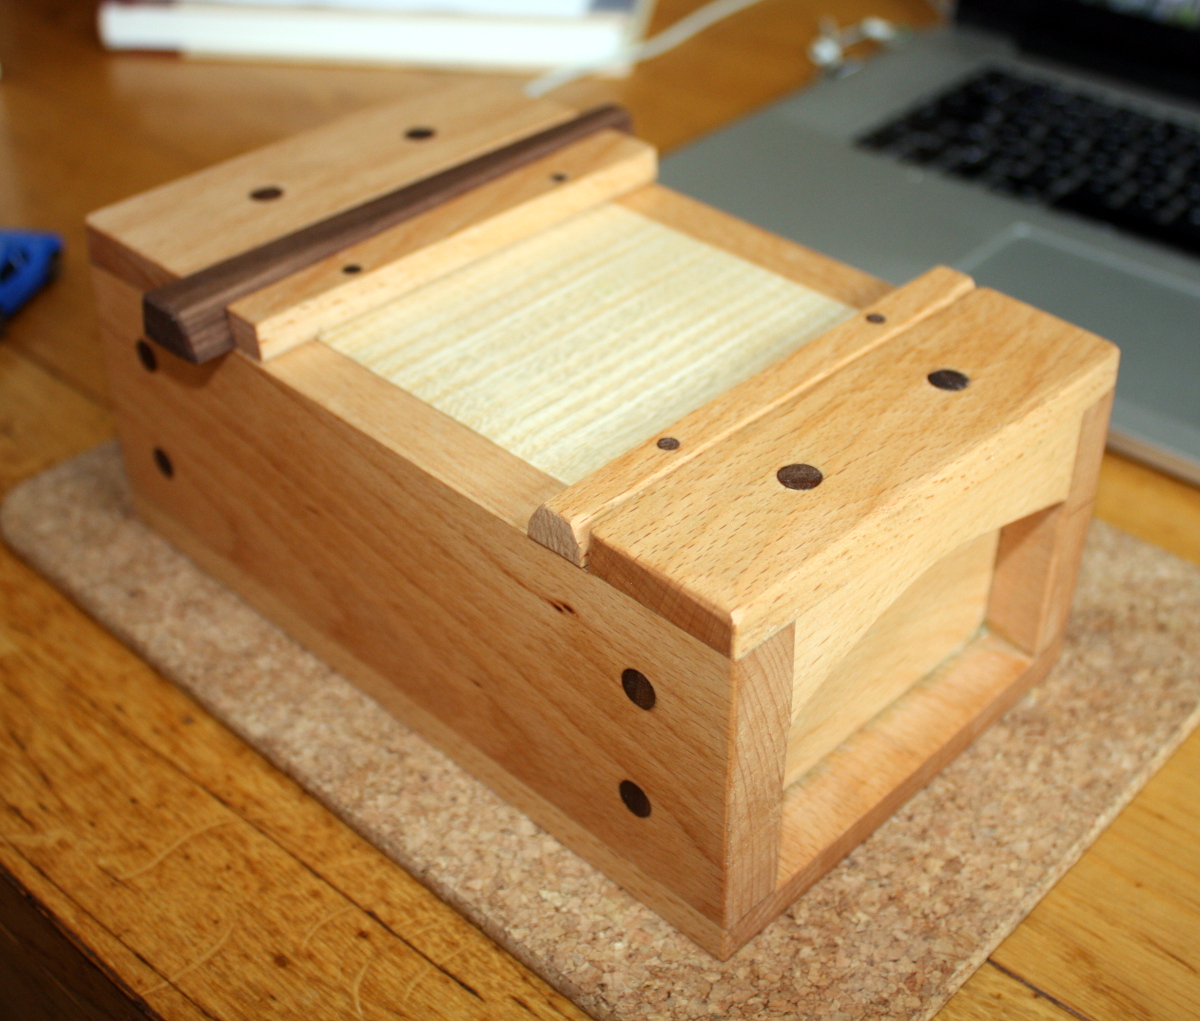
And some CA glue and felt to line the base and that’s it all complete. Just left it overnight for the finish to dry a bit more, then on Sunday morning while herself is off at a fun-run (don’t ask, I don’t know why those two words are beside one another, it makes no sense to me either), brought it into the house, buffed it up and gave it a light coat of beeswax paste (that’s beeswax mixed with turps) and buffed that as well.


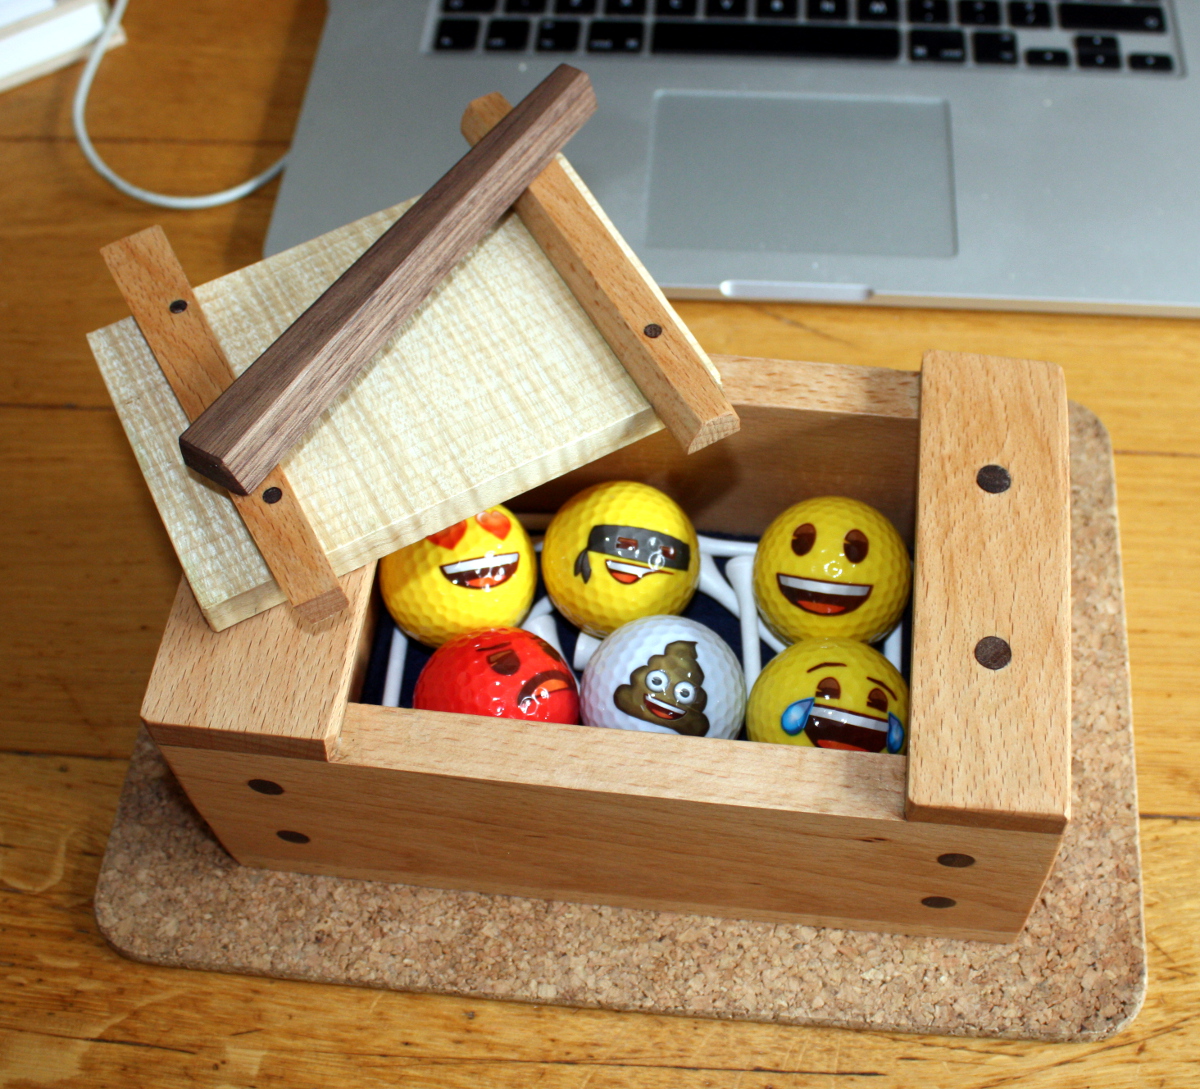
And because you can’t give a box without some contents…


Happy Fathers Day Dad!


13
Jun 18

Almost there…

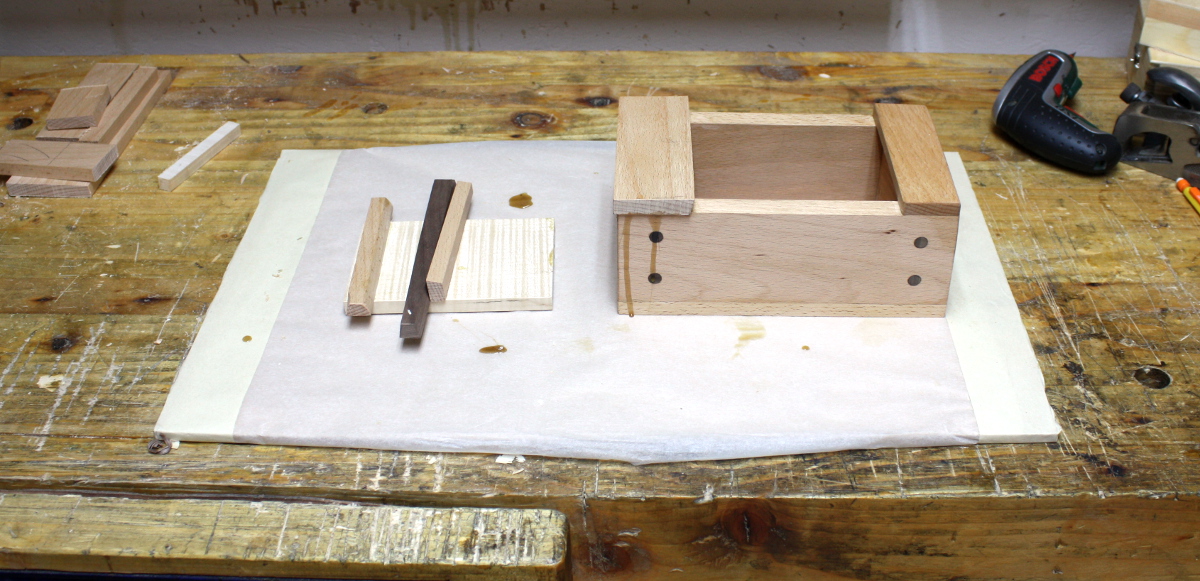
So I was a bit sneaky this morning and went to the shed for ten minutes before heading off to work. I’d prepped the part for the end cap on the toolbox last night but because I’d clamped up the base I couldn’t glue it on without risking either it or the base shifting when clamping. So this morning I went out, took off the clamps from the base, made sure I had clean gluing surfaces and glued up the end cap and clamped it. And of course, as you’re in a hurry, everything gets irksome and fiddly.

Why on earth did it choose this morning to lose it’s head? 😀

But I got it clamped in the end.

Then off I went to work and later this evening…

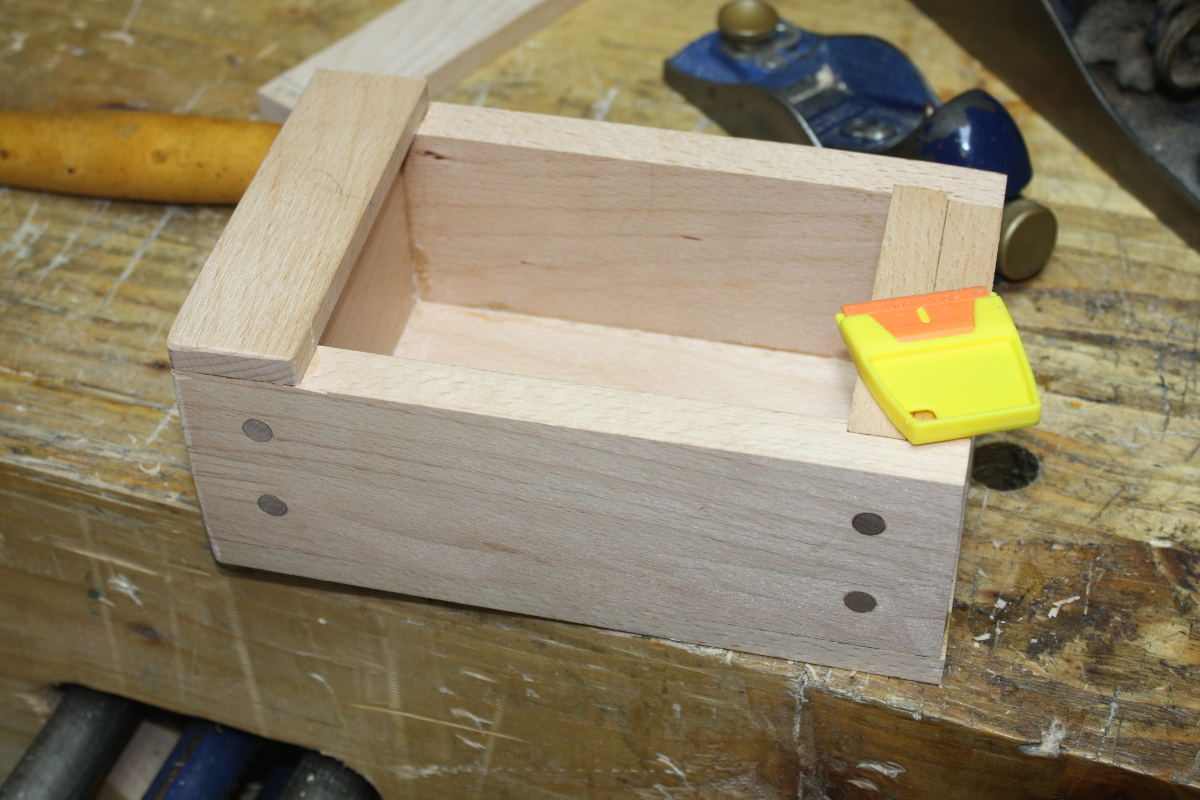
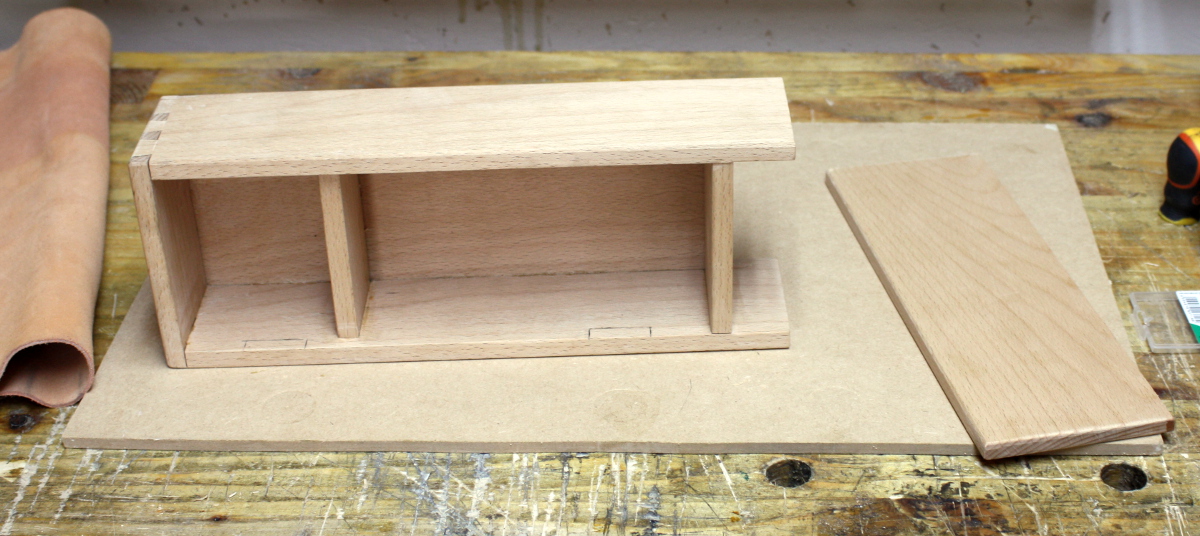
Sawed the end cap flush with the flushcut saw, planed the base flush (with lots of chamfering to prevent spelching – not sure how you’d fix that at this stage) and then started cleaning up squeezeout.

Y’know, I thought those plastic razor blade things would be a total gimmick, but for stuff like this they’re actually quite useful. I did still have to do some careful chisel work but the bulk of the removal was very straightforward using this and the best part of the plastic blades is that you really have to abuse them to nick the piece so you don’t have to be quite so careful as you do with a chisel.

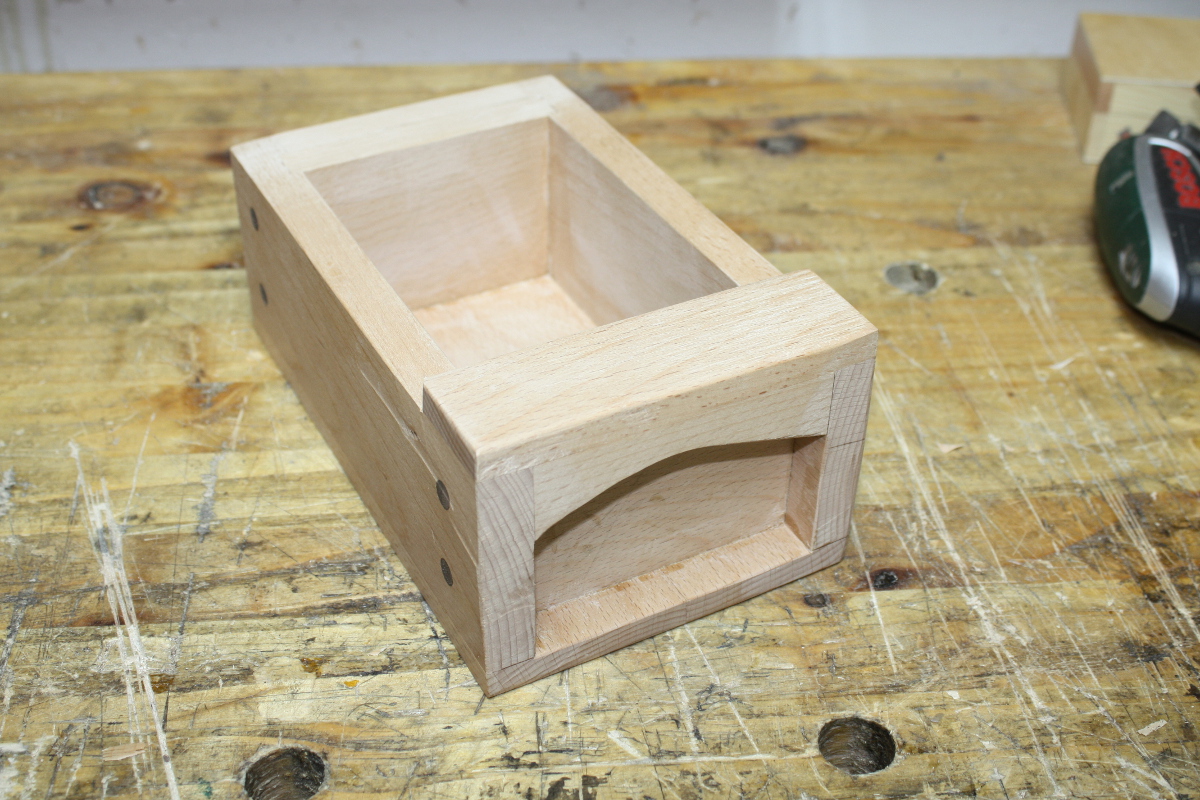
All nice and clean. I do still have to pass over the sides with a last smoothing plane pass and probably some sandpaper, but that’s for later.

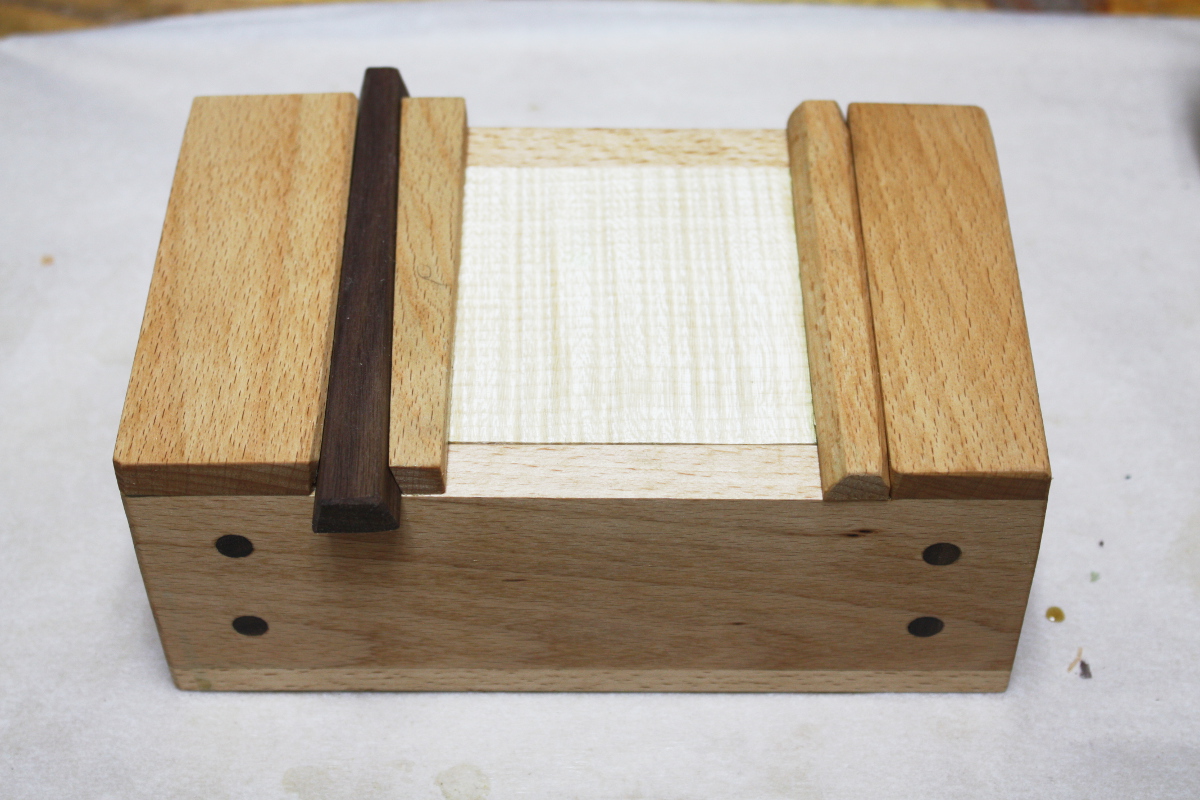
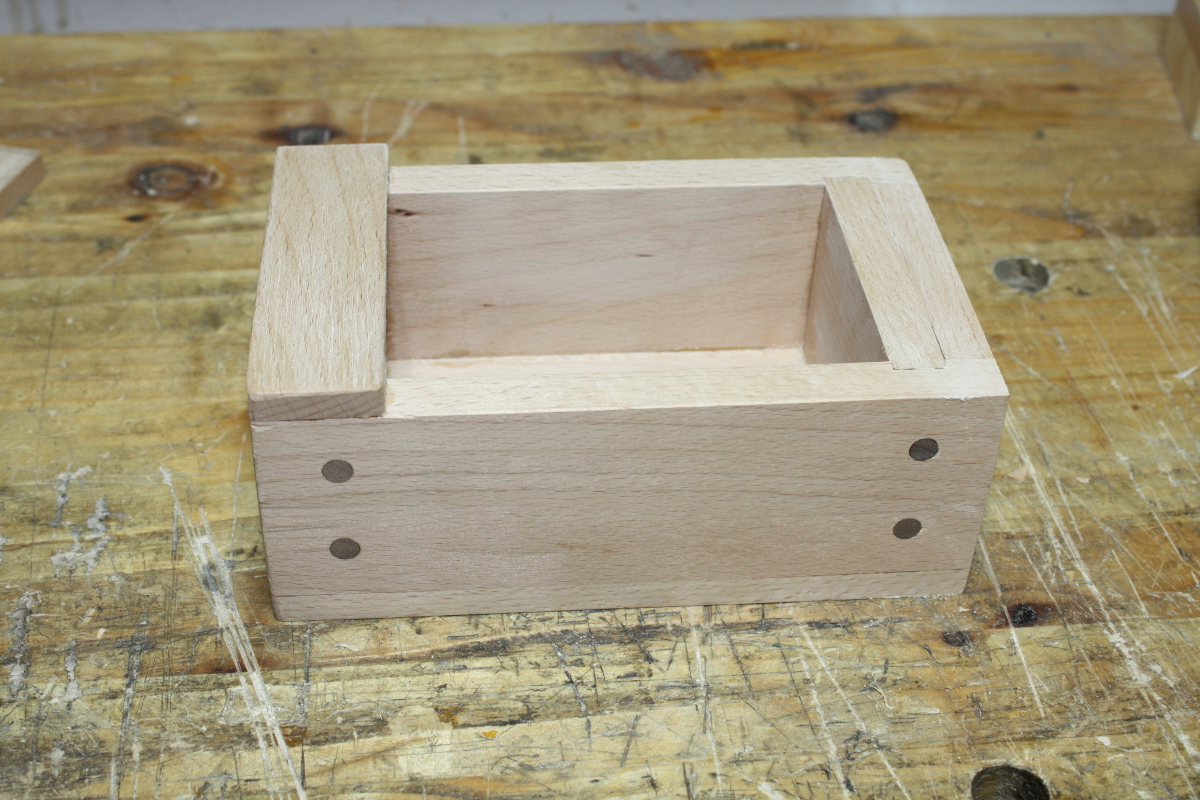
Next up, glueing the first stop on the lid after trimming it carefully to length. I’ve shaped the inner edge of that stop so it’s a little less abrupt.

This is all going to make more sense when it’s done.

Also, I gave the inside of the box a quick swipe with some danish oil – it’ll be easier to do it now when I have access. The other end cap will go on tomorrow and after that it’ll be harder to not have any missed bits inside, so I’ve done the one inner coat I was planning on now. Should make it easier.

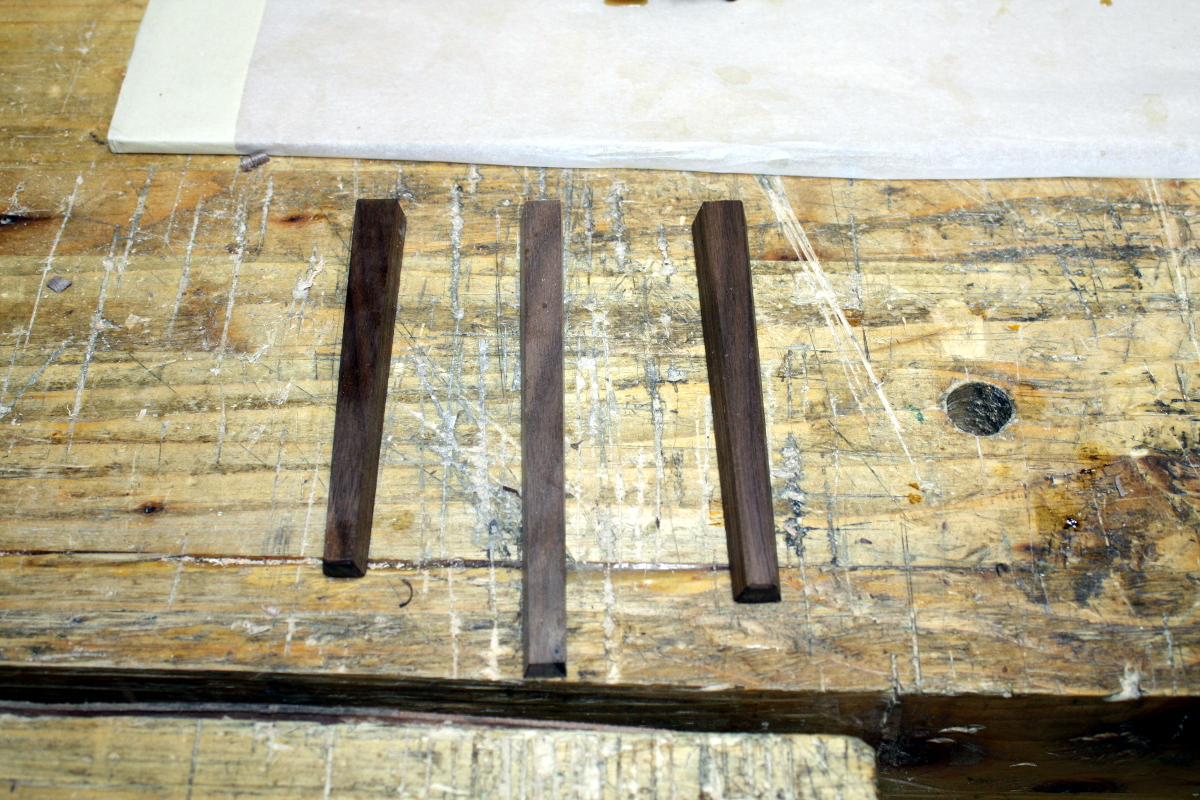
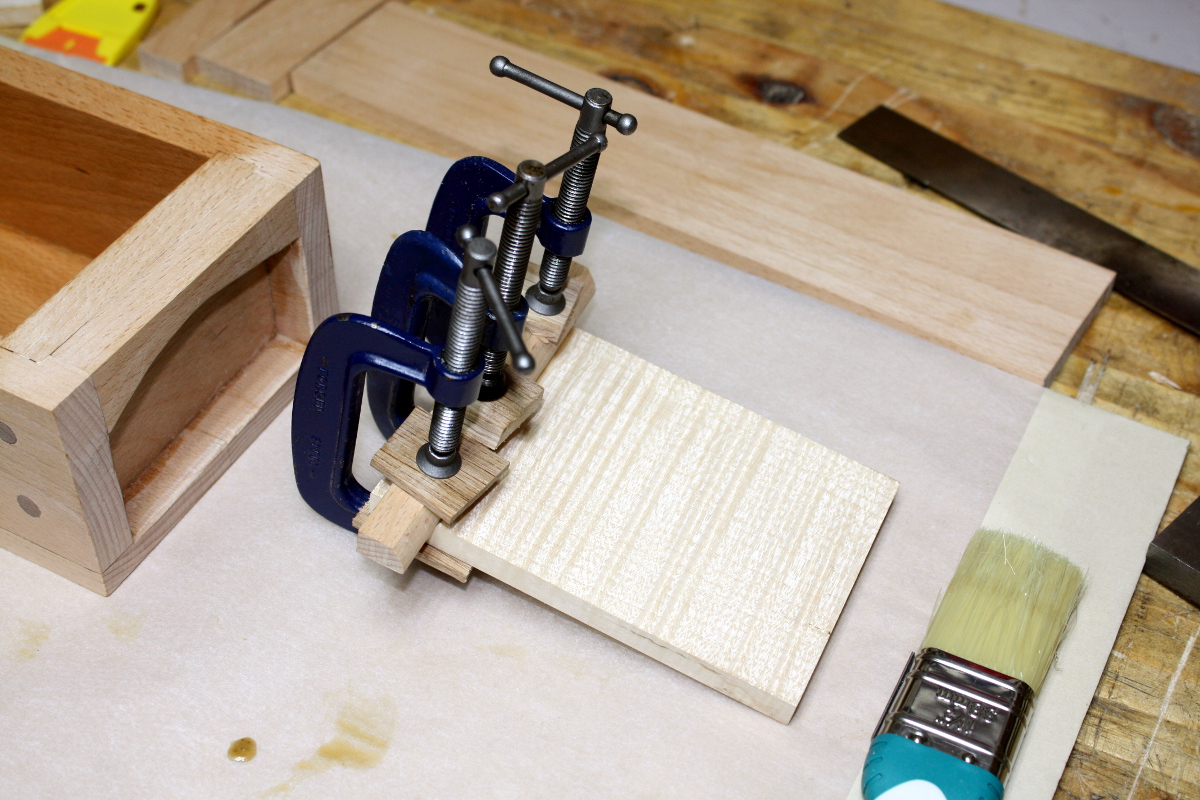
And done for the day. Material for the other endcap prepped in the background, but I still need to find material for the key – it and the lid will be distinctive and everything else will be beech or the walnut pegs. It doesn’t look too bad so far.

Speaking of finish, time to check how those purple stains dried…

Interesting. The neat stain is definitely too dark, as is the light purple over dark blue; and the lightest purple just looks like the wood’s grubby, but the higher concentration of the stain doesn’t look too bad. Needs to be even more concentrated but I think we have a good possible there. I won’t get back to the locker till next week though, but it gives the joinery and the wood for the door time to rest and move if they’re going to. And gives me time to think about decoration. What happens if you cut very white stringing into a stained wood I wonder…?