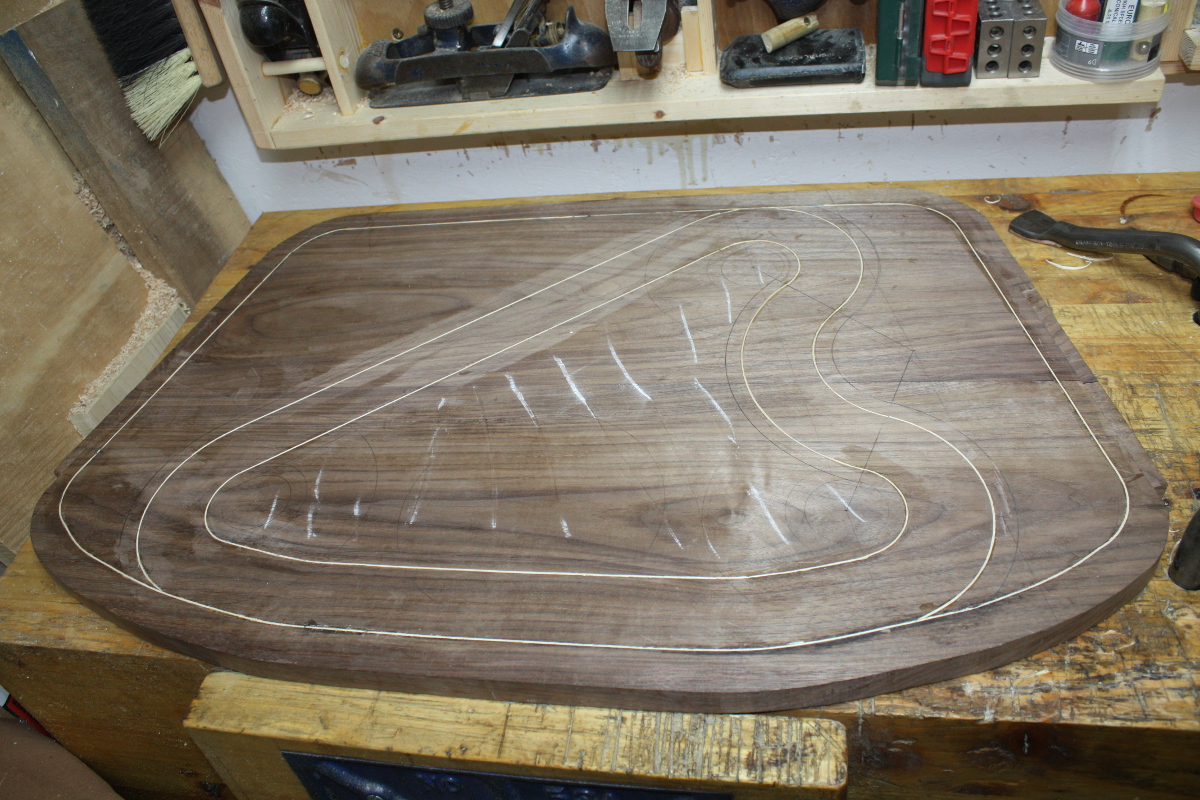
Funny thing about DIY, it gets all the Tim-the-Toolman-Taylor jokes and all the Daddy-Pig jokes, but at the core it’s a repeat of the Arts-and-Crafts movement of the late 1800s and early 1900s which led to things like this:
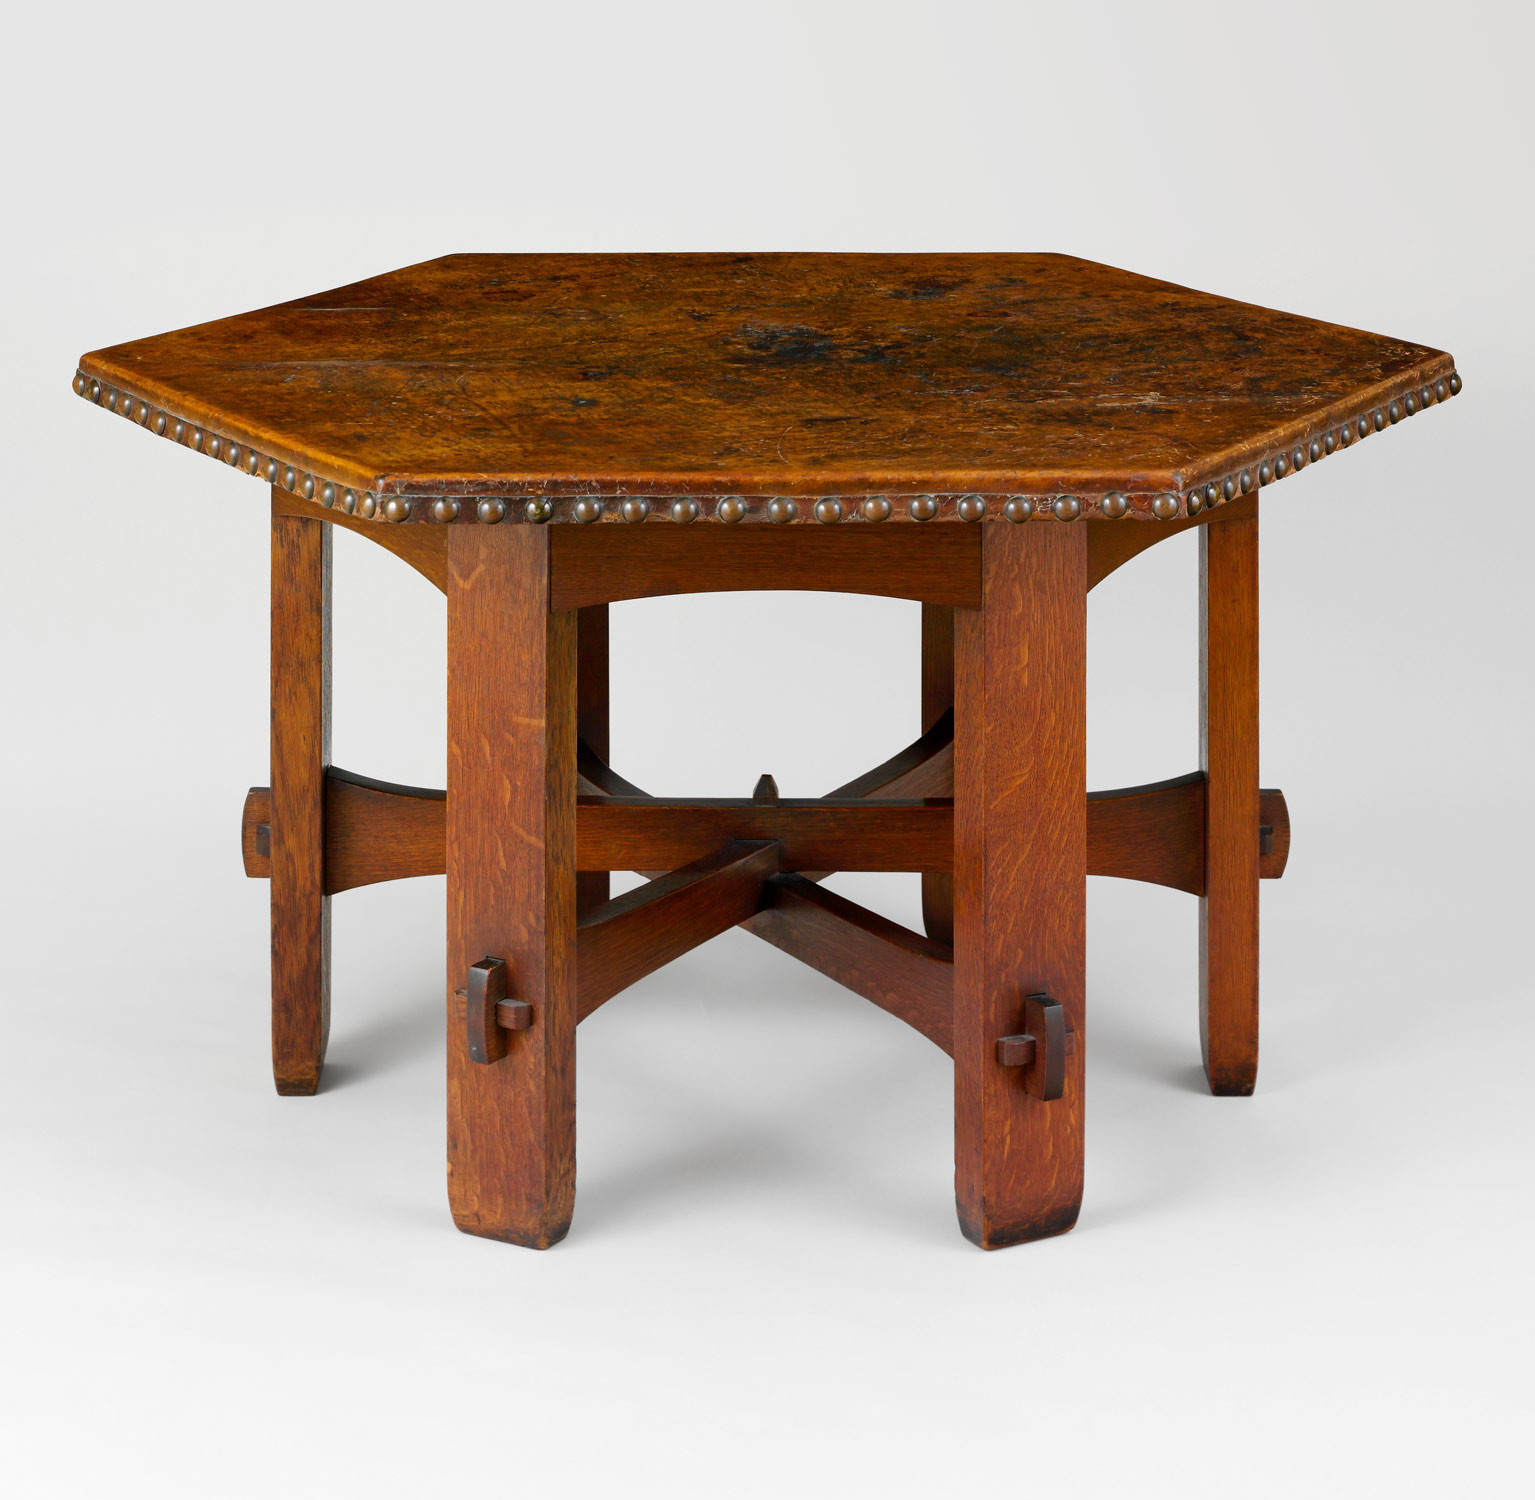
I mean, it’s not to everyone’s tastes (I don’t like it much personally) but you can’t really argue it’s incompetent or that it’s inferior because it wasn’t just an aesthetic, it was a philosophy – one of using more traditional craftsmanship rather than industrial processes and moving away from the previous mass produced furniture (sorry Henry, but Ford didn’t invent mass production, High Wycombe got there at least six decades earlier and they might not have been the first) which people felt wasn’t as good as human-made furniture (as in, wasn’t as nice to look at, wasn’t built well, and so on).
If that sounds a bit familiar, well, have a sip of your artisanal coffee and suspend laughing at hipsters for long enough to admit that actually, compared to the burned toast flavoured sludge we used to have for coffee in the 90s and the starbucks of today, coffee made by someone who knows what they’re doing is actually a lot better – and there in a nutshell is the core of the arts and crafts movement (and the DIY movement and the hipsters and probably a few other movements over the centuries since industrialisation).
Anyway. DIY in this case is a lot less airy and a bit more safety-oriented; the mass-produced MDF kitchen our fridge is in is quite old and after the first decade or so MDF doesn’t really hold up so well it turns out. Or at least old MDF doesn’t, the process may have changed since then so the material is now more robust, but this stuff is tearing apart and right now there’s a six-foot tall fridge freezer sitting on a shelf where one corner has torn out of its fastening and the whole arrangement has taken on a distinct tilt that I’m not at all in favour of. So an emergency support is getting shoved in until it can be fixed properly.
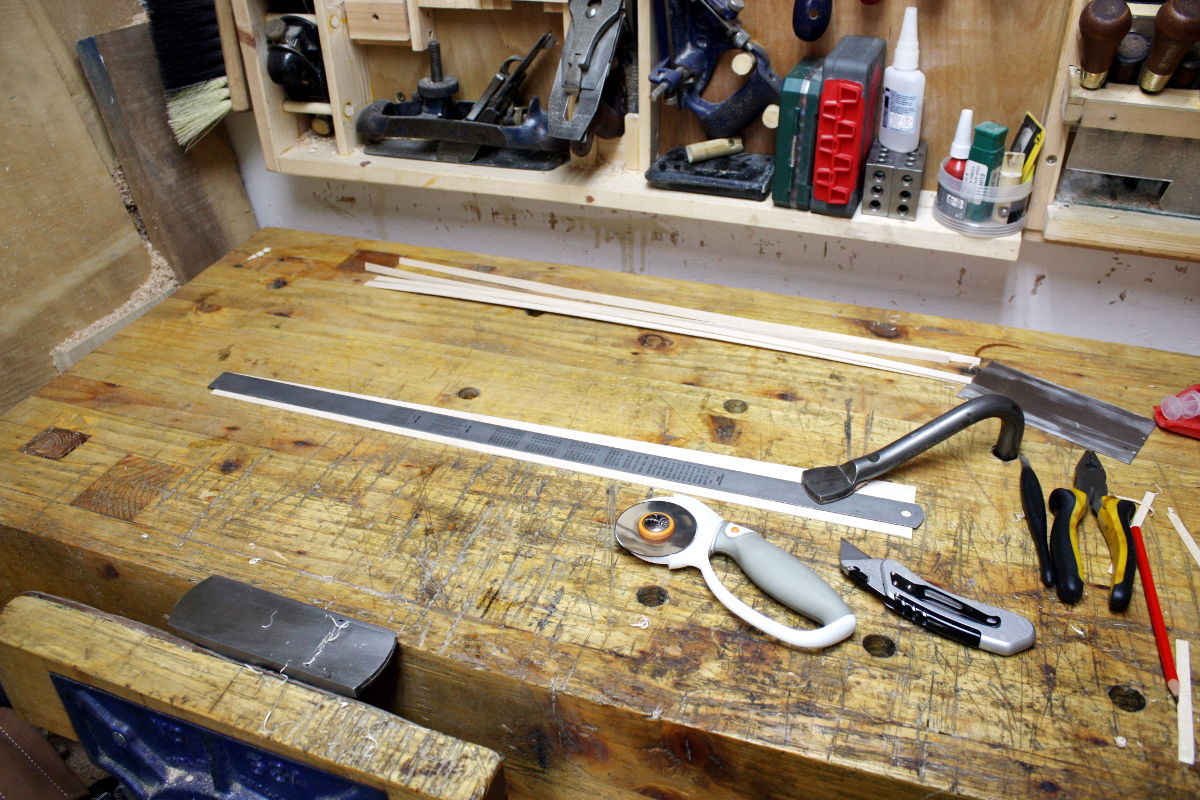
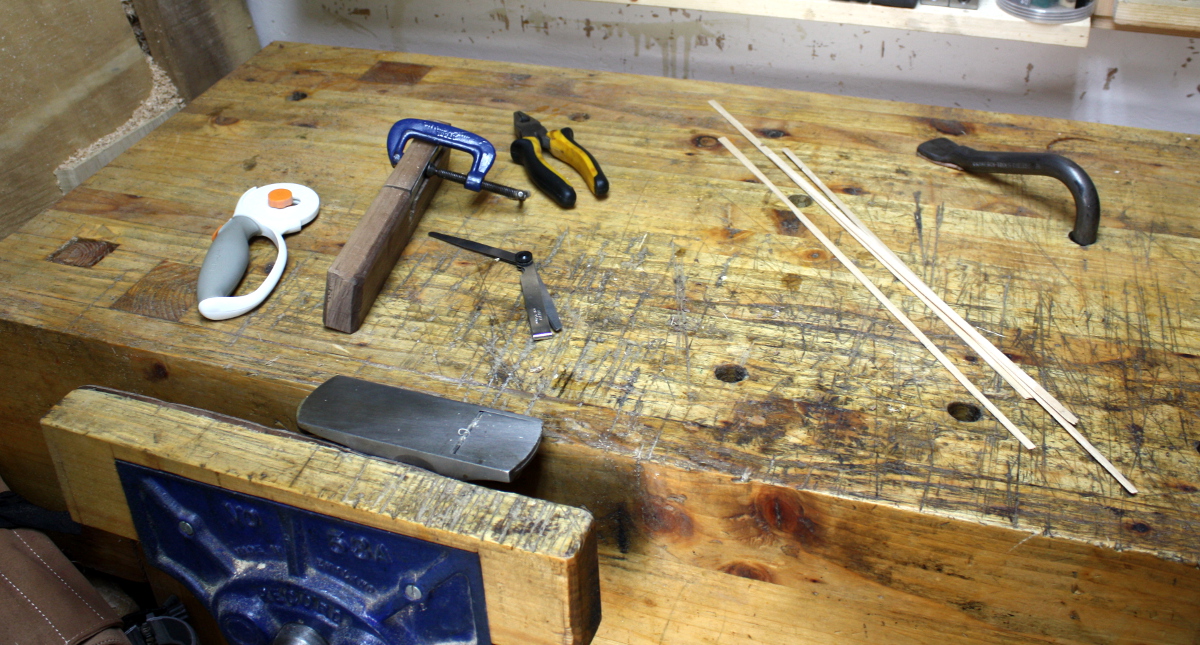
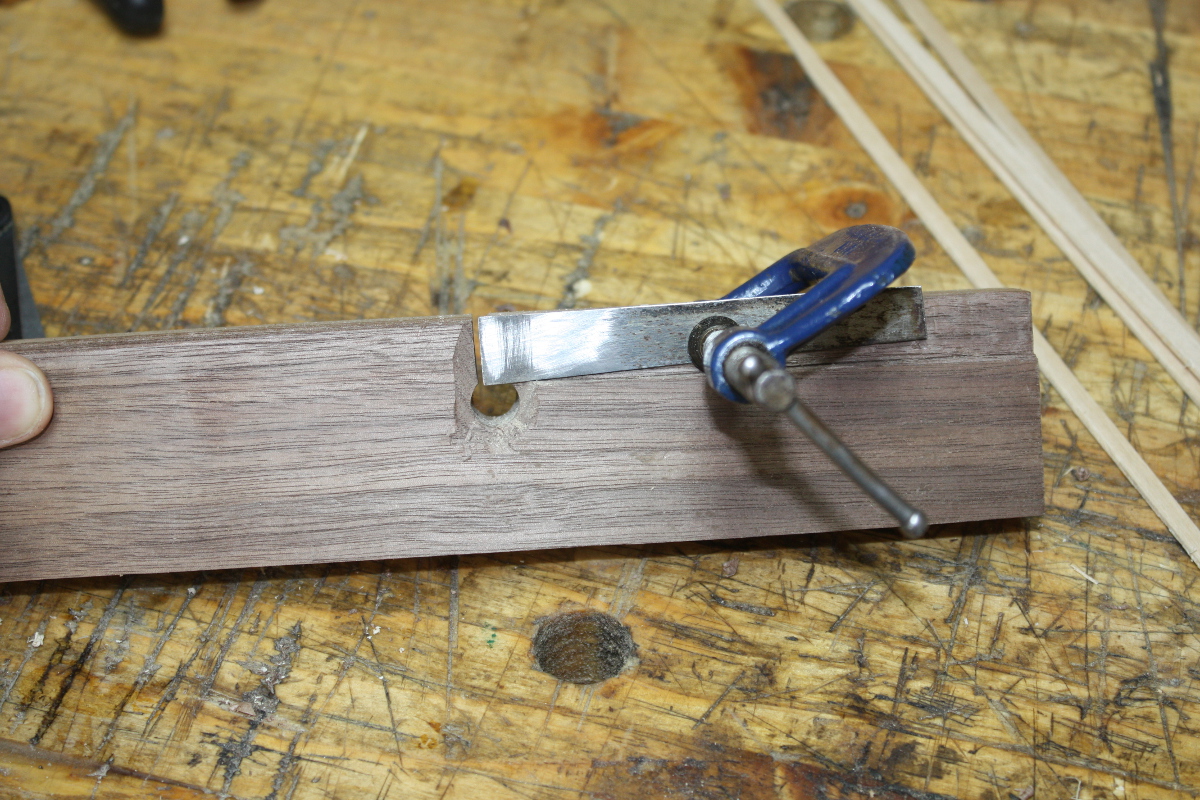
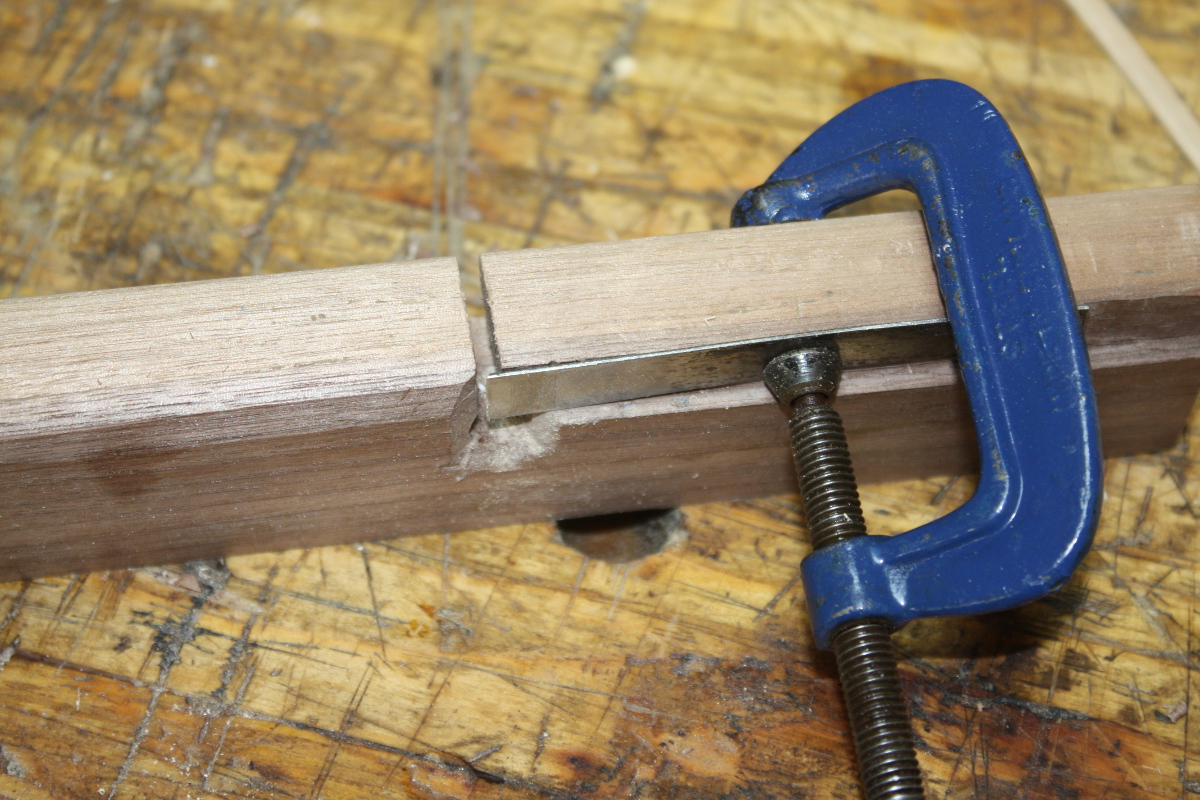
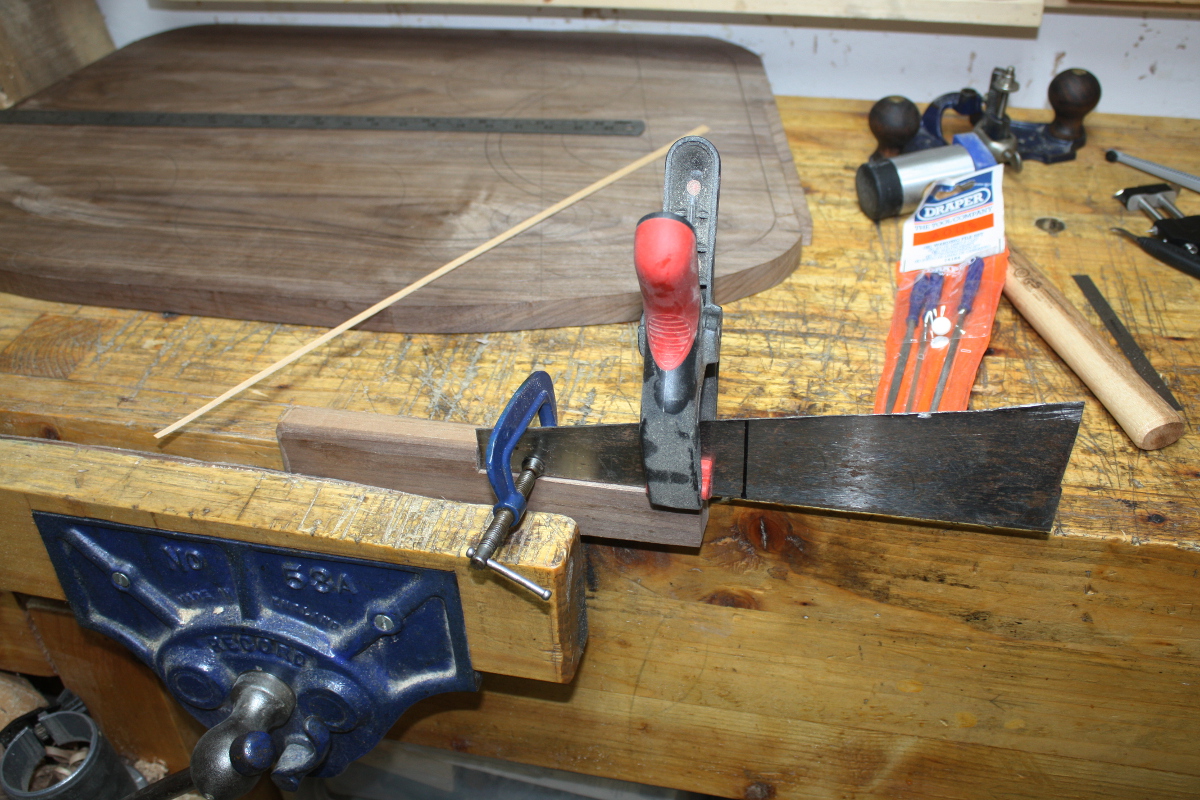
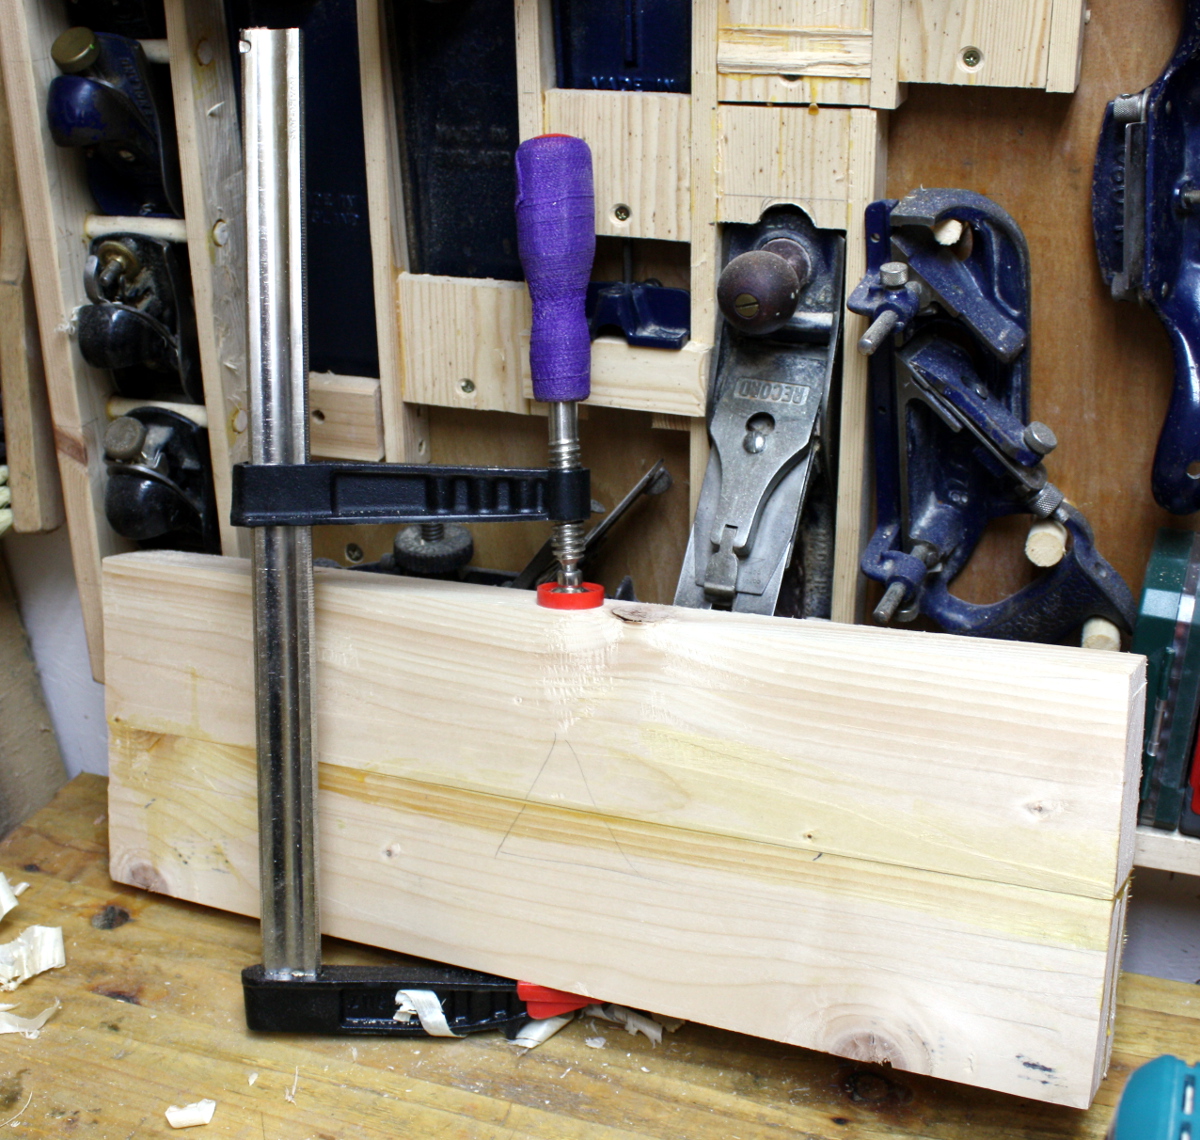
This is when it’s handy to have some CLS 2x4s around. A bit of planing, some measuring and cutting and a pair of edge joints later…
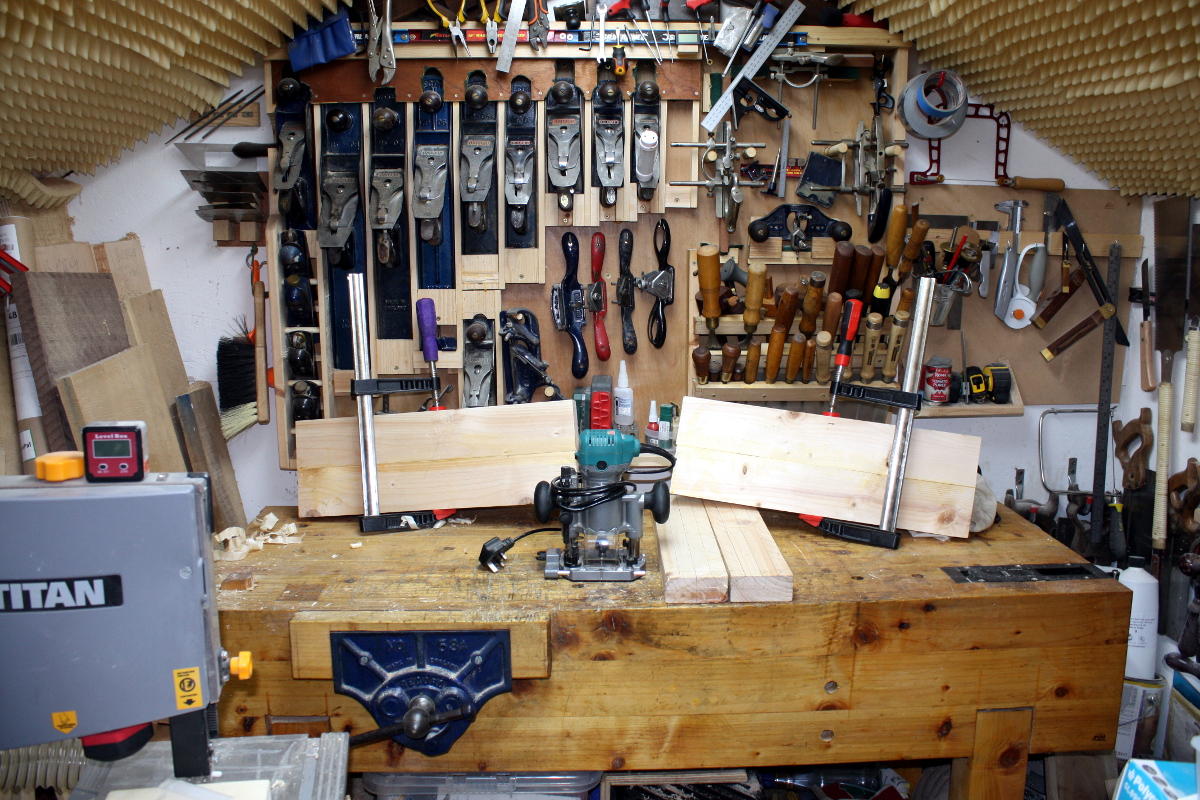
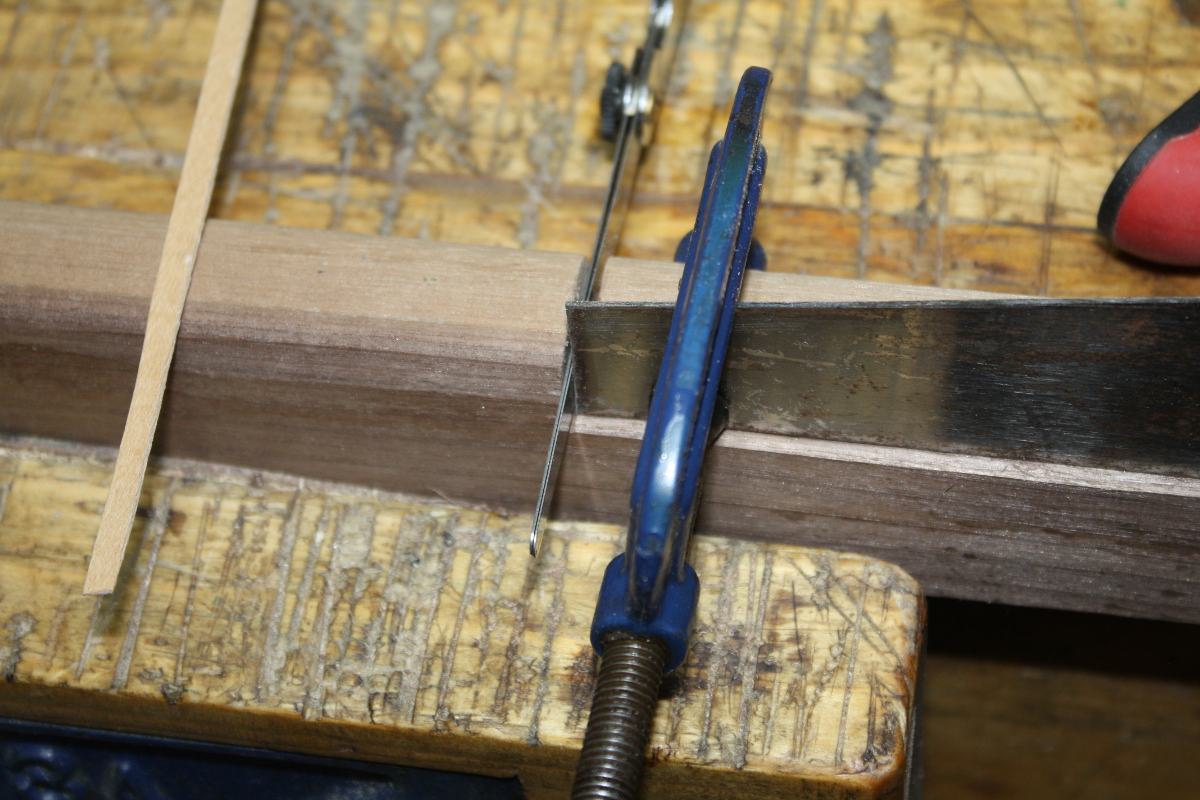
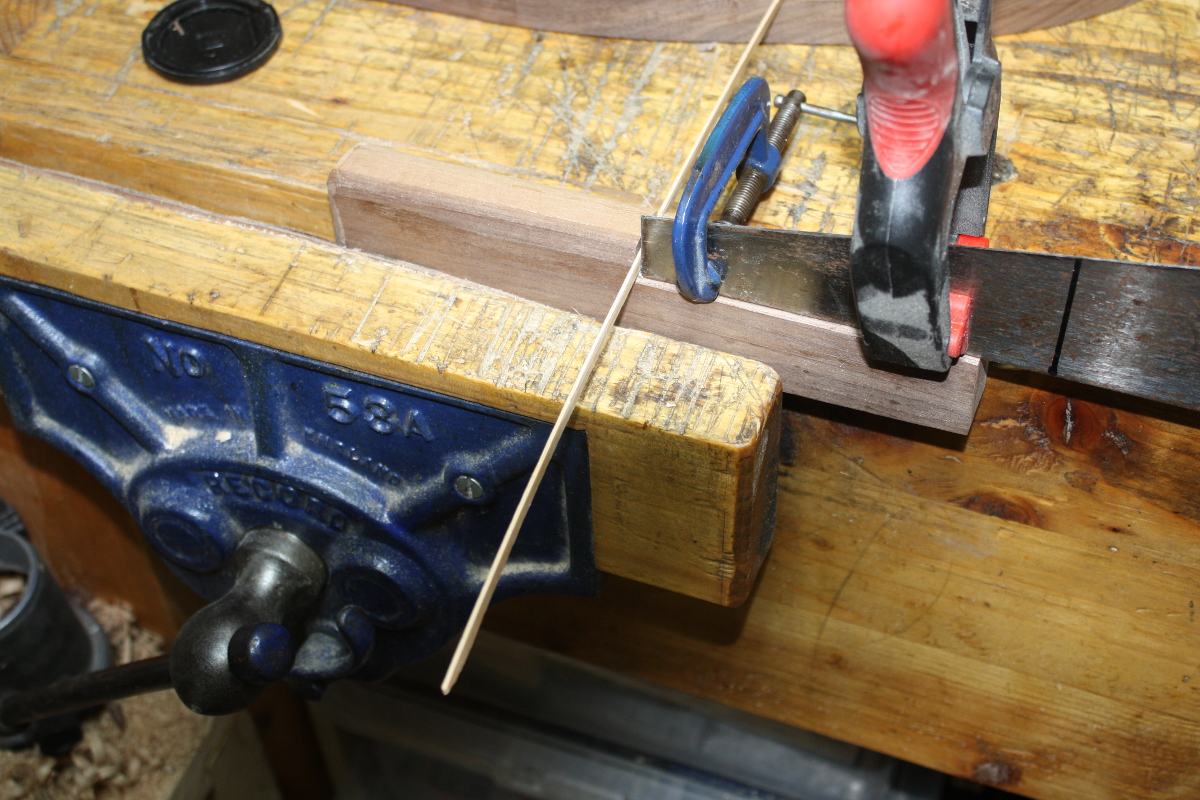
BTW, you’ll notice one F-clamp has a black and red plastic handle and the other has a purple one – that’s a Rob Cosman trick, it’s hockey stick tape to give more purchase on the handle. Gotta say, it works a treat and I’ll be getting more and doing it to all of the clamp handles.
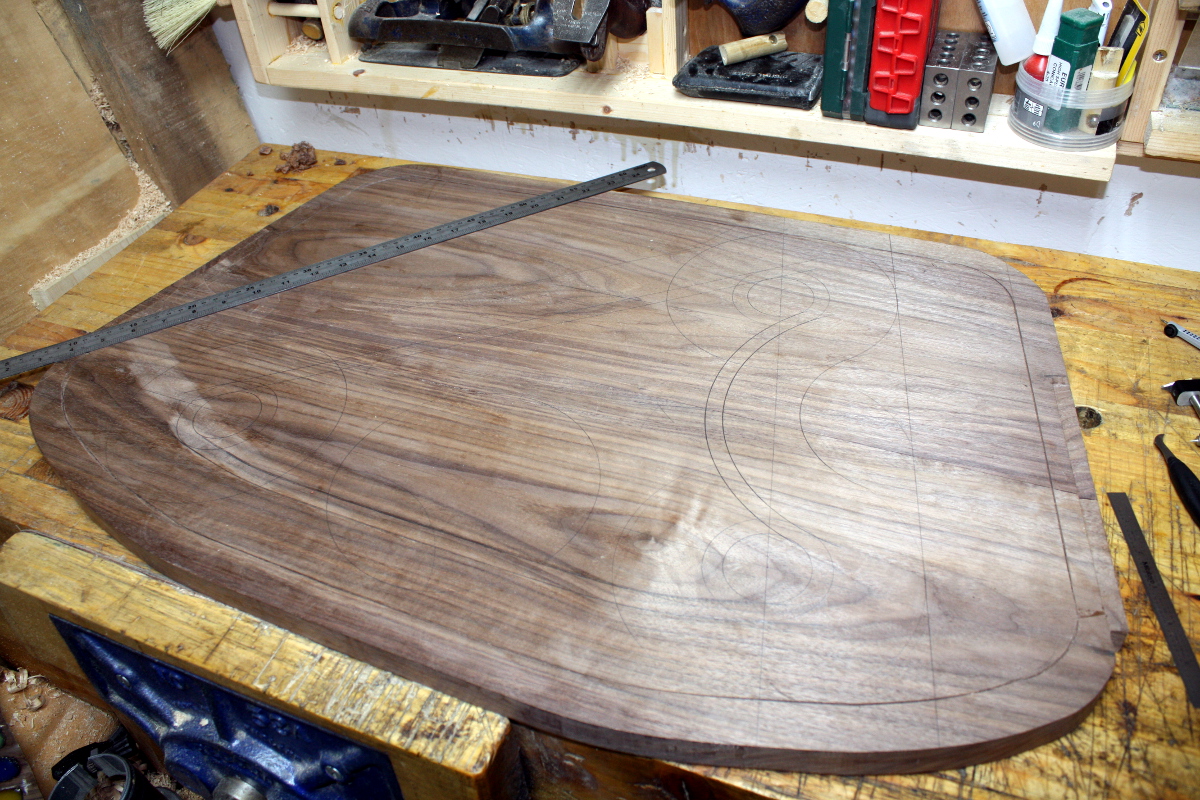
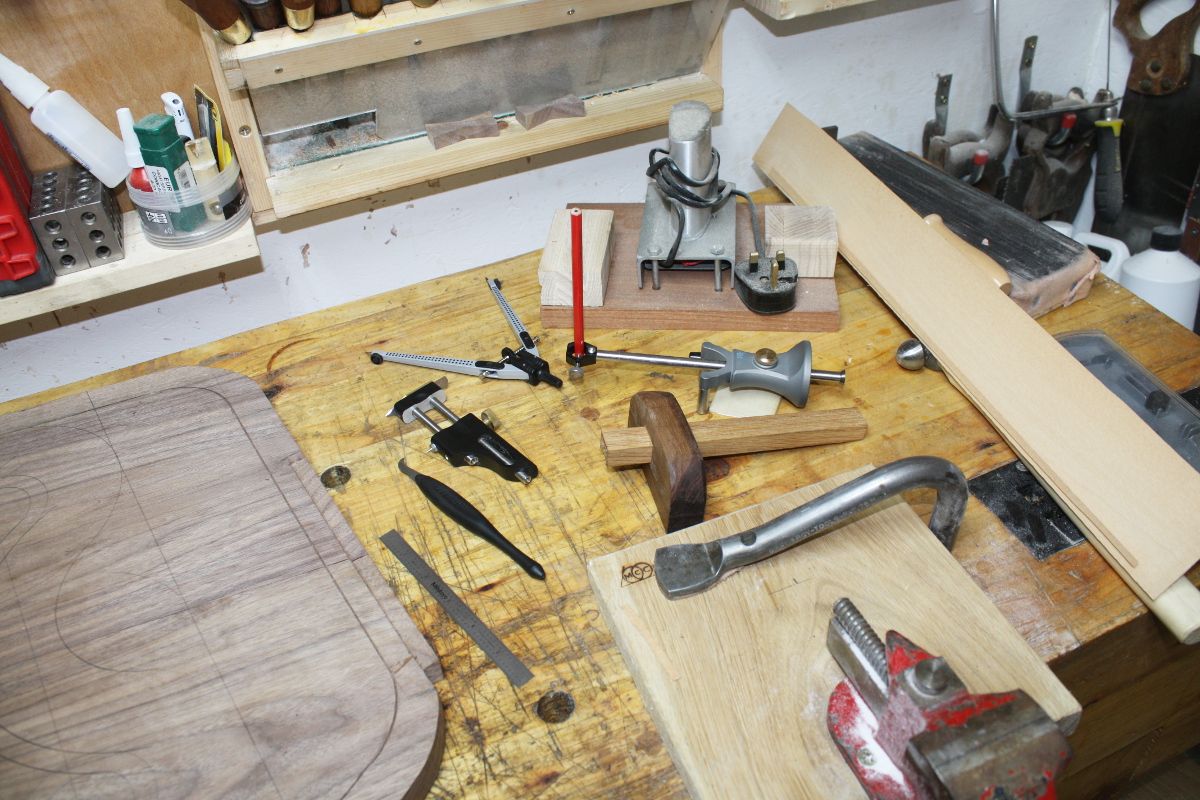
Glue will be cured by tomorrow and then I’ll scribe the sides of those uprights against the faces of the feet and then I’ll route out a cavity to set the overall height. Might have to trim or plane the edges of the uprights slightly for that, not sure. We’ll see.
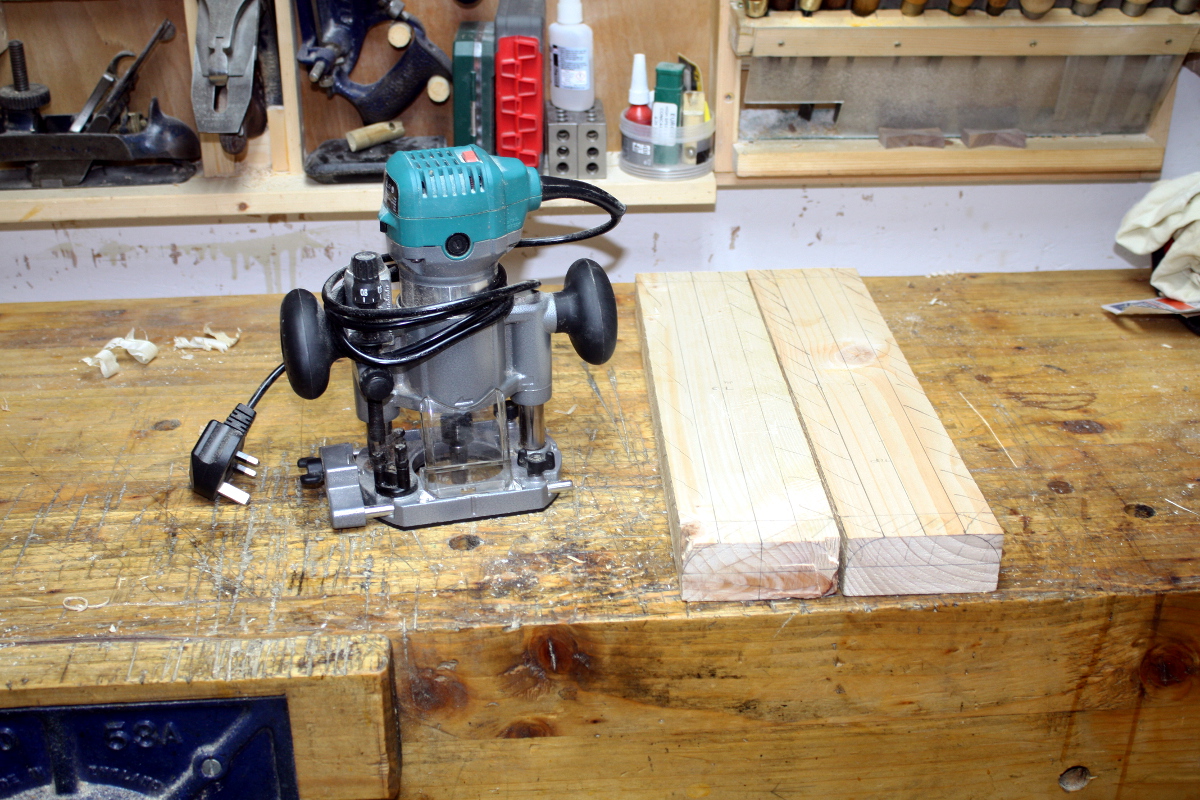
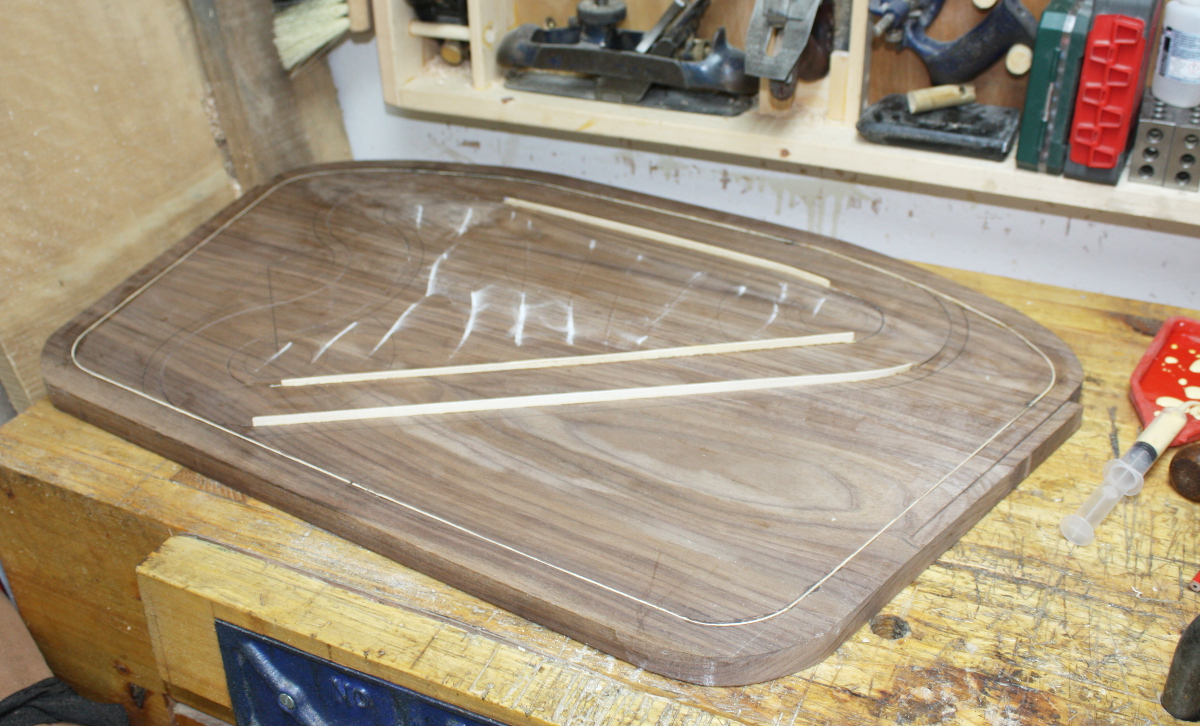
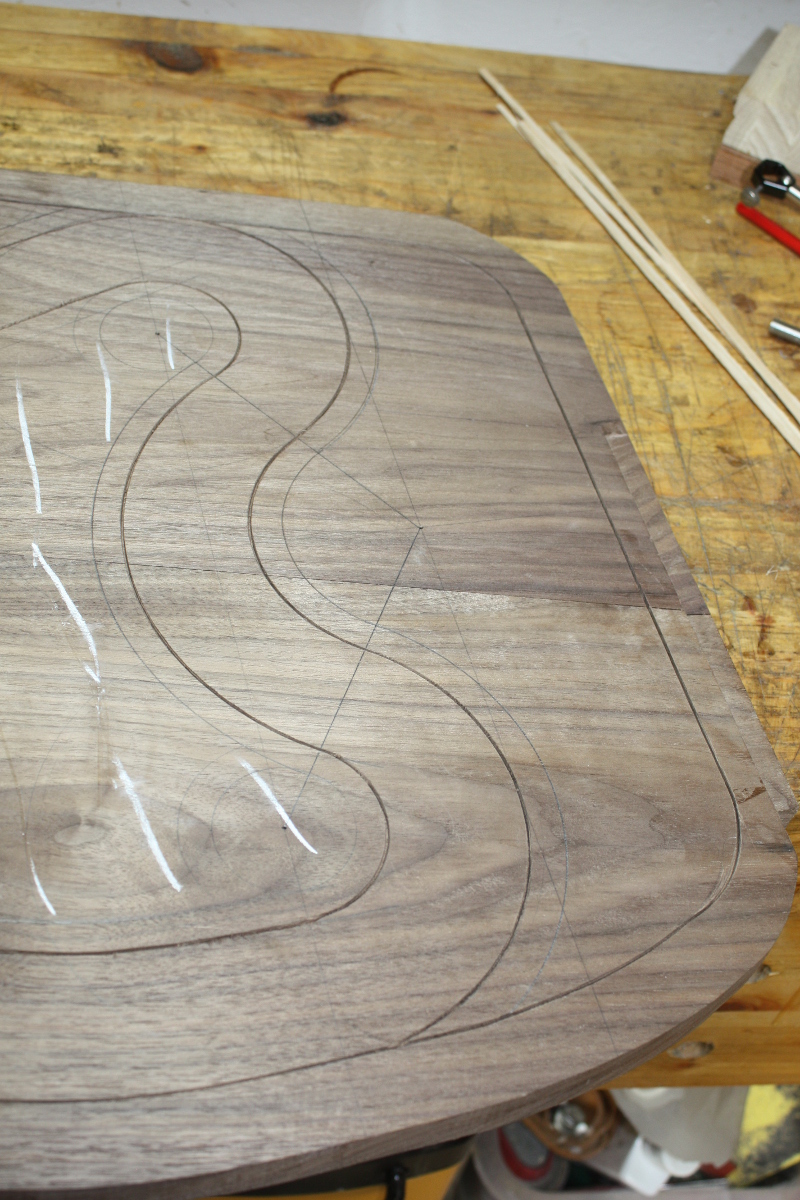
Really don’t like that tool, but it’s the best fit for this job. Have a new cutter in it as well, the one I intended for the sea in Calum’s desk, a Radian Tools three-flute cutter. Either it’ll be brilliant or it’ll shatter when it hits a knot, but either way I’d rather find out here than on the walnut desk…
Once I’ve routed the cavity to the right depth, I’ll glue and screw the feet to the uprights. Might shape them a little first just so it’s not completely ugly. Then drive them in below the shelf to support it and the fridge until we can get a more permanent fix.
Also, new toys!
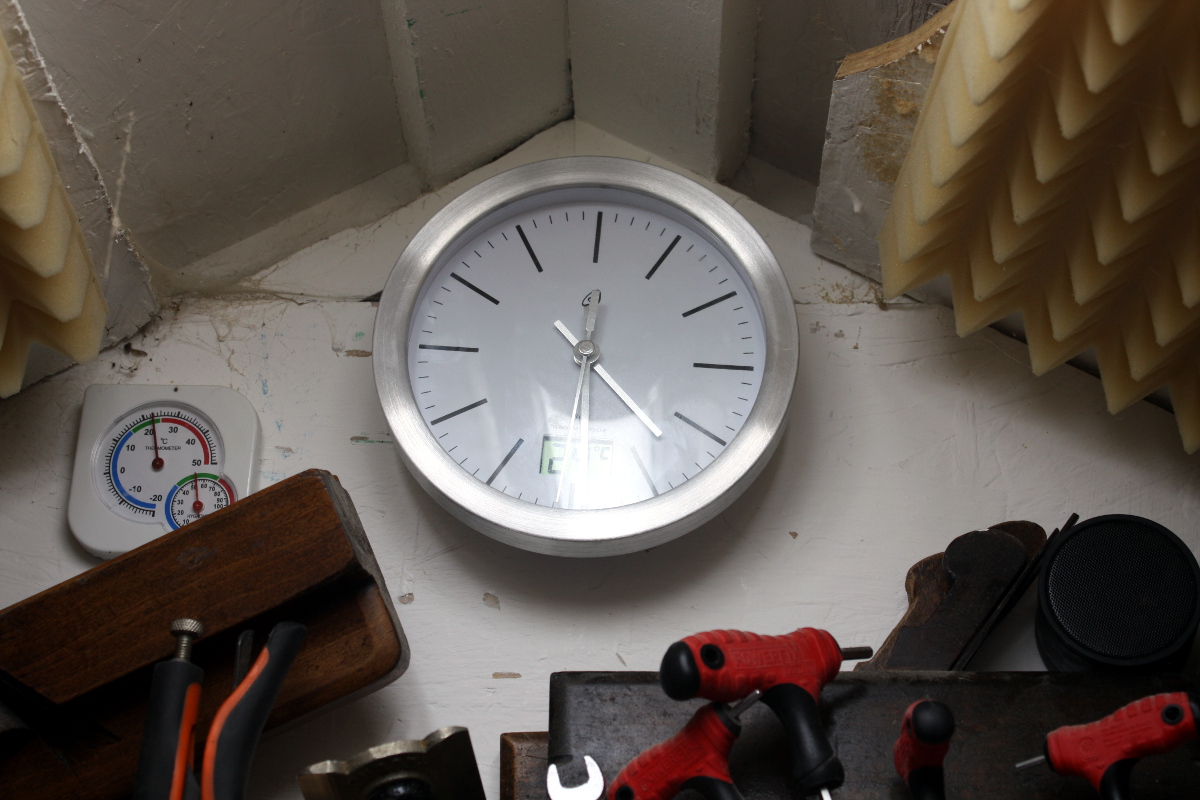
Lidl were selling radio clocks (as in, synced to the german VLF atomic clock transmitter so you never have to adjust the time even if the batteries run out and you don’t replace them for a while) so out with the older larger clock and in with the newer quieter one with the built-in temperature and humidity sensor. Atomic-level accurate clocks with digital thermometers and humidity sensors sold for a tenner as a loss leader to sell you vegetables and own-brand staples. Mass production does have some advantages…

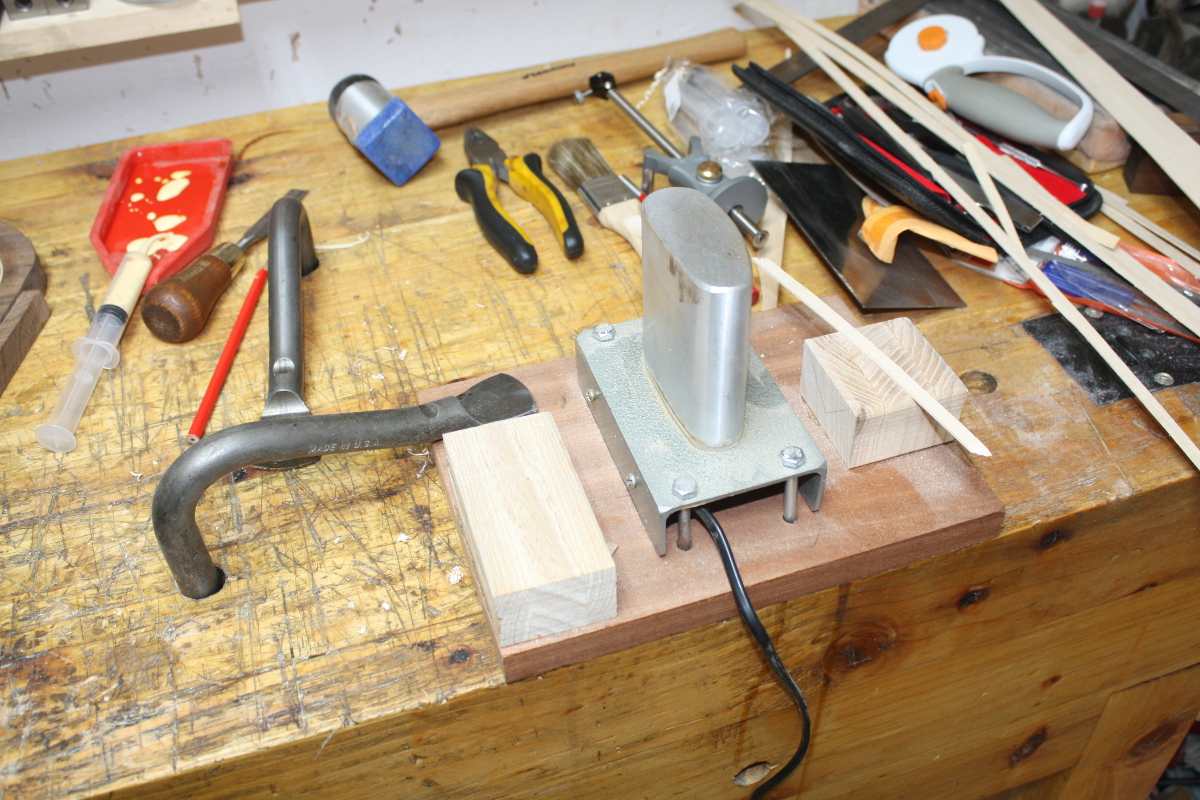
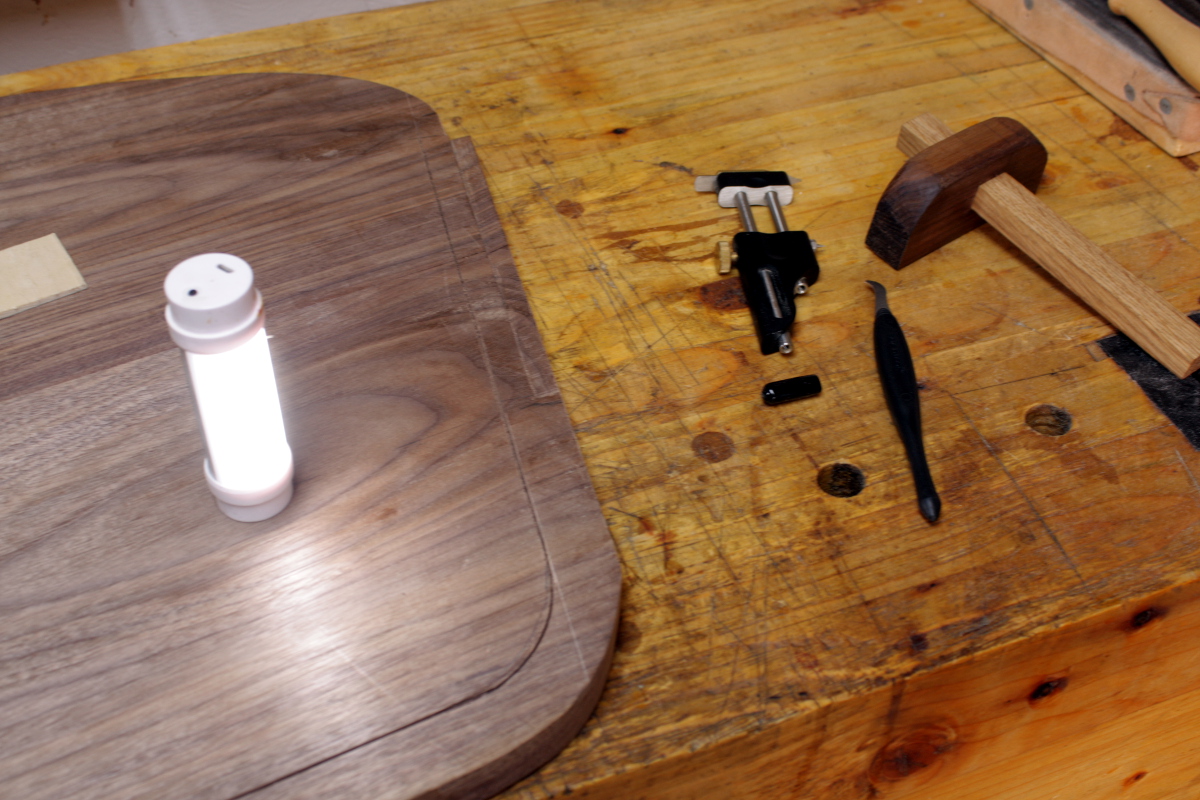
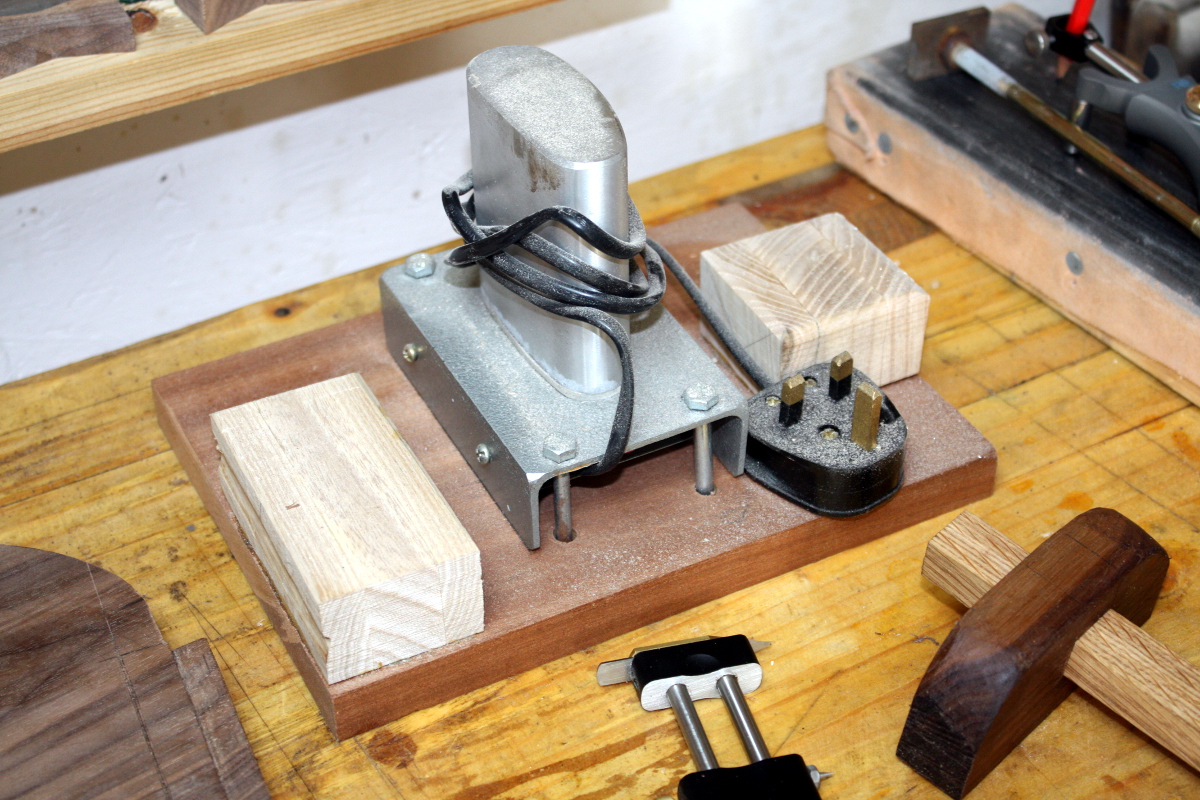
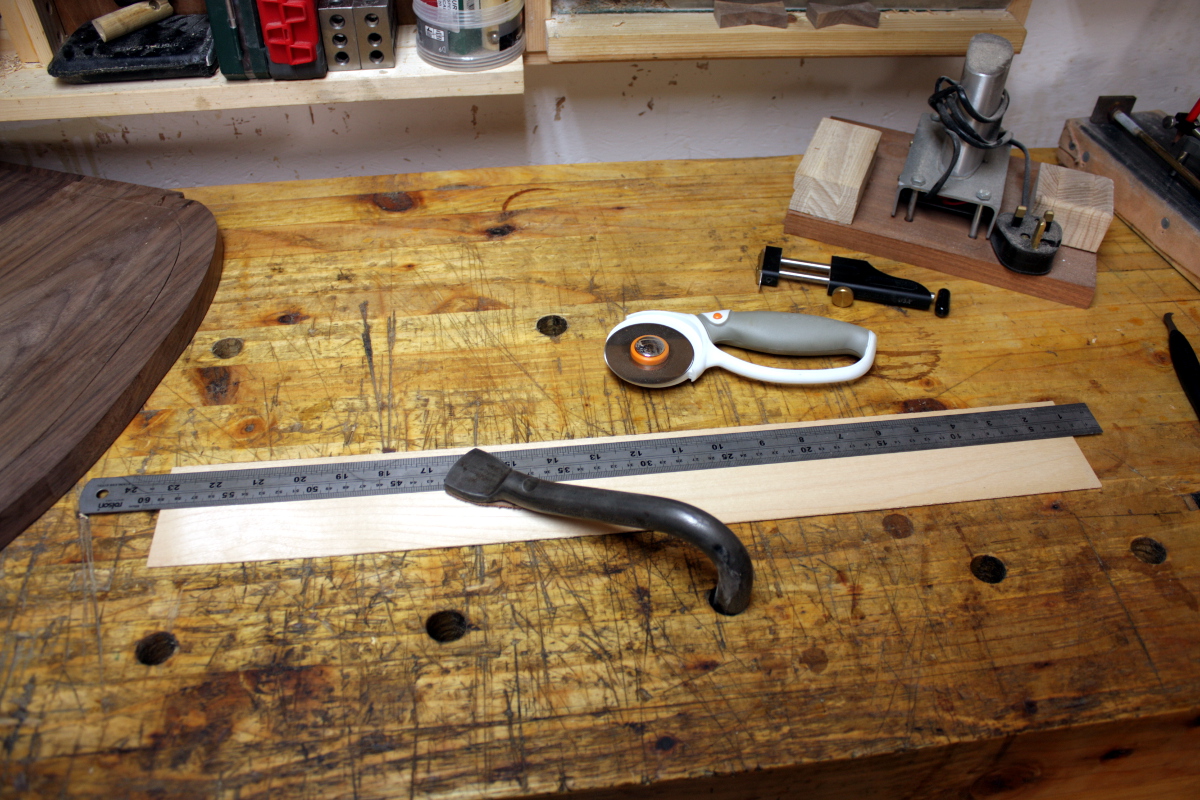
And a new vice. I keep putting off sharpening my saws because they’re a pain to clamp in that small pine stick with the saw kerf that gets clamped into the bench’s face vice, and then when it is clamped properly the teeth are down at bench level and it hurts my back to be bent over the work like that but I need to see what I’m doing to do it and it’s fiddly. So I’ve left the western saws I have on the wall for over a year now and they’re not bad tools and I keep wanting to learn to use them right but I keep coming back to the japanese saws because the western ones aren’t sharp. So, a dedicated saw sharpening vice, found on ebay for €25 including P&P:
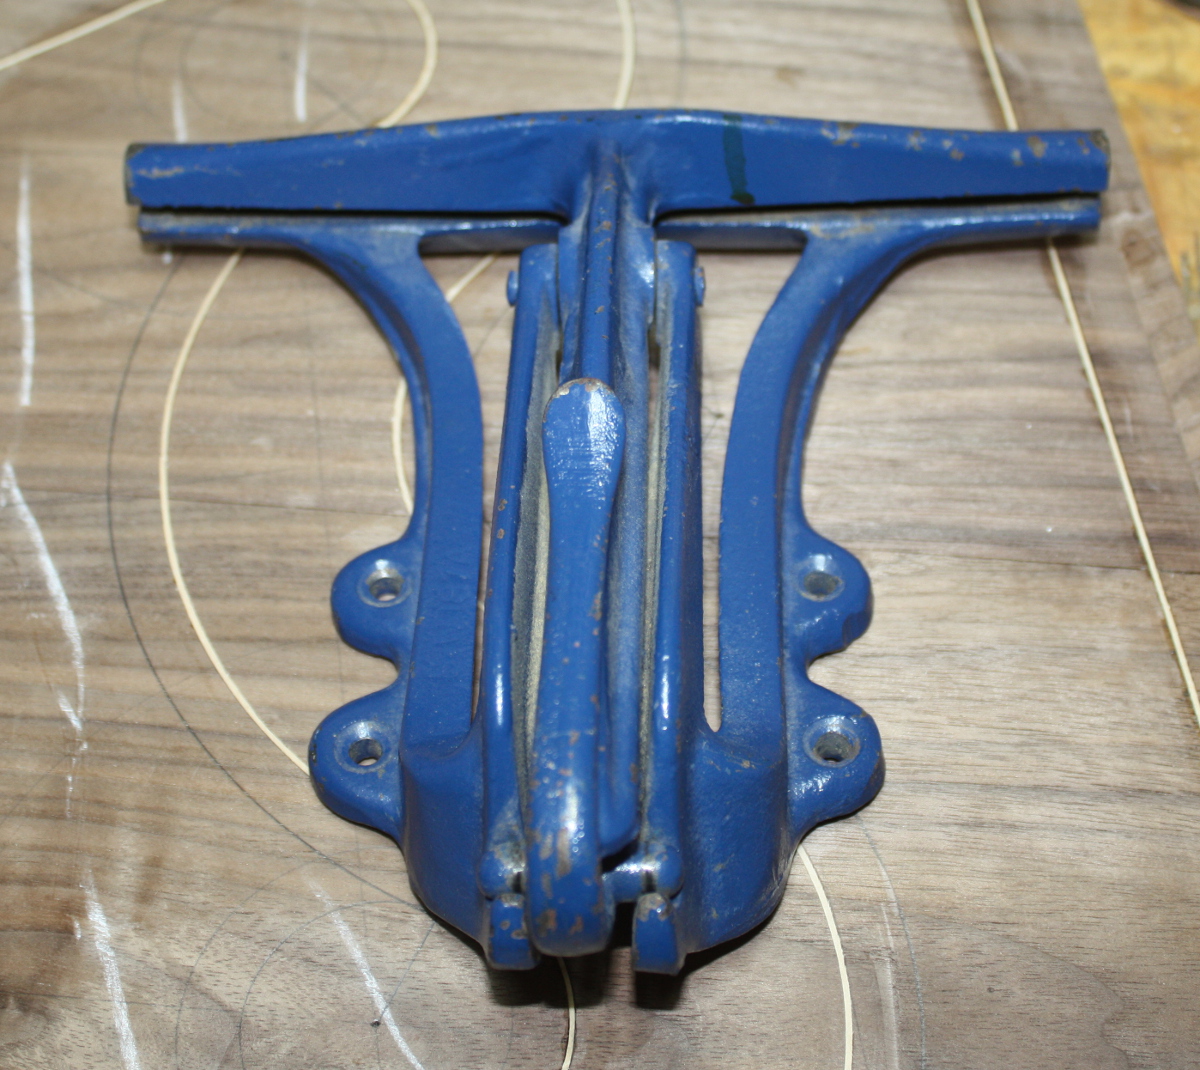
It’ll get bolted to a small plank, then the plank goes in the face vice on the bench, so the top of the vice will be much closer to my face and I can see what I’m doing. Fingers crossed it’ll work.
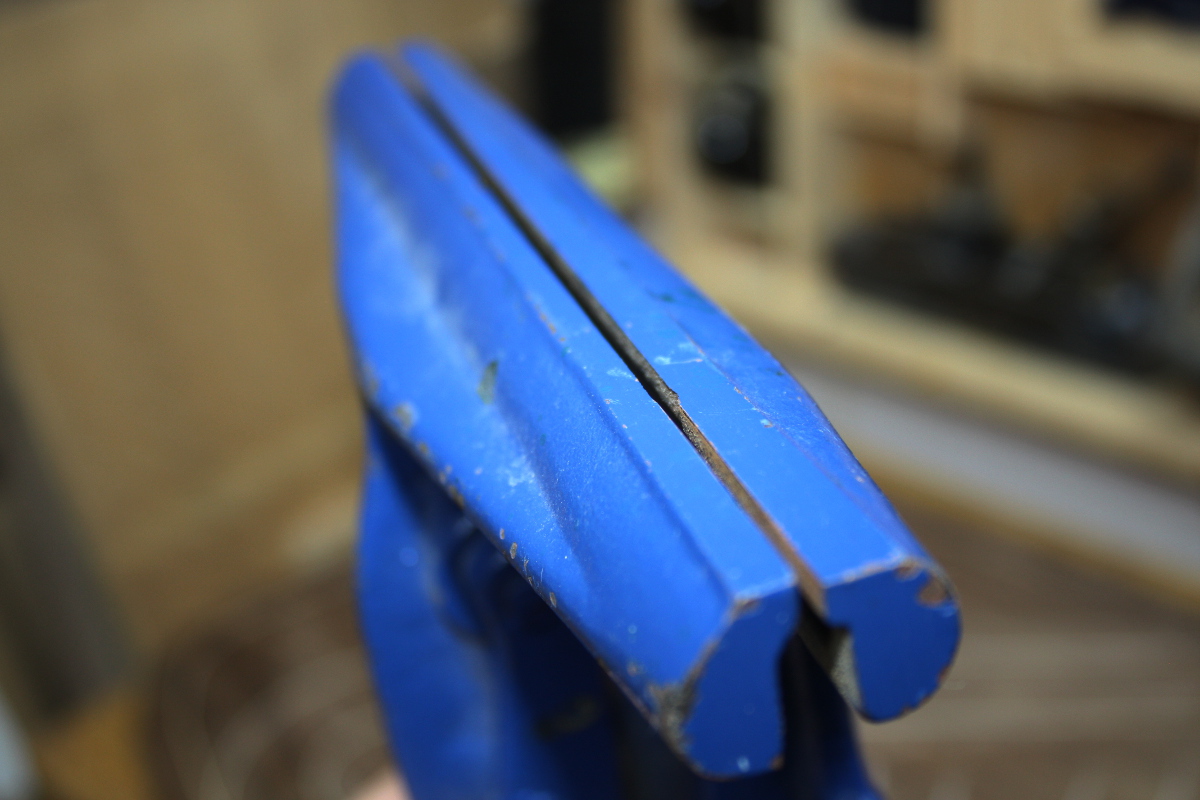
That’s it fully open btw; just enough for a saw plate and then you clamp it shut with a sprung cam. Has a lot more in common with a luthier clamp than it does with a screw vice.
Not a lot other than that little bit done today. Today was too sunny and it was a weekend so we took the little BBQ on a field trip to Powerscourt waterfall…


Not allowed chop ’em down and make furniture from them though, oh well 😀