10
Nov 19

Cleanup

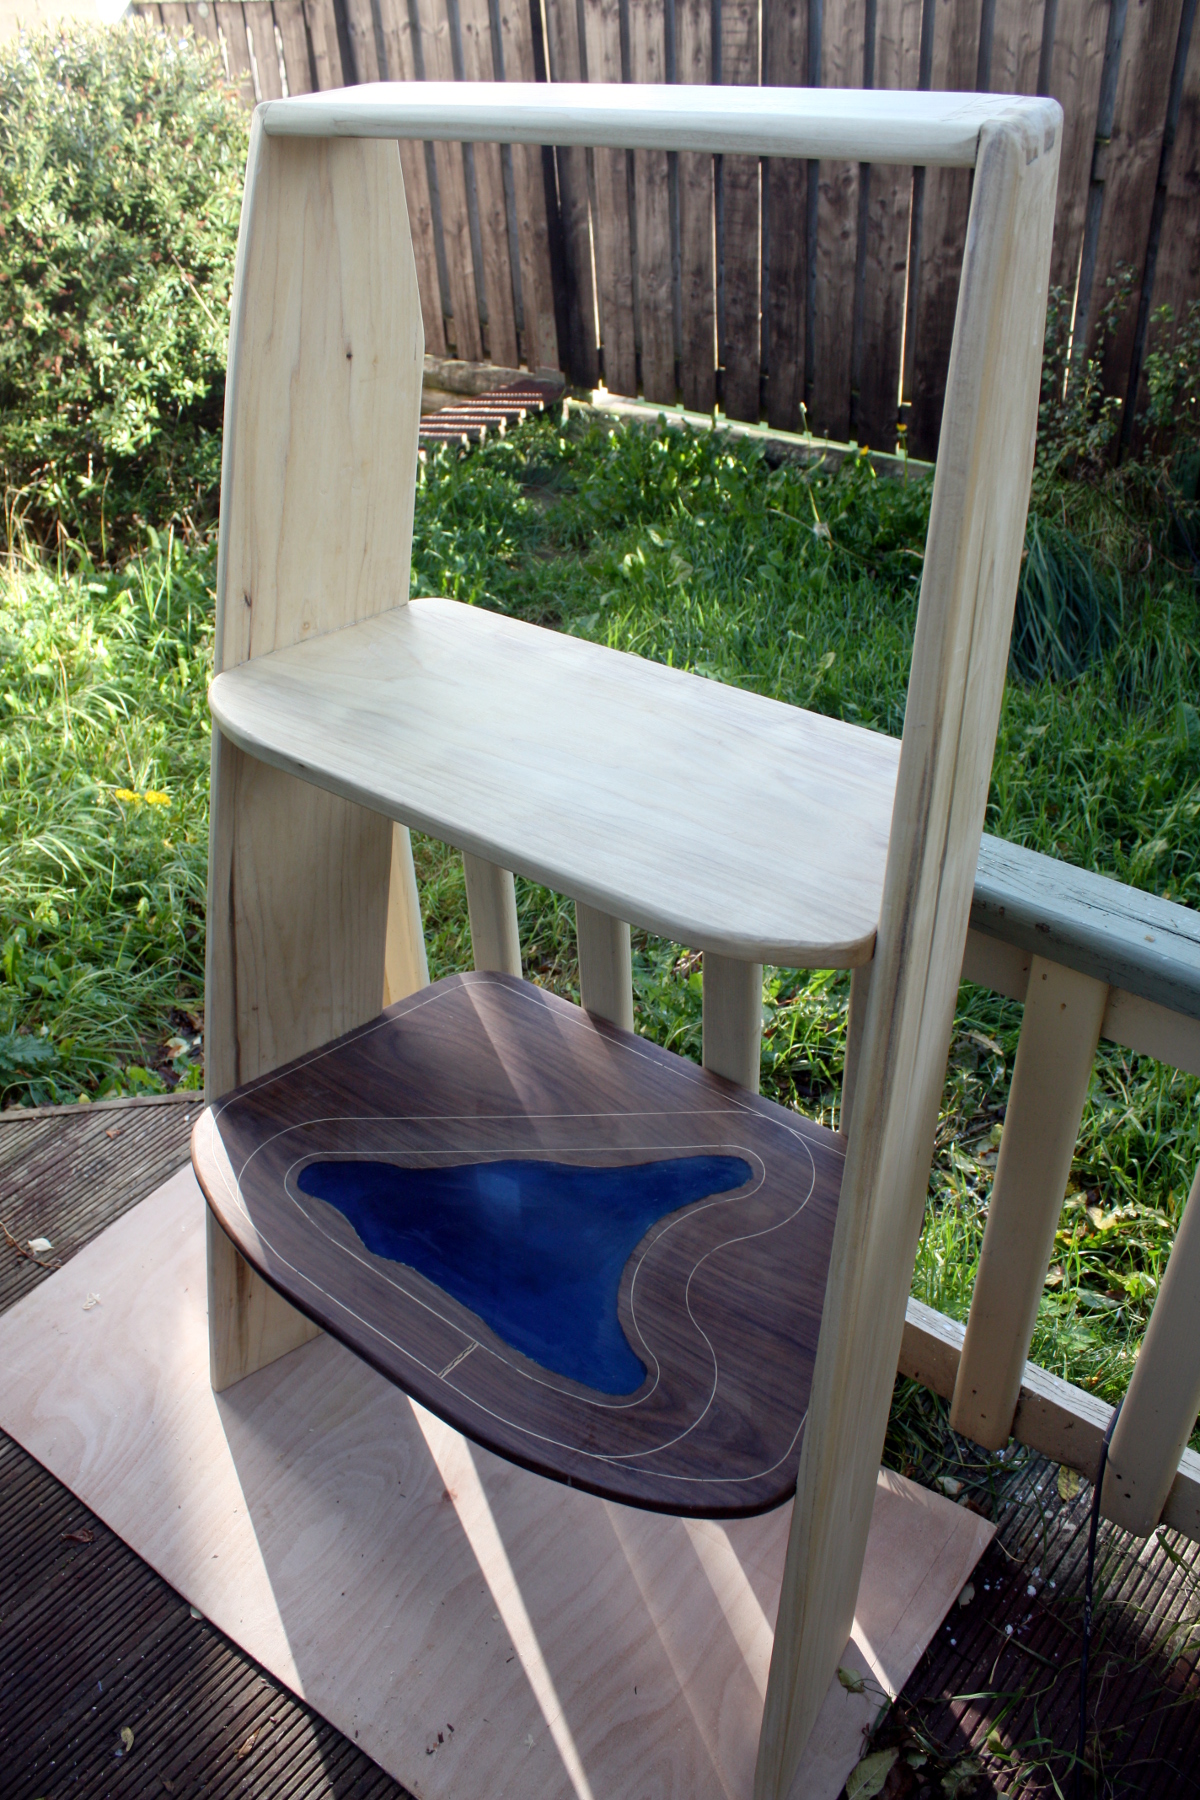
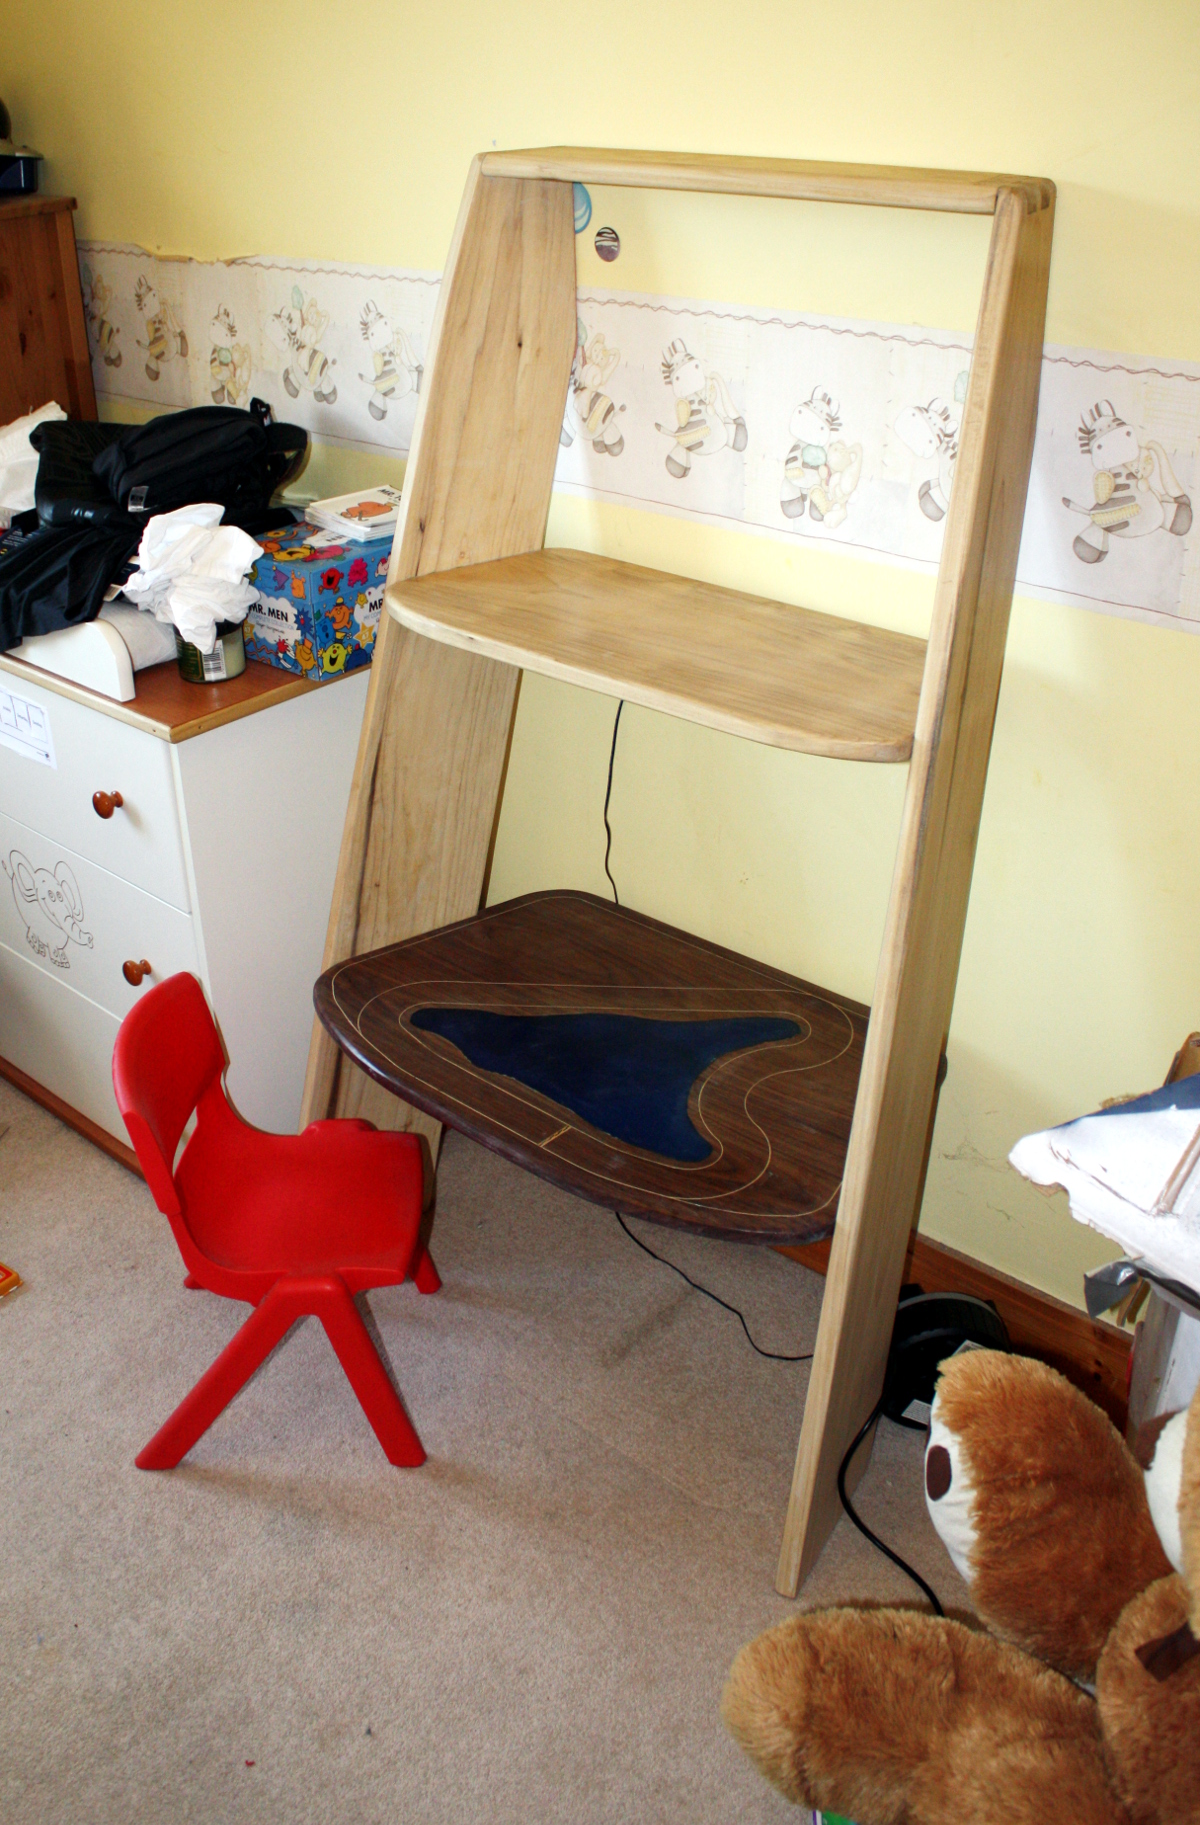
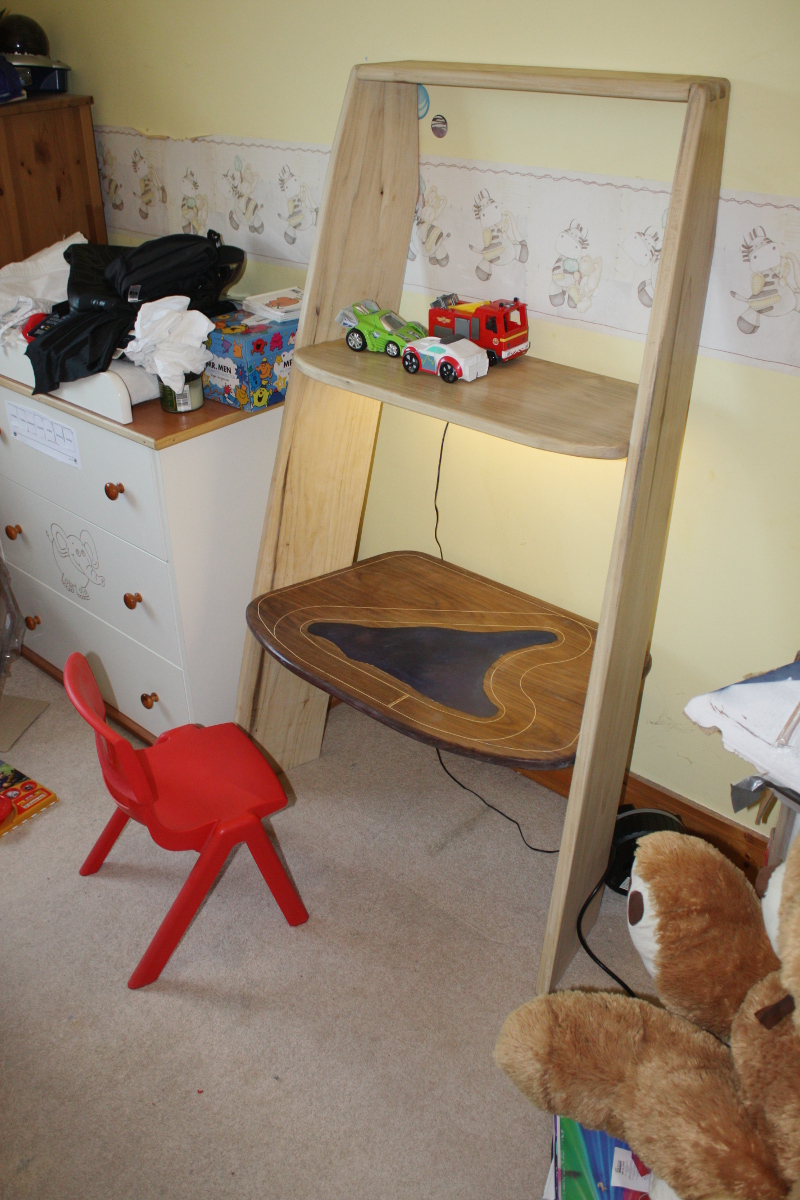
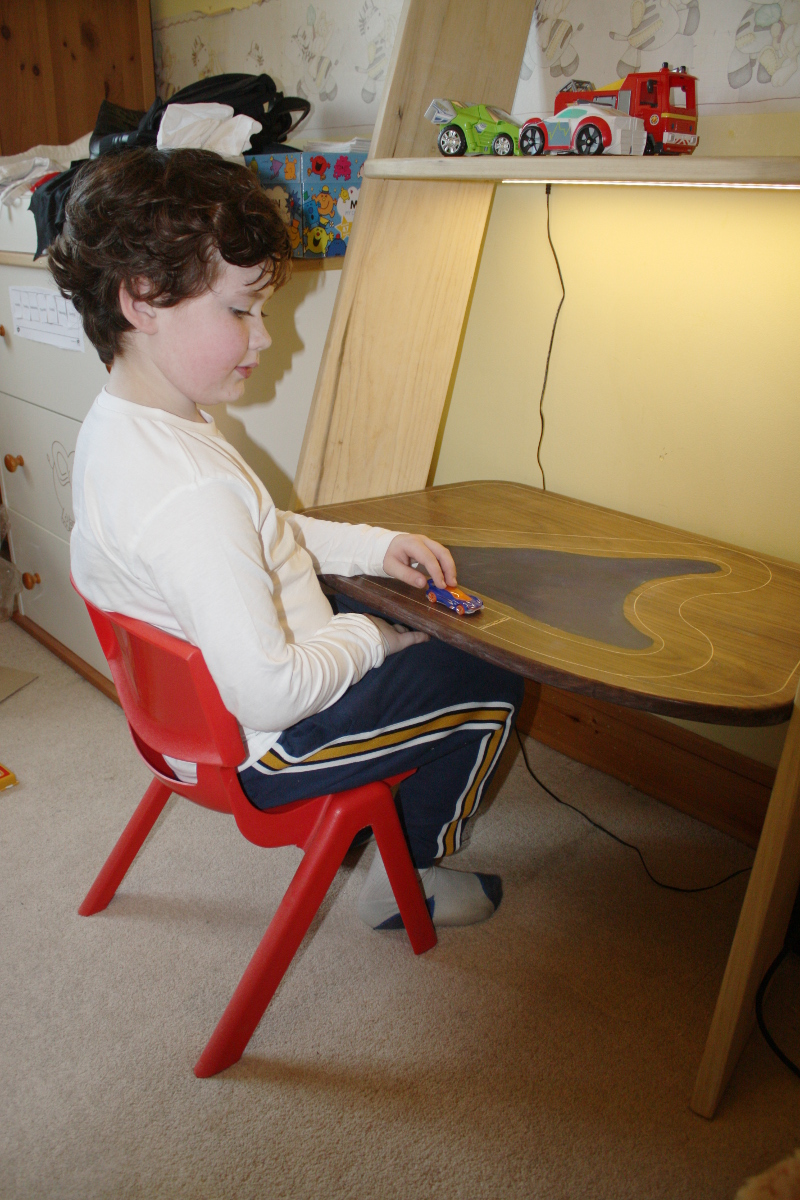
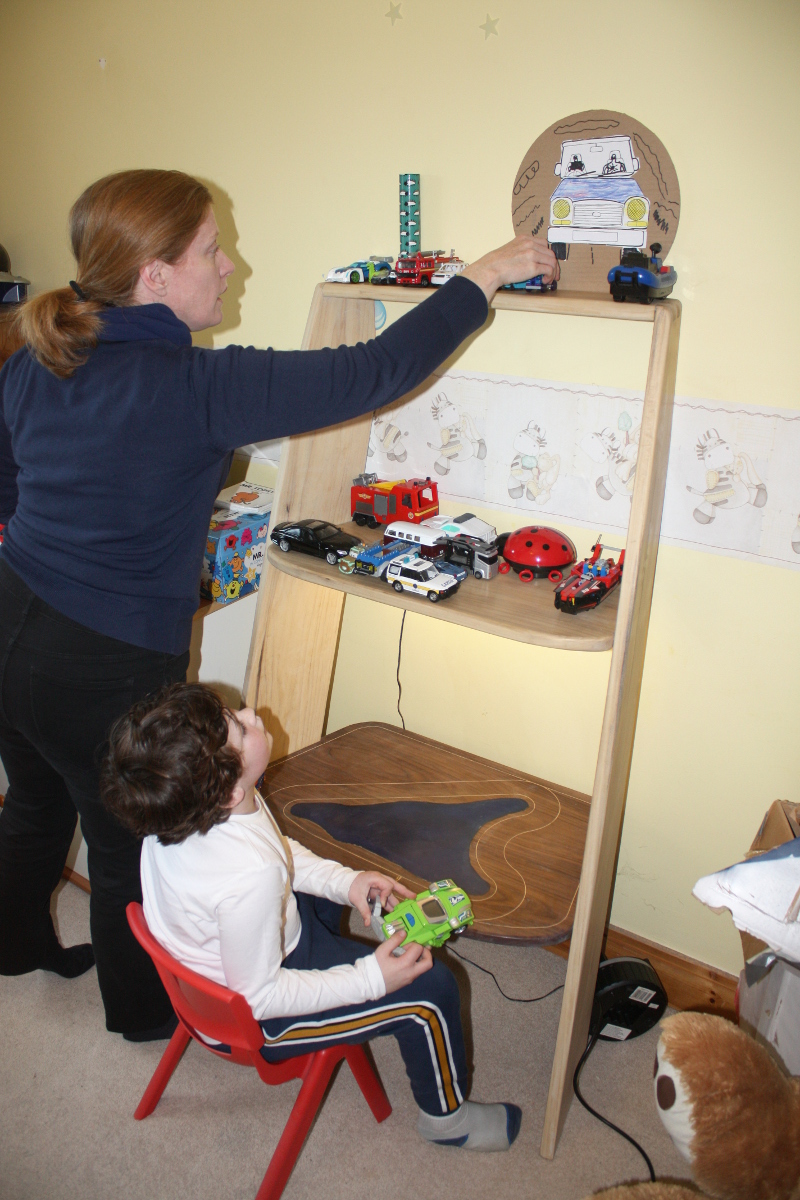
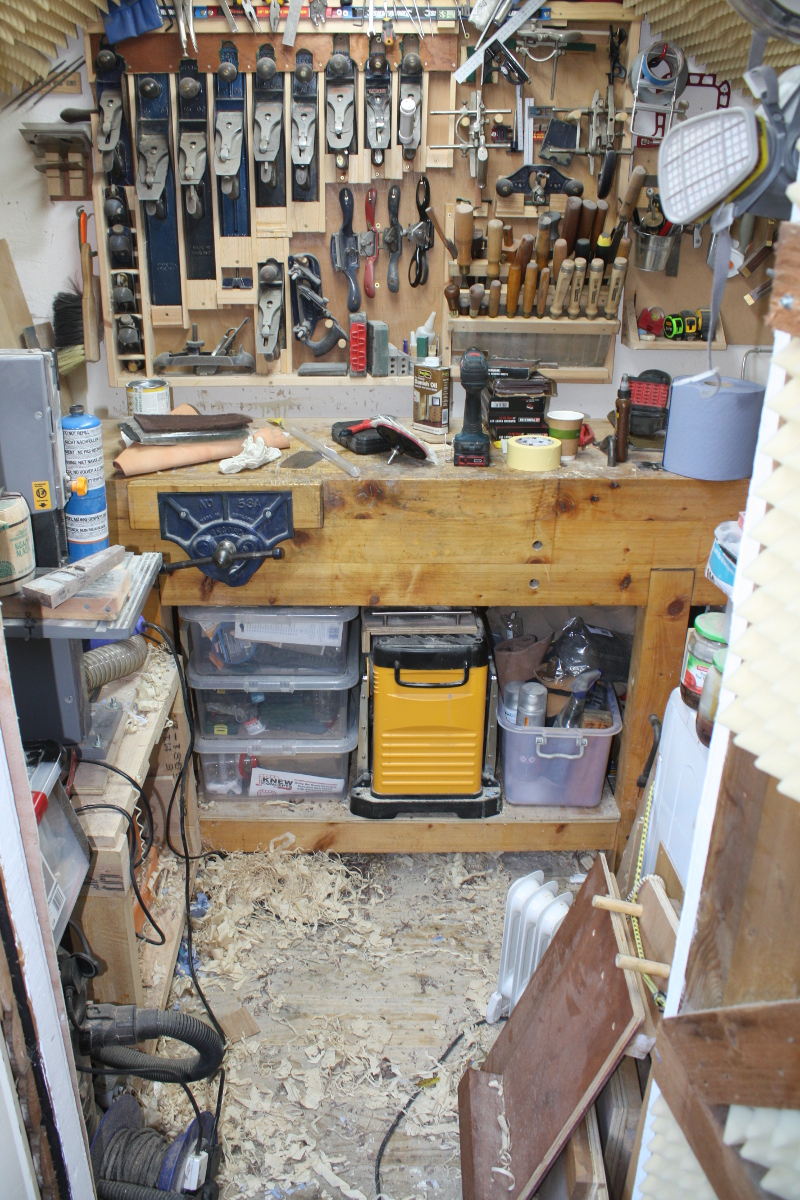
After every long project, the shed is usually a mess – stuff I can’t reach around the piece of work physically to grab and put back in its place, finishing supplies out of their usual storage boxes, sawdust and shavings everywhere, and so on. Stuff you’ll get to when you have a minute. So today was cleandown day after the desk. On with the kneepads, pop out the collapsable garden waste bin (useful little thing that) and I wheeled the bandsaw and sander outside to give room to get all the detritus out, stuff that had built up over the last year or so, including behind and under the workbench and in between the stored wood planks. Long projects are the worst for this sort of thing.

Two hours in, I came to a decision to go through all the scraps and offcuts and get merciless. Anything that was being held onto for bandsaw box material or cutting board material got a careful looking over and if it warped, if it wasn’t large enough realistically, if there was any wane, it all went in the bin. Which is doubly painful for me because thanks to our local government rules, you can’t burn wood in a fire pit outdoors, and we don’t have a woodburning stove indoors, and the local recycling center will take wood but it has a minimum charge for a full carload and one binbag of offcuts costs as much to recycle as a full van stacked floor to ceiling until its suspension cracks. The local bin collection company, Panda, will not accept shavings or sawdust or solid wood in the compost bin or the recycling bin, all of which taken together means that I can pay 80 quid for a cubic foot of walnut, then pay another tenner or so to dispose of the sawdust, shavings and offcuts after the project is done.

This is not an environmentally sound set of policies.

Anyway, after clearing out as much detritus as I could, I started to reorganise things. Small offcuts go in a largish storage box, I returned the paints I’d borrowed as resin dyes to the arts&crafts box for junior, and finally hung my panel gauge and grasshopper gauge up on the wall to try to dissuade myself from letting stuff build up there again.

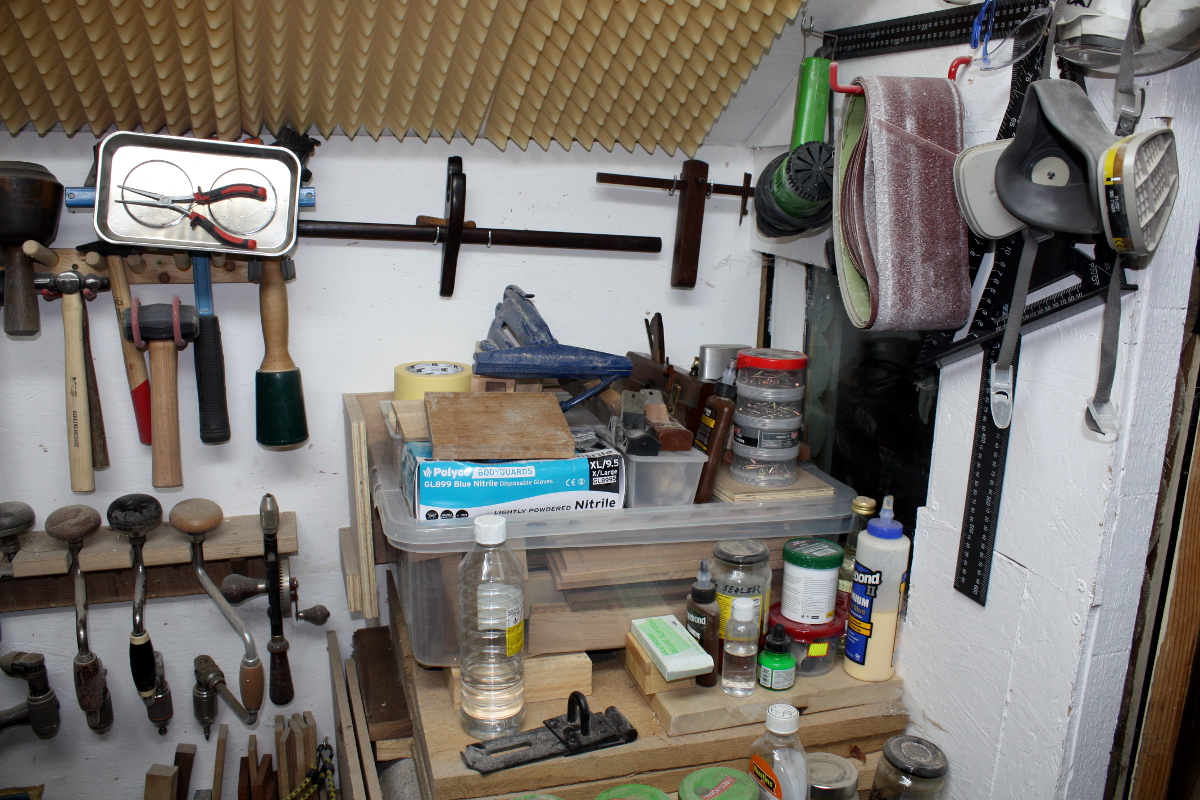
There are about four small shed jobs lying on top of there already though, an unfinished bandsaw box, a new-to-me saw vice that needs a mounting solution so I can try to finally sharpen and get to grips with my western saws (before I finally call it quits and get a new veritas saw or something), my new-to-me moving fillister plane that needs a better mounting place, and I really need to replace the hasp on the door with that new one. I did at least manage to hang up the heat gun (I know, I know, it has a plug, but do you know how they heated stuff in the 17th century? They set it on fire. That won’t fly here 😀 )

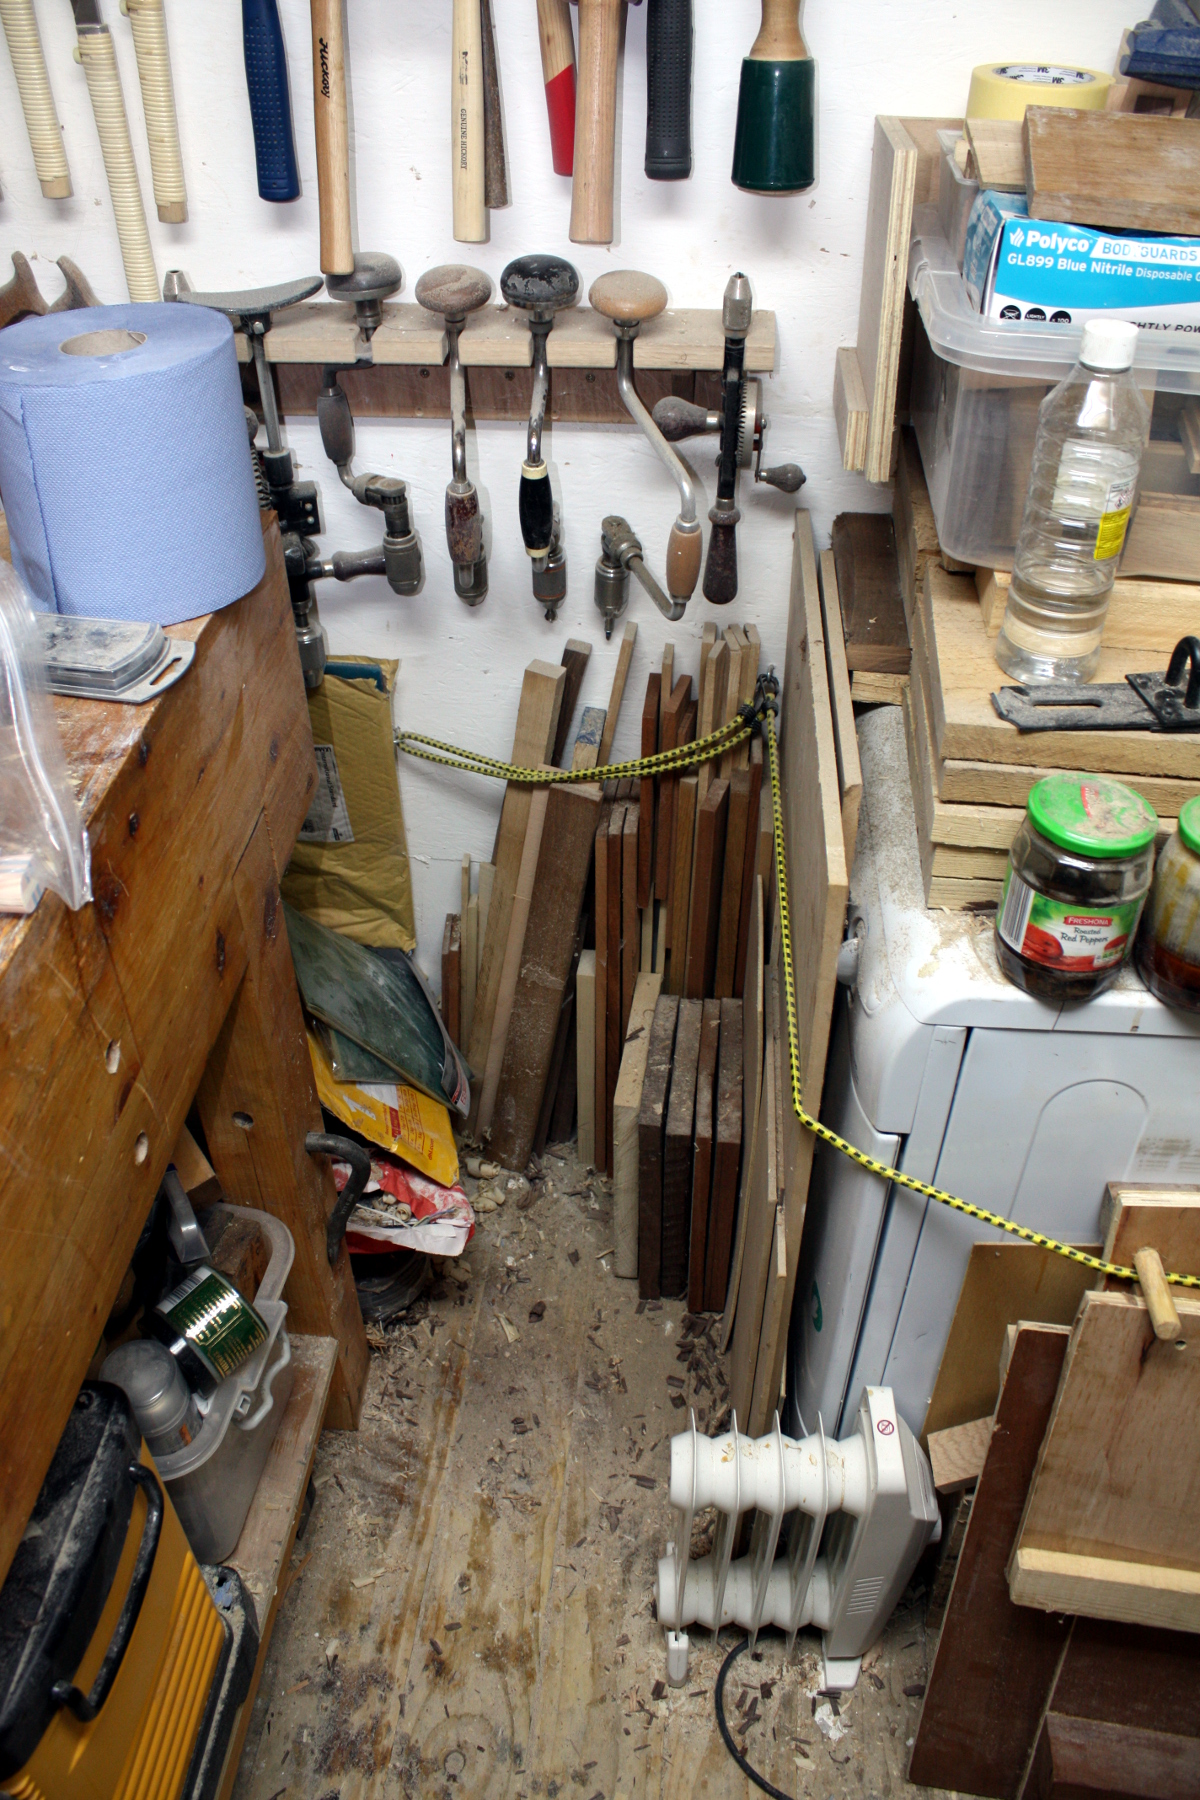
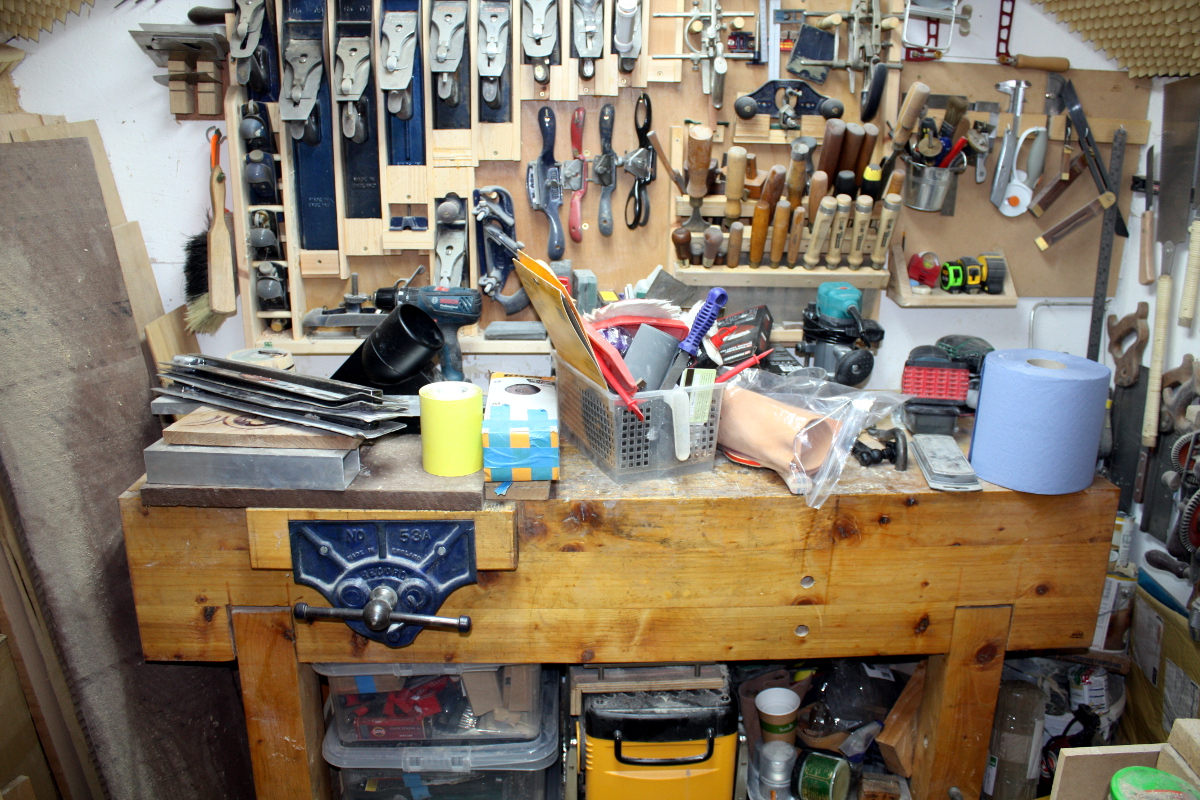
I can actually see the floorboards. I mean, there’s still a mess of finishing stuff round the end of the table, but I could actually stand there. Luxury!

And on the other side, I rearranged all the larger boards I have left, and the smaller ones, leaving stuff I know I’ll want to get to soon towards the front, and generally tidied stuff up.

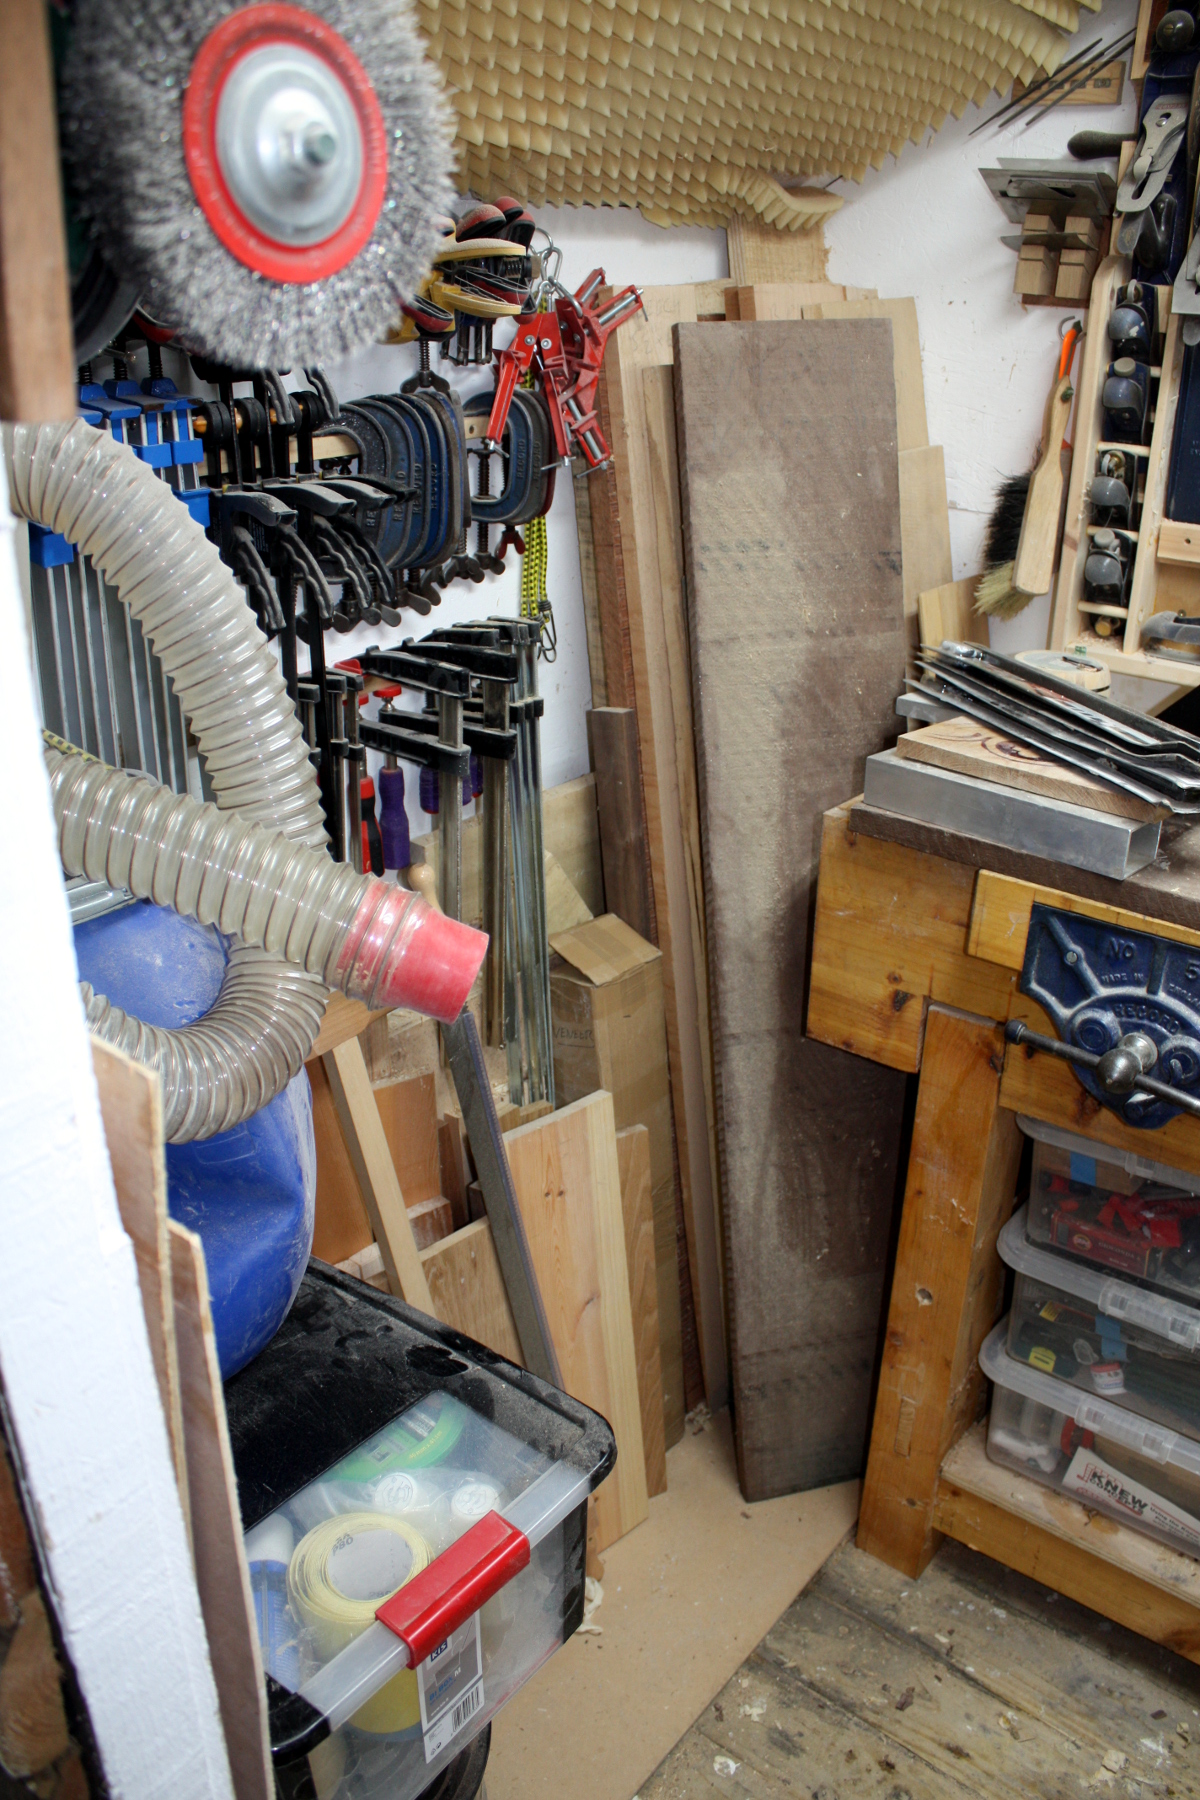
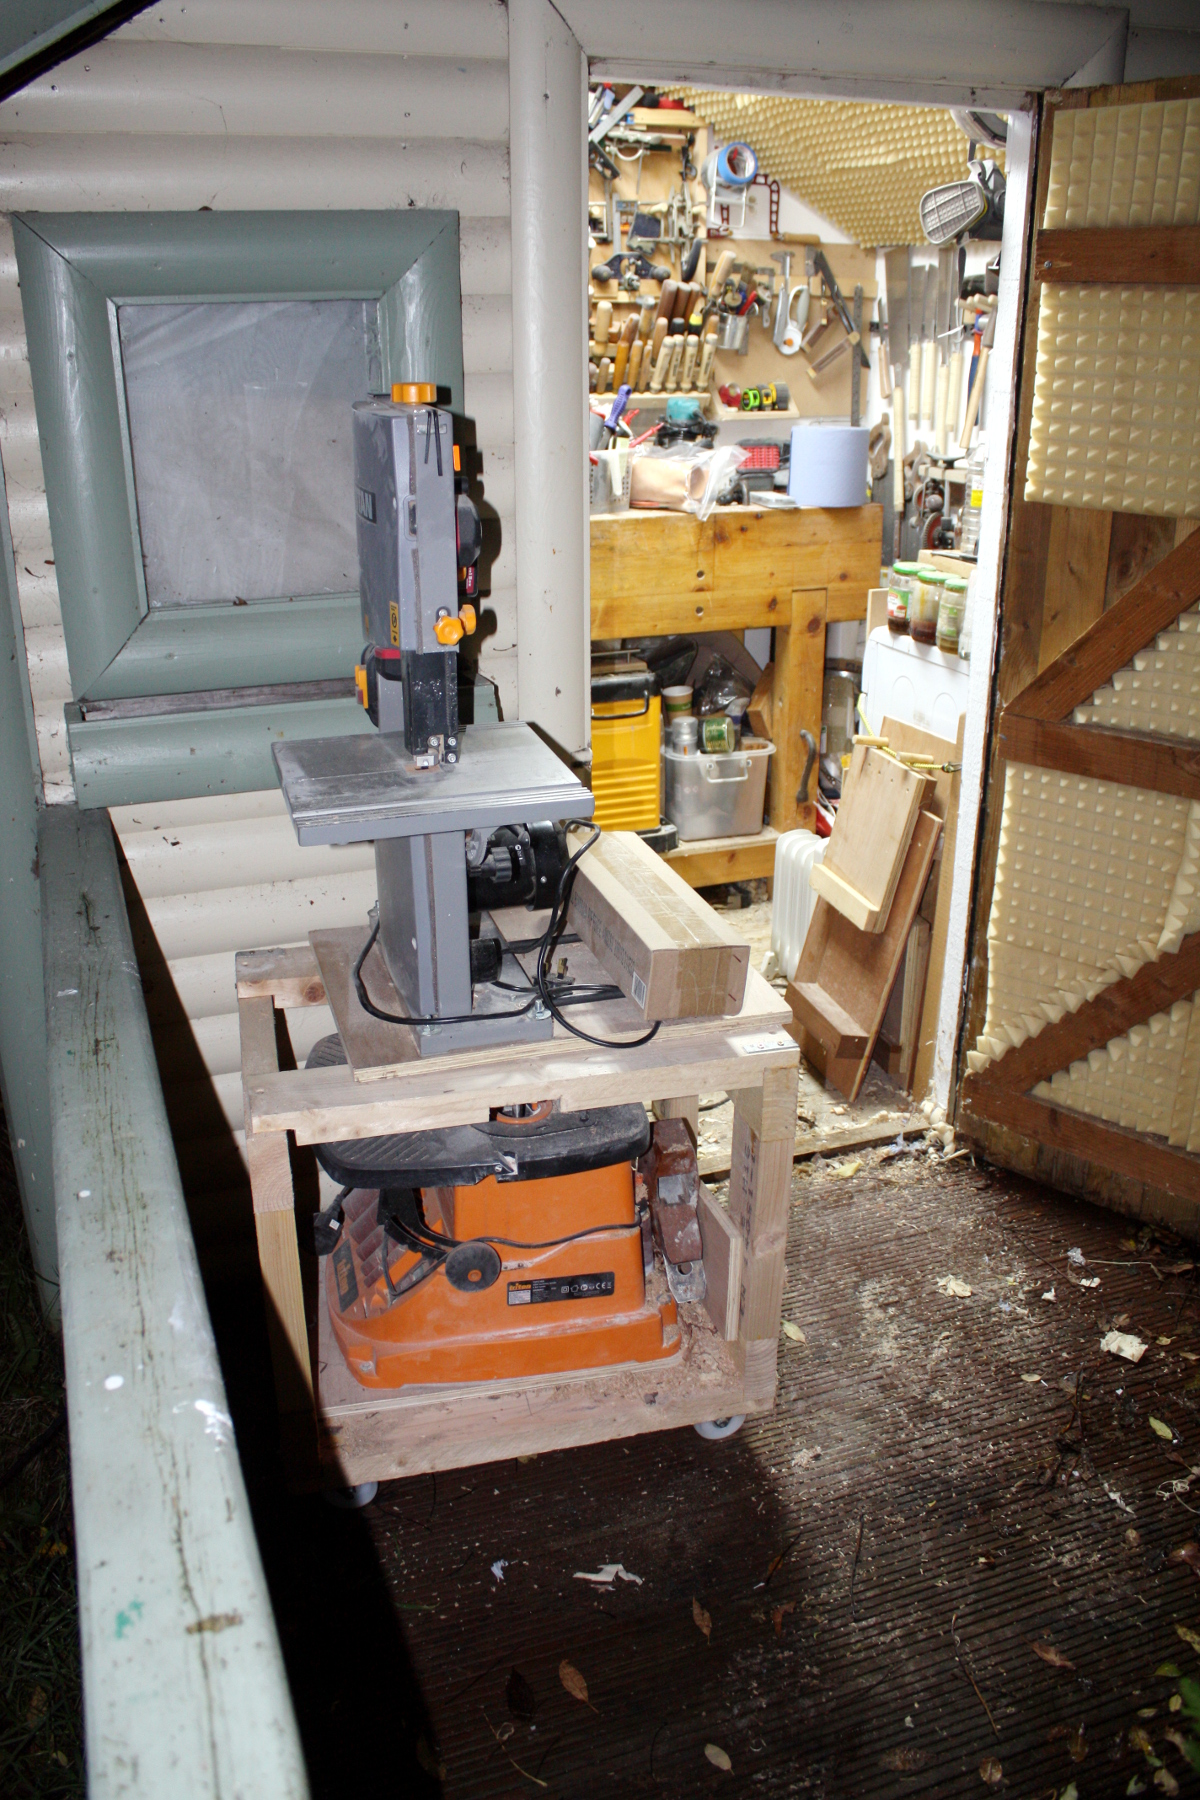
I think I want to take the dust collection vac and dust deputy solution I have there and build a proper cart for it. It’s all kindof piled up in the corner (along with that box of finishing stuff) and that’s just so damn messy. A cart might actually save me a few inches of room.

And those few inches are pretty critical. If I rebuild the cart for the bandsaw using something other than the 2x4s I knocked this one up out of, I might regain just enough space that using the vice is no longer very awkward…

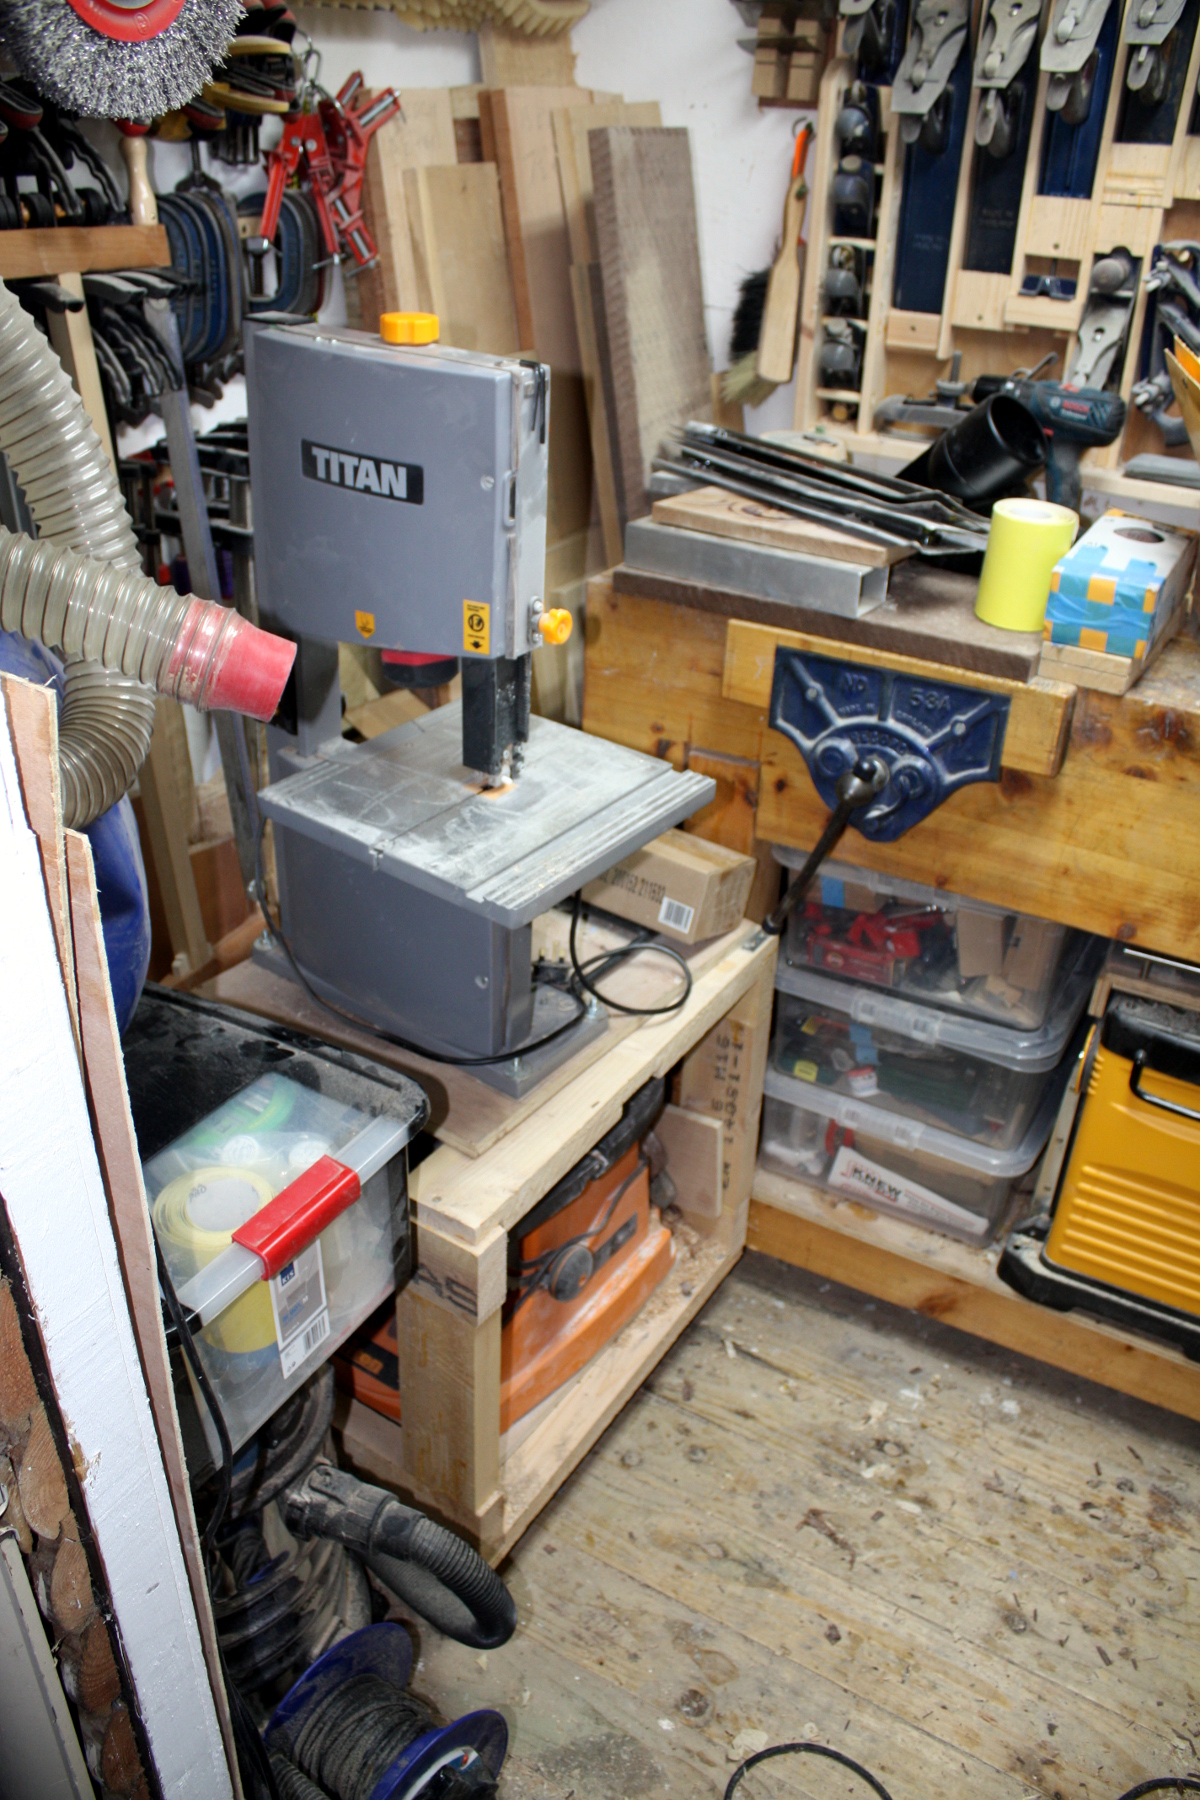
Even getting those storage boxes out from under the vice is a pain because of two inches of protrusion by the cart. Make it over, make it a bit tighter, might get that space back.

Of course, first I want to finish the tidying up…

…and then there are just a few projects to dive into, like hooking the thicknesser up to the dust collection…

…and I have a few projects in mind after that as well…
…so yeah, I might get to the cart sometime next year. Or after that. Such is the way these things go 🙁


27
Oct 19

Done

So during the week I had to work from home for a day, so while doing that I took my lunch break to pull the shelves out of the shed and put a second coat of Polyx on them. They didn’t look too bad.


And after they’d cured for a few days in the shed, I went out again and glued on some leather pads on the contact points between the shelves and the wall so that they wouldn’t rub against the wall and destroy the paint. Awkward to clamp though.

And then today while Calum was out at a birthday party, I snuck out to the shed, took off the tape and trimmed the leather pads, drilled the first inch or so of the wiring channel out so the barrel socket would fit and then brought the shelves indoors.

It looks very very empty now 😀

Some manhandling of the shelves later and I got them into the lab and soldered the socket to the LEDs and then finished fitting the LED lights; then more manhandling of the shelves to get them into Calum’s room and a quick coat of beeswax which looked about a shiny as sand. Guess I need to rub harder.

And that’s it. Done.

Yikes, that only took a year and four months. To the day.

Okay, granted some other stuff happened in the middle of all that, like making a carved oak box, getting a promotion at work and embedding a mug in resin, but still. Yikes. And I can’t help but think it’d have gone faster with a larger shed…

Still though, end result is nice.

At least he hasn’t grown enough to not fit it anymore. According to the growth charts and the various furniture design books, it’ll last him about two more years before his knees won’t fit under the desk; at that point, I’ll make a pair of feet to go under the uprights and raise the whole thing up by a few inches and we’ll get another few years out of it. 

Stocking the shelves.

And of course, there’s the LED lighting. Need to tidy that cable away a bit yet. 

Didn’t even need glue, the slot was just the right size and the aluminium extrusion had small ridges to act as barbs to hold it in place.

And finally all the books have a place to live.

(Nobody tell him, but this is going to be covered in homework in a few years 😀 )

Yes, that’s the model of the titanic that Calum made. Why do you think he had me build a sea in the middle of the racetrack on the desk? 😀

I even remembered to sign it. Though my blowtorch ran out of propane at the worst possible moment so it could be darker. Oh well. 

So, what’s next?

Tidying up, that’s what’s next! The shed is a serious mess and there are a dozen five-minute jobs that have piled up. So, that should only take six months to sort out…


16
Oct 19

Lights, corners, more oil…

Got the LED strip during the week, cut a length off, soldered on the wire, tested it in the lab and it all lit up well, so I pulled off the paper on the back (the strip is self-adhesive) and stuck it in place inside the aluminium extrusion with some heatshrink around the cable end for strain relief and put the diffuser and endcaps in place…

The cable fits in the hole that I drilled for it, so that’s grand, but the connector for the 12V power supply on the other hand, is just a little too big so I’ll have to expand that hole, then cut the wire to length, solder the connector on and then install it. That’s going to be a bit fiddly and I might even wait till it’s indoors before doing that. 

So with that checked, I went round the joints with a chisel and a plastic razor and cleaned up the excess glue. The joints under the desk I couldn’t reach, so that might be for the weekend when I can take it out of the shed in the daylight.

Next job was to shape the dovetail joints at the top, which is a damn sight easier when the workpiece is small enough to be able to walk around it. When it’s taking up the entire floor space of the shed and you’re literally climbing on stuff to reach the tools on the wall behind it, not so much. Still, an hour of cursing and swearing and the #04 and two chisels and some 120 grit sandpaper later, and another application of danish oil…

I don’t think I’m completely done with sanding for that shelf and those joints though. But I can’t reach them to work on them properly so I may need to take the desk out of the shed to work on it with the sander, give it another dose of danish oil, let that cure up then do another coat or two of polyx until it looks done. Then I’ll take it indoors, fit the light and that’ll be it done. I hope.