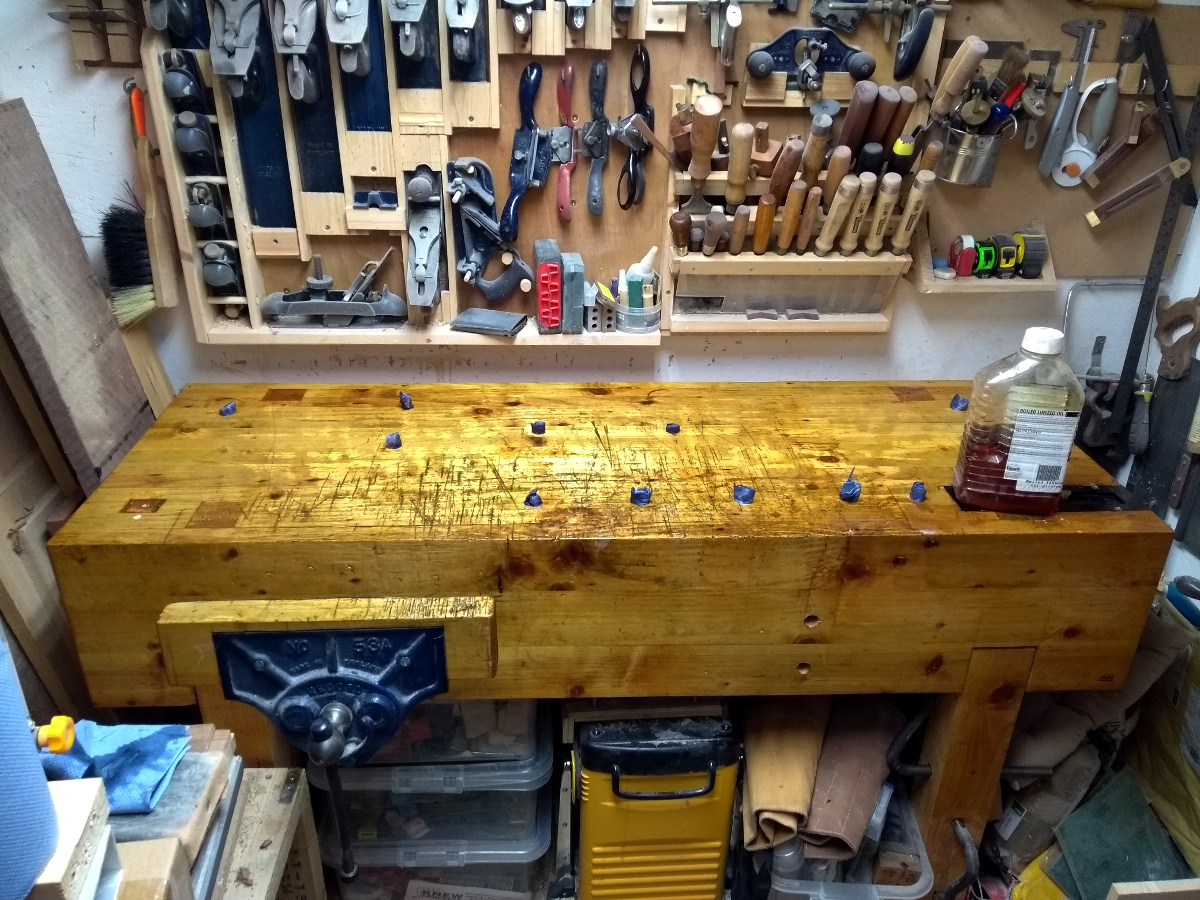
Took a few days to get back into the shed after dousing the bench in BLO. I thought it’d be dry by now. Nope, still had a small film of oil on top. Not gummy, it’s just that it’s been so cold (-4C last night I think) that the BLO hadn’t started to cure yet. So I wiped off the excess again (whatever’s penetrated into the wood will cure in its own time, and that should be the majority of it) and got on with the small shop jobs that have been piling up.
First though, new toy…
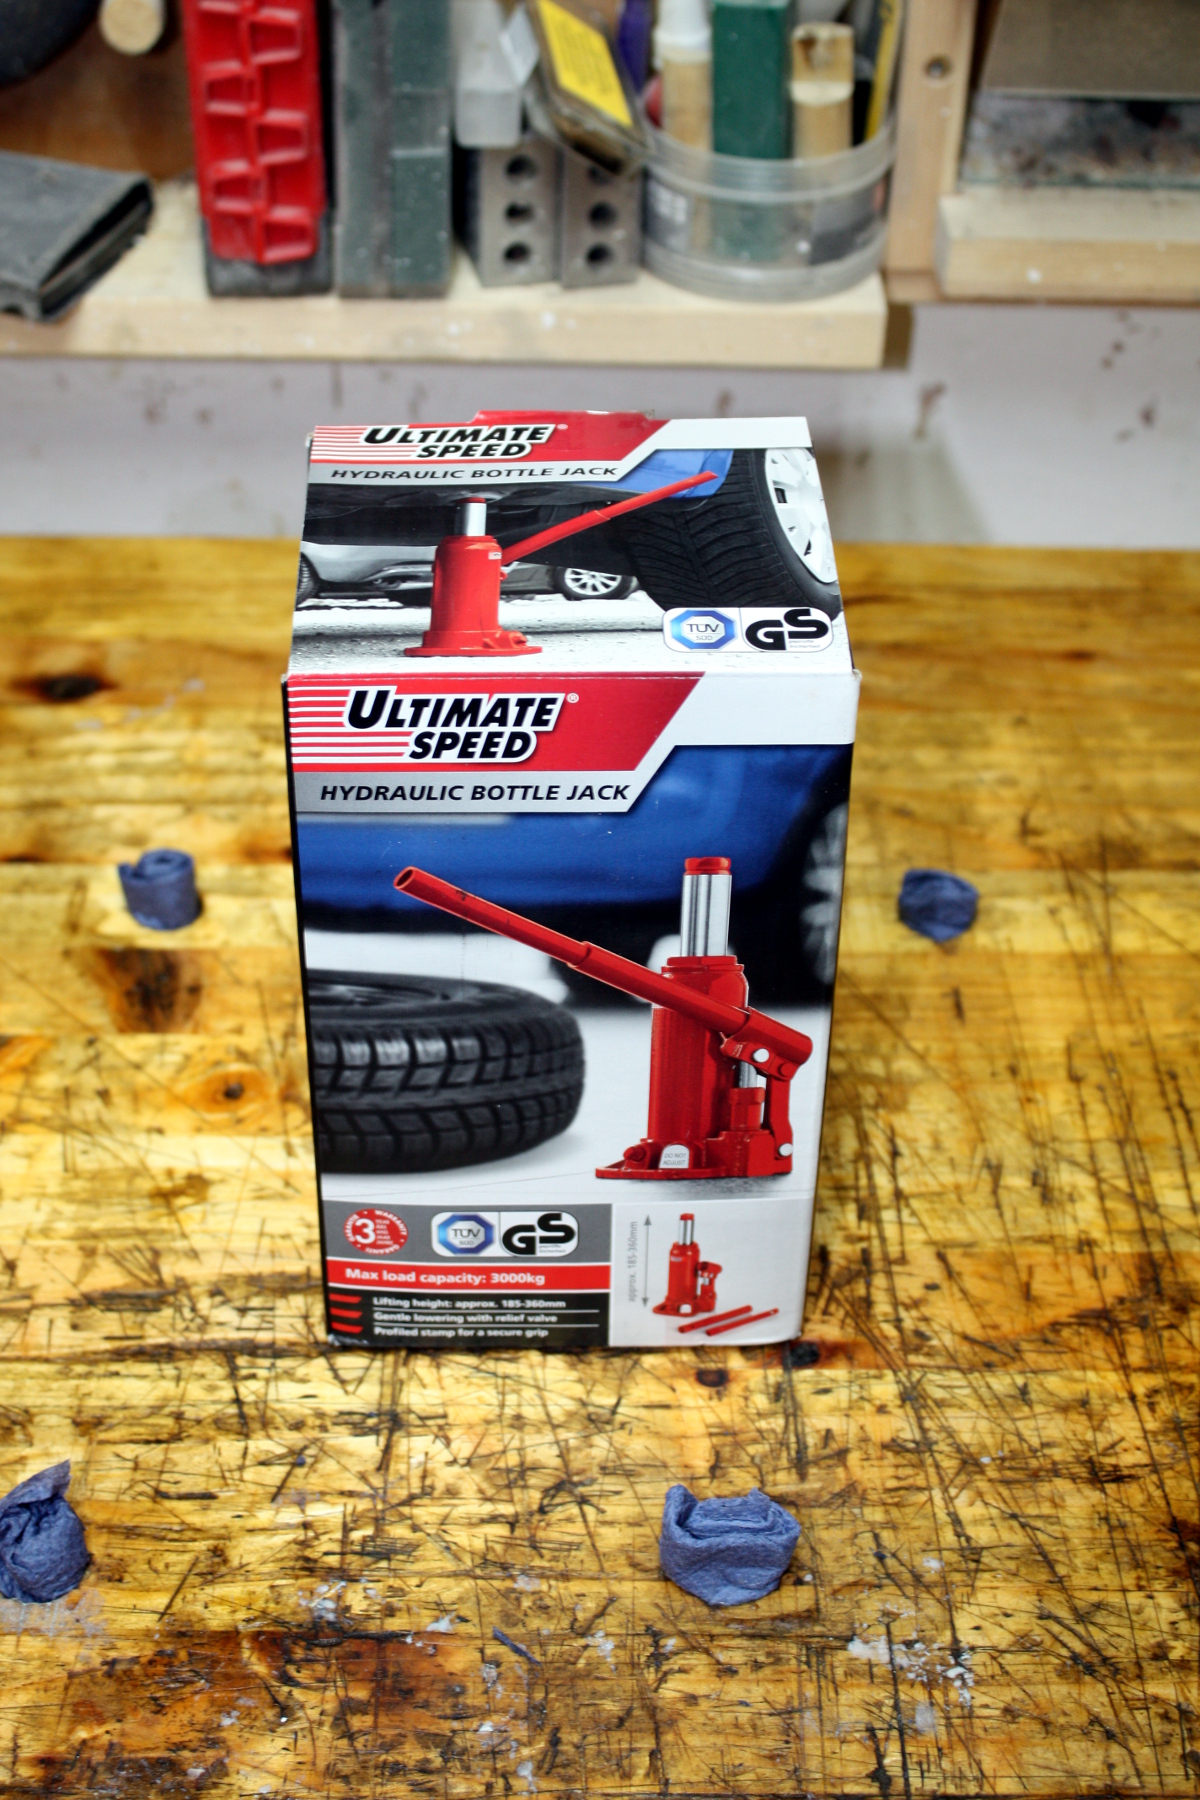
I have no idea what I’ll use it for, but it’s a bottle jack. Thousand and one uses. €13 in lidl at the moment and 3000kg load and just over seven inches tall. Dinky little thing. Anyway, set that aside and onwards…
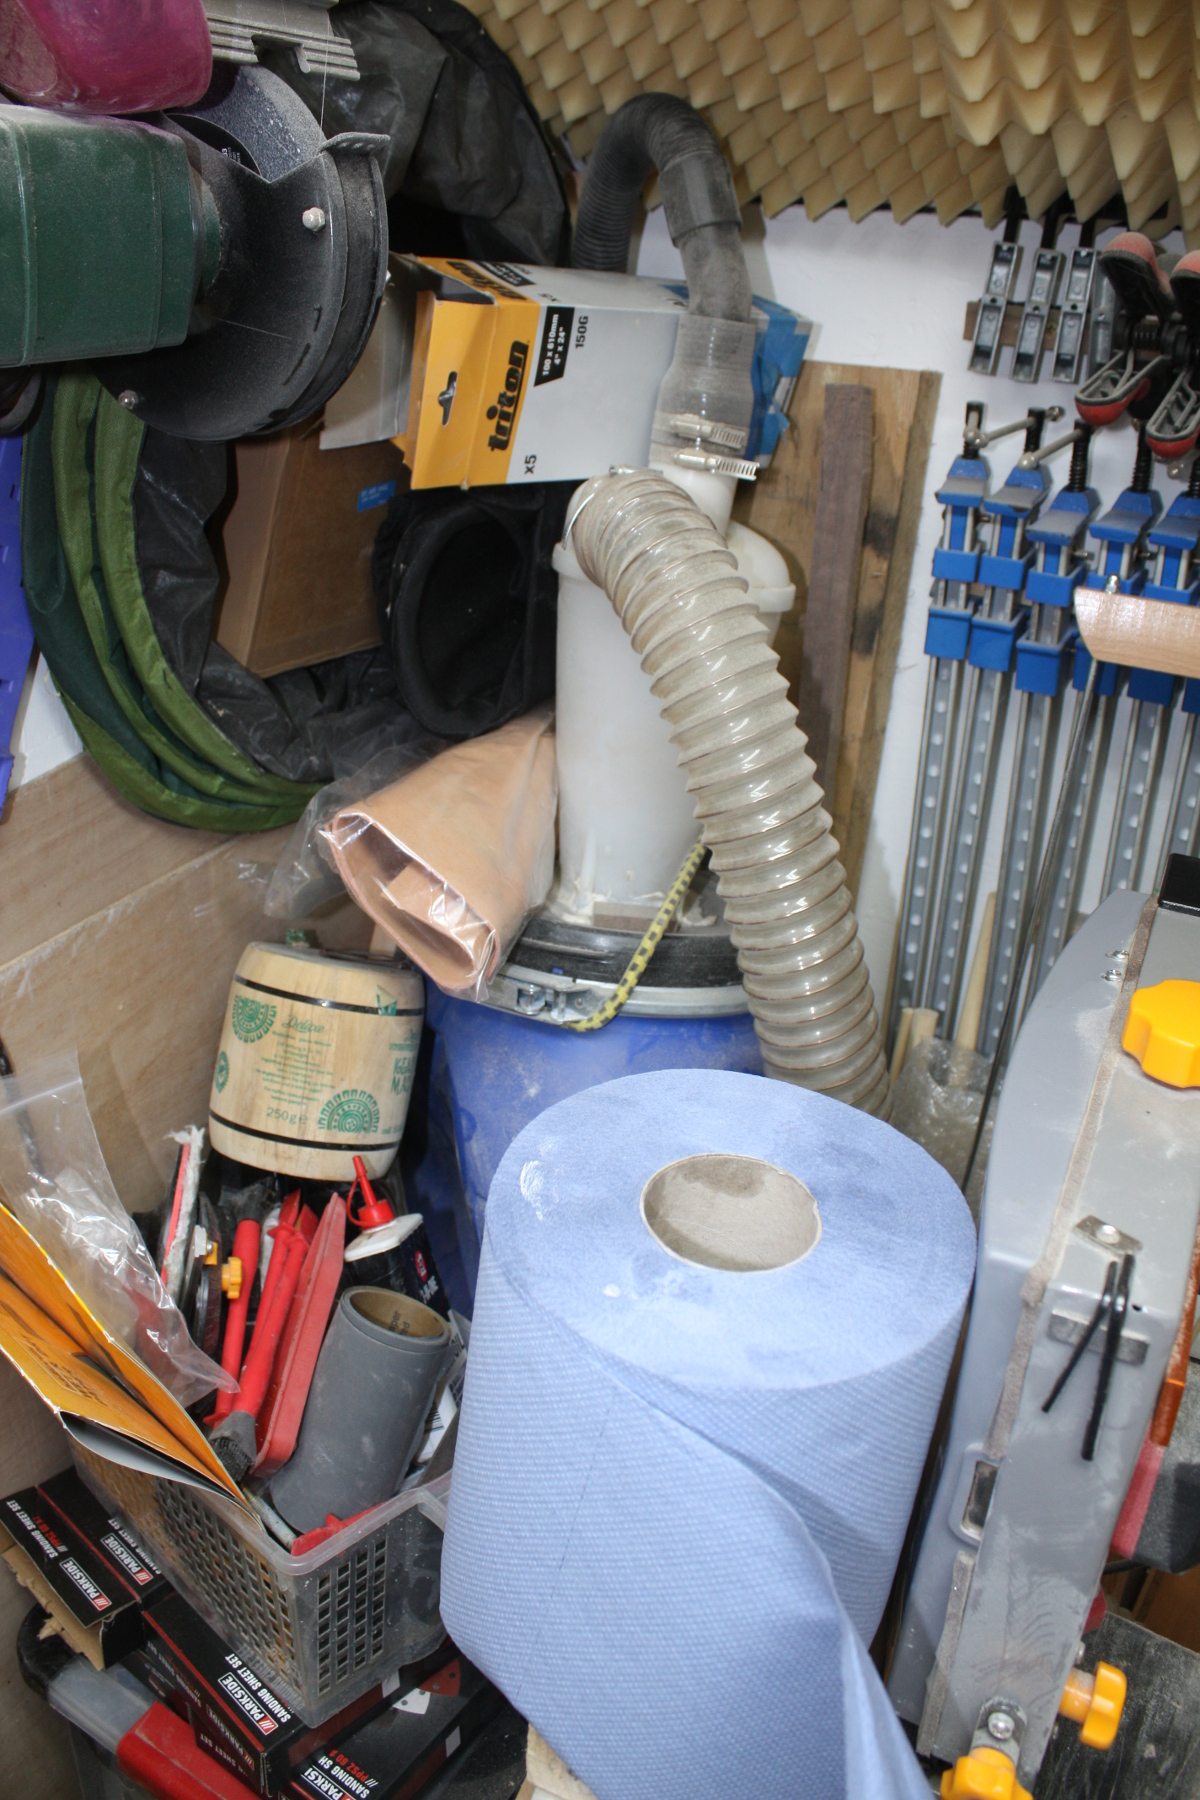
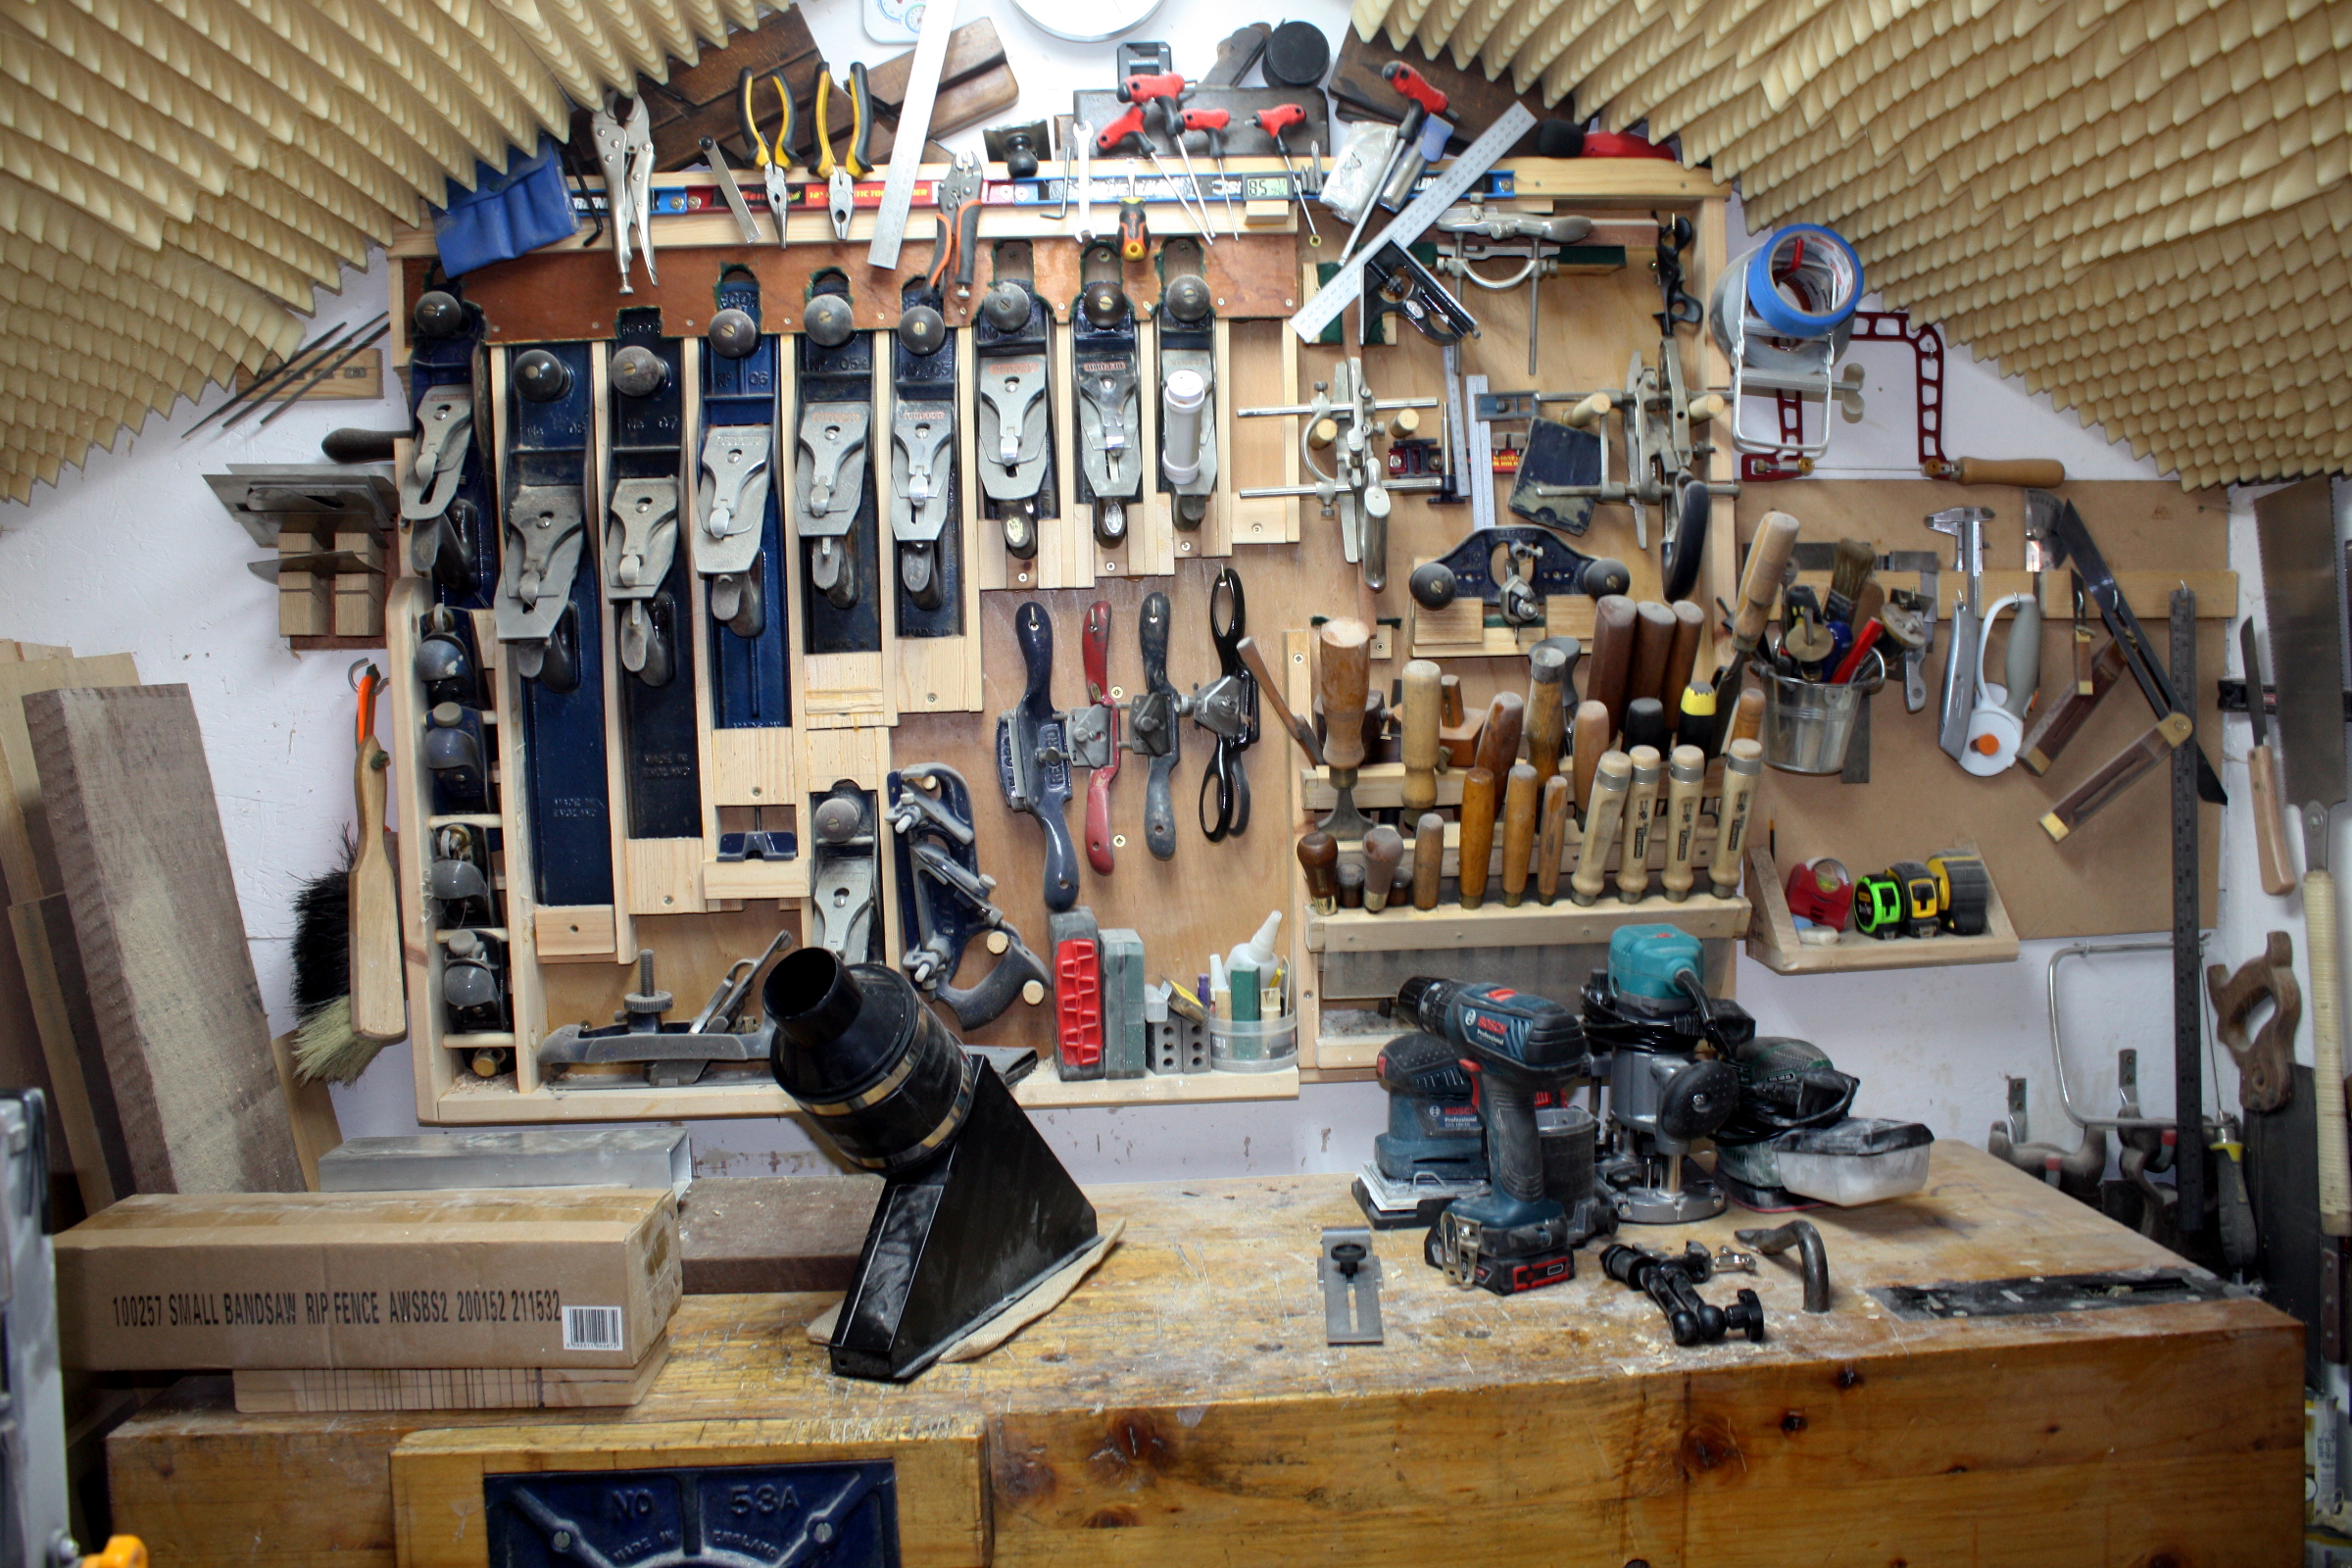
Some serious tidying up needed here. I won’t get to it tonight, but I did manage to open the cyclone and check its levels (about 20% full) and pop the sides back out and put in a brace to stop them being pulled in again. And took measurements of the space available and the size of the cyclone, the shop vac powering it and the box of finishing supplies that needs to go into a drawer of sorts (I’ll have to do drawers for the stuff under the bench as well, the plastic tubs were only ever a temporary solution and they’re starting to crack and break under the strain). Some sketching to do in my head and then I’ll get to it shortly.
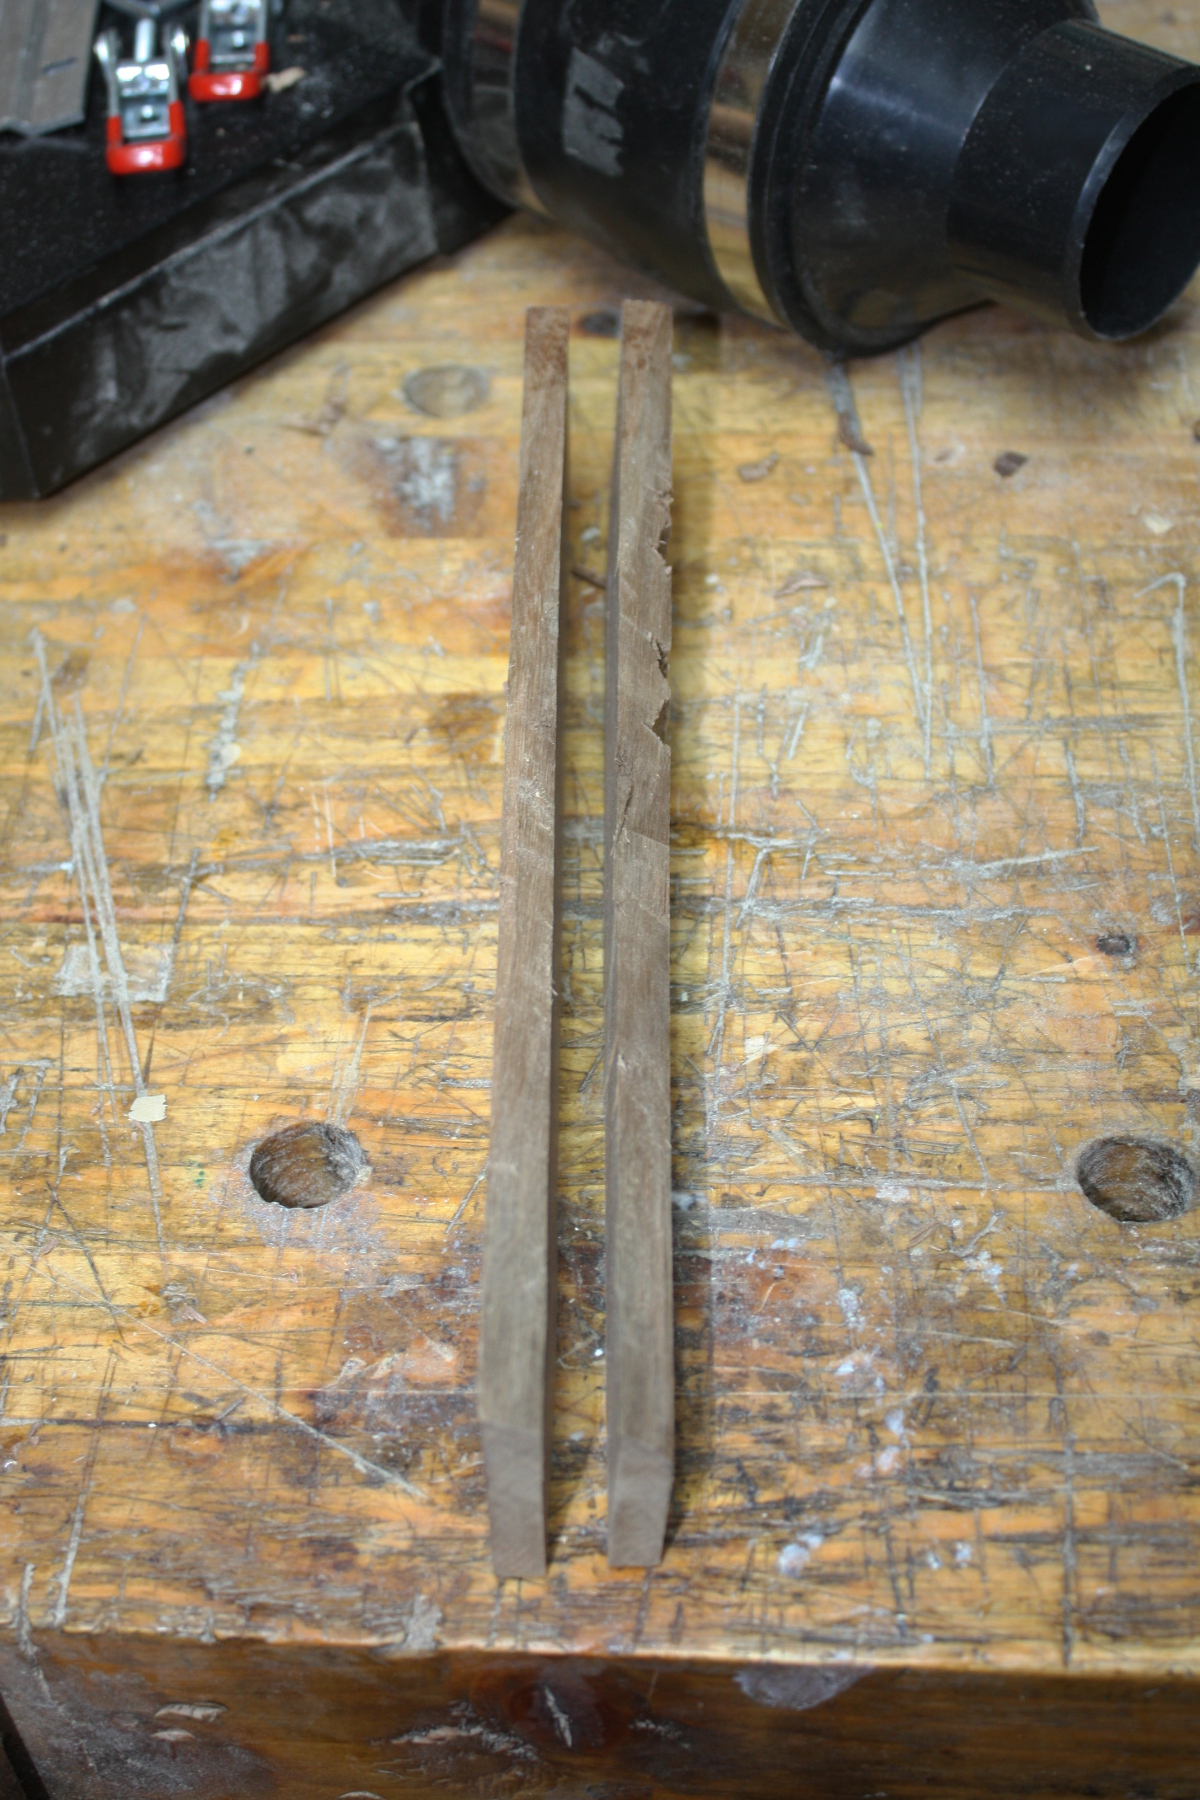
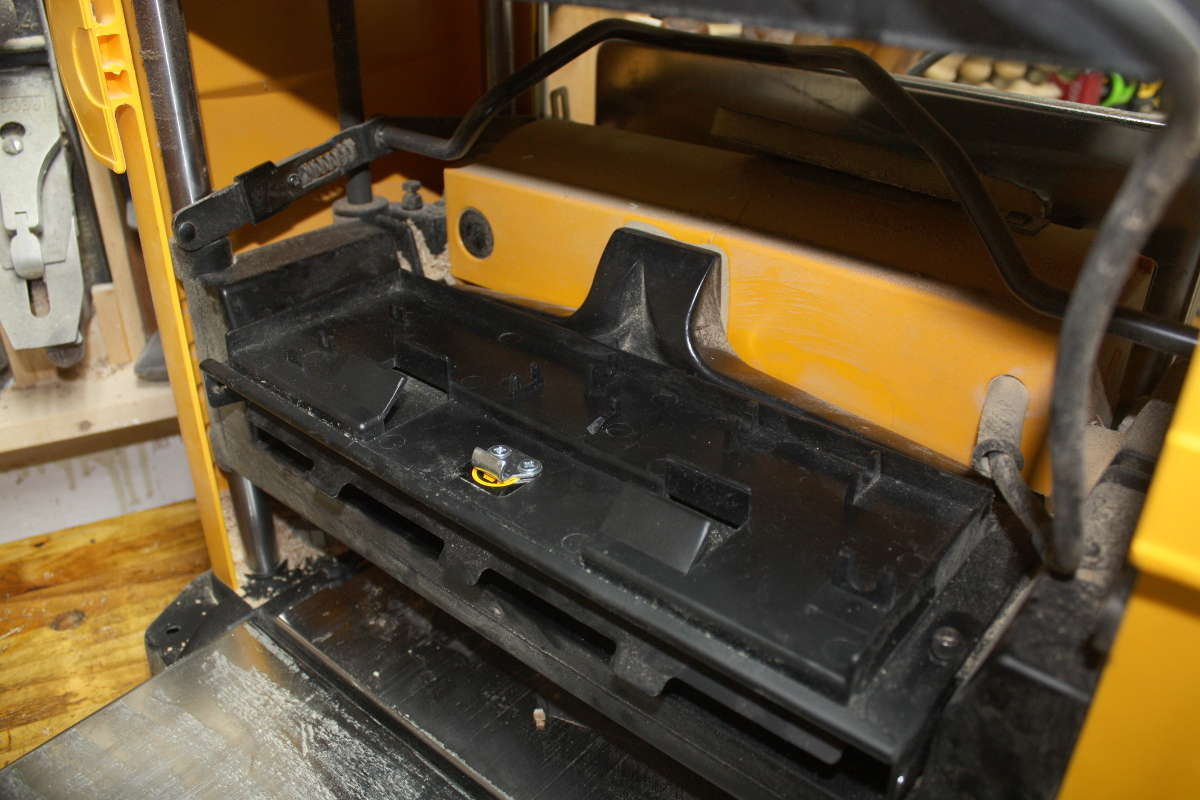
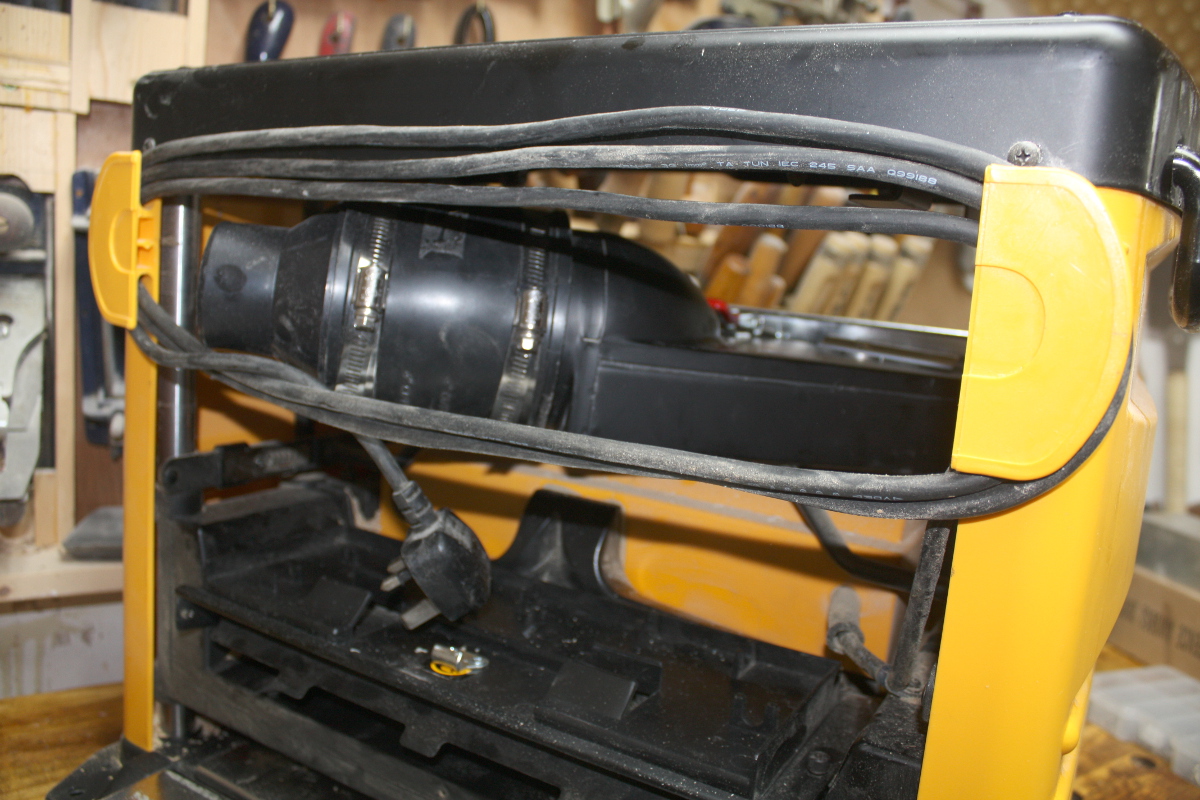
First, this is on the bench and has been for about two years now….
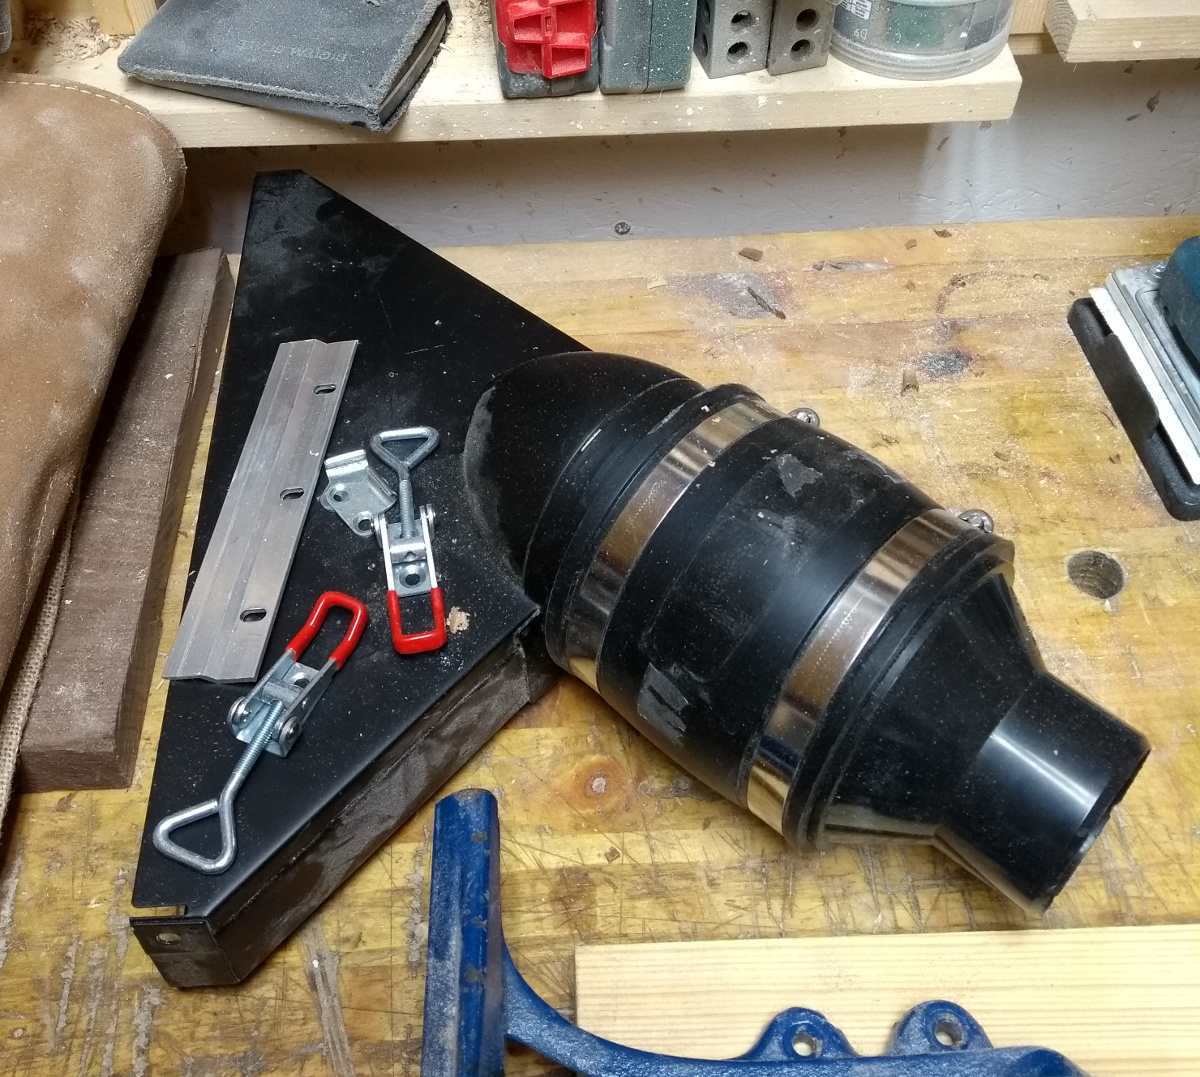
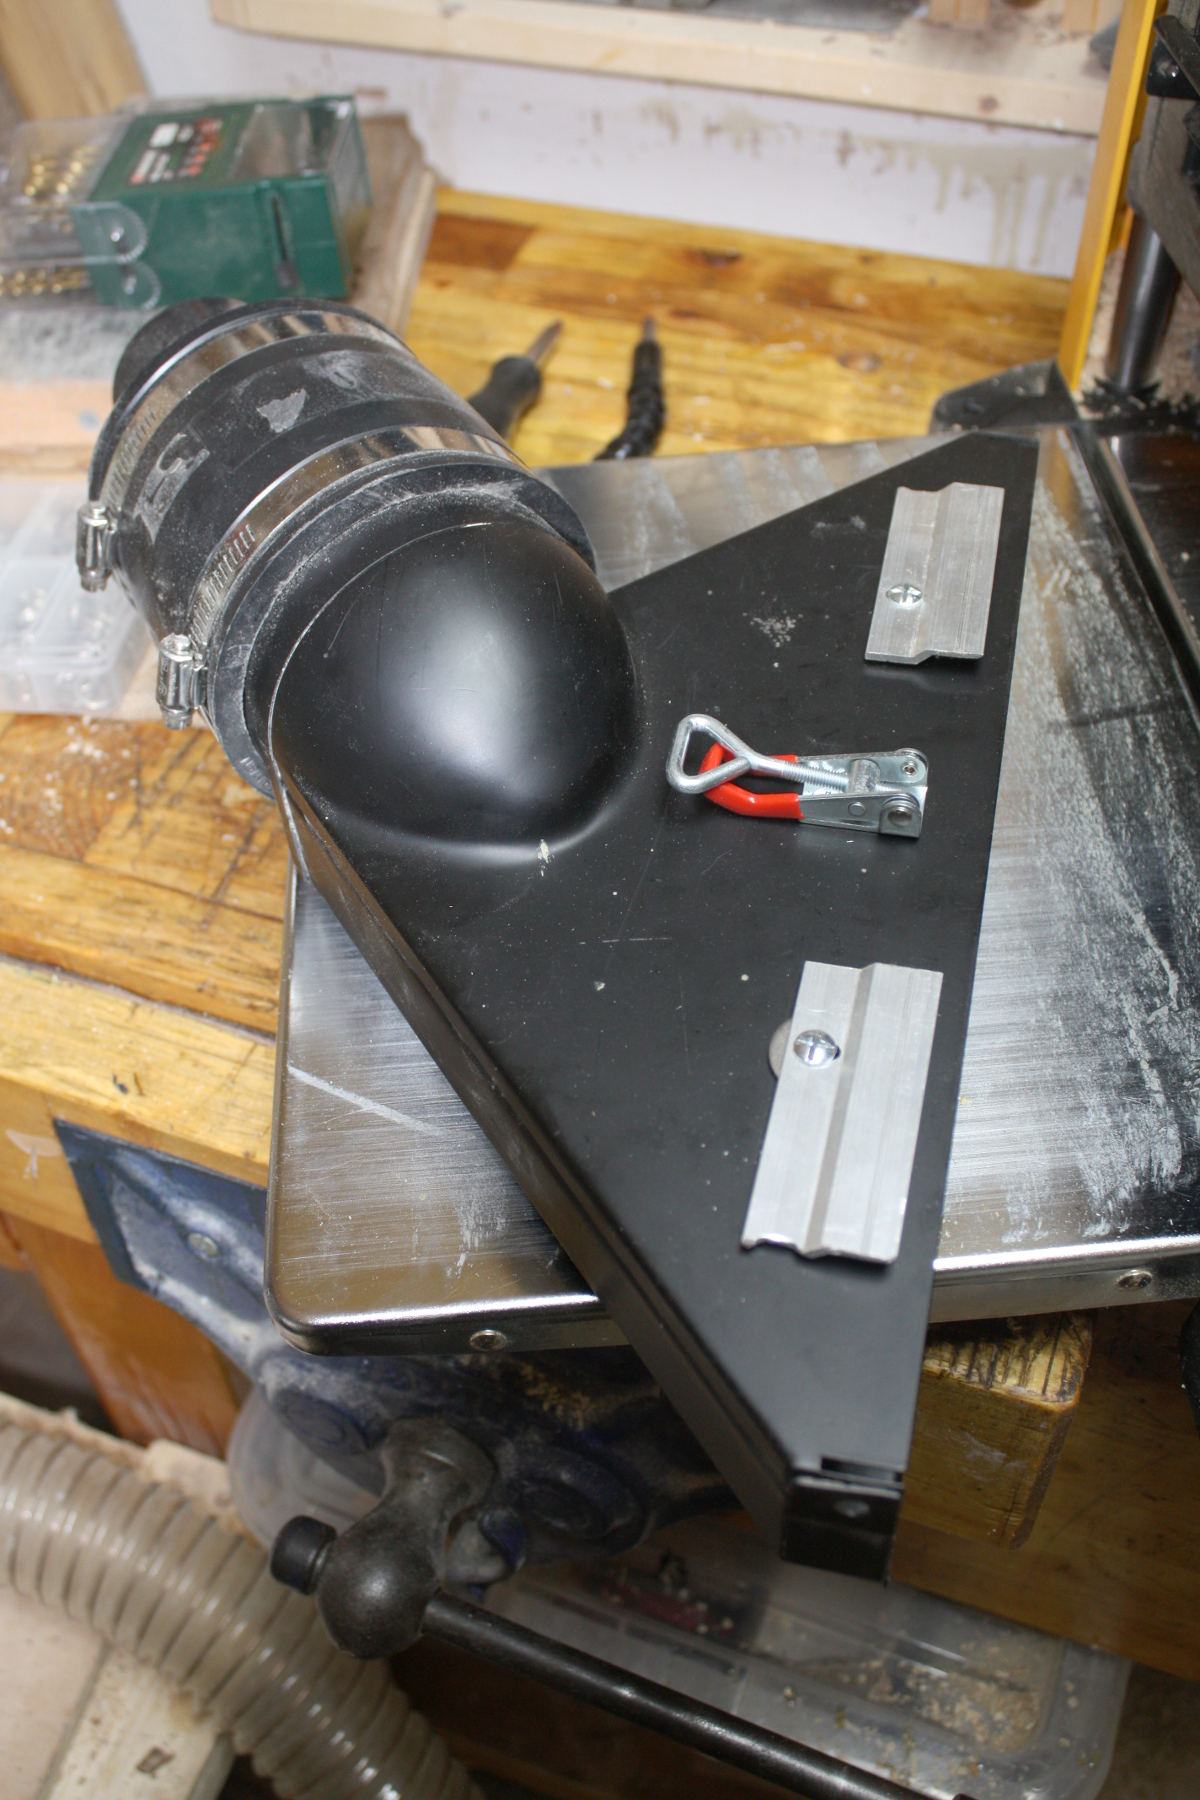
So out with the metal drill bits for the first time in a long time, and I cut the z-clip in half with the bandsaw and deburred it with a handfile, then screwed the dust hood into place by the really awkward three screws on the sides and underneath that are DeWalt’s idea of how it should work; and arranged clips and centerpunched for bolt holes. Had to take out a plate from the planer to attach the actual latch rather than disk drilling into something you shouldn’t drill into…
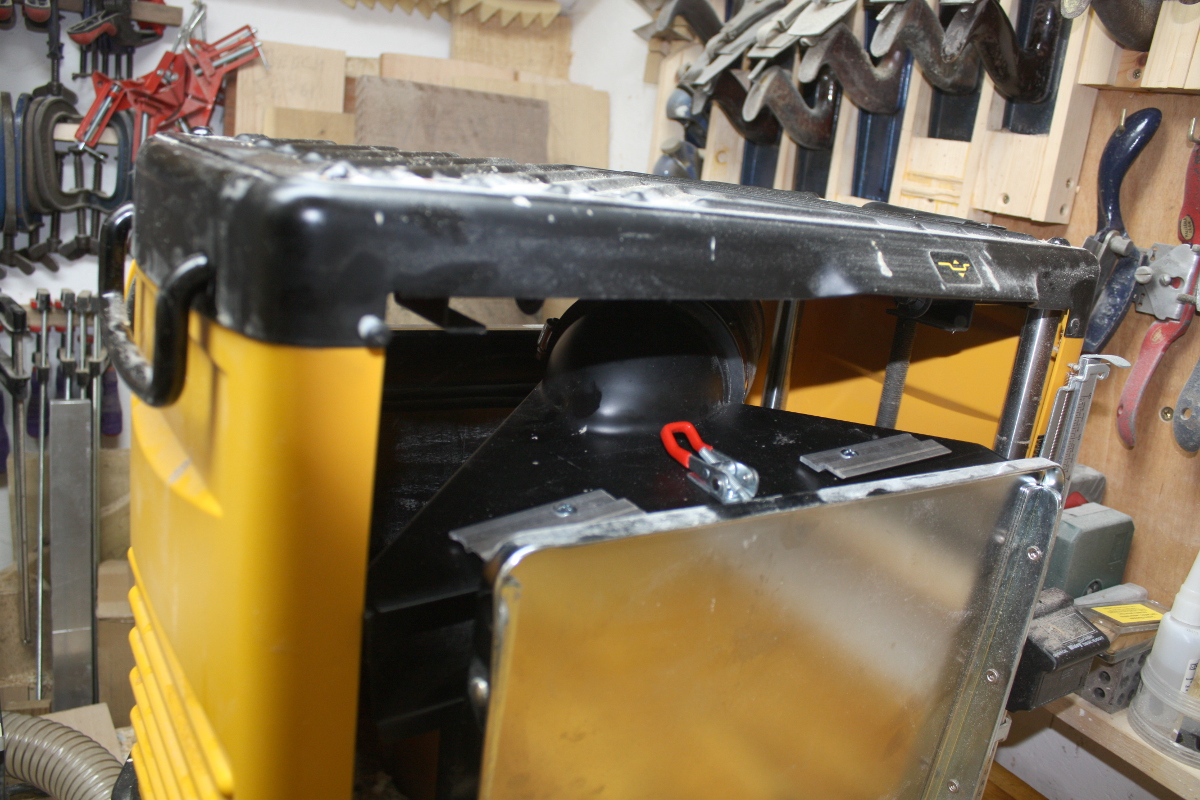
Bit of faffing about with taking the hood off and on a few times to figure out placements and finally had the hardware installed.
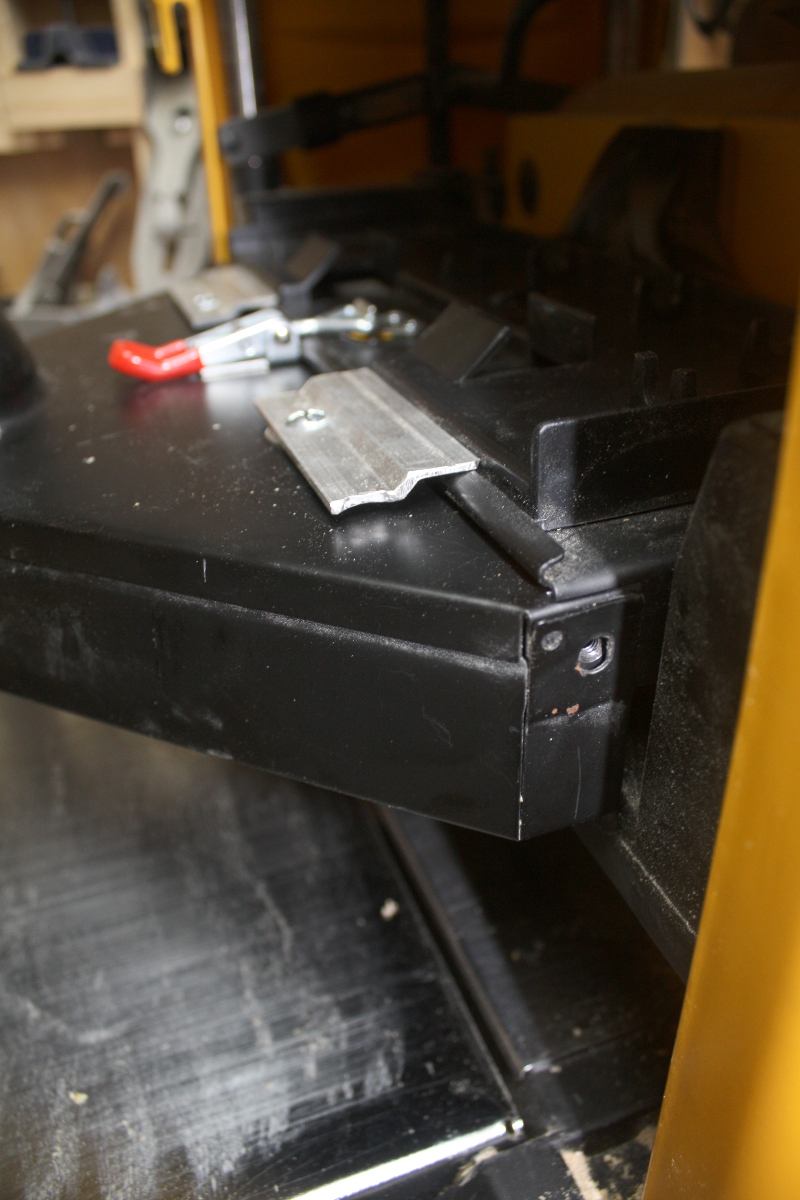
Now when I want to attach the dust collection hood, I can just push it into place and the latch holds it there:
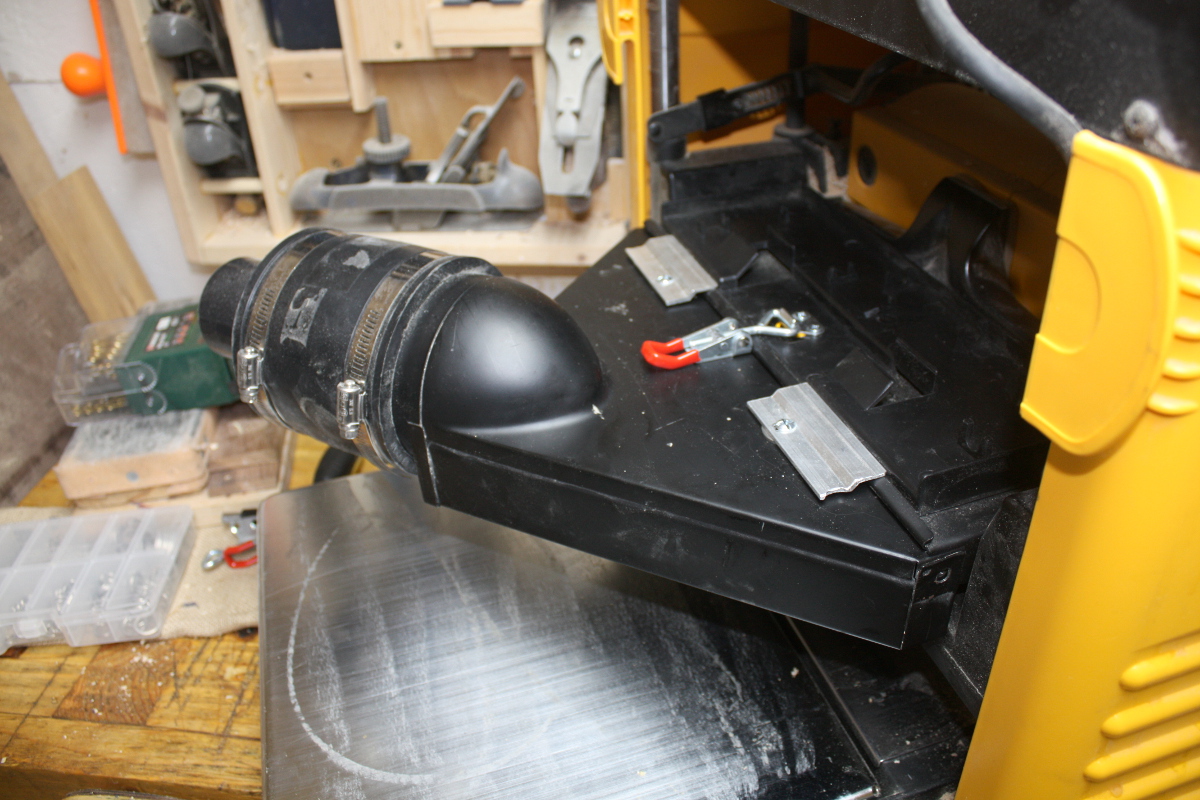
I have less than a huge amount of faith in my show vac and cyclone to keep up with this thing’s production of shavings mind you, but at least this beats the fiddly screw arrangements. At some point I’ll get a 100mm extractor from Rutlands or somewhere I think. But I might as well try this for now. Compared to the mess when I don’t do this, it has to be worth trying at least.
Also, now it stores away somewere convenientish. Sortof. I mean, if it doesn’t work, it won’t be much good at all and I’ll stash it in the attic until I get a 100mm extractor I suppose, though your guess is as good as mine about where that would go. At least it’s done; I’ve been meaning to get to this for something like two years now.
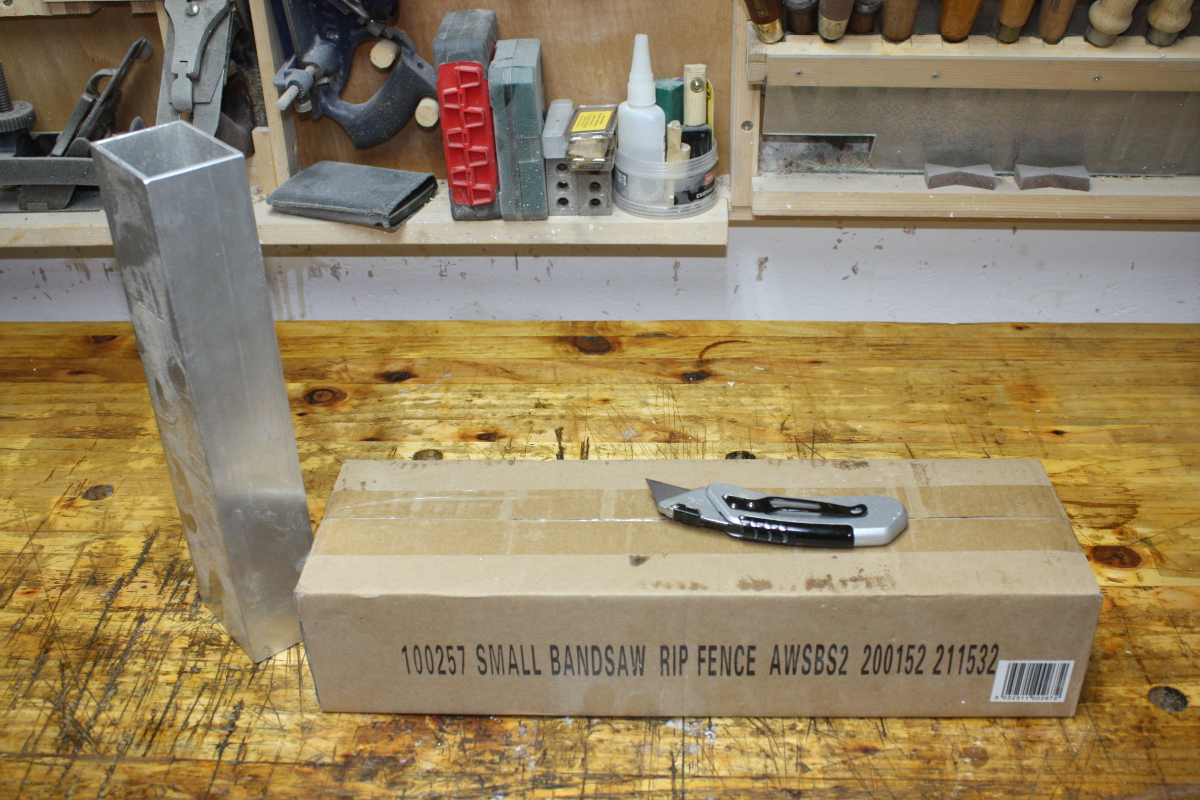
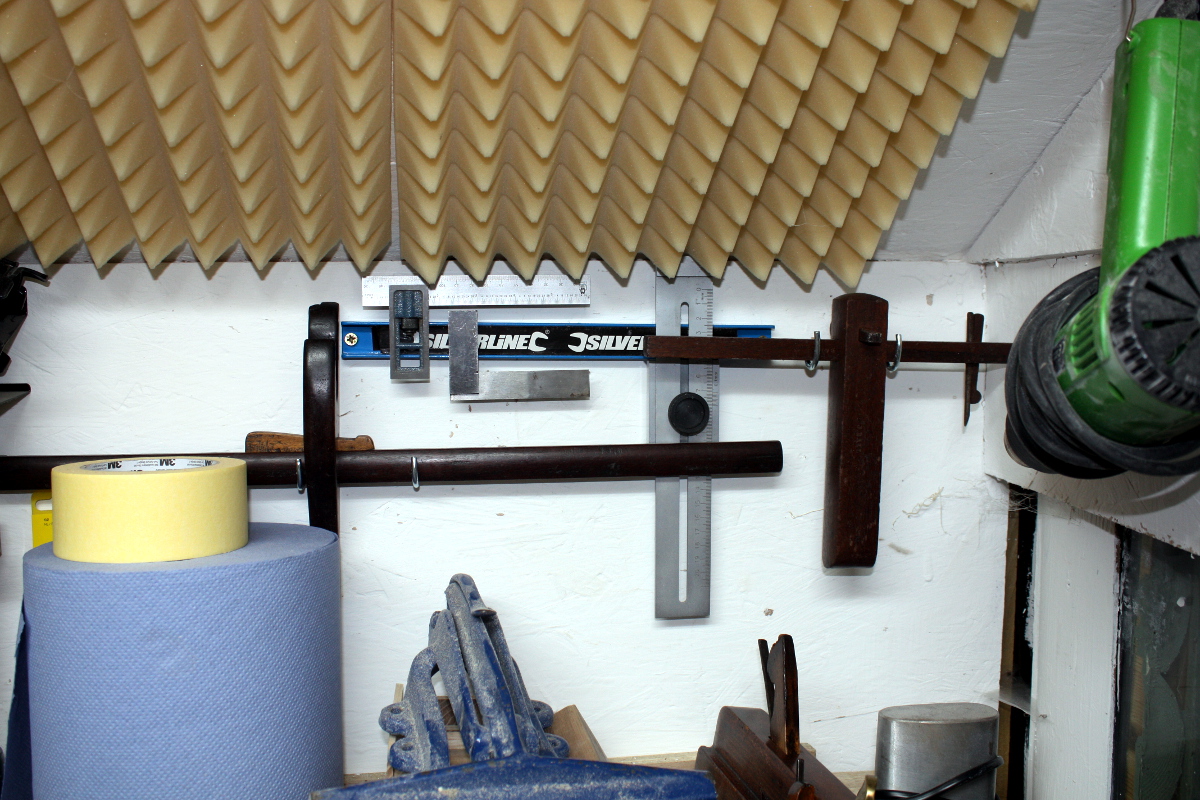
Next up, I got a new fence for the bandsaw. The aluminum extrusion I’ve been using is fine, but fiddly to set up. Peter Millard installed this fence on this bandsaw and seemed to have good luck with it, so I figured it was worth a try…
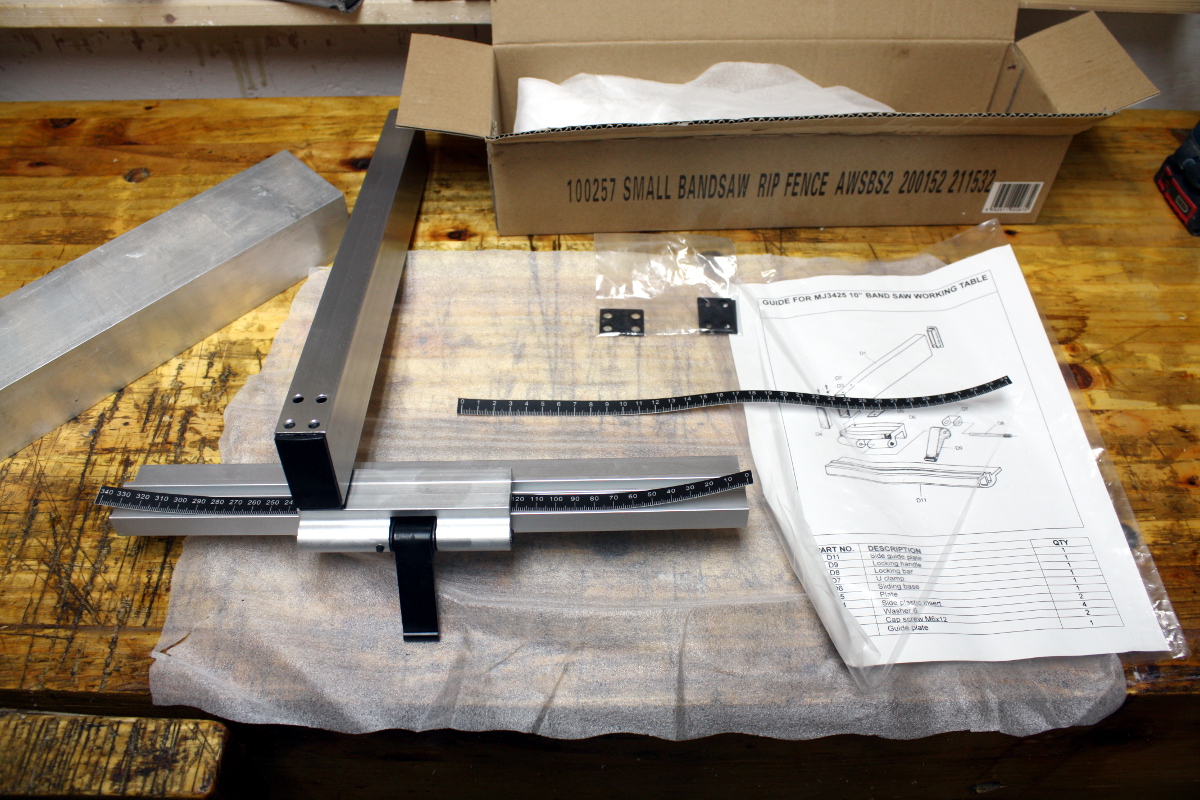
But it’s after nine by now so not a time to drill metal. I’ll rewatch Peter’s video and figure out what I’ll use to duplicate the install. And I’d rather get this done sooner than later, I have more toys to play with that have been hanging around for a while…