07
Jun 18

Fettling

So the repair job from yesterday went reasonably well. There’s a lot of excess CA to clean up, that took a few minutes for the face side, and a bit longer for inside the rebate itself. Lots of chisel work, some scraping, and dug out the Record 311 with the nose off and the 077 to fettle things and clean up the rabbet to get a square inside corner. Then cut the rabbet on the other side wall, which took far less time and had no drama to it, then cut the rebate in the top piece and then test fitted it and realised my mistake – by cutting the rebate in the top, I’d introduced a gap where I thought there wouldn’t be one. How I didn’t see that coming I don’t know. So I fudged, and sawed off the rebated part, right through the dovetail joint, and the back panel will do the filling.

And then, fettling. Assemble everything, stare at it, notice one wall is not parallel to the other, figure out which of the three cross-pieces is at fault, knock it all apart, shorten the offending piece (of course it’s the one with the dovetails, so cut them 2mm deeper), reassemble everything and repeat seven or eight times, sneaking up on square gradually.

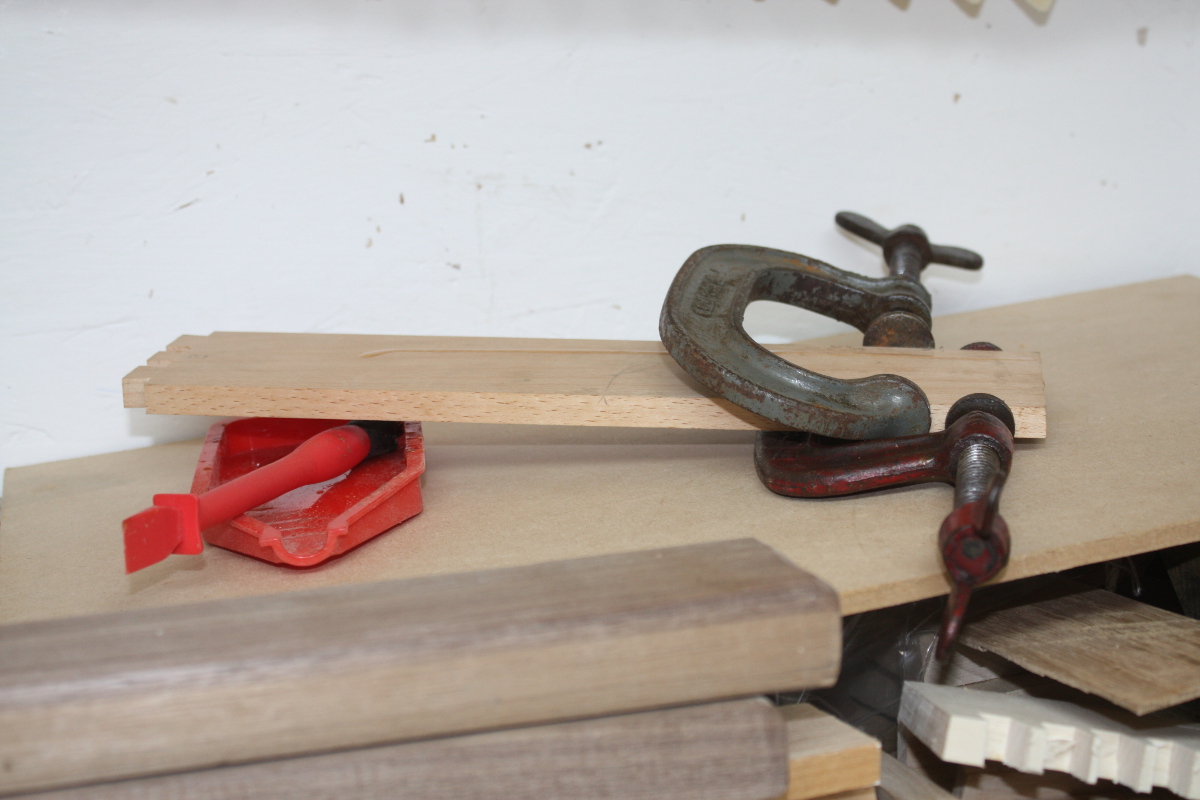
Once I was finally happy with that, I took the panel for the back, squared an edge and an end (didn’t matter if it spelched out on the far side from the squared edge because that’s coming off anyway), and fitted it in place and mark off the far side against the other side wall, and then saw outside that line and plane down to it, and test fit.

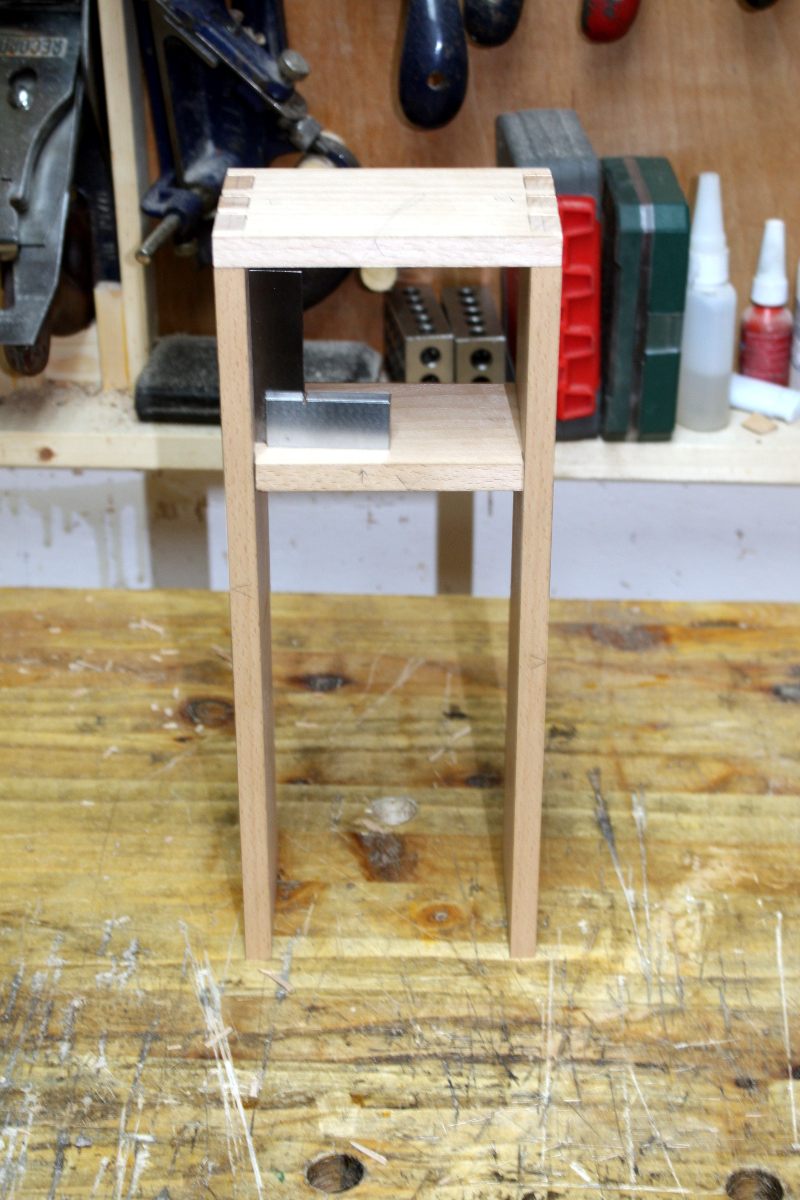
And then do the fettling cycle two or three more times, taking a shaving here and a shaving there. And eventually…

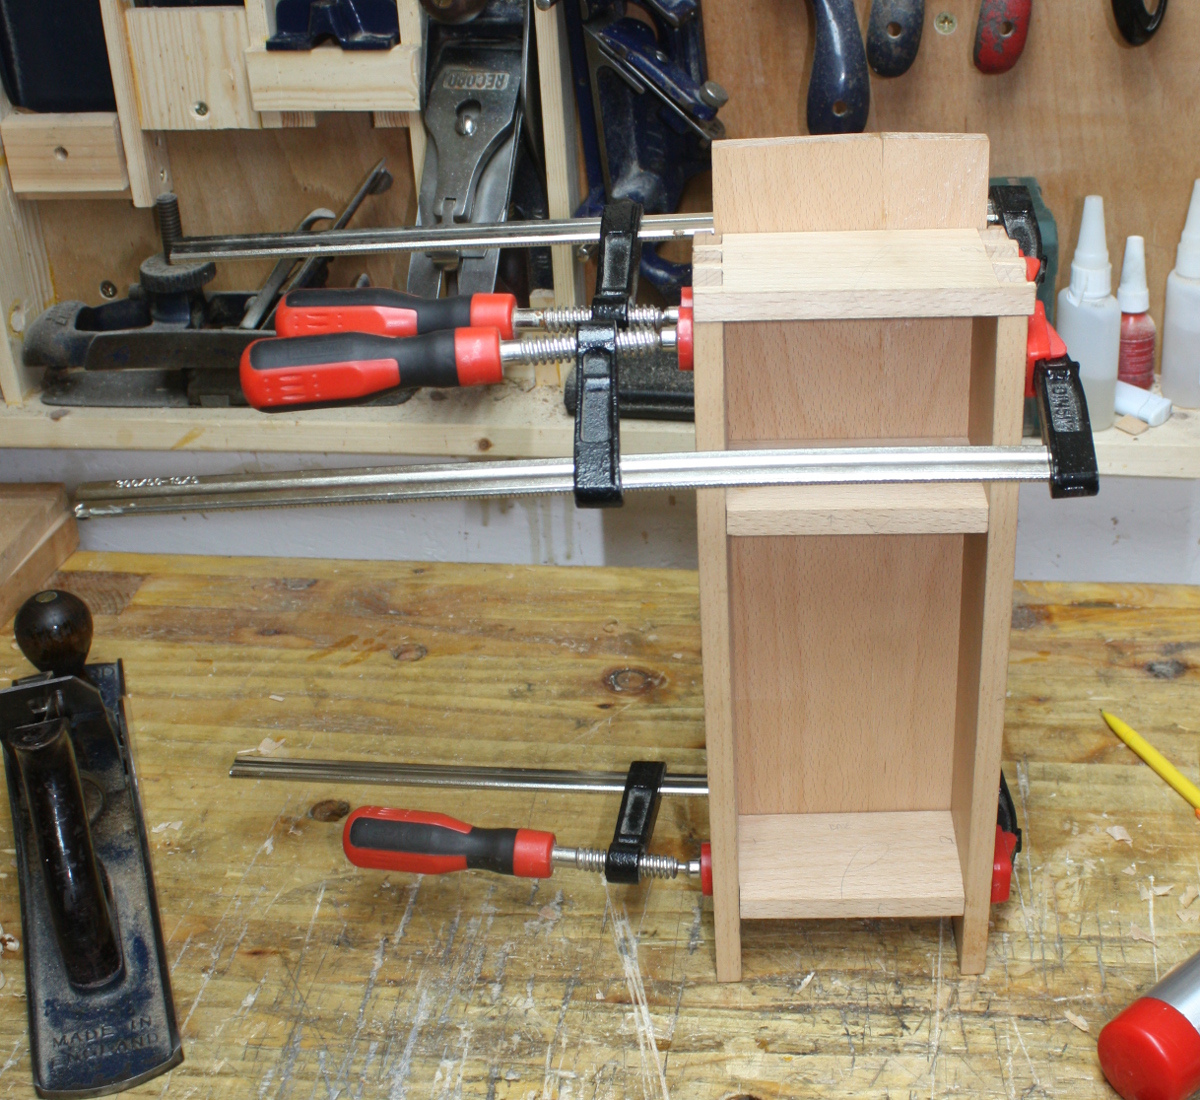
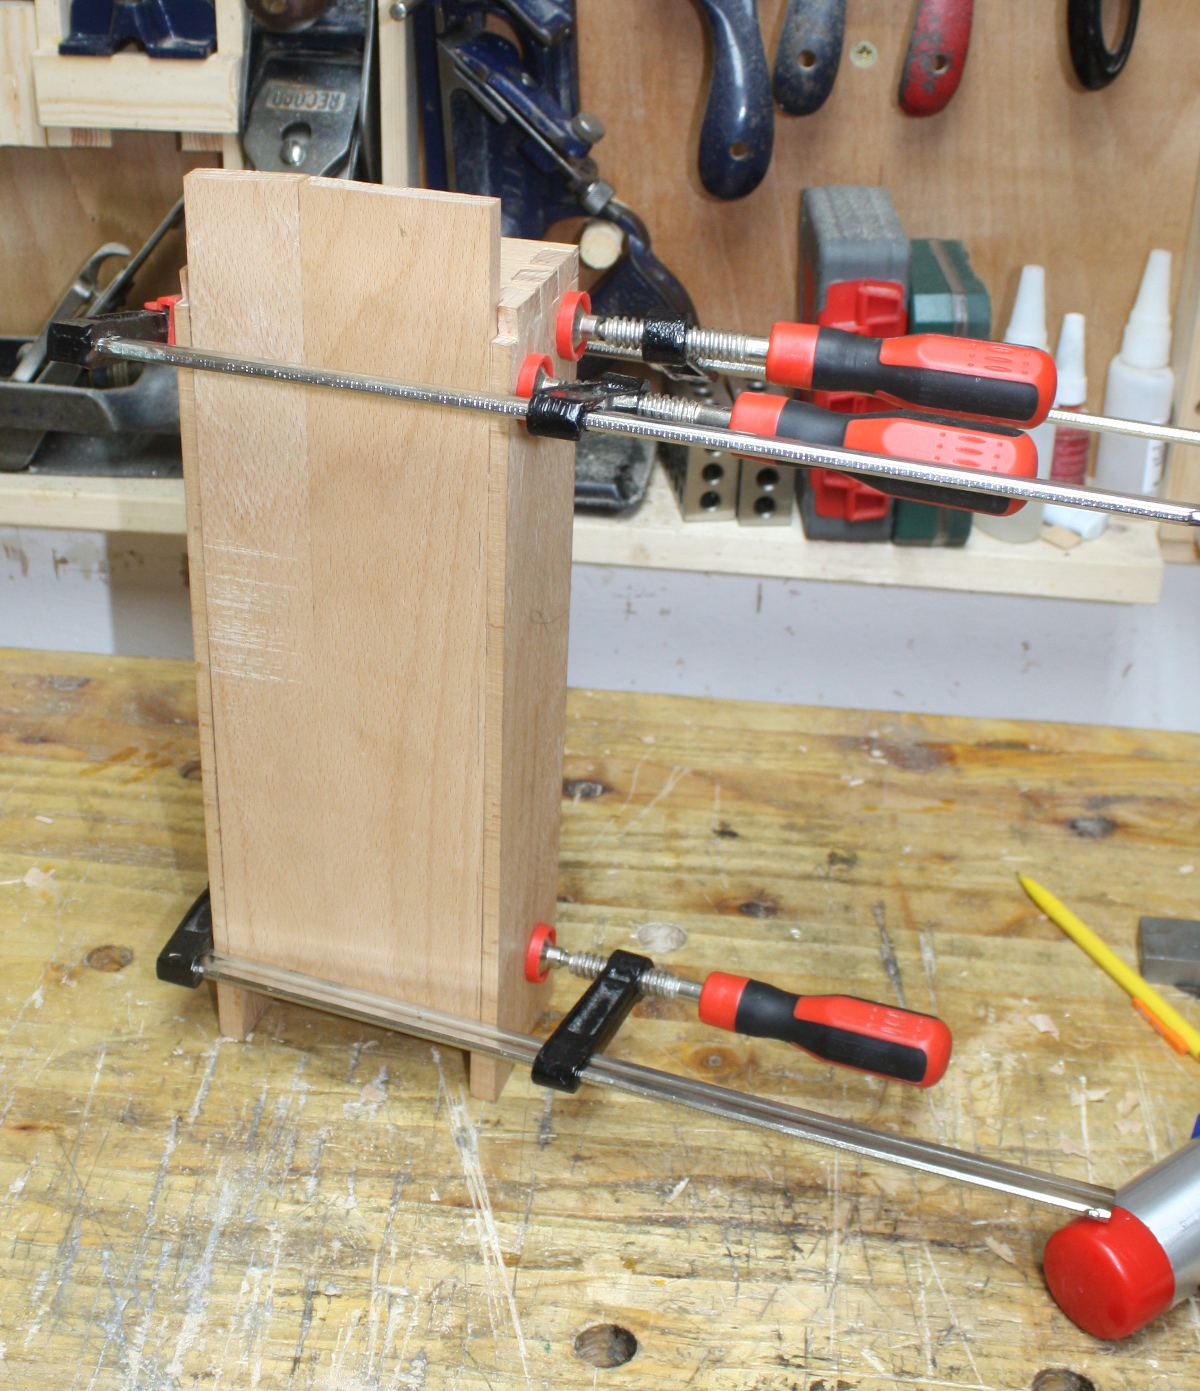
Not terrible. Some gaps here and there, so it’s not perfect, but could be a lot worse. Still have to cut the panel to length, that’s marked out for, but first check it over.

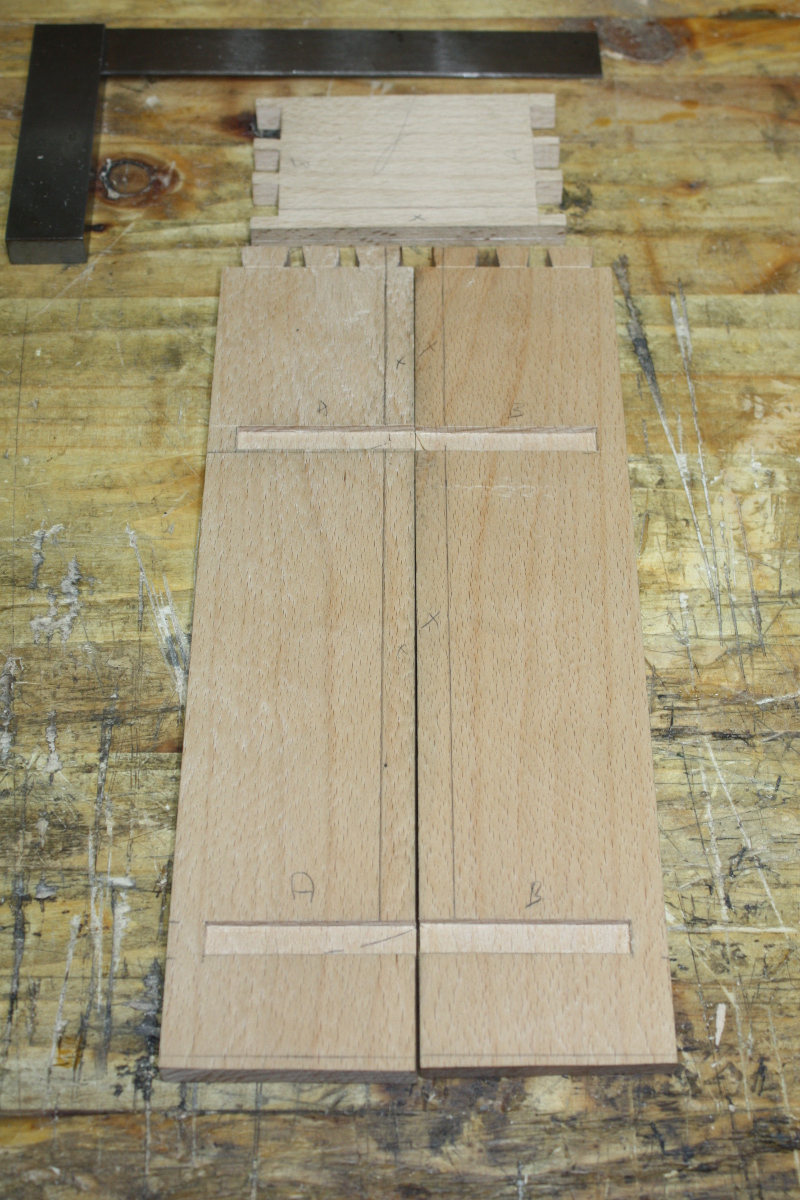
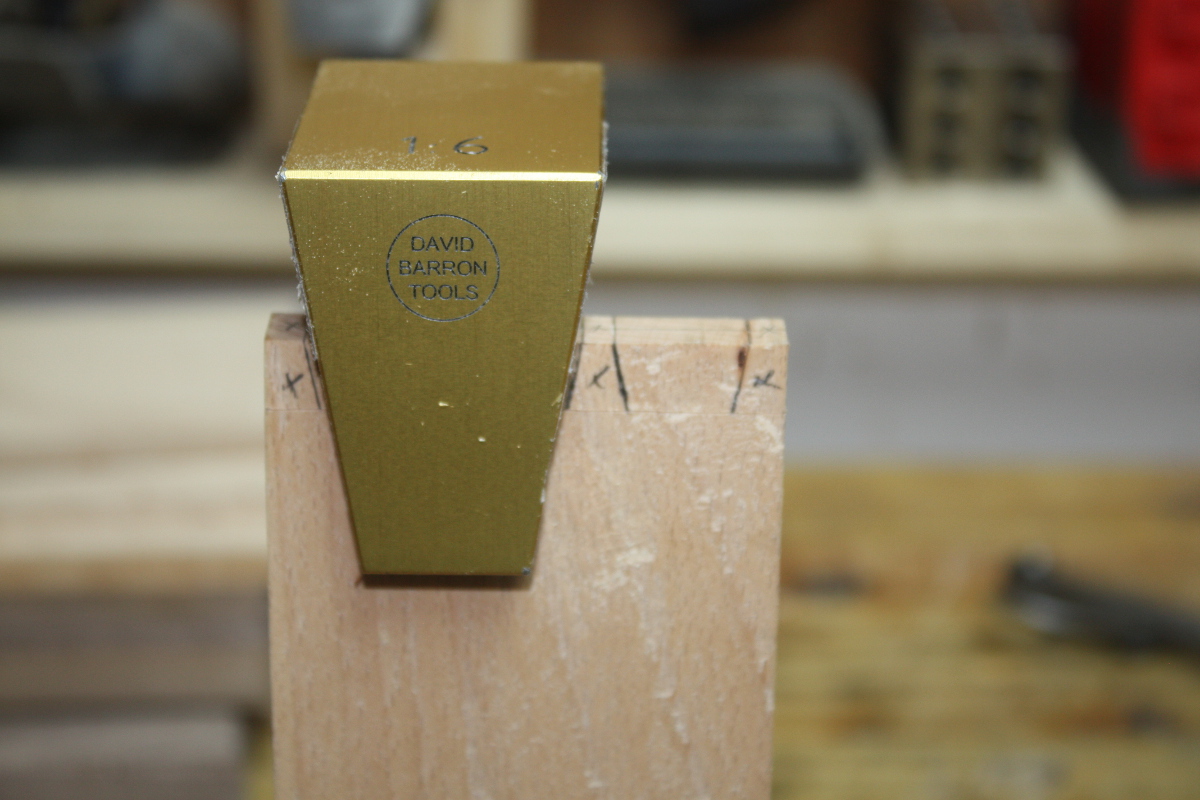
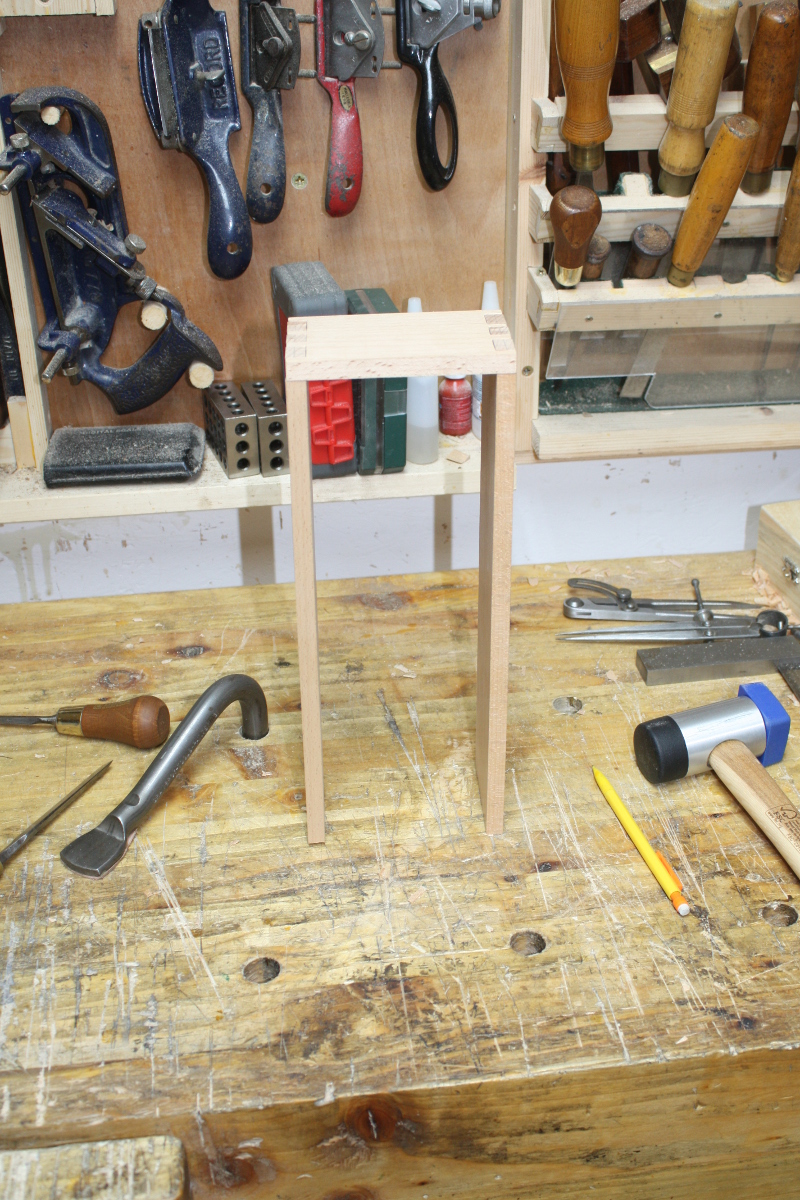
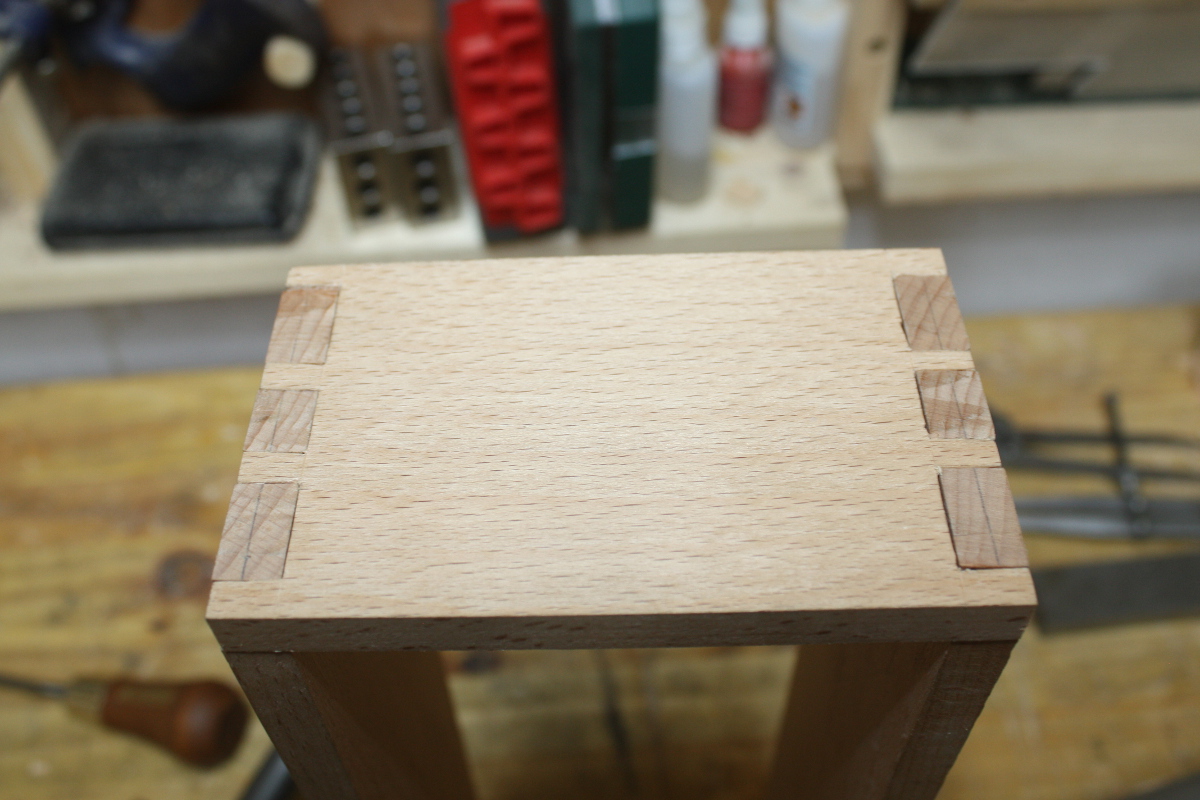
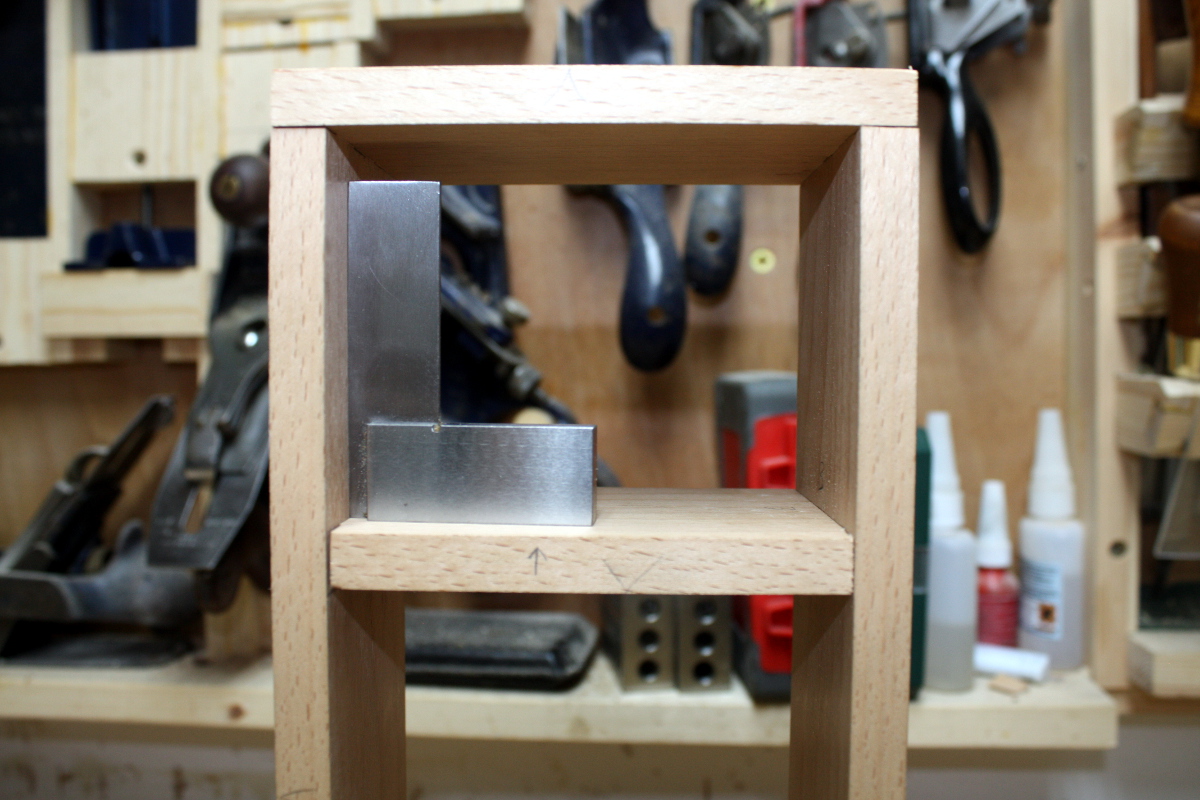
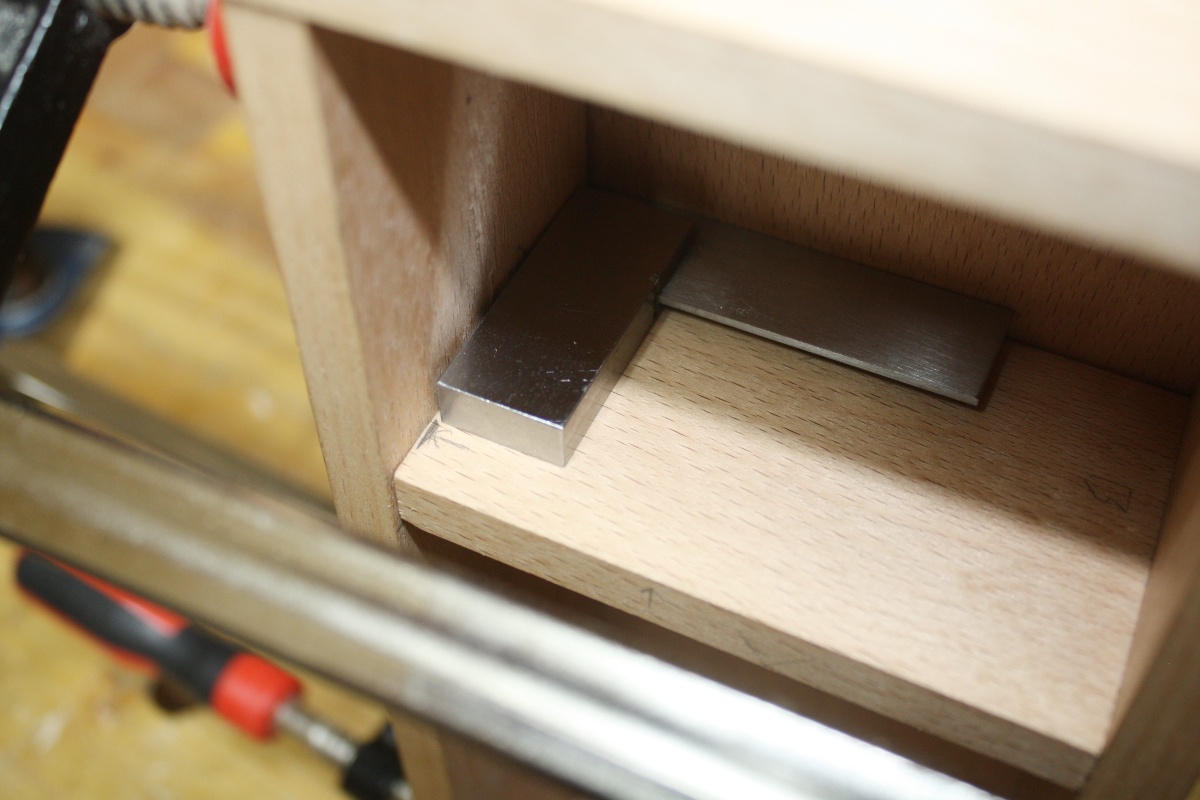
Dovetails close up (mostly). Might need to plane that top piece a bit more yet at the back to let the panel sit better on the left there. And then check for square…

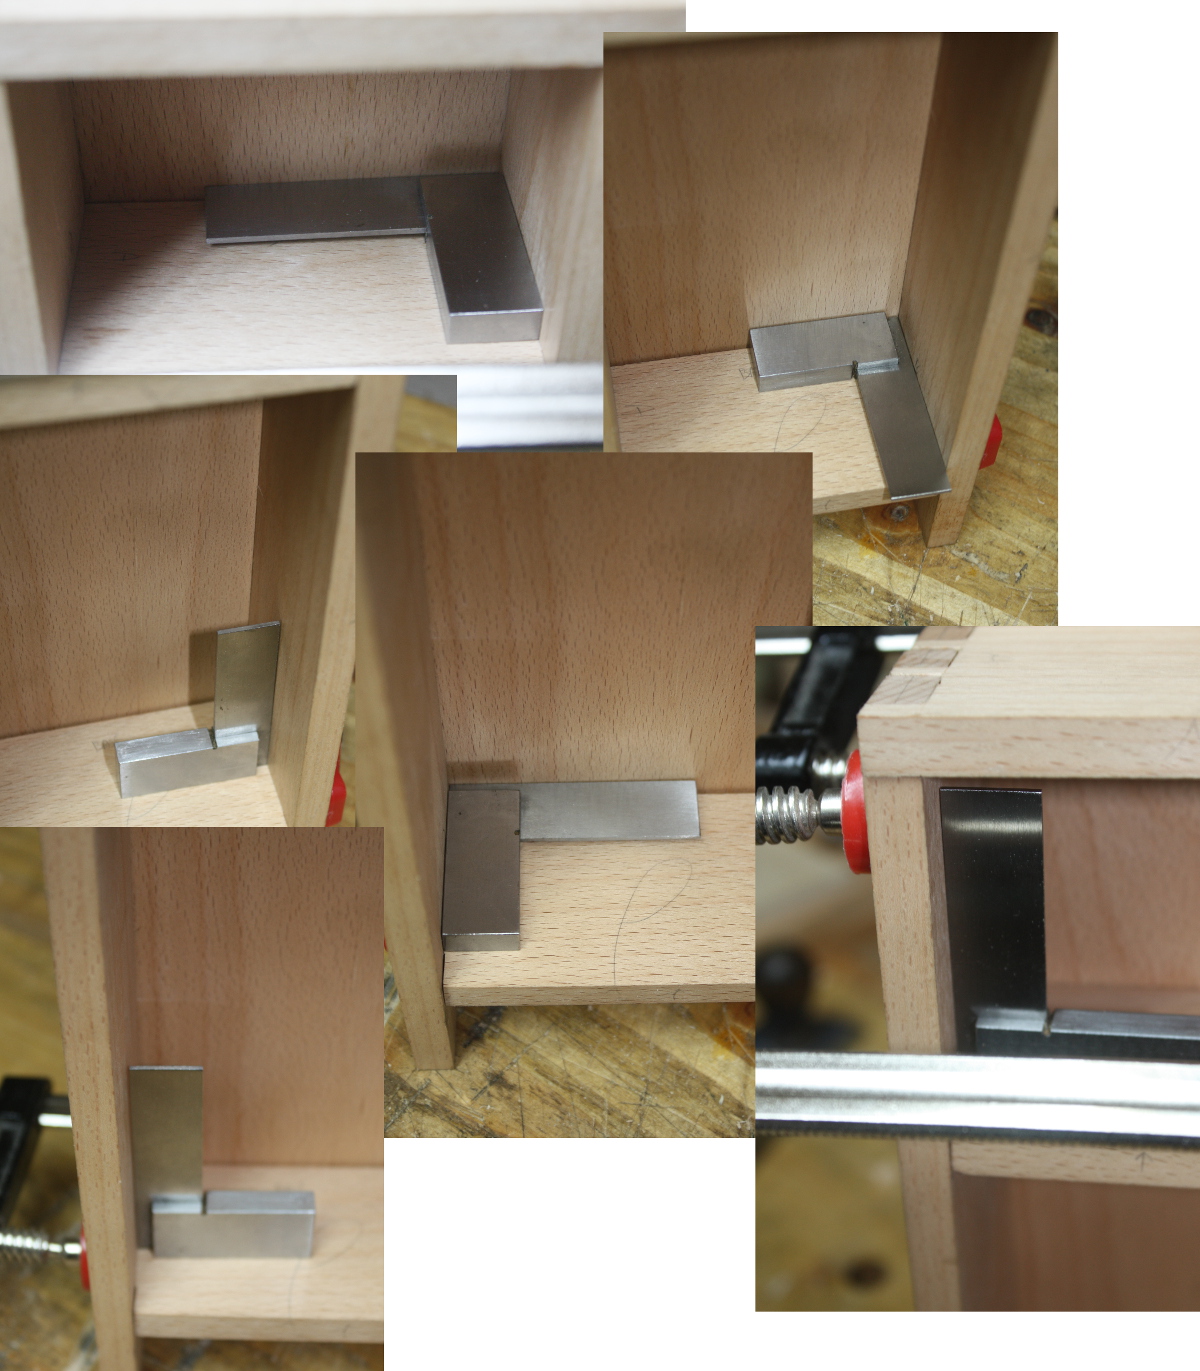
That’s all grand to within 0.2mm or so, which I’m okayish with for now (hey, I’ve never worked in beech before, I’m getting used to it, okay? Plus, that’s rather thin stock, it’s just under a half-inch there).

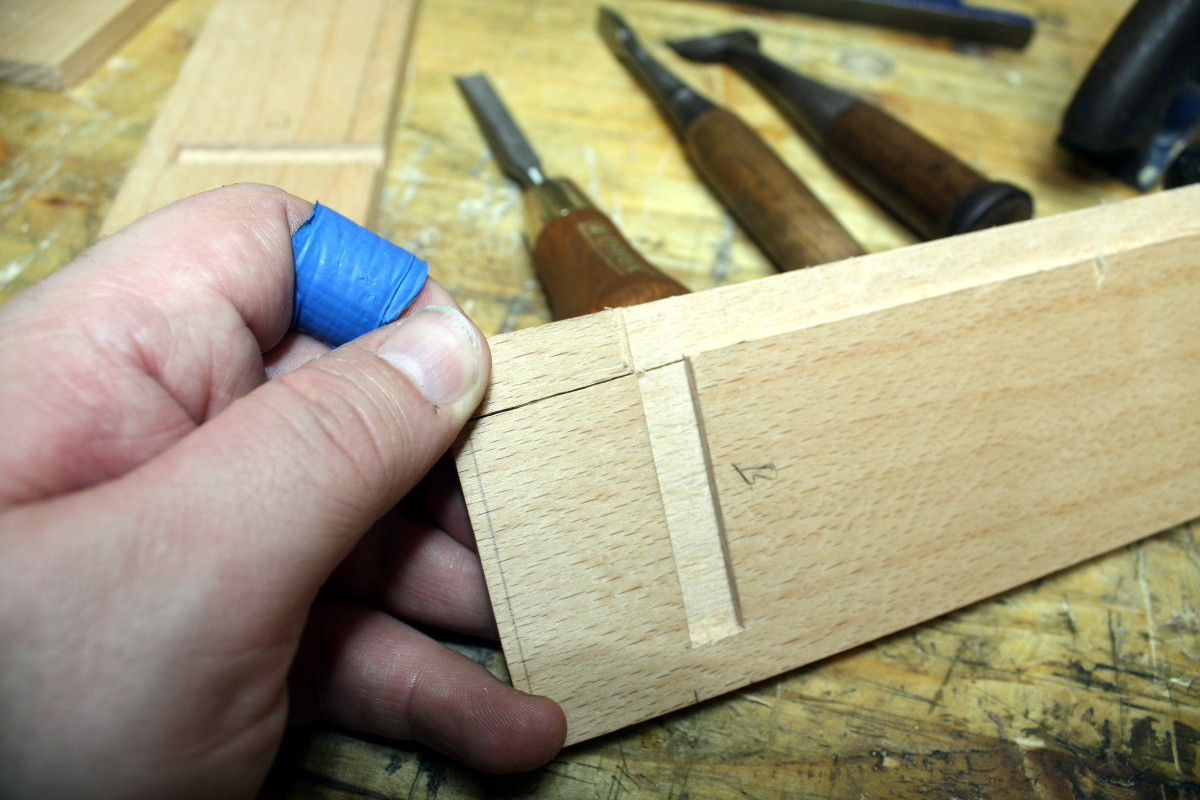
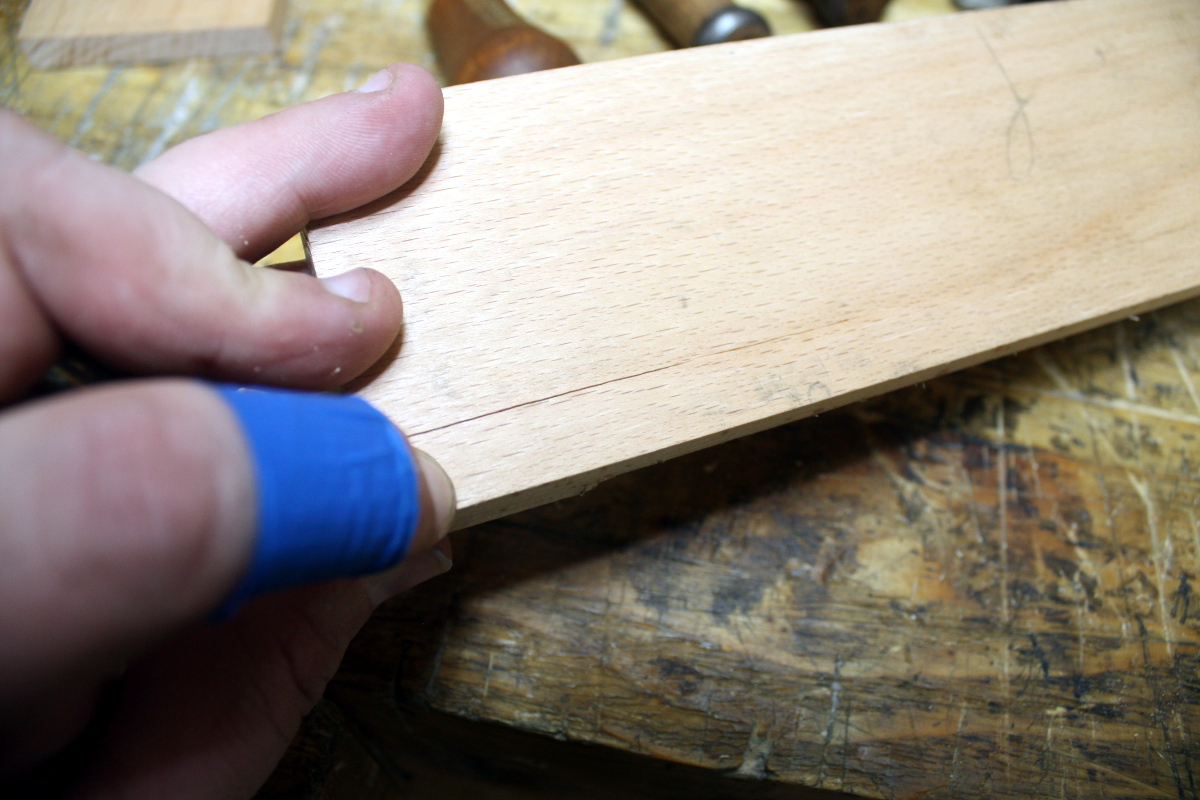
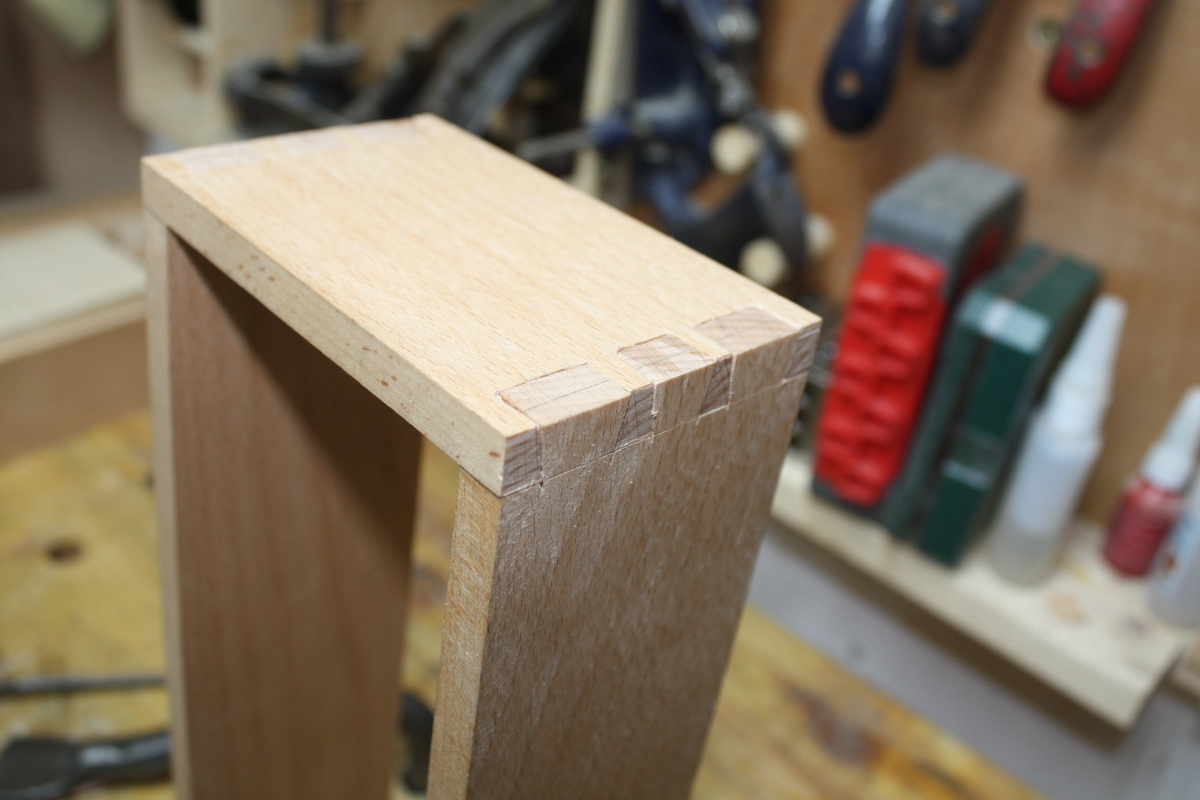
One last joint that I’m not happy with…

Need to knock that apart and give that marked spot a swipe with the block plane, let the front of the side panel close up there. Hm. But that wouldn’t explain those gaps in the middle and rear dovetails on that side and the front dovetail is tight up – maybe I need to pare that dovetail just a hair deeper instead. Or it could be both. The joy of fettling…


…oh, and I need to fit the door as well at some point. And I got two bandsaw belts in the post today that I need to check – they were 120XL037s instead of 124XL037s but they might be close enough to do for a few days until the proper size ones arrive…


06
Jun 18

Splitting rabbets

So, another housing joint to chop…

Giving the new chisel mallet a workout. So far, it’s working very well. Chopped the housing joints as per yesterday (had to take a pause to take the #08 to the edges in the vice, I’d missed a small bow in the edge so I wanted to correct that before marking out for the new joint).

All grand. Did a test assembly and everything fitted and was square. Excellent. Then thought about the back and decided to rebate it in, but with a stopped rebate (the client 😀 doesn’t want the back to extend all the way to the ground), so marked out for that and got out the #778 and suddenly realised that on one side (and of course, the side I’m starting on), the #778 is the wrong handedness. Bugger. So off with the fence and the rods and we attack it from the other side, treating the #778 like an old wooden rebate plane. Which is a pretty hairy routine – tilt it over on the inboard side, run the point of the blade along the knife line to dig its own reference edge, then drop the outboard side gradually to work down to a shallow but level rebate and then plane to depth… except that the stopped rebate bit means the plane isn’t of use for the last two or three inches. Bugger. Well, you can chop a rebate with a chisel…

Bloody complicated rabbit this. Starting to question the wisdom of the idea. And then on almost the last chisel chop getting the wall of the rebate vertical, the inevitable happened…

Well, feck.

Short crack, too thin for PVA or hide glue, don’t want to split it off and glue it back on, so… low viscosity superglue, your time has come! Held it gently open, and dropped in thin superglue until I could see it running all down through the crack and then clamp the crack shut and set aside overnight.

James Wright did a long series of tests on wood glue recently and CA glue (superglue) very surprisingly blew most of the competition away in several categories from strength to filling ability to shearing force and so on, so maybe this will work.

If not, I’ll break it off completely and reglue it with PVA and accept the surface defect, but hopefully it won’t come to that…


05
Jun 18

Locker progress

So with the bandsaw down, my plans for the box are on hold and I moved back to the locker. I started off by planing the roughcut pieces I was going to use to get them flat and smooth, then I cut the dovetails for the main carcass, and of course, that means sharpening time 😀

And marking up time…

And sawing time…

No, I didn’t do all the sawing with the fretsaw, I just used that to get the bulk of the waste out. Then it was chopping and paring time.

Incidentally, that chisel mallet is a nice find from lidl. I’d say I spotted it, but credit for that goes to Calum…

Different faces of different colour-coded hardness from white (hardest) to black to red to yellow to blue (softest), so you can have one hammer with one face for thwacking the chisel and the other face for beating the joint together or apart without either losing energy on the former or marring the work on the latter. Not bad for €14. I mean, it’s not better than the sculptors mallets for carving, but it holds its own against the deadblow hammer, at least in beech. Maybe in a harder wood it wouldn’t manage it, but we’ll see. I don’t have to give up one for the other 😀 That case has to go though, it’s daft.

It won’t make the dovetails less gappy for you though… alas.
Then this evening I chopped the housing joints for the shelf in the locker.

I know I’m using more chisels than I need, but I don’t care, I love the japanese one for the vertical chopping and hate it for the angled chopping, so I swap back and forth. It’s still remarkably fast, especially on a shallow housing like this. Knife the first line, chop down, chop in, brush off the chips, repeat till you’re at depth, bring in the piece of wood to be fitted and tap it up to the new wall of the joint and nick the other side with the knife, then scribe that line with the straight edge and repeat the entire process until both knife walls are at depth and there’s a ridge of waste between them, then pare most of that out with the chisel and refine it with the router plane until it’s all nice and smooth on the inside of the joint. Then pound the shelf home with the mallet to check for fit, and then do the other side…

It’s gappy on the dovetails, but the housing joints are fine (that small gap on the left there is something I’ll fettle out, there’s too much width on the shelf yet by about a half-mm or so).

One more housing joint to do and that’ll be the carcass roughed out. Then I have to decide how to attach the back panel and figure out the door (that shelf and the bottom of the locker will have to be recessed for it on the front slightly, but should I rabbet the back to fit the back panel and avoid nails? And I have to figure out the legs as well…