Right, I just need one or two hours of calm dry weather and…


*sigh* Feck’s sakes. Fine.
But at least I can put in the glue blocks to support the top panel. Yesterday I trued up a corner of a stick of walnut I had as an offcut from the drawer front and then cut it into four ~10cm lengths. Granted, this isn’t traditional, glue blocks are traditionally whatever cheap softwood was lying around, but I had this as an offcut so why not.
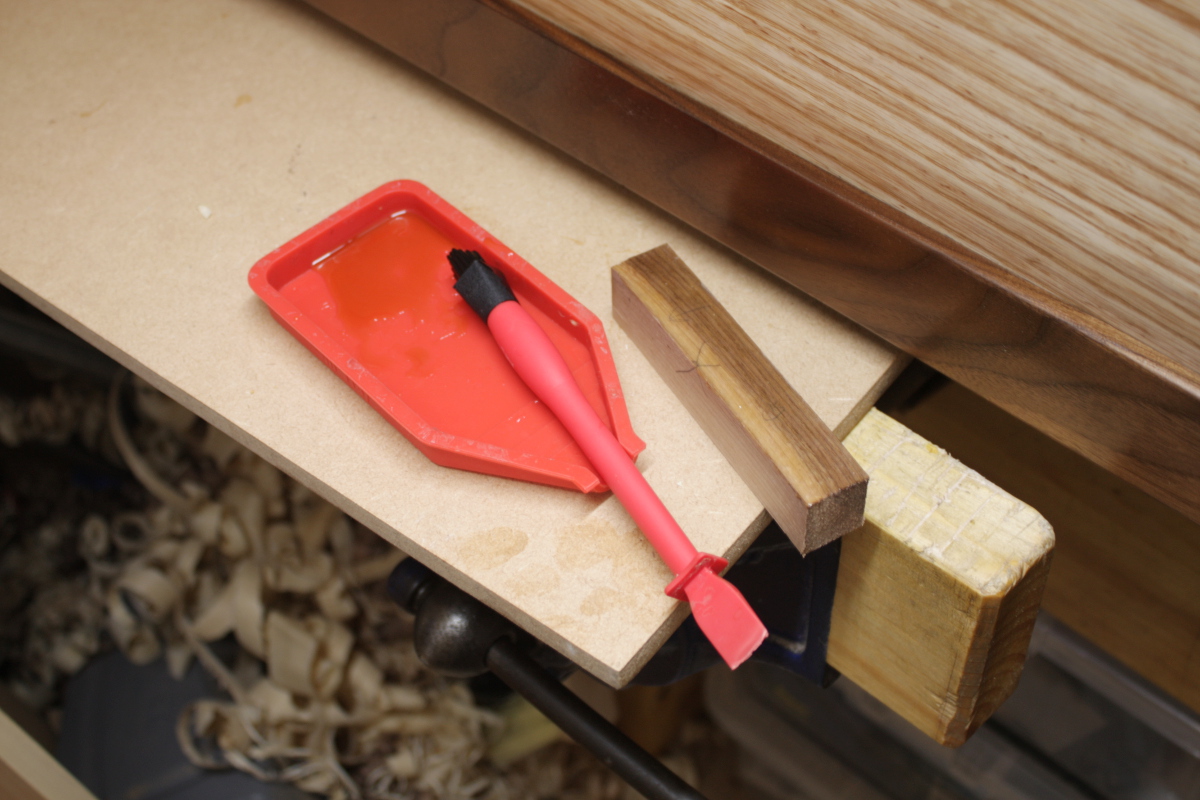
Then today I had a few minutes of trying to figure out how to clamp them in place because I didn’t know how this was done traditionally. One quick internet search later and yup, you just paint the glue face with glue (hide glue is traditional but apparently any wood glue works), rub it on the spot where you want the glue block to stick to ensure both sides have glue and there’s no air in the glue joint, then hold it in place for a few seconds and there it sticks.
Don’t give it a knock until the glue cures, and there you go, glue blocks.
But eventually there were two or three dry hours in the late afternoon, so I moved the cot outside for the last time and started fettling the drawer. Which it turns out was necessary – when I was assembling it yesterday I had to stop half-way through glue-up to shave down the width of the plywood base, but obviously I didn’t shave enough and it had pushed out the sides of the drawer at the base by a few mm, so now I had to shave back the outside with planes in order to fettle it.
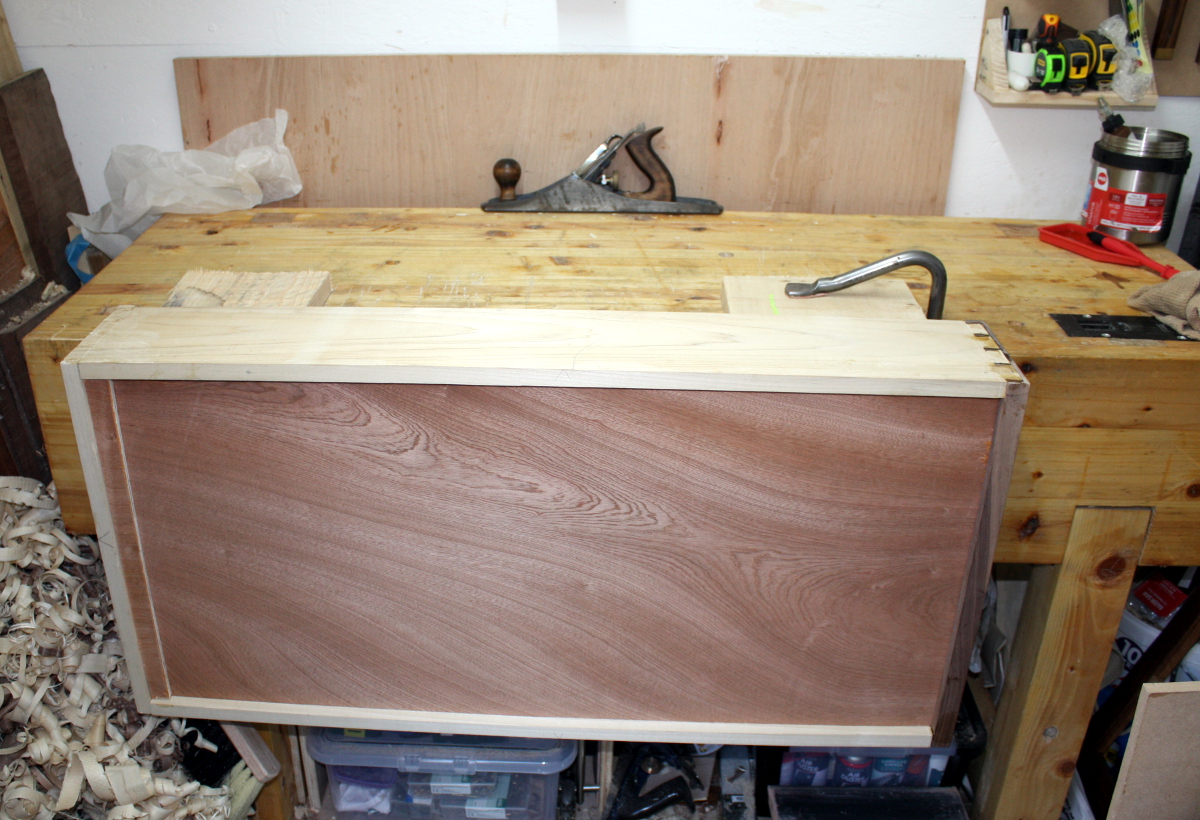
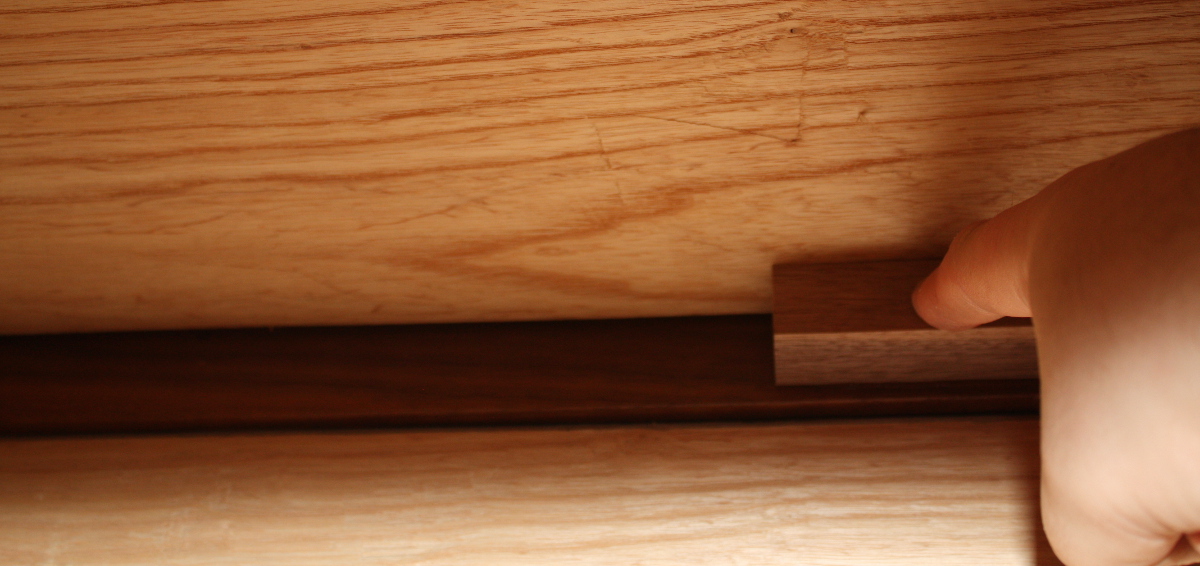
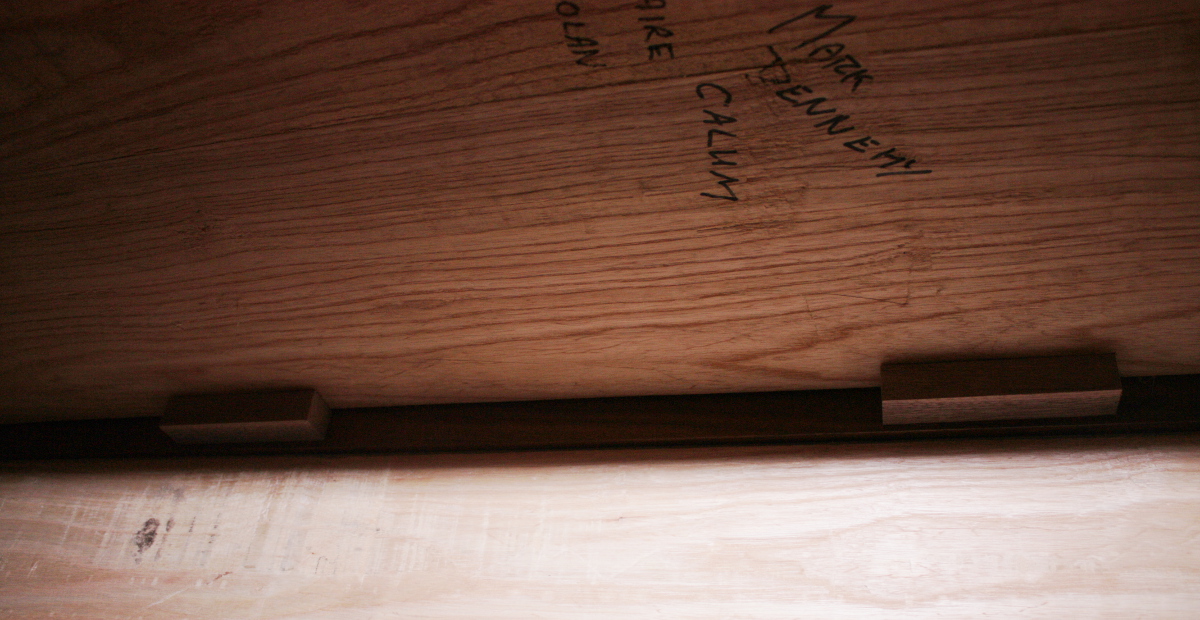
But eventually I got it to fit smoothly, and I’d cleaned up the glue and joints as well. Then it was a case of pushing it in flush, finding it was hanging up on the drawer rails, trimming them to give a rounded ramp type profile at the start so the drawer would go flush, then marking off its position on the rails with a pencil, and gluing a stop block in place on the rails with a cushioning pad. I clamped those in place for a half-hour or so just to be sure, then took off the clamps and glued the rails in place. That was the last bit of construction on the crib.
Yay!
Well, okay, I have to screw on the drawer pull, but I’m not counting that because.
I SAID BECAUSE.
And then it was time to finish the drawer, and I’m just going to go with shellac. I had thought of using milk paint and osmo over the top of that, but the more I thought of it, the less I liked the idea of a red drawer, even though it would have been funny. So just shellac.
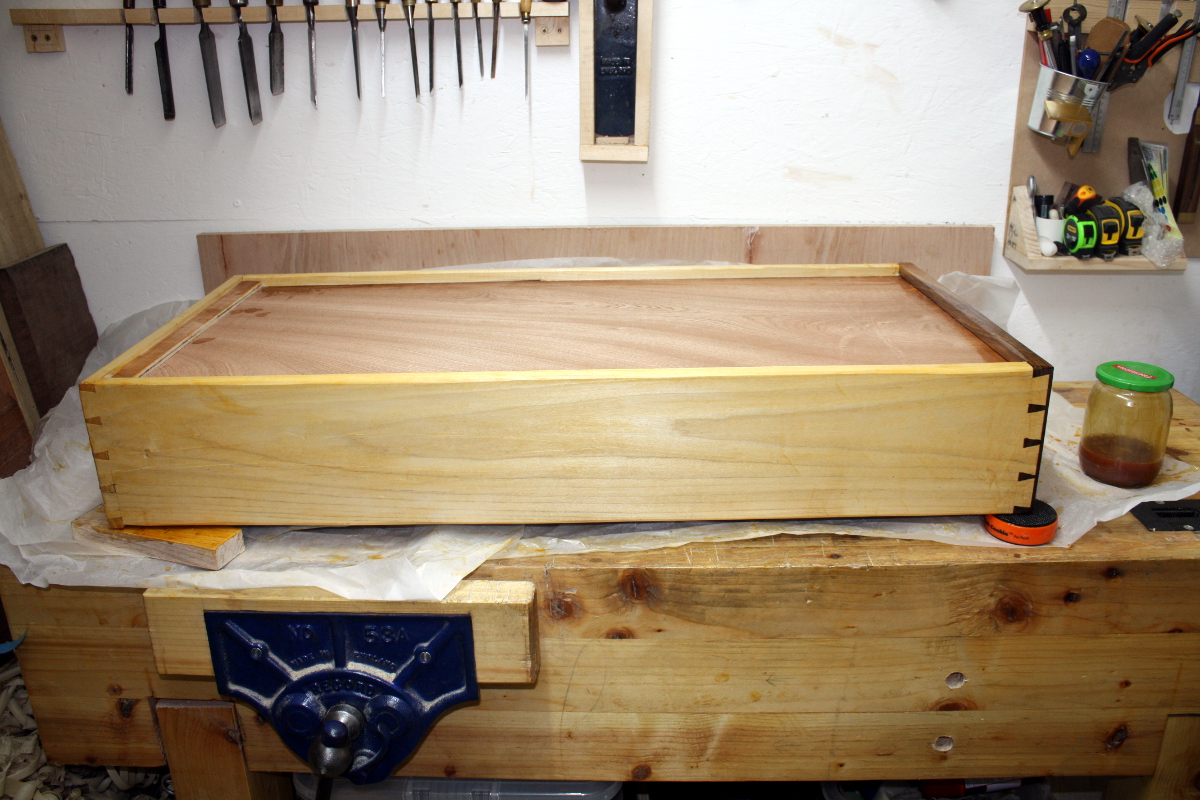
And that’s the last of my shellac as well, so the whole drawer got three coats (sanding back after coat #2), and the front gets a final fourth coat.

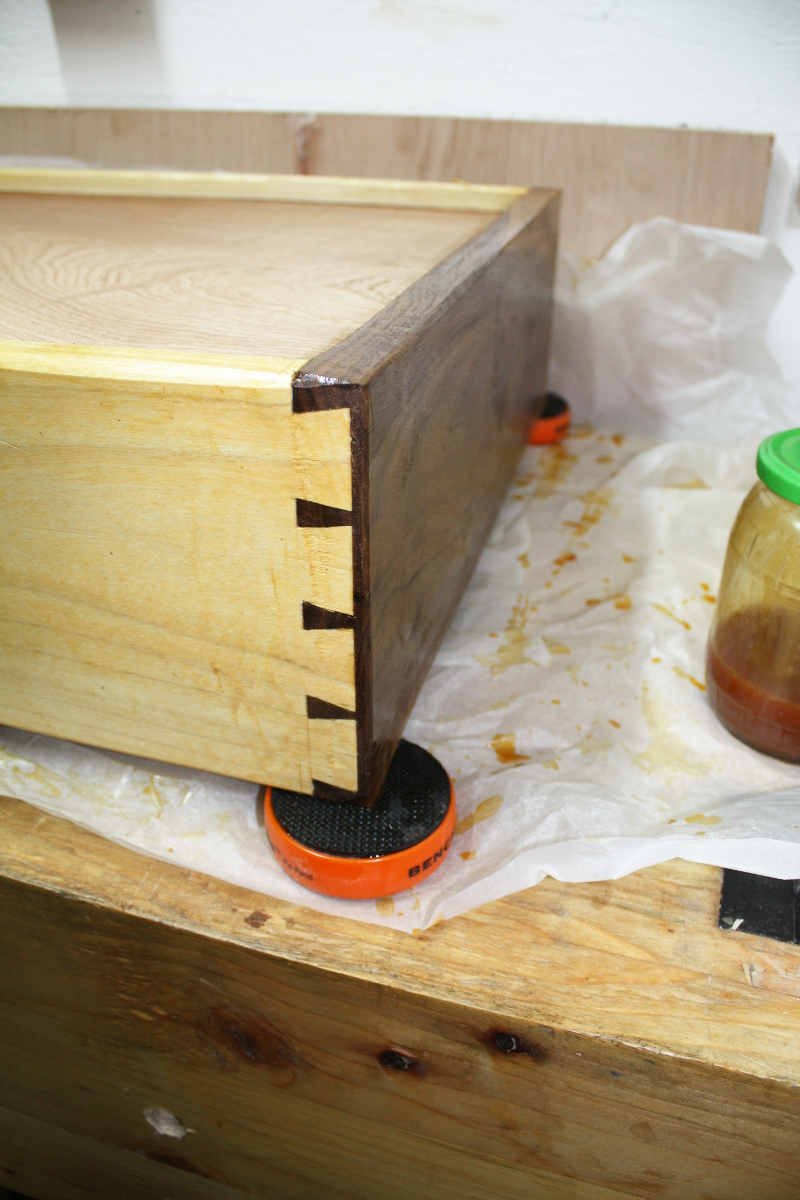
Dovetail money shot, right there.
And in the meantime the cot got moved into the kitchen.
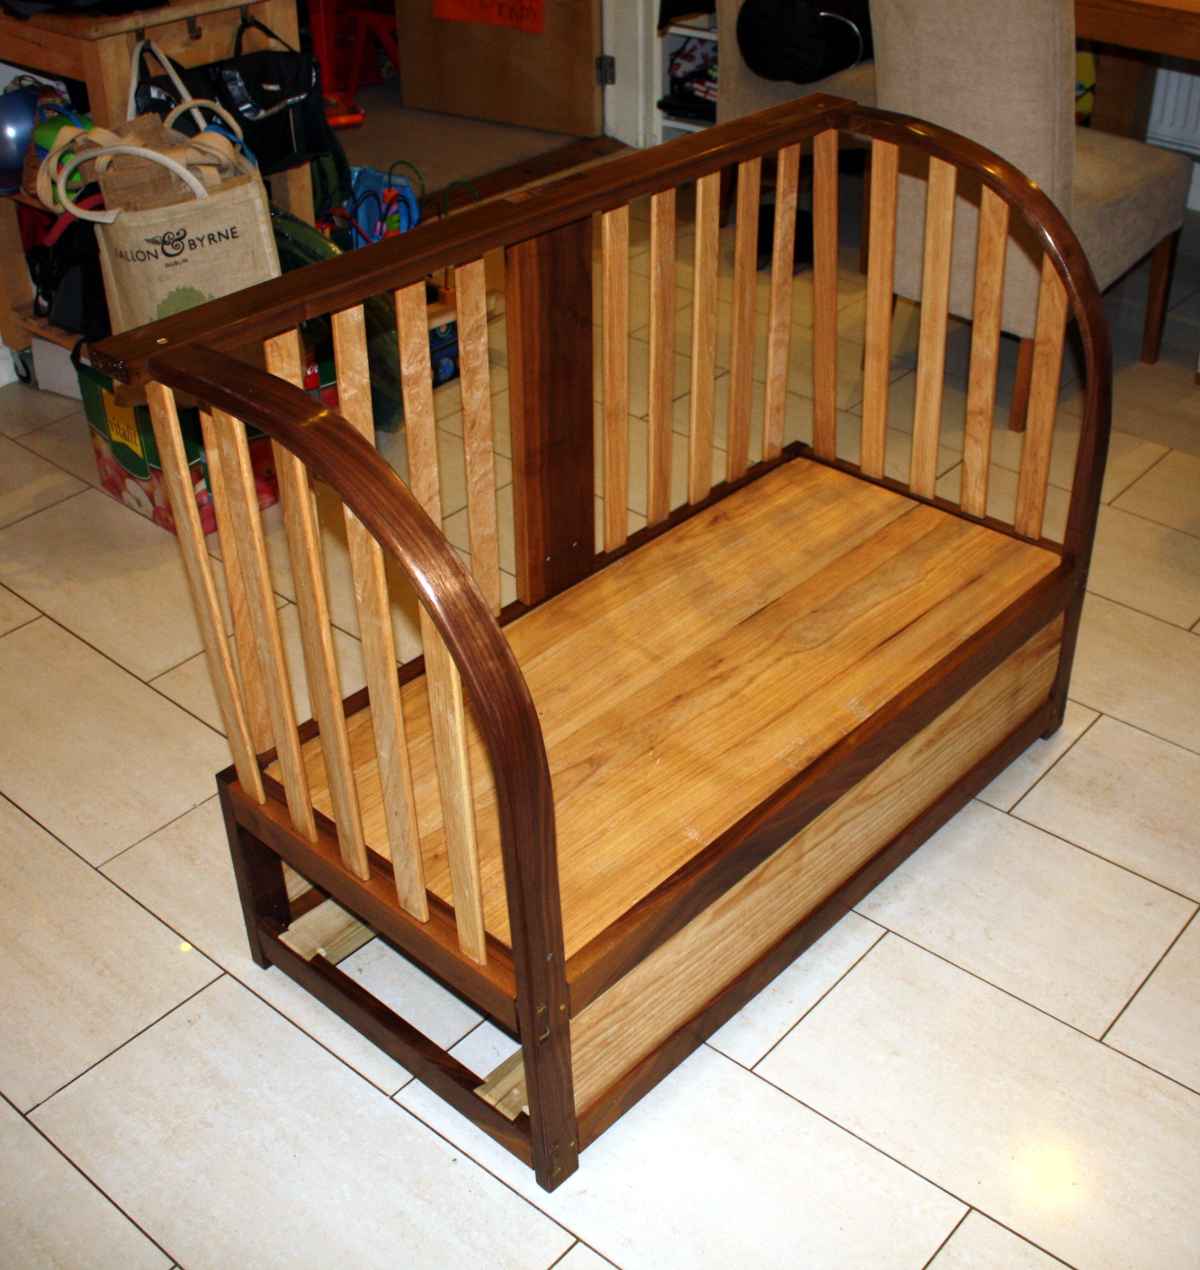
…and the thing rocks. The torsion the mis-bent steambent upright put on the frame torqued it out of square by about 3mm over the length of the piece, but the MDF assembly platform had gotten wet and had smushed enough to hide that. Sod. So tomorrow (I have a day off), I’ll take the drawer, put the pull in place, maybe line it because the plywood’s a bit unpleasant looking, put that into the frame and mount the mattress platform and basically put it all together, see how bad the rocking is and trim the feet to stabilise it.
And that’ll be it. It’ll finally be done.
Shit, this thing won’t fit in the car, how the hell do I deliver it?
To-Do List:
Make a drawerMaybe add runners underneath the drawer?Finish drawer with shellac.
Glue the drawer supports into the frame.Even more last minute fettling and foostering (panel support blocks, drawer stop blocks)- EVEN MORE last minute fettling (levelling the legs, screwing on the drawer pull, lining the drawer)
- Close door of shed, lock it, walk away and never do another project with a deadline ever again.
Like this:
Like Loading...
 After:
 No paint, no stains, no inks or dyes.