10
Jun 18

Plugging away…

So first things first, take the clamps off and see if the hide glue cured…
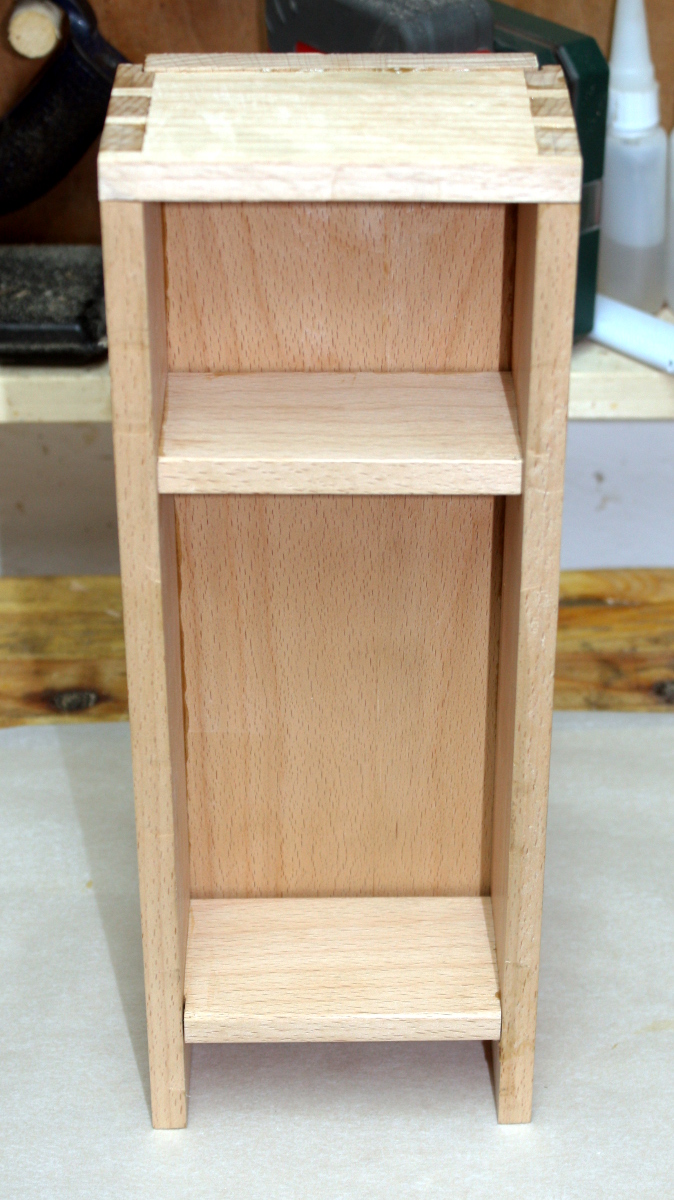
Not too bad, lots of squeezeout in places but I can deal with that.
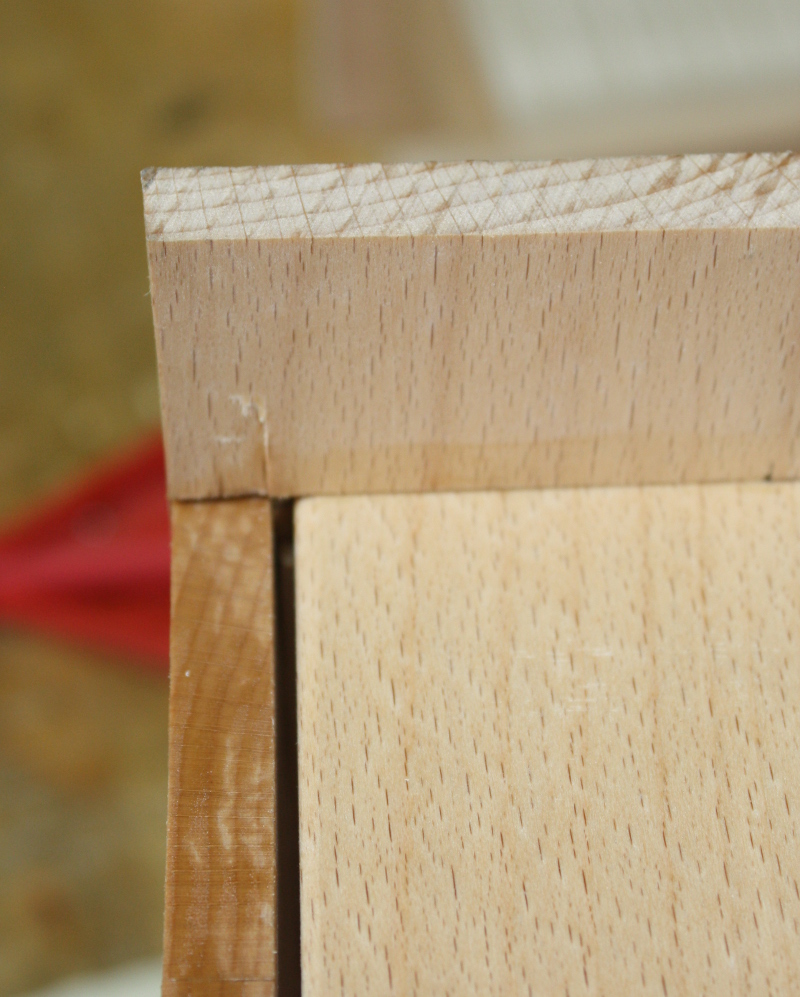
Well, bugger. I thought I had that better aligned than that and there’s no real way to fix it now. Feck.
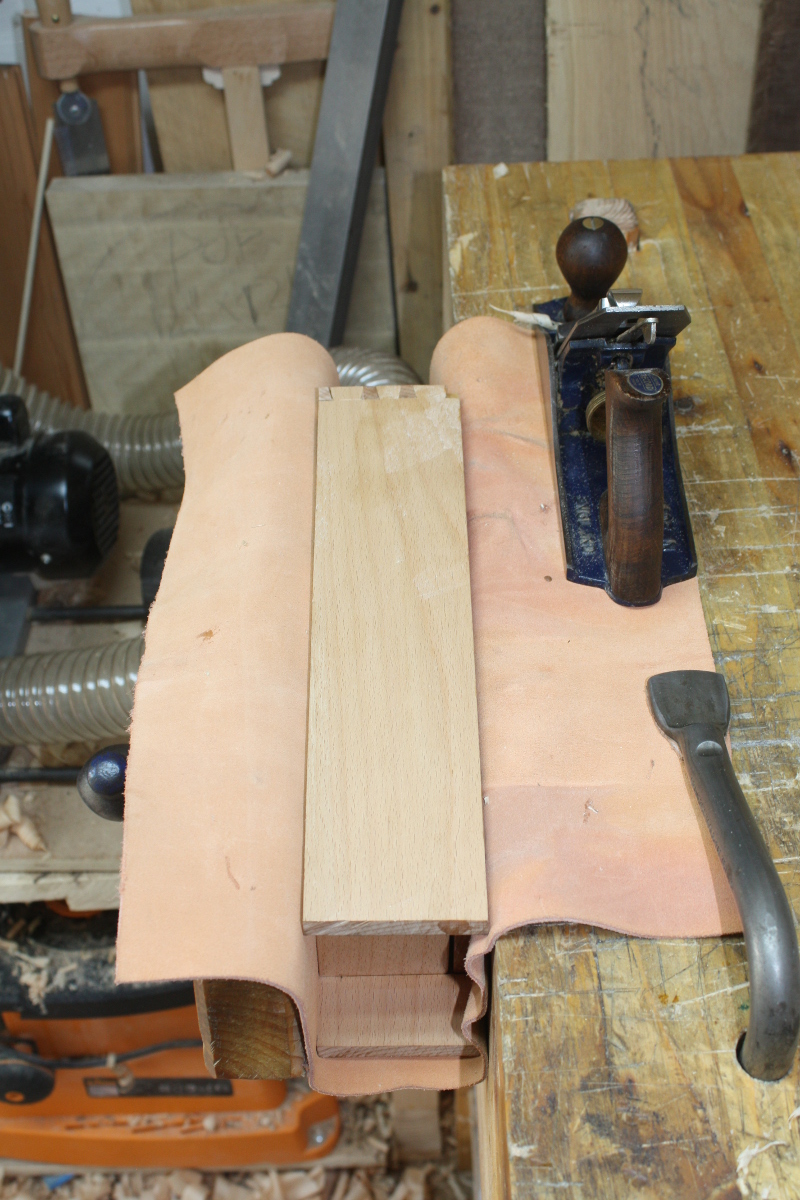
Clean up the squeezeout and smooth the surfaces. Mostly the #04 with a few pieces done by card scraper. Not too bad. Broke the sharp edges as well.
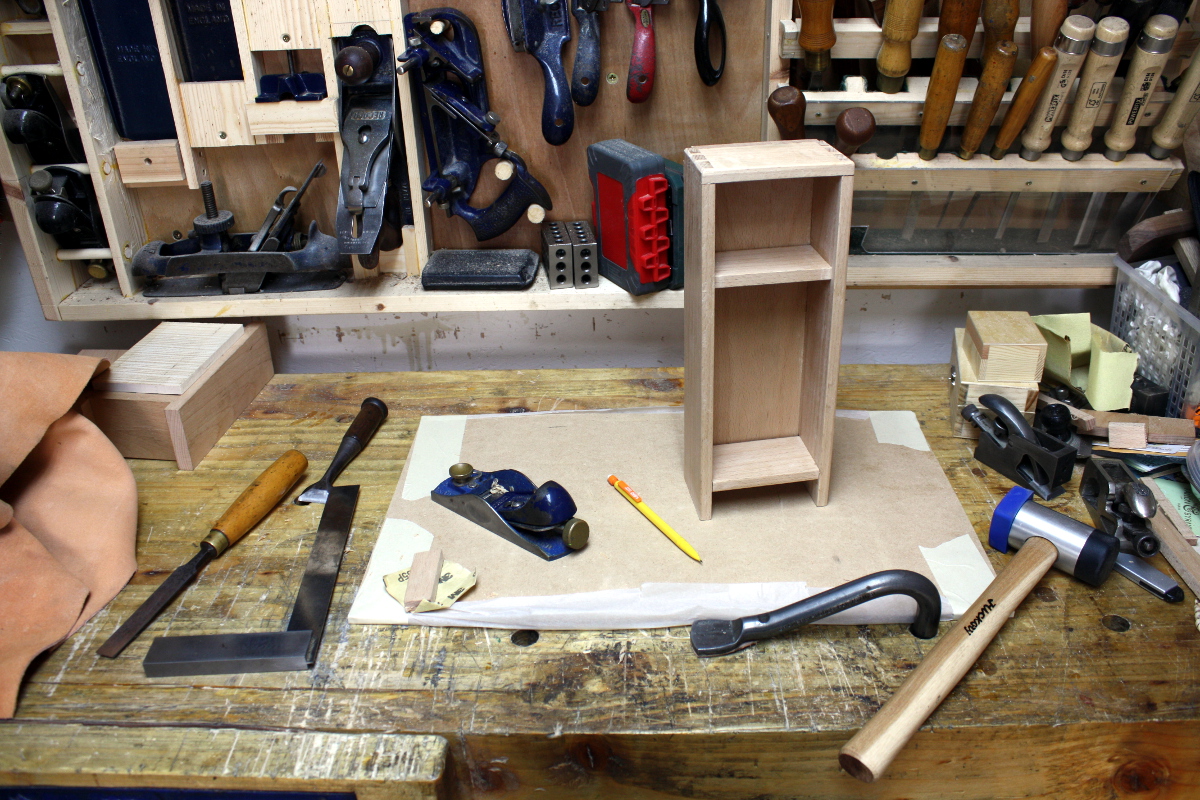
Couldn’t get all the edges with the #04 though, so various other tools made an appearance. And then leveled the legs so it didn’t rock. I don’t like MDF for, well, anything, but it is nice to have a flat surface for this sort of thing and I don’t have room for a granite slab so I do keep a piece or two of MDF handy for this task.
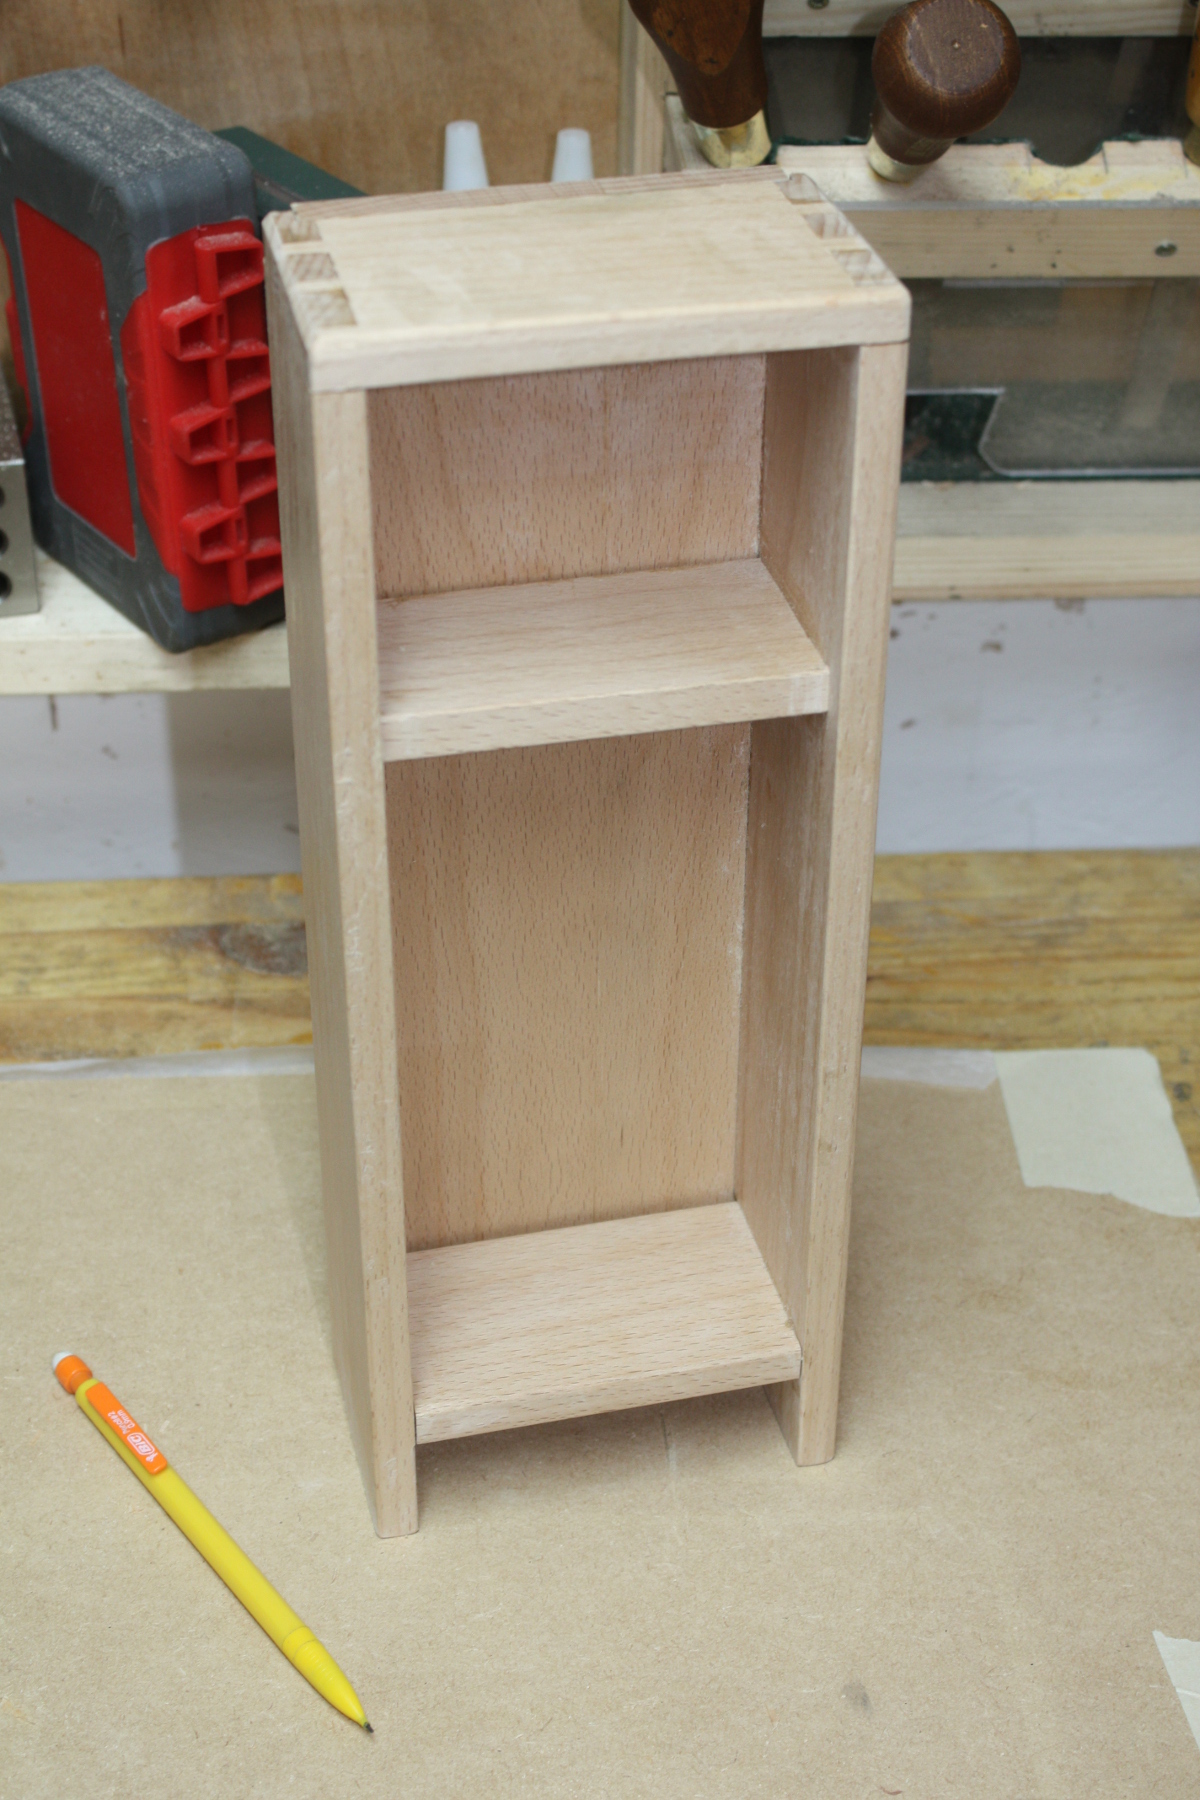
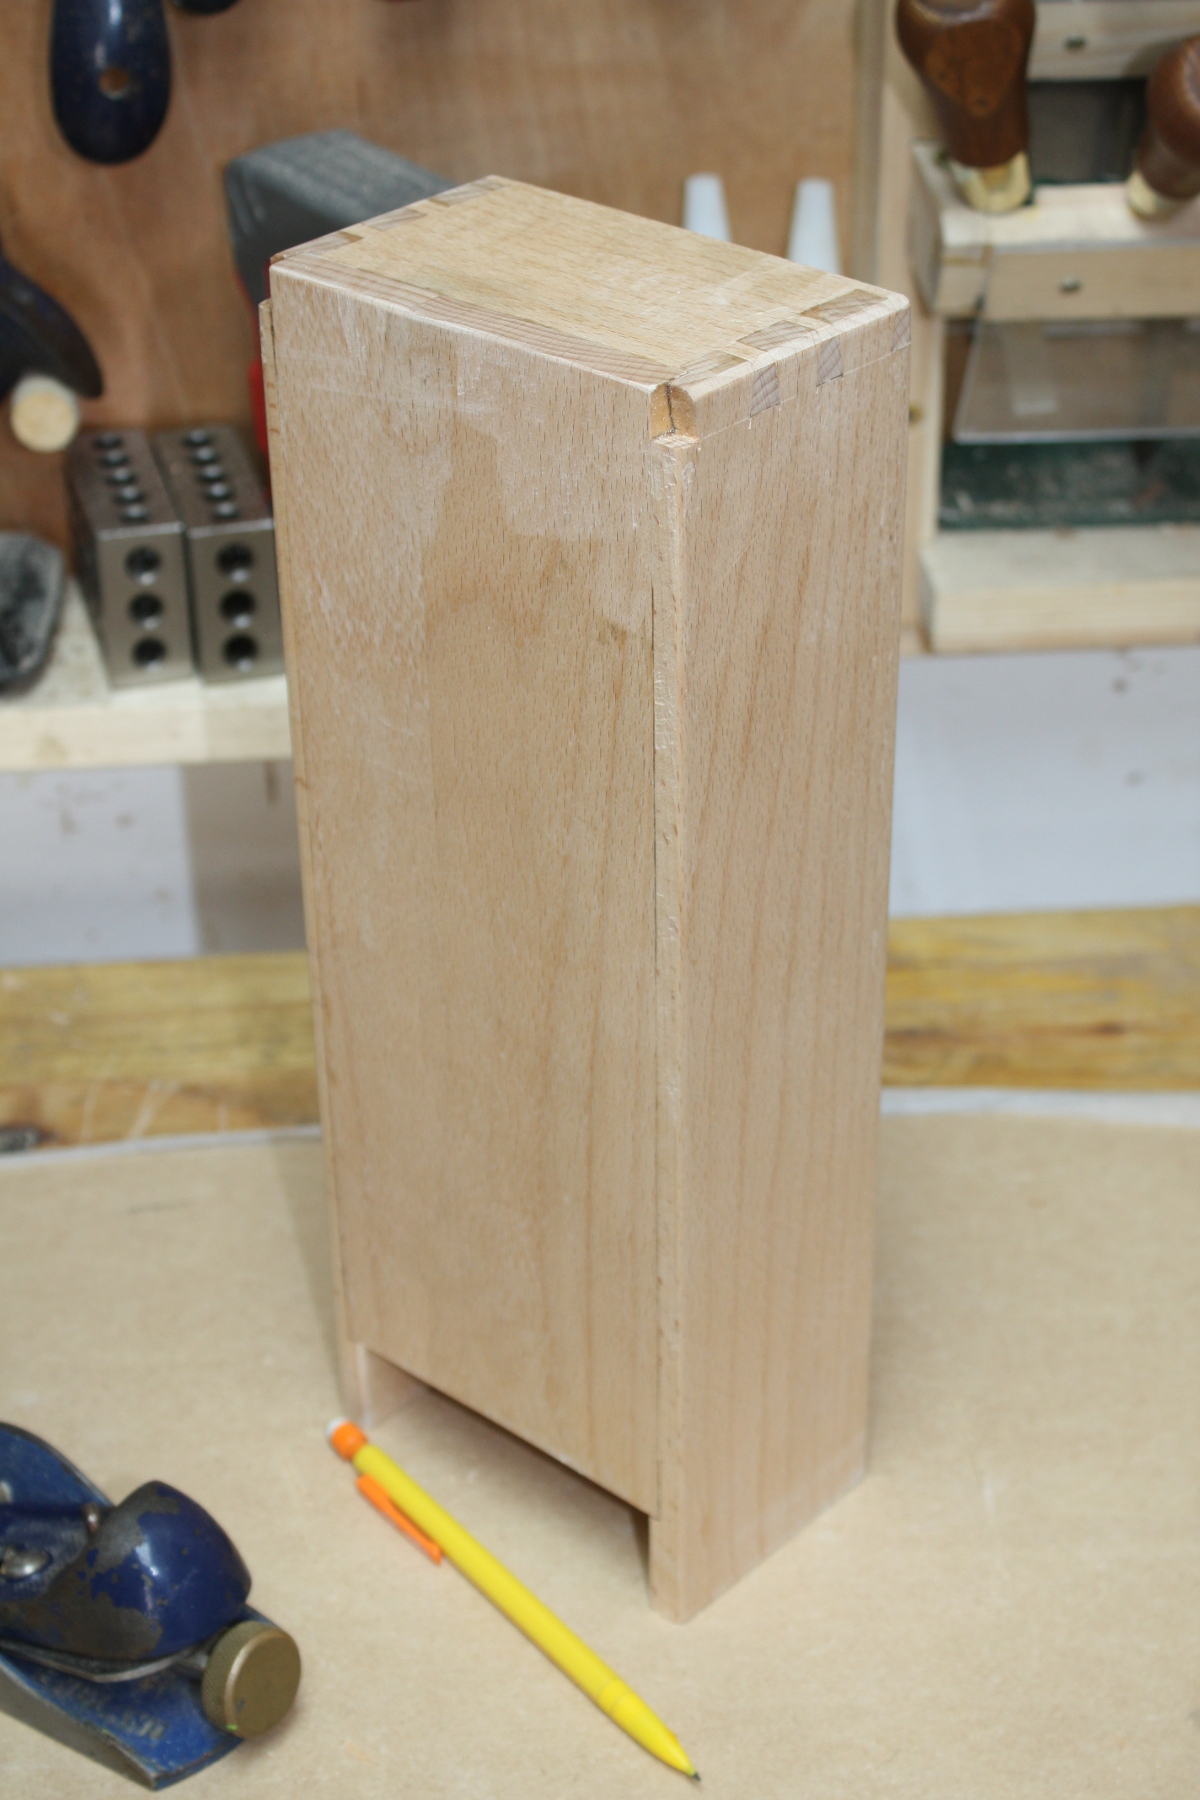
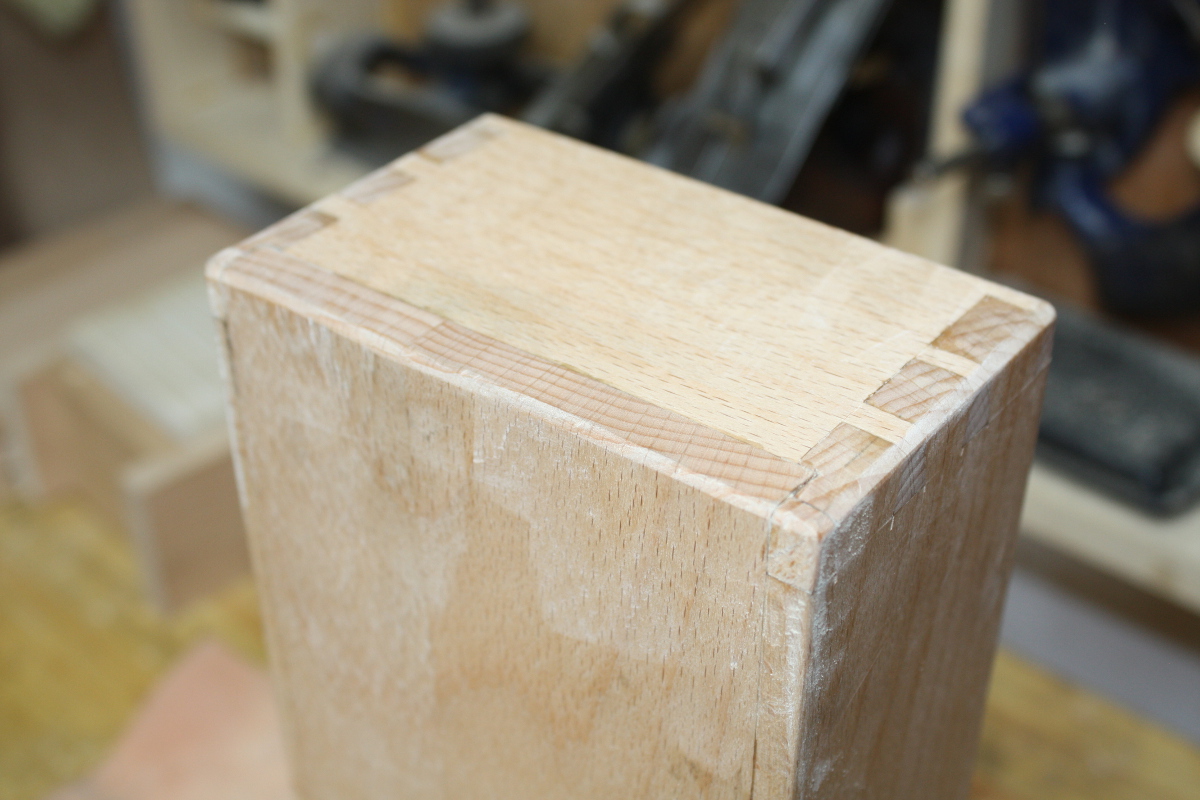
Not bad, but now I have to plug those gaps at the top rear corner where the dovetails used to be. Should be simple, cut a block of wood to fit oversize, glue it in, let the glue set, cut it flush with the flush-cut saw and then some chisel work and some sanding…
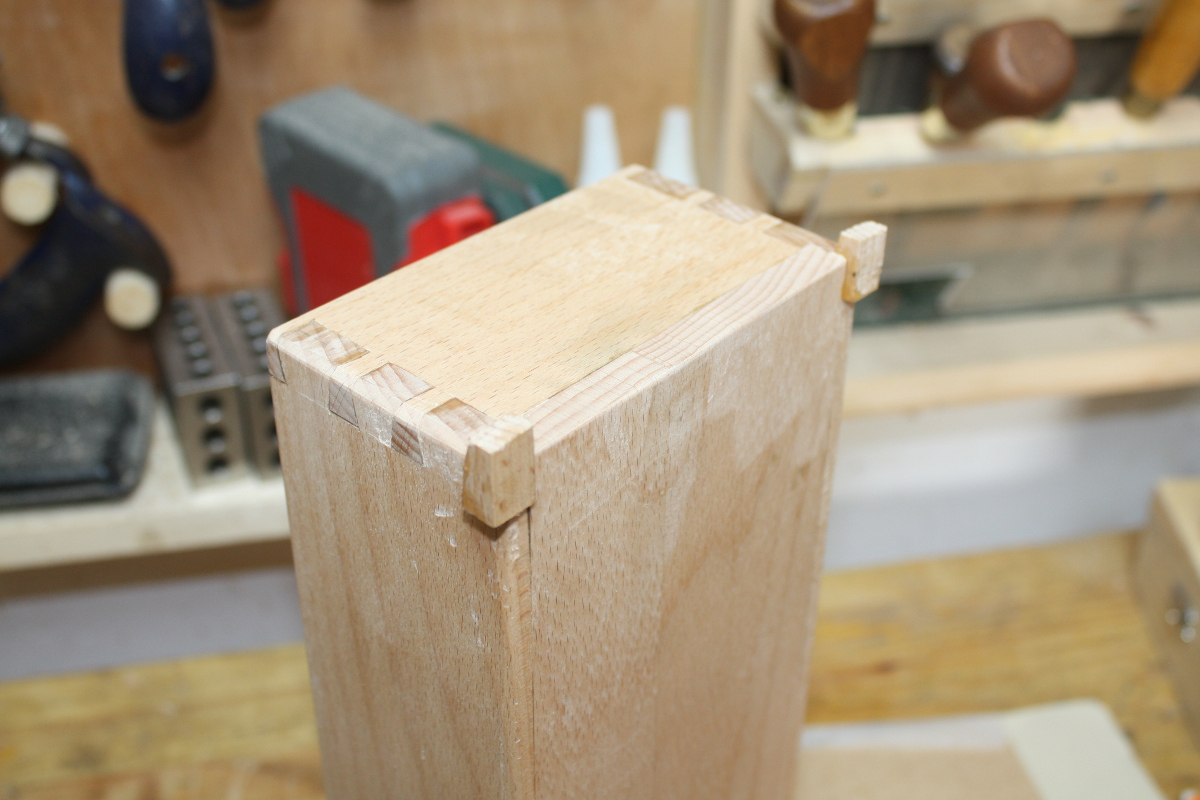
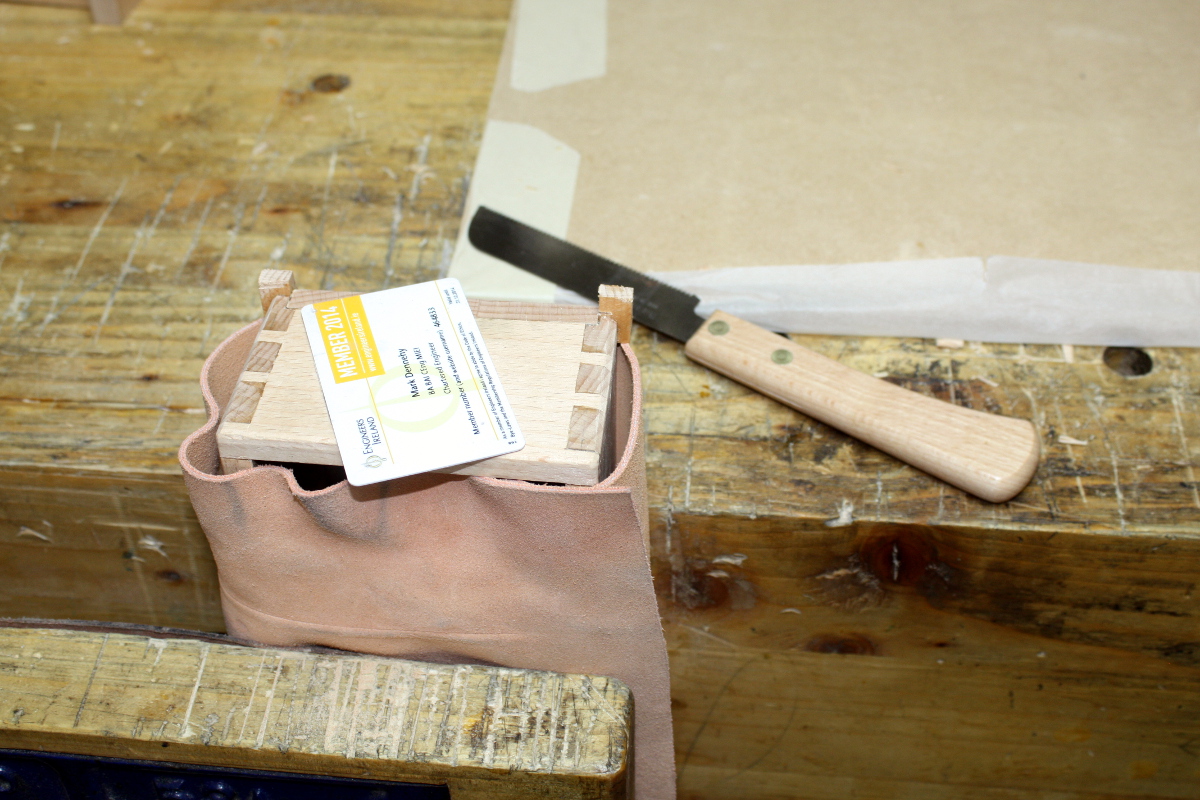
…looks okay to me!
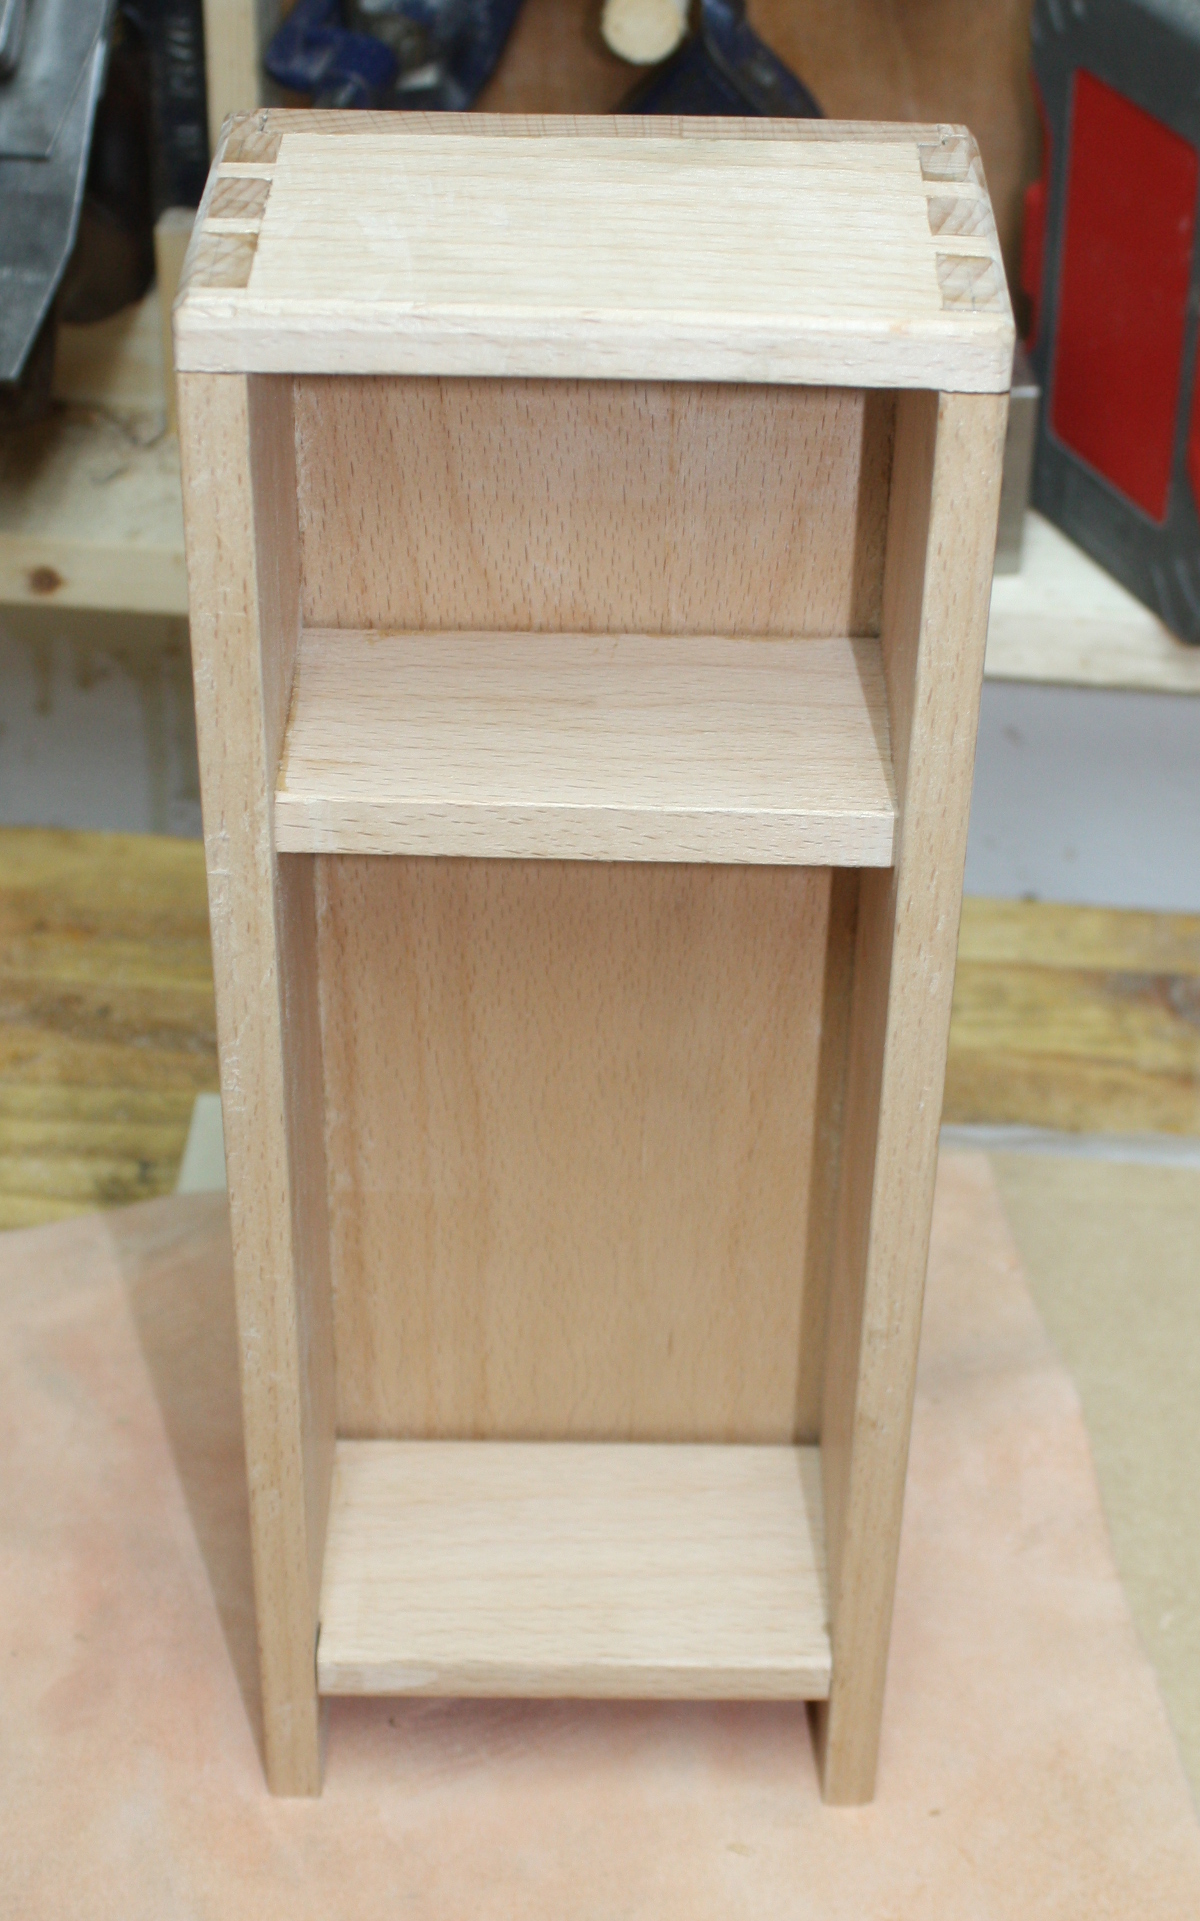
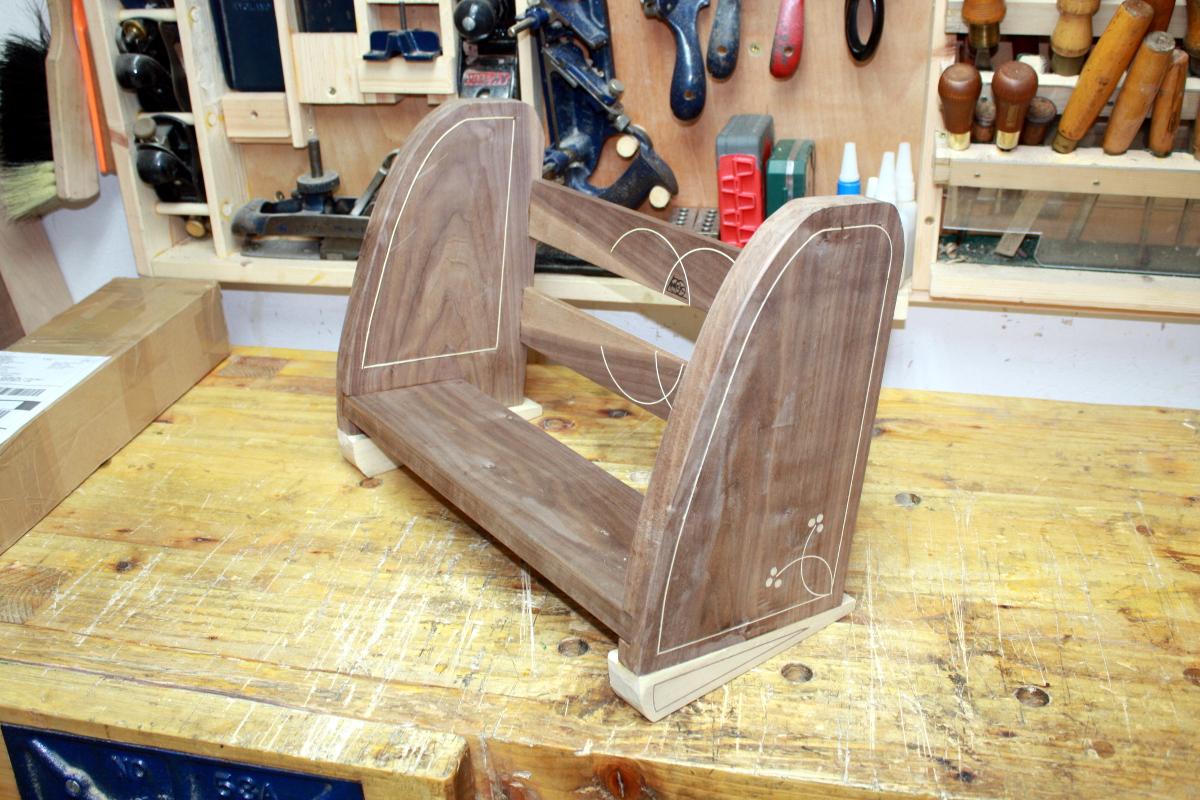
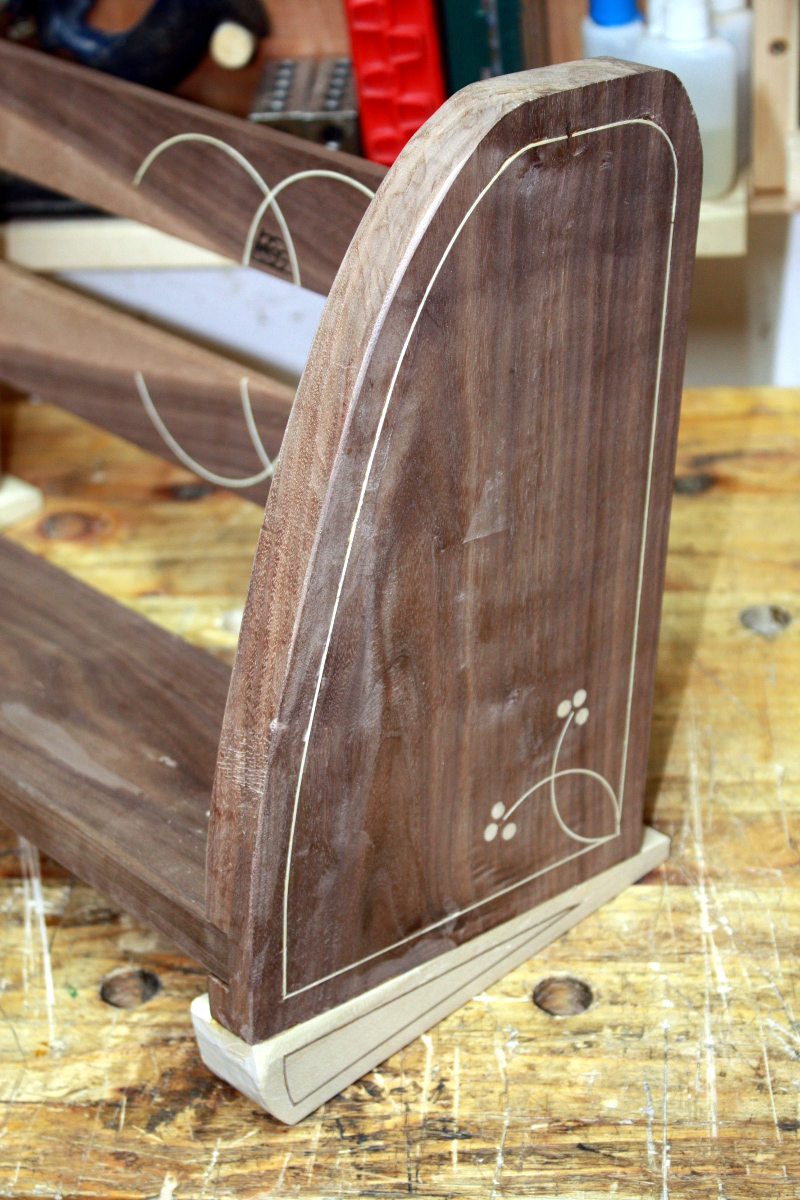
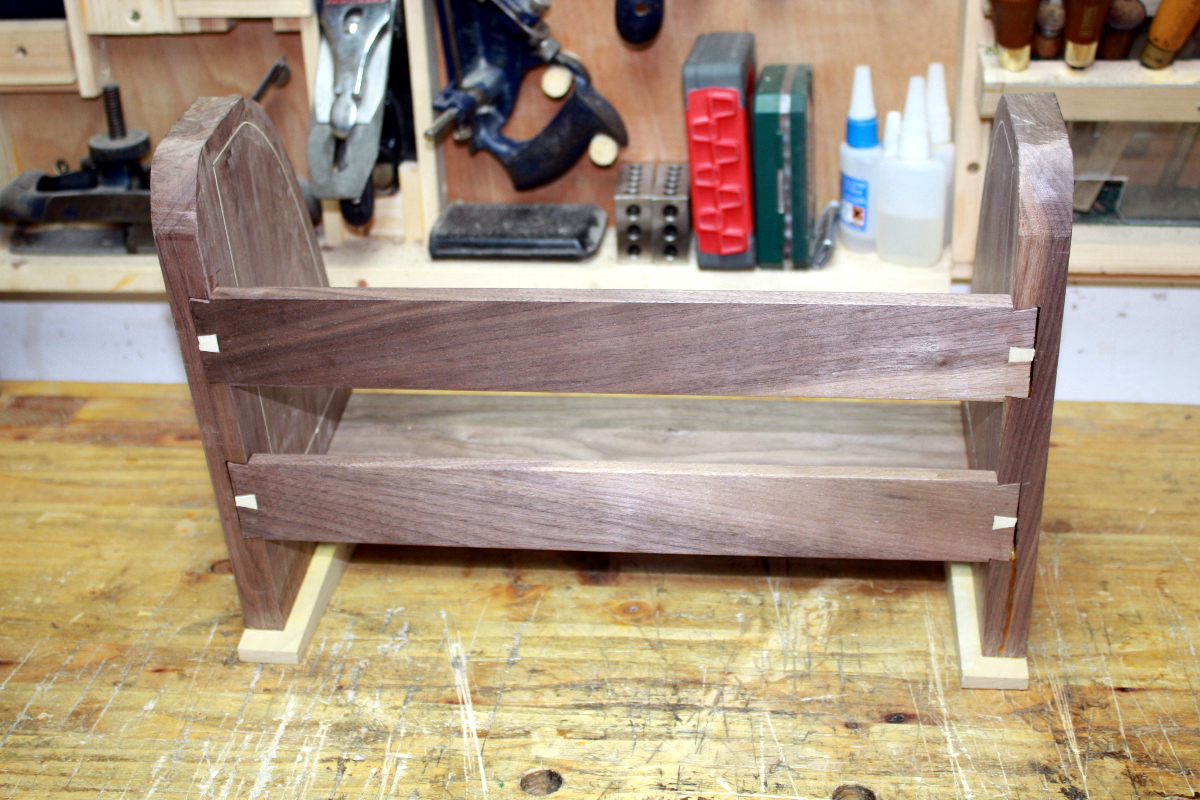
Okay, that now goes to rest for a little while so I can figure out the door, decoration, finishing and so on. I’ll have to give it another smoothing or sanding pass before finishing, but when you see it in the flesh it looks far more even than it does in the photos, and it’s smooth to the fingertips.

But first…
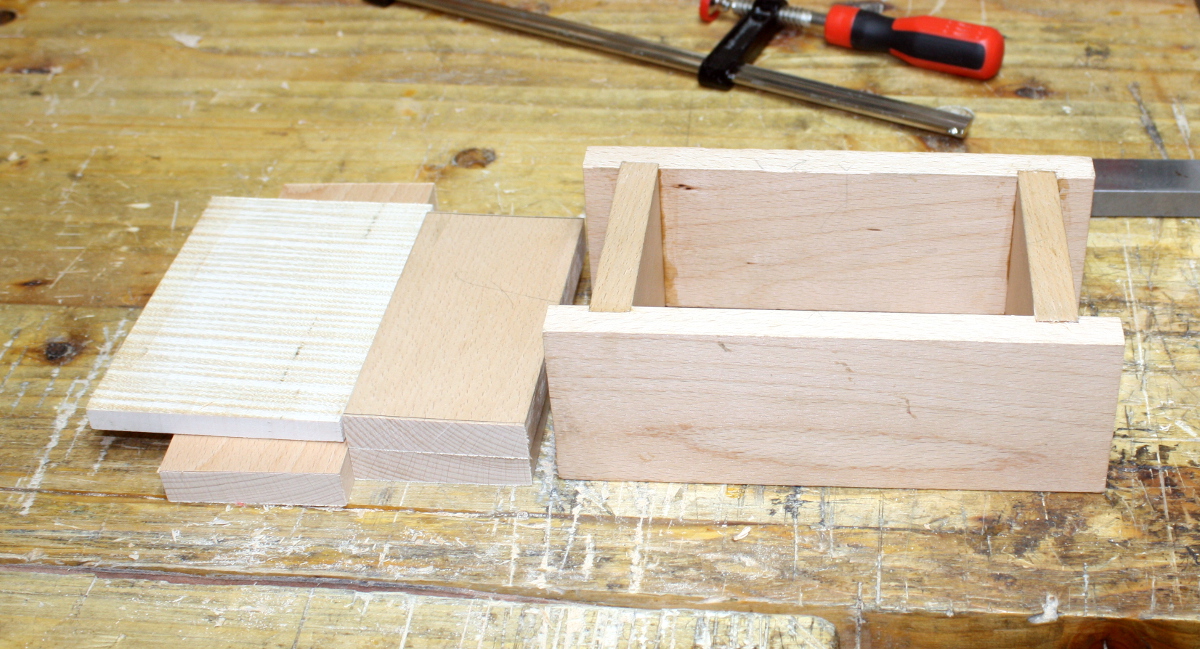
Glued up the carcass of the toolbox, and cut the mangled rebates off the old sides – they’ll make good material for handles or the top parts.
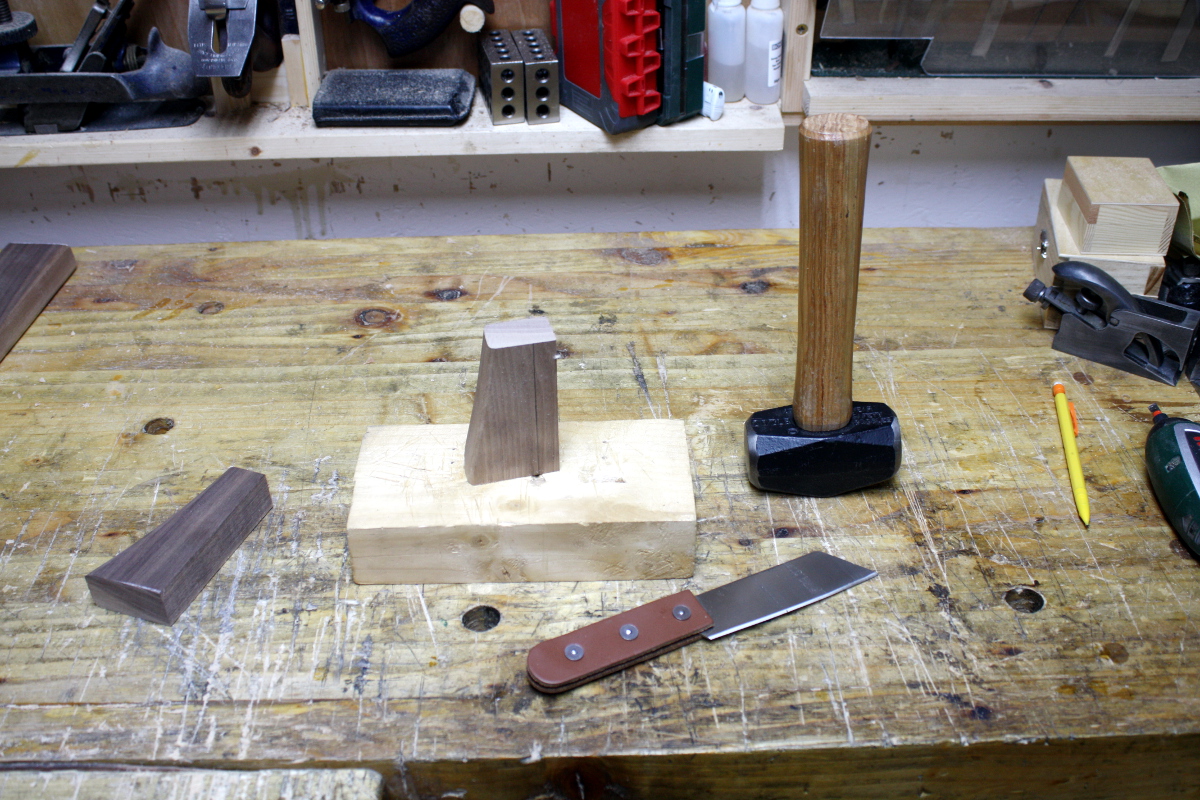
While the glue dries, it’s time to make pegs from some small offcuts of walnut that have reasonably straight grain. These are left over from making the sidecar cot from a while ago…
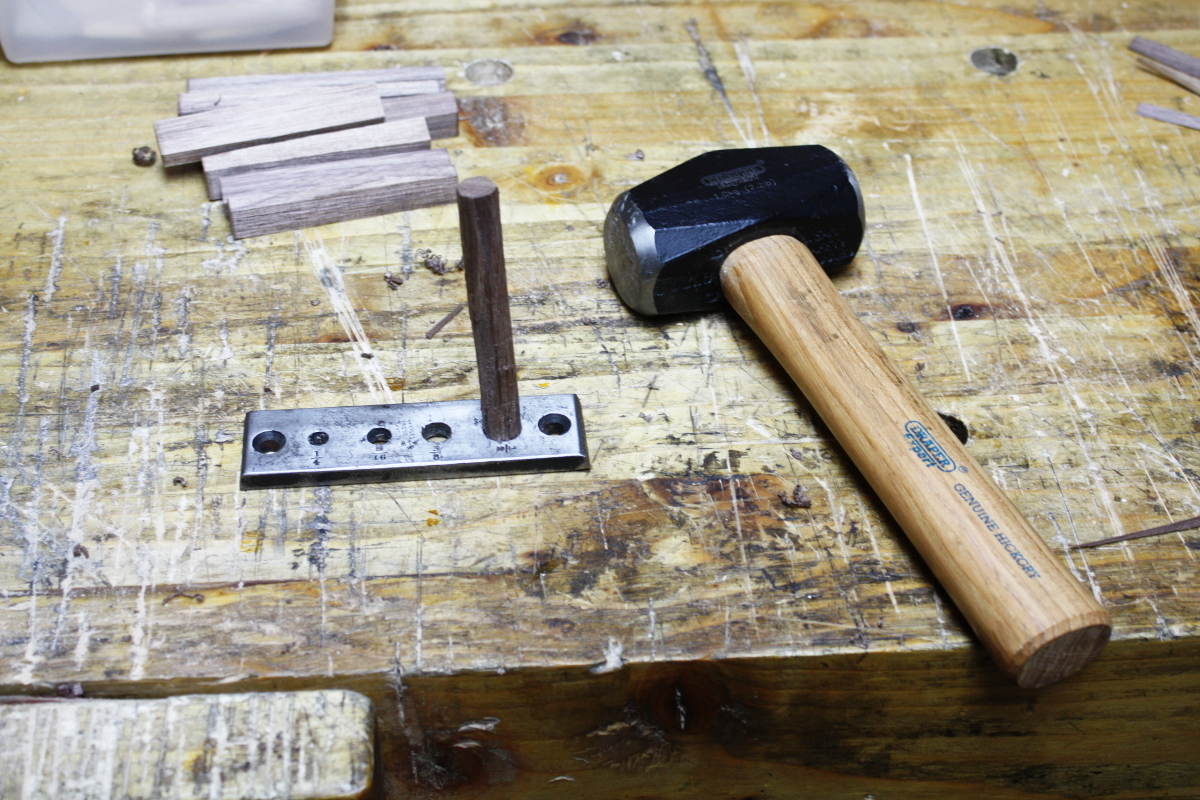
Smashy smashy!
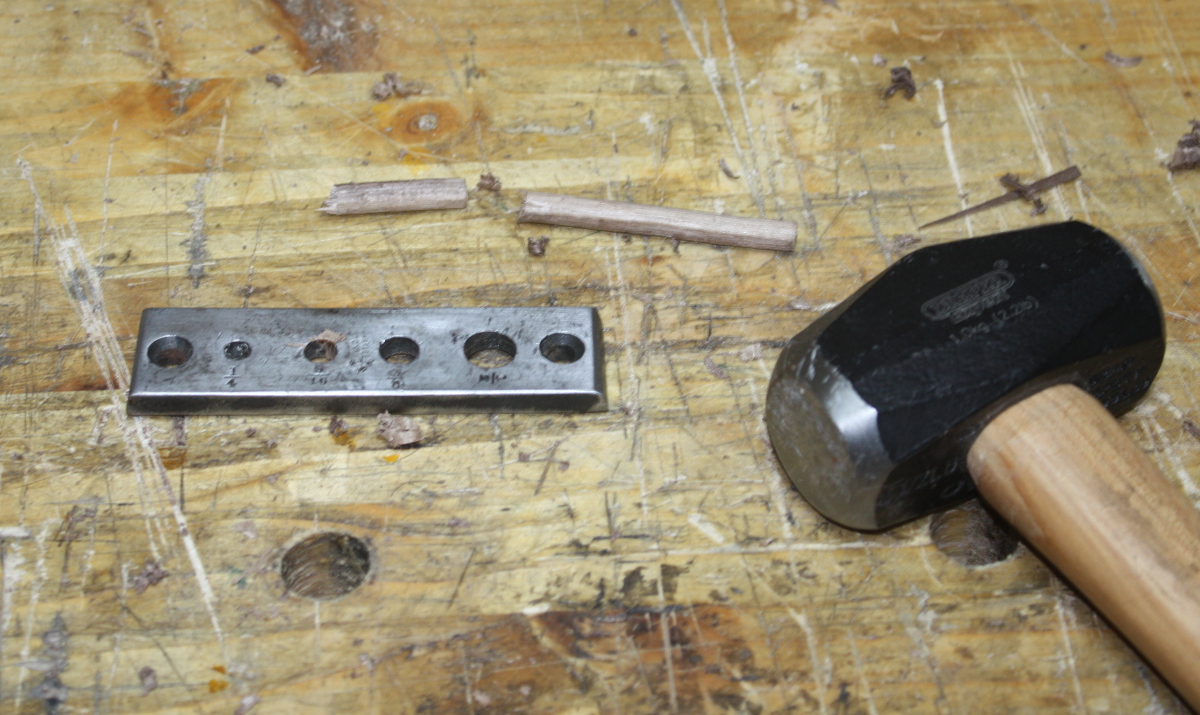
It’s always the last one….

Still, I can use those. The short one I’ll use for a test hole, I haven’t used the brace on beech before now.
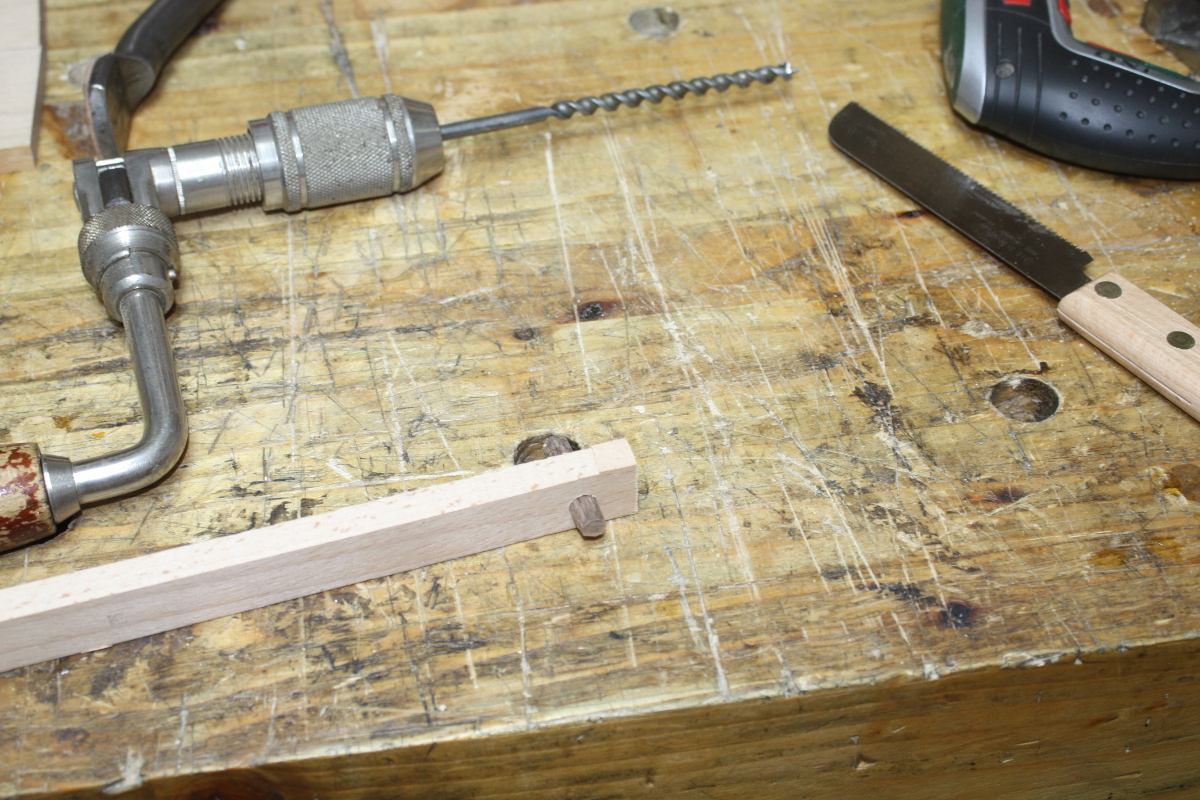
Drills reasonably well, but lots more dust than shavings off the bit than I’d see in something like oak. Takes a lot more effort to get through. I’m pretty sure that bit’s sharp as well, it definitely wanted a bite out of my fingertips. Now to flushcut and then plane down to see how well it looks…
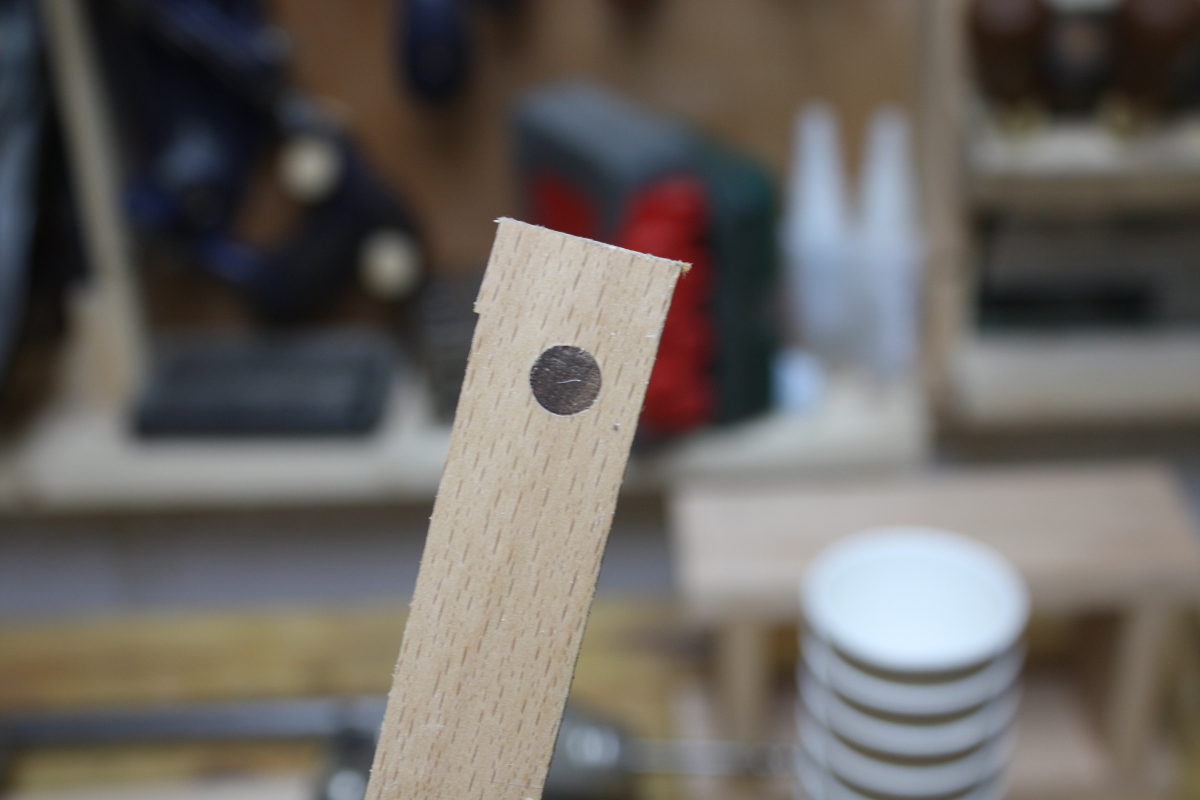
That’s quite nice actually. Good fit too.
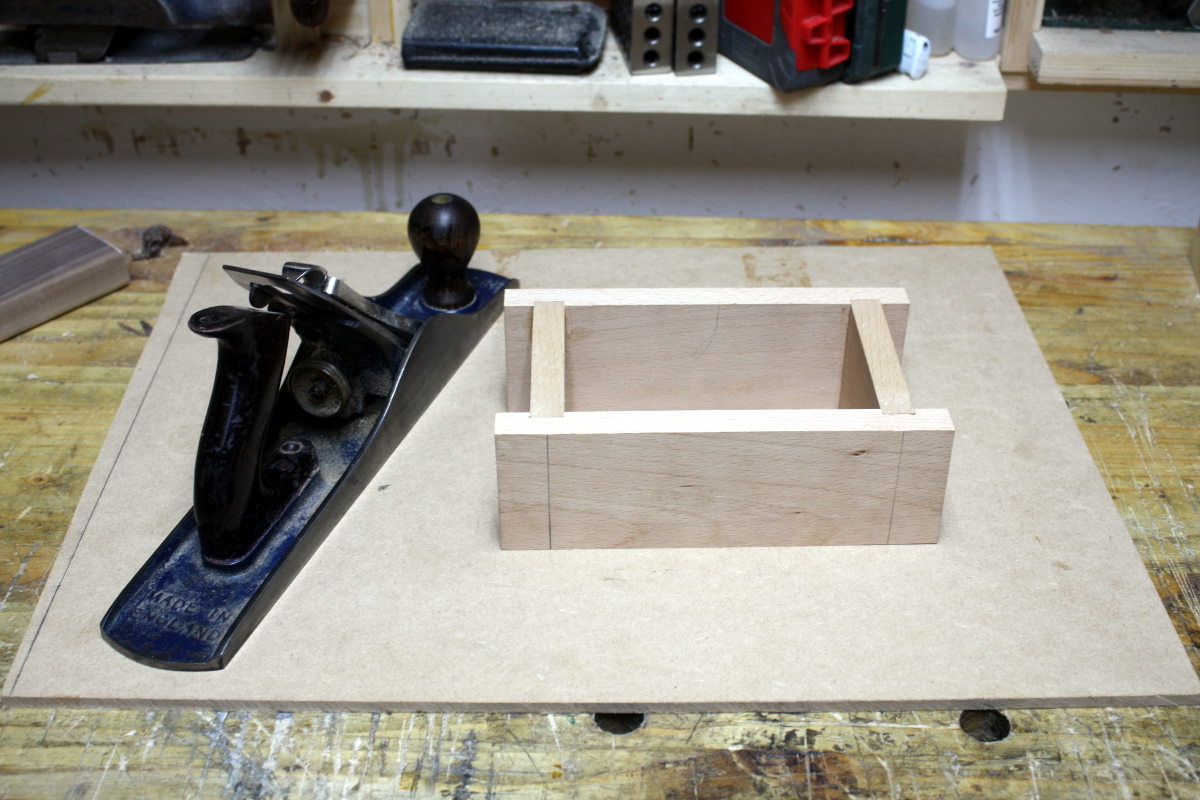
And with the glue dried, plane down the edges until we’re all level and not rocking (again, the MDF sheet’s handy as a reference surface here. I really want to flatten my benchtop but there just isn’t room to do so in the shed).
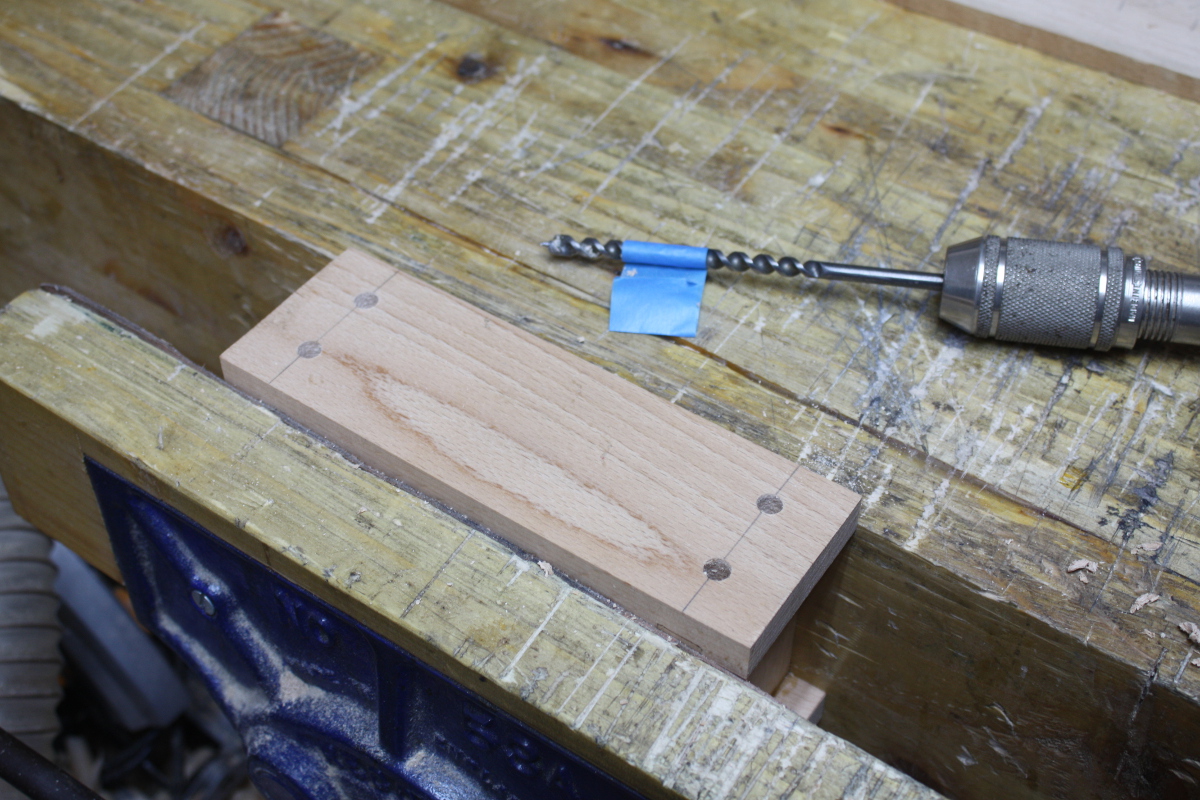
Some marking out and drilling of holes…
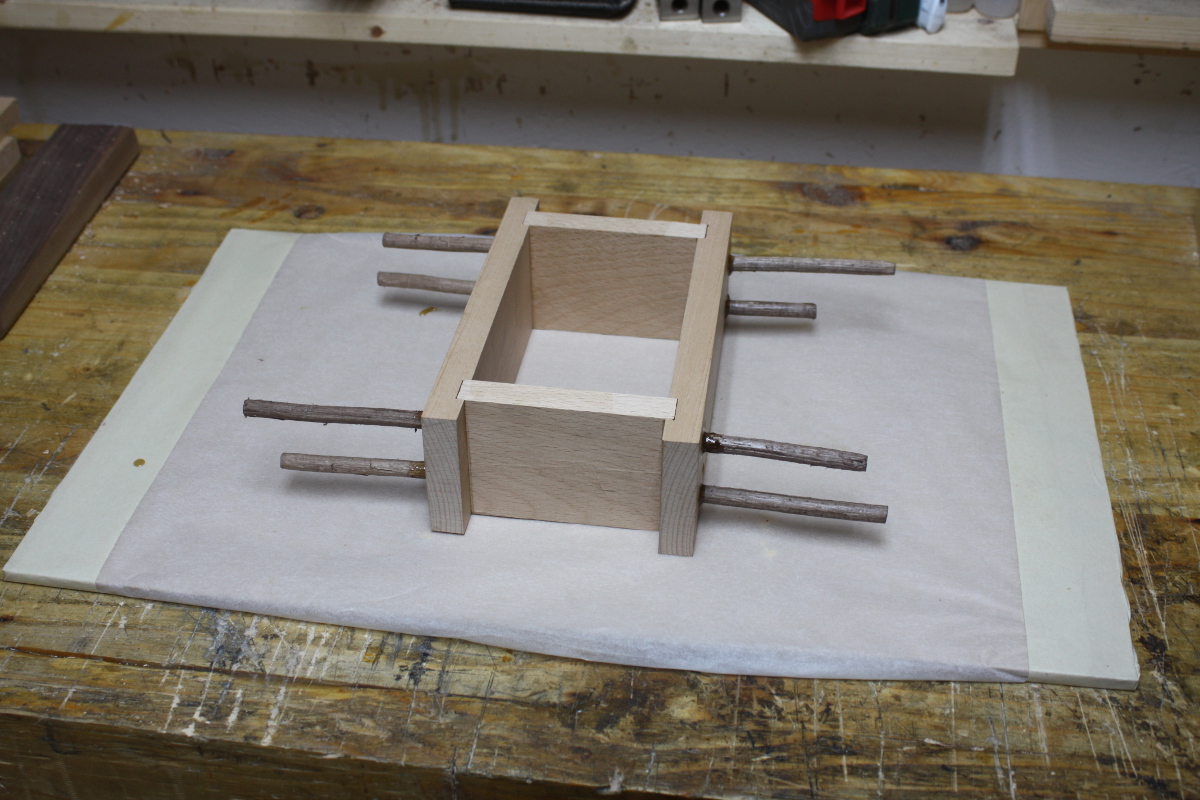
And in go the pegs and the glue. I’ll let it set up then trim off the pegs and they’ll go on to make more pegs later on.
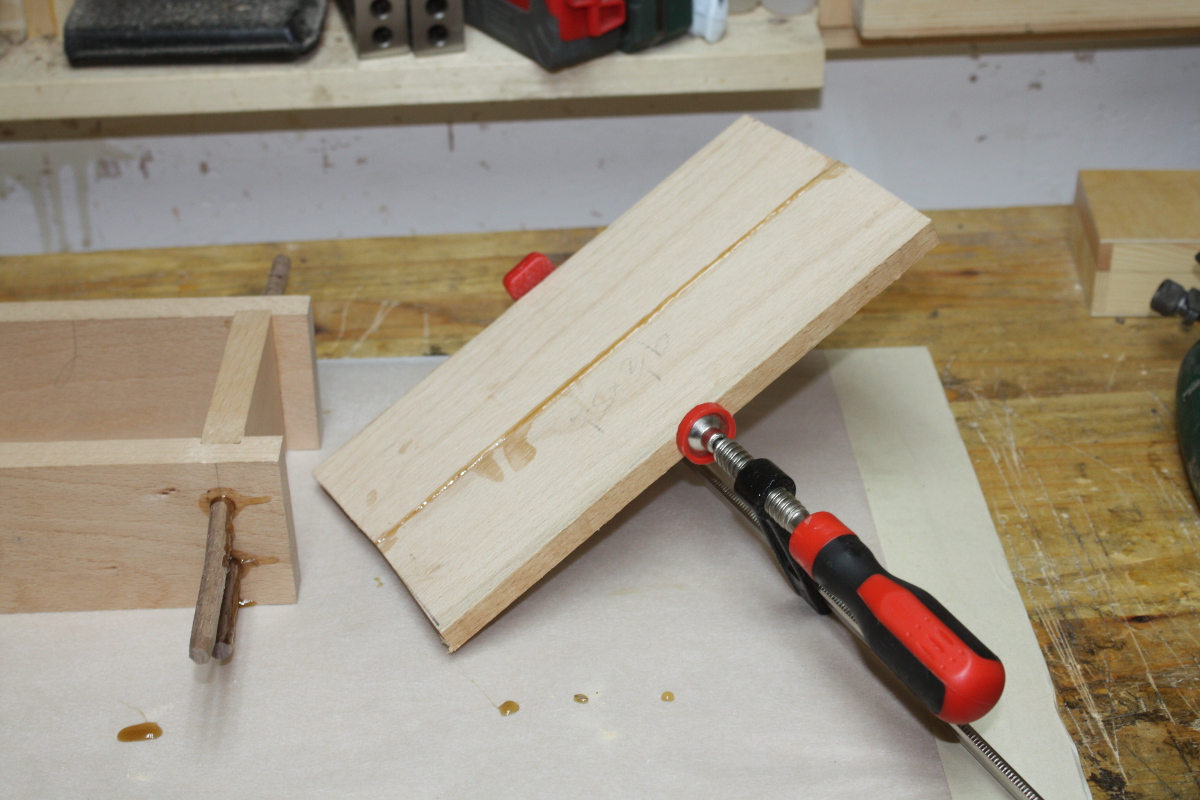
And I glued up a panel for the base. Gotta love sprung joints. I’ll plane up and cut to size tomorrow. And lastly, a quick test of finishes – on the left, danish oil; on the right, crimson guitar’s royal blue stain (just because). I must find out if boss lady wants her locker any particular colour…
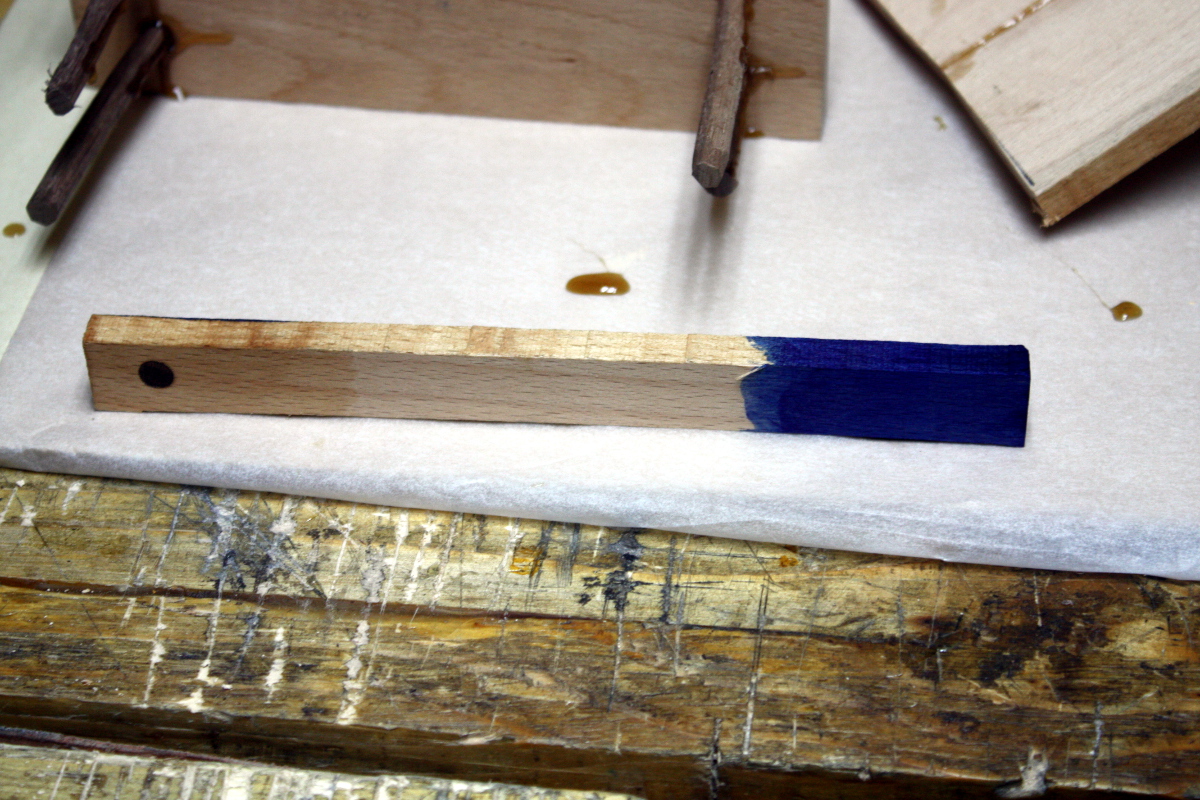
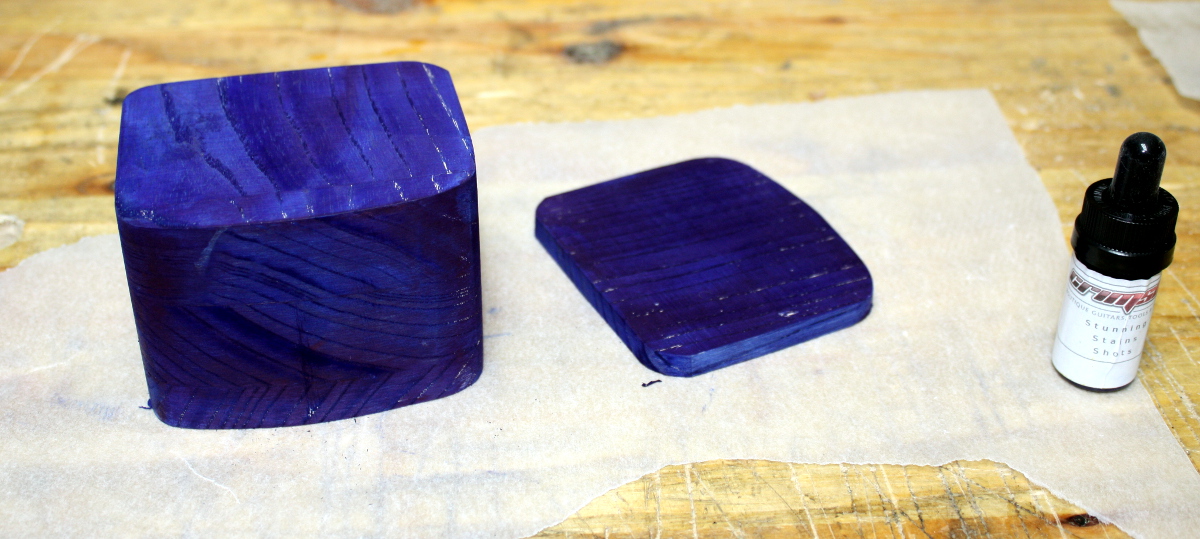
That blue is seriously intense while wet, it’s mucking up the camera’s colour balance even against a white background.
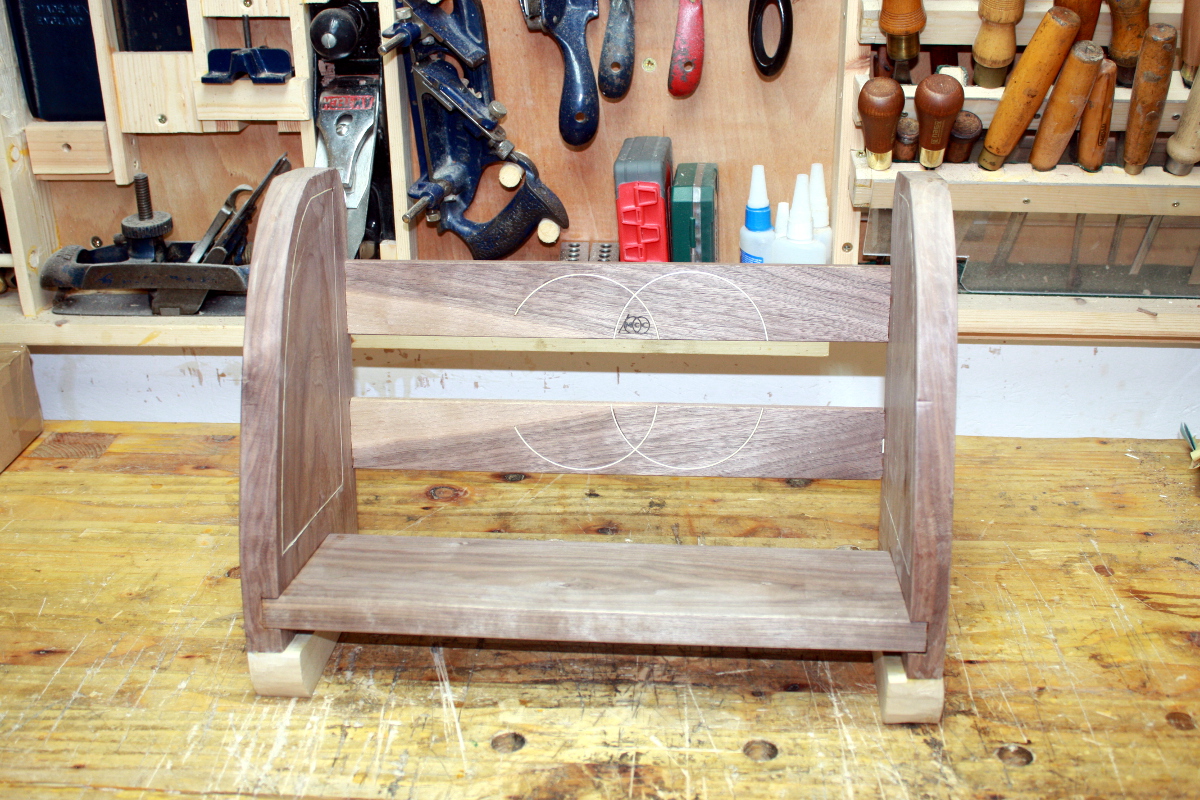


09
May 18

Starting to finish

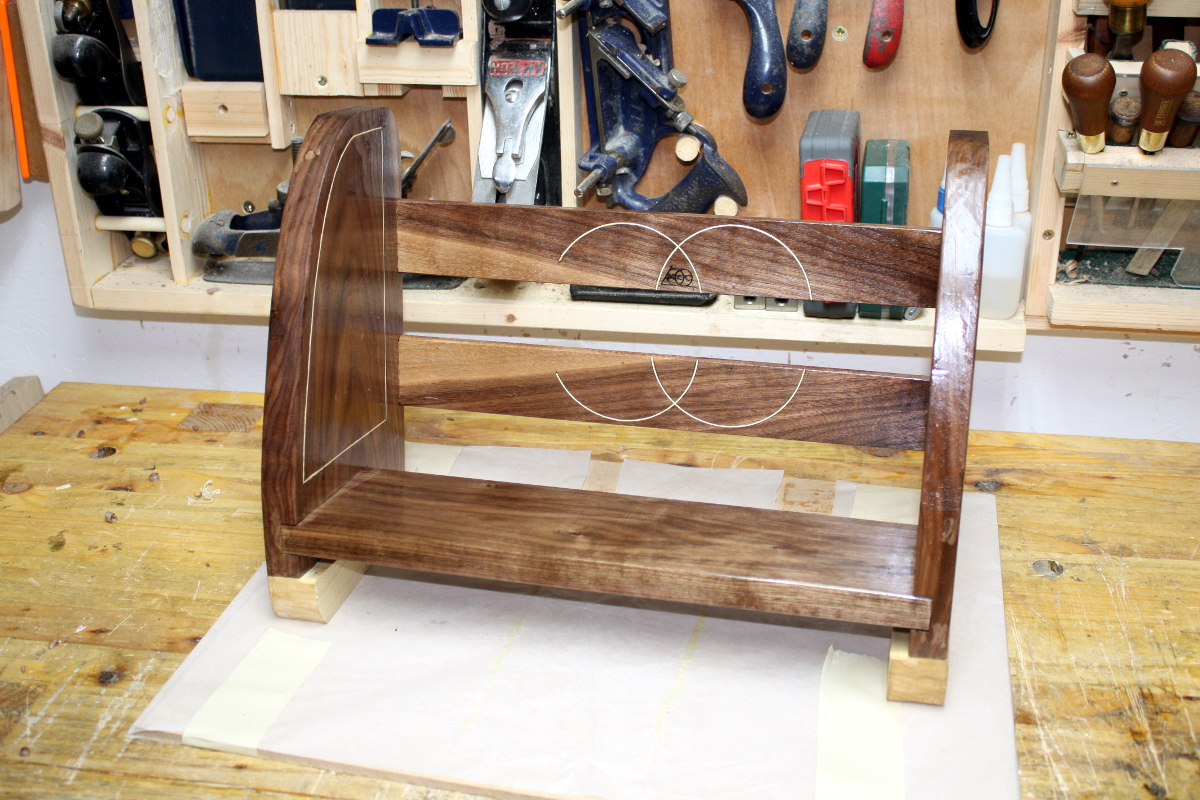
So time to take the shelf out of the clamps and see if it’s okay…

holds breath…

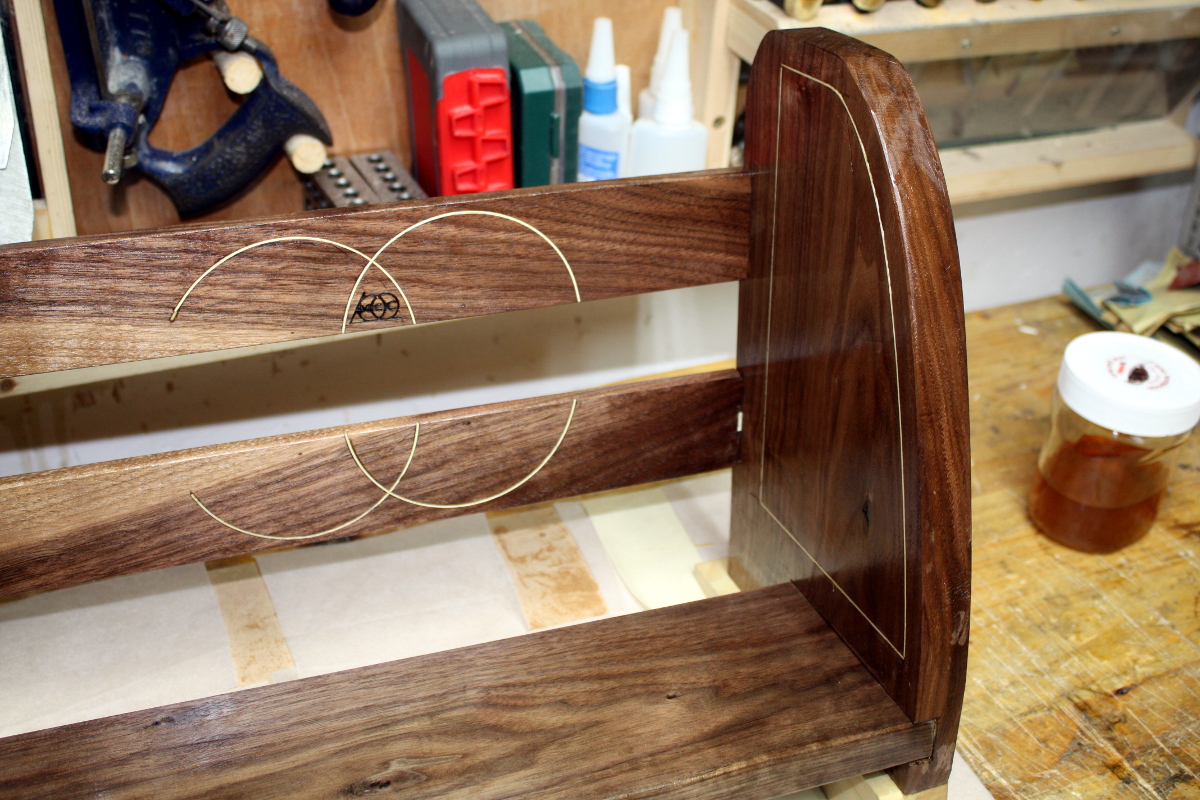
That’s not too bad from the front 🙂
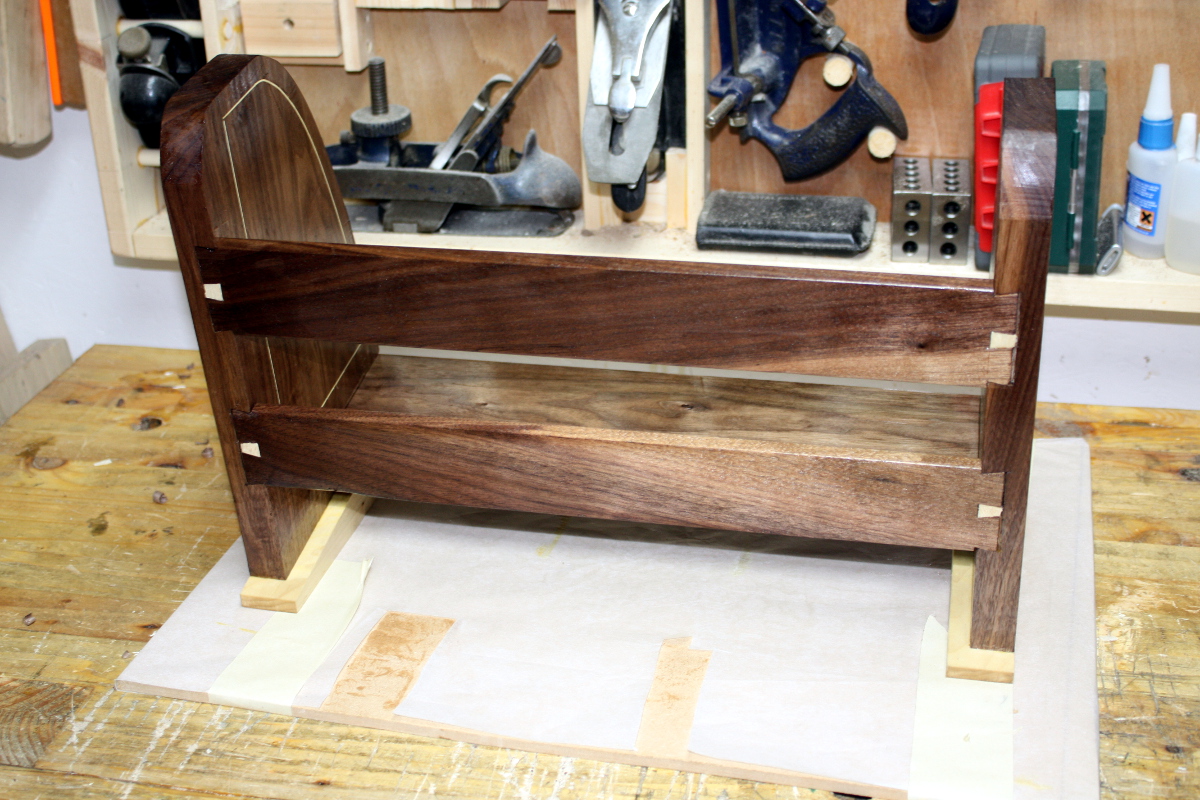
Different story from the back mind…

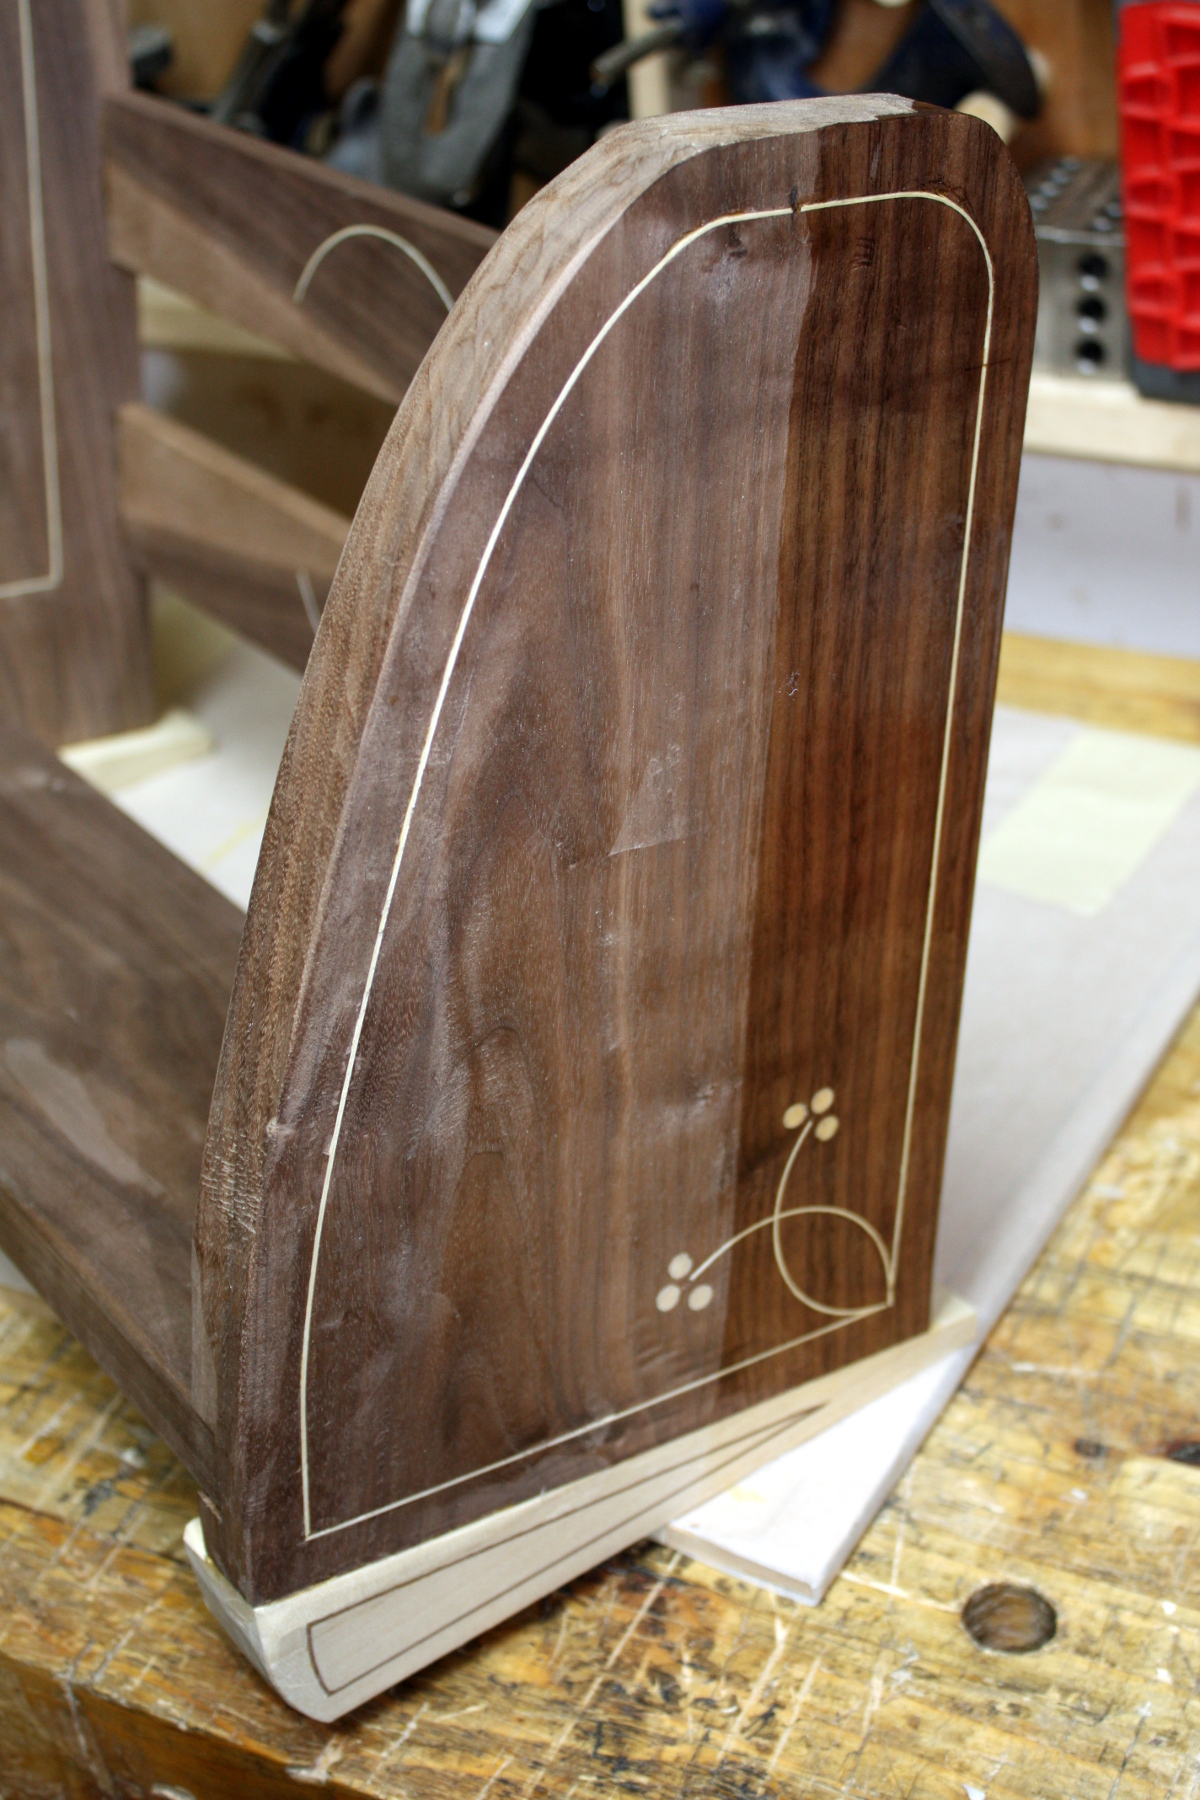
Urgh those dovetails. There will have to be some remediation work there. At least the white inlay bits worked reasonably well (you just can’t do dovetails from end to edge like that if there’s more than one tail, the short grain on the pin means it always breaks off, so I deliberately broke off the pins and replaced them with some sycamore chunks).

Okay. Time to start finishing. I could keep trying to touch this up for ages and never finish 🙁

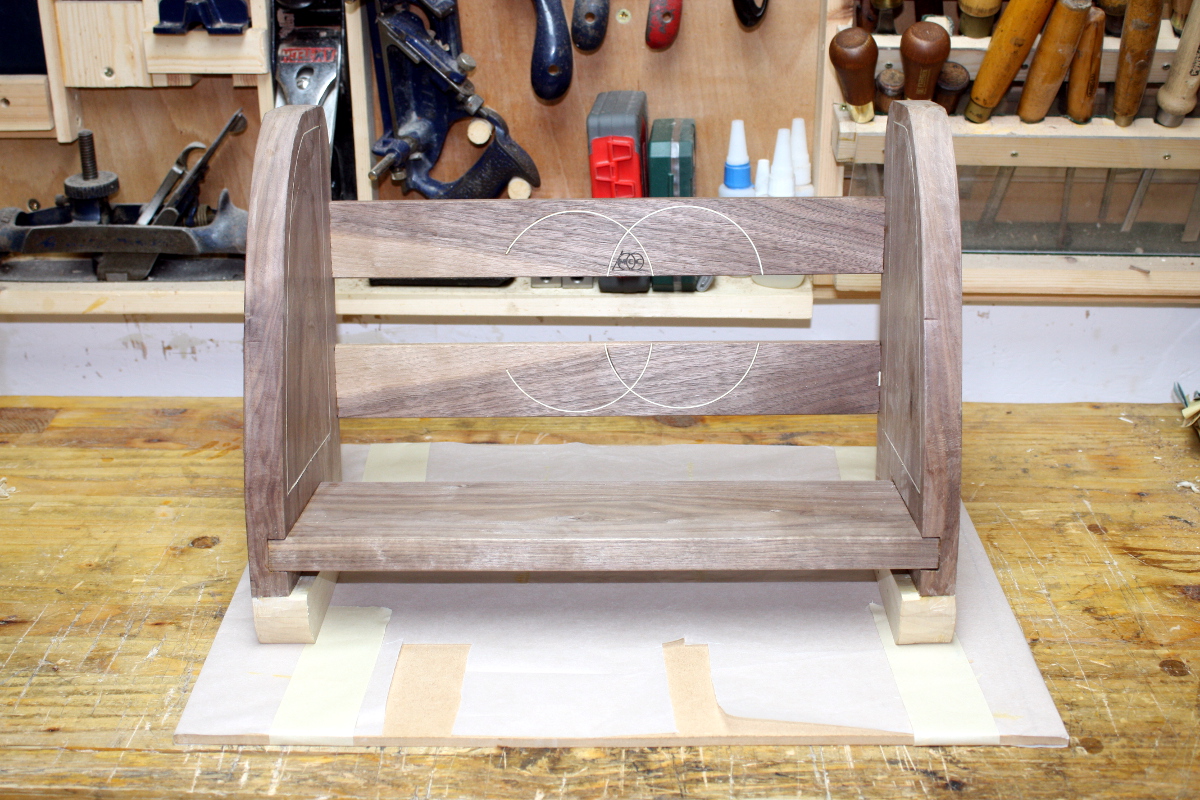
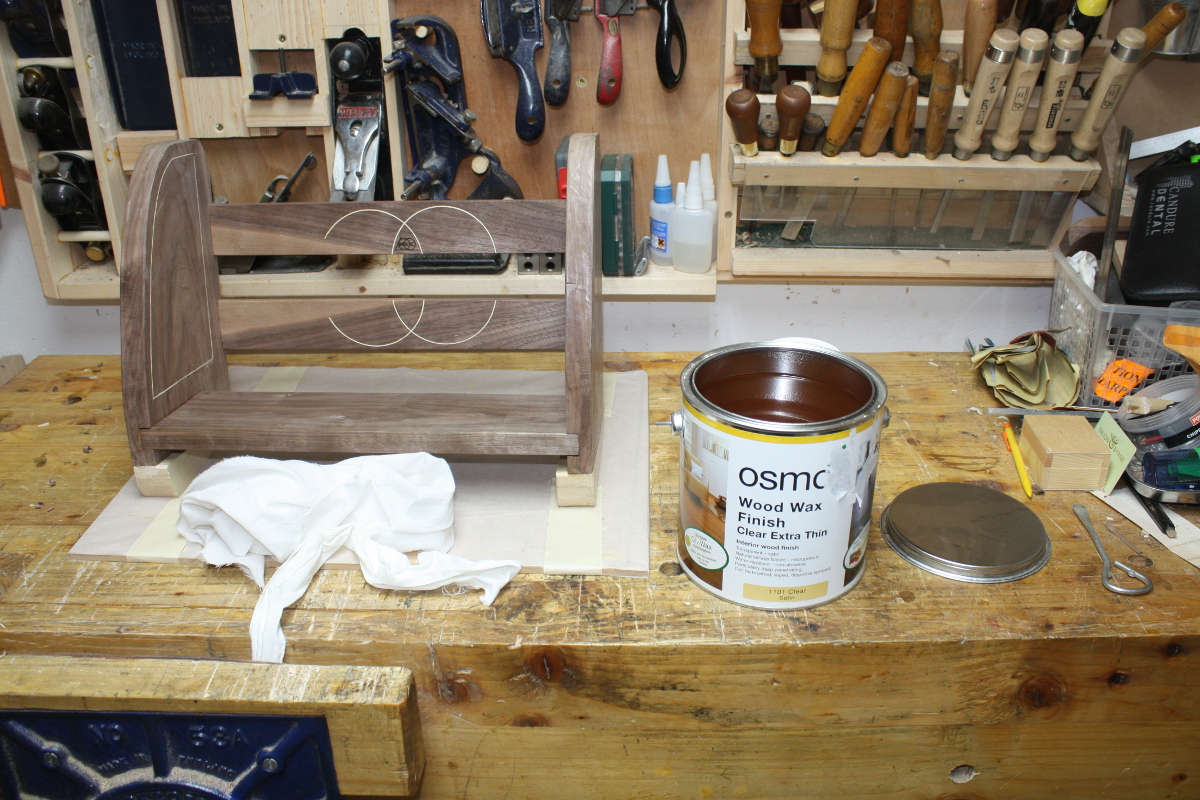
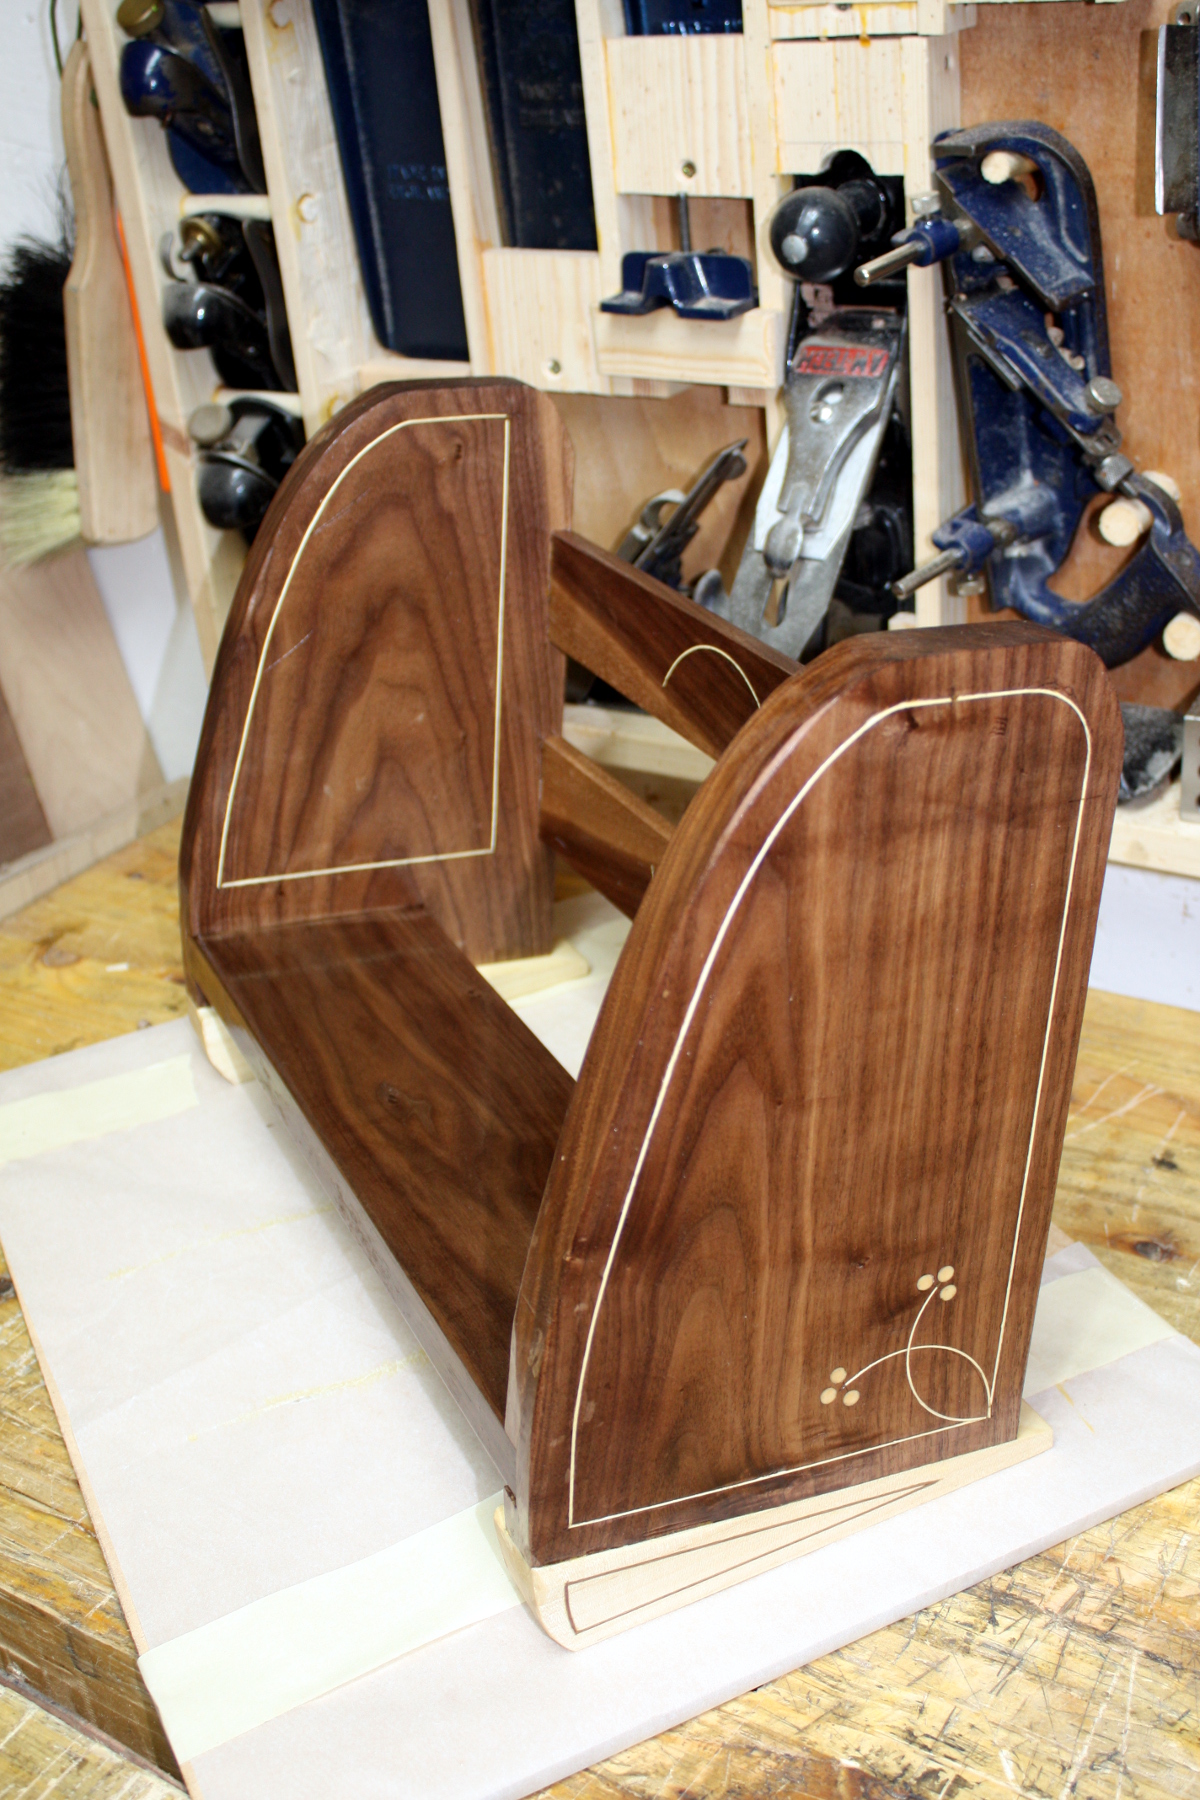
Going for a simple finish this time, just some thin coats of osmo and buffing it out.

Magic time 🙂

Little better at the back after some touching up.

That might be nice once the rest of the coats go on…


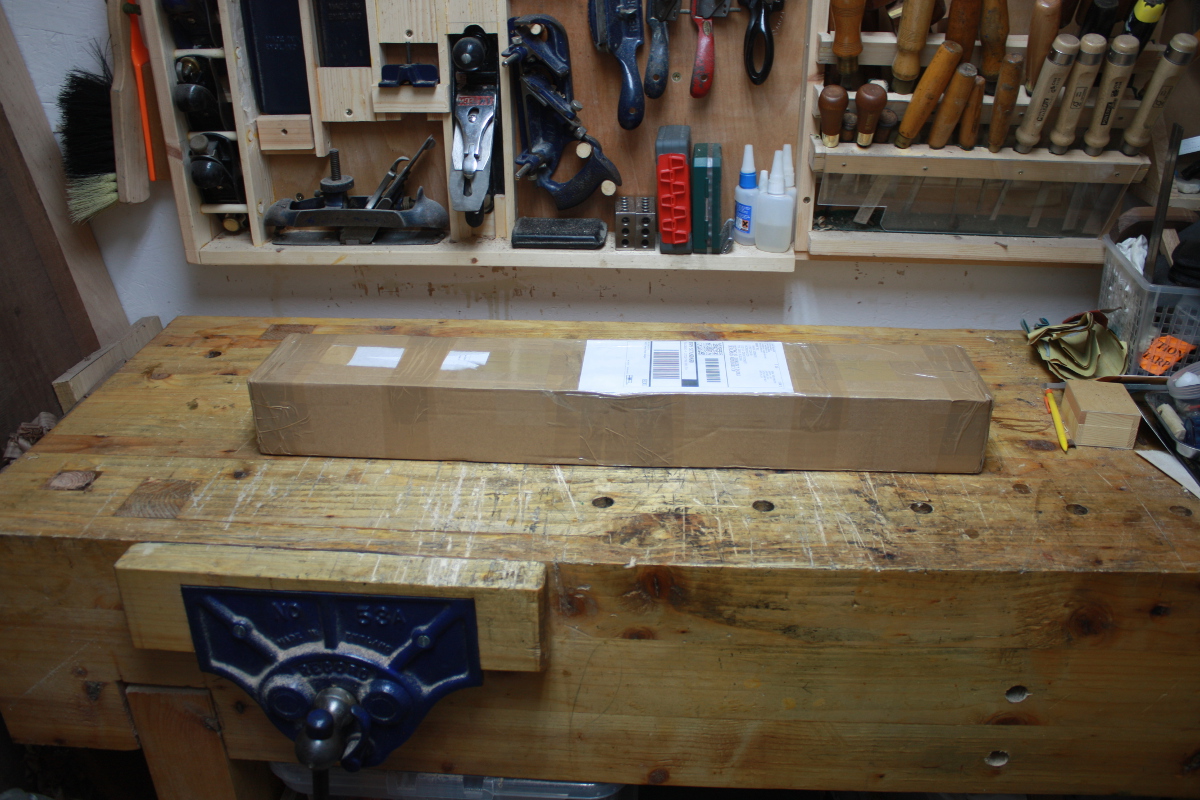
And then the surprise for the day – Custard over at the UK workshop forums offered to send me some thick sycamore veneer while I was trying to sort out a commercial vendor here for the stuff (the laminated 0.6mm stuff is workable but fiddly as feck and occasionally bits delaminate and you don’t know it till you expose the delamination while trimming off the excess and you now have a double thin white line instead of one slightly thicker line; and it’s hard to thickness properly as well). And the box arrived today. “I’ve thrown in one or two other bits” he said…

2.6kg. In veneer. What the hell is in that box?

Holy shit.

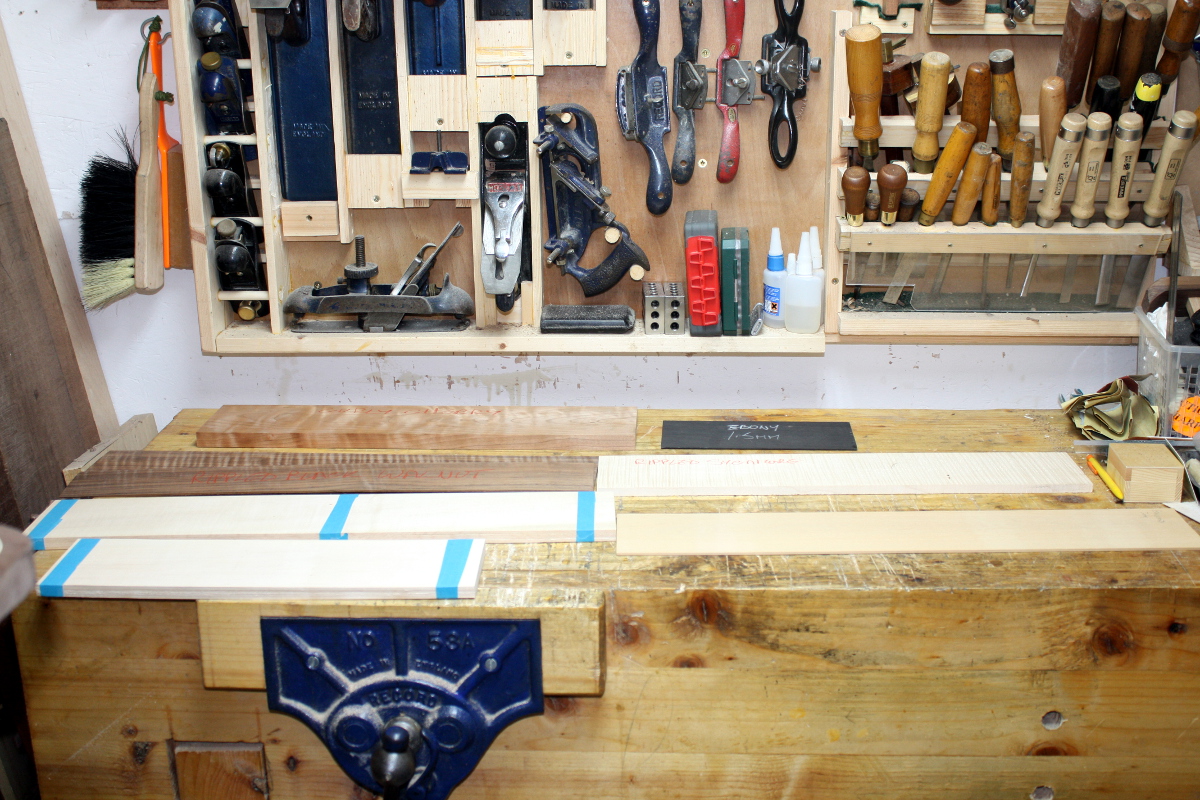
So that small sheaf at the front left over the vice? That’s all I was hoping for. Look at the rest!

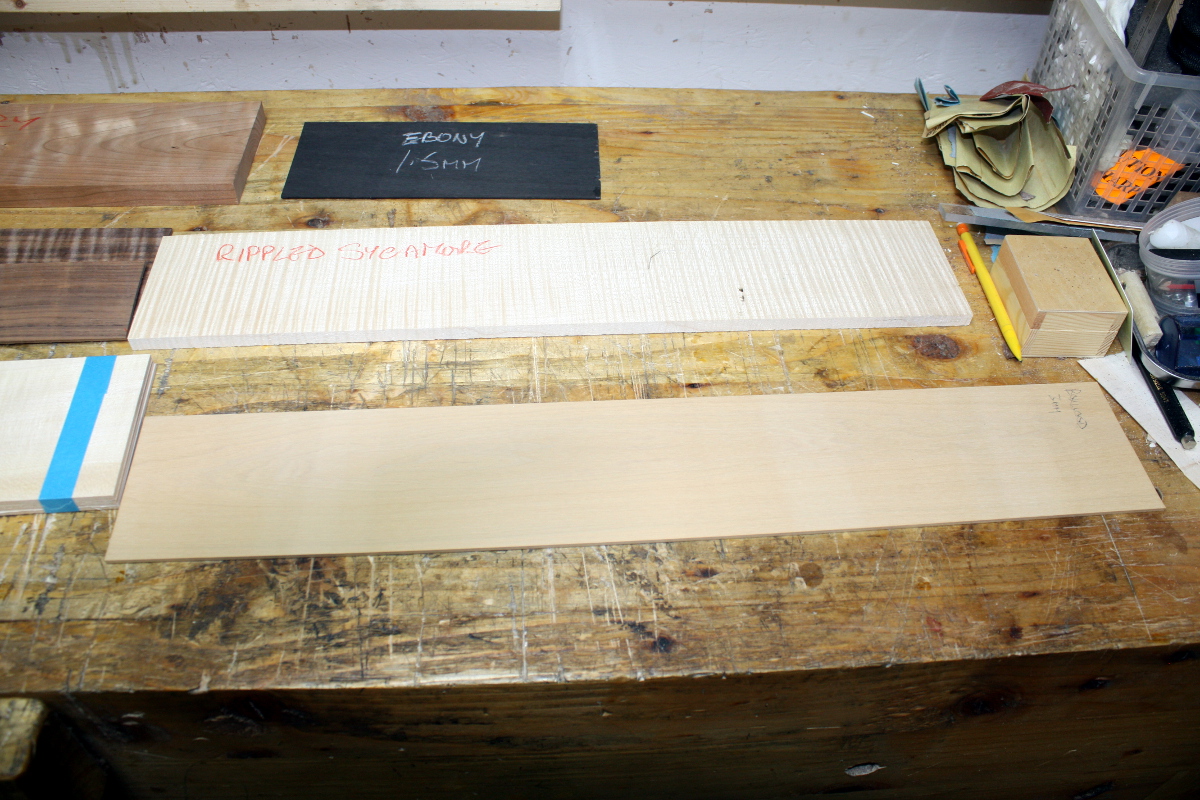
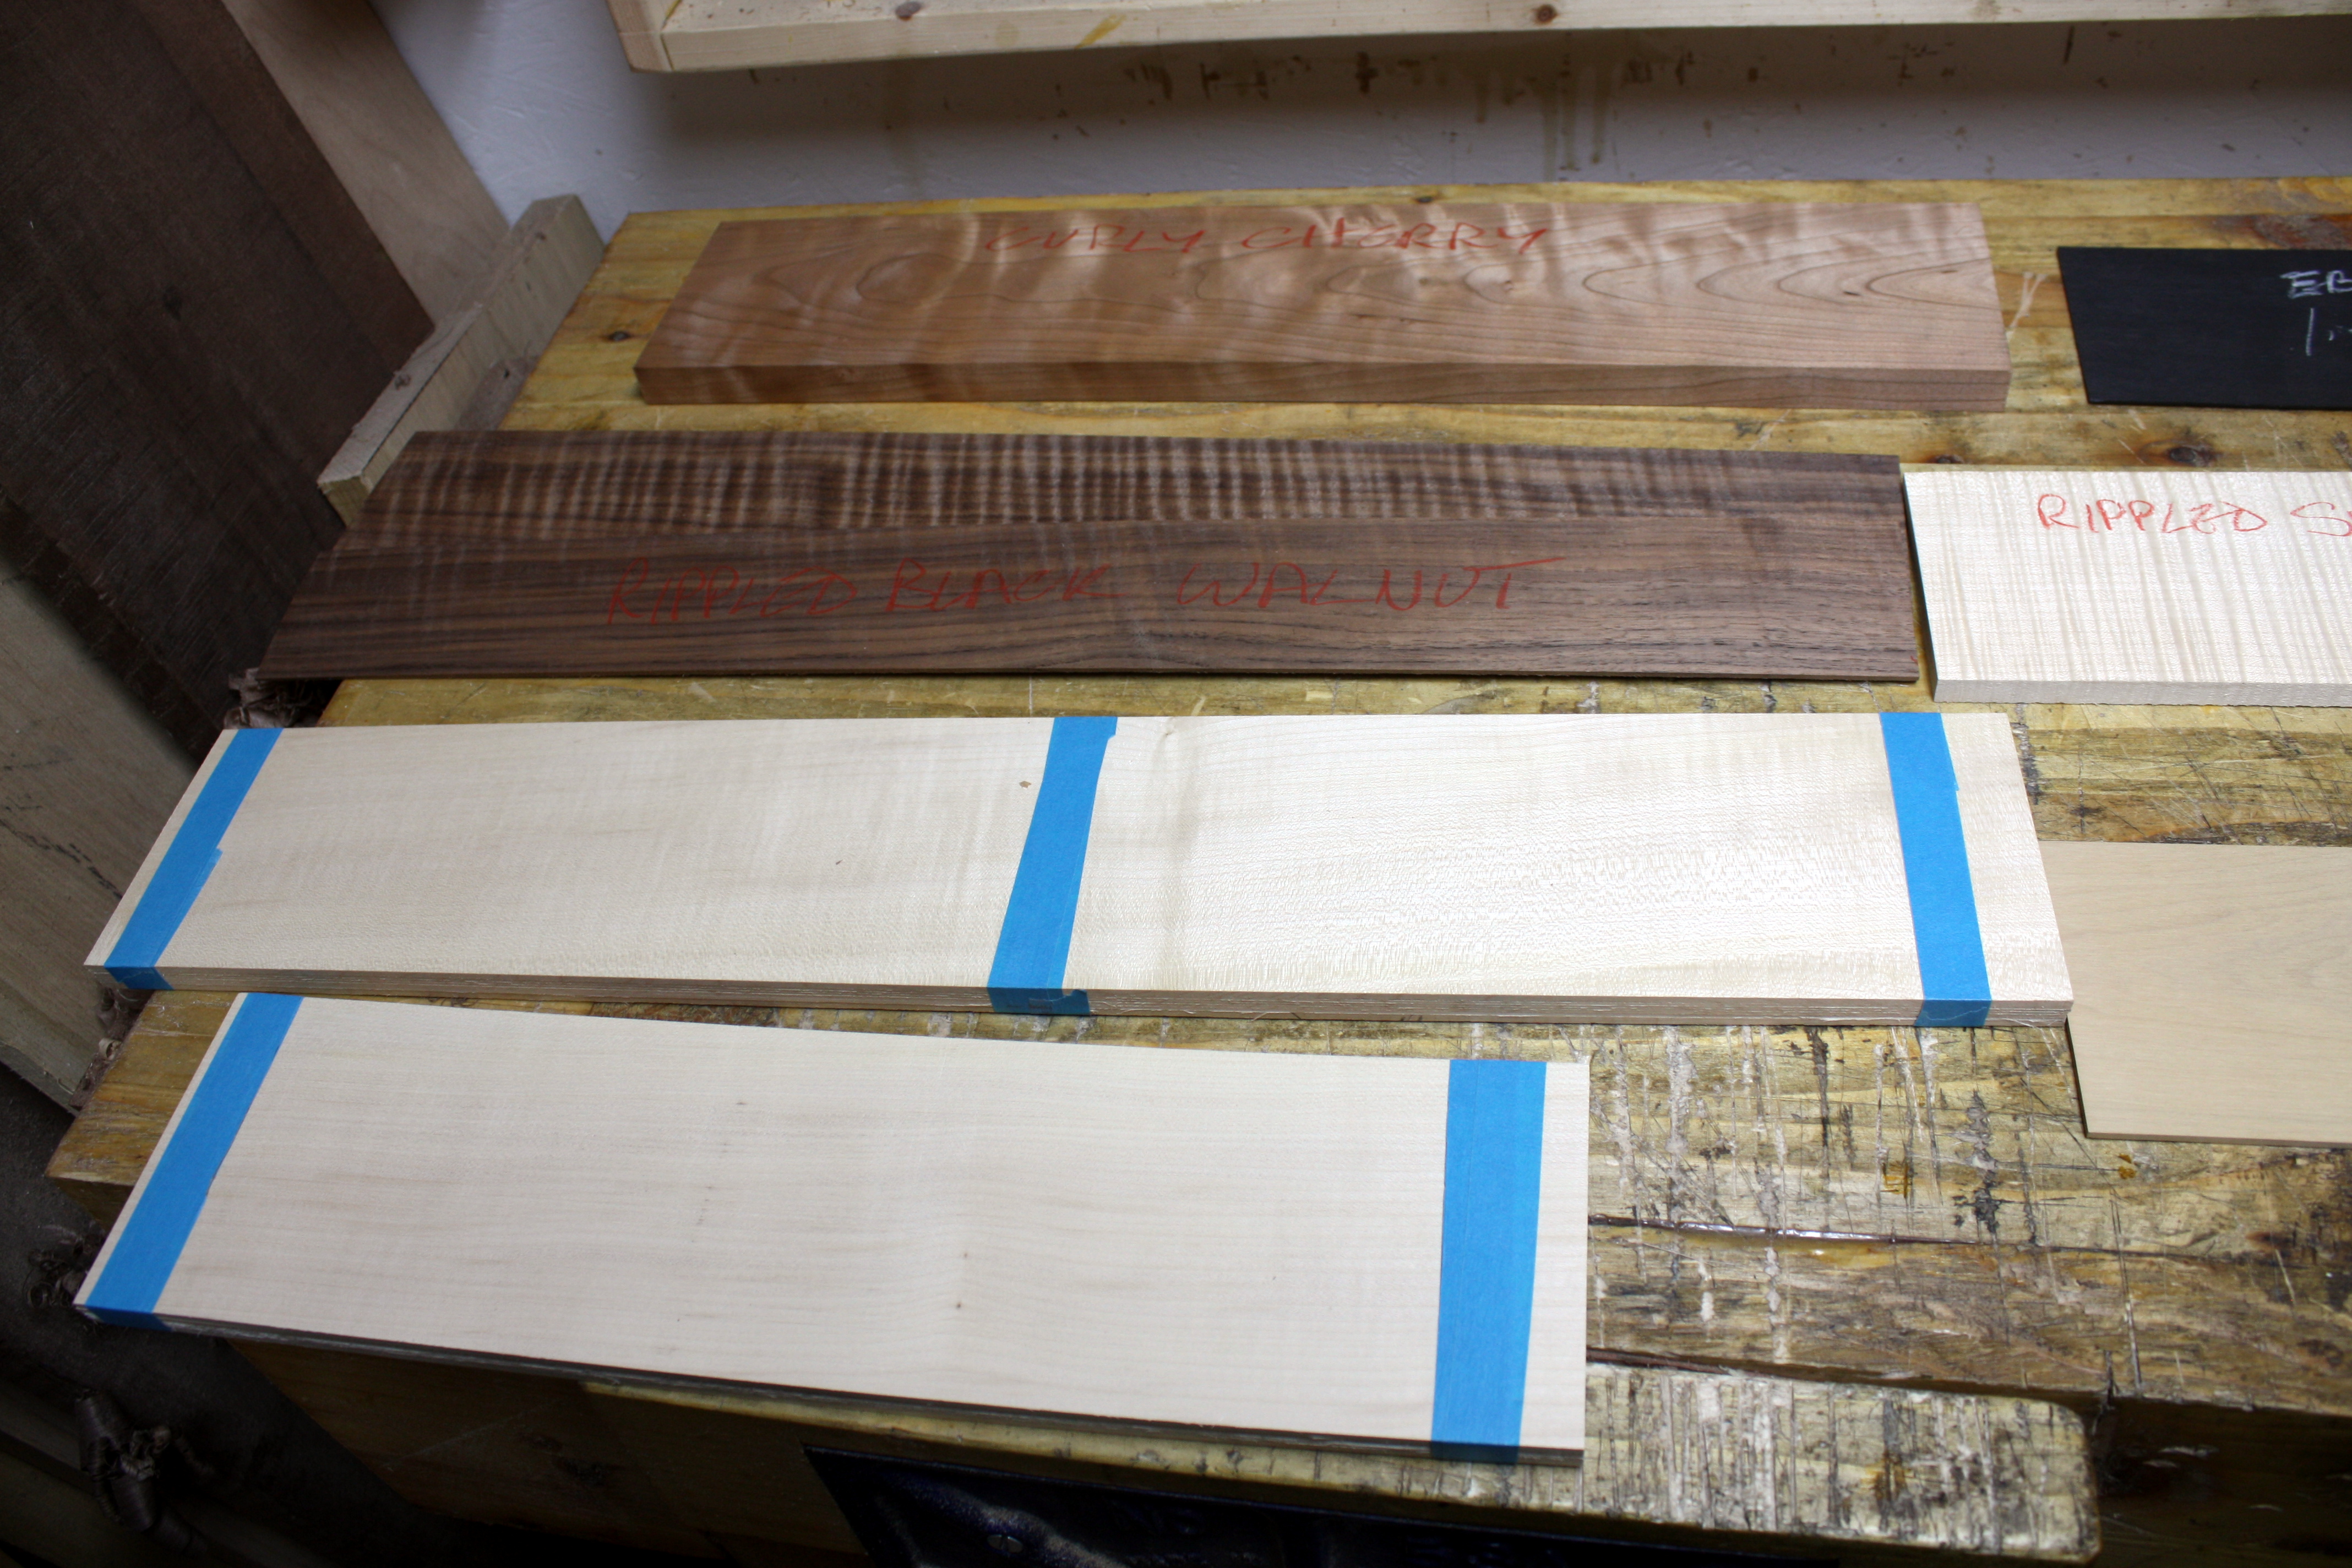
Thick ebony and boxwood veneers – boxwood is bloody lovely stuff and with an interesting history and source. And rippled sycamore. Wow. That stuff is stunningly pretty. (If you’ve not seen it before, that plank is perfectly smooth – the lines are figuring, cellular anomalies in that particular part of that particular tree, we don’t quite know what causes it and it’s become very fashionable these days (in the 17th to 18th century it wasn’t so much because it’s not as strong as straight-grained wood, but when veneering was invented you could use stronger wood for the substrate and let the veneer of a figured wood be the final decorative layer).

And the walnut is even prettier when it’s figured like that. And the cherry is figured as well – I’ve not even seen cherry in the flesh before now, I can understand now why it’s so popular for furniture making. It doesn’t come across well in photos (well, in mine anyway) but it’s very very pretty up close.

Custard, the stuff is incredible, you’re a maniac. Thank you!


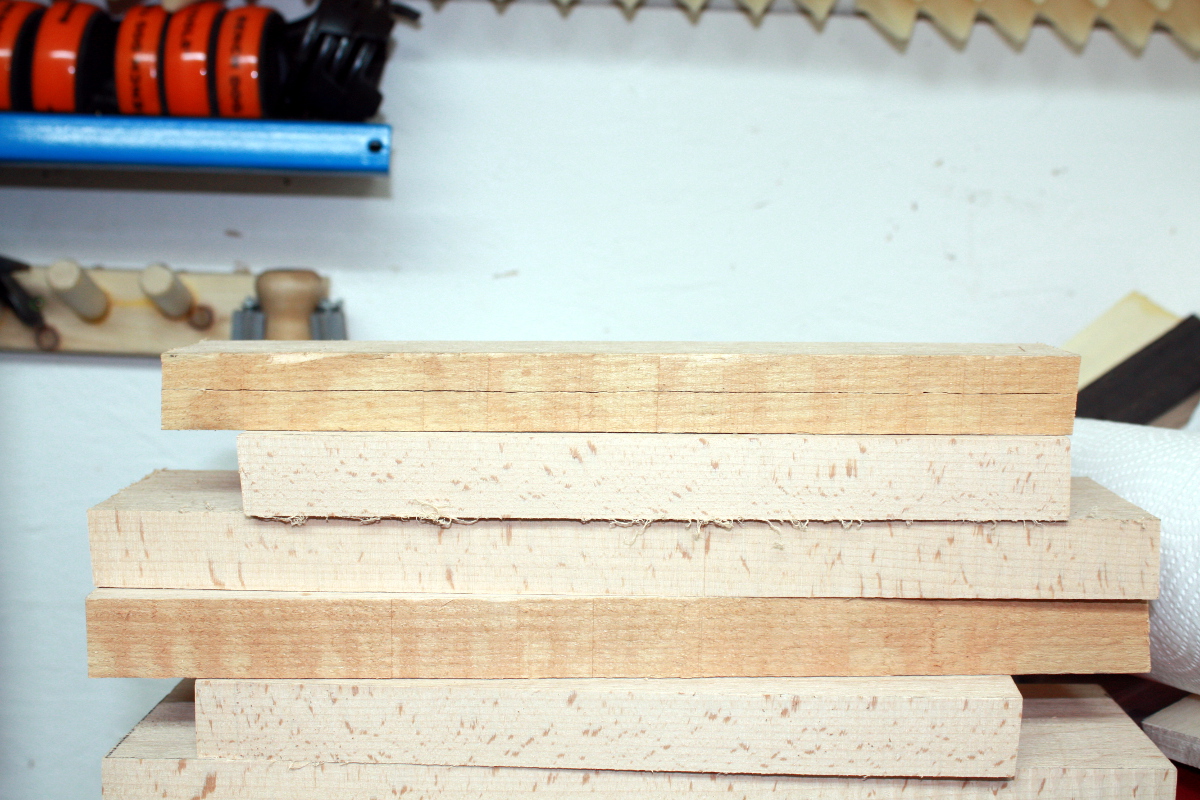
Oh, and the resawn beech still hasn’t pretzel’d on me…


18
Feb 18

Mucking about

So no major new projects taken on yet, I’ve been tidying away some new toys and getting the shed back to a working state instead. For example…

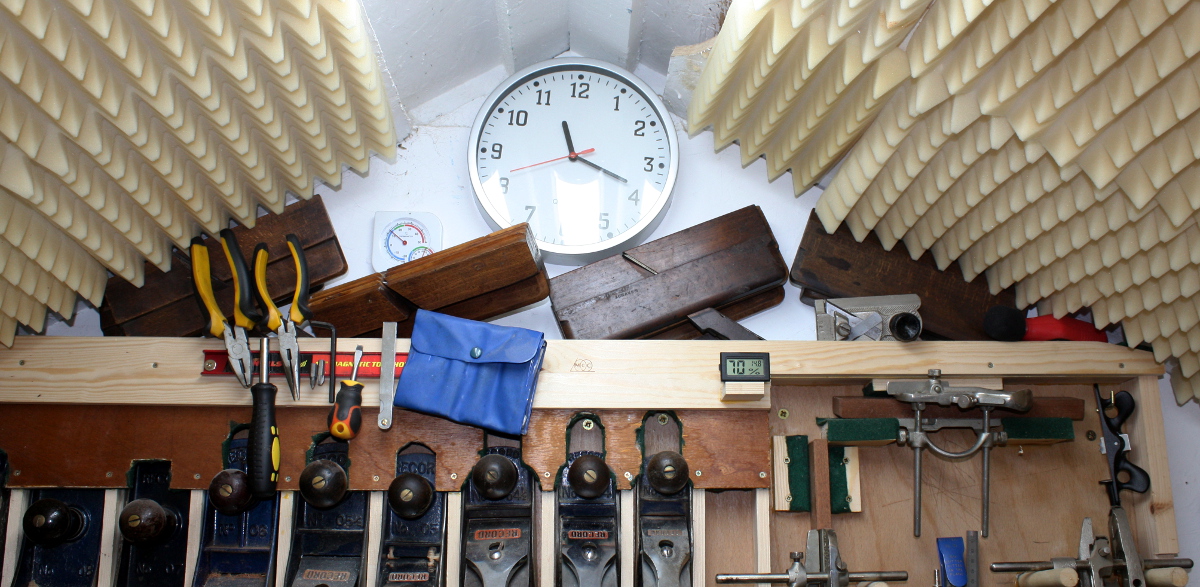
I now have two pairs of hollows and rounds (4’s and 6’s) as well as a 7 hollow, the reeding plane and a spare 6 hollow. According to Mouldings in Practice that’s all I need to start off with for the scale of stuff I build. A pair of 2s and 8s would be the next on the list if this works out. I don’t like this storage solution though; you don’t really want to have a moulding plane tip over and fall on your head from two feet up. I’ll build a rack for them seperately later .

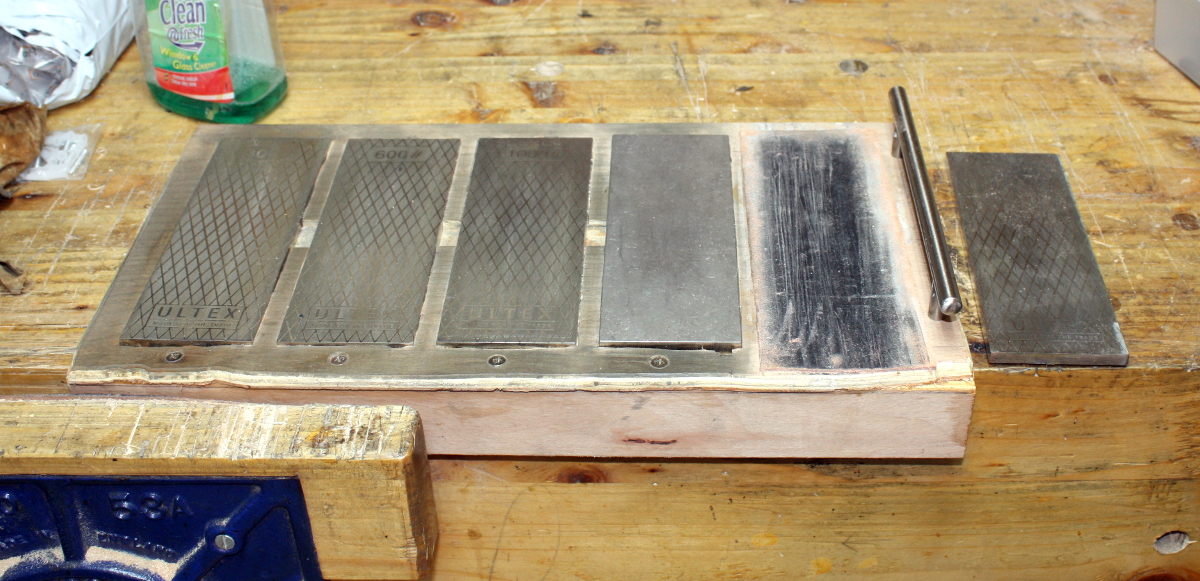
I also wanted to increase the final grit of my sharpening setup (before the strop), and while waterstones seemed the obvious choice, they’re messy as all get-out. Also, the way I work I don’t have a huge amount of time in the shed so waterstones that you don’t have to soak for 15 minutes before sharpening would be mandatory (whether that be solved by storing them in water or having the shapton type that you can just squirt water onto and get going), and those are not that cheap. But if you want 20,000 grit, they’re you’re only real choice.

Thing is, okay, I do have a japanese chisel or two but most of my work isn’t done with A2 or PM-V11 steel or anything that esoteric, so waterstones aren’t really mandatory; and diamond plates will go up to 8000 grit if you buy from DMT. Okay, the 8000 grit one isn’t cheap, it’s nearly ninety quid, but the things last for a decade and they’re very low fuss, so I cried once and bought one.

Swapped out the 1200 grit Ultex and in went the 8000 grit DMT. The Ultex went into just-in-case storage. I’ve only sharpened the new japanese chisel on the DMT so far (it’s been a quiet week) but for such a fine grit, it visibly cuts quite surprisingly well.

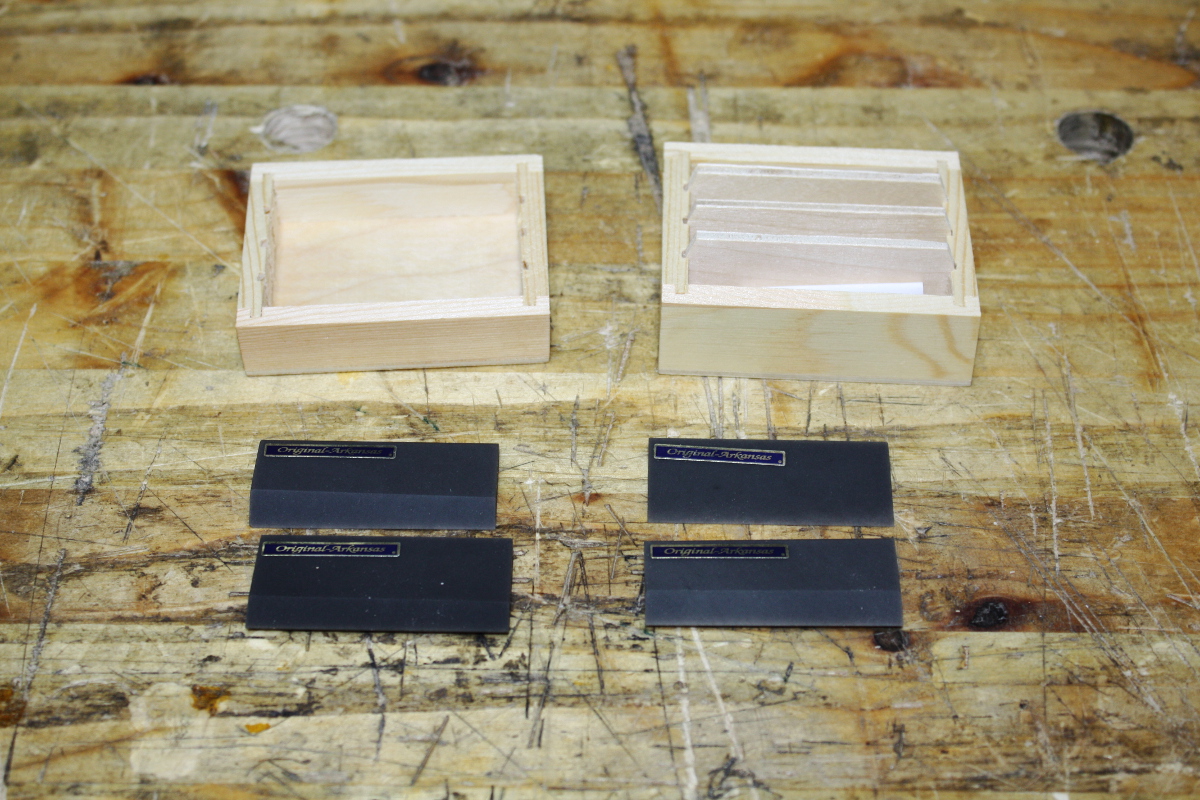
Speaking of sharpening, I needed something for the inside of the gouges, so some black arkansas slipstones got bought along with the DMT. Seem nice enough, and not too expensive. Not used yet though….

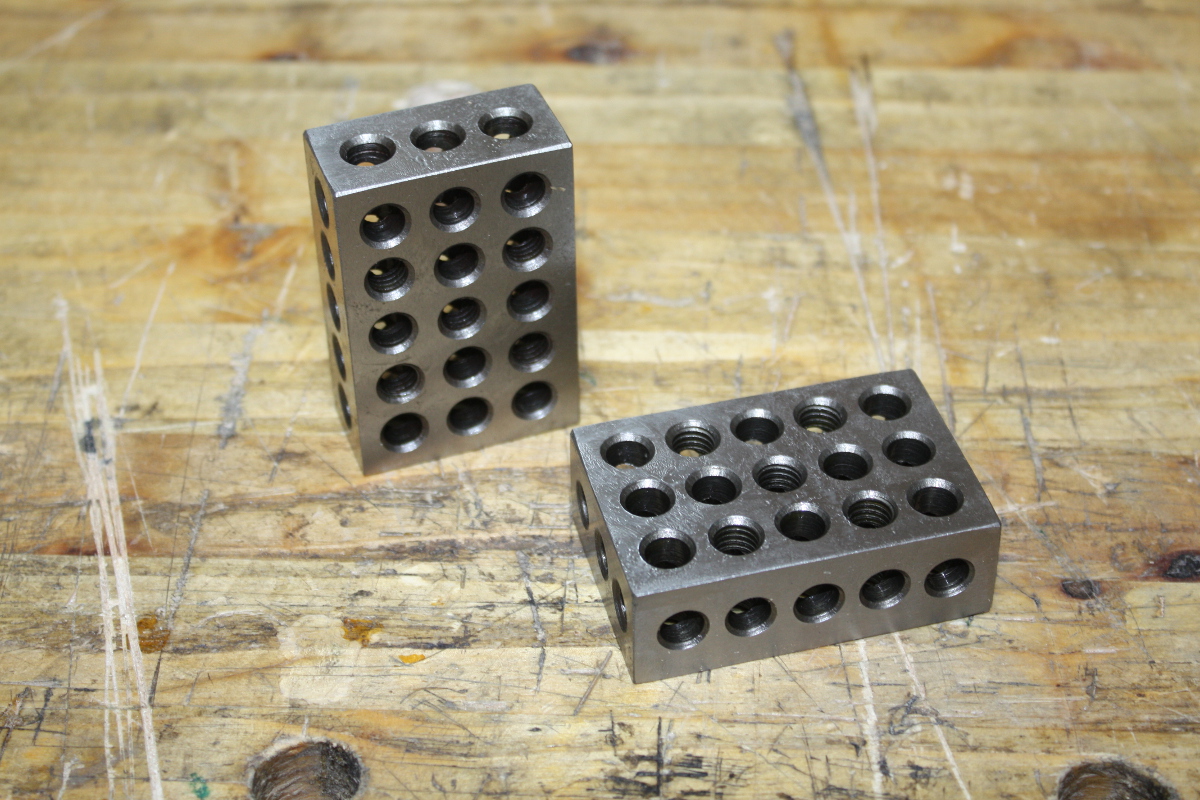
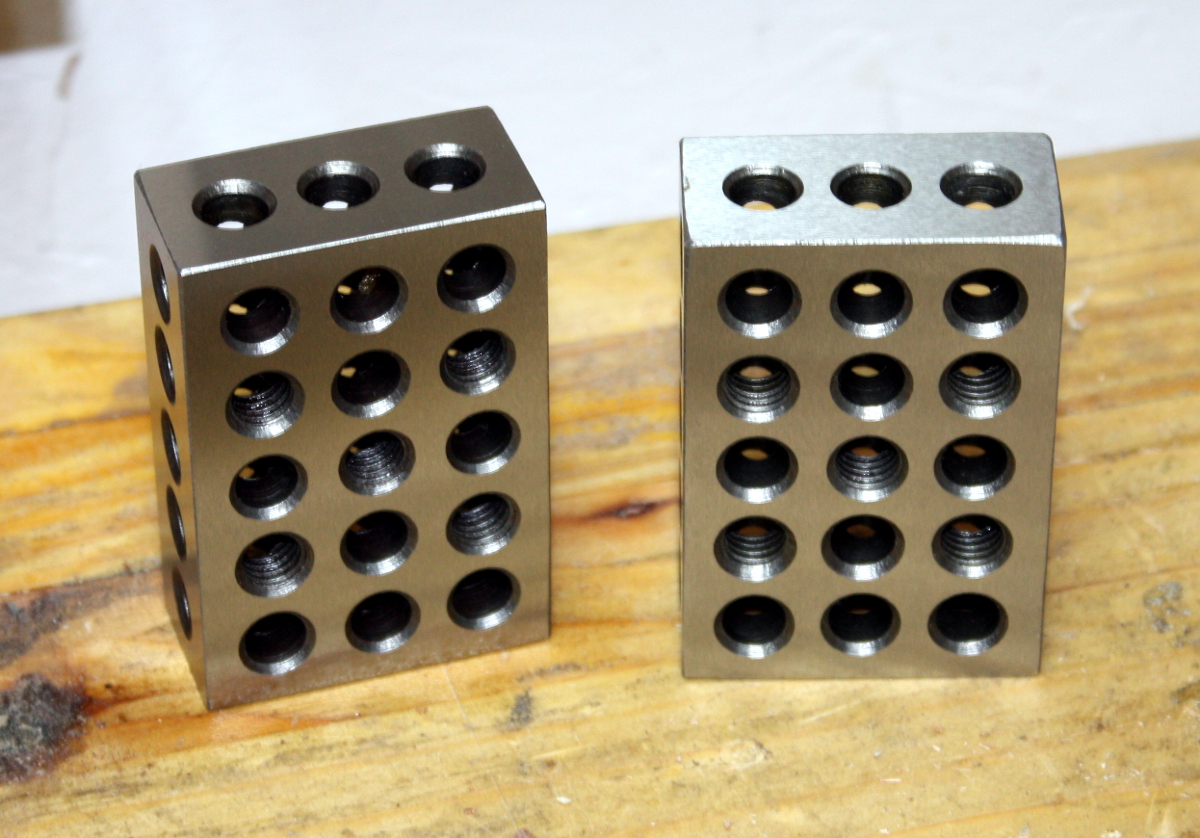
And I got some 1-2-3 blocks. I’ve been meaning to get some for a year or so now. For woodworking they’re not as useful as they would be to a machinist, but not having to measure off 1, 2 or 3 inches, being able to set up the bandsaw or fences with right angles, clamping odd things, they’ll be bloody handy for that I suspect. Need to put a mount on the wall for them (I suspect a pair of dowels in the nonthreaded holes will suffice). Pain in the fundament cleaning all the storage grease off them though, but when you do, they’re nice and shiny…

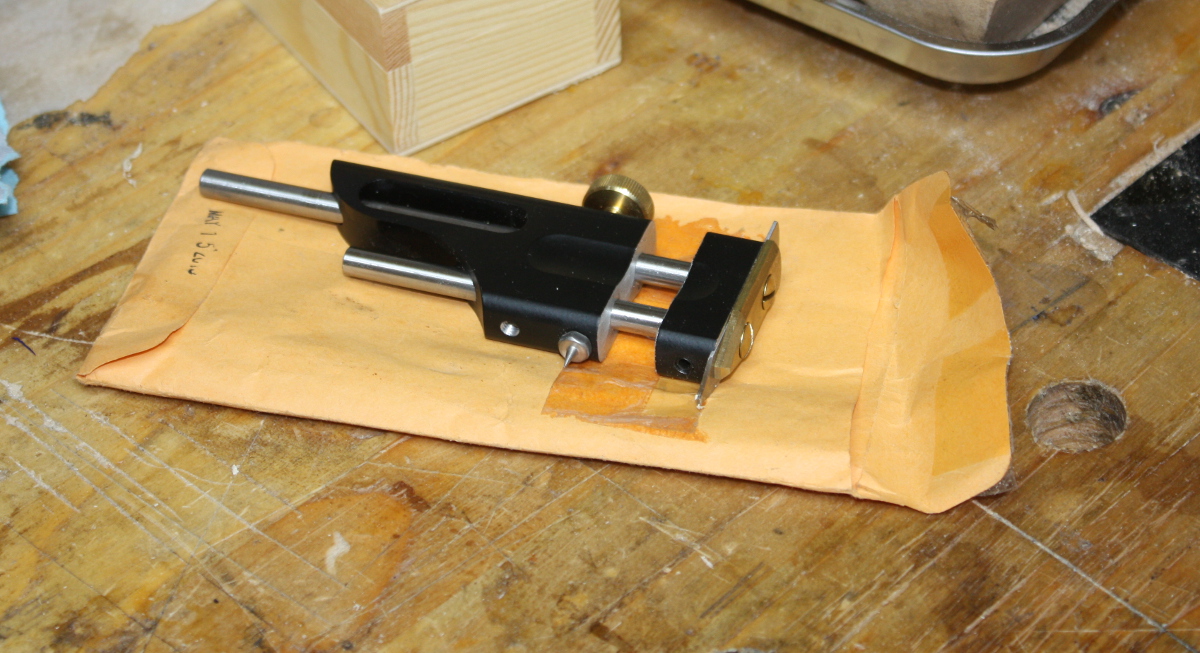
This radius cutter isn’t new, I’ve had it for 18 months or so but I haven’t used it (look, life gets complicated sometimes, okay? 😀 ). I finally got to watch the line-and-berry video this week and dug this out, I have an idea for a project I want to use it on. More to come but I need to make a tool or two first…

One tool down, another to go yet. I also need to find a source for 1/32nd holly veneer, which in Ireland seems more difficult than expected.

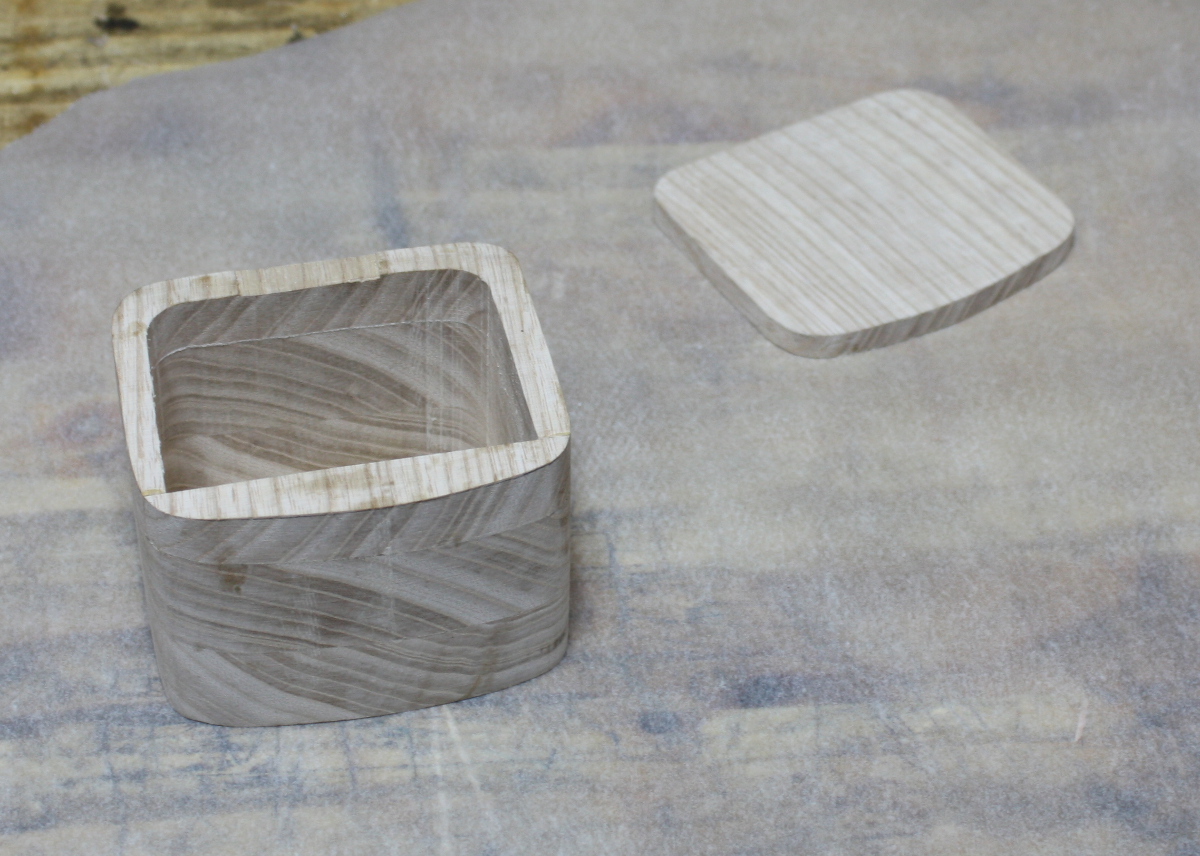
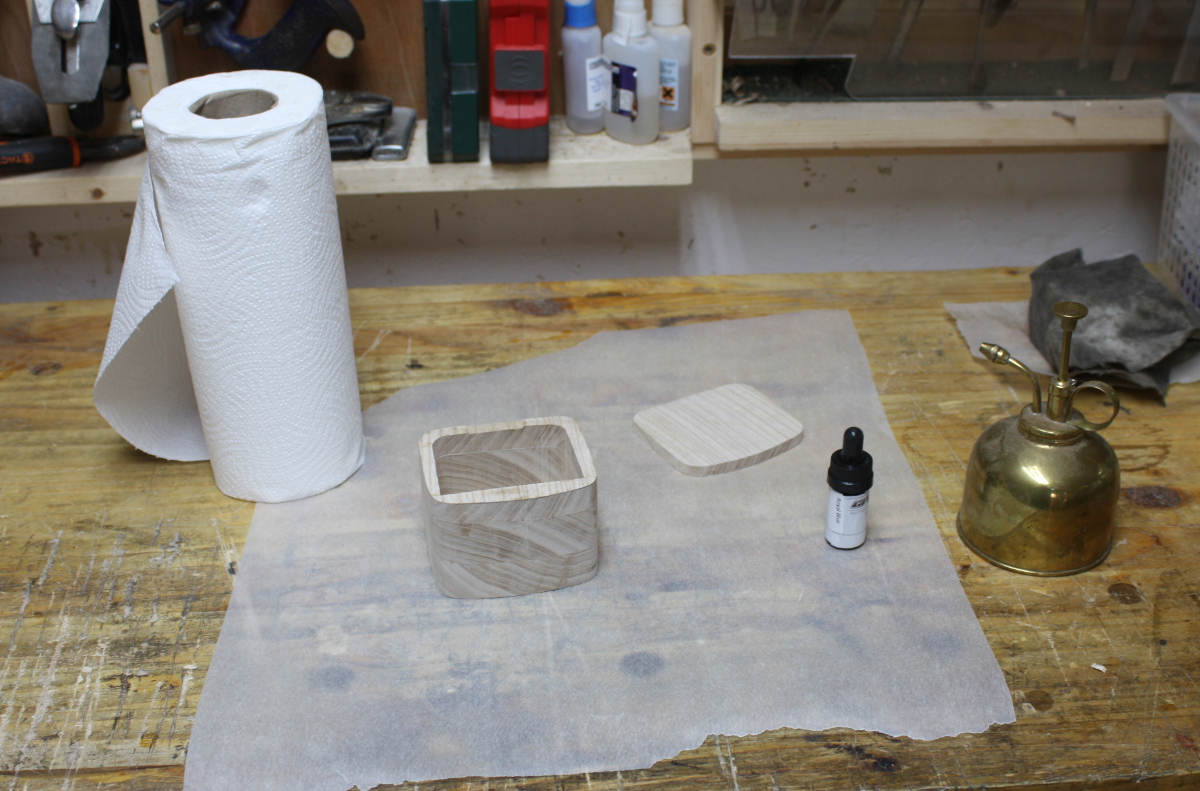
Wanted to finish this up as it was sitting around (it’s planned to be a salt box). It’s a bit… drab as is though. If only I had something to jazz it up a bit…

*hehehe*

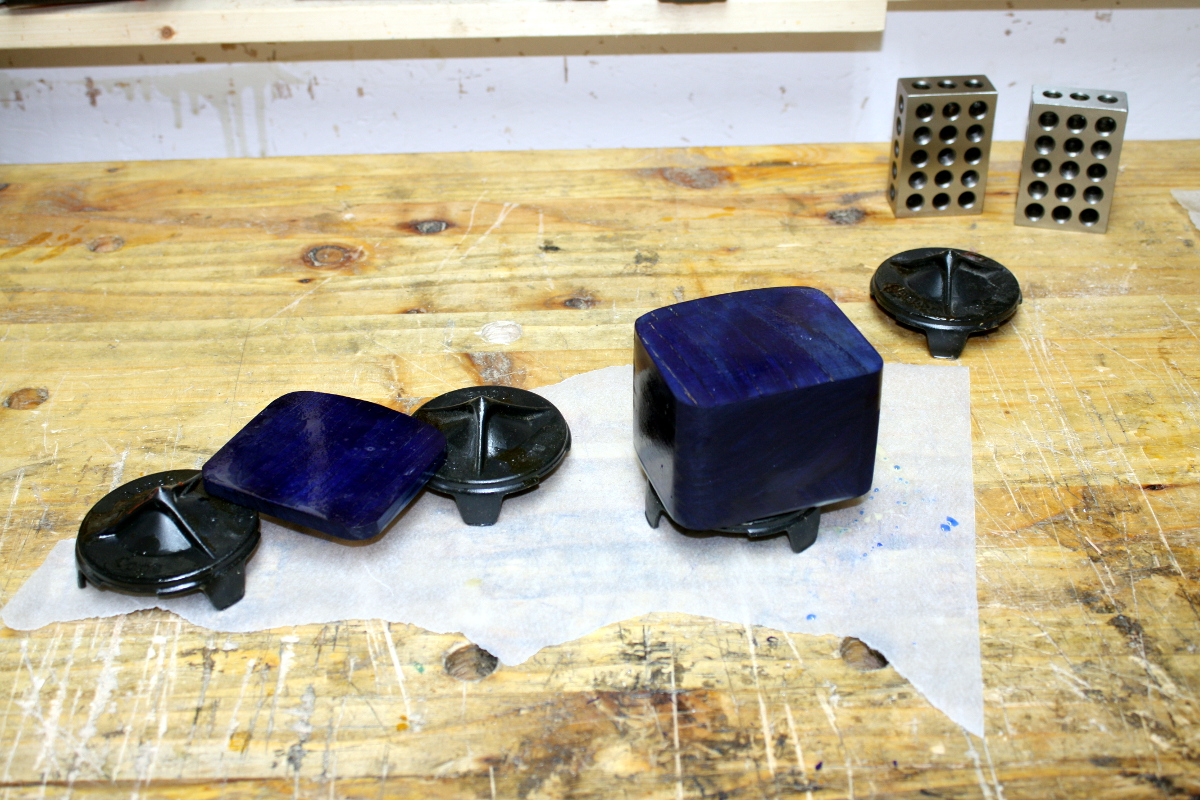
Well, that was… intense. Left it overnight, sanded lightly to knock back grain and re-stained it today and gave it a coat of spray laquer.

It’s not terrible, but it’s a bit more blotchy than I was hoping for. Hmmm….

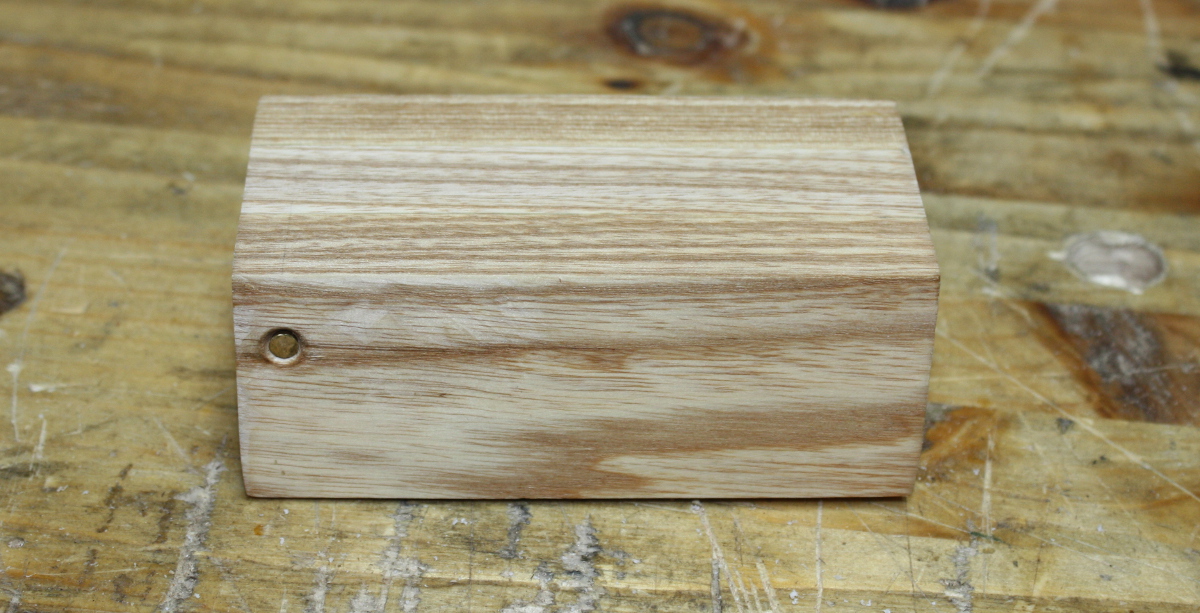
Also, I had another bandsaw box waiting to get a hinge and get finished so I wrapped that up as well but with just a coat of BLO…

I have no idea what it’s for by the way, I just wanted to use up a scrap and play with making a brass hinge (learned I can’t really do it in my shed unfortunately, I’d need a proper anvil I think. Oh well).

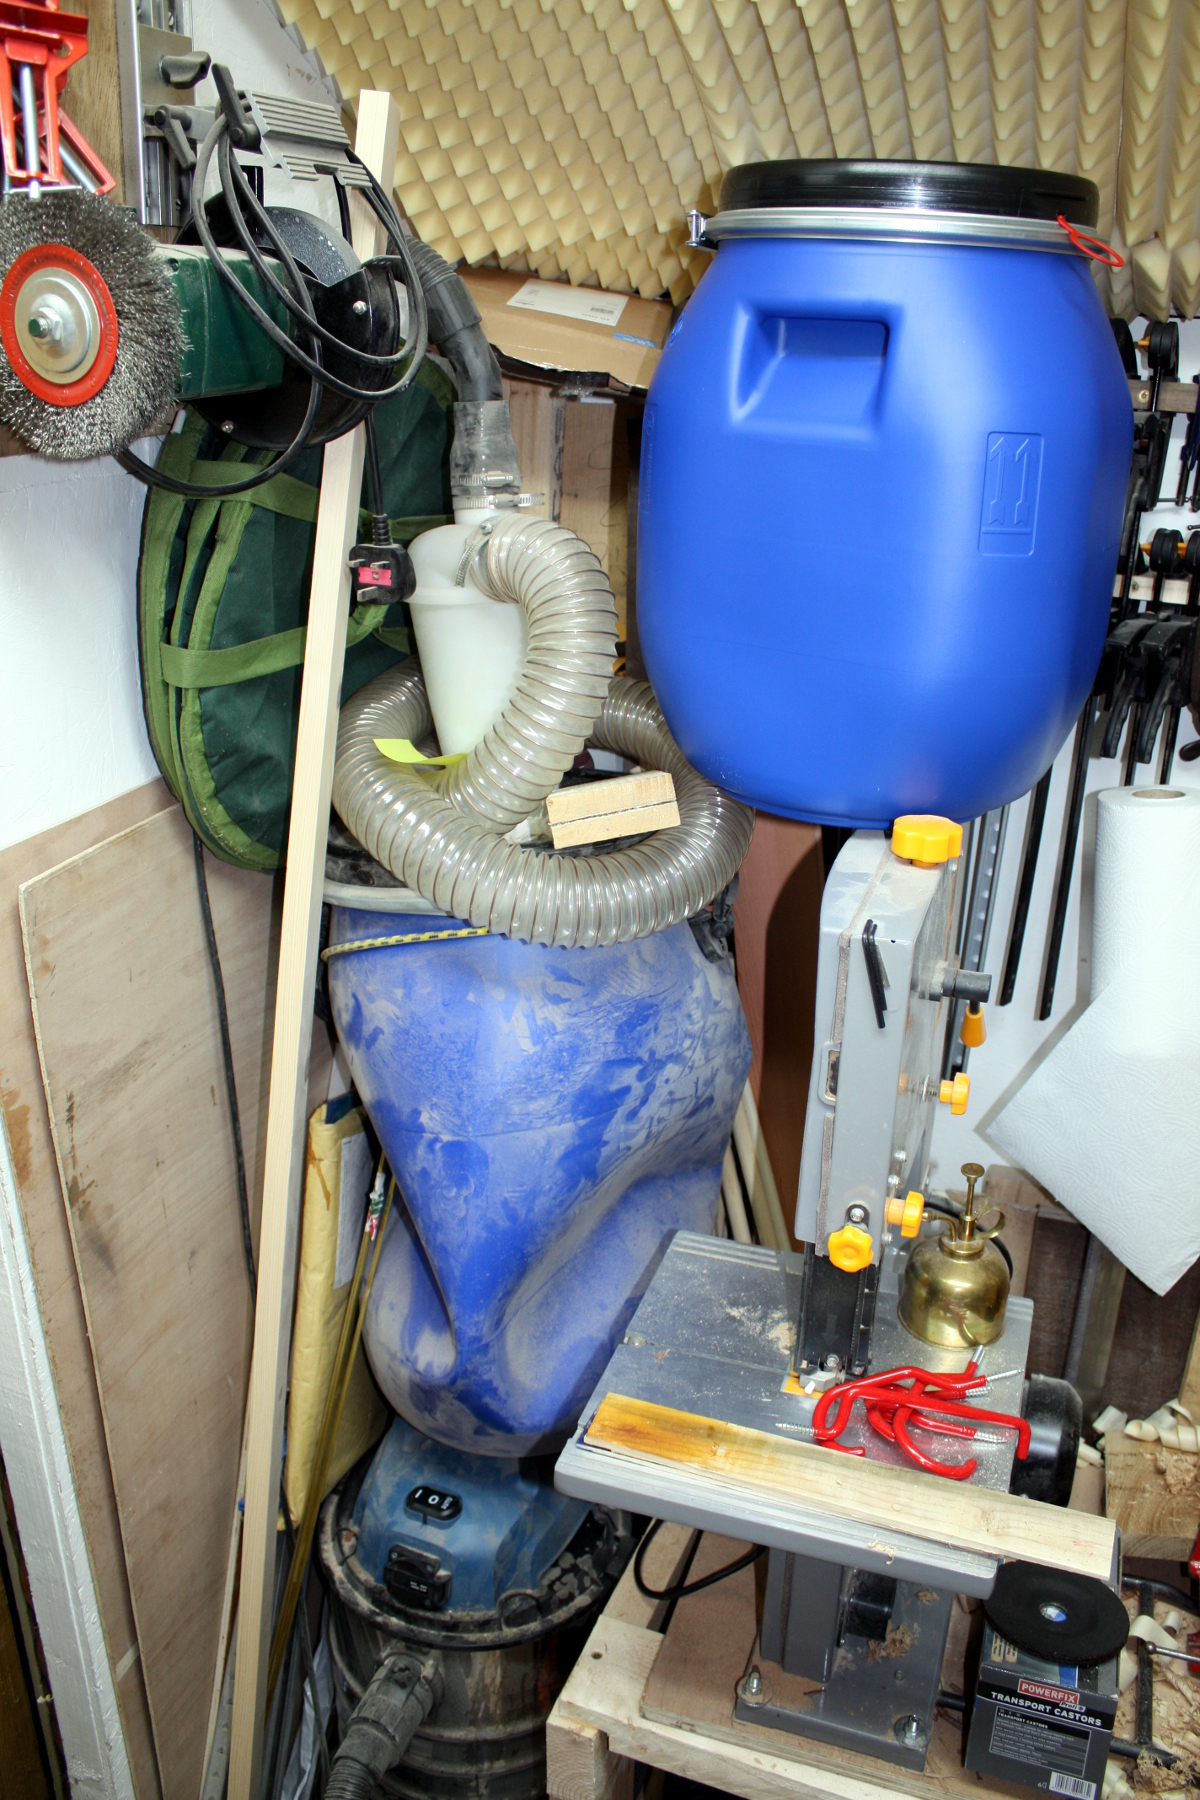
I’m almost done with the last of the tidying up at this point. Just need to sort out this guy and that’s the last big task I think. There are other things, magnetic rails and move some tools about and other small stuff, but this one’s the awkward one I think…