12
May 19

Desk inlay

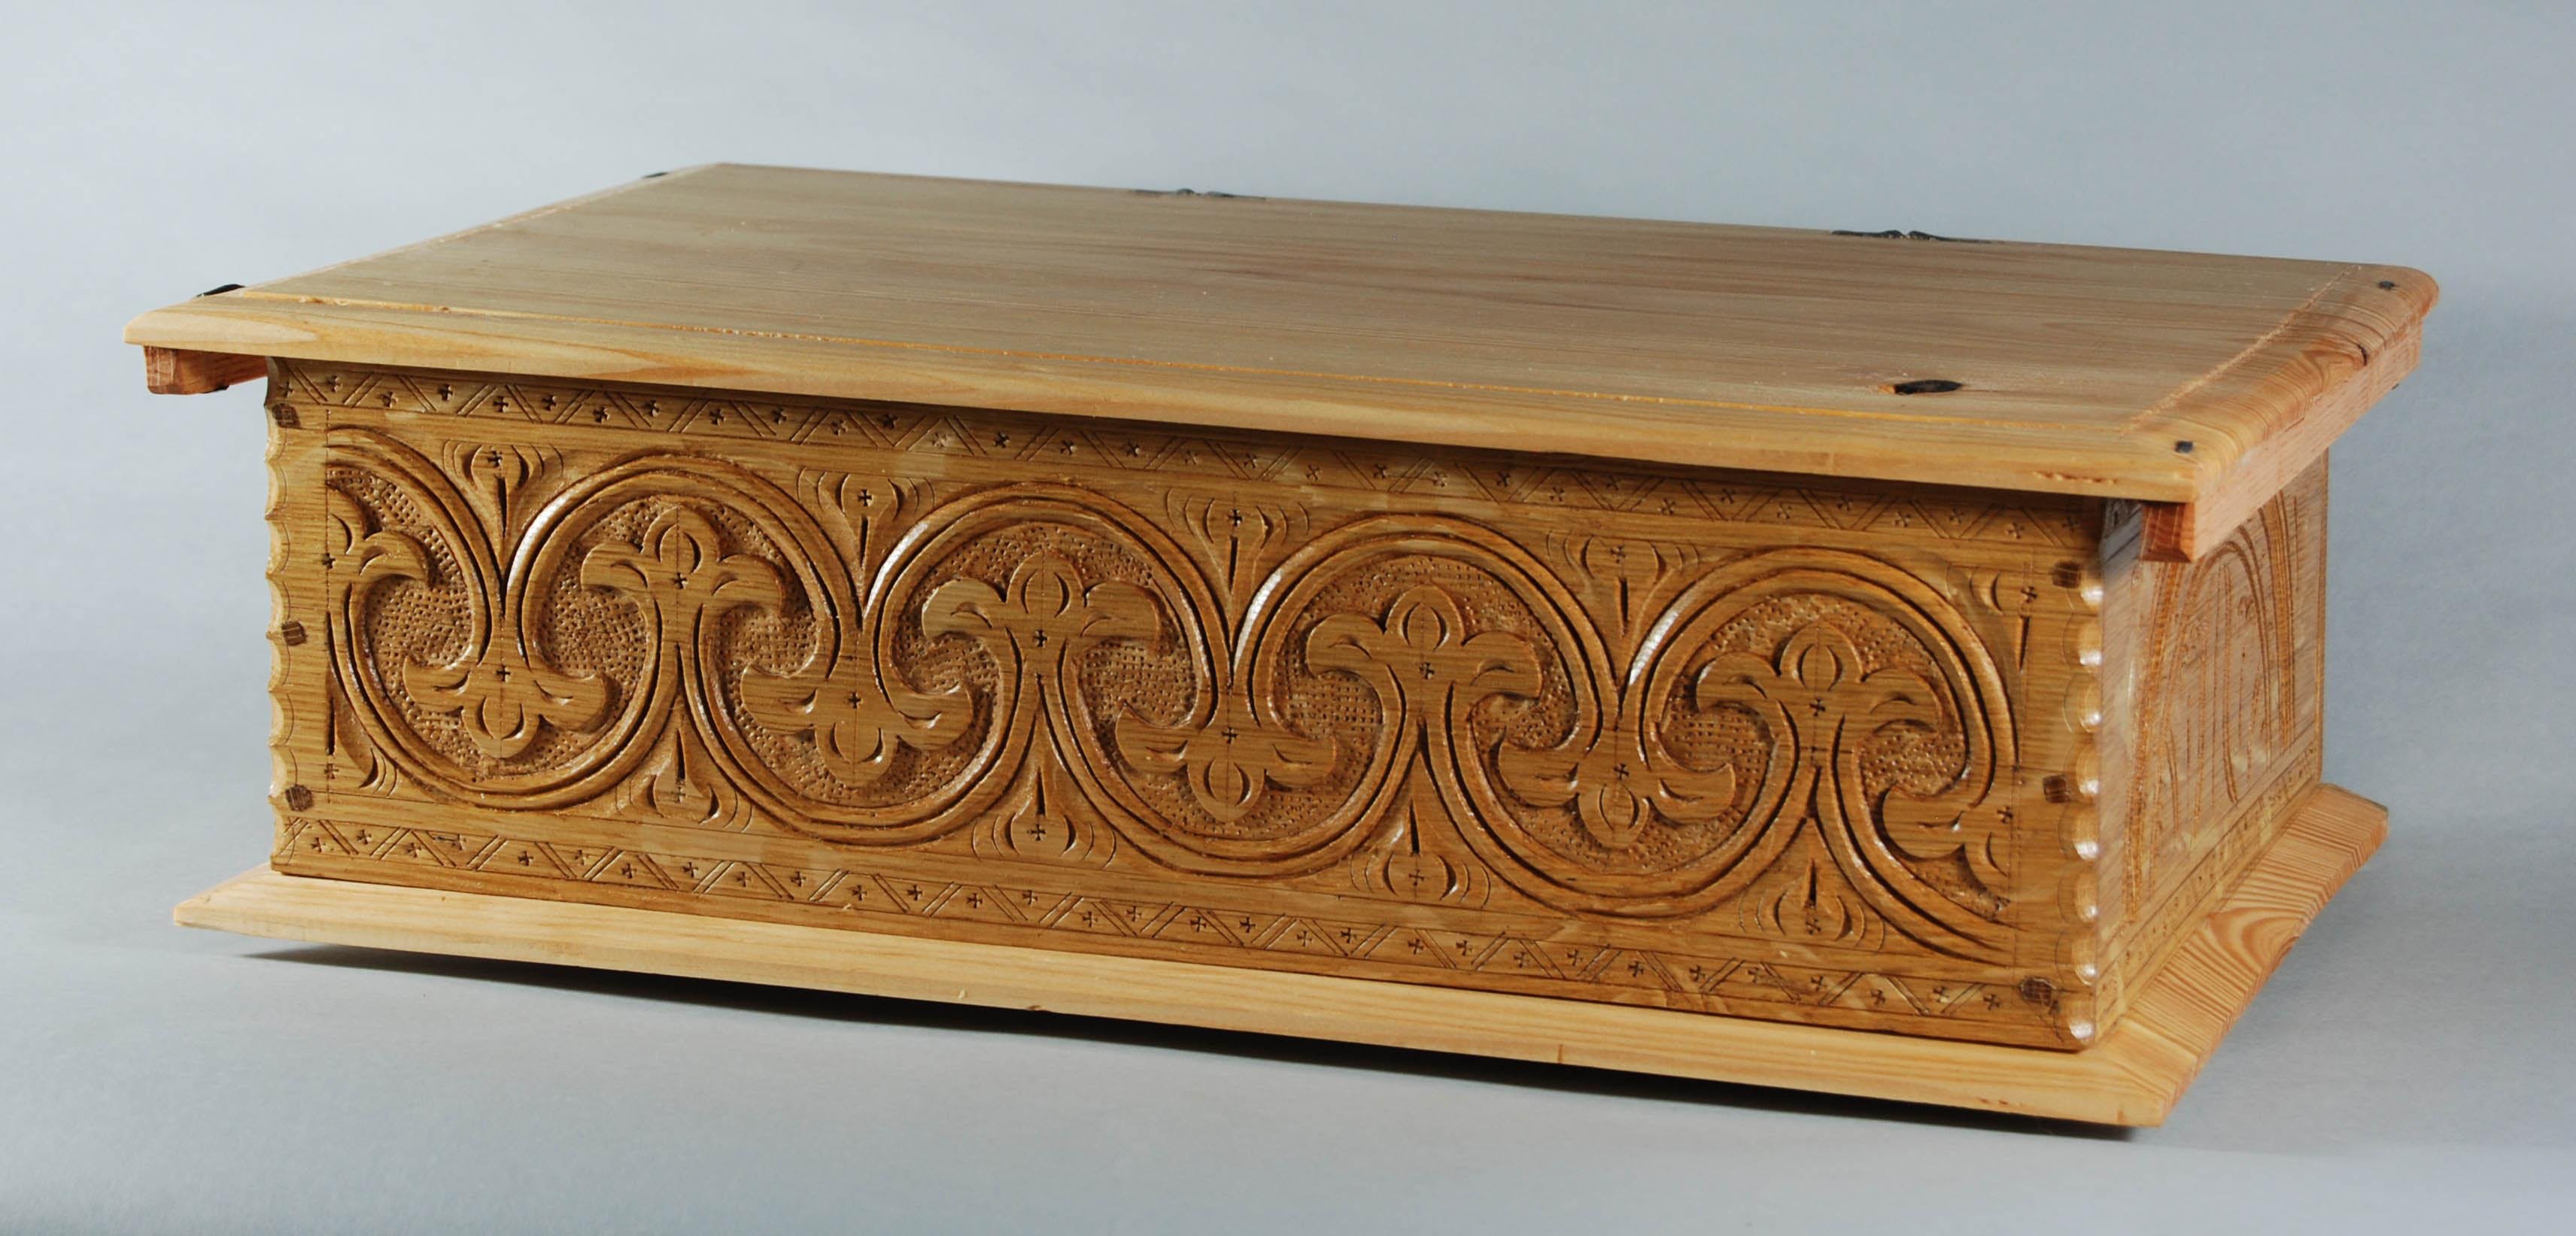
So the box is now done (bar a branding that I somehow forgot and will be trying to do on the roof of the office tomorrow), there was a surprisingly short clean-down and then back to the desk. 

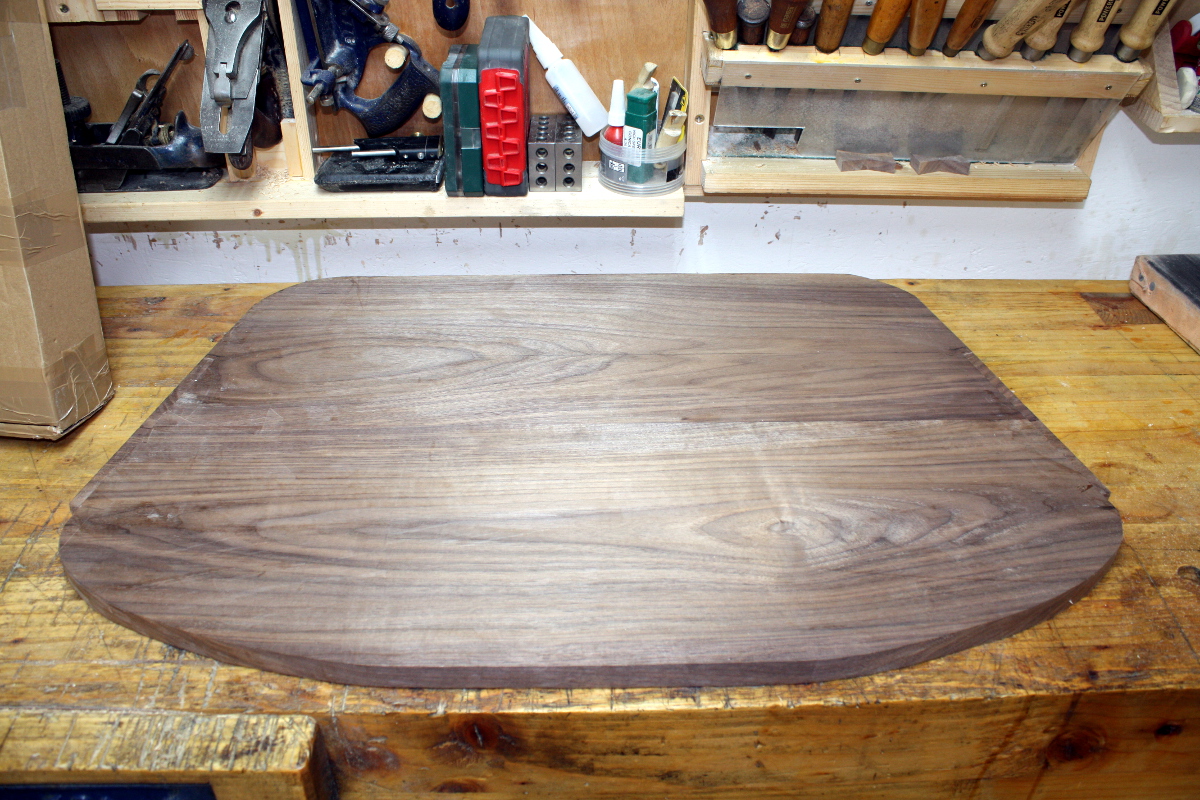
That’s the actual desk itself and my box of education to the left (as in, “why would anyone want furniture built in cherry, it’s so awful and orange” followed by opening the box and seeing what nice cherry looks like and then going “why do we use any other kind of wood?” 😀 Thanks again custard! 😀 )

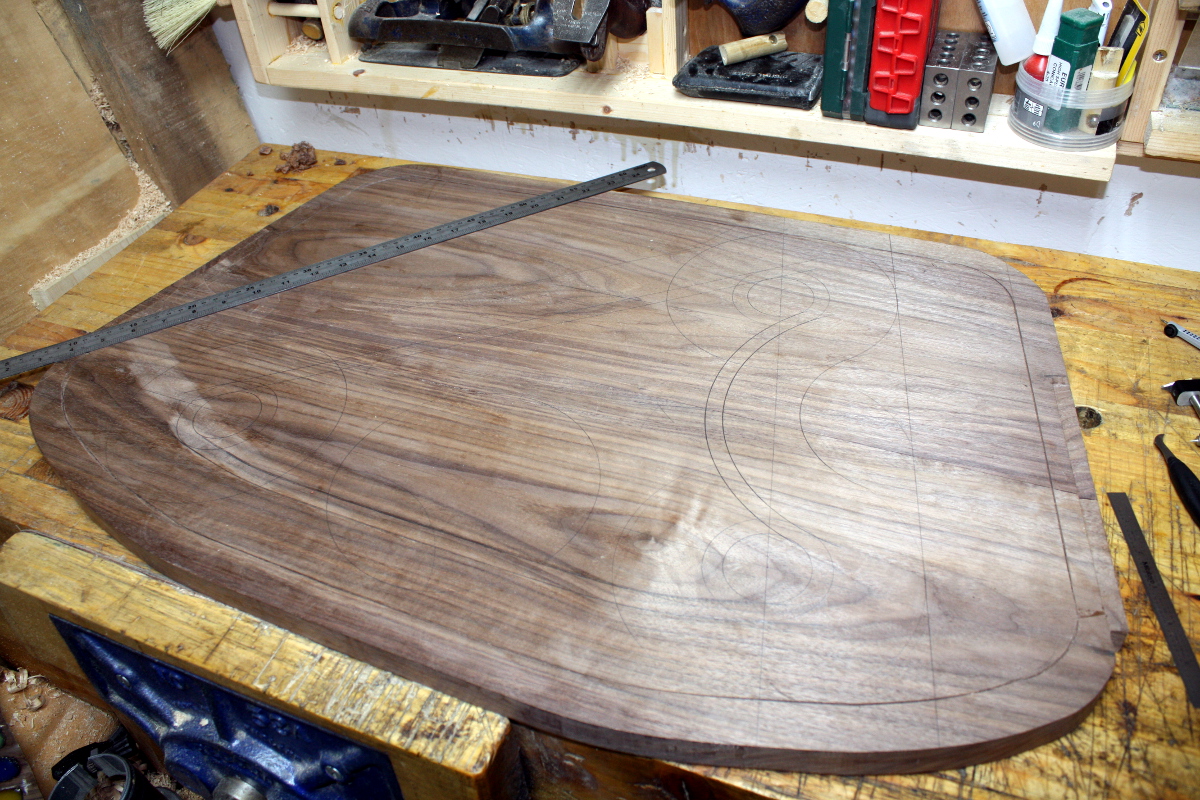
I have a very basic idea in my head for what the desk surface will be – a racetrack surrounding an ocean complete with iceberg (the Titanic has to be able to hit something after all). There’ll be an outline of stringing for most of that, and an outline around the margin of the desk and probably something on the edges too, just because. And there will have to be something in that back left corner, probably Calum’s name. But first, (well, after a small tidy-up of a corner or two with the spokeshave), the margin. So out with my inlay tools.

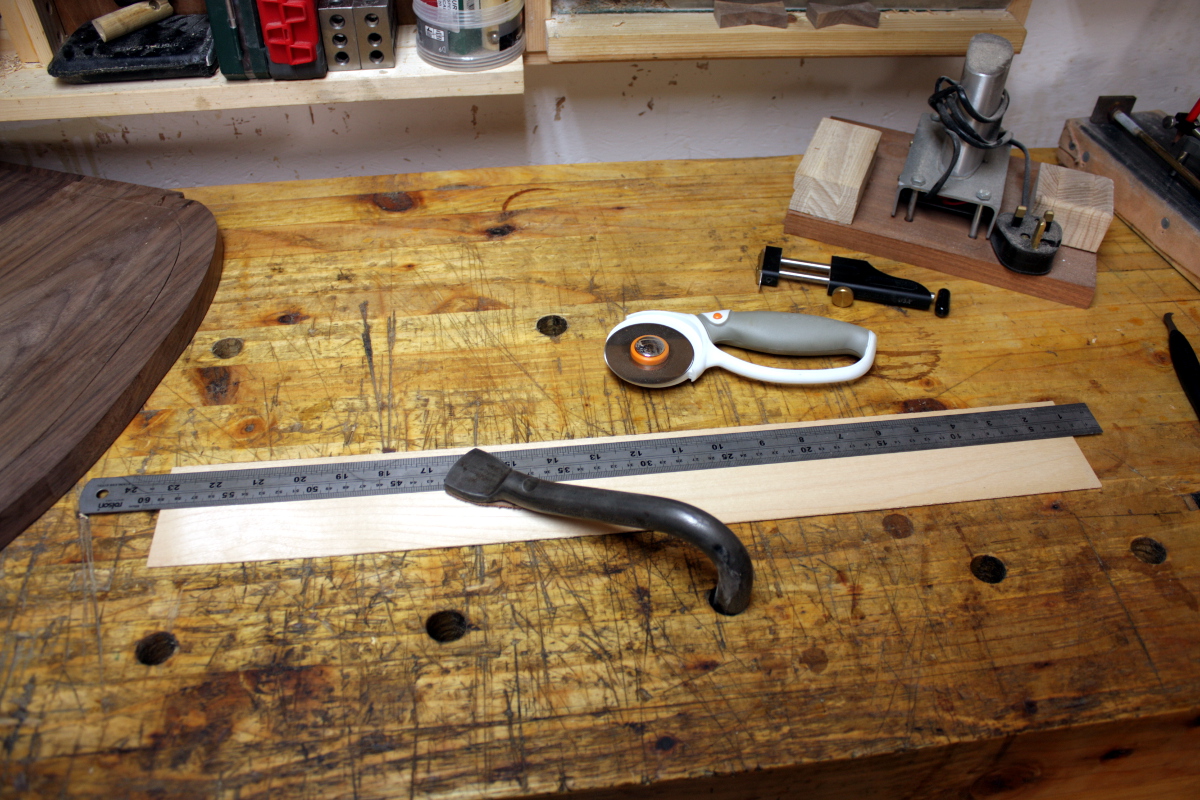
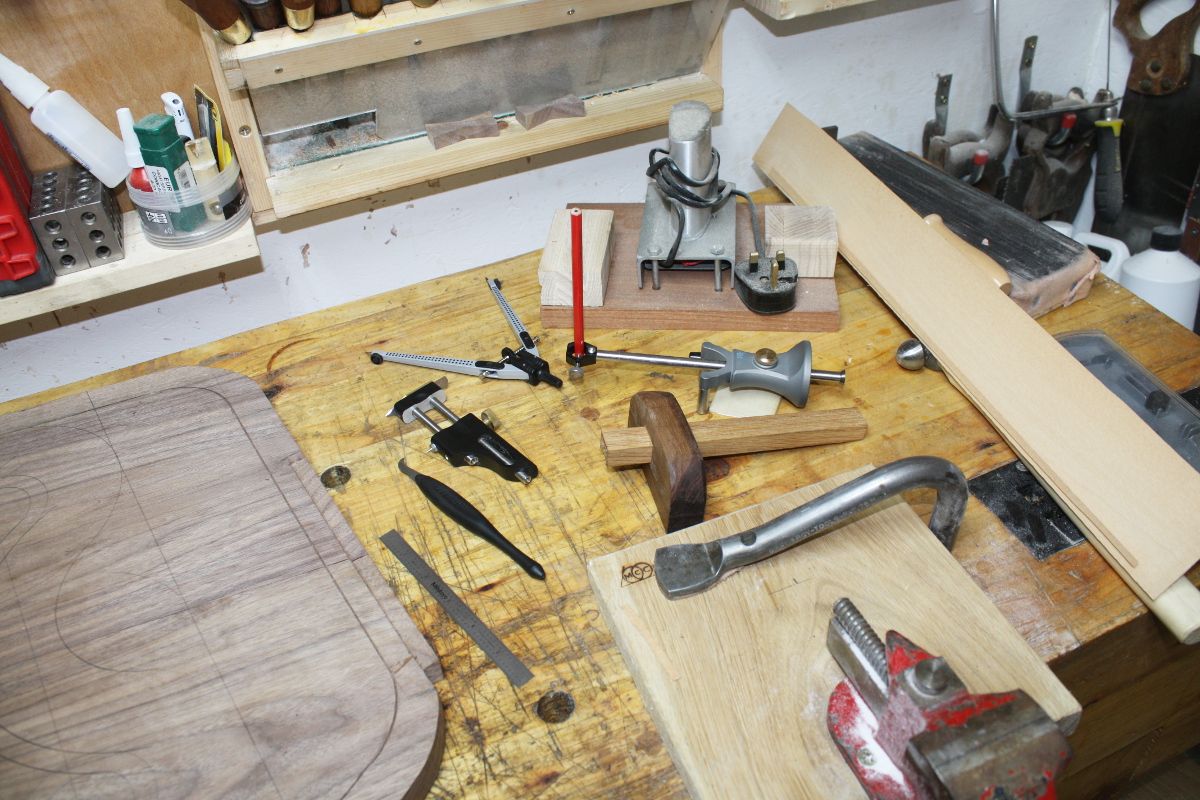
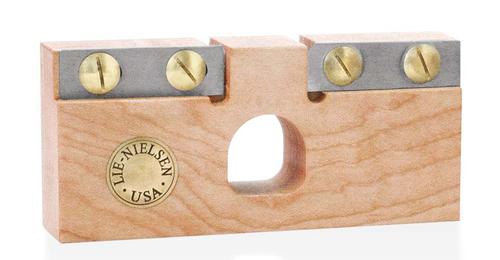
New additions to the homemade line cutter and the lie nielsen radius cutter are the veritas inlay chisel (still in the box) and the veritas groove cutter (think of the line cutter, but now in freehand pen form). There’s also a bending form I got for the curved bits because last time I did stringing around curves, the need for one of them became obvious.

And of course the trusty pizza cutter with the tungsten carbide blade…

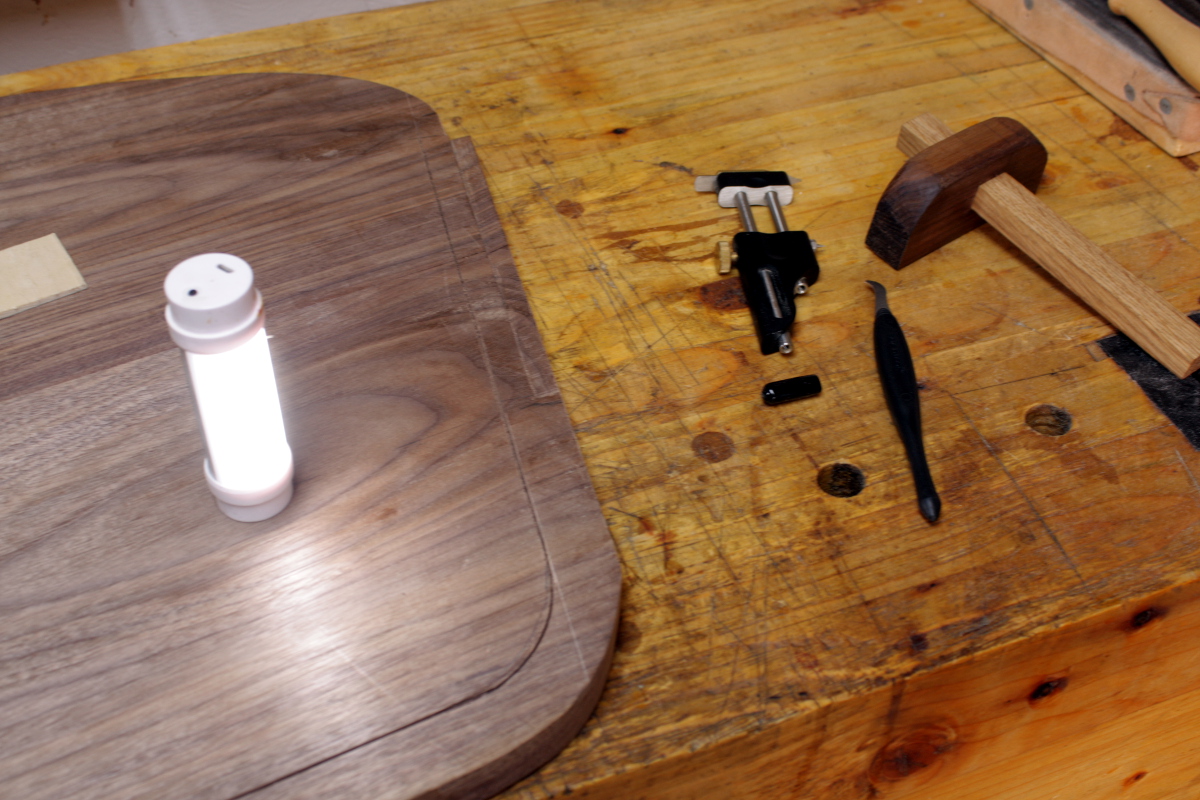
So I cut the margin stringing groove first.

And then laid out the overall design in pencil with compass and straight edge. It’s not going to be a very classical design (this is a desk for a seven-year-old) so I can be a bit… straightforward with the design, mostly. The “road” will follow the front margin, have a straight run from left front to right back, then an s-curvy bit back to the front right corner. The inside will have a half-inch or so of space and then all the internal area will be routed out, probably with my hated trim router – I need to buy a decent bit for that work – and then I’ll lay down a reflector sheet and pour blue resin into the cavity (there’ll be an LED light overhead in the final desk, so the reflector will make the “water” look less dark). Ironically, that straight run from left to back right is probably the bit I’m most worried about – I am *not* cutting that with a router, so I’ll clamp a straightedge and try to cut it with the freehand groove cutter. That’s the most risky bit. 

I then tried test fitting some of my veneer into the slots, and of course it’s a little thick, but I knew that ahead of time. 

First thought was to just use the anvil on the back of the imp vise and hammer the veneer to compress fibres in the wood, which would then relax and expand back once in the slot (this is an old japanese technique with a name I can’t pronounce). But either I’m not hitting hard enough, or the wood hasn’t much room for compression. So, plan B, we need one of these:

Except they cost 70-80 euro and ffs, they’re a bit of wood and a bit of metal, so…

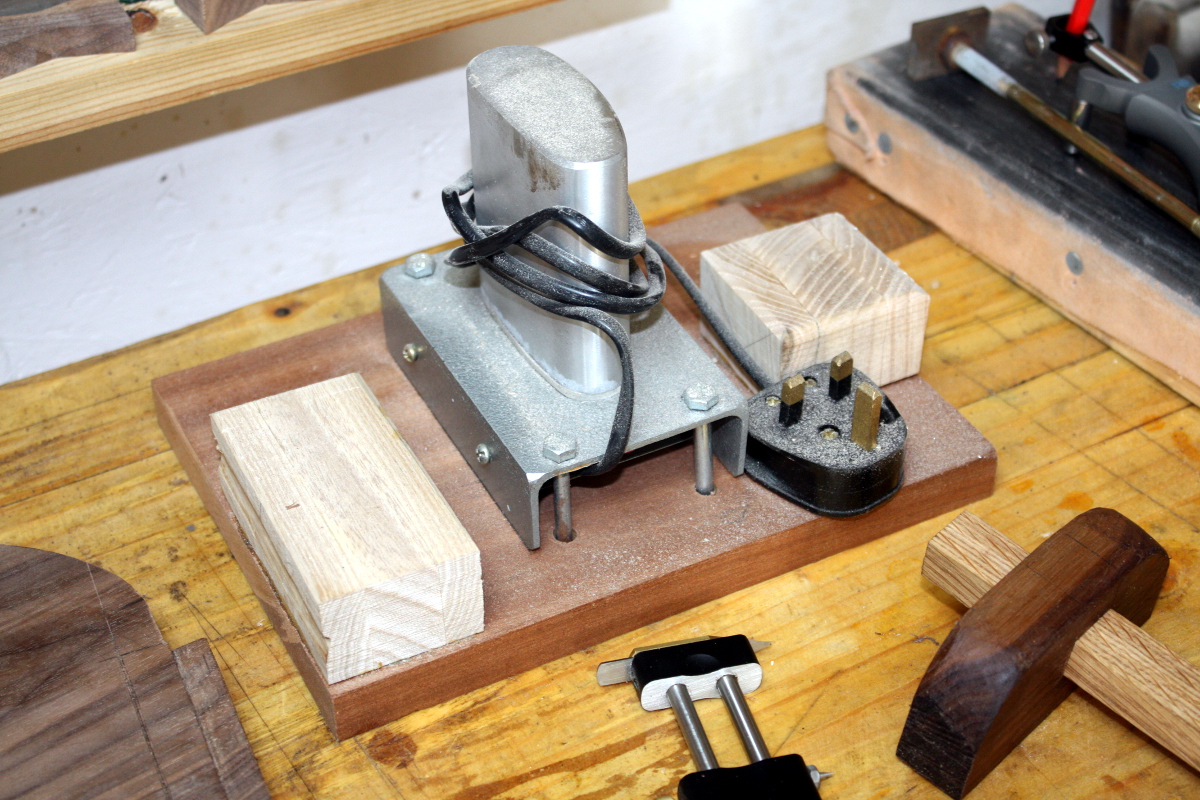
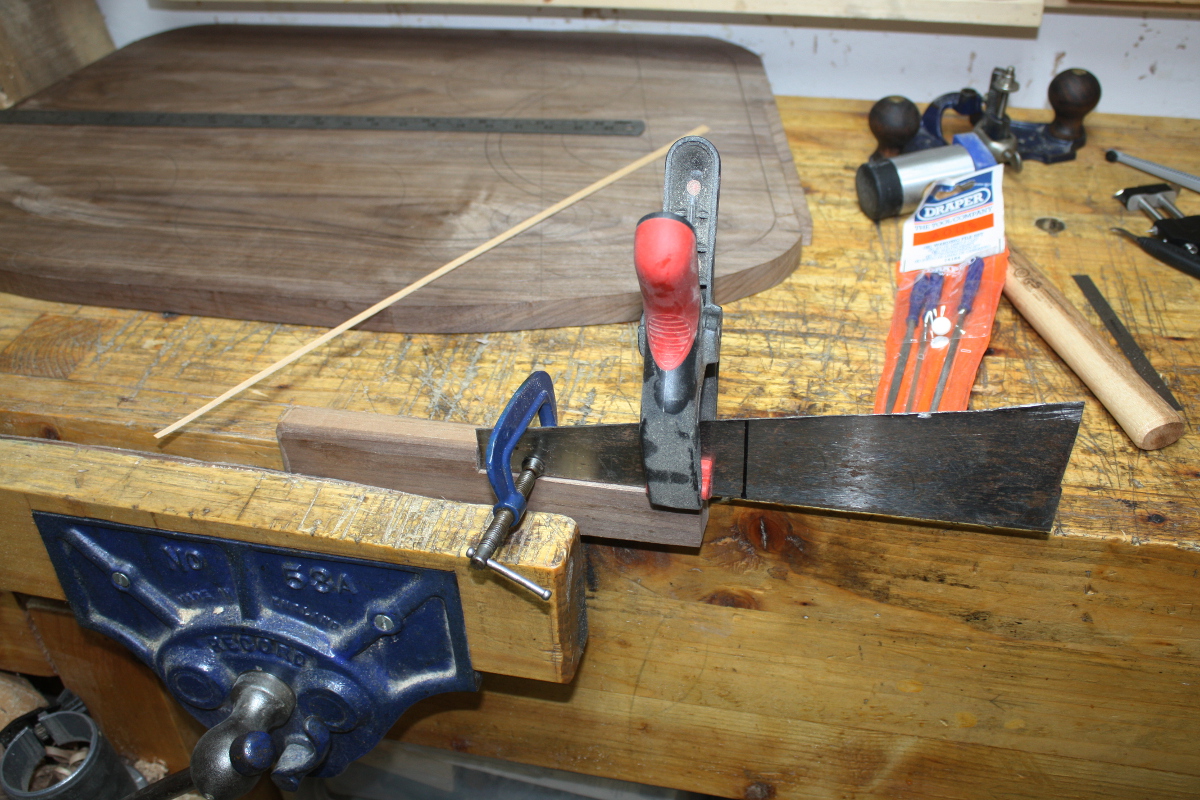
Yes, I know, it’s rough. It was half ten at night, I can’t use the angle grinder that late 😀 I’ll trim it to size and do some filing and polishing later. This is a proof-of-concept 😀

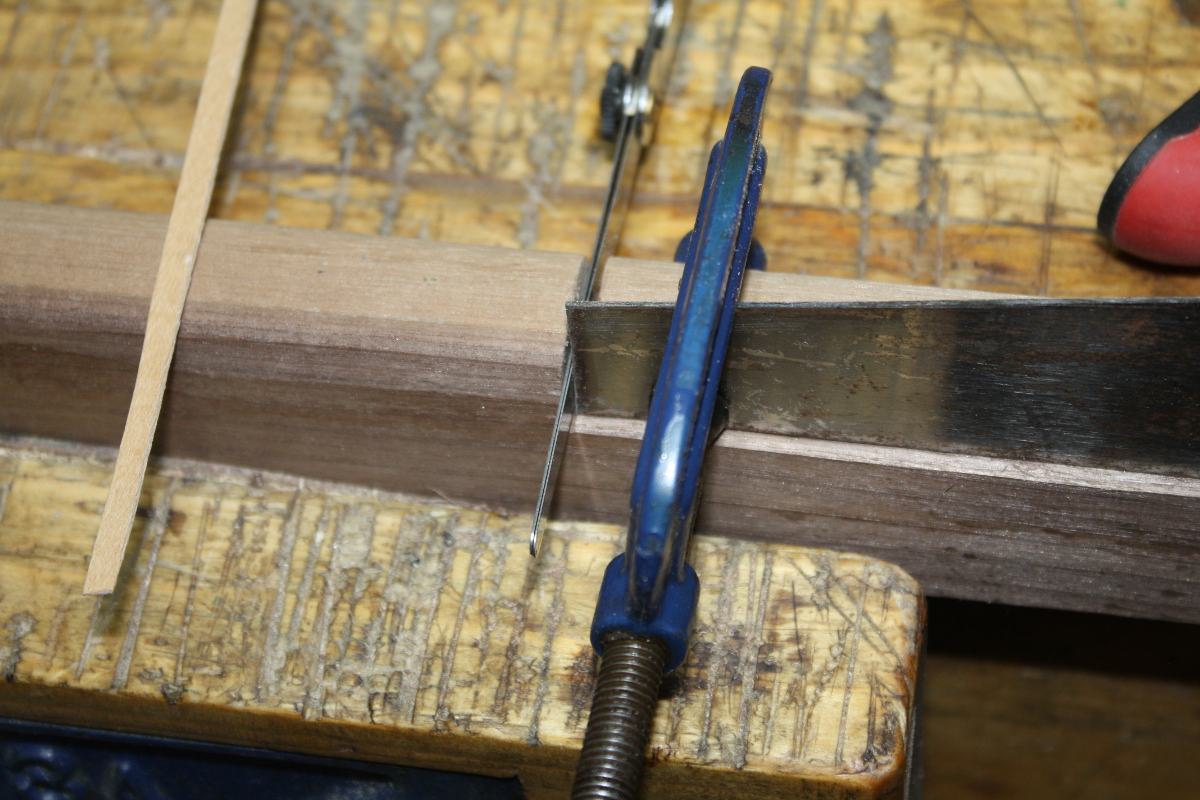
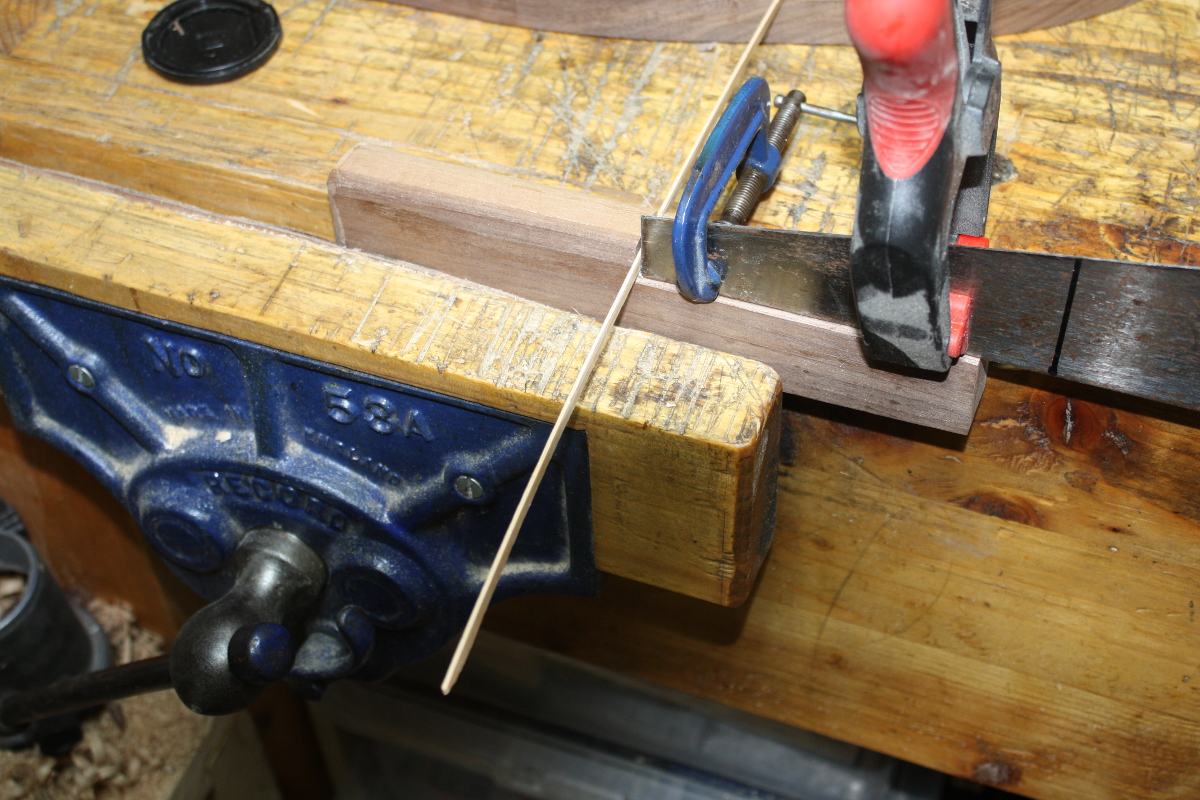
Set thickness with feeler gauge, clamp plate to wood…

Then draw the veneer strip through multiple times. The idea is sound; I need to trim the ex-saw-blade stock to a saner size, then form an edge for scraping over on the end. Shouldn’t take too long. How to clamp it so I can still vary the thickness is a more involved question – just drilling bolt holes and making them slots in the saw plate should do it, but for now I’ll just trim the plate to size, form the edge, and clamp it with some c-clamps. I can polish it more later on. 

24
Feb 19

Resin results and carving again

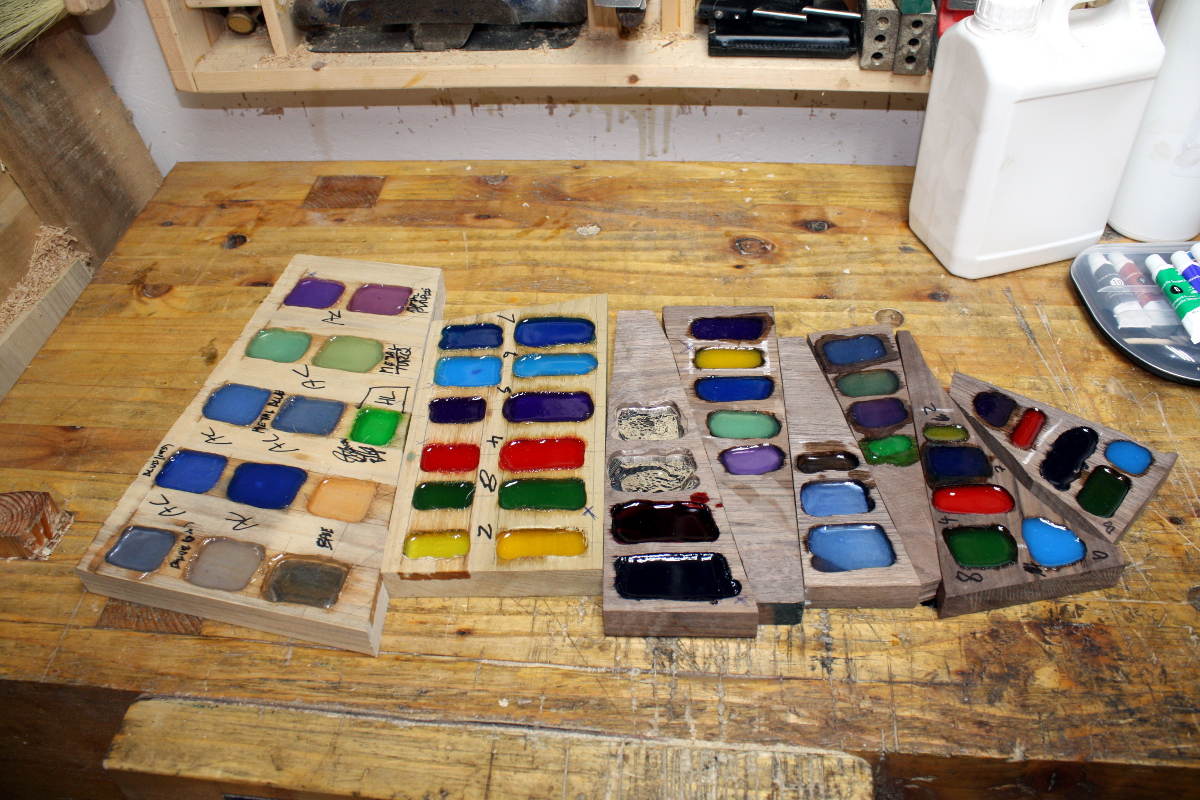
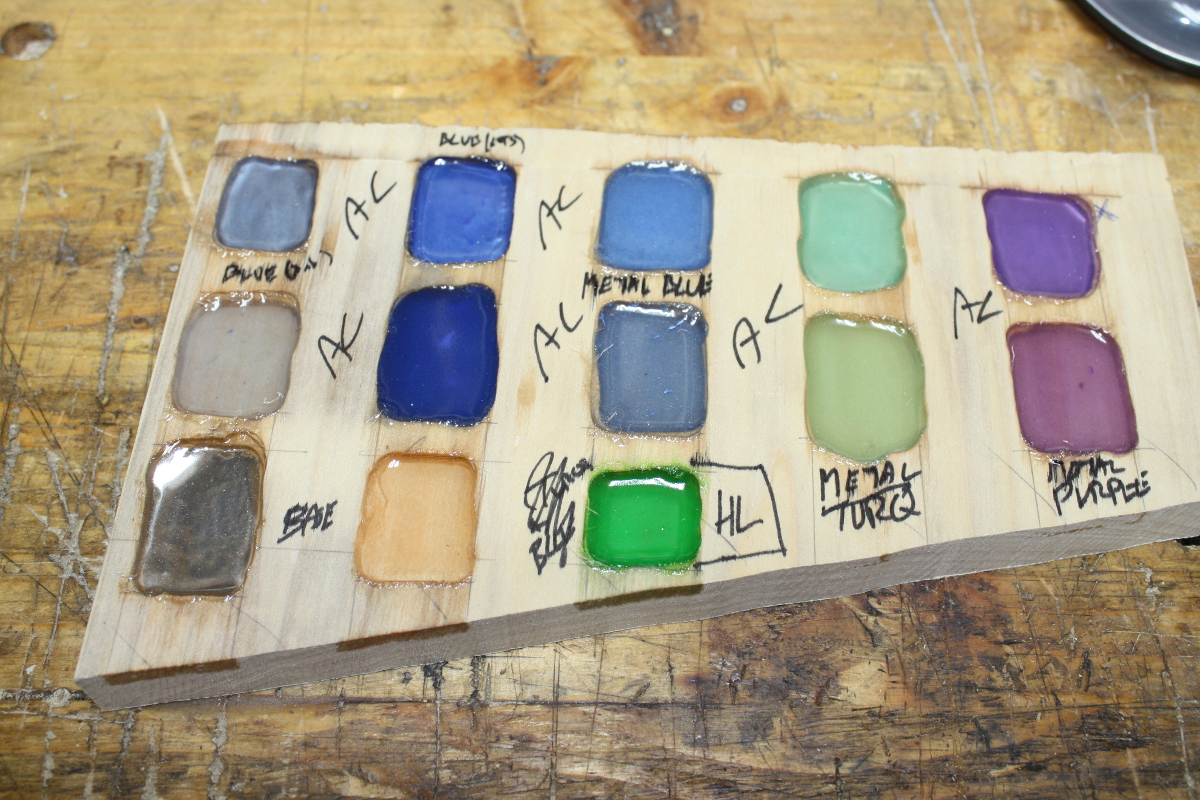
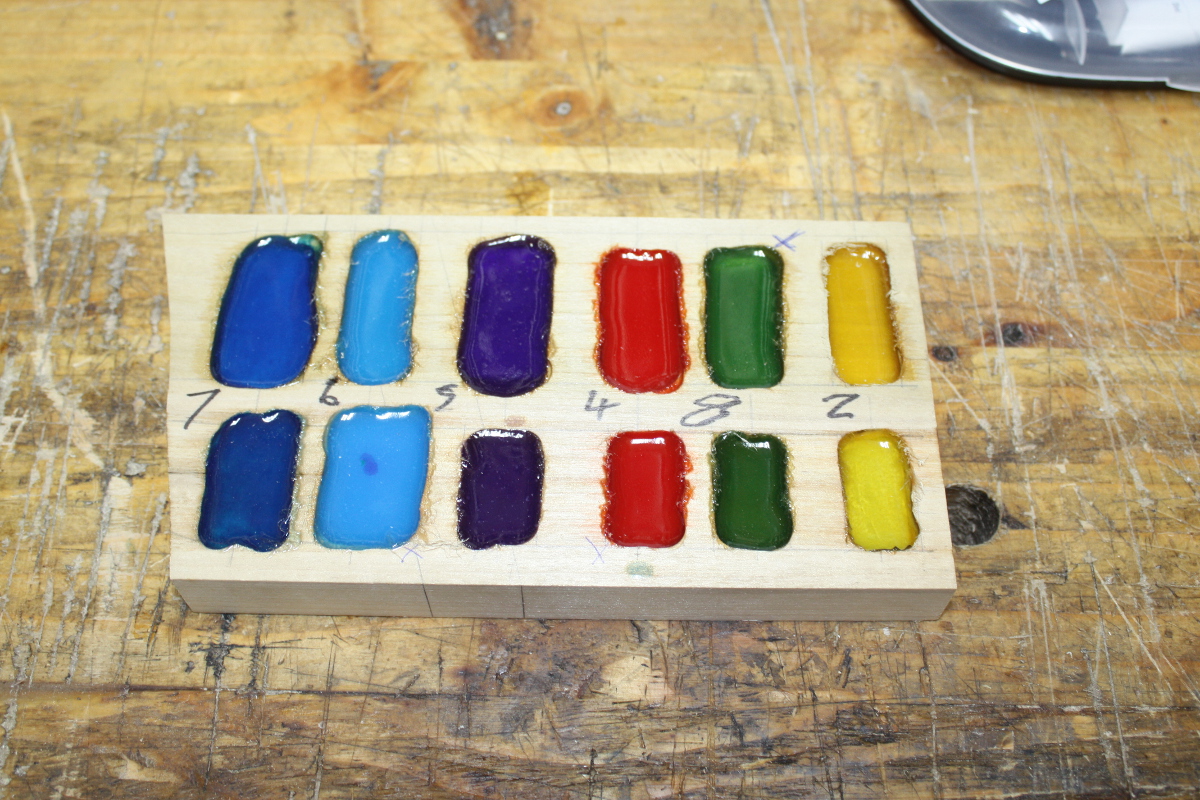
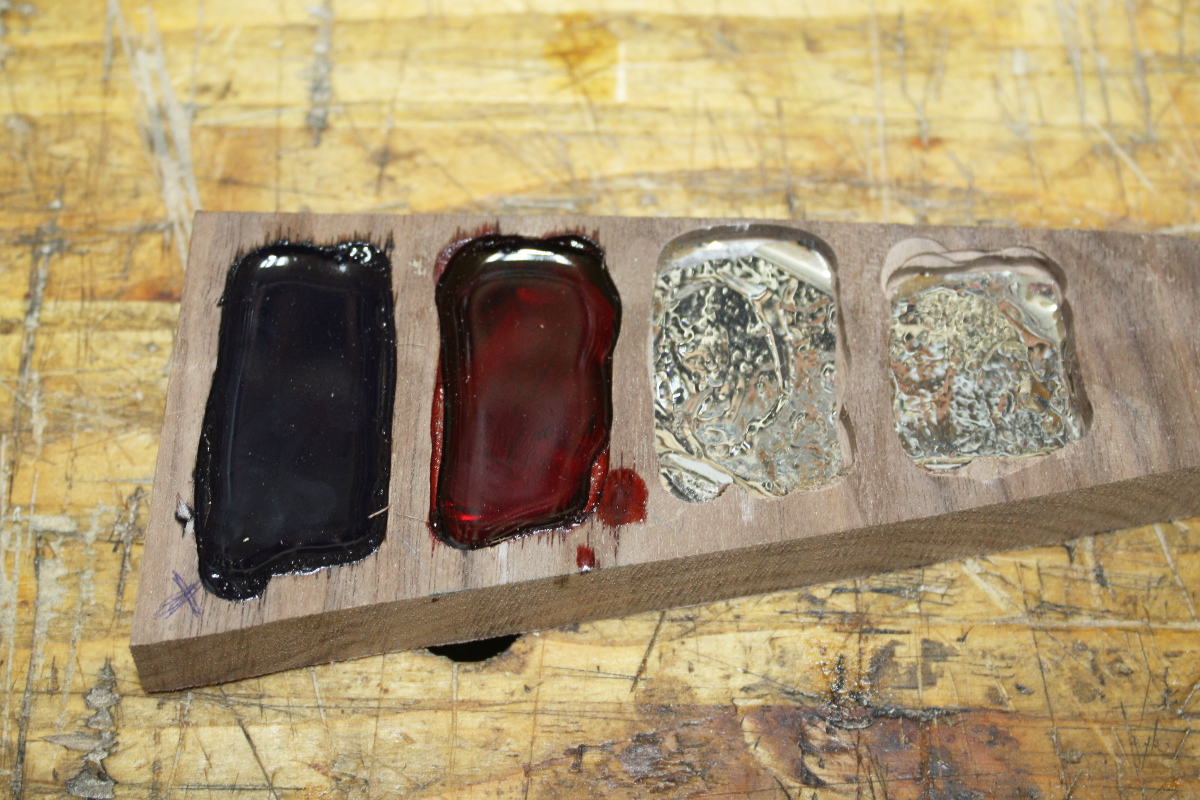
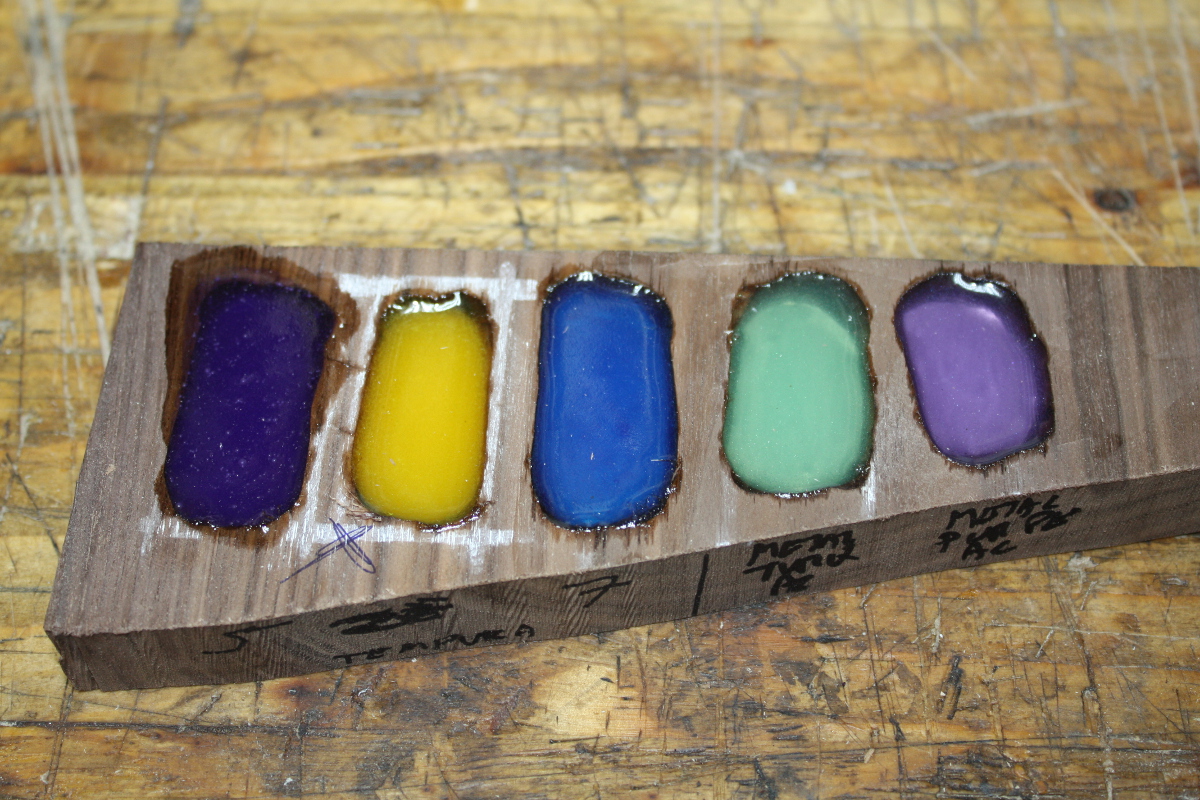
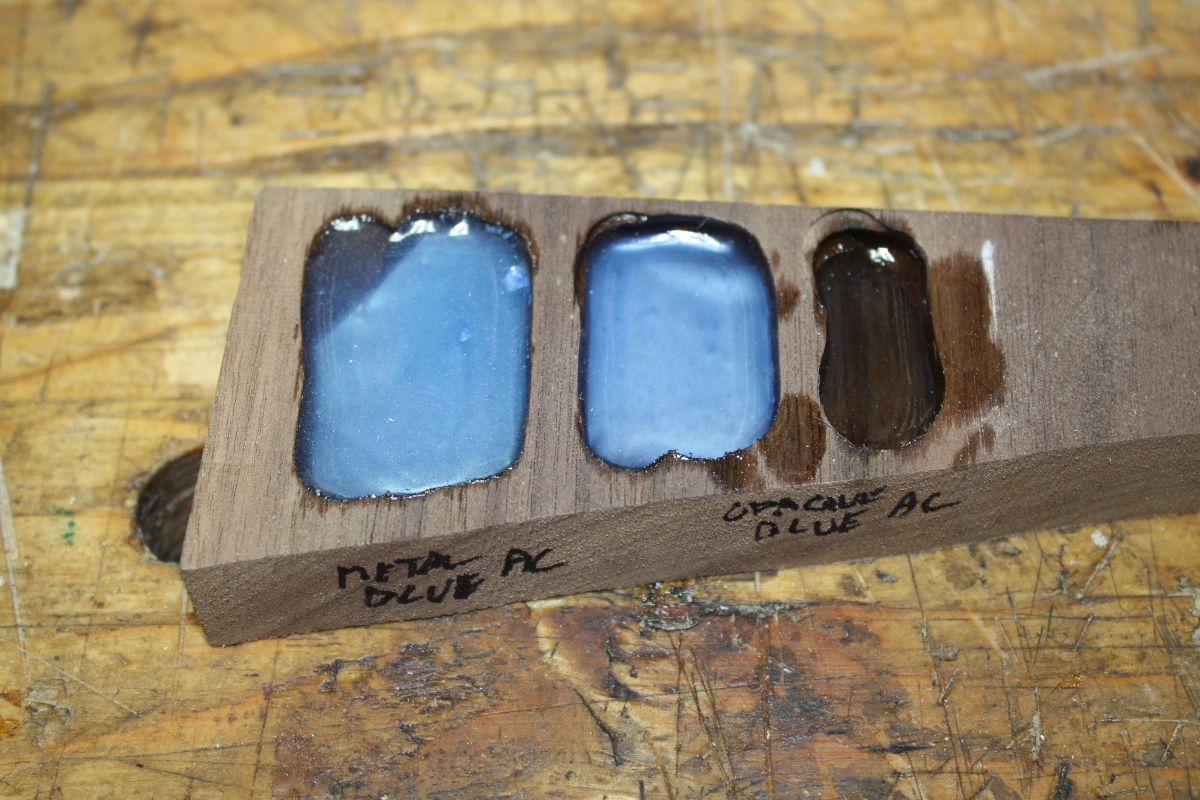
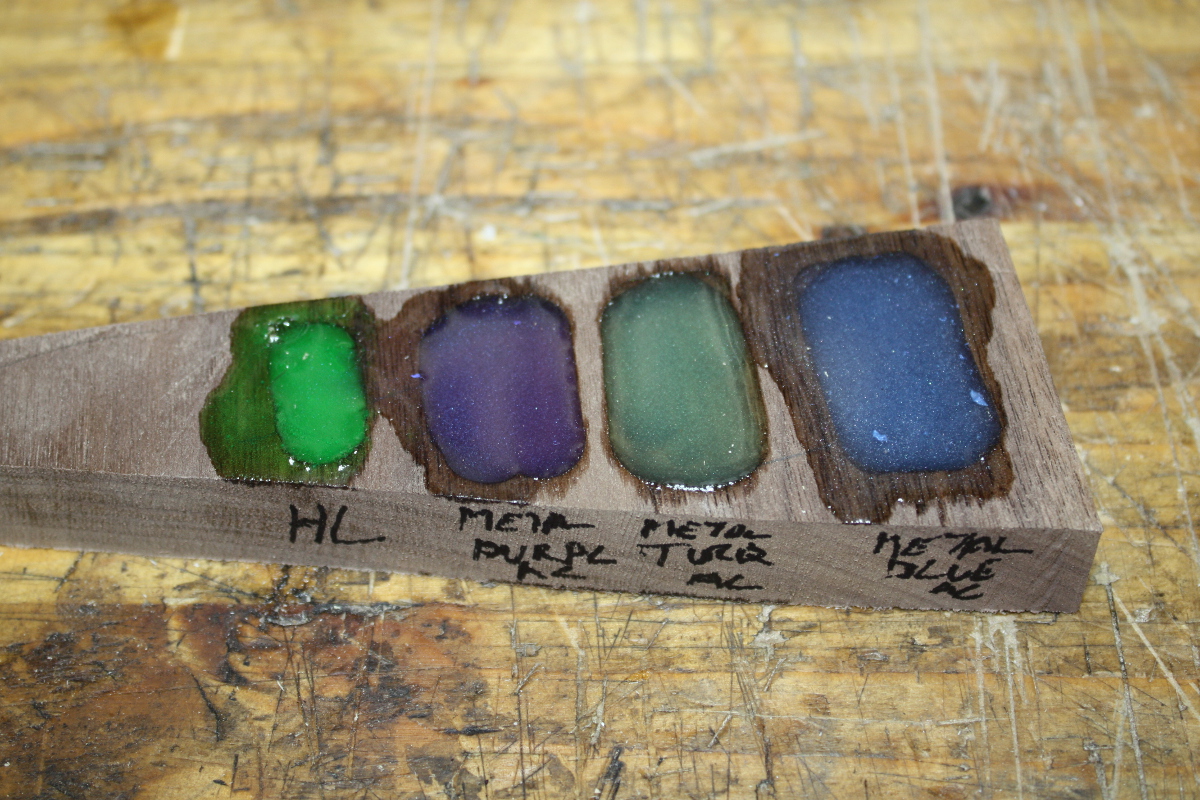
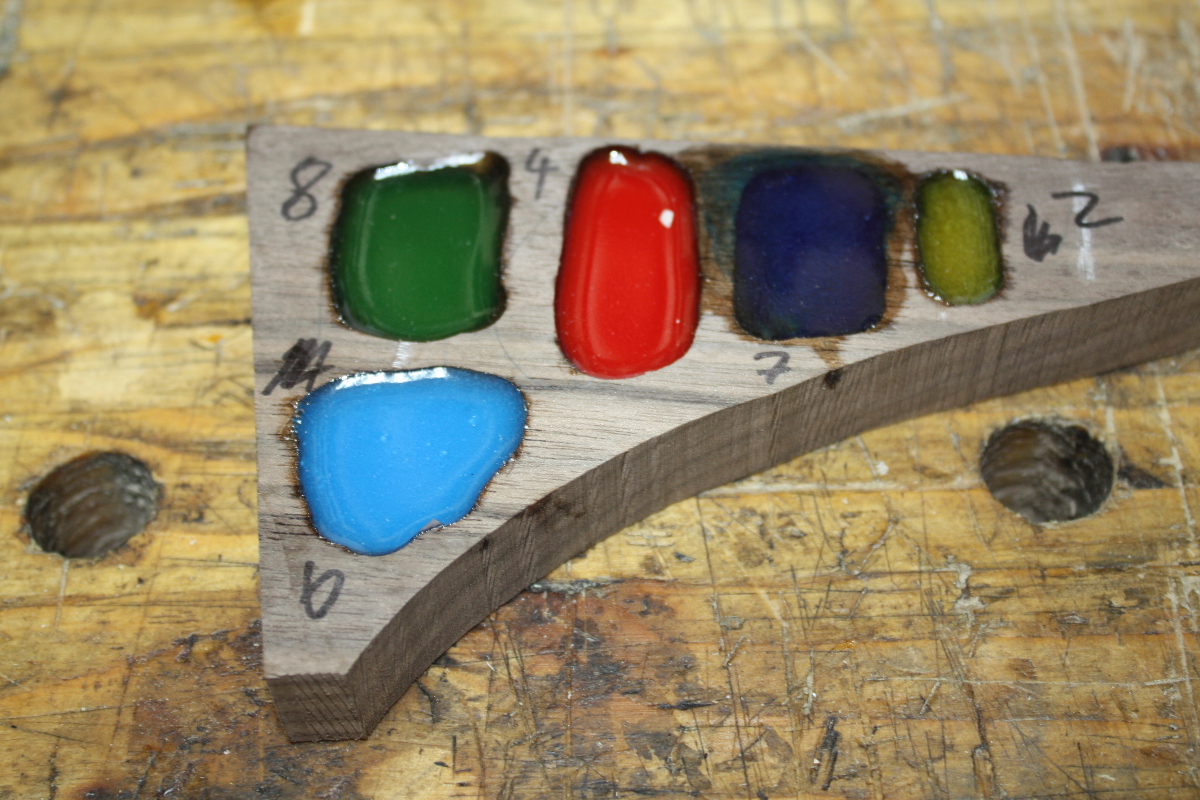
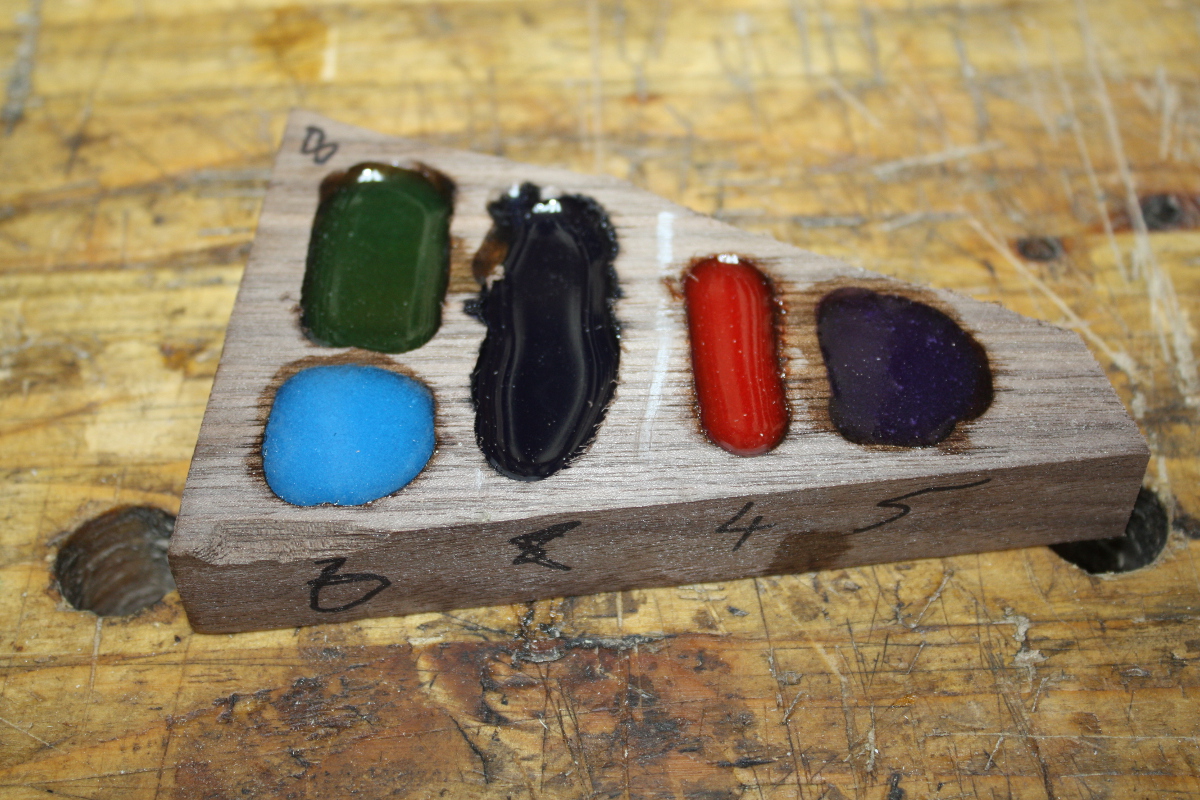
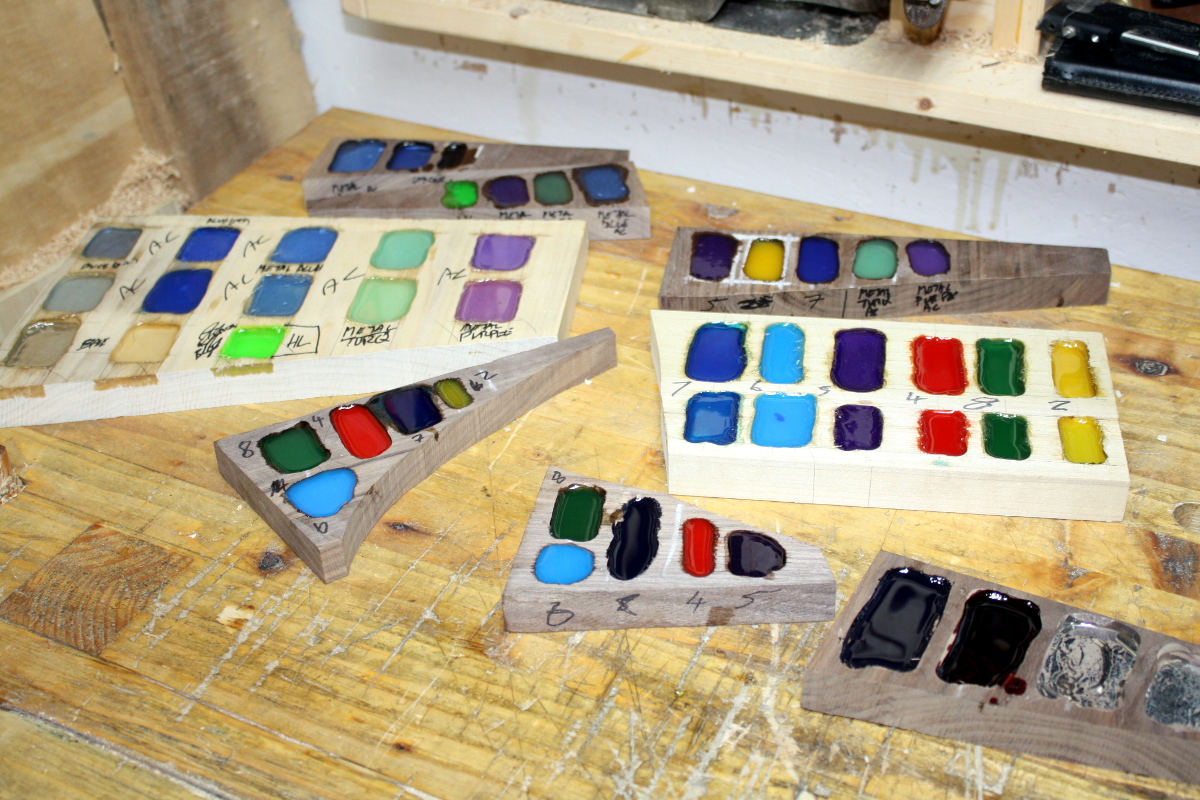
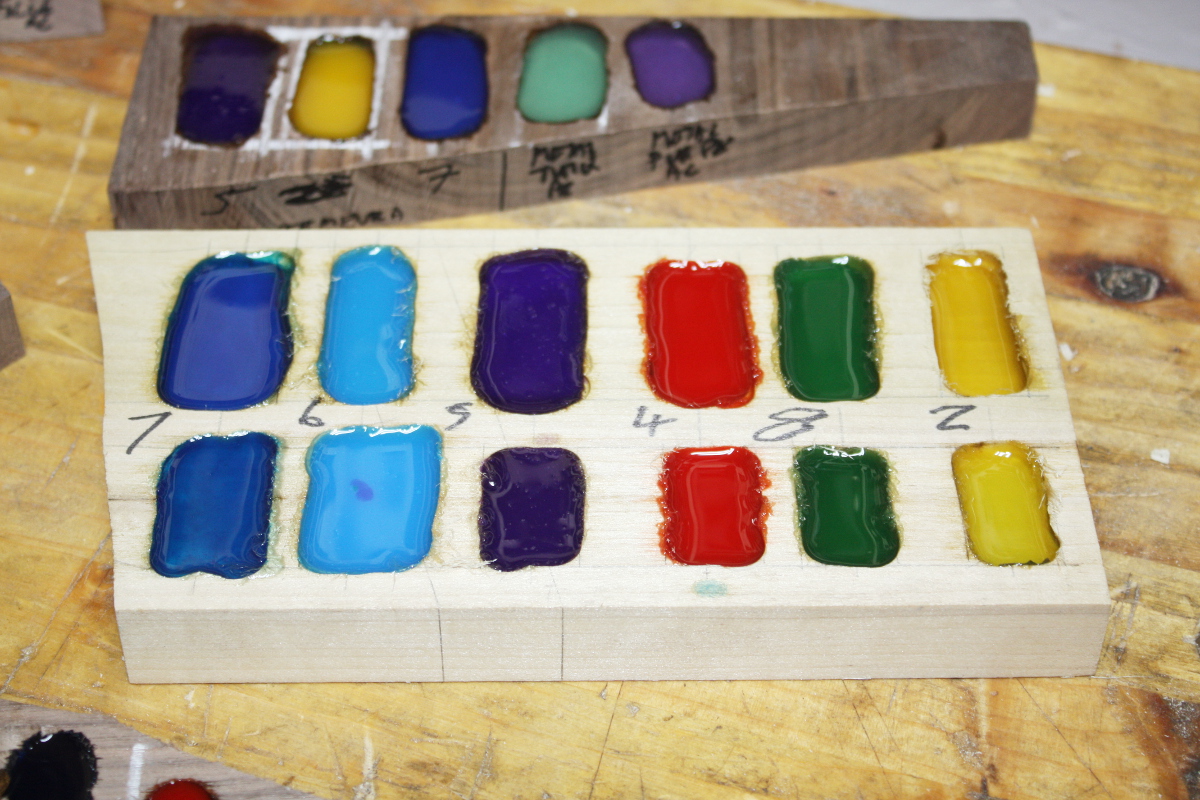
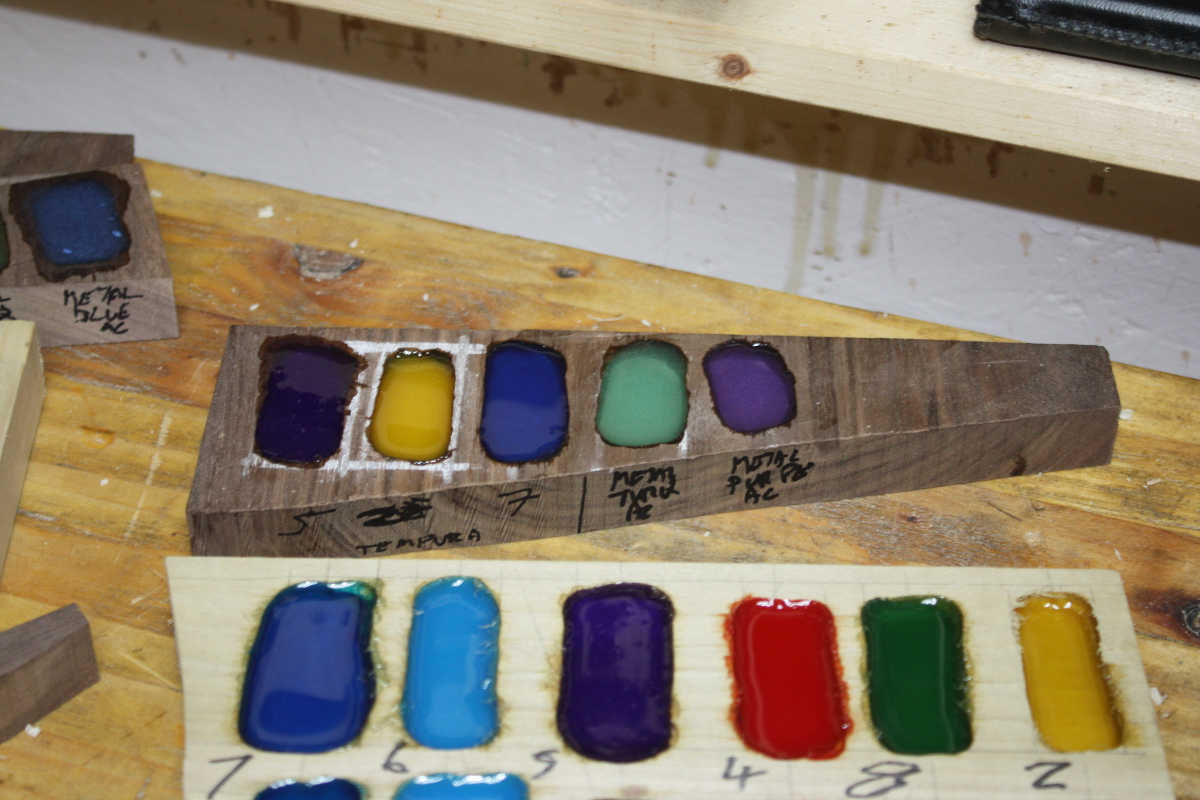
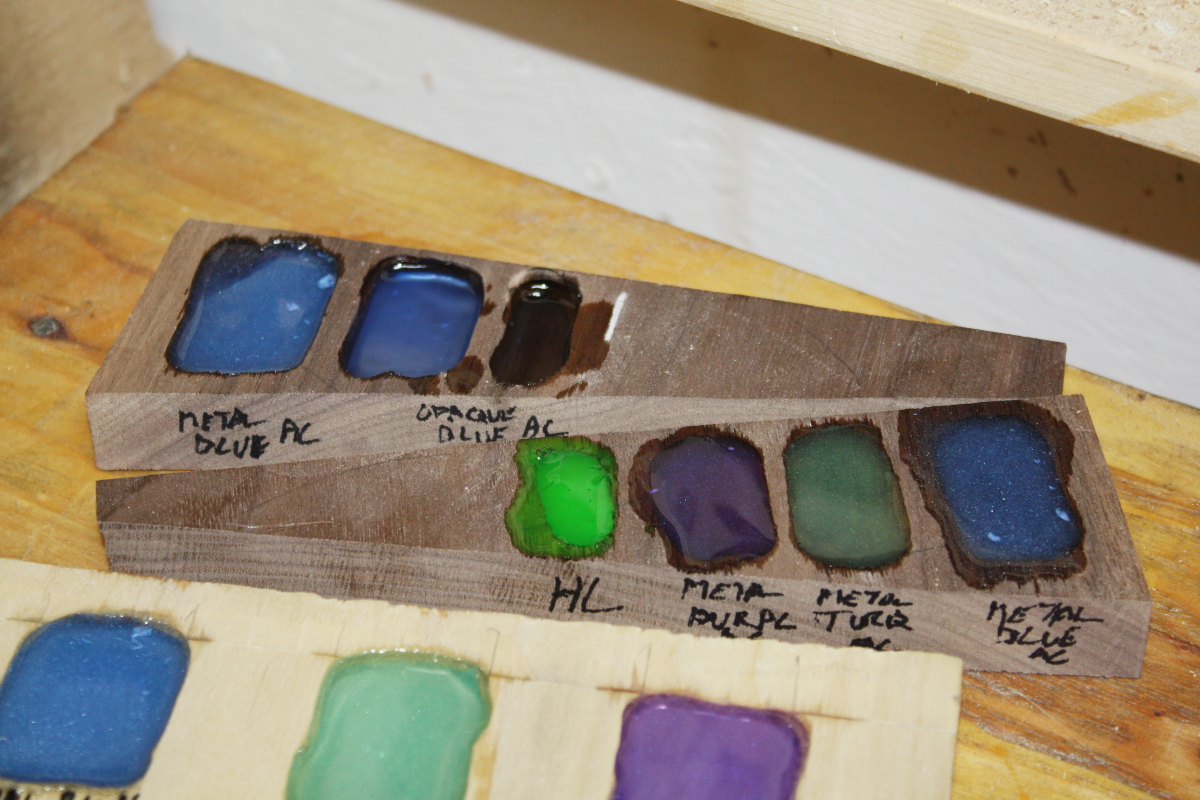
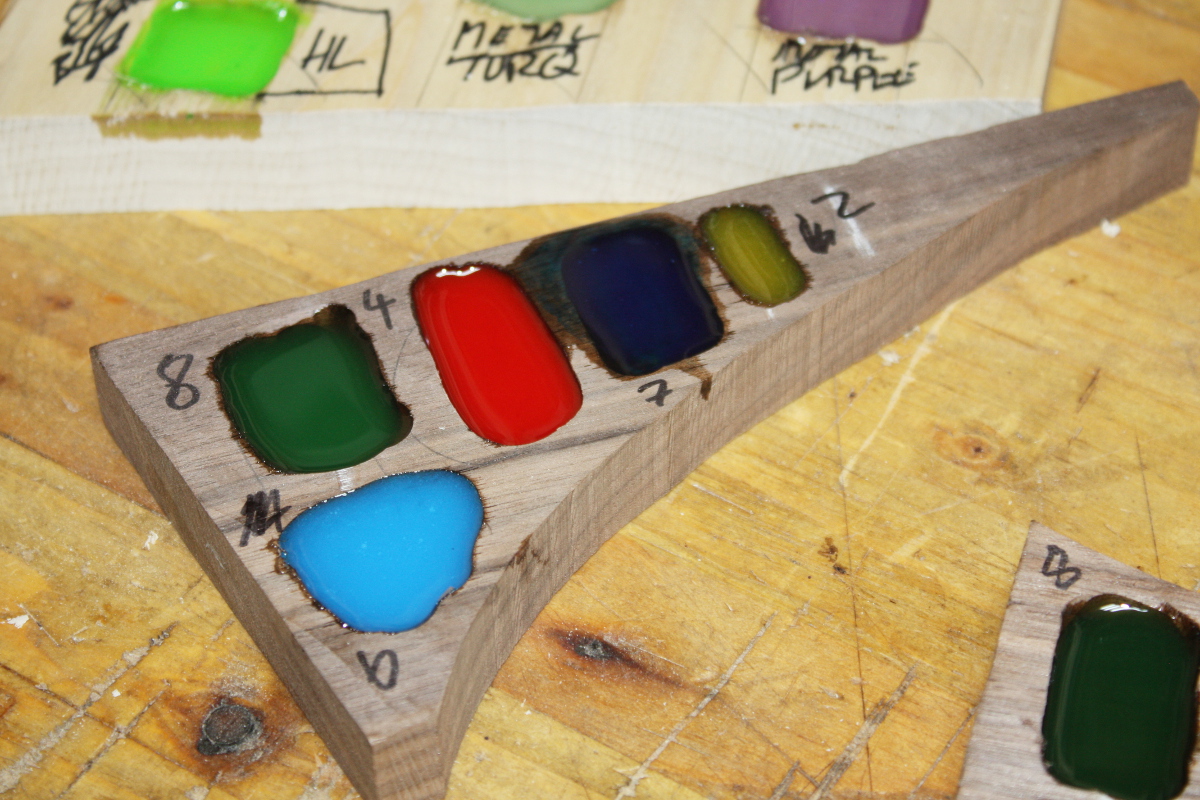
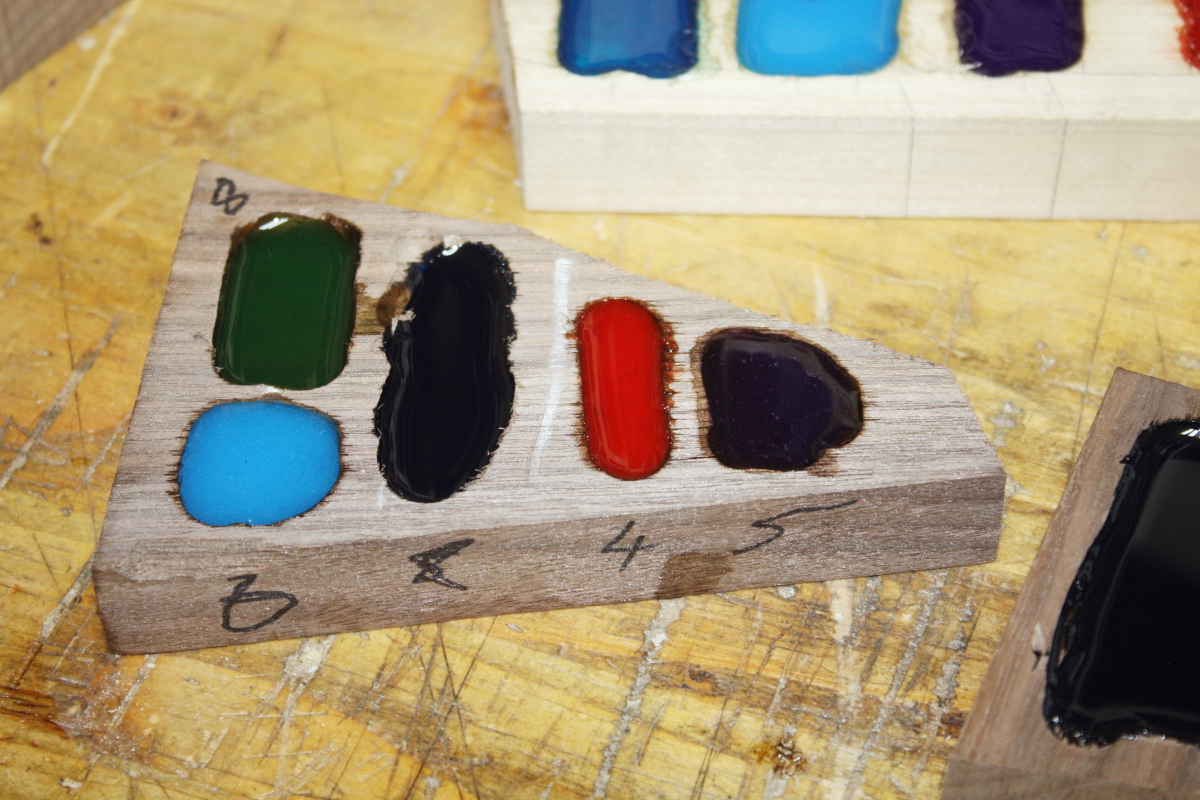
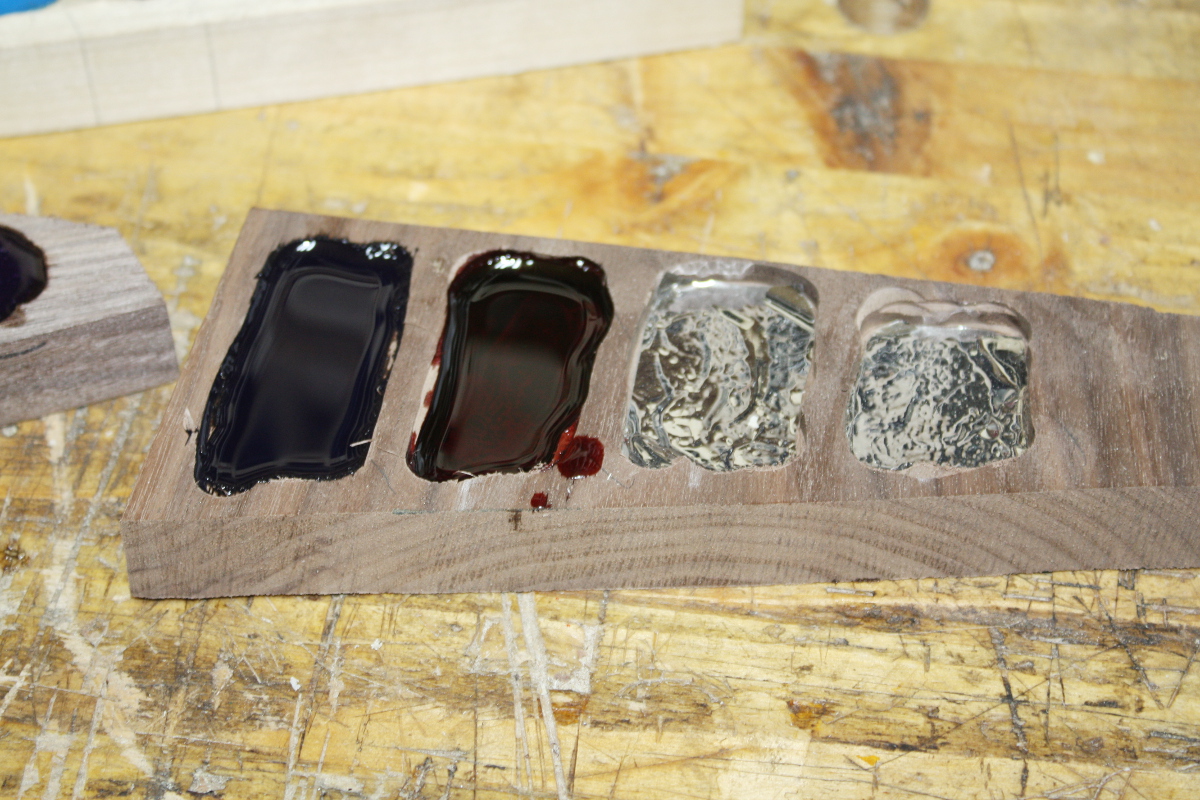
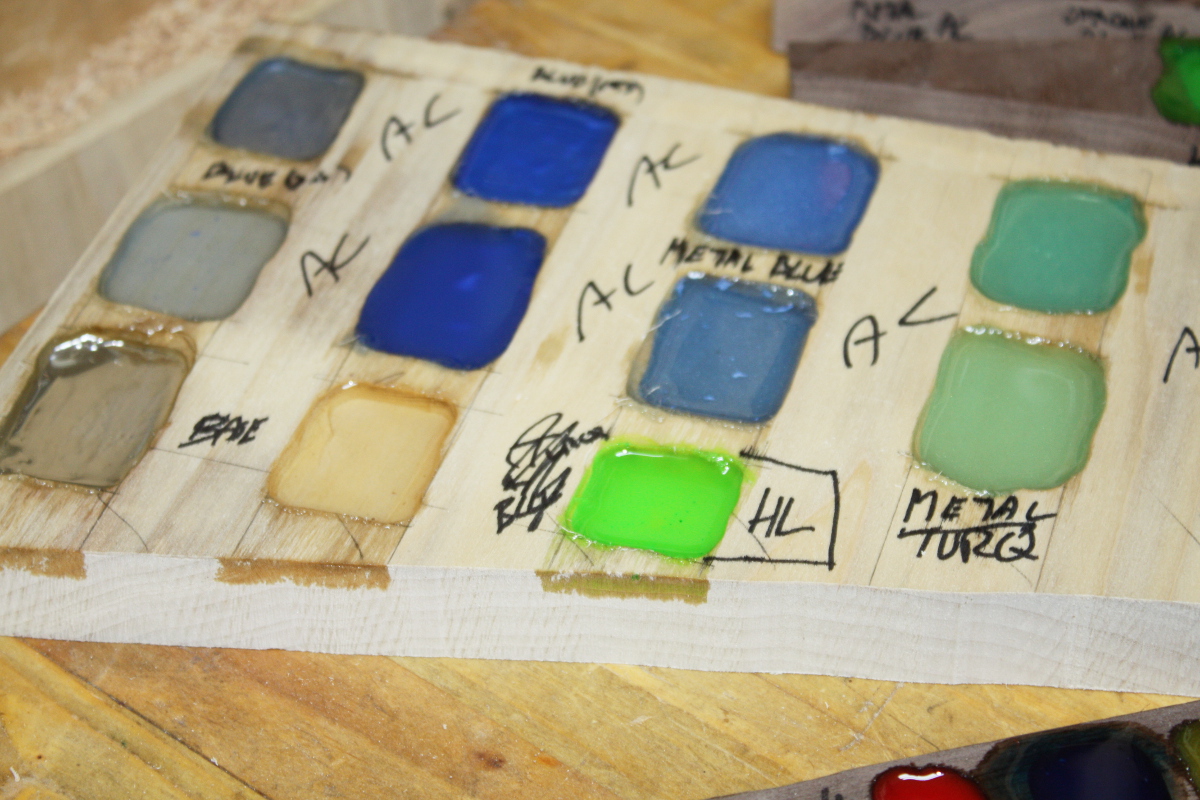
So the resin tests came out pretty damn good. The idea of putting the reflector under the resin worked quite well, and most of the colours came out well (the crimson guitars stains didn’t really pop but that was more down to the dark background – the way the red especially looked over the reflector suggests it’d be lovely over poplar).

Crimson guitars stains in walnut

Calum picked out a few he liked as well (the ones with crosses beside them in pen). So now I’m just picking out designs to do for the various parts of the desk, shelves and sides. I need to print a few out and find some transfer paper, then some will be done by inlay and some with resin and some with a mix. I also ordered two new inlay handtools for a few curves I can see coming that will have to be done freehand (yeah, you could get router inlay bits but I think we’ve established by now that I don’t like the router very much).

Think I’ll skip banding this time though. For a later project, that one (and I have one in mind).

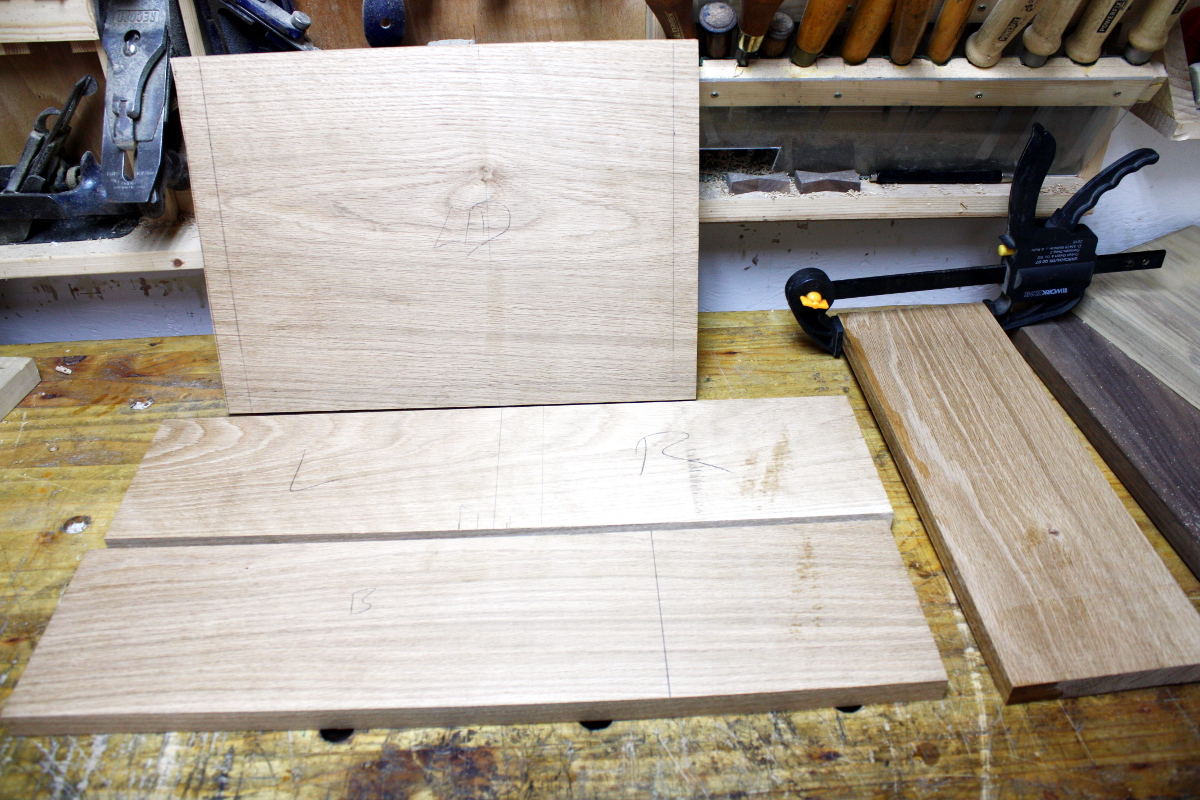
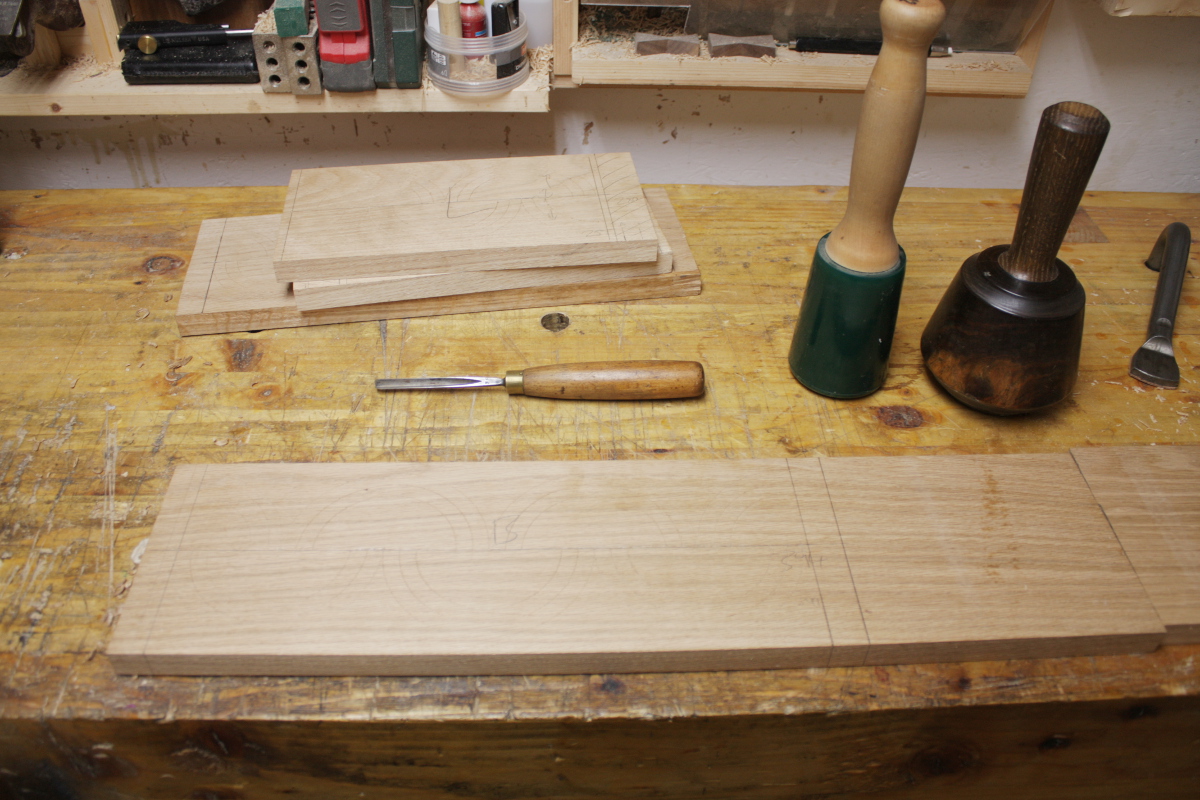
Meanwhile, I’m blocked for a few days so I made some progress on the oak box. Cutting the component parts was easy enough…

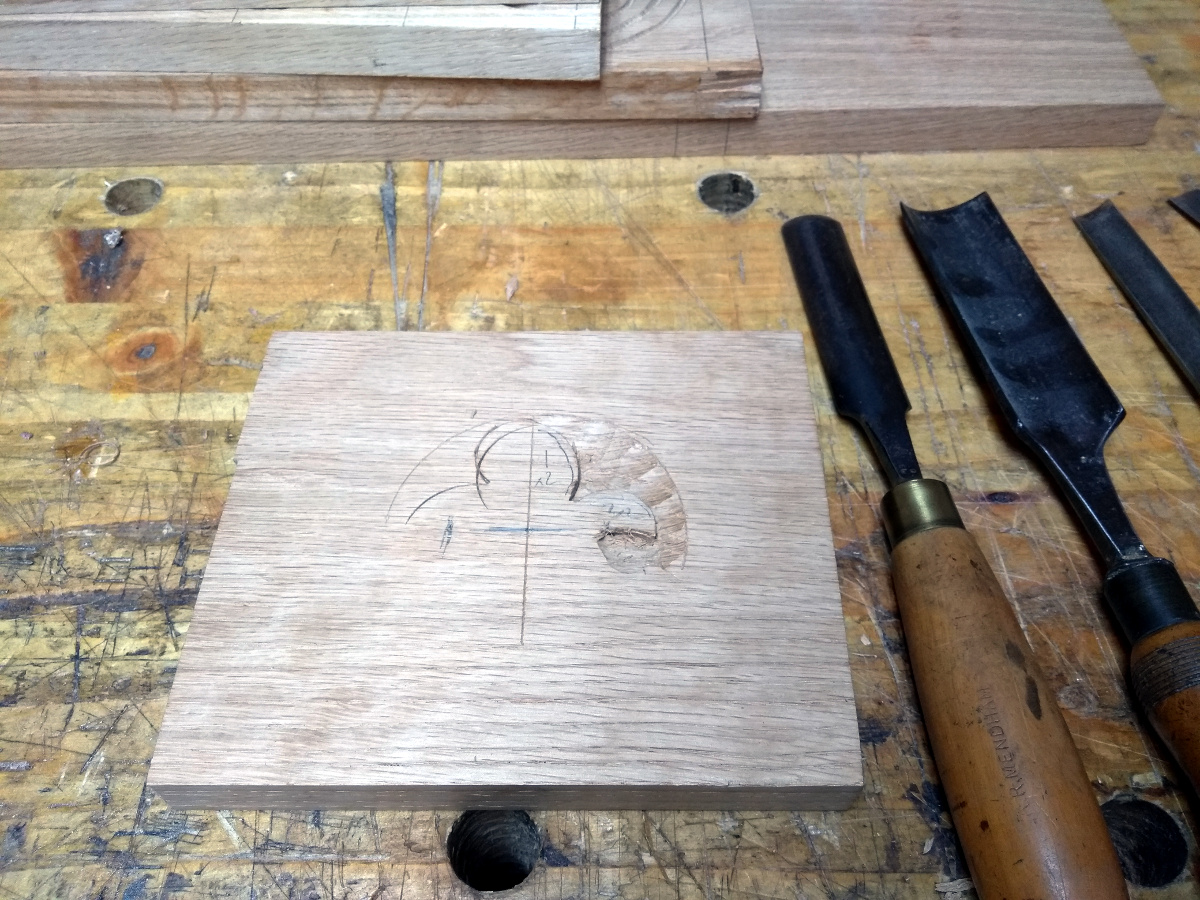
If anything I shouldn’t have cut them so early, but left that till after the carving. And I mucked up shooting the end of one…

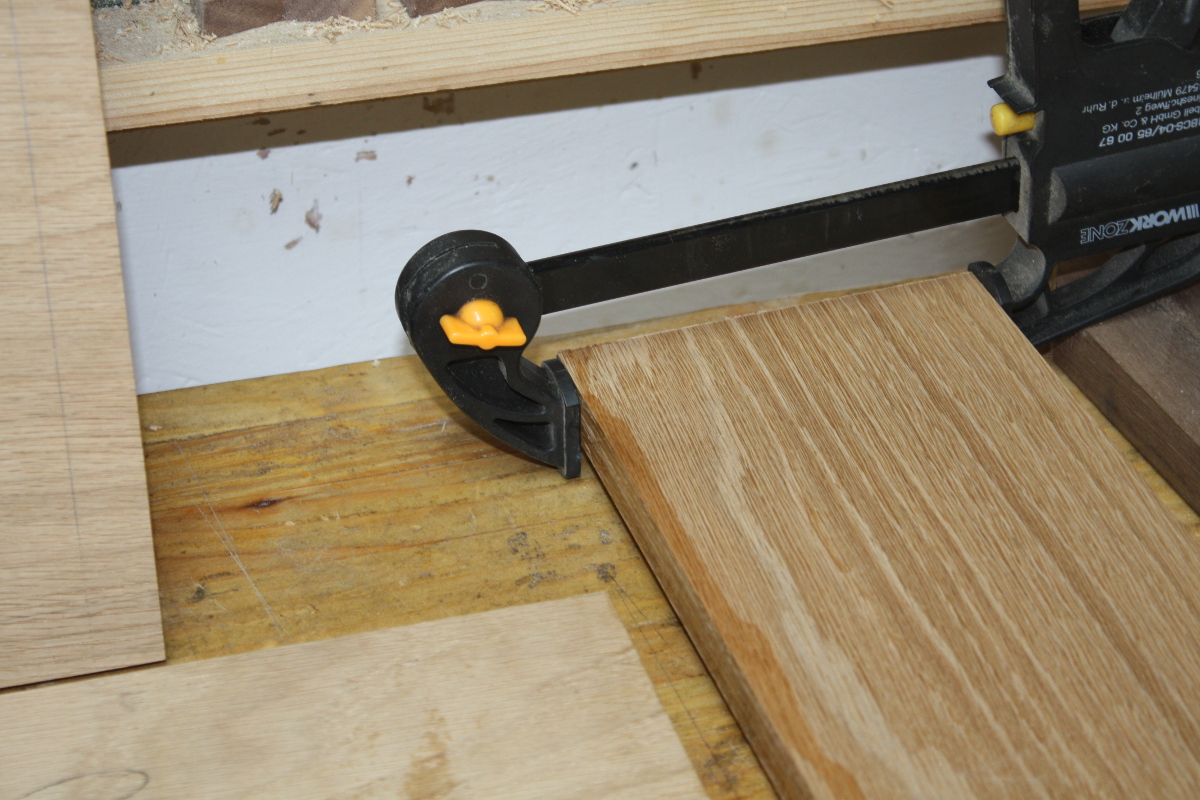
And of course the CA glue stuck to the clamp so unclamping chipped the board anyway. Le sigh.

But never mind, on to the fun stuff..

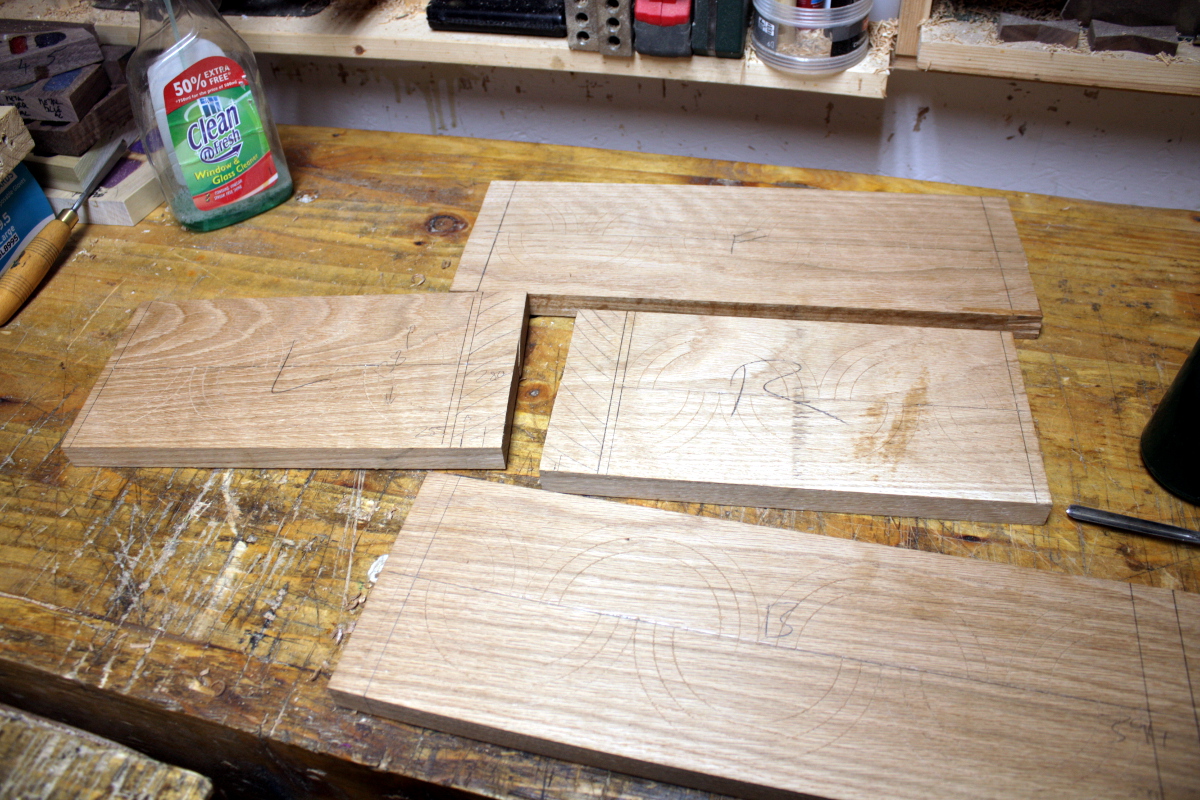
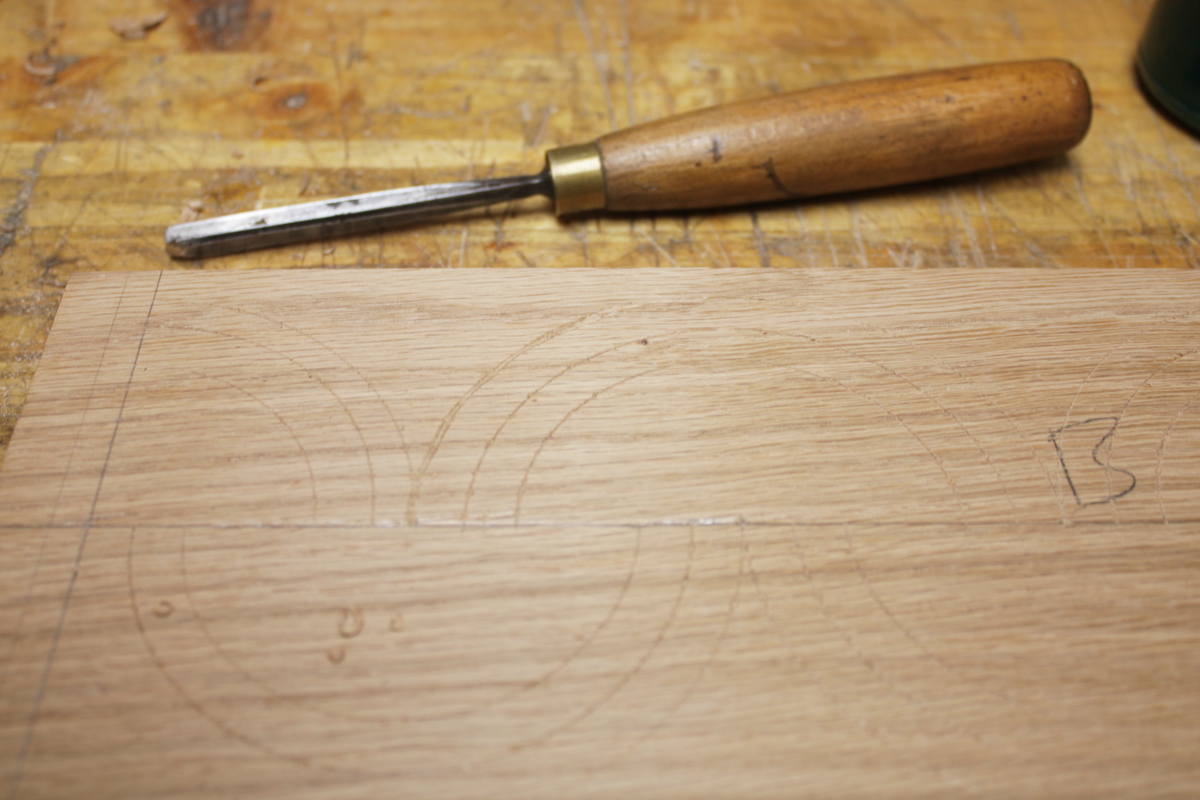
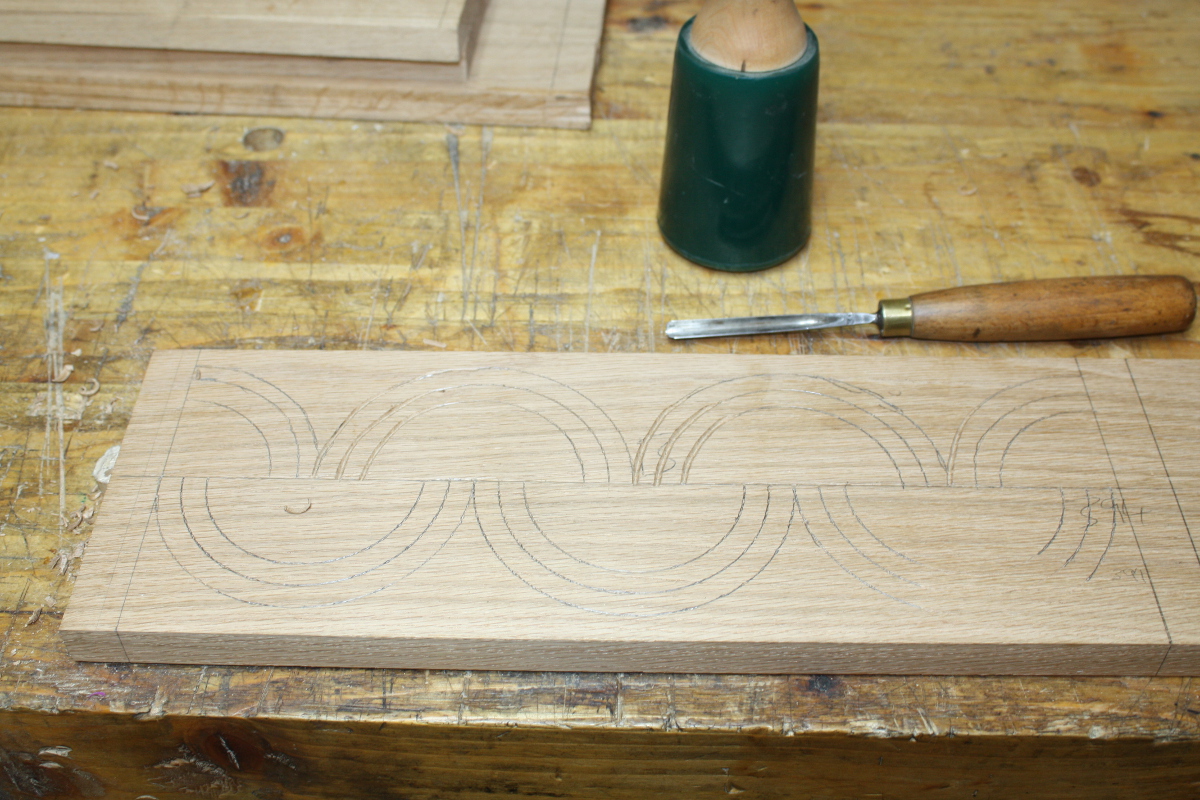
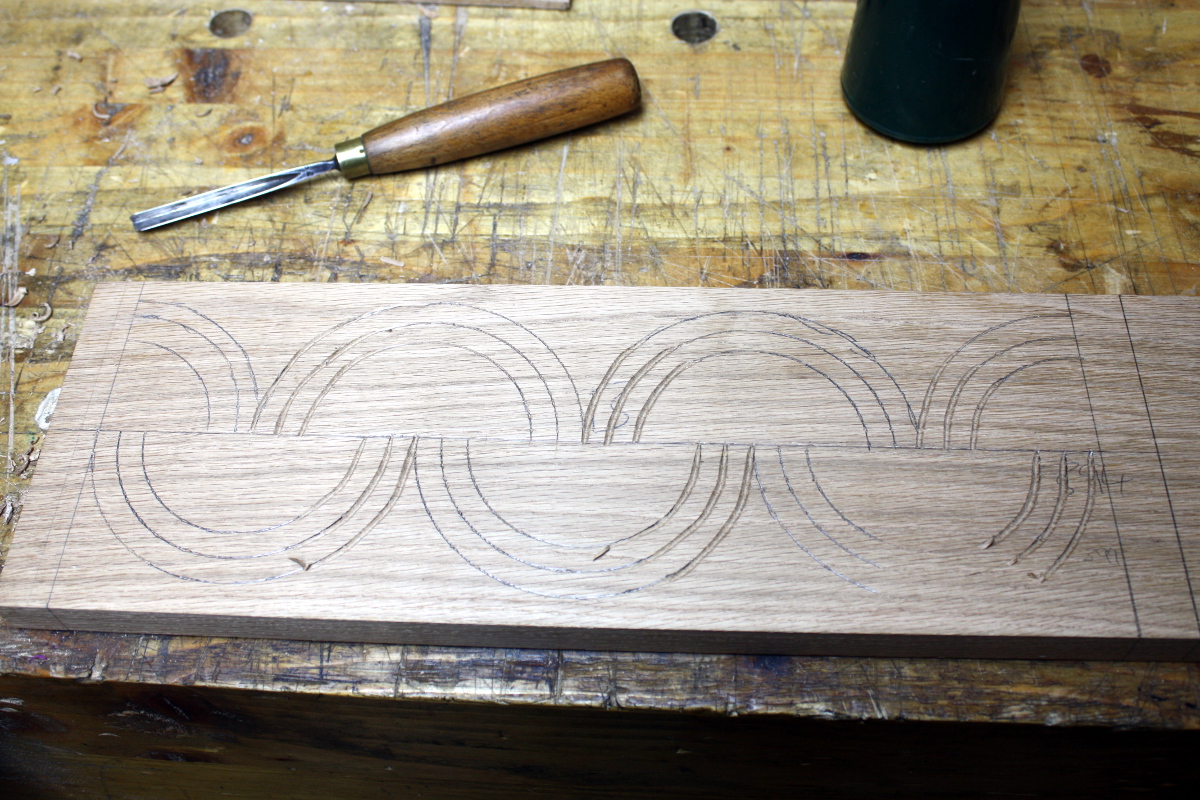
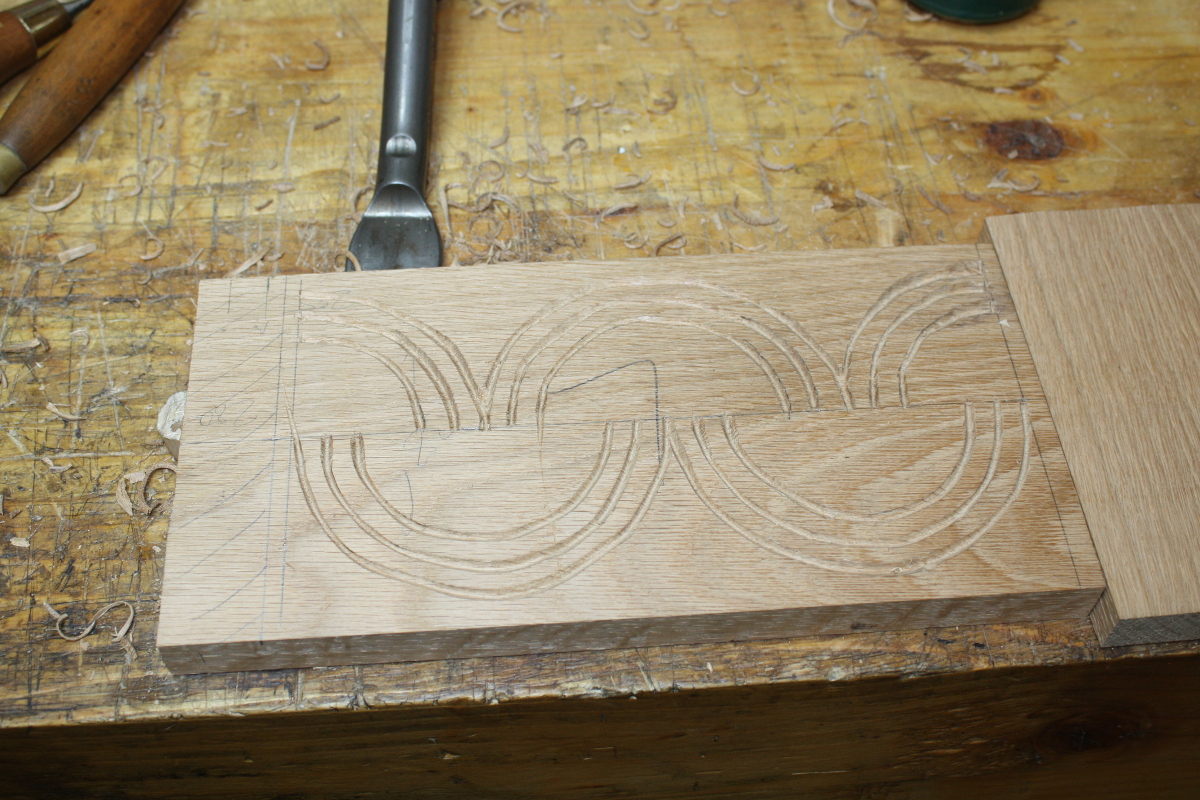
It might be hard to spot there because scratches on oak are, but I’ve marked a centerline and scratched in a series of opposing lunettes (to borrow Peter Follansbee’s term) and next up is cutting them with a V-tool. Well. Actually next up is spending some time with the diamond plates, slipstones and strops sharpening that V-tool and trying to sharpen a second one I had but which actually needs to be reground. Those V-tools are a little small but it’s a small box and the larger V-tool I have is an incanel one which, when used for this, bites in and heads for the far side of the piece. I can’t get it to work for this sort of thing. I’ll keep an eye out on ebay, but for now this V-tool will suffice.

That’s all of them marked out in fact.

You can make out the scratches up close, but they’re still hard to see even standing in the shed. I wonder if Follansbee has it easier seeing these because he uses riven oak instead of this flatsawn stock. He’s said himself this is carvable but not the best.

After a few minutes in fact, I gave up and just ran a pencil line around the scratches. They’re being carved out so it won’t mar the work.

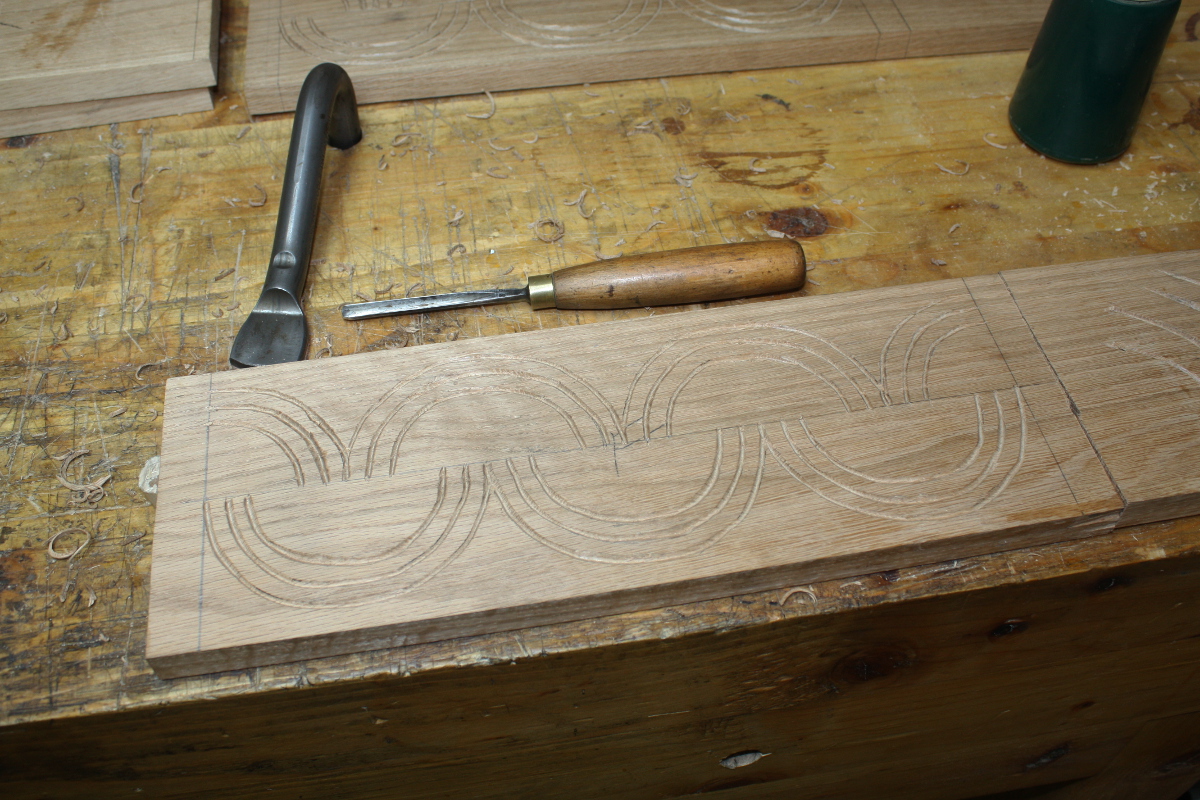
Then I just work my way along, cutting out the same part of the curve on every curve, then moving on to the next until all the lines are cut out. You have to cut in sections so you can brace your V-tool arm and control the cut. I say that like I’m cutting perfectly regular lines, but I have to go over everything once or twice already and it’s still not perfect.

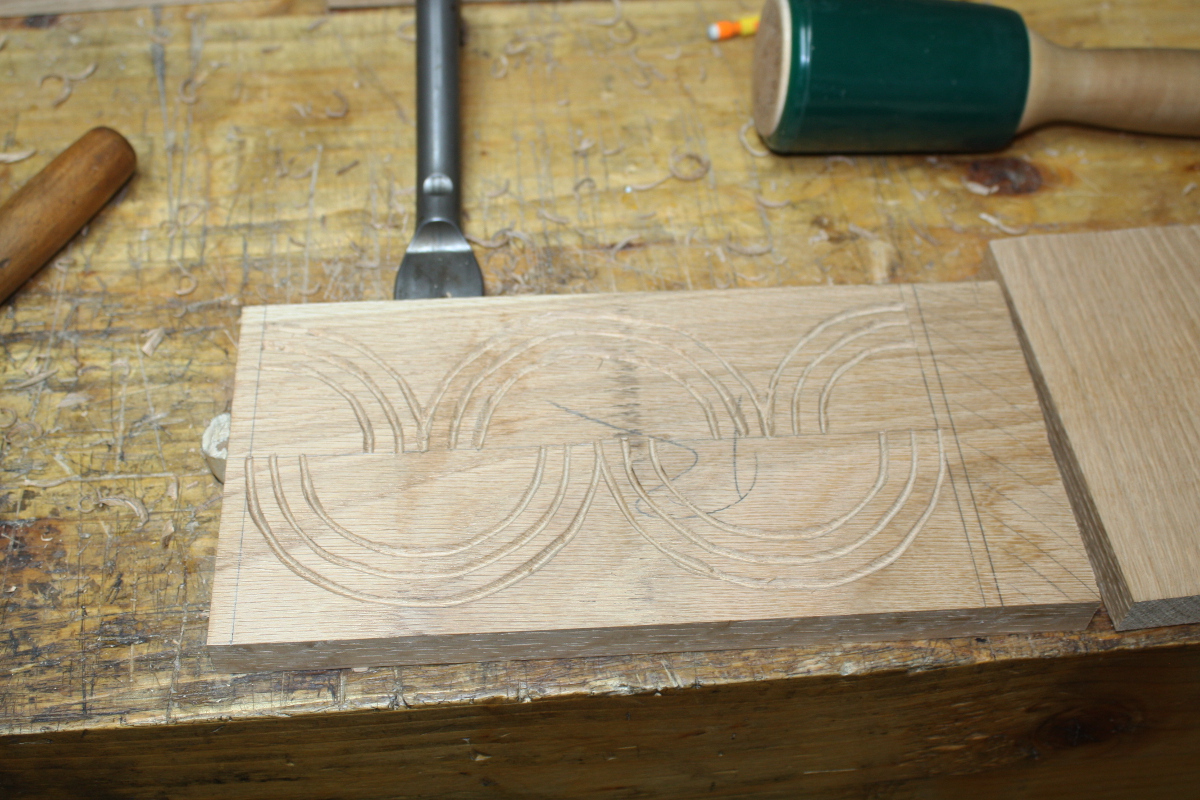
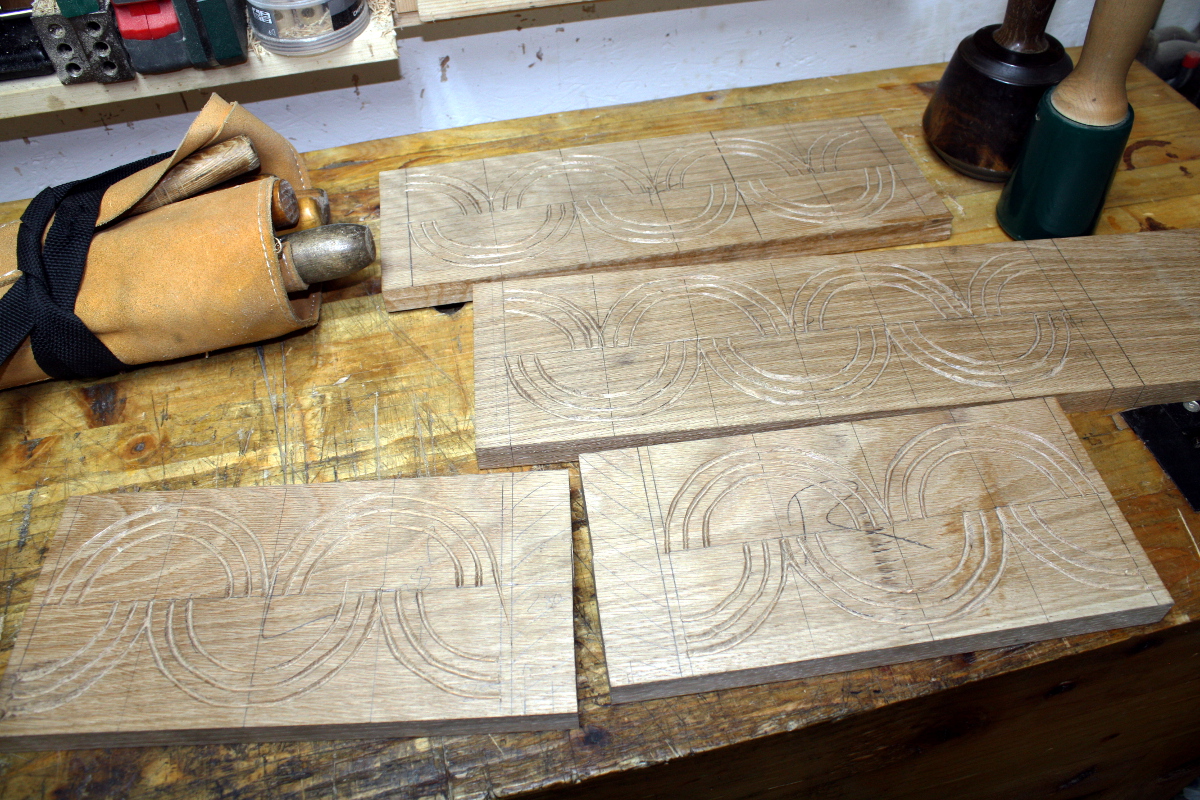
I mean, it’s not terrible, it’s just rough. Still though. Got all the V-tool work done on all the sides.

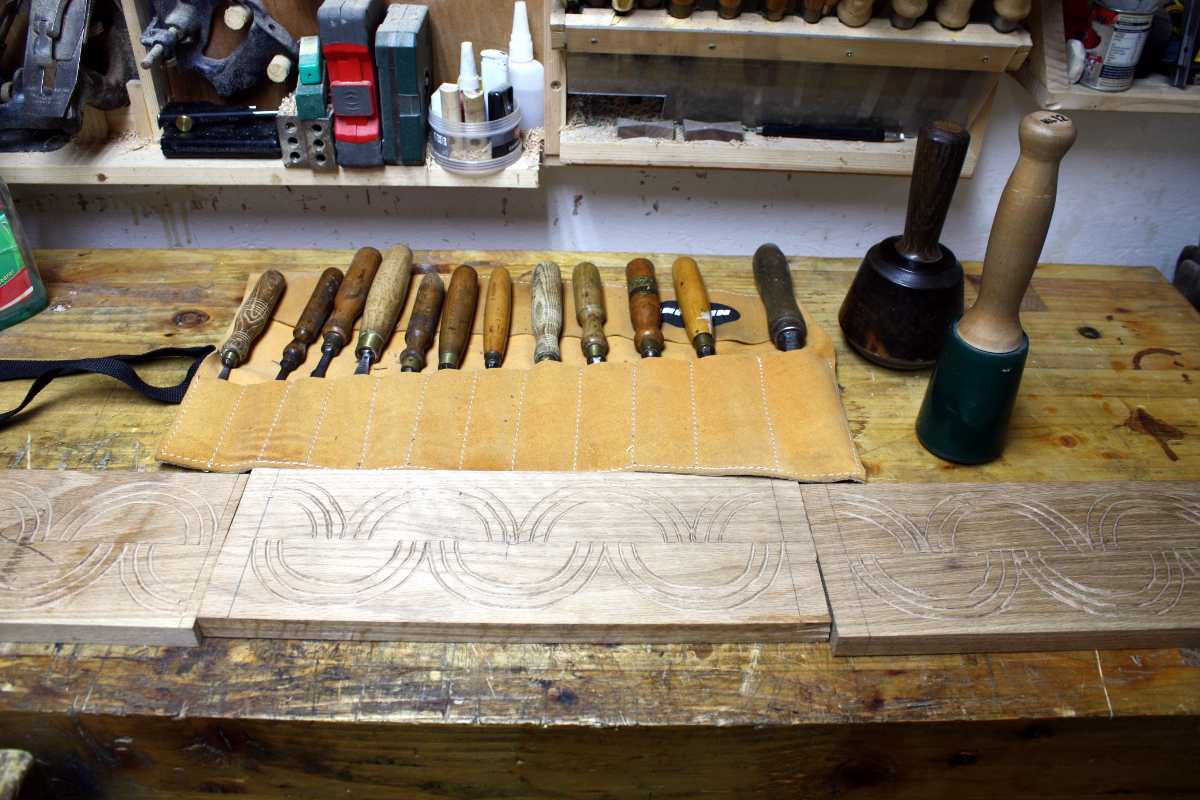
Next will be cutting the floral decoration. That’s done with a few gouges, so got some out to figure out what fits.
They’re all a bit small though. I suppose “you can never have enough gouges” is a thing as well. Still, bit of experimenting and I found some that’ll work. A few chops with each will act as stop cuts, then some removing of background up to those stop cuts with a shallow gouge, and you get this.

Bit of tidying up, some extra bits and pieces as decoration, and that should be reasonable enough so long as nobody looks at an original Follansbee for comparison…


21
Feb 19

Testing resin pigments

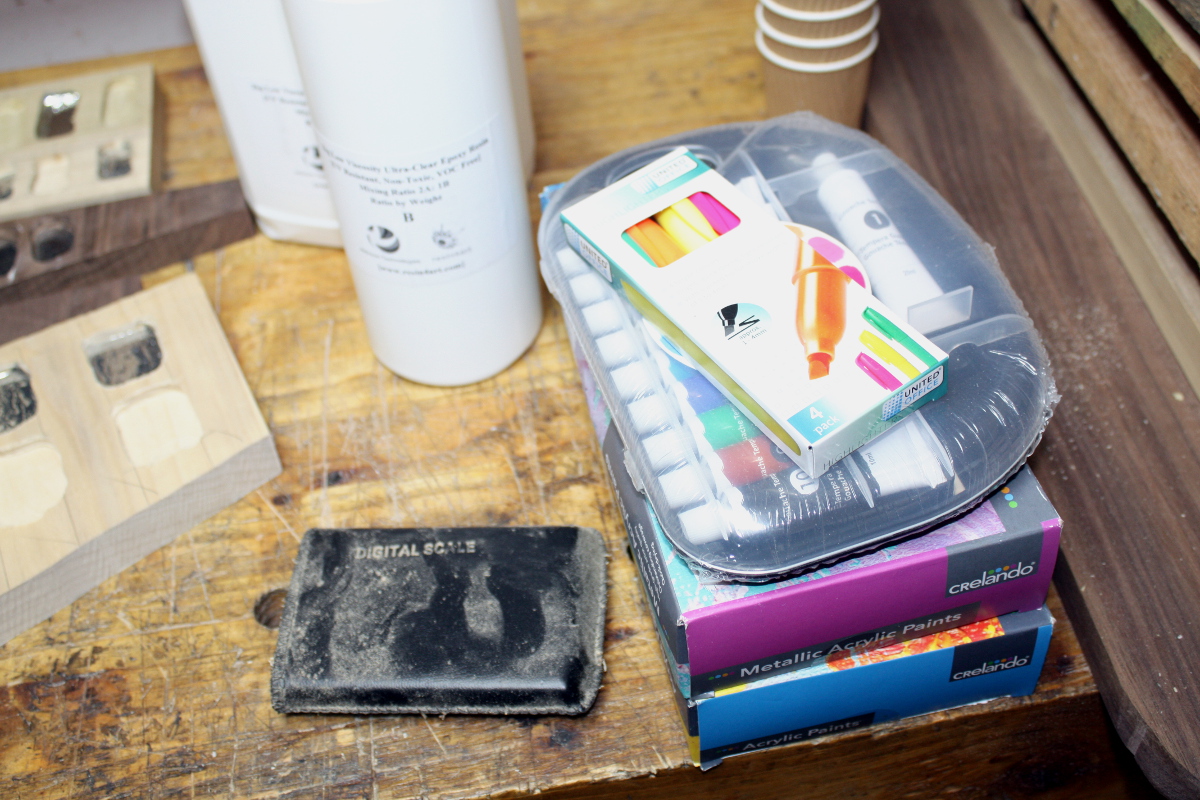
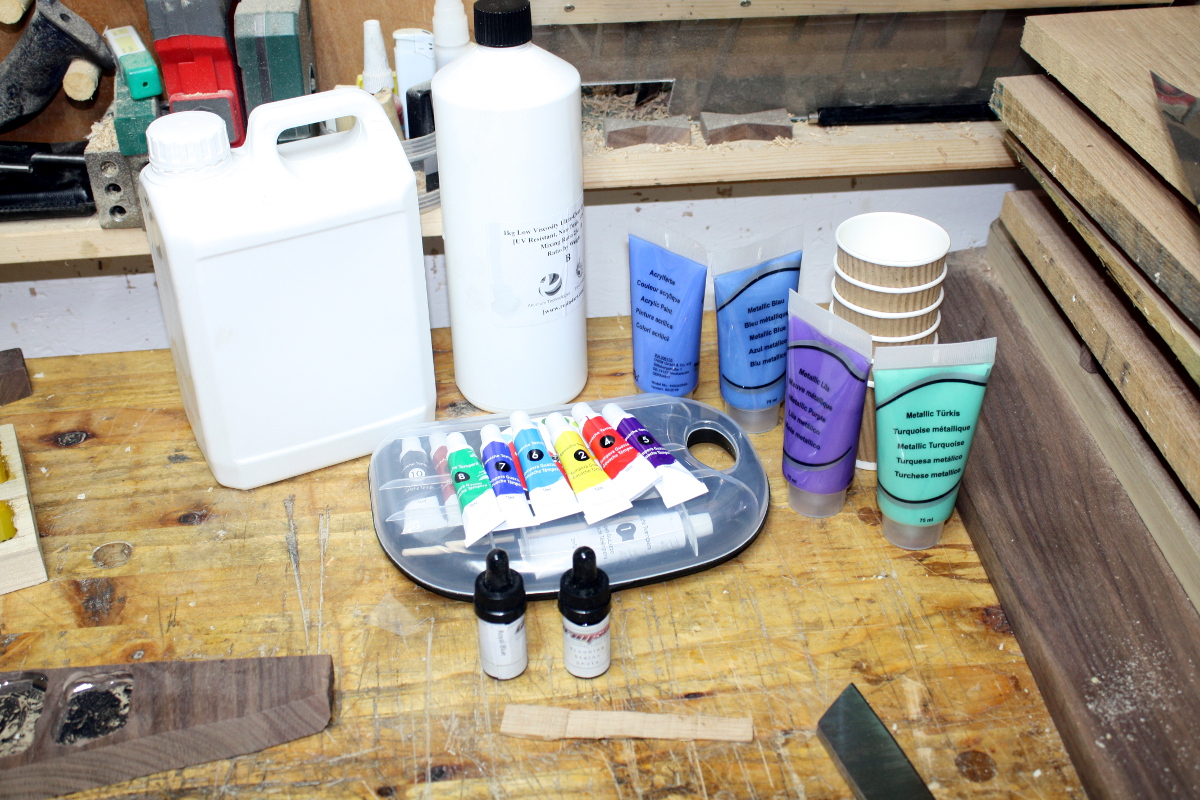
So, like I said last time, there’s going to be some resin in the desk shelves for Calum. Because, you know seven year old clients, they’re all about the bright colours. And the North Atlantic. So, onto ebay and ordered 3kg of clear resin (I won’t need that much, but I want to do other stuff too…) and then pigments… well, Peter Brown had a “using household things for resin pigments” so I thought I’d try lidl acrylic and tempura paints and some other stuff…

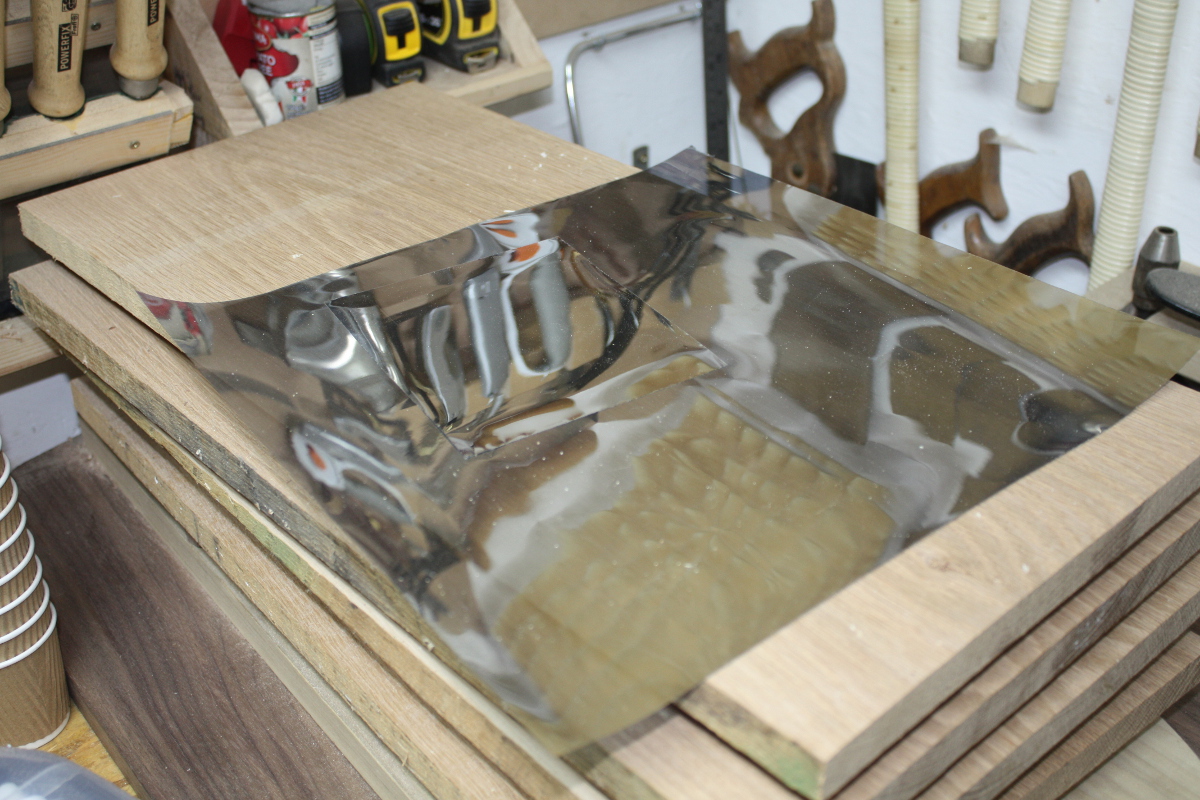
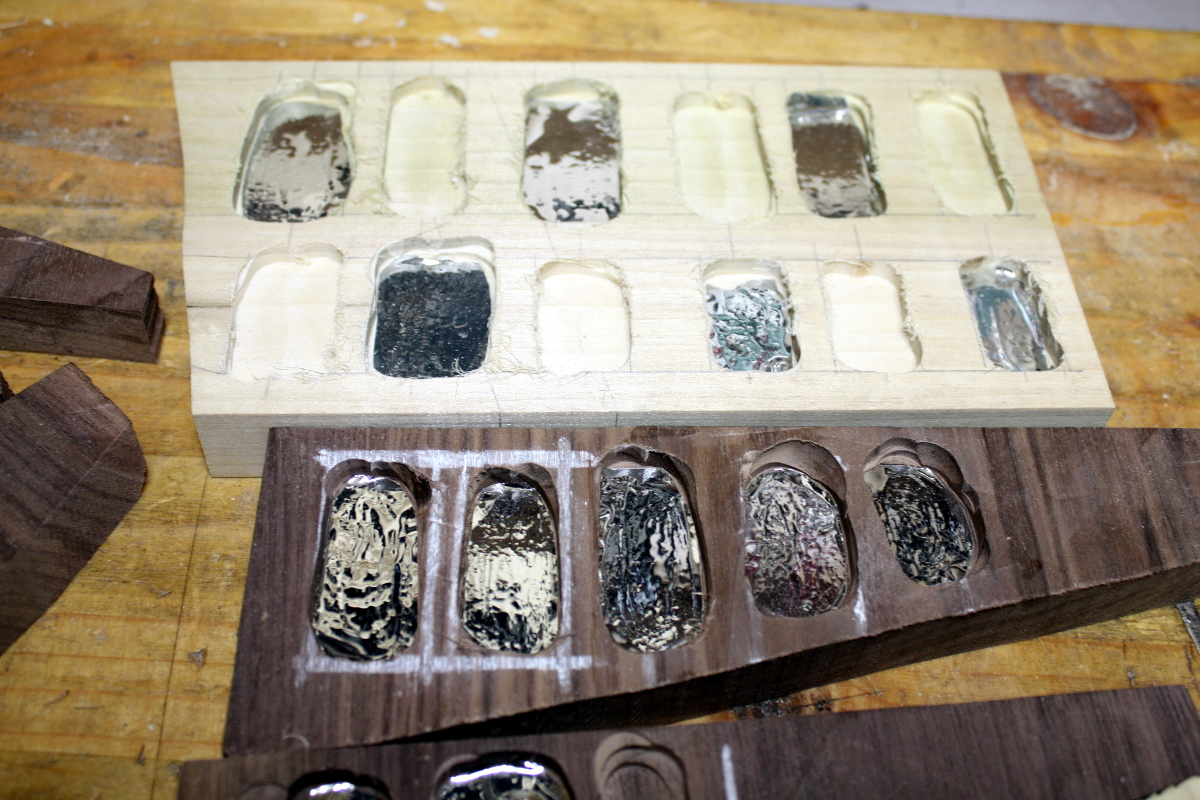
And I also was thinking walnut is dark so any resin is going to look like it’s in a hole in the ground, but there’ll be an LED light above the walnut shelf, so what if I had a reflector under the resin? So I got some of the one-way reflective window film as well…

So I had some offcuts and scraps of walnut and poplar from the sides and desk and I routed out a few pockets in it, put that window film into half of them…

…and then just started making up small batches of acrylic (around 100-150g per batch) and mixing in pigments and then pouring into four pockets so I could see each pigment in both woods, with and without the reflector.

The highlighter ink one and the crimson guitars stains look particularly interesting, but we’ll see. Should all be cured by the weekend…