So, started off flattening the apron. This went pretty well after I switched over to the #5 and sharpened it up a bit. The narrower blade means less pushing effort and that seemed to help a lot. And then it was time to thickness down from an inch to 3/4 of an inch.
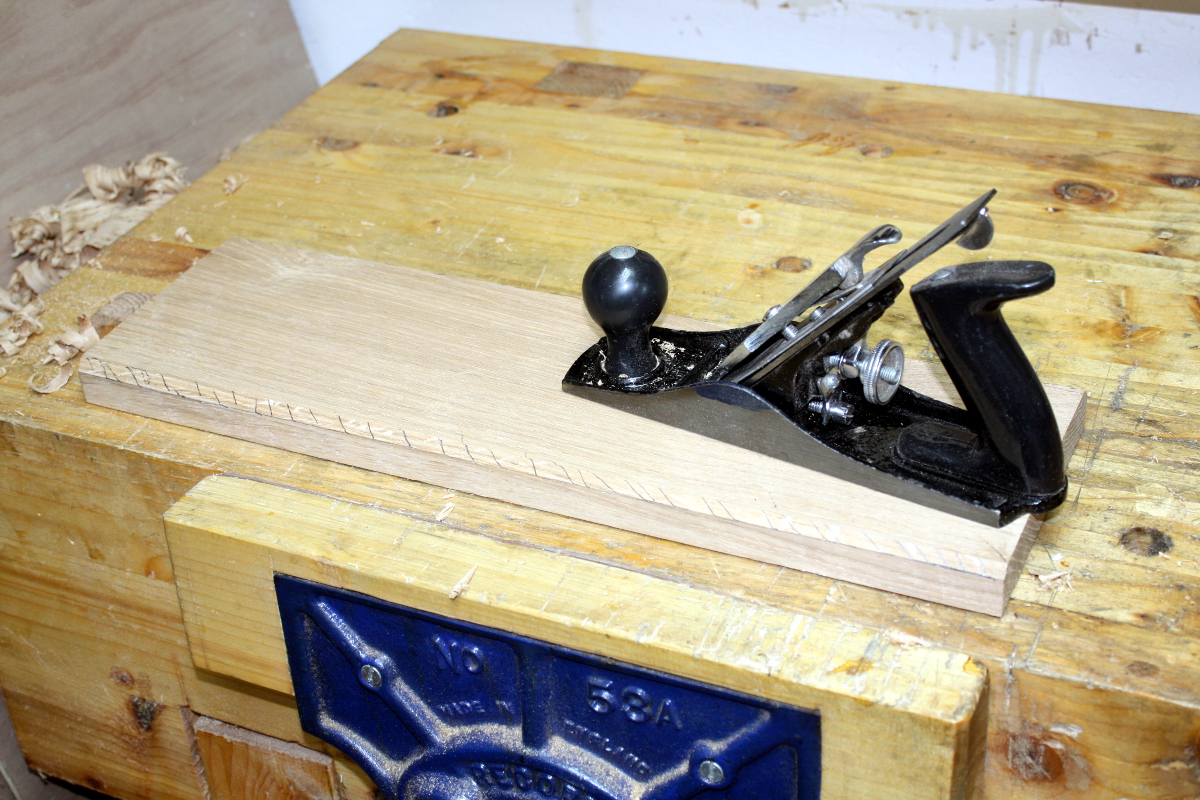
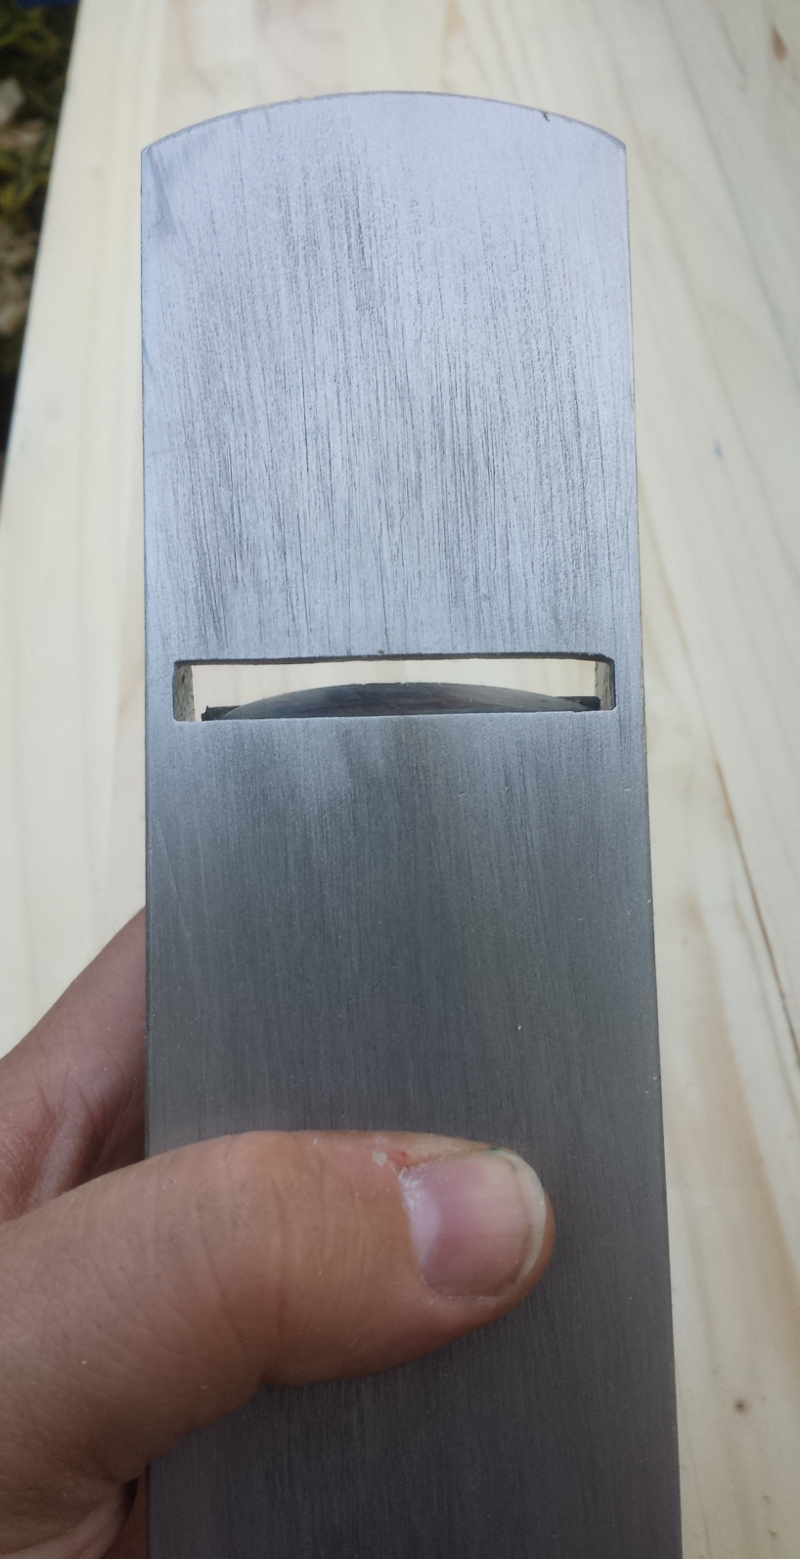
This is not my favourite activity. And honestly, if they made an induction motor benchtop thicknesser I’d have bought one already, but unfortunately they’re all universal motor things — and lunchbox thicknessers, even if you fit them with helical blades and all the fancy doo-dads, are just too damn noisy to run in a housing estate. You’ll wind up triggering a torch-and-pitchfork party of your very own if you do that round here once too often. So until I have a larger shed and room for a larger, possibly older, floorstanding planer/thicknesser, I have to do this part by hand. At least Sid makes the task easier with his ridiculous level of camber…
Anyway, the board was a manageable size, so push hard and on we go. And switching over to the #5 for the last mm or so to arrive in a controlled manner and…
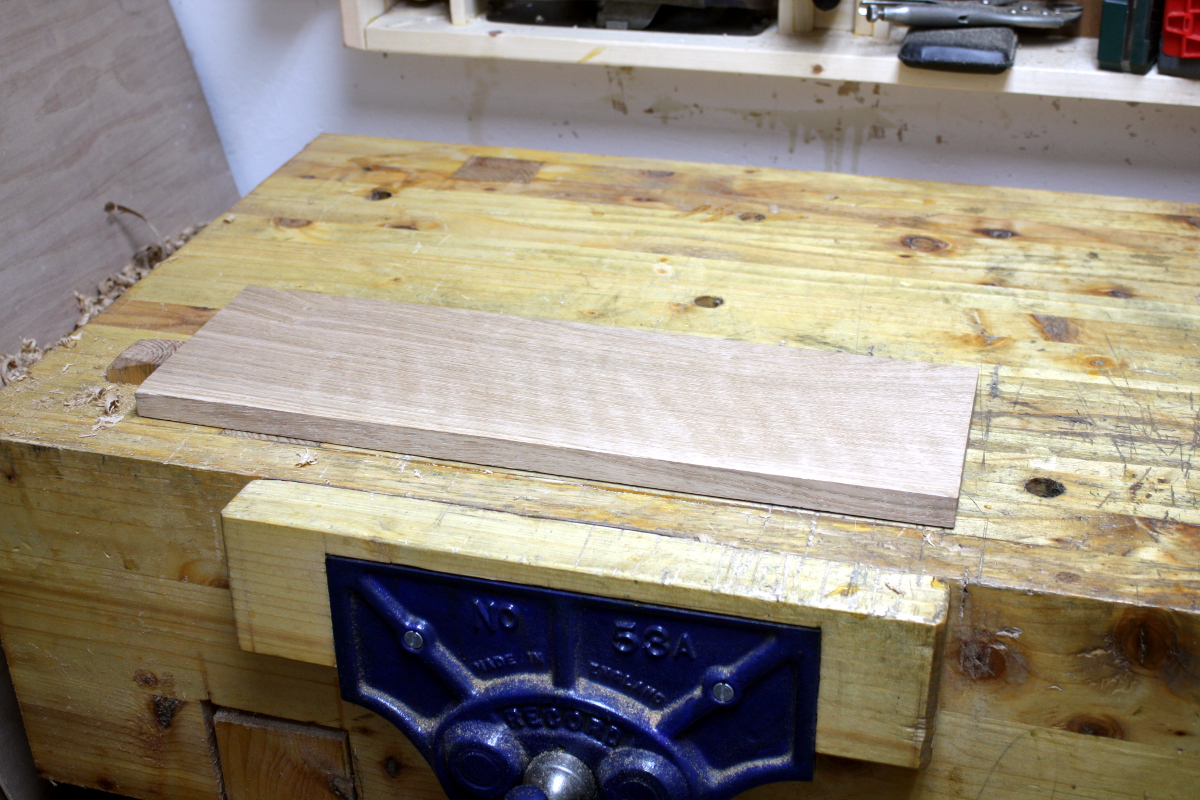
Flat and at thickness. I gauged out for the two aprons and set it aside and ripped down the middle a little later on with the bandsaw (using the new tuffsaws blade – makes a rather surprising difference, those things, much cleaner cut and less drift).
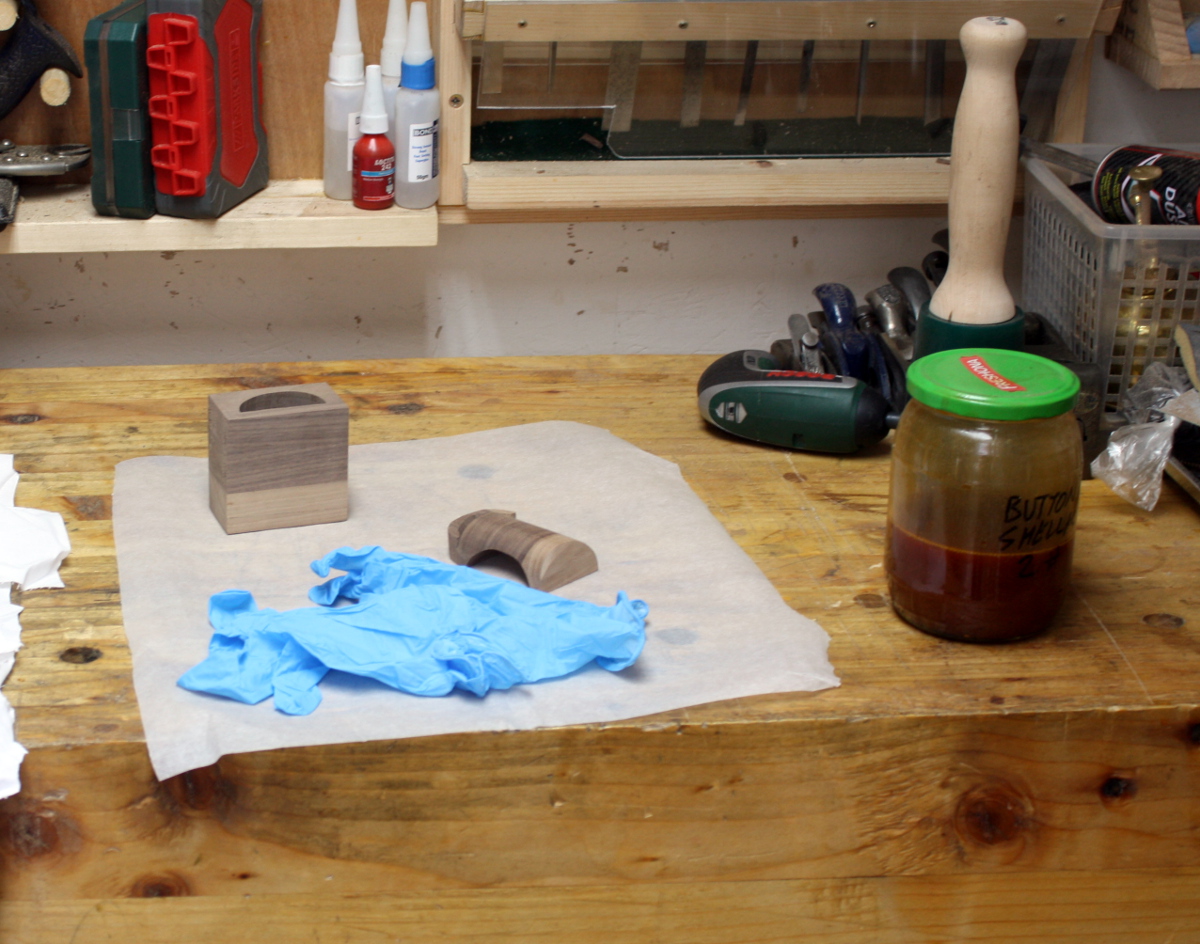
Then on to mucking about…
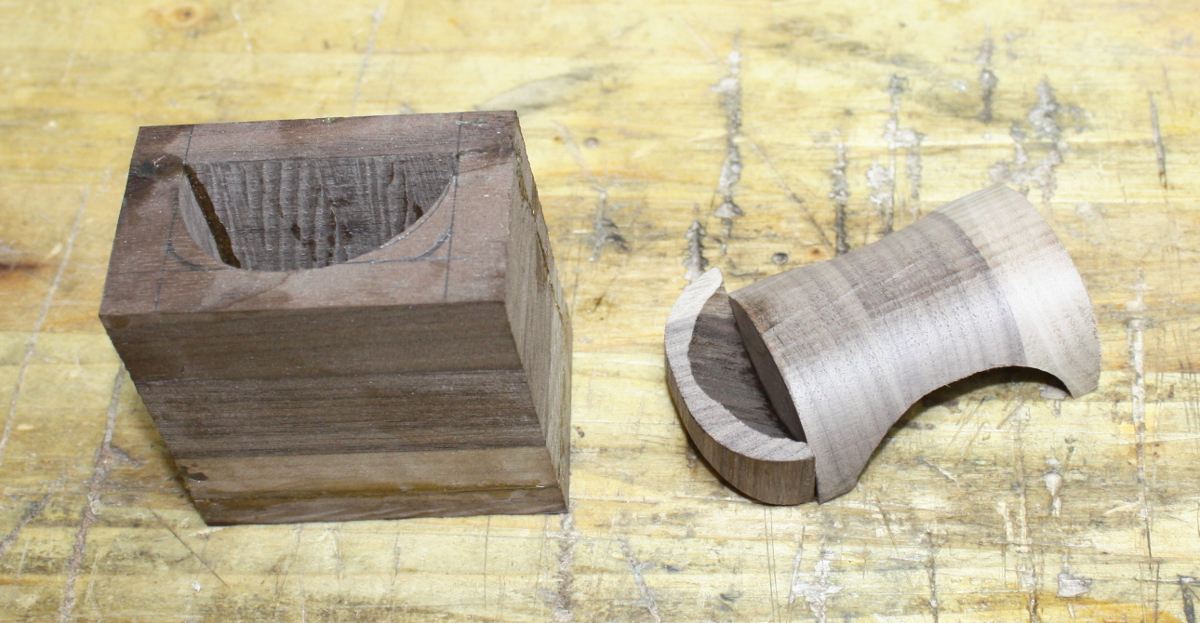
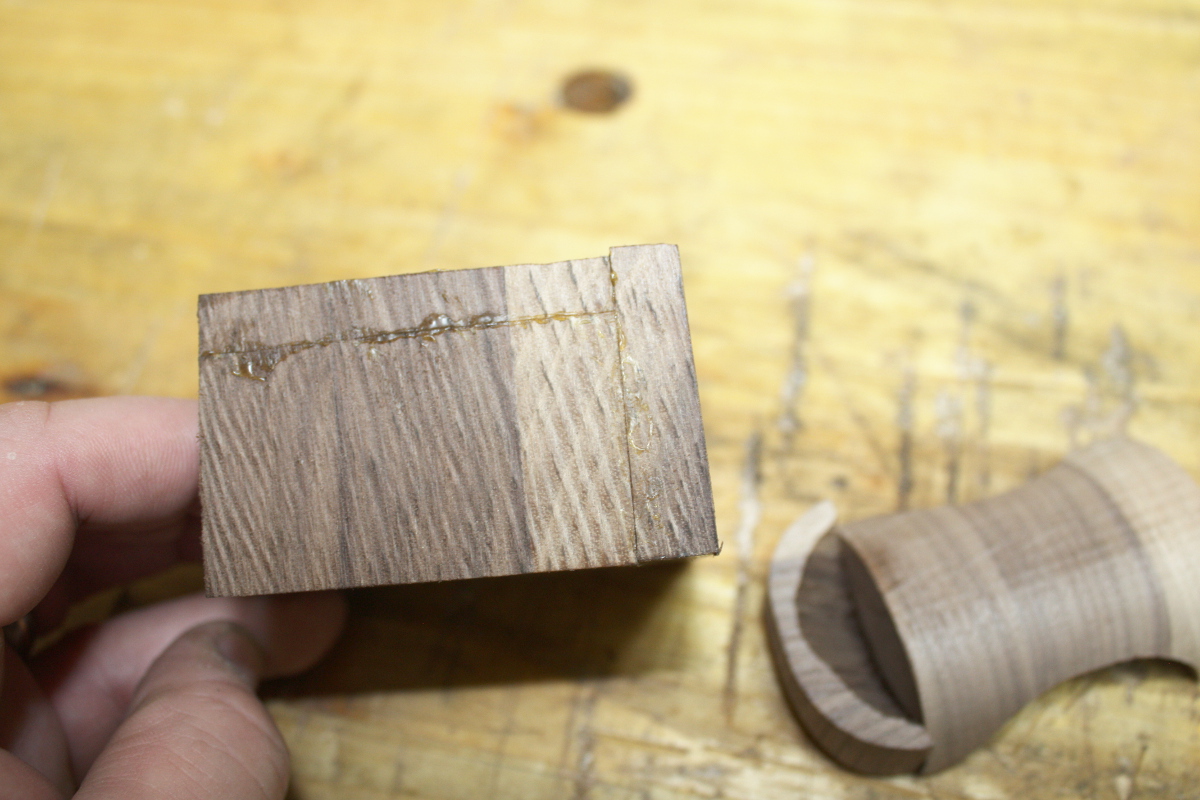
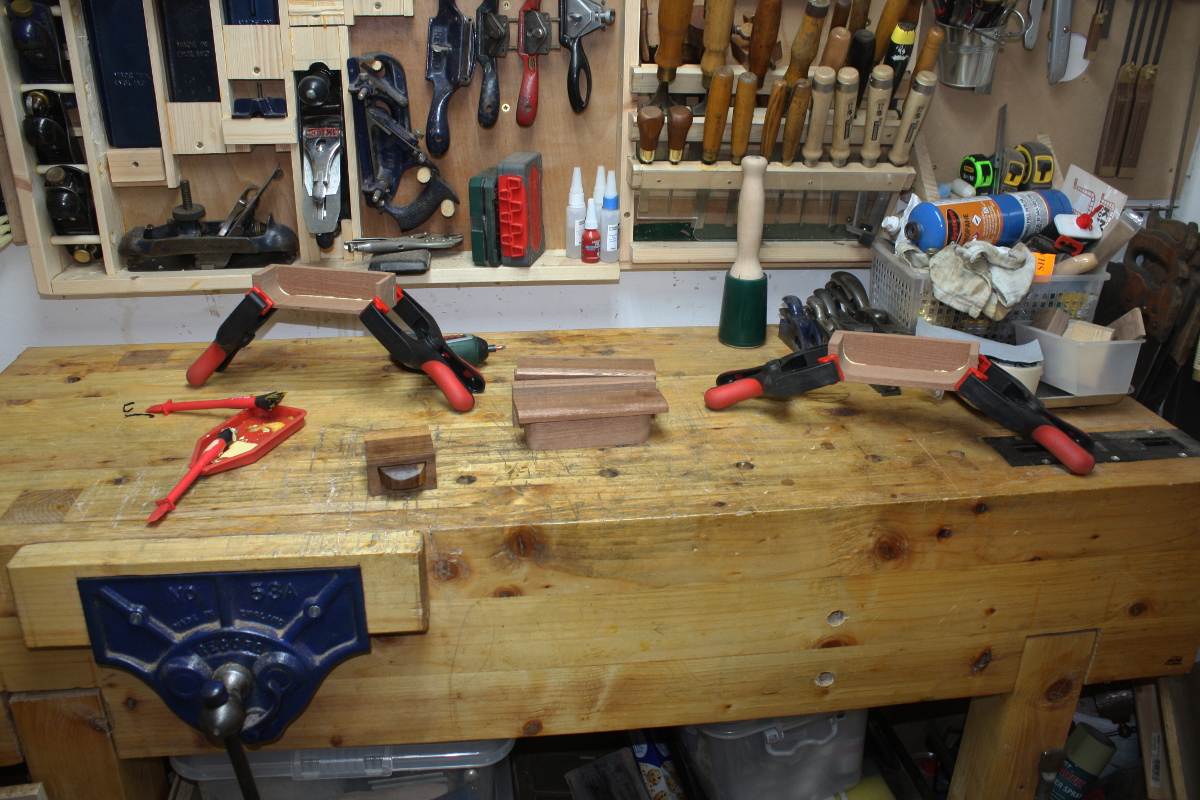
So the glue-up was messy and there are steps all over, but apparently that’s to be expected. Next step, sand the badgers off everything with my handy dandy disk sander. Which I don’t have one of. Bugger. Well…
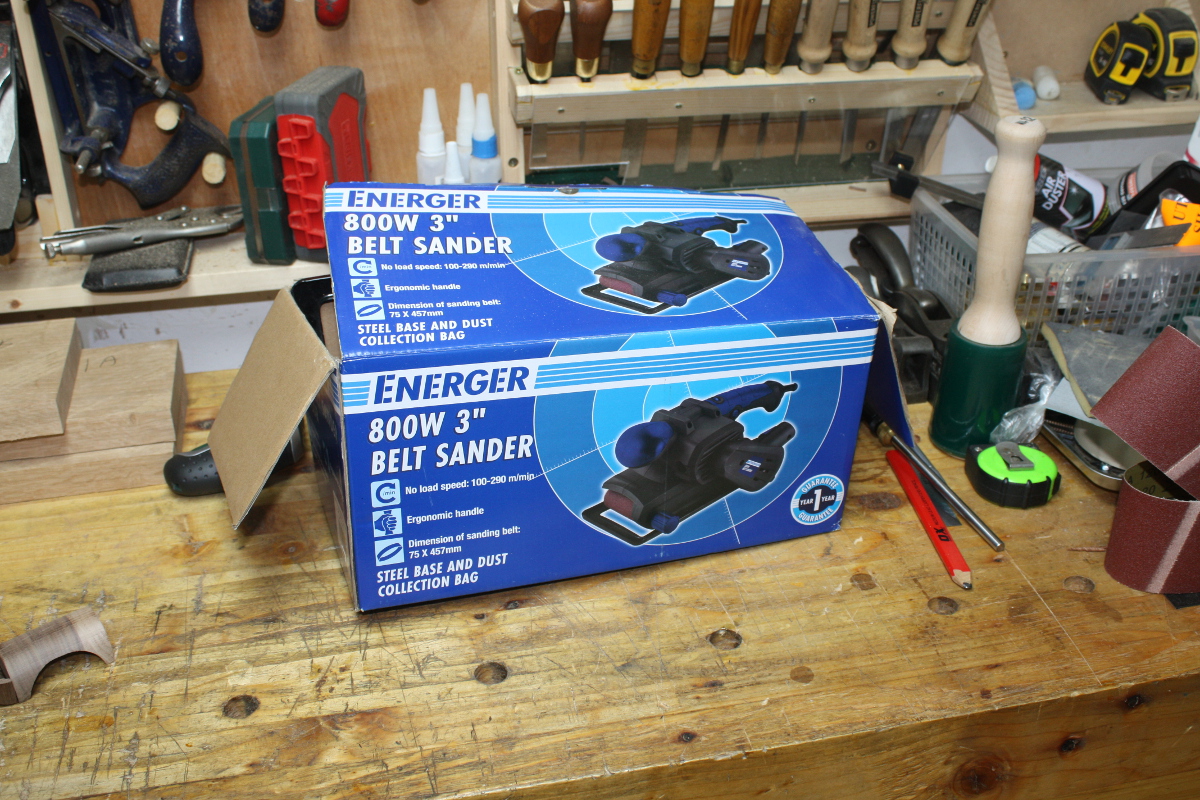
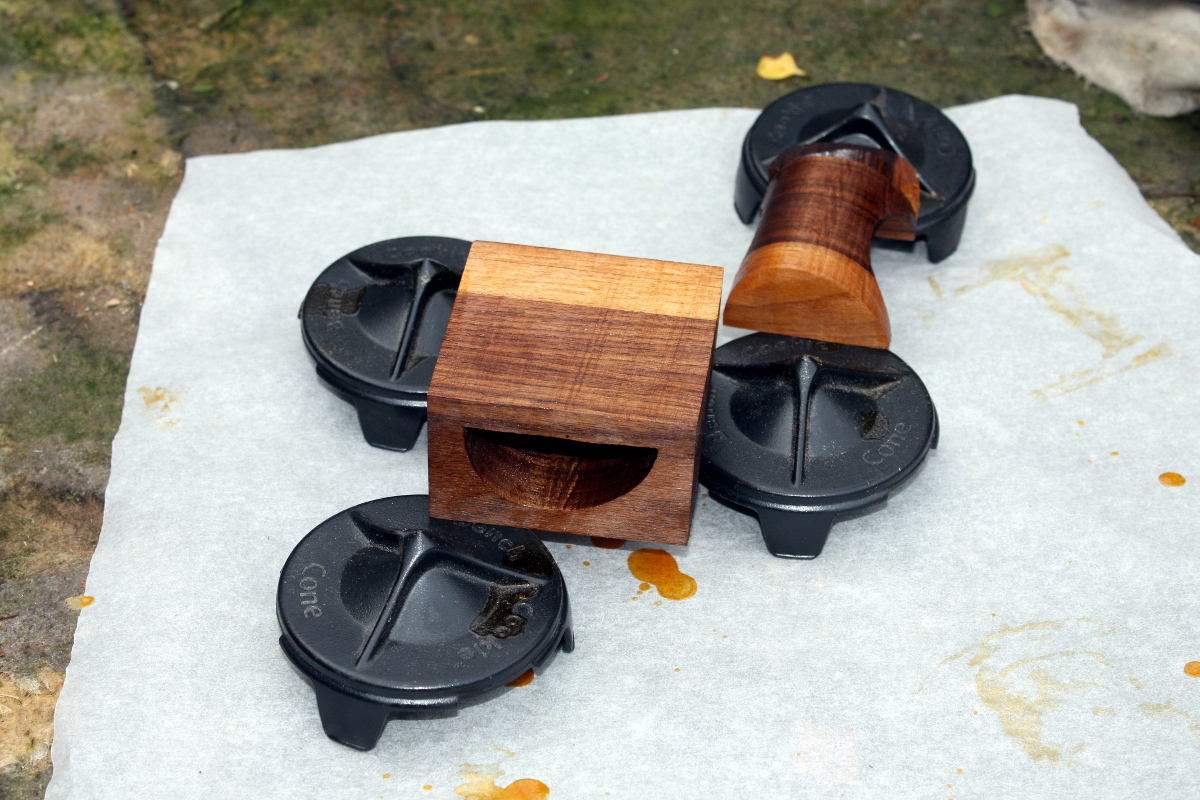
Sod it, I started this thing on a bandsaw, might as well keep up the machine operator vibe…

Didn’t want to keep all of your fingers, did you?
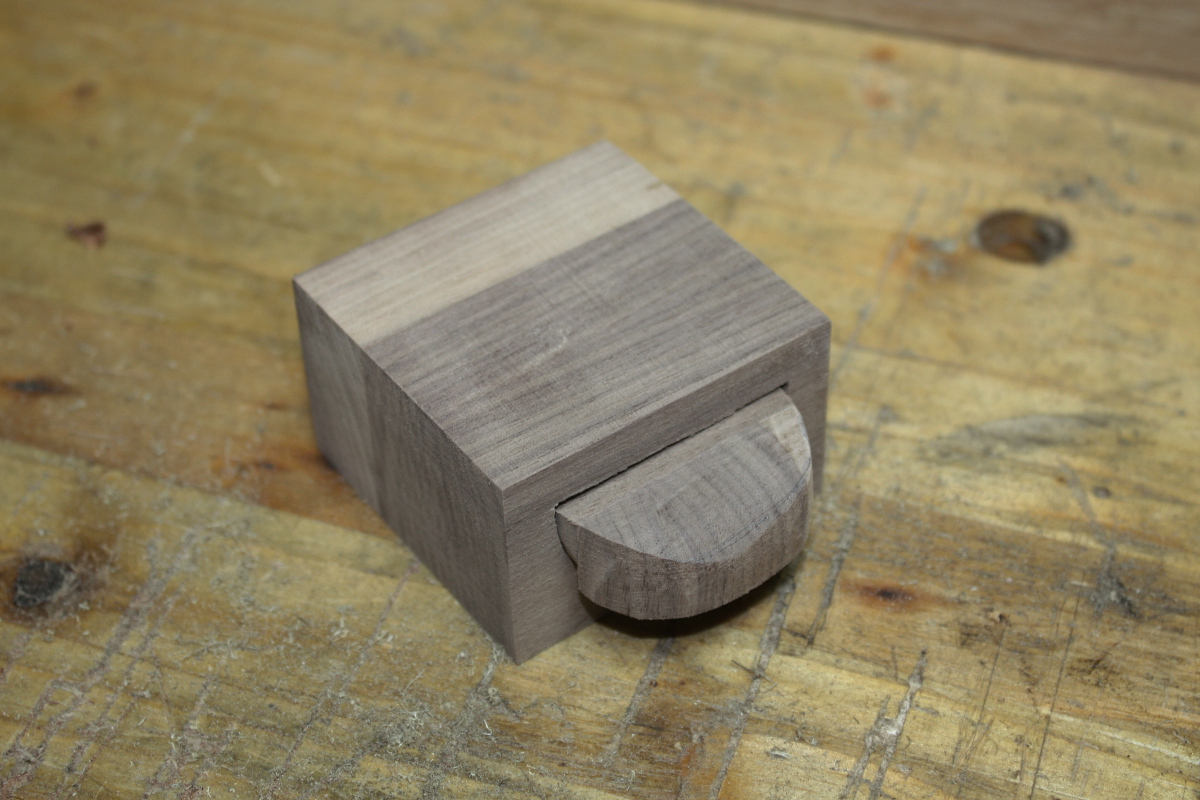
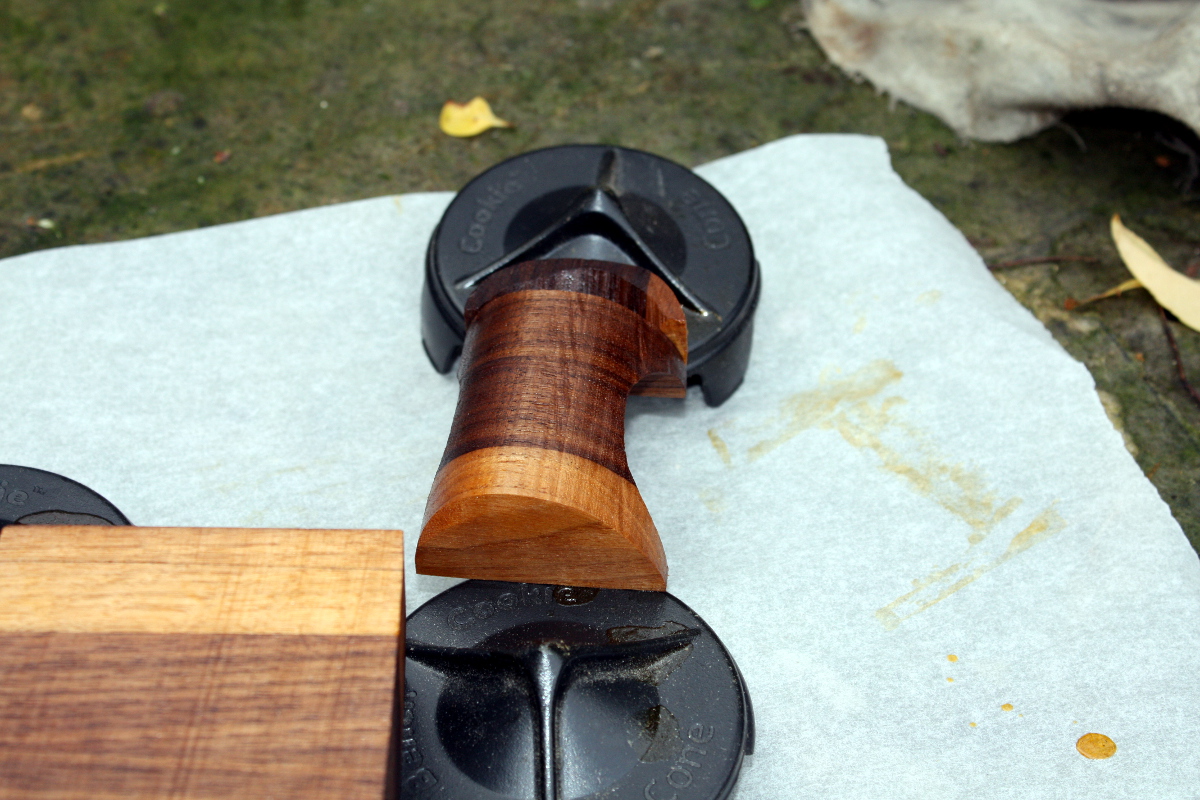
Hm. Not terrible for a first try. Slap some shellac on it…
And some felt for the inside lining and call it done:

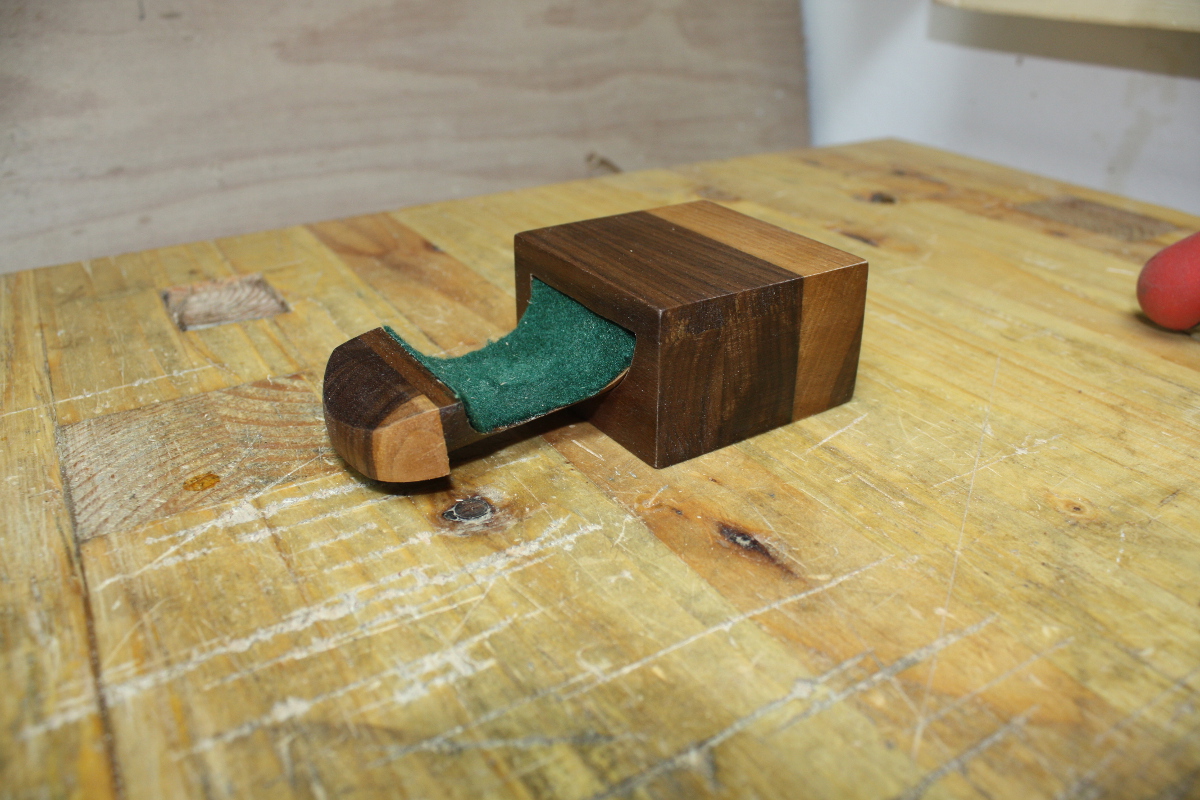
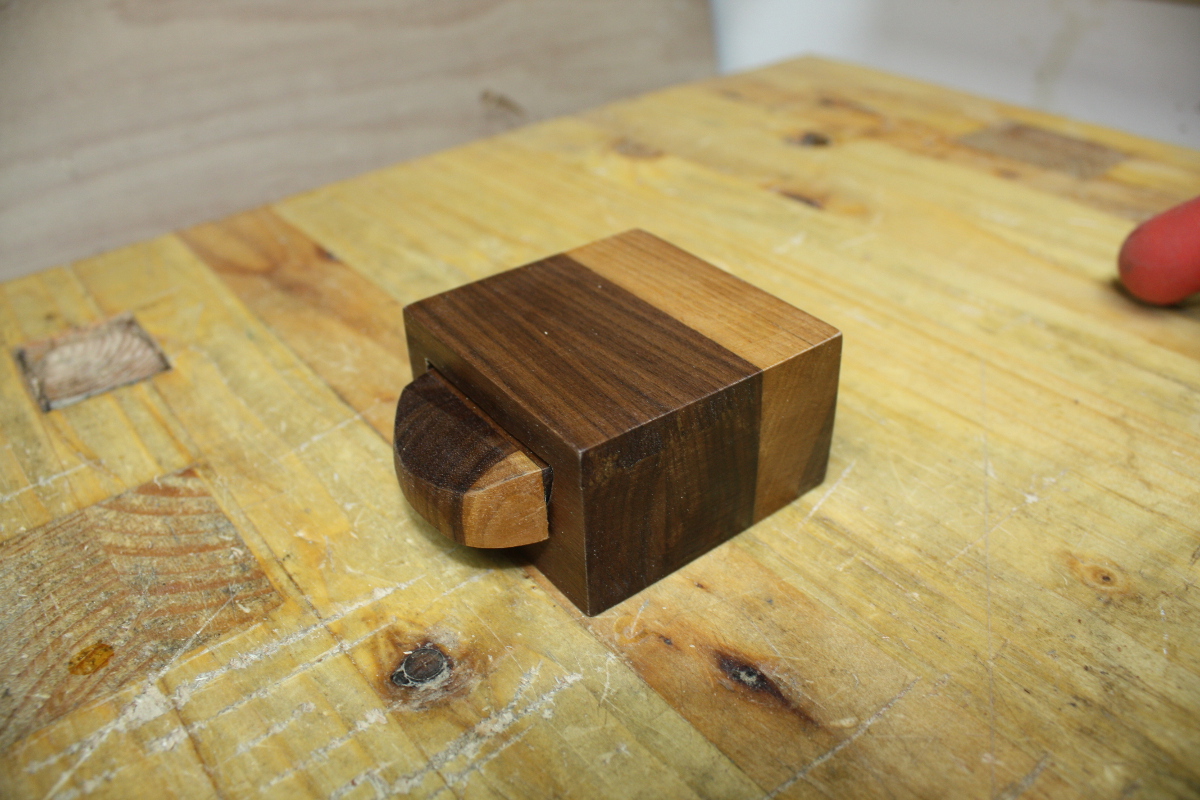
Well, not absolutely awful. Okay, so it is if you look close – there’s no room in there, the edges aren’t parallel, the drawer’s a bit gappy, and so on. But it was fun to try it and I have some ideas for a nicer one. Need more practice though, I keep getting lost in the sequence of cuts on these things. Well, in that vein…
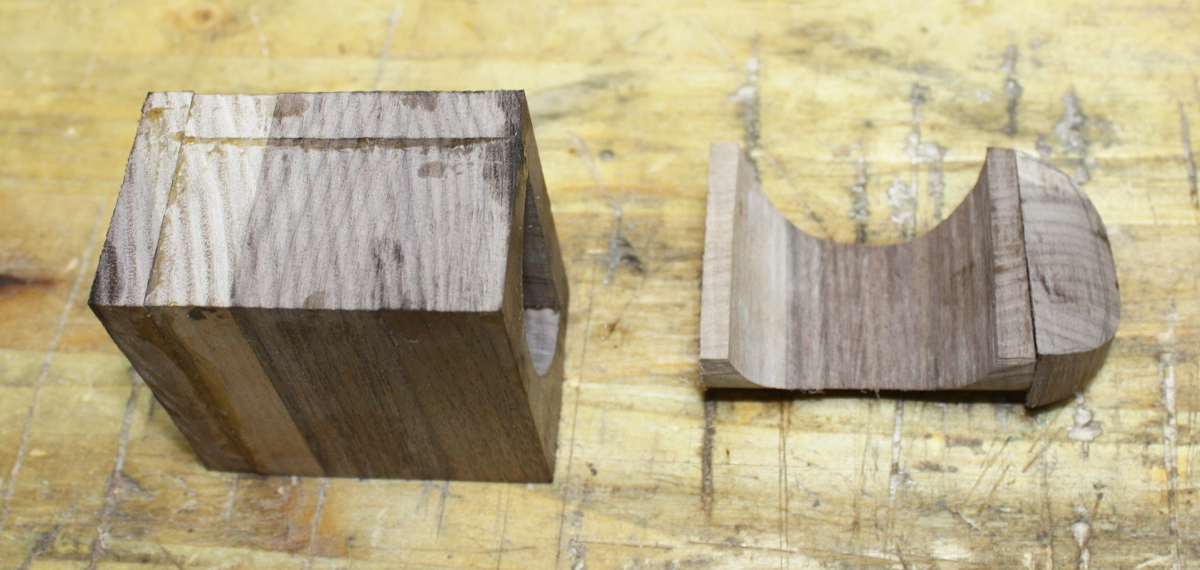
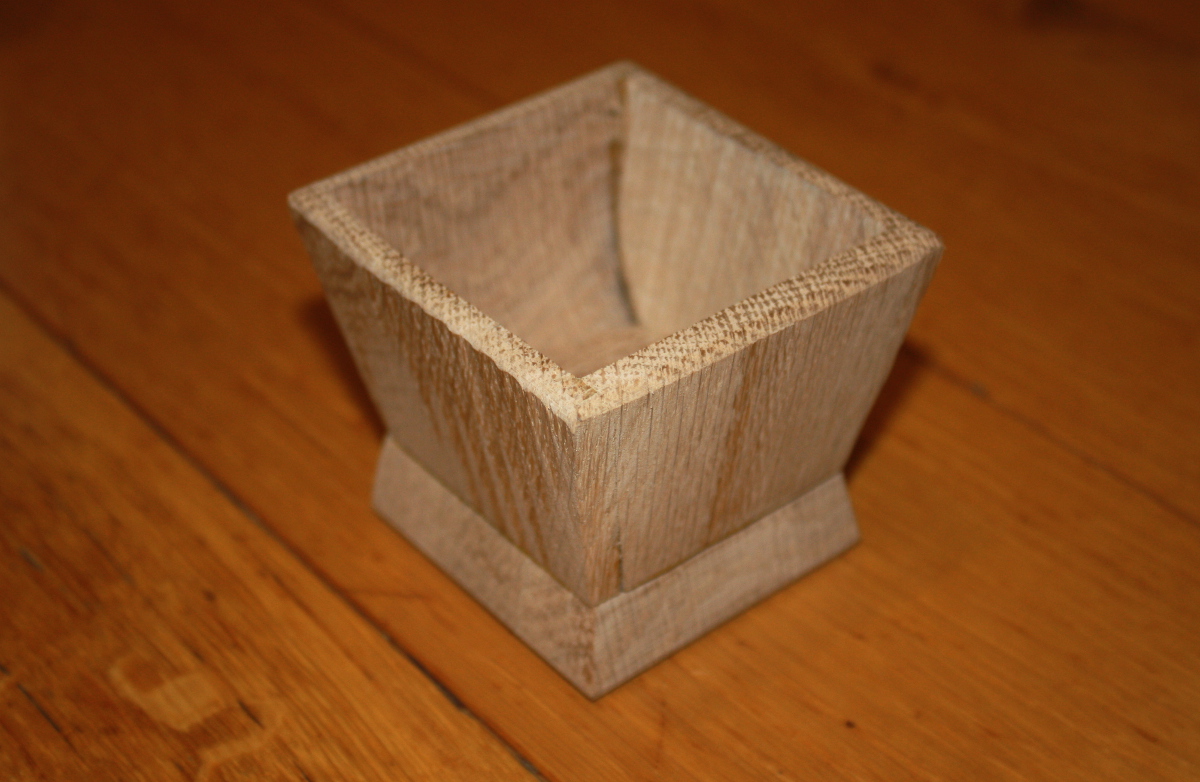
This one might be interesting, I used the new tuffsaws fine-tooth blade. Much smoother cut, but I don’t think the bandsaw will ever be a precision tool. Hell of a lot friendlier to the nose when you plug it into the dust collection though…
Like this:
Like Loading...
 After:
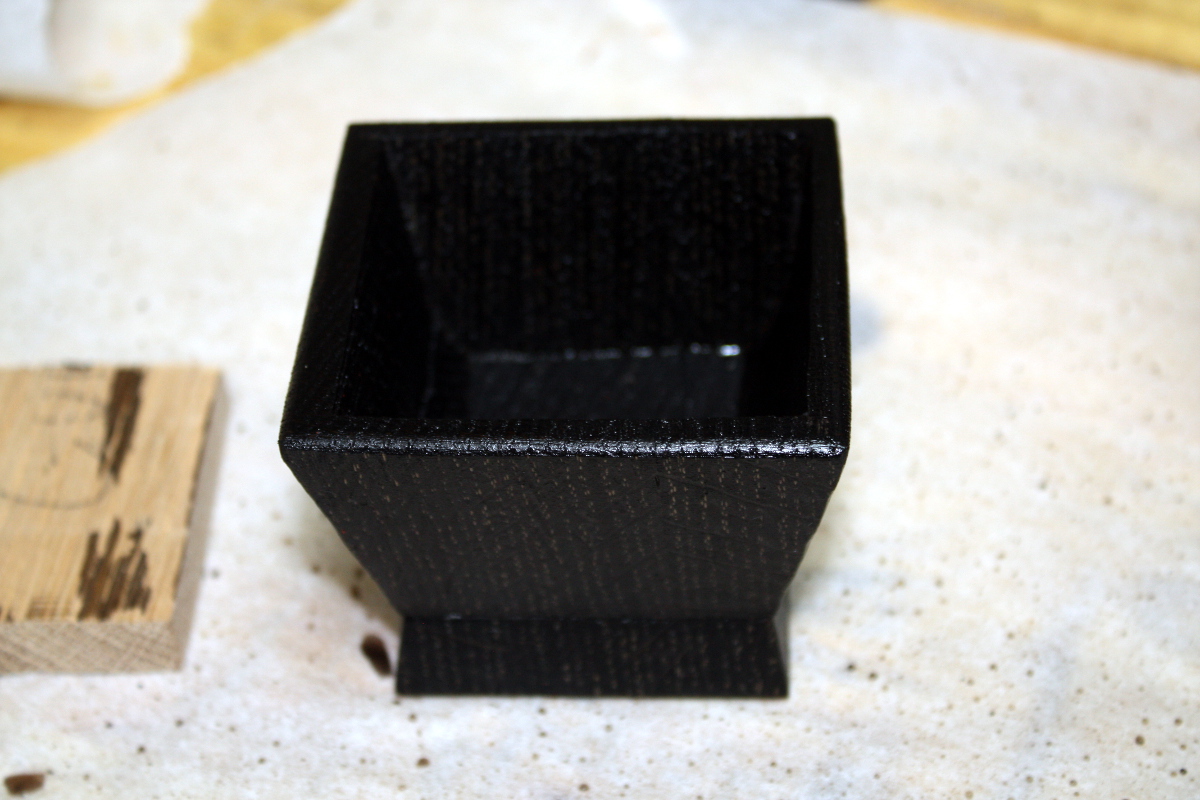
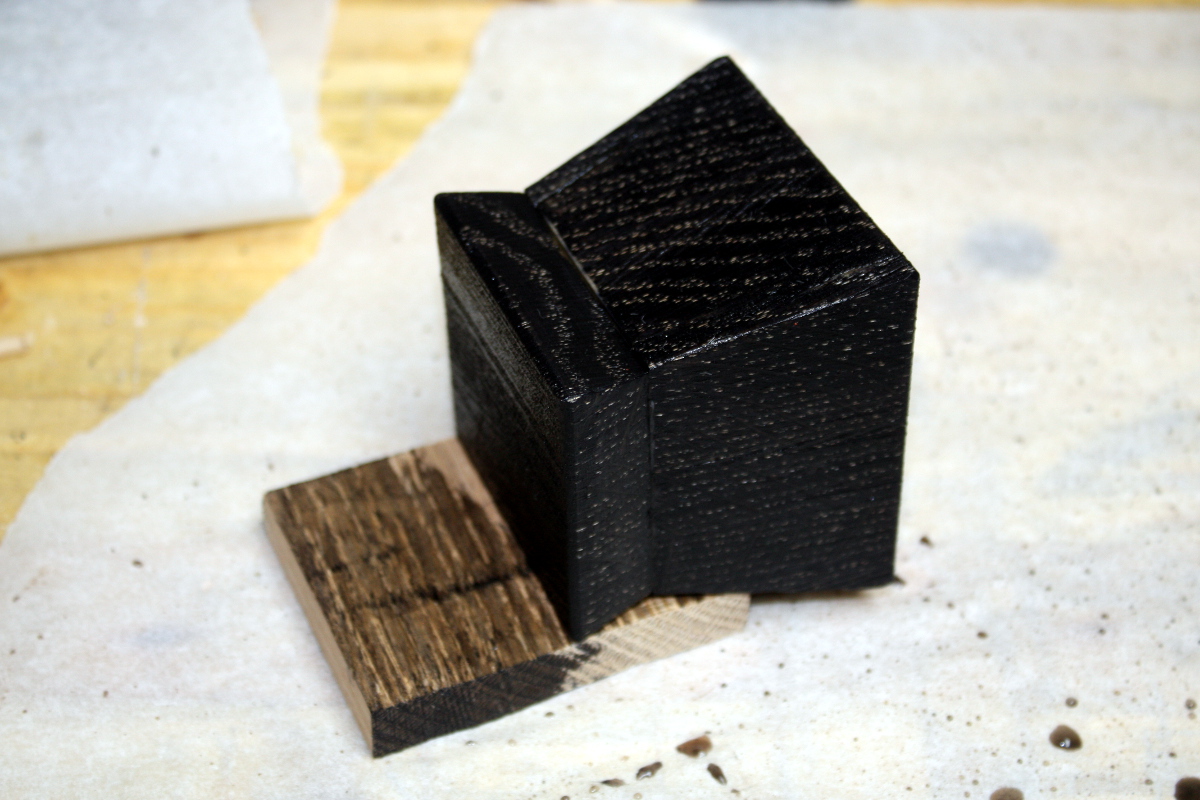 No paint, no stains, no inks or dyes.
