23
Dec 17

Under pressure…

What idiot scheduled this christmas lark? Gah.

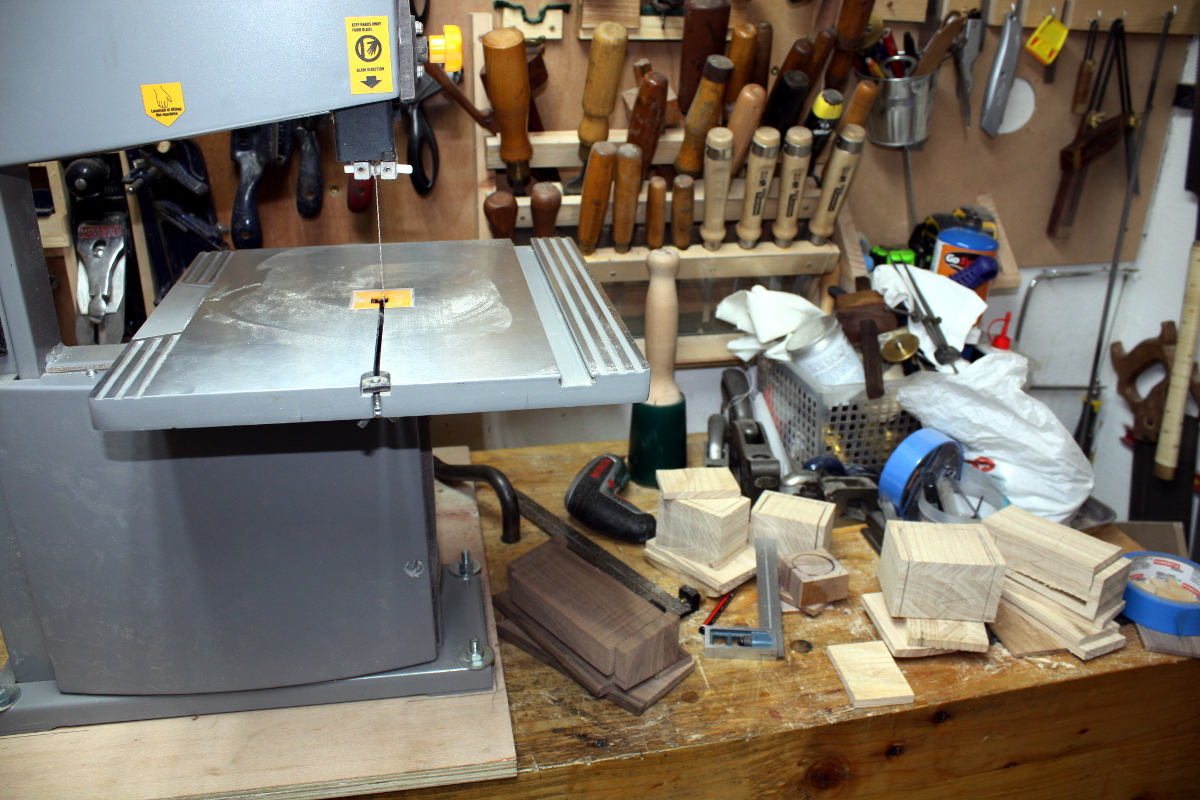
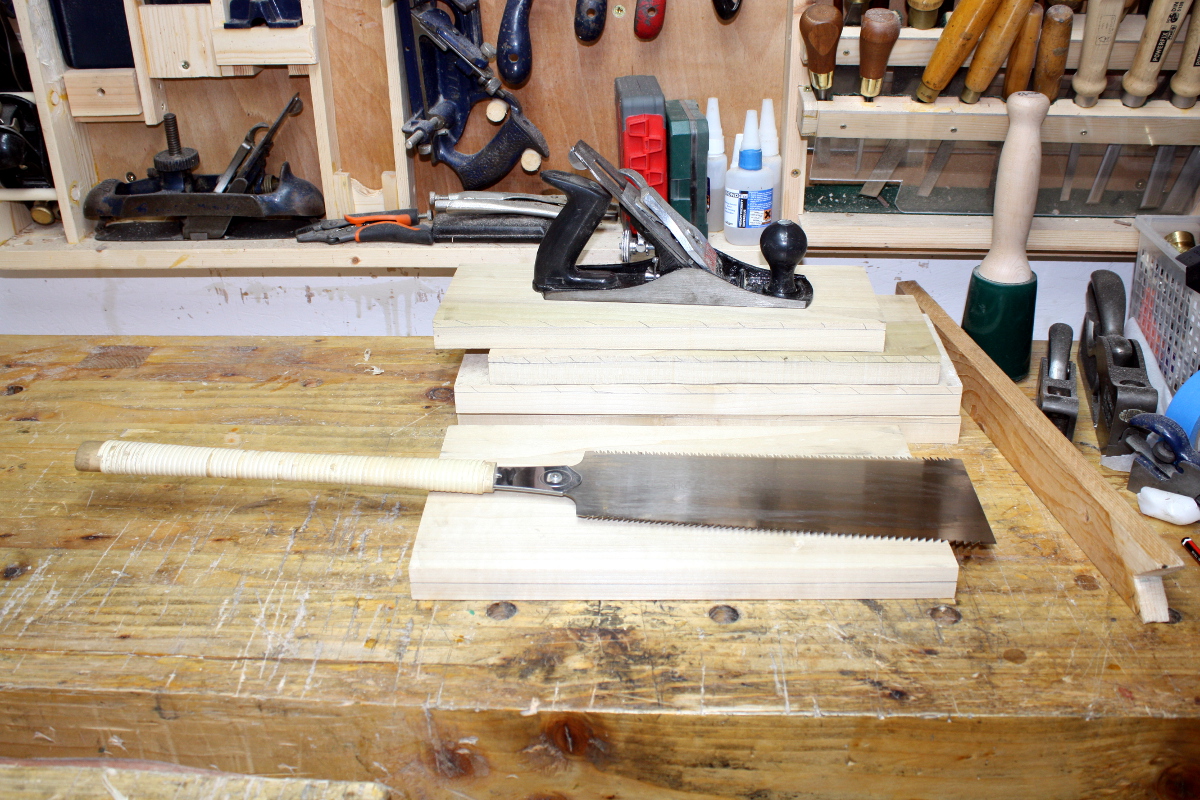
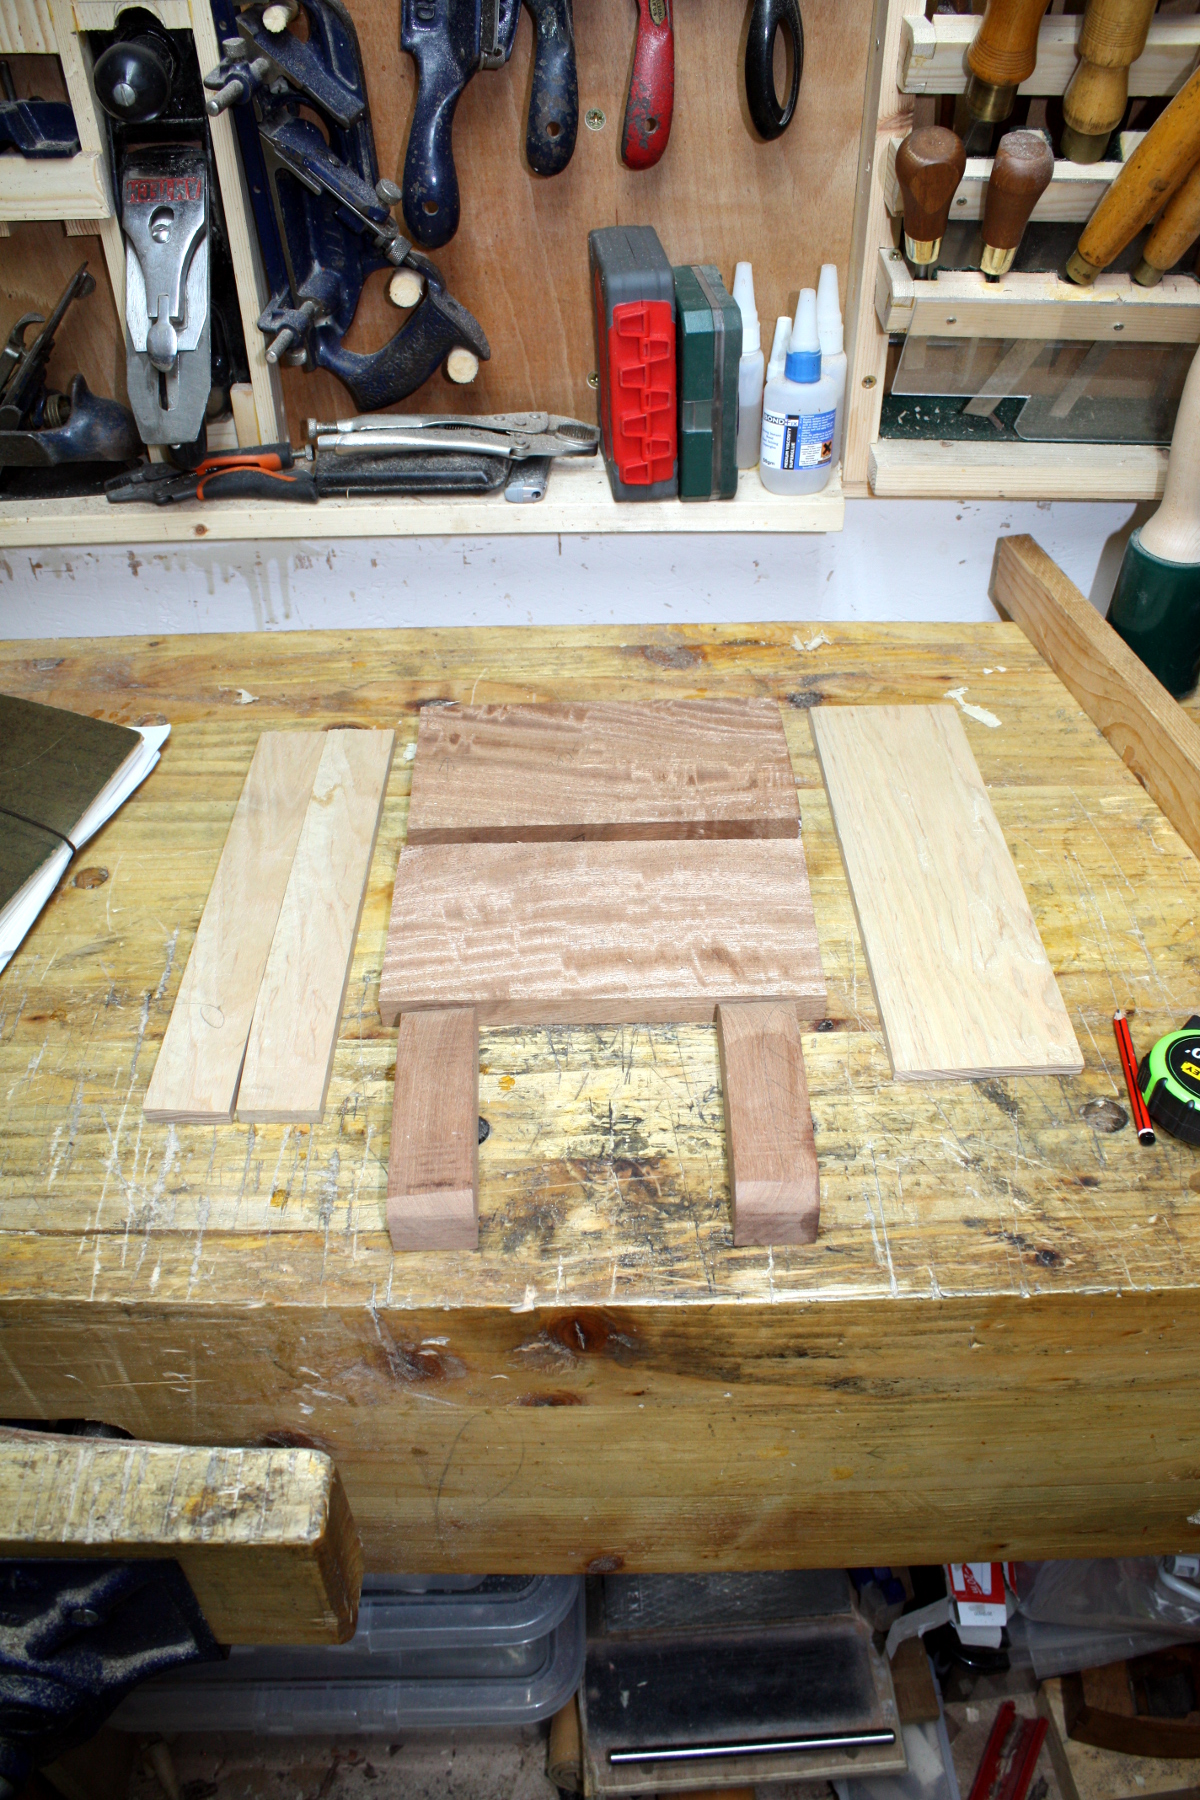
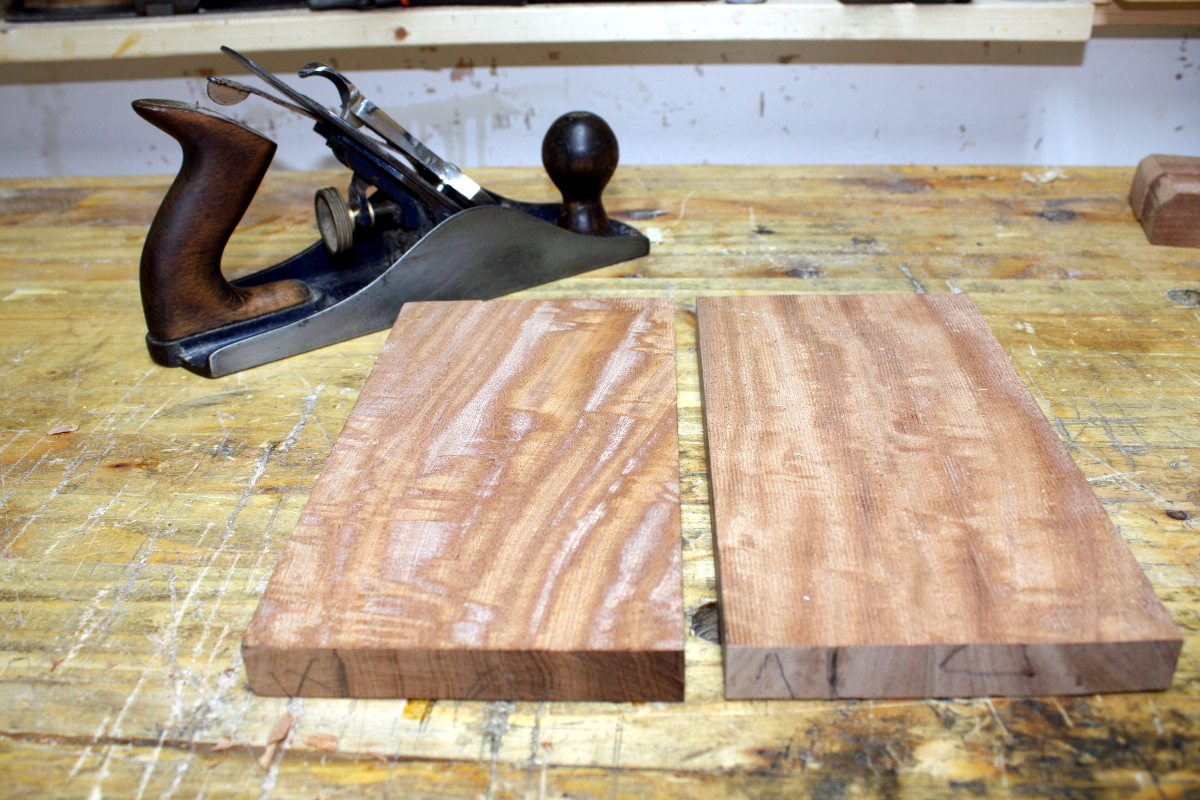
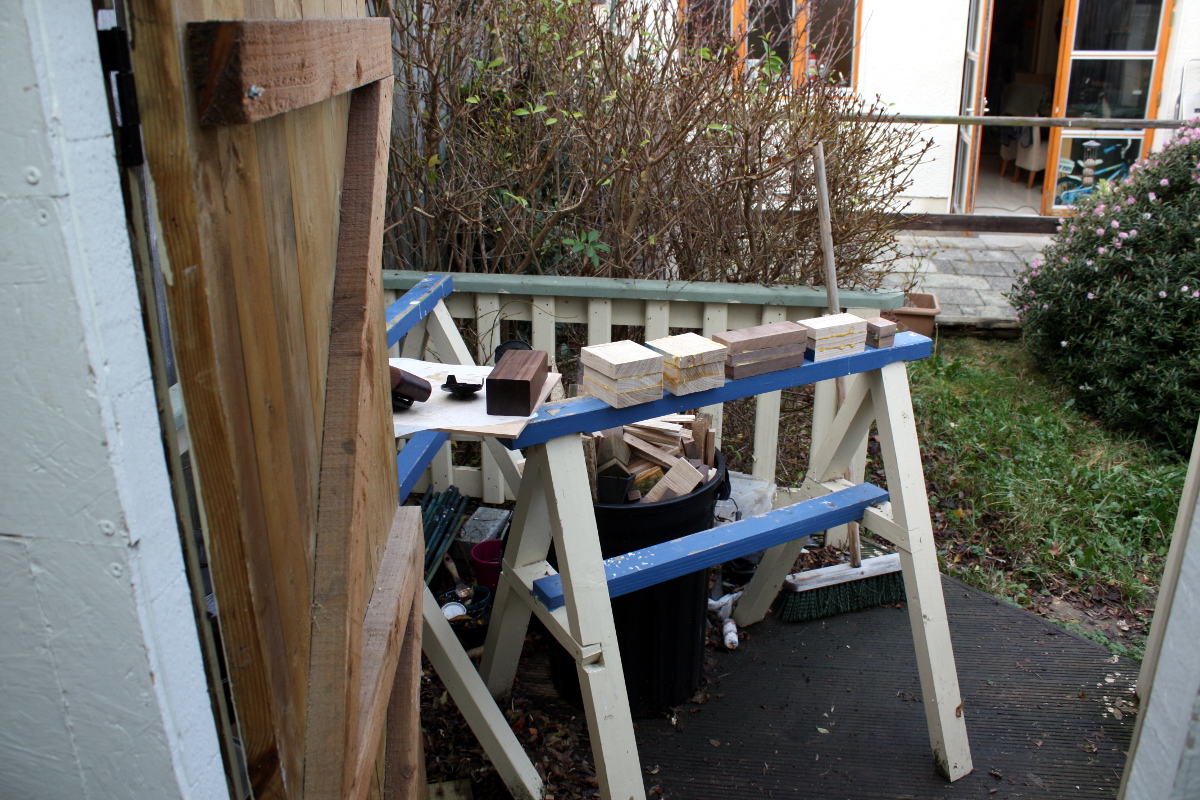
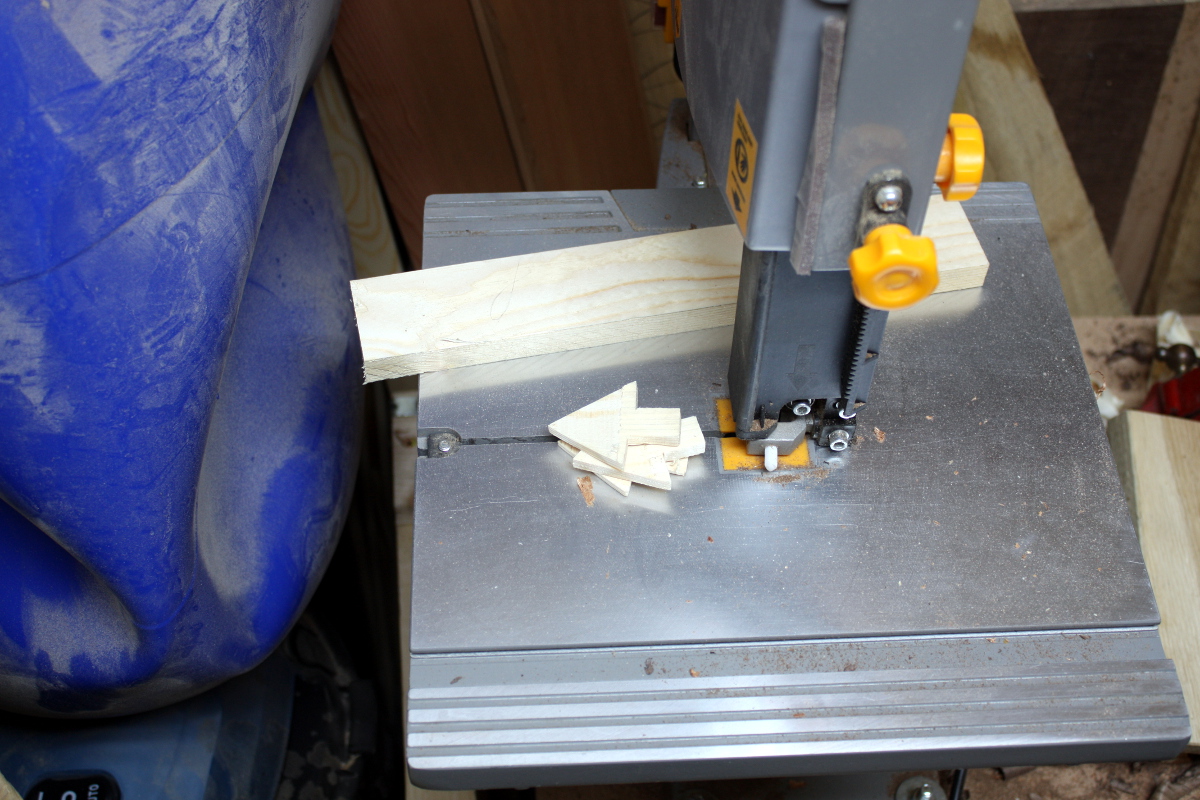
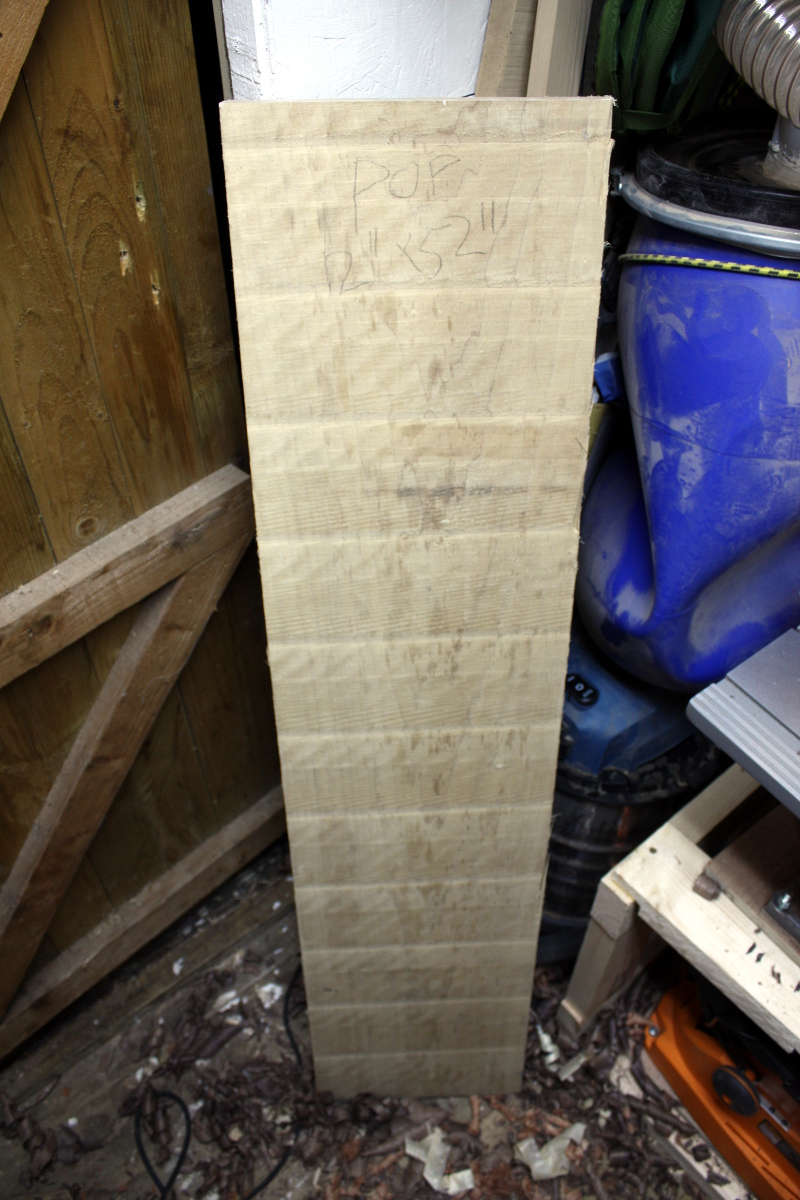
Started with some bandsaw time. Ripped the bottom part of the cupboard to width and set that to one side, then took all the bandsaw box blanks and cut those. By the time I was done, it was time to pick up junior from his last day of school for the year. Then it was time to sand…

Only 80 grit so the dust wasn’t so bad and that’s the bulk of both the bandsaw mark removal and the initial shaping done. There will be more sanding to come though. However by now it was time for (a) lunch and (b) a trip to the post office and then into the Big Schmoke (Dublin for the non-Irish readers) to meet up with a friend who’s a wood turner (along with a few other things, hi Tom!) to pick up a commission which will be an xmas gift. Photos to follow, it’s a lovely piece of work but super top secret squirrel for now.

Then back to sanding. 120 grit this time to get the initial finish and refine some shaping.

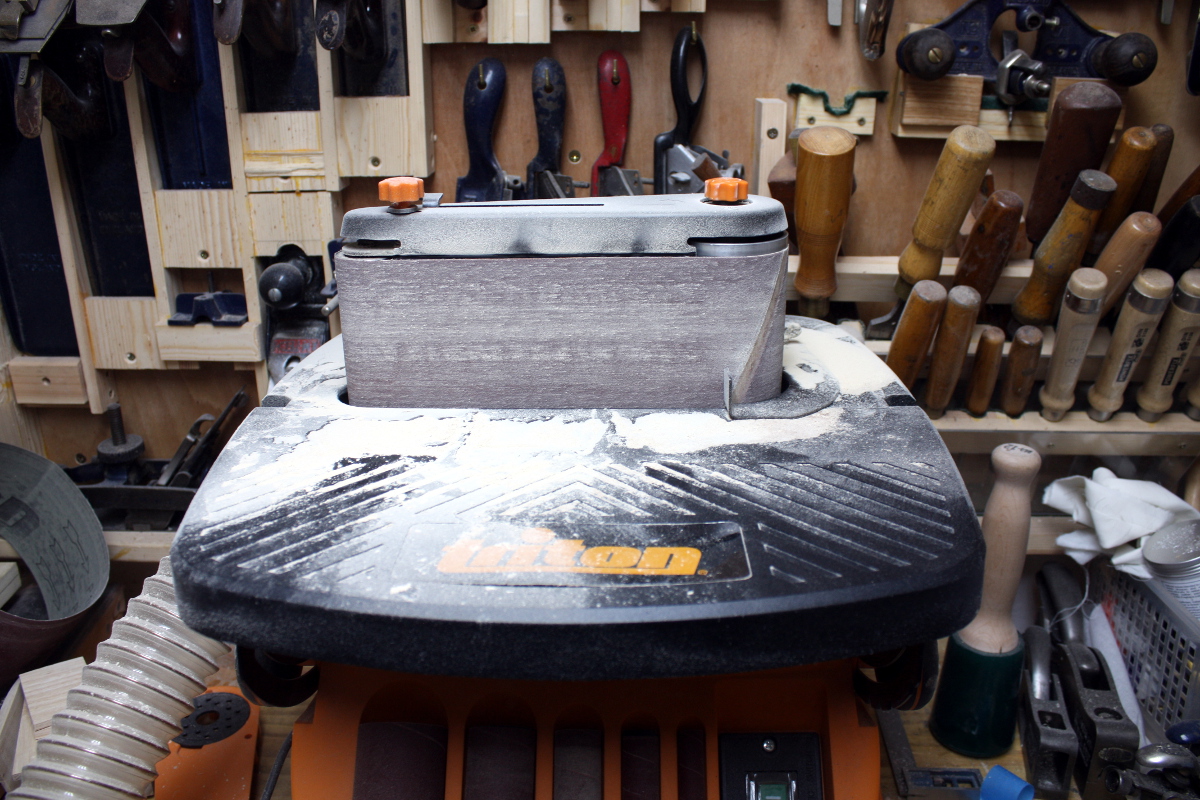
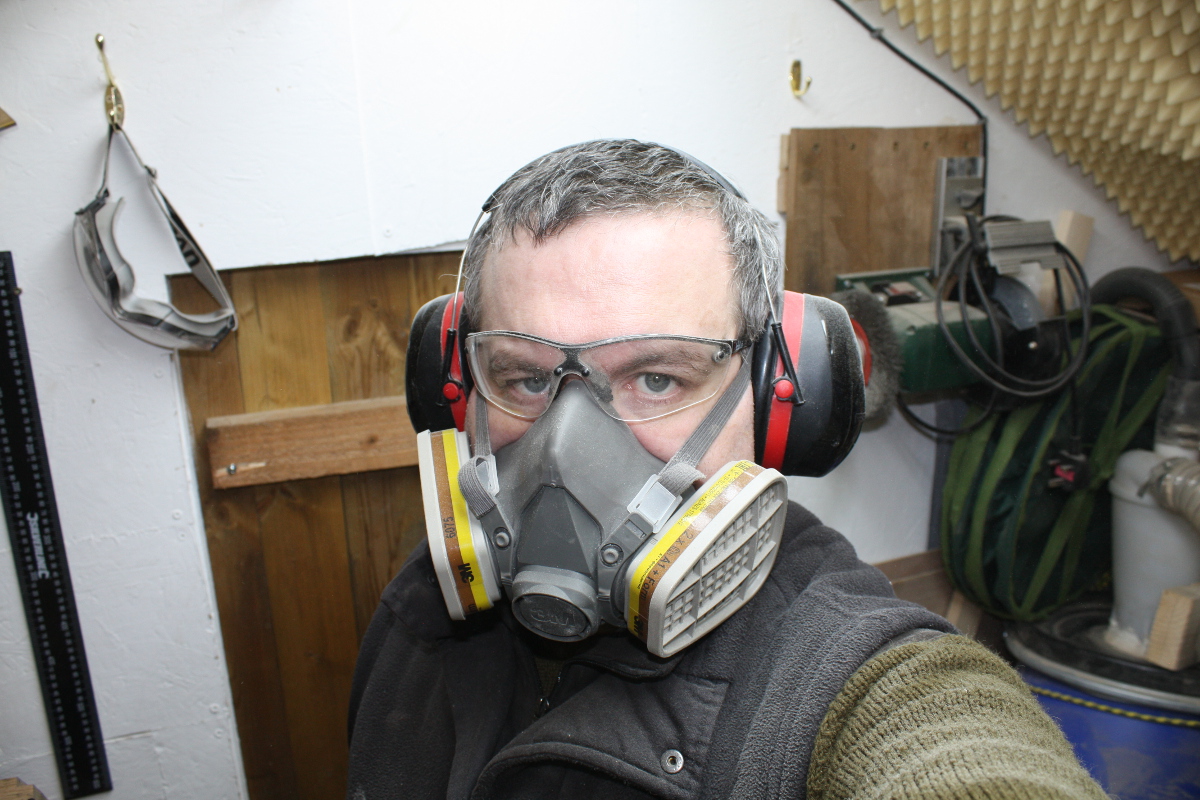
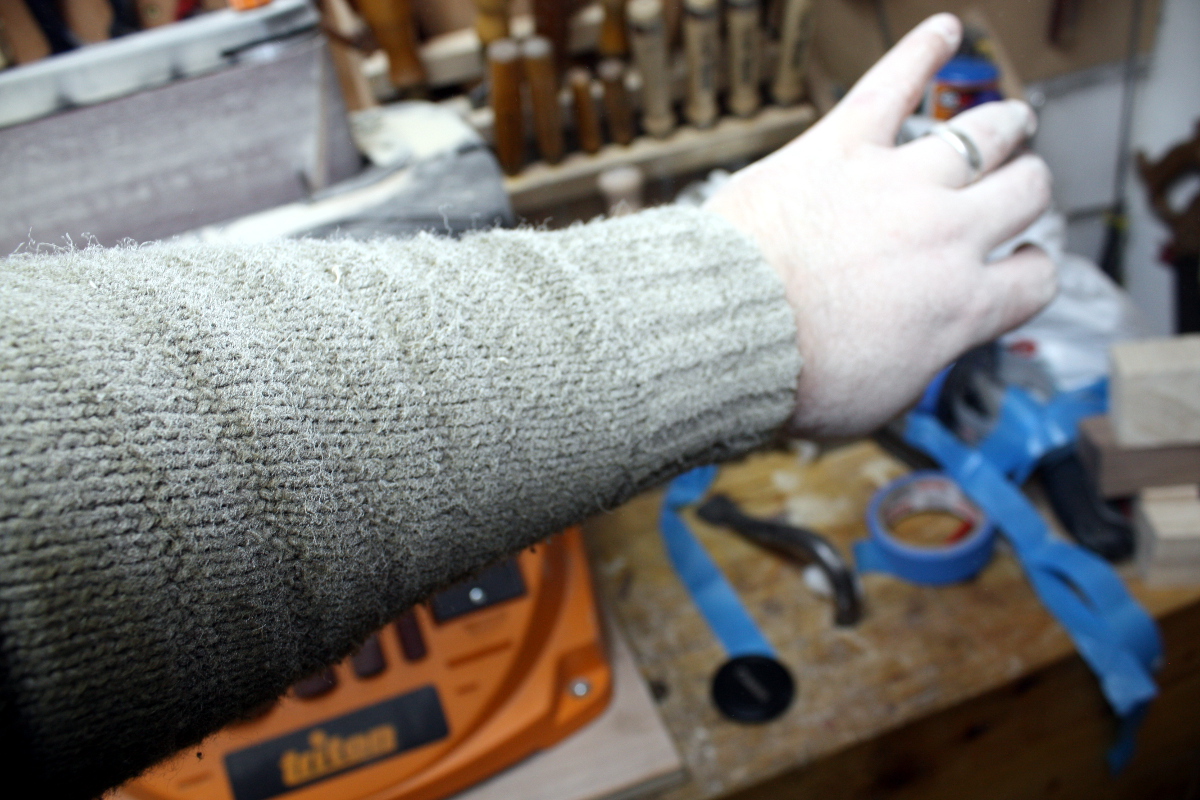
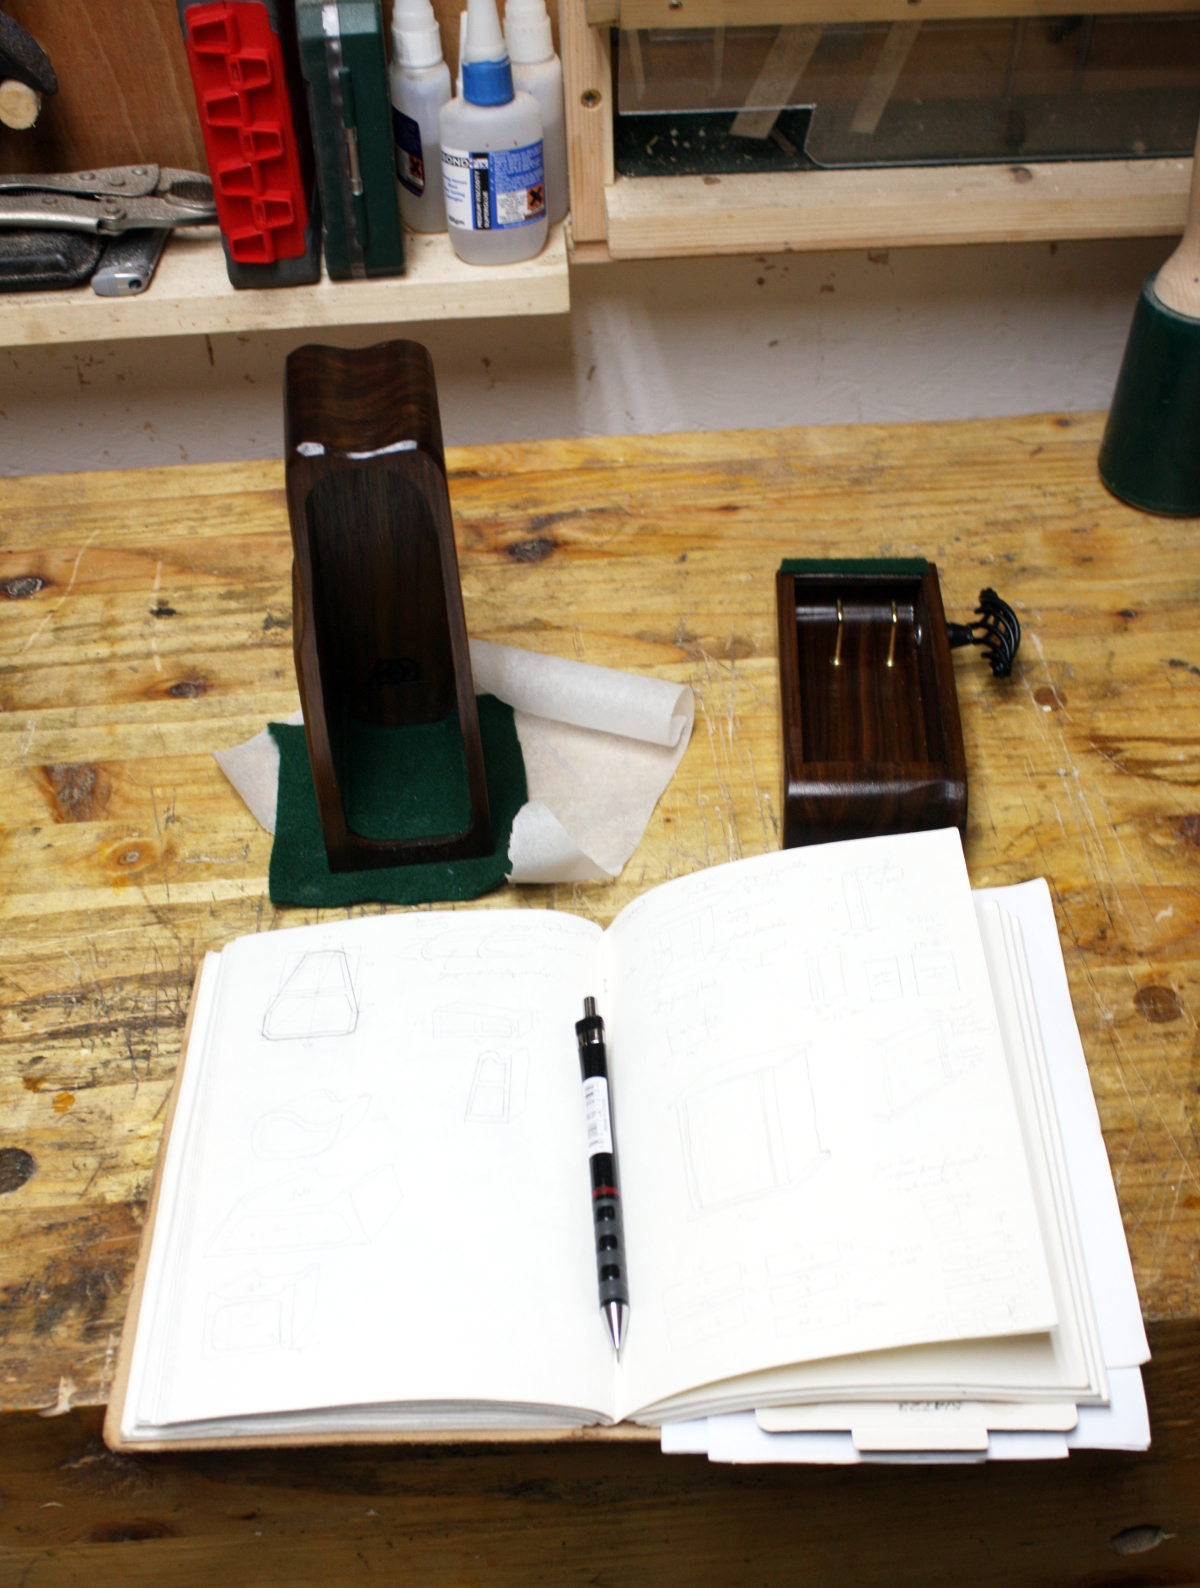
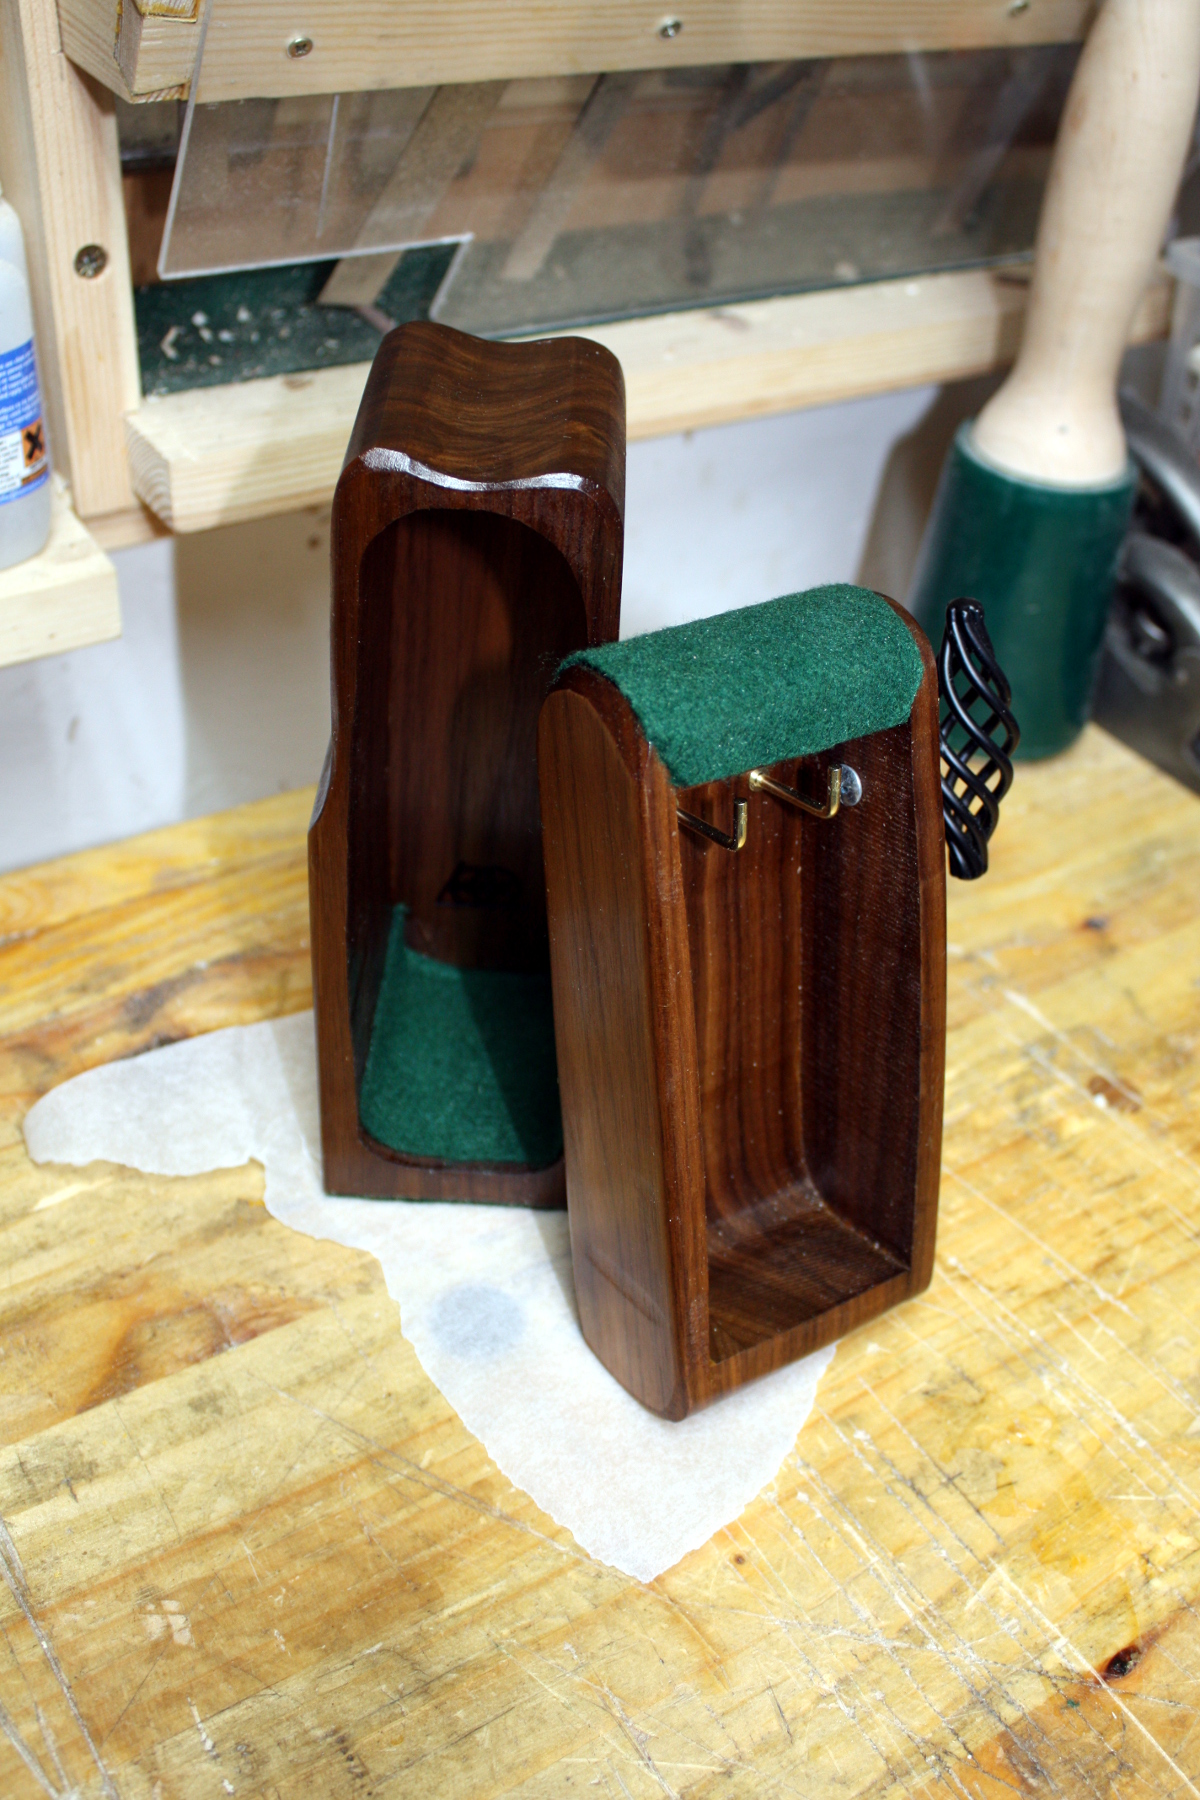
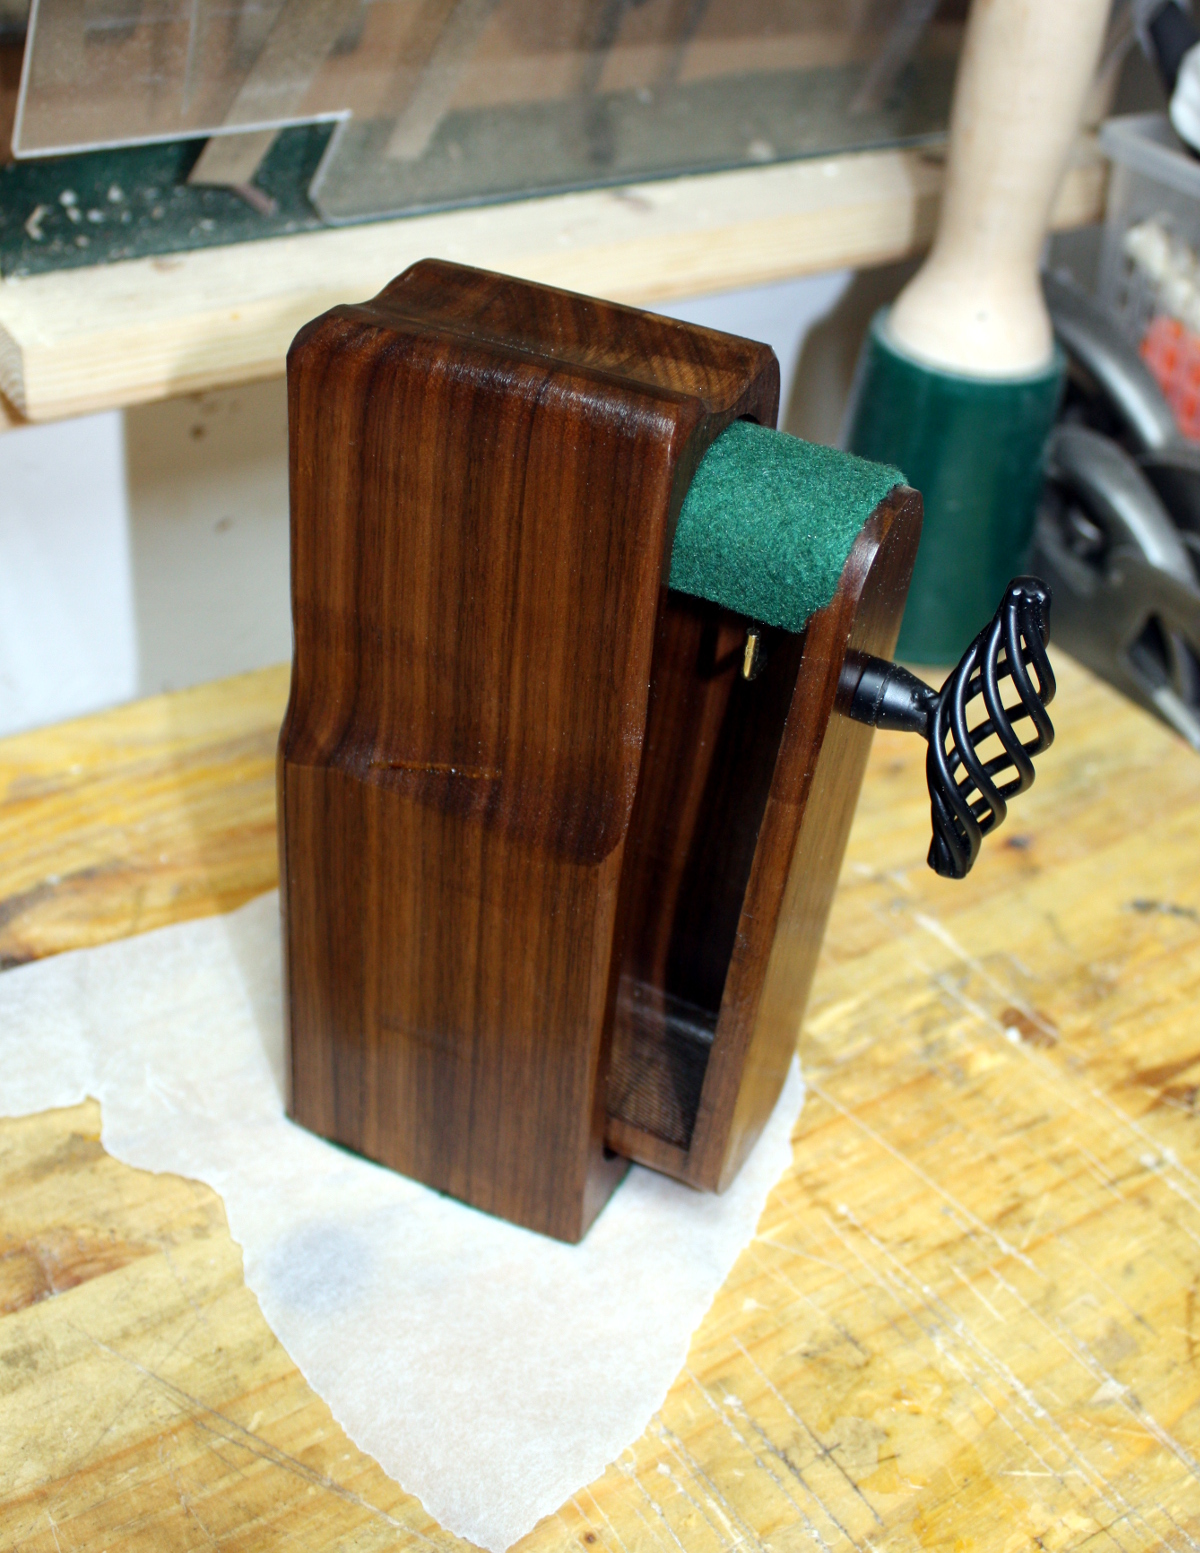
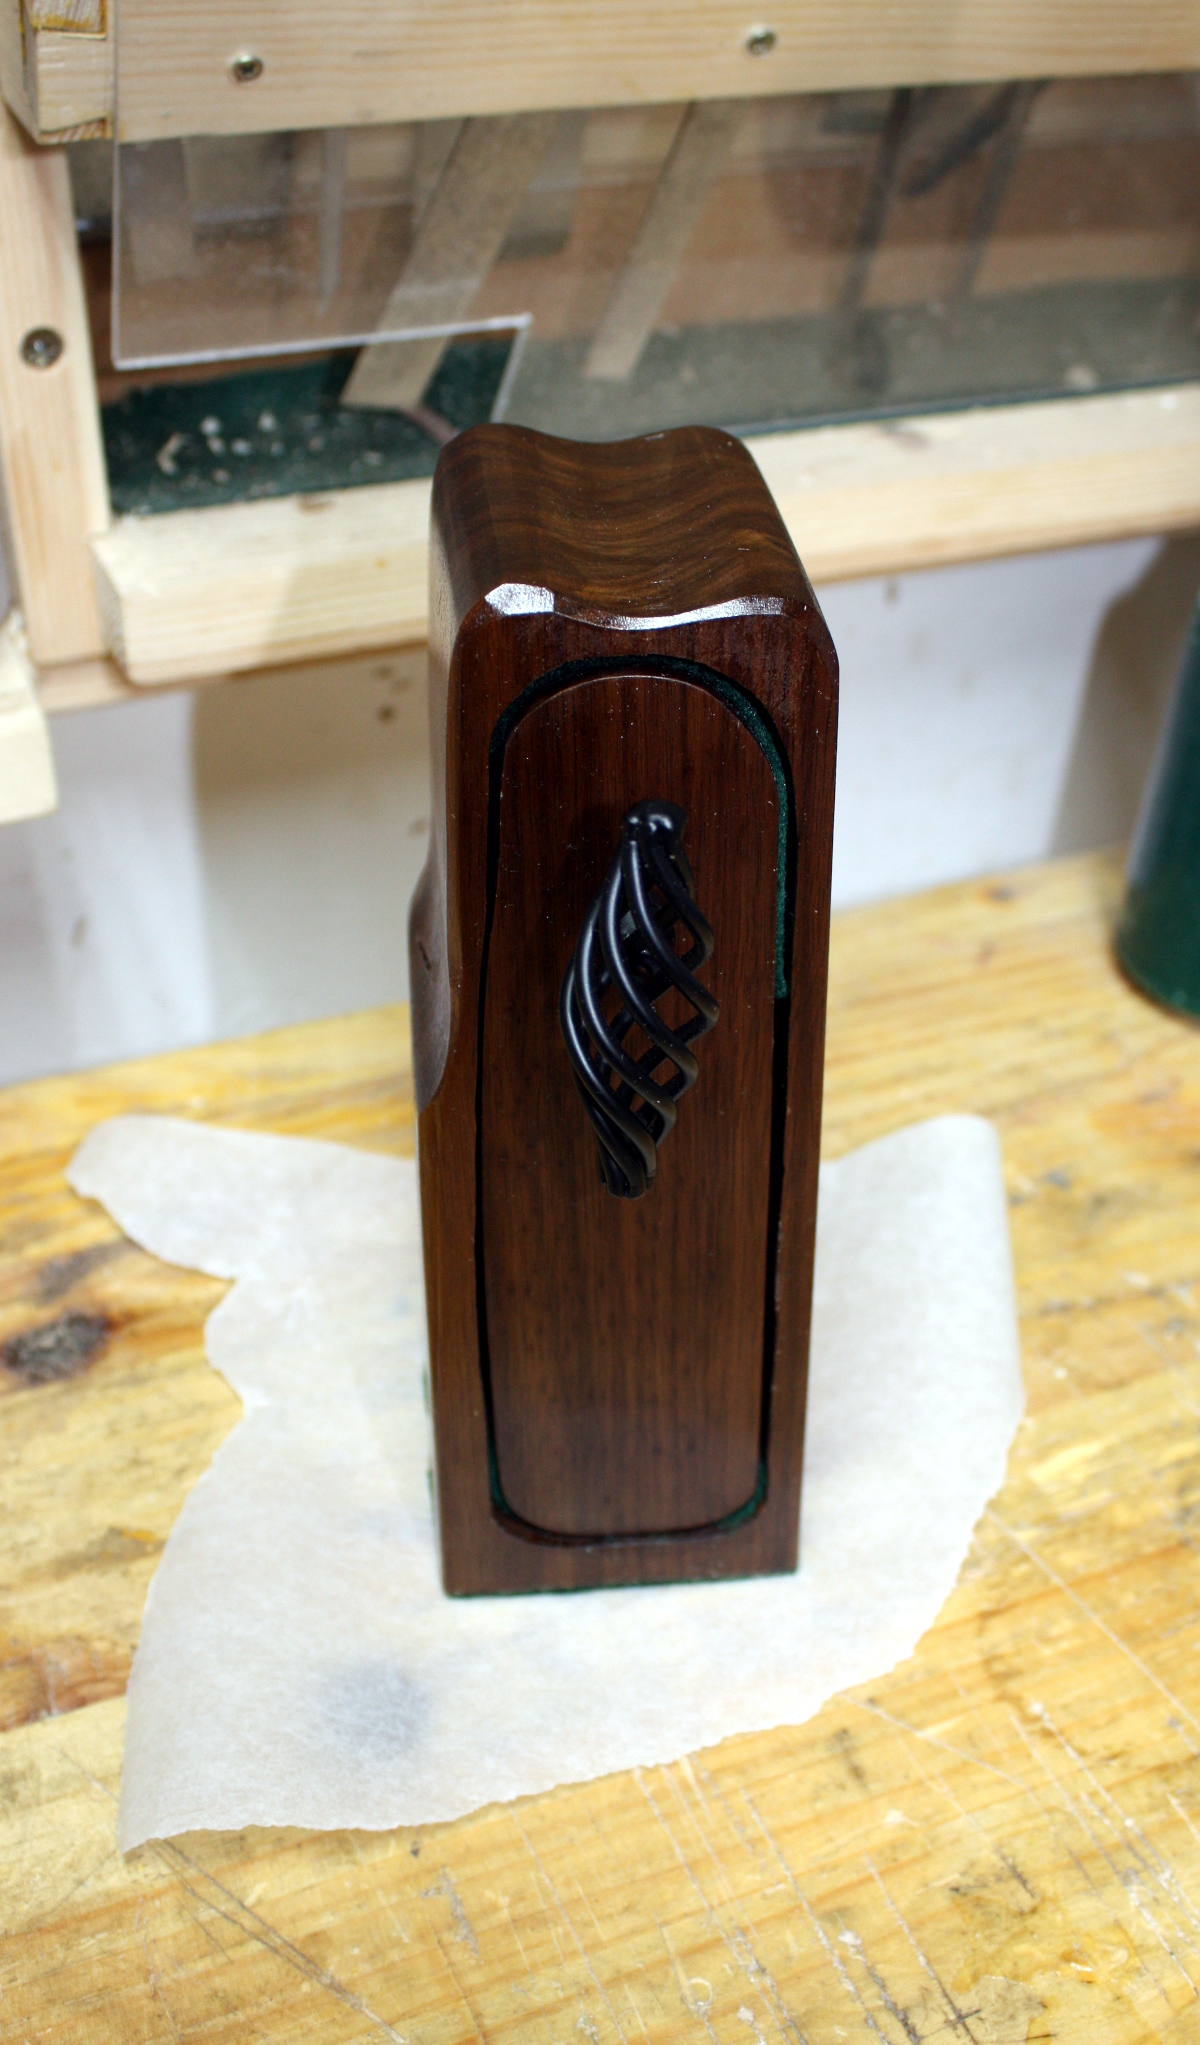
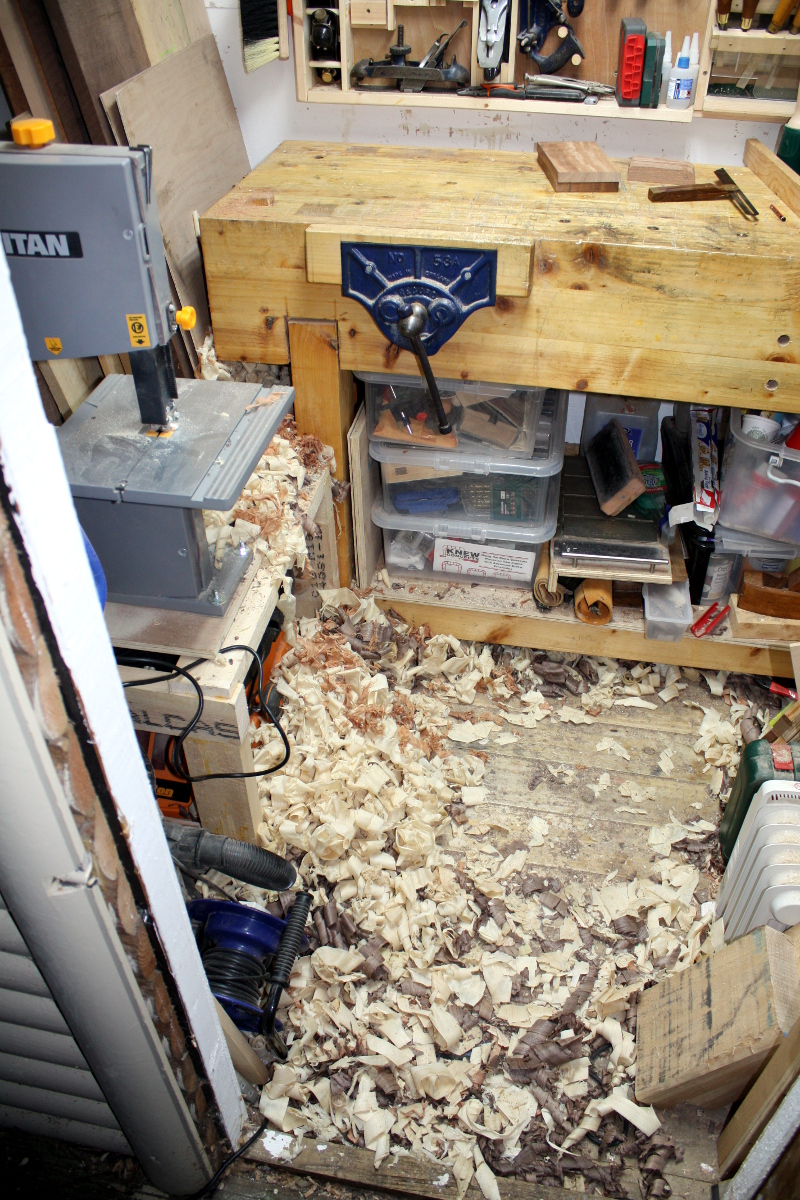
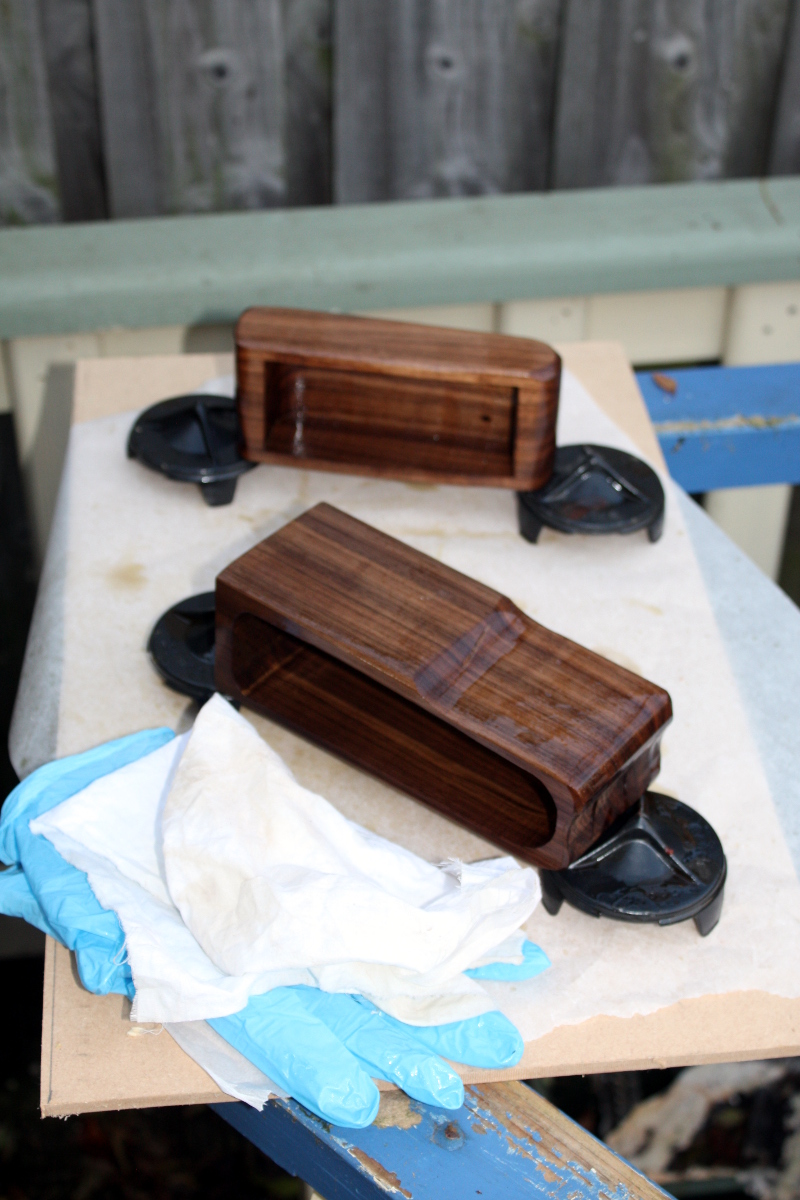
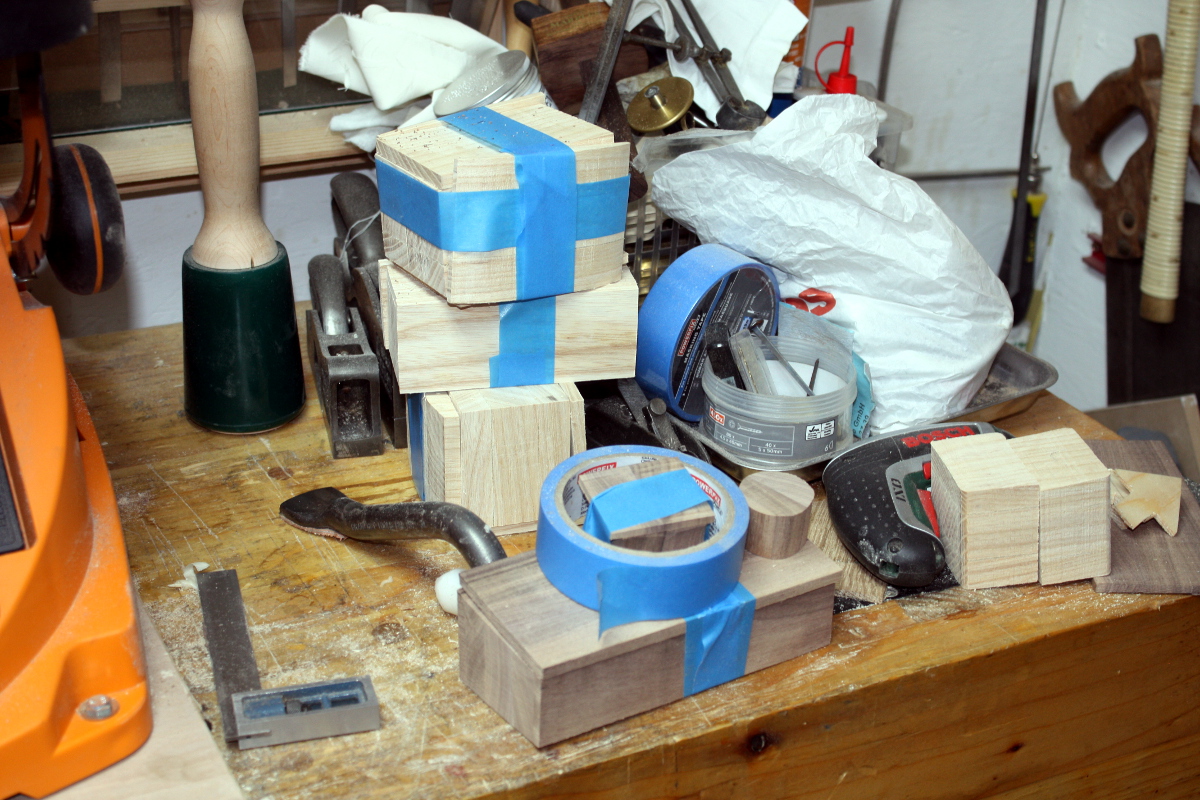
This is not my favourite part of this process. It’s dusty. That’s a green jumper, not an artisanal bleached thing. And that’s with the dust extraction running but I suspect an adapter isn’t correctly sized. Some ebaying to do to fix that one properly (I can’t just duct tape it because the hose is constantly swapped between bandsaw and sander). But the boxes came through okay and one or two might be nice.

BTW, that trip to the post office…

Set of six complete (and wound up in immediate use so yay).

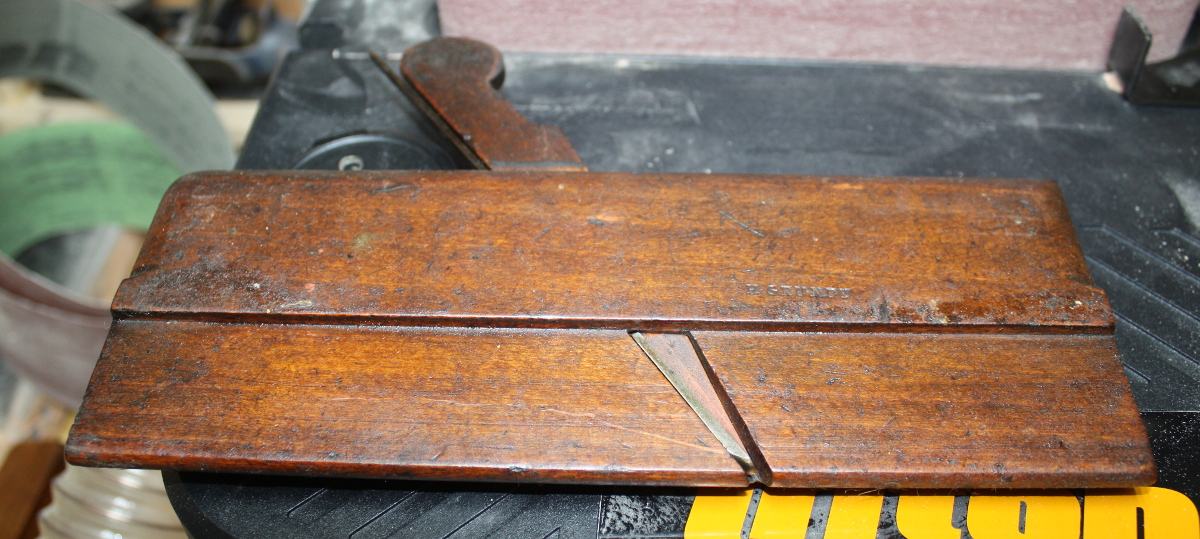
A #4 round. I was looking at the whole hollow and round set thing and most of the experts on this agree that you should start off with four – one hollow and round each in two sizes. Those sizes depend on the size of the furniture you build, and for me, 4s and 6s should be the most useful, with occasional excursions to 2s and 8s. These things aren’t that expensive if you buy second hand and not in matched pairs, which obviously isn’t the best but frankly I don’t have room for any of this anyway so I’m not quite willing to throw a thousand quid at a half-set when forty will get me the ones that’ll do 80% of the work. And complex mouldings can wait for a while. Beading planes would be nice, I can think of a few places I’d use those, but I do have a few ways to make beads at the moment between the #055C and the scratch stock. But if I see something nice on ebay I might jump for it. And snipe bills might be handy too, but again, when they come up on ebay. That’s the plan anyway. I did have one exception from that plan which arrived today, the new record-setter for “oldest tool in the shed”:

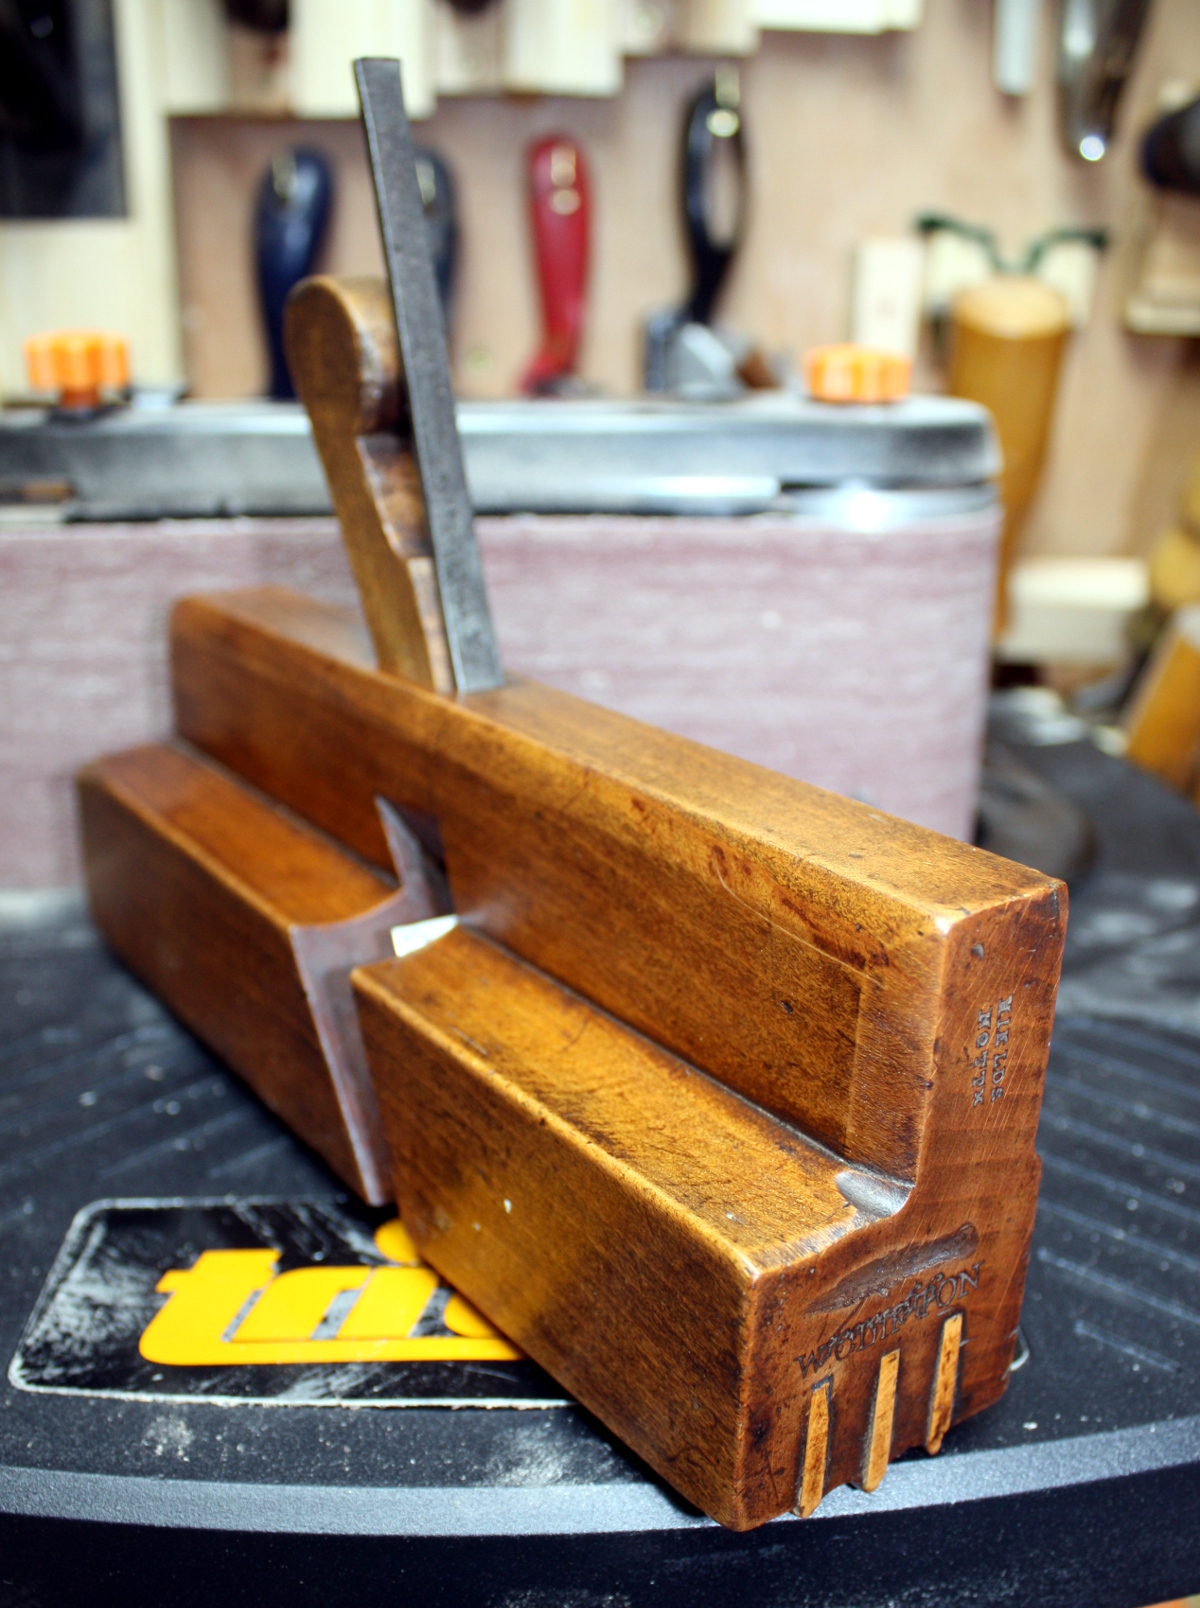
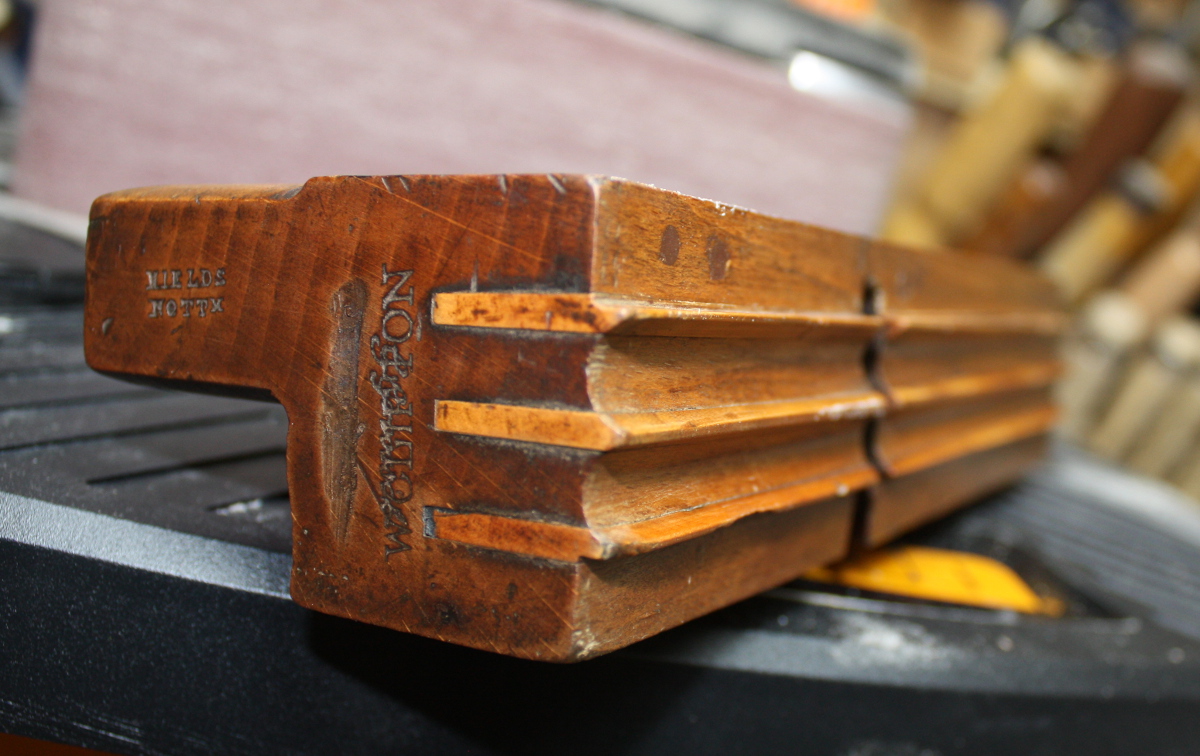
It’s a reeding plane (ie. two beads side by side which lets you cut an infinite array of beads for decorative effects). Triple boxed no less (those light-coloured insets are boxwood, which is much harder wearing than the beech of the main body). Which might explain why it’s still in usable condition even though it dates from somewhere in or around 1850.

The thing’s 167 years old. Give or take a year.

And it was twenty pounds sterling.

I guess antiques just aren’t valued all that highly…

Anyway, on with the work.

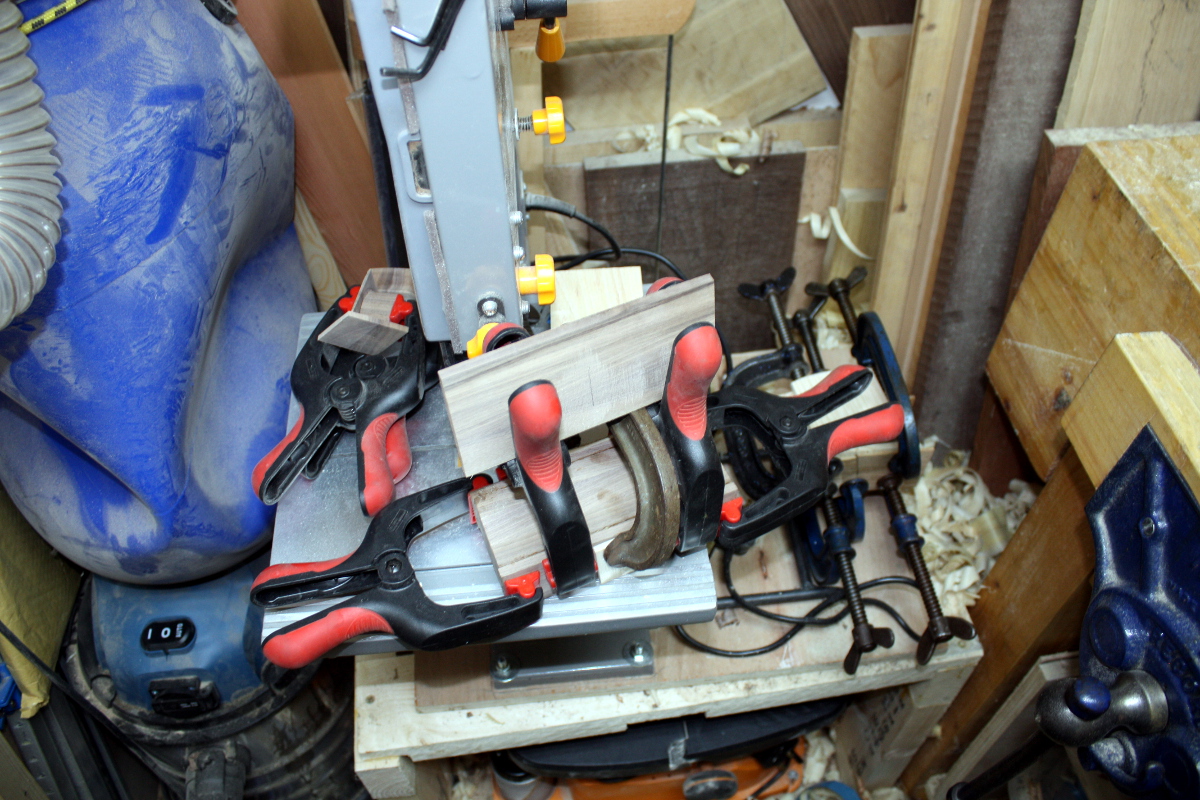
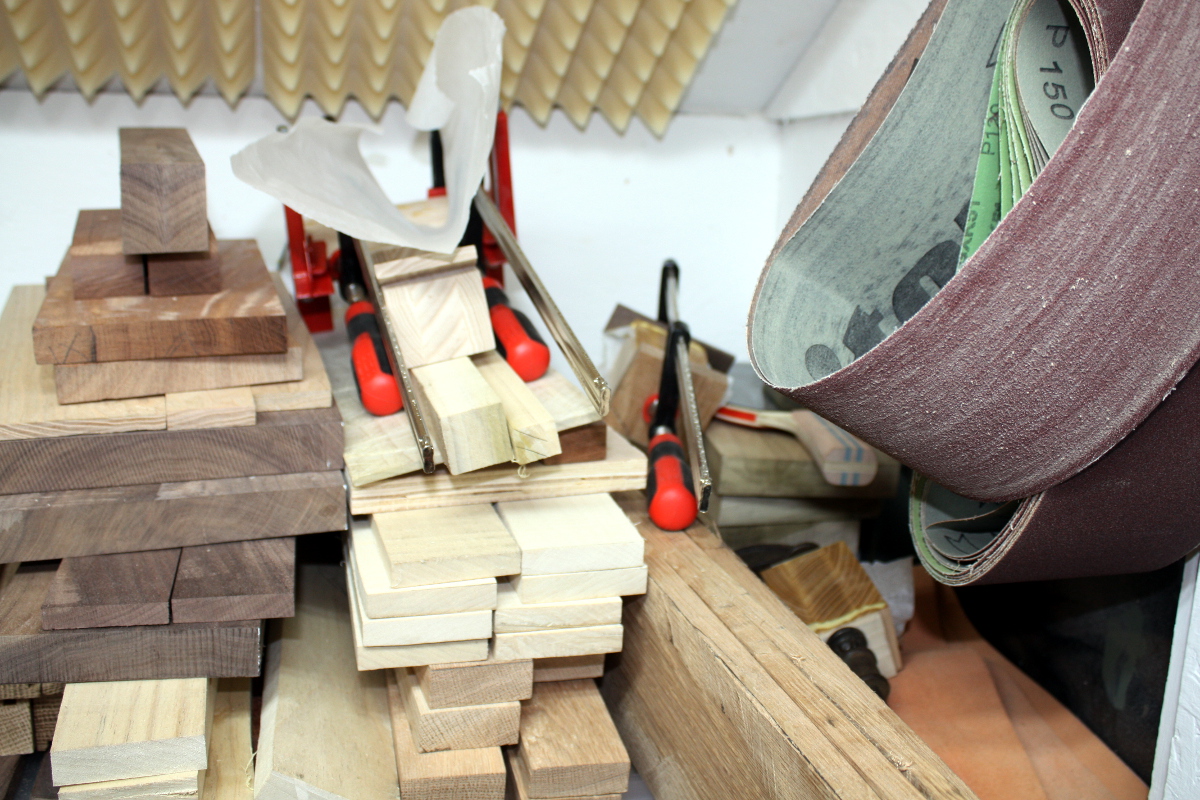
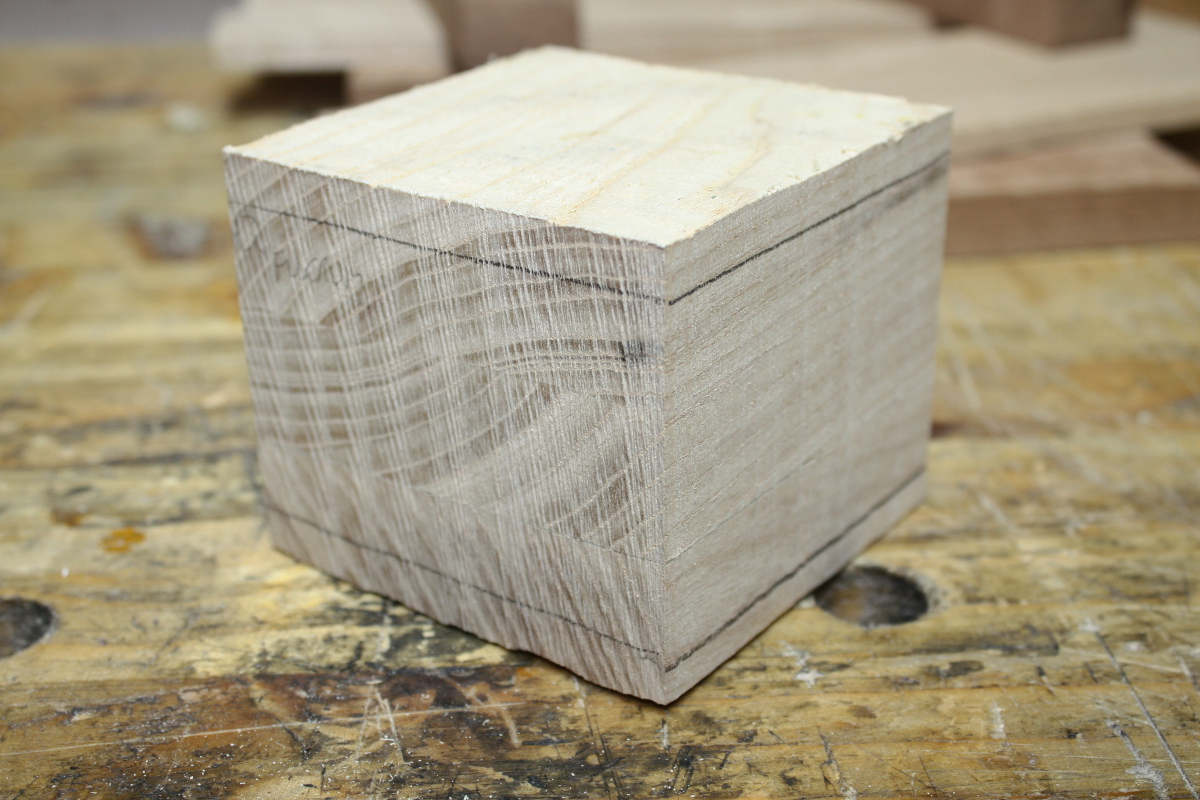
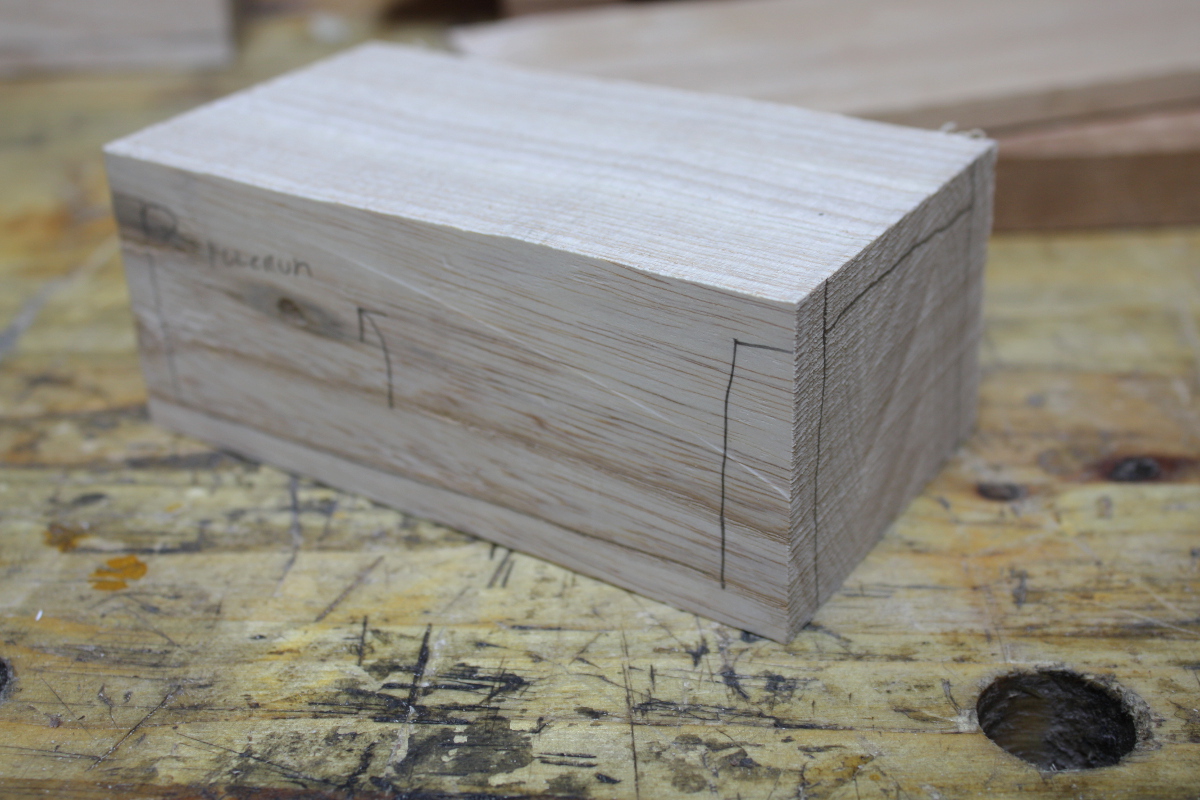
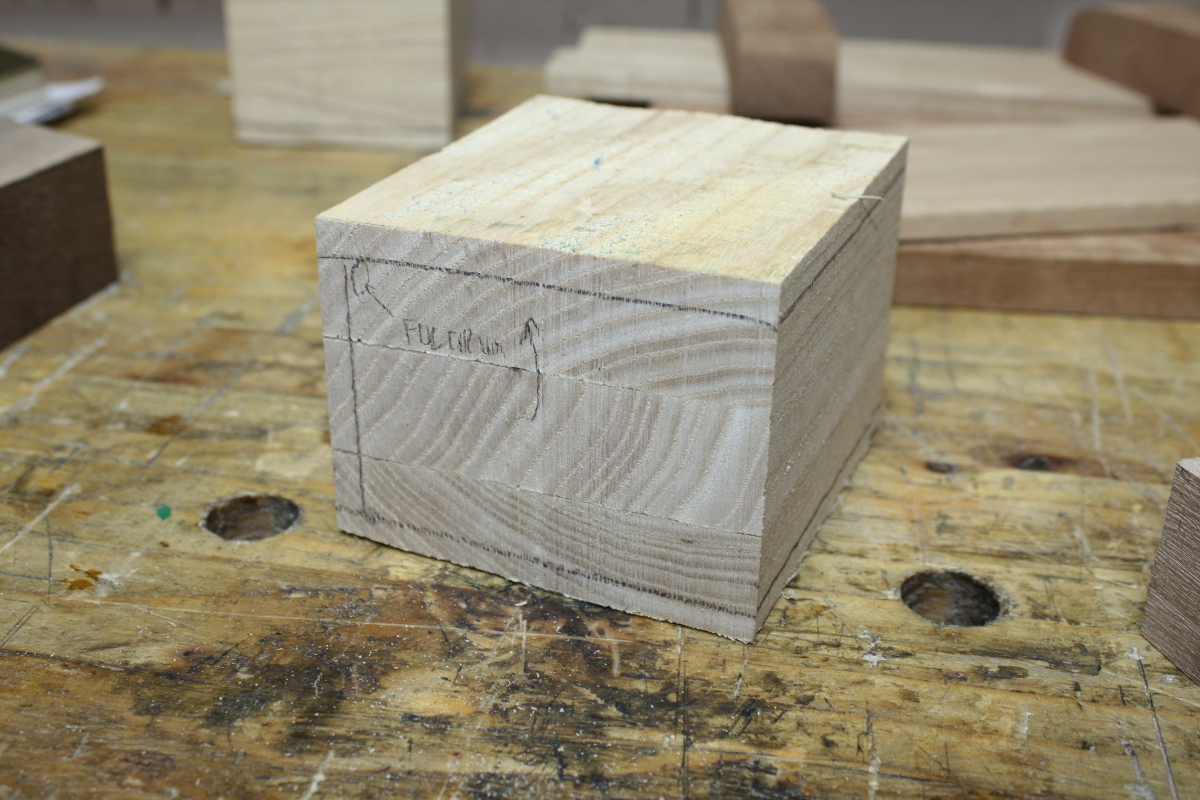
Awkward finicky glue-ups for the bandsaw boxes (one of many glue-up stages because a few of these have awkward build processes due to my bandsaw having a silly small depth-of cut limit of 75mm).

And then time for dovetails.

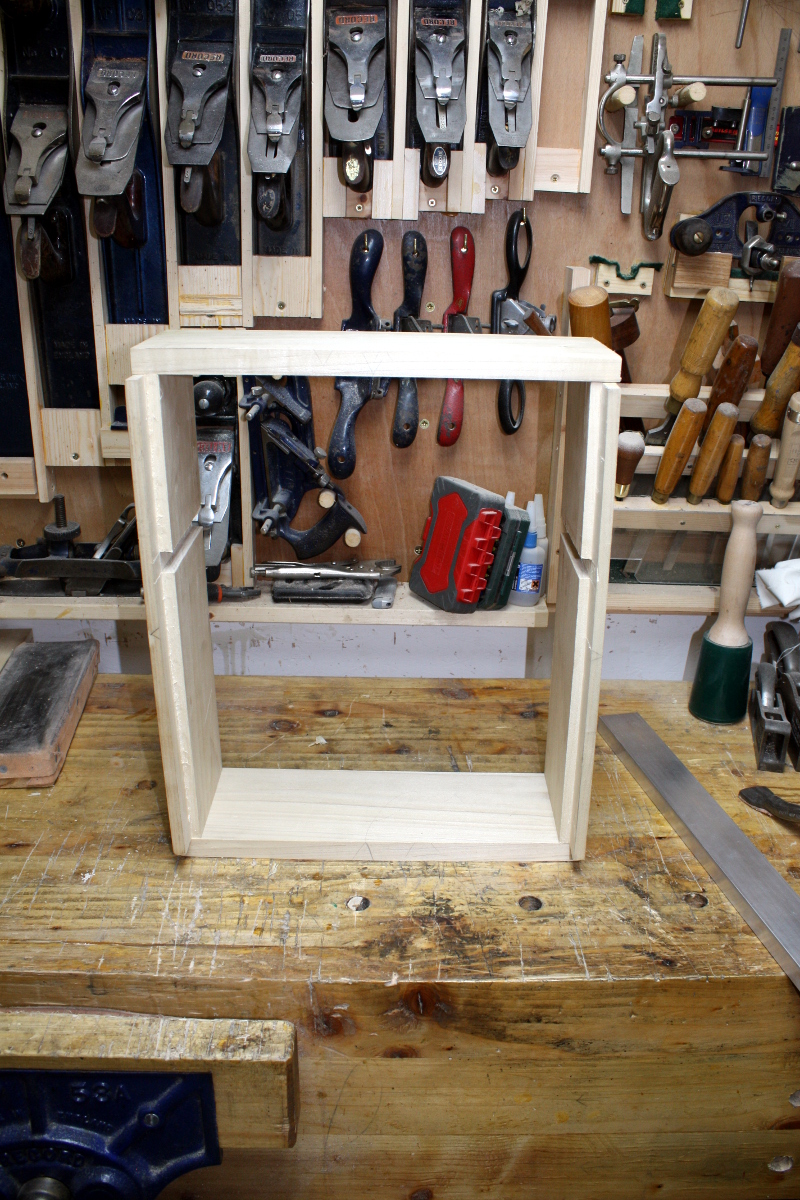
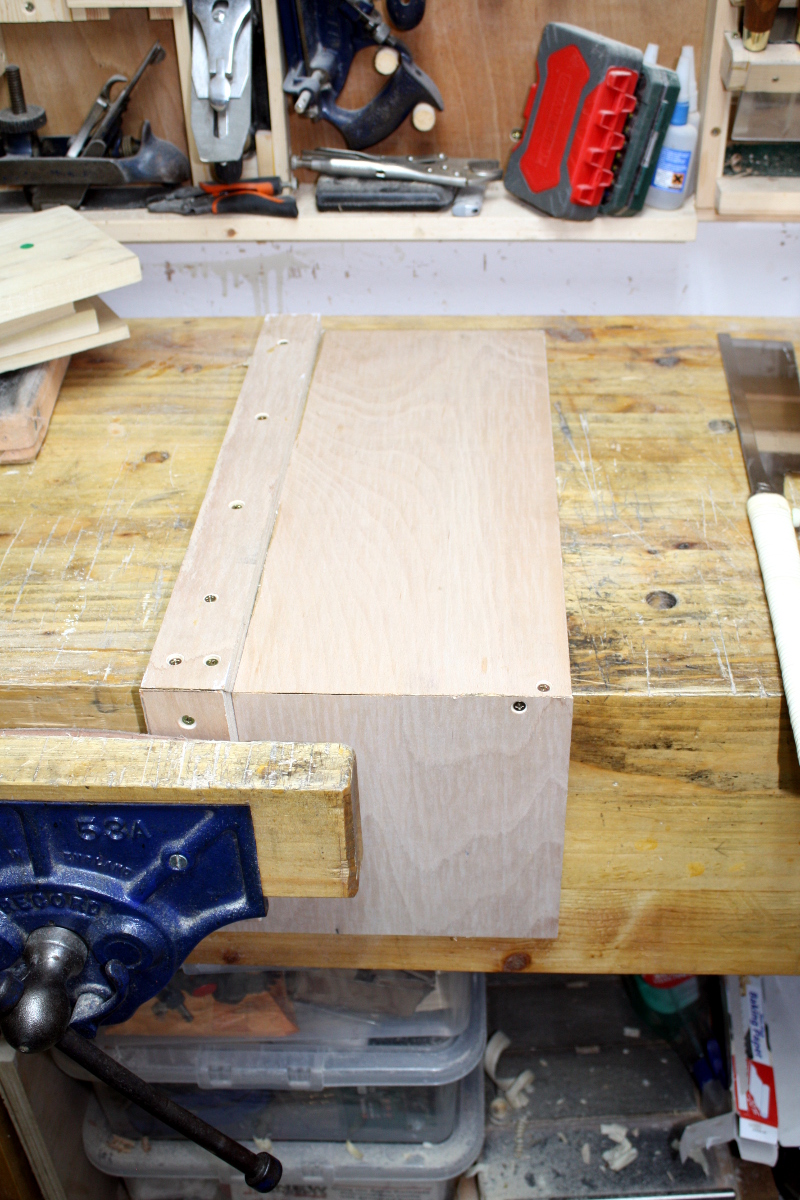
Just stood up the carcass and did a bit of humming and hawing and making sure I was happy with which board went where and which way up it faced. Then out with the sticky dots.

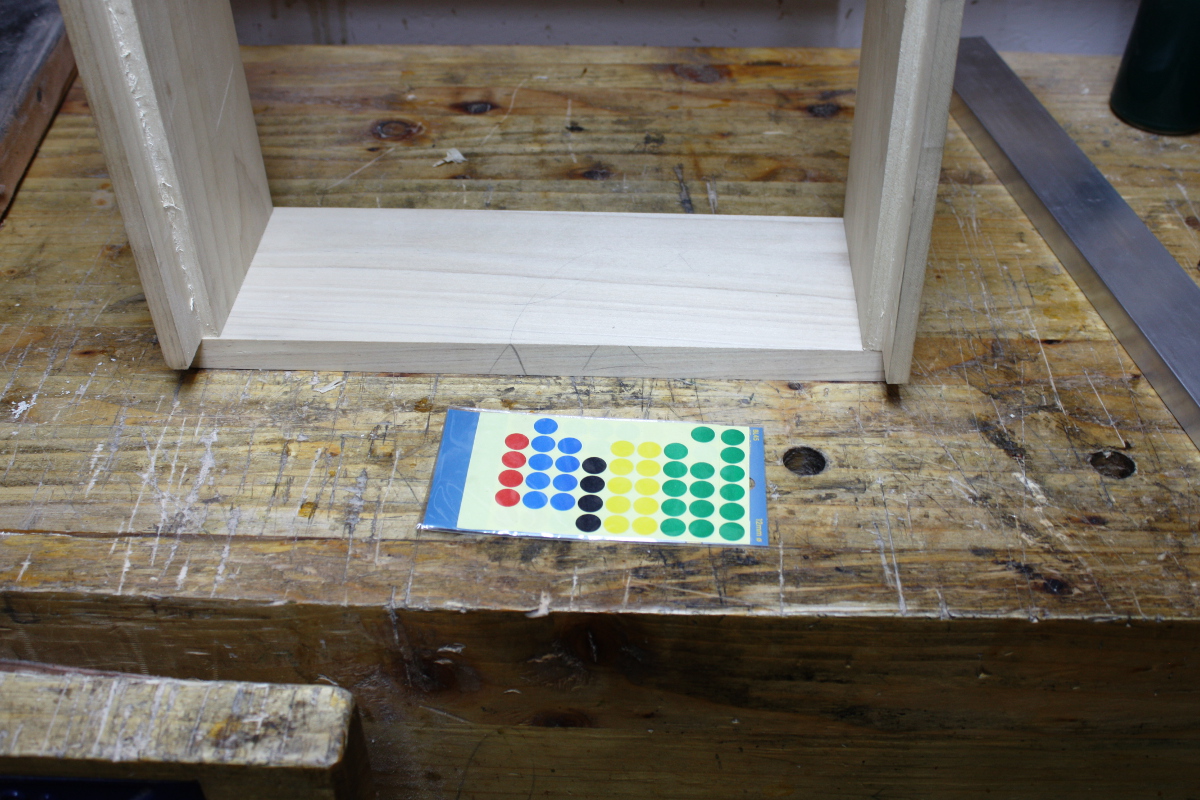
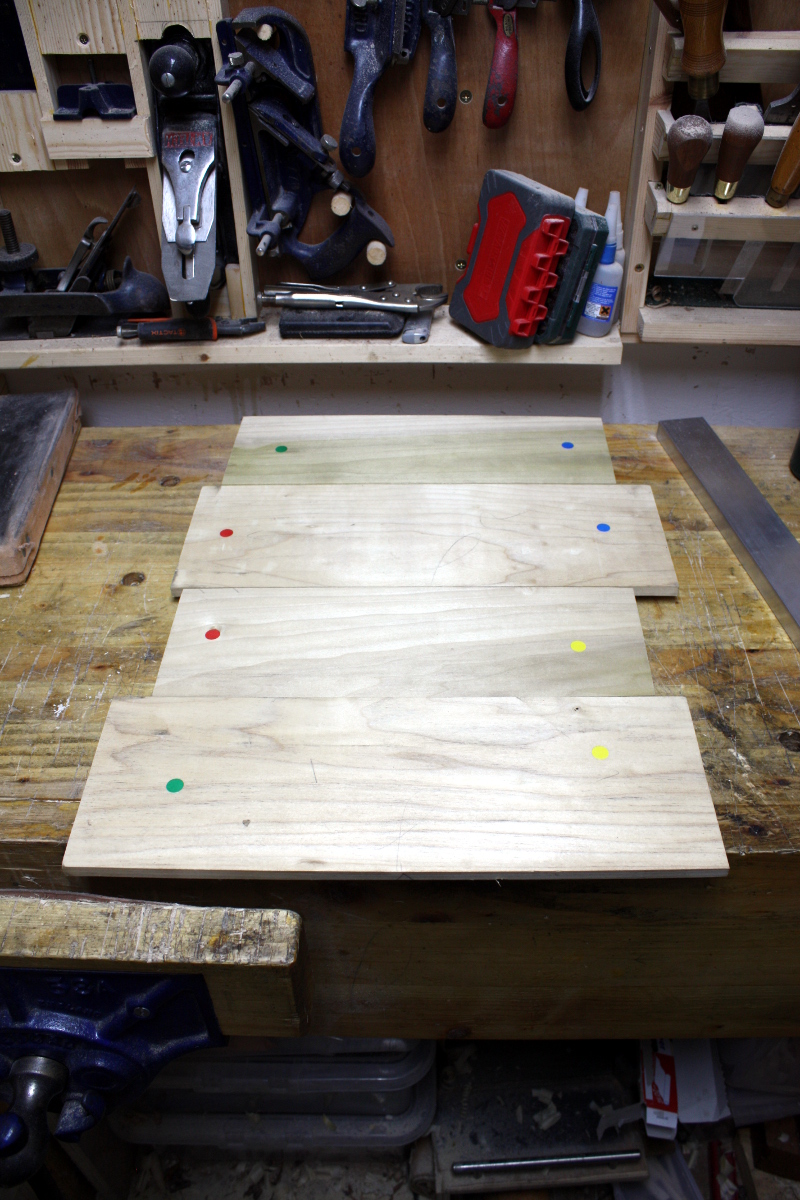
Nice little trick from David Barron that one, makes it easy to keep track of what end mates to what end and what side is on the outside.

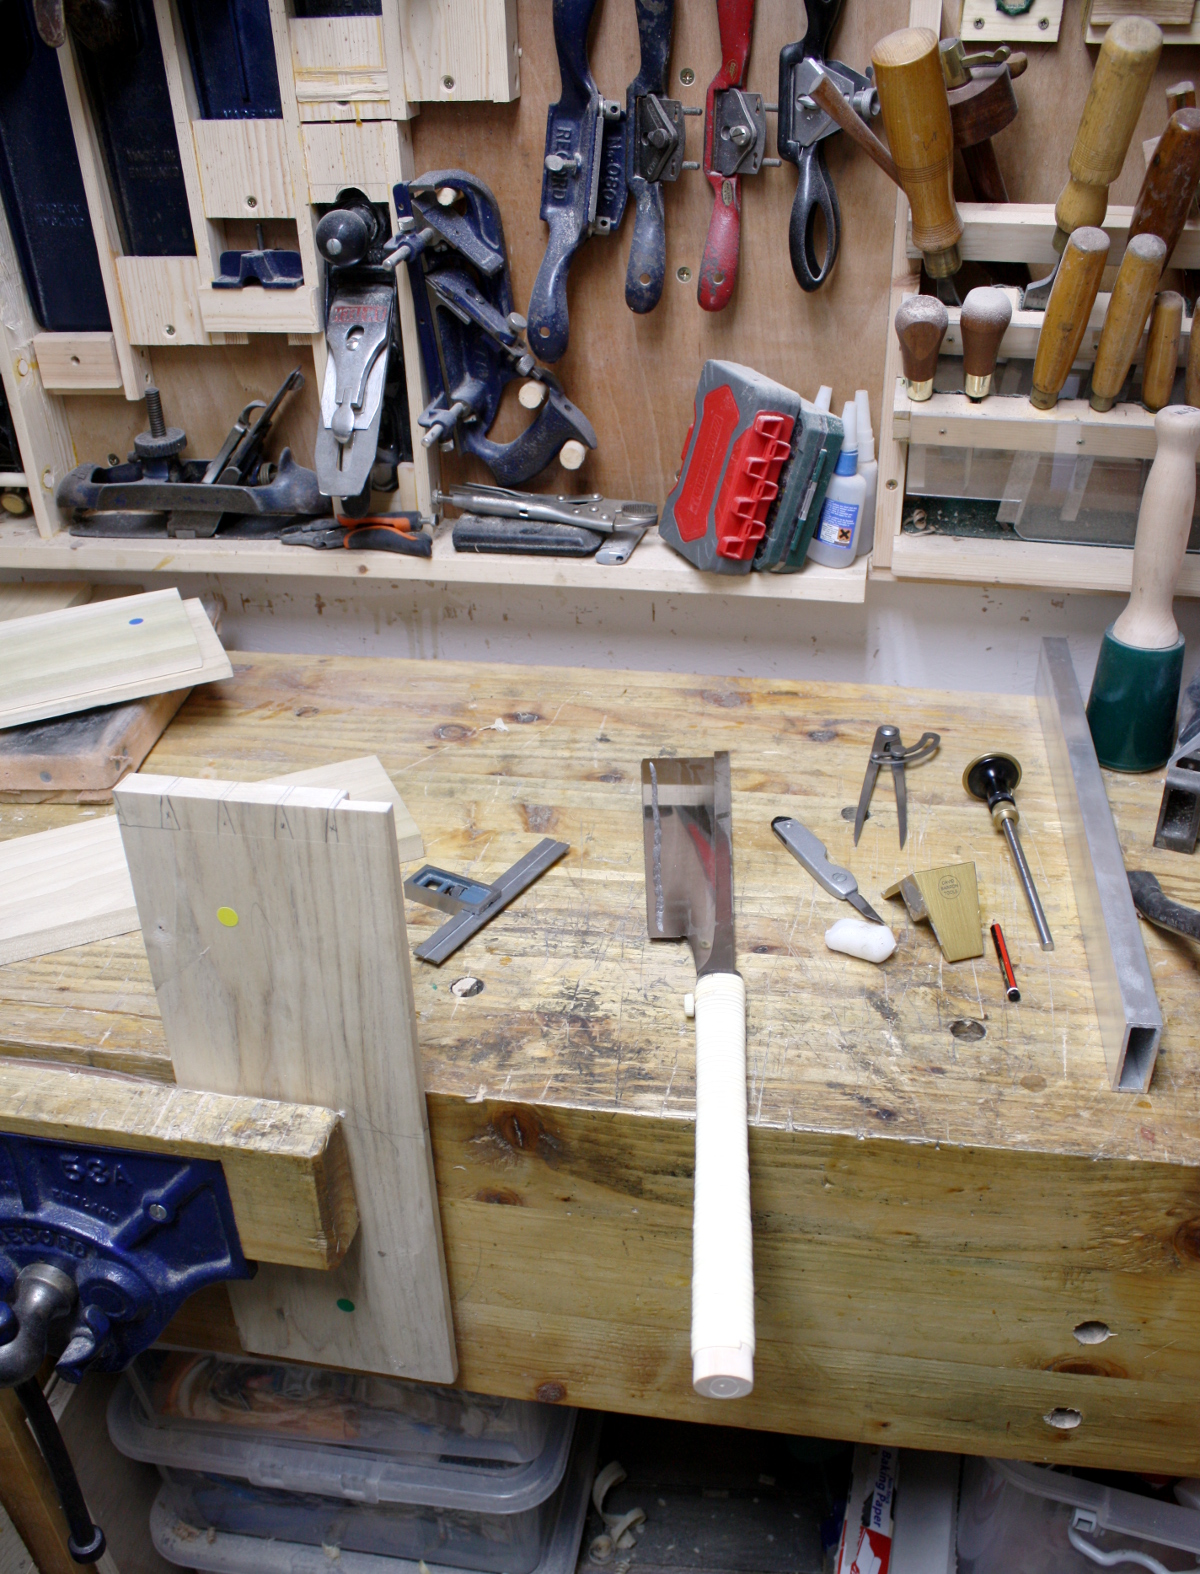
Picked a joint at random, got out the tools and marked up.

And after cutting the saw cuts, out with the new tool, a dovetail alignment jig (this one’s a bit sheddy with all the screws and plywood and glue, but if it works…)

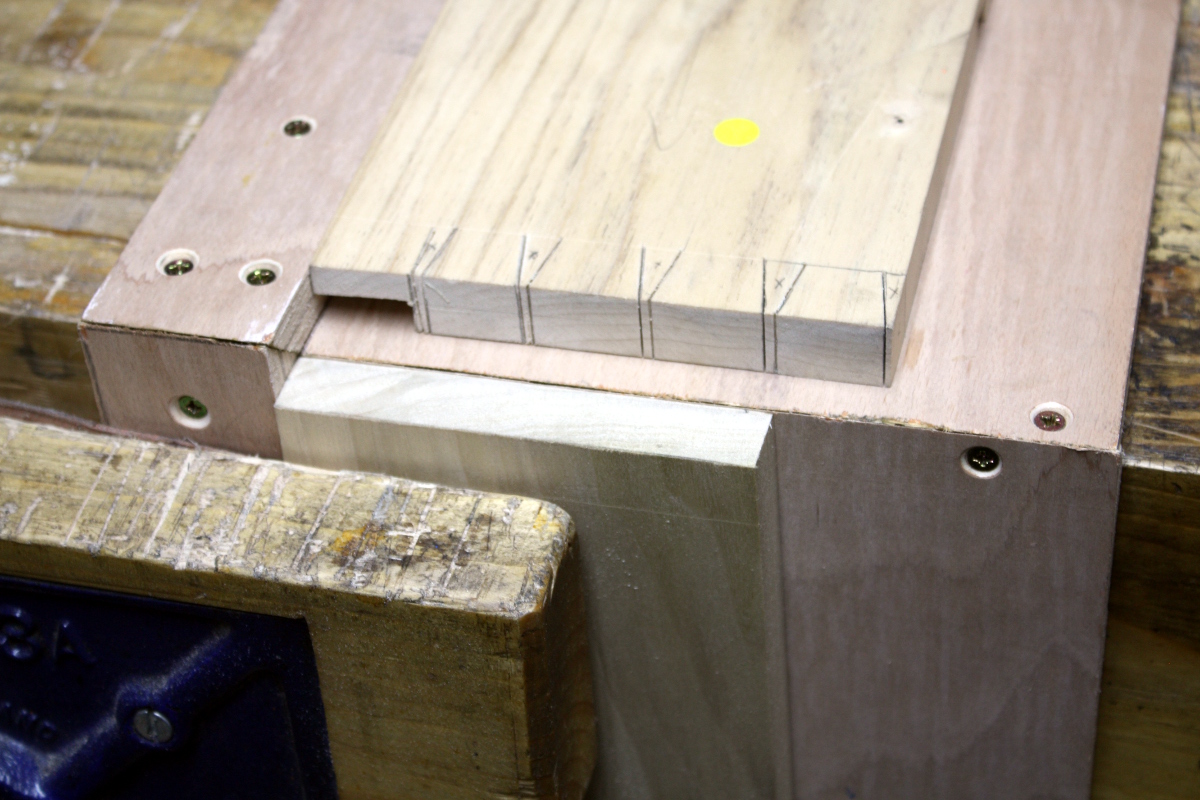
You get the idea, though the rebate is getting in the way here a bit – normally both boards would butt up against the fence to align, but here the critical alignment is on the inside shoulder of the rebate (or I’d just flip both boards over). So it gets a bit more finicky. In fact I might not use it for the rest of the joints because of that, but the idea itself is grand.

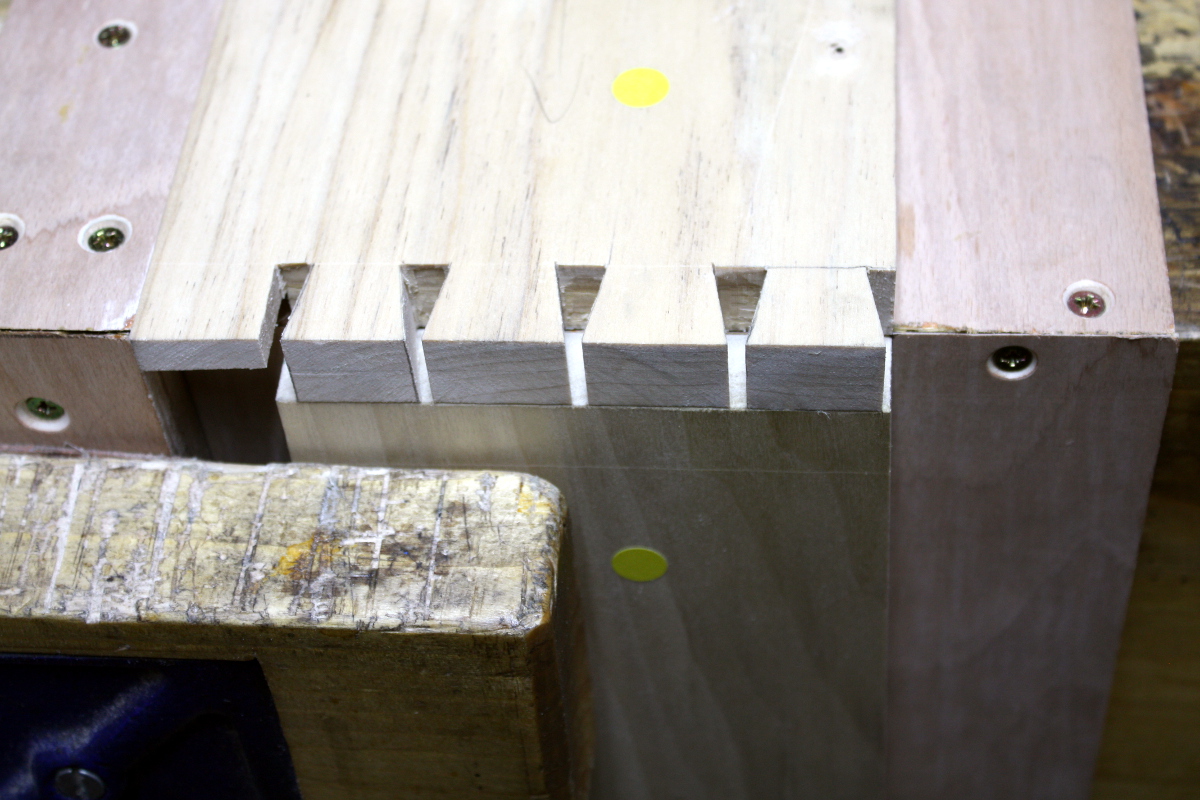
So it works reasonably well. I’m worried about it racking the carcass a bit though. We’ll see. I did have to wrap it there because I could saw out the pins and cut out most of the waste with the fretsaw but chopping the remaining waste after 2300h is a bit of an anti-social thing to do in a housing estate on a Friday night. Sleep, and hopefully an early start in the shed to try to get stuff done tomorrow. Time’s getting on and I might have to resort to power tools for one or two jobs I’ve been wondering about. Oh well.

Earned.


19
Dec 17

Kneedeep in shavings and carrying on

So, I’ll start with the end of something. Made as a gift for a friend of Claire’s:

Walnut offcut from the cot, some brass and pewter hardware and felt and viola, a small necklace box. Or key box I suppose. Didn’t come out too badly.

Then it was time to start pushing.

The problem with making a lot of rough-cut component parts is that then you have to turn them into planed non-rough component parts. At least it’s just poplar. And I did stop for forty minutes or so at the start to take the irons from my #04, #04½, #05 and #05½ planes to the diamond plates. It would have been less time, but I discovered the #05’s iron was skewed quite badly (one side was almost 2mm longer than the other). No wonder my lateral adjuster was always canted right over. Cue a lot of time on the 300grit plate because for some reason I thought that’d be faster than turning through 180 degrees and taking the bench grinder down off the wall. I don’t know, ask your mom.

I’m finding that this is pretty nice poplar by the way, I’d be tempted to oil this stuff. I know it gets a bad rap with woodworkers who think timber is NFG if it wasn’t all riven by hand from a single tree that grew in a tropical rainforest on the southern slope of a hill in Fiji before being cut down by hand using dental floss, but this has some nice grain and surface appearance. I might do this project over again in beech later, but I’m not regretting using the poplar here.

That chunk of plywood and the dowel on the left will become a new Japanese saw benchhook:

I was going to use that small piece of sapele the dowel is resting on as the stop but it’s a bit short and a short stop is a bit of a pain so I planed, halved and glued up a scrap piece of walnut there on the right. Yes, scrap walnut exists. Hush.

I don’t know why I’m keeping those little pine arrow shapes and the walnut scrap they’re on. Every time I go to chuck them I just find myself stopping for some reason. Presumably my subconscious has an idea it’s not ready to tell me about yet. We’ll see.

Four boards to thickness down by a quarter inch and an eight-inch wide board to resaw. Well, that’ll get you procrastinating in a hurry. I’m annoyed as well, I bought a frame saw just for this job and it’s still in Germany. What’s the holdup…

Huzzah! It might be here by tomorrow so. Right, ditch the resawing/thicknessing work and let’s park that project until the saw gets here on the bet that a frame saw makes resawing as easy as everyone says it does.

On to other things. I have a few bandsaw blanks; time to stare at them for a while and think of what to do with them…

We’ll see if they turn out the way I hope. I don’t like using machinery at the best of times but that late in the evening it felt like it’d be unsocial so nix that and I’ll do it tomorrow.

Sapele. Lovely to look at but a complete PITA to work with by hand. The toothing plane was needed to flatten that board (hence the grooved dull appearance of the board on the right) and to then smooth the surface I resorted to my #04½ because I ground that thing with a higher angle a while back and put a back bevel on the iron. And even with it set to a whisper thin cut and skewing the iron and having the chipbreaker set within a glint of the cutting edge, it’s not quite perfect. Scrapers will be needed… but I’ll leave that till after joinery is done.

Meanwhile, I need to do some cleaning up. If only I knew someone who had a wood stove in the middle of the kilkenny countryside I could get to burn this lot…

And it’ll probably get done sometime next week, but I have another commission. That’s the word for when your wife orders you to make something for junior, right? 😀 He needs a shelf for his bedtime story book, but it should go on the floor because that’s the easiest place to keep them if you’re sitting by the bed reading to him. So…


16
Dec 17

Post partum prepping

So, table delivered (yes, the recipient liked it). BTW, if you were wondering, it was a build-along to Richard Maguire’s video series:
In case you were thinking of buying that series, it’s well worth the money.

Today though (and yesterday) was all about cleaning down from the build (and carting away two rubbish bags full of shavings – not being able to burn wood here is a pain) and doing the dozen little jobs that needed doing like sharpening the wooden skew rebate plane I have here; going to use that in a build soon. And every plane had to get a light sanding with fine paper on the tops of the cheeks of their sides for surface rust (the -3C nights came with water vapour condensing on the cast iron) and then a fresh coat of wax. And other small jobs like that which had been backing up. I still have one more of those – building a japanese saw bench hook. I’m using a normal bench hook at the moment but for pull work, it can be a tad awkward because you have to hold the work to the fence. You can use a normal european bench hook if you hook it to the far side of the bench; but I think it’s a bit nicer if you attach the fence to the baseboard and drill through both and glue a dowel through both and down a few inches below the baseboard. The dowels then go in the bench dog holes and that’s your bench hook. Parts are set for that (I’m not sure I have enough dowel stock though) and I’ll get to it probably tomorrow.

The rest of my time has been spent on stock prep. Bit of resawing and flattening and ripping yesterday and prepping some blanks for bandsaw boxes. So walking into the shed today it all looks fine…

…and then you turn to the right to look at the staging area…

Ah. Right. So that’s four more side tables (or at least the raw material rough-cut for them) and then on top of that all the finishing jars and glues and screws and my plastic box of off-cuts. Those are only the bits I could use for things by the way (I’m resisting the packrat urge to keep every scrap of wood I cut off a larger piece on the grounds that There. Is. No. Room. In. Here), so resawn pieces that could be used to make small boxes or chunks that could become bandsaw blanks (not many of those left, I picked through the box on Friday to make up some blanks), or the cores from bandsaw boxes (which can get used for things like feet or drawer pulls or whatever).

Tucked behind the plastic box are the panel gauge and the dovetail alignment board, and on top of the box is where I stash all the component parts of builds in progress (and a lot of sandpaper at the moment because I haven’t found a place for it). So there’s five glued-up blanks, and the component parts for six other projects in the pre-joinery stage.

Blanks drying outside along with a bandsaw box that’s almost ready.

Two coats of danish oil in; going to do a coat or two of shellac yet and attach the hardware (it stands vertically and you use it to hang necklaces) and some felt in various spots. First box made using the new sander. It’s not that it makes it better so much as it makes it easier to do some things because you’re not worried that trying them will immediately remove a finger. More photos later.

And this is a quick test of a Paul Sellers idea for a project to do with the kids:

He made his using a razor-sharp chisel; I won’t be doing that with Calum 😀 The project works just fine with saw and bench plane 😀 With a bit of luck, that’ll keep him occupied for the guts of an hour and he can make one for his teacher.

And then I have two more projects to prep for, one in beech and one in poplar. This phase always seems to make me long for a powered planer thicknesser, can’t think why…

Can you tell what it is yet?