08
Jan 18

Back to work…

So back to work today. Checked the thermometer in the shed before leaving the house around 0715 or so…

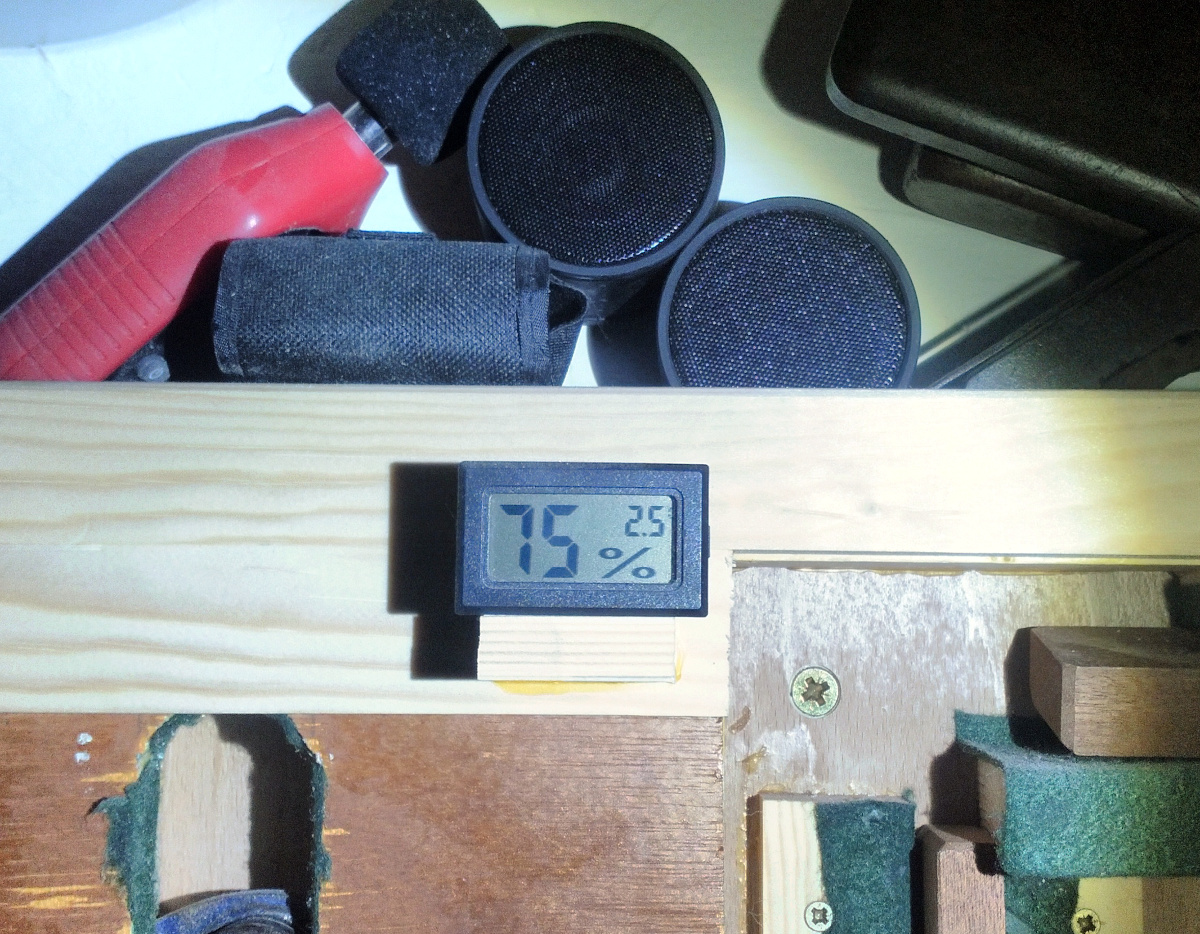
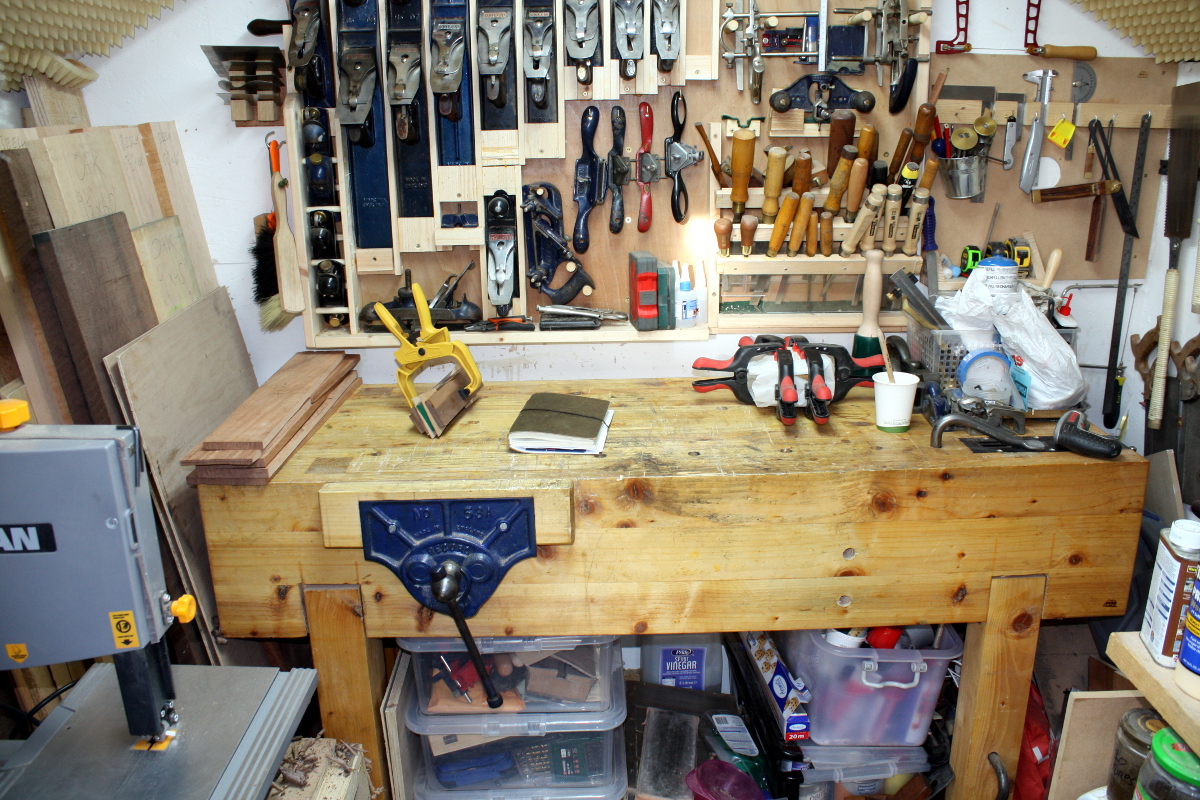
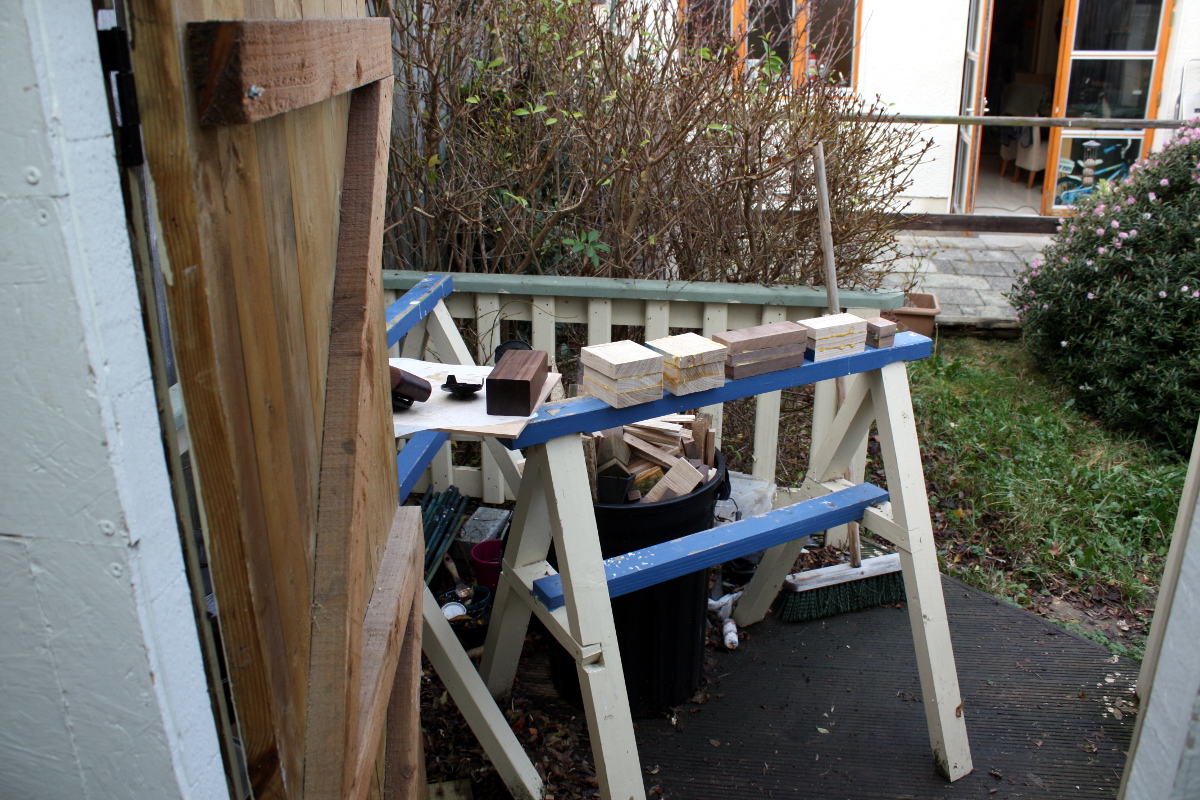
And given the ice on the decking outside the shed, I doubt that was the low point either. Must remember to put another layer of paste wax on the planes this week to prevent surface blooms of rust.

I figured it’d be warmer by the time I got home but by 2000h…

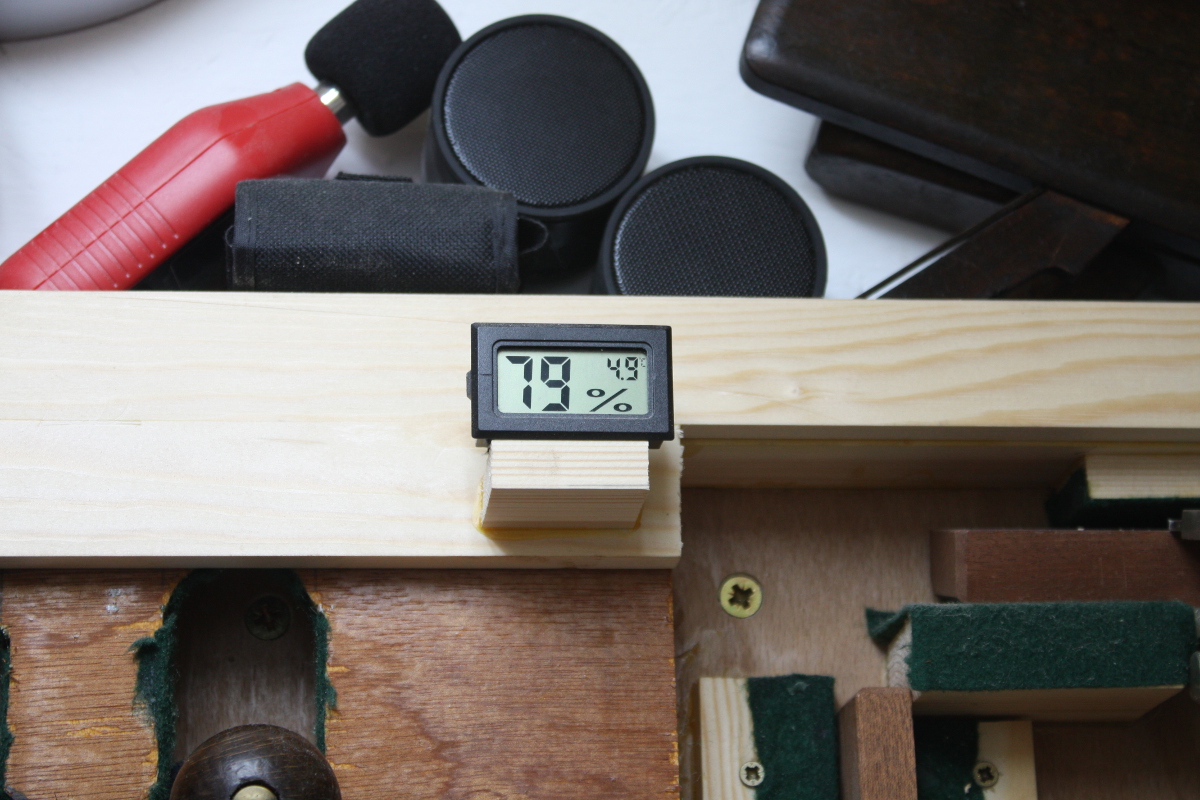
Hmmm. Uninsulated shed in the middle of winter. Such fun. Oh well, new toys!

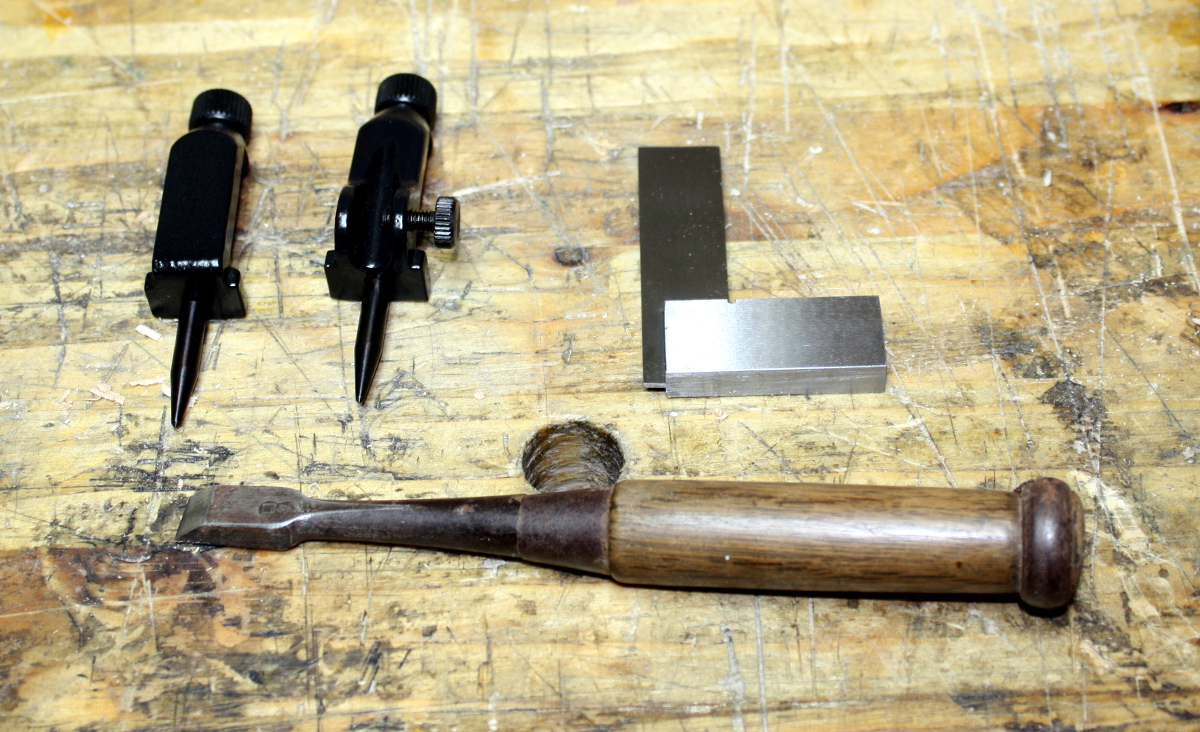
Some trammel points and a new 3″ square from Proops (turns out, if you have a 4″ square, you shouldn’t drop it or you’ll have a 4″ not-square…).

And I wanted to see what all the fuss over Japanese chisels was about so I bought a fairly cheap second-hand one (came to about €15 delivered). 8mm, just over the quarter-inch size, nice balance to it, lots of surface rust though. Some sandpaper and some time on the diamond stones later…

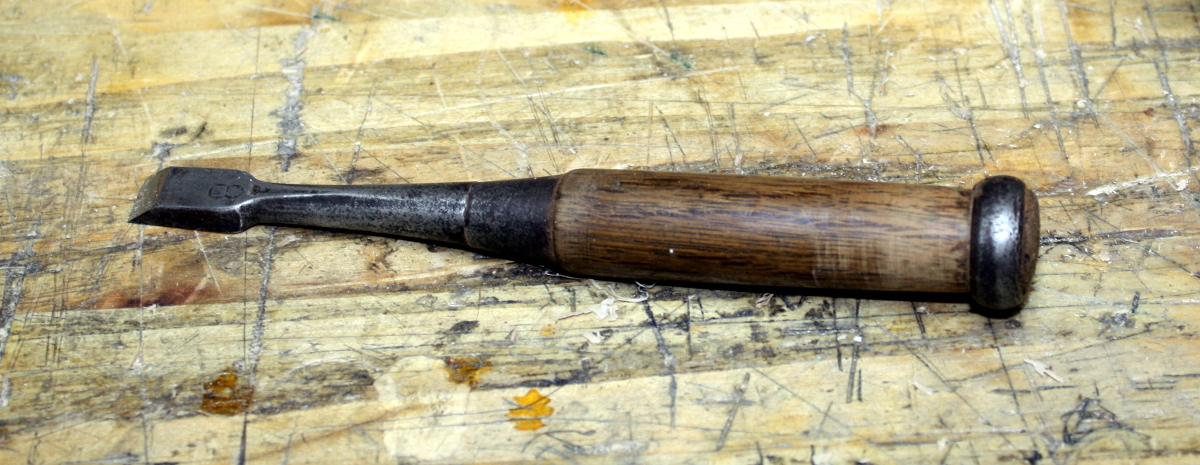
It’s a nice little chisel, takes a nice edge (eventually, it does seem to be much harder steel). I don’t see much of a hollow on the back but I guess that’s fixable somehow. Really does feel well balanced in the hand, they always looked a bit awkward to me but when you’re using them it’s a whole other deal. Won’t know how good it is for a while, obviously, but so far so good.

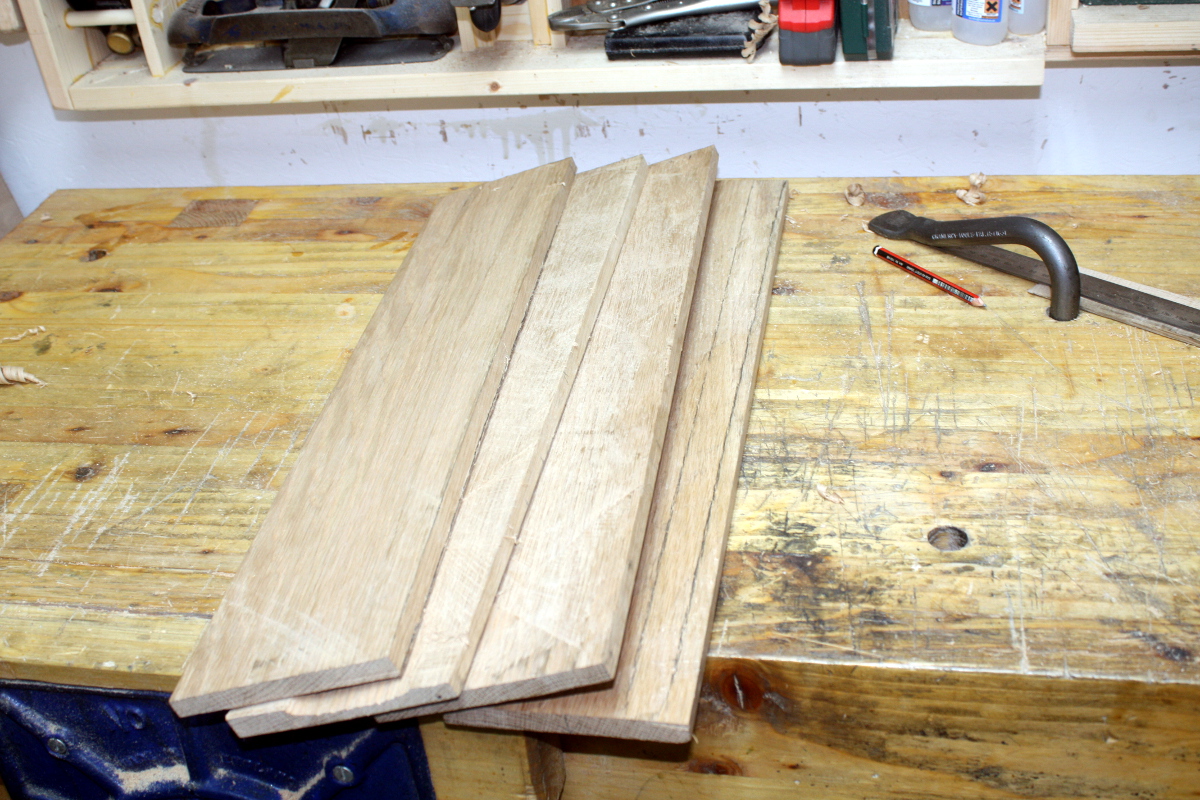
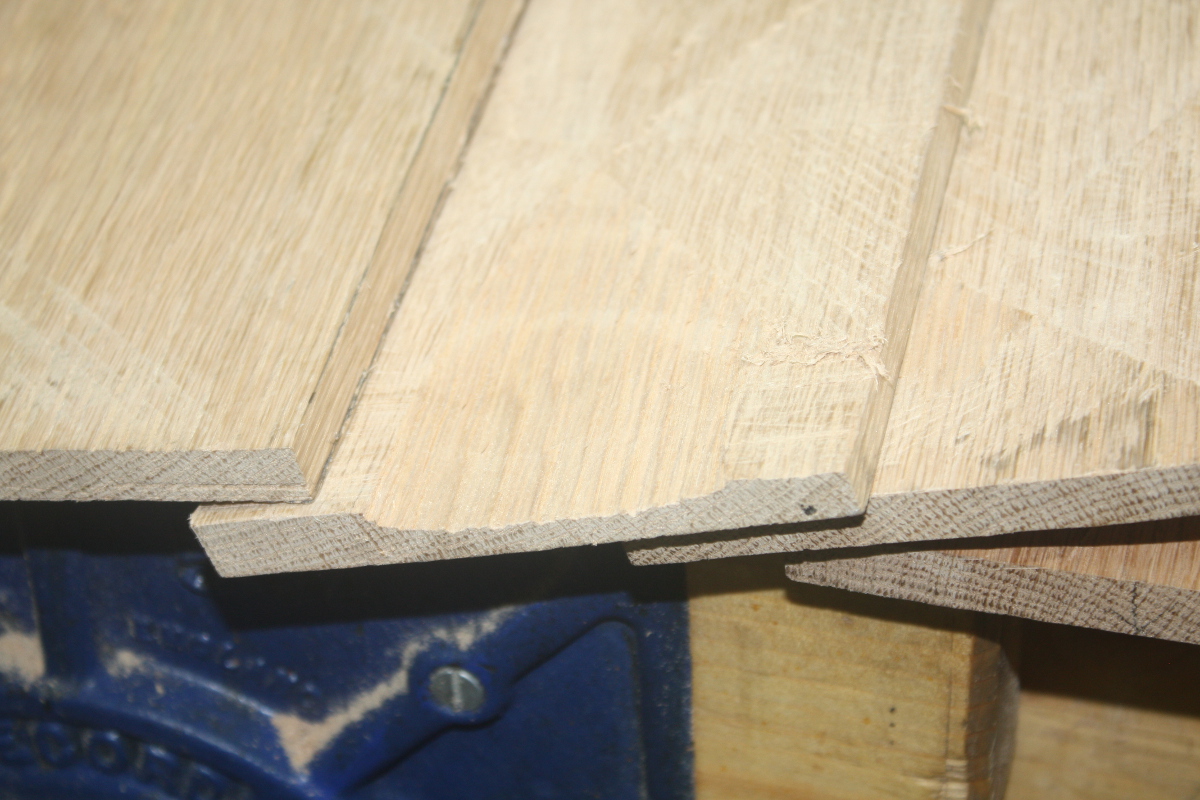
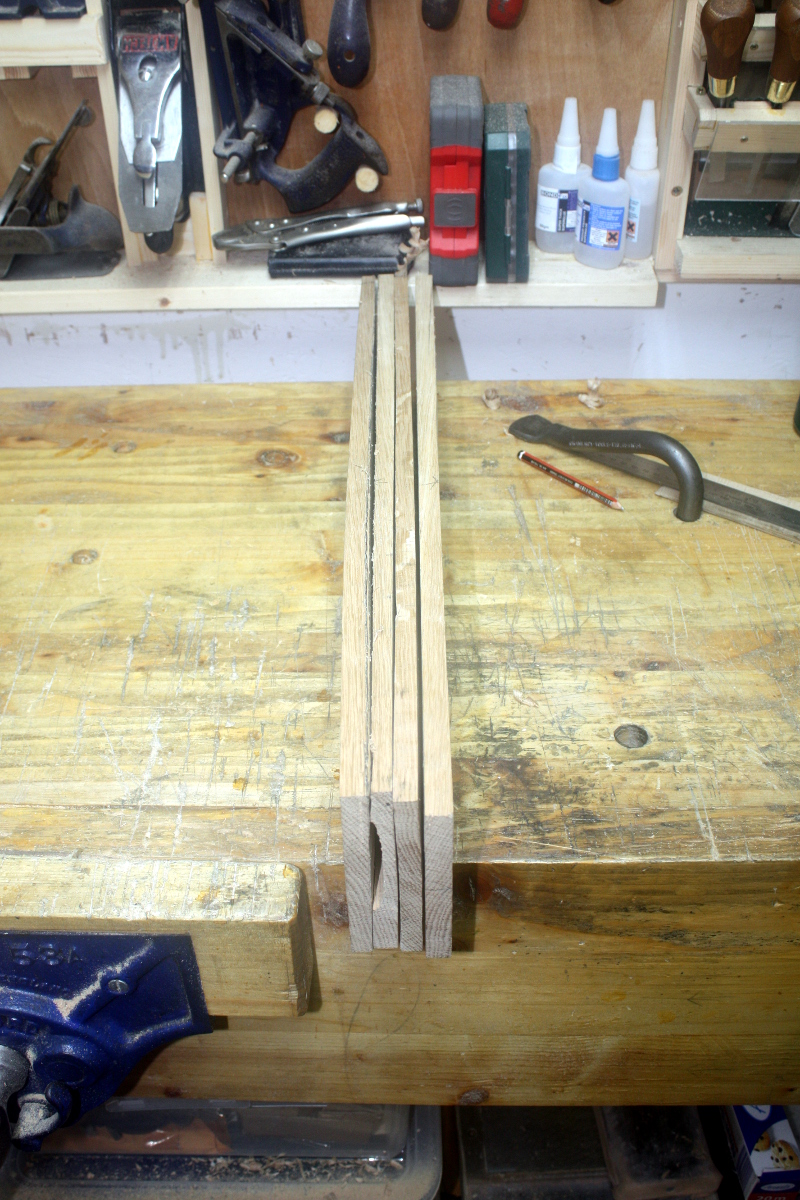
Then some mucking about with the #080 scraper plane on the chest rails (it works!) and I started in on the grooving of the rails…

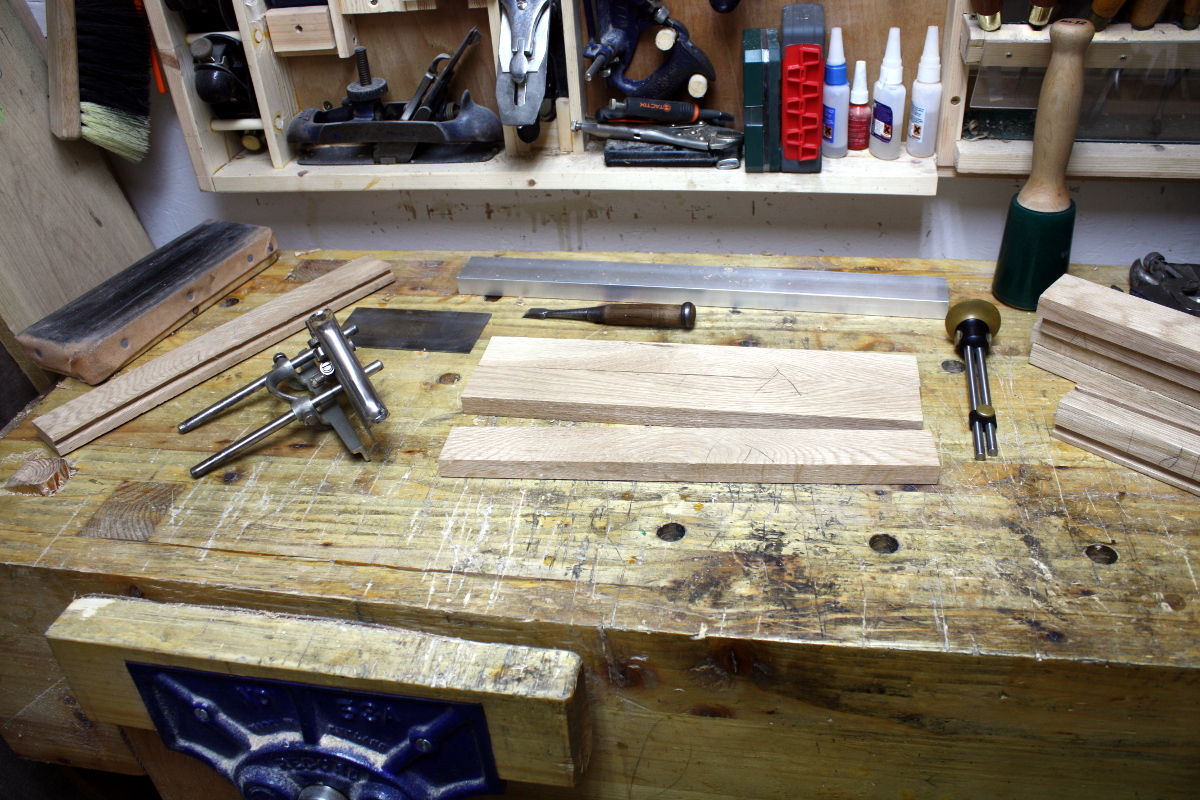
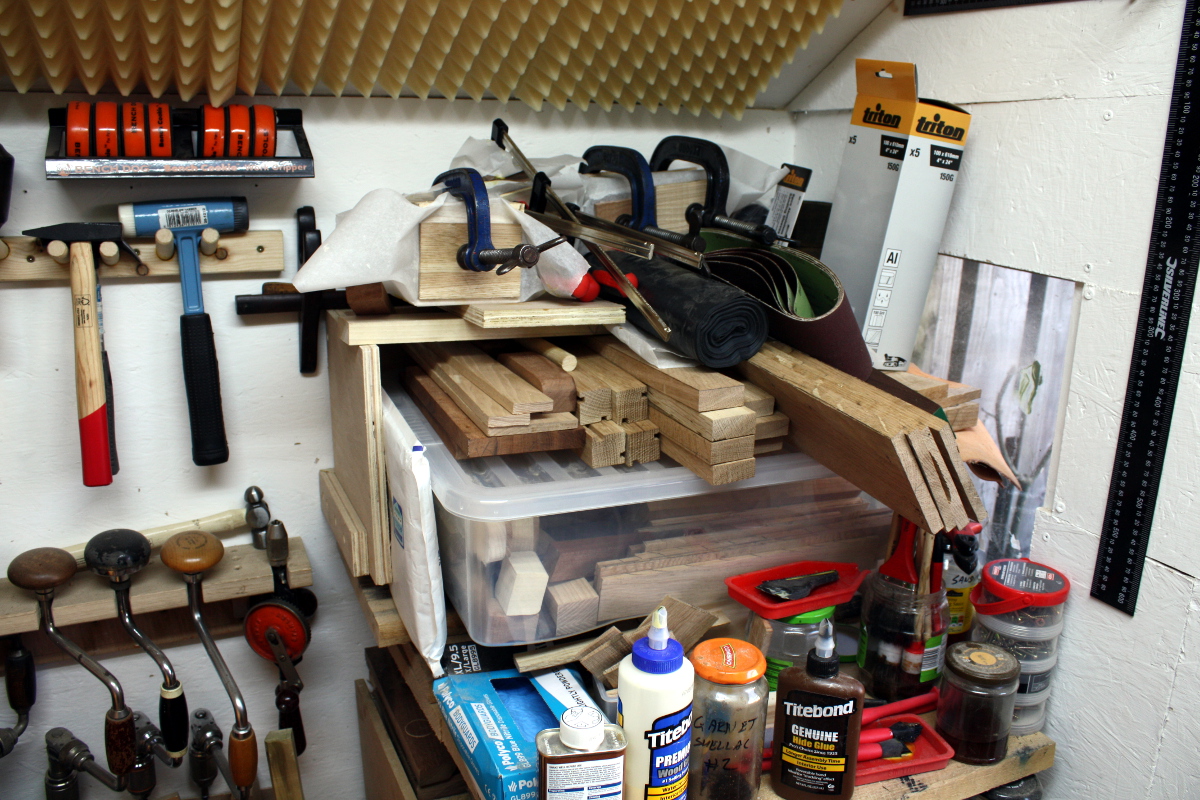
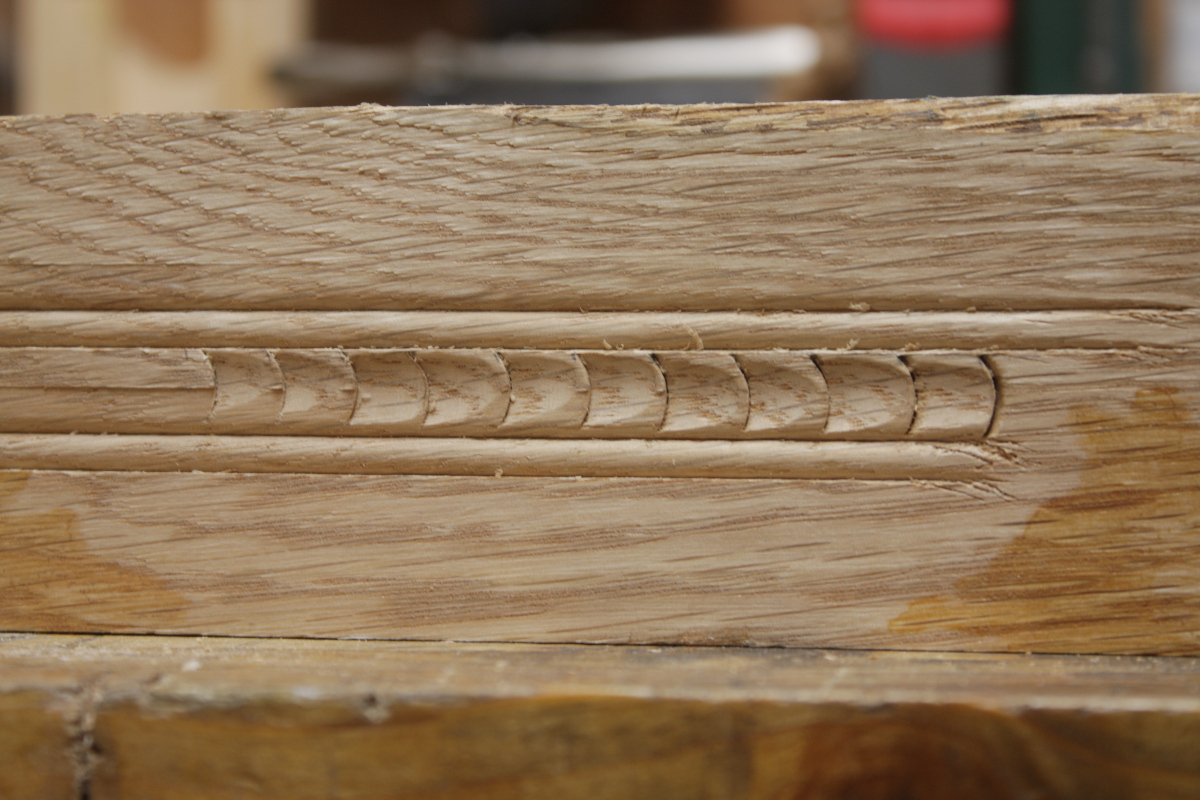
That oak has pretty grain, but it’s a pain to work with. Scrapers, scraper plane, tight-set #04 skewed with the cap iron clamped down a gnat’s whisker from the cutting edge, all the tricks needed here. Should have the rails done in a day or three, depending on work schedules, get some more practice in on the carving for the panels, and start cutting the mortices and tenons this weekend. Need to prep some more material as well for the lid. Going to do that in a frame-and-raised-panel style, but I’m not sure if the center panel should be oak or something else for contrast.


16
Dec 17

Post partum prepping

So, table delivered (yes, the recipient liked it). BTW, if you were wondering, it was a build-along to Richard Maguire’s video series:
In case you were thinking of buying that series, it’s well worth the money.

Today though (and yesterday) was all about cleaning down from the build (and carting away two rubbish bags full of shavings – not being able to burn wood here is a pain) and doing the dozen little jobs that needed doing like sharpening the wooden skew rebate plane I have here; going to use that in a build soon. And every plane had to get a light sanding with fine paper on the tops of the cheeks of their sides for surface rust (the -3C nights came with water vapour condensing on the cast iron) and then a fresh coat of wax. And other small jobs like that which had been backing up. I still have one more of those – building a japanese saw bench hook. I’m using a normal bench hook at the moment but for pull work, it can be a tad awkward because you have to hold the work to the fence. You can use a normal european bench hook if you hook it to the far side of the bench; but I think it’s a bit nicer if you attach the fence to the baseboard and drill through both and glue a dowel through both and down a few inches below the baseboard. The dowels then go in the bench dog holes and that’s your bench hook. Parts are set for that (I’m not sure I have enough dowel stock though) and I’ll get to it probably tomorrow.

The rest of my time has been spent on stock prep. Bit of resawing and flattening and ripping yesterday and prepping some blanks for bandsaw boxes. So walking into the shed today it all looks fine…

…and then you turn to the right to look at the staging area…

Ah. Right. So that’s four more side tables (or at least the raw material rough-cut for them) and then on top of that all the finishing jars and glues and screws and my plastic box of off-cuts. Those are only the bits I could use for things by the way (I’m resisting the packrat urge to keep every scrap of wood I cut off a larger piece on the grounds that There. Is. No. Room. In. Here), so resawn pieces that could be used to make small boxes or chunks that could become bandsaw blanks (not many of those left, I picked through the box on Friday to make up some blanks), or the cores from bandsaw boxes (which can get used for things like feet or drawer pulls or whatever).

Tucked behind the plastic box are the panel gauge and the dovetail alignment board, and on top of the box is where I stash all the component parts of builds in progress (and a lot of sandpaper at the moment because I haven’t found a place for it). So there’s five glued-up blanks, and the component parts for six other projects in the pre-joinery stage.

Blanks drying outside along with a bandsaw box that’s almost ready.

Two coats of danish oil in; going to do a coat or two of shellac yet and attach the hardware (it stands vertically and you use it to hang necklaces) and some felt in various spots. First box made using the new sander. It’s not that it makes it better so much as it makes it easier to do some things because you’re not worried that trying them will immediately remove a finger. More photos later.

And this is a quick test of a Paul Sellers idea for a project to do with the kids:

He made his using a razor-sharp chisel; I won’t be doing that with Calum 😀 The project works just fine with saw and bench plane 😀 With a bit of luck, that’ll keep him occupied for the guts of an hour and he can make one for his teacher.

And then I have two more projects to prep for, one in beech and one in poplar. This phase always seems to make me long for a powered planer thicknesser, can’t think why…

Can you tell what it is yet?


06
Dec 17

Resawing sucks.

Honestly, if there is a better argument out there for buying a large bandsaw I haven’t heard it yet.

Yes, I’ve heard of roubo frame saws. My shed hasn’t enough room between the face vice and the wall to use one.

Yes, I have western hand saws. I either need to resharpen them or recut their teeth because the best one I have didn’t want to cut.

Yes I have a bandsaw already – it can’t resaw anything over 75mm. That there is 115mm.

So, wax blade, yank handle, shove handle, repeat till ticked off enough to pull board halves apart by brute force, plane off worst of the gack in the middle with scrub plane, give outside a few passes to mitigate uneven drying, repeat.

What, you thought there was an art to this? No, it’s just donkey work. And if you get too ticked off and pull the board apart too early…

It rewards you with a great big divot out of one end. Well, at least I don’t need the full length of any of these boards.

Left them standing upright to dry and warp overnight.

At least I got both boards resawn. That was more than I had expected to do.

So I had a play with my Lee Valley scratch stock and a gouge. I was watching some old Peter Follansbee videos and saw what I thought would make a nice decorative element on the rails of the chest. This kind of stuff shows up on the 17th century oak furniture he specialises in and was very common in the period, and since this is basically a 17th century design tarted up a bit, it seems appropriate.

Plus it’s pretty fast and simple to do, though I do need to experiment a bit more – I really need a round or beading plane or a custom scratch stock to form the surface in the middle before cutting the segments out. This took all of five minutes or so to do by the way – it really is fast when you know how (scratch stock bead line with a fence, chop at right angles with a gouge at regular intervals on that bead line, scratch stock bead line on the other side of the chops, then carve one scoop from gouge chop to gouge chop with the same gouge). How to actually end it when the rails hit the stiles is the main problem. I’m not sure how to continue it around the stiles/posts you see. I mean, I could try freehanding it but that seems wrong somehow unless I can get the rails and stiles utterly flush.

And the threaded inserts didn’t arrive today. Bother.

Tomorrow I’ll square up the stock and try to get the panels cleaned up a bit more and do something about that lid. I’d like it to have a small curve to it if I could, but the only way I can think to do that involves taking an inch-thick board and carving it with planes. And I don’t know about that – it’d be heavy and I’d have no way to prevent it warping with movement, which a frame-and-panel lid would address. I mean, according to the bible, it’ll move by 2.8% tangentially over the 30% humidity change between a summer and winter indoors around here (gotta love central heating), that’s almost a full centimeter of movement across the width of the lid. Make that from a solid block of wood and you won’t have a lid for half the year.

What’s the bible? Fresh from abebooks.co.uk:

Basically, a few hundred species of tree, with notes on things like general working properties and data like how much it moves when seasoning and when doing a 30% humidity swing and what its density and tensile strength is and so on, all done by a UK government office back in the days when this was what governments did. Yeah, it’s 1956/7, but tree species don’t change that much that fast (other than going extinct).

Bloody useful books.