So twenty years ago this year I graduated, and just after that (and before I started chasing a PhD), I did some work on a project to create a platform for building a micromouse robot. Not a speed run winner or anything, but just a bog standard, easy to use, off-the-shelf black box platform.
This was 1997, remember, these things technically did exist but they were research project level expensive and finicky and whole companies were making good money building them; Arduino is still six years out at this point and it would be years before you saw the level of available support hardware it enjoys today. Lego Mindstorms is years away and Lego’s RCX doesn’t come out till the following year. The BASICStamp is the most popular solution to beginner hobbyists and it costs the guts of $100 at the time if I recall correctly. You had PC104 based systems available but that was about as close as you got to a Raspberry Pi and your average PC104 was about as expensive as your average desktop PC. So for beginners you pretty much had Microchip’s PIC or its newfangled Amtel clones as your highest bang-for-buck choice of small simple microcontroller. There were older choices still around of course, the 8051 and 68HC11 will probably still be there after the cockroaches die from radiation poisoning.
So at this stage if you wanted to build a micromouse and were a beginner with just about a screwdriver to your name in terms of tooling, you were going to have to roll the whole thing yourself from the ground up, sourcing parts from dumpster diving and with zip-ties, the battery wires and the circuit boards themselves being major structural elements, as with the one Ian and myself built, Brandon:
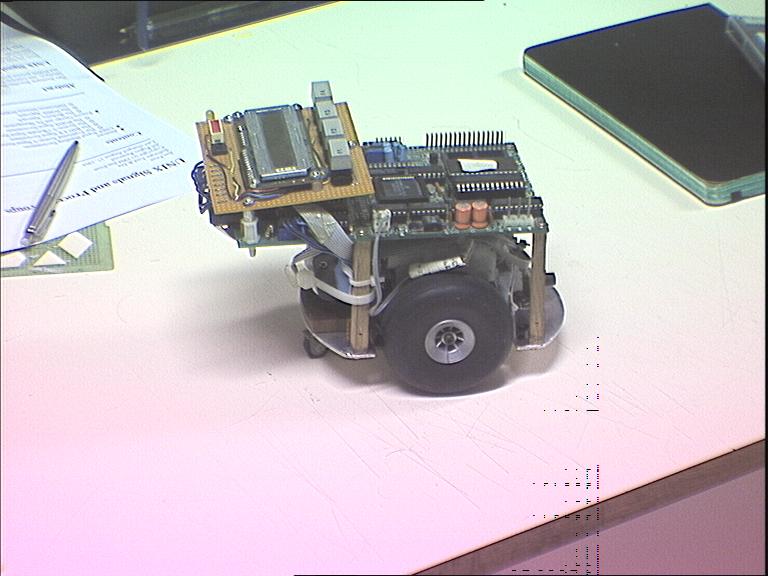
Brandon Micromouse
So the idea with PICRat was to be something like the dozens of kits you can now buy off the shelf as a beginner. Unfortunately as a commercial idea it was horribly badly conceived – timed just as a wave of fully developed, well funded alternatives were about to land on the market (and in fact create the market), developed without any facilities or tools or manpower beyond one graduate so new he hadn’t even finished the graduating ceremonies yet, and done without any real plan or oversight or direction other than “go build a robot that a PC can connect to by serial port so students can do a micromouse project in a college course without having to do all the mechatronics legwork”.
Yes, serial port. RS232C baby. USB 1.0 is a year old at this stage but nobody is using it, and USB 1.1 (the first actually used version) is a year away. WiFi? Good luck, 802.11a only comes out this year, 802.11b next year and it’s years before that costs less than a grand in hardware. We have radio modems at this point and yes, that is exactly what it sounds like and it was an actual improvement because at least with those we didn’t have to go to ComReg to get experimental radio licences to use them…
Anyway, the spec I was given sounds like it’s complete enough… if you know the square root of nothing about building a commercial product (let alone a robot). And I knew just barely under the square root of nothing about commercial products at the time so I dove right in 😀 File that under “learning opportunities seized with both hands and all available teeth”. These days I’ve learned enough to back away slowly from the crazy person suggesting that I suffer for six months before the project gets dropped and its failure blamed on the nearest lightning rod (ie. the one guy working on building in three months with no tools what commercial companies were taking twenty man-years in fully equipped labs to produce).
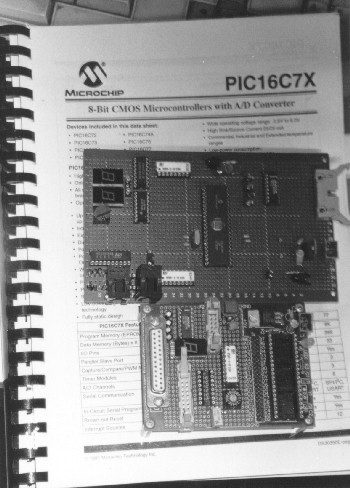
Not a fun time. However, I came across the code for the project this weekend while playing with a PIC12 chip (more on that later), and hey, historical value at least and I’m pretty sure I still own the IP (no, seriously, it’s a whole thing I’m not getting into here, but shambolic is a pretty solidly descriptive term of that time), so I put it up on github for anyone who’s interested in how you hook a PIC 16C74 up to a PC and act like a state machine controlled over a serial line. By the way, that’s 16C74 – that’s how old this is, you had to burn the code into an eprom in the chip because the F series (that are all you can get these days) with the fancy FLASH memory were an order of magnitude more expensive…
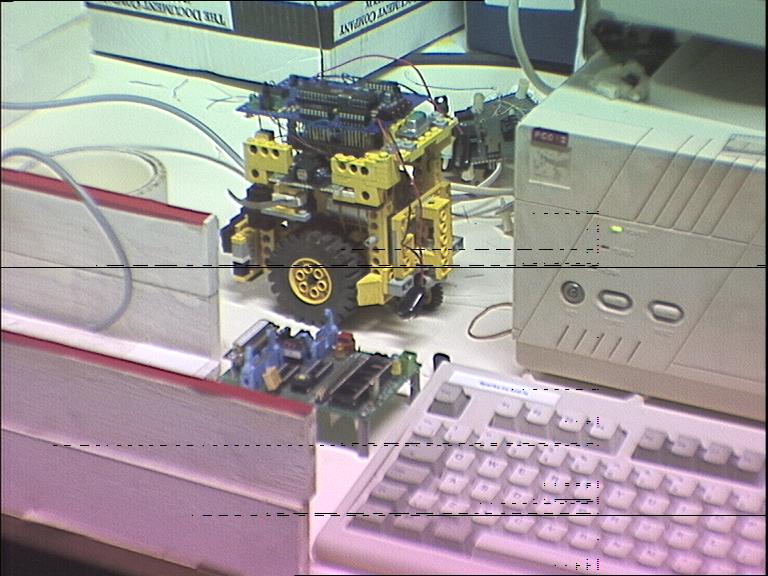
Of course, it wasn’t just code, it was an inch-thick (2.5cm for us metric types) manual to learn, from scratch, for a non-von-neumann architecture (which college had failed to mention as a thing that existed in computing) and in assembly because the C compilers for 8-bit microchip MCUs were absent then and thin on the ground even now if you’re not able to drop a few hundred euro on one, and of course there was some wire-wrapping hardware fabricobbling:
And yes, this was before digital cameras were retailing at a cent apiece for the sensor, how did you tell? That’s a scanned photo from a normal film camera (I think we were doing a lab equipment audit at the time or something). It’s not an Instagram filter, it was taken with black and white film because that was still cheaper to develop than colour…
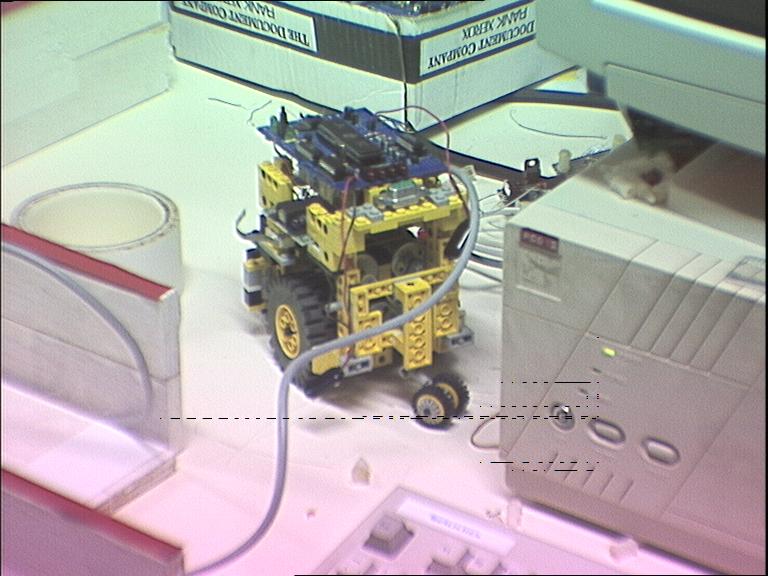
Top one’s the first prototype. I think the bottom one was the second prototype (it’s been twenty years and I can’t find my notes…)
It did eventually get used, by another new graduate equally haplessly roped in to do another robotics project without tools or anything else such a thing needs. He built his own board using the design and parts from PICRat and that was the end of the hardware:
And thus ends the saga of about five months of my life way back when. It was a lesson I didn’t learn at the time, which nobody explained to me at the time, which I’m now sure my supervisor at that point either didn’t know himself or didn’t know how to teach it, a lesson I have since learned the hard way a few times over. I guess that’s part of going from being an engineering graduate that knows the technology to being an engineer who knows engineering 😀
For those new hands who don’t have anyone to pass it on, let me restate it here (but anyone in that field can tell you as well) — build as little as possible yourself, and focus everything on that little. As Red Whittaker once told two rather new researchers who were wholly out of their depth and sinking at the time, you can do anything; you just can’t do everything.

